chocolate bean pillbox {DIY in 15 minutes #3}

chocolate bean pillbox DIY

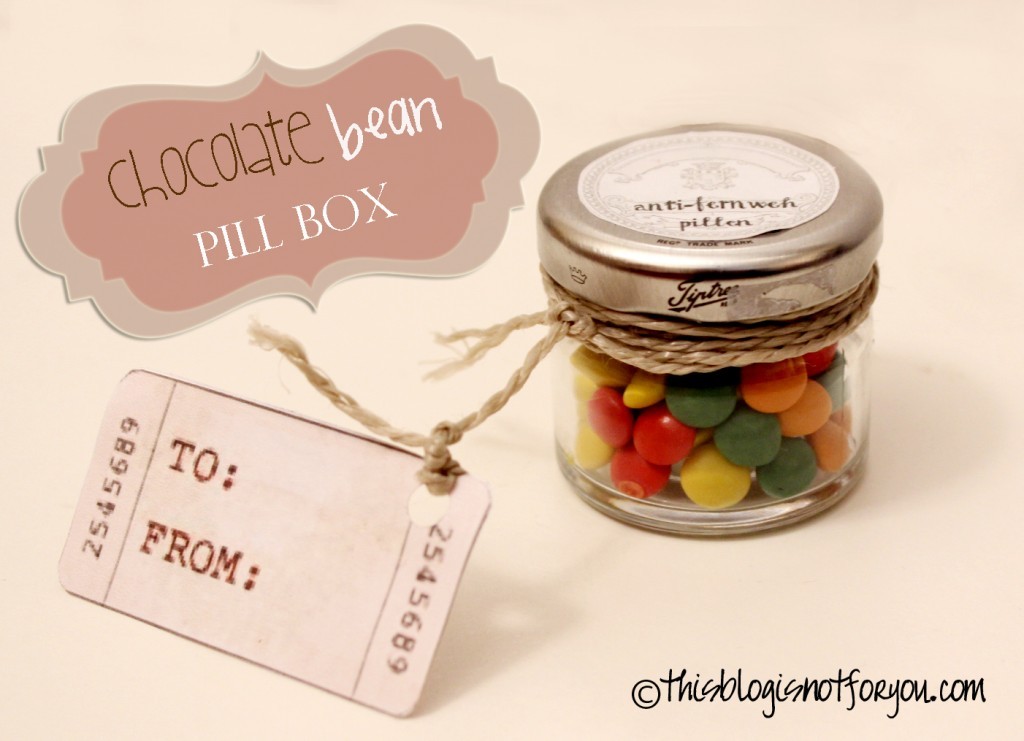
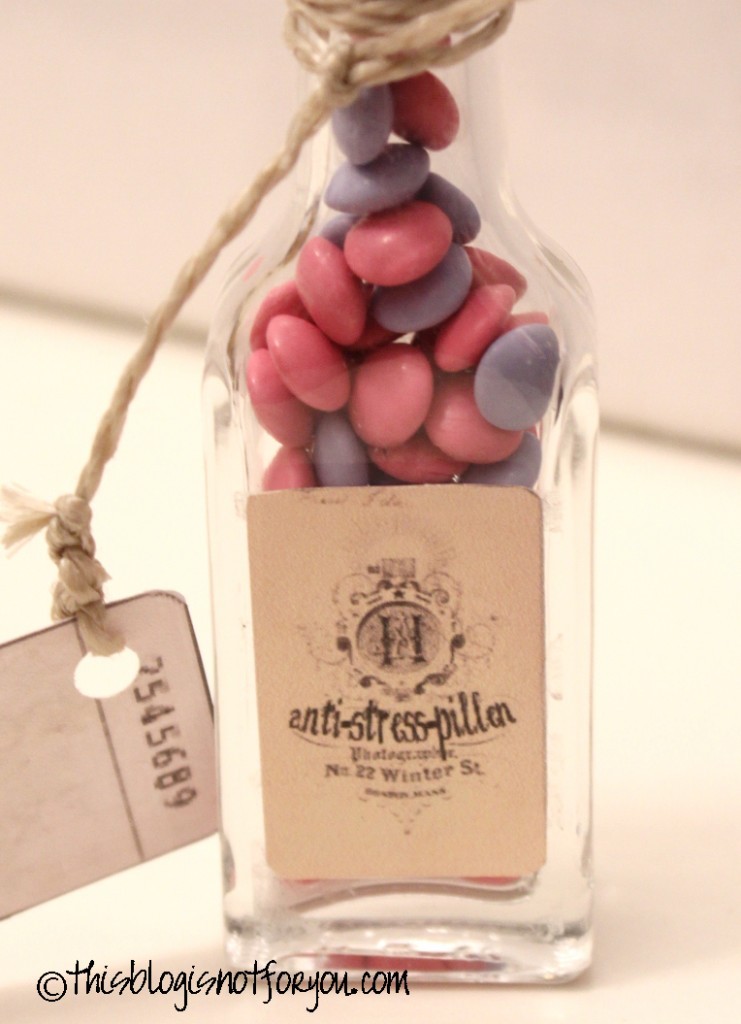
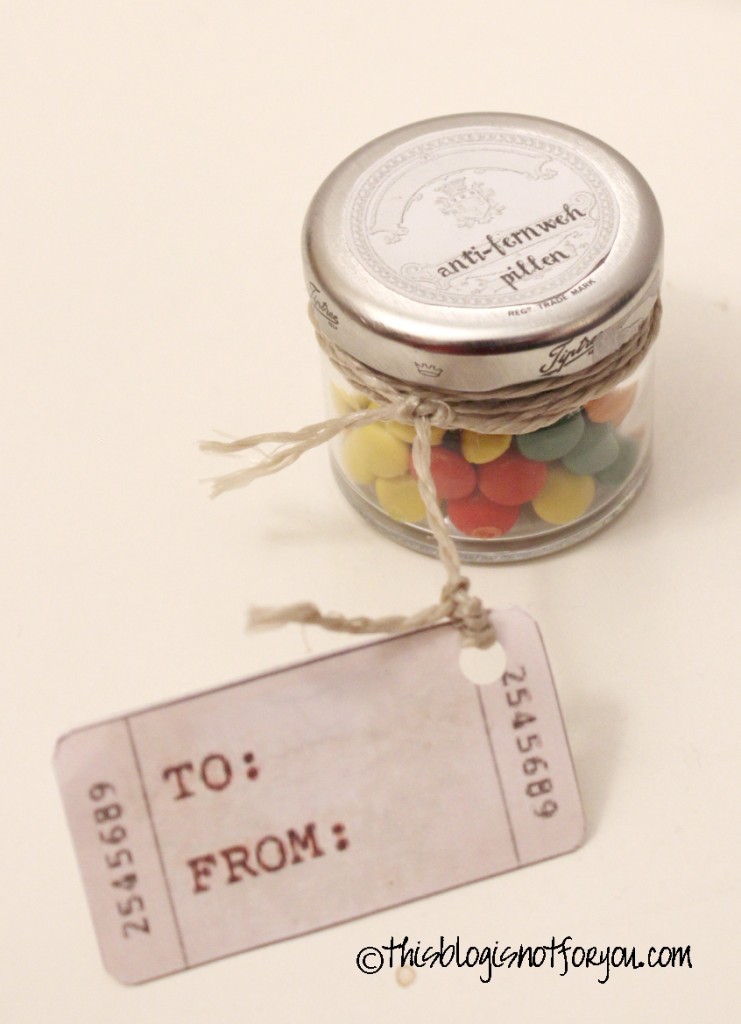
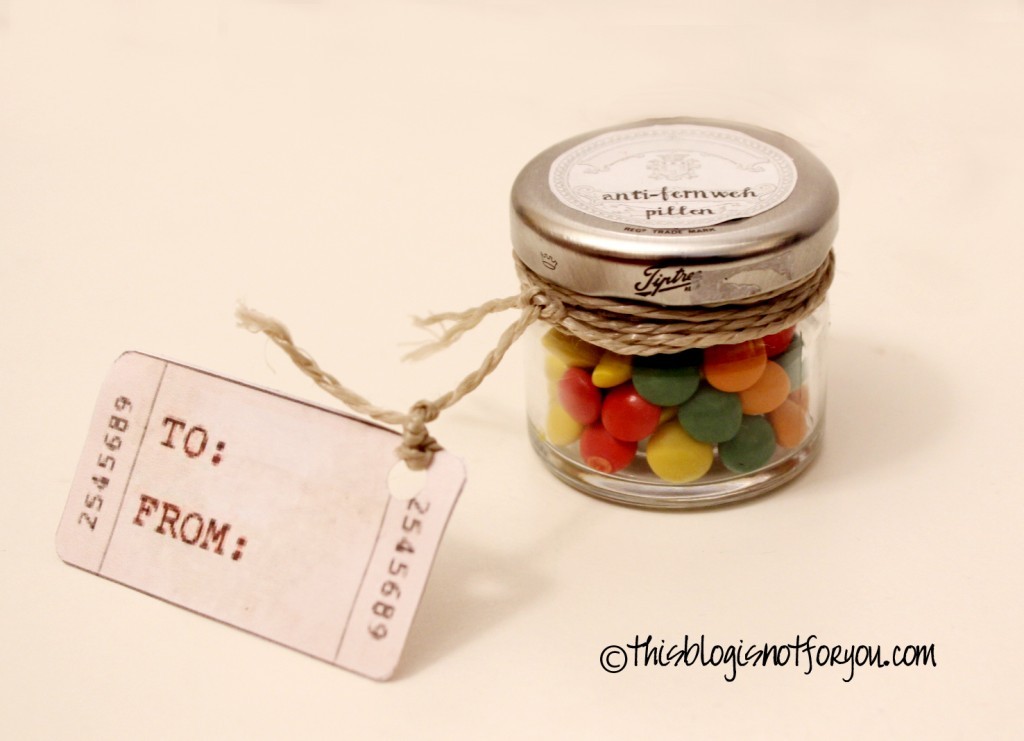
Another DIY I did before Christmas: “anti-stress” and “anti-wanderlust” pillboxes!

All you need:

– tiny empty jars and bottles
– chocolate beans
– vintage printables + paper
– twine
– glue stick

chocolate bean pillbox DIYchocolate bean pillbox DIY

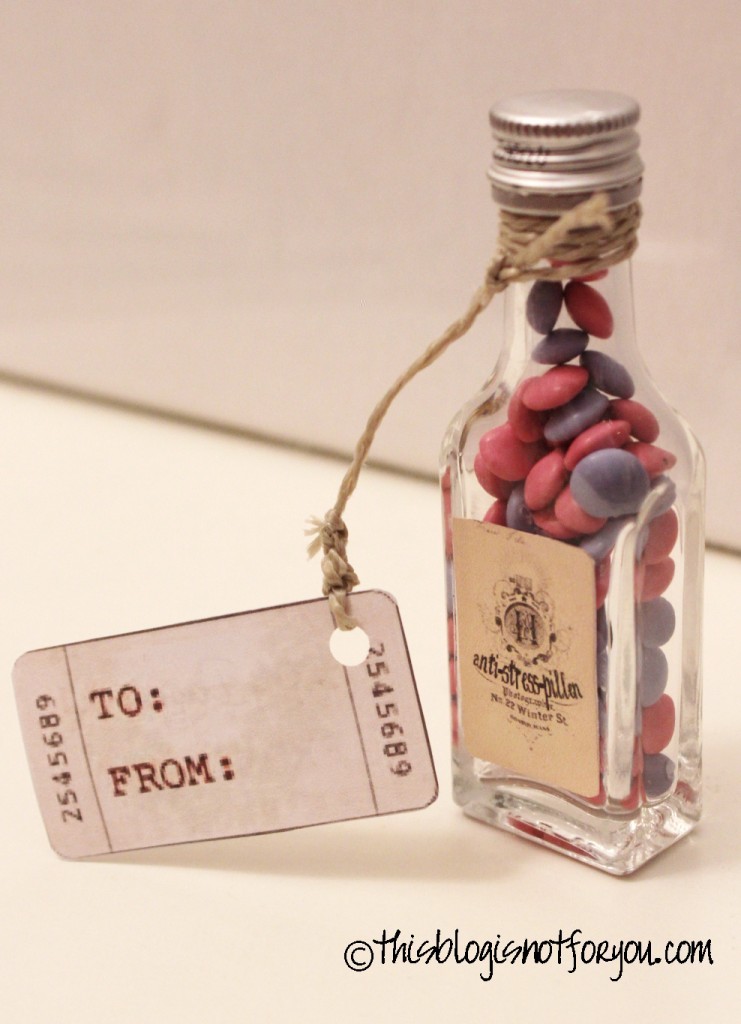
I used a tiny jam jar and a mini brandy bottle that I cleaned and dried up thoroughly. I sorted the chocolate beans by colour, to make the two sorts of pills look differently.

For making the labels I used free vintage printables I found online. Here are some of my favorites:

– free collage sheets

– vintage grunge printables

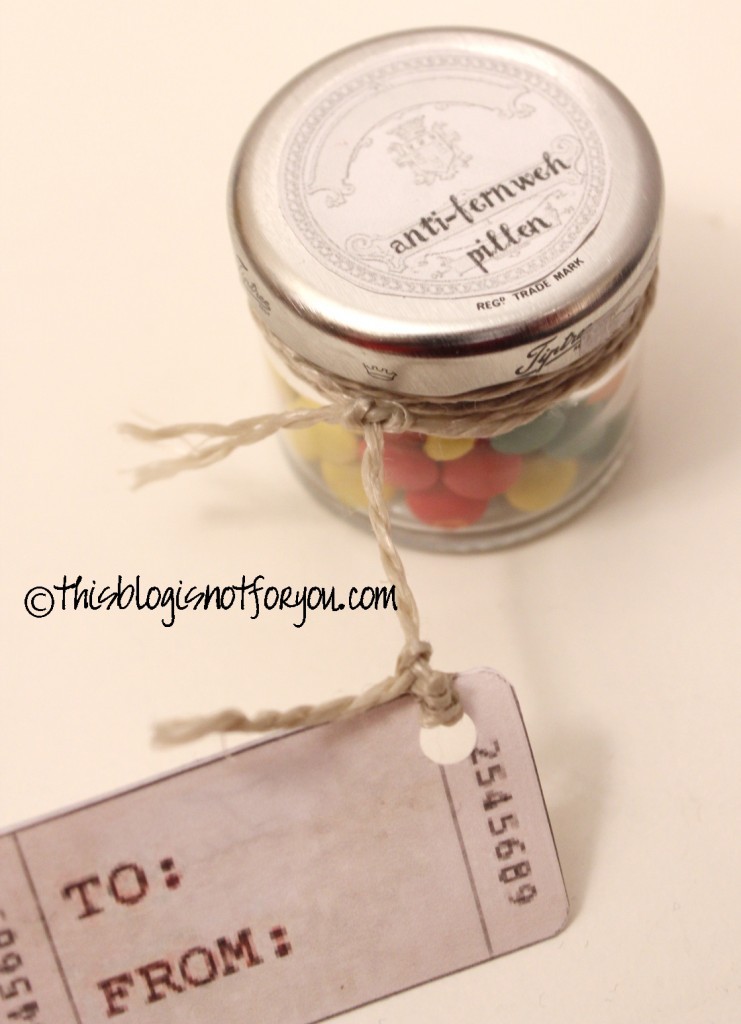
I altered the label in Photoshop and gauged the correct size. Cut the label out and glue it on the lid or on the front of the bottle.

I printed out some pretty vintage tags, punched holes in them and tied them up with the twine.

Maybe you know someone that could need some anti-stress pills, anti-lovesickness medicine or frustration-protection?

Have fun!

chocolate bean pillbox DIY chocolate bean pillbox DIY
 chocolate bean pillbox DIY


How to make a mobile phone case {the sewing}

After making the pattern – here comes the fun part: the sewing.

If you haven’t done the pattern yet, here’s a link to the pattern making tutorial:
 #1 transfer the pattern onto the fabric

Note that you won’t need to add seam allowance any more. You will need two pieces for the outer and the inner fabric and one piece of fusible interfacing.

#2 transfer the pattern onto the interfacing

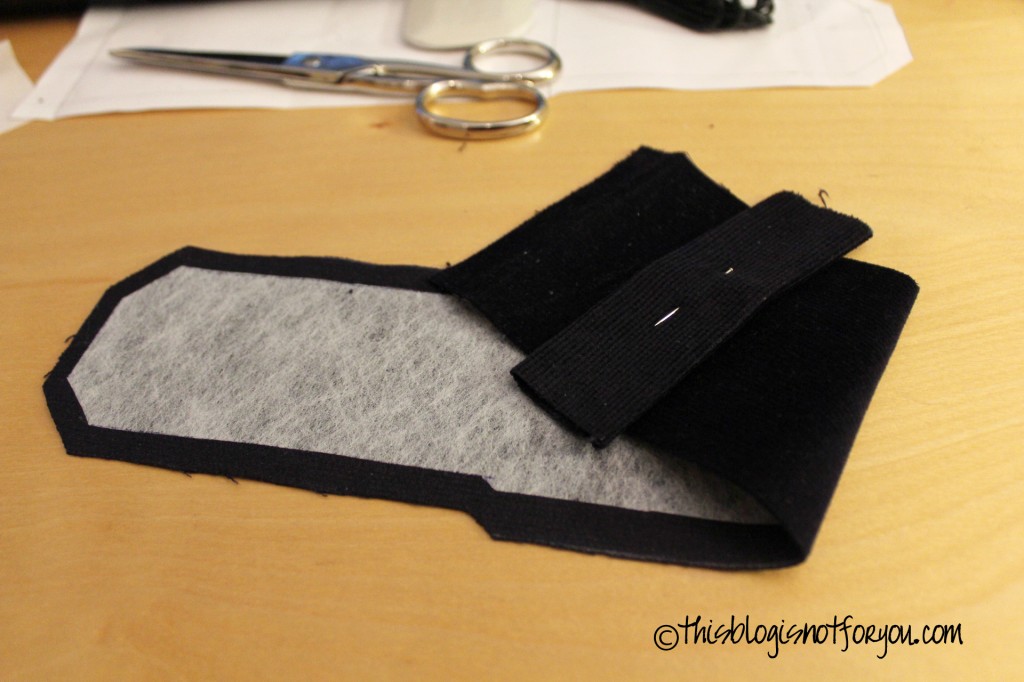
…by placing the pattern under the fusible interfacing and tracing/cutting along the markings of the seam allowance. Iron it onto the backside of the outer fabric. (You can skip this step if you don’t want to use interfacing. It just helps your phone case to keep its form.)

#3 apply the fastening

Before sewing outer and inner fabric together, don’t forget to apply the fastening. Find the right spot for Velcro, buttons, snap buttons by using your phone. Put the cut-outs on top of each other and wrap them around the phone, mark the spot for the fastening on flap (inner fabric) and pocket (outer fabric). Sew the fastening on both inner and outer fabric.

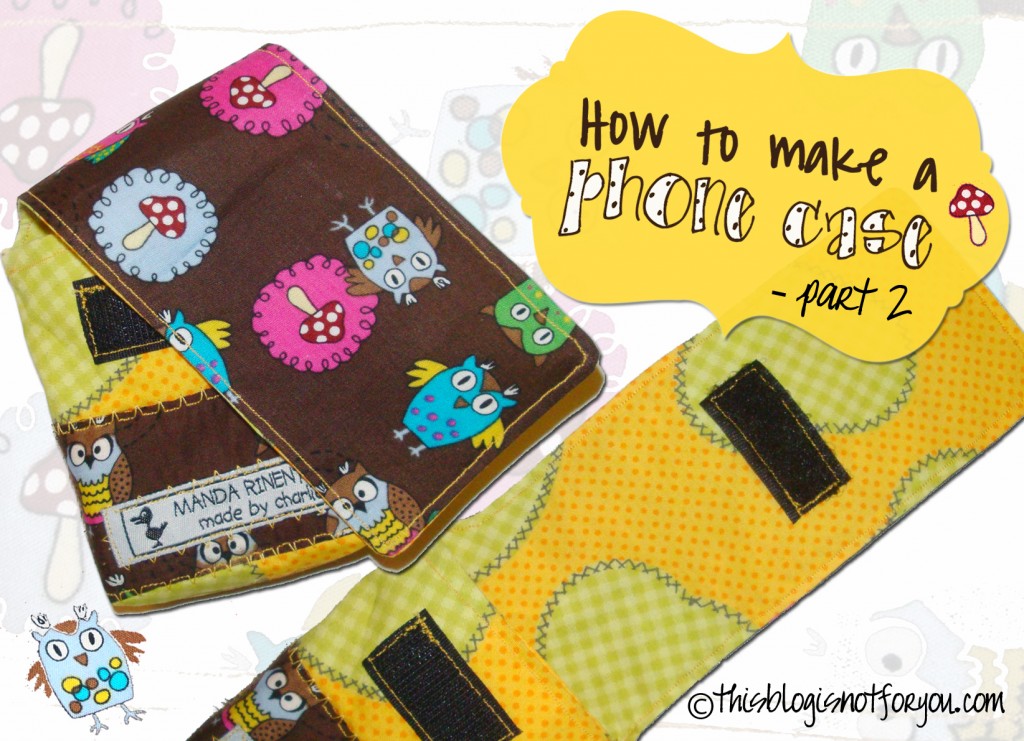
For the phone case with the little owls on it I used velcro tape. For the one in the tutorial I had to find something else, since I made it for someone else’s phone and didn’t have the phone to adjust the fastening.
My workaround: Applying a loop for the flap. This way the fastening is flexible, and the exact height of the phone doesn’t matter.

#3 the sewing-everything-together

Fold and press the seam allowance on the bottom edge and prepare the “pocket” by folding over and pinning it (see pictures below) on both pieces of fabric.

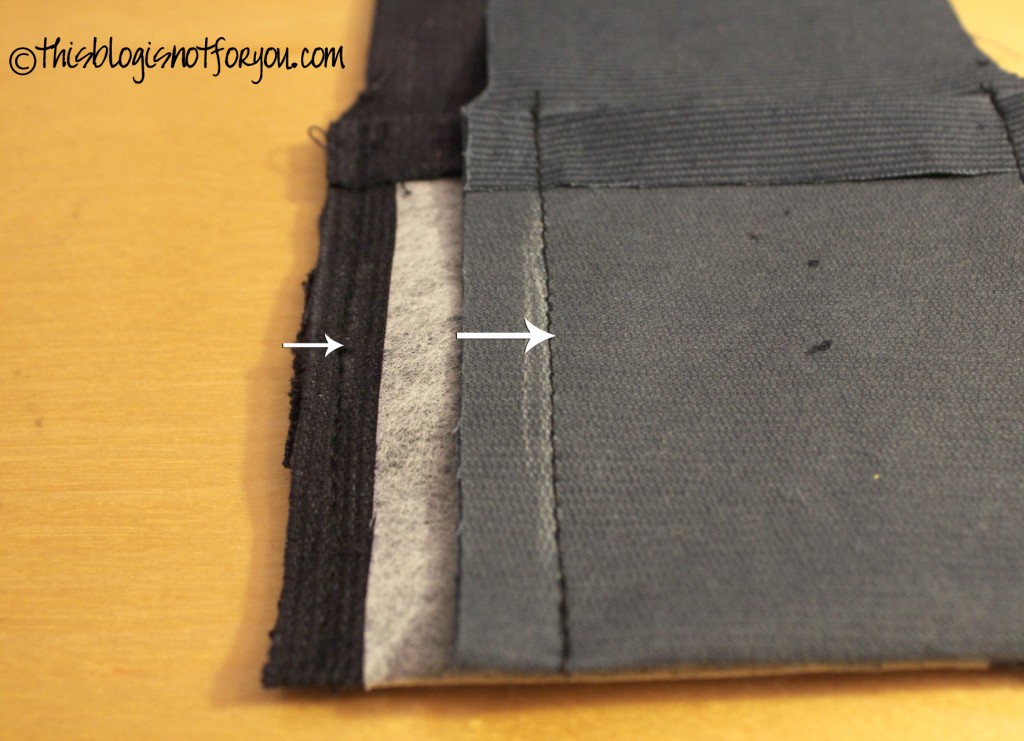
Try making the inner fabric pocket a little shorter than the outer one (see picture above). By putting it into the outer pocket later on it will otherwise stick out by a few millimeters and we don’t want that to happen. For the same reason make the outer fabric’s pocket a tiny bit bigger as well by using less seam allowance (see picture below).

Now sew together the side seams of the pockets separately.

Place both pieces on top of each other, right sides together. Before pinning, make sure the edge of the outer pocket protrudes by a few millimeters.

Sew together the two flaps.

#4 boxing the corners

To give your phone case a bit more depth, you can box the corners.
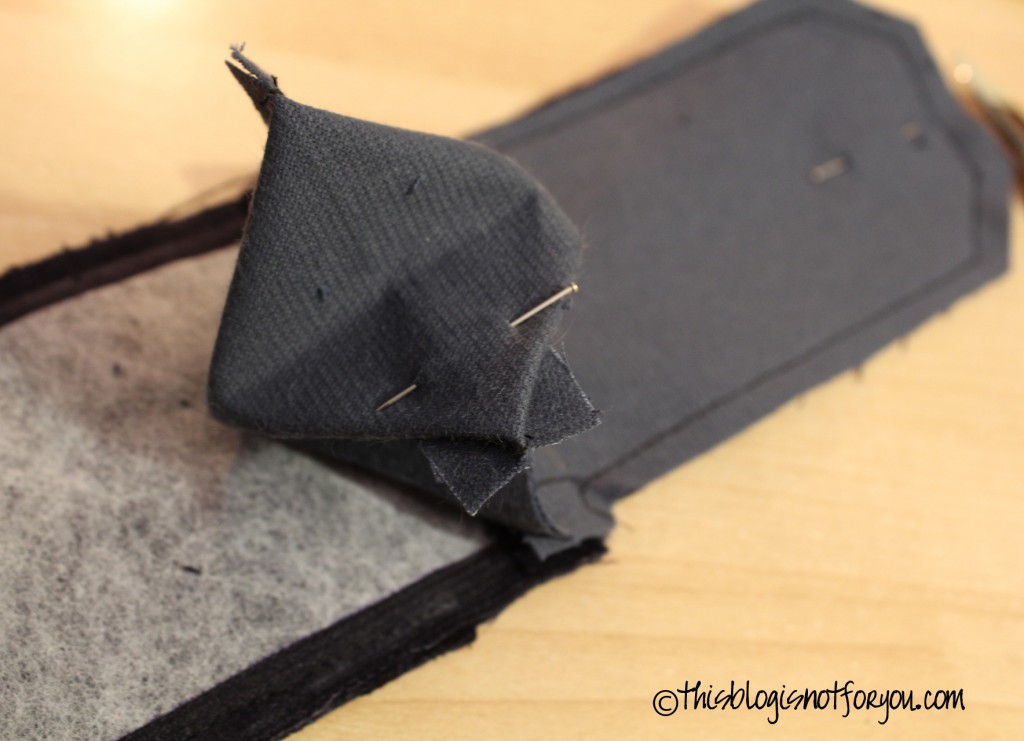
Flatten a corner so the side seam is in line with the bottom seam; the point where they meet is at the point of your fold. Determine the amount of depth you want which should be the same as the depth of your phone. In this case it was 1cm.

Mark and sew across the corner, perpendicular to the seams, as shown in the picture below. Normally you would fold this tuck down against the bottom seam, and hand-stitch it to the seam allowance, but in this case the pocket are quite small, so you can just cut it off.

Do this with both pockets.

Turn the outer pocket and flap inside out again and tuck the inner pocket into the outer pocket. It should look like this:

Sew the inner pocket onto the outer pocket, use hand-stitching if your phone case is quite small.

If you want, you can also stitch around the seams of the flap to give it a better shape. I didn’t do it in this case since the fabric was quite thick, but with the other one I did (see the first picture where I used the owl fabric).

And then you’re done! If you have any questions or my instructions don’t seem clear at some points, please leave me a comment and I will answer as soon as possible!

Have loads of fun sewing!

facebook/bloglovin/pinterest
Stay in touch!


How to make a mobile phone case {the custom pattern}


Maybe you still need an idea for a last minute Christmas gift? Or you have a mobile phone yourself that just doesn’t seem to fit in any case? Or maybe you simply want to customise a phone case for fun.

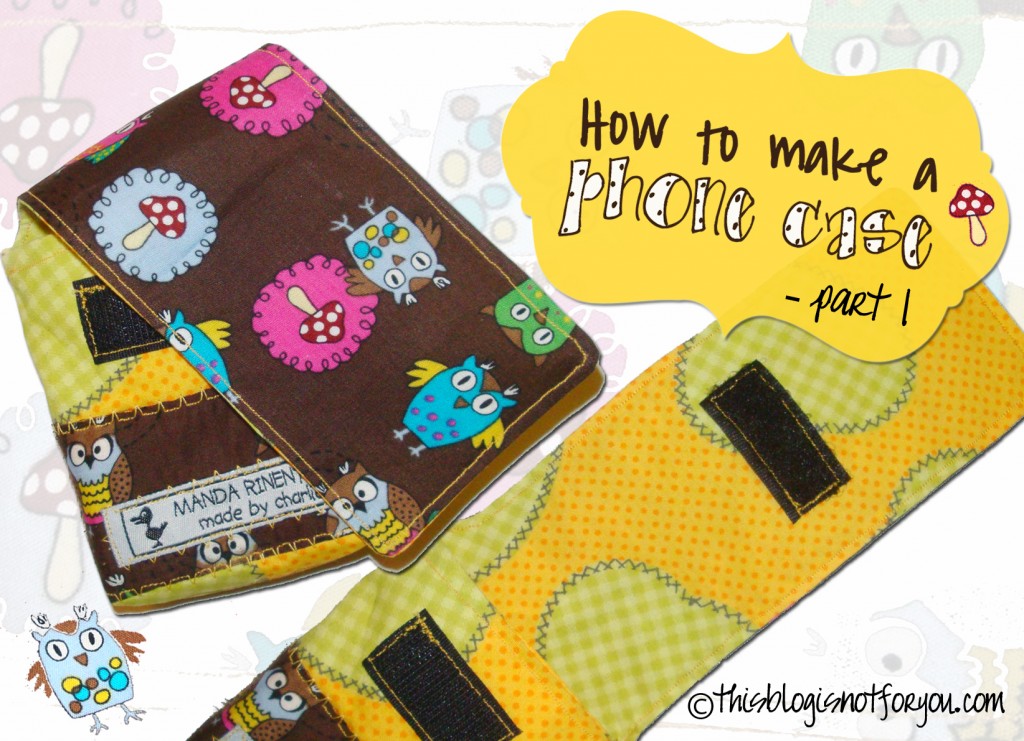
Well anyway, this is part 1 of How to Make a Mobile Phone Case where I show how to make a custom-made pattern. And it’s fairly quick and easy. Pattern-making and sewing together takes about an hour. But if you’re figuring it out for the first time it might take a little longer.

I had the idea of doing this after looking for an iphone case pattern. I found a German youtube video on how to make an iphone case and figured you can basically make this with mobile phones of any size. The phone case with the owl fabric was made for an iphone, the one in this tutorial is for an old nokia phone.

#1 take measure of your phone

Measure width, length, height and diameter.

#2 Prepare a sheet of paper for your pattern

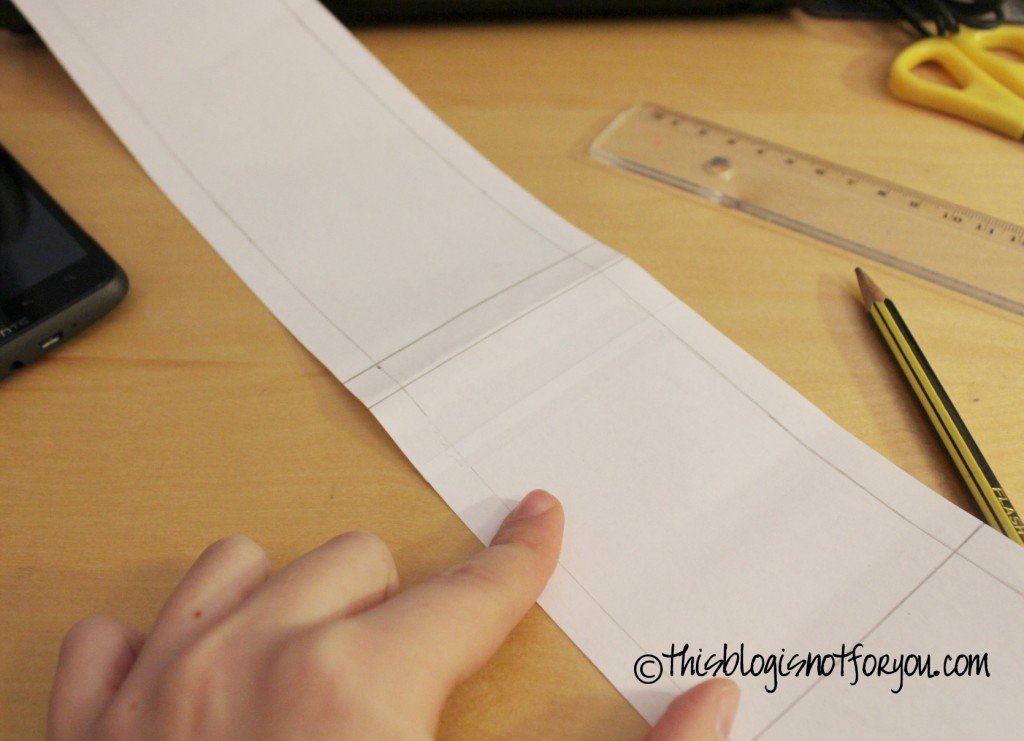
Now you need a long, narrow sheet of paper. You can glue together two sheets of paper and then cut off a strip that’s as wide as half your phone’s diameter + seam allowance.

The phone I made the case for was 12cm in diameter. Seam allowance on both sides was 1cm. So I made the strip 8cm wide.

In this tutorial I made the phone case out of curdoroy. Therefore I made the strip 8,5cm since the fabric is quite thick and I was afraid that the phone might not fit it. Now it fits perfectly.

In case you’re not sure if the phone case fits, make the pattern wider rather than narrower. Otherwise you won’t be able to make adjustments if it’s too small!
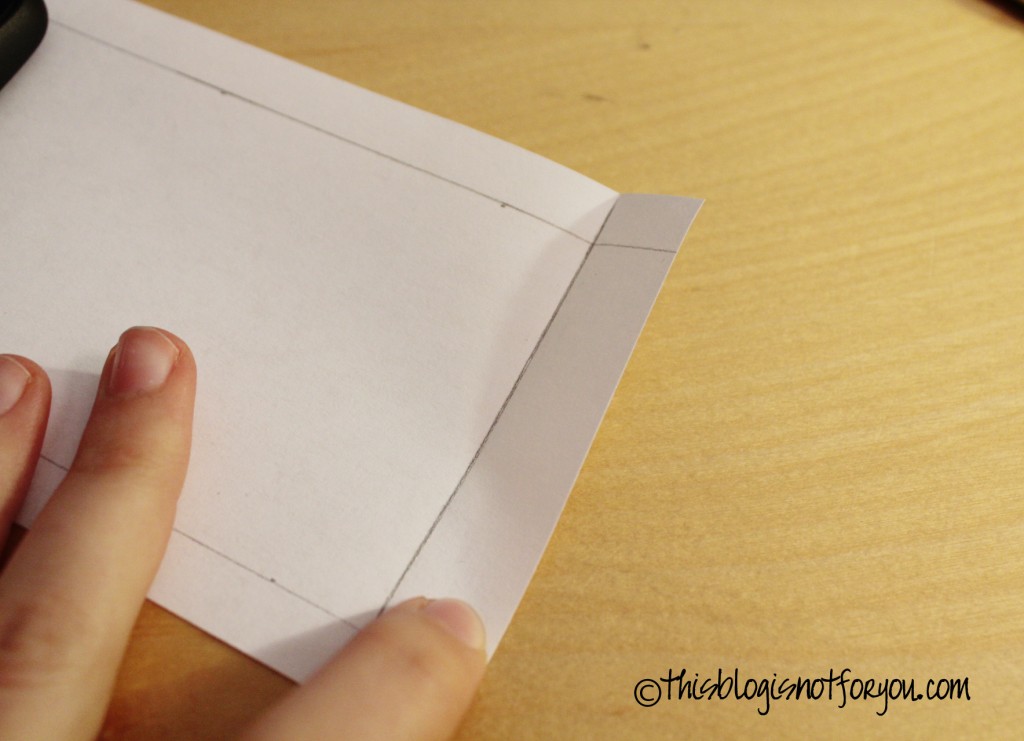
Here you see the marked seam allowance. Use 1,5cm for the bottom edge and fold it over.
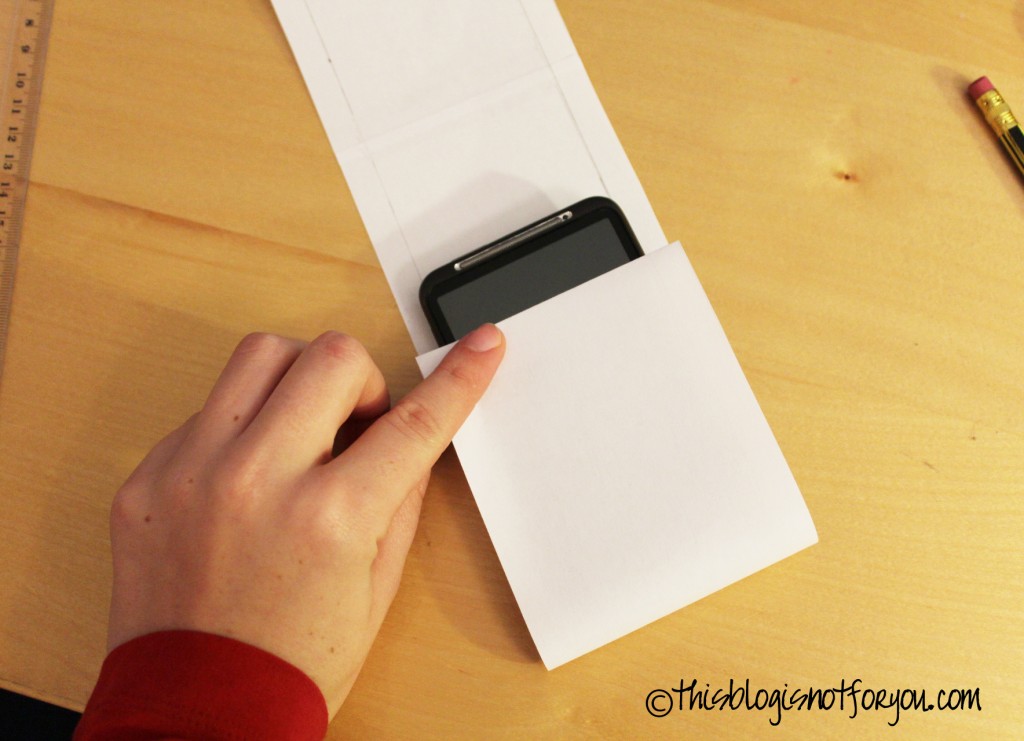
Now fold the bottom edge over your phone to find the correct height for the pocket. Take into account that the phone should protrude a little so you’re able to pull it out quickly without having to fumble for minutes.

Mark the height, measure the length from mark to bottom edge and mark on the other side as well.
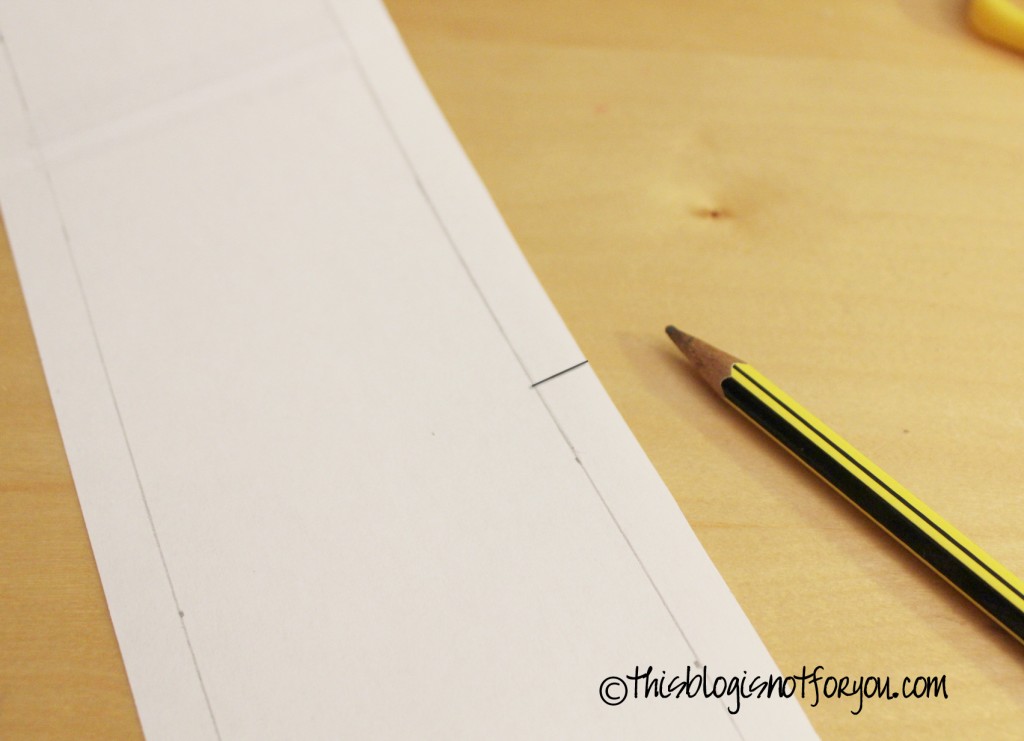
Then connect the markings of the outer edge using a ruler.
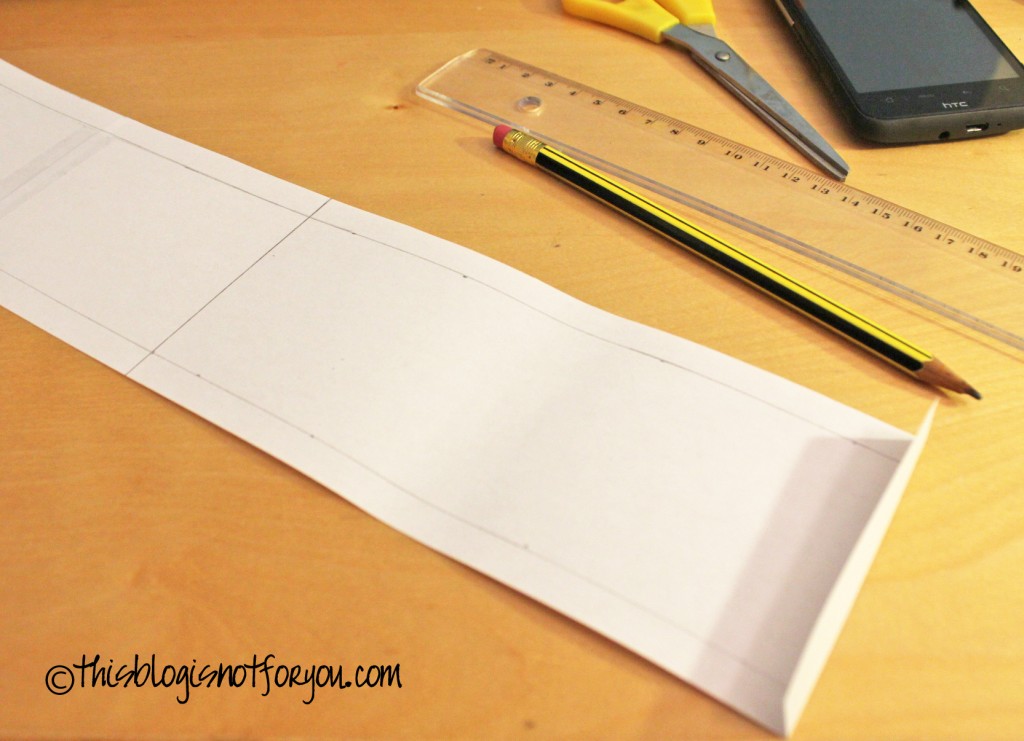
Now do the same with finding the lentgh of the flap.
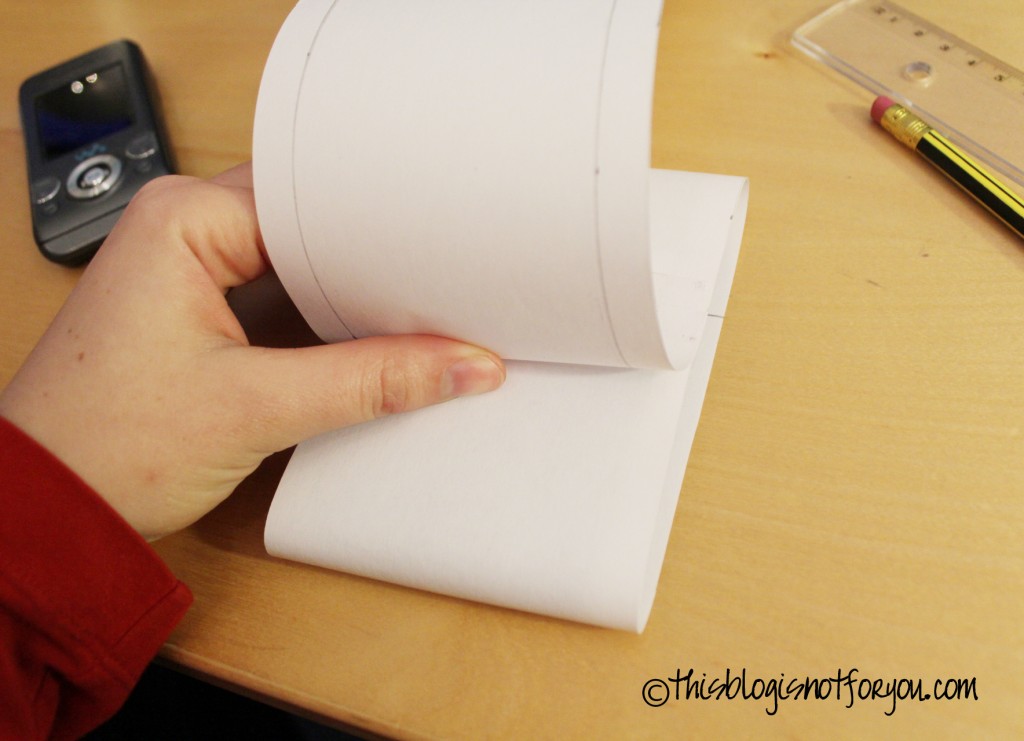
Mark and don’t forget the seam allowance (1cm) before you cut the rest of the paper off.
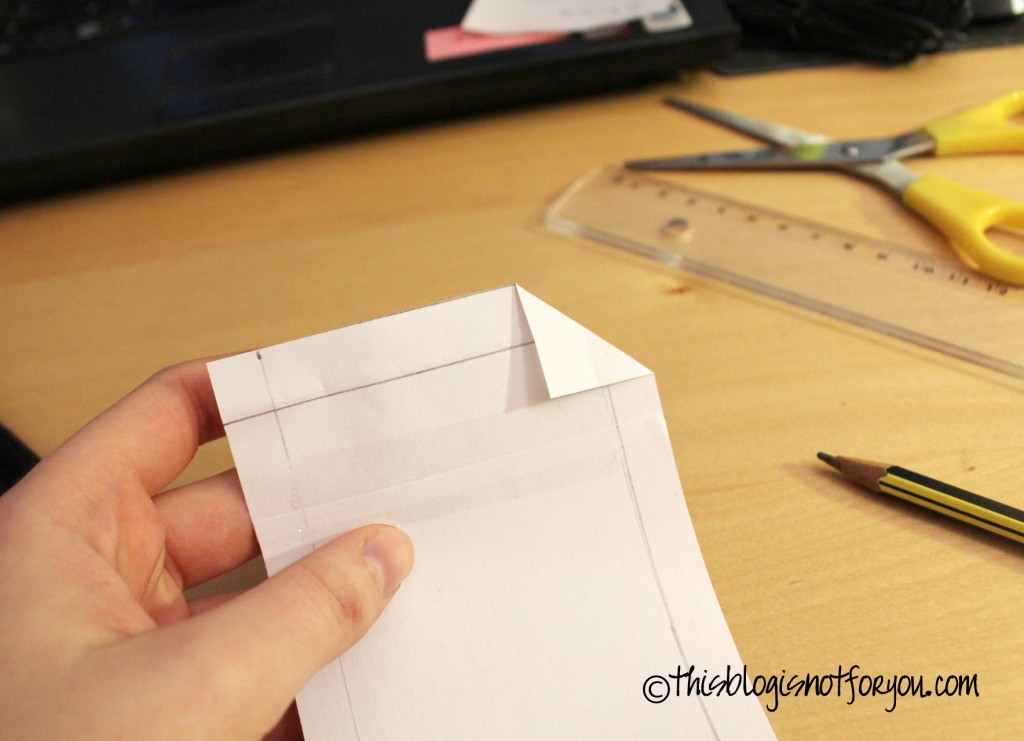
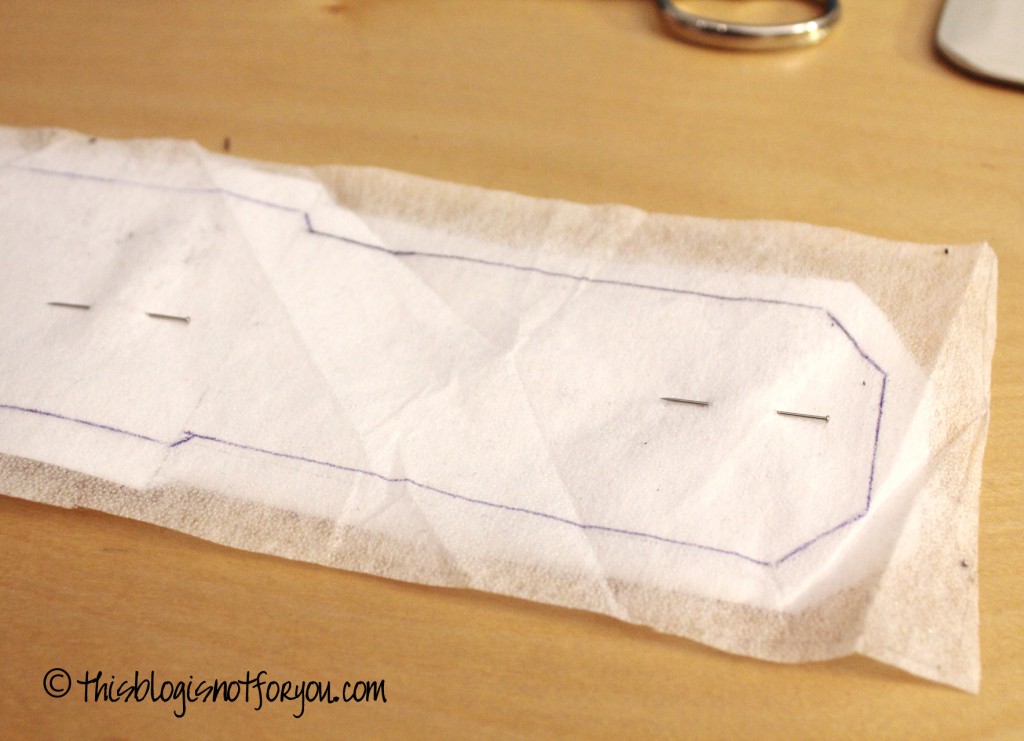
For shaping the flap you can simply cut off the corners or round them. To do that mark the edge by folding the corner, unfold, fold both sides together (see picture below) and cut off.

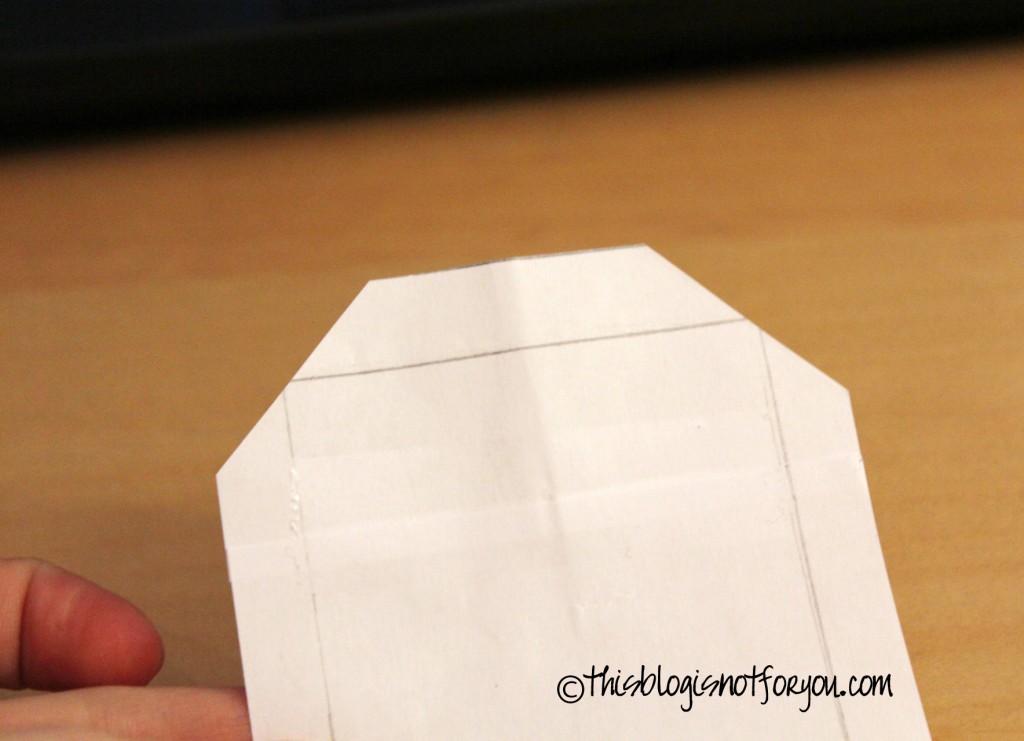
Now the edges of the flap are nicely uniform.

Ok, almost done.

The part for the flap needs to be a little narrower than the rest of the pattern. The part of the pocket will become narrower when you put your phone in (since we already included the width we don’t need for the flap) and you don’t want the flap to be wider than the rest.

You can do that anyway, it makes the pattern a lot easier, but it may look a little awkward. Just saying.
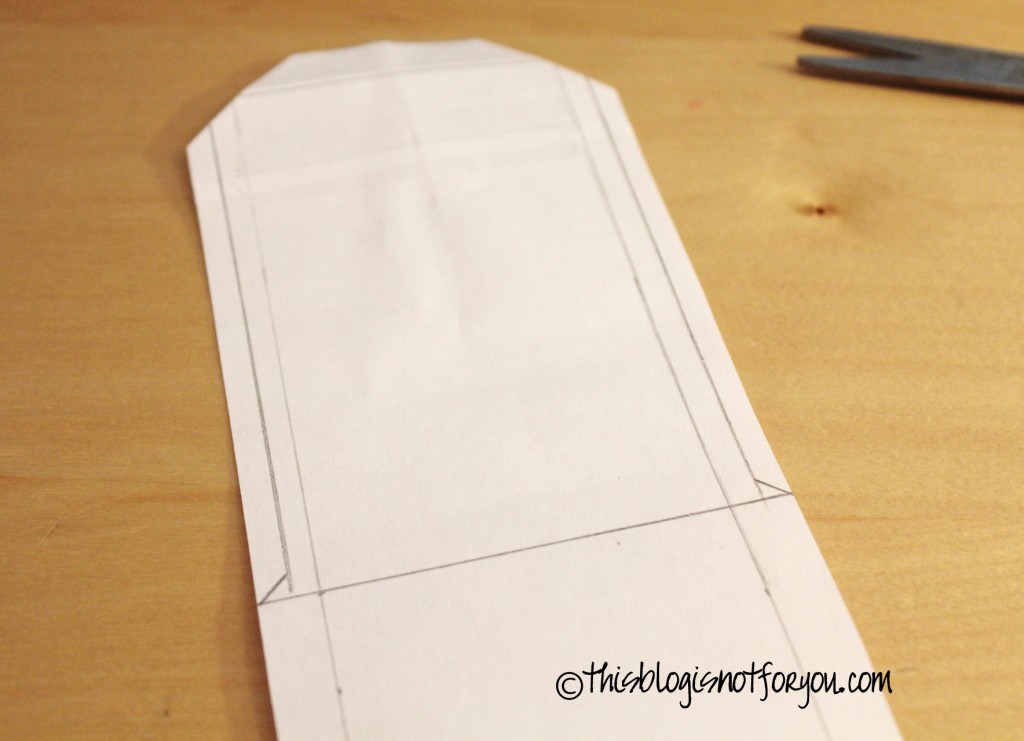
For narrowing the flap pattern mark and cut off about the half of you seam allowance (0.5-0.7cm) as you can see in the picture above and below.
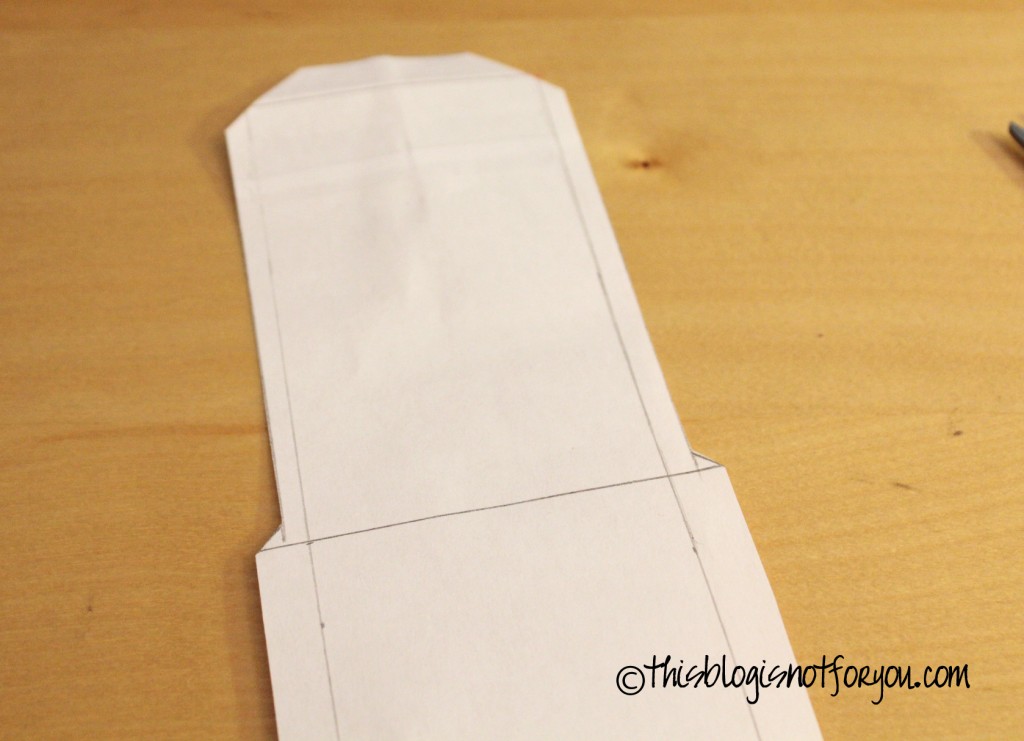
Adjust the new seam allowance for the flap part of the pocket (make it 1cm again).
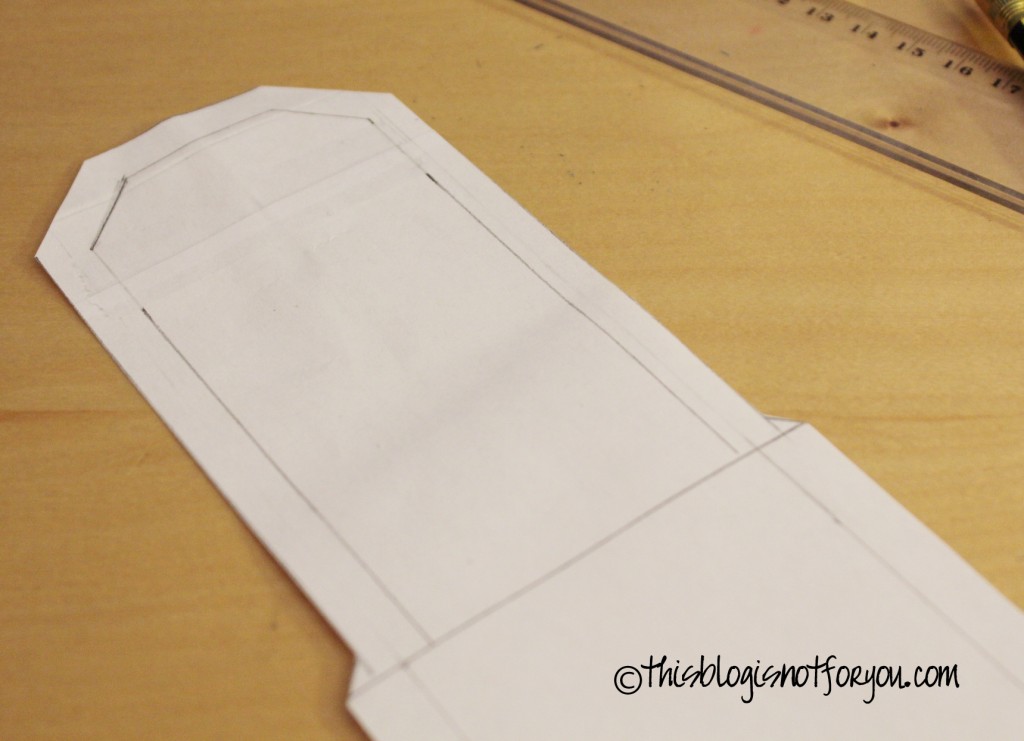
Your pattern should now look like this.

If it doesn’t: Don’t panic, just look at the pictures at of every step again. You probably just skipped a step somewhere by accident.

If it does: Well done! You can go on to part 2 of  How to Make a Mobile Phone Case. You will find a link at the end of this post.
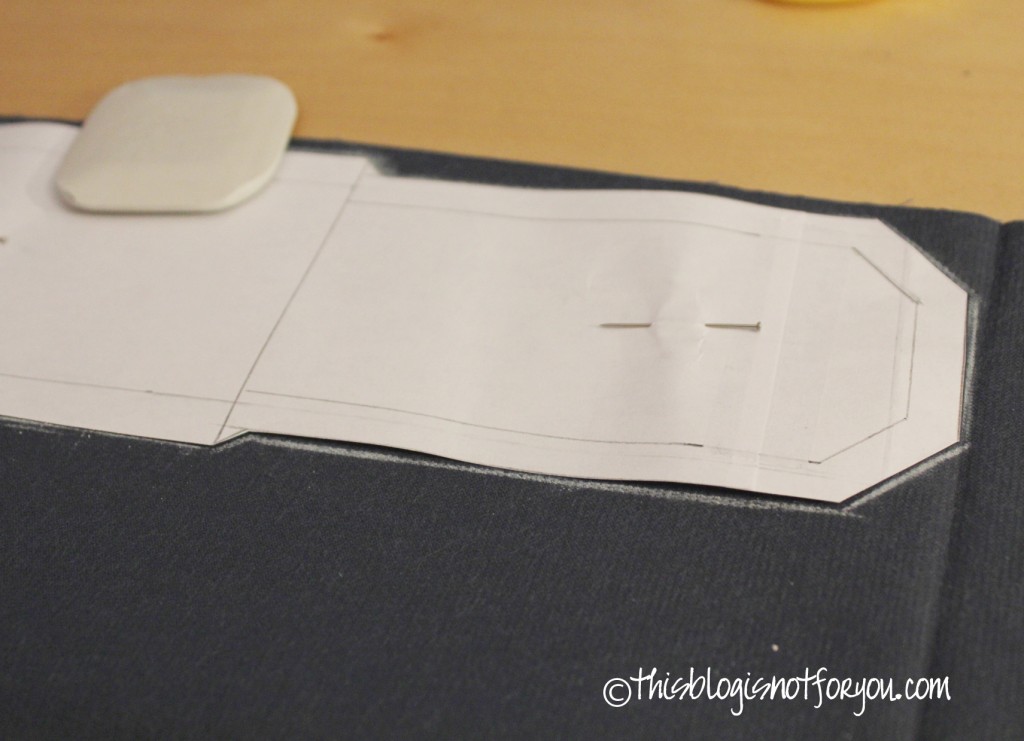
Follow the link to Part 2 here:


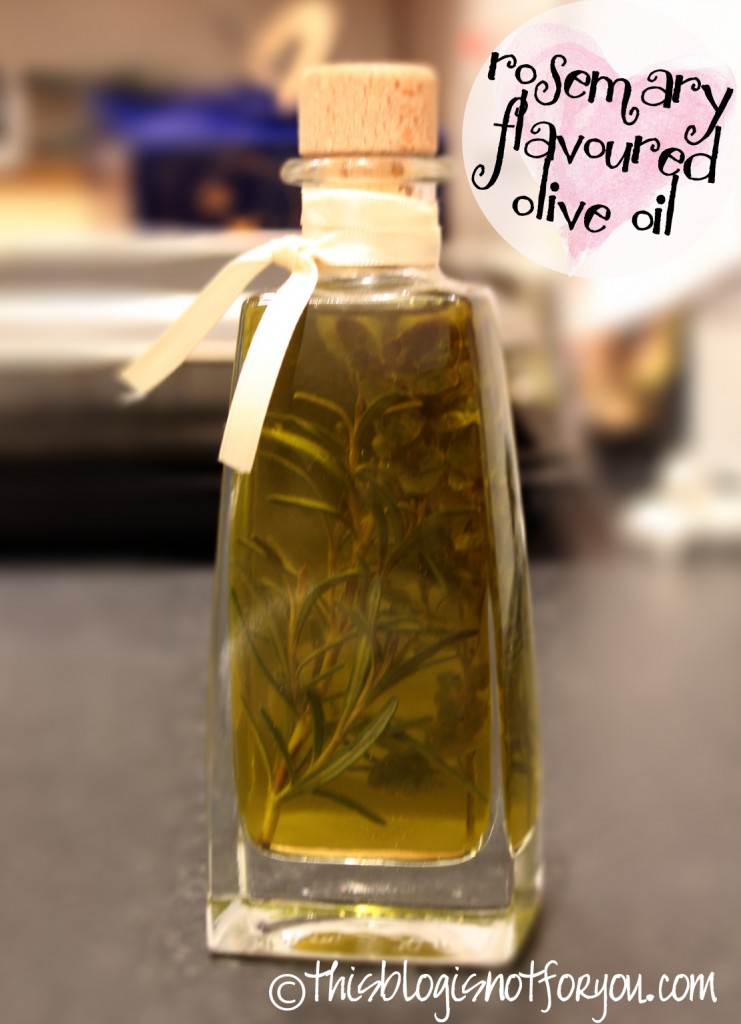
St. Nicholas Day treat – DIY in 15 minutes #2

This is a perfect treat for everyone who isn’t very fond of chocolate!

All you need:
– a small glass bottle with a cork
– olive oil
– fresh herbs (rosemary/thyme)

#1 make sure the bottle is clean!

#2 wash the herbs and put them into the bottle

#3 pour the olive oil into the bottle

#4 cork it up

#5 posh it up with ribbon or a cute label

Done!

PS: The oil should rest a few days before use!

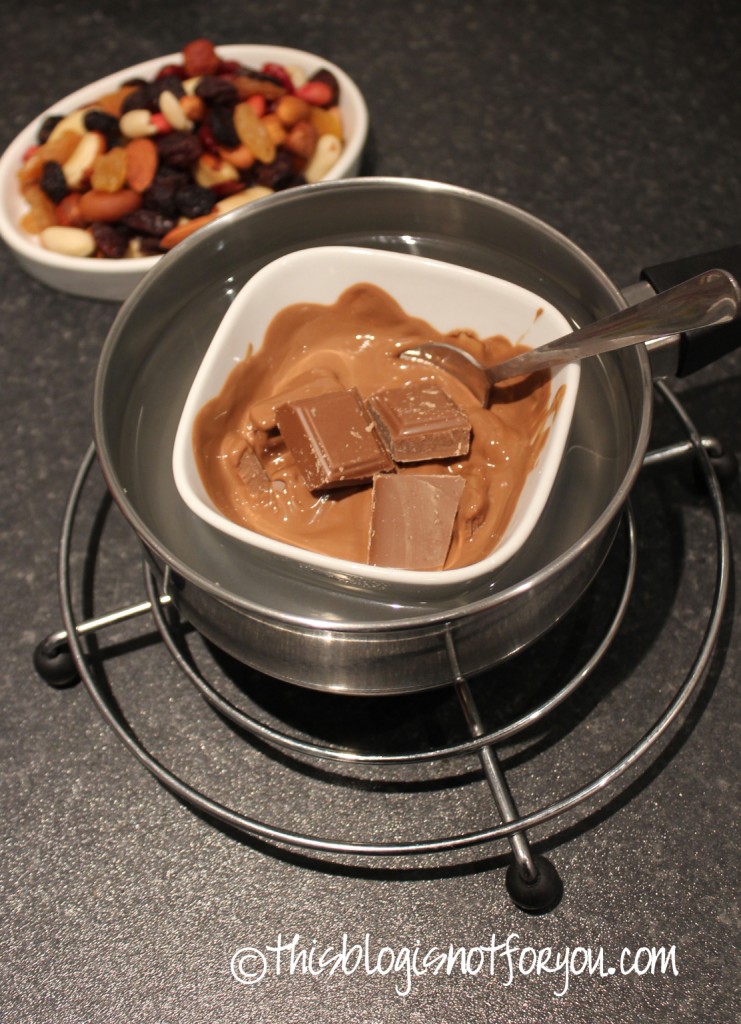
St. Nicholas Day treat – DIY in 15 minutes #1

This is so tasty and -believe me- takes only 15 minutes to make.

All you need: 
– a bar of chocolate
– nuts and dried fruits
– an empty jar
– sandwich paper/ baking parchment

#1 melt the chocolate (stir until smooth and glossy)

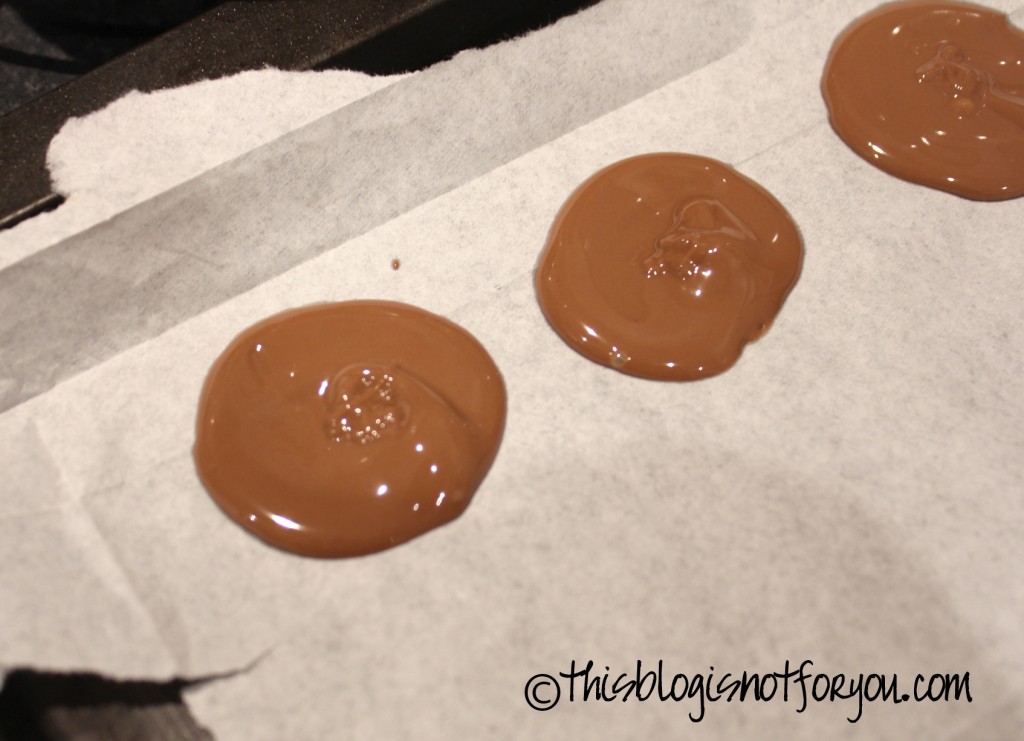
#2 drop spoonfuls of chocolate onto the sandwich paper (disks of 4-5cm)

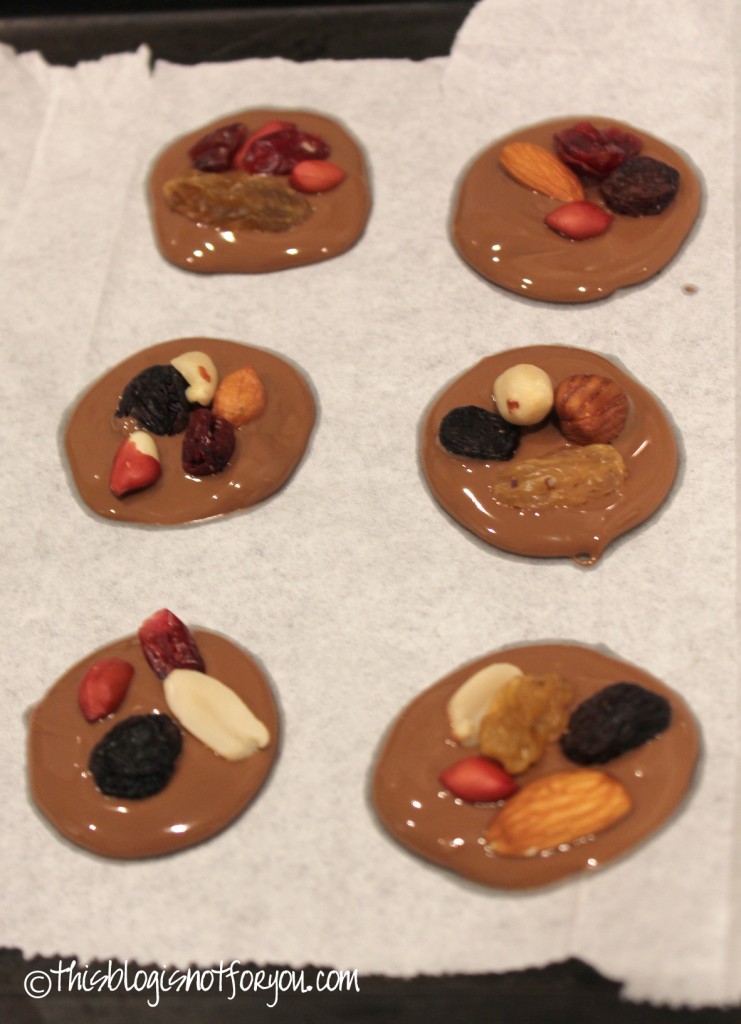
#3 add the nuts and dried fruits

#4 put the tray into the freezer for 3-5 minutes (or into the fridge – takes a little longer then)

 #5 cut out little pieces of sandwich paper and layer the chocolates into the jar. Decorate with ribbon or glass paint.

Done!


This post was featured at: