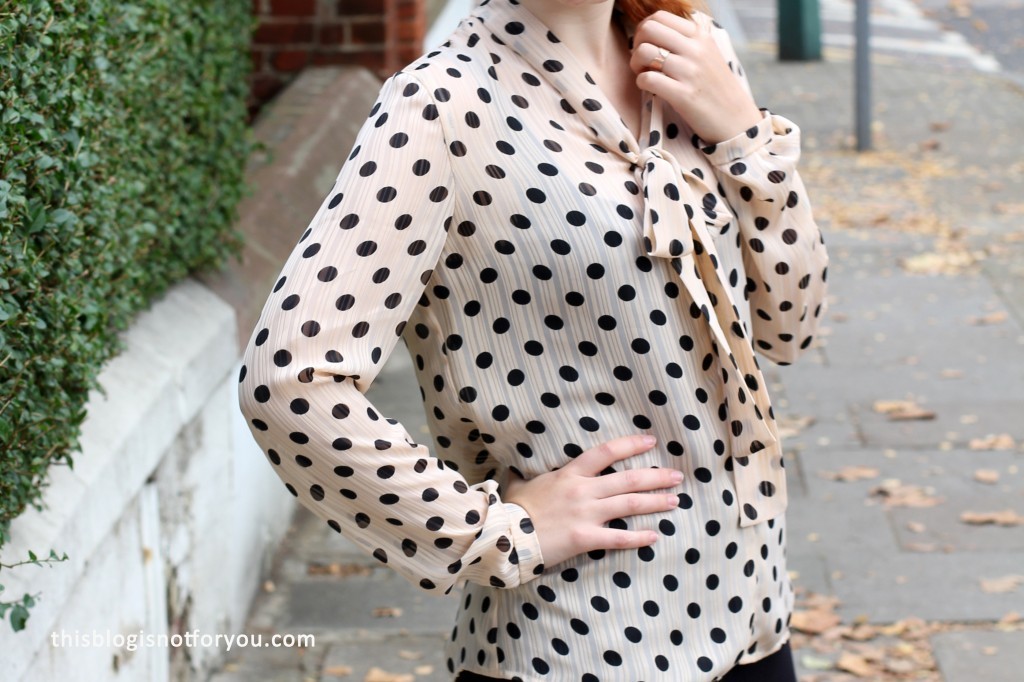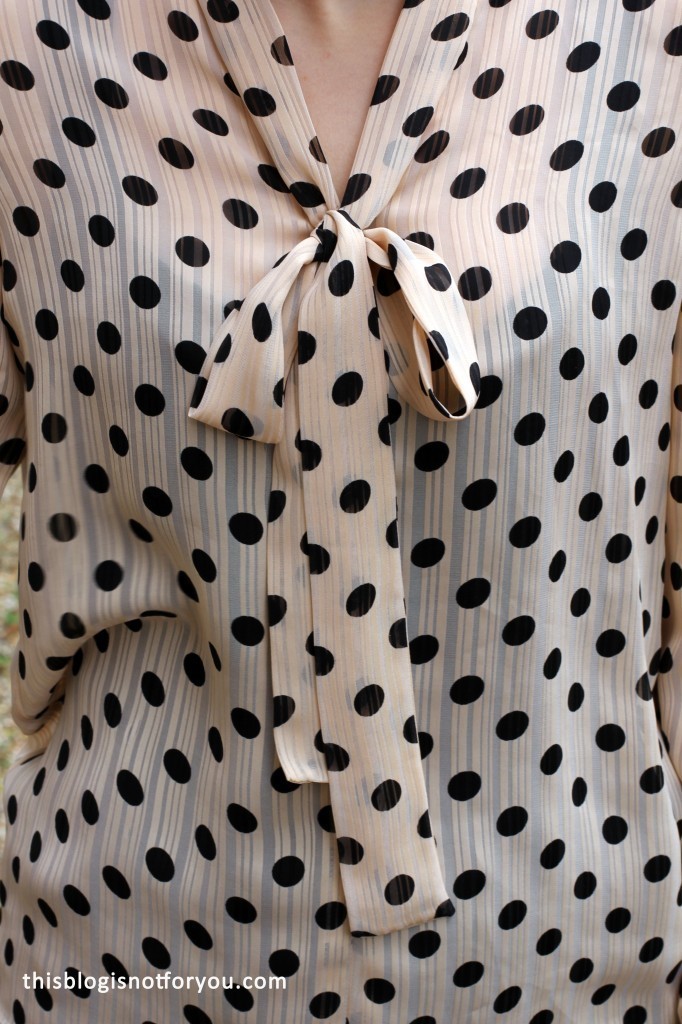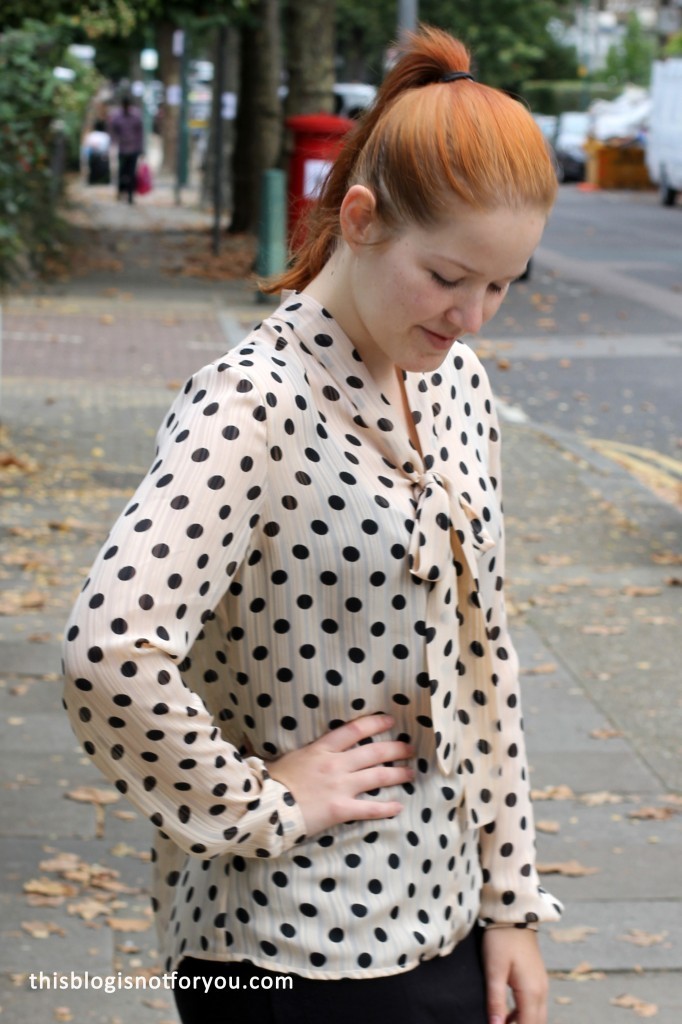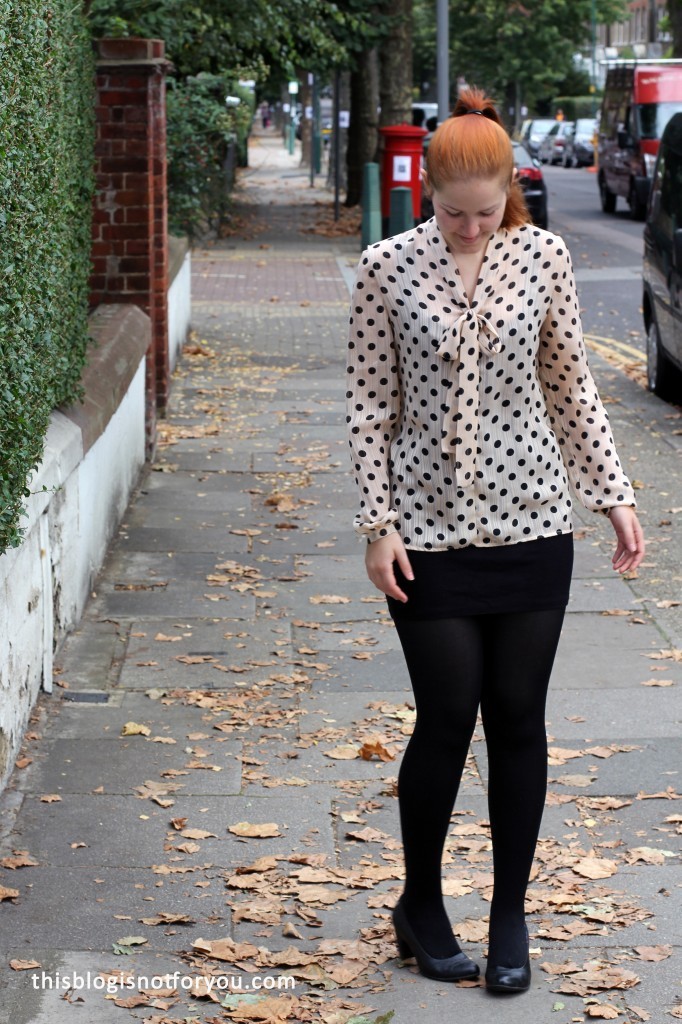
Lottie Blouse #2: Hacking the Pattern

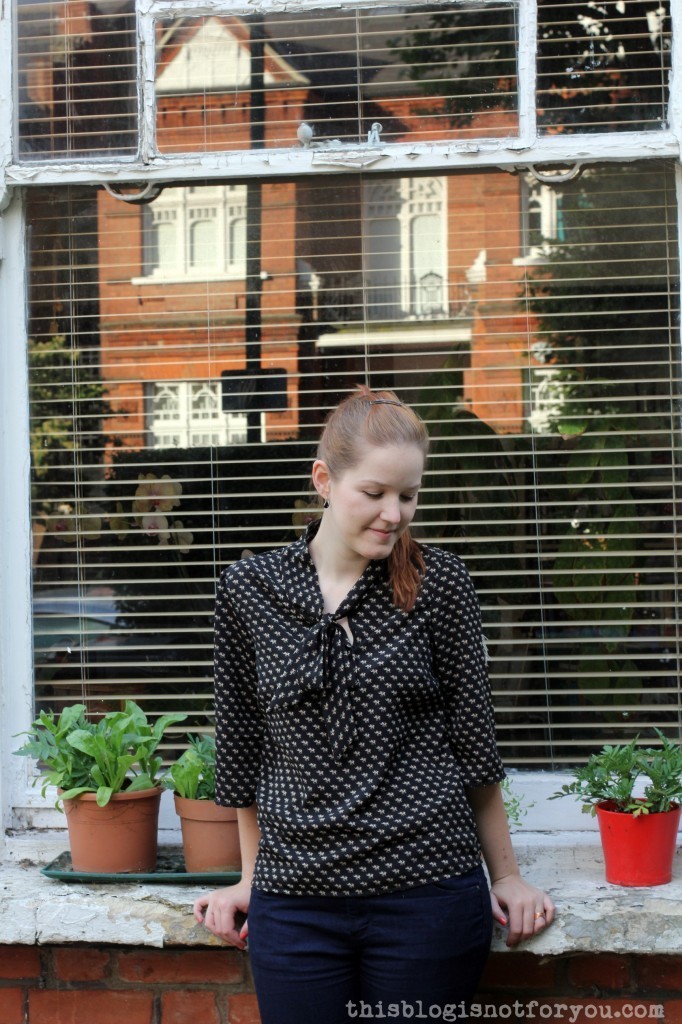
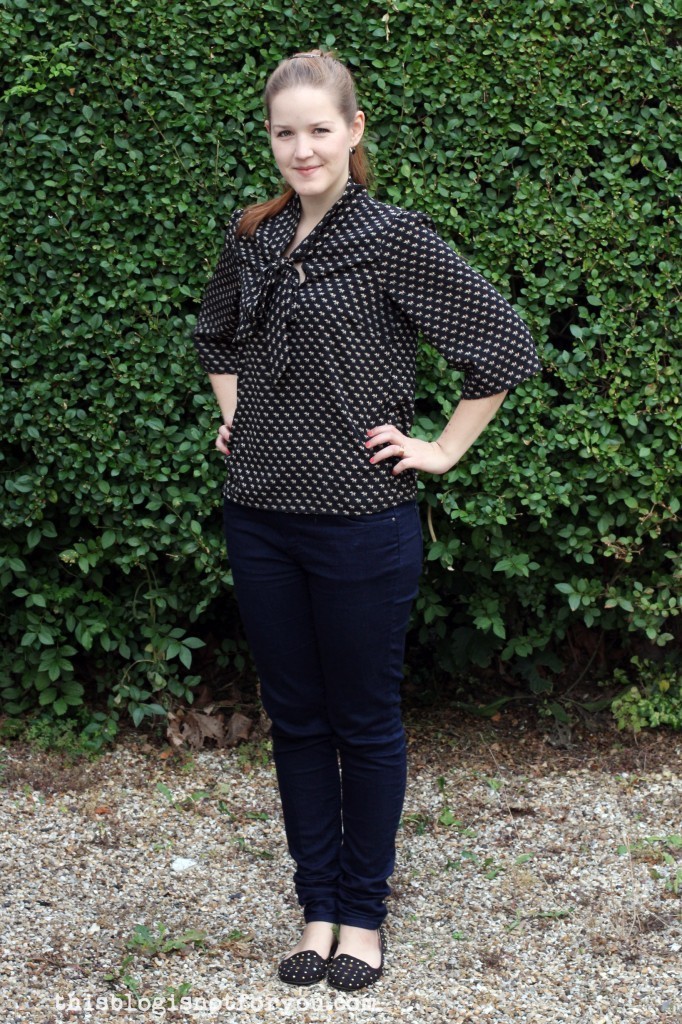
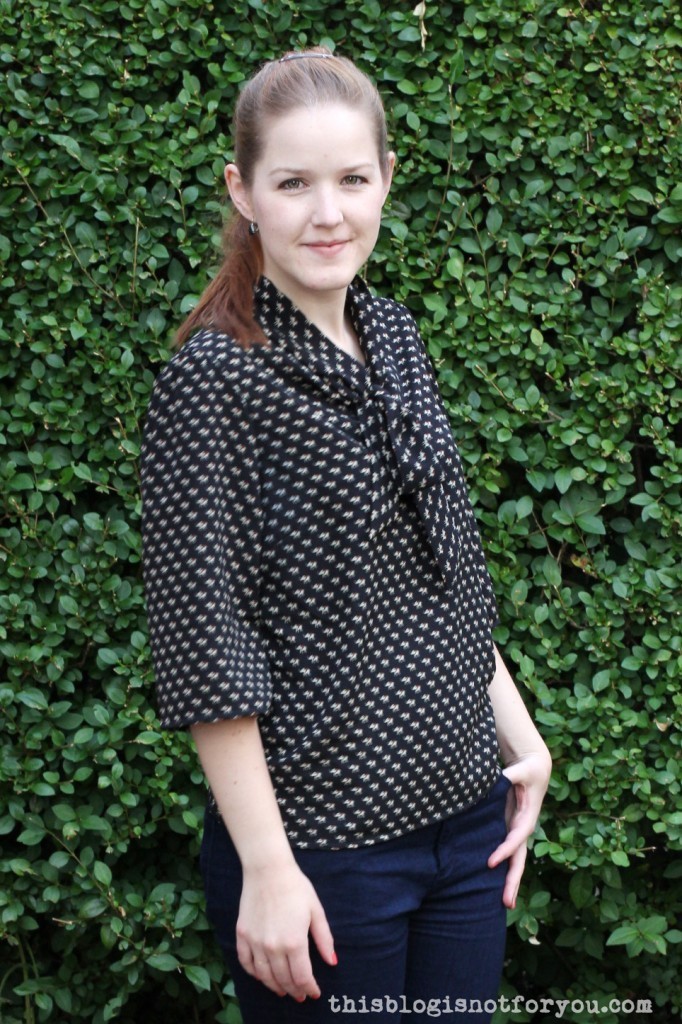
Lottie Blouse #2 by thisblogisnotforyou.comI promised there would be more Lottie blouses! This one is actually my third, but I still didn’t get around to taking pictures of the first one (which is still my favourite).

Except for the alterations I made to the pattern this time, there isn’t much new to say about the pattern (I wrote a review here). This blouse came together veeery quickly. I decided to skip the sleeves this time, so the actual sewing took no longer than 1.5 hours.

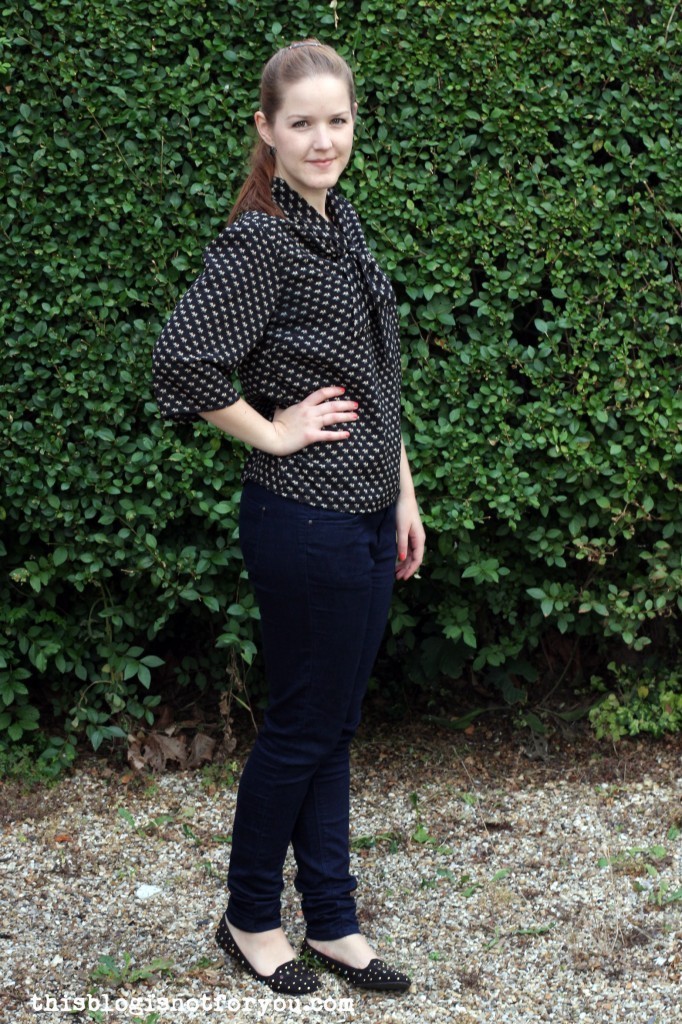
Lottie Blouse #2 by thisblogisnotforyou.comI made some changes to the pattern:
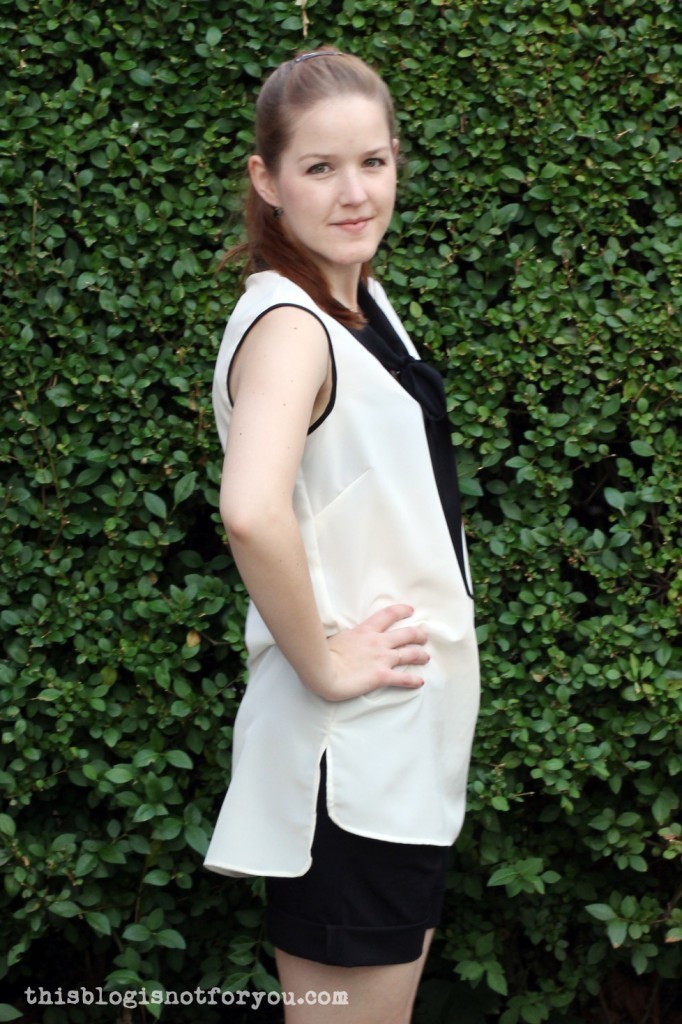
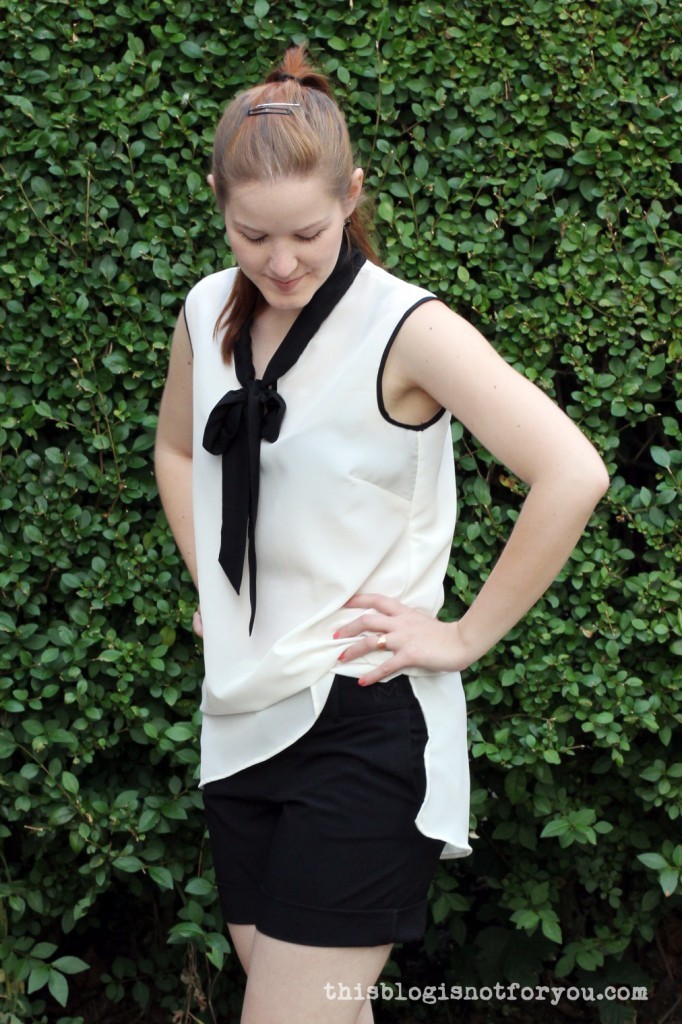
I lengthened the hem and made the back longer than the front. I like the length, but I will make it slightly shorter the next time I sew this version. My muslin was a tiny bit shorter than I liked it, so I added a bit more generously to the length and didn’t bother to make a second toile. For the next one I am also planning on making a smoother/curved transition between back and front, but I like to keep the high-low effect.

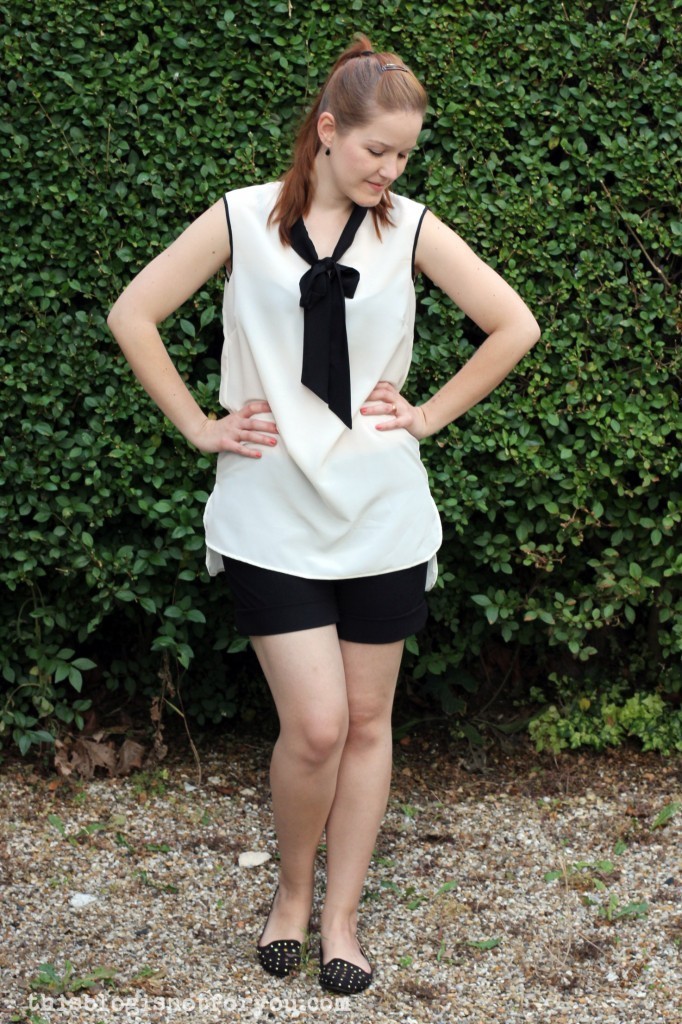
Lottie Blouse #2 by thisblogisnotforyou.comI used some off-white polyester fabric which I bought at Goldhawk Road during the NYLon’14 meet up. For me the fabric is just the right amount of see-through. The black fabric is also manmade, very soft and drapey and I am pretty sure it’s some sort of polyester/viscose mix. It’s from 5m of Sari fabric I got for just £6 at my local thrift store. What a steal!

I paired the blouse with a refashioned pair of shorts. These used to be long, wide Mexx trousers I got from my mum which just had a very odd, slightly too short length. As I can never find shorts which aren’t too short for my taste, I decided to use this pair, chopped the legs off right above the knee and turned the hem over twice. I sewed the hem in place by hand to keep the rolled up effect.

The trousers are made from a very nice suiting fabric (polyethene/viscose/spandex) which was great to work with. I wear them all the time now – I love those very easy and quick refashion projects. Sometimes it only takes a few minutes and a couple of stitches to make a garment loveable again.
Lottie Blouse #2 by thisblogisnotforyou.com


Happy sewing!

facebook/bloglovin/pinterest
twitter/instagram

Stay in touch!

The Lottie Blouse & Elephants!

The Lottie Blouse by thisblogisnotforyou.comMay I present to you – the Lottie blouse! Probably my new favourite pattern. It hasn’t been featured too much in the online sewing community, though, perhaps because the only chance to get hold of it is by buying the latest issue of Love Sewing Magazine. I didn’t like the magazine too much (it’s only their second issue) and mainly bought it because of the Lottie pattern set (skirt and blouse) and the cute tape measure that came with it.

I’m pretty sure you can still get it in stores (I’ve seen it at WHS, Sainsbury’s etc) and the pattern makes it totally worth buying.

The pattern is very basic, quick to trace and sew. I haven’t tried the skirt pattern yet (a very simple pencil skirt), but I already made three blouses!

There were a few issues with the pattern, though (mainly the instructions), which I personally didn’t mind too much but they could be quite confusing for the “adventurous beginner” this pattern is made for. Some of the diagrams had a few mistakes and were in the wrong order, which can mess up the whole sewing process if you are not aware of it (or at least make the whole thing harder than it really is).

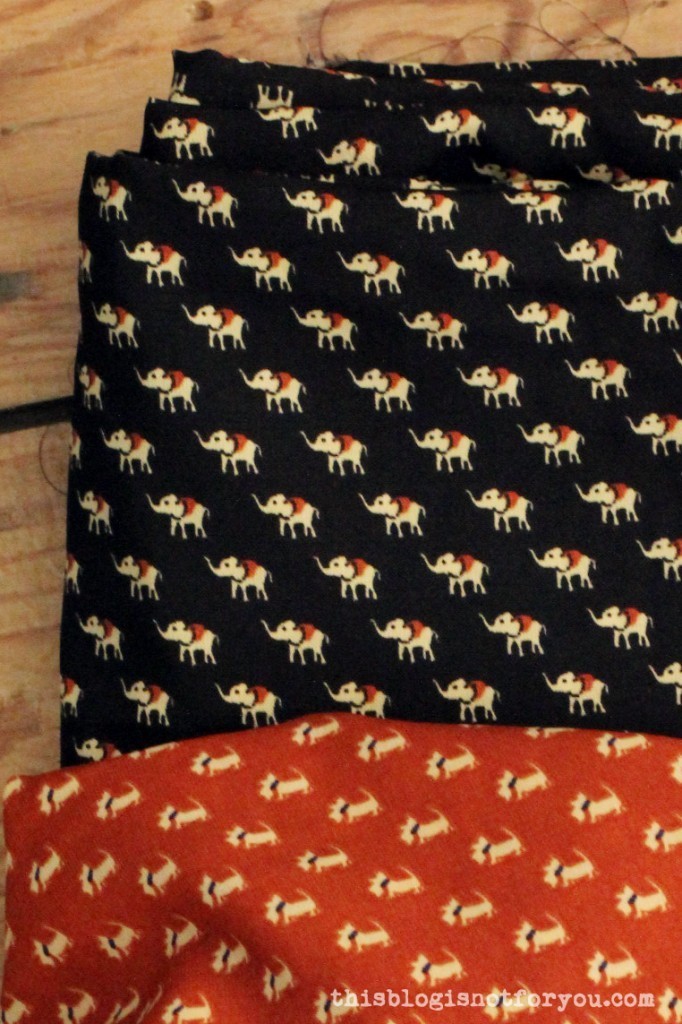
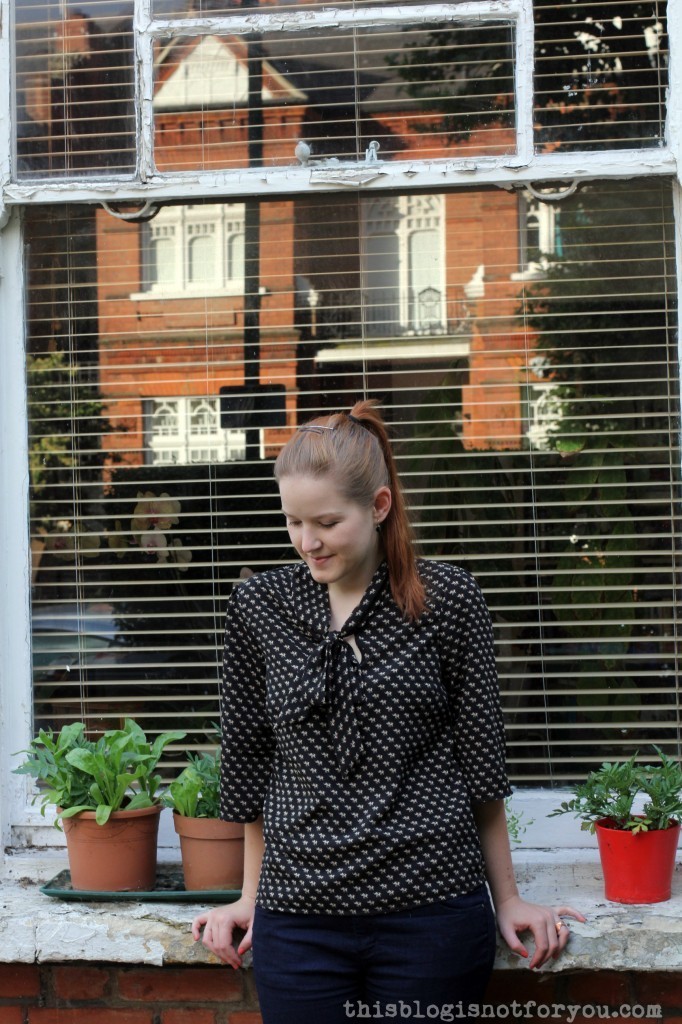
The Lottie Blouse by thisblogisnotforyou.comThe Lottie Blouse by thisblogisnotforyou.comI really love the fit of the blouse and the pattern probably works best with drapey fabrics. For this blouse I used a viscose/polyester fabric with an elephant print, that didn’t drape as well as I thought it would, but I still like how the blouse turned out. I also made a bright red version with a very lightweight rayon fabric (my favourite of the three I’ve made so far); I will share this one with you another time.The Lottie Blouse by thisblogisnotforyou.comI bought the fabric on Walthamstow Market the other day when I was shopping with Dani. Next to the elephants I also got the same fabric in a different colour and a super adorable scottie print. I suppose the scotties will be used for a Mimi blouse, which is on top of my to-sew list at the moment.The Lottie Blouse by thisblogisnotforyou.comThe Lottie Blouse by thisblogisnotforyou.com

So this is the first of the many blouses you will see on le blog in the future. I always thought dresses were my thing, but when I’m at work I always end up wearing trousers. I sometimes feel like I sew what I would like to wear instead of sewing garments I acutally wear in every day life. That’s why I decided to sew more things I actually need and not only things I think are cute and pretty.

Do you wear what you sew?


Happy sewing!

facebook/bloglovin/pinterest
twitter/instagram

Stay in touch!

T&TB Agnes Top with Puff Sleeves

Tilly & the Button Agnes Top by thisblogisnotforyou.comTilly & the Button Agnes Top by thisblogisnotforyou.com

MERRY SEWING EVERYONE!

Hello sewing-friends! Hope you’re having a great festive season!
My mum-in-law gave me a handmade (!) sewing (!) advent calender, which is absolutely awesome! Every day I get a new suprise sewing supply, notions or fat quarters of beautiful fabrics. It’s the best gift ever! Too bad it ends on the 24th – it really could go on for ever. It never was so easy to get out of bed in the morning!

But that’s not the only reason why December rocks. Not only do I love getting together with my family so very soon, I am starting a new job in January and until then I’ve got a couple more weeks off. And you know what that means. I am in a total sewing frenzy. I am almost done with finishing handmade Christmas presents, so the selfish sewing IS ON!

This sounds really bad, but it makes me very happy.

I’ve made more garments than I can blog. Maybe I can get around to posting them during the holidays, but I also might be very distracted by Plätzchen and mulled wine and will probably completely forget about it.

Aaaanyway, back to the actual reason why you’re reading this post: I finally gave in and jumped on the Agnes-train, just like all of the other sewing bloggers out there. I don’t know why I hesitated so long. I guess, because the pattern is so very basic and therefore quite expensive. But I don’t mind supporting independent pattern businesses and by now I’ve made 5 different Agnes’ – so the pattern is definitely worth buying!

I often underestimate basic patterns, but when I finally buy them, they often are mind-blowingly good! Basic patterns are easy to sew, to adapt and very time-efficient. Best example is Agnes (or Ultimate Pencil Skirt, Coco, Lottie Blouse etc.): I’ve made five different versions and not two are the same.
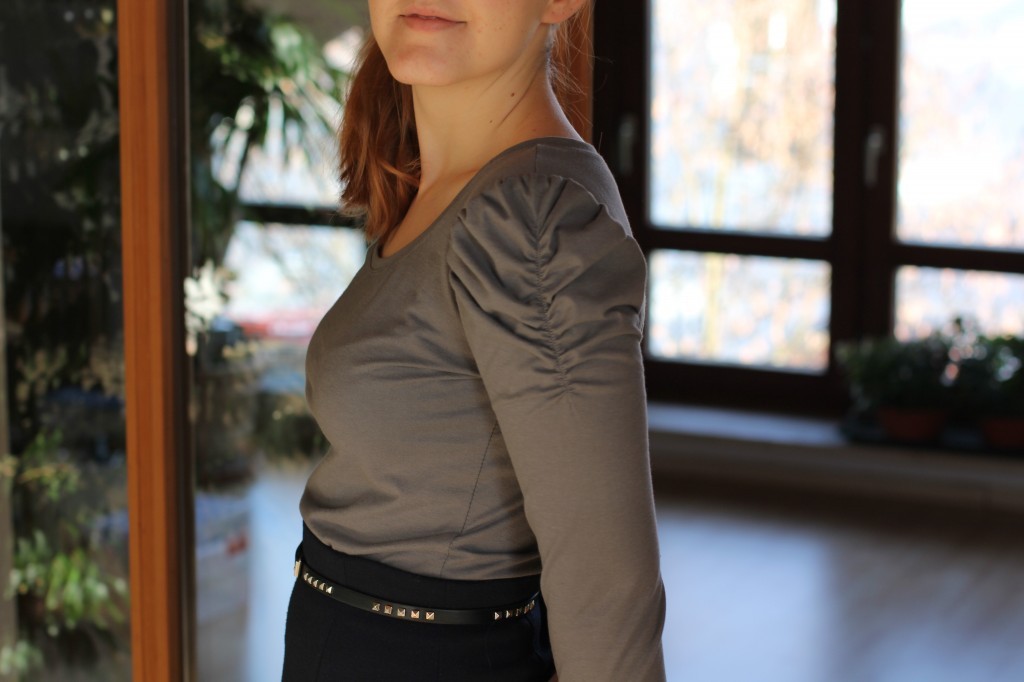
Tilly & the Button Agnes Top by thisblogisnotforyou.comTilly & the Button Agnes Top by thisblogisnotforyou.com

THE PATTERN & FIT

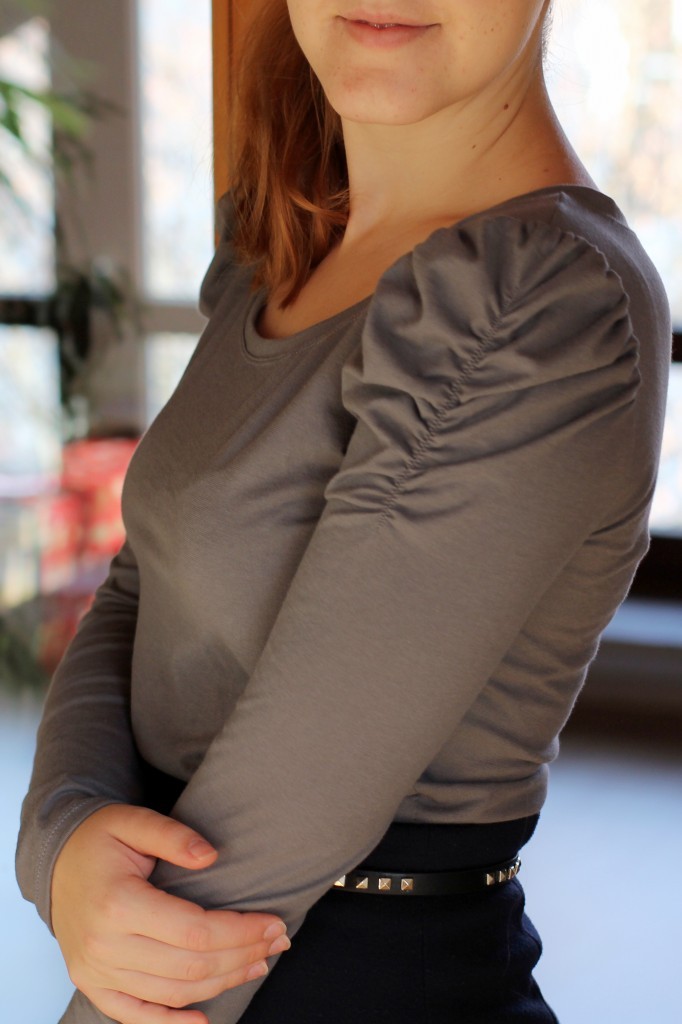
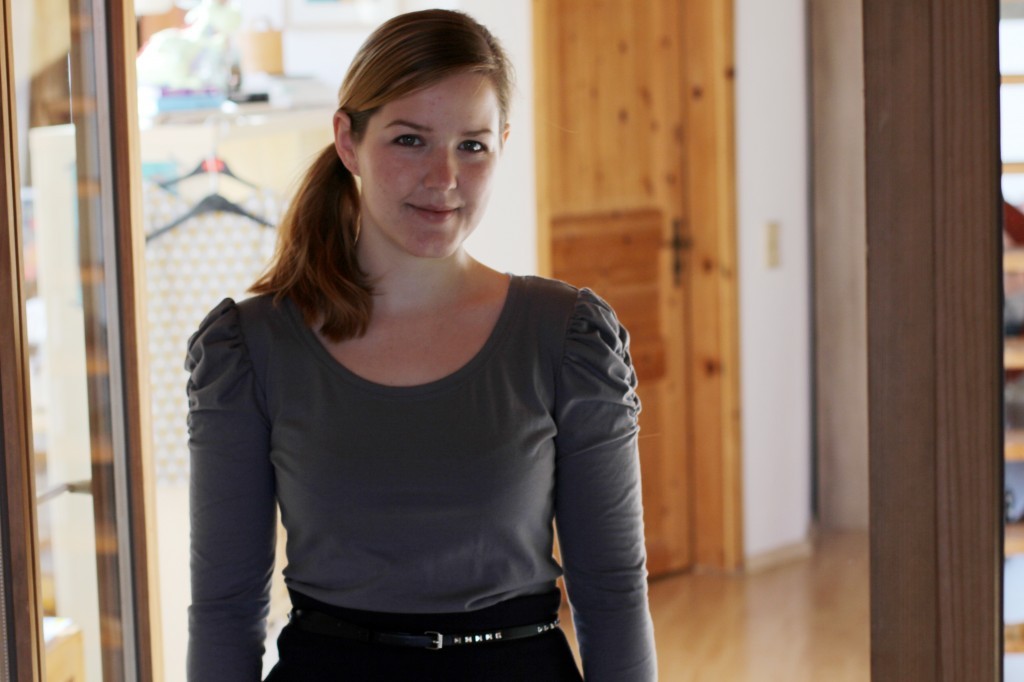
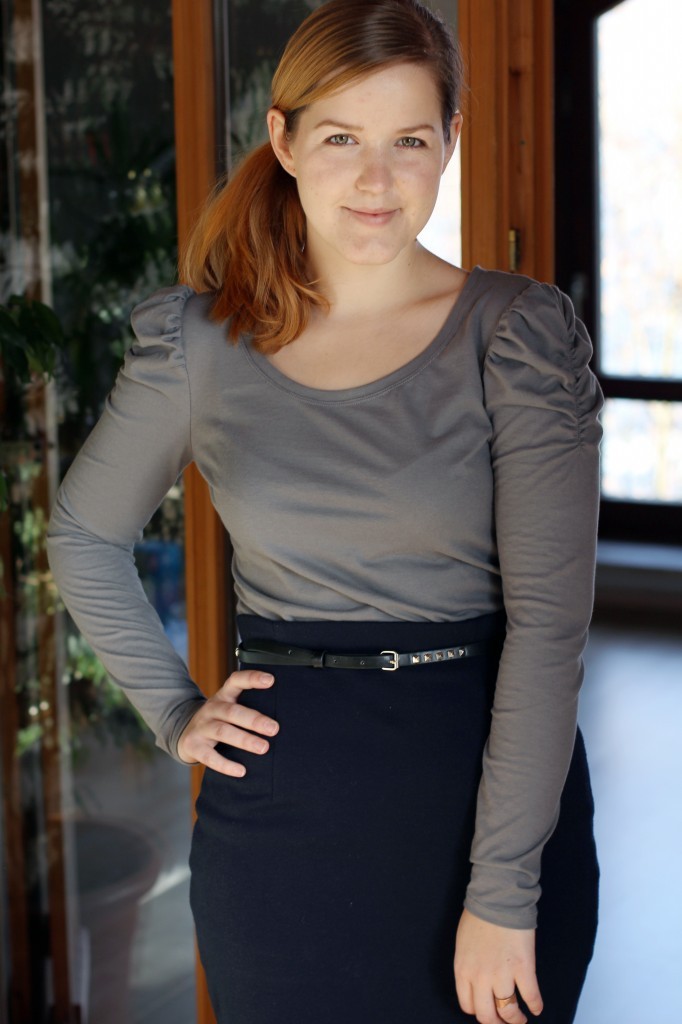
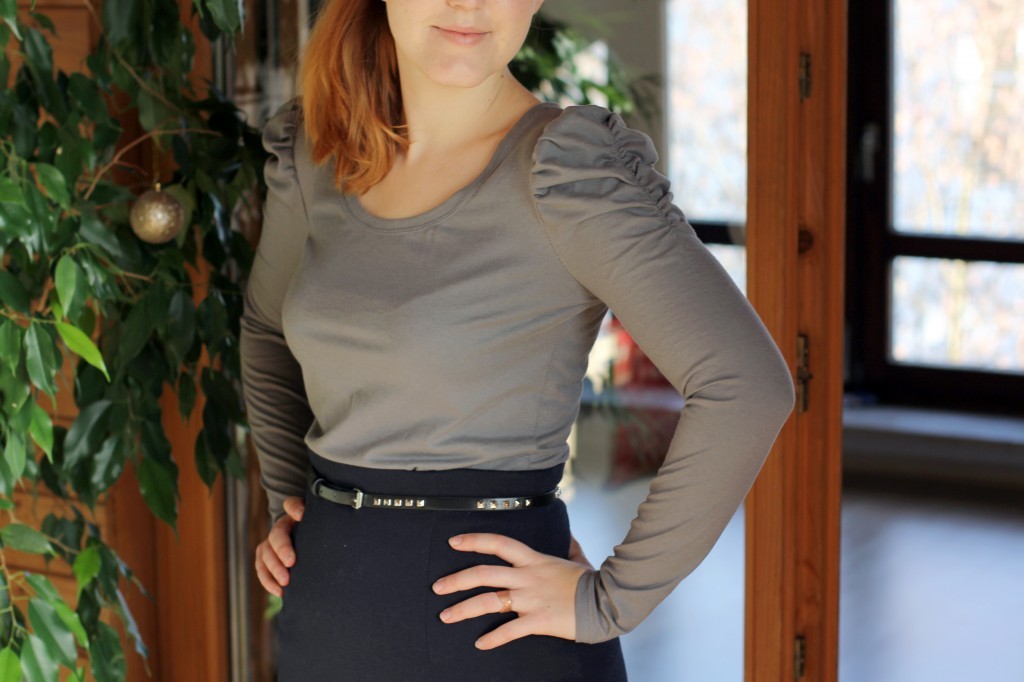
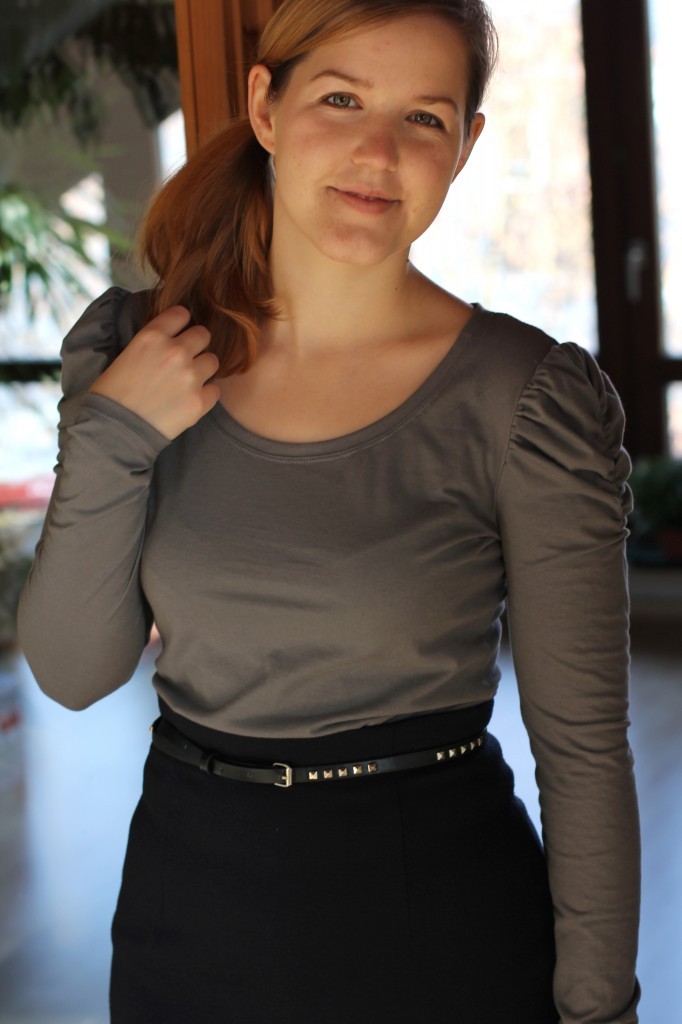
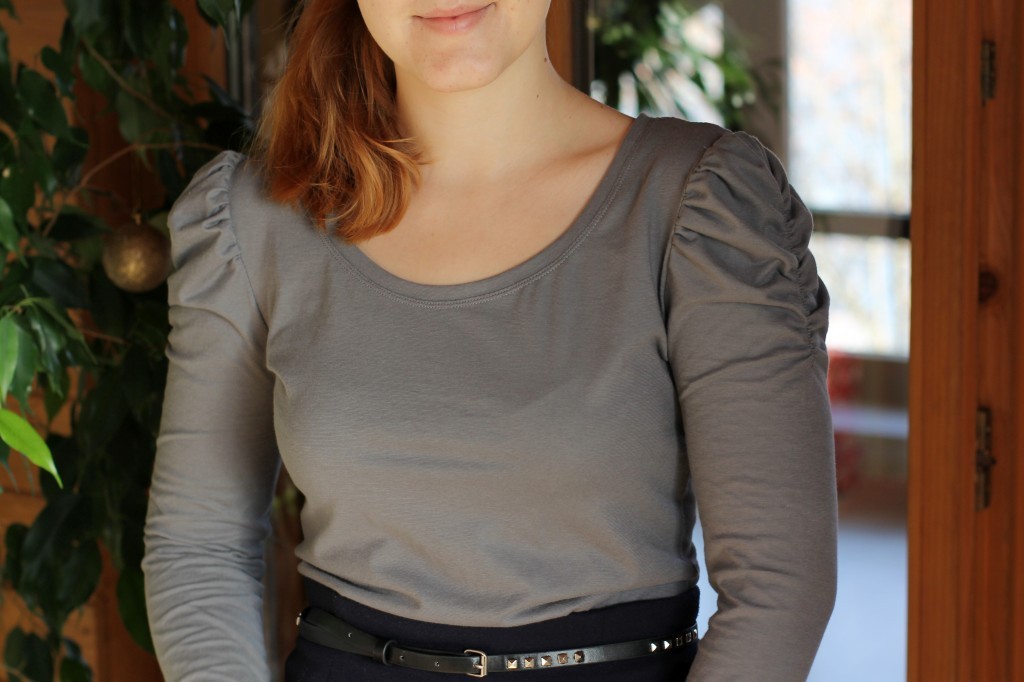
The pattern is the Agnes Top by TILLY AND THE BUTTONS (courtesy of WeaverDee.com). I made the long-sleeved version with a ruching detail on the puff sleeves.

This is the very first one I made, more or less a muslin, but a very wearable one. I had some fitting issues with Tilly’s patterns in the past, so I decided to make one from inexpensive fabric remnants before cutting into the good fabric. I think I used less than 1 metre of fabric.

I knew from reading other blogs, that the pattern runs quite small. According to the envelope it has quite a bit of negative wearing ease. I didn’t want it to be too tight, so I went with a larger size where the finished garment measurements are the same as my measurements. I cut out a size 4, which astonishingly fits me really well. (According to the pattern I am a size 3: 34in at the bust. Size 4 is 36in at the bust, but the finished garment measurement is 34in. Keep that in mind when deciding about how tight you want your top to fit.) Apart from making the sleeves a tiny bit wider, I did not have to change anything else in the following Agnes’ I made.Tilly & the Button Agnes Top by thisblogisnotforyou.comTilly & the Button Agnes Top by thisblogisnotforyou.com
CONSTRUCTION

The top is super easy to assemble, no major sewing challenges really. If you are new to sewing, the neckband might be the trickiest bit. For me that was my biggest worry, but it turned out quite well on the first try. For the later versions I shortened the neckband pattern by 5mm (so 1cm over the whole length) and now it sits perfectly flat. After making 5 Agnes’ I now consider myself a neckband pro. I never felt so good!

The sleeves are constructed in flat, which is my favourite technique for knit fabrics. It’s just so much faster than a set-in sleeve. The sleeves are ruched by a small piece of elastic, which is stretched while you sew.

I like a puff or ruched sleeve, but both in one are a bit too much for my taste. It makes my shoulders look quite massive, not quite the romantic look I was aiming for. Unless you consider football romantic. It wil probably look really lovely on a petite figure (someone like Tilly herself) but I will stay away from this look, I think.

It looks alright with a simple, close-fitting skirt, so it will definitely get some wear now and them. I scrapped the ruched sleeves for all the other versions and I am super happy with those.
Tilly & the Button Agnes Top by thisblogisnotforyou.com

Will I make it again? Well I know that I already have! And there sure as hell will be more. Although I love more challenging projects, this pattern is pure instant-gratification! It’s very versatile as well and it doesn’t use up much fabric – perfect stash buster pattern. Overall grade: 9/10.

xx

Charlie


Happy sewing!

facebook/bloglovin/pinterest
twitter/instagram

Stay in touch!
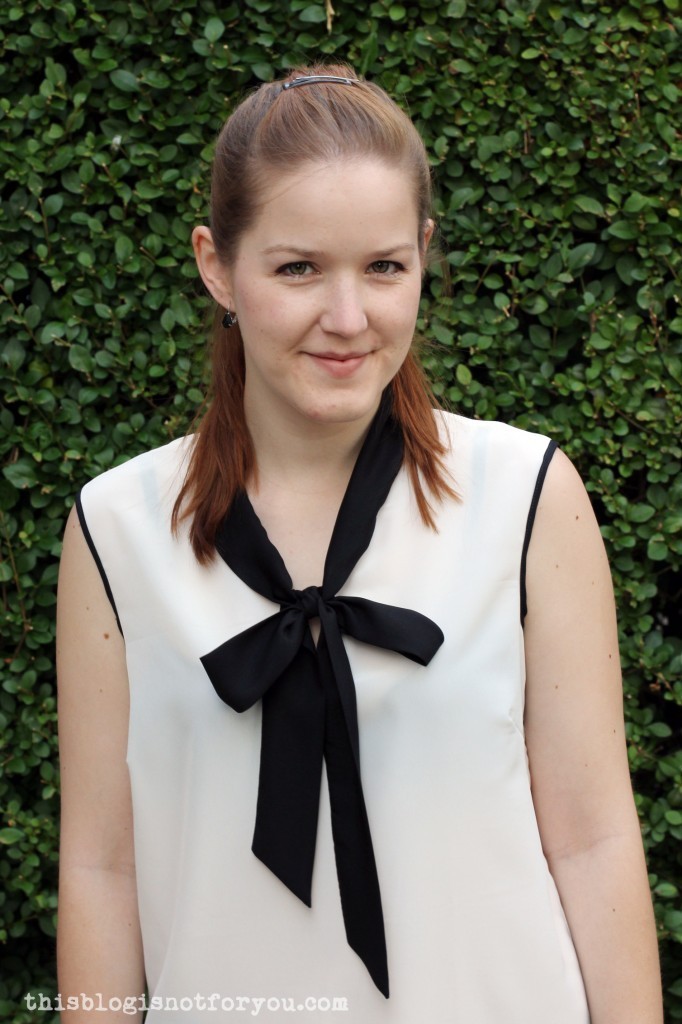
My first pair of (Ultimate) Trousers

sew over it - ultimate trousers by thisblogisnotforyou.com

Hallo, meine Lieben! You won’t believe it! After so many years of sewing, I’ve finally made my first (wearable) pair of trousers! (Not counting any shorts I’ve made.) Traumatised by hundreds of very unhappy experiences shopping for well-fitting trousers I decided at some point that sewing trousers was very difficult and frustrating and certainly nothing I wanted to try.

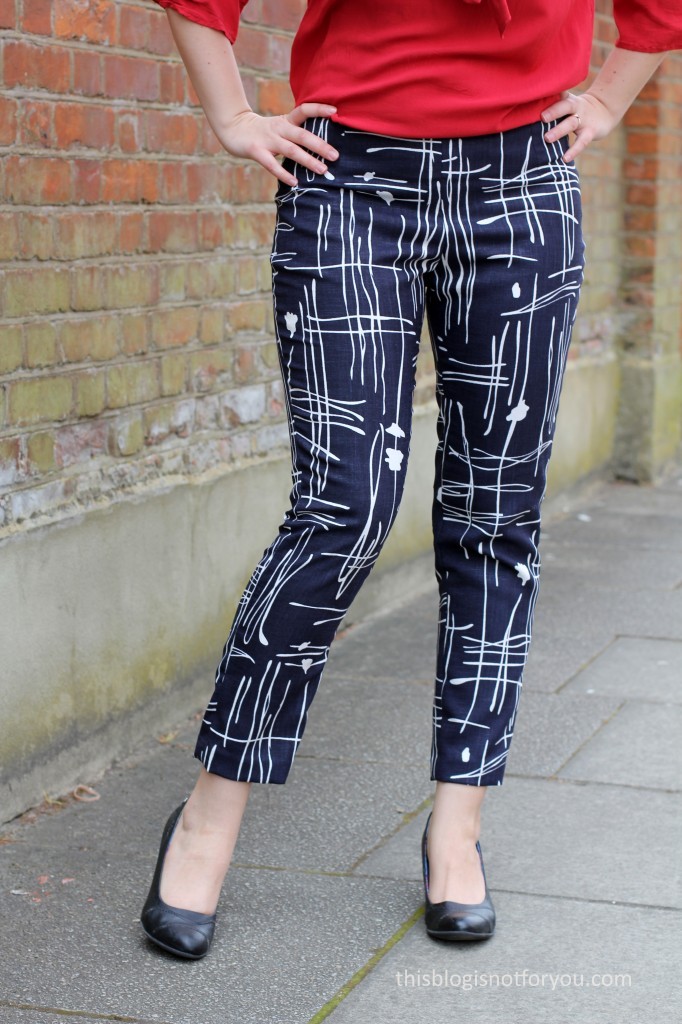
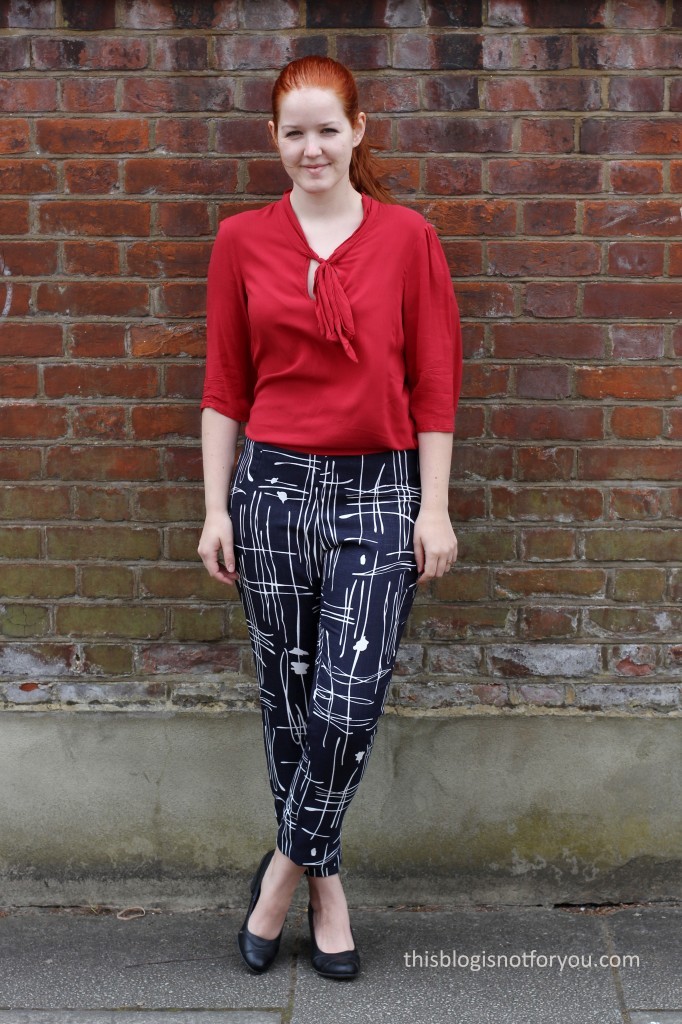
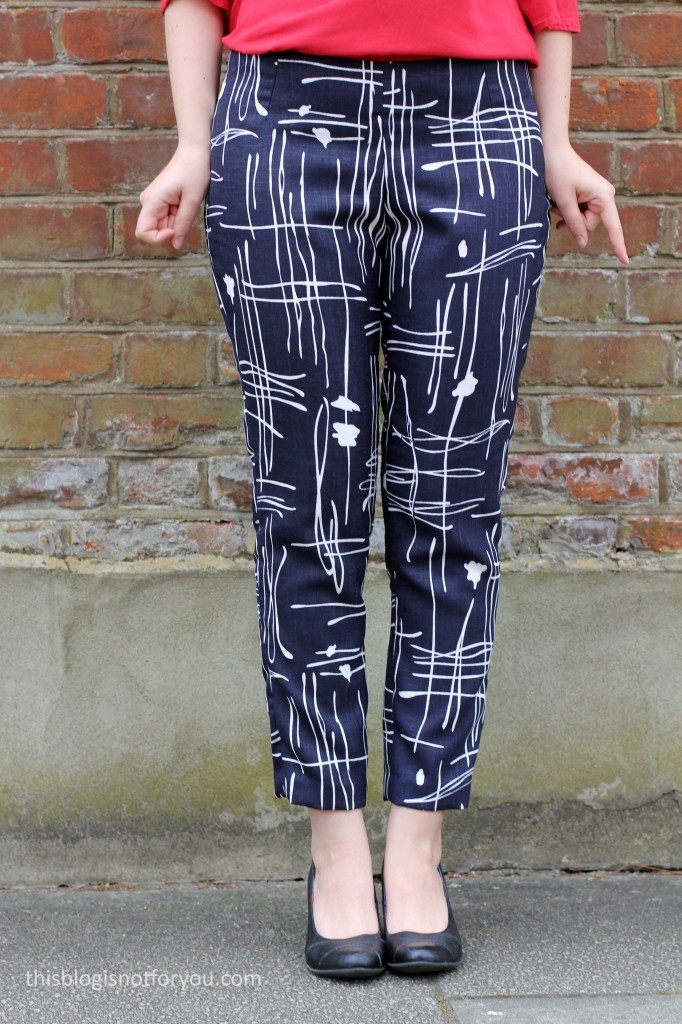
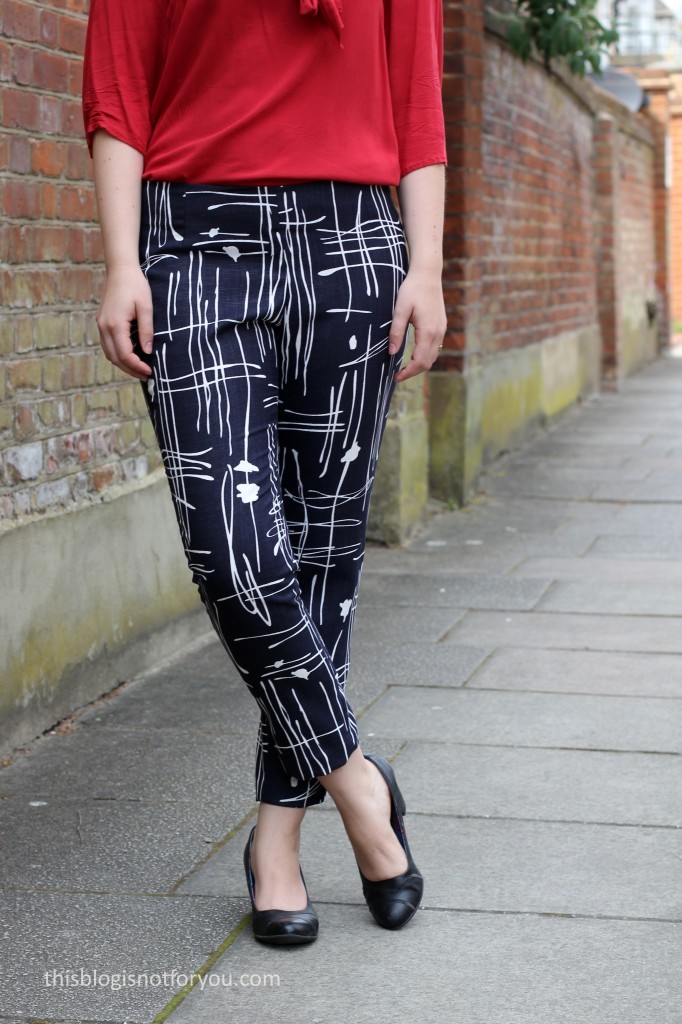
After testing one of their patterns, Lisa from Sew Over It kindly send me her Ultimate Trousers pattern which promised to be a super easy sew, so it went on my to-sew list. About a year later, I’ve finally given it a try and even went as far as making a muslin (a step which I happily skip more often than not). The muslin was a bit meh and I made a couple of very simple changes here and there and suddenly I ended up with some lovely trousers that actually fit me. Who would have known. sew over it - ultimate trousers by thisblogisnotforyou.comsew over it - ultimate trousers by thisblogisnotforyou.com

The Pattern:

As mentioned, I used the Ultimate Trousers pattern by Sew Over It, which is available as PDF(£8.50) or paper pattern (£14). I think it’s well worth the money, as it’s a simple, classic cut that it very easy to fit and which could be used as a base if you want to draft something more complicated. I’ve got a feeling that this will be my TNT trousers pattern for many more projects to come.

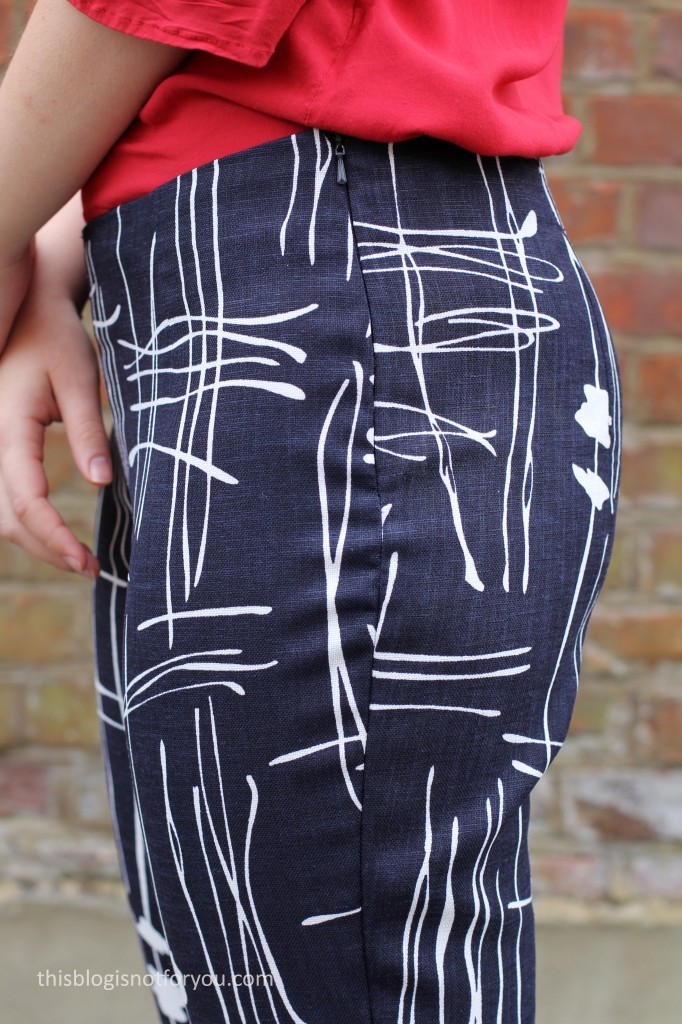
The pattern comes with detailed and illustrated instructions and it only took me a couple of hours from start to finish. There are no complicated front fly or pocket techniques to tackle, just a very simple invisible zip that’s inserted in one of the side seams. There’s no waist band, but facing instead.

I didn’t make any major changes to the pattern, just some tweaks here and there to adjust the fit.
sew over it - ultimate trousers by thisblogisnotforyou.comsew over it - ultimate trousers by thisblogisnotforyou.com

The Fit:

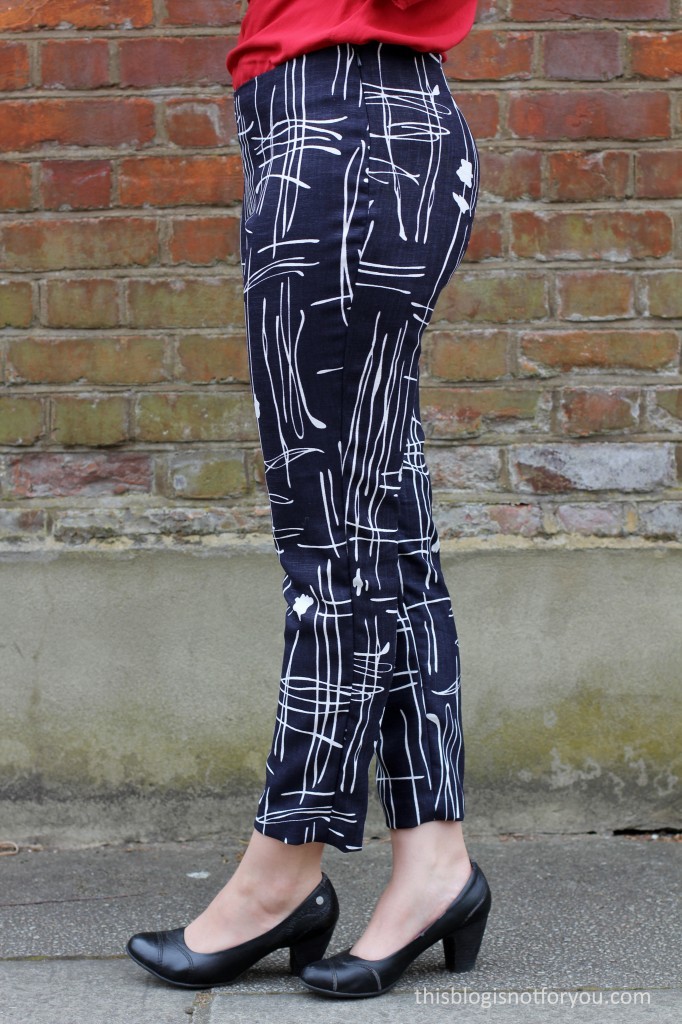
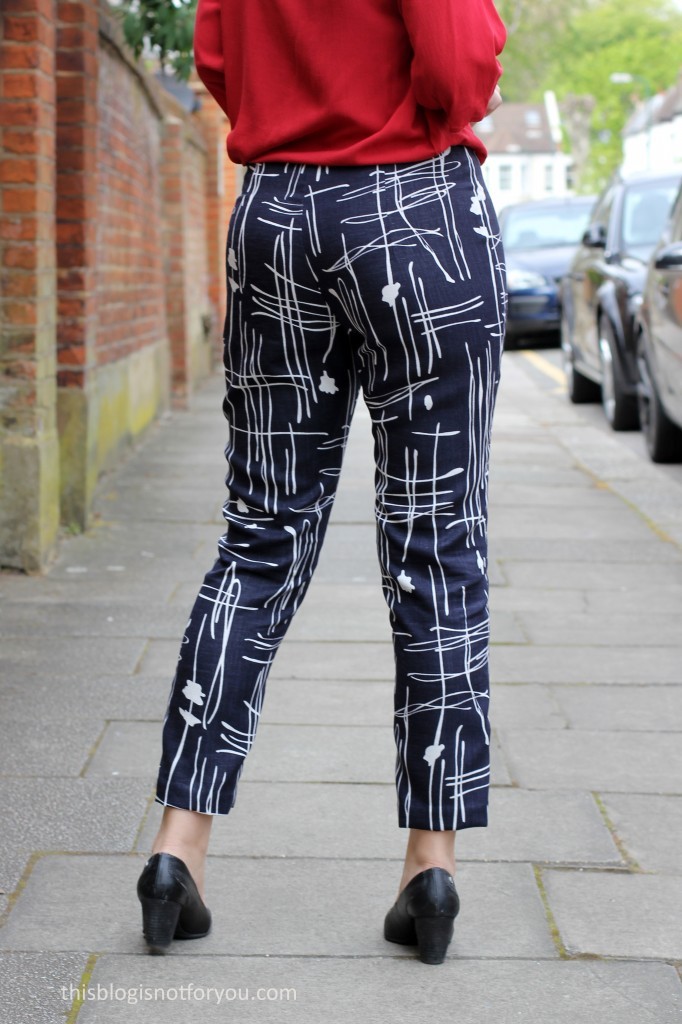
The fit was almost spot on, I just had to grade my size up a bit at the hip as I couldn’t close the zip on my muslin. This was quite a simple and quick fix and I didn’t even bother to make another muslin. With all the grading this pair of trousers is probably something between size 12 and 14, I guess. At first the trousers were a tad tight, but I knew that they would widen a bit after a couple of wears (which they did, yay!), so I didn’t make any further changes.

Would I make any more changes next time? Hm, maybe, maybe not. I’m pretty happy with the result. I think depending on the fabric, I might give a bit more wearing ease next time. And should I be super motivated, I might try a sway back adjustment. But that’s not very likely to happen.

sew over it - ultimate trousers by thisblogisnotforyou.com

I wonder why I ended up with a puckering zip? Maybe I should try clipping the seam allowance at the hip curve. Could also be my inability of accurately inserting a zip when having had too much coffee. sew over it - ultimate trousers by thisblogisnotforyou.comsew over it - ultimate trousers by thisblogisnotforyou.com

sew over it - ultimate trousers by thisblogisnotforyou.com

sew over it - ultimate trousers by thisblogisnotforyou.com

The Fabric:

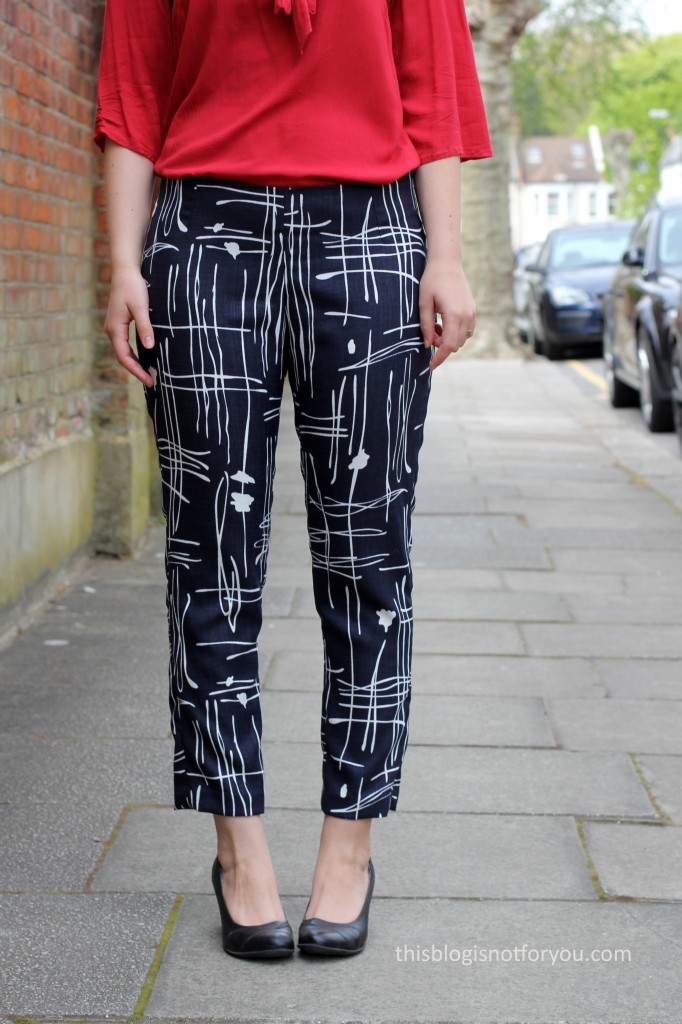
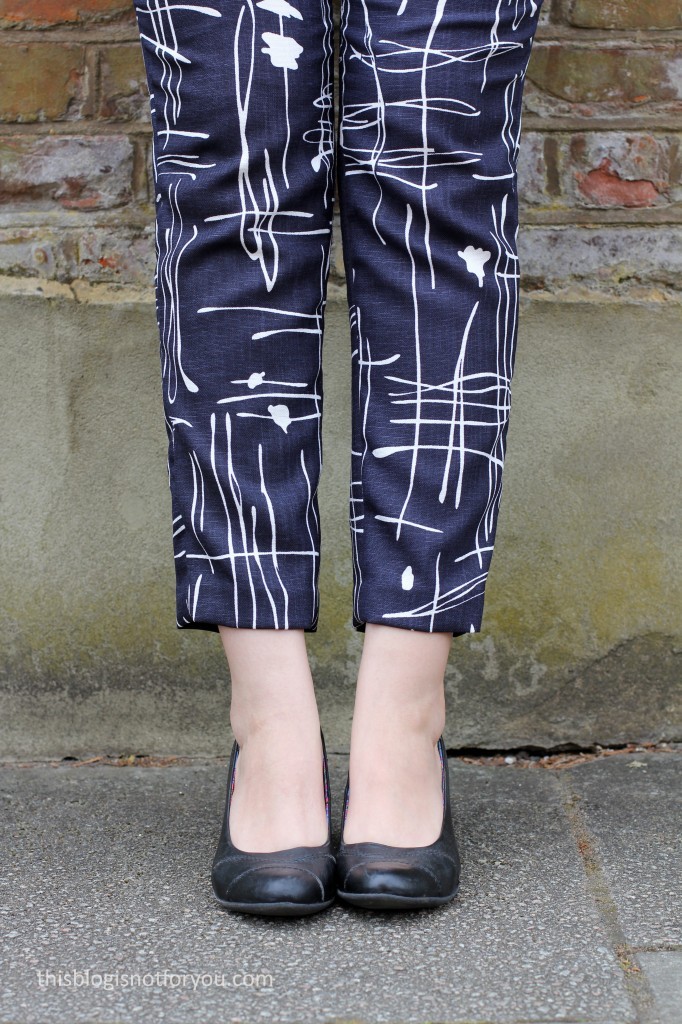
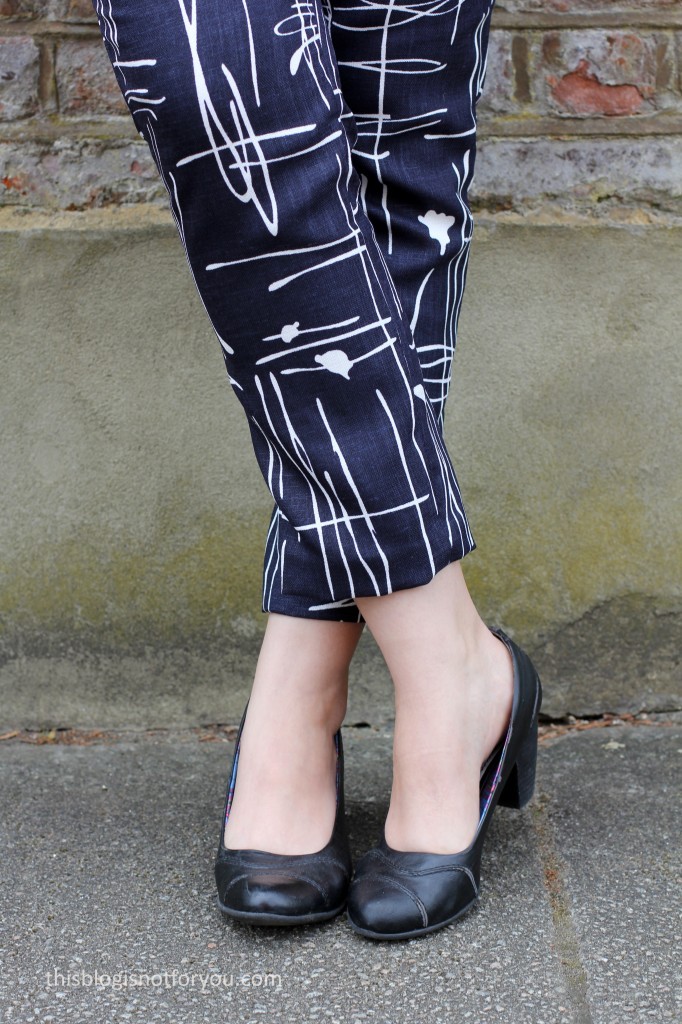
I actually bought the fabric at Lisa’s new Sew Over It sewing cafe in Islington. I found it in the remnants box and it turned out that it was some fabric that Lisa had used for her own pair of Ultimate Trousers. There was just enough left to make another pair. To be honest, I have no idea what kind of fabric this is, almost looks like linen, but I’m pretty sure there’s polyester involved here. It’s lovely to wear and was easy to sew. It frayed quite a bit, but nothing that my little overlord couldn’t fix.

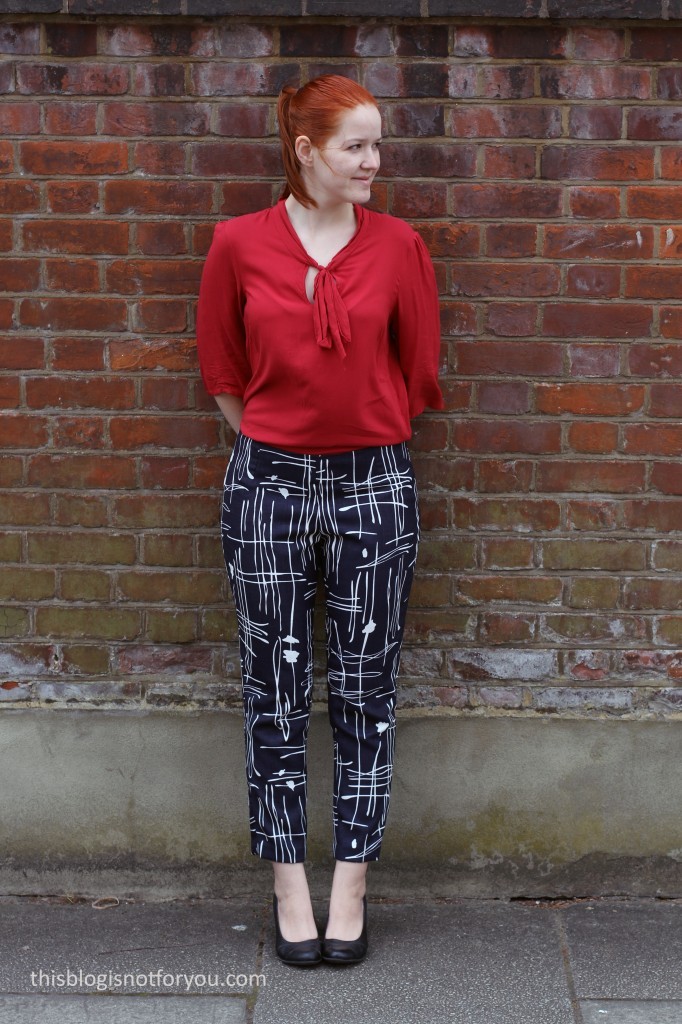
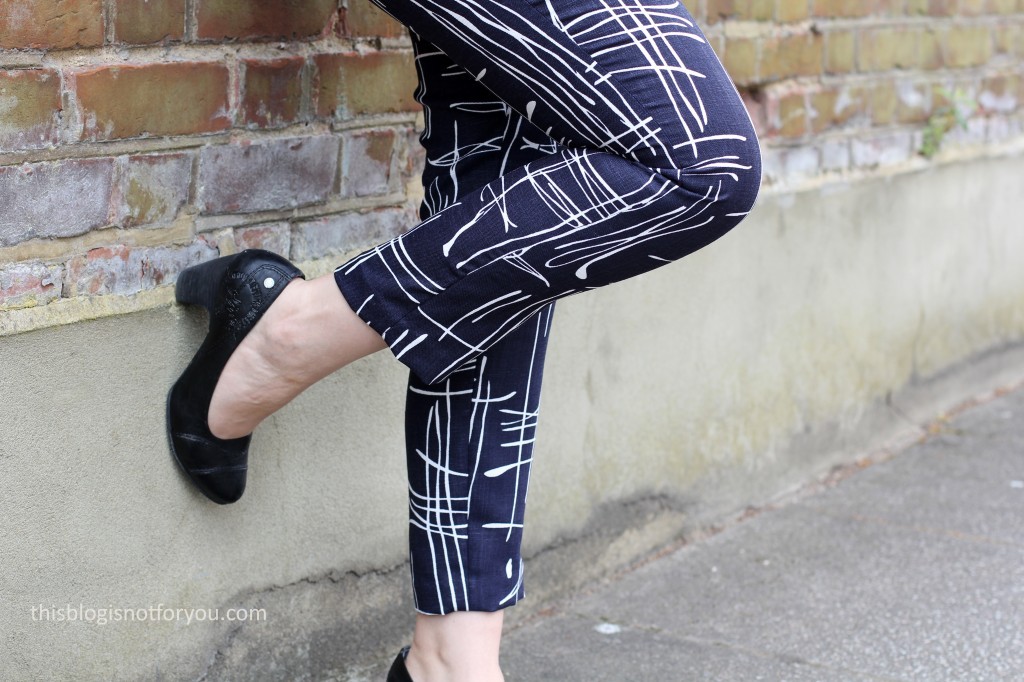
Sooo. Let’s talk about pattern placement. Or, what happens if you completely ignore it. I thought the pattern was random enough but now I ended up having awkward crotch stripes that could even be interpreted as scratches or hair, if you’re adventurous enough. What can I do about that now? I try to ignore it and hope others do, too.

sew over it - ultimate trousers by thisblogisnotforyou.comsew over it - ultimate trousers by thisblogisnotforyou.com

blouse: Lottie Blouse, handmade
shoes: S.oliver

Will I make it again?

I’m pretty positive that I will. I’m just too happy about finally having a go-to trouser pattern, so I’ll better make use of it.

So, what are your thoughts on trouser-making, trouser-making phobia and crotch stripes?


Happy sewing!

facebook/bloglovin/pinterest
twitter/instagram

Stay in touch!

The new Pussy Bow Blouse pattern by Sew Over It

 Sew Over It Pussy Bow Blouse by thisblogisnotforyou.com

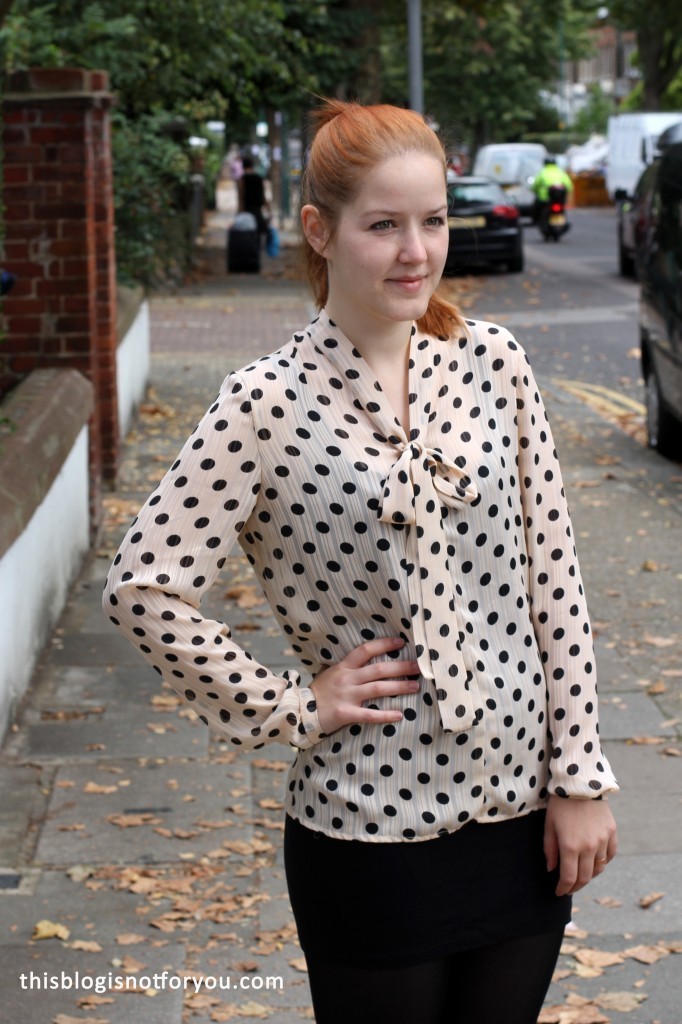
Hi folks! Today I sharing my newest pussy bow blouse with you! After sewing three (!) Lottie Blouses, it was time to try another pussy bow blouse pattern. Luckily enough, Lisa, mastermind behind Sew Over It, asked me to test her newest pattern, the Pussy Bow Blouse. Lisa is known for her gorgeous patterns, mostly basic wardrobes staples (such as the Ultimate Trousers pattern or the Ultimate Wrap Dress) with a vintage touch.

source: www.sewoverit.com

So here it is, in all its glory!

 Sew Over It Pussy Bow Blouse by thisblogisnotforyou.com

 Sew Over It Pussy Bow Blouse by thisblogisnotforyou.com

The pattern:

The pattern was pretty much straight-forward and the instructions are very comprehensive and easy to follow, thanks to the illustrations. The blouse comes in two different variations – you can choose between a v-neck or keyhole version. I wanted to try the keyhole version, but couldn’t wrap my head around one particular step in the instructions (we all have those days, no?) and since I already have three keyhole Lottie Blouses, I went with the v-neck option in the end.

The pattern comes in UK sizes 8-20 and is available as both a printed pattern and as a downloadable PDF. Sew Over It will also host a sewalong in the future, so keep your eyes peeled!

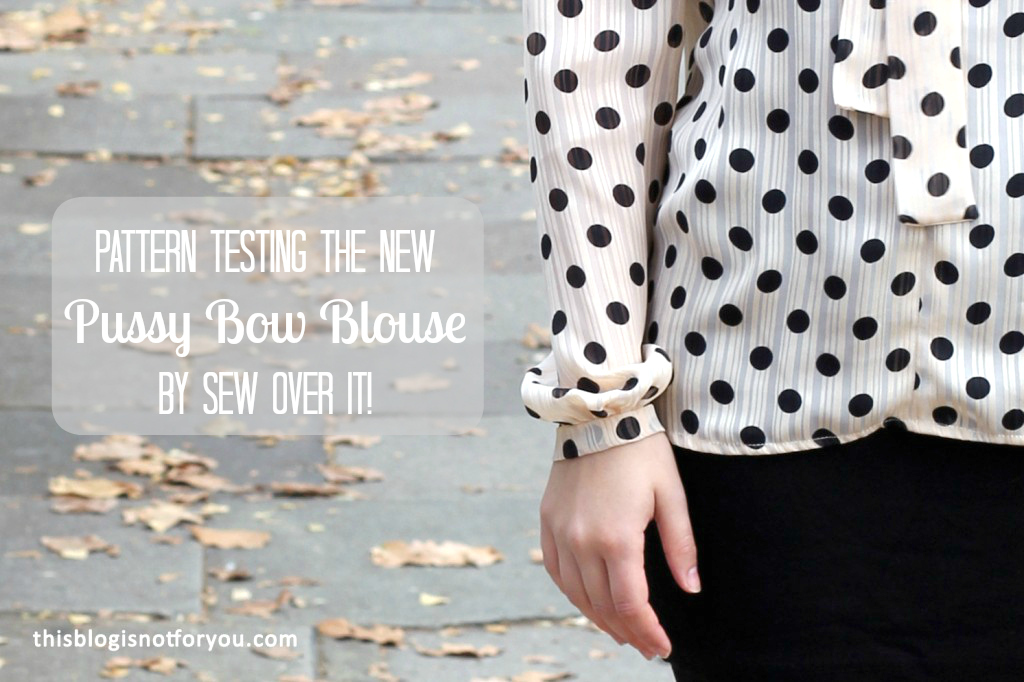
What I loved most about the pattern are the little details: for example the super cute buttoned cuffs. I used a black fabric covered button, which you can hardly see on the polkadot fabric!
 Sew Over It Pussy Bow Blouse by thisblogisnotforyou.com Sew Over It Pussy Bow Blouse by thisblogisnotforyou.com

The fit: 

I love the long sleeves – especially now that it is getting colder I was in desperate need for a long-sleeved blouse for work. This is the perfect pattern! The pattern has some interesting details in the way it is cut. It has a seam in the centre front! The cut resembles 1940’s blouses, sitting a bit off the shoulder. It confused me at first since I thought it was a fitting issue and I thought it would prevent me from moving my arms freely. In front of the mirror it felt as if I could’nt lift my arms all the way up, but now, after I have worn it at work several times, I can say that it didn’t bother me at all. I actually like that it has this vintage look.

The sleeves were a bit long for my taste and I simply could’ve shortened them, but I was too lazy to make a muslin. They are quite baggy and I really like the general shape of the sleeves and the cuffs, but since they are about 7cm too long they cover up the cute cuffs. My own fault! I could’ve at least measured them before attaching the cuffs!

 Sew Over It Pussy Bow Blouse by thisblogisnotforyou.com Sew Over It Pussy Bow Blouse by thisblogisnotforyou.com

The fabric:

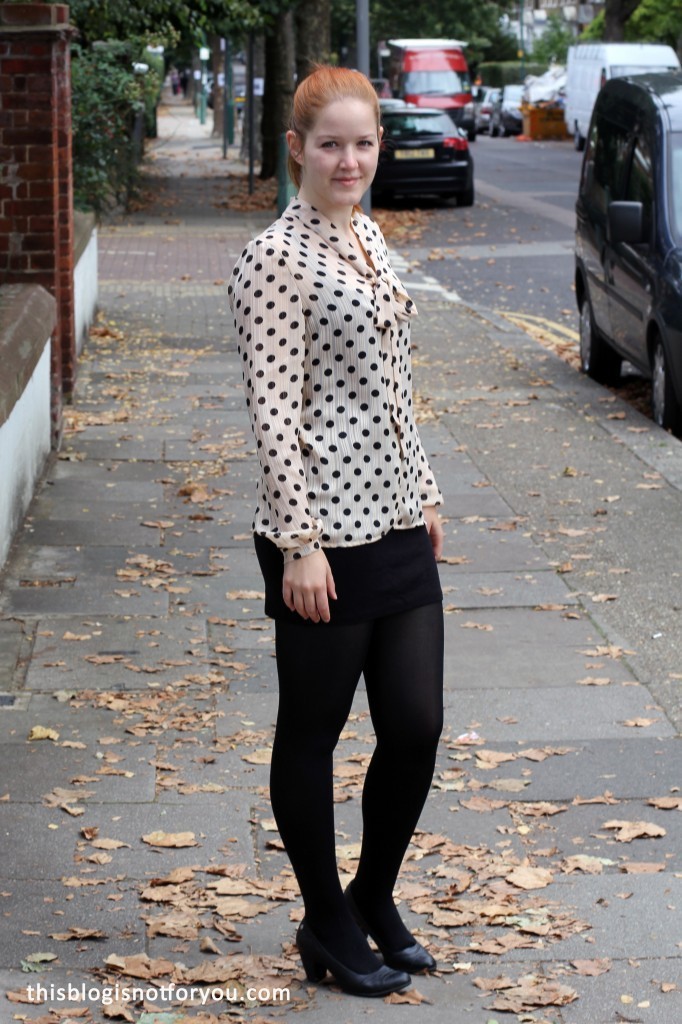
The pattern suggests using light and drapey fabrics, such as rayon, chiffon and lightweight silks and crepes. I used a nude coloured georgette, which is slightly see-through and covered in black polkadots. I bought the fabric on Walthamstow Market ages ago (all I can remember is that it was super cheap), planning to make a dress or skirt from it. The print is actually quite busy and I am glad that I did not make a dress – I think it works best for a blouse like this!

The georgette is the perfect fabric to wear at work as it is not too warm (no sweat stains!) and is perfect for layering. It’s horrible to sew with, though. Cutting out georgette is messy and frustrating (never rush, but take your time!) and you have to be very careful that the fabric layers don’t slip when sewing and pinning. Luckily, I already had my overlocker then, so at least I didn’t have to worry about fraying edges!

 Sew Over It Pussy Bow Blouse by thisblogisnotforyou.com

I mostly wear my blouse over skinny jeans and tight dark miniskirts or tucked in paired with a pencil skirt. It’s a perfect office look and ideal for our smart casual dresscode at work. I also accidentally wore it on the day at work when we went to visit a farm, so imagine me watching the piggy race and feeding the alpacas dressed up like a 1940’s secretary. Well, the alpacas didn’t mind.

Have you tried any Sew Over It patterns yet? The Ultimate Trousers are still on my list and I’m eyeballing the 1940’s tea dress, as well.

Don’t forget to enter the blog anniversary giveaway, if you haven’t done so yet! The giveaway is open internationally and closes on 30th September!


Happy sewing!

facebook/bloglovin/pinterest
twitter/instagram

Stay in touch!