Tips on sewing your wedding dress

DIY wedding dress by thisblogisnotforyou.com
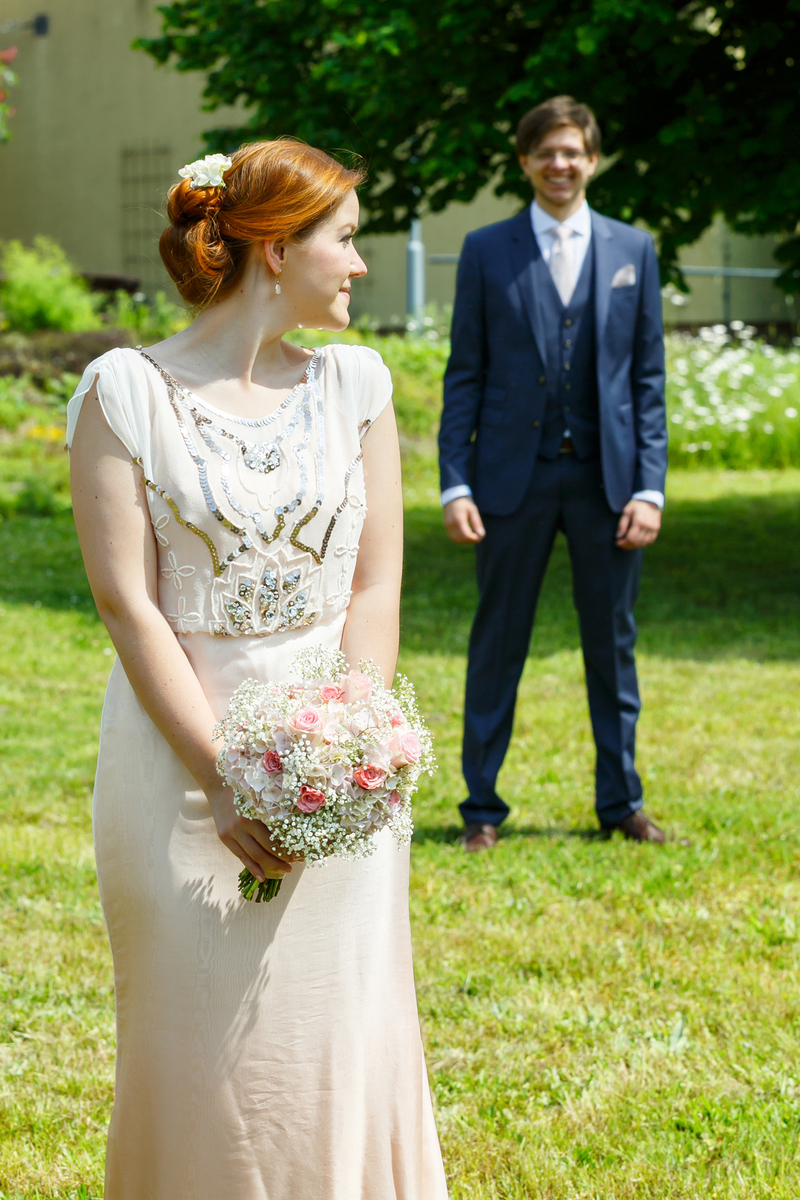
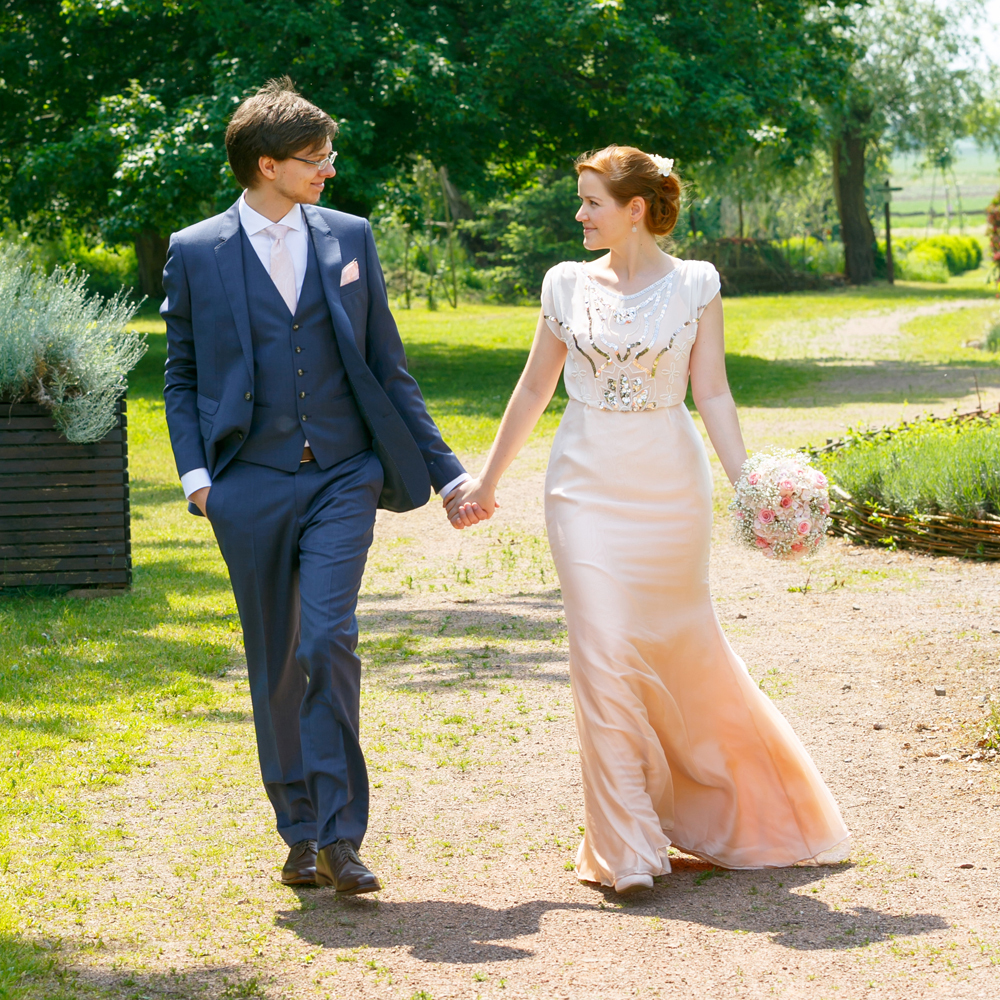
Making my own wedding dress

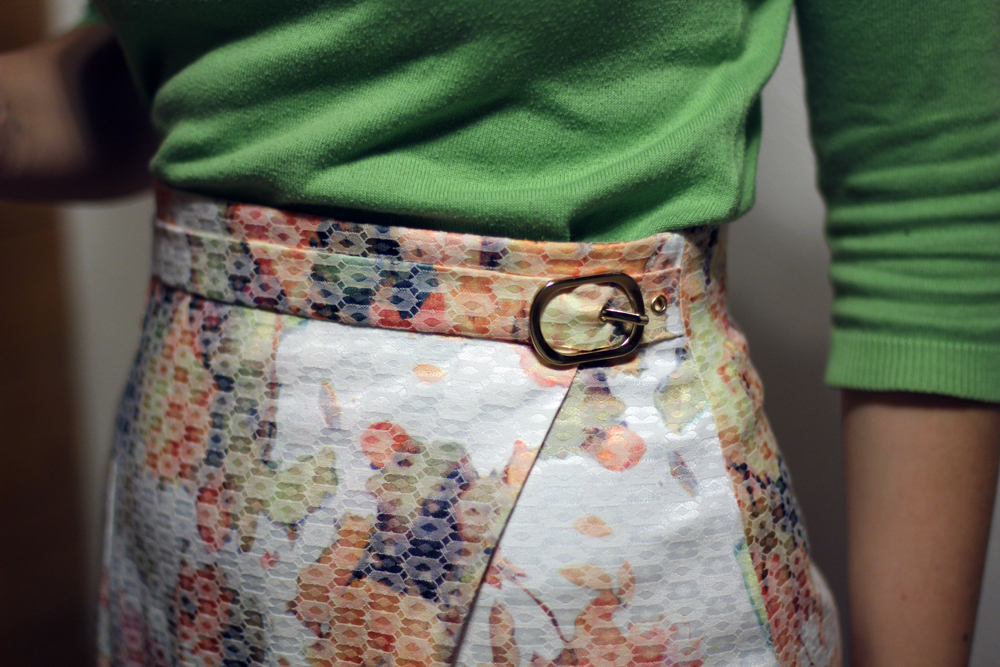
This time two years ago I was frantically working on my wedding dress. It was such a joyful but equally stressful process. As much as I am proud of the dress that came out of it, I’m glad I won’t have to do it again.

As spring/summer weddings are coming up and some of you lucky soon-to-be brides are making their own dresses, I thought I’d share some (hopefully) helpful advice.

As helpful as some couture sewing books might proof to be, they do not give much insight into the whole shebang of planning and scheduling and of course, the emotional stress that interferes with every single step on the way.

I had just under a year to prepare our wedding and create the dress. I spend the first half planning and organising before getting down to the nitty-gritty of actually making things. All romance aside, it’s quite a tedious, sometimes boring, sometimes frustrating process.

DIY wedding dress by thisblogisnotforyou.comDIY wedding dress by thisblogisnotforyou.com

DIY wedding dress by thisblogisnotforyou.com

DIY wedding dress by thisblogisnotforyou.com

Here’s a quick overview of my rough “schedule” to illustrate this:

10 months left.
Deciding on making my own dress.
Getting inspired (Pinterest helps!)
Narrowing down the designs I liked.

9 months left.
Deciding on silhouette & colour.
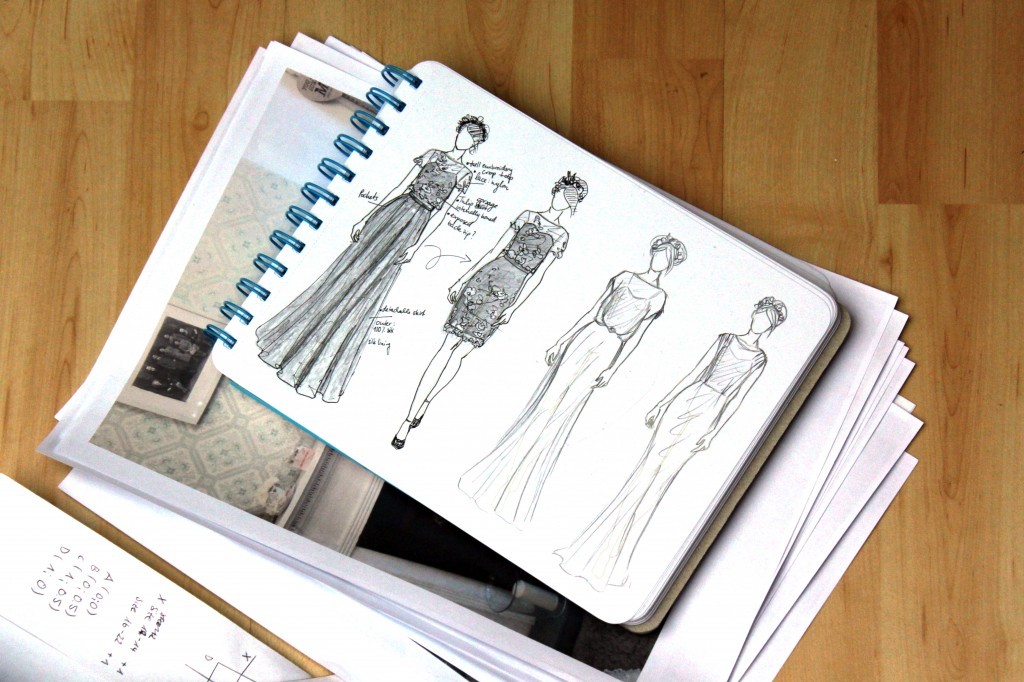
Deciding on a pattern to base the dress on & sketching a rough draft.

8 month left.
Going fabric-shopping (probably the hardest part, constant panic).
Actually deciding on making my own dress as I had spend so much money on fabric already.

***Long panicky break of procrastinating with wedding decor projects ***

5 months left.
Drafting, draping, making a pattern. Spending a couple of weeks on making a corset I swapped for a cheap stick-on bra in the end.

4 months left.
Fitting to perfection.

3 months left.
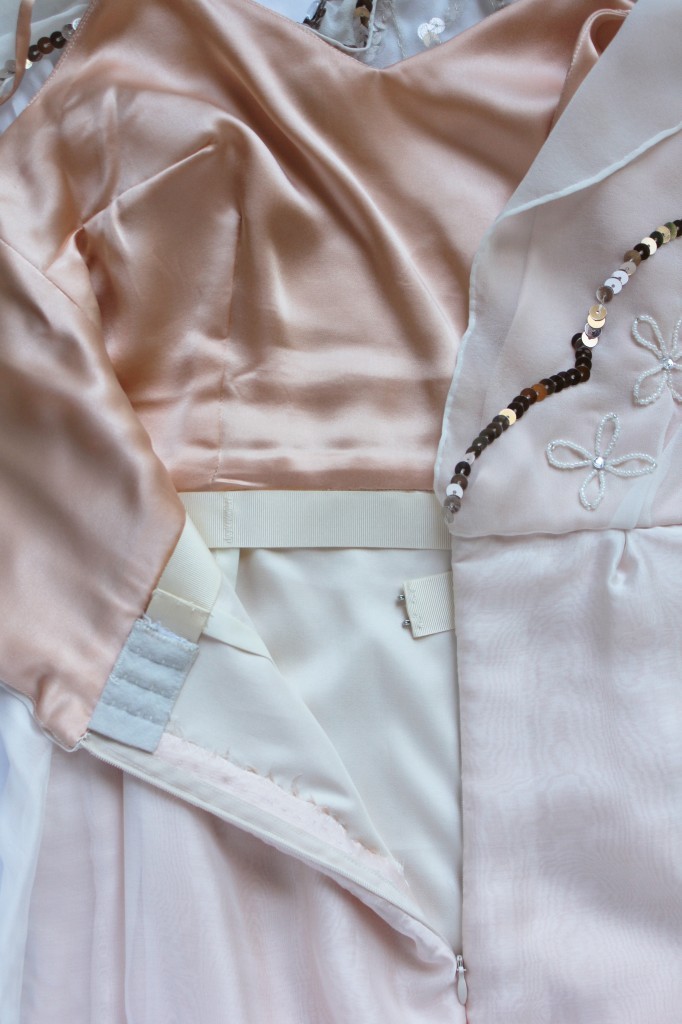
The actual construction of a dress starts.

8 weeks left.
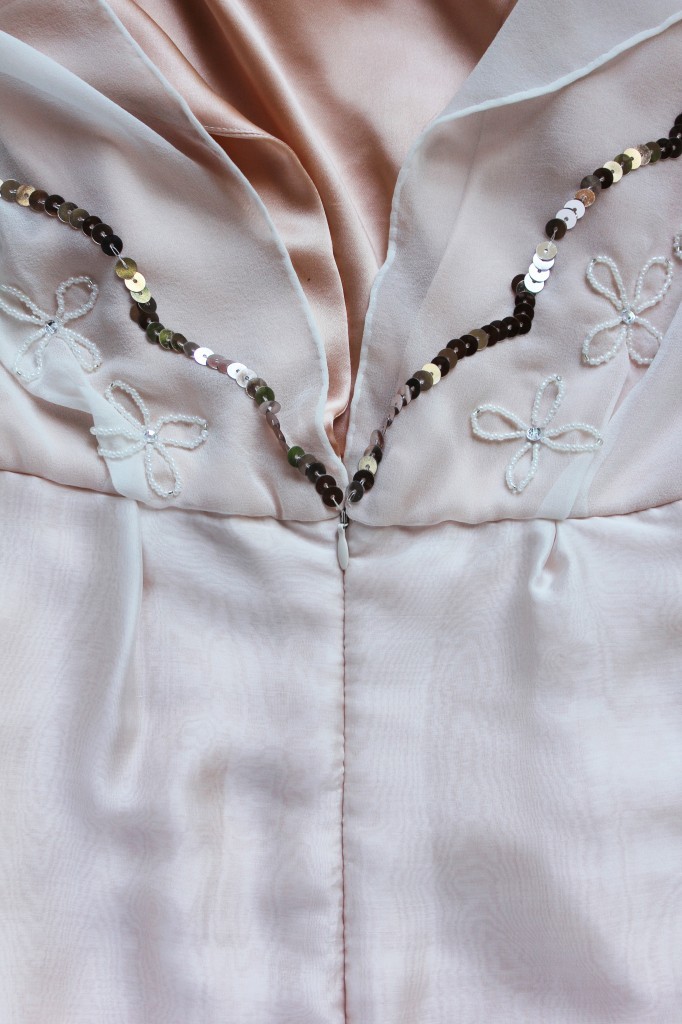
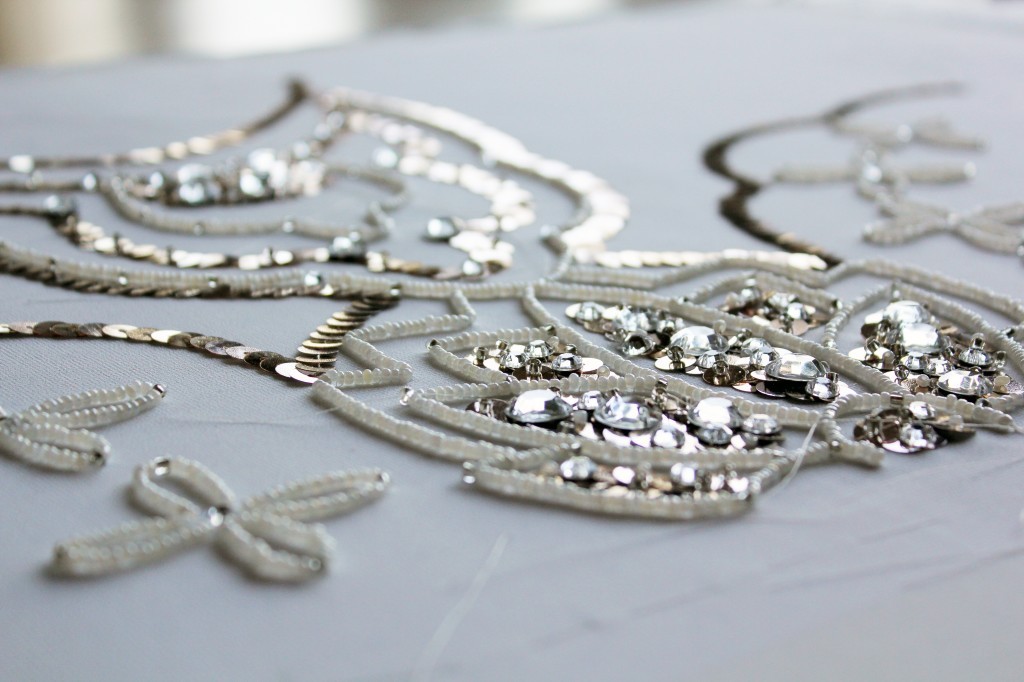
Adding embroidery details.
(Dress finished 3 weeks before the wedding. Phew.)

As you can see, the actual “fun” of sewing together the dress was not happening until 3 months before the big day. My nerves! Imagine not having seen yourself in a dress and it’s already 8 weeks before the wedding. I probably could’ve finished much earlier had I not procrastinated all these months, but don’t forget there’s life that gets in between.

So should you find yourself in a similar position, here’s some advice you might find helpful.

DIY wedding dress by thisblogisnotforyou.comWedding dress embroidery by thisblogisnotforyou.comWedding Dress design by thisblogisnotforyou.com

Advice on sewing your own wedding dress:

  1.  Give yourself enough time. Plan for unexpected breaks or getting stuck somewhere in the process or extra trips to the fabric shop, just to name a few!
  2. Decide on a design early on and try not to change your mind (unless you have huge amounts of extra time, fabric, money and motivation). There will be times of doubt, but they go away again, too.
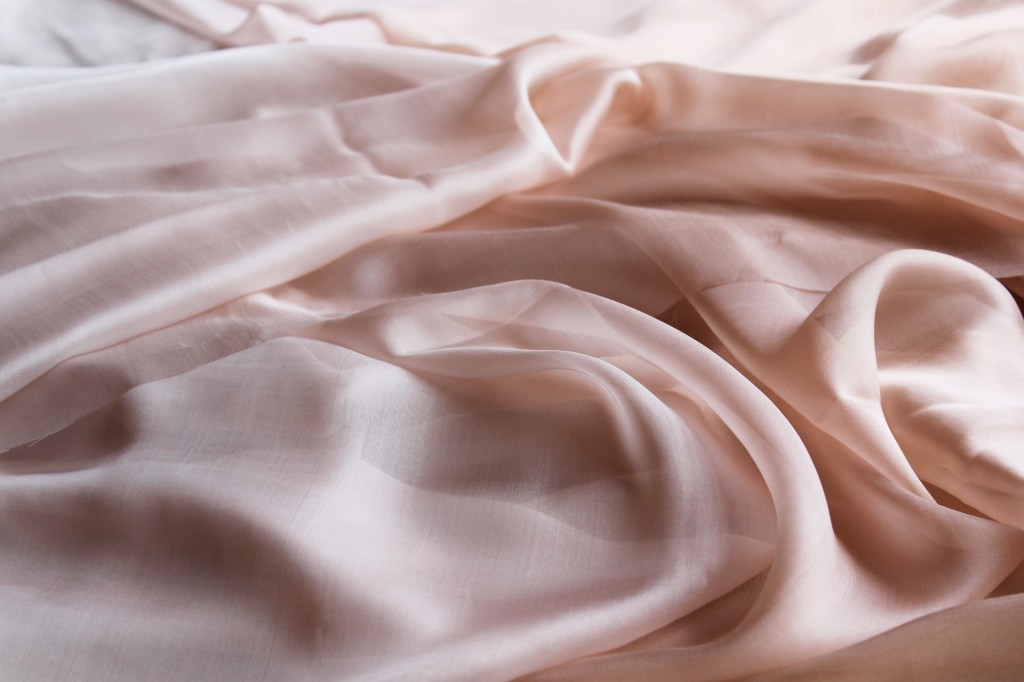
  3. Really think about and be reasonable about shapes and textures. Certain silhouettes require certain types of fabrics. Find out as much as you can before you start spending money.
  4. Stop comparing your dress to others once you start on your project. This is unhelpful, believe me.
  5. Buy plenty of fabric and then get some extra. This not only helps if things go wrong, but keeps the suspension of cutting into the fabric low.
  6. Muslin till you drop. Get the fit perfect before cutting into expensive fabric. This saves a lot of time and money.
  7. Don’t ask others for their opinion (unless you are willing to change your design constantly or you’re able to live with someone saying they don’t like it even before it’s finished). This is important. Trust your style and gut-feeling. You will wear this dress, so first and foremost you are the person that needs to like it.
  8. Take the time to practice sewing techniques. You will feel much more confident once you start constructing!
  9. Before you start constructing the dress, make a rough step-by-step plan – especially if you’re not following a pattern with instructions. Structure prevents panic.
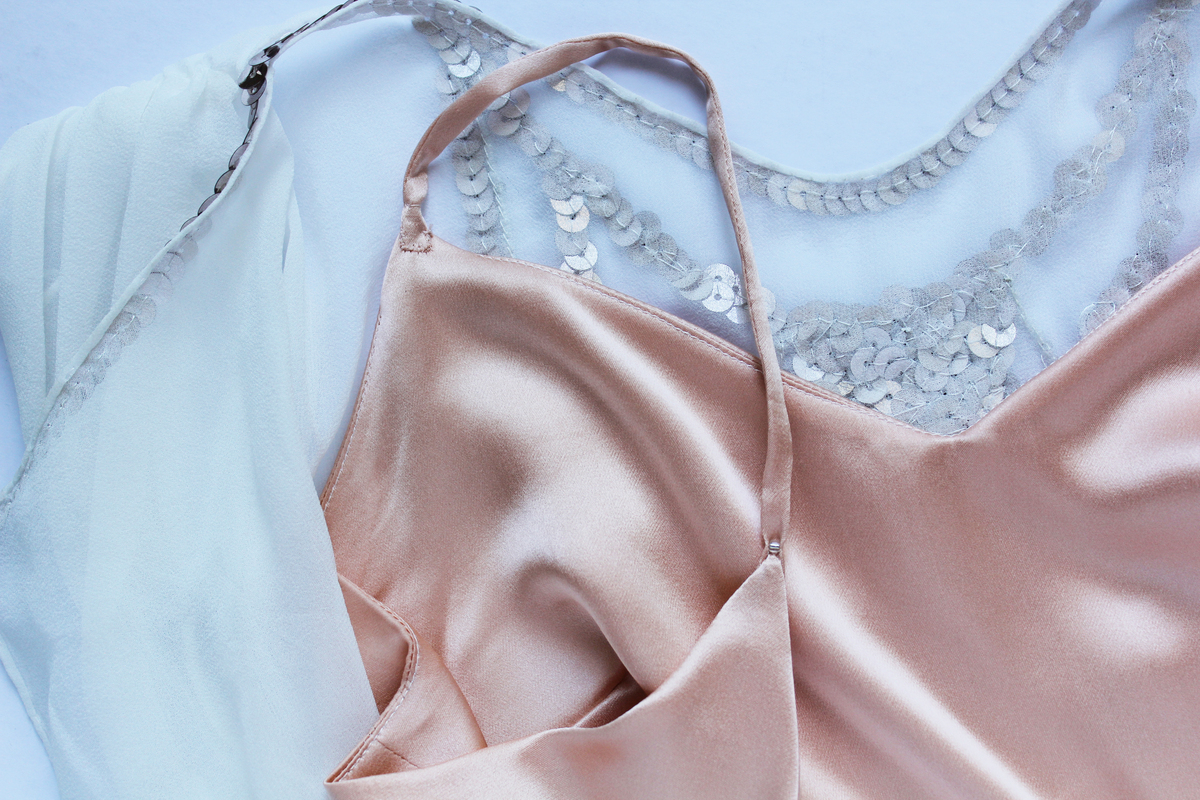
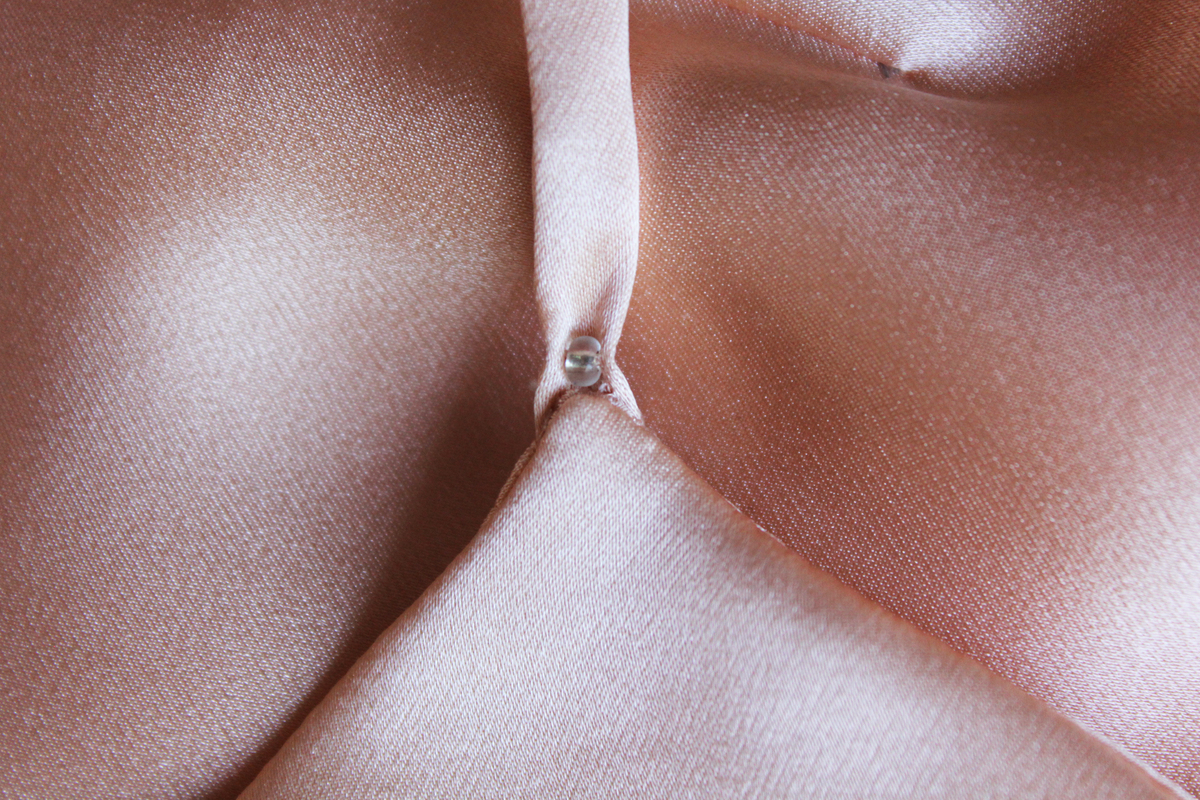
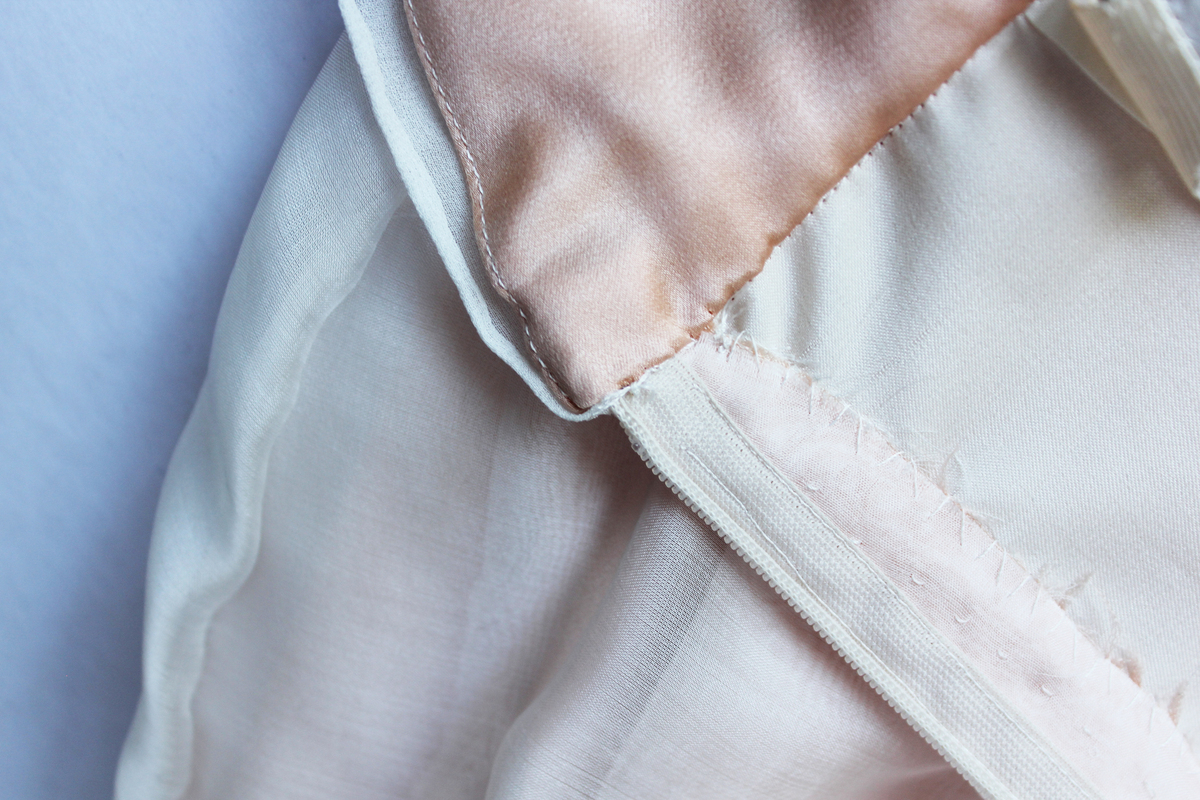
  10. Sew as much by hand as possible. It just looks so much better and gives yourself more control (especially when working with difficult fabrics!)
  11. Keep your hands and floor clean at all times. No chocolate, no coffee nor red wine anywhere near your fabrics or working surfaces. RULE.
  12. You can skip pre-washing if you’re working with delicate fabrics you do not feel too confident about (and if you’re planning on wearing your dress only once).
  13. Find the perfect iron setting using small fabric scraps and mark the setting with a sharpie. Don’t use water/steam when working with silk (= water stains) and make sure the iron is clean (=limestone stains etc).
  14. Put some fabric scraps in your bag or wallet so you have them with you when shopping for matching shoes, accessories, ties, make-up etc. Take scraps of the lining, too an layer the pieces on top of each other, just as they will be when your dress is done. Adding lining and layers might change the appearance of the colour.
  15. Do not put pressure on yourself by telling everyone that you’re making your own dress. Do not eliminate the option of buying a dress, should you start to feel uncomfortable with making one. That’s fine, too. But you have to allow yourself to keep that option in mind. Just because you like to sew, doesn’t mean you have to make your dress yourself!

DIY wedding dress by thisblogisnotforyou.com

I hope you find this helpful! Is there some really important advice that I missed? Let me know in the comments. Also, I’d love to hear about your process of making a wedding dress.

If you want to read more about my dress and all the work that went into our DIY wedding, check out the DIY Wedding category on the right sidebar. There you’ll find a blog series about my wedding dress process.

xx

Charlie


Happy sewing!

facebook/bloglovin/pinterest
twitter/instagram

Stay in touch!

Ultimate Pencil Skirt: Faux Wrap Hack

Faux Wrap Skirt Hack by thisblogisnotforyou.comFaux Wrap Skirt Hack by thisblogisnotforyou.comFaux Wrap Skirt Hack by thisblogisnotforyou.comFaux Wrap Skirt Hack by thisblogisnotforyou.com

Faux Wrap Skirt Hack by thisblogisnotforyou.com

Faux Wrap Skirt Hack by thisblogisnotforyou.com

Faux Wrap Skirt Hack by thisblogisnotforyou.com

ANOTHER WEDDING OUTFIT

Finally I’m sharing this skirt with you! This is easily one of my favourite projects this year. Although I have to admit, that I actually finished this in 2015! I did not get around to wear or blog about it during the last winter.

Luckily, though, because when we got married in May, I needed an outfit for the registry office. I wouldn’t have wanted to wear something I wear all the time, but there wasn’t enough time to sew a whole new outfit amidst all the wedding dress making. I remembered I had this gorgeous pencil skirt number in my closet, patiently waiting for its first outing.

It’s chic but not over the top and matched our wedding colour scheme perfectly. It was only us two plus best man and maid of honor at the registry office, so a big gown would’ve been out of place.

So here it is!

PATTERN. To make this skirt, I basically hacked the SEW OVER IT Ultimate Pencil Skirt. As you know, I have a serious love affair with this pattern, I even based the skirt of my wedding dress on it. So now that I think about it, I got married twice in one weekend, both times wearing a hacked variation of the Ultimate Pencil Skirt. By looking at the skirt, the hack might seem to be quite complicated, which it is not!
I didn’t change the actual pattern, just added to it. The picture below might explain this a bit.

I added an extra layer to the front panel of the skirt and basted both layers together within the seam allowance before sewing front and back together as described in the pattern instructions. To create the asymmetrical faux wrap layer, I traced the front panel and marked the asymmetrical line down the front. It extends the original hem by about 5cm. At the top it sits on the natural waist, so slightly lower than the original pattern piece. I omitted the left front dart. I also added a 5cm hem allowance. Before basting both layers together, I needed to finish all edges of the faux wrap piece. I hemmed it and finished the top with a very narrow waistband. I made holes with a hole punch and eyelets, then sewed on the buckle. (Make sure the waistband is narrow enough to fit through!) After all these steps, I pinned it onto the front panel and constructed the skirt following the original pattern.

Faux Wrap Skirt Hack by thisblogisnotforyou.comFaux Wrap Skirt Hack by thisblogisnotforyou.com

Faux Wrap Skirt Hack by thisblogisnotforyou.com

FABRIC. The fabric got a nice stretch to it, so the skirt is super comfy to wear. For those of you wondering where I got the fabric I have to admit that I’m not entirely sure! It’s a gorgeous floral jaquard which I probably bought in our local fabric store near Munich. I think I remember running home from the fabric store with this beauty and diving into the project at once. I love that skirt so much! I even added a matching lining.

I tested wearing this skirt with some of my warmer sweaters which looked great. So it’ll definitely get some more wear this season!
Faux Wrap Skirt Hack by thisblogisnotforyou.comFaux Wrap Skirt Hack by thisblogisnotforyou.com

WILL I MAKE IT AGAIN? Oh, yes! Definitely! This was such an easy and effective hack! No fitting or muslining required, because I can make this skirt in my sleep by now. It took a bit longer, but it was fun changing up the routine a bit. It’s interesting to look at once you notice that the belt is just decorative.

I might choose a plain colour fabric next time, because I do feel a bit overdressed in this skirt for wearing it to work.

What do you think? Are you making one yourself?

xx

Charlie


Happy sewing!

facebook/bloglovin/pinterest
twitter/instagram

Stay in touch!

Our DIY Wedding

DIY Wedding by Thisblogisnotforyou.com (Click through for more pics & info)DIY Wedding by Thisblogisnotforyou.com (Click through for more pics & info)

DIY Wedding by Thisblogisnotforyou.com (Click through for more pics & info)

DIY Wedding by Thisblogisnotforyou.com (Click through for more pics & info)

DIY Wedding by Thisblogisnotforyou.com (Click through for more pics & info)

DIY Wedding by Thisblogisnotforyou.com (Click through for more pics & info)

OUR DIY WEDDING

When we got married in May we tried to make as many things as possible ourselves. This included most decorations, flowers, music, some of the food and last but not least, my dress (and hair & make-up). This allowed us to create everything exactly as we envisioned it and also save a lot of money. It took a lot of time and nerves. Although we had the help of friends and family, I did most of the projects myself, which was exhausting at times, I’m not gonna lie. So here are some of my favourite DIY projects for our wedding.

*Sorry, this is a very picture-heavy post! I didn’t want to split it up into a couple of posts, so if you have any questions about anything, leave me a comment below!*

DIY Wedding by Thisblogisnotforyou.com

TABLE DECORATIONS

Our wedding venue was a modern barn which didn’t need much decoration, so I could focus on decorating the tables. We went for a rustic, vintage look: burlap, wood, paper, lace and a pastell colour palette.

We and our mums collected jars for a couple of months which I turned into flower vases by decorating them with lace, doilies, twine and burlap. Although I used a couple of different shapes and sizes I tried not to use too many different ones, but collected sets of the same to make it look a bit more consistent. I used the larger ones as centerpieces and smaller ones to fill in gaps and to use as candleholders.

We printed off our drinks list on white card and ordered blank place cards matching our invitations. The handlettering of the placecards took ages, but was a lot of fun. We made the placecard holders from branches, which we sawed to get cylindric pieces of wood (roughly 4x4cm). We then cut slits into the top to stick in the placecards.

The table number I designed with Photoshop and printed them onto white card. I glued pegs onto twigs and put them with the flowers in the centerpiece vases.

DIY Wedding by Thisblogisnotforyou.com

DIY Wedding by Thisblogisnotforyou.com

DIY Wedding by Thisblogisnotforyou.comDIY Wedding by Thisblogisnotforyou.com

FLOWERS

Early on in the planning process I decided to do all the flowers – including my bridal bouquet – myself. (I’m a bit of a control freak I learnt during that time!) It was much more difficult than you’d think to organise the different flowers, because it’s something that has to be done JUST before the wedding. It’s nothing you can tick off weeks before. So that was stressful, because up until the very last day before our wedding I had no idea whether everything would work out the way I wanted. It was sooo much cheaper than having a professional organise everything, though.

So this is what we did: I ordered blush pink and white roses and well as baby’s breath from a local flower shop which we picked up the day before the wedding. Since we only had to pay for the loose flowers, it wasn’t too expensive. It was much more complicated with the hydrangeas. They’re pretty expensive if you get them in a flower shop and they wilt VERY quickly if you’re not careful.

DIY Wedding by Thisblogisnotforyou.com

In the end I decided to get potted hydrangeas from a garden centre and cut them the night before the wedding. I had practised all the bouquet-binding and vase-filling a couple of weeks before, but filling between 30 and 40 vases took A LOT of time. We spent the night before the wedding in our hotel room with the Mr’s best man, the whole room covered in roses, hydrangea pots, greenery and boxes full of jars and other decorations. THAT was exciting. Luckily we had some wine to calm my nerves. I think we finished 1.45 AM, which is not a good thing if you’re getting married in the morning. It was worth it anyway. Thinking back, the flowers are one of my absolute favourite things to remember from that day.

DIY Wedding by Thisblogisnotforyou.comDIY Wedding by Thisblogisnotforyou.comDIY Wedding by Thisblogisnotforyou.com

BRIDAL BOUQUET

I used blush pink hydrangeas (about five large heads), baby’s breath, and pink roses in two different sizes. I created the bouquet shape by first binding together the hydrangeas with florist’s tape. Then I stuck the baby’s breath in, again, fixing everything with tape. After that I did the same with the large and then the smaller roses. I bound the stems with peach satin ribbon and some pins.

DIY Wedding by Thisblogisnotforyou.com

CANDY BAR

One of the best things to organise was our Candy Bar. I left the ordering of sweets to my mum in law who’d outdone all our expectations by getting us about 18kg of mostly gummi bears and other jelly candy. It was crazy awesome. For the candy bar I made paper bunting from doiles and ordered paper bags and tiny ice-cream shovels. The candy jars are from IKEA for the most part.

DIY Wedding by Thisblogisnotforyou.comDIY Wedding by Thisblogisnotforyou.comDIY Wedding by Thisblogisnotforyou.comDIY Wedding by Thisblogisnotforyou.com

OTHER PROJECTS

Here are some other DIY projects I did: some activities for the guests such as a lottery, alternative guestbooks, a photo booth backdrop made from napkin pompoms, a confetti basket and more. It was so much fun to get inspired, create and make up new ideas for projects in the months before the wedding. I’m almost sad I won’t be doing that anymore!

DIY Wedding by Thisblogisnotforyou.com

DIY Wedding by Thisblogisnotforyou.com

We asked our grandmas and mums to bake the cakes for the day. They came up with a massive amount of different cakes, cupcakes and pies, it was incredible!DIY Wedding by Thisblogisnotforyou.comDIY Wedding by Thisblogisnotforyou.com

DIY Wedding by Thisblogisnotforyou.com

These garden decorations are simply Regolit lampshade from IKEA (2.95€ each) to which I tied long strips of scrap fabrics.

I also made our ring pillow from some scrap wedding dress fabric and made a case for it from an antique book which I bought on the holiday during which we got engaged last summer.DIY Wedding by Thisblogisnotforyou.comDIY Wedding by Thisblogisnotforyou.comDIY Wedding by Thisblogisnotforyou.comDIY Wedding by Thisblogisnotforyou.com

OUR WEDDING CAKE

One of my favourite DIYs of the day wasn’t done by me. I asked my sister, who’s very talented when it comes to baking, to make our wedding cake. I wanted to have a ‘naked cake’ decorated with fruit and flowers, and what she came up with really outdid all our expectations:

DIY Wedding by Thisblogisnotforyou.comDIY Wedding by Thisblogisnotforyou.comDIY Wedding by Thisblogisnotforyou.com

DIY wedding dress by thisblogisnotforyou.com

It was a perfect day and we had so much fun preparing for it and now sorting through all the photos taken on that day.

Wow, that was a lot of pictures! Well done, you, if you were patient enough to stick through to the end! If you have any questions about any of these projects let me know in the comments!

xx

Charlie


Happy sewing!

facebook/bloglovin/pinterest
twitter/instagram

Stay in touch!

DIY Bridesmaids Gift: Bridal nail polish earrings


DIY bridesmaids gift: earrings in bridal nail polish colour. (Click through for tutorial)DIY bridesmaids gift: earrings in bridal nail polish colour. (Click through for tutorial)
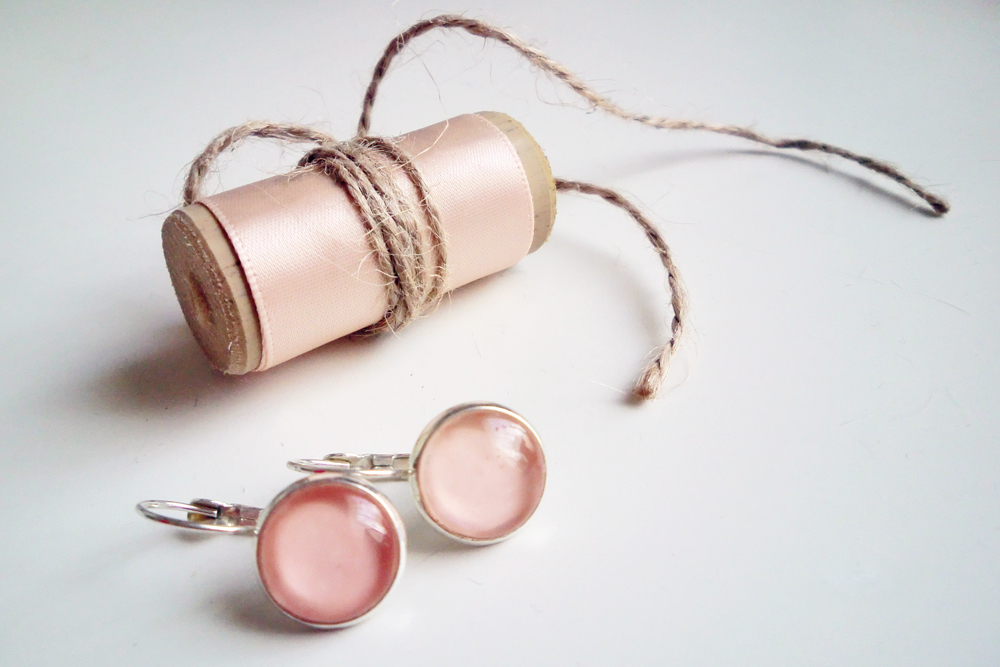
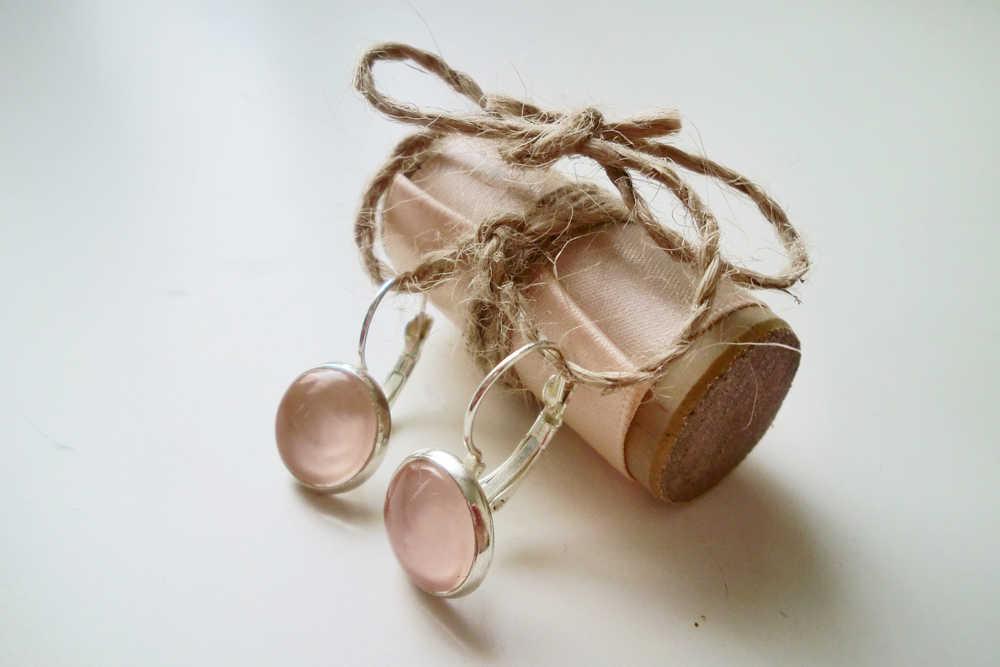
This is a super simple but also super cute and personal DIY project for all brides-to-be!

I spend my hen do with my sisters and BFF at a spa hotel and wanted to give them a little something to say thanks. I also wanted the gift to be a little personal, something that would remind them of the fun weekend we had just before the big day.

Jewellery is always a good choice, and to add a personal and wedding-related touch, I chose to make the earrings in the colour of my bridal nail polish.

I wore “Worth The Wait” from Essie’s bridal nail polish collection, which matched my blush pink dress perfectly. DIY bridesmaids gift: earrings in bridal nail polish colour. (Click through for tutorial)
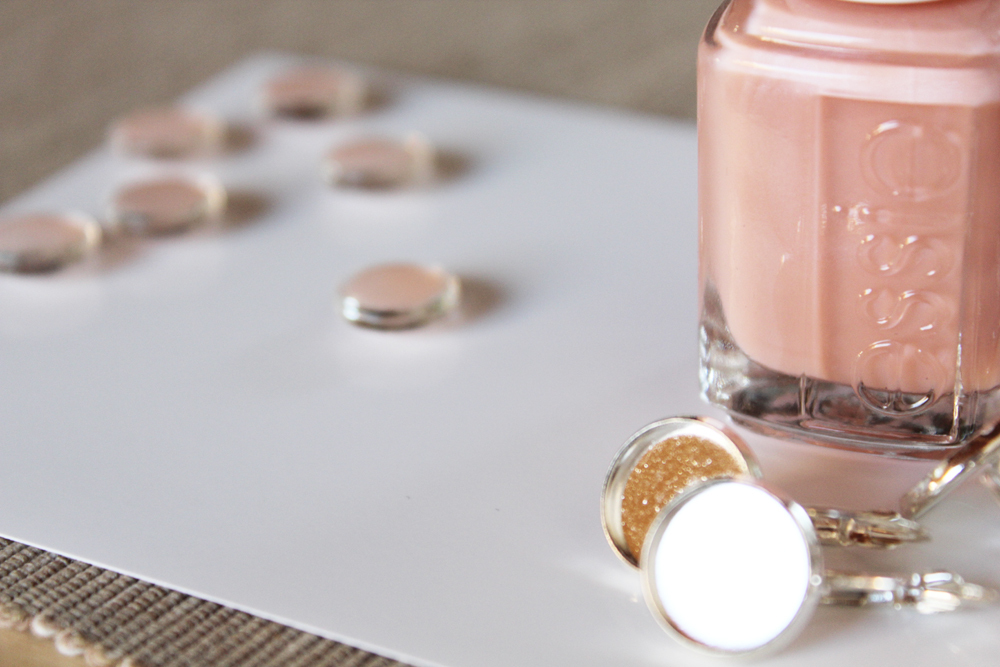
The project is super quick and easy. You’ll need earring settings (which you can order online on Etsy or Dawanda) and glas cabochons. I got mine from Average Pony and they’re really cheap.

I painted the back of my glas cabochons with two coats of nail polish and left them to dry. Once the colour was set, I used E-6000 glue to glue the glas stones into the settings. You really only need a tiny drop of glue. The glue dries within a few seconds. It’s very strong, so make sure you’re careful with the positioning.

Eh, voila! Done! It’s that simple.

DIY bridesmaids gift: earrings in bridal nail polish colour. (Click through for tutorial)

I used some wine corks and satin ribbon to have something to attach the jewellery to and it looked super cute! The ladies loved their gifts, and lucky me, all had matching dresses to wear that night.

DIY bridesmaids gift: earrings in bridal nail polish colour.

So if you’re looking to make something personal for your bridesmaids or friends, this is the perfect project to try!

I’ve made other jewellery using glas cabochons before. For more ideas check out this post about how to use paper and prints to back the glas stones.

xx Charlie


Happy jewellery making!

facebook/bloglovin/pinterest
twitter/instagram

Stay in touch!

Wedding Accessories: DIY Floral Hair Comb

DIY Floral Bridal Hair Comb by thisblogisnotforyou.com
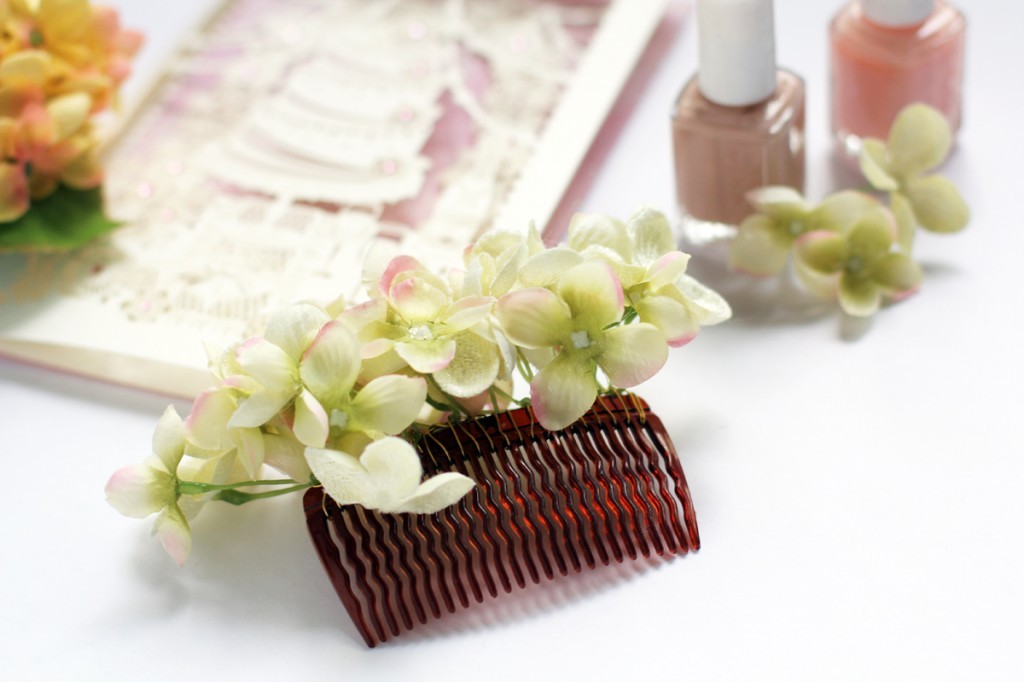
Our wedding was almost 100% DIY, and so was my hair and make-up and some of the accessories. I did not want to wear a veil, but wanted some sort of bridal hair accessory matching our theme and my dress.

So today, I’m sharing a super quick and easy wedding DIY and will show you how I made a floral hair comb in just a few minutes. You can make one for yourself or your bidesmaids or one just to wear to the next summer garden party.

I did my hair myself, so I needed an accessory that was easy to put in/take out/adjust. The hair do is based on the “Double Gibson” – I found a really nice tutorial on The Freckled Fox blog. I had planned to take more time to practise the hair do properly, but as it goes with wedding preparations, there was never enough time to do anything properly, so I had to wing it on the big day.DIY wedding dress by thisblogisnotforyou.com
DIY Floral Bridal Hair Comb by thisblogisnotforyou.com
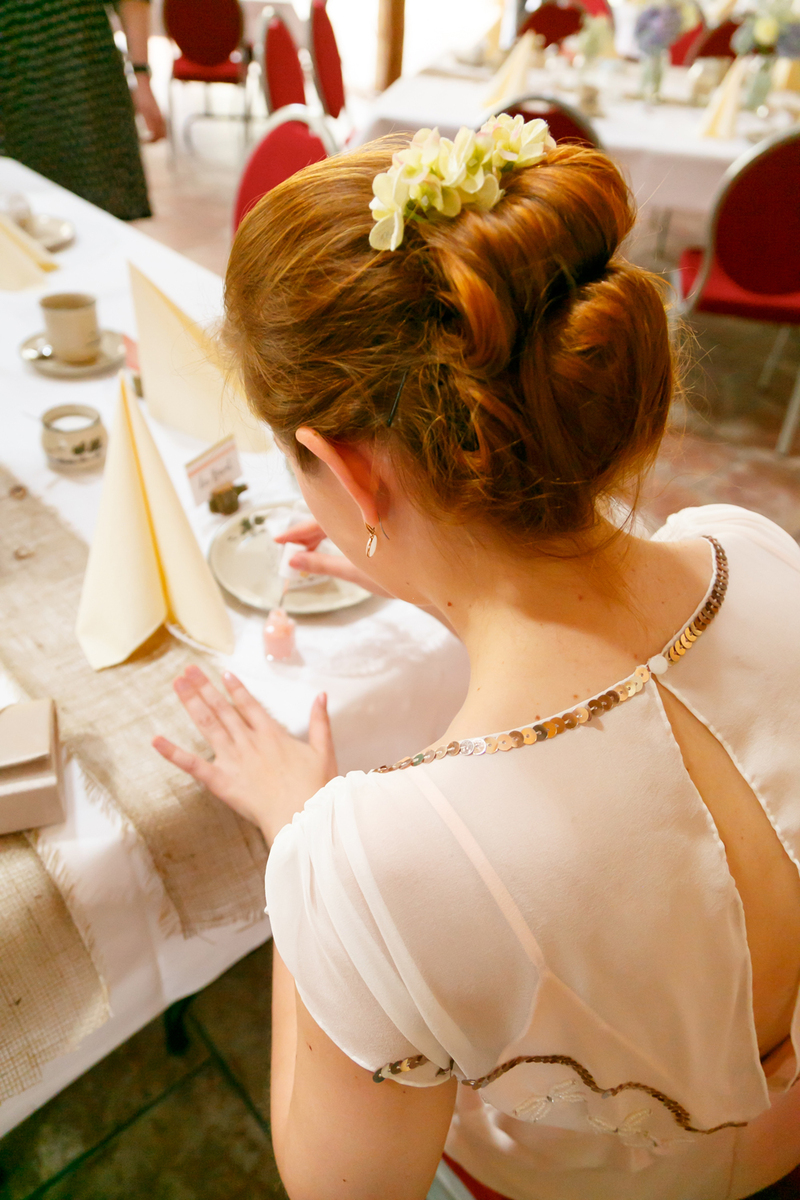
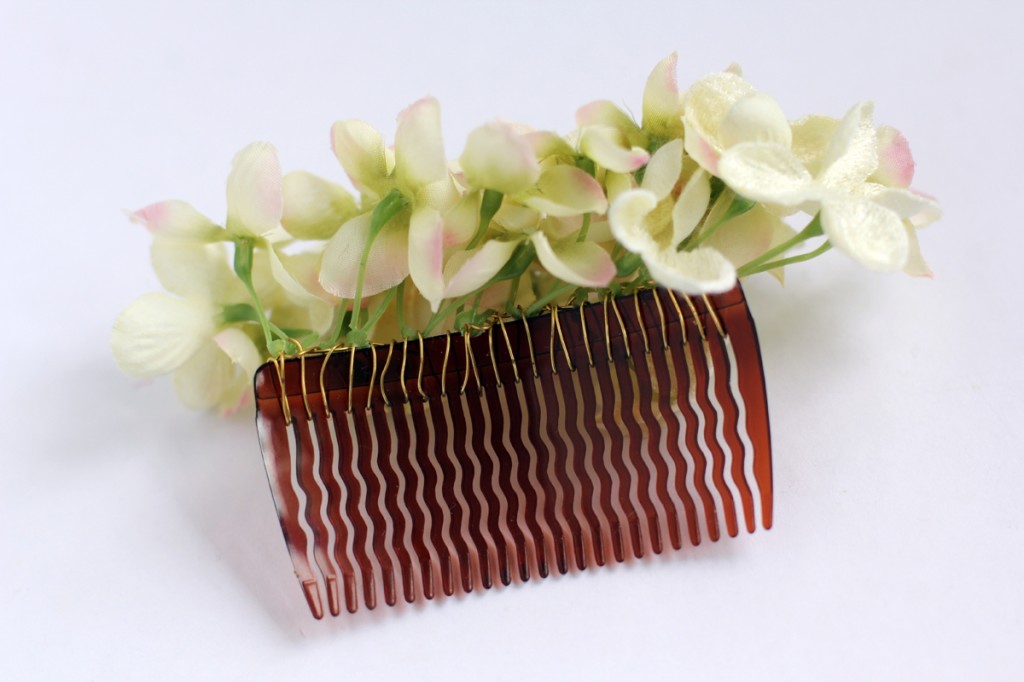
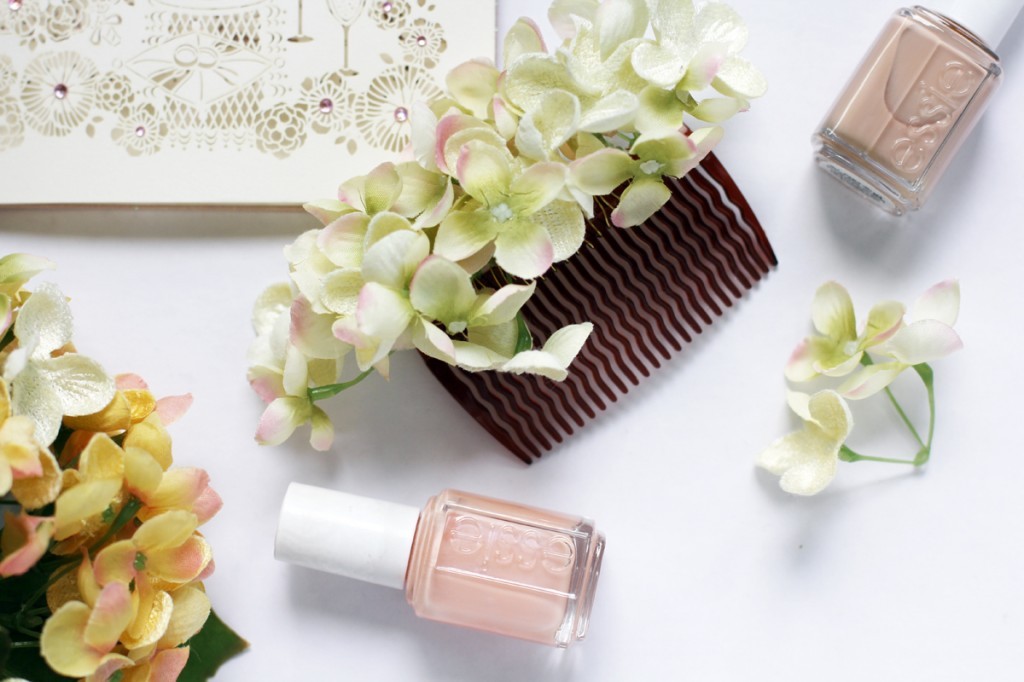
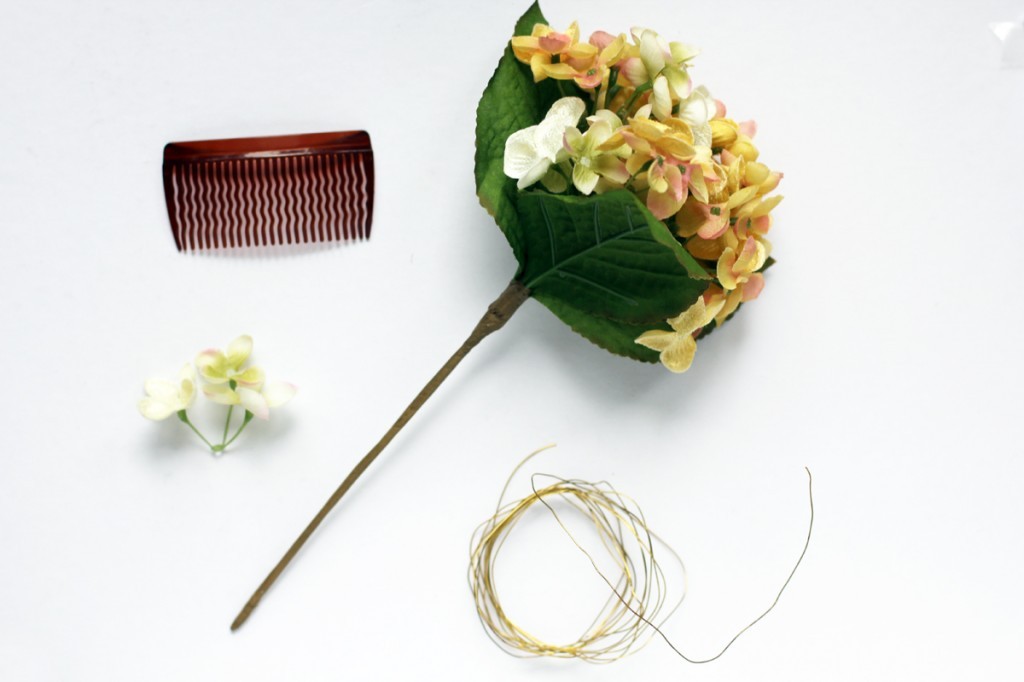
All you really need for this is a hair comb (you get them really cheap at almost every drug store), some artificial (or real) flowers and some fine gold wire.

I bought artificial hydrangea, same as my bouquet flowers. It’s a bit tricky to find hydrangea that doesn’t look too tacky, but I noticed that it’s not that obvious once it’s in your hair. Here you can see the different colours I got, but I only used the ivory/green ones in the end.

DIY Floral Bridal Hair Comb by thisblogisnotforyou.com
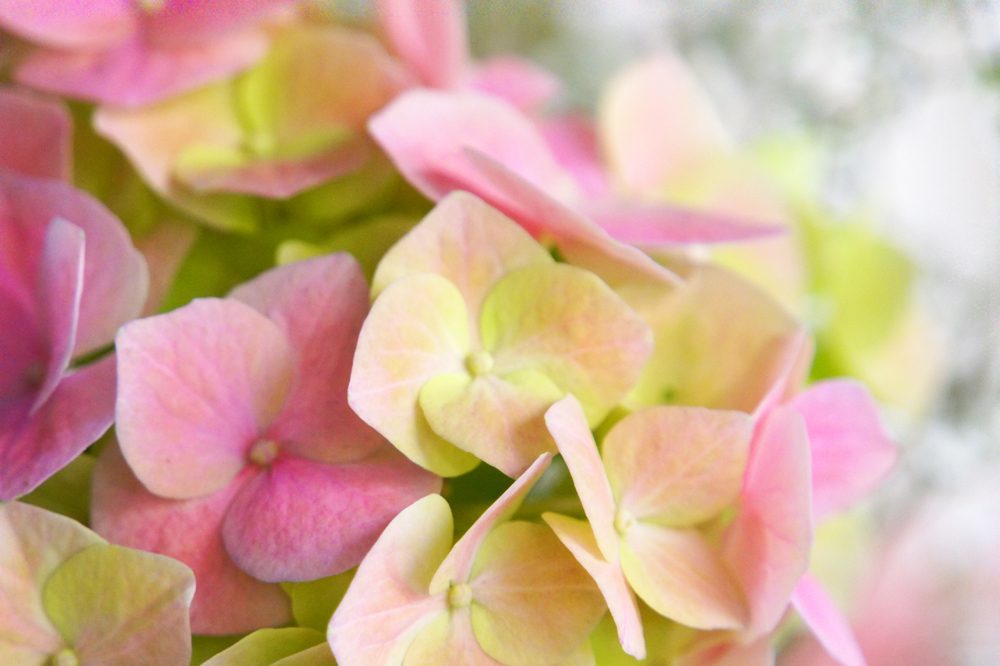
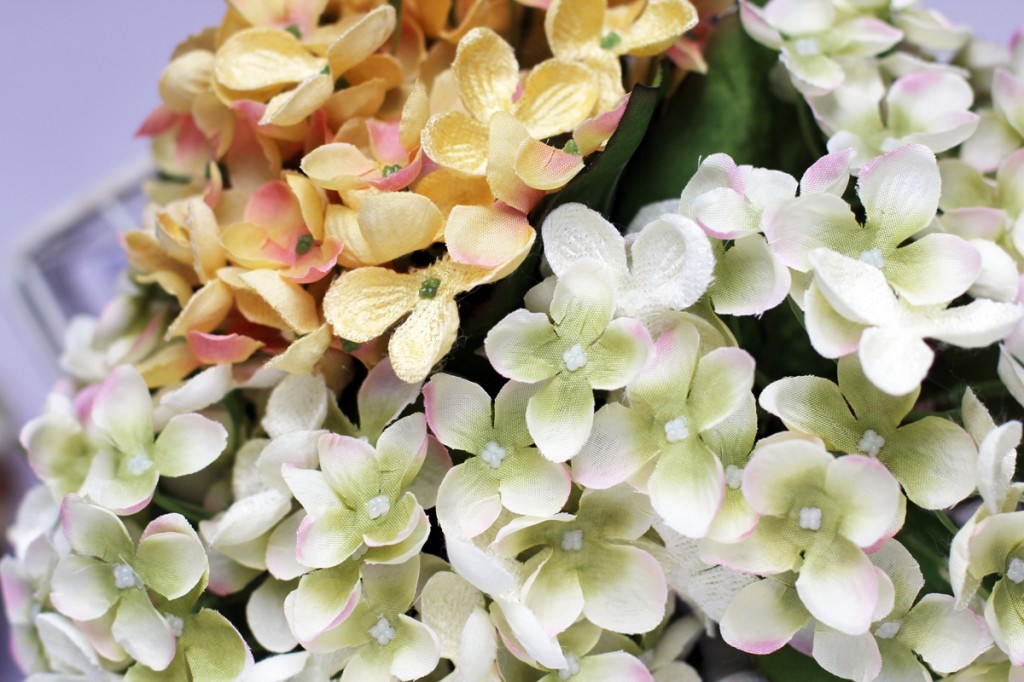
Take the wire and wrap it around the comb once or twice starting at one side to secure it in place. Separate the smaller bouquet from the plastic stems of your artificial flower. You can use the tiny holes at the bottom to pull through the wire. If you are using real flowers, leave the stems a bit longer so the wire can get a proper hold on them. I wouldn’t recommend using real hydrangea blooms because they need to stay hydrated and wilt very quickly.

I wrapped the wire around the comb once after each tooth and added a bouquet consisting of three blossoms after every second tooth.DIY Floral Bridal Hair Comb by thisblogisnotforyou.com
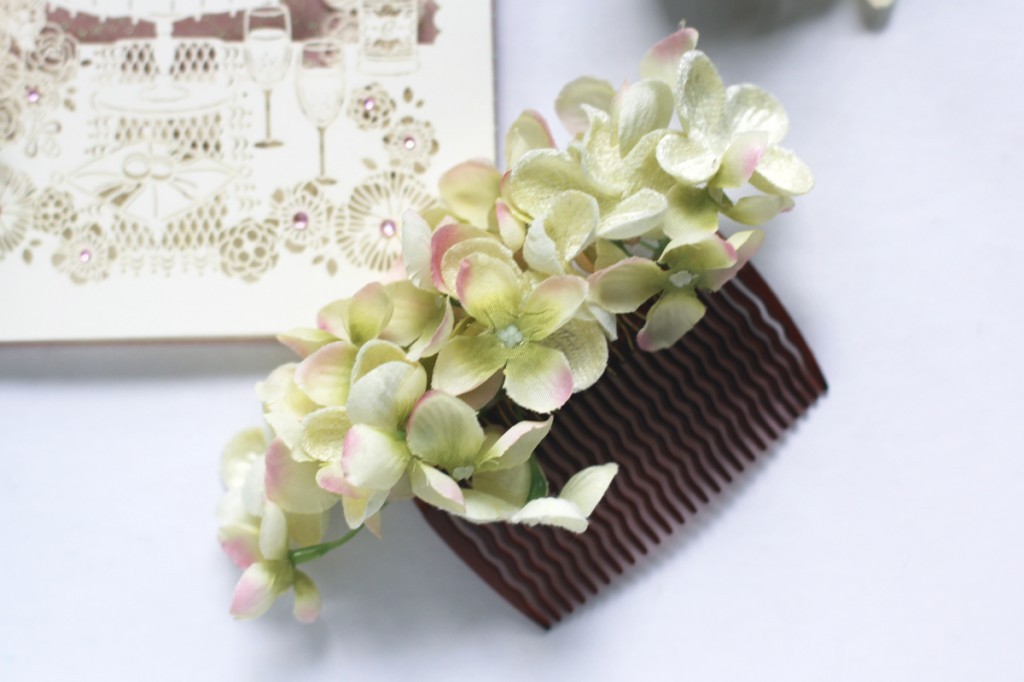
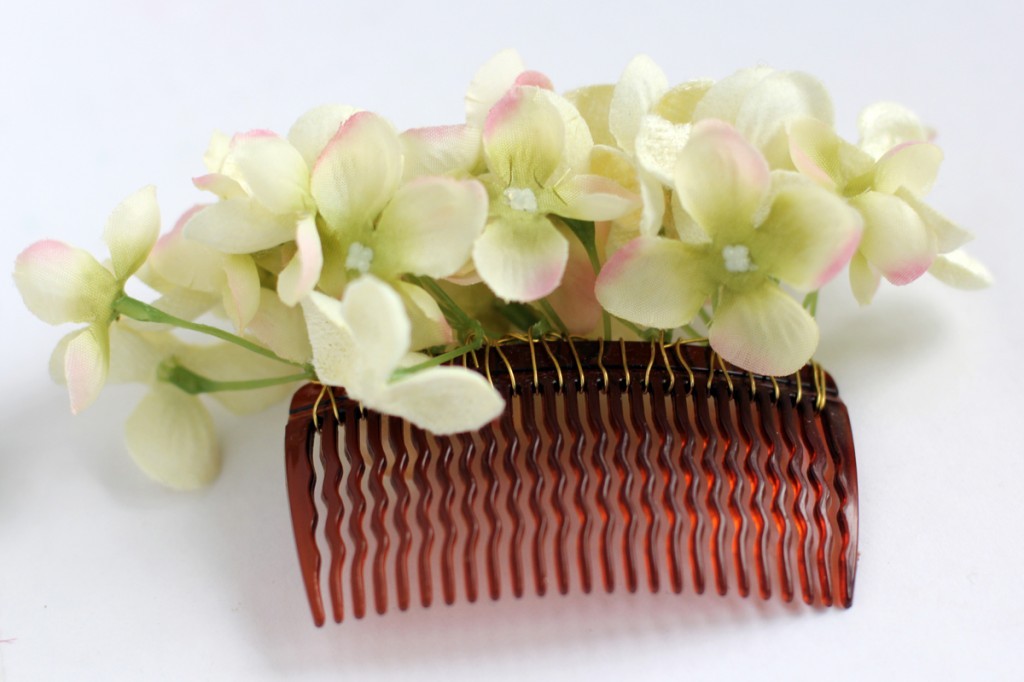
Here’s a pic of the front and back. You cannot see either comb or wire once it’s in your hair. Feel free to add as many blossoms as you like and mix them up if you want to. I had to play around a bit until I got it right for my taste. Using a wire makes it easier to adjust things as you go and you won’t burn real flower as you would with a glue gun.

With artificial flowers you could obviously also use a glue gun, especially if the blossoms don’t come in small bouquet.
DIY Floral Bridal Hair Comb by thisblogisnotforyou.comDIY Floral Bridal Hair Comb by thisblogisnotforyou.com

So quick and easy, but very effective. It would also make a nice accessory for your summer hair dos. What do you think? 

xx

Charlie


Happy sewing!

facebook/bloglovin/pinterest
twitter/instagram

Stay in touch!