
 Our wedding was almost 100% DIY, and so was my hair and make-up and some of the accessories. I did not want to wear a veil, but wanted some sort of bridal hair accessory matching our theme and my dress.
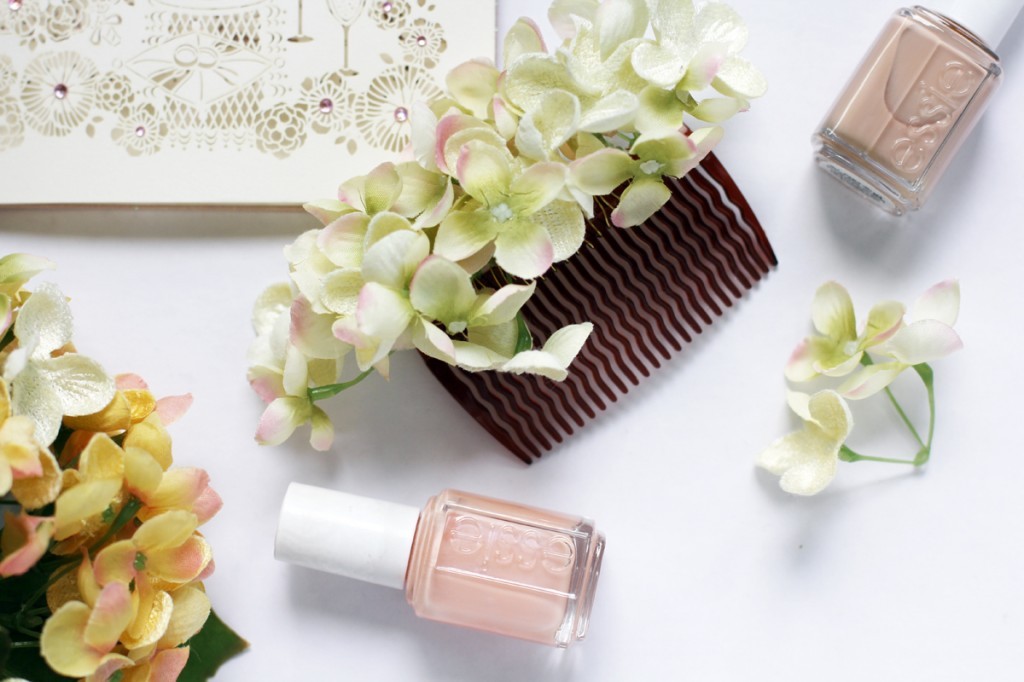
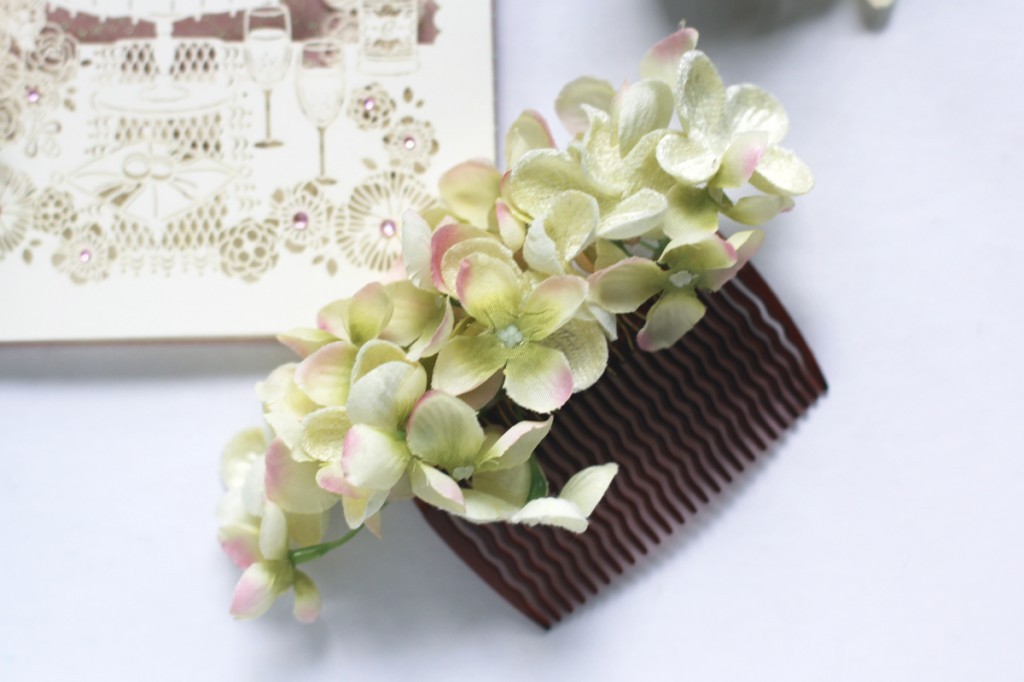
So today, I’m sharing a super quick and easy wedding DIY and will show you how I made a floral hair comb in just a few minutes. You can make one for yourself or your bidesmaids or one just to wear to the next summer garden party.
I did my hair myself, so I needed an accessory that was easy to put in/take out/adjust. The hair do is based on the “Double Gibson” – I found a really nice tutorial on The Freckled Fox blog. I had planned to take more time to practise the hair do properly, but as it goes with wedding preparations, there was never enough time to do anything properly, so I had to wing it on the big day.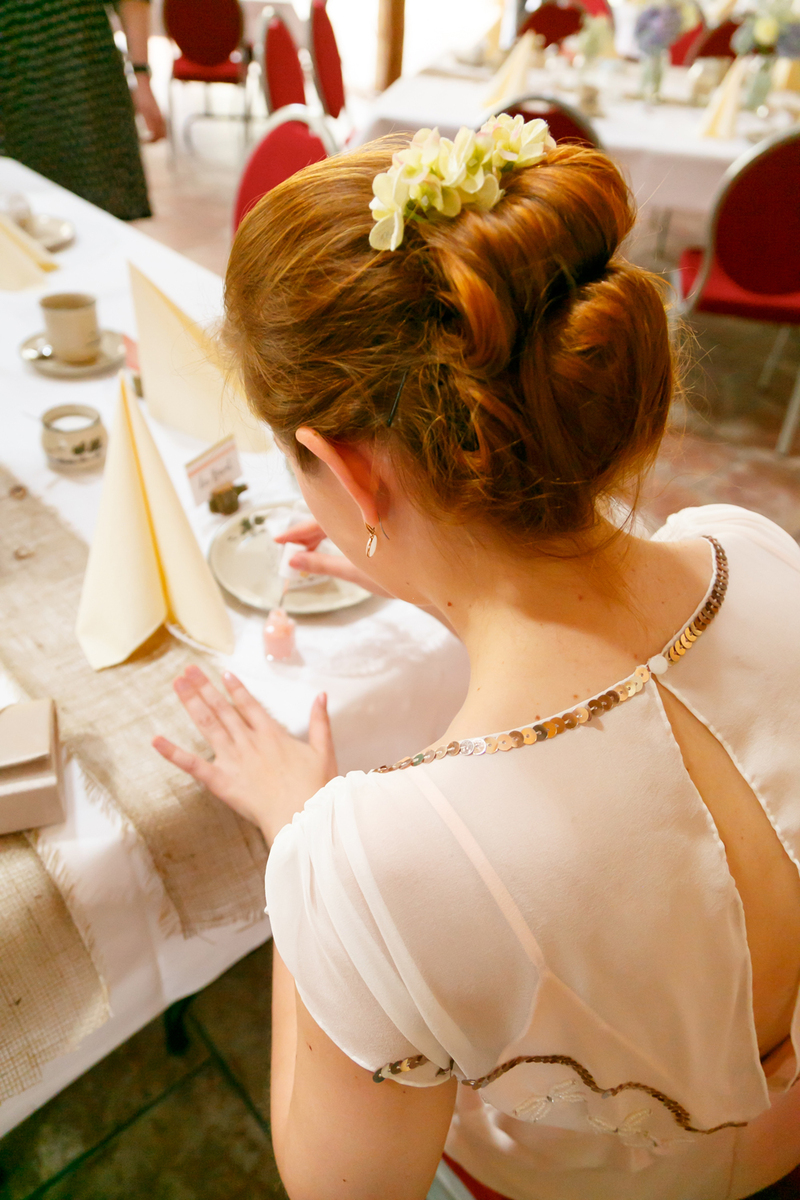
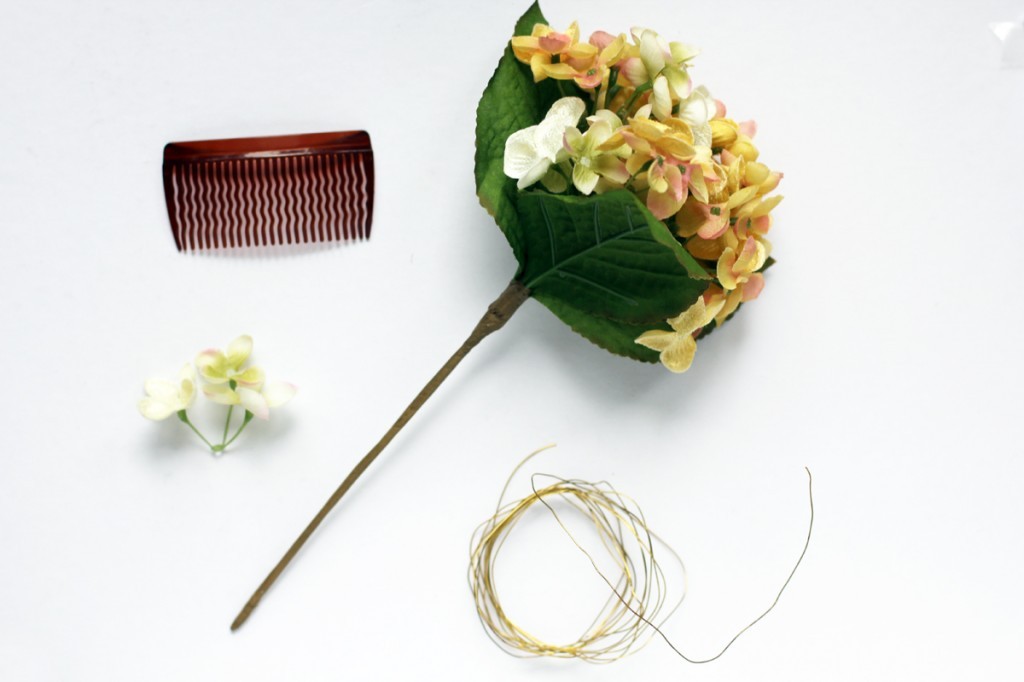 All you really need for this is a hair comb (you get them really cheap at almost every drug store), some artificial (or real) flowers and some fine gold wire.
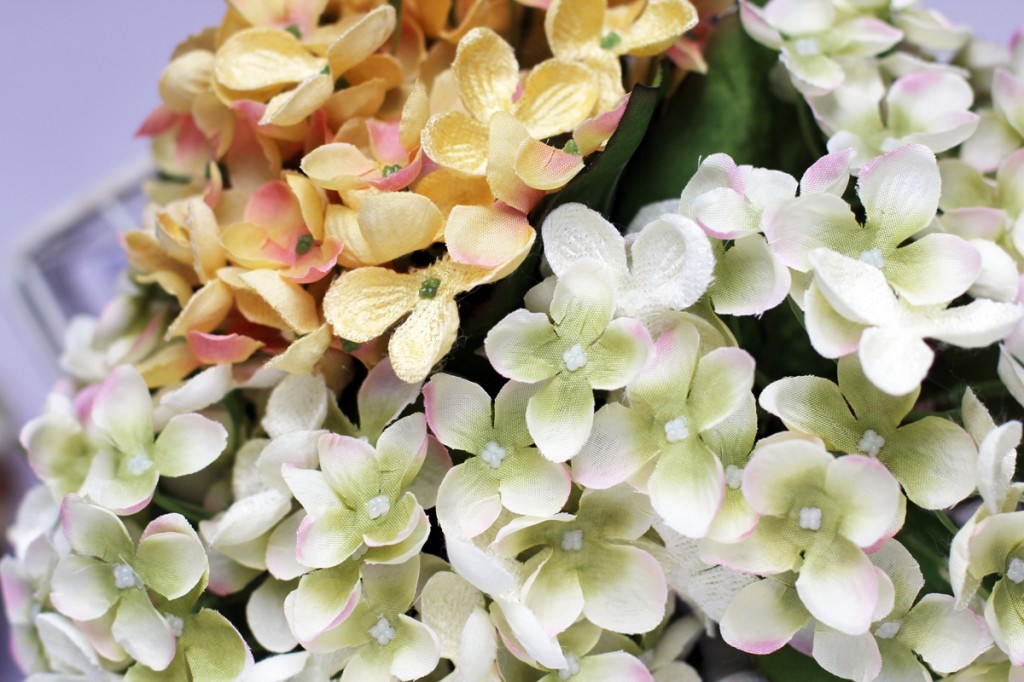
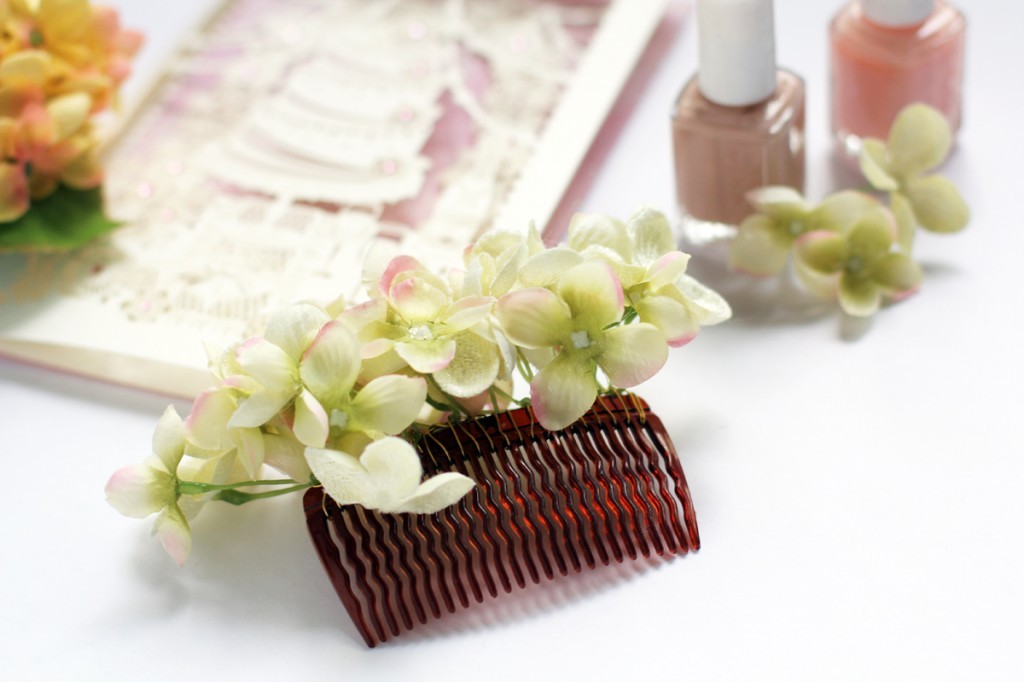
I bought artificial hydrangea, same as my bouquet flowers. It’s a bit tricky to find hydrangea that doesn’t look too tacky, but I noticed that it’s not that obvious once it’s in your hair. Here you can see the different colours I got, but I only used the ivory/green ones in the end.
 Take the wire and wrap it around the comb once or twice starting at one side to secure it in place. Separate the smaller bouquet from the plastic stems of your artificial flower. You can use the tiny holes at the bottom to pull through the wire. If you are using real flowers, leave the stems a bit longer so the wire can get a proper hold on them. I wouldn’t recommend using real hydrangea blooms because they need to stay hydrated and wilt very quickly.
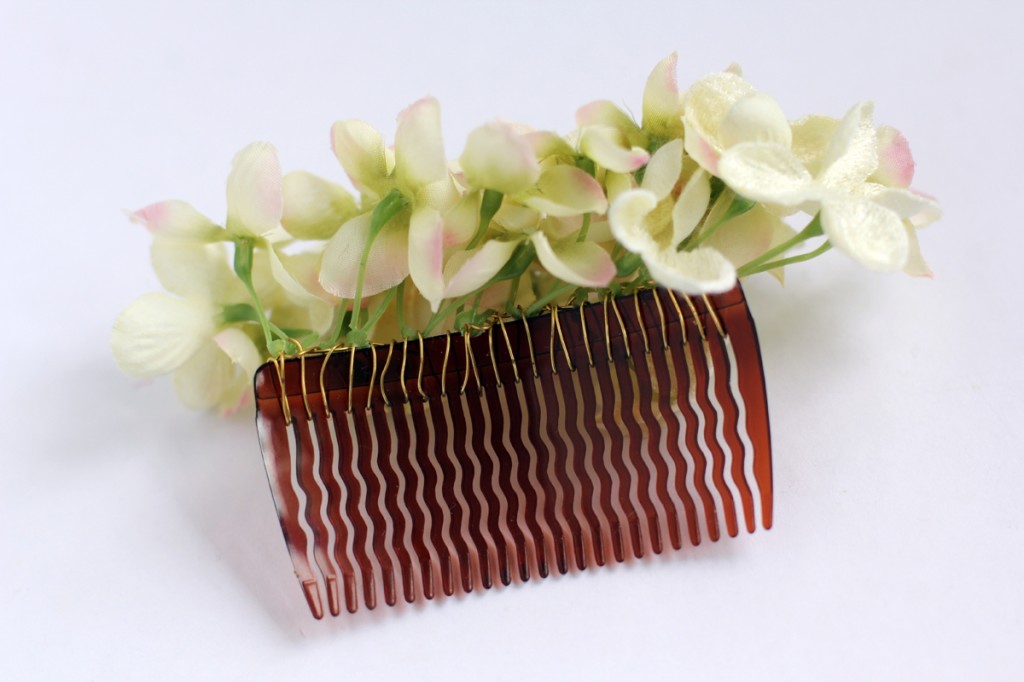
I wrapped the wire around the comb once after each tooth and added a bouquet consisting of three blossoms after every second tooth.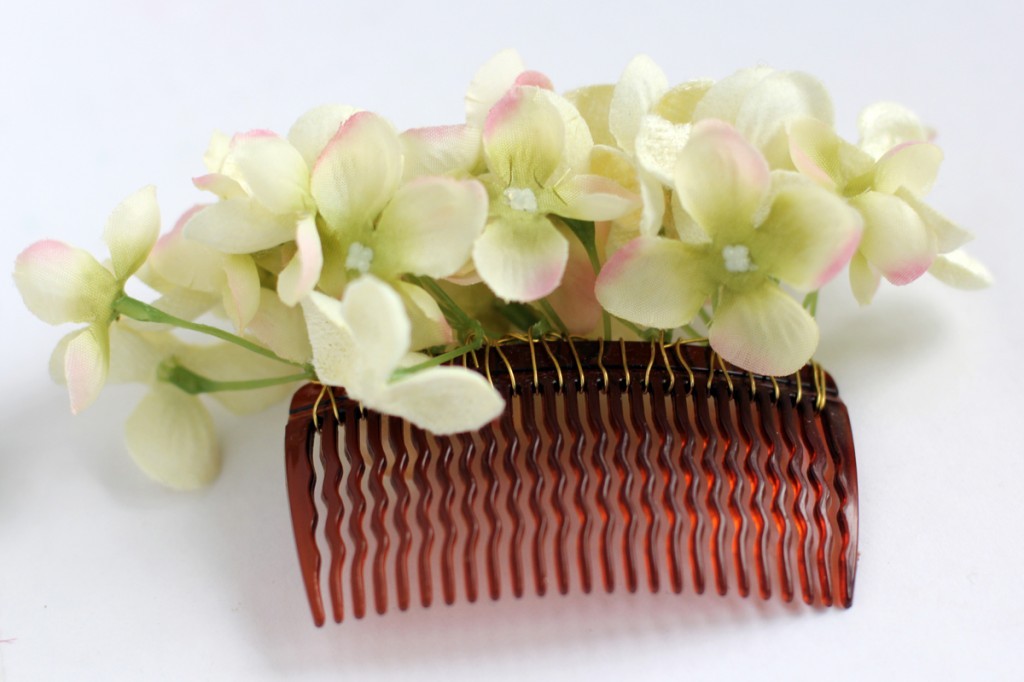 Here’s a pic of the front and back. You cannot see either comb or wire once it’s in your hair. Feel free to add as many blossoms as you like and mix them up if you want to. I had to play around a bit until I got it right for my taste. Using a wire makes it easier to adjust things as you go and you won’t burn real flower as you would with a glue gun.
With artificial flowers you could obviously also use a glue gun, especially if the blossoms don’t come in small bouquet.
So quick and easy, but very effective. It would also make a nice accessory for your summer hair dos. What do you think?
xx
Charlie
Happy sewing!
♥
facebook/bloglovin/pinterest
twitter/instagram
Stay in touch!
Beautiful and looks so simple, I will be on the look out for some of these bits to have a go myself. Loving seeing the homemade bits.
I was looking online for a flower comb to wear on my wedding day and couldn’t find anything that worked with the look I wanted and my budget ($100+ for an accessory??? No thank you!) I found your tutorial and decided to give it a shot once I found some silk ranunculus and anemones at Michael’s. I also added some eucalyptus and it all cost me around $10. It only took me about 20 minutes and it looks amazing! It was SO easy! Thank you for making me believe this craft was possible!
Amazing ! My sister is getting married next month and we were just looking for some hair styling comb to use on her wedding day. But now I’m going to make this flower comb and give her. Definitely she would love it. Thanks for sharing this tutorial so nicely.