Make Zero Waste Reusable Cotton Pads from Recycled Towels!

Zero Waste Reusable Cotton Pads tutorial by thisblogisnotoforyou.comZero Waste Reusable Cotton Pads tutorial by thisblogisnotoforyou.comZero Waste Reusable Cotton Pads tutorial by thisblogisnotoforyou.comZero Waste Reusable Cotton Pads tutorial by thisblogisnotoforyou.com

Reducing waste with ecoconscious DIYs

I can’t tell you how excited I am about this little Sunday morning project! I’ve been trying to incorporate more and more Zero Waste strategies in our daily routine and be more conscious about waste reduction in my shopping decisions. Talking to my friend the other day, I told her that I’d heard about washable cotton pads and whether that wasn’t a bit too out-there to try. She laughed and said she just bought some on Amazon the other day and loved them. I loved the simplicity of the idea but was shocked how much money a bunch of terrycloth cotton pads cost online.

This is why I made my own recycling an old white towel. This was so simple and easy, it’s absolutely mind-blowing. I never thought of this before seeing the ready-made ones in shops. And you know what? You can make your own, too! Here’s how simple it is:

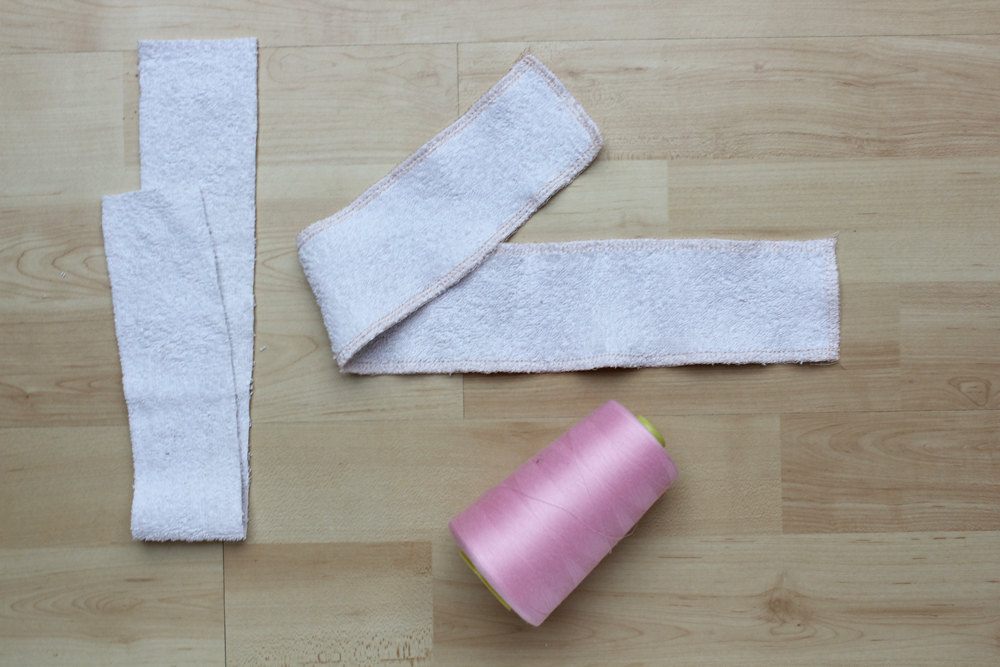
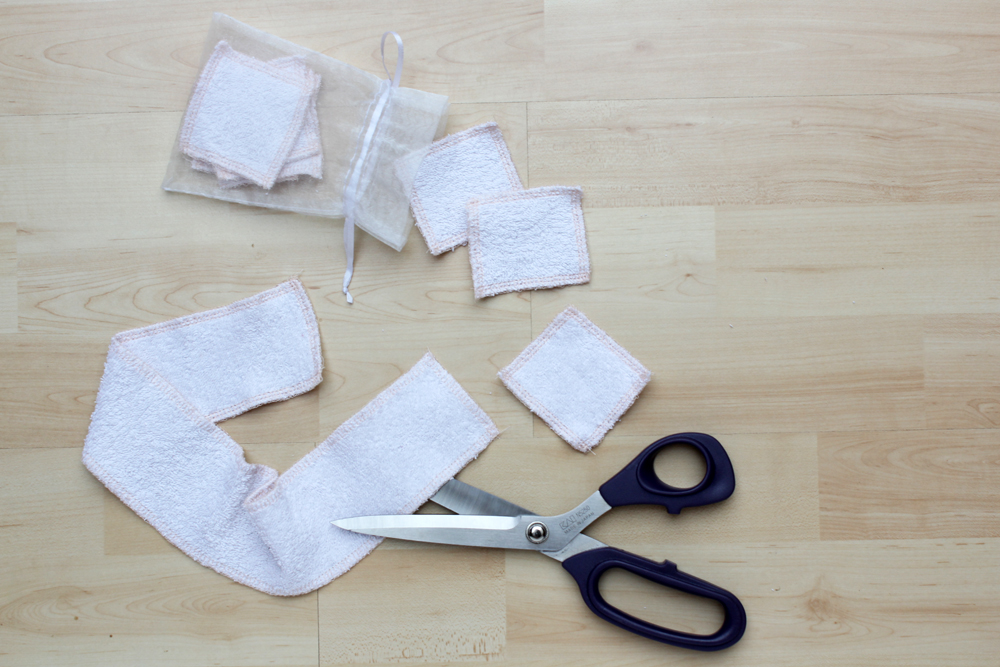
Materials: old towel or wash cloth, organza bag, scissors, overlocker & thread (or zigzag stitch)
Duration: 5 Minutes
Costs: Zero
Benefits: no waste, no more costs, recycling old materials

Zero Waste Reusable Cotton Pads tutorial by thisblogisnotoforyou.com

Instructions

As you can see, you need just very few materials for this project. By the way, if you do not have an overlocker, you can also use a simple zigzag stitch on your machine to keep the fabric from fraying. It’s a bit slower, but works just as well.

First, I cut off the woven edges of my towel. This is really optional. If you’re feeling a bit lazy and don’t mind looks too much, you can keep them and save yourself some overlocking time of those edges. The fastest way to do the overlocking is by cutting long strips of your towel and overlock these before cutting them into smaller rectangles. Finish all four sides and you’re done! It’s that easy.

Zero Waste Reusable Cotton Pads tutorial by thisblogisnotoforyou.comZero Waste Reusable Cotton Pads tutorial by thisblogisnotoforyou.comZero Waste Reusable Cotton Pads tutorial by thisblogisnotoforyou.com

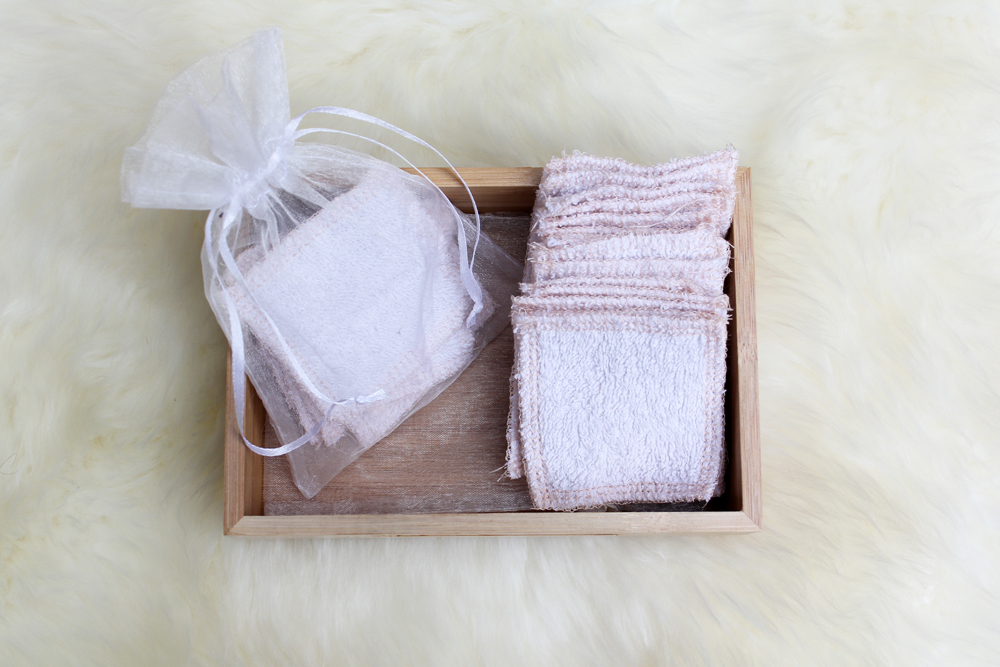
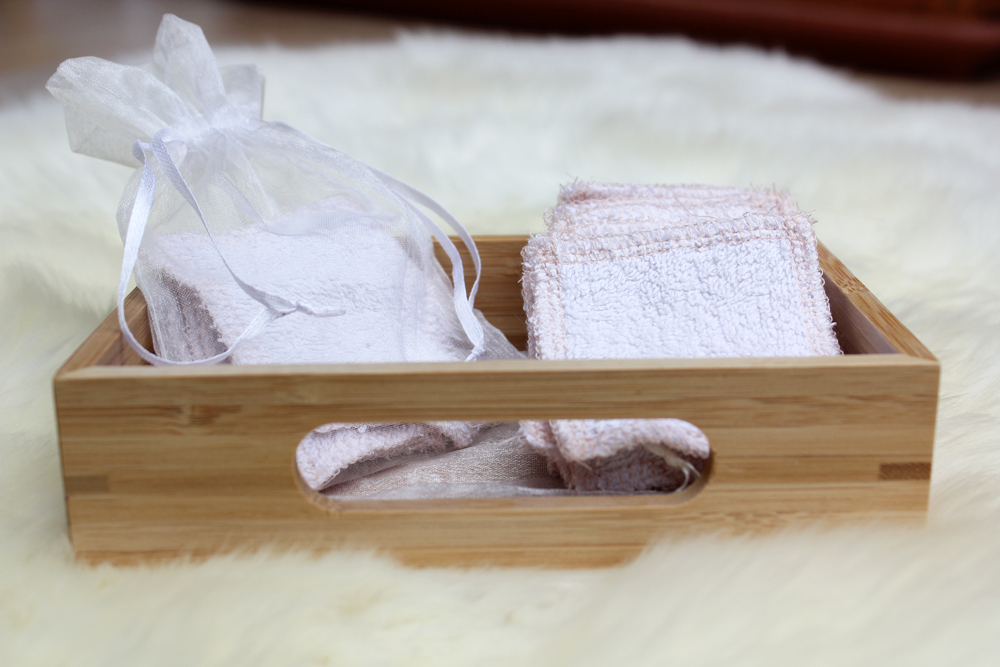
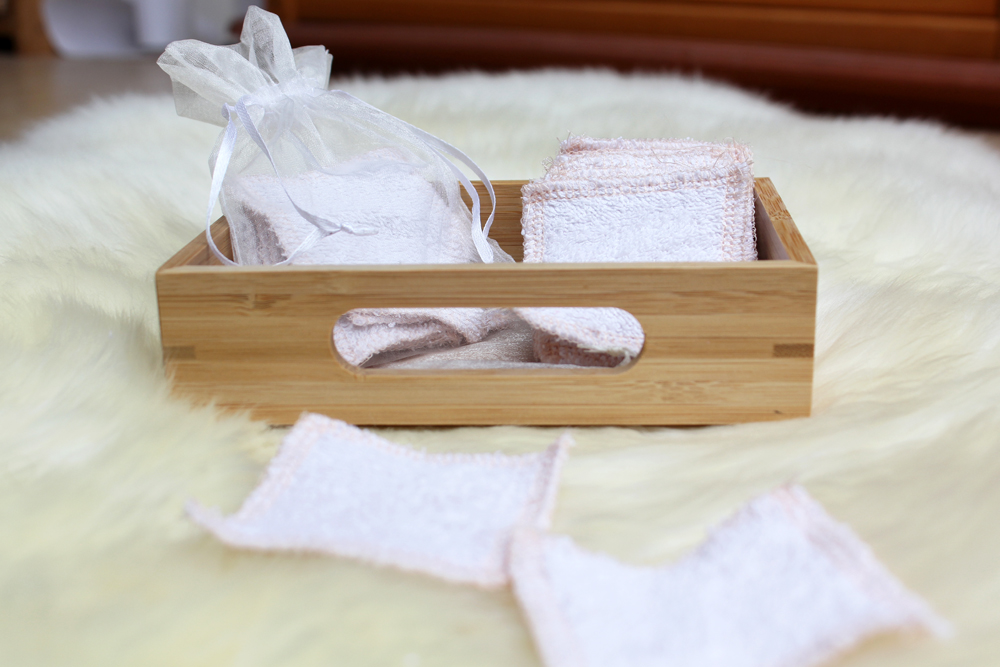
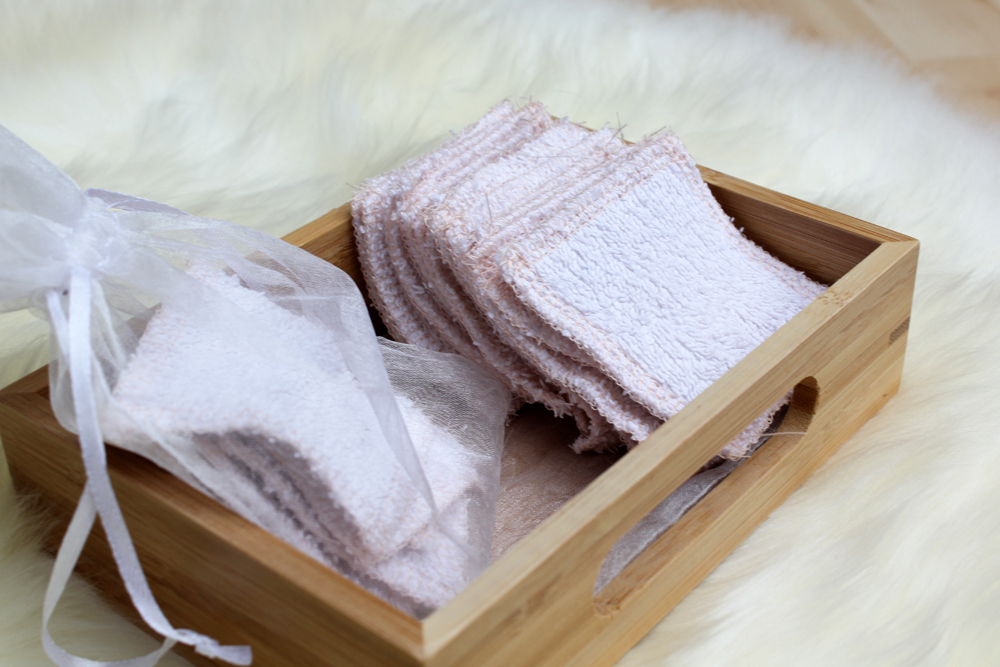
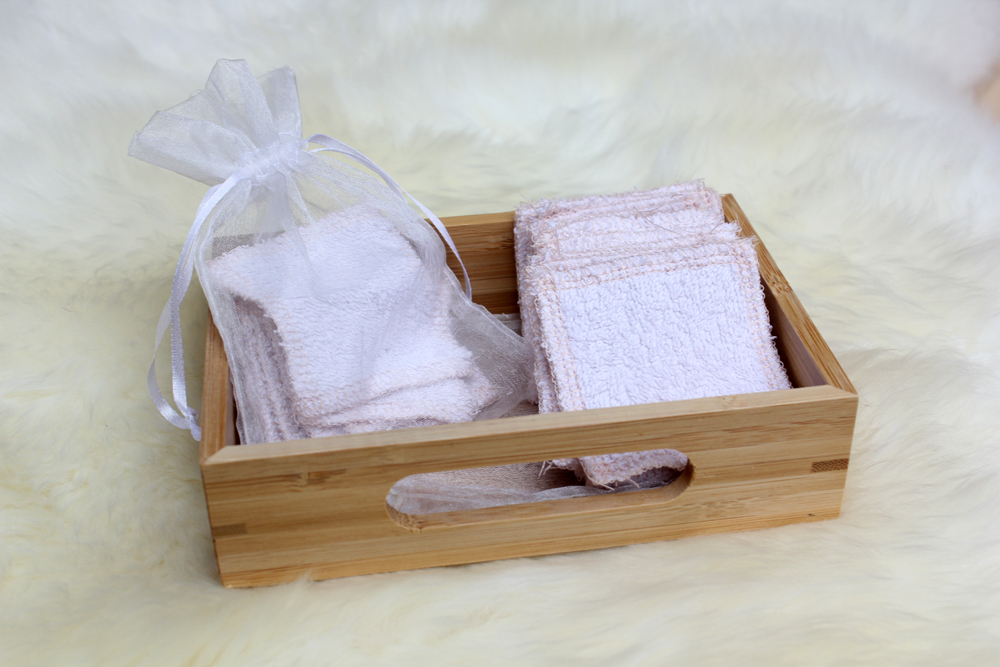
You will need a little organza or cotton bag to put the used pads in. Just let them sit in the bag and throw it in with your next wash. The bag also keeps the pads together in the washing machine. I found a cute wooden tray (IKEA) to put my new cotton pads in and it looks really pretty in the bathroom now! You could also just use a little box or porcelain plate to keep them together and keep them clean. Just as your towels, you can wash these with up to 95Ā°C. If you use them dry on your clean skin, you can also use them to exfoliate.

This was just a whole 35ā‚¬ cheaper than my friend’s alternative from Amazon and she got just 7 pads in total. I made about 50 and will give some away as my mum and sister are also keen to try this. Nice, right?

Zero Waste Reusable Cotton Pads tutorial by thisblogisnotoforyou.comZero Waste Reusable Cotton Pads tutorial by thisblogisnotoforyou.comZero Waste Reusable Cotton Pads tutorial by thisblogisnotoforyou.com

What do you think? Do you feel like this could be something you might want to try? Do you have other suggestions for zero waste DIYs? Please let me know!

xx

Charlie


Happy sewing!

facebook/bloglovin/pinterest
twitter/instagram

Stay in touch!

Recycled Denim Beanie (Free Pattern + Wool And the Gang Giveaway!)

Recycled Denim Beanie by Thisblogisnotforyou.com (Click through for more info & pics)Recycled Denim Beanie by Thisblogisnotforyou.com (Click through for more info & pics)Recycled Denim Beanie by Thisblogisnotforyou.com (Click through for more info & pics)Recycled Denim Beanie by Thisblogisnotforyou.comRecycled Denim Beanie by Thisblogisnotforyou.com

Recycled Denim Beanie by Thisblogisnotforyou.com

Recycled Denim Beanie by Thisblogisnotforyou.com

Ā  HELLO AUTUMN

It was the first day of autumn this week and although I wish for summer to last just a little bit longer, the colder season has undeniably arrived. I found myself wearing woollen socks, comfy cardigansĀ and sipping hot chocolate on the sofa the last couple of days. With the beginning of autumn the weather changed here in Germany. The air is crisper and the mornings are really foggy now. So I try my best to adapt to the changing seasons and find some joy in thinking up my autumn/winter wardrobe and digging out some of my warmer handmade clothes.

I finished my first knitting project last weekend! It was a super easy and simple project to dive back into my knitting, which is a hobbyĀ I only keep up during the colder seasons.

The lovely folks over at WOOL AND THE GANG sent me some of their very popular Billie Jean Yarn, which is now back in stock. They’re giving away two balls of Billie Jean Yarn for one of you lucky ones and I’ll share the knitting instructions in case you want to make a hat like mine. (All opinions are my own. Giveaway at the end of the post!)

Those of you following my blog know that I’m a big fan of recyling and upcycling, well, generally using secondhand products to create unique things while being a friend to nature. TheĀ Billie Jean Yarn is made using upcycled pre-consumer denim waste. This waste is ground back into fibre and then woven into beautiful yarn.Ā The process does not make use of chemicals and dyes and therefore is super eco-friendly. That’s pretty amazing, right?

But not only that, just look at how preeeeetty it is:

Recycled Denim Beanie by Thisblogisnotforyou.com

photo credit: Wool And The GangRecycled Denim Beanie by Thisblogisnotforyou.com

photo credit: Wool And The Gang

Well, long story short – I’m very much in love with Billie Jean! I chose the “Dirty Denim” which is one of three different colour options on offer. The Dirty Denim isĀ 60% Upcycled Denim and 40% Upcycled Raw Cotton and super soft on the skin. No fear – it does not smell like jeans at all!

It gives your knitting project a unique look with its edgy and effortless cool look. For a hat or cardi it’s perfect to wear with actual jeans or a white shirt. The Dirty Denim really gives the effect of a lot of texture, so IĀ didn’t use a special pattern – it would’ve been hard to see. I knitted with metallic knitting needles as the yarnĀ is easily separable which was a bit tricky with my bamboo needles.

Now onto making your own cosy & warm Billie Jean hat!

Ā  KNITTING INSTRUCTIONS

You’ll need two balls of Billie Jean Yarn. I used roughly 150-180g to finish my beanie including the pompom. So two balls Ć” 100g should be enough even for larger sizes. The recommended needle size isĀ  US 8 / 5mm, but I found that smaller needles worked better for me. So I’ll stick with that in the instructions.

Size:
54cm head circumference. Adapt to your size and tension if necessary.

Beanie Pattern:
With 3.5mm cast on 80 sts.
Row 1 (right side): K1, *p1, k1, repeat from* to last stitch. So you’re basically justĀ alternating between a knit and a purl stitch.

Now work in rows (knit the knits and purl the purls), repatingĀ row 1 another 29Ā times. (Or less if you want the brim to be narrower!)

Change to 4.5mm needles.

Row 31 – 75: Knit all stitches.Ā Keep working in rows in a simple stockinette stitch for another 45 rows.

Row 76:Ā *k2tog, repeat from* to last stitch (40sts).

Row 77-78:Ā Knit all stitches.

Row 79:Ā *k2tog, repeat from* to last stitch (20sts).

Row 80:Ā Row 77-78:Ā Knit all stitches.

Row 81:Ā *k2tog, repeat from* to last stitch (10sts).

Cut yarn, leaving a long tail, and thread tail through remaining 10 stitches.

Pompom:
Cut two cardboard circles, 11cm in diameter. (Cardboard from a pizza box will do!)
Cut a 4 cm hole in the centre of each to create two rings.

Hold the two rings together and wind yarn evenly through the centre hole and around the edge until the centre hole is full with the wraps. SlipĀ the blade of your scissors between the two pieces of cardboard and carefully snip through all the loops of the wound yarn. I used to IKEA cork coasters hold it up with one hand while cutting with the other. It makes it a bit easier.

Thread a long length of yarn between the two card rings and around the centre of the pompom, then tie tightly in a firm knot to secure. Remove the cardboard and fluff up the pompom. You can then trim the pompom with scissors, if necessaryto get a more even shape.

Use a darning needle to sew the pompom onto your beanie and to hide any loose threads.

And you’re done!

Recycled Denim Beanie by Thisblogisnotforyou.comRecycled Denim Beanie by Thisblogisnotforyou.com

Recycled Denim Beanie by Thisblogisnotforyou.com

Recycled Denim Beanie by Thisblogisnotforyou.com

Recycled Denim Beanie by Thisblogisnotforyou.com

To have a chance at winning two balls of Billie Jean Yarn in your colour of choice, just head over to Woolandthegang.com, check out the color options and leave a comment below, letting me know which one you like best!

The giveaway closes on Friday 7 October 2016 at midnight (UTC) and I’ll annouce the winner shortly after on the blog.

GOOD LUCK!

xx

Charlie

Please note: A winner will be selected at randomĀ from all entries enteredĀ before midnight on 7 October 2016Ā and the winner will receive the prize described above. There is no cash alternative, and your prize is non-negotiable, and not refundable. If the prize isnā€™t claimed, another winner will be selected at random.


Happy knitting!

facebook/bloglovin/pinterest
twitter/instagram

Stay in touch!