Chiffon maxi skirt & matching top

chiffon dress and top by Thisblogisnotforyou.com (Click through for more pics & info)chiffon dress and top by Thisblogisnotforyou.comchiffon dress and top by Thisblogisnotforyou.com BELLA SARDEGNA

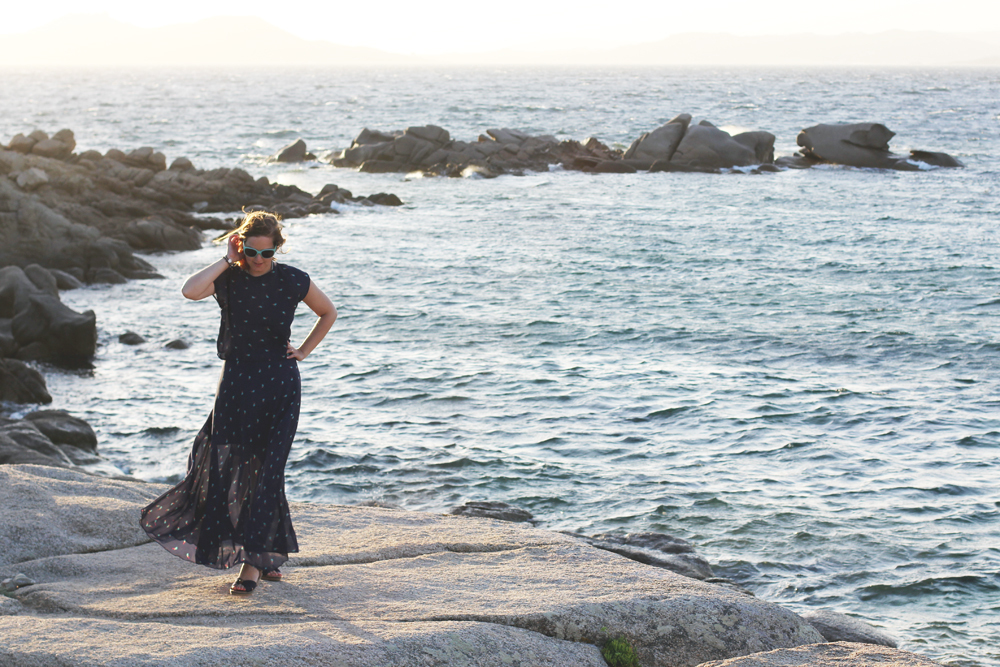
Ciao! We’ve just come back from our amazing honeymoon trip to Italy/Sardinia. (Sorry, for the photo spam, but the Mr took so many pretty pictures, I just had to share!) Just before the trip I managed to squeeze in some selfish sewing time and make something for my travel wardrobe. The dress I’m sharing today I made for my birthday, which was mostly spent strolling through town eating ice cream and reading at the beach – which is pretty much my definition of a perfect day.

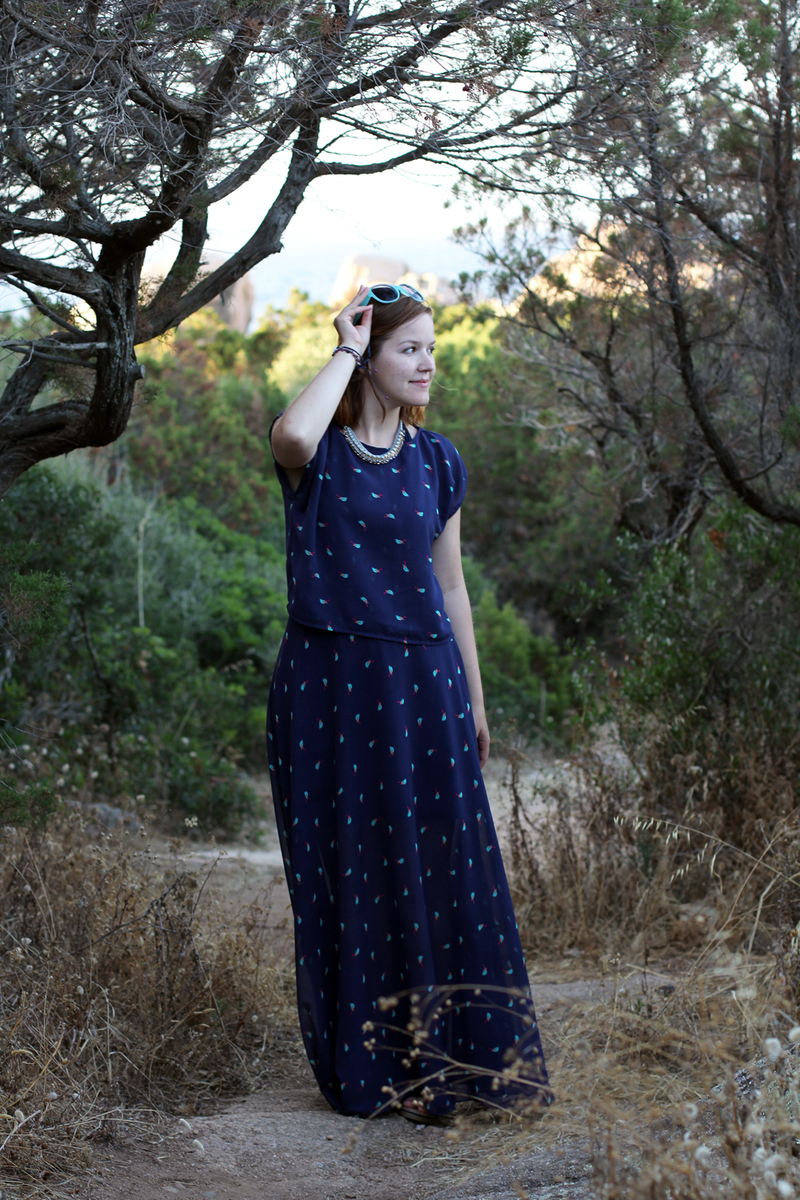
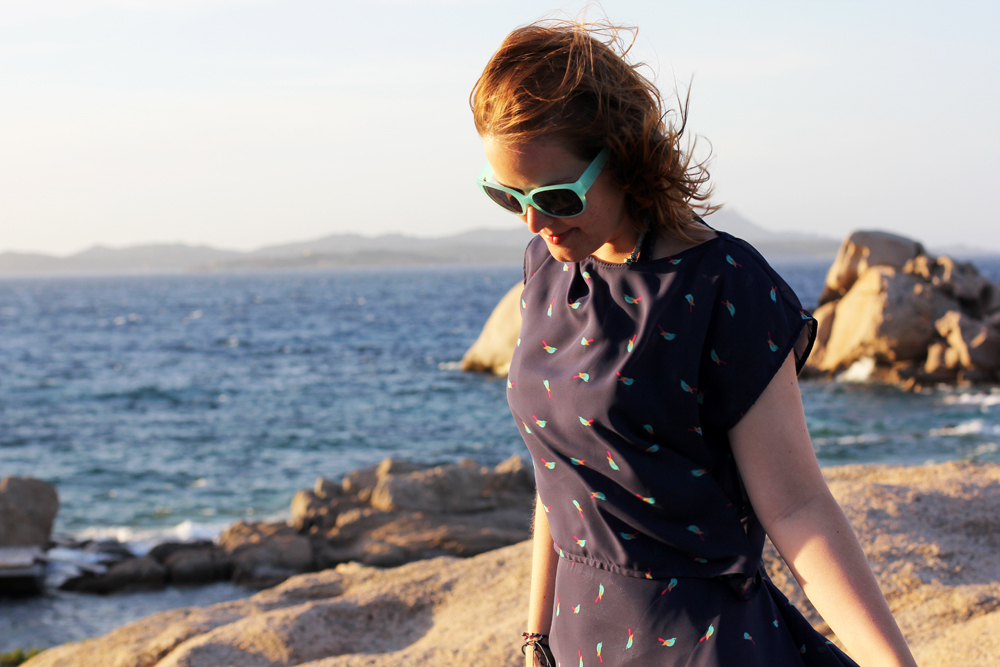
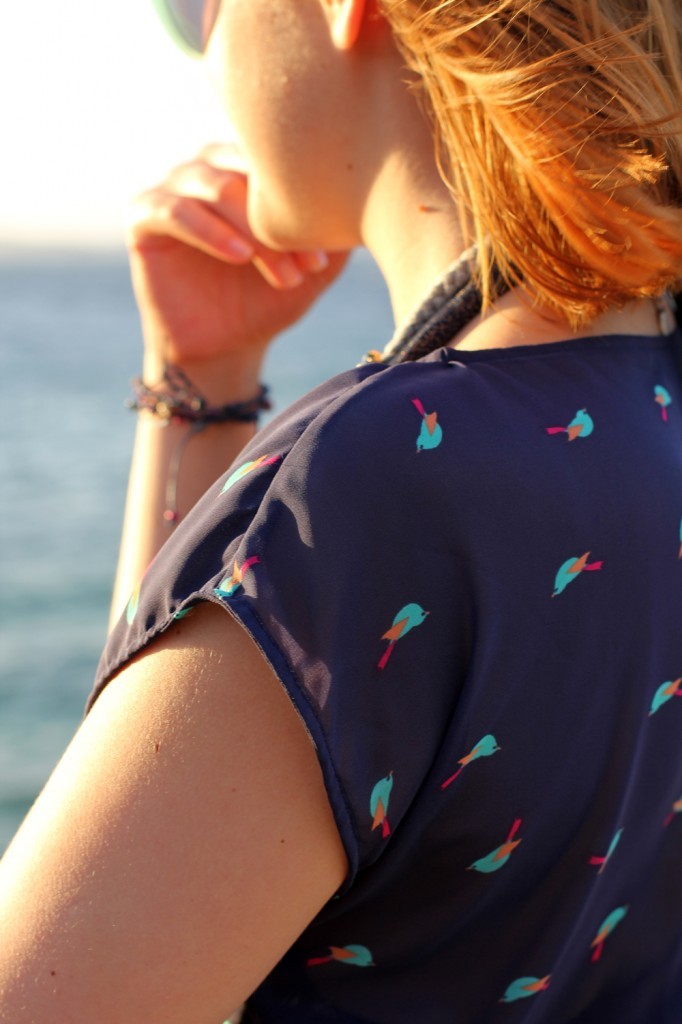
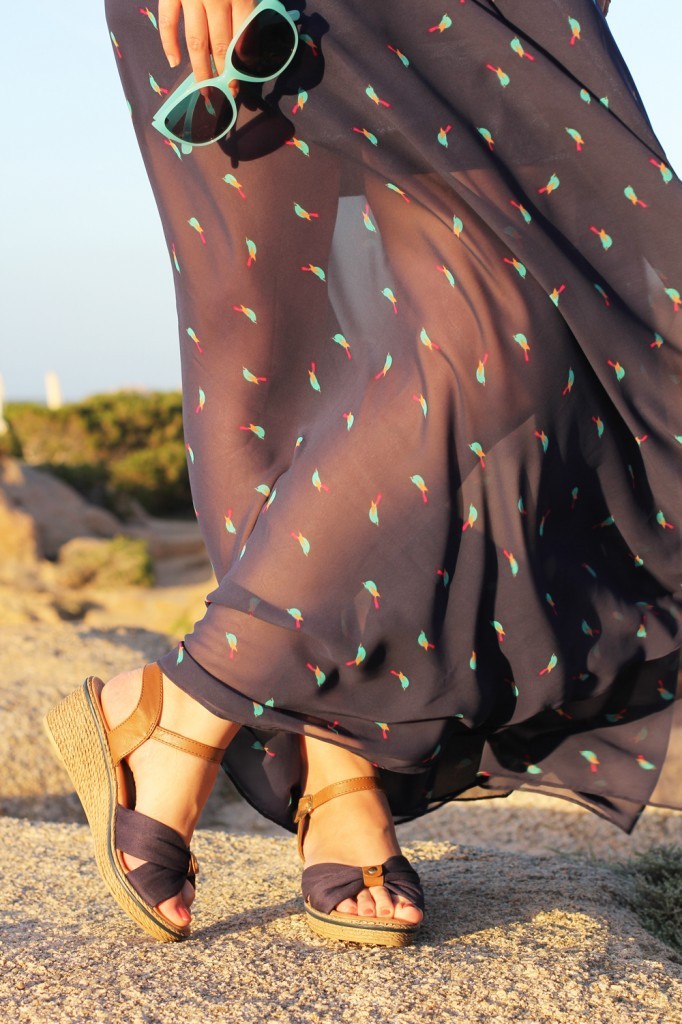
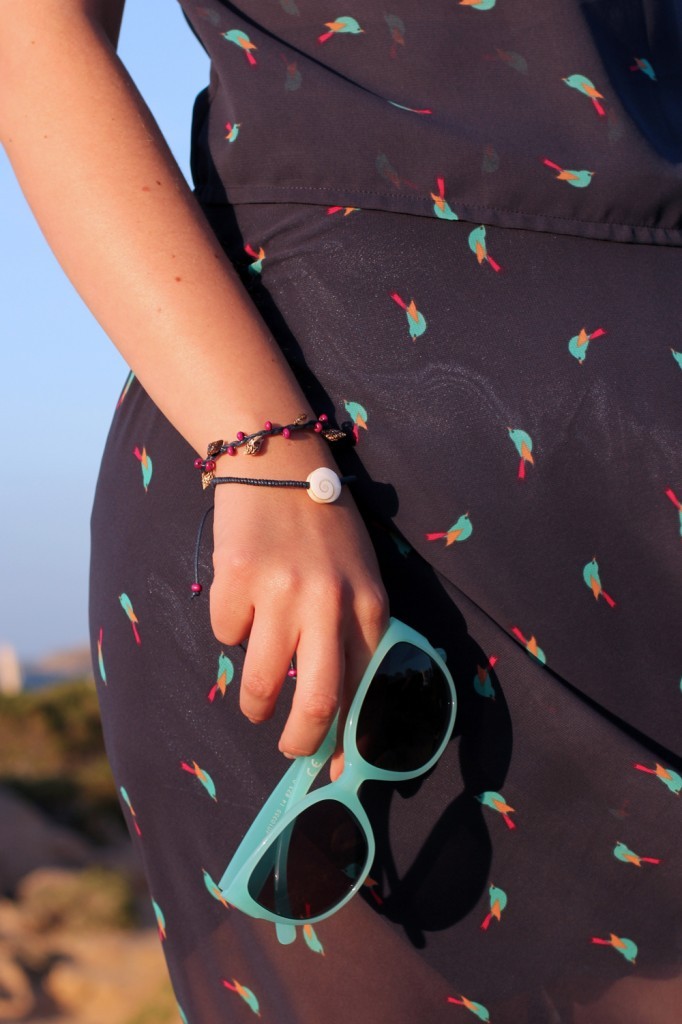
It’s actually a maxi skirt and separate top combi and therefore was a great addition to my capsule vacation wardrobe. The fabric is a navy chiffon with a mint & pink bird print that I got ages ago at Walthamstow Market, London, in one of the dodgy shops at the far end of the market (a couple of houses from Saeed’s). It was only ‎£1/m and I snatched up about 3 metres (140m wide). chiffon dress and top by Thisblogisnotforyou.comchiffon dress and top by Thisblogisnotforyou.comchiffon dress and top by Thisblogisnotforyou.com

IMG_7706
chiffon dress and top by Thisblogisnotforyou.com

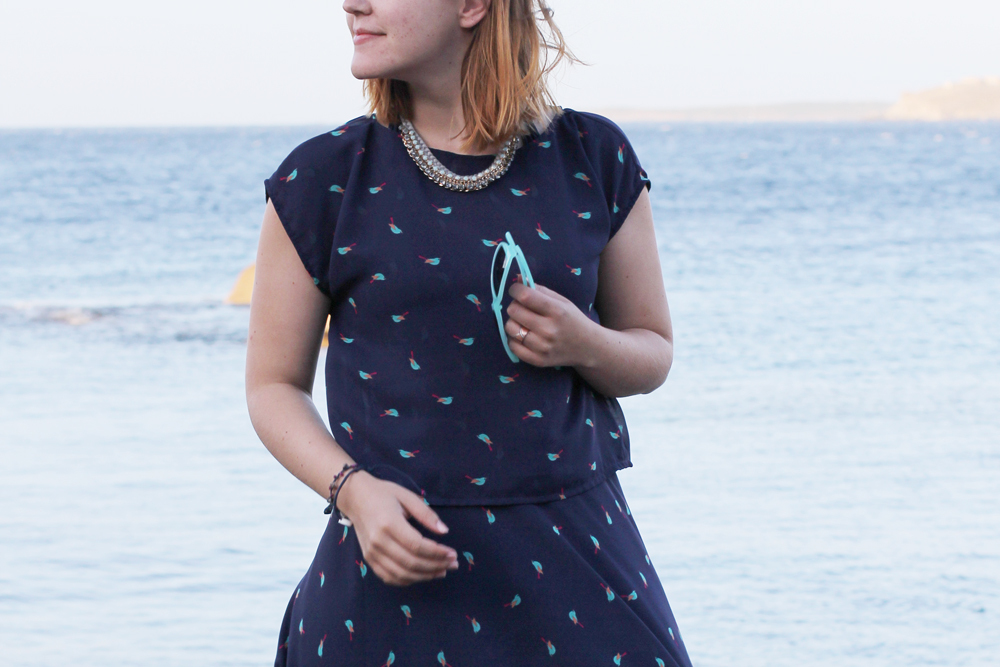
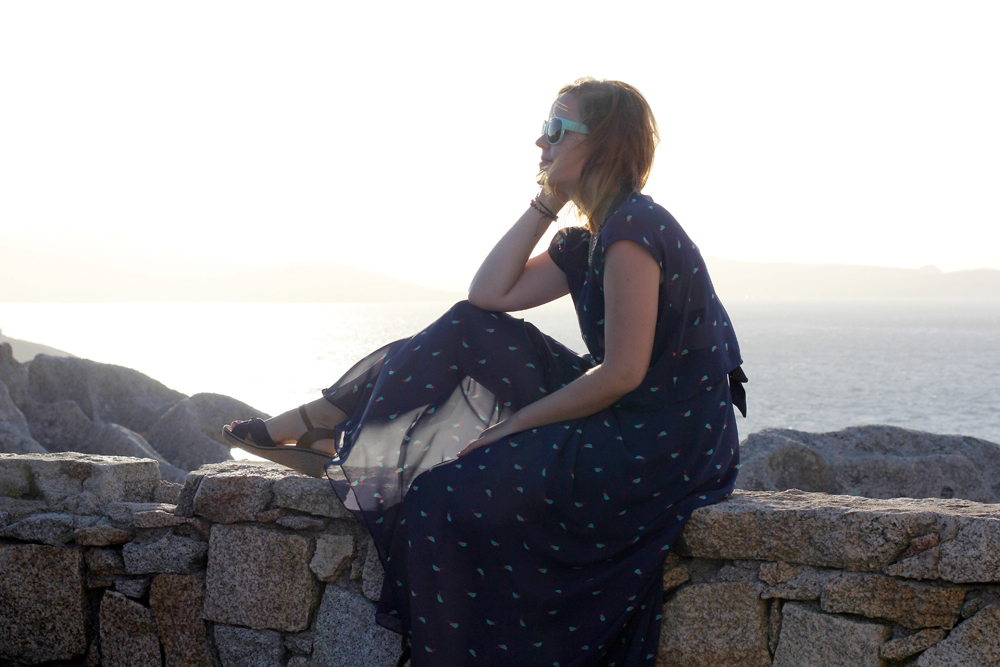
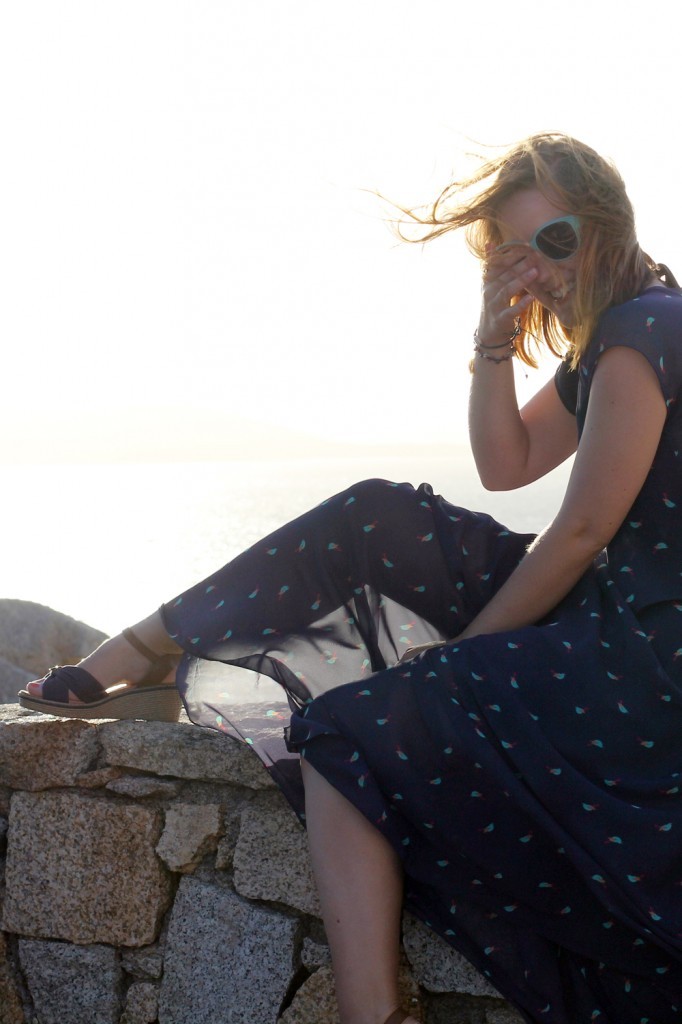
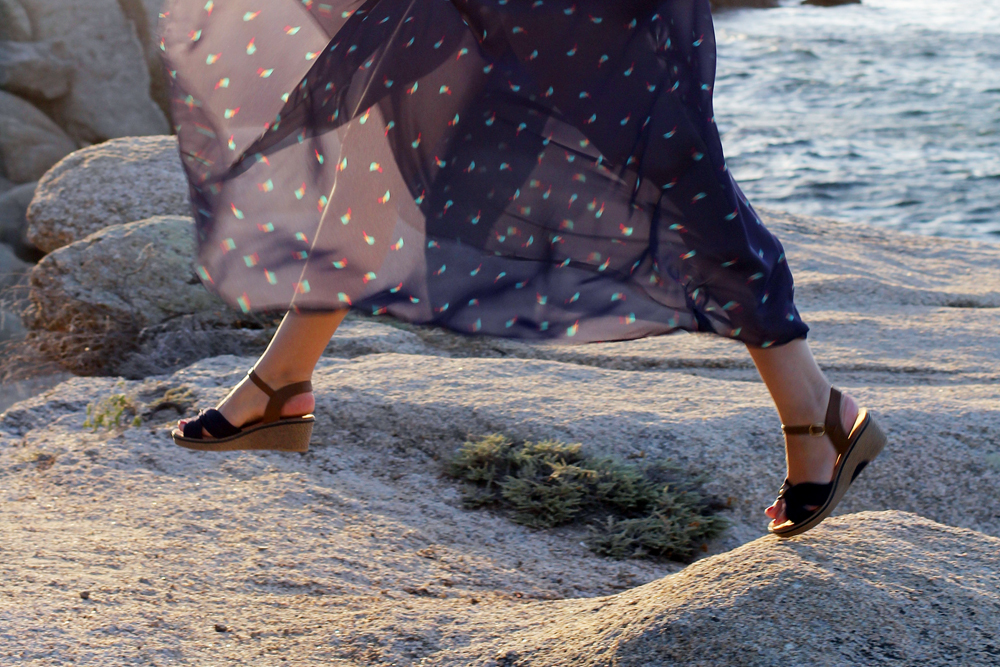
The pattern is more or less self-drafted. That’s because I didn’t make a proper pattern for the skirt. It’s a maxi half circle skirt and I drew the pattern right onto the fabric, no paper pattern needed. I had 3 metres of this fabric, which was just enough for a half-lined top and a half circle skirt. I would’ve needed almost twice as much for a full circle skirt, but the half circle looks great, too, and was much more practical to wear on a windy island. The skirt has a knee-length lining I made using some poly satin scraps.

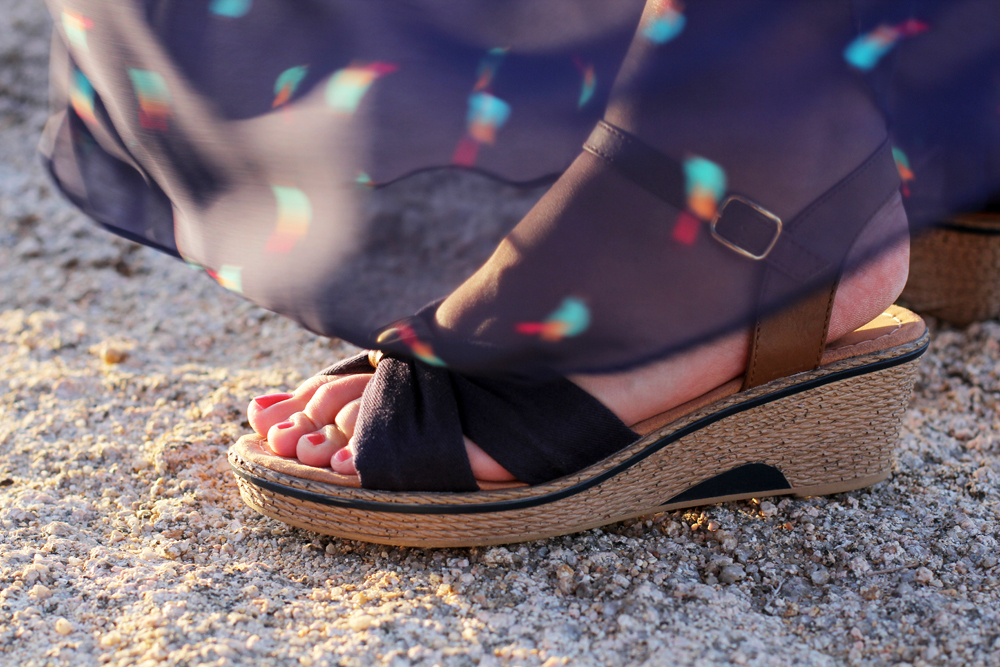
I attached a straight waistband to the skirt and added a mint coloured invisible zip. It matches the print perfectly, but for some reason we forget to snap a pic showing the zip. The side seams are overlocked and I used a rolled hem foot to machine-roll the hem. As I wasn’t dealing with expensive silks and also had a pretty tight schedule I skipped the whole hand-rolled hem business this time. It’s ok to cheat sometimes, right? And to be fair, it looks so pretty and even, I probably wouldn’t have achieved similar results by handsewing.

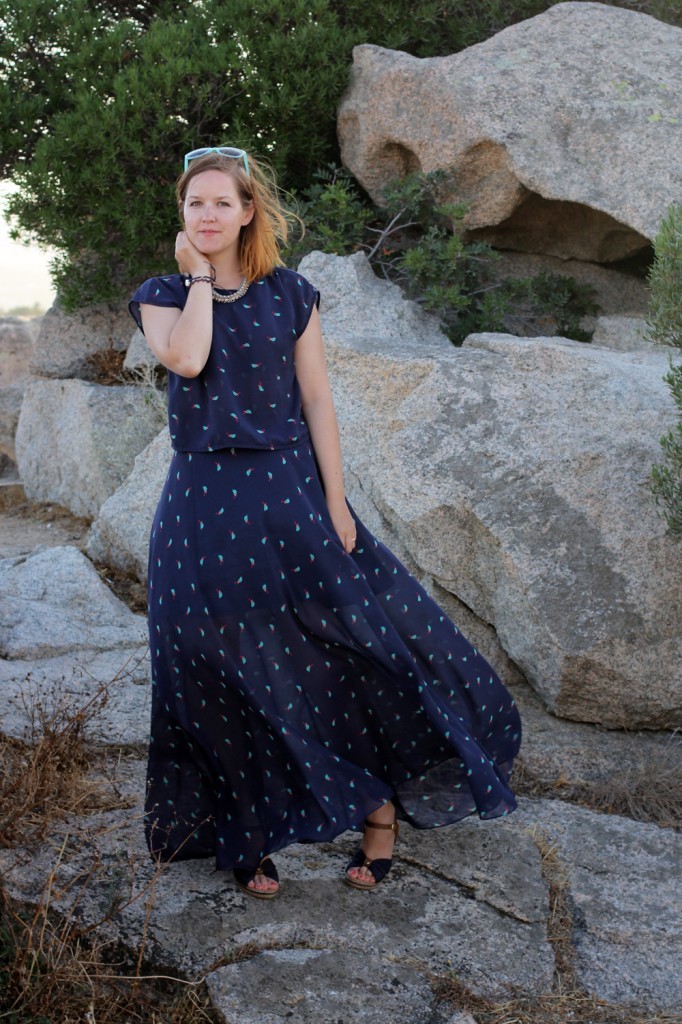
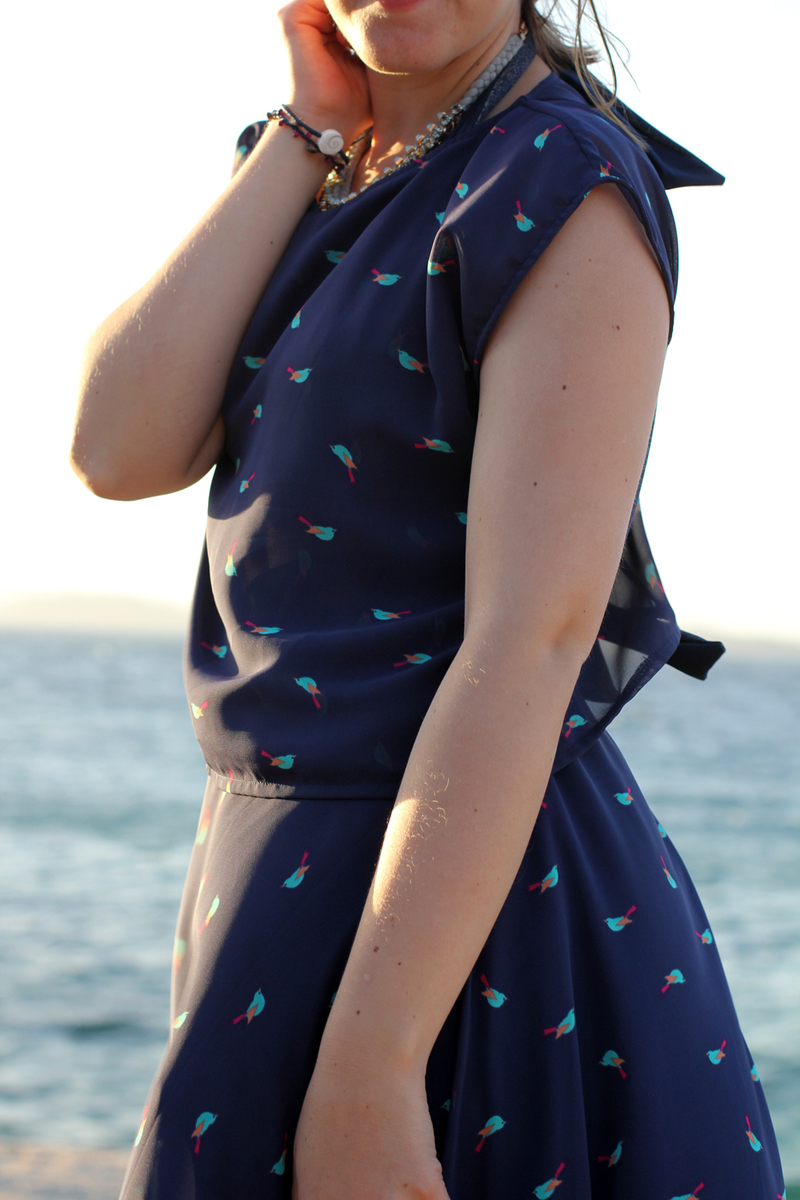
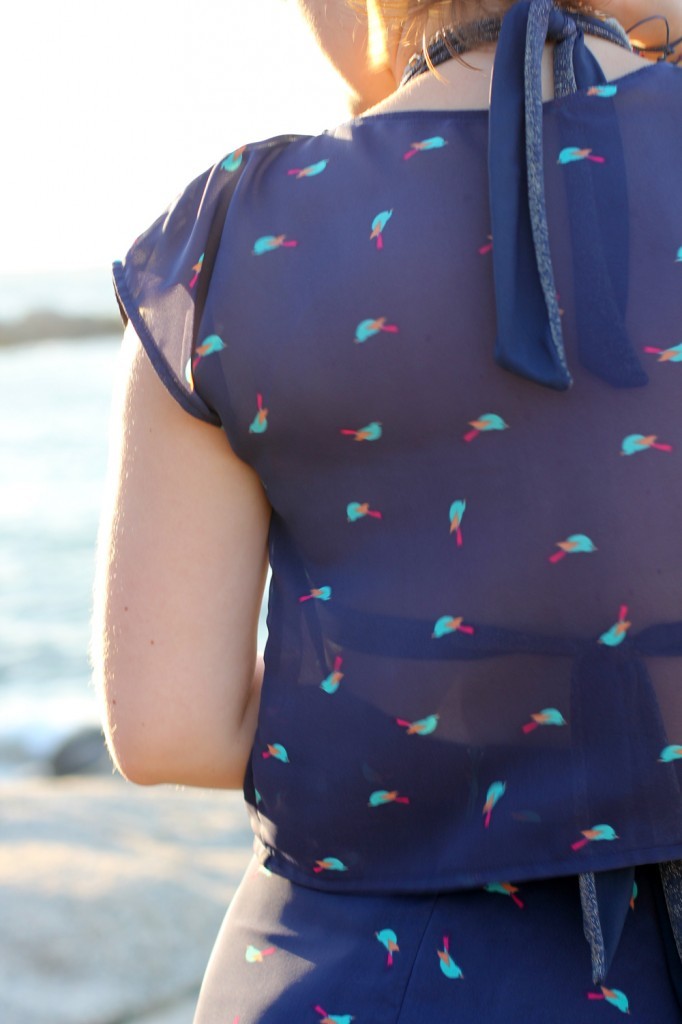
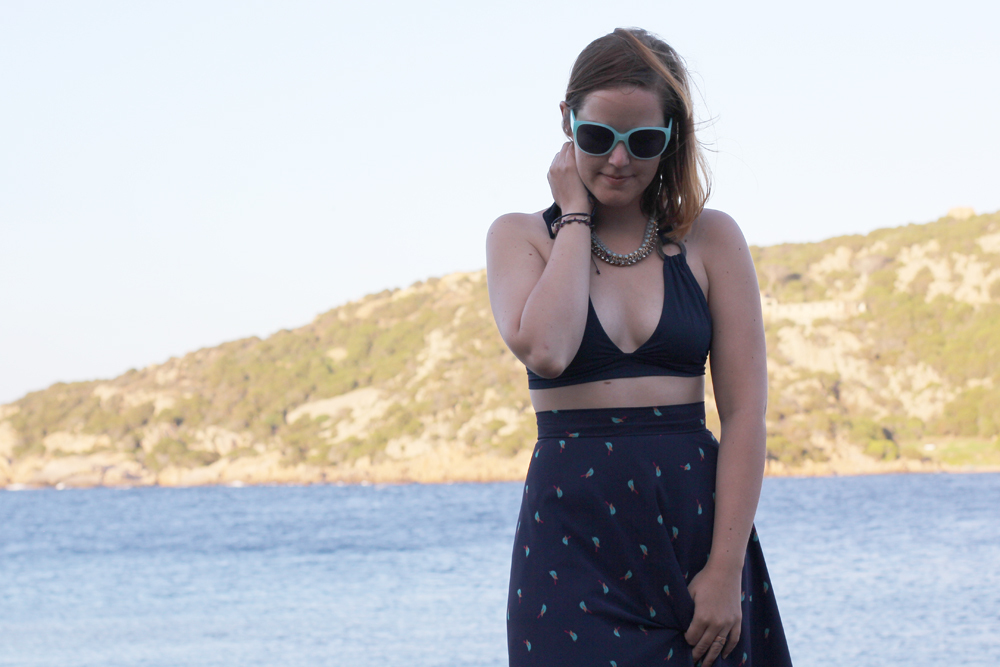
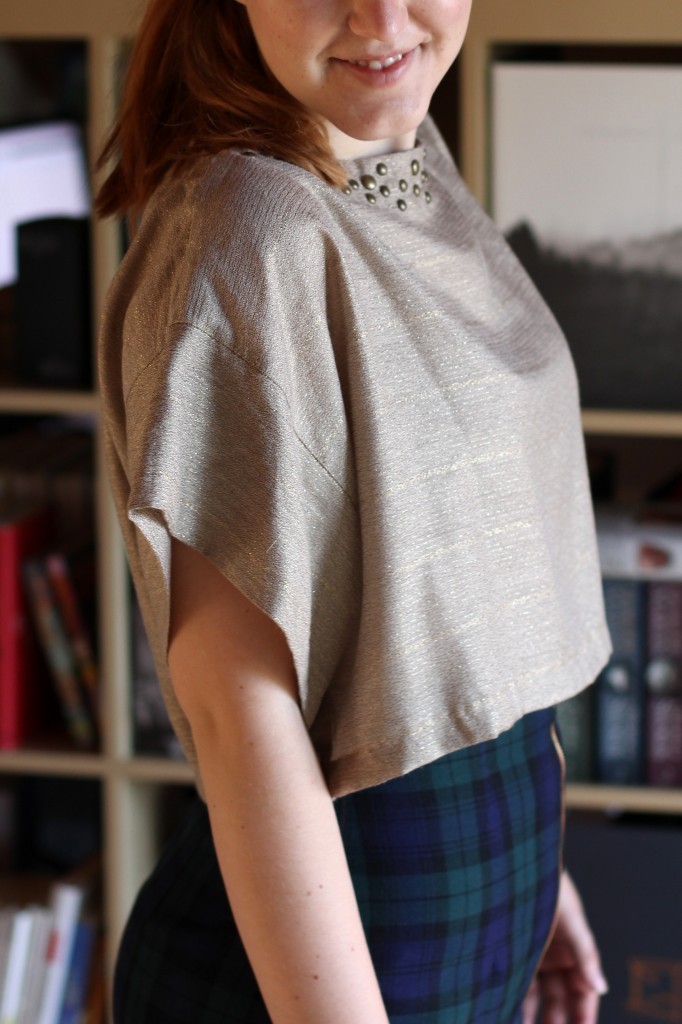
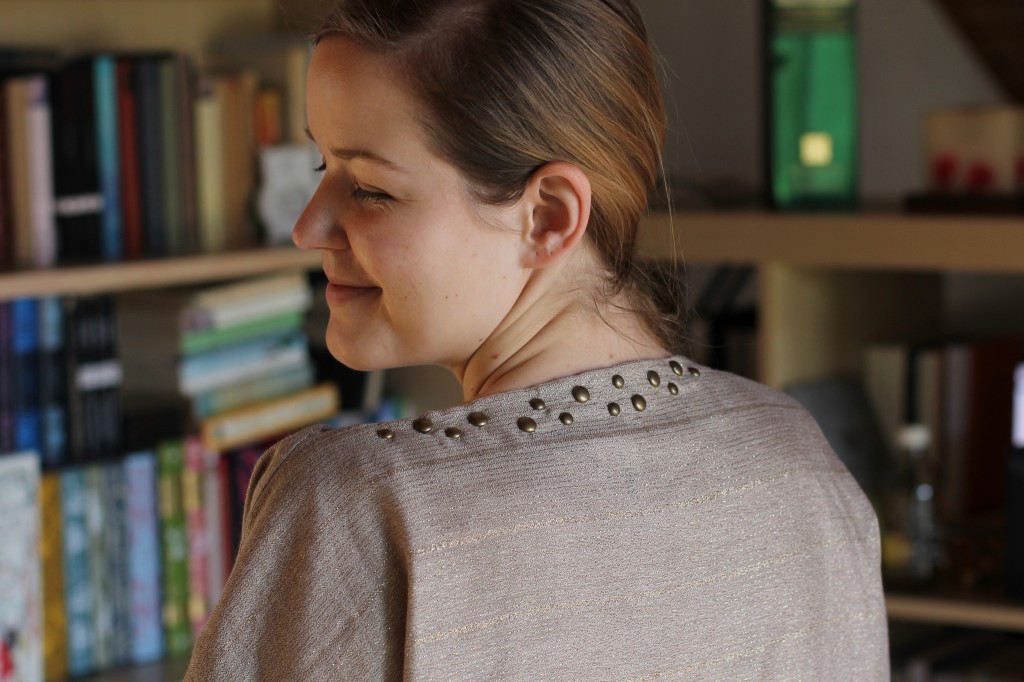
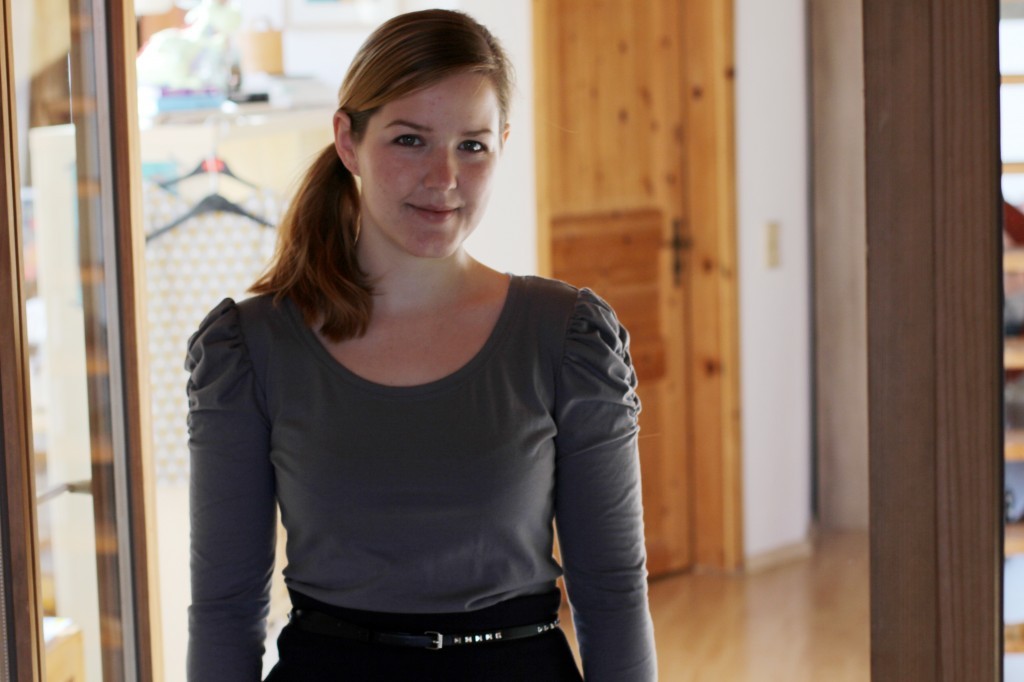
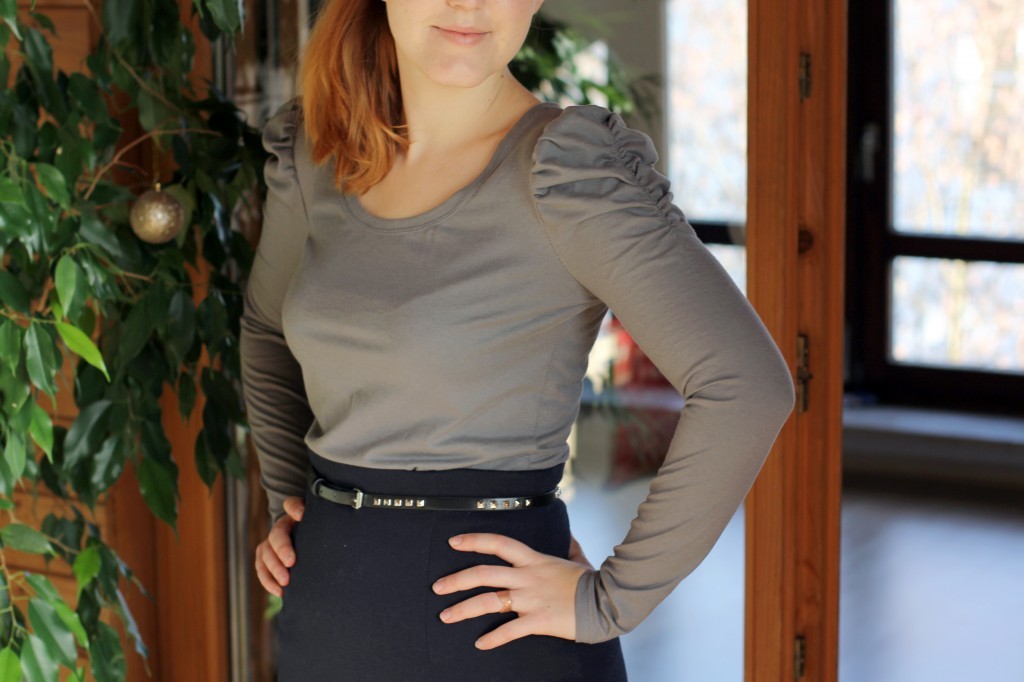
The top is from the Sew Over It Vintage book and it’s the first garment I made using the book. I drafted the bodice block as described in the book (same as the Anita Tie Top) and shortened it into a crop top. I used two layers of fabric for the bodice front, so that the back is pretty much see-through, but the front not so much. As I spent most of my time at work and not the beach, some decency doesn’t hurt, right?

The shoulder and side seams of the top are finished with french seams and the armholes are bias-bound. I overlocked and machine sewed the hem. The top was really super quick and easy to draft, cut and sew, just one of these happy projects I need every once in a while to keep my sewing mojo going.
chiffon dress and top by Thisblogisnotforyou.comchiffon dress and top by Thisblogisnotforyou.comchiffon dress and top by Thisblogisnotforyou.comchiffon dress and top by Thisblogisnotforyou.com

chiffon dress and top by Thisblogisnotforyou.com

chiffon dress and top by Thisblogisnotforyou.comchiffon dress and top by Thisblogisnotforyou.comchiffon dress and top by Thisblogisnotforyou.comchiffon dress and top by Thisblogisnotforyou.comchiffon dress and top by Thisblogisnotforyou.com

chiffon dress and top by Thisblogisnotforyou.com

chiffon dress and top by Thisblogisnotforyou.comchiffon dress and top by Thisblogisnotforyou.com

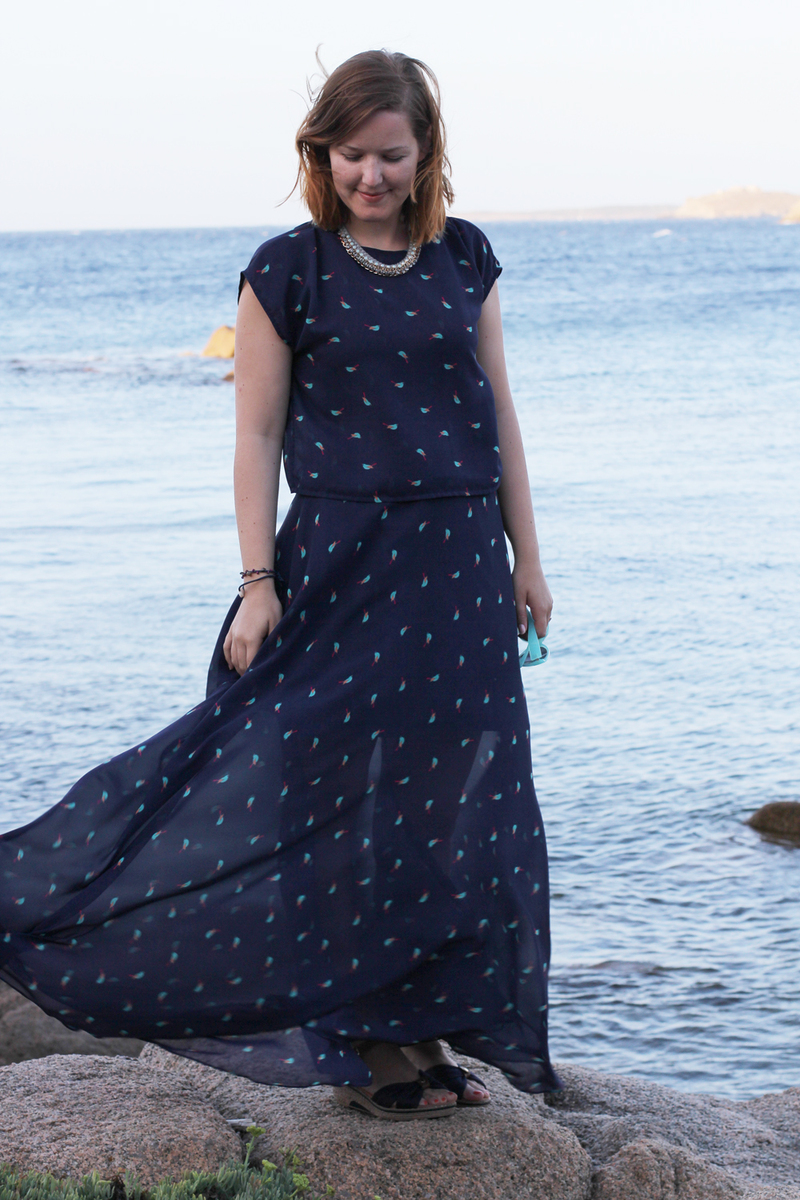
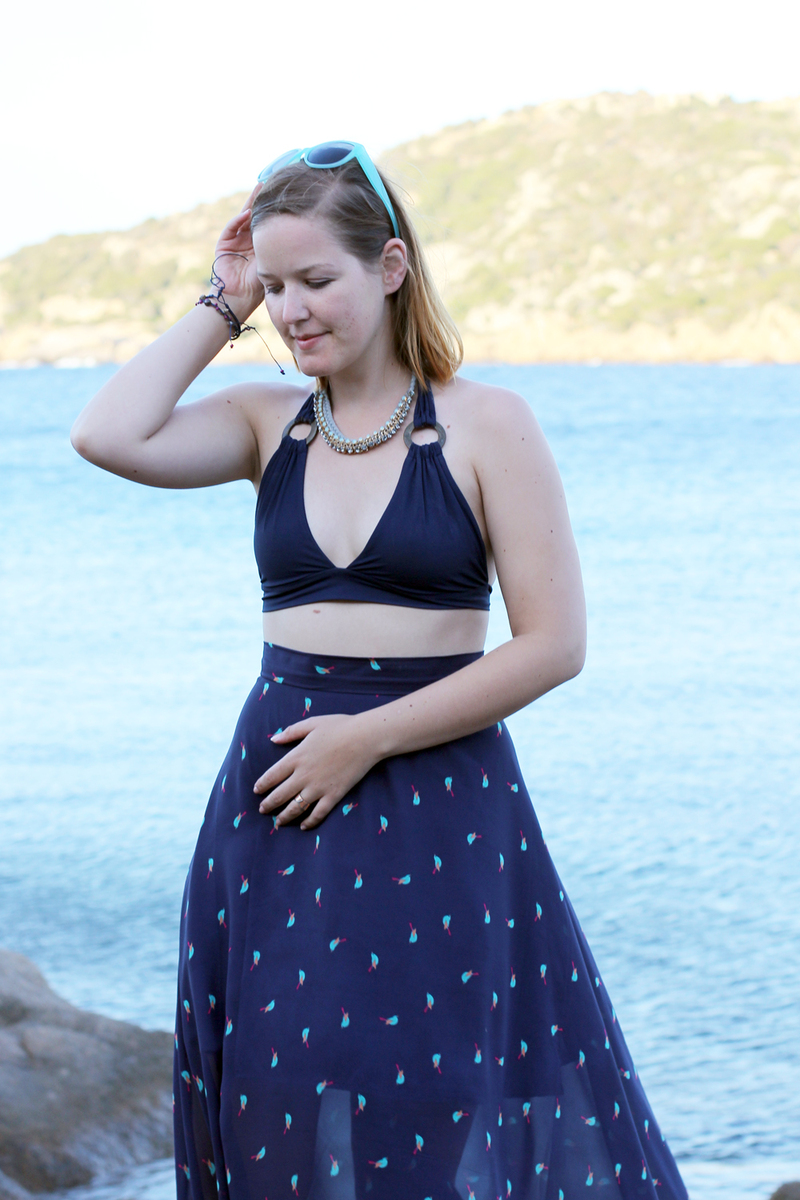
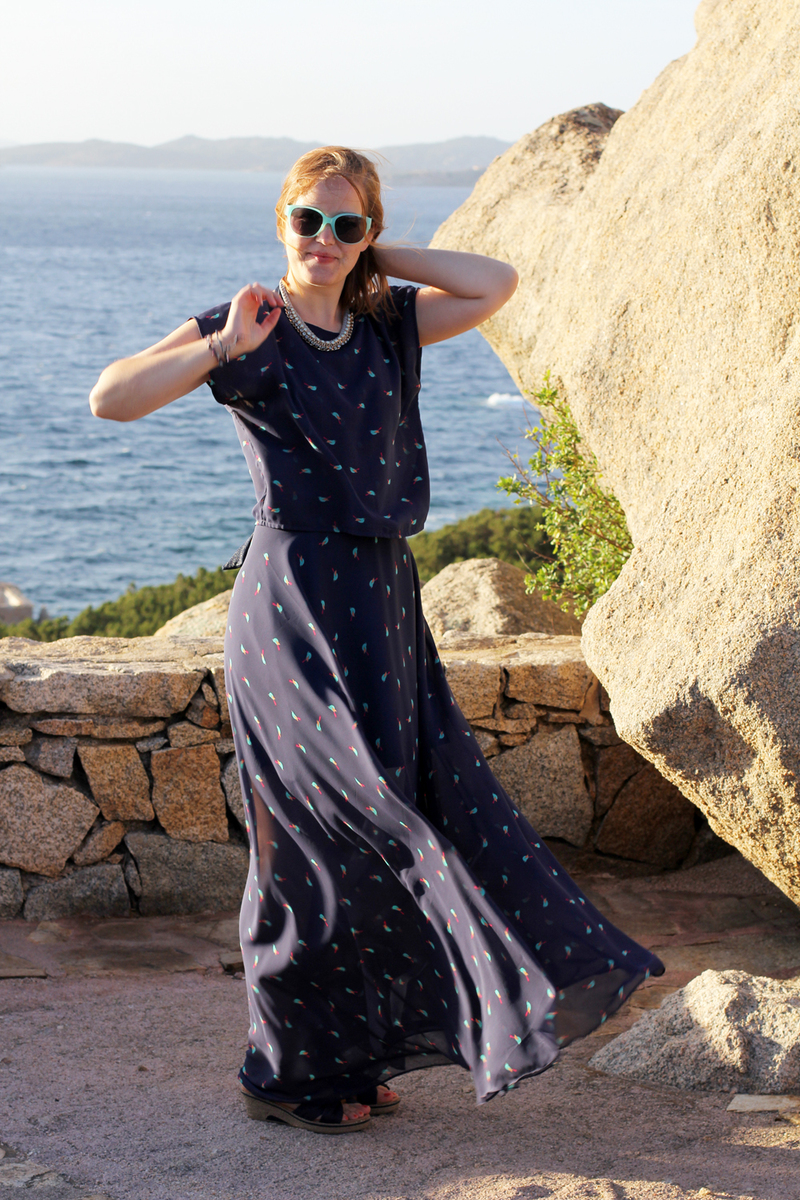
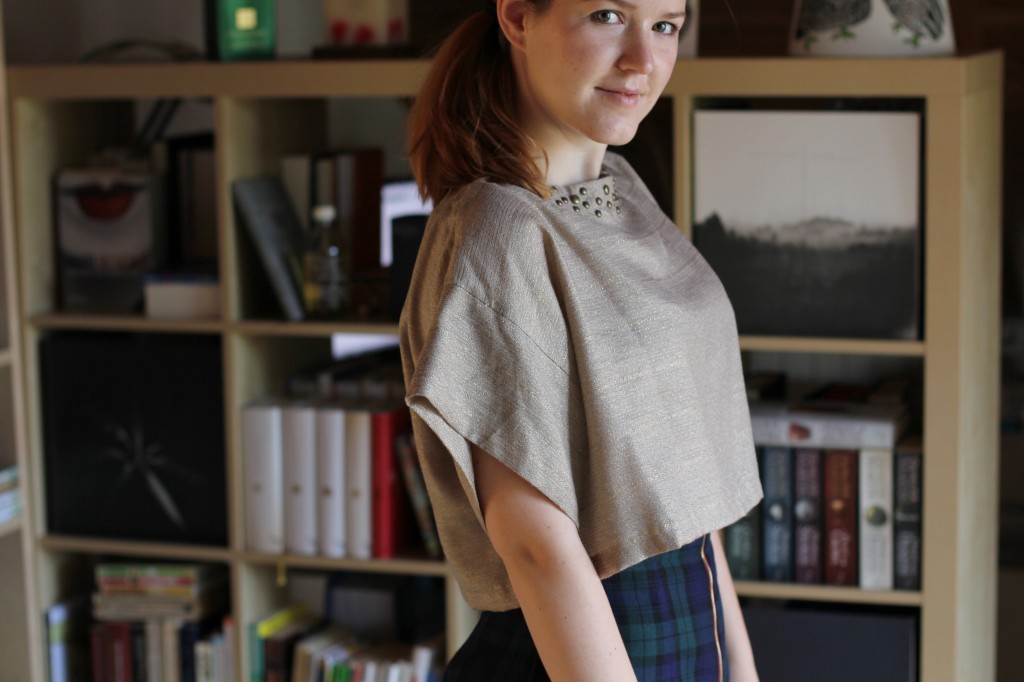
I really love the skirt/top combination and wore it loads on holiday. The skirt looks also great with plain white or grey t-shirt and the crop top looks super cute paired with some high-waisted jeans.

Have you made something for your vacation wardrobe? Do you like sewing garments for a capsule wardrobe or do you love stand-out pieces when you go on holiday? I’d love to know!

Charlie


Happy sewing!

facebook/bloglovin/pinterest
twitter/instagram

Stay in touch!

Win a WE ARE KNITTERS Huayna Tee! (+ 20% discount code)

we are knitters huayna tee giveaway by thisblogisnotforyoucomSo excited to bring you this giveaway!

I teamed up with the awesome folks of WE ARE KNITTERS who offered to sent me a knitting kit to test. I chose the HUAYNA TEE in Deep Blue as it’s a perfect summer knitting project (in my favourite colour!).

we are knitters huayna tee giveaway by thisblogisnotforyoucomThe kit contains:

* 3 BALLS OF 100% PIMA COTTON (100 GR.) *
* WOODEN KNITTING NEEDLES SIZE 8 *
* THE PATTERN *
* A SMALL KNITTER’S SEWING NEEDLE *
* EMBROIDERED LABEL *
* WAK PACKAGING *
we are knitters huayna tee giveaway by thisblogisnotforyoucom

The Deep Blue wool included in this kit, is the colour you see in the pics. The wool is a dreamy high-quality 100% cotton wool from Peru. As it’s very light and super-soft on your skin it’s the perfect wool for a summer project. It’s lovely to knit with and the colour is simply gorgeous: A mix between a royal blue and a deep teal shade.

The HUAYNA TEE kit is intermediate level. I found the instructions very clear and the pattern is pretty straightforward. It’s not too complicated for beginners, and the lace part with drawings keeps it interesting enough for more advanced knitters. The boxy cut is easy to fit. I haven’t finished mine yet, but I look forward to wearing it on those cool summer nights and colder rainy days. we are knitters huayna tee giveaway by thisblogisnotforyoucom

YOUR FRIENDS ARE GOING TO BE ASKING TO BORROW THE KNIT SHIRT HUAYNA TEE THIS SUMMER. YOU CAN BE A GOOD FRIEND AND SHARE IT, OR YOU CAN BE THE BEST FRIEND EVER AND KNIT IT FOR THEM TO ENJOY.

we are knitters huayna tee giveaway by thisblogisnotforyoucomwe are knitters huayna tee giveaway by thisblogisnotforyoucom

WE ARE KNITTERS are giving away one HUAYNA TEE kit in Deep Blue!

For a chance to win simply subscribe to their newletter here:

ENTER GIVEAWAY

The giveaway is open to everyone from the US, Canada and Europe. It ends on Friday, 1 July, at midnight (UTC) and I will annouce the winner on my blog on Saturday, 2 July.

If you don’t want to bet on your luck or found something else on their website you like, you can use the discount code THISBLOG4WAK to get 20% off on all WAK stuff! The code will also expire on 1st of July.

Let me know what you think and share your experience with WAK kits! Have you used one of their kits or yarns before? What’s your favourite summer knitting project?

xx

Charlie

Please note: A winner will be selected at random from all subscriptions entered before midnight on 1 July 2016 and the winner will receive the prize described above. There is no cash alternative, and your prize is non-negotiable, and not refundable. If the prize isn’t claimed, another winner will be selected at random.


Happy knitting!

facebook/bloglovin/pinterest
twitter/instagram

Stay in touch!

Refashion it! Golden Vintage Dress to Embellished Crop Top

vintage dress to crop top by thisblogisnotforyou.com

Hallöchen, ihr Lieben!

Hope you’re having a great week so far! I’m starting to get a bit stressed by the wedding preparations, especially with things involving the dress. A blog post was long overdue, though, so I’m trying to squeeze this one in between all the fittings and muslins and whatnot.

This is a really quick refashion project I wanted to share with you. It’s a loose-fitting embellished crop top I made from a dress that the Mr’s grandma gave me a little while ago. (scroll further down for before pics!).

vintage dress to crop top by thisblogisnotforyou.com
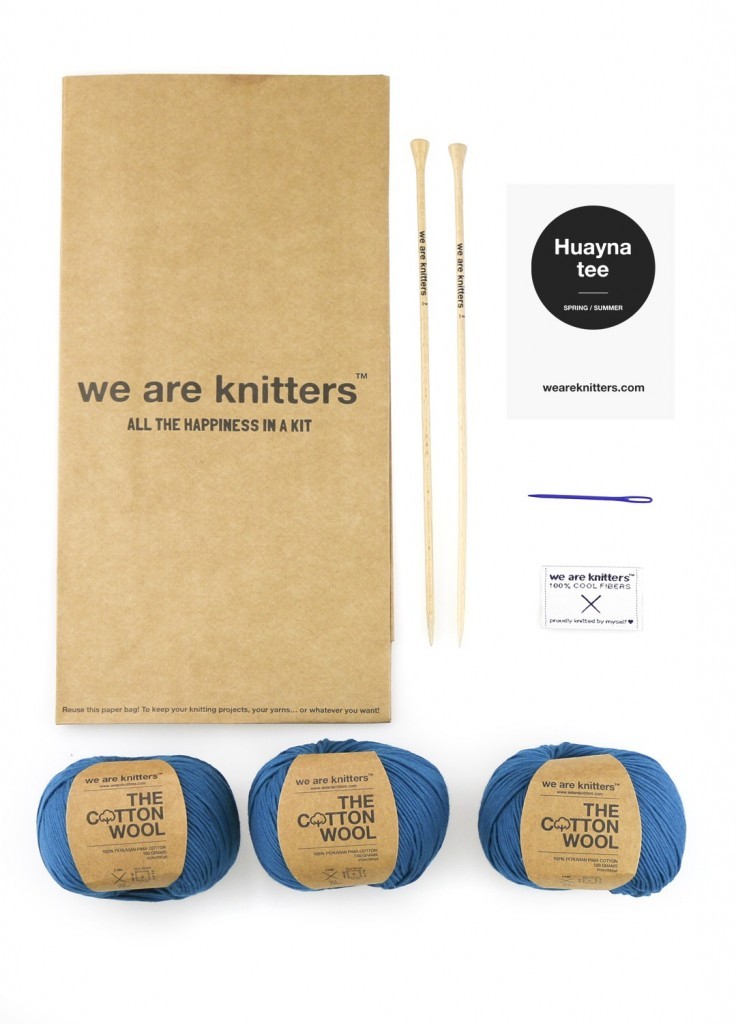
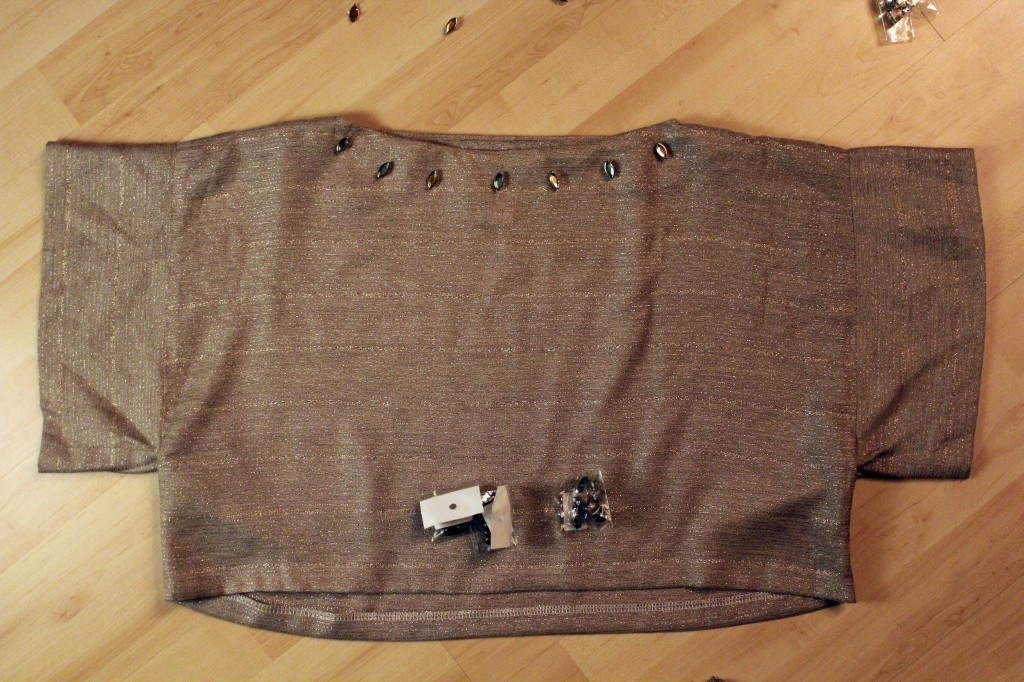
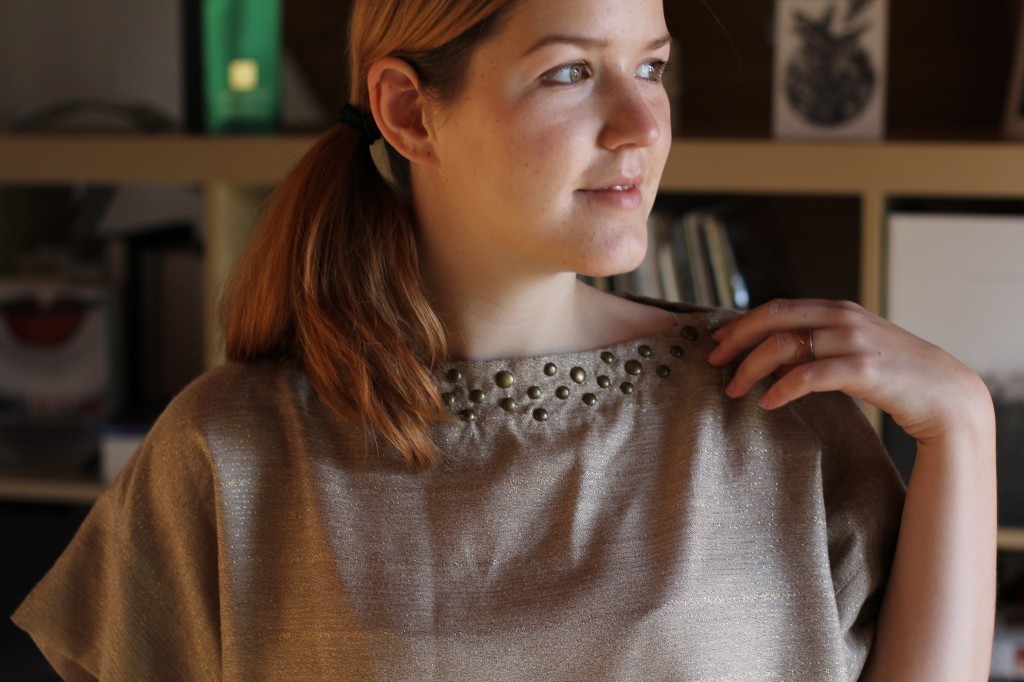
It was basically a rectangular, light-weight long dress that looked suspiciously handmade, but had some sort of label in it, so I’m not too sure about that fact. The dress itself had no shape whatsoever, the hem going way below knee-length. At first I thought it might be edgy and cool but when I put it on it simply looked horrible and I felt like wearing a potato sack.

As it so often happens, I forgot to take proper before pictures (which is really stupid when planning an before & after project, I know!), so this is all I have:vintage dress to crop top by thisblogisnotforyou.com
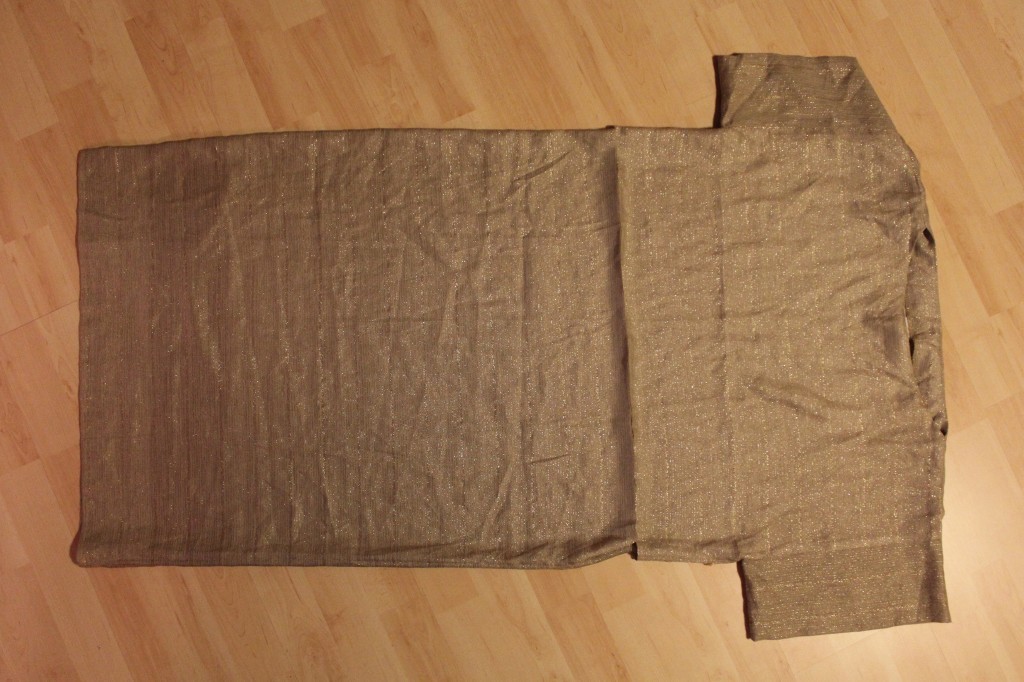
The dress was too narrow to give me enough fabric for cutting out a whole new garment, so I decided to take the easy way out and cut the bottom off. Chop, chop!
vintage dress to crop top by thisblogisnotforyou.com
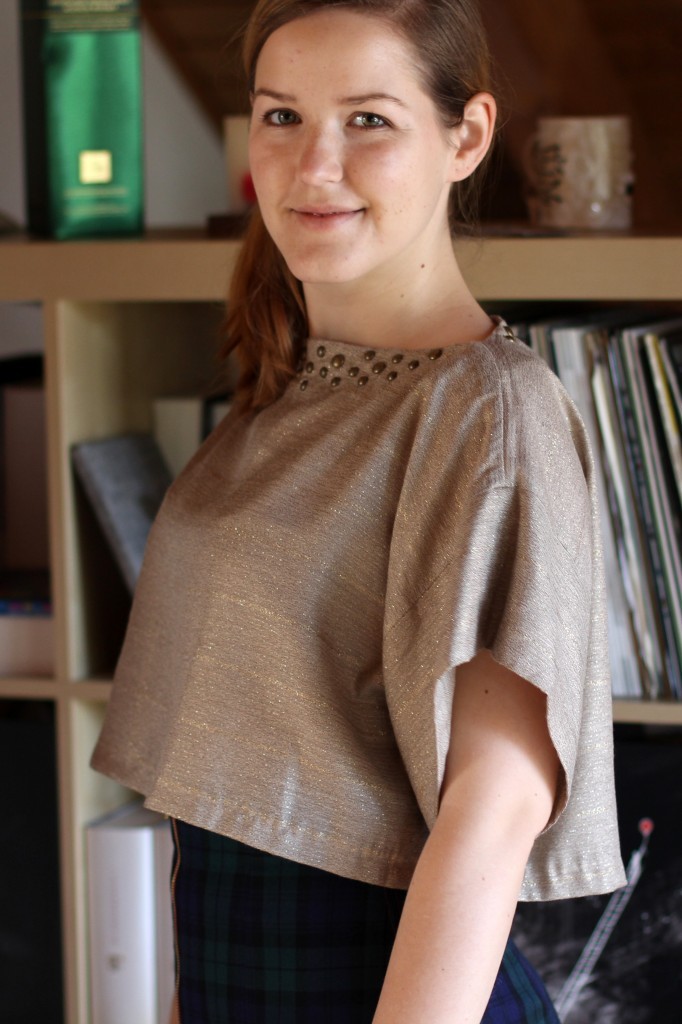
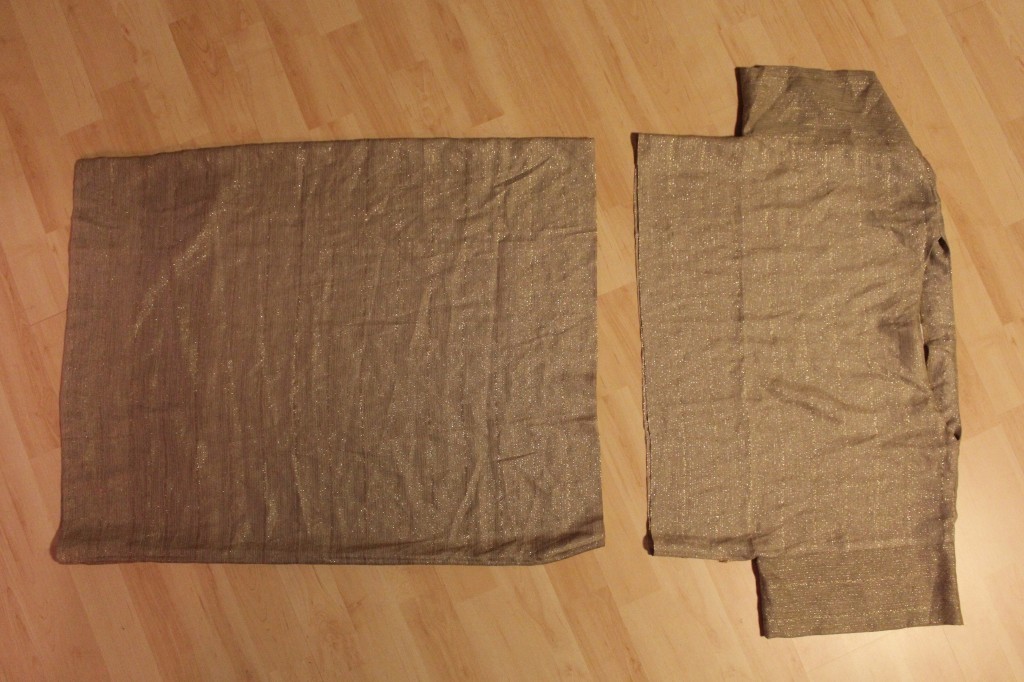
I overlocked the raw seam and hemmed it by hand using matching gold thread.vintage dress to crop top by thisblogisnotforyou.com

The fit was ok-ish, but the top still lacked something. Since it’s a really simple shape, I thought I might add some embellishments to add some bling and make it a bit less boring.

I played around with different embellishments I had at home, like studs and acrylic diamonds.
vintage dress to crop top by thisblogisnotforyou.comvintage dress to crop top by thisblogisnotforyou.comvintage dress to crop top by thisblogisnotforyou.com

I liked the studs best and started placing them on the neckline. Once I liked what I saw, I attached them using my pliers. I added more and more until I was happy with the end result.vintage dress to crop top by thisblogisnotforyou.comvintage dress to crop top by thisblogisnotforyou.comvintage dress to crop top by thisblogisnotforyou.comvintage dress to crop top by thisblogisnotforyou.comvintage dress to crop top by thisblogisnotforyou.comvintage dress to crop top by thisblogisnotforyou.com

Since the crop top is very wide, I love wearing it with my pencil skirts. Since they have a high waist, my belly won’t show which makes this look pretty work appropriate. Also, I can wear a tank top underneath during the cold season which is neat.

Personally, I love the tight skirt – loose top combination which is quite flattering as it makes your waist appear smaller than it is!

vintage dress to crop top by thisblogisnotforyou.comvintage dress to crop top by thisblogisnotforyou.com

It’s amazing how such small changes can make a big difference to a garment. Take an hour and an unloved garment and turn it into something you love wearing. Instant happiness!

I would love to hear about your experiences with transforming your old or vintage clothes!

xx

Charlie


Happy sewing!

facebook/bloglovin/pinterest
twitter/instagram

Stay in touch!

T&TB Agnes Top with Puff Sleeves

Tilly & the Button Agnes Top by thisblogisnotforyou.comTilly & the Button Agnes Top by thisblogisnotforyou.com

MERRY SEWING EVERYONE!

Hello sewing-friends! Hope you’re having a great festive season!
My mum-in-law gave me a handmade (!) sewing (!) advent calender, which is absolutely awesome! Every day I get a new suprise sewing supply, notions or fat quarters of beautiful fabrics. It’s the best gift ever! Too bad it ends on the 24th – it really could go on for ever. It never was so easy to get out of bed in the morning!

But that’s not the only reason why December rocks. Not only do I love getting together with my family so very soon, I am starting a new job in January and until then I’ve got a couple more weeks off. And you know what that means. I am in a total sewing frenzy. I am almost done with finishing handmade Christmas presents, so the selfish sewing IS ON!

This sounds really bad, but it makes me very happy.

I’ve made more garments than I can blog. Maybe I can get around to posting them during the holidays, but I also might be very distracted by Plätzchen and mulled wine and will probably completely forget about it.

Aaaanyway, back to the actual reason why you’re reading this post: I finally gave in and jumped on the Agnes-train, just like all of the other sewing bloggers out there. I don’t know why I hesitated so long. I guess, because the pattern is so very basic and therefore quite expensive. But I don’t mind supporting independent pattern businesses and by now I’ve made 5 different Agnes’ – so the pattern is definitely worth buying!

I often underestimate basic patterns, but when I finally buy them, they often are mind-blowingly good! Basic patterns are easy to sew, to adapt and very time-efficient. Best example is Agnes (or Ultimate Pencil Skirt, Coco, Lottie Blouse etc.): I’ve made five different versions and not two are the same.

Tilly & the Button Agnes Top by thisblogisnotforyou.comTilly & the Button Agnes Top by thisblogisnotforyou.com

THE PATTERN & FIT

The pattern is the Agnes Top by TILLY AND THE BUTTONS (courtesy of WeaverDee.com). I made the long-sleeved version with a ruching detail on the puff sleeves.

This is the very first one I made, more or less a muslin, but a very wearable one. I had some fitting issues with Tilly’s patterns in the past, so I decided to make one from inexpensive fabric remnants before cutting into the good fabric. I think I used less than 1 metre of fabric.

I knew from reading other blogs, that the pattern runs quite small. According to the envelope it has quite a bit of negative wearing ease. I didn’t want it to be too tight, so I went with a larger size where the finished garment measurements are the same as my measurements. I cut out a size 4, which astonishingly fits me really well. (According to the pattern I am a size 3: 34in at the bust. Size 4 is 36in at the bust, but the finished garment measurement is 34in. Keep that in mind when deciding about how tight you want your top to fit.) Apart from making the sleeves a tiny bit wider, I did not have to change anything else in the following Agnes’ I made.Tilly & the Button Agnes Top by thisblogisnotforyou.comTilly & the Button Agnes Top by thisblogisnotforyou.com

CONSTRUCTION

The top is super easy to assemble, no major sewing challenges really. If you are new to sewing, the neckband might be the trickiest bit. For me that was my biggest worry, but it turned out quite well on the first try. For the later versions I shortened the neckband pattern by 5mm (so 1cm over the whole length) and now it sits perfectly flat. After making 5 Agnes’ I now consider myself a neckband pro. I never felt so good!

The sleeves are constructed in flat, which is my favourite technique for knit fabrics. It’s just so much faster than a set-in sleeve. The sleeves are ruched by a small piece of elastic, which is stretched while you sew.

I like a puff or ruched sleeve, but both in one are a bit too much for my taste. It makes my shoulders look quite massive, not quite the romantic look I was aiming for. Unless you consider football romantic. It wil probably look really lovely on a petite figure (someone like Tilly herself) but I will stay away from this look, I think.

It looks alright with a simple, close-fitting skirt, so it will definitely get some wear now and them. I scrapped the ruched sleeves for all the other versions and I am super happy with those.
Tilly & the Button Agnes Top by thisblogisnotforyou.com

Will I make it again? Well I know that I already have! And there sure as hell will be more. Although I love more challenging projects, this pattern is pure instant-gratification! It’s very versatile as well and it doesn’t use up much fabric – perfect stash buster pattern. Overall grade: 9/10.

xx

Charlie


Happy sewing!

facebook/bloglovin/pinterest
twitter/instagram

Stay in touch!

Another Lottie Blouse Hack – A simple 3/4 sleeve top!

Lottie Top by Thisblogisnotforyou.com
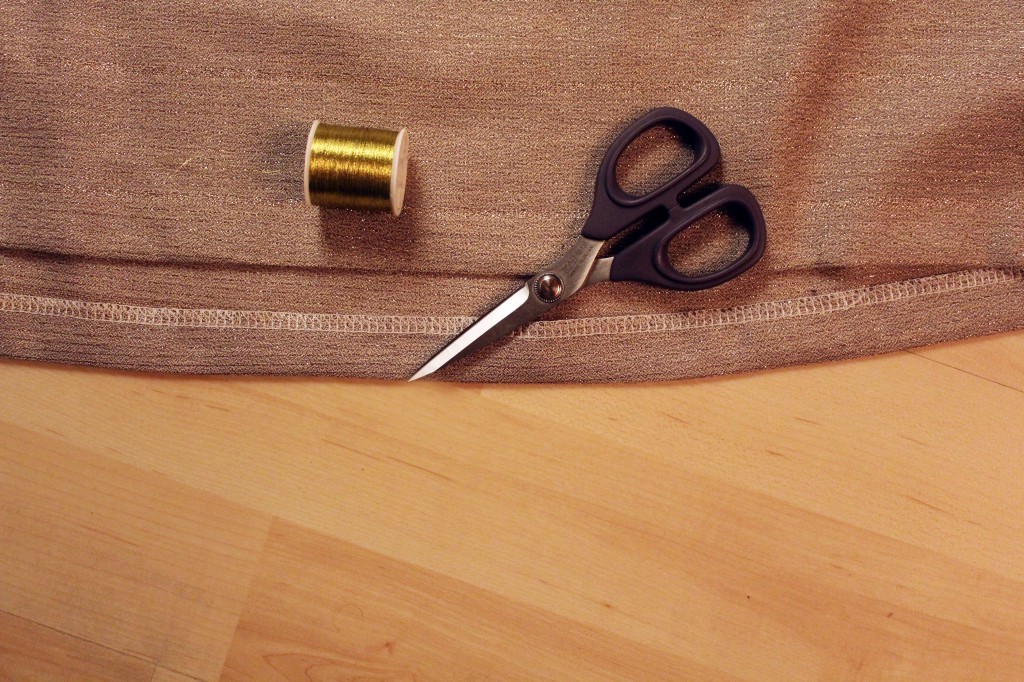
Hello dear sewing-lovers! Today I’m sharing another Lottie Blouse hack. The original Lottie Blouse pattern comes with puff sleeves and a pussy bow & keyhole neckline.

I wanted to make a simple 3/4-sleeve top to show off the busy print of this very girly bag fabric. I like the Lottie Blouse pattern (Simple Sews) and have made 3 variations already. The pattern was included in Love Sewing magazine last year.

Pattern alterations:

– slimming down the sleeves by removing the gathering at the top
– removing the keyhole and bow
– raising the neckline and adding a facing
– adding 15cm slits at the lower side seam (inspired by a Boden top)

source: www.lovesewingmag.co.uk

Lottie Top by Thisblogisnotforyou.com

I didn’t follow the original instructions. The Lottie Blouse doesn’t use the set-in-sleeve technique and the sleeves are sewn in flat. This makes the gathering at the puff sleeves quite easy and generally I like using this technique for knit fabrics. As I changed the sleeves, I used the standard set-in-sleeve method to get the ease right at the sleeve cap.

The neckline facing is understitched and attached to the shoulder seam allowance with a couple of hand stitches.Lottie Top by Thisblogisnotforyou.com

I finished all seams with my overlocker. The sleeves and hem edges are all machine stitched – overlocked and turned in once and kept in place with topstitching approx. 5mm from the edge. This gives a nice neat finish and the machine stitching is barely visible.

Lottie Top by Thisblogisnotforyou.com
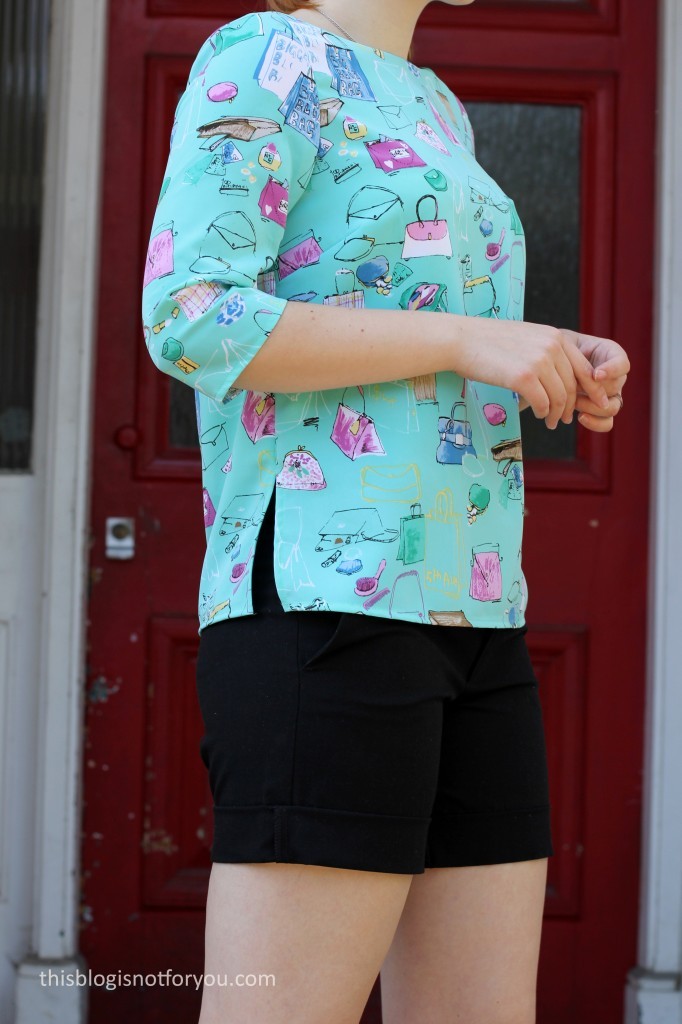
I stitched the side seams up to  approx. 15cm from the hem. I then pressed the seams open. The seam allowance is kept in place by topstitching 5mm from the edge, starting at the hem. I stitched up to the point where the side seam stitching starts, then stitching at an 45° angle, first up, then down again, forming a little triangle shape at the top of the slit. Lottie Top by Thisblogisnotforyou.comLottie Top by Thisblogisnotforyou.com
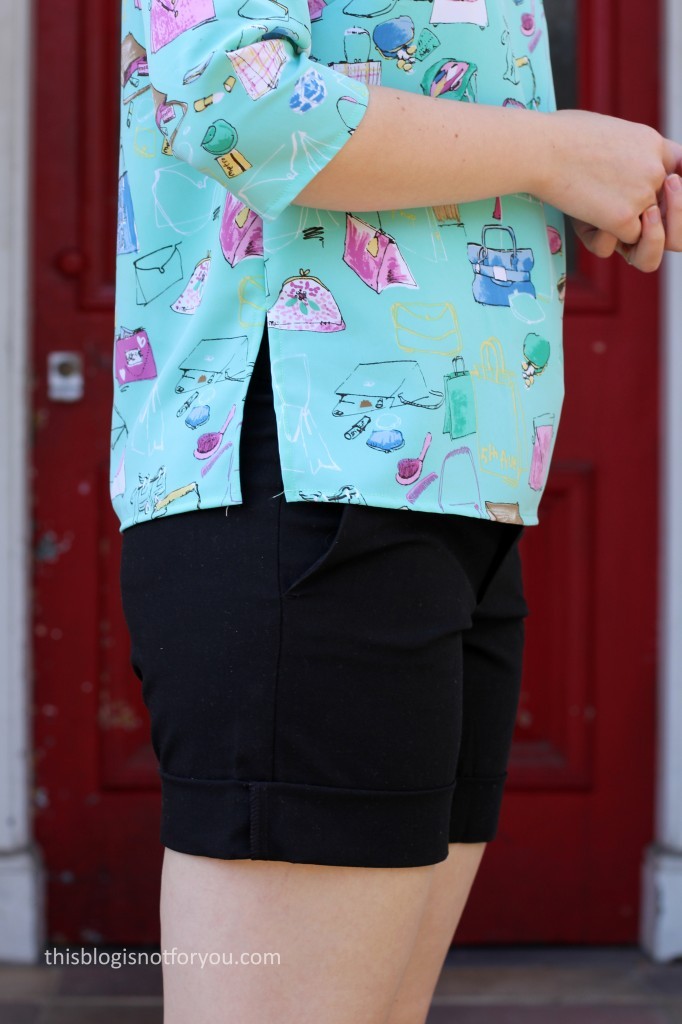
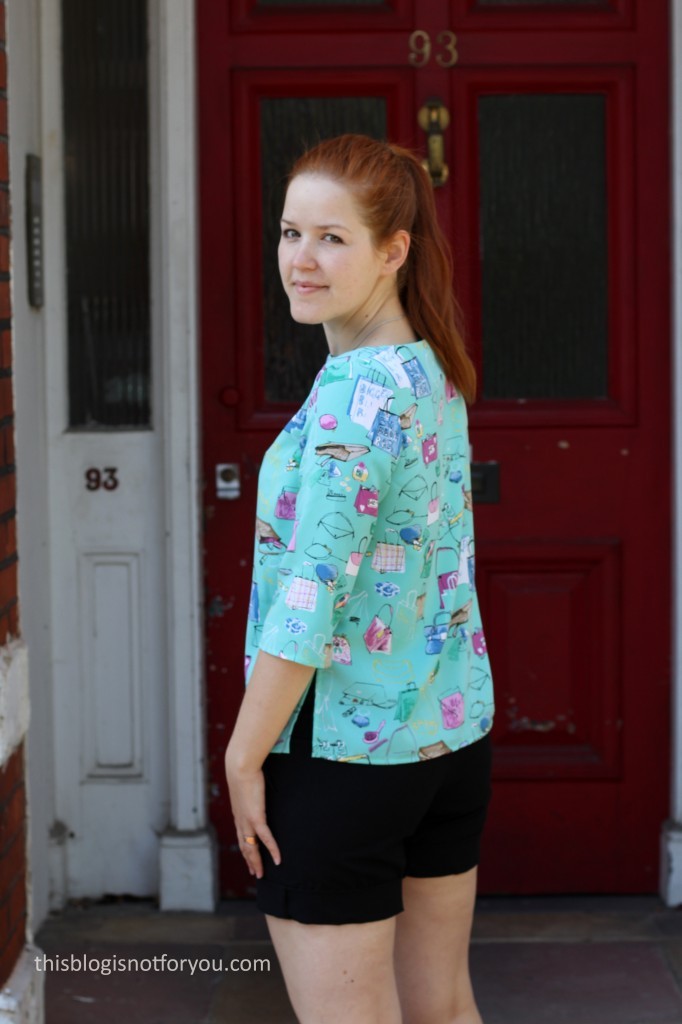
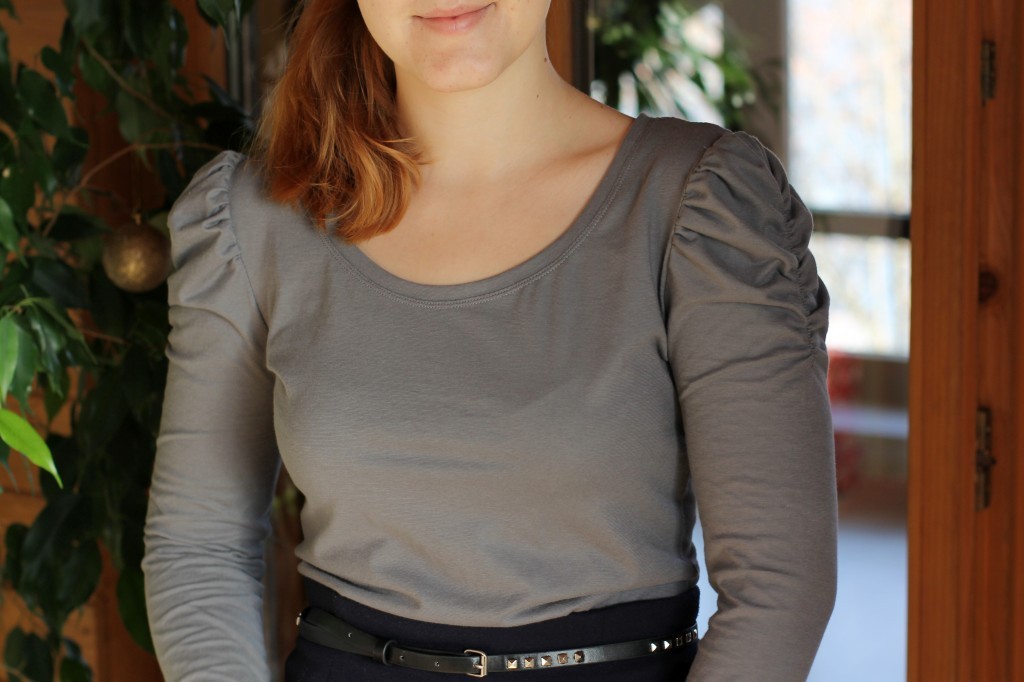
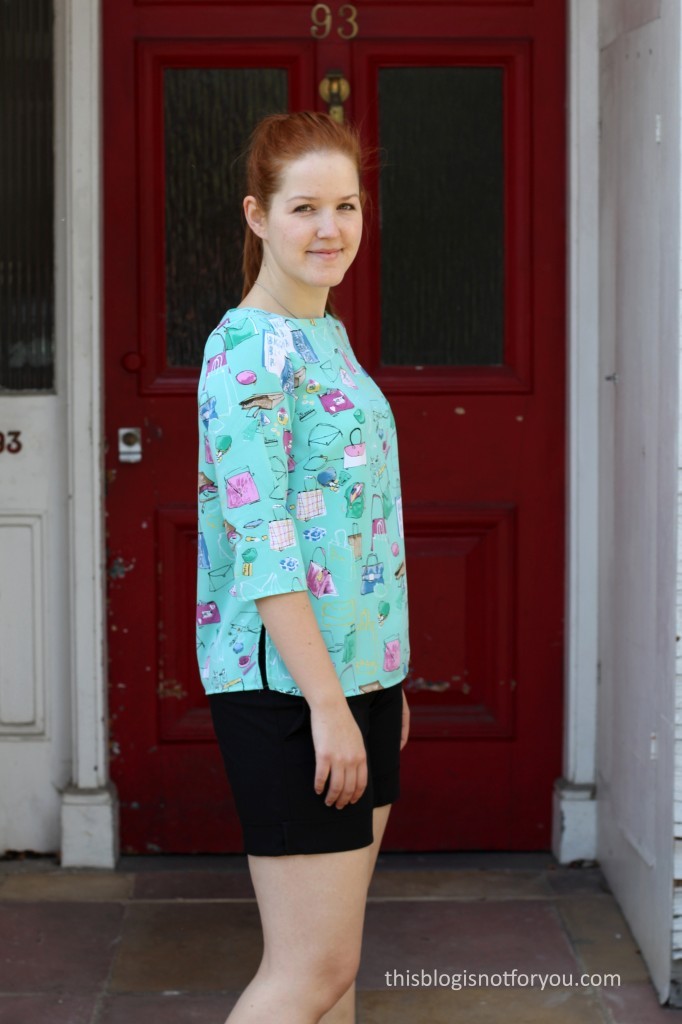
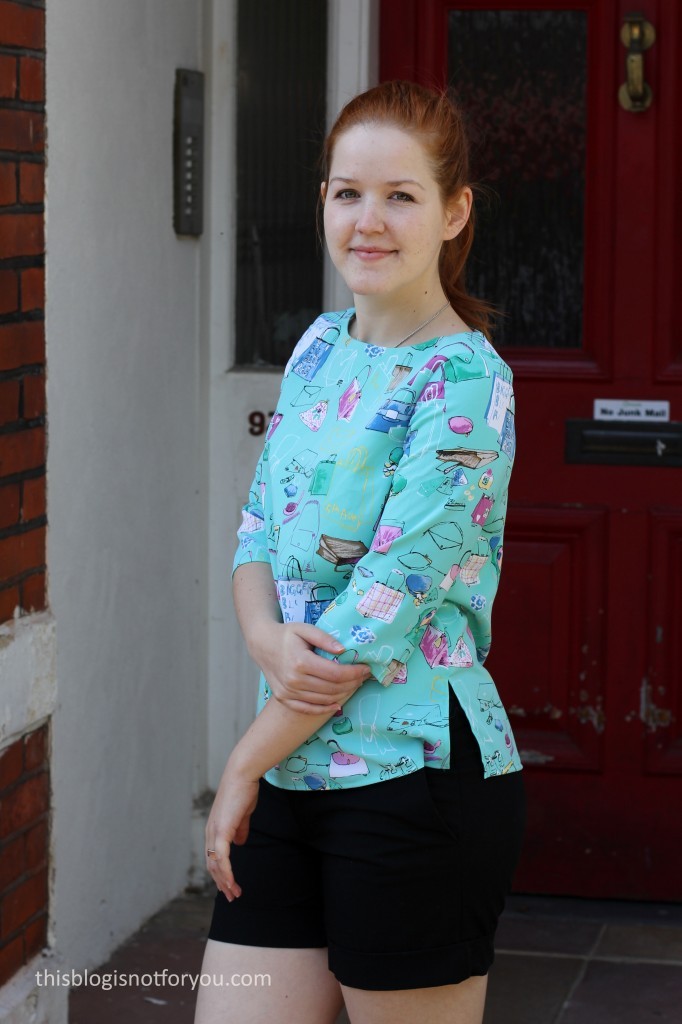
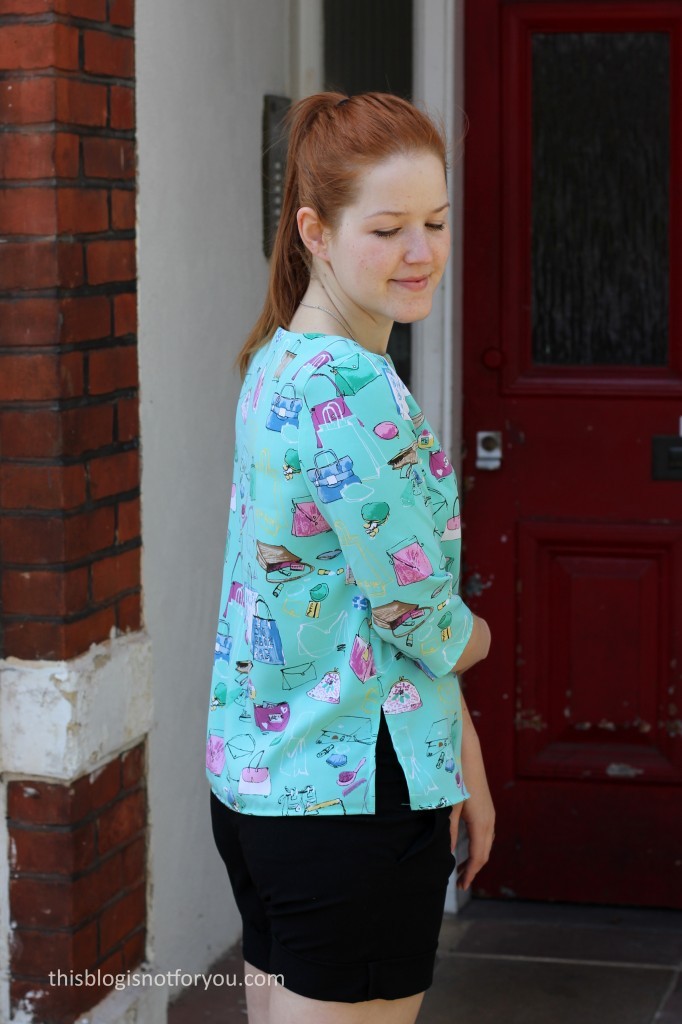
To be honest, I’m not quite as happy with this make as I hoped to be. First, the fabric. I have 3m of this polyester blend, which I got for almost nothing at a charity shop. The quality is really nice and I saved it up for ages. I finally decided that I had enough to make a top and still have enough left for a dress. Looking at the top now, the fabric choice wasn’t the best. I just really don’t like the print on it. It would’ve looked better on a dress I guess. I might use the rest of this fabric for the Sew Over It Vintage Shirt Dress.

Second, the fit isn’t the best. The Lottie Blouse fits me quite well, but I never realised that it is quite tight across the bust. It now makes sense, because the keyhole always gaped a bit, but this wasn’t much of a problem as it is covered by the pussy bow.

Now that I removed the keyhole and raised the neckline, the top is a bit tight. Furthermore, removing the fullness of the sleeves doesn’t help either. As you can see in the picture below, the top rides up and distorts the neckline when I lift my arms a bit. Meh!

Lottie Top by Thisblogisnotforyou.com
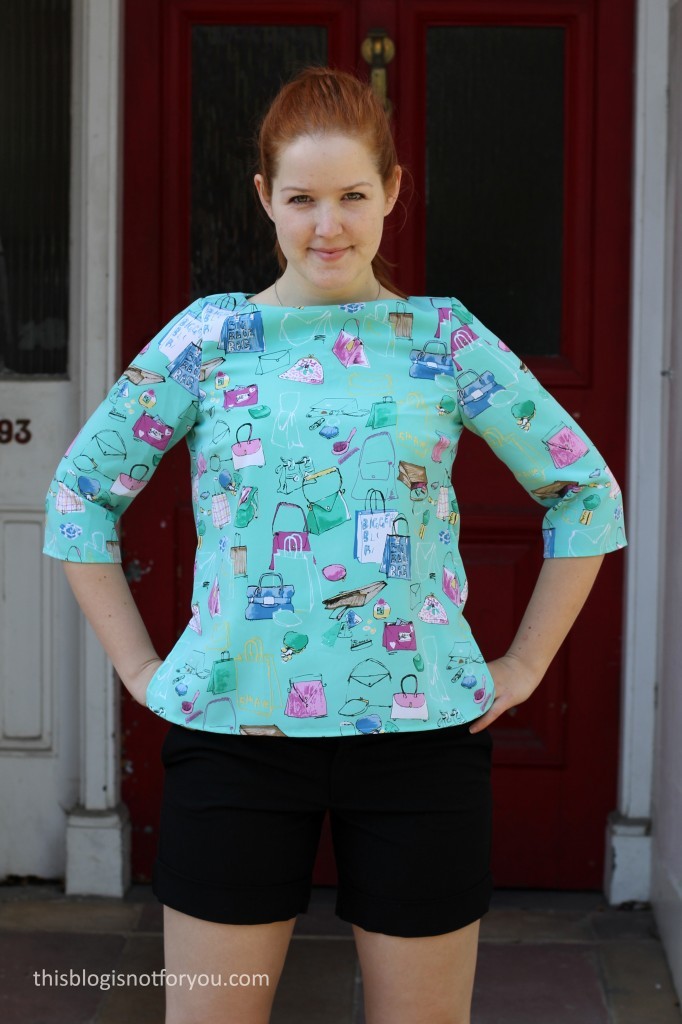
Well, it’s good enough to wear at home in the garden and I have learned my lesson!

I recently made yet another Lottie hack and hacked the blouse into a dress (pictures coming soon!). Again I removed the keyhole (but kept the bow), but this time I added an extra 3cms across the bust. The fit is so much better now!
Lottie Top by Thisblogisnotforyou.com

What’s your favourite pattern hack? Have you ever been really disappointed after trying something new?


Happy sewing!

facebook/bloglovin/pinterest
twitter/instagram

Stay in touch!