Say Hello to Average Pony DIY!
Hello lovelies! Today I want to introduce my awesome new sponsor: Maren from Average Pony DIY!
Maren and I actually met at university a few years ago. Back then she used to sell very cute jewellery and accessories on Dawanda (which is basically the German answer to Etsy). In April this year she expanded her business and created “Average Pony DIY”, now selling materials for making your own jewellery and accessories. The shop is still growing and at the moment also includes the cutest washi tape I’ve ever seen, covered buttons and hand-stamped labels for your handmade makes. All products are absolutely swoon-worthy and come at very affordable prices. You can make your own personalised (and very professional looking) jewellery for no more than 1-2€.
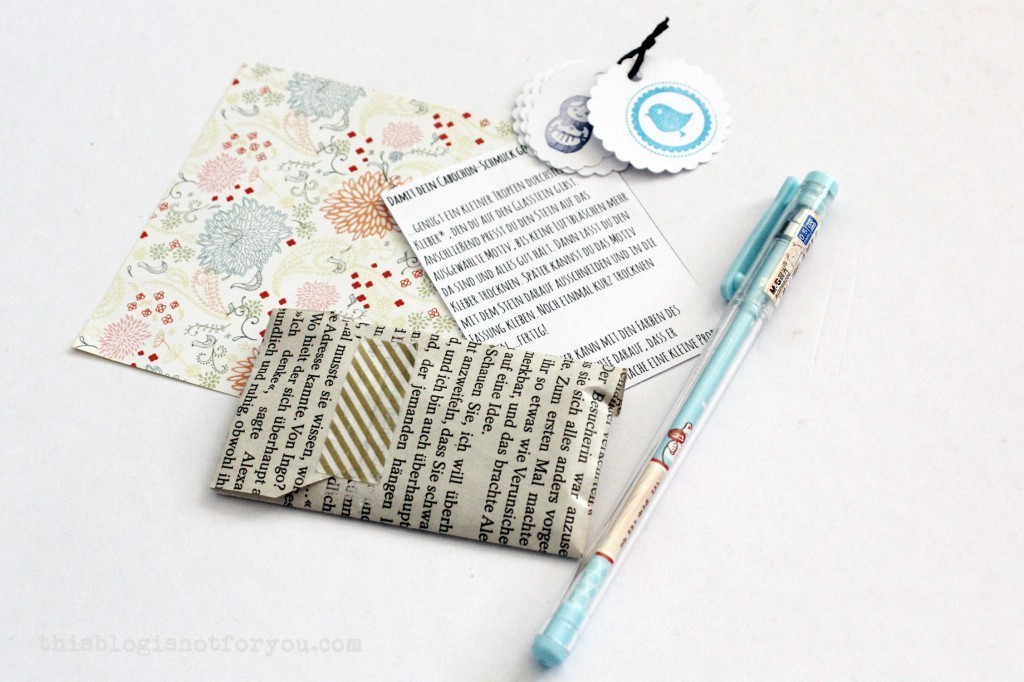
I was super happy when Maren sent me a parcel with different materials to try some of her products. I loved how much care she puts into wrapping everything and decorating it with washi tape!
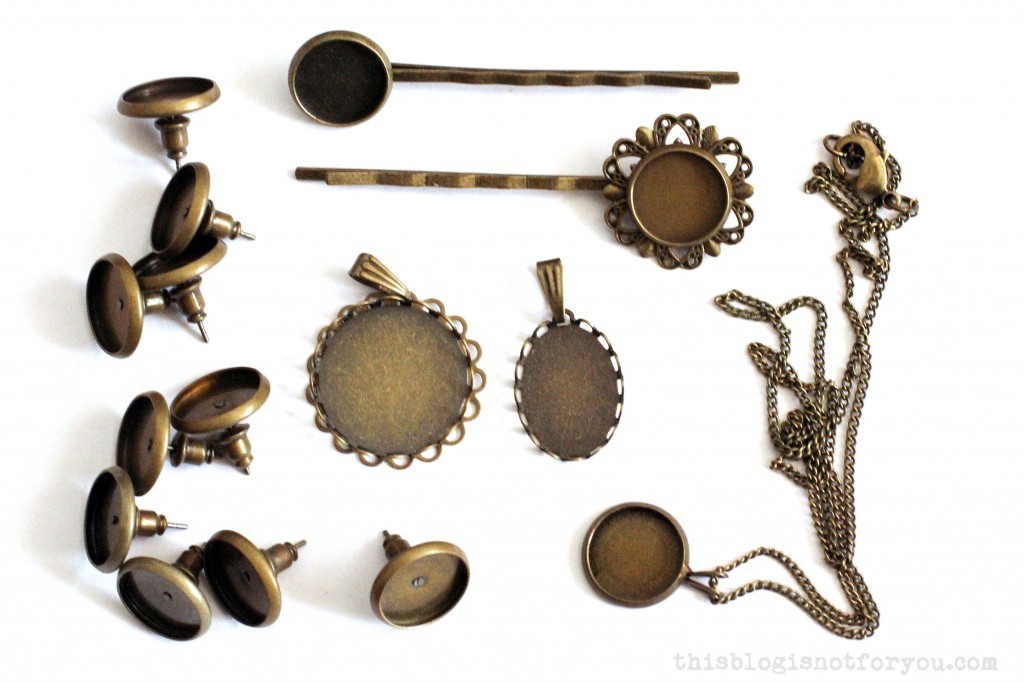
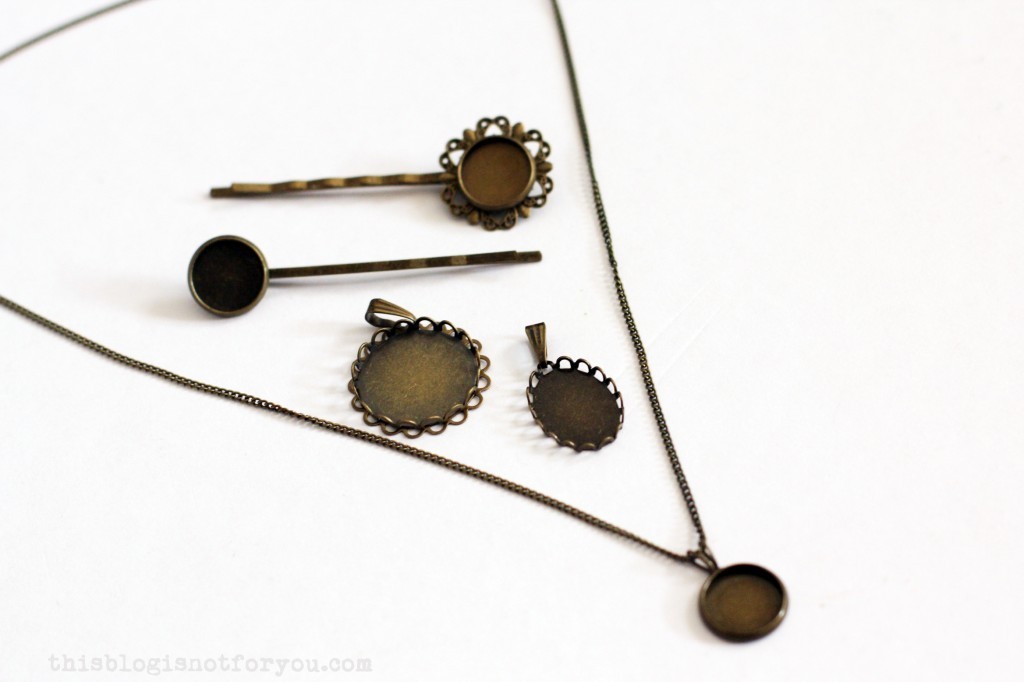
I got to test different necklace, earring and hairslide jewellery-settings as well as glass cabochons in different colours.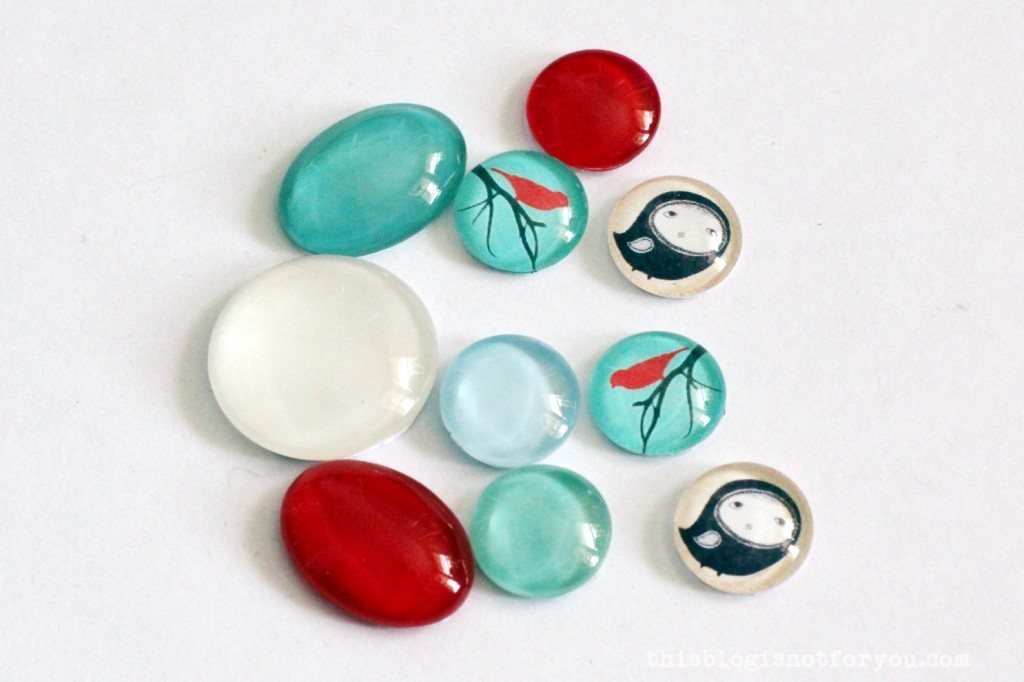
There were also some clear cabochons included and I took a few pics while making my own pair of studs: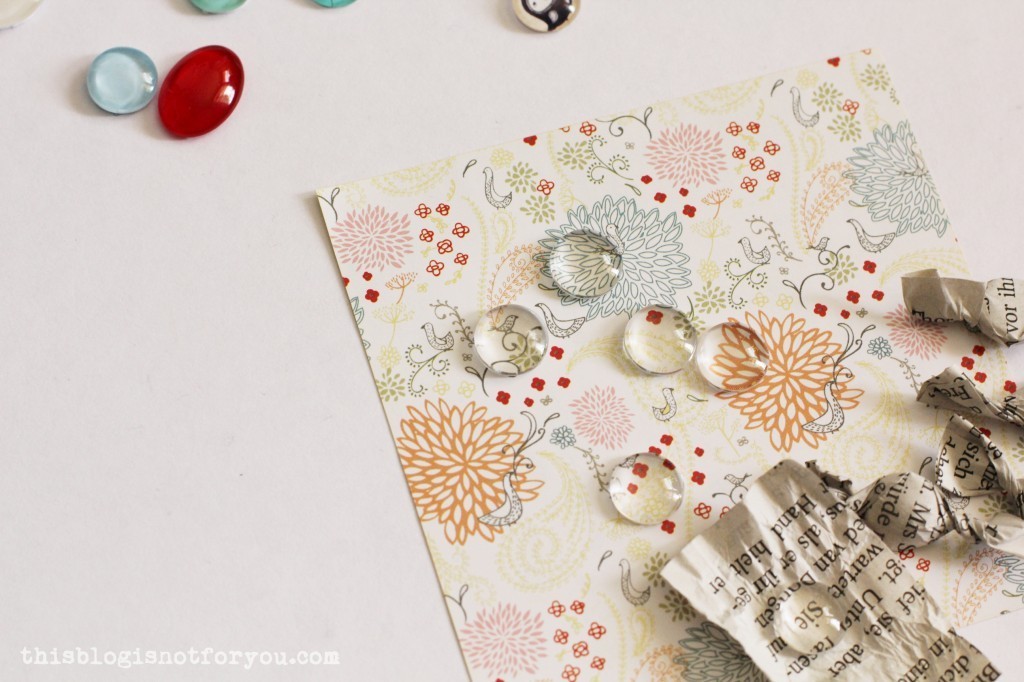
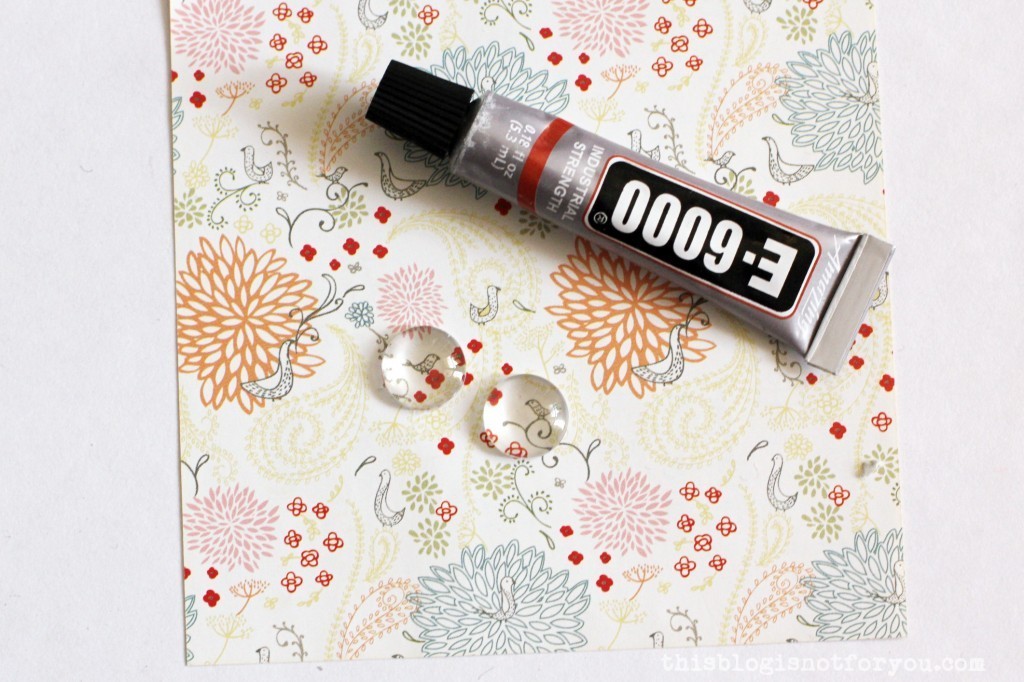
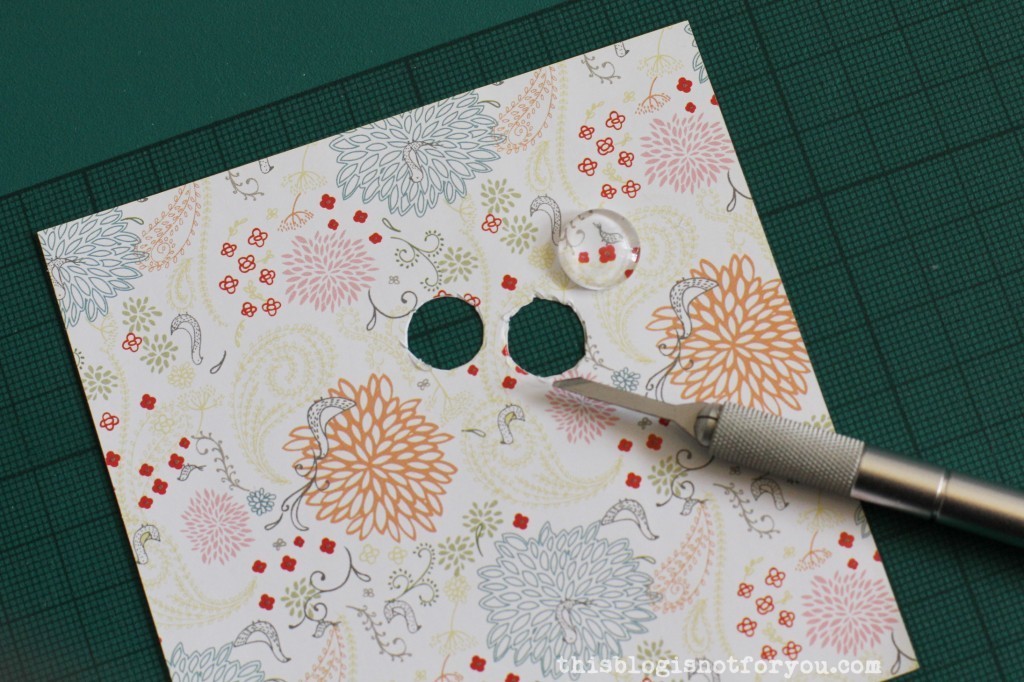
You basically glue the glass cabochon onto paper (if you want to print out your own image I found that photo paper works best), wait for the glue to dry and then cut it out and glue it into the setting. Pretty straight-forward, isn’t it?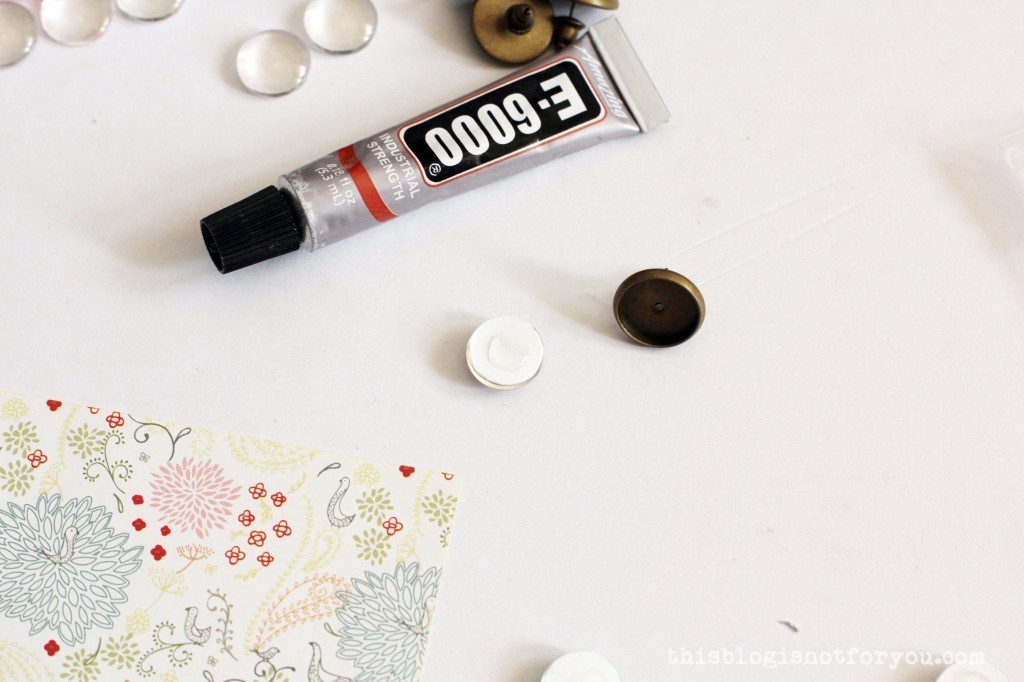
Here are some of first attempts: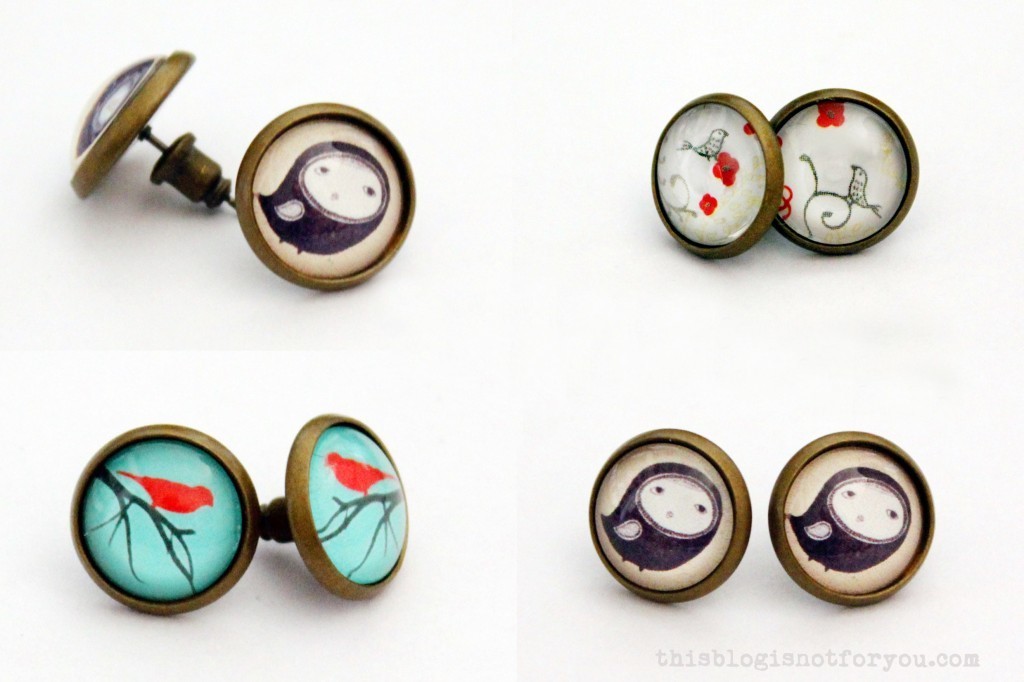
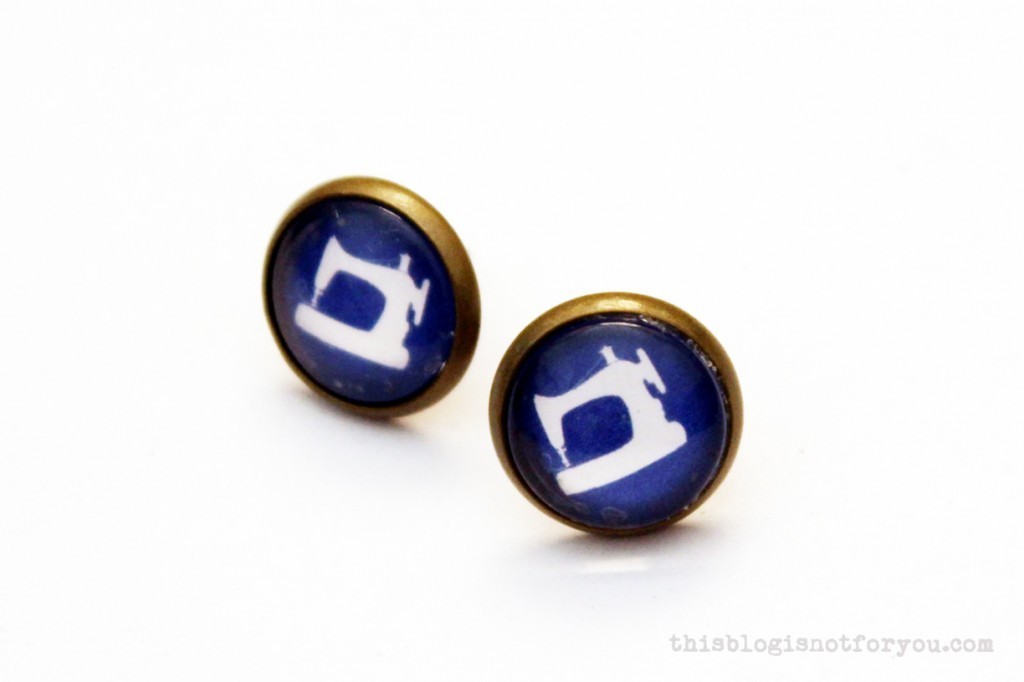
Of course I tried to make some sewing-related studs, after which I noticed that it’s much much better to use photopaper, because normal paper soaks up some of the glue which can leave stains on the image.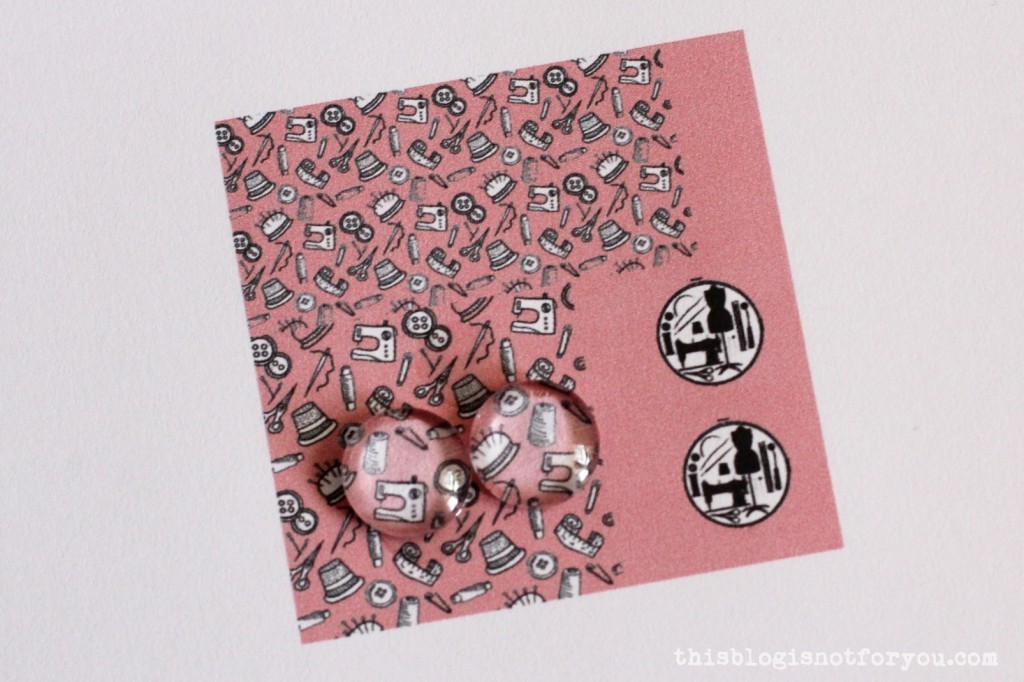
I also tried book paper studs (“heart” & “love” in German).

Aaaand, of course, sewing machines I drafted in Illustrator and my favourtie colour, navy blue!
I really enjoyed making my own jewellery with Average Pony’s products, as it is very simply and quick, yet very effective. It’s perfect if you need a last-minute handmade gift.
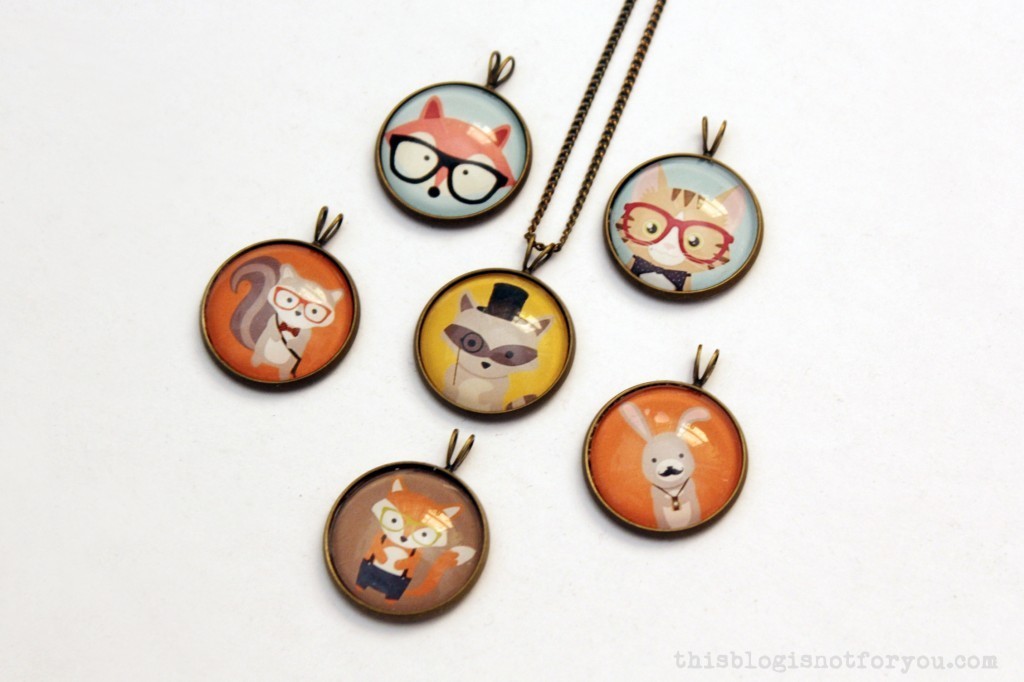
I also ordered a few more settings and cabochons. My absolute favourite ones are the hipster animal necklace charms:
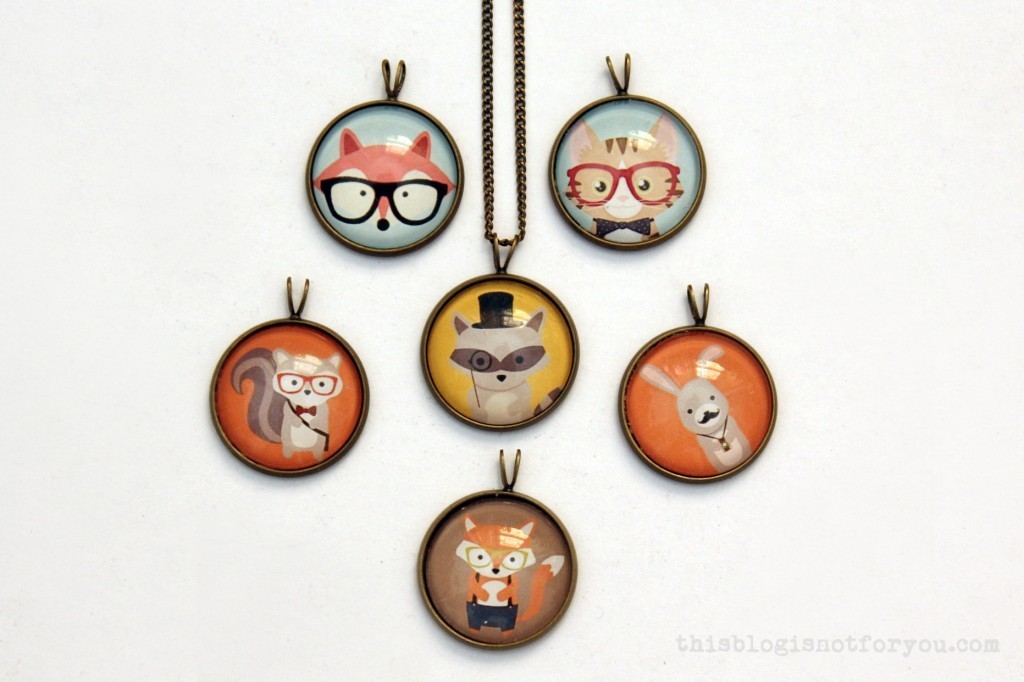

The two top ones (on light blue background) I printed off the interwebs, the other four I ordered on Average Pony DIY: The clear ones are the best, because you have endless possibilities! You can get them in different sizes from 8mm to 20mm.

If you find something on Dawanda which you’d like to order, I basically works the same way as Etsy. On the bottom of the page you can choose your language and currency:
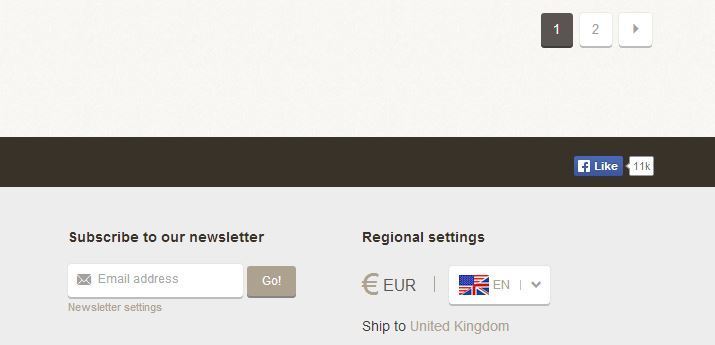
Average Pony DIY ships internationally and if you have any questions about ordering, you can simply pop them a message.
Happy jewellery making!
♥
facebook/bloglovin/pinterest
twitter/instagram
Stay in touch!
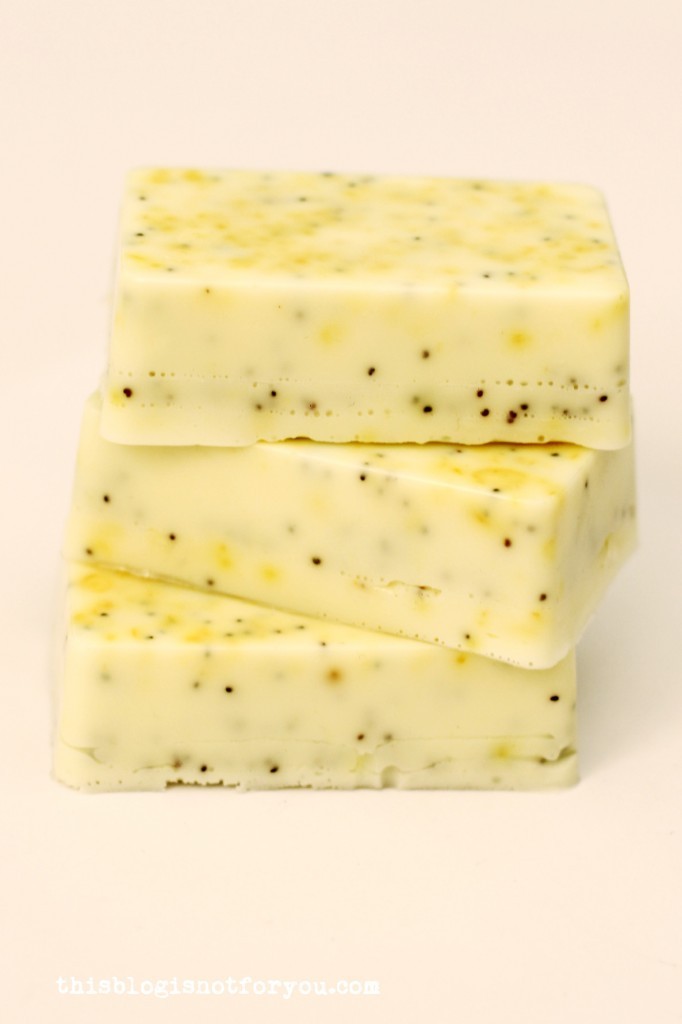
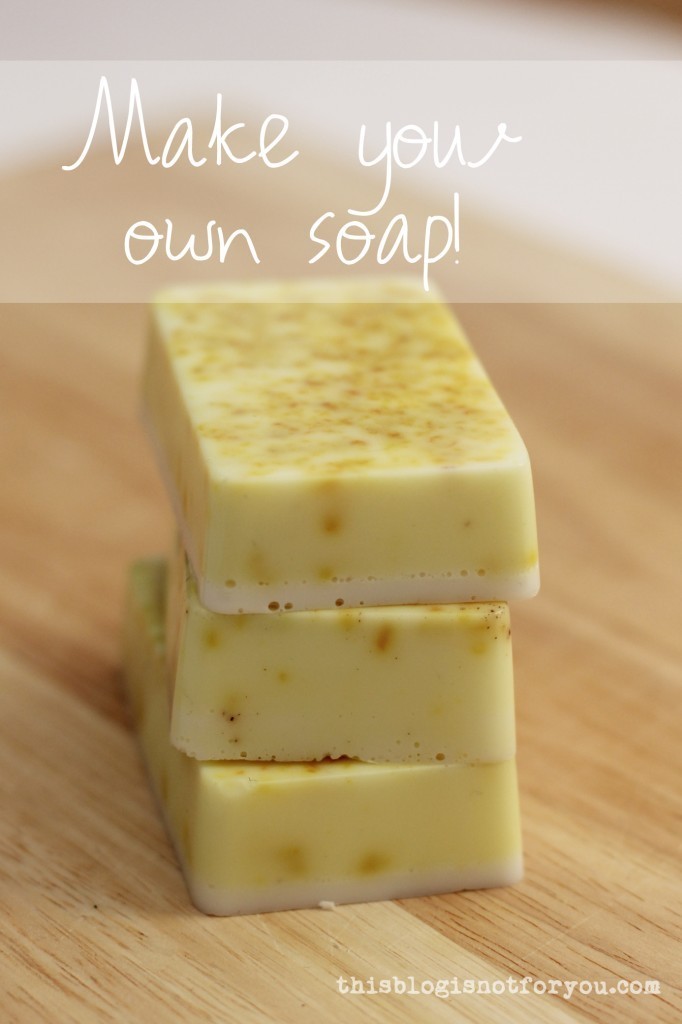 Ahhh, our flat smells heavenly! One of the many benefits of making your own soap. I love making soap because you can create the perfect soap bar with your favourite fragrances and ingredients. And, believe me, picking up the finished soap bar for the first time and smelling it is such a bliss!
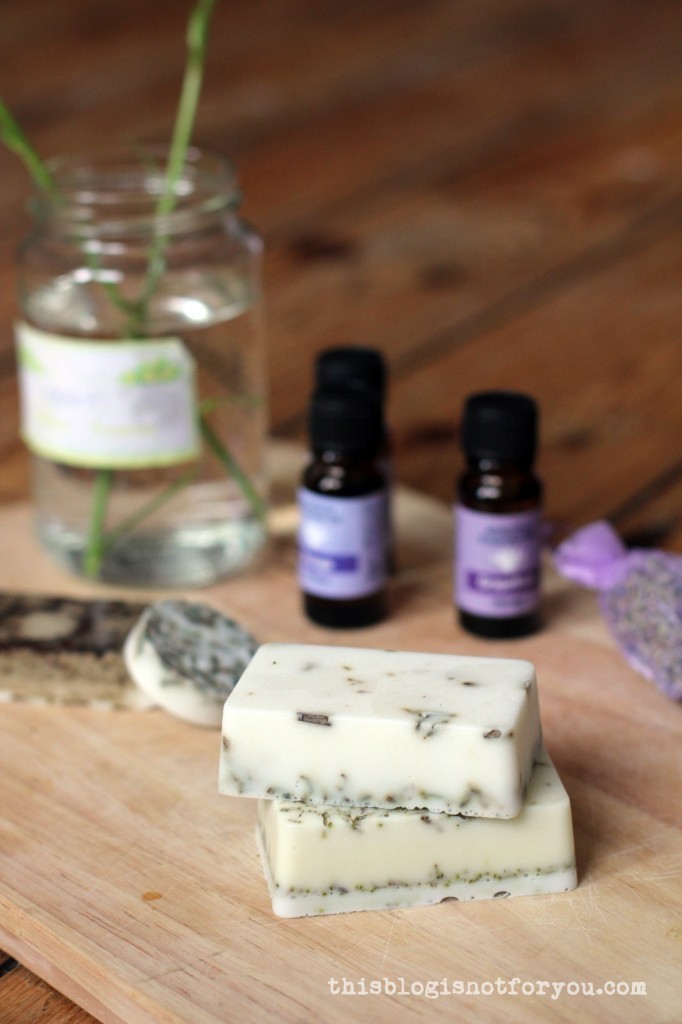

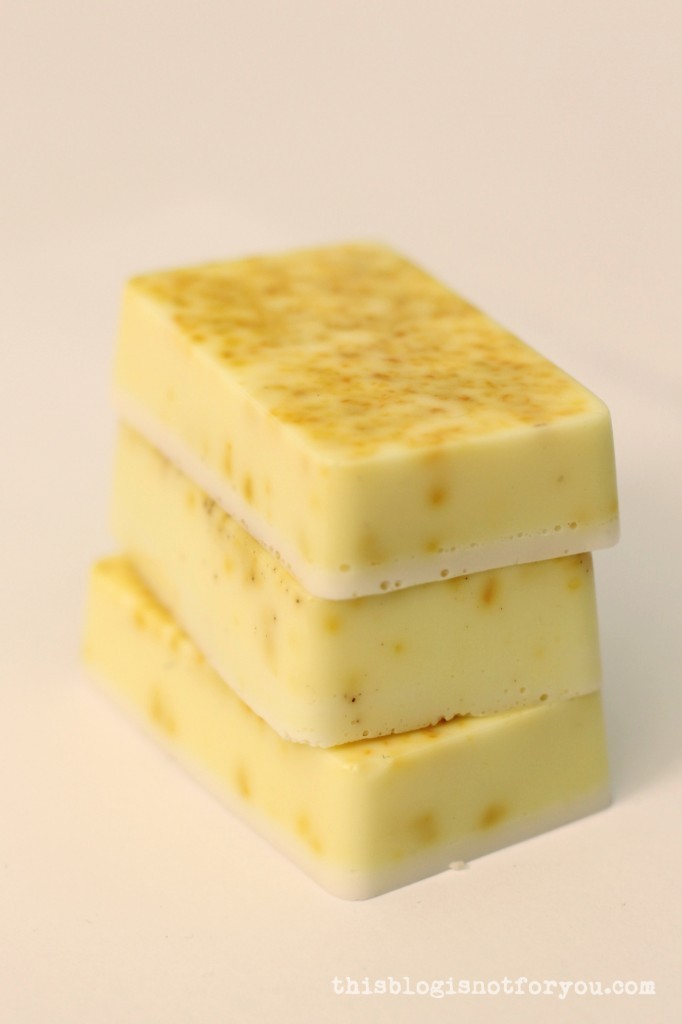
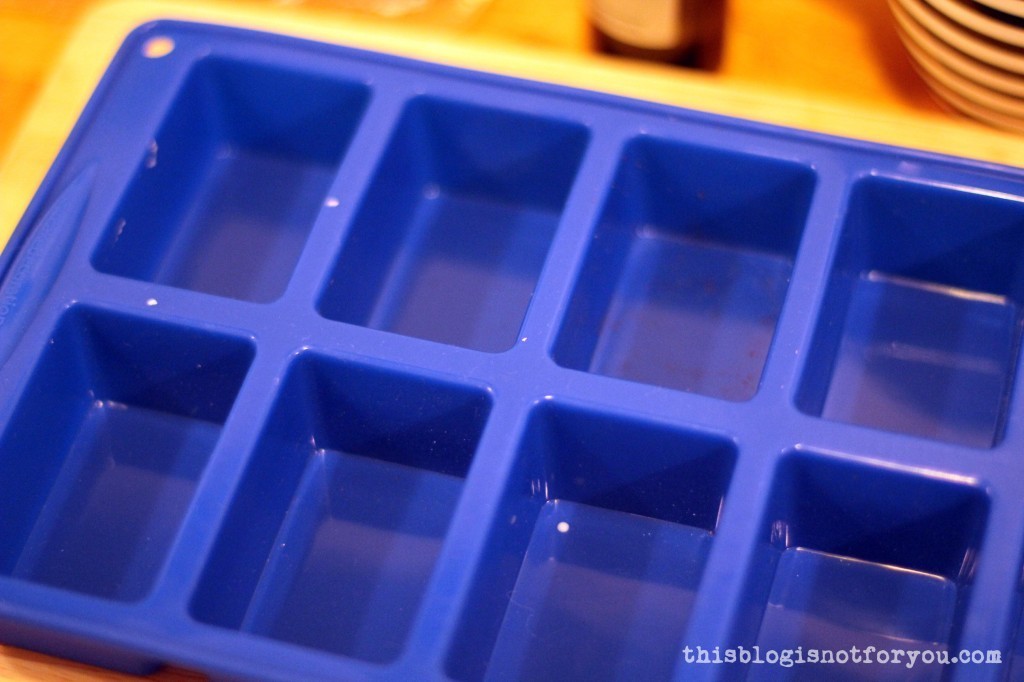 1. Make sure your silicone mould is clean and dry. I placed it on a wooden board, so I could move it while the soap wasn’t completely hardened yet.
 2. Cut your soap base into smaller cubes with a knife and place them in a clean bowl.
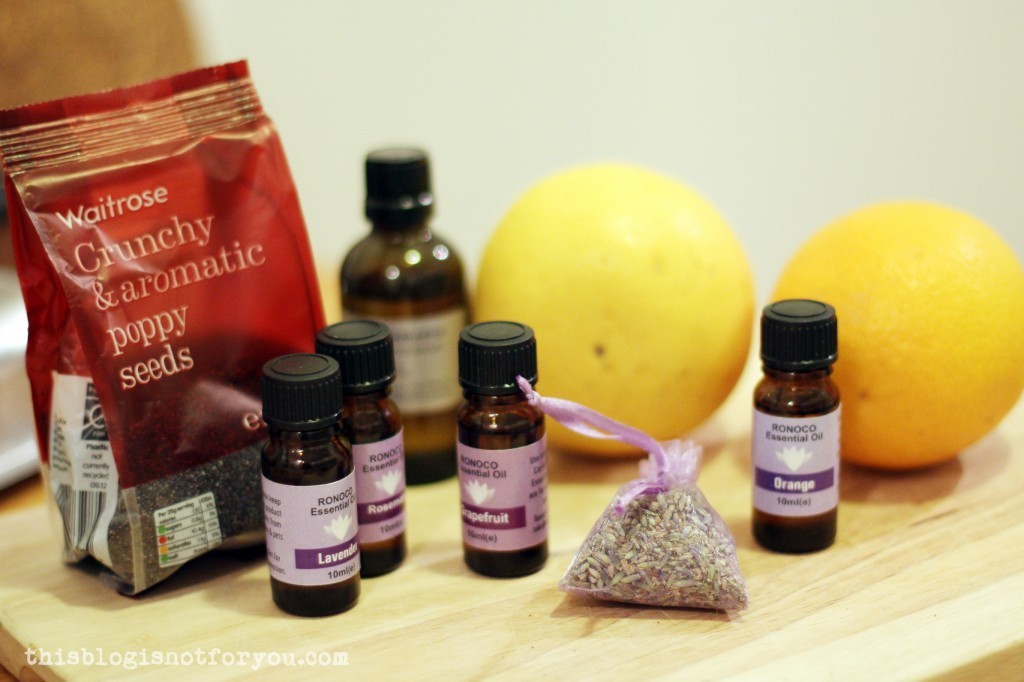
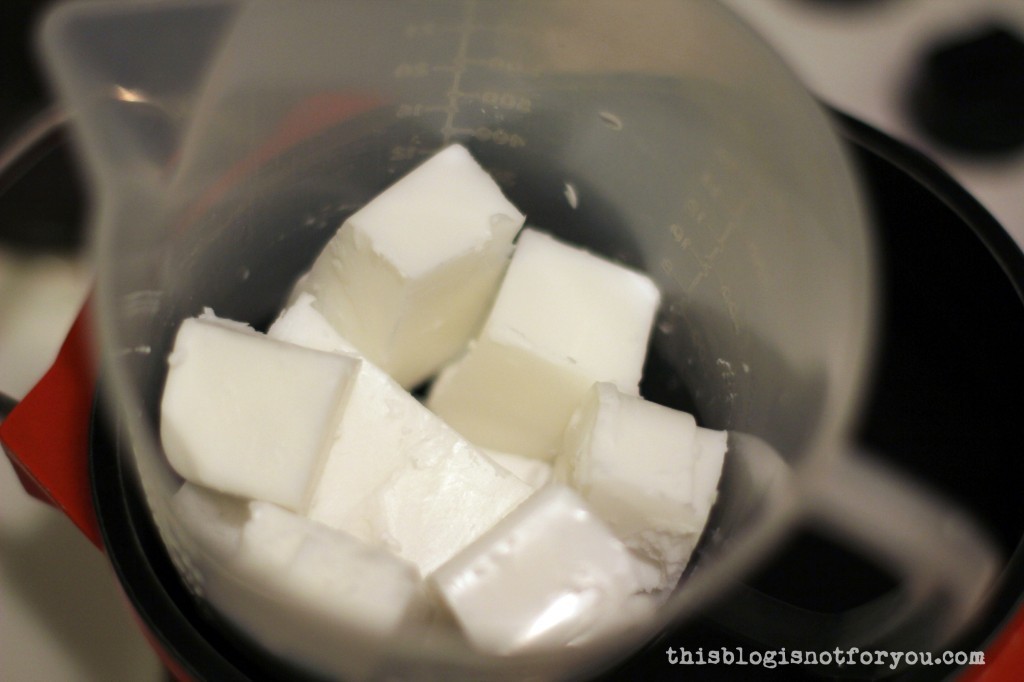 3. Before you melt the soap base, make sure you have all ingredients handy. The soap hardens quite quickly, so it’s better to zest the orange/grapefruit and open any plastic bags before you start melting the base.
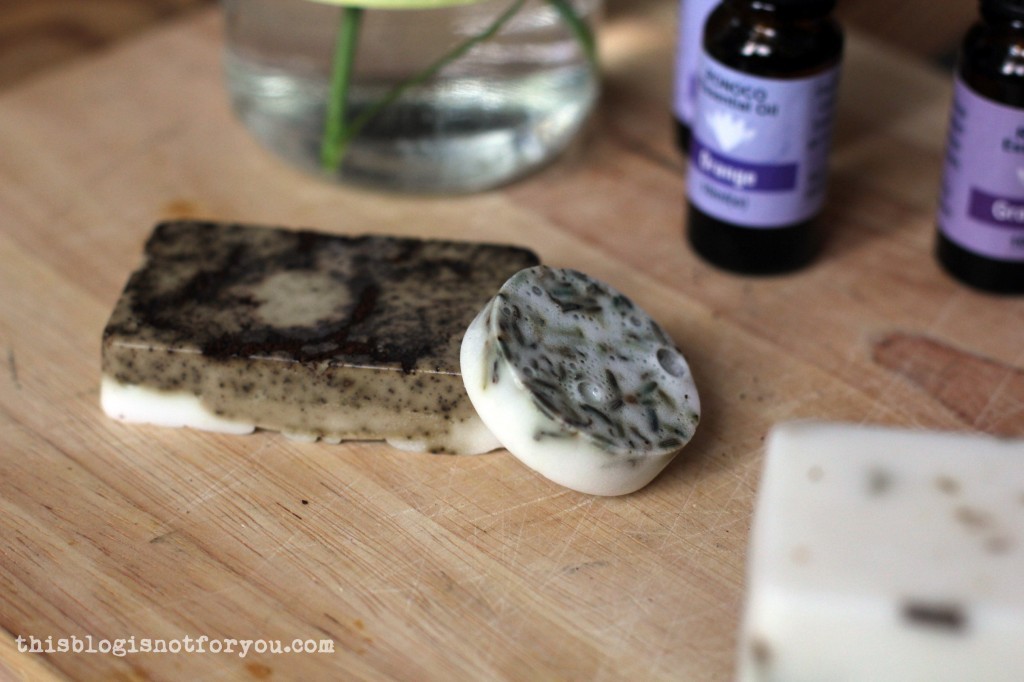
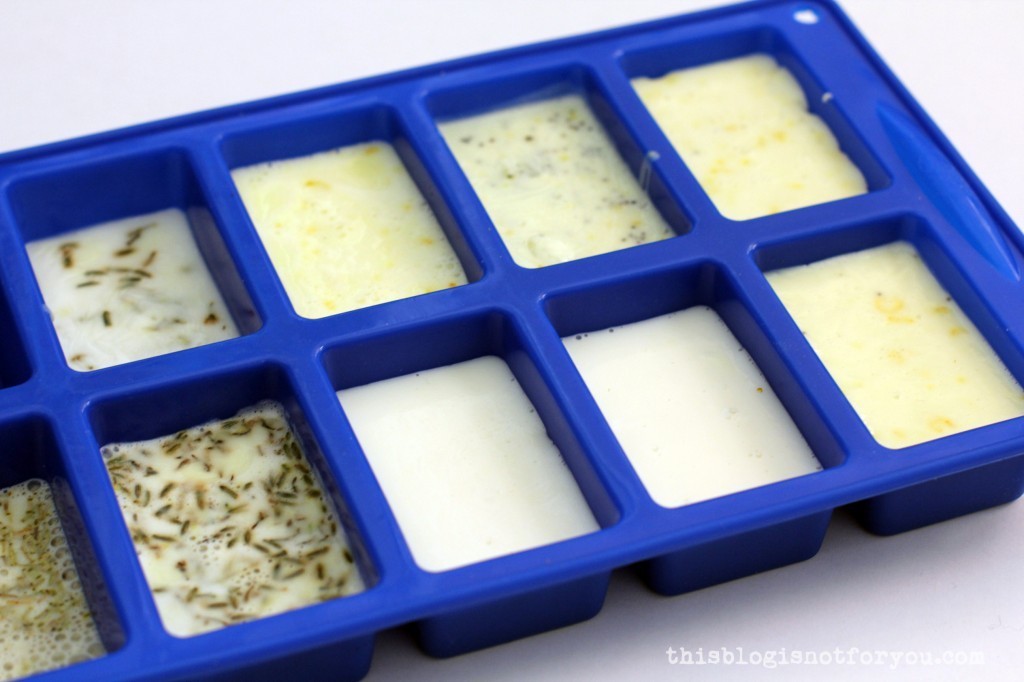 6. Let the soap harden. It only takes a couple of hours, but if you want to be on the safe side you can leave it in there over night. I put a piece of paper over the silicone mold to keep the soap dust-free.
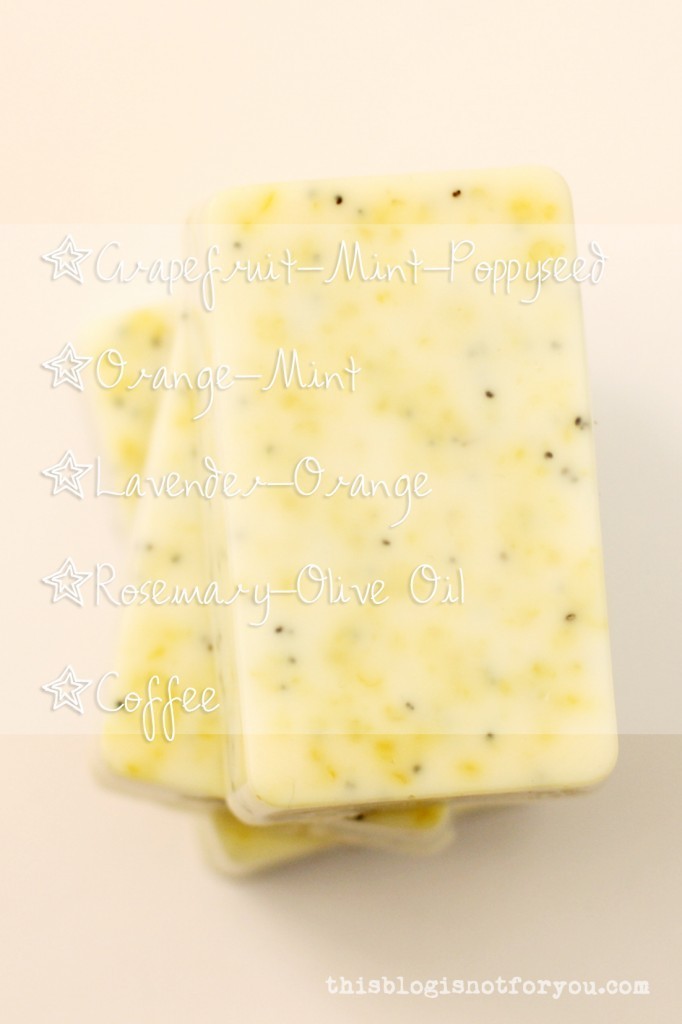 Grapefruit / mint / poppy seed: zest of half a grapefruit, 10 drops of grapefruit oil, 3 drops of mint oil, 1tbsp poppy seeds.
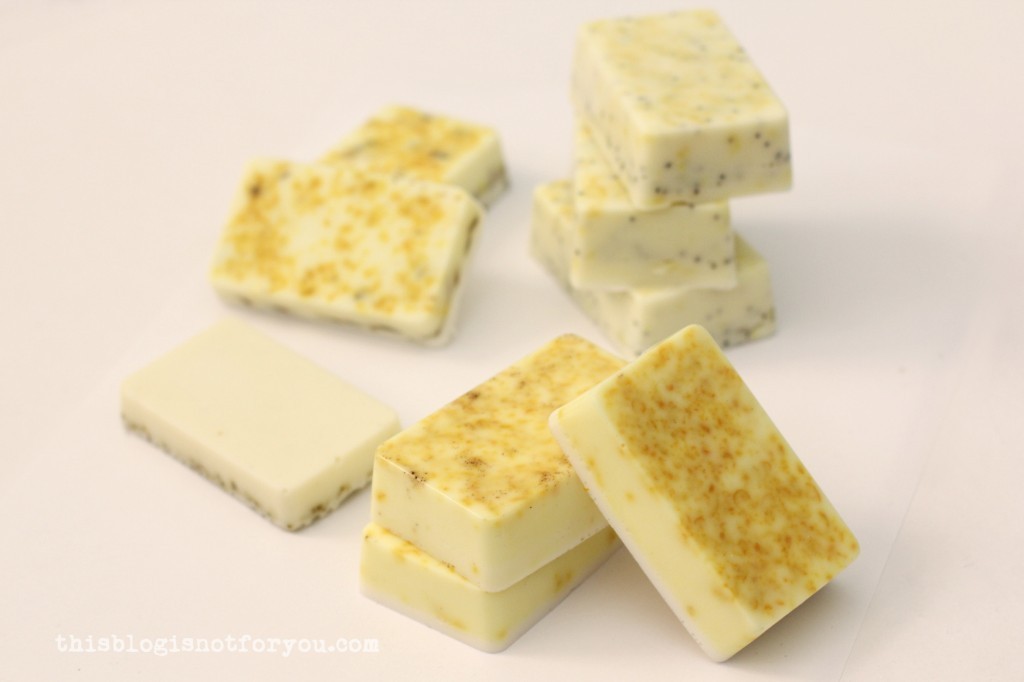
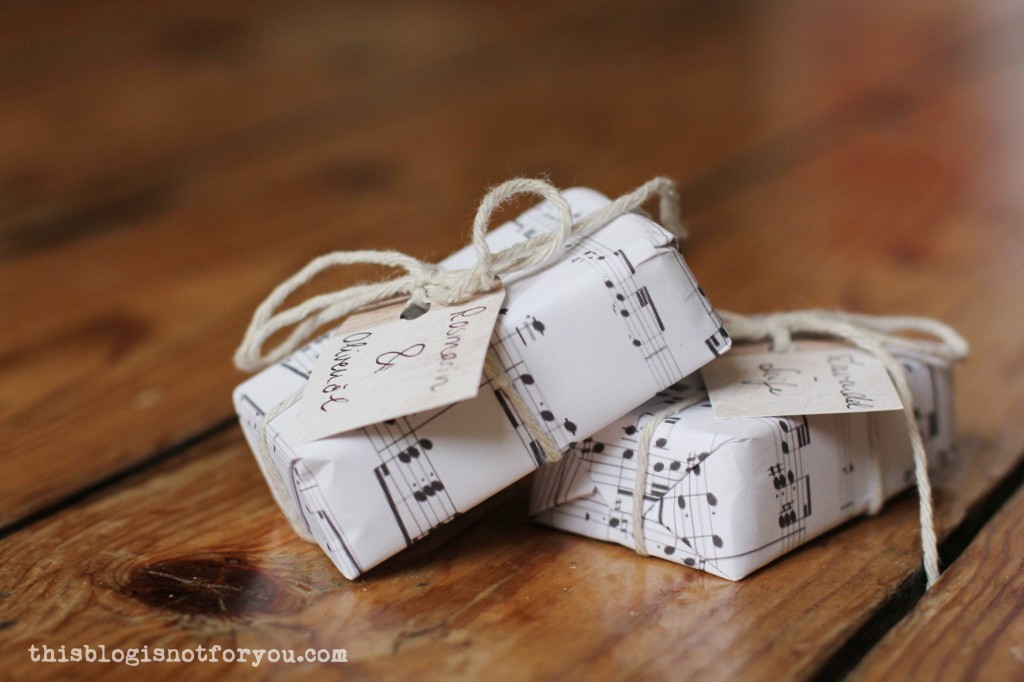
 I wrapped the soap bars in recycled paper (I cut strips out of a shopping bag), which I taped together on the bottom.
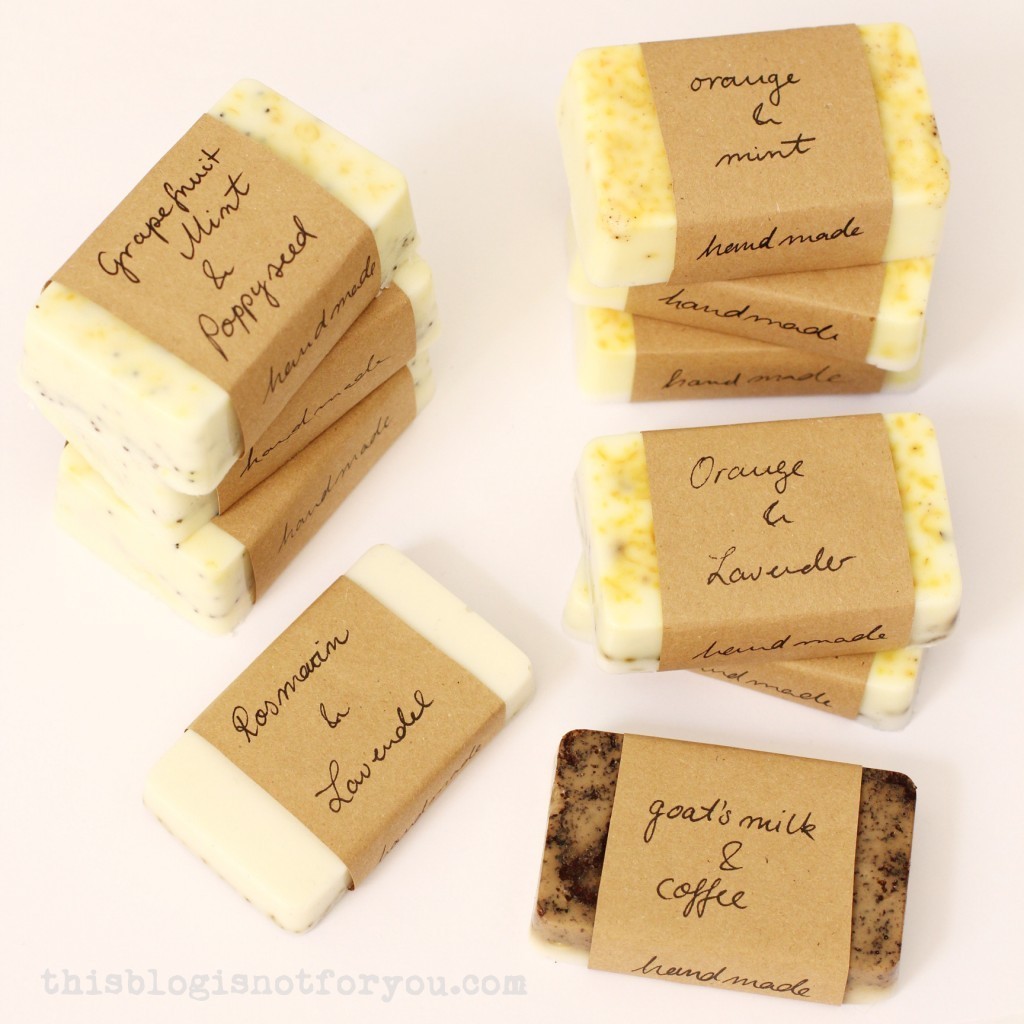 Before I gave some of the soap bars away to friends and family, I wrapped them in music paper (which I had printed out) and attached small labels with twine.
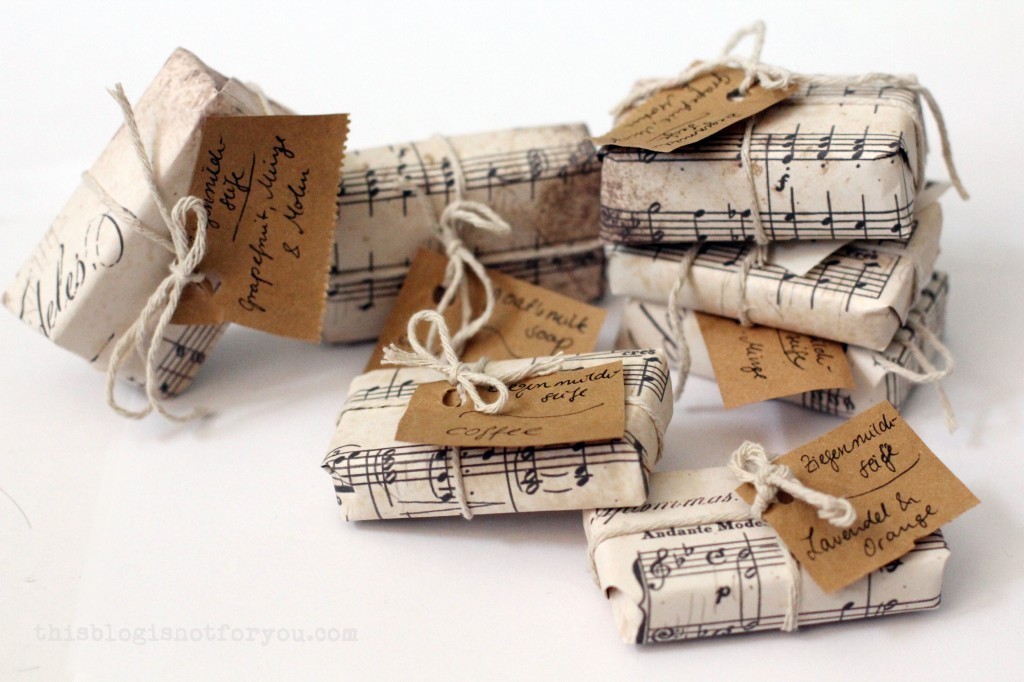
 There’s a tree branch hanging on our wall. At first I was afraid this thing could attack me by falling down, but I didn’t (so far) and I love it. Here’s a selfie of our shabby couch with our new (not so new anymore) roommate.
 I found this nice little guy when I went running after a day of stormy weather. Out of pity I picked it up and carried it home. I thought Londoners would be used to so much weird stuff that they’d ignore this, but they stared anyway. (The branch is about 1.5m long, our couch is just so big, that it makes it look tinier than it is)
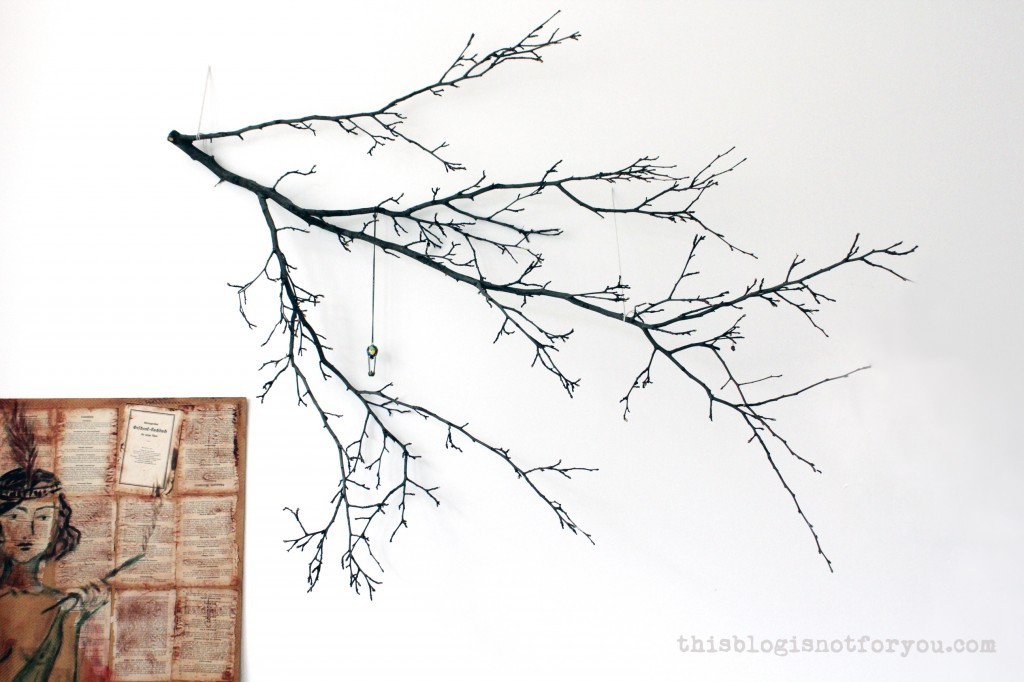 Mr Thisblogisnotforyou was a bit surprised but was willing to help me find a place for it. We hung it on the wall with two small nails and a few bits of string.
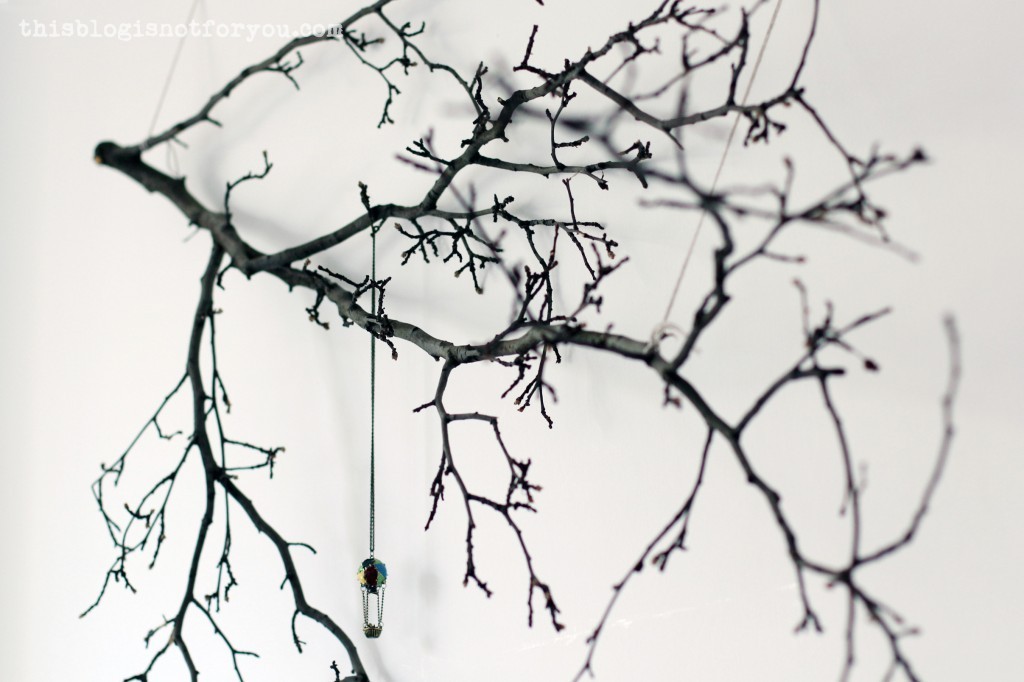
 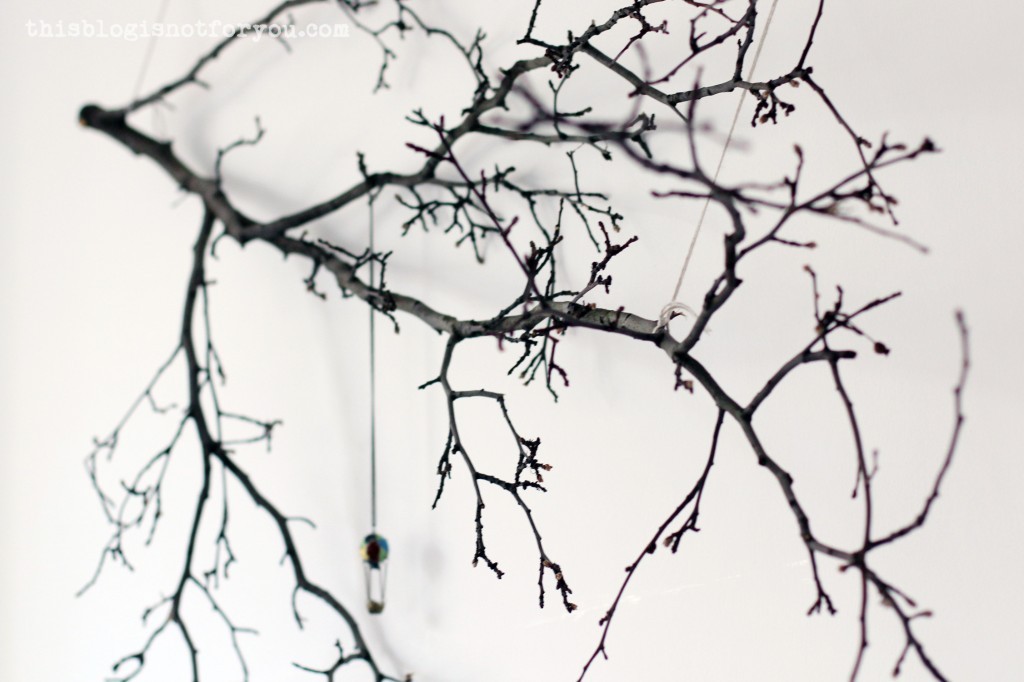 I was planning on decorating it with white mini origami cranes and just hung this necklace there for the time being. But we liked this so much, we kept it like that.
 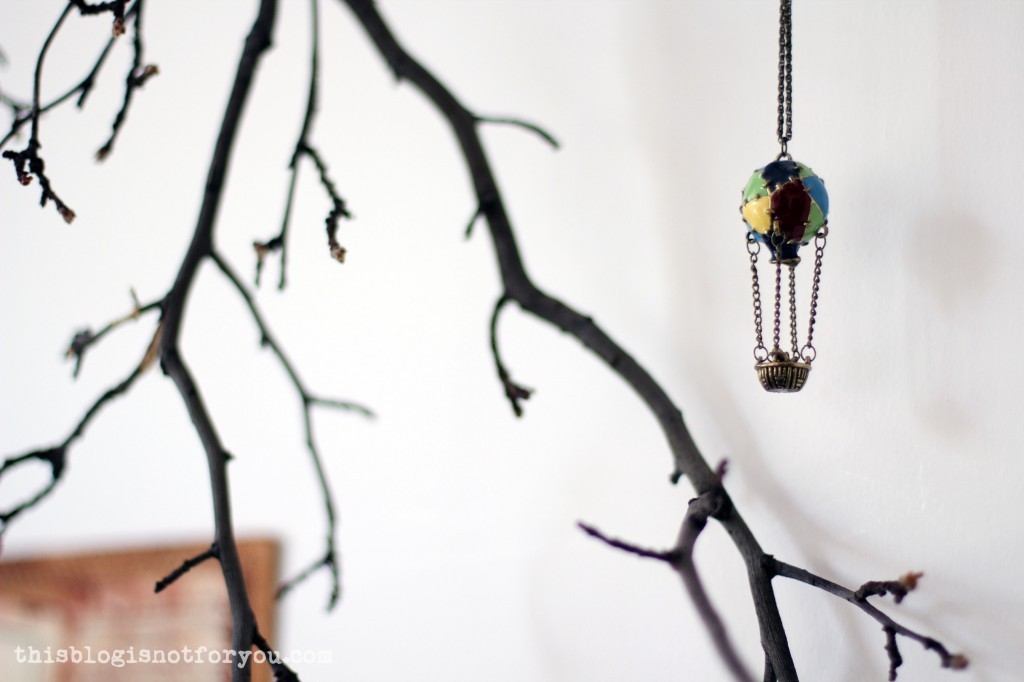 It has a great effect and it’s such an easy and really simple DIY decor project. I love tree branches because I love wood. That’s probably why I chose to live in a place with this:
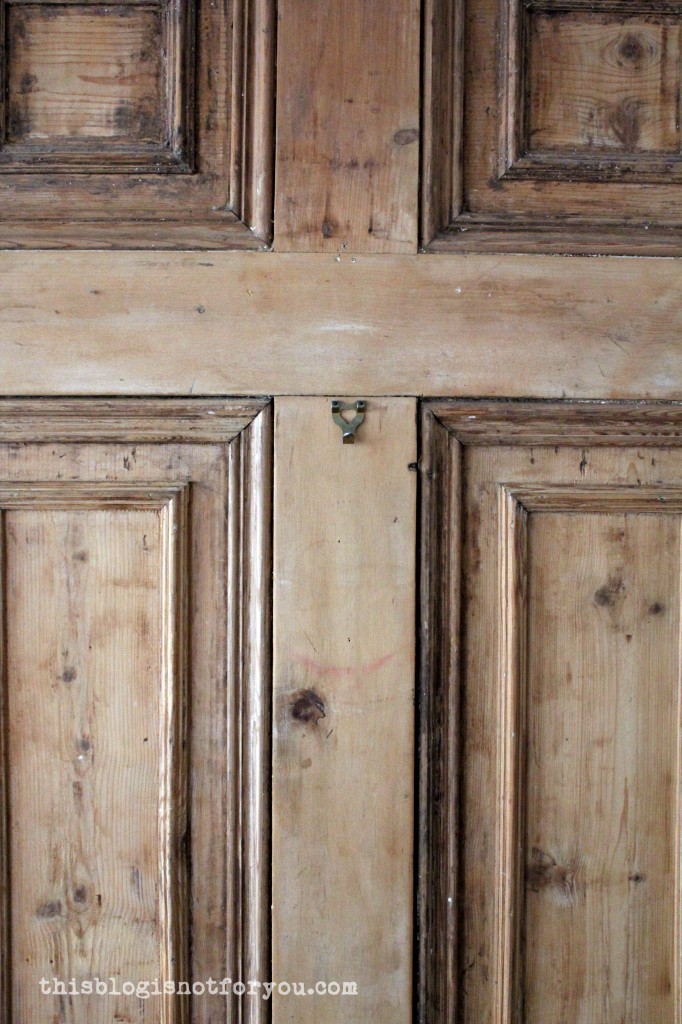 And…this:
 This hole in the floor has eaten so many pins that I stopped counting. And a battery. But it hasn’t stolen any of my chocolates yet, so I can live with it.
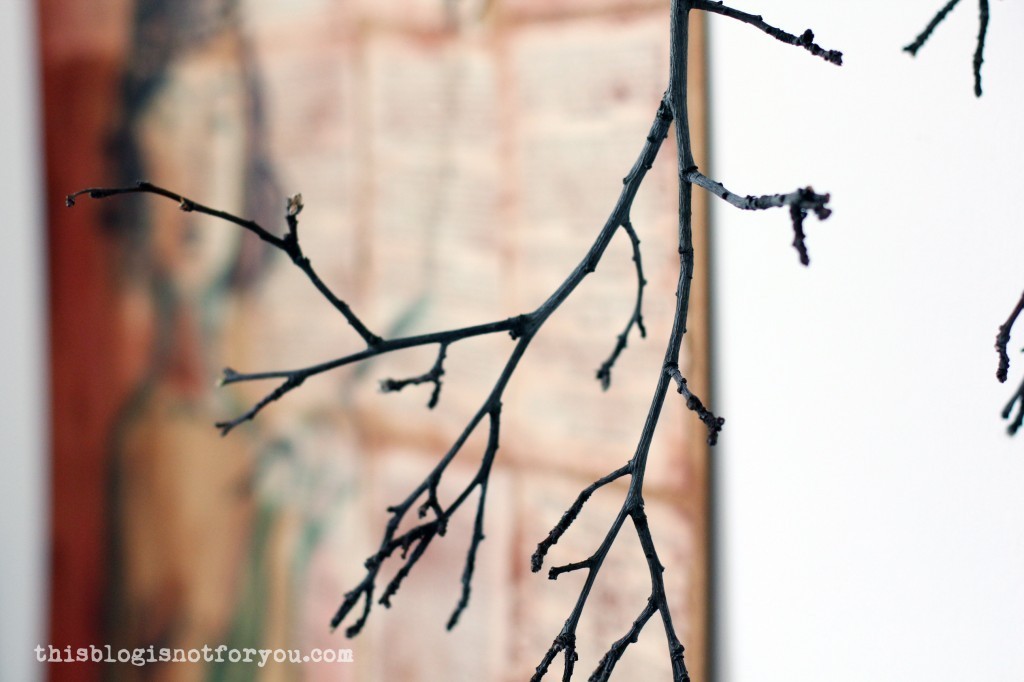

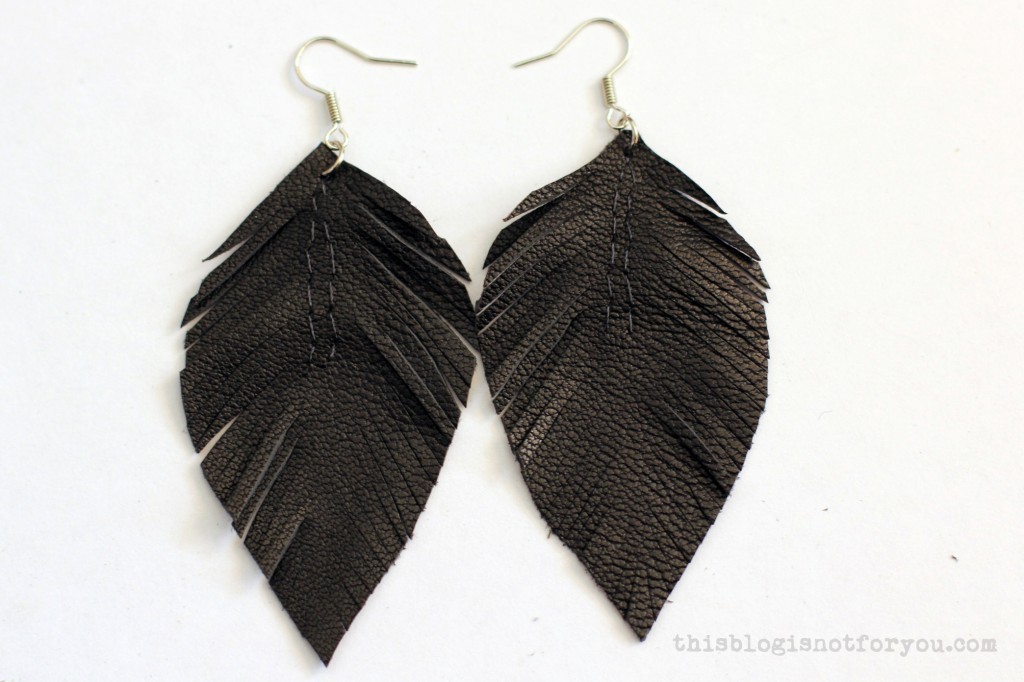
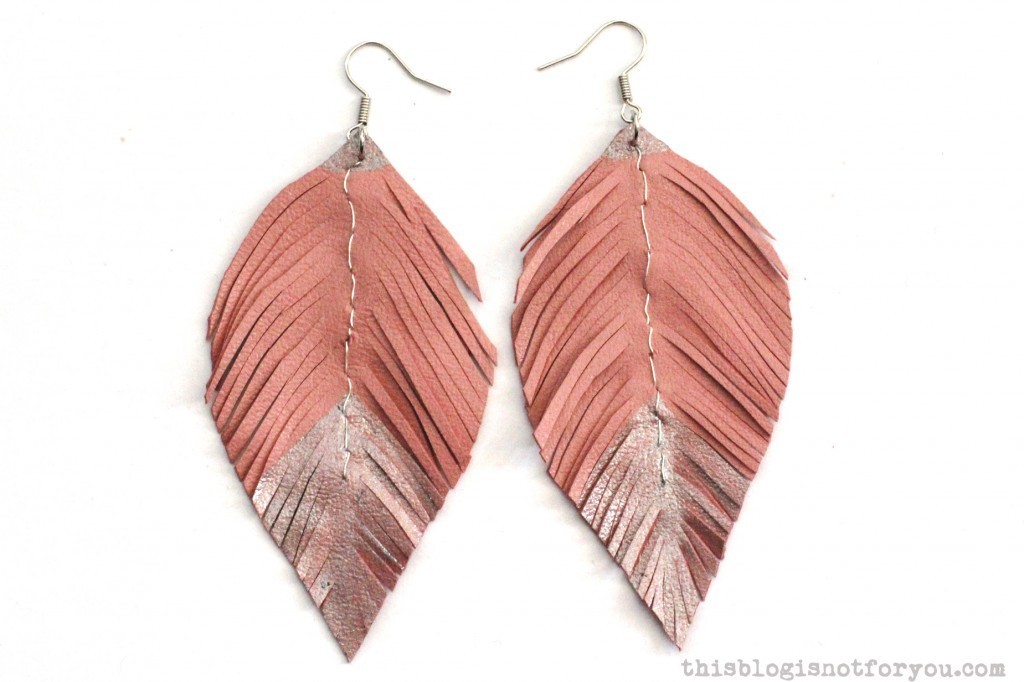
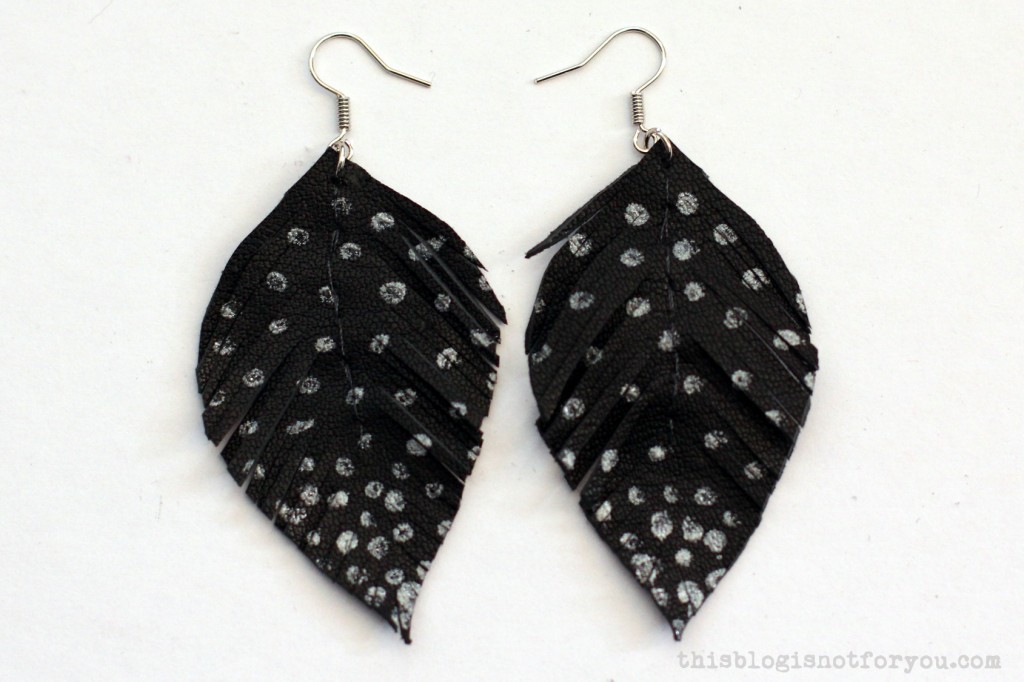

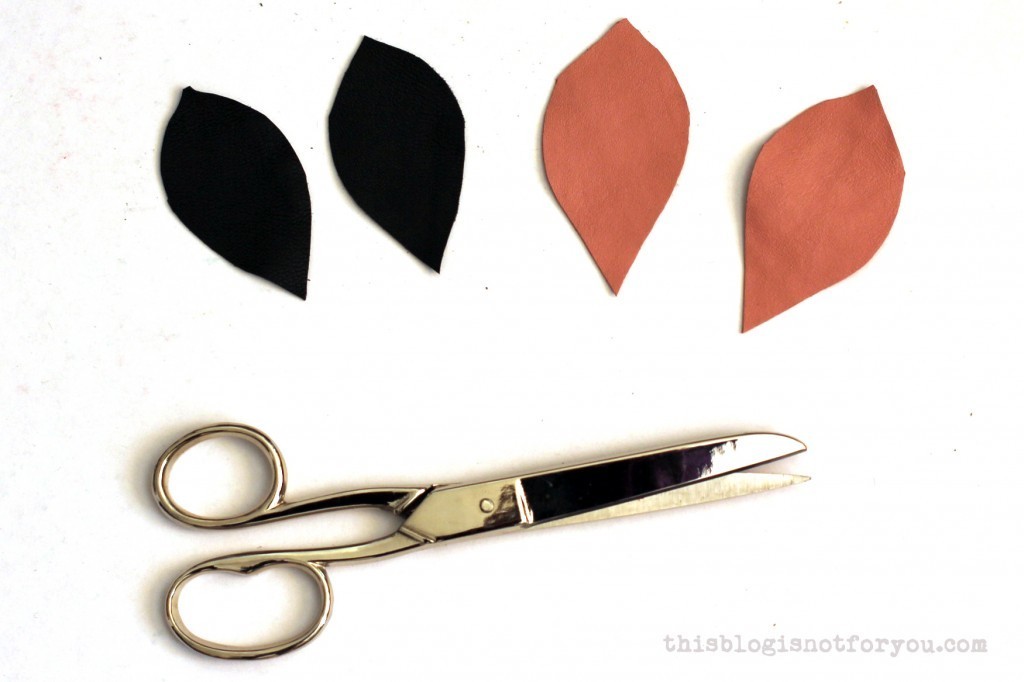
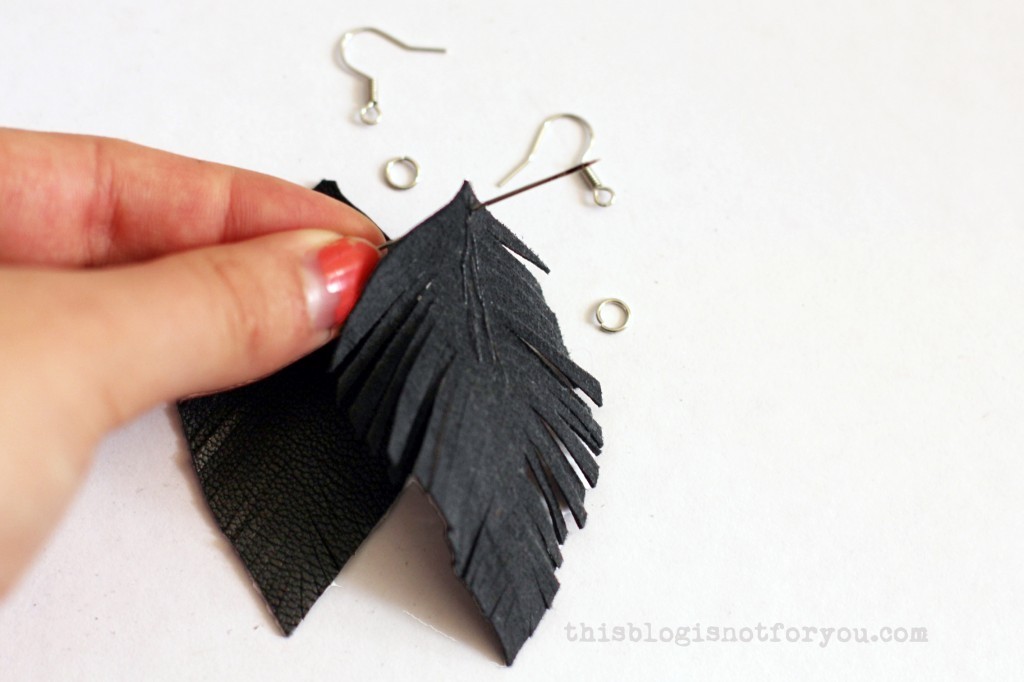
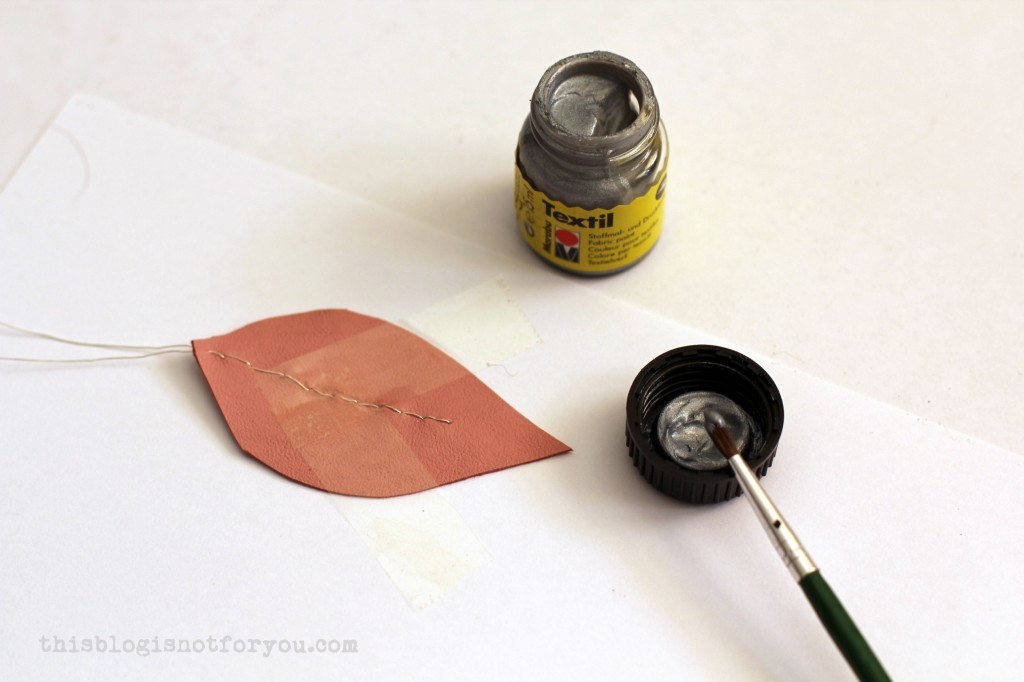 3. Now it’s time to apply any textil paint. To create chevrons or other shapes with clear lines, you can mask the leather with tape. Wait until the paint is completely dry before you remove the paint.
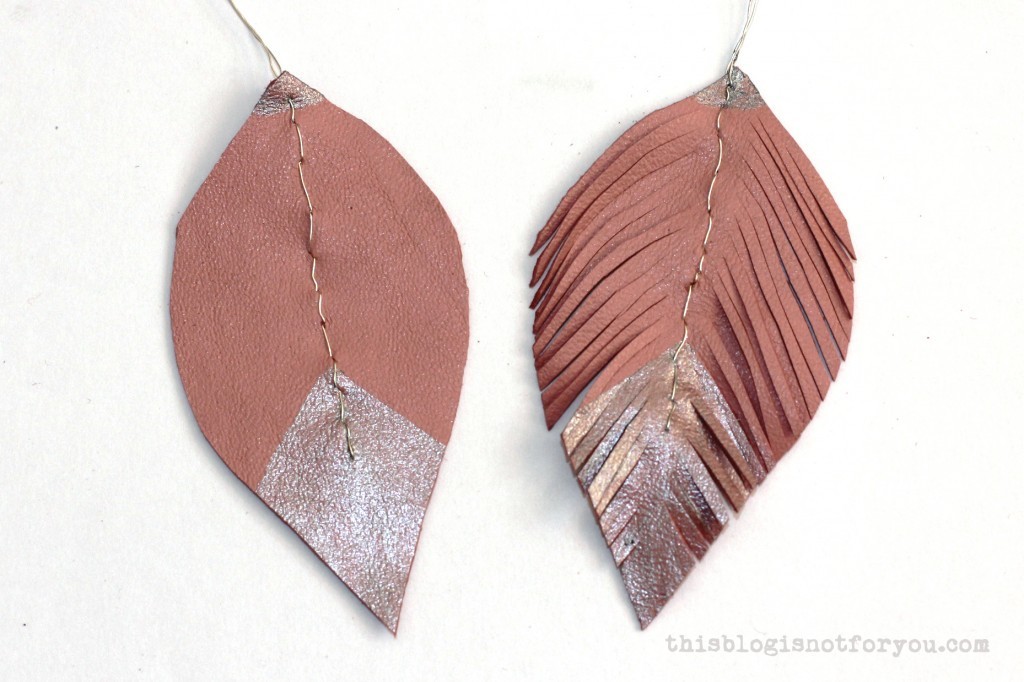


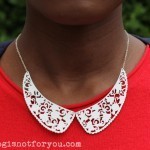
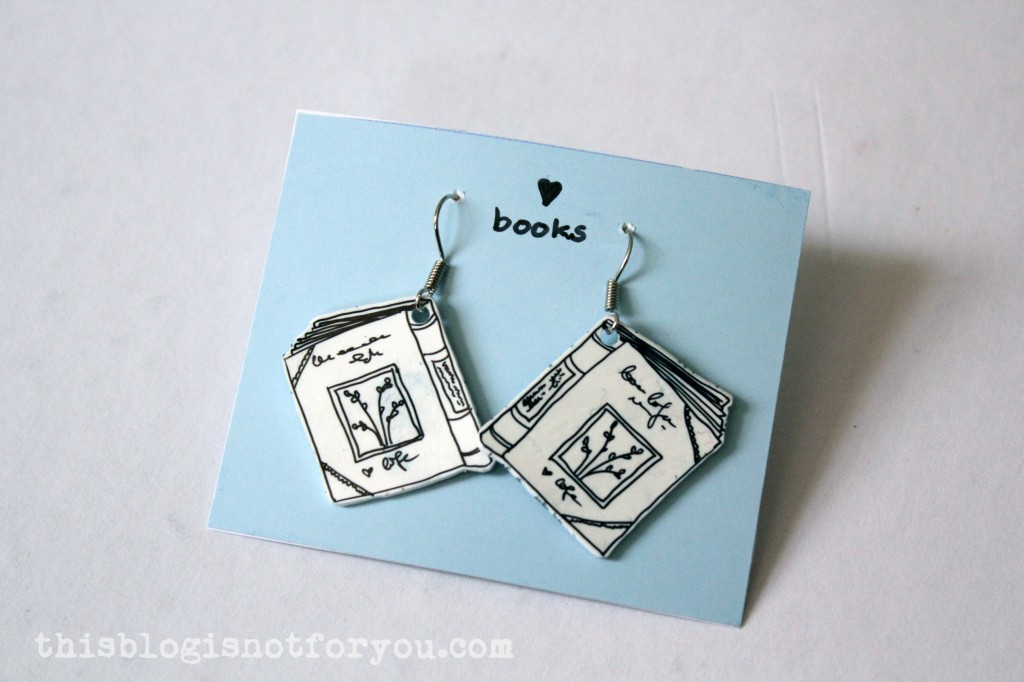
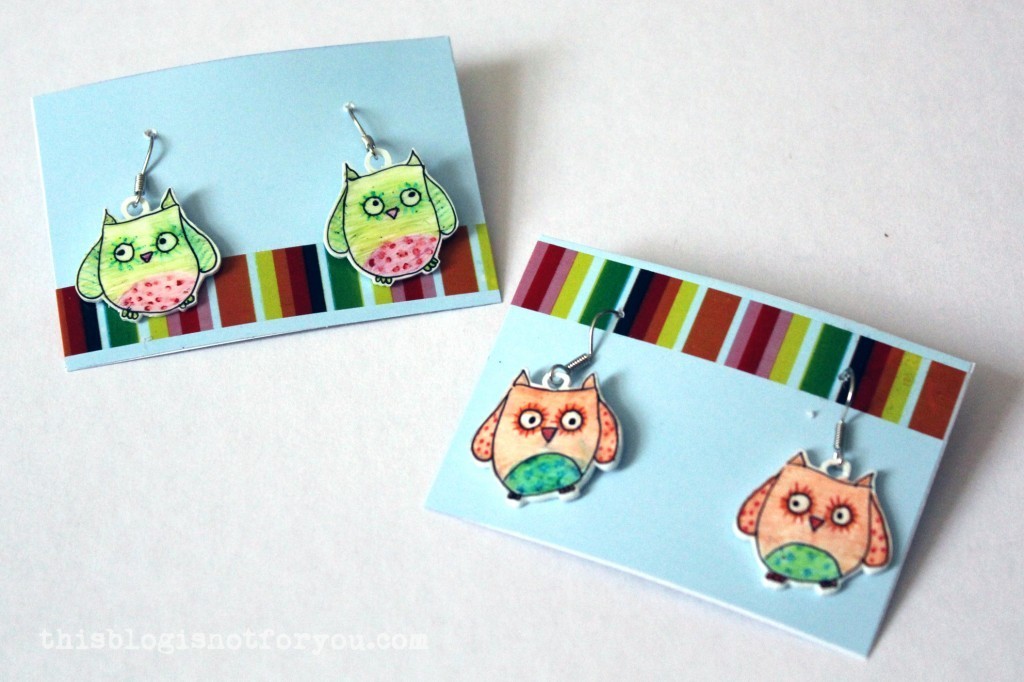 I made these cute little earrings and necklace charms for my friend’s birthday. She loves owls and books, so these were the obvious choice!
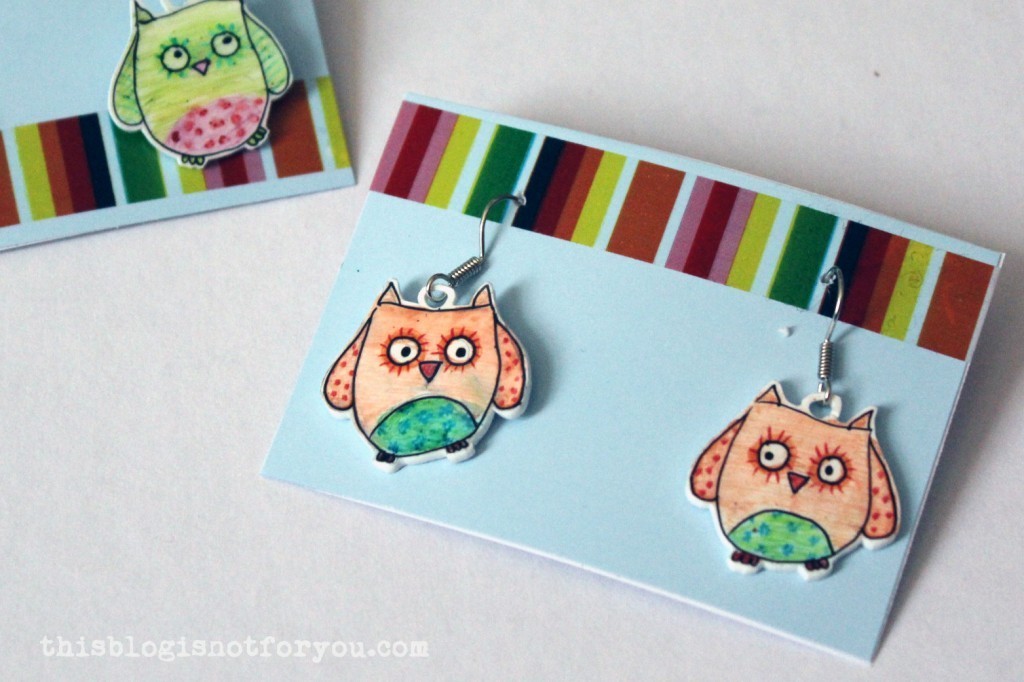
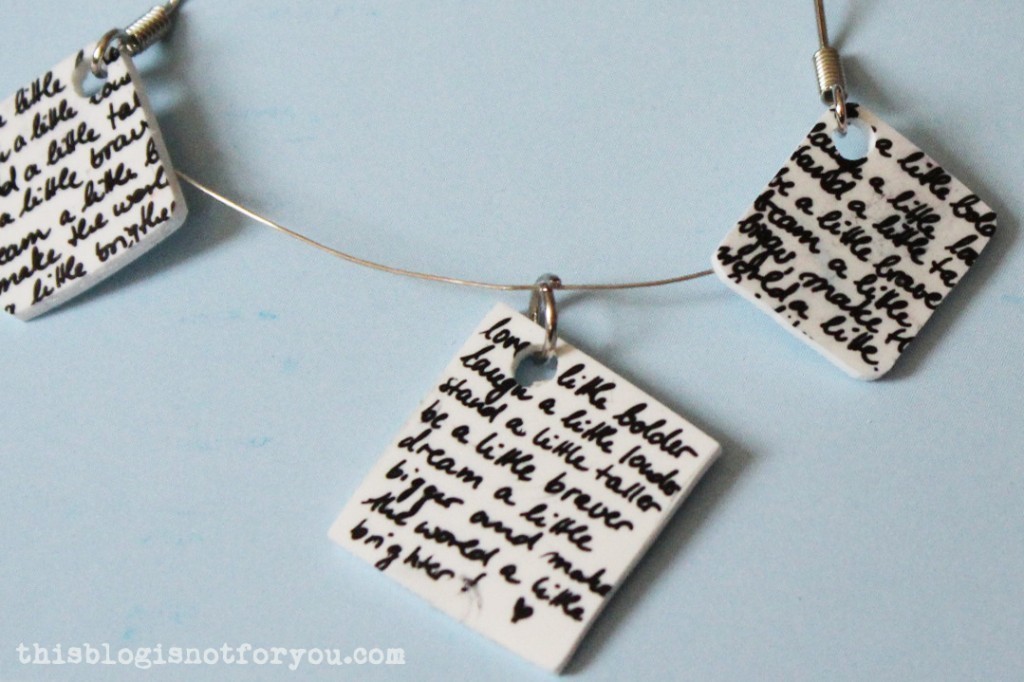
 The shrinkage is about 50%, which you have to consider when you choose the size of your image. You can draw directly on the plastic using a permanent marker. If you want to add colour, you can sandpaper the shrink plastic with very fine (!) sandpaper and then simply use crayons, acrylic paint or water colour. I recommend to keep the finished make from getting wet, as non-water-resistant colours might blur (even after baking the plastic).
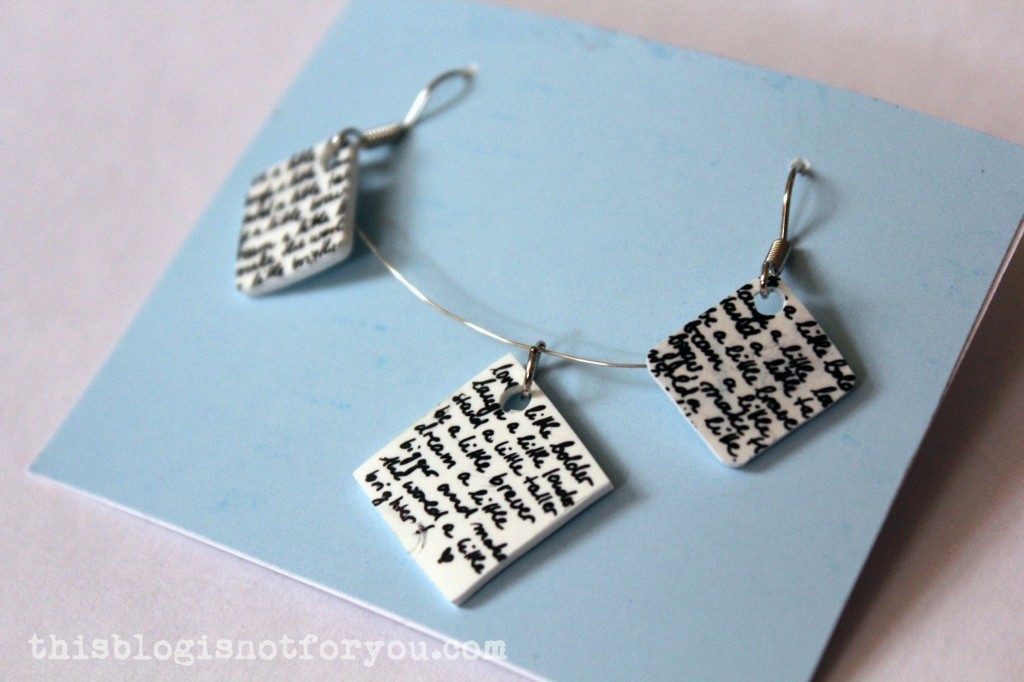
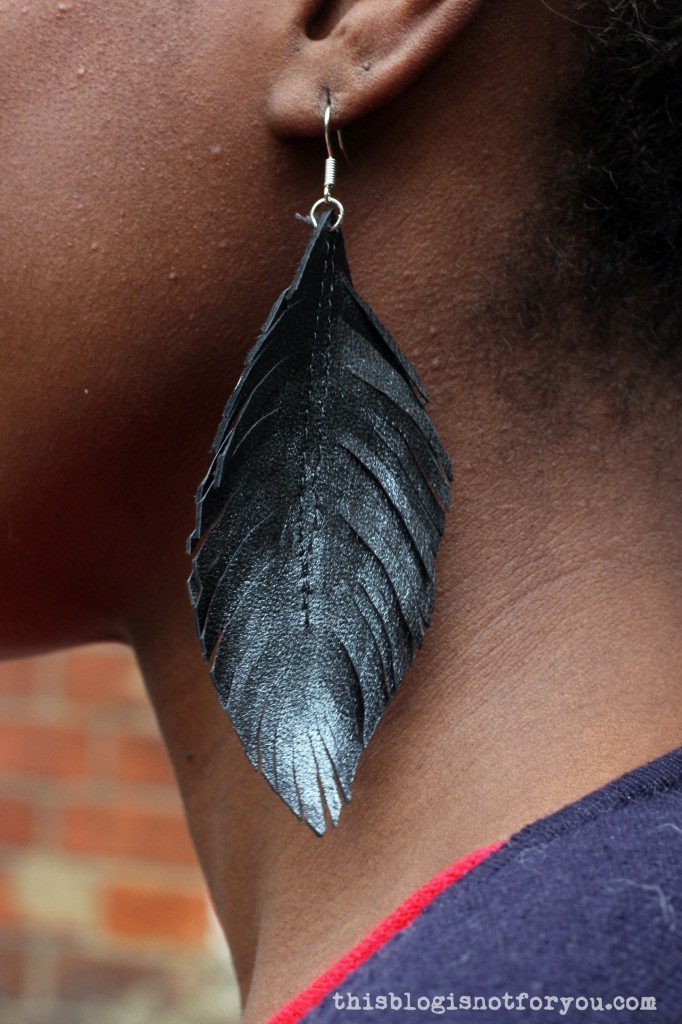
 I made these chevron earrings for myself (I got my friend to wear them for the pic 😉 ).
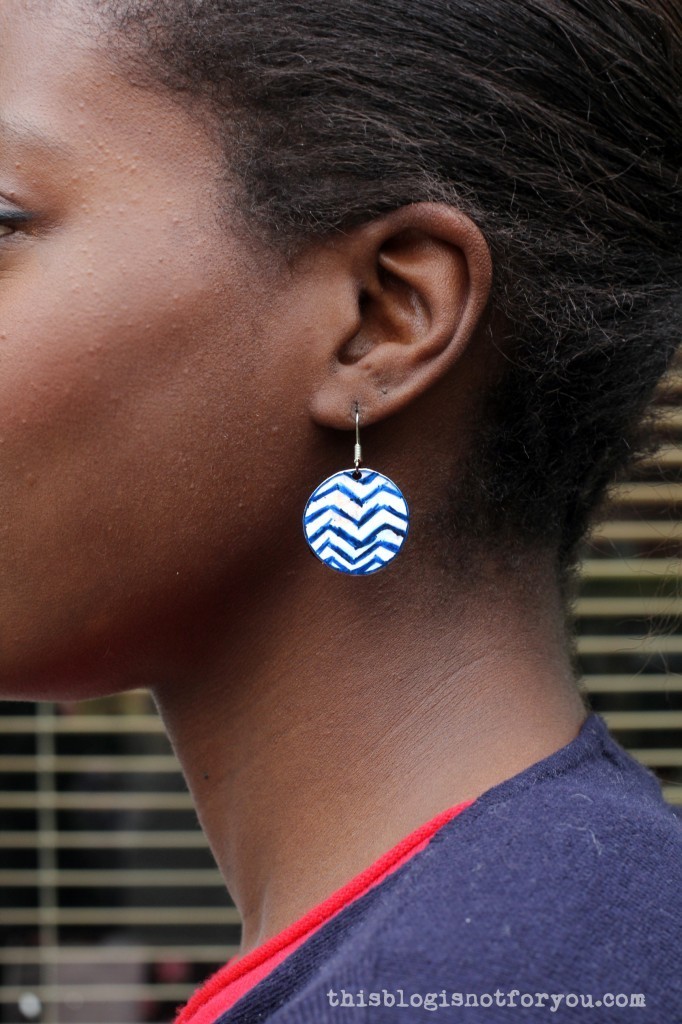 If you like my shrink plastic DIYs, you might want to check these out, too!