Winter Is Coming! (Amazing Knitting Books Giveaway!)
WINTER IS COMING.
…or, as those of you eagerly awaiting the Game Of Thrones Season 7 start tonight know: Winter has come.
To be prepared, I’ve checked out some cool knitting books for you! And I teamed up with the lovely folks over at Sterling Publishing to giveaway a copy of each book! (As always – all opinions are my own! My reviews are completely honest and I only giveaway products that I genuinely love.)
Let’s have a look!
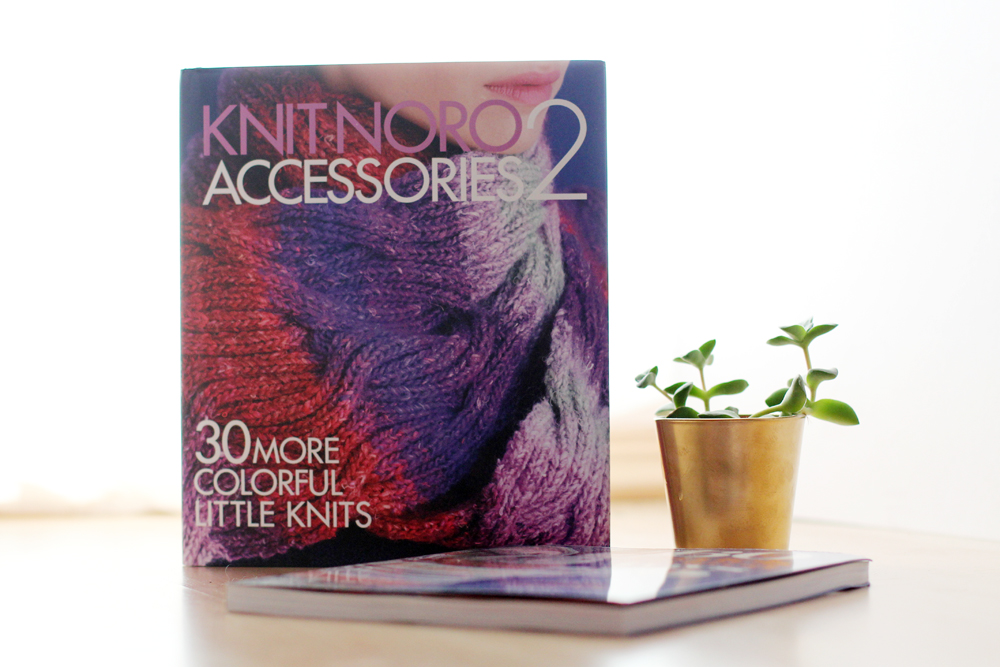
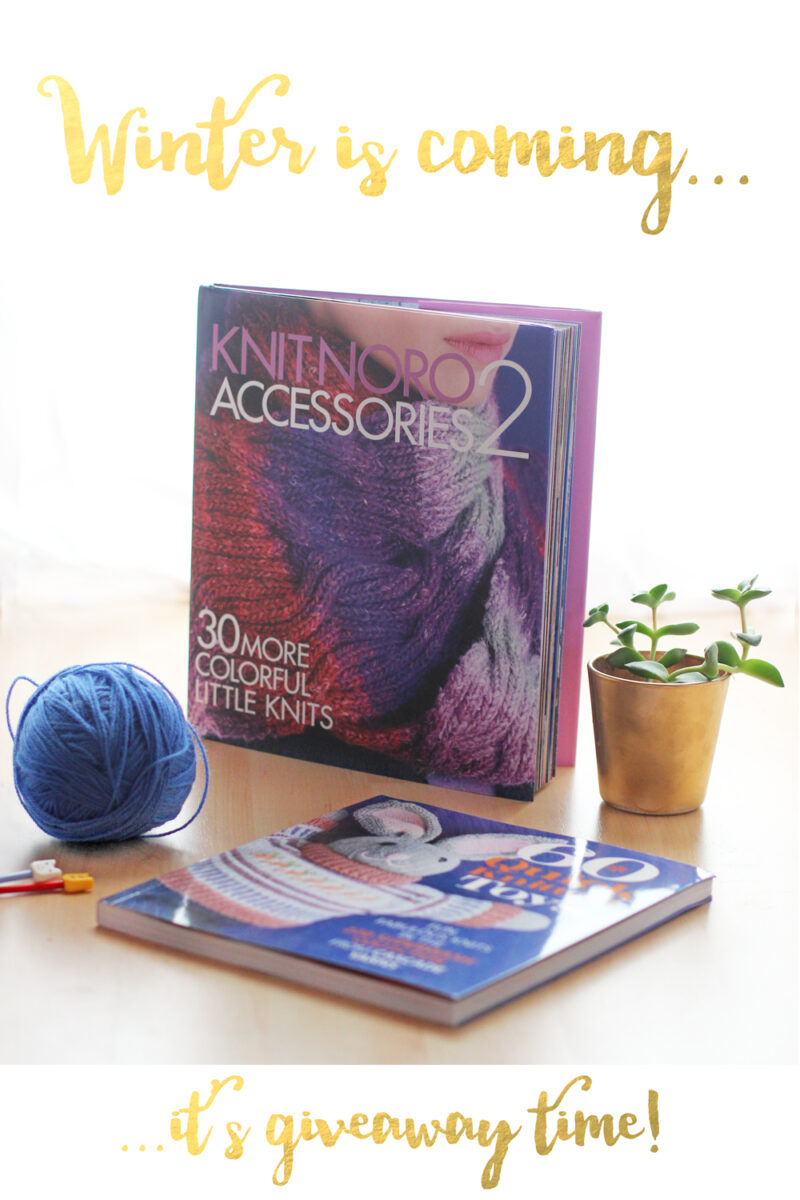
KNIT NORO: ACCESSORIES 2
Sixth&Spring Books
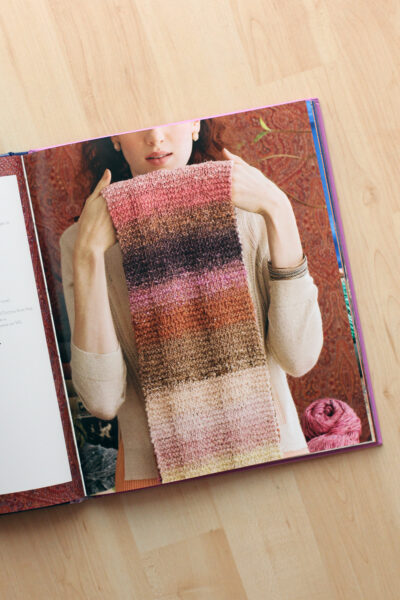
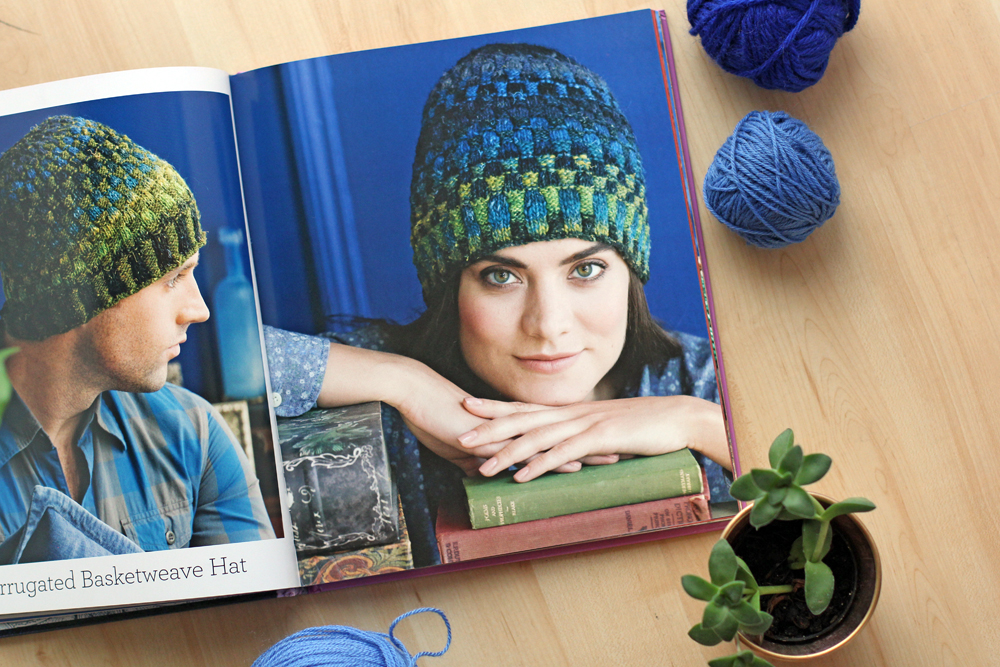
First, there’s Knit Noro: Accessories 2. It’s a beautiful hardcover book full of easy, mostly quick to make accessory patterns: gloves, socks, hats, shawls, ponchos, and more. The patterns themselves are fairly simple but show off some really great techniques and colourways. Projects in this book are certainly achievable for beginners and still interesting enough for more advanced knitters.
What I love most about this book is the photography. The Noro yarns come in beautiful rich colours and the projects are styled in a really cool way. The whole book has a really fresh look about it and inspires to start planning your autumn projects right away! It would certainly make for a great present, as well.
The knitting instructions are very detailed and clear, all marked on a 1 to 4 stars skill level.
All thumbs up!
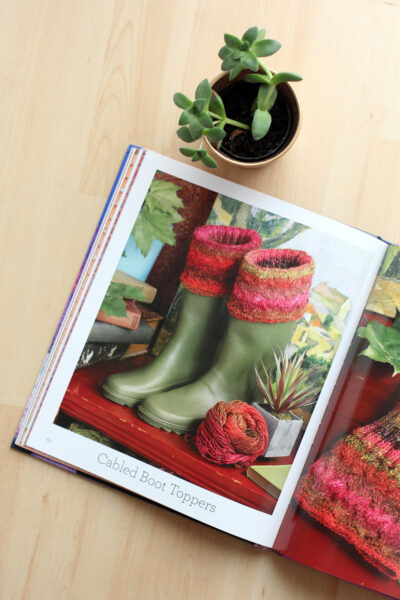
Don’t these projects look lush? I love these cabled boot toppers!
60 QUICK KNITTED TOYS
Sixth&Spring Books
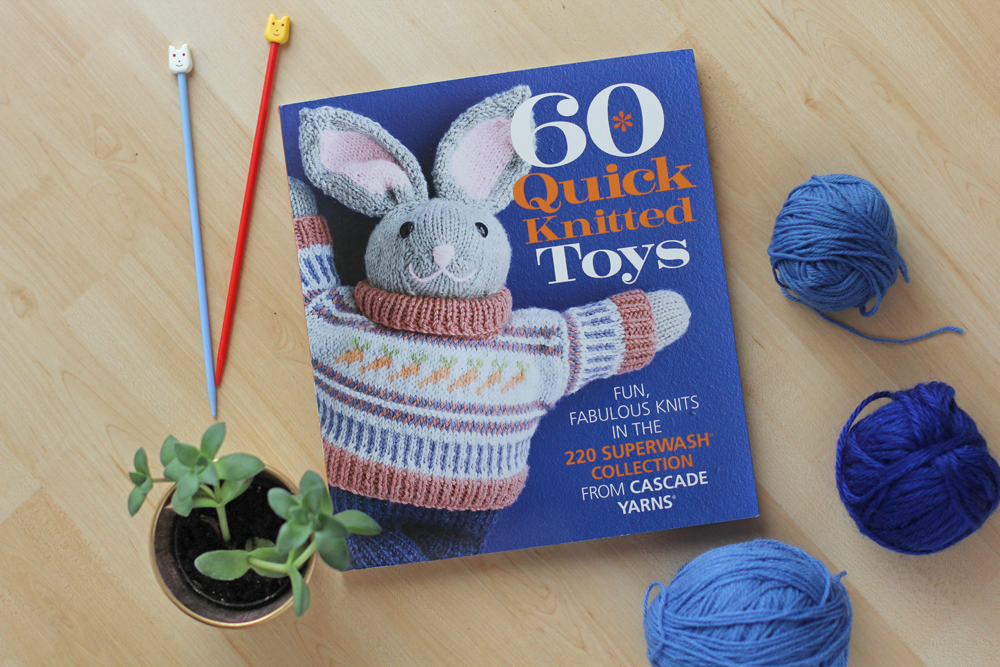
The second book I checked out for you guys is definitely my favourite of the two: 60 Quick Knitted Toys.
If I was able to show you all 60 of these projects, I would have! It was super hard to narrow it down to just a few sneaky peeks. This book is full of amazing knitting projects to make for kids: stuffed animals, toys and even games, which I had no idea you could knit! (Such as fishing or ball games, Tic-Tac-Toe, baby blocks etc.)
The book includes super cute stuffed animal patterns and some really fun, unusual knitted toys, such as a tool set, building blocks, a guitar, a peace hippie van, baby rings, numerous hand puppets and a castle set complete with a dragon, king and queen. (Also great for some Game of Thrones reenactment!) It’s all just very adorable and flipping through the books the projects get better and better. The projects range from super easy to really complicated-looking, so there’s definitely something in there for everyone.
The only drawback to this book: There’s simply not enough time to make all of these! But have a look yourself:
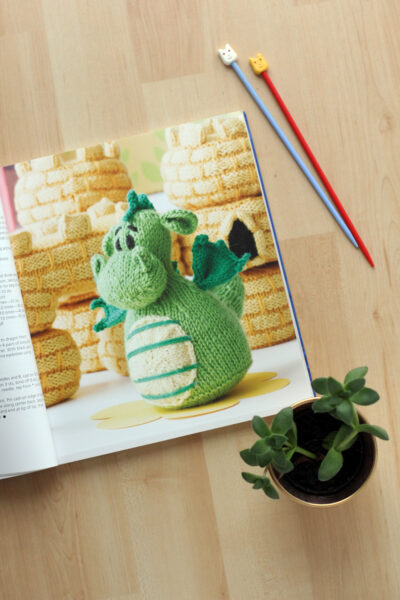
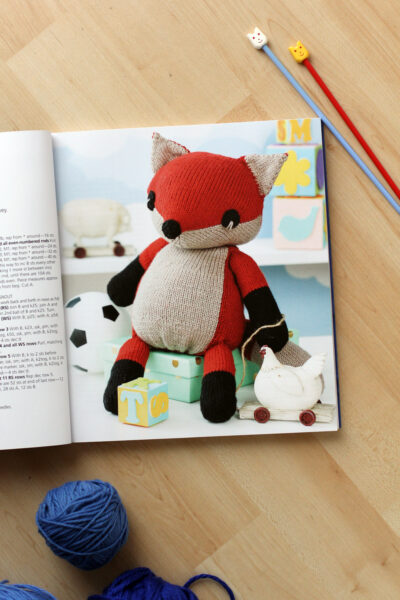


Super cute, right?
I simply LOVE that adorable little dragon. Which brings me back to the topic… dadam dada dadam dada dadam, dada daaaaaaa… Are you watching the GoT season start tonight?
No, sorry, I got distracted there. I wanted to let you know how to get a chance at winning a copy!
HOW TO ENTER
First, this giveaway it open to US and Canada readers only!
I’m really sorry, if this means you cannot enter. There will be more opportunities to enter giveaways in the future. If you really love the books, both are available to order online or in your local bookstores.
Together with Sterling Publishing I’ll giveaway one copy of each book to two lucky winners! To enter the giveaway, simply leave a comment below letting me know which one you prefer and which GoT characters you’ll think will die this season. Oh, right – that last part isn’t mandatory!
The giveaway closes on Sunday 30 July 2017 at midnight (UTC) and I’ll announce the two winners shortly after on the blog.
Good luck!
xx
Charlie
Please note: Two winners will be selected at random from all entries entered before midnight on 30 July 2017 and the winner will receive the prize described above. There is no cash alternative, and your prize is non-negotiable, and not refundable. If the prize isn’t claimed, another winner will be selected at random.
Happy Knitting!
♥
facebook/bloglovin/pinterest
twitter/instagram
Stay in touch!


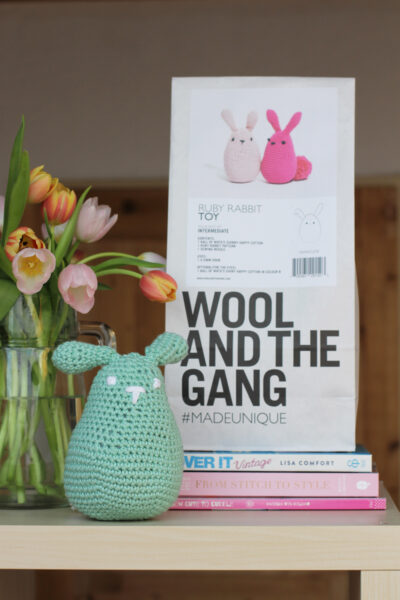
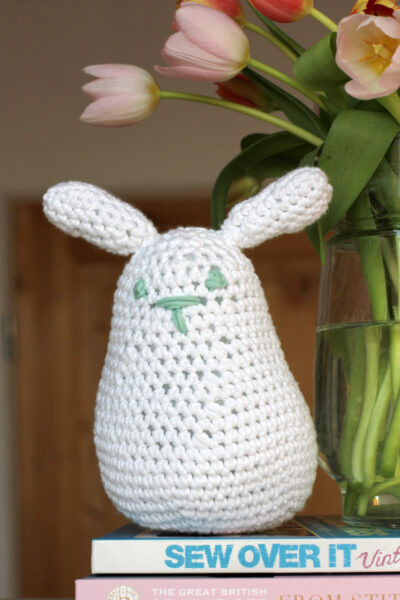
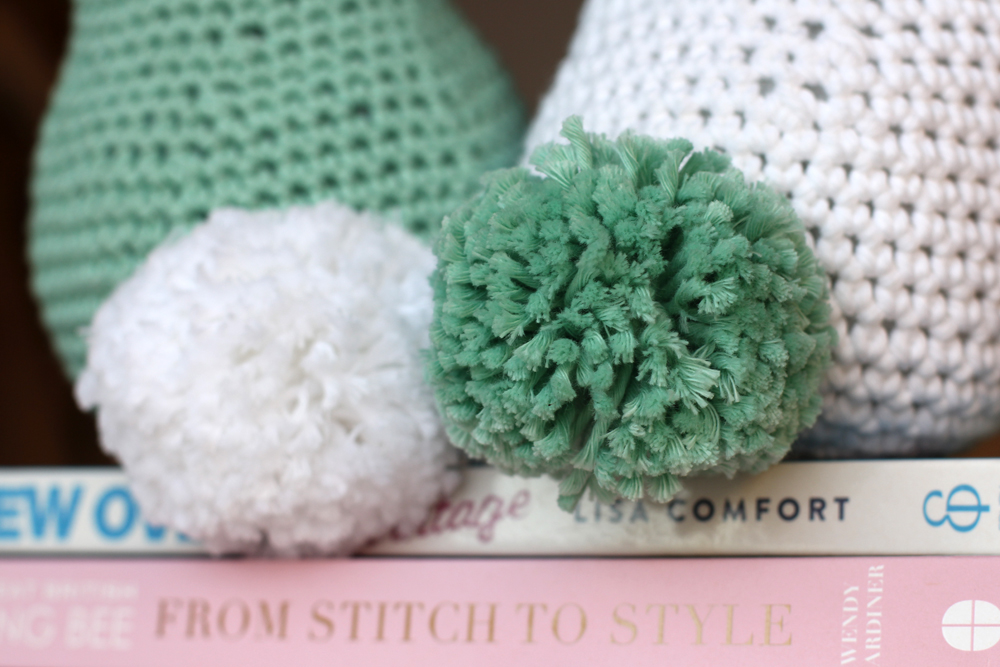
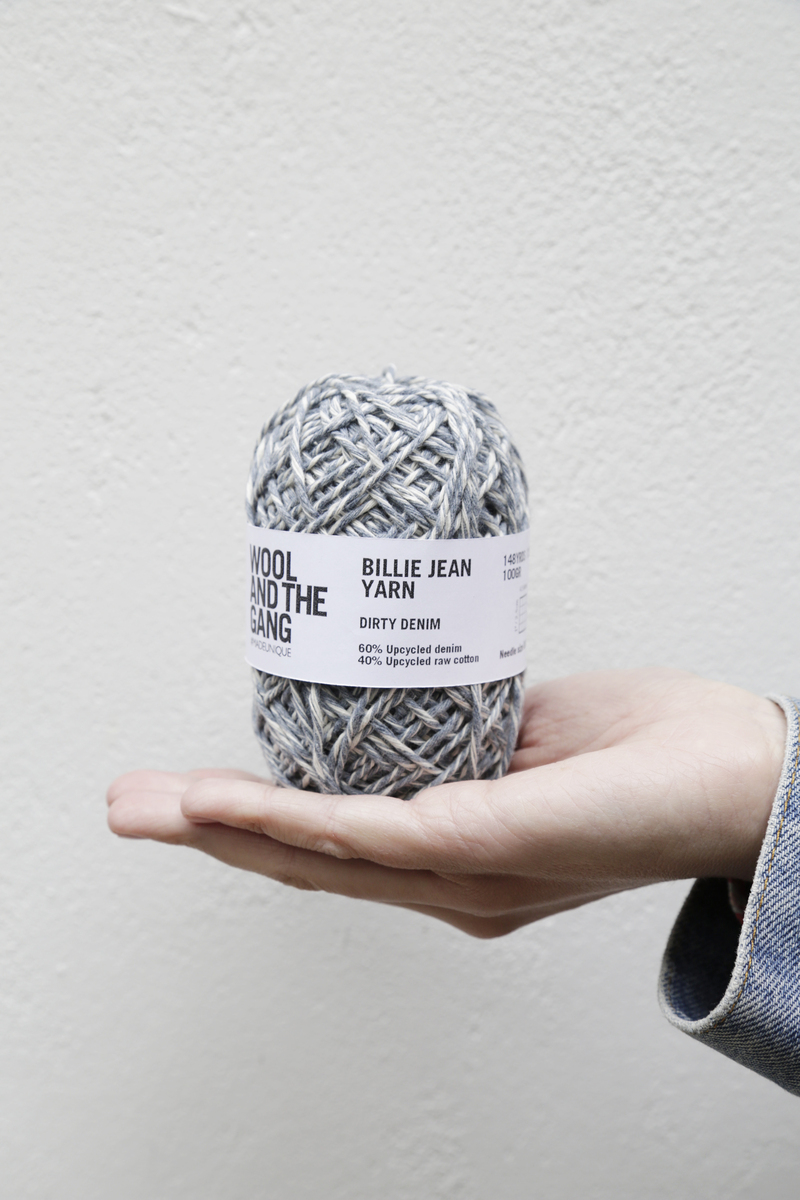
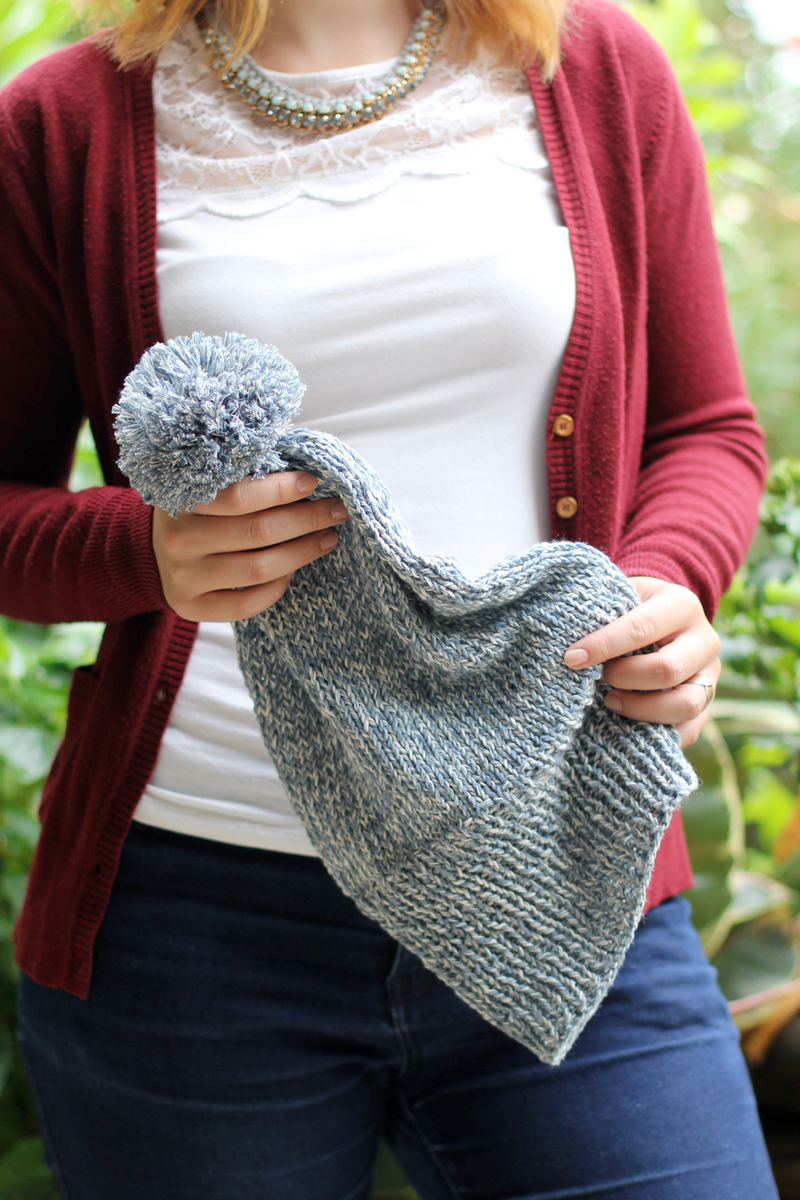
 photo credit: Wool And The Gang