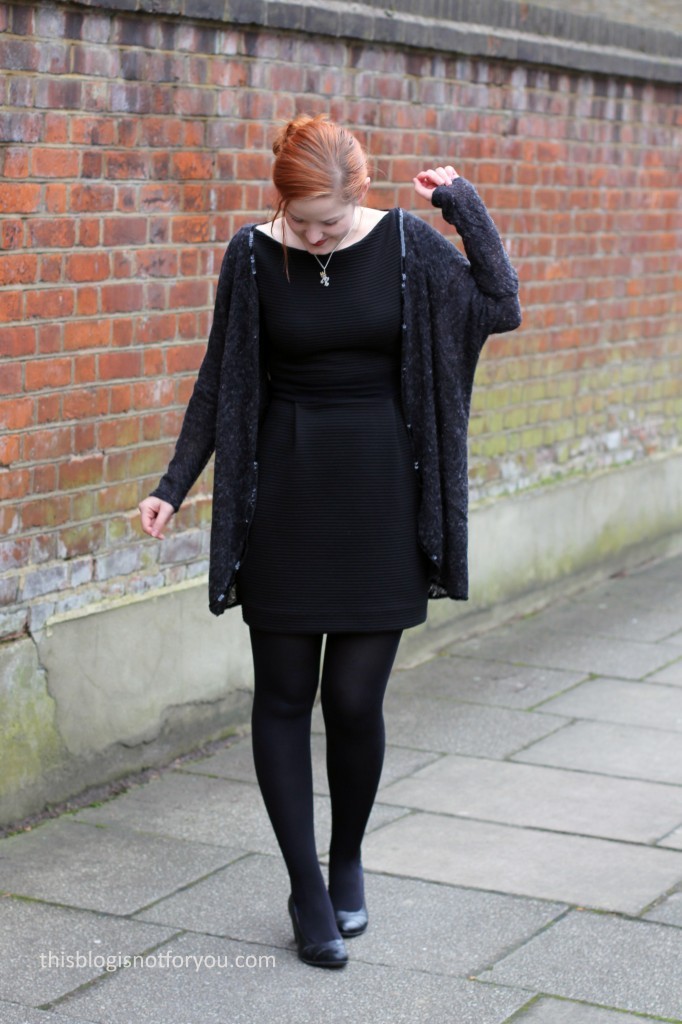
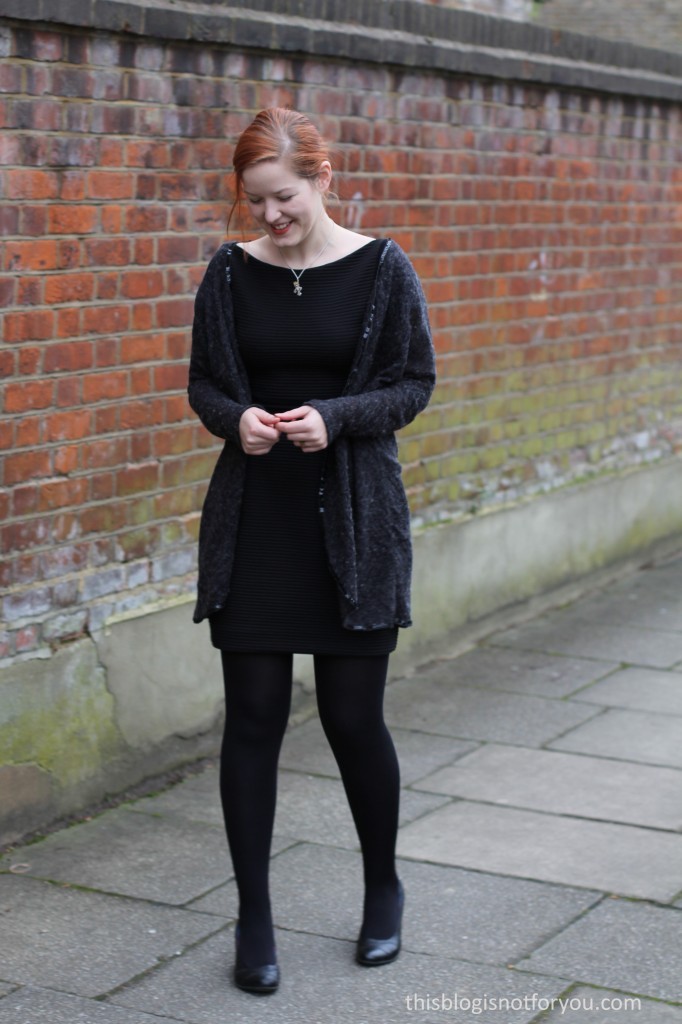
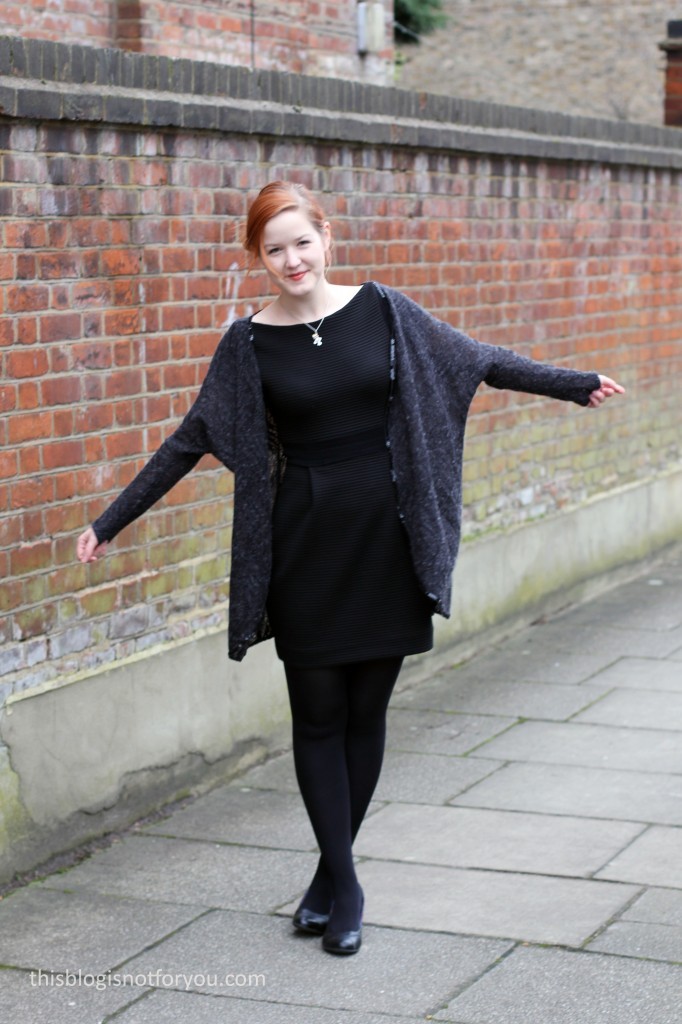
 Hello lovelies! Guess what? I’ve got a new favourite outfit (again).
I have to admit, not much planning went into this. The cardi was on the bottom of a to-do-list in the back of my head, for when I would run out of ideas (ha!) and the idea for the dress was born in the second I saw that fabric. Buying the fabric, making a sketch and a pattern and sewing the dress all happened on a sunny Saturday afternoon. Although I have millions of projects on my to-sew list I always end up with these spontaneous projects! Most often these end up to be my favourite garments, though.
 THE CARDIGAN
The Fabric: Those of you who have been following this blog for a while (and have an incredible memory) might recognise this fabric. It’s a really stretchy, loose wool knit. I got it from Minerva Crafts and initially wanted to use it for a Donna Karan Vogue Pattern, which never happened. Instead, I made this super cosy cowl dress. The Burda Cowl Neck dress pattern didn’t require as much fabric as the Vogue dress, so I had plenty left. I always had a cardigan in mind for it but couldn’t find a pattern I liked. As a knit fabric, it didn’t really fray much, but I overlocked all edges anyway.
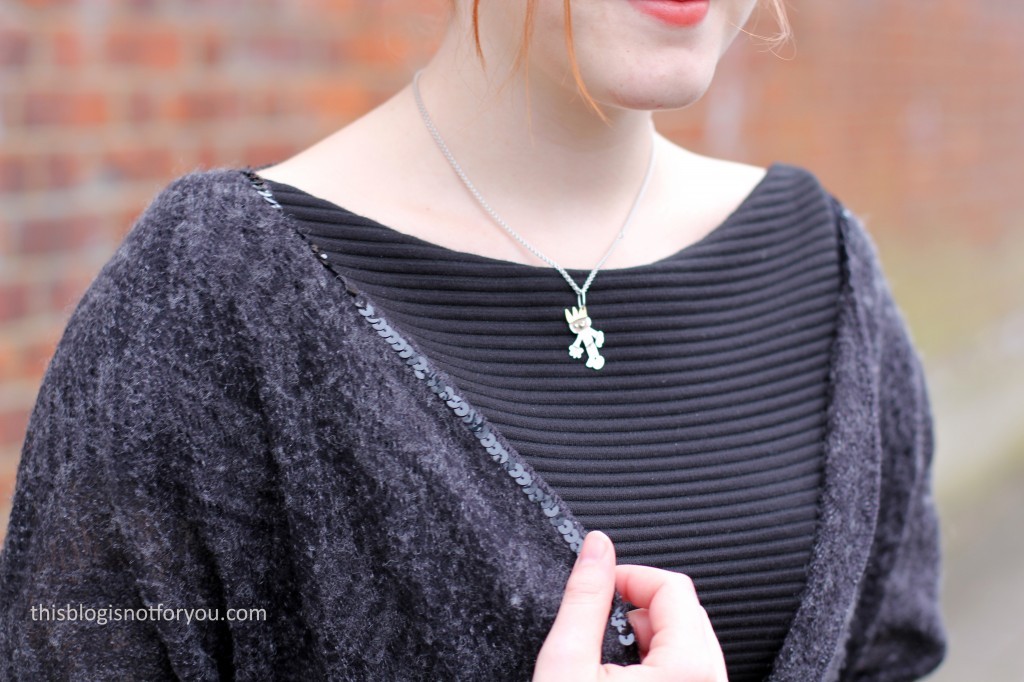
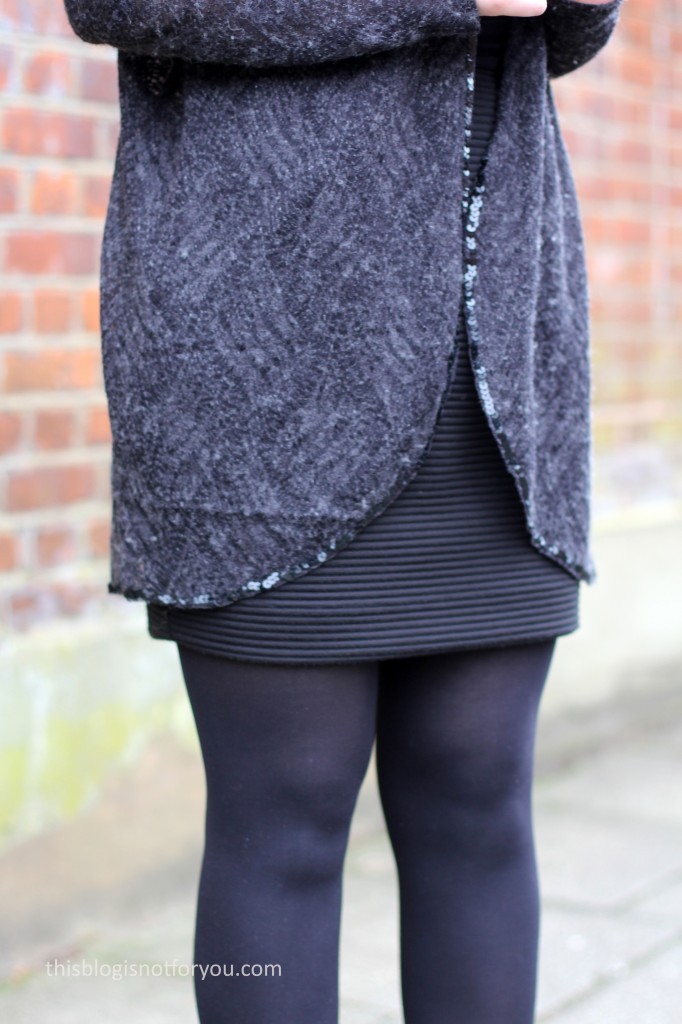
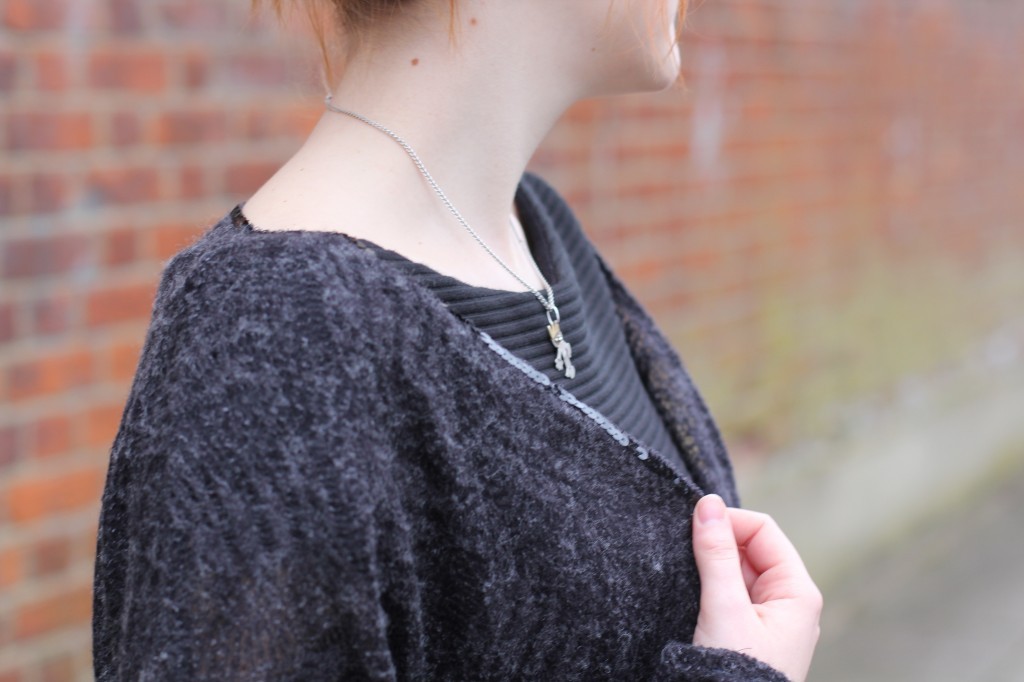 I hemmed the sleeve by simply overlocking the raw edge, turning it in and top-stitching it in place with a narrow zig-zag stitch. All the other edges – bottom hem, neckline and front – are one continuous line I wanted to bias bind initially. Mid-way through the project I remembered that I had bought lots of stringed sequins a while ago. So instead of bias binding, I finished the edge with my overlocker, not turning it in. I sewed the sequins in place along the stitching of the overlocker.
I really like the finish as it adds to the lightness of the slightly sheer fabric. Also, no one minds some extra bling, right?
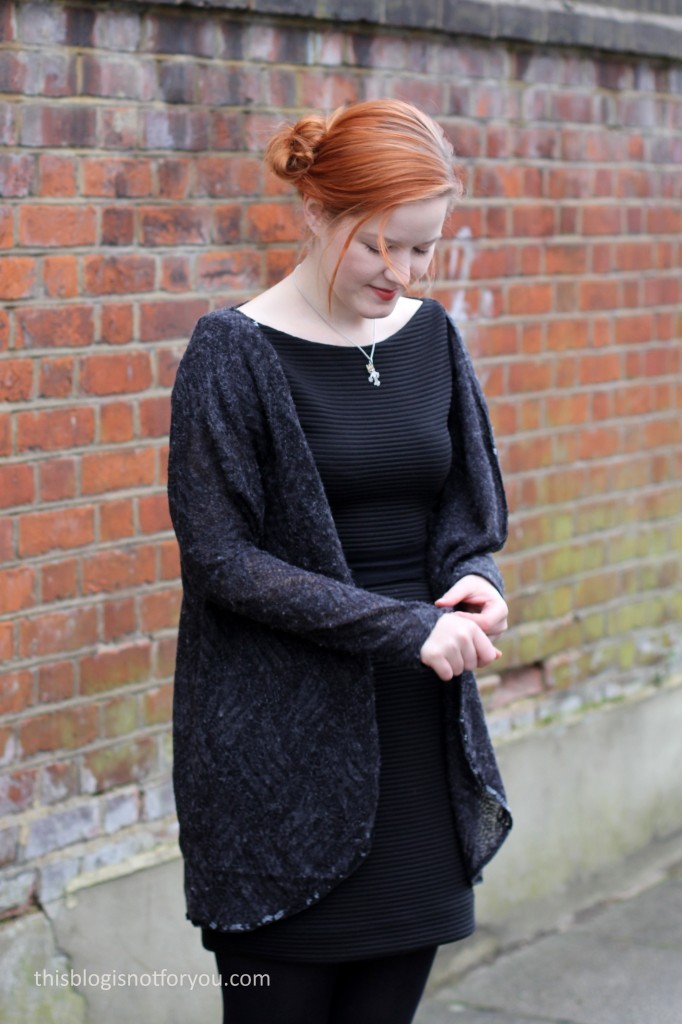
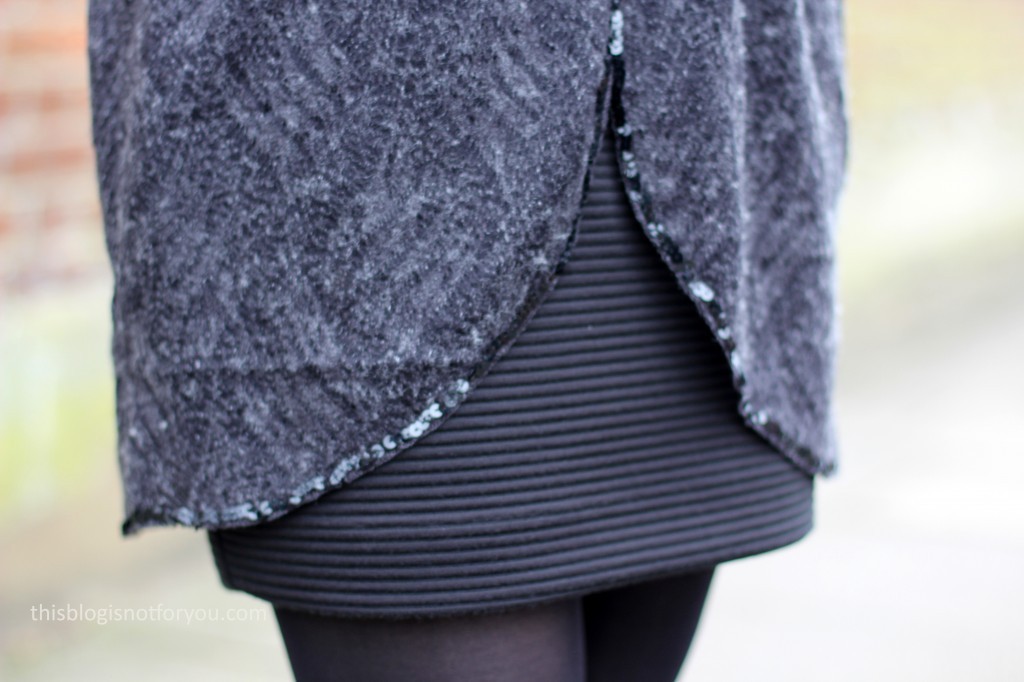 The Pattern: The cardi pattern is completely self-drafted – with a cardigan in mind that my sister bought when she last visited me in London (I think she got it from Primark). I took some rough measurements in order to recreate it at some point. I found the sketch a little while ago and thought of it when I was looking for a quick and easy project last week. The drafting didn’t take too long. With the very loose fit I was going for the measurements didn’t have to be exact. The fabric was cut out quickly and the actual sewing did not take much longer. Applying the sequins probably took as long as the whole drafting and sewing process together. I didn’t mind – given that I have the time for it, I find hand-sewing so relaxing!
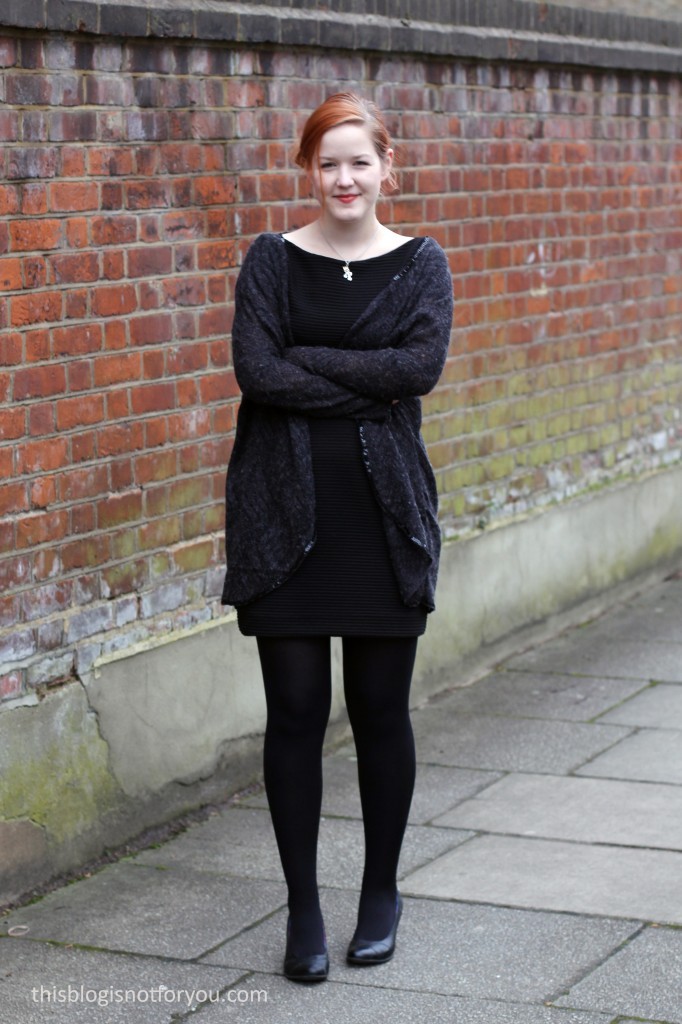
 THE DRESS
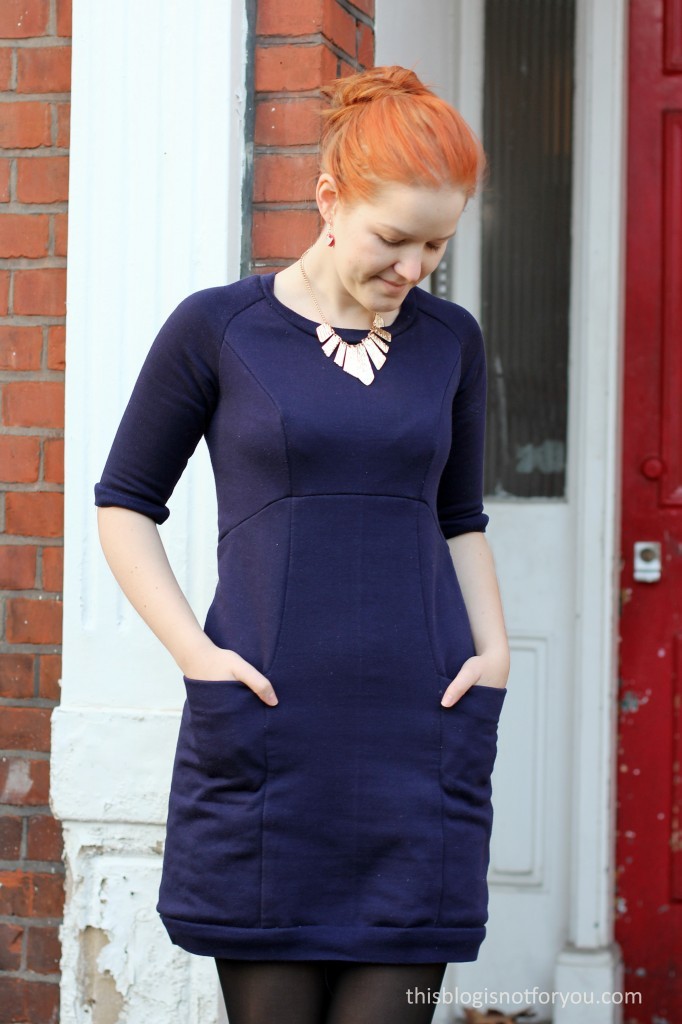
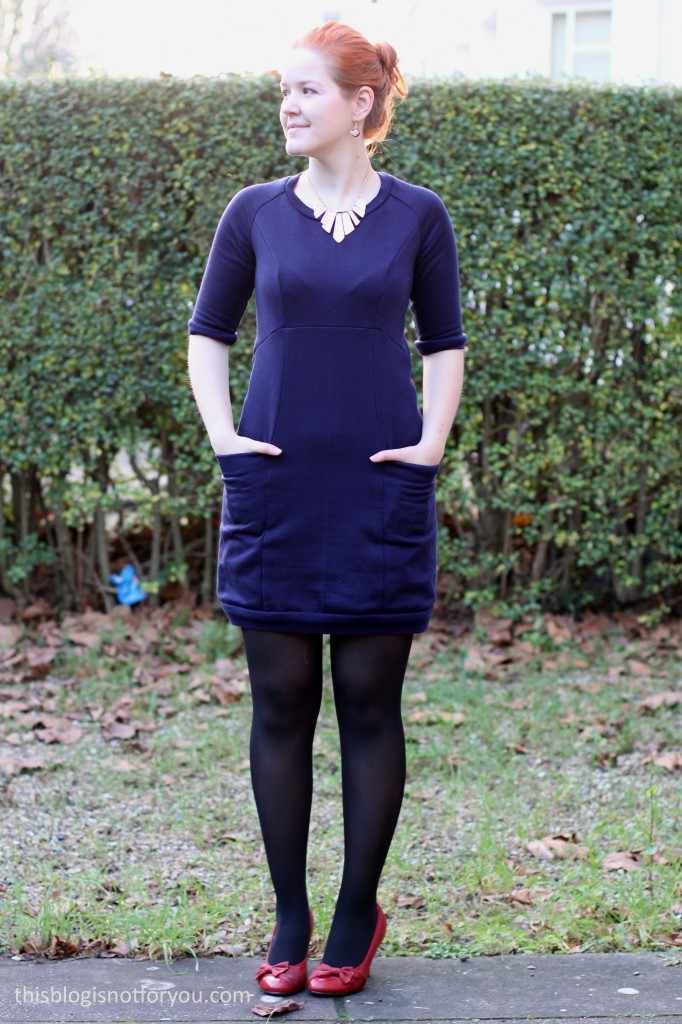
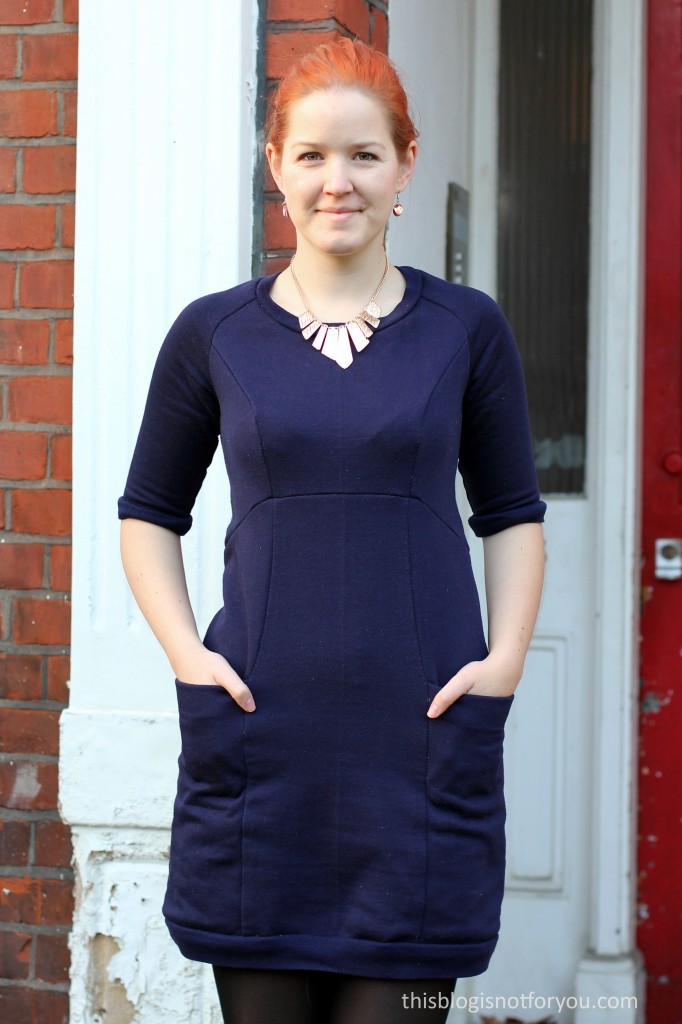
The Fabric: Now let’s talk about the dress! As far as I can remember, it’s the first LBD I made and it’s very likely that many others will follow! The day I spotted this fab jumbo ribbed jersey, I initially wanted to buy some zips from my local fabric store. I never really buy fabric there, it’s a really dodgy shop that mostly sells waxed table cloth stuff and trims. I spotted the fabric and a vision of this dress came to mind immediately. It was 60 inch wide and only £1.50/m. I bought 2m and started planning as soon as I came home.
The sleeves and waistband are from a recycled cardigan which I got from my mum-in-law. It’s quite a heavy knit. Looking at the label it must have been from some sort of boutique and appeared to be really good quality – even after all those times in the washing machine the fabric looks as good as new. The sleeves were big enough that I could squeeze both sleeves and waistband out of them. I kept the hem, which was really convenient and made the sewing process so much quicker!

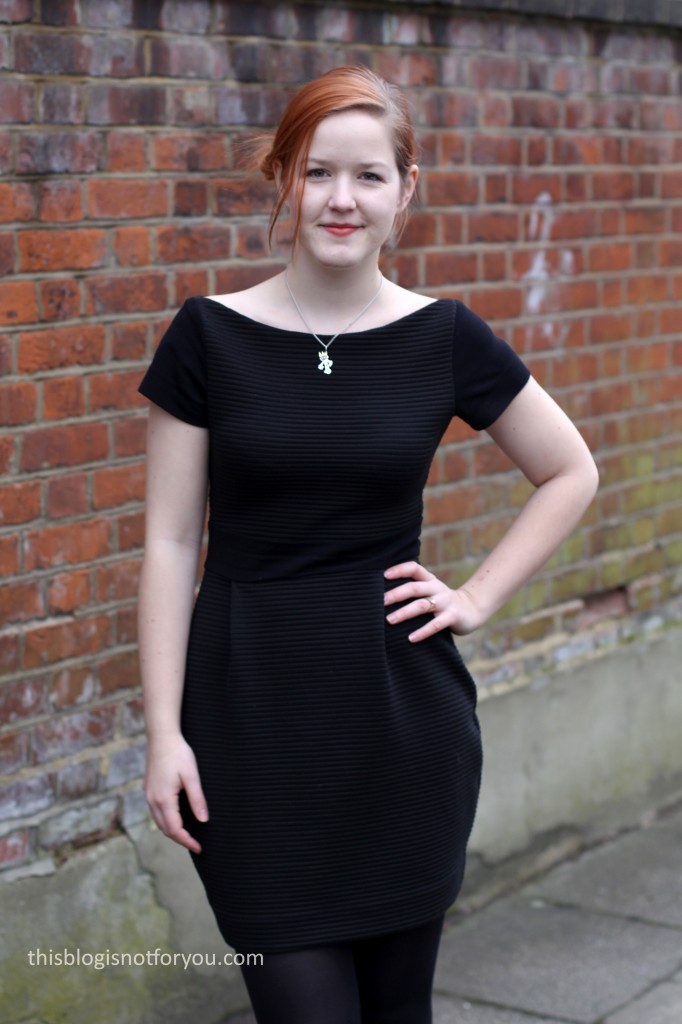 The Pattern: It’s a proper Franken-Dress – the pattern is part Lady Skater (Kitschy Coo), part Ultimate Pencil Skirt (Sew Over It) and part self-drafted.
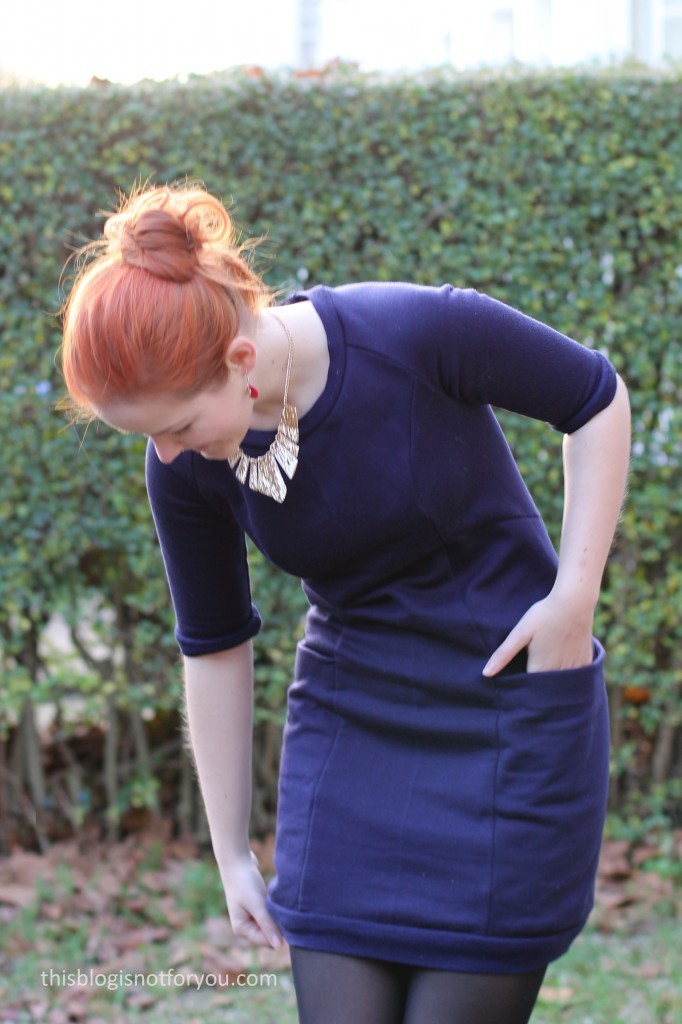
I started of with the Lady Skater bodice, which is a TNT for me when it comes to dress patterns for knit fabrics. I lowered the neckline to a boat neck shape. These is no need for a shoulder seam on this one! Sewing front and back onto the sleeves was a bit tricky as the corners had to match up exactly at the shoulder mark on the sleeves, but it worked out fantastically.The sleeve pattern is from the Lady Skater, as well.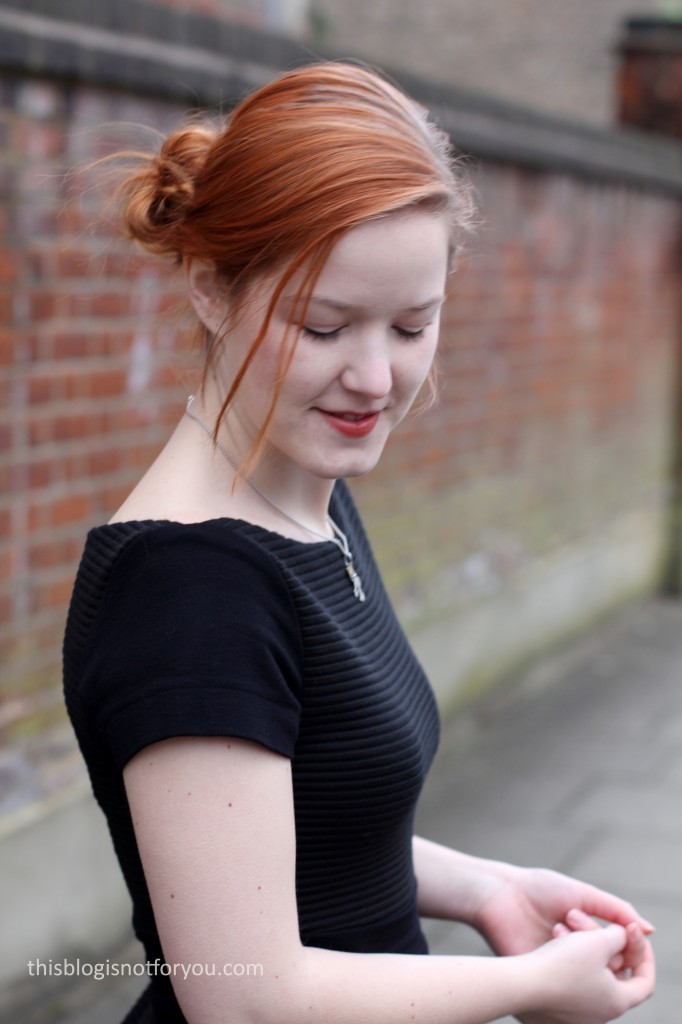 The skirt pattern is based on my beloved Ultimate Pencil Skirt. I lowered the high waist down to my natural waist and then had to do a lot of thinking in order to get the waistband right. I shortened the bodice quite a bit and added a 5cm wide waistband between bodice and skirt. Instead of going with the darts from the original skirt pattern, I turned them into pleats to give the skirt a bit more volume. I know this is a bit risky, especially when you normally don’t want to attract too much attention to this area, but I put all my trust in the Elisalex once and it worked out fabulously, so I tried it again. I really like the shape and don’t think that it makes me look much bigger than I am!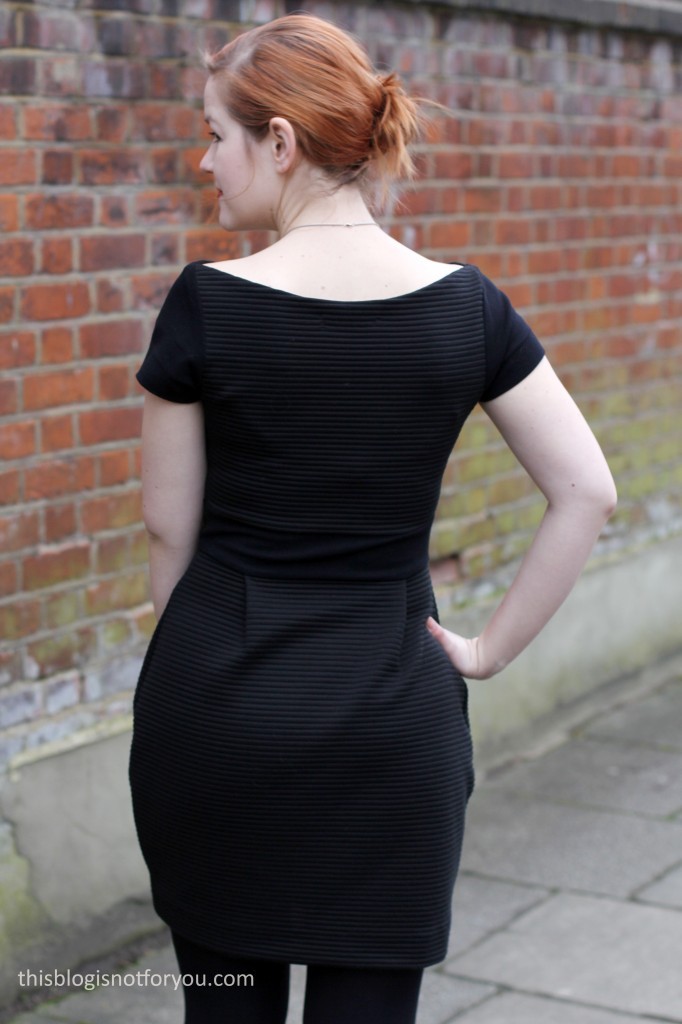
 All raw edges were finished using my overlocker. When using Jersey I sometimes sew all seams with the overlocker straight away because it is so much faster than my old little sewing machine. Because the dress’ fit is quite snug I thought some extra strong seams were quite a good idea and sewed all seams using a narrow zig-zag stitch before running the raw edges through the overlocker. Also, I needed to do quite a bit of matching with the sleeves and also with the pleats, which is so much easier on my regular machine.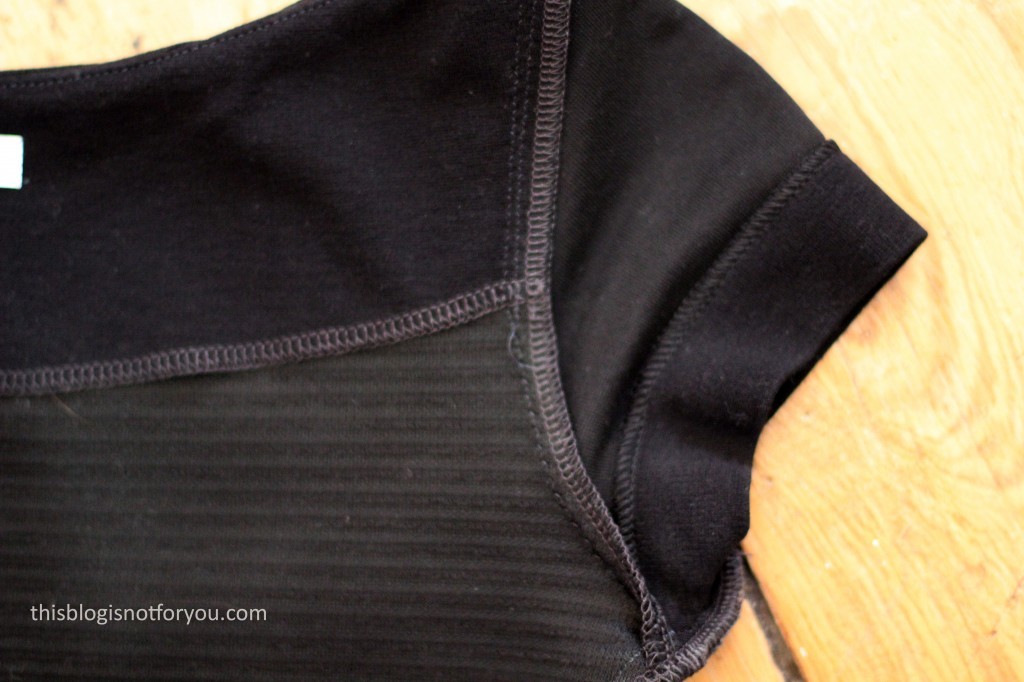
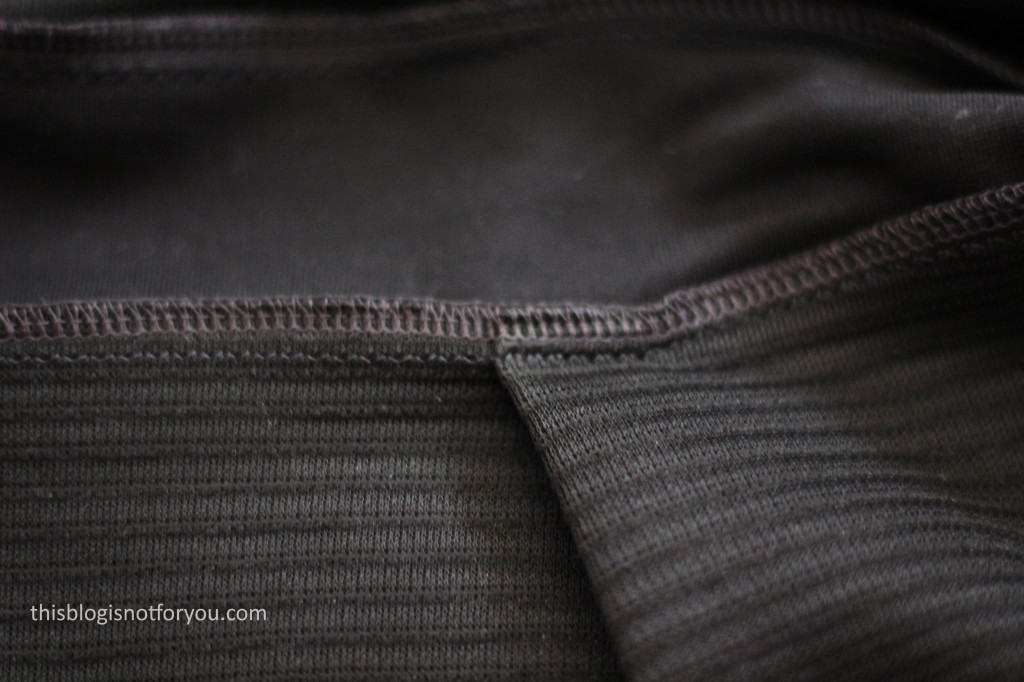
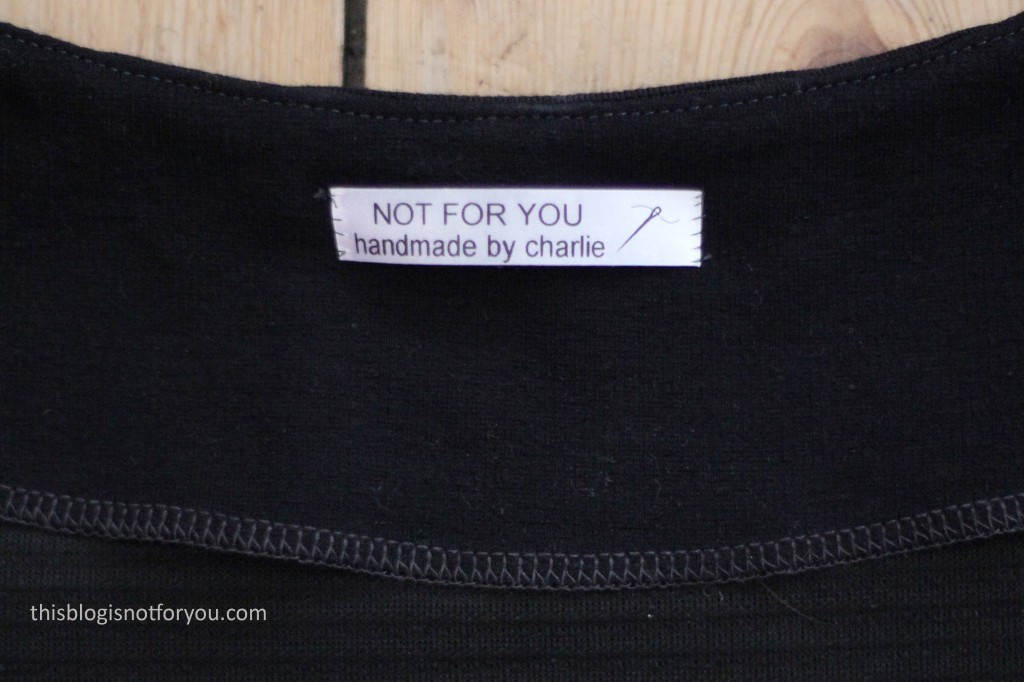 The facing is also cut out from the recycled cardi and interfaced with black iron-on interfacing.The facing is quite wide and attached to neckline and armhole seams, so the bodice is almost half-lined. It makes the facing lie really flat so that it’s practically invisible.
The skirt hem is turned under once and hand-stitched in place.

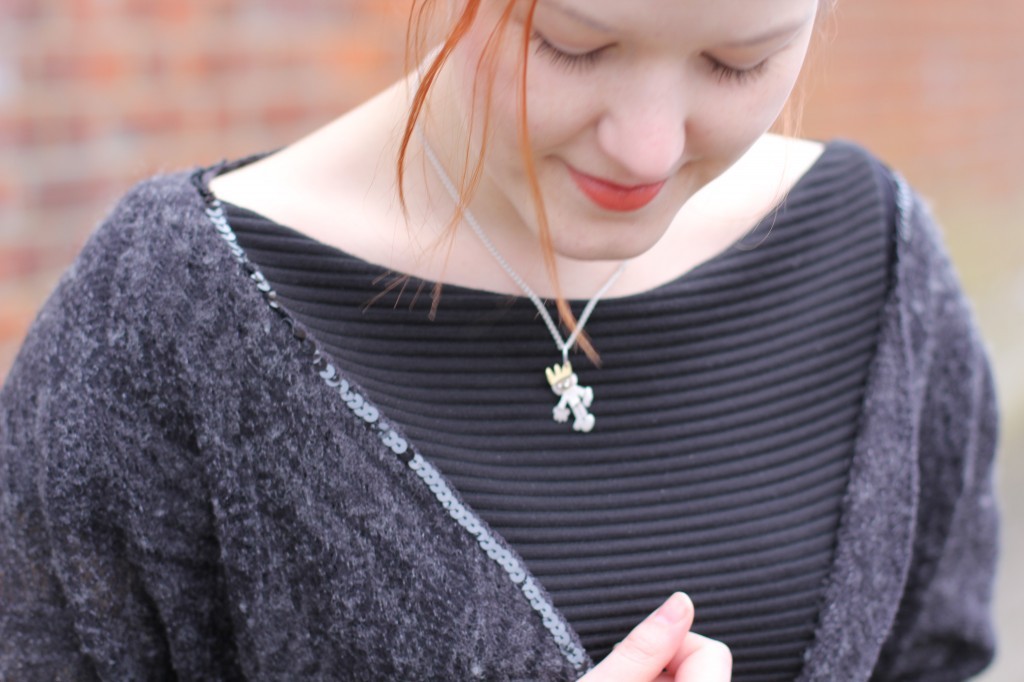
I really really love both dress and cardi and love wearing both together. They’re both super comfy and warm which is the perfect combination right now! I have quite a bit of the jumbo ribbed jersey left and am planning a kimono sleeve cropped sweater – let’s see how that goes!
Happy sewing!
♥
facebook/bloglovin/pinterest
twitter/instagram
Stay in touch!

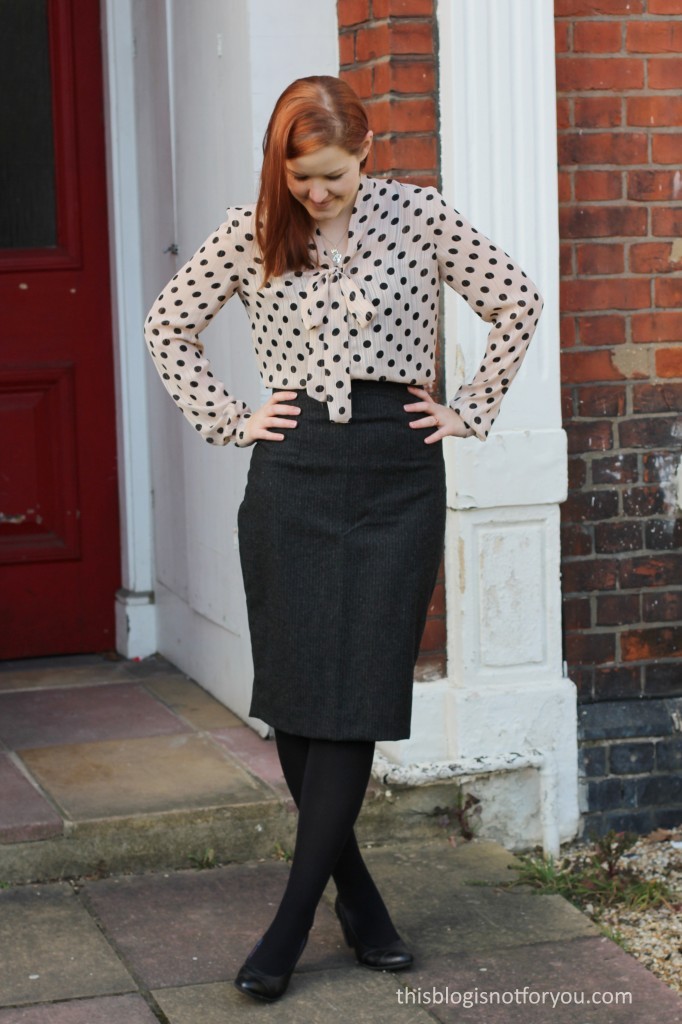
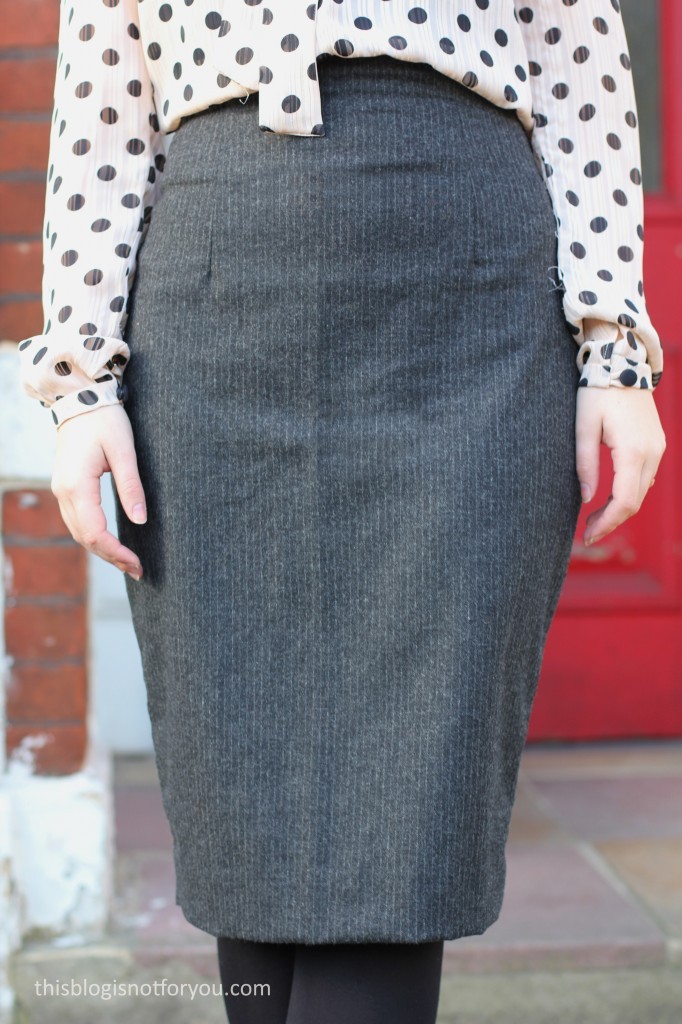
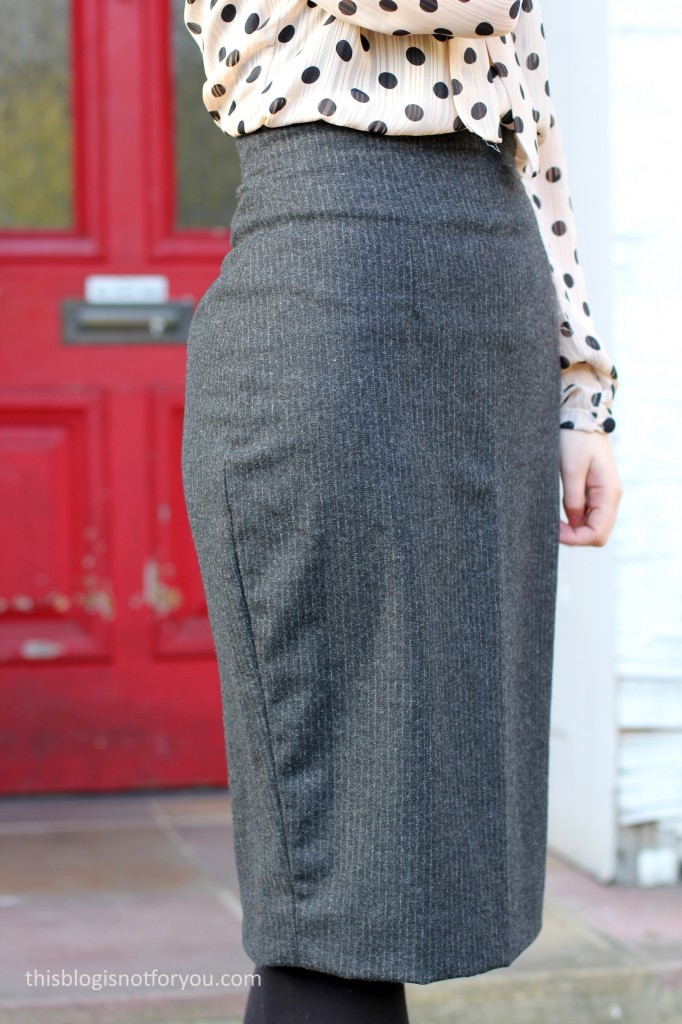
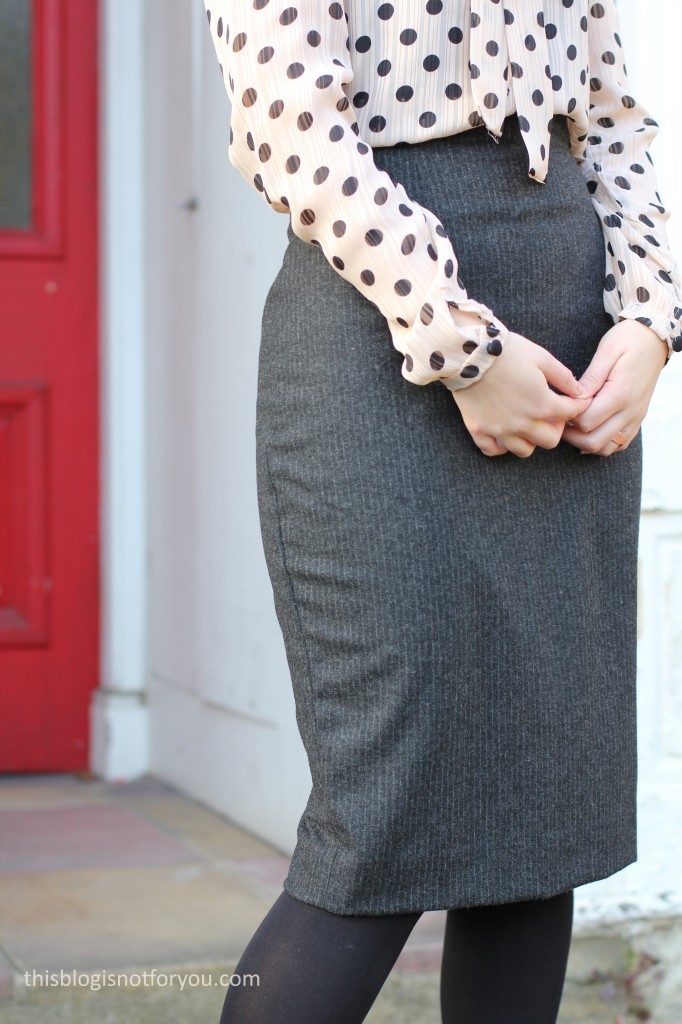
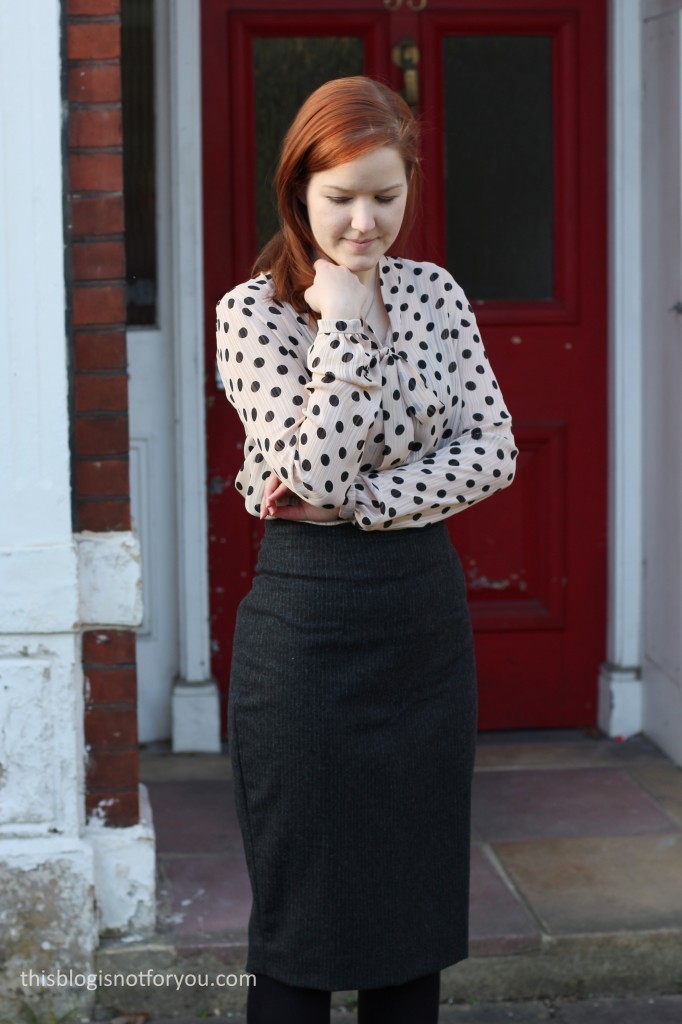
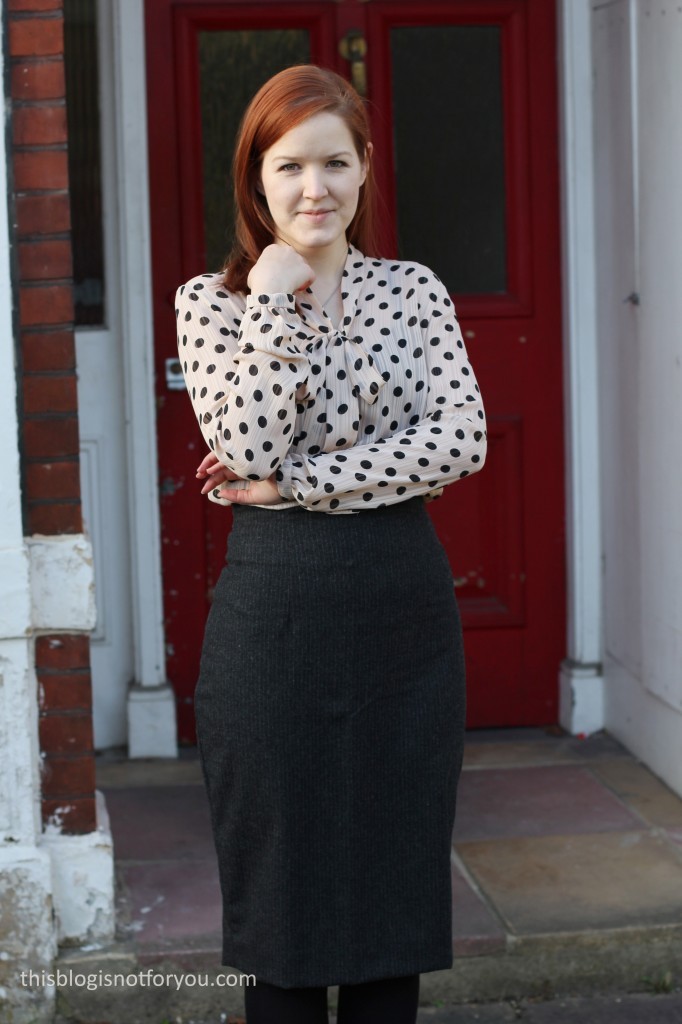 This second time, I used a woven fabric (I used a ponte knit last time). It’s a lovely light-weight and very soft wool with a slightly brushed look. The pinstripes suggest it’s meant for suits, but who cares! I bought it on my last trip to Germany. One of the major department stores in Germany, Karstadt, has a haberdashery (fabric, notions & wool) on their top floor. You can find it in every Karstadt. So if you ever end up looking for fabric when in Germany and you can’t find any fabric stores, you’ll surely find some fabric in Karstadt. I don’t particularly love their selection, and prices also aren’t the best, but their remnants baskets are quite cool. The wool was only 6€/m which wasn’t too bad and I knew I wouldn’t need more than a metre for this skirt anyway.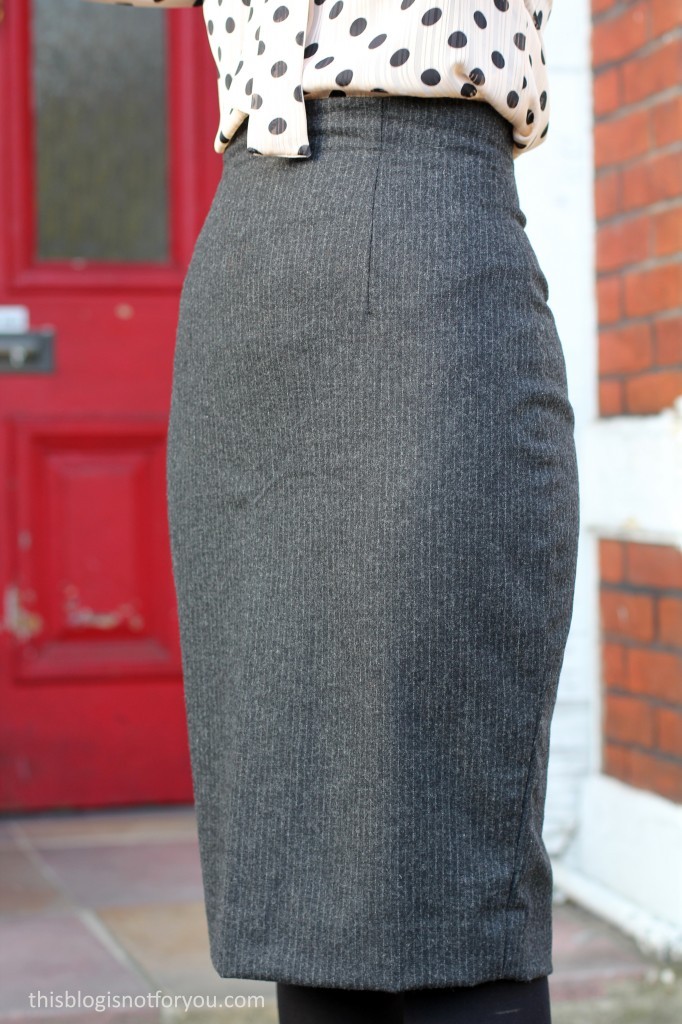
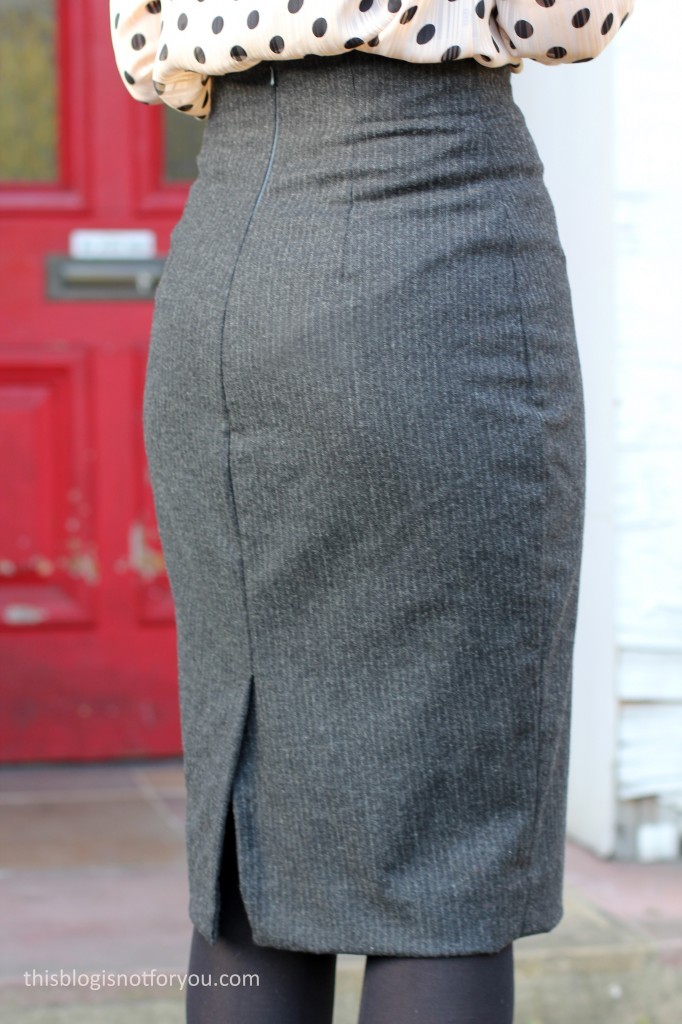


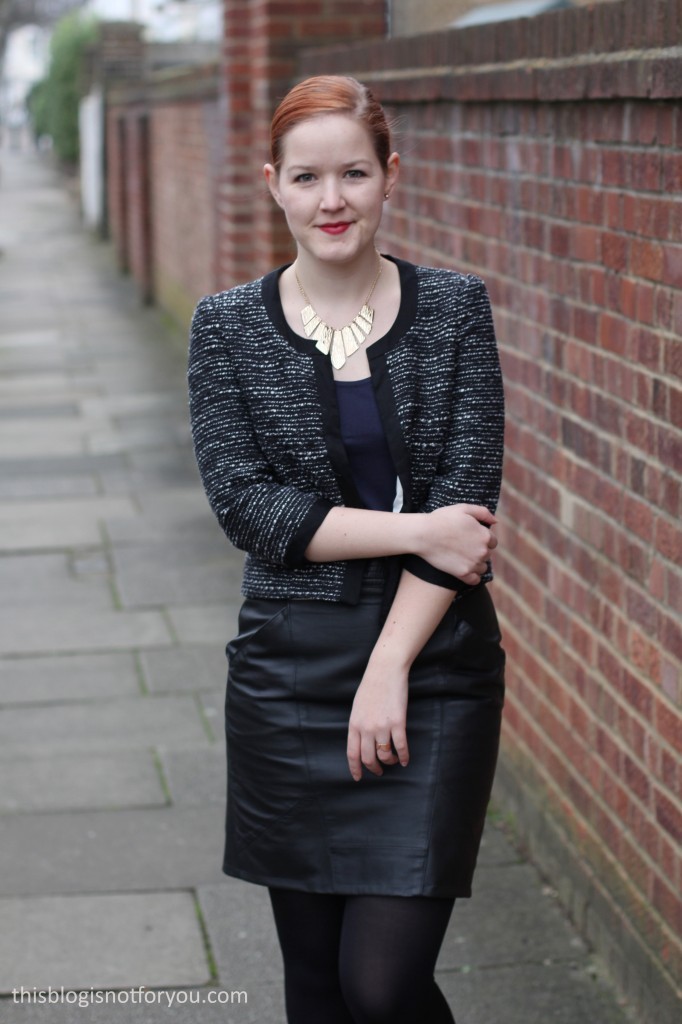
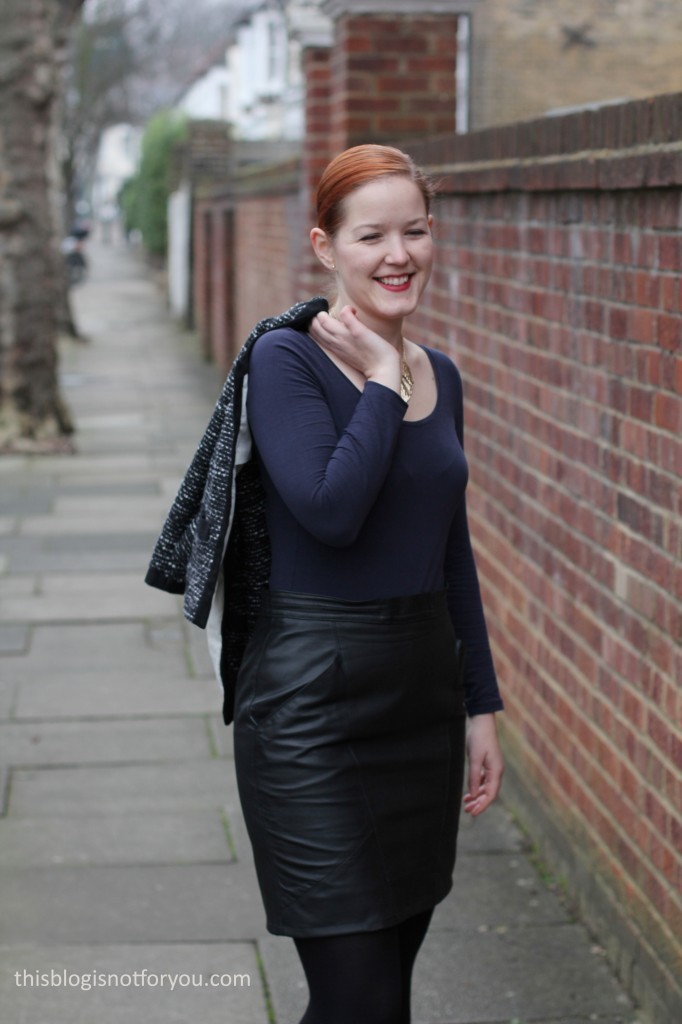
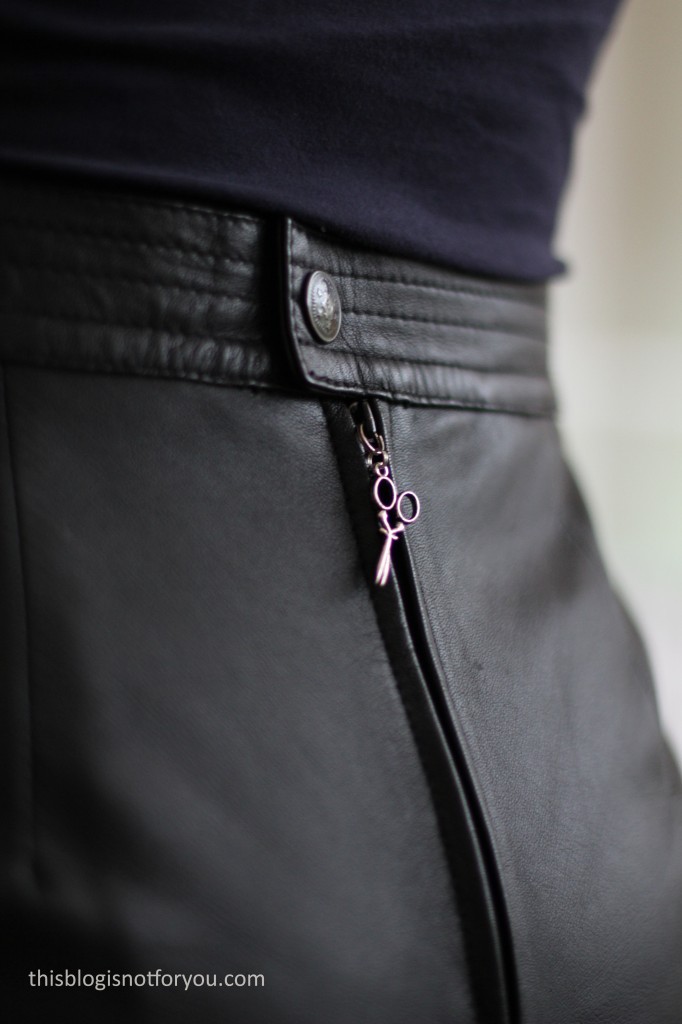
 Here’s a view before photos: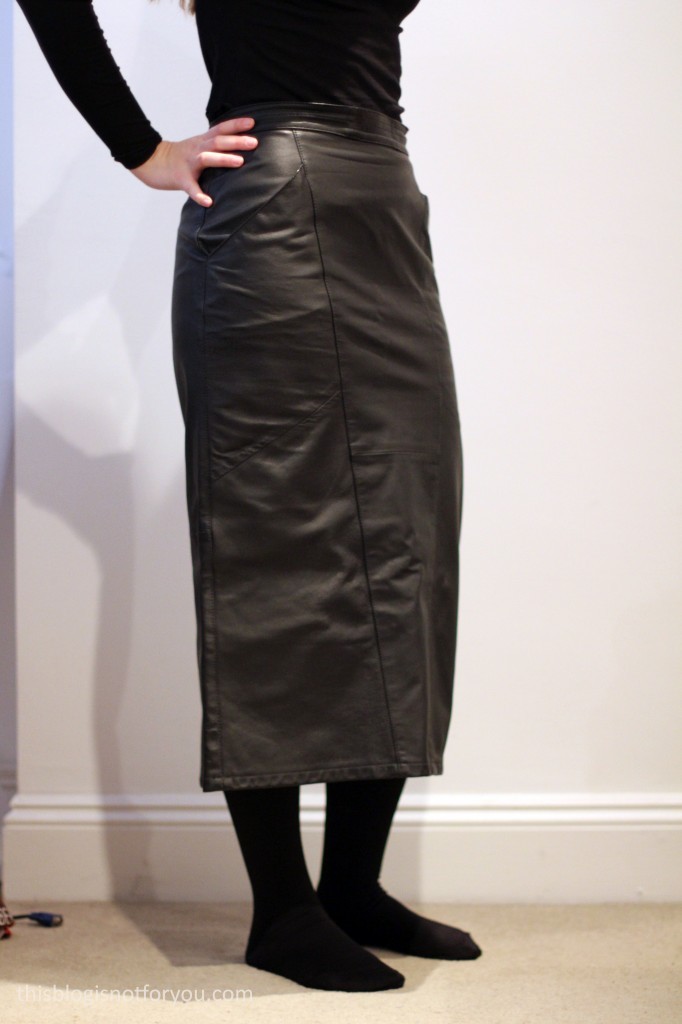
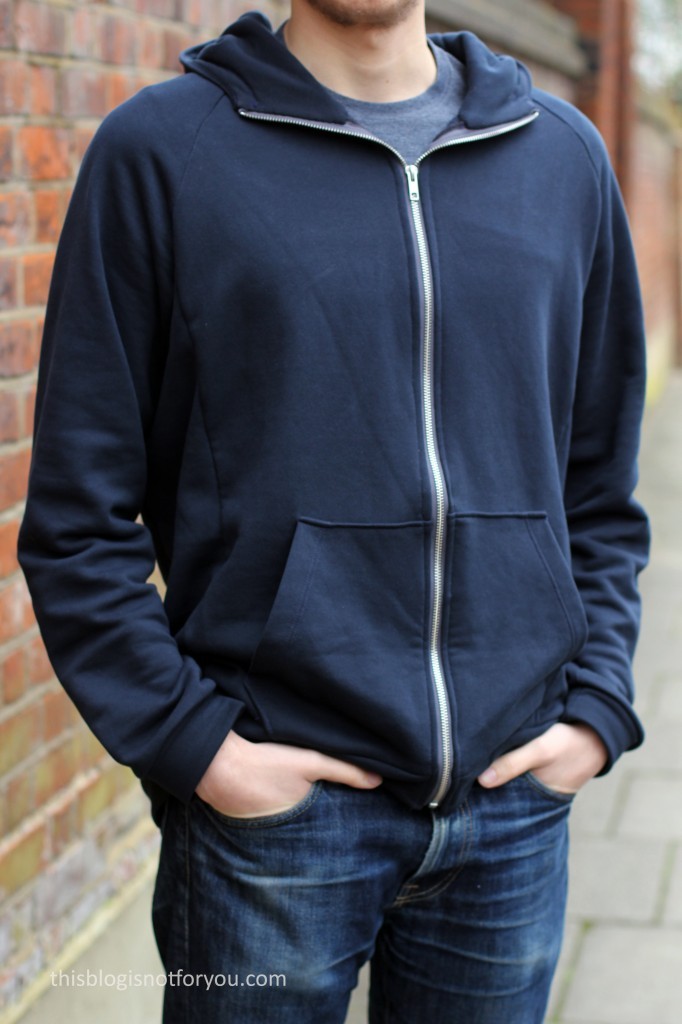 Hi my darlings, guess what happened? After all those years of selfish sewing I have finally made something for my man. It had been on my to-sew list pretty much every year, and last year I even went as far as making a muslin for a men’s shirt. The Mr doesn’t really wear shirts, so as you can imagine this project didn’t go very far. (I have to say though, I finished a shirt for my dad in December – not blogged – so I could tick “men’s shirt” of last year’s resolutions list).
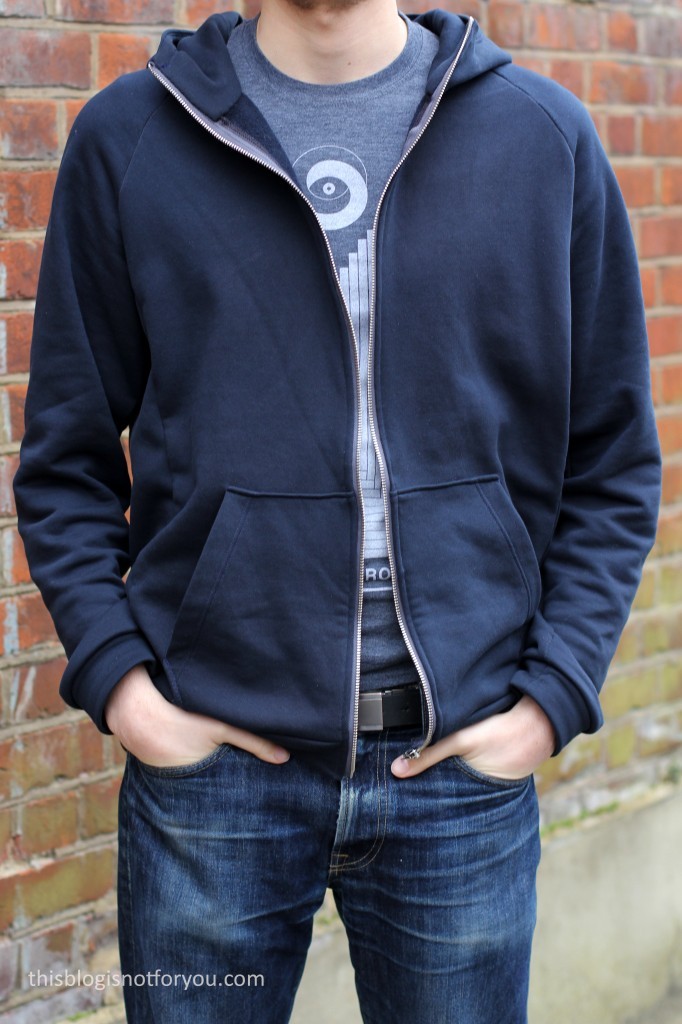
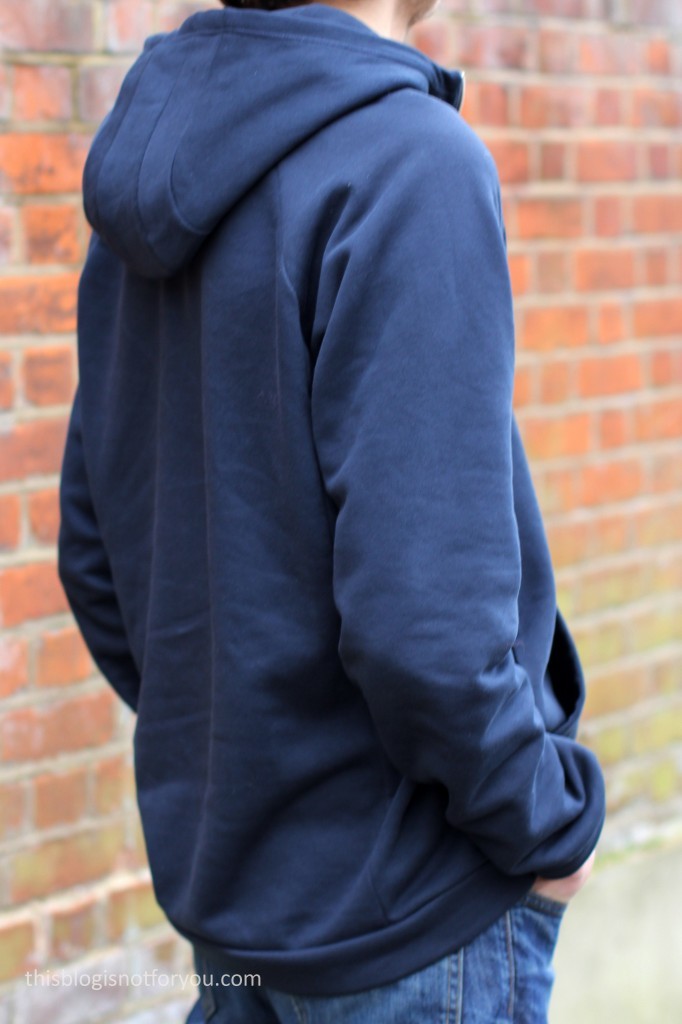 A friend of mine made her boyfriend this pretty awesome hooded cardi and I promised the Mr to make him one as well.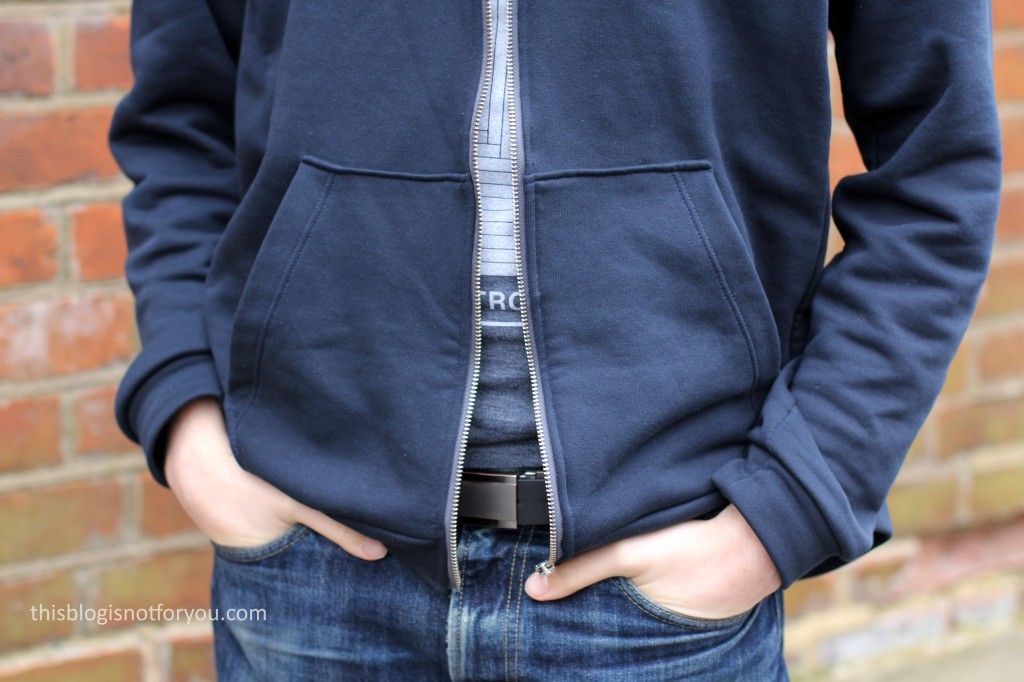
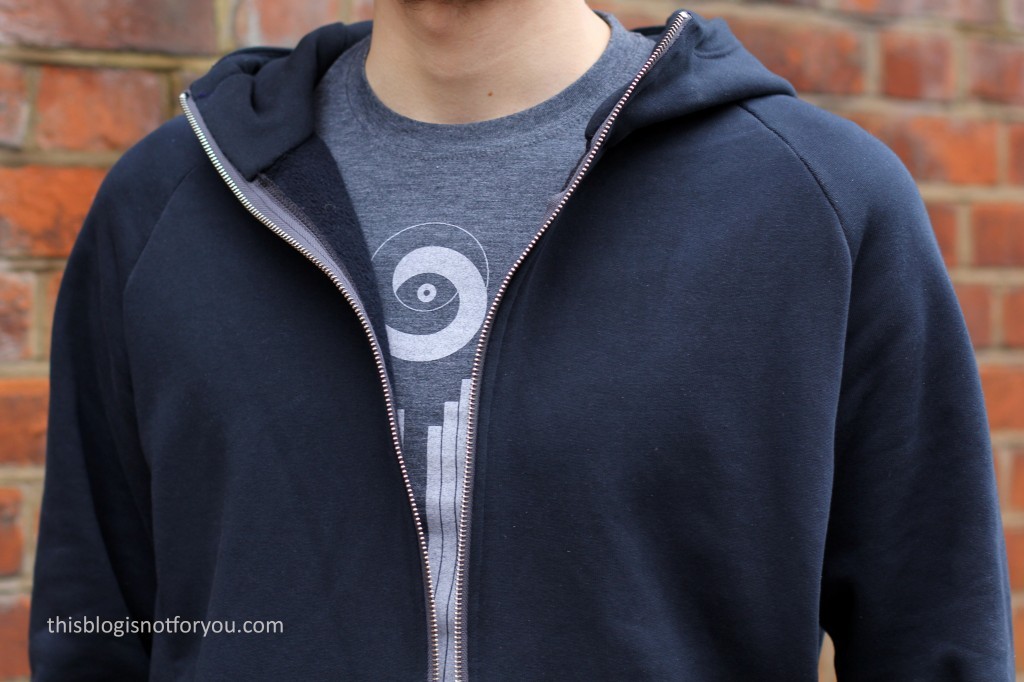 The fabric: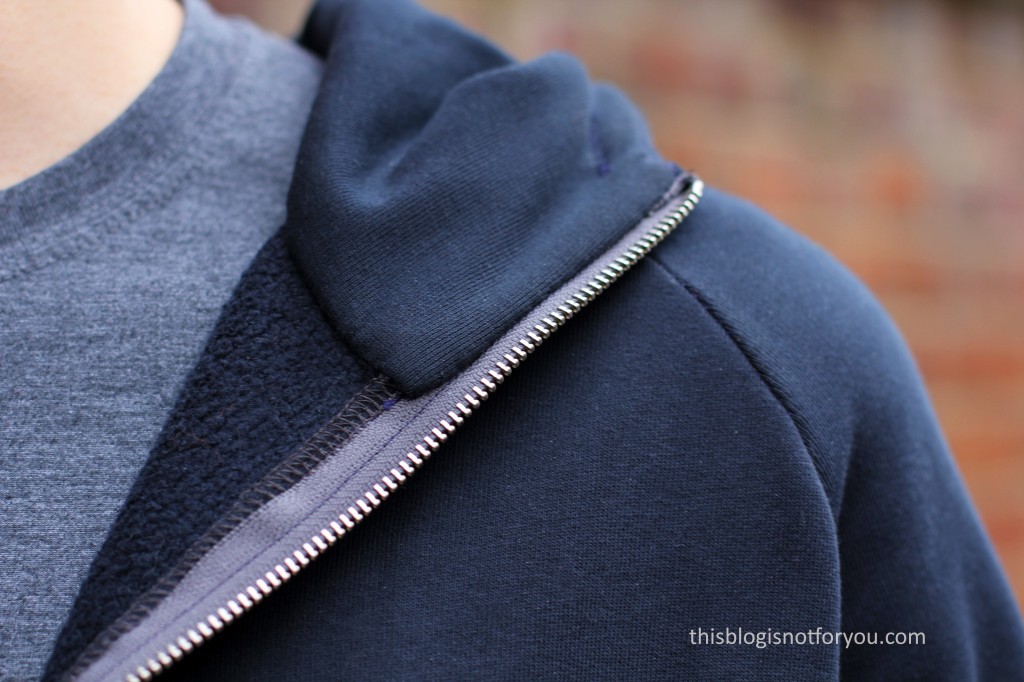
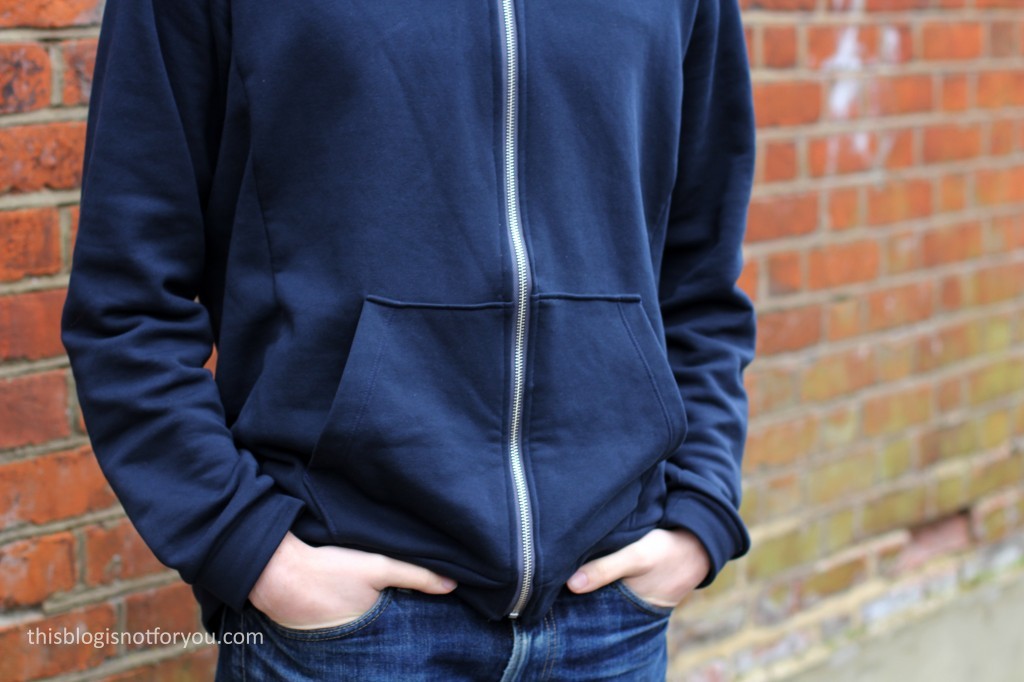
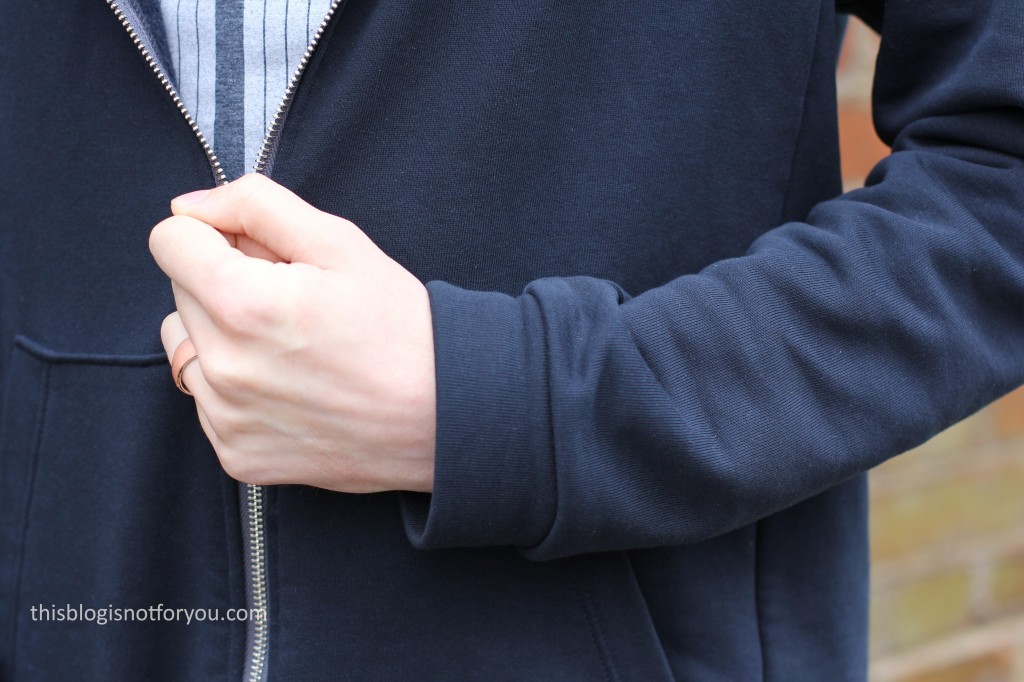 The sleeve cuffs and the “waistband” are made of the same fabric as the rest of the cardi. I had trouble finding matching ribbing fabric, and the one I ordered did not work at all. I just used the same fabric in the end, cutting the strips much shorter than the actual hem width and it worked really well! I sewed them in with the overlocker, stretching the fabric evenly while sewing and they went in without any puckering and cinch in the hems quite beautifully.
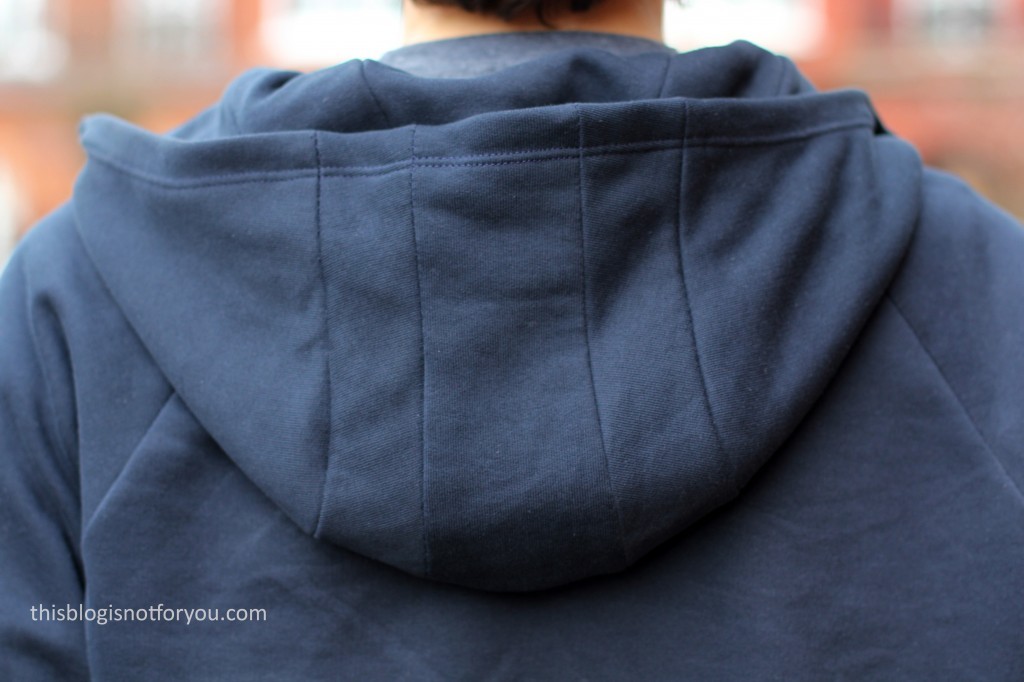 Another great detail of the pattern is the hood. It had really interesting seaming details – the hood consists of three different pattern pieces. All the seams on the bodice match up exactly with the seams on the hood giving it a really great shape and sporty look. I lined the hood, under-stitched the lining and top-stitched it with my 4mm stretch twin needle (approx. 2cm from the edge). I used the same technique on the pockets.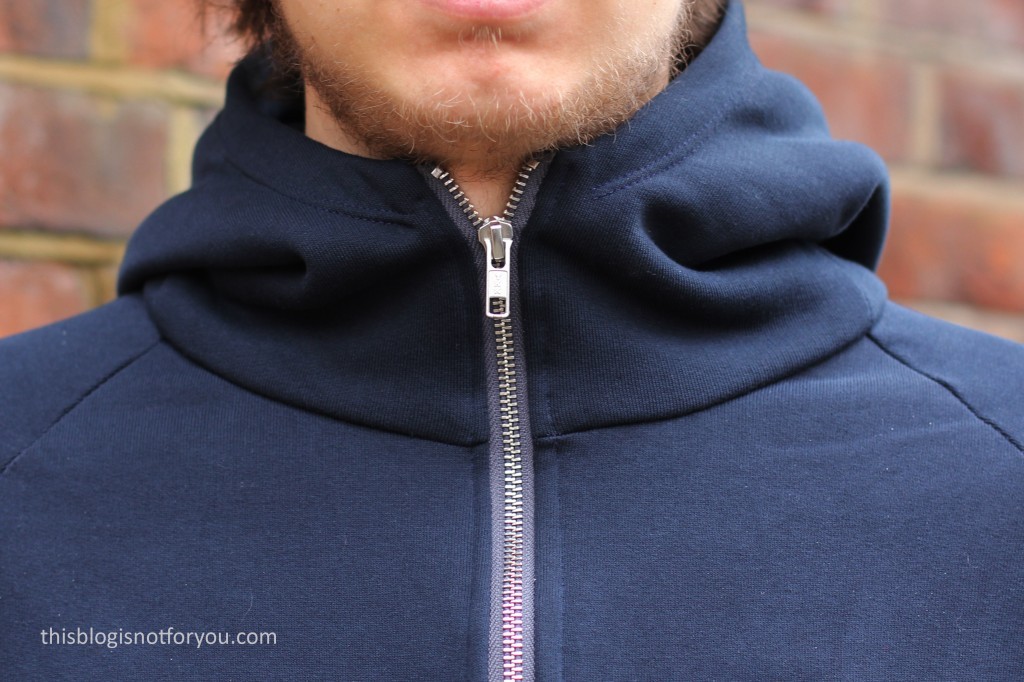

 The Mr loves his music, so I had to add tiny buttonholes to the back of the pockets where the audio jack can go through when the phone is in the pocket to avoid the cable dangling on the outside of the cardigan.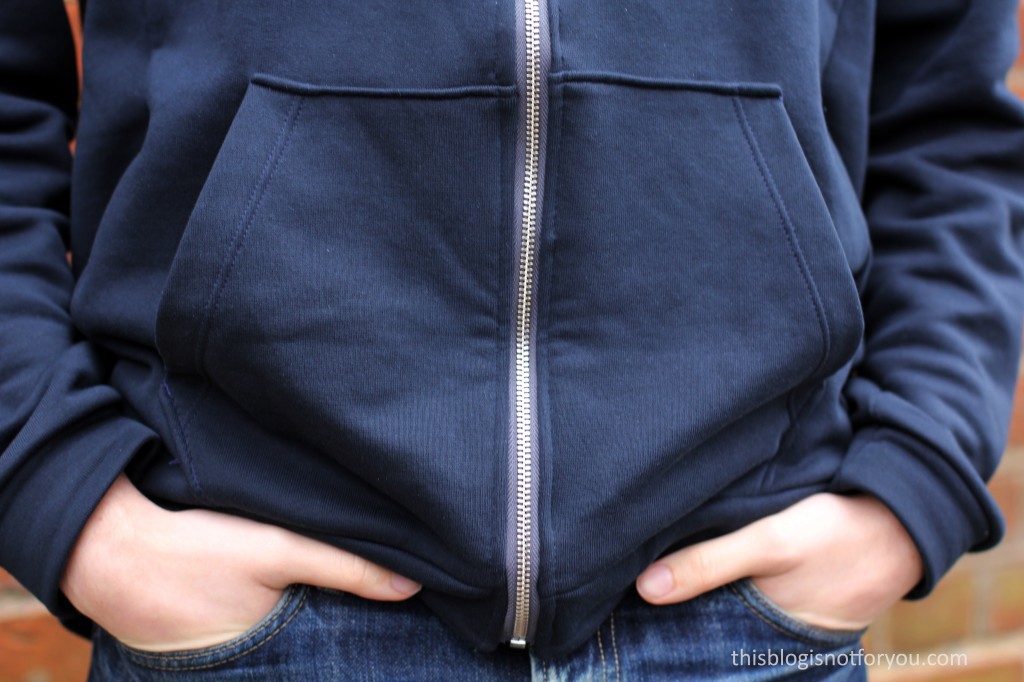
 Heeelloo lovelies!
  Sooo anyway, the sewing machine is sitting on our living room table again, there are threads and fabric scraps scattered all across the floor and sewing magazines are taking over the couch. Everything is back to normal!

 The Fabric:
 The Fit: