How to sew a book cover {that fits more than just one book}
Do you carry your book around wherever you go? Well, I do.
To keep them from getting damaged in my bag I use handmade book covers. No dog-ears no more!
Depending on how large you make the cover, it will fit several books that are about the same size.
 First of all you need to make a pattern.
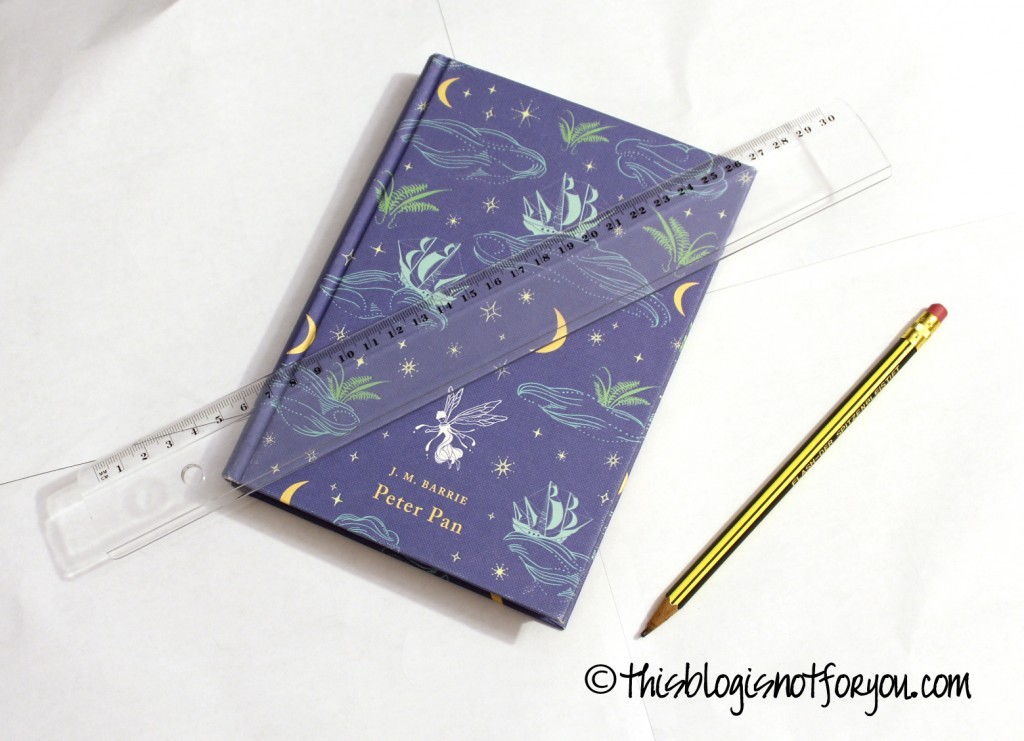
What you need:
Pick a book size you like. It can be your favorite one, the one that you read at the moment or one you want to give as a present to someone.
I think a standard paperback book size works great, since you’ll probably have and find a lot of books that fit in there.
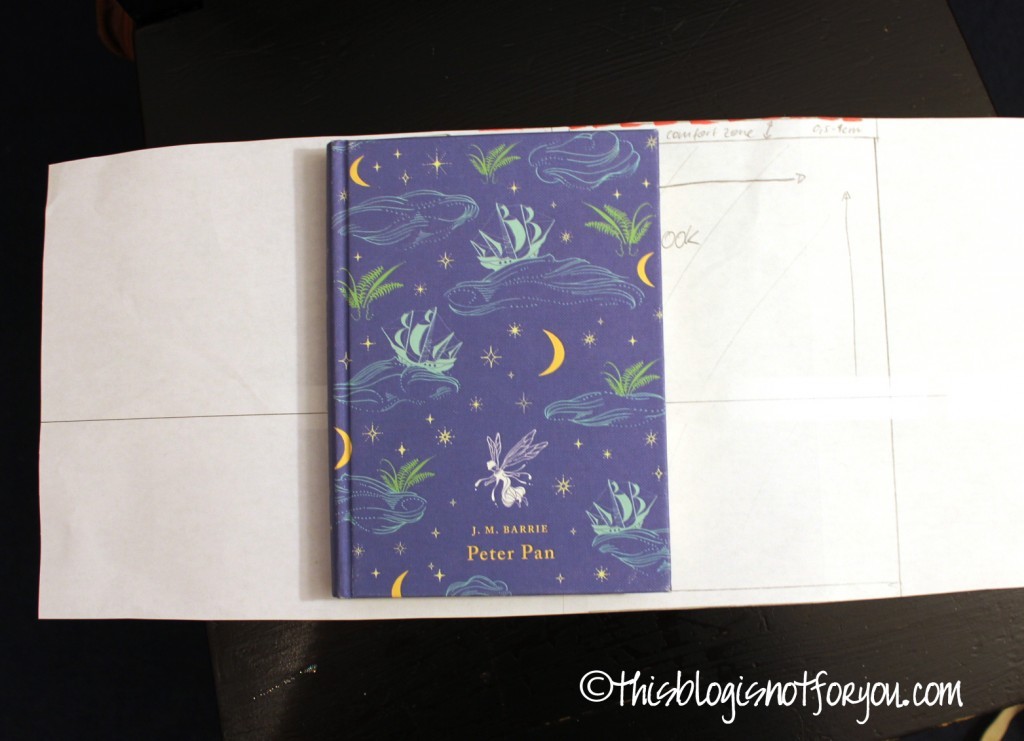
Take a large sheet of paper (or tape some sheets together). It should be more than three times as wide as your book is. The height is the height of your book plus a comfort zone of about 2-3cm/1-1,5inch.
You’ll need that so the book slips in easily and the bigger the comfort zone, the more books will fits into the cover. But don’t exaggerate, otherwise it will be too loose.
Lay the book on the paper strip, front cover facing you.
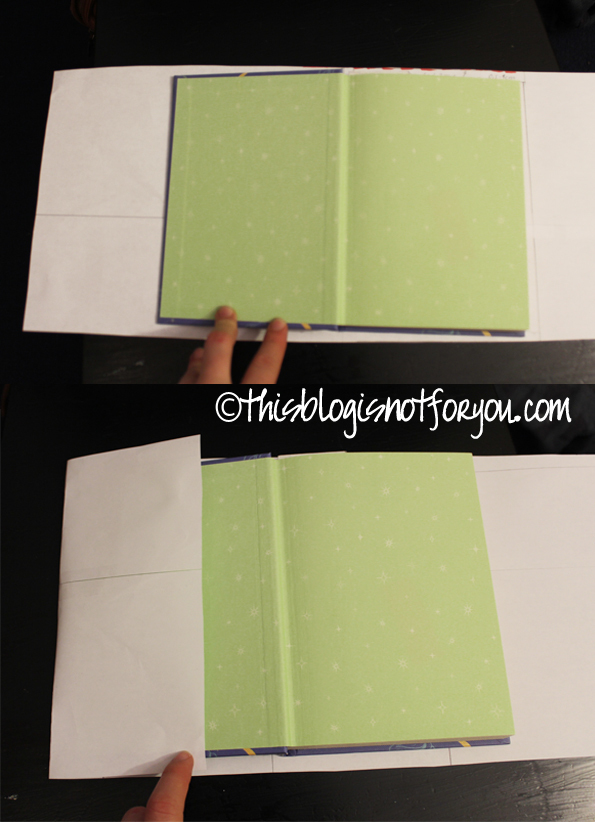
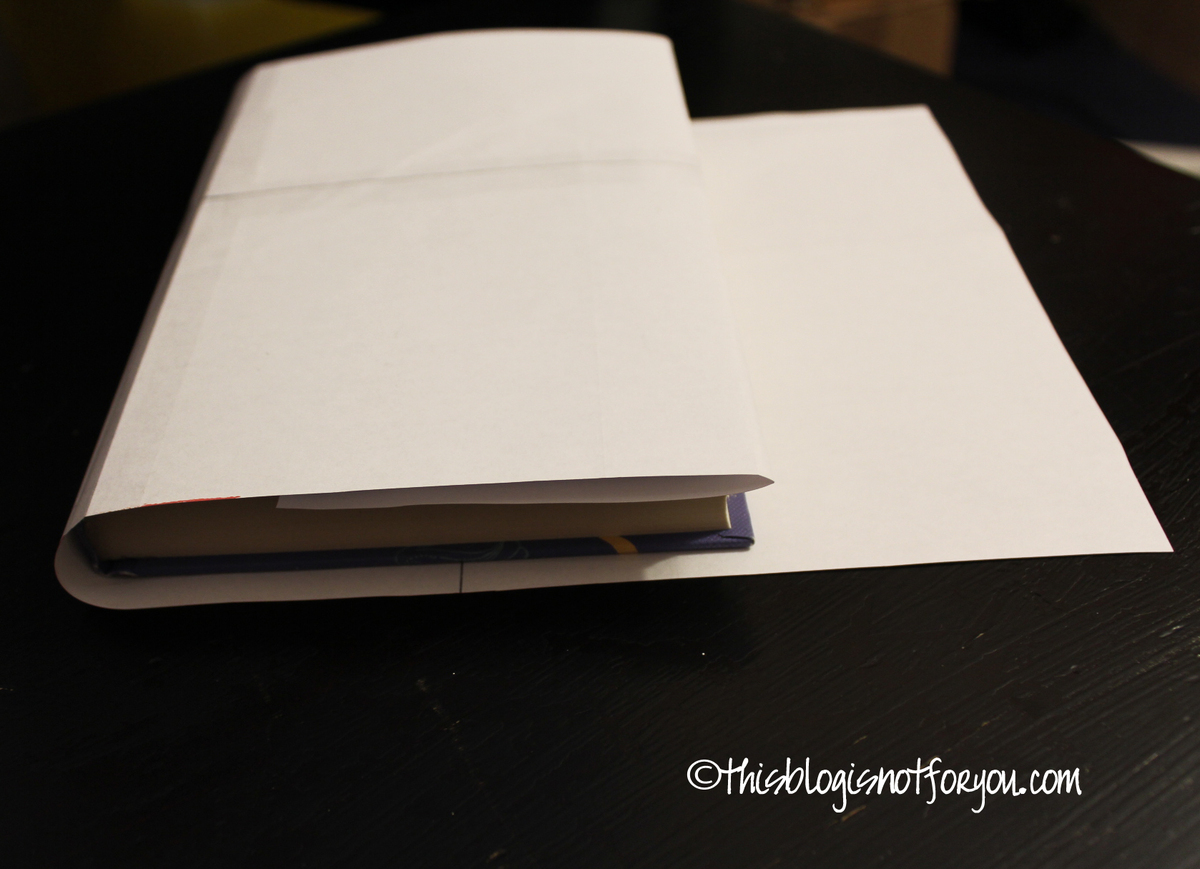
To determine the size of the flap, fold the left side of the paper over the cover until the flap has the size you want it to have.
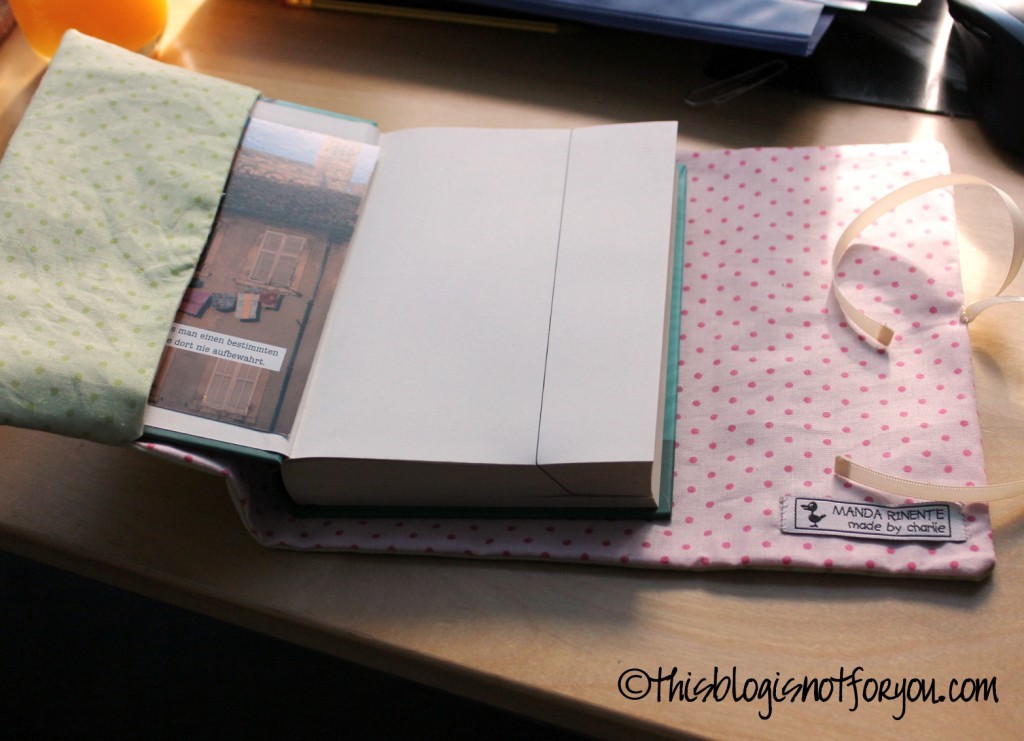
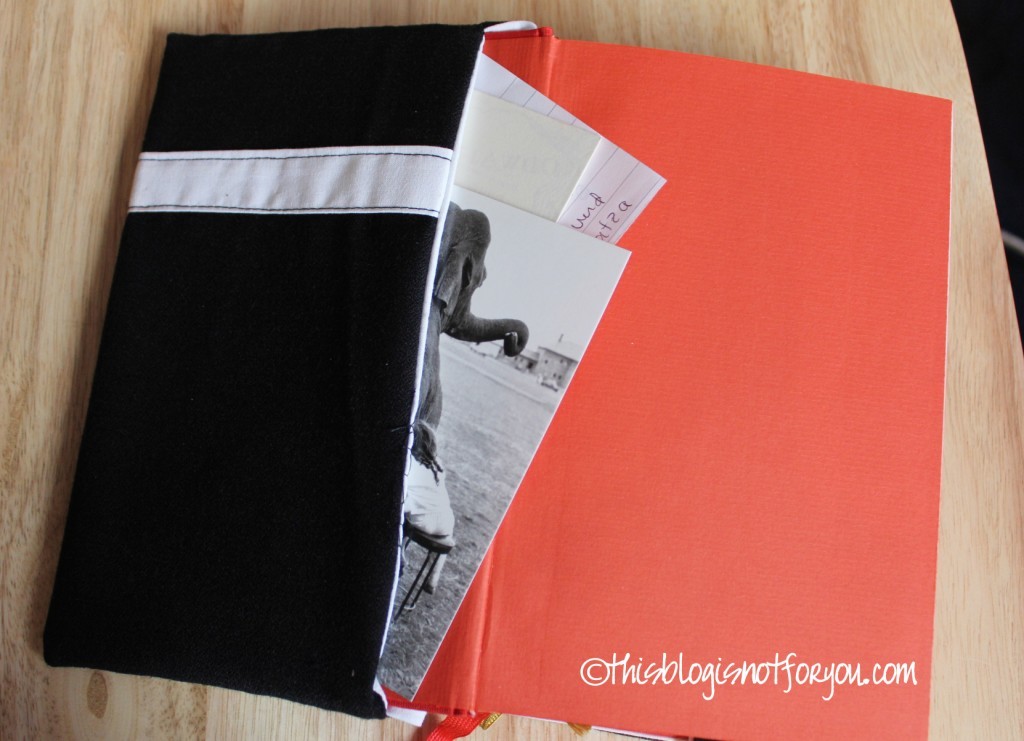
I think a large flap is good – the book cover will fit more tightly and you’ll have to space to keep some postcards, bookmarkers, etc.
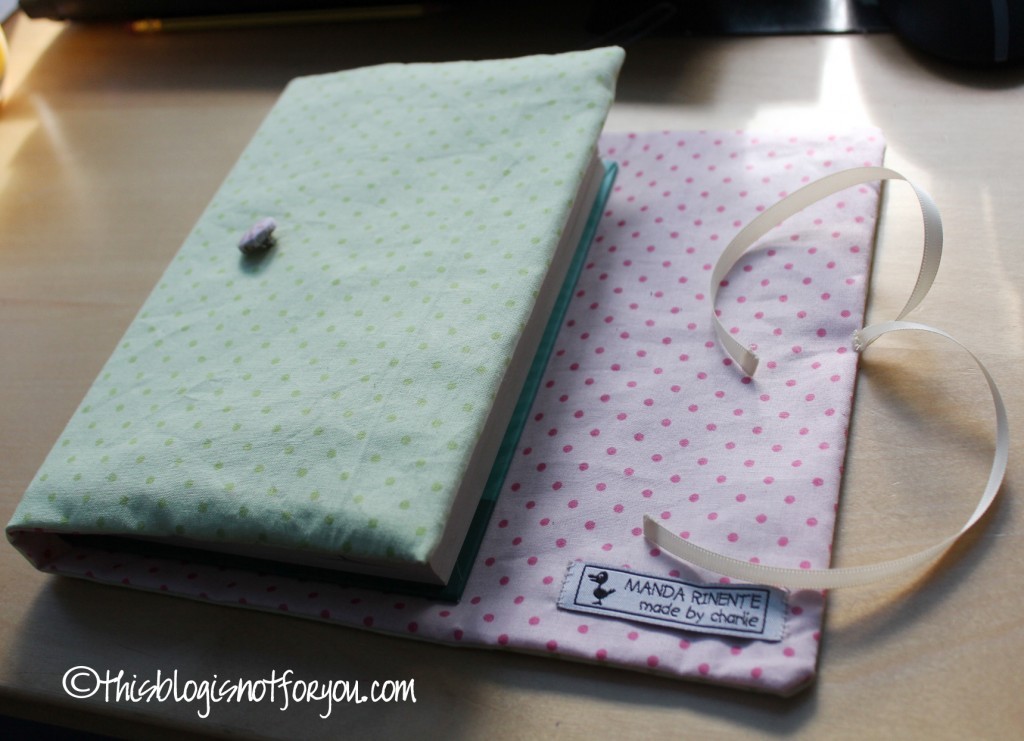
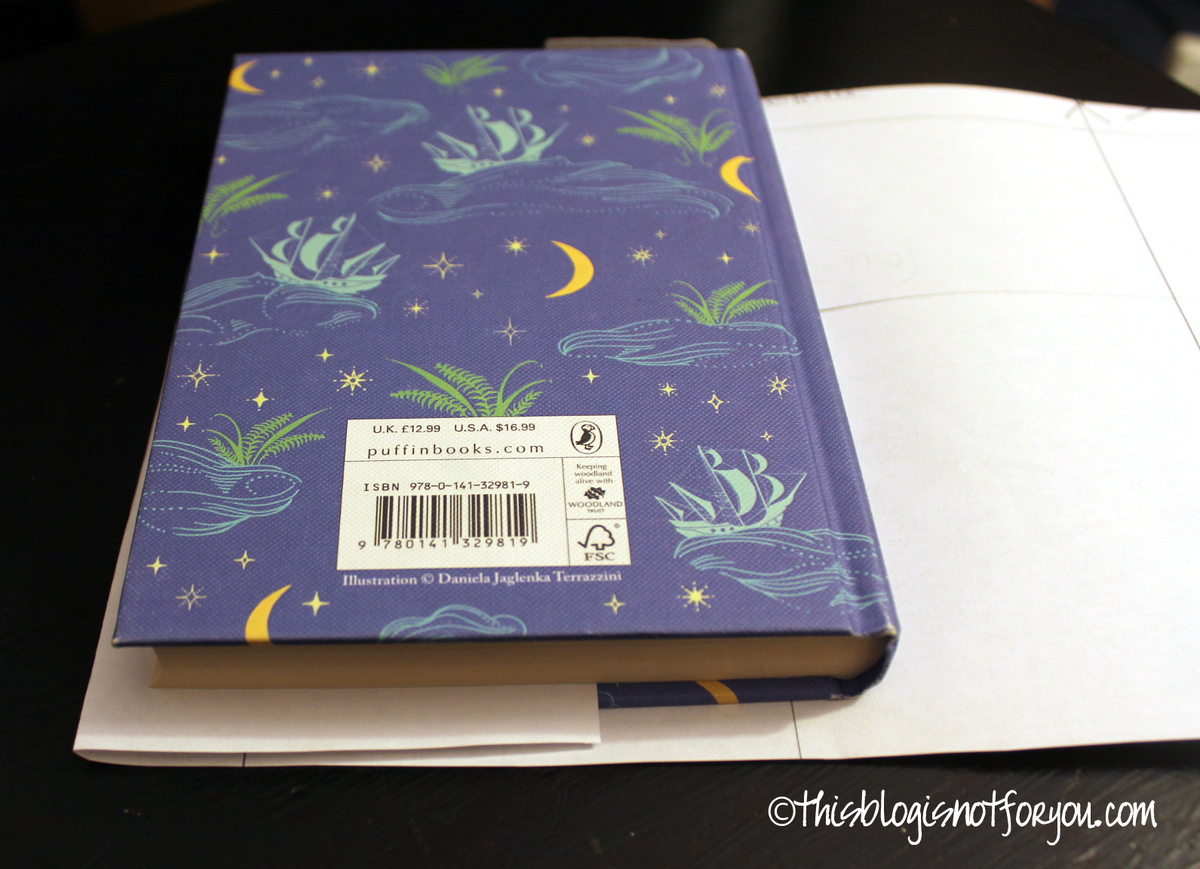
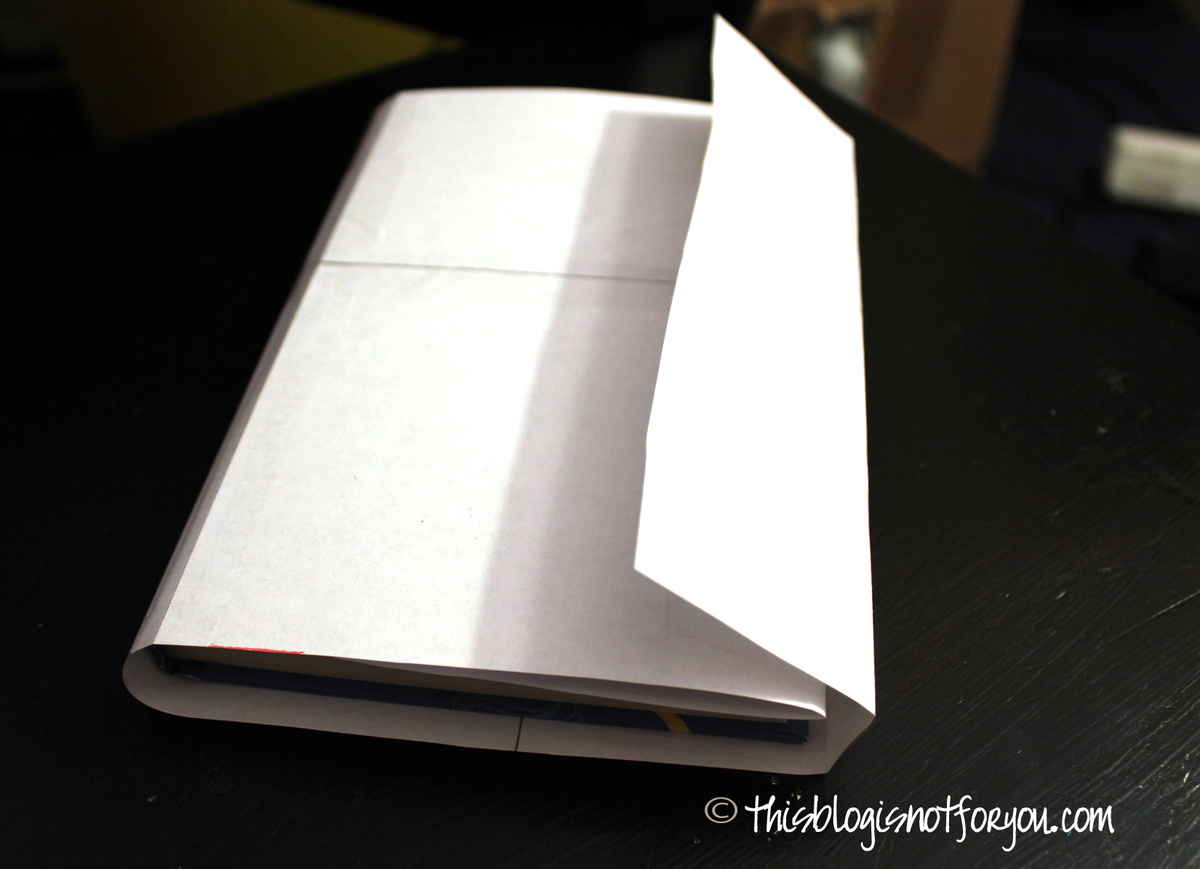
Now close the book and turn it as seen in the pictures below.
To get the size of the front flap, fold the right side of the paper over your book and mark the paper where you want your front flap to end. Draw a line and cut the rest of the paper off.
Now you’ve got the pattern for cutting out your fabric.
For a simple book cover with a button fastening you will need two pieces of fabric.
When you place your pattern on the fabric, don’t forget to add seam allowance! I used about 1cm of seam allowance for the book cover I made.
In case you want to embellish your fabric, for instance with sequins, buttons, fabric paint etc., do it after you cut out the fabric and before you start sewing.
This is especially important when you’re using fabric paint, since you have to iron it before sewing to fix it.
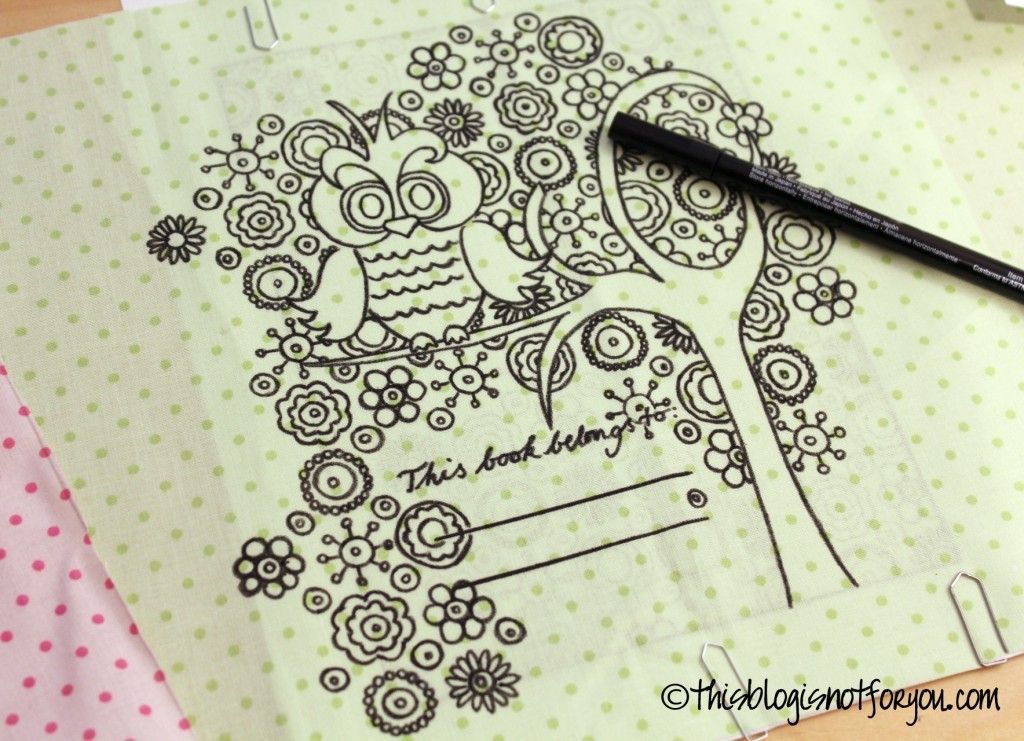
This is one idea of how to embellish simple fabric with fabric paint. This book cover was a gift for my best friend.
If the fabric is slightly see-through, you can just place a copy or print-out of want you want to draw underneath the fabric and trace it with a textile pen.
I found the picture with the owl here and slightly changed it.
Before pinning and sewing everything together, it’s time to add any ribbon or labels.
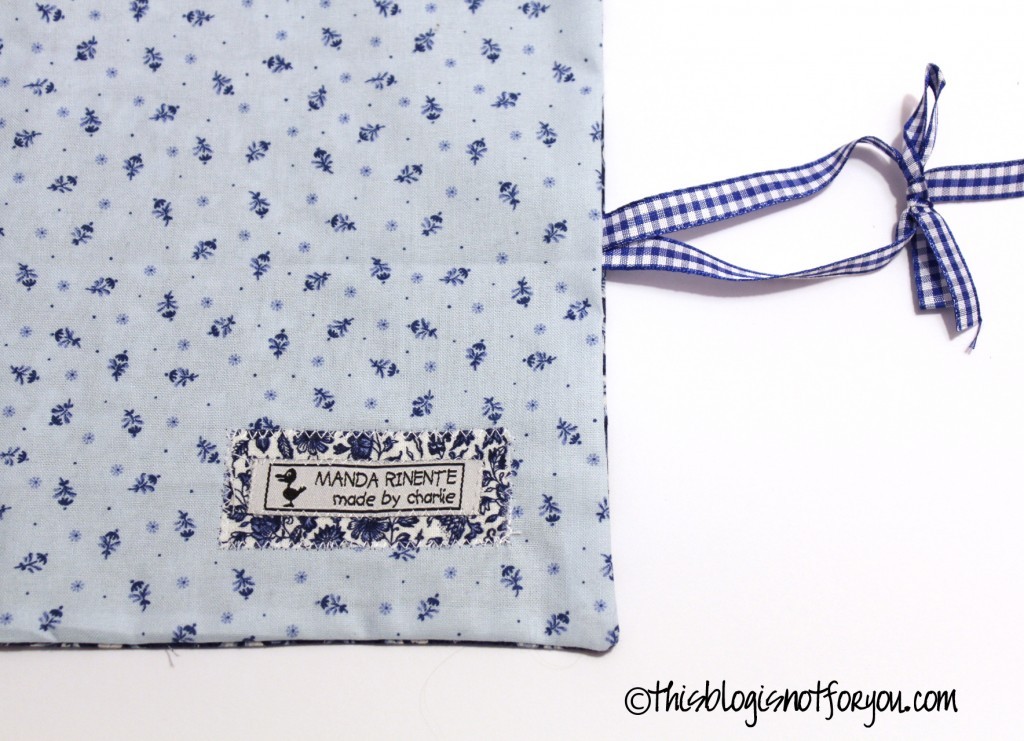 If you want to add ribbon as in the picture above, place it in between the two fabric pieces and pin the ends of the ribbon onto the seam allowance to fixate it before sewing.
The Sewing
Pin the two fabric pieces together, right sides facing each other. Then sew along the marked seam line.
Don’t sew them together completely, but leave a gap of about 5-6cm/2-3inch, since you have to turn the whole thing inside out.
For that pull out the fabric, grabbing the right side through the gap you have left in the seam. The part will be handstitched up later on. A ruler may help you to define the edges and corners.
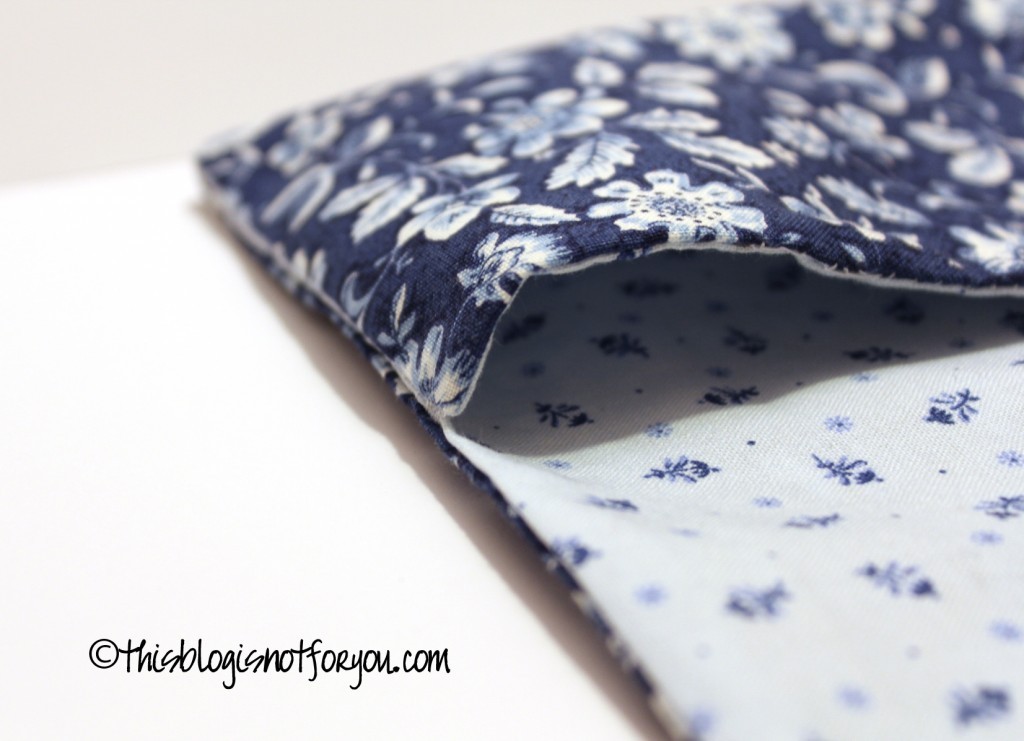
To get a flap like in the picture below, you need to turn your fabric right side up, so the lining is facing down.
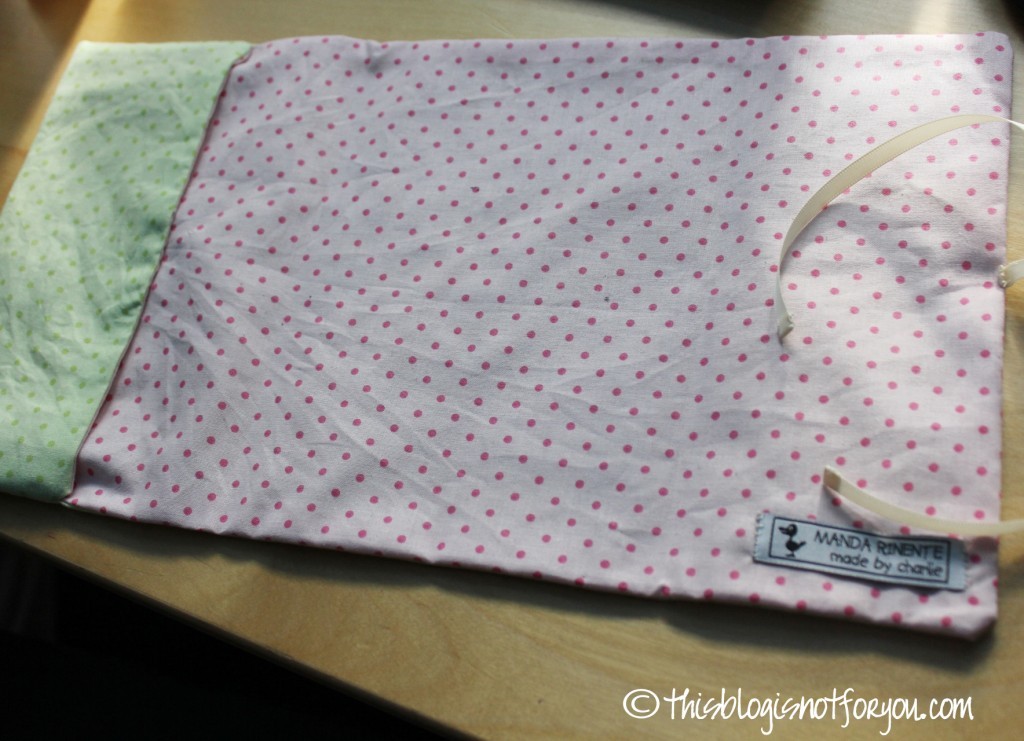
Now fold one side of the fabric to create the flap. Make sure you’ve got the correct side, in case you embellished the outer fabric. You don’t want everything to be upside down in the end or the have the flap on the wrong side.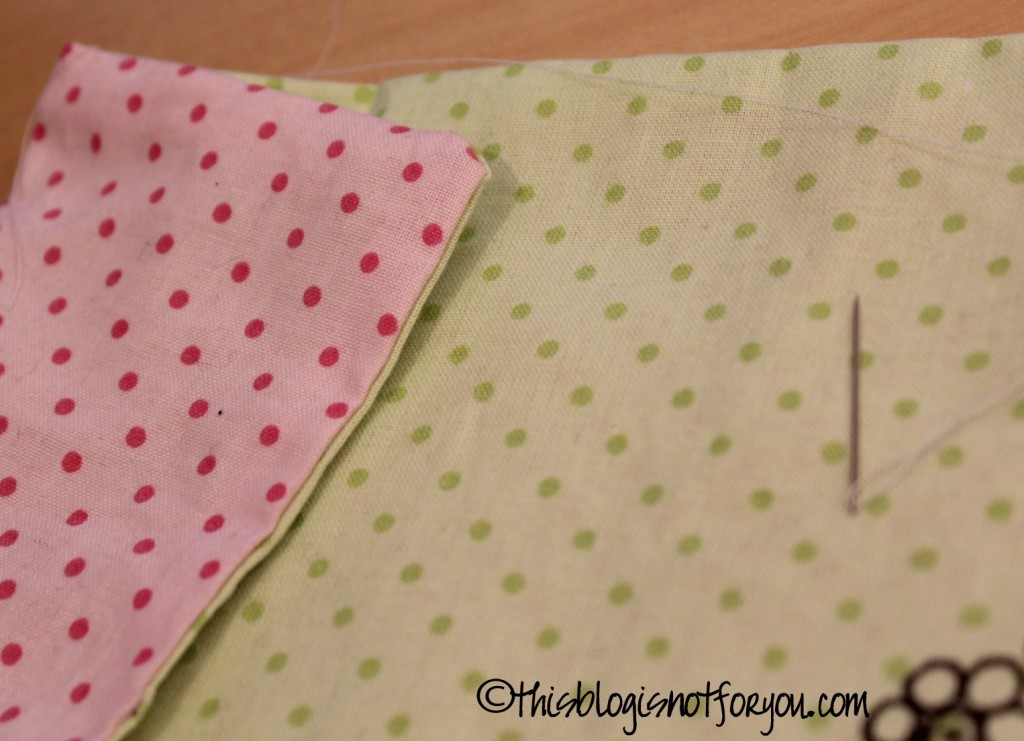
The seam of the flap will be handstitched.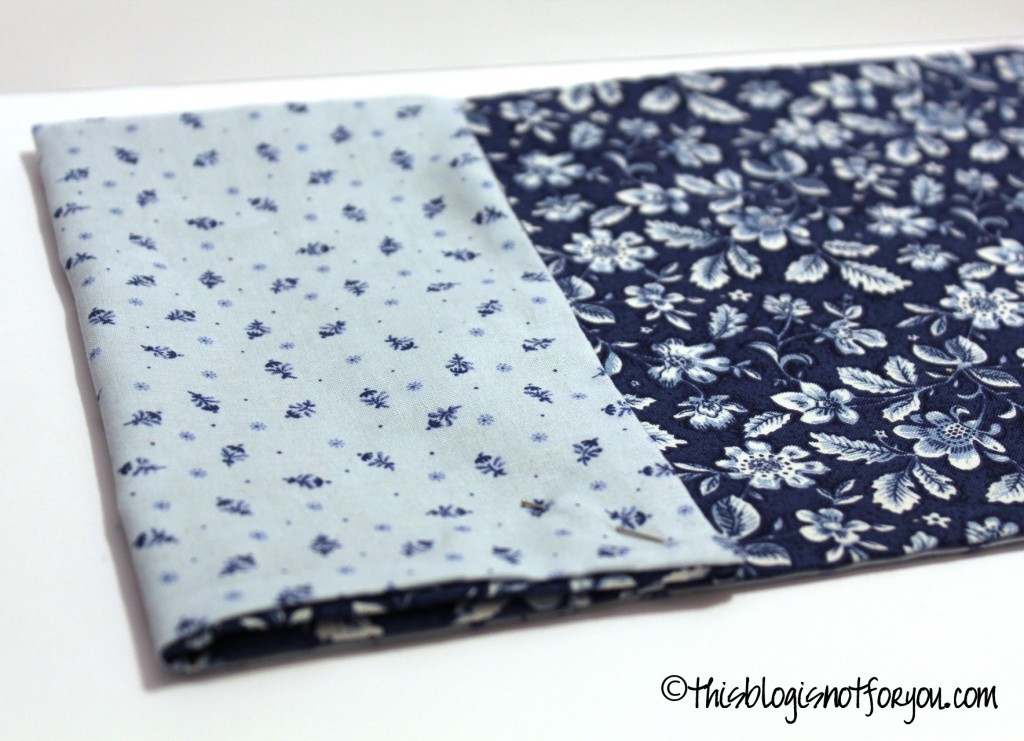
Pin the flap an shown in the picture above.
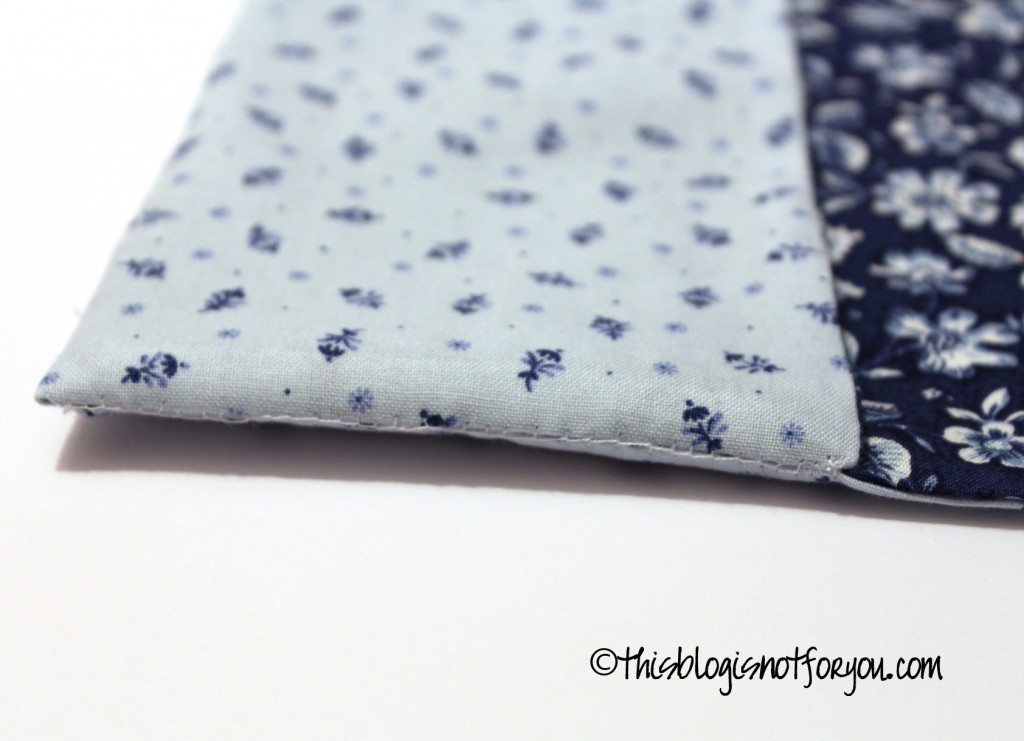
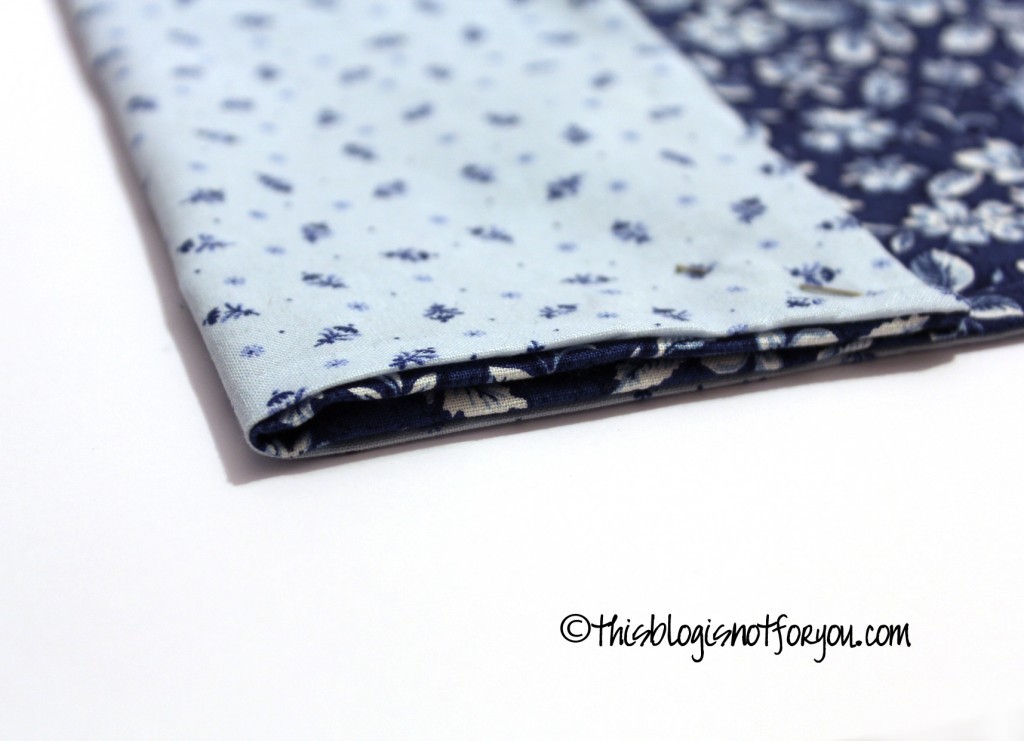 In the picture above, the darker blue fabric is the outer fabric. We will only be stitching together the edges of the lining!.
It looks nicer in the end and you don’t want the flap to sit too tight.
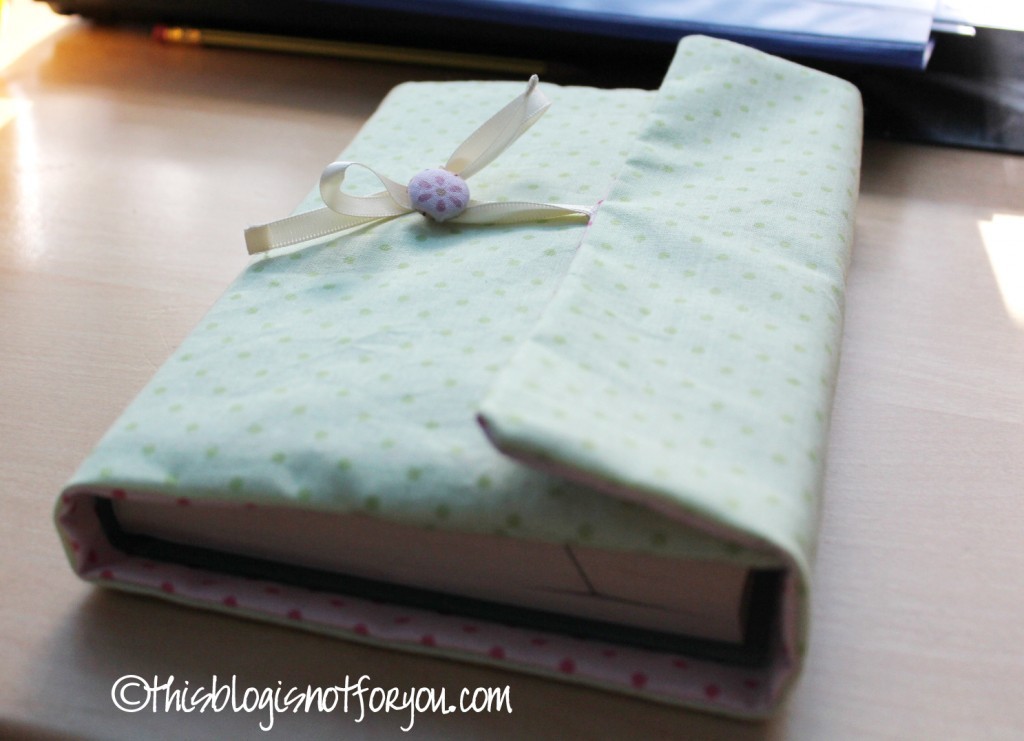
This is how it looks when everything is stitched up nicely. you can now turn it and it should look like this: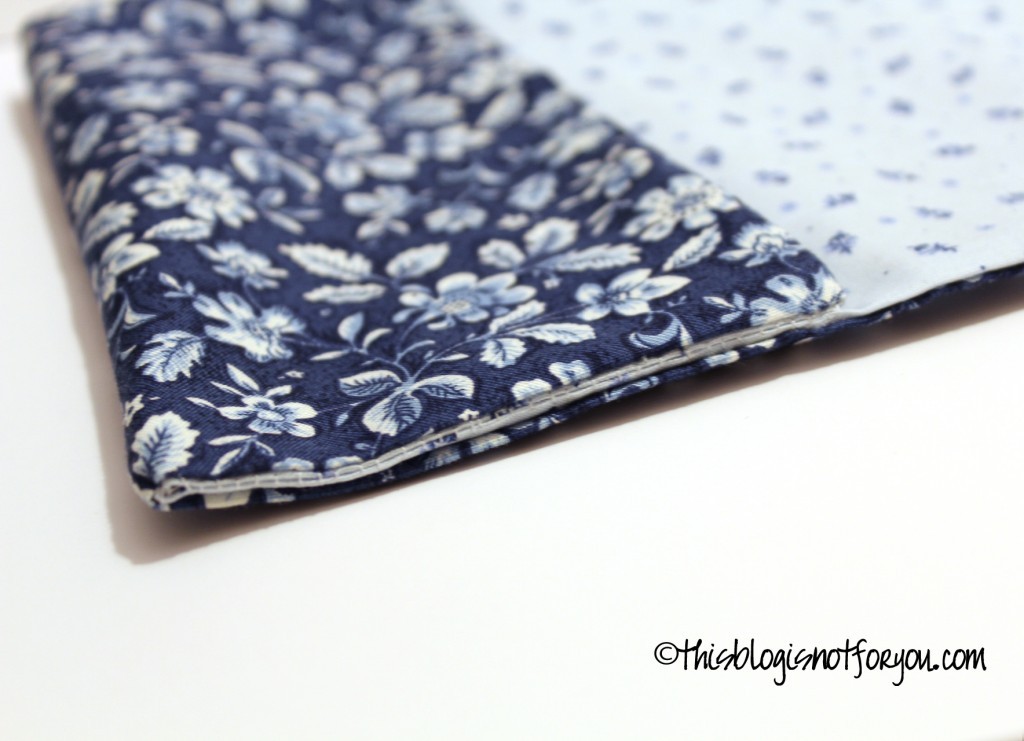
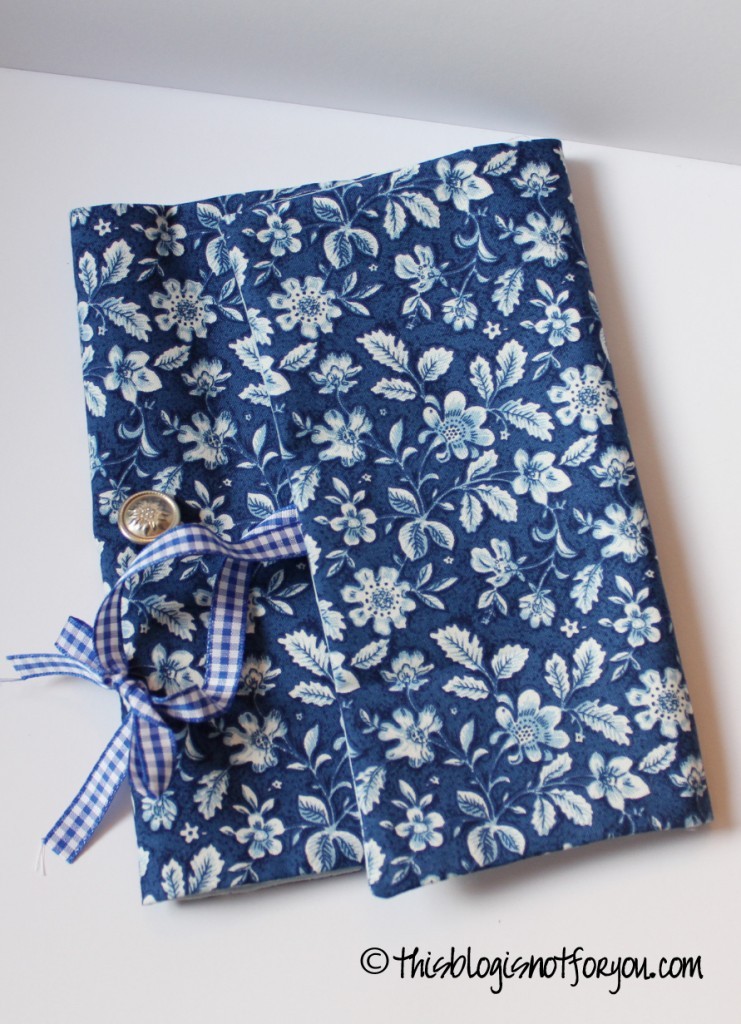
Put your book inside and close the cover to marke the point where you want to put a button. Handstitch the button onto the cover and you’re done!
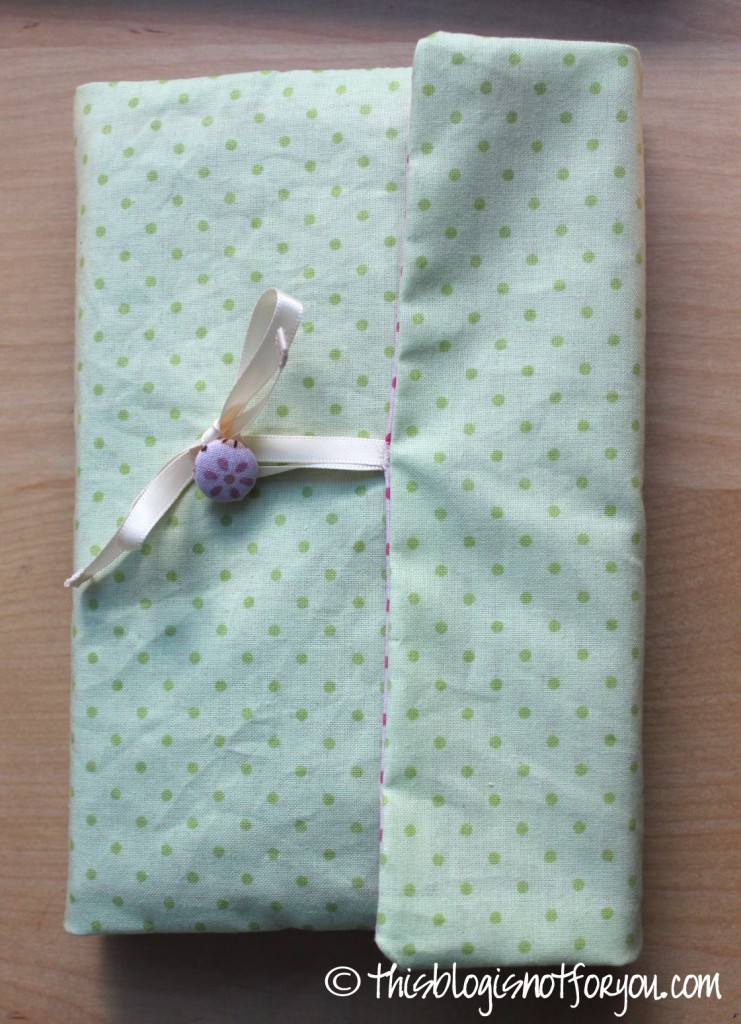
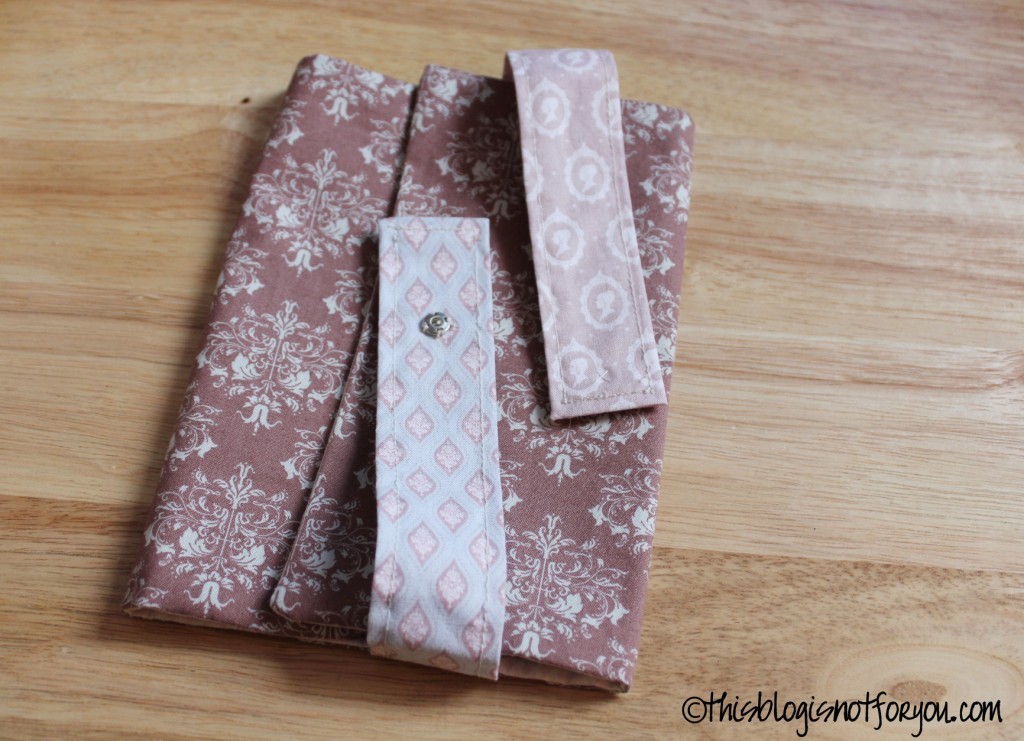
Here are some ideas/book cover I made lately:

