Having Fun Sewing for Toddlers Pt.1
MEOW, MEOW!
I don’t enjoy sewing for others. That’s a fact.
I don’t really know why, and I’d love to be able to rejoice in it. But I don’t. Sewing for others makes me feel frustrated and in that case it becomes more chore than pleasure. There’s one exception, though: Sewing for my toddler nieces.
Again, I’m not sure why. I guess it’s because you can go wild with ideas and also fitting isn’t as big an issue as with adults. Toddlers aren’t that hard to please when it comes to new dresses. They can be as crazy, loud and colourful as you like and they’ll love it! It’s also a great way to use up larger fabric scraps and try out combinations you wouldn’t be able to pull off yourself.
Last year I made a bunch of dresses, jumpers and a jacket for my oldest niece, who is 2.5 years old. I completely forgot to post these, as I mostly blog about things I make for myself. But I’m quite proud of them and they are too cute not to be shared.
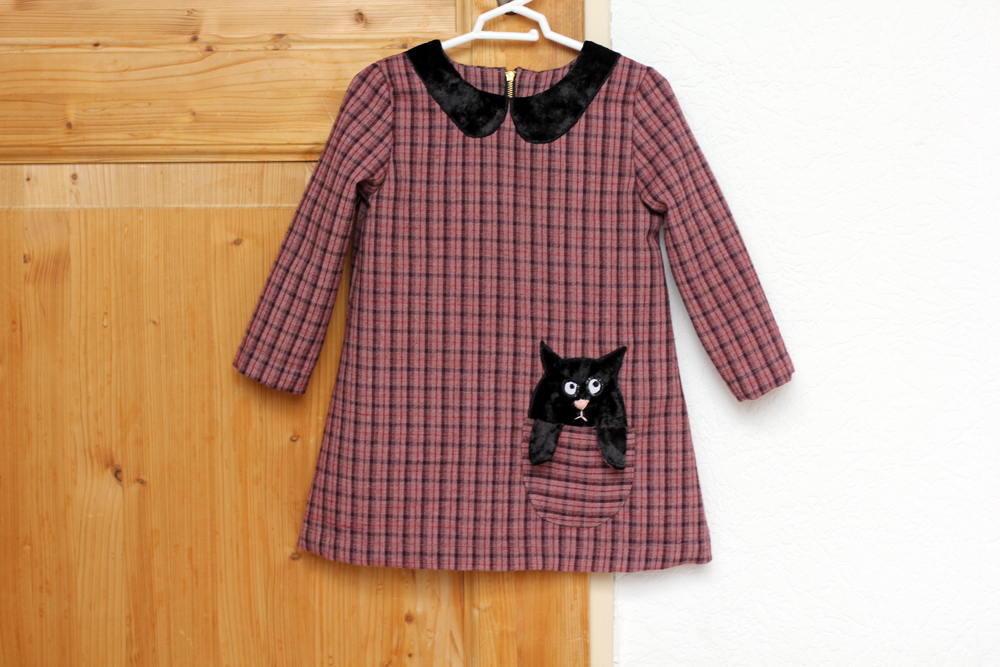
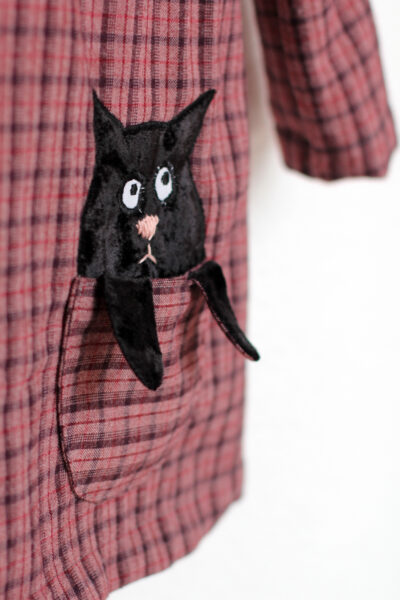
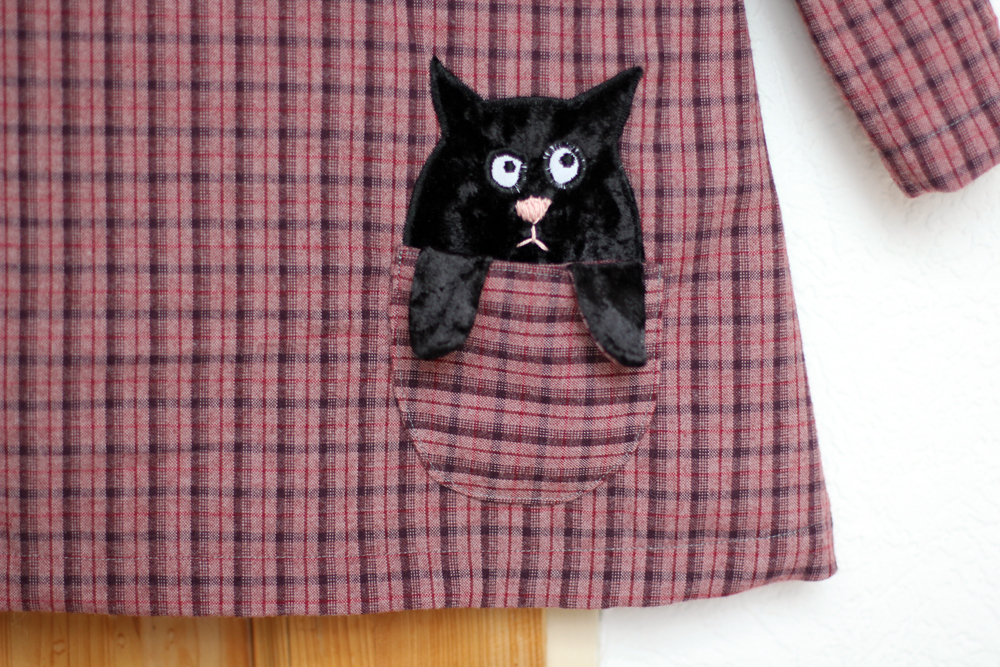
So here’s the first one: A boiled-wool tartan and velvet dress with a fake Peter Pan collar and a grumpy kitten pocket.
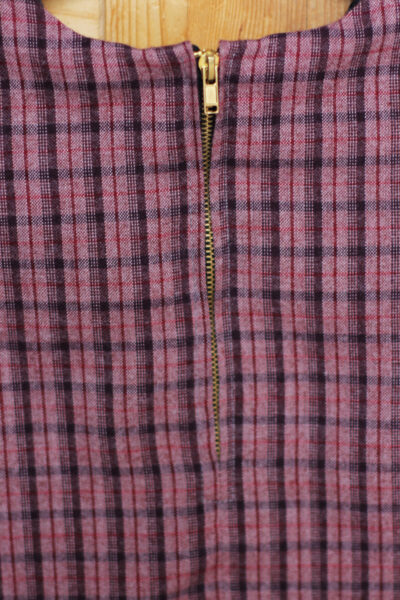

Such a great little project to try my hand at appliqué (using the satin stitch setting and fusible interfacing) and simple hand-embroidery for the nose and mouth. I also tried a different technique for inserting an exposed zip.
And, of course, the pocket is fully functional. Toddlers need pockets!
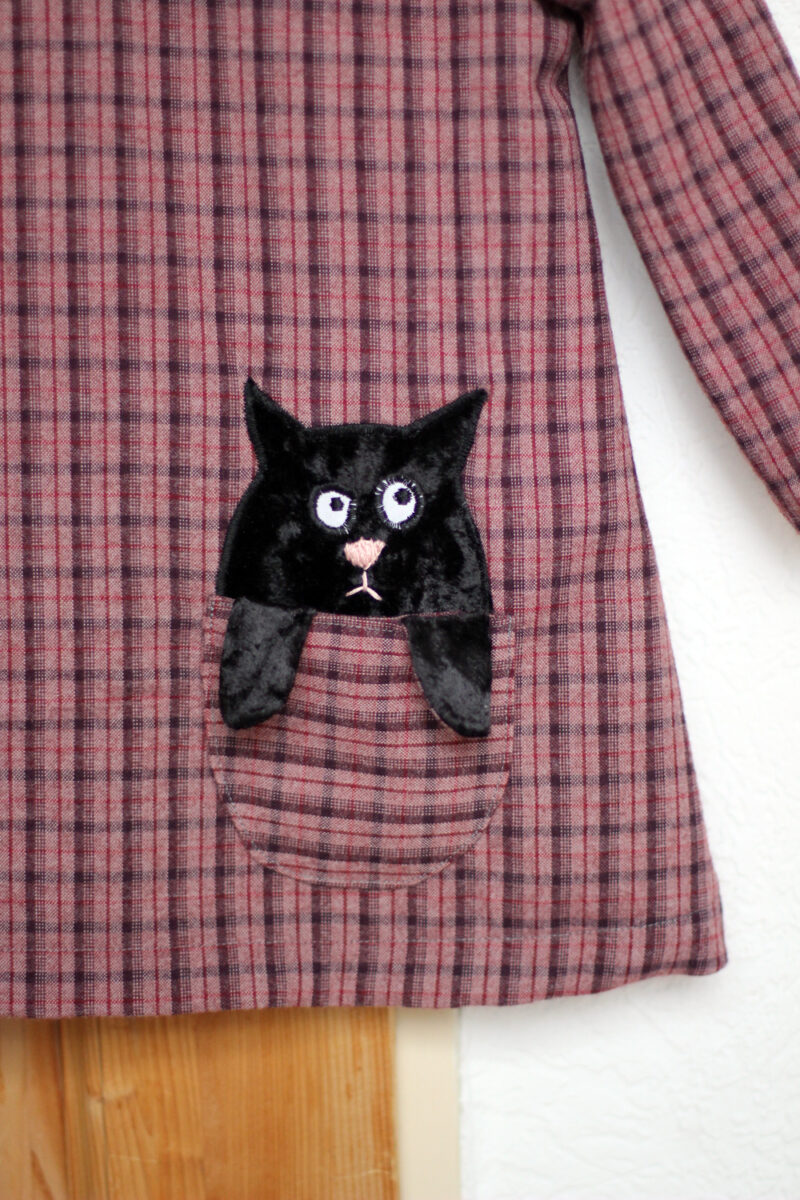
How did I make the kitten appliqué? I made a little drawing and created a paper pattern from that. I cut out the velvet (recycling an old velvet top) and interfaced it. I sewed on the eyes by machine and the pink nose and mouth by hand, using embroidery thread. I appliqued the kitten to the front of the dress using the same satin stitch I used for the eyes. The bottom of the cat which you can’t see fills out the whole of the pocket, so you can’t see “where the cat ends” when you peek into the pocket.
To create the paws, I cut two pocket pieces and pinned the paws in between before stitching them together, as you can see in the picture above. The paws are lined with wool, as the velvet alone would’ve stretched out of shape. After assembling the pocket, I topstitched it onto the dress, covering the bottom of the weirdly egg-shaped cat!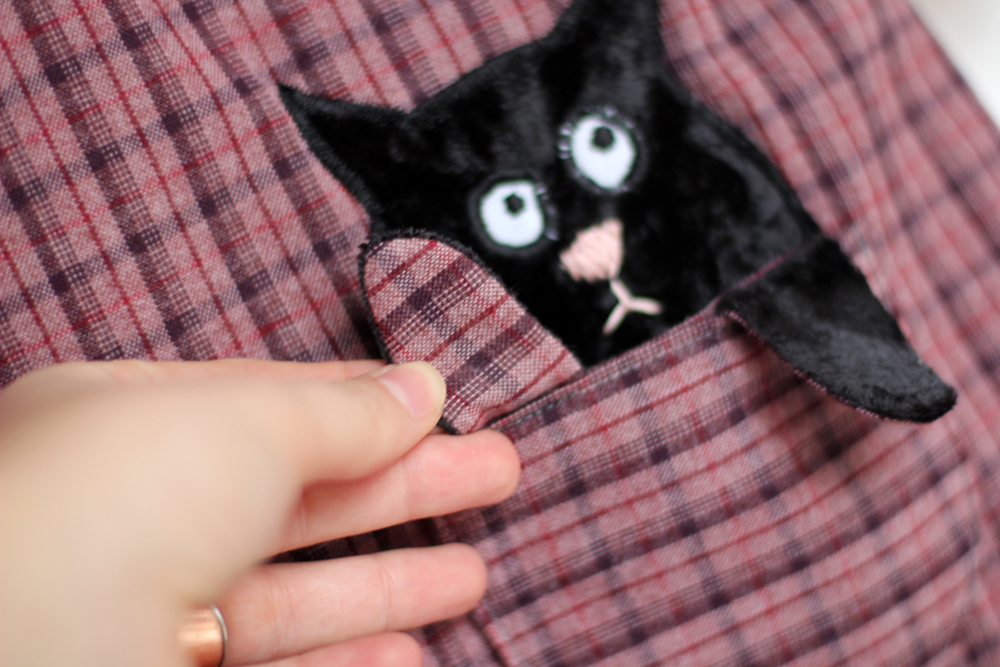
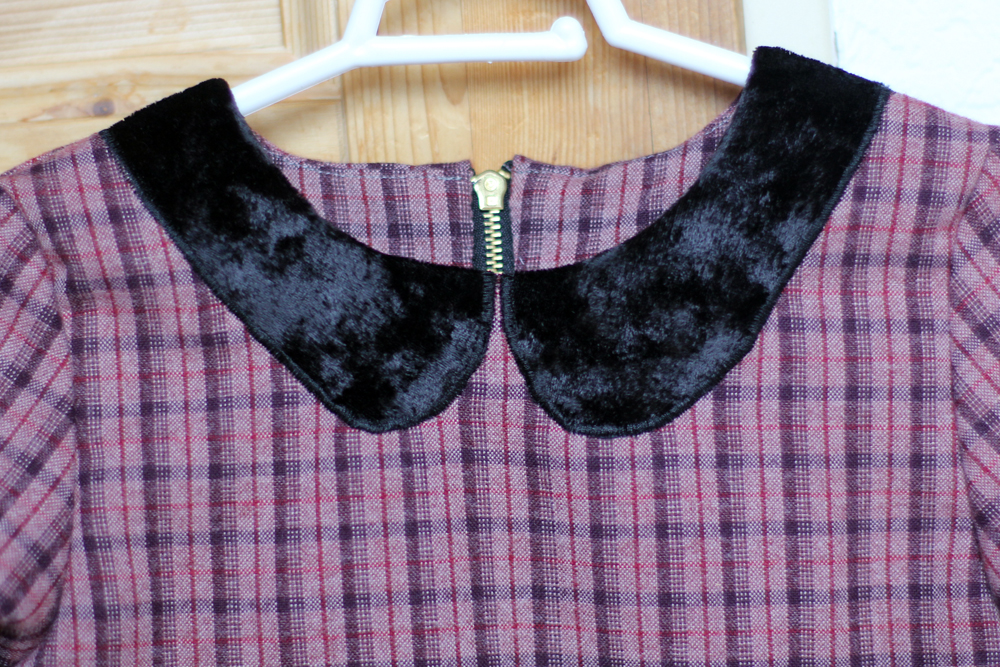
The collar was made pretty similarly. I appliqued the velvet collar to the front of the dress, before assembling the dress. This way I could simply finish the raw edge at the neckline by facing it. The pattern is a toddler dress pattern from LA MAISON VICTOR, that I adapted quite a bit. I’ve made another dress using the unchanged, original pattern which I’ll review on the blog soon.
I love how this little dress turned out. I feel the combination of pink tartan, black velvet and the golden zip give it quite a cool, grungy look. I’d love to have one in my size!
How do you feel about sewing for others? Do you enjoy making kids clothes?
xx
Charlie
Happy sewing!
♥
facebook/bloglovin/pinterest
twitter/instagram
Stay in touch!
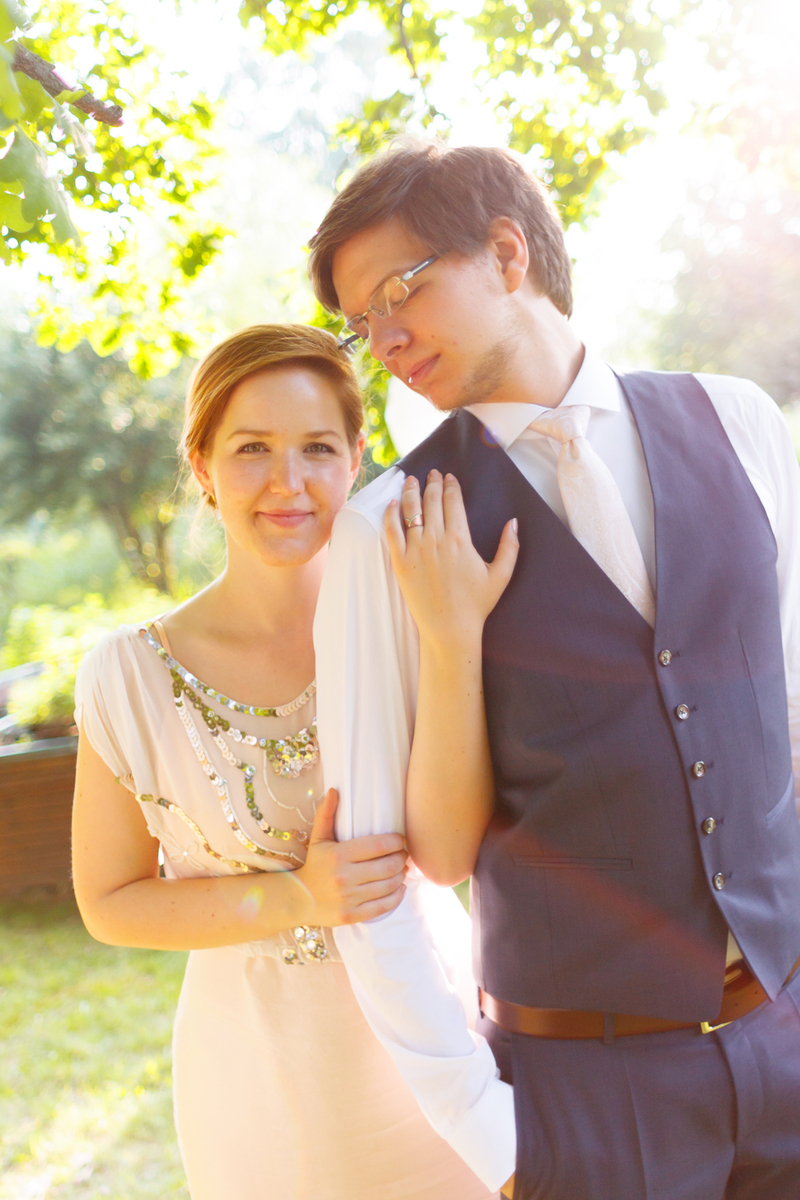
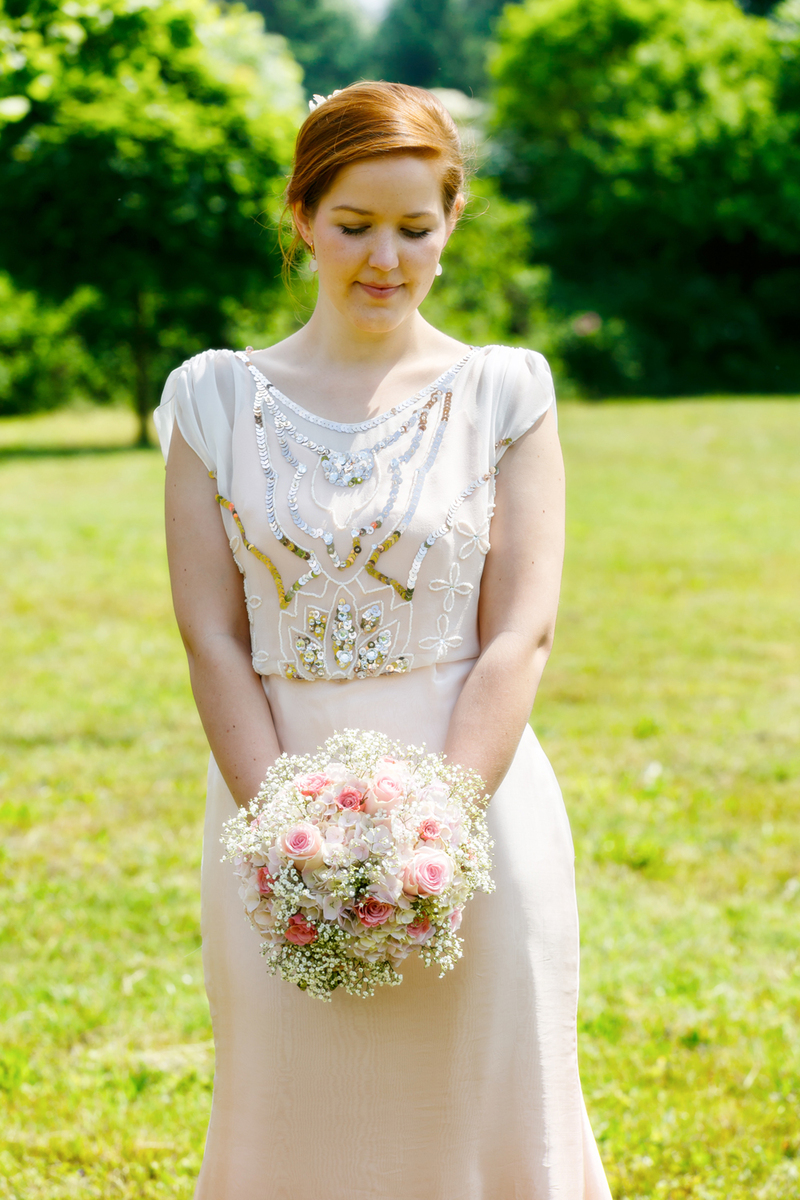


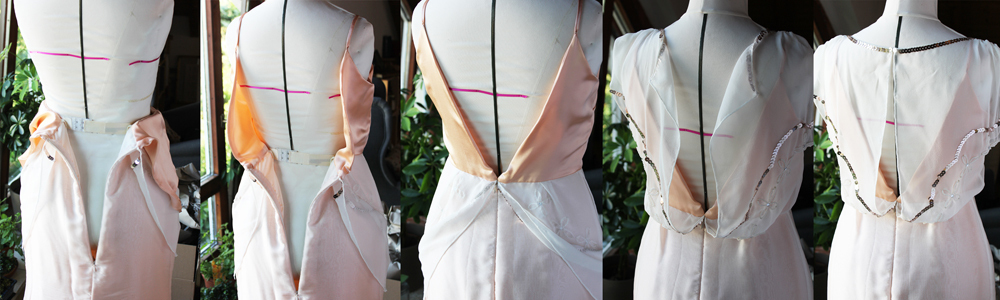
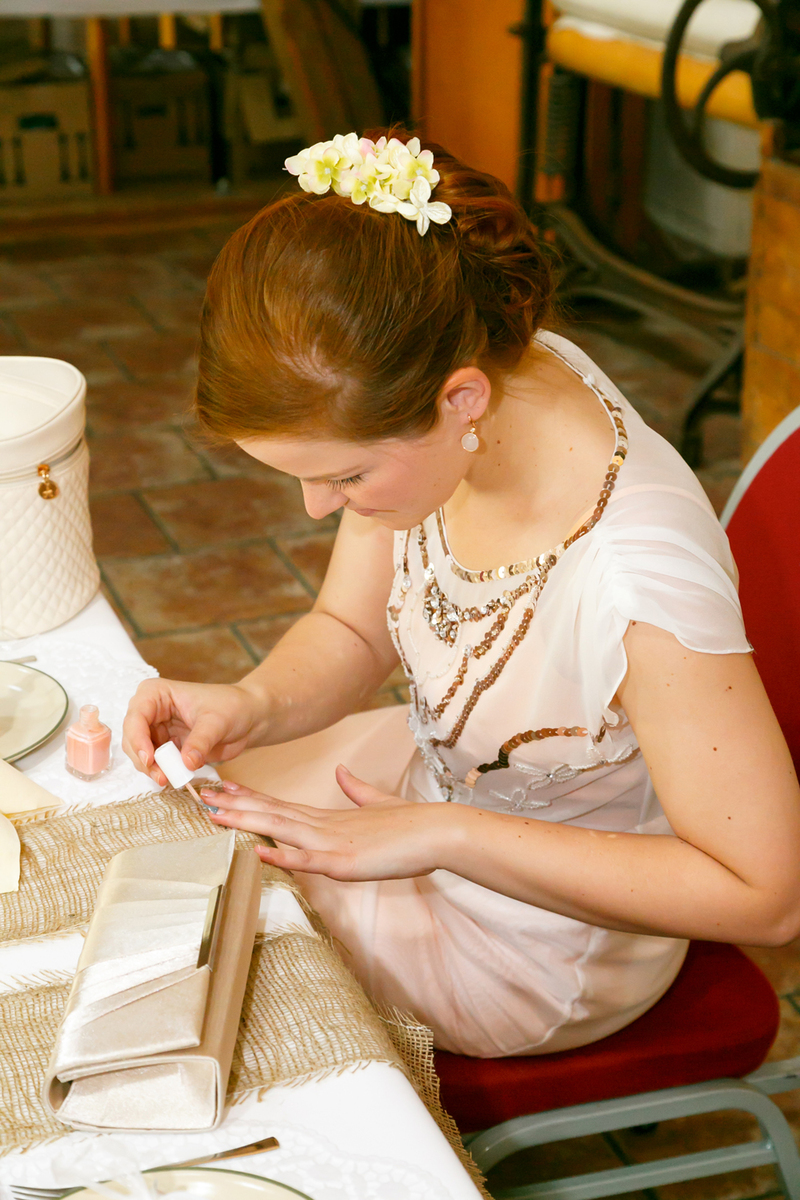

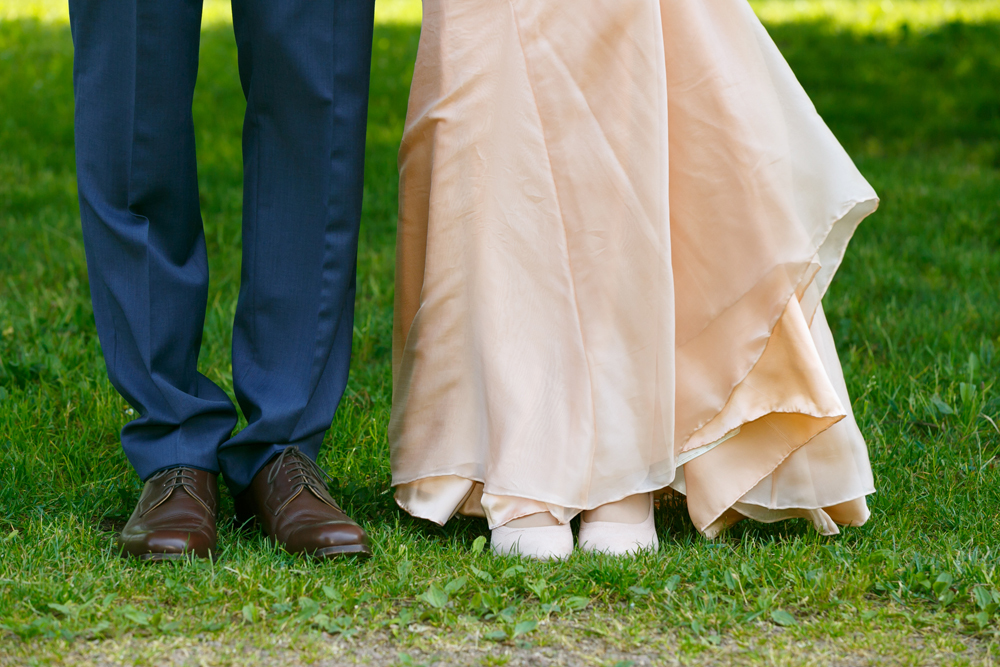

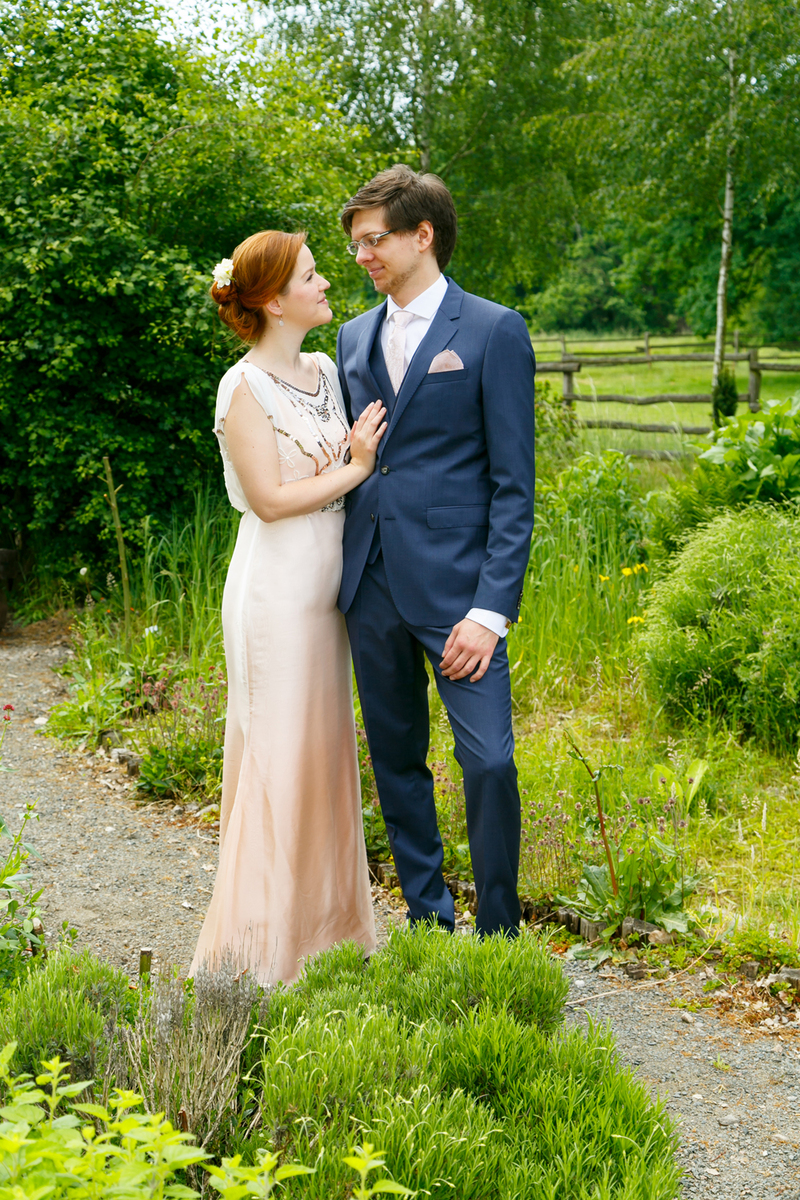
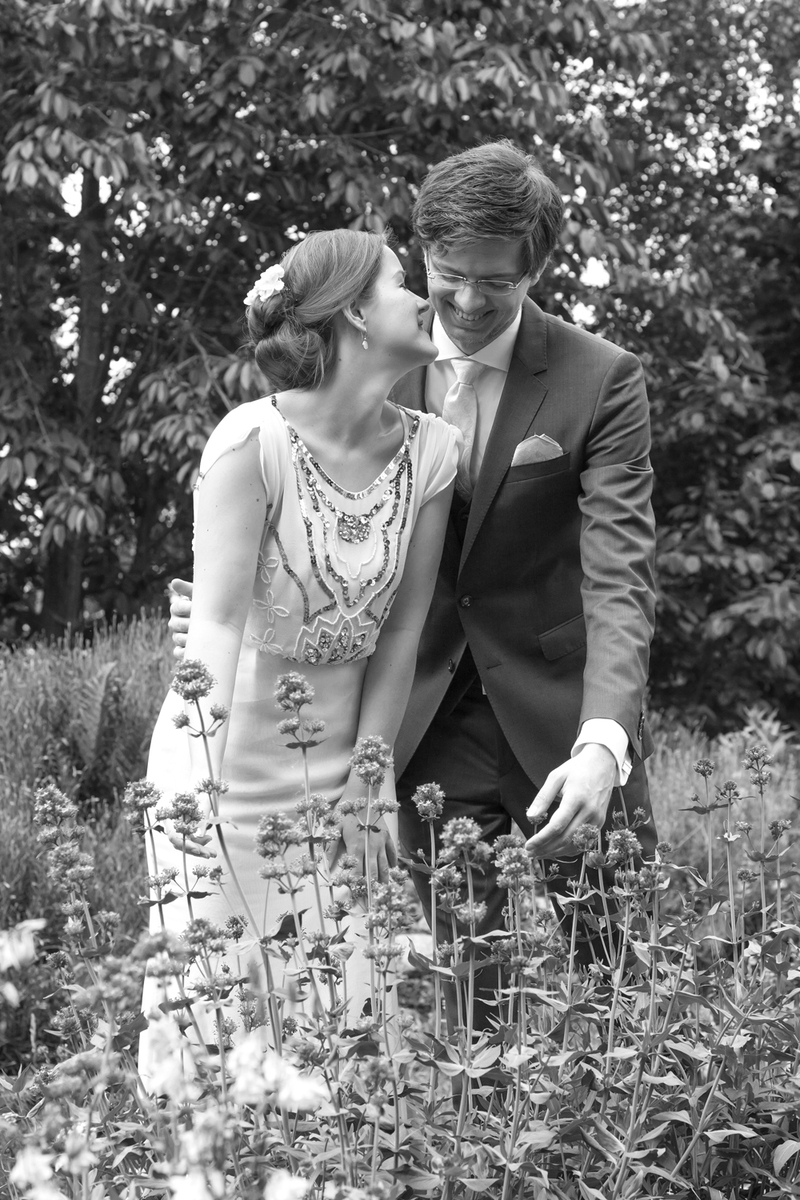
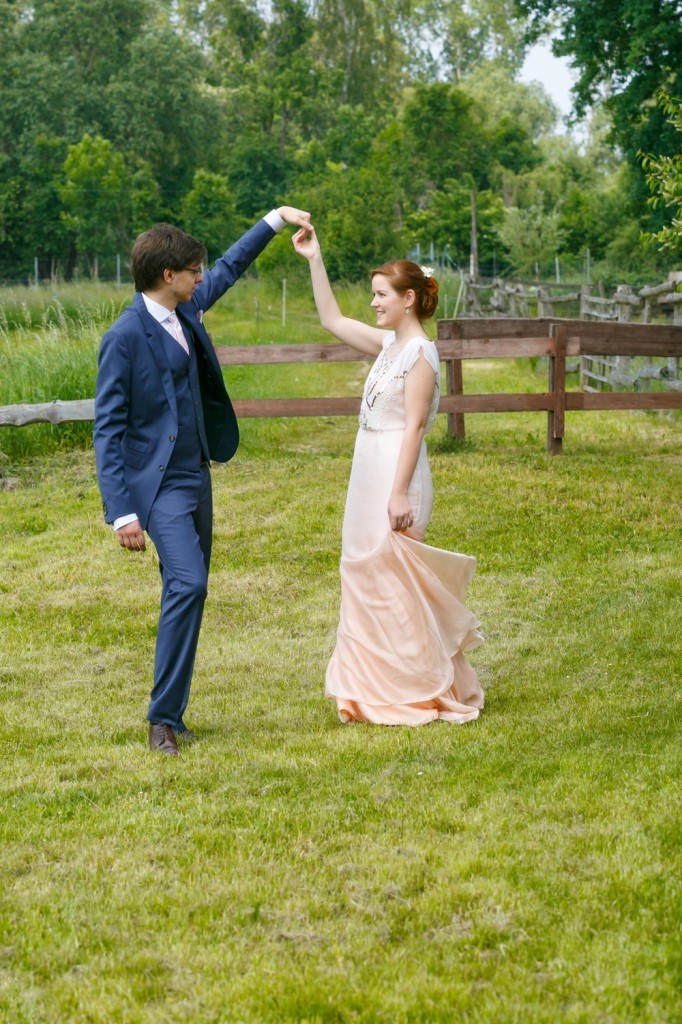

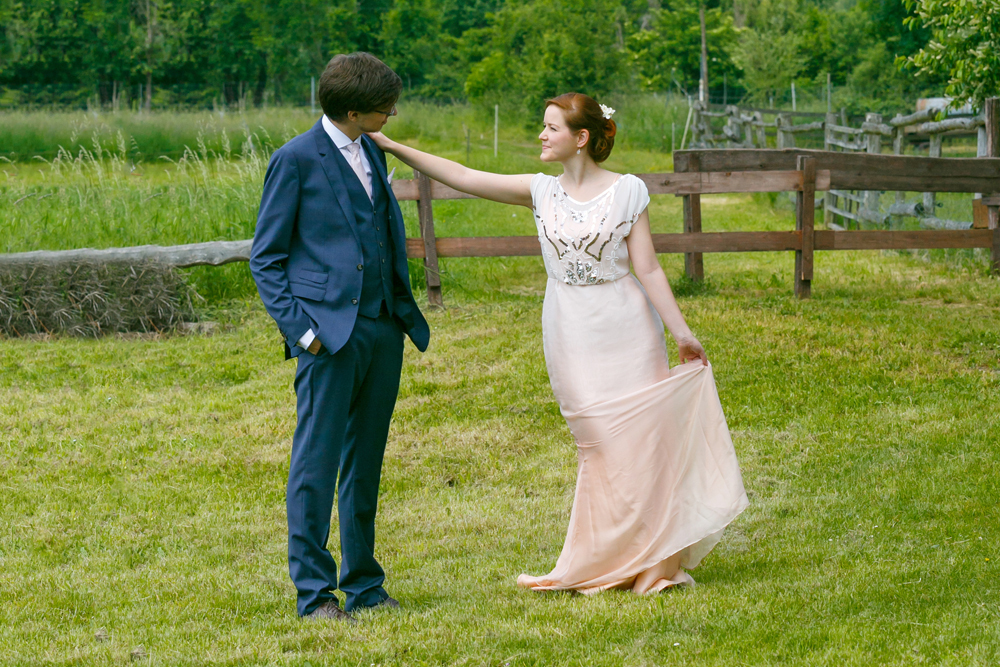


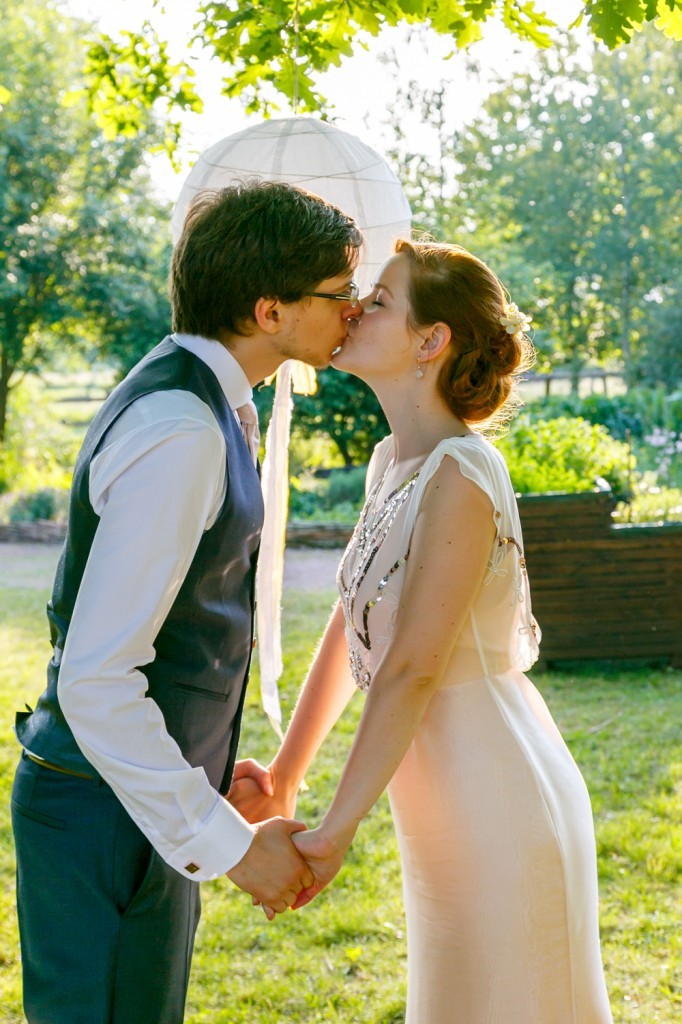


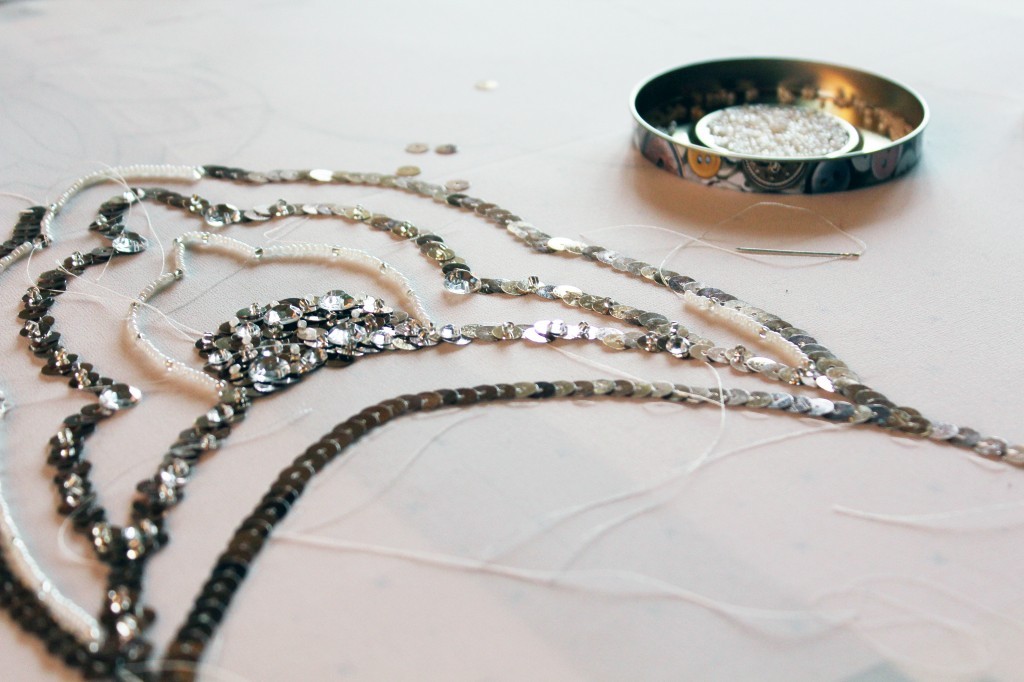
 This is probably the making of part of the wedding dress I am most excited to share with you! That’s very likely because it was the most fun part to create. Assembling a garment is fun, but it is also pretty repetitive as it is a similar process with many garments (even a wedding dress is just a dress after all). So trying something I haven’t done before was exciting and helping me loads to keep my sewing mojo up during the process.
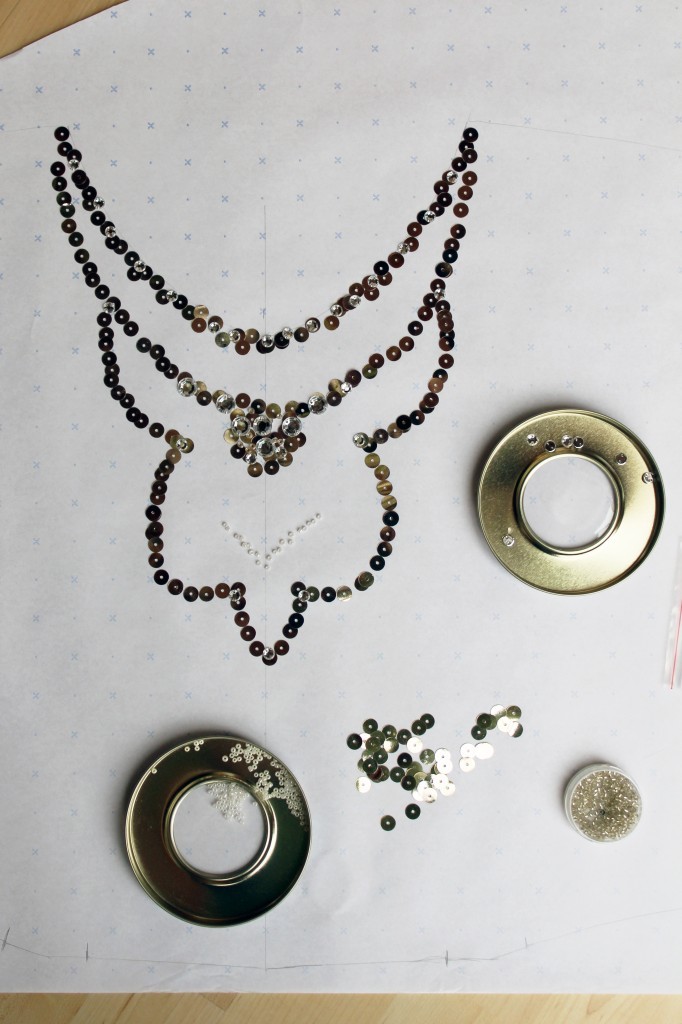
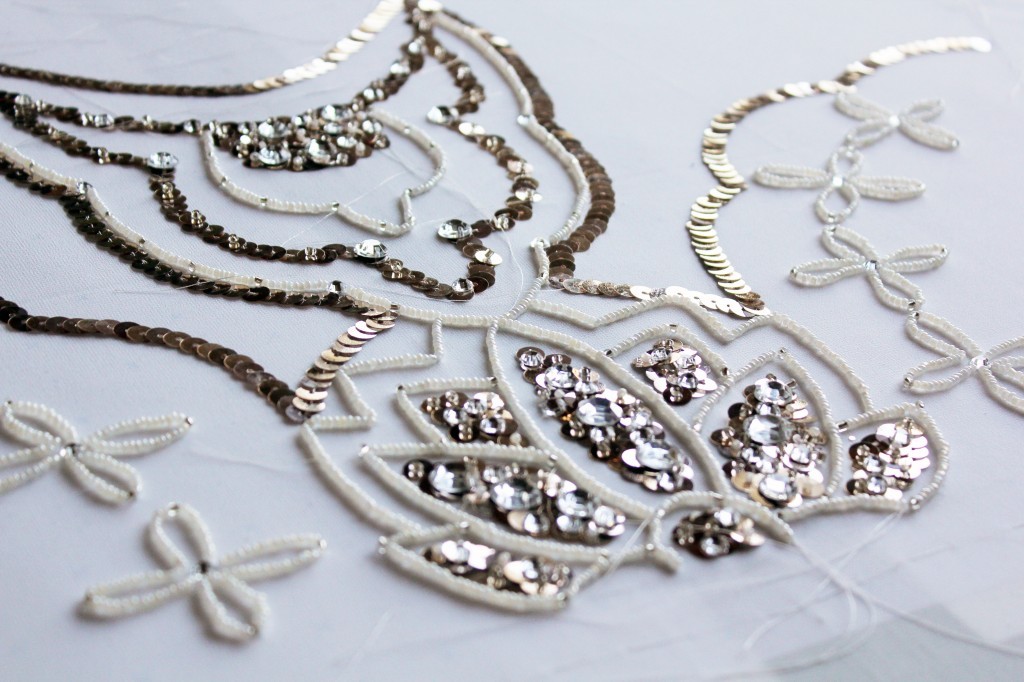
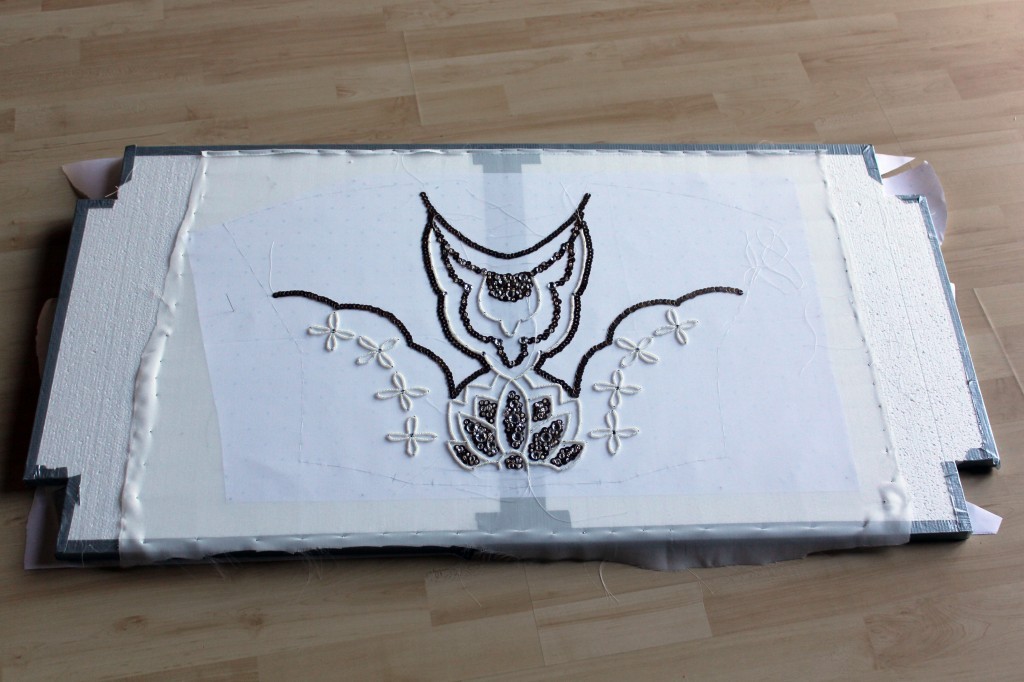
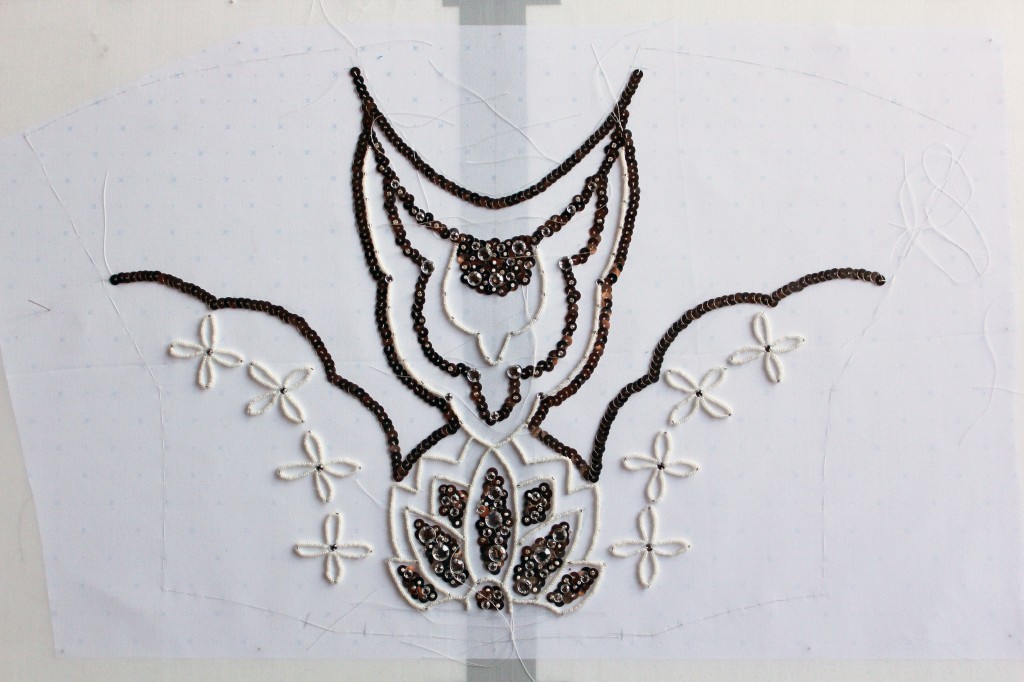
 Before testing out DIY embroidery frame solutions, I used a small embroidery hoop to check if my fabric was suitable for embroidering.
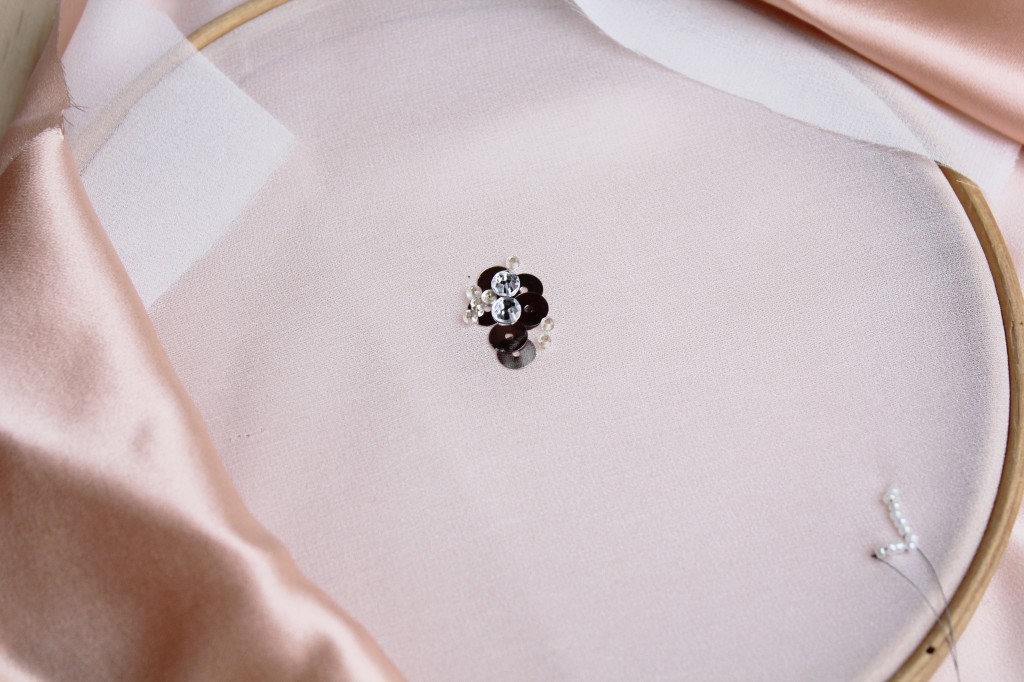 Once I got the knack of it, I had to think about creating a larger frame which would fit the whole of my bodice plus seam allowance. I used some styroform boards and pinned the fabric on it very tightly. The advantage was also that I could pin my template underneath so I didn’t have to mark the pattern on the fabric.
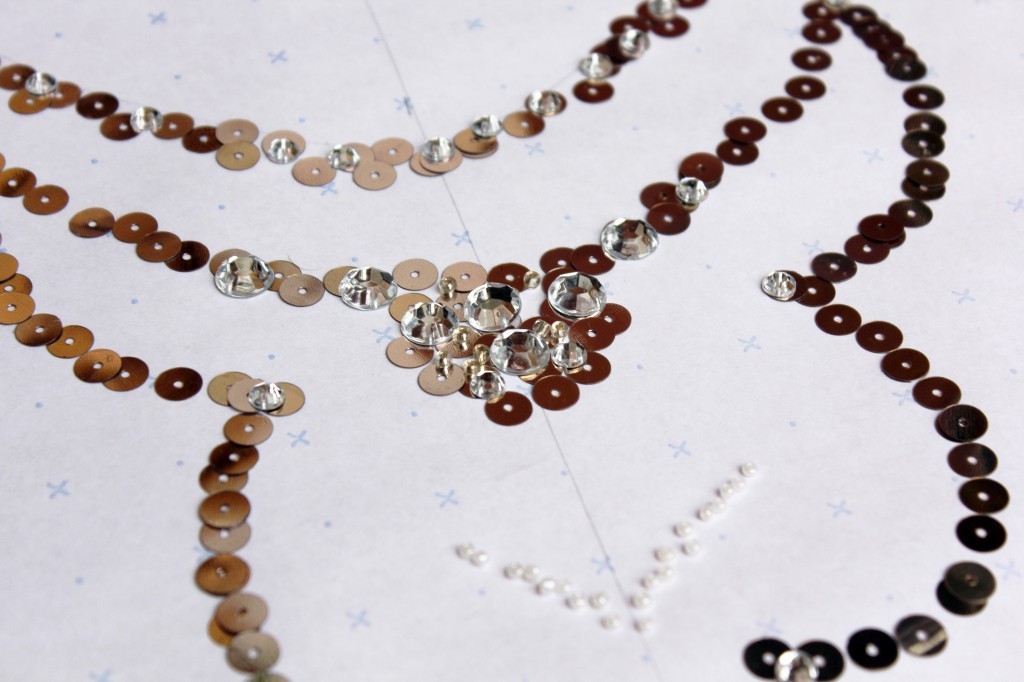
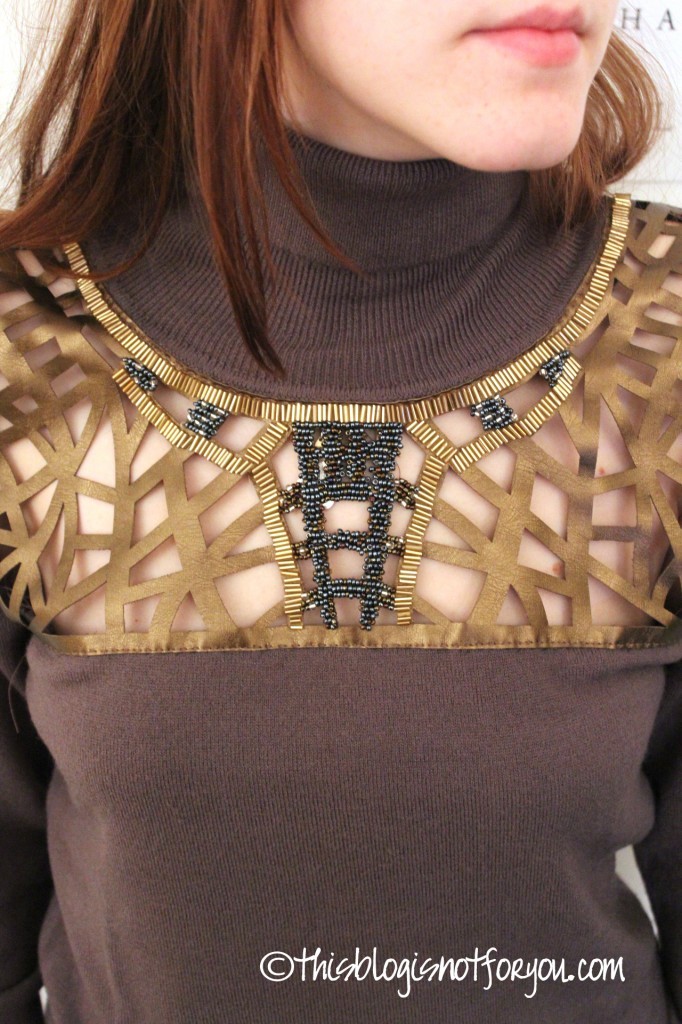
 Here you can see my template underneath the fabric, which I drew with pencil on drafting paper to make sure the pattern was neat and mirrored exactly.
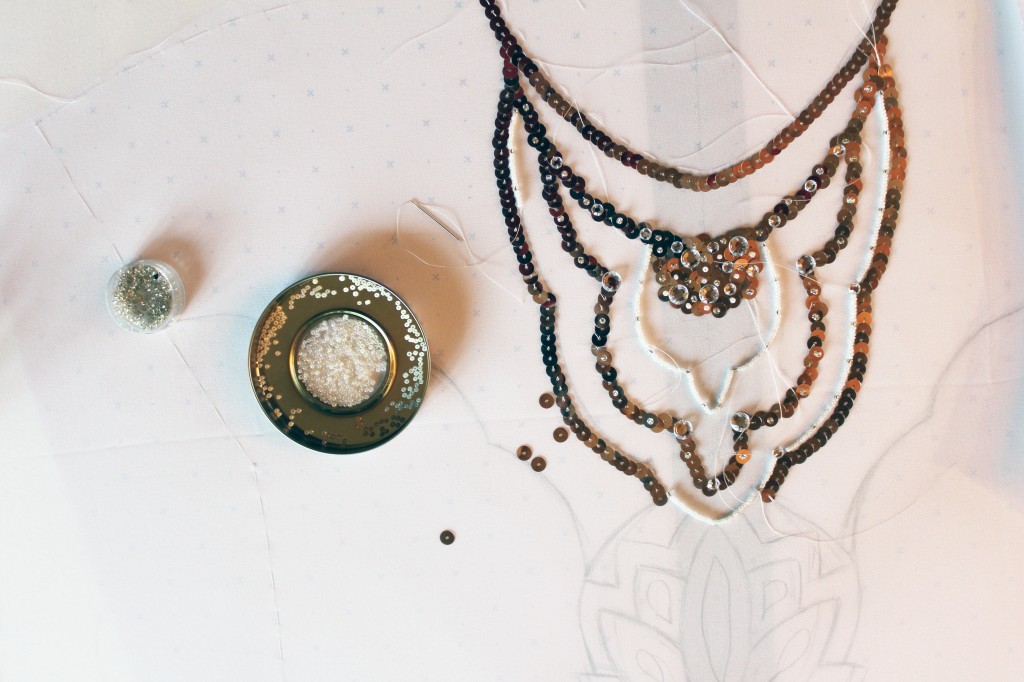
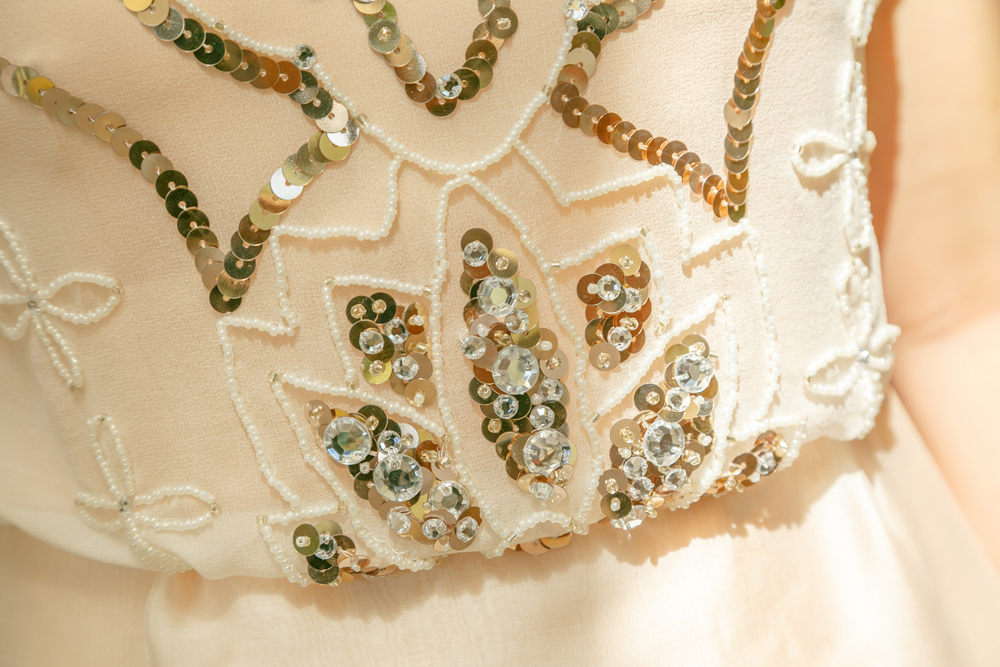
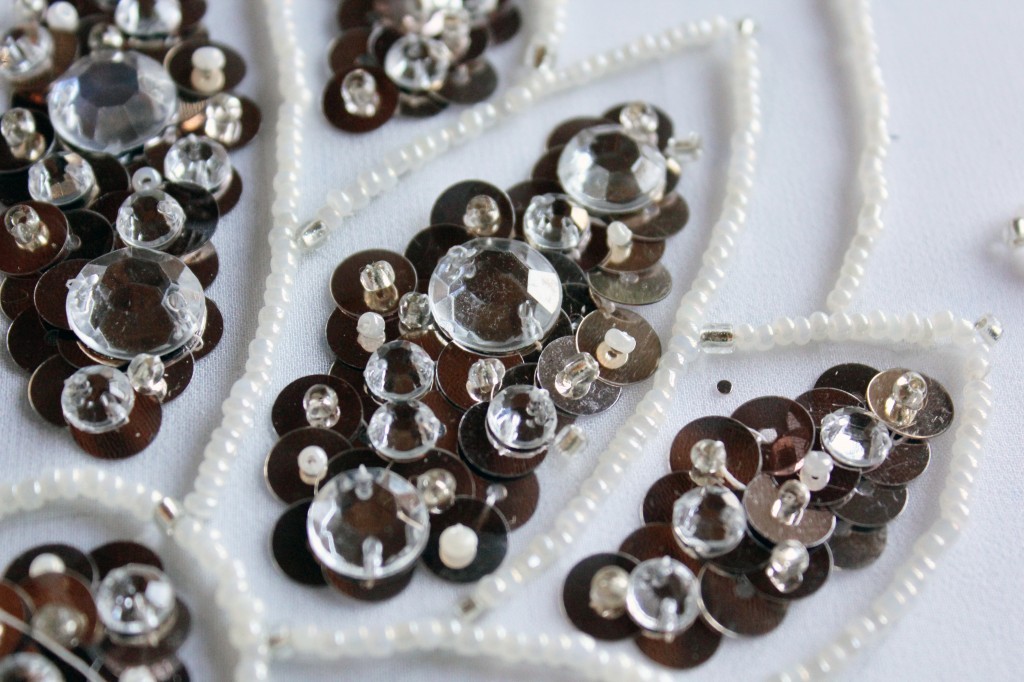
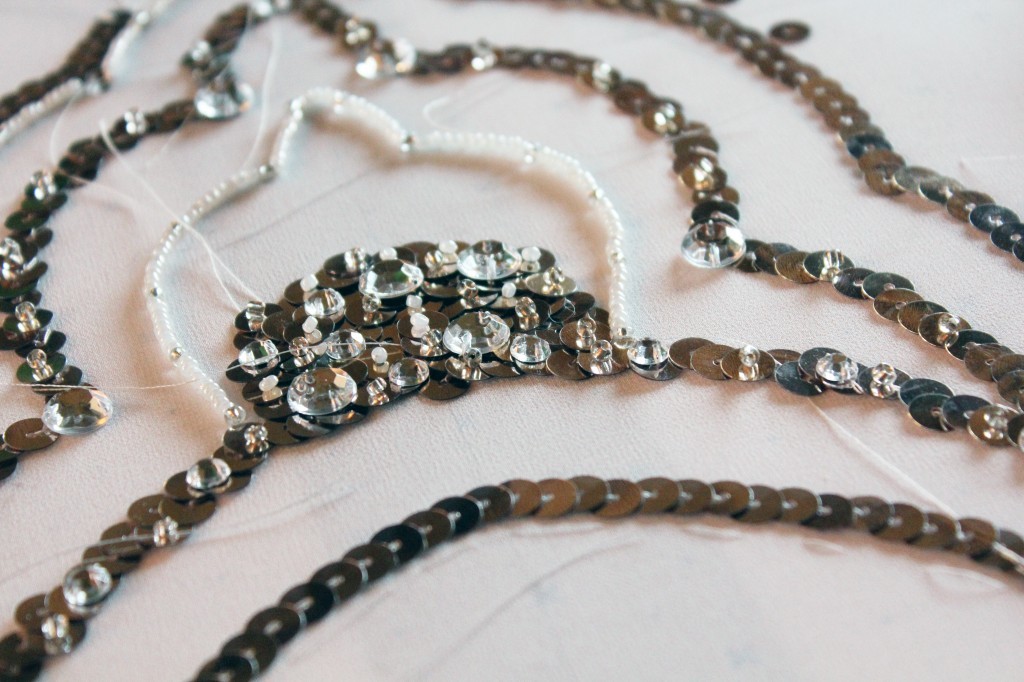 I actually didn’t use too many different kinds of beads and diamonds:
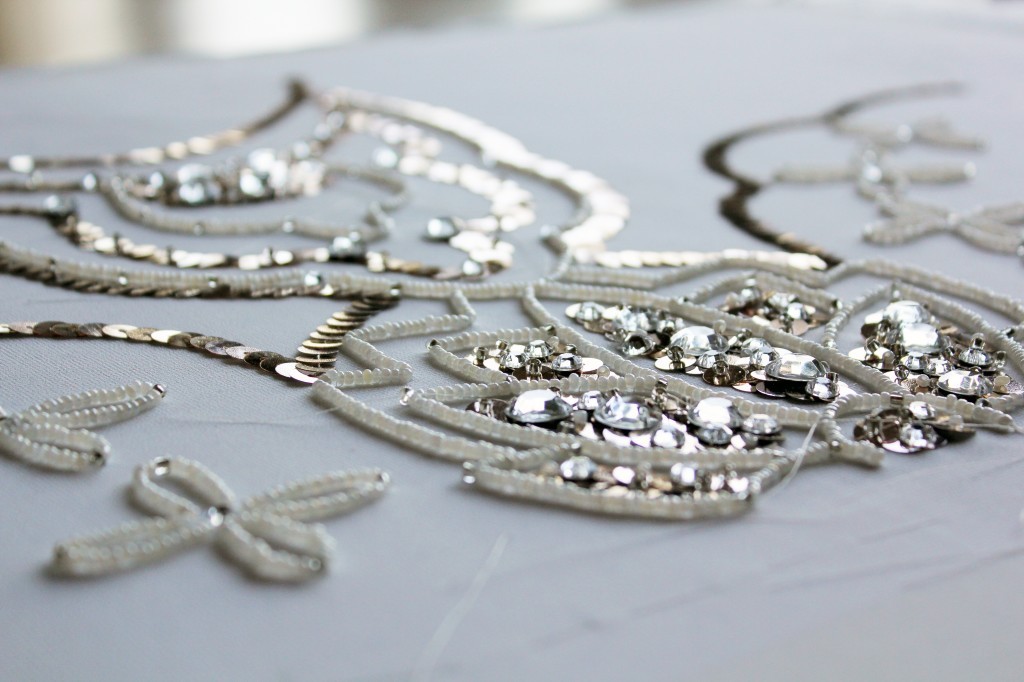
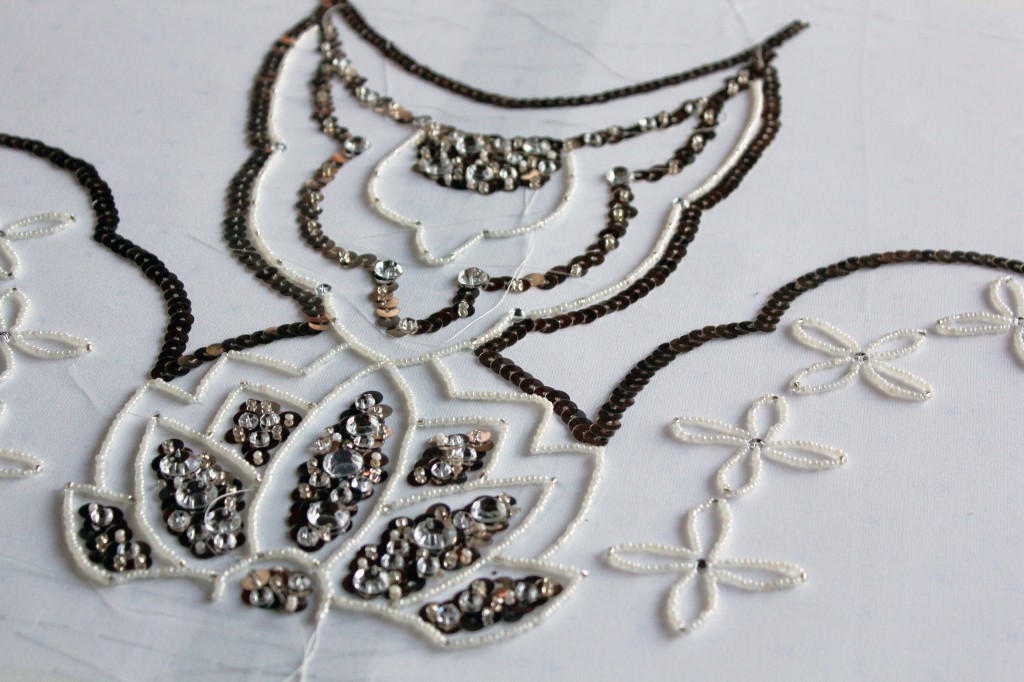 I had roughly outmapped the lines and shapes, but the exact positions and arrangement of beads and diamonds came about during the creative process.
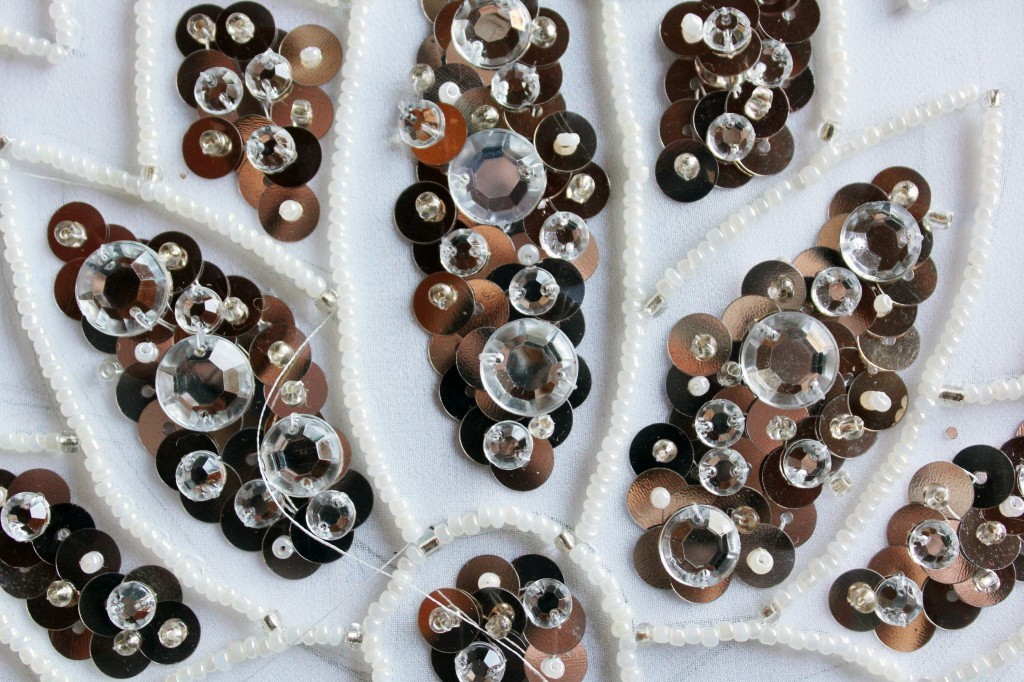
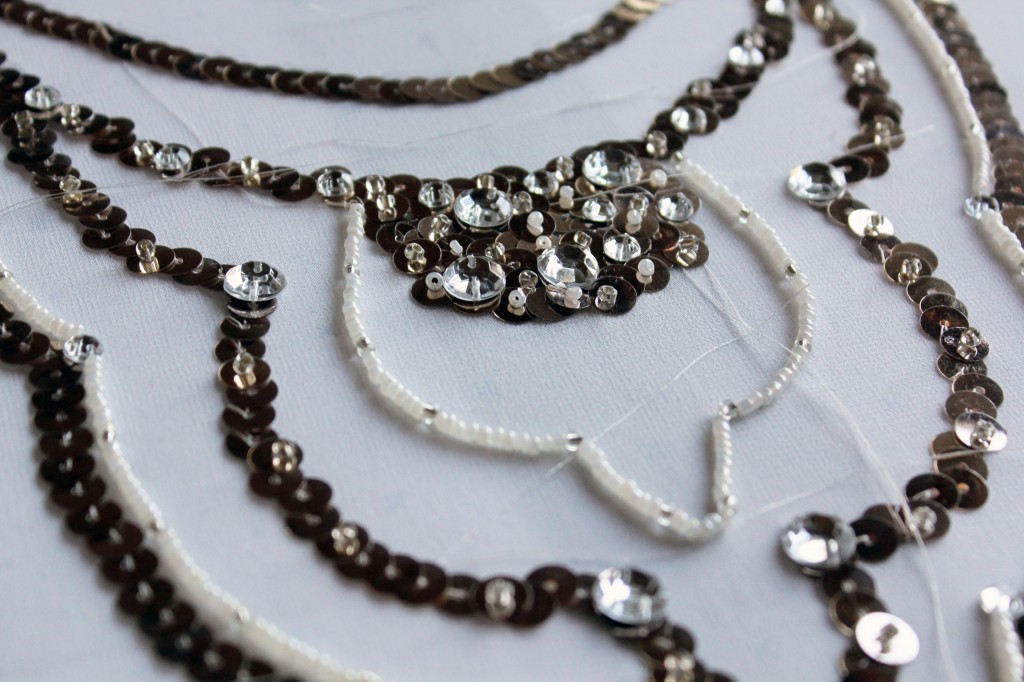
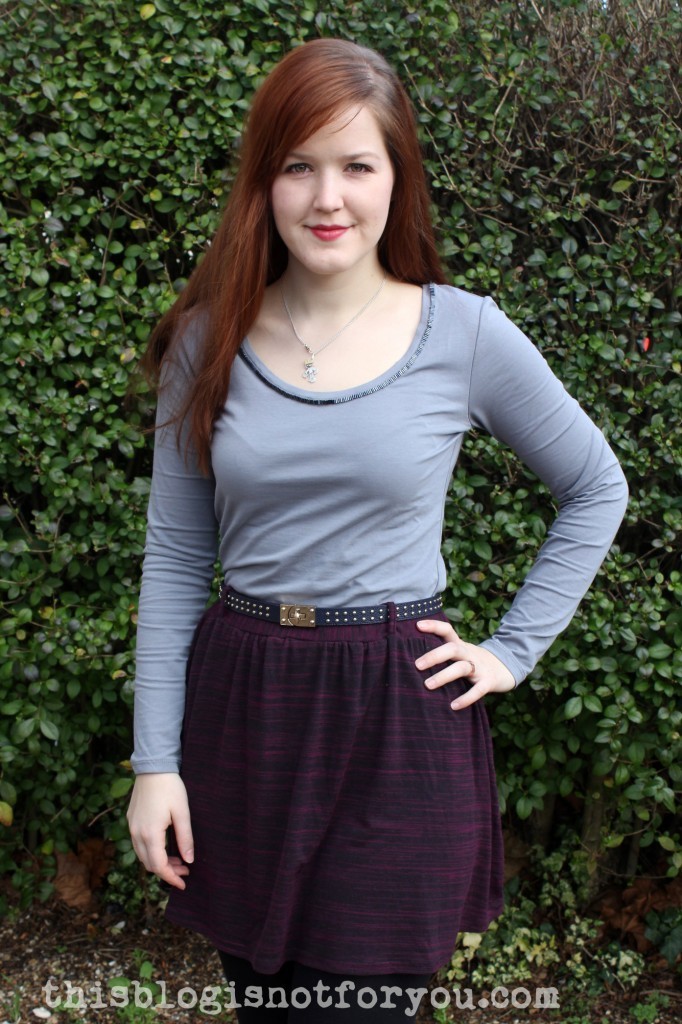
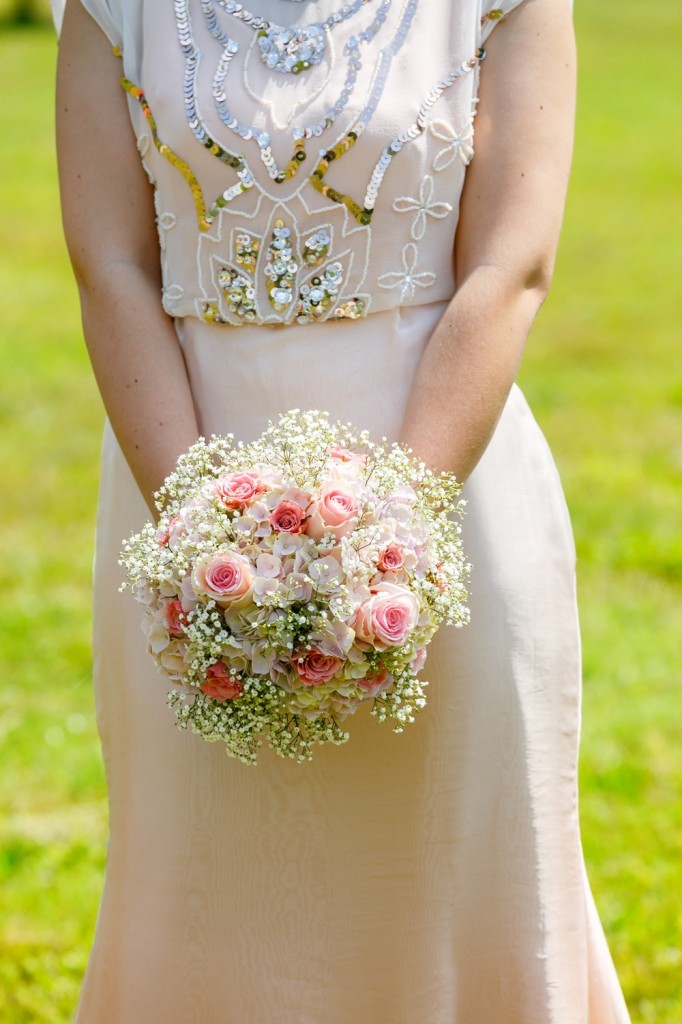
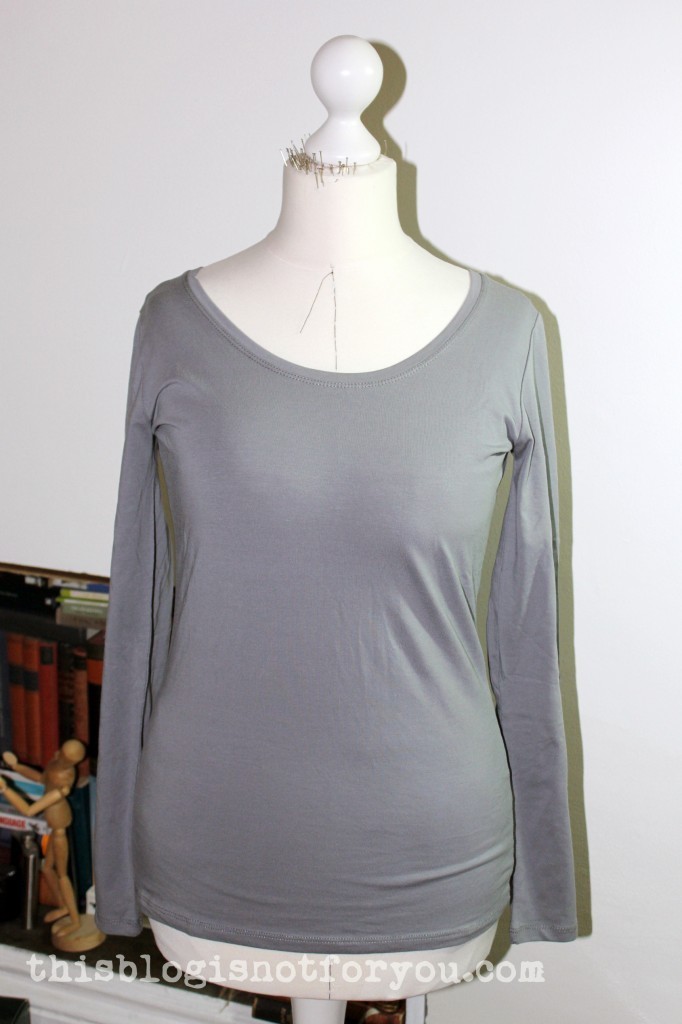 I love wearing these and thought about how to make them look a bit more chic without overdoing it, since they will be worn underneath most of the time. Because the neckline is often still visible, I decided to use a few tube beads to embroider the neckline.
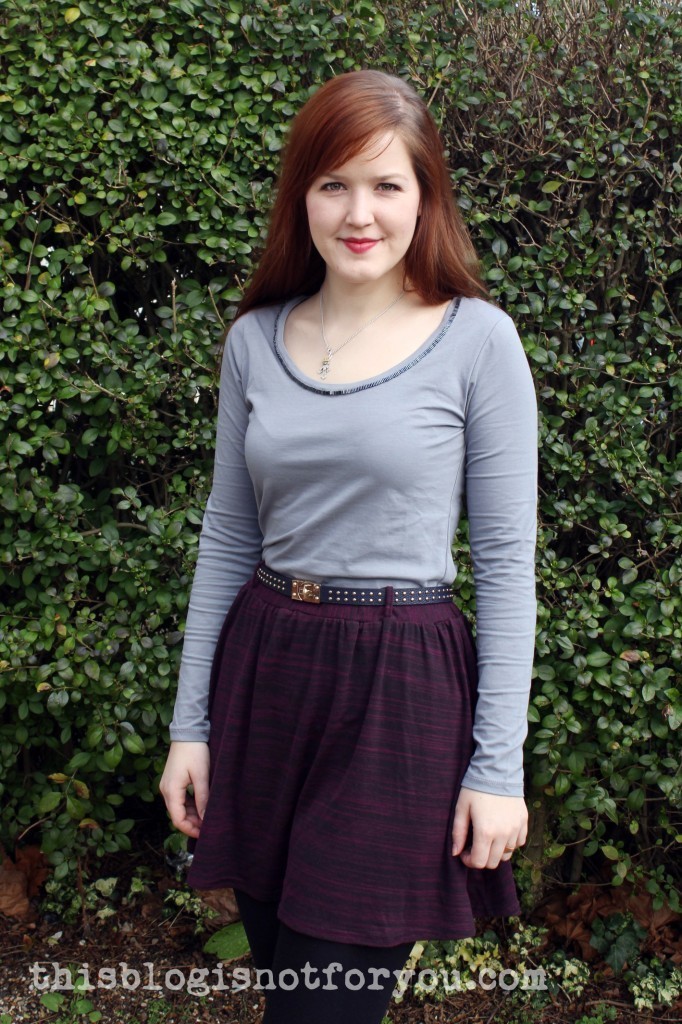

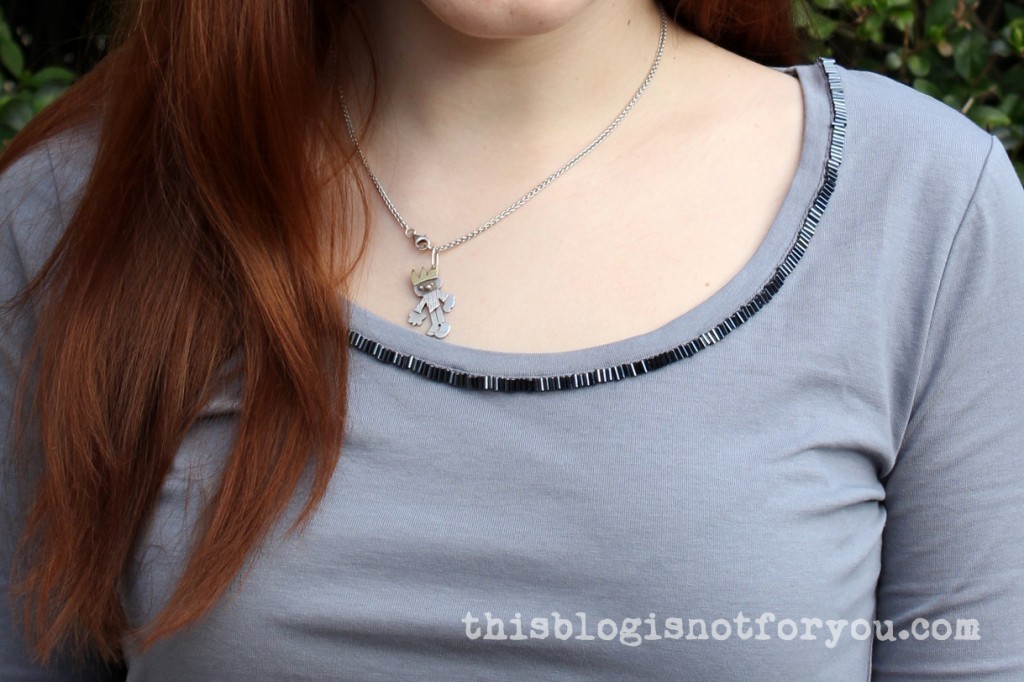 I used greyish-blue tube beads and sewed them onto the topstitching of the neckline binding. I didn’t sew the beads onto the binding itself, since I thought they might be too heavy for the light stretch fabric, pulling it down with the result of the neckline gaping open.
 I didn’t use one continuous thread, but knotted it off after every 10cm/4” or so. In case the thread should break, I won’t have to redo the whole thing.
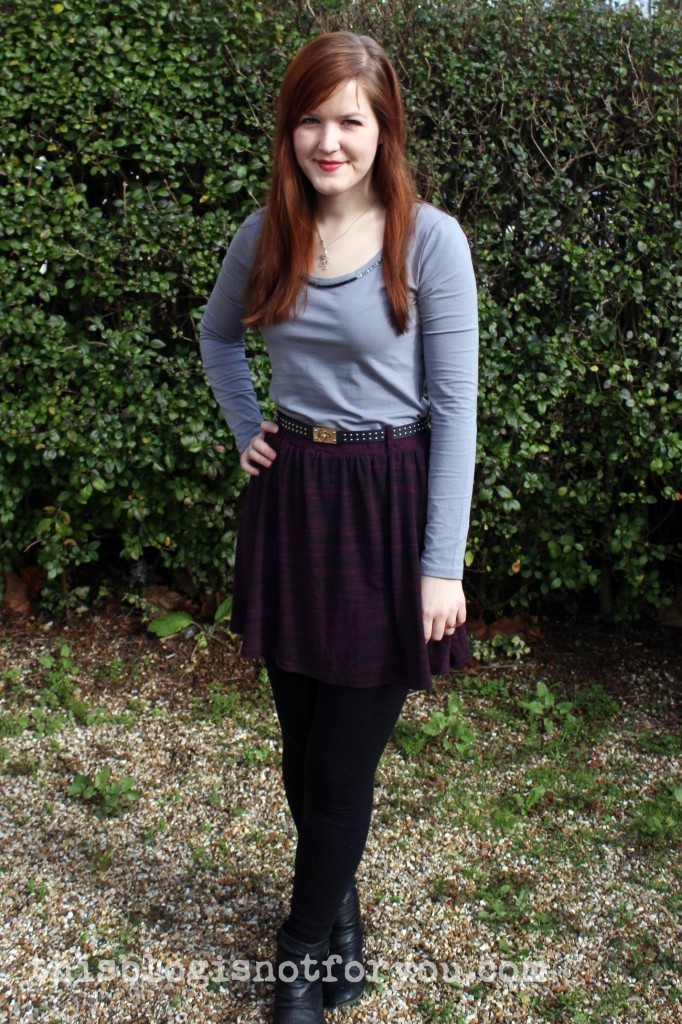


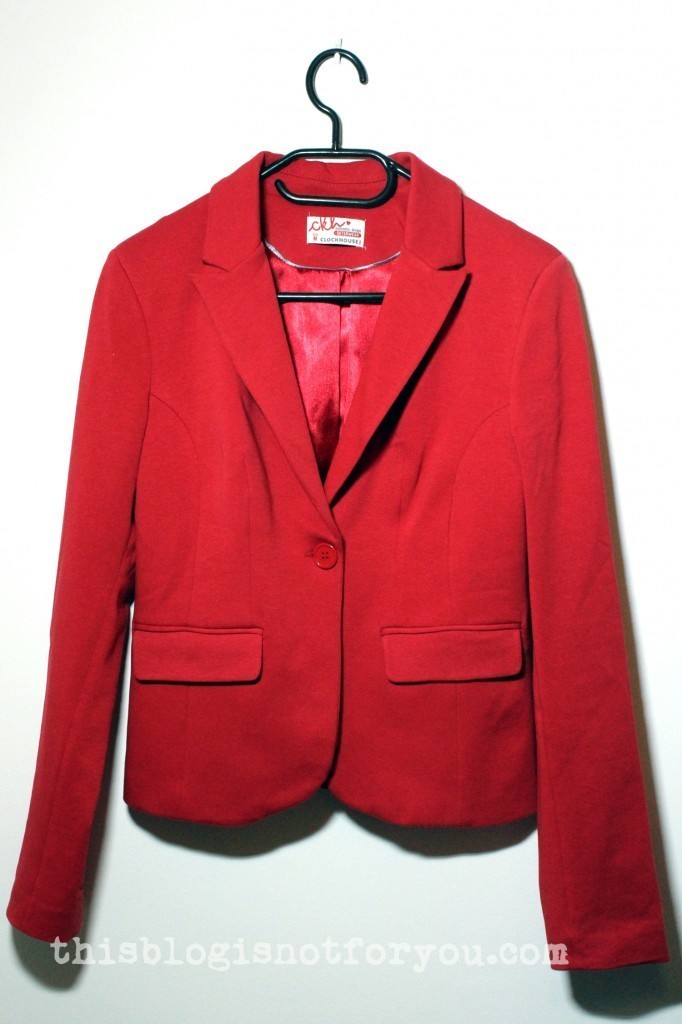
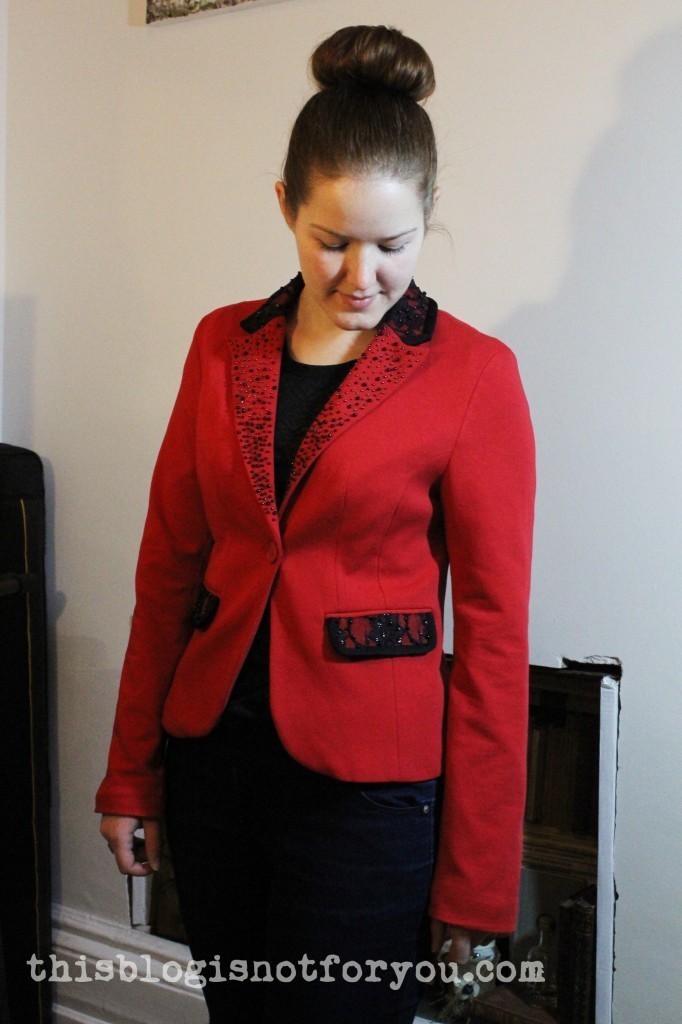
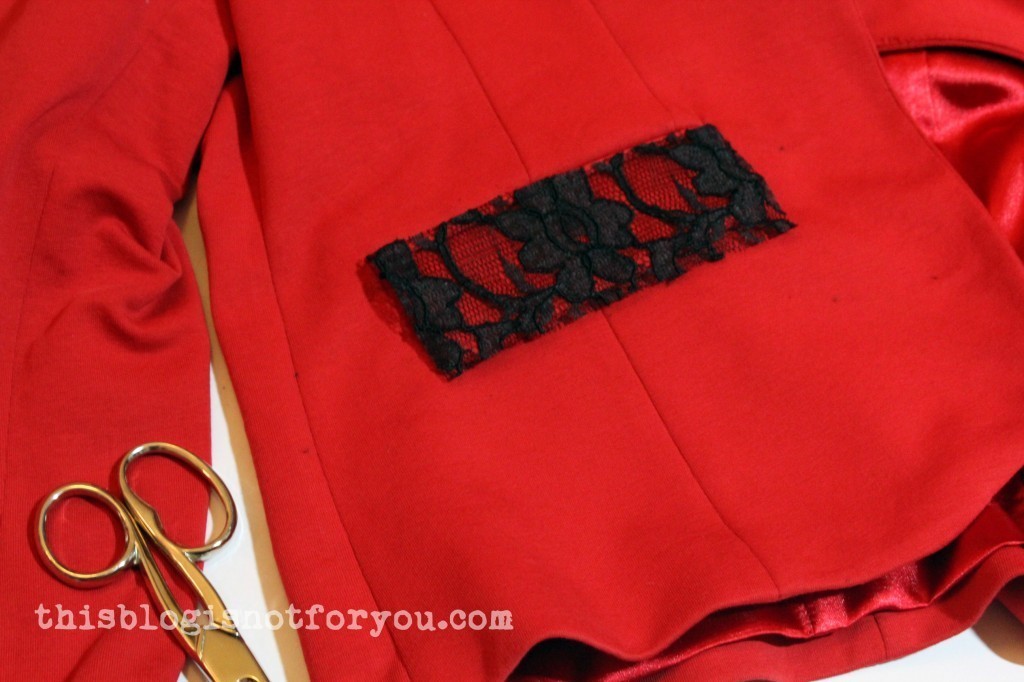
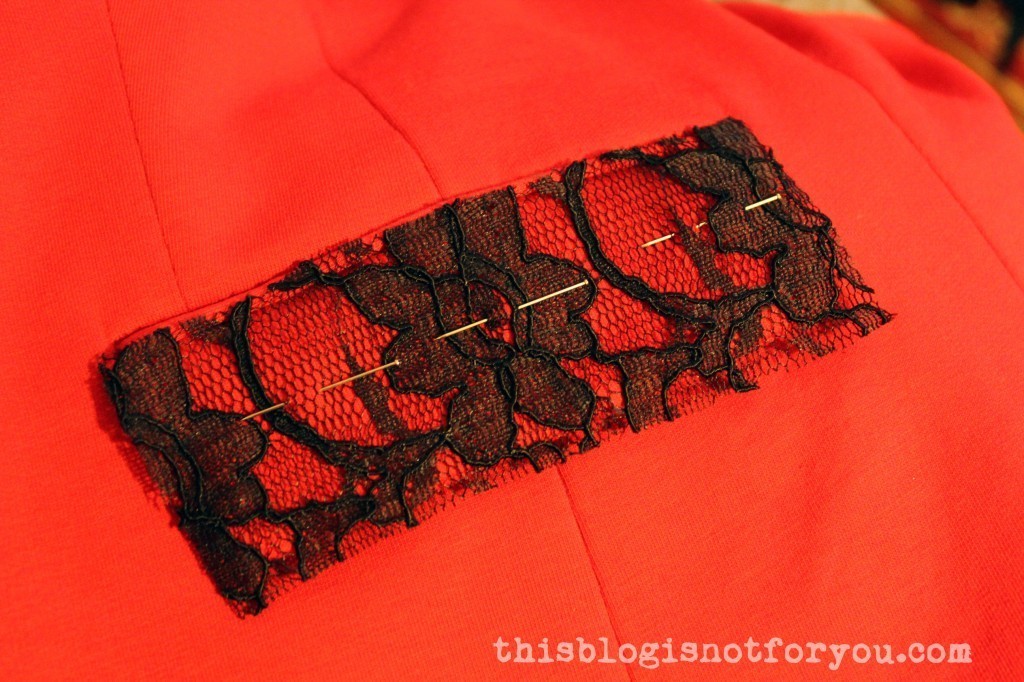
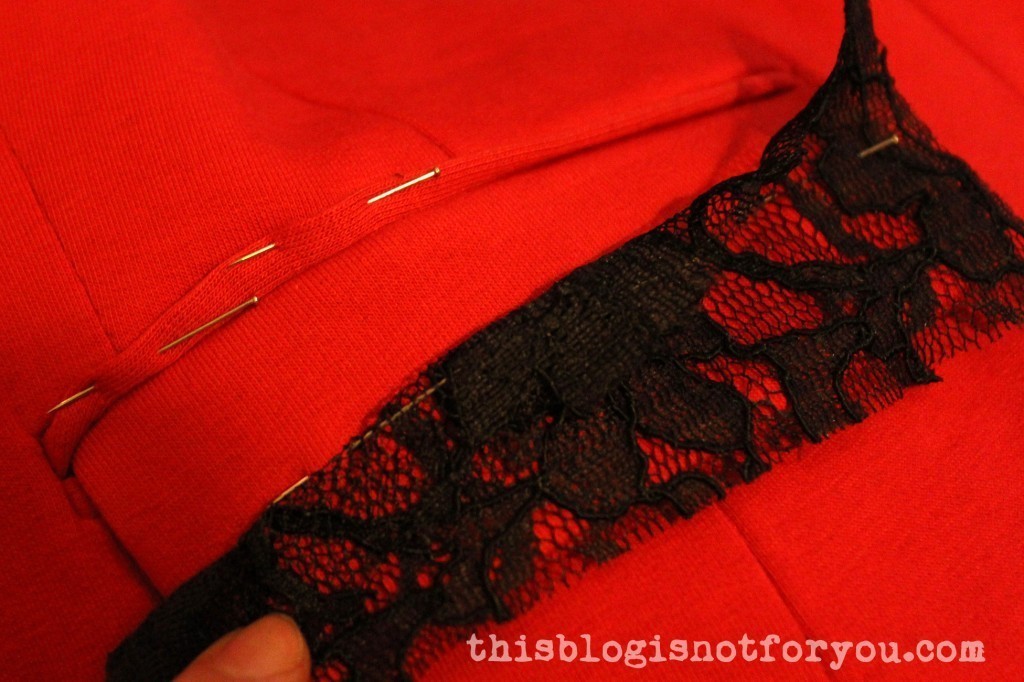
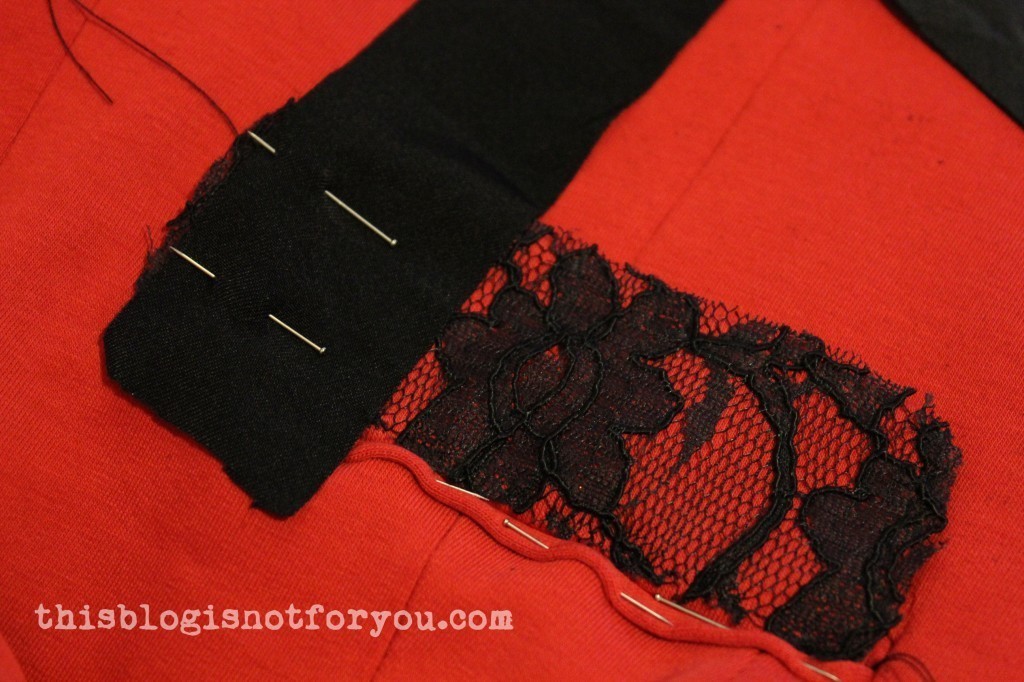
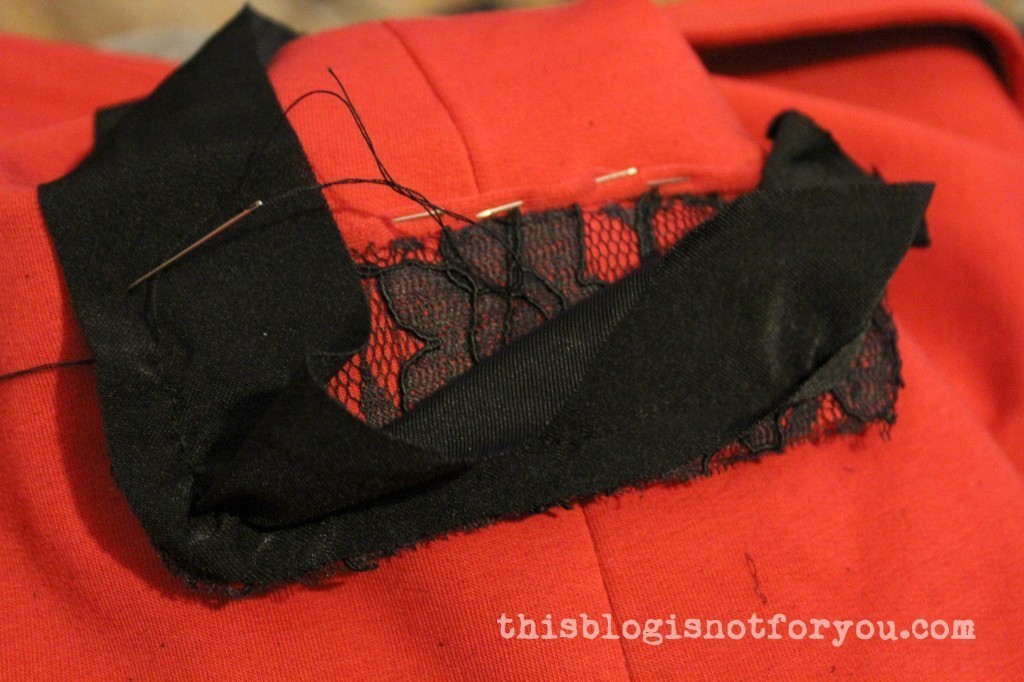
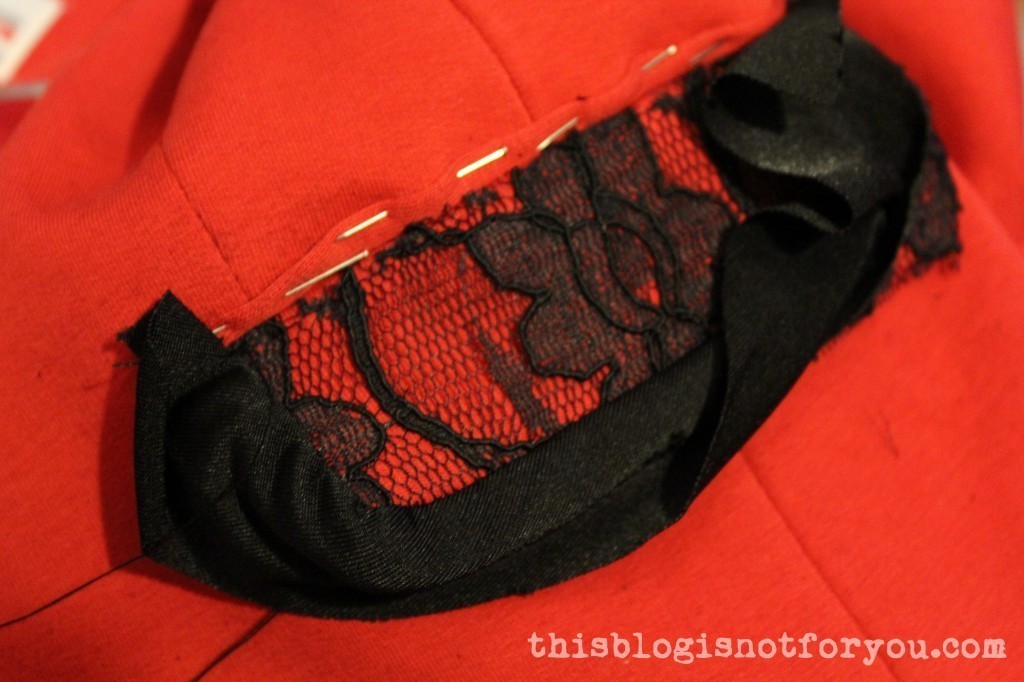
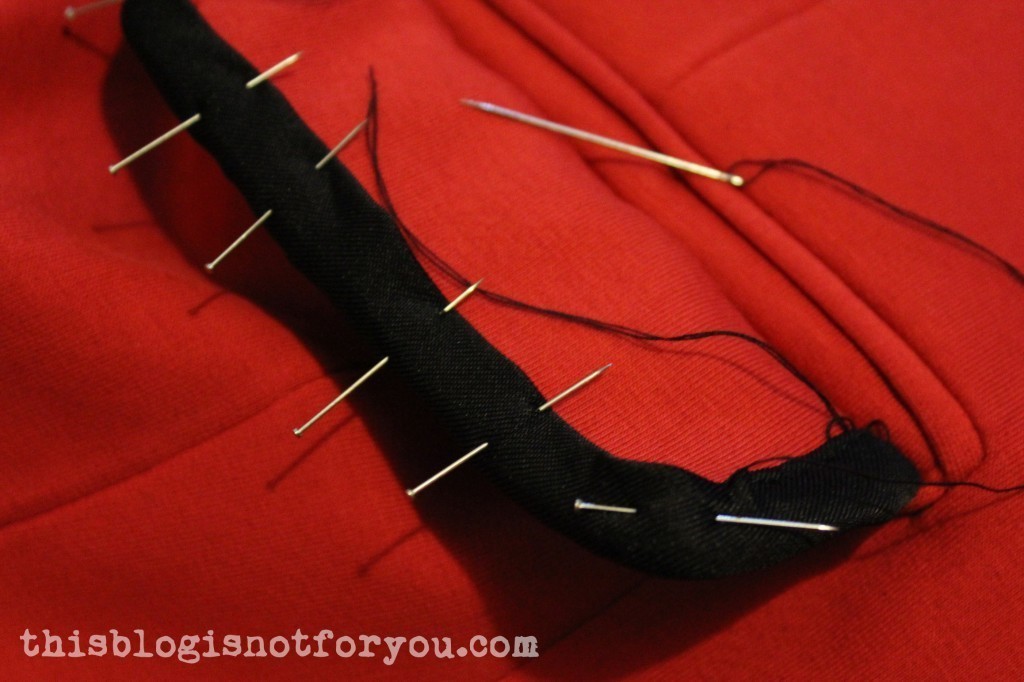
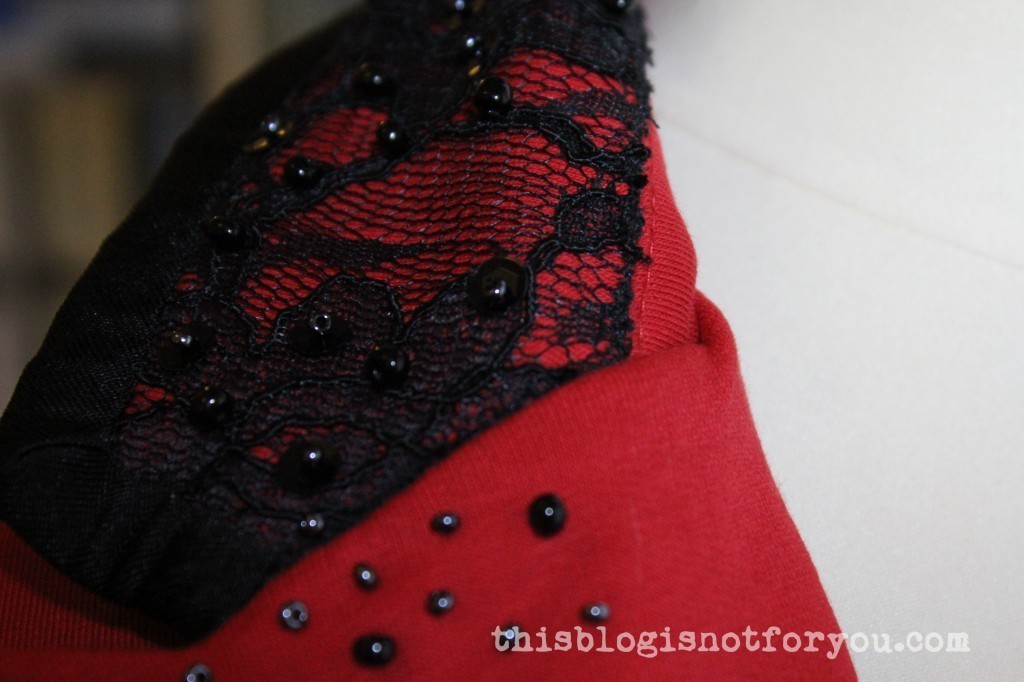
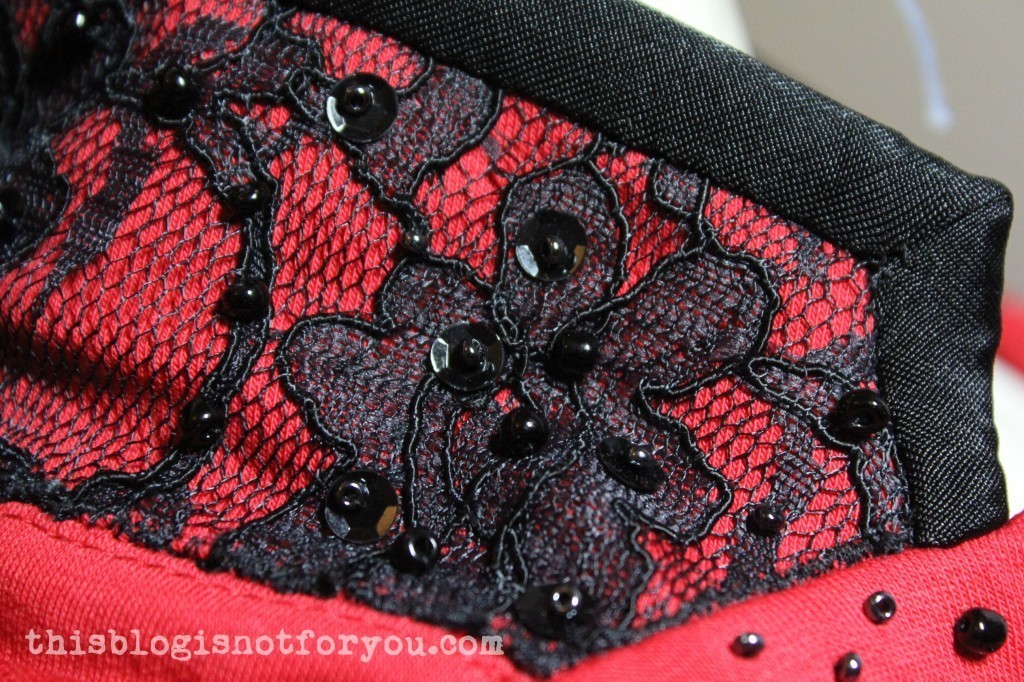
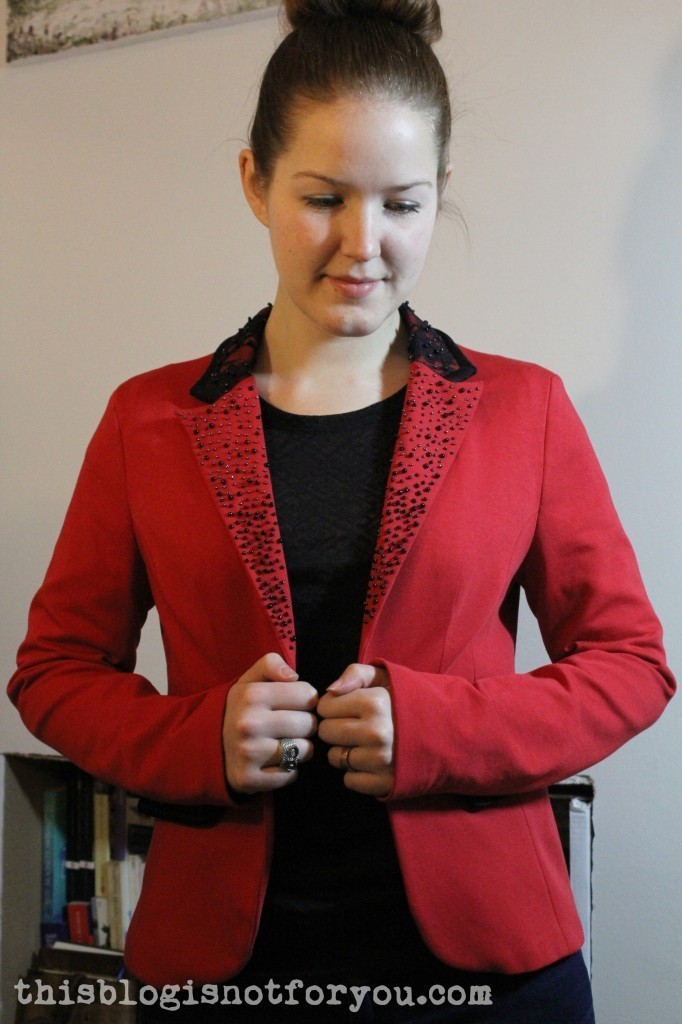
 I love blazers. I love red. Bright red blazers can look really cool, but this one was a weird mixture of too bold and too boring.