DIY Bridesmaids Gift: Bridal nail polish earrings

 This is a super simple but also super cute and personal DIY project for all brides-to-be!
I spend my hen do with my sisters and BFF at a spa hotel and wanted to give them a little something to say thanks. I also wanted the gift to be a little personal, something that would remind them of the fun weekend we had just before the big day.
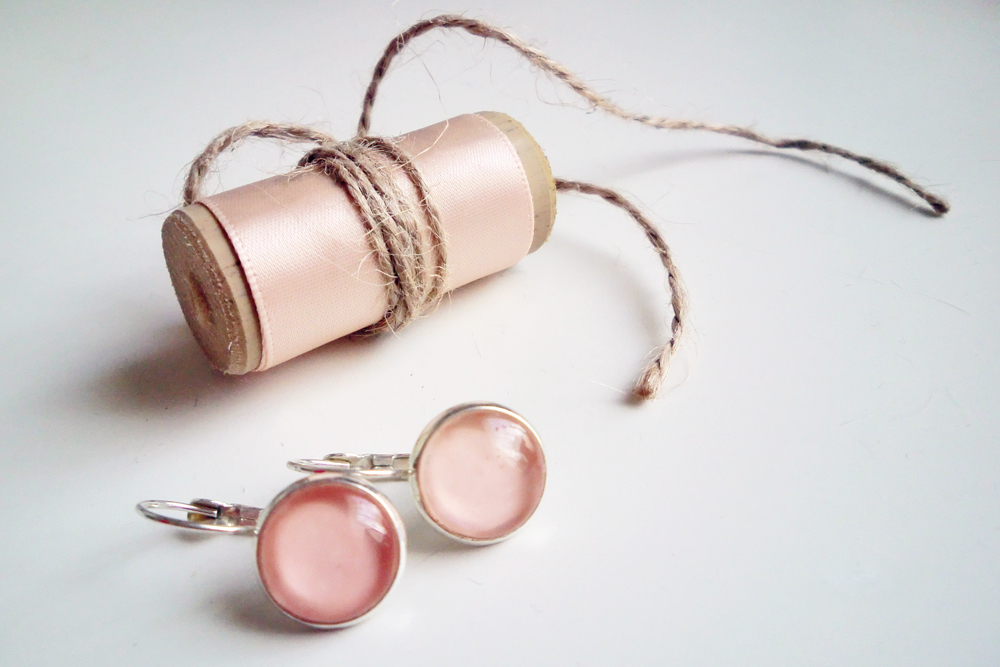
Jewellery is always a good choice, and to add a personal and wedding-related touch, I chose to make the earrings in the colour of my bridal nail polish.
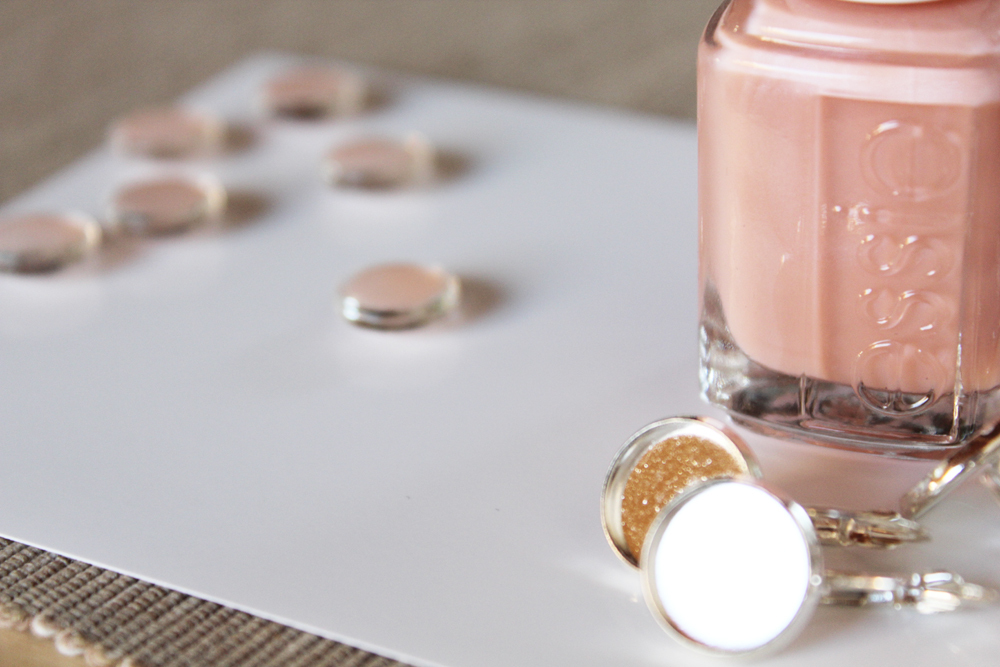
I wore “Worth The Wait” from Essie’s bridal nail polish collection, which matched my blush pink dress perfectly.  The project is super quick and easy. You’ll need earring settings (which you can order online on Etsy or Dawanda) and glas cabochons. I got mine from Average Pony and they’re really cheap.
I painted the back of my glas cabochons with two coats of nail polish and left them to dry. Once the colour was set, I used E-6000 glue to glue the glas stones into the settings. You really only need a tiny drop of glue. The glue dries within a few seconds. It’s very strong, so make sure you’re careful with the positioning.
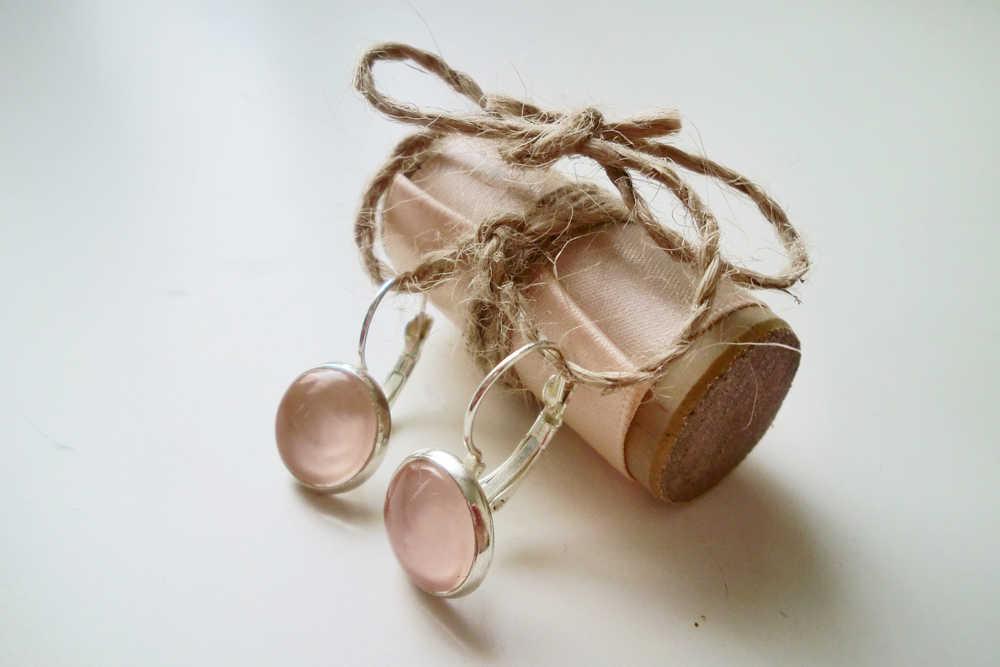
Eh, voila! Done! It’s that simple.

I used some wine corks and satin ribbon to have something to attach the jewellery to and it looked super cute! The ladies loved their gifts, and lucky me, all had matching dresses to wear that night.

So if you’re looking to make something personal for your bridesmaids or friends, this is the perfect project to try!
I’ve made other jewellery using glas cabochons before. For more ideas check out this post about how to use paper and prints to back the glas stones.
xx Charlie
Happy jewellery making!
♥
facebook/bloglovin/pinterest
twitter/instagram
Stay in touch!
