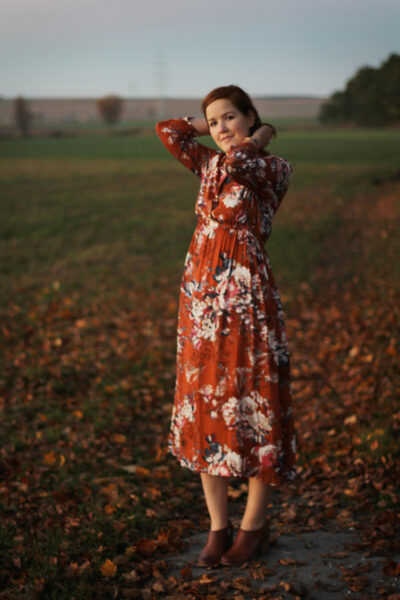
Sewing quietly – Prioritising self-care.
 Oh, hi! It’s been a while!
I’m back from yet another random blogging break. I wanted to start right back with a fun little project post, but now that I think about it, I’d rather talk a bit about shifting down a gear and putting self-care first. It’s such an important topic and it shouldn’t be brushed over by just going on posting the next cute outfit.
I have to disappoint you, there’s no big reveal or good excuses. I just took a while off blogging and social media because other areas in my life were a bit busier than usual.
Did you read my post a while back, about why we should stop making our hobbies stressful?
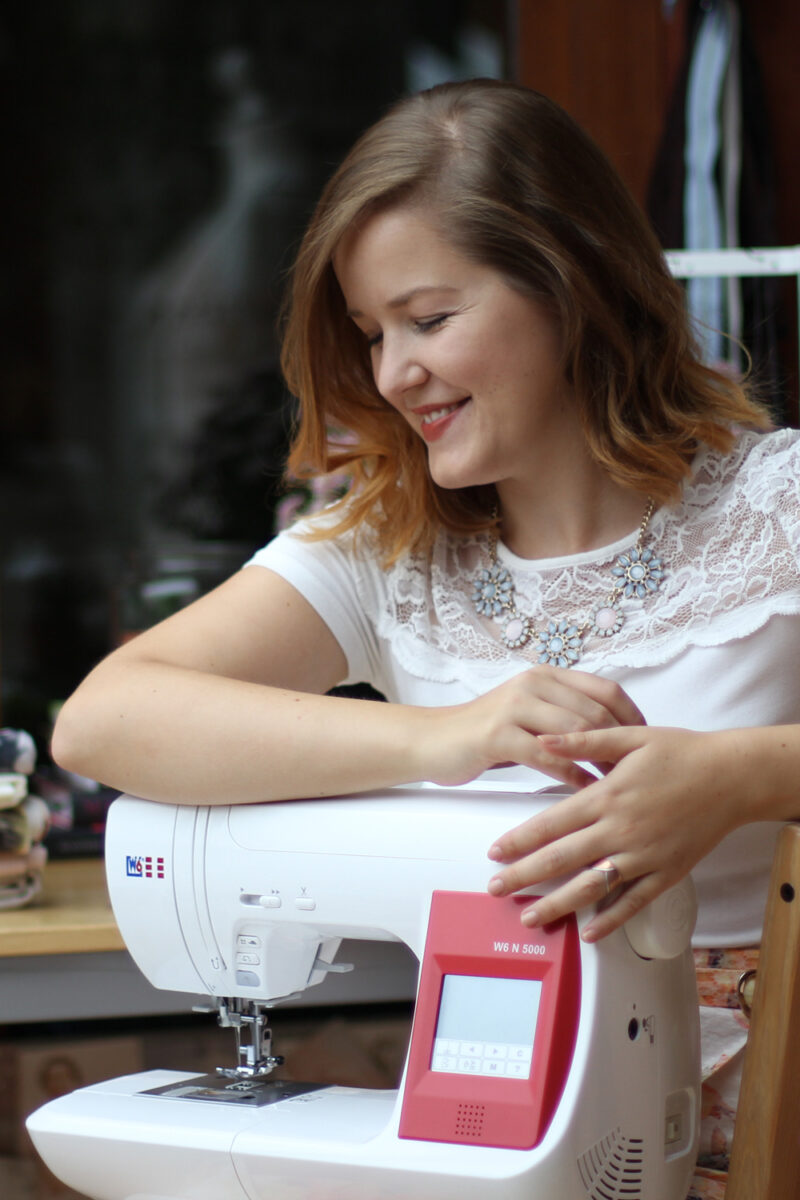
Well, I just basically followed my own advice! Since I started a further training course last year, the work bit of my work-life balance has a bit more weight to it. I have to study or go to seminars on weekends and have a bit more on my to-do list at work. Also there are times when my daytime job as a psychologist is more stressful and demanding than usual. This is why I took the “worky” bit out of my hobbies for a while. For me this sometimes also means blogging. As much as I love it, it can sometimes feel a little bit like work. To be honest, it IS work in the way that blogging for me is also a side business that needs to be run. It’s a very small business, but a business nonetheless. Emails, calls, project planning, taxes and all that. Editing pictures, writing content and managing social media is more or less the “fun part” of the business.
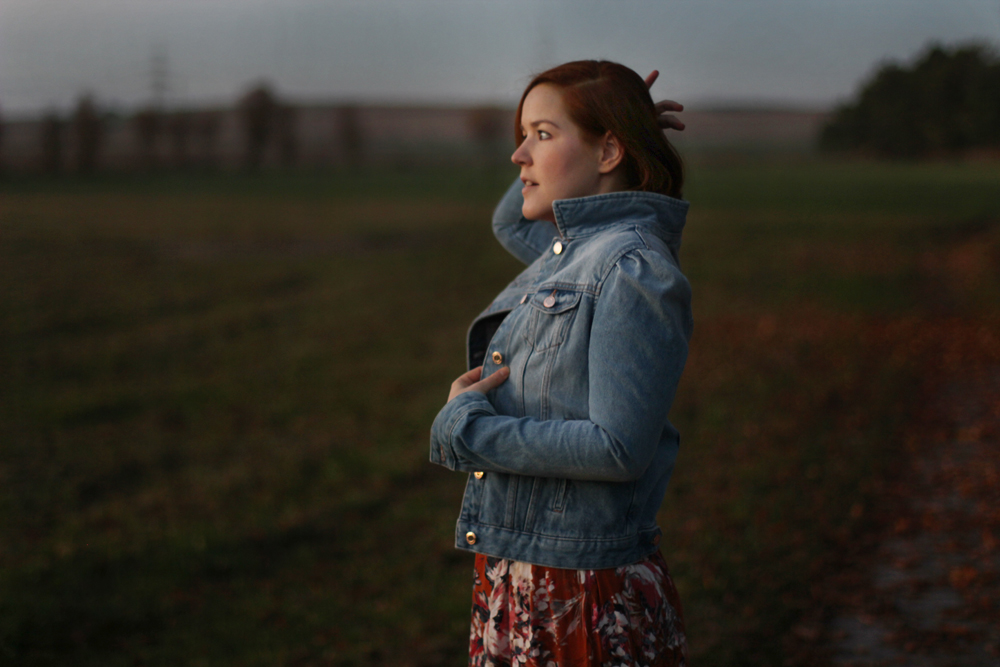
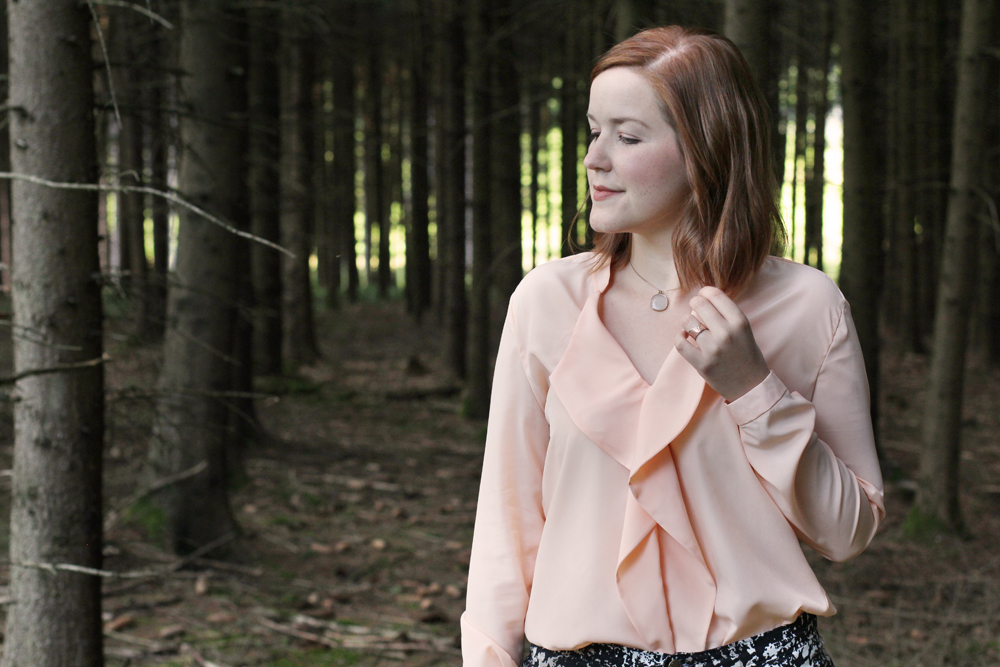
It’s hugely important to have the courage to prioritise self-care when needed. It does not mean being a selfish person, but looking after oneself, when your body and mind tell you to.
I’m a perfectionist and I take everything – including my hobbies – quite seriously. Feeling like I cannot live up to my own standards stresses me out endlessly and can be a source of anxiety. I love my blog and I’m fascinated that there are, oh, so many lovely people out there that have been following this little blog’s adventure for ages and still are enjoying content that I create. Taking a break sounds easy enough, but I noticed how much courage it still costs me to make a conscious decision that IT IS OK. This is the part you should always keep in mind: It is OK to self-care.
The frozen blog had been a nagging thought in the back of my head before I consciously chose self-care before an overly organised hobby. It just felt so disappointing that I couldn’t make the time or have the energy to blog at the time. At first I thought I would disappoint blog readers if I just stayed quiet like that. I now know that it was rather my own feeling of disappointment over my lacking standards.
It’s hugely important to have the courage to prioritise self-care when needed. It does not mean being a selfish person, but looking after oneself, when your body and mind tell you to. Being anxious that others might think you’re selfish makes it sometimes really hard to stand up for your own mental (and also physical) health. When you actually find the courage to do so, the feedback in most cases is one of appreciation and understanding.
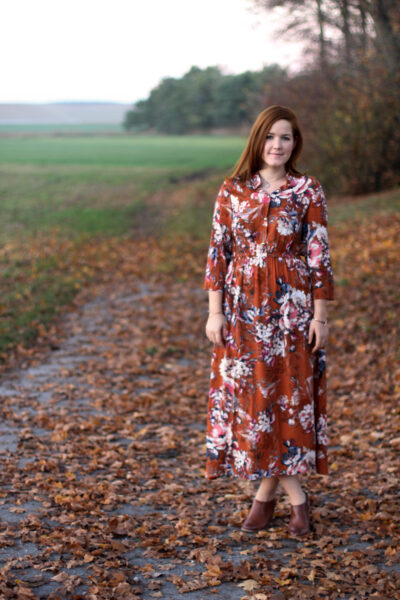
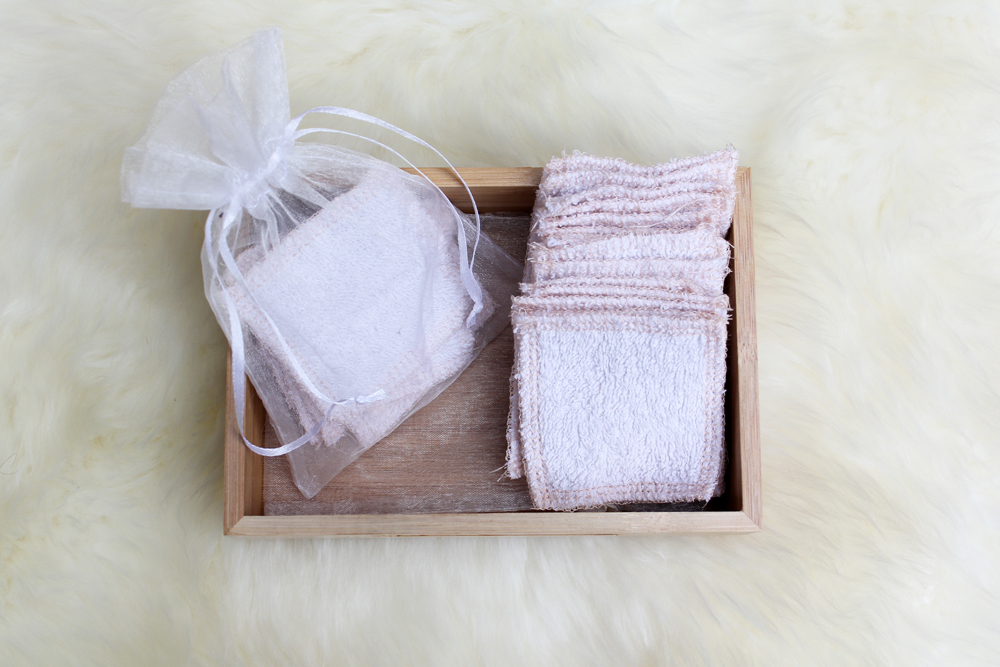
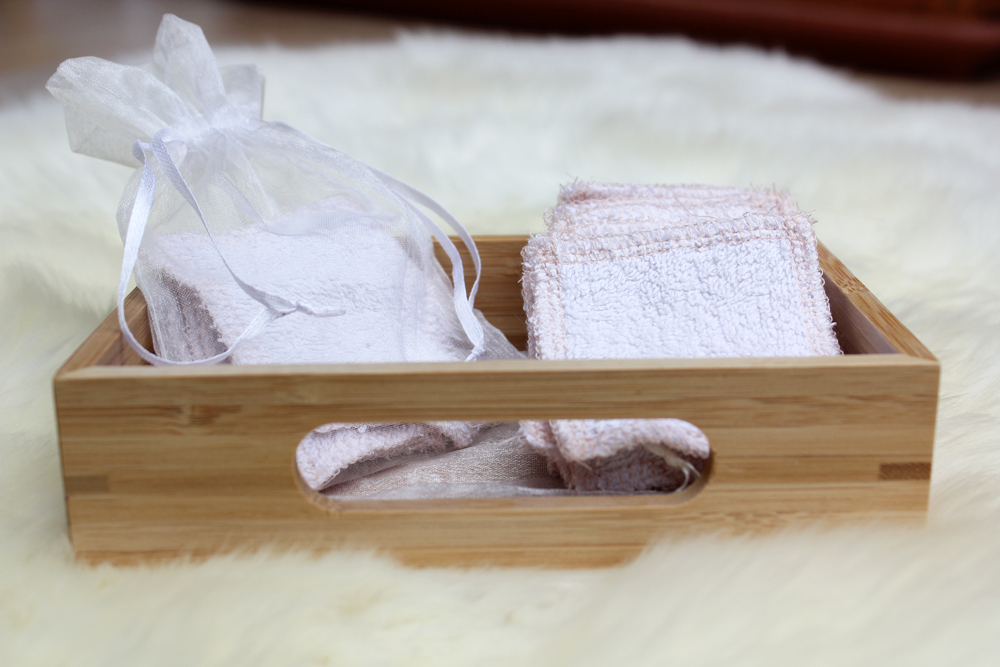
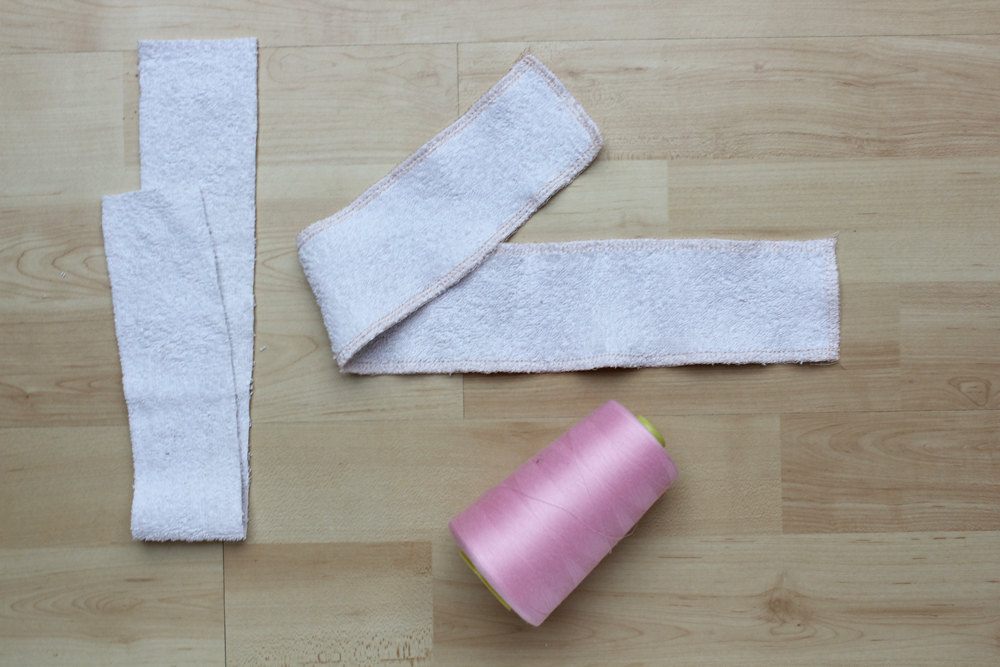
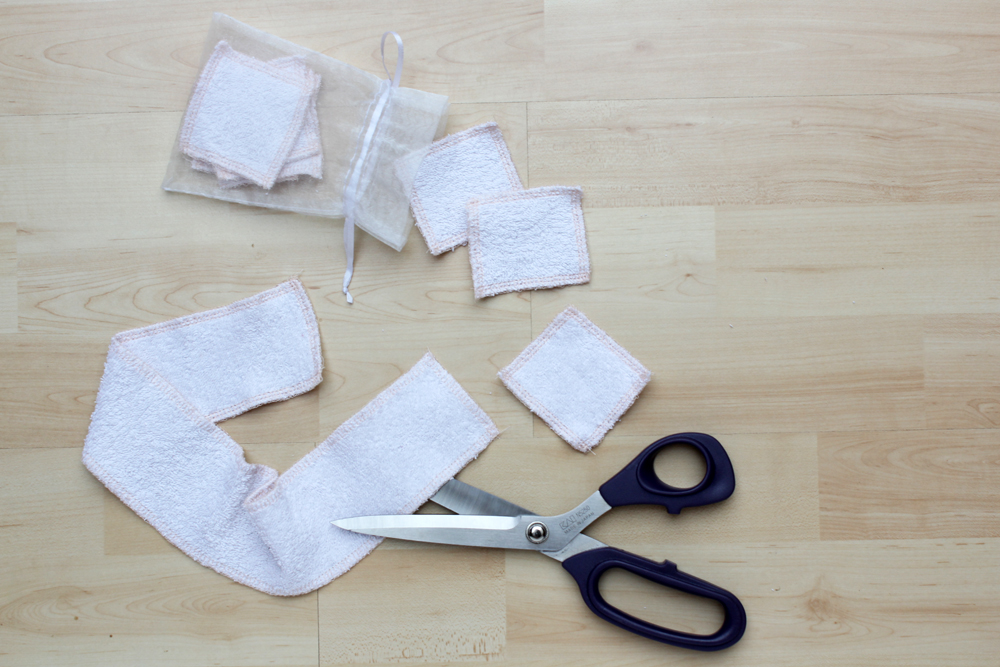
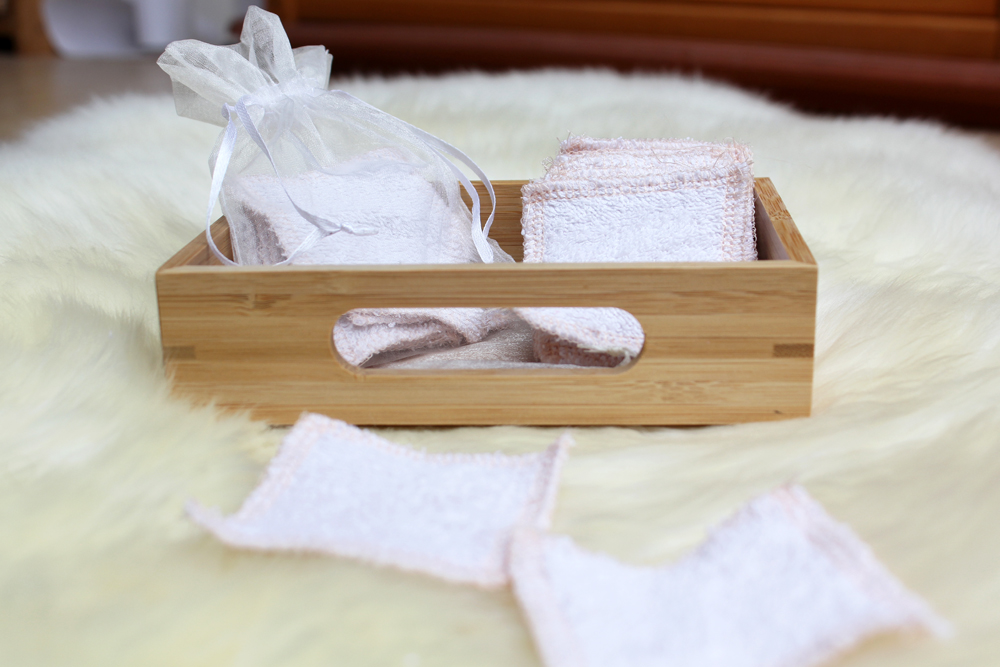
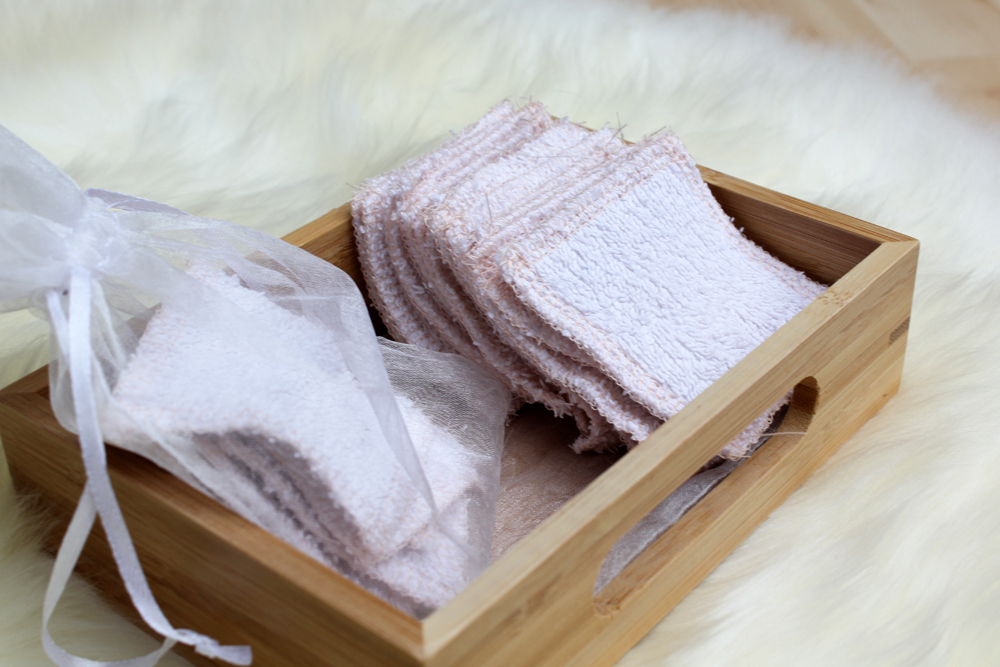
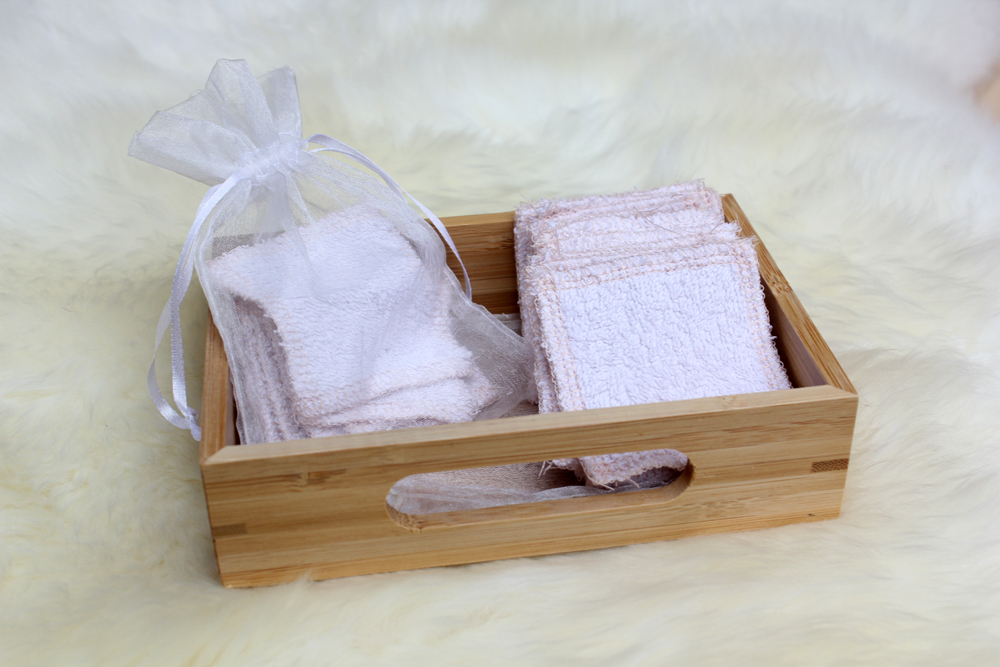
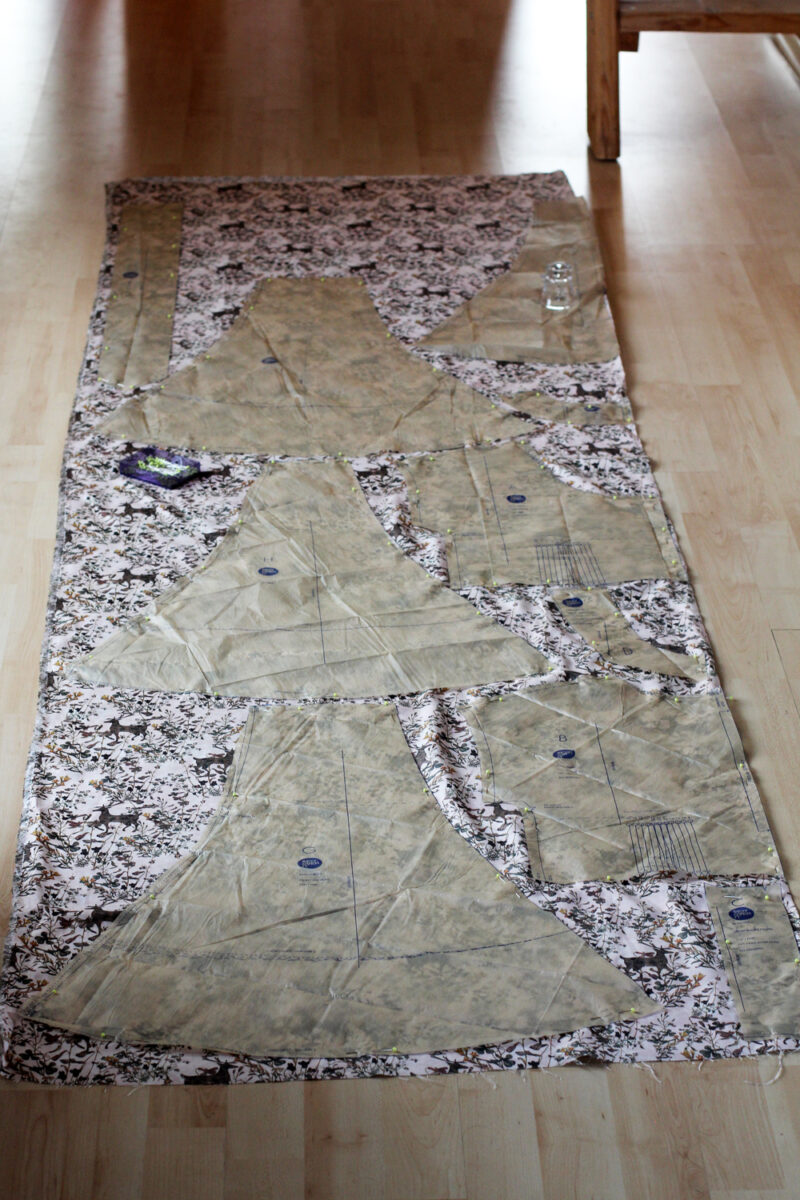
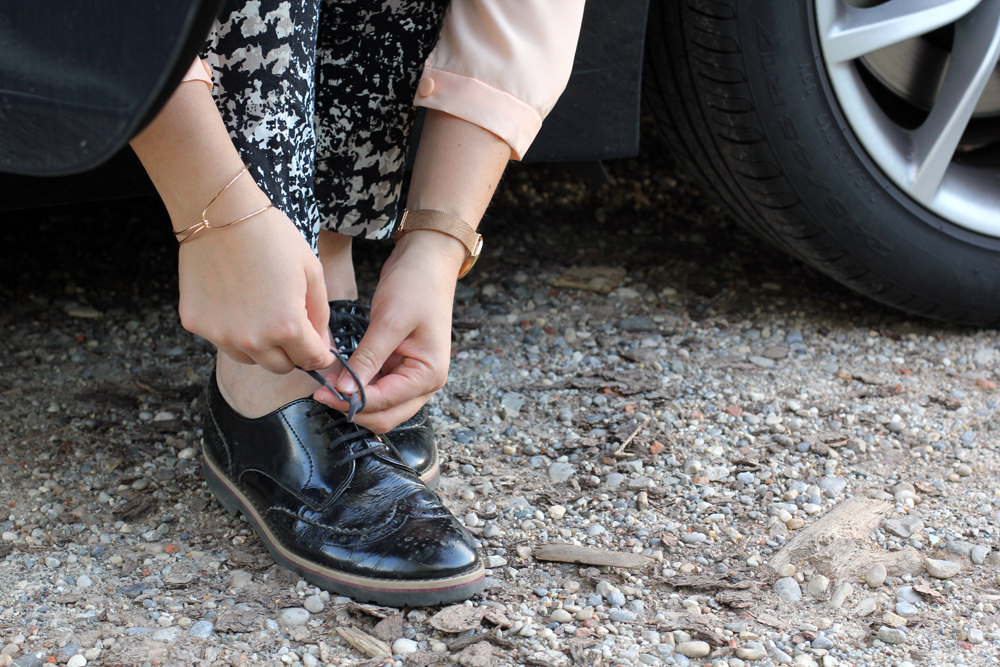
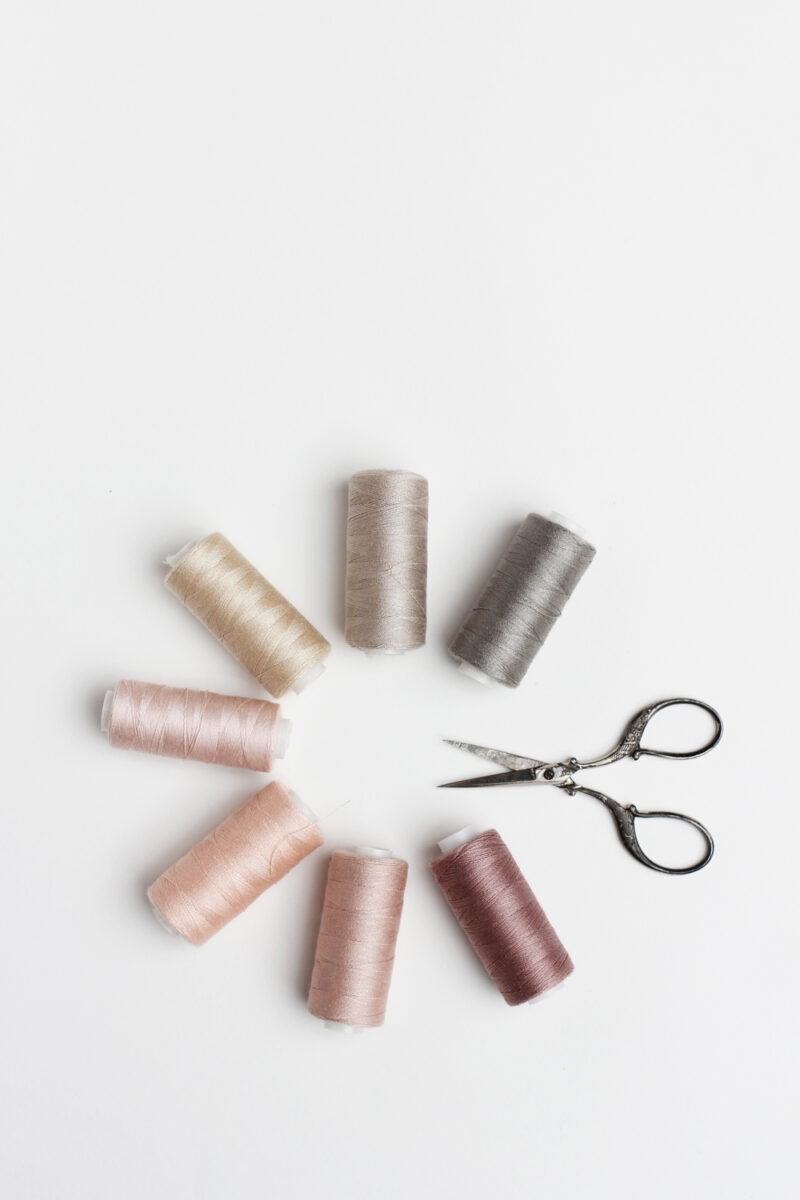
Now that I feel like I really want to – not should – share the next project, it’s a good time to ease back into blogging! During my offline-time I explored some other hobbies (like book-binding, knitting and crochet) and also delved into projects that I usually wouldn’t consider “bloggable”. (That sounds awful, right?) Mostly projects for kids or little personal gifts that I do not see fit to put up on the blog. I had a lovely but quiet creative time. I would even say it was therapeutic in a way, that I could use my hobbies again as counterbalance to work-related stress and immerse myself in funny little crochet projects and sewing for my friends’ babies.
Although I’m now swamped with emails of people almost aggressively offering guest posts, I feel like this break was more than worth it. Instead of adding to the stress, I could explore my hobbies as something incredibly refreshing and therapeutic. It helped to clear my mind and busy my hands on very stressful days.
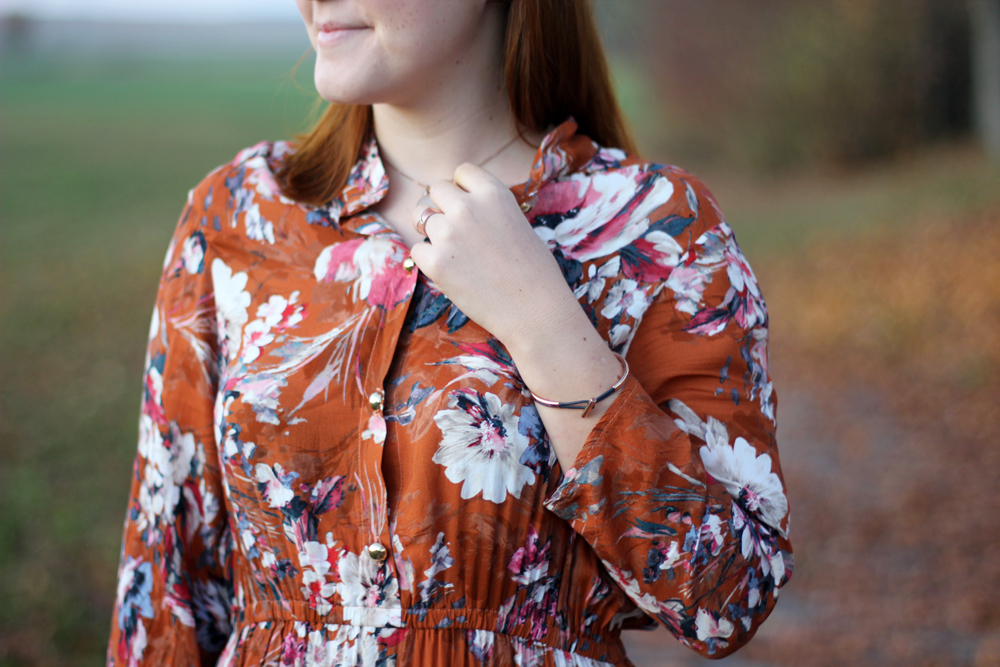
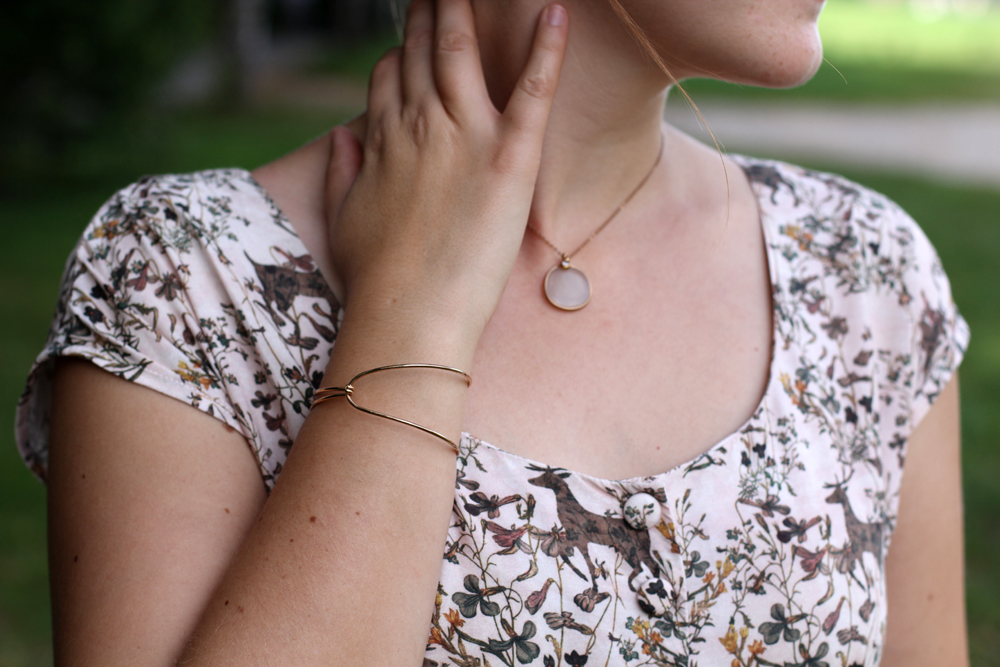
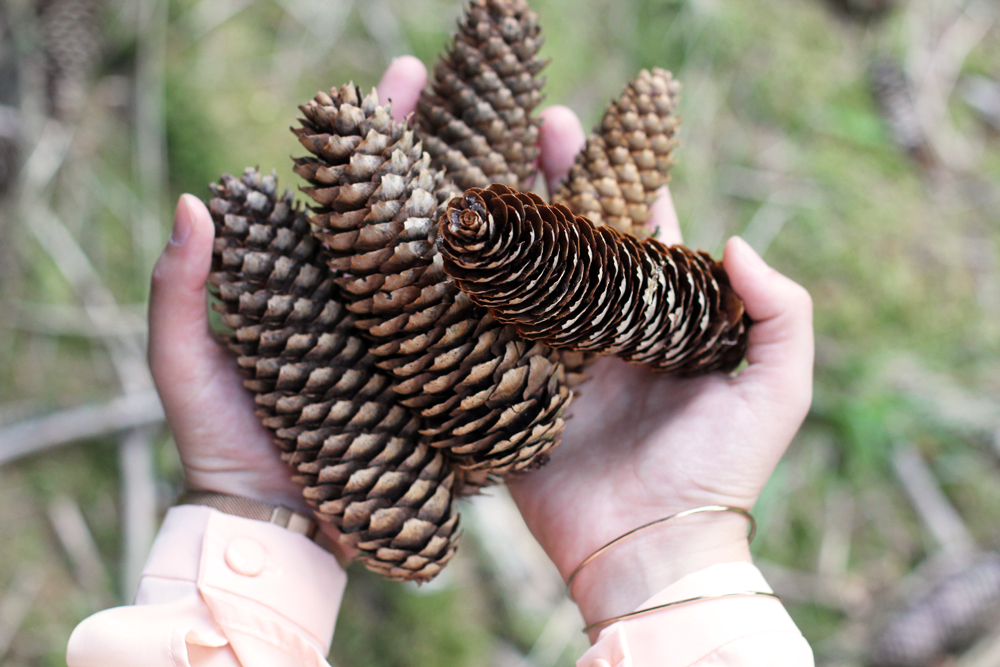
Quiet sewing time is a source of calm and peace. Take it when needed.
The same applies to self-care in general. Just as you rest when you are physically exhausted, you need to allow yourself a mental-health time to balance things out again. I’ve been making the conscious decision to cancel an engagement in favour of self-care more often over the past year. I now also let other people know that I’m cancelling not because of time issues or scheduling conflicts, but because I feel stressed or drained that day and need to look after myself. So far, not a single person could not understand this. In most cases I even got very endorsing and supportive reactions. It showed me once again being anxious about other people’s opinions and reactions is wasted time.
Have you made similar experiences? Do you sometimes struggle with self-care or stressing out about even your own hobbies?
Please chime in, if you feel like it, I’d love to hear your thoughts on this!
xx
Charlie
Happy sewing!
♥
facebook/bloglovin/pinterest
twitter/instagram
Stay in touch!