Hollywood Sewalong: The Notebook
Hellooo all you sewing and vintage lovers! I’m so excited about this post!
A Sewalong! A Sewalong series! A Hollywood movie themed Sewalong series!
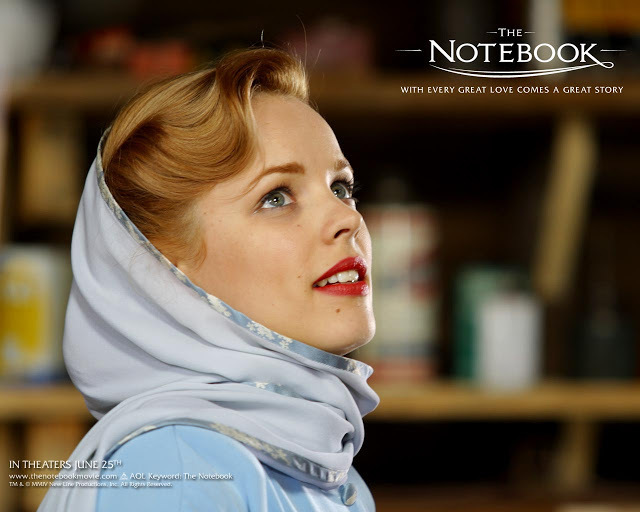
After some months of emailing ideas back and forth, me and some other lovely sewing friends teamed up for a Hollywood movie themed Sewalong. Our first Sewalong movie is “The Notebook”. Love it or hate it, but the outfits worn by the character Allie Hamilton (Racheal McAdams) is just too adorable.
Here’s our lovely team of sewing enthusiats:
Freya from The Dressmaking Diaries
Courtney from Makesphere
Amy from Sews N Bows
Hannah from Made with Hugs and Kisses
Well, and me!
We will all sew something inspired by the 1940’s fashion in the movie. With ‘inspiration’ being the operative word. That means we can recreate one of the outfits into detail or do something completely different and just using small details, fabric or colours as inspiration.
Over the next couple of months we will post our inspiration from the movie, ideas and plans about patterns or fabrics and then, of course, our final pieces.
I personally love the cut and shapes of the 1940’s, the typical ‘wartime silhouette’. Fashion seemed to be much more practical back then, compared to ten years later, in the 50’s, with all these petticoats and bell-shaped skirts. Women’s fashion also looked a bit more masculine, which you can also tell by all these shirt dresses in the movie.
Alrighty, let me show you some of my favourite outfits from the movie. I loved almost all of them, so it was really hard to narrow it down. I decided to pick the ones that inspired me to sew something the moment I saw them. As much as I love recreating something into detail, I’m pretty sure that I will try myself at a very modern take on one of these dresses:
1. The blue dress
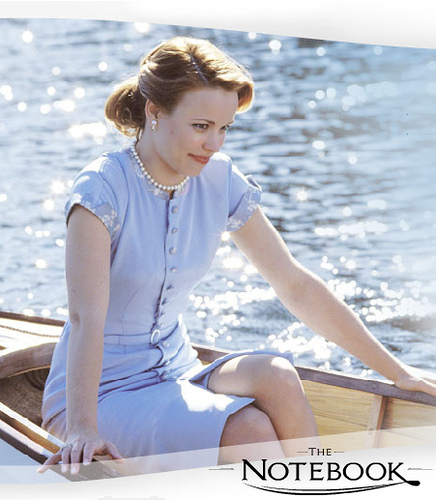
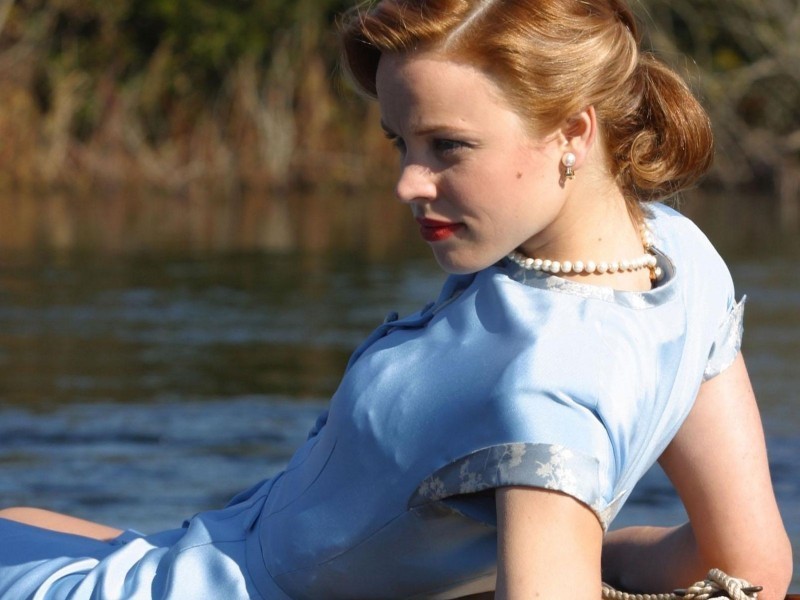
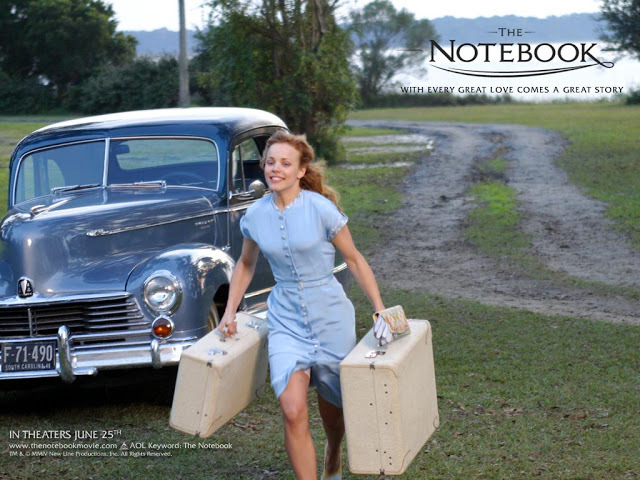
Yeeeees. Of course. The obvious dress inspiration from this movie. And no, Captn Obvious didn’t put me off. It simply is one of the most beautiful dresses from the movie and probably also the garment that gets most on-screen time, which is great for studying details. I love the button-down front, the lace details at the sleeves and the tiny matching belt. Light blue is definitely not my colour, but I think the cut and shape would look great in a more modern take of this dress.
2. Red & white shirt dress

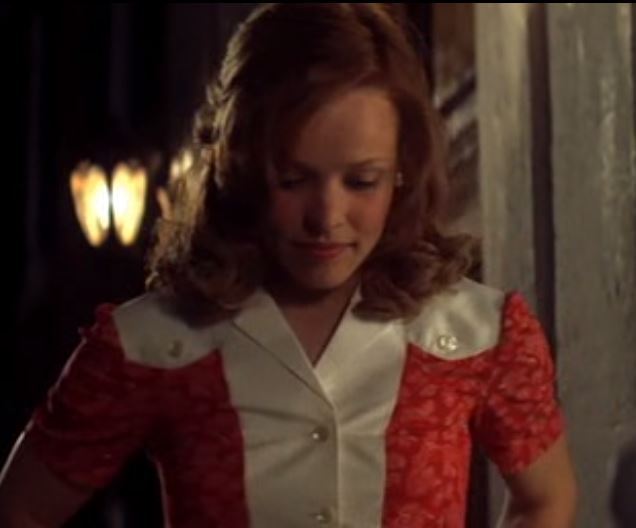
I love this mini shirt dress – or is it a jumpsuit? I’m not quite sure, but I would love it as a jumpsuit. It gives me plenty of inspiration to work with!
3. The purple dress
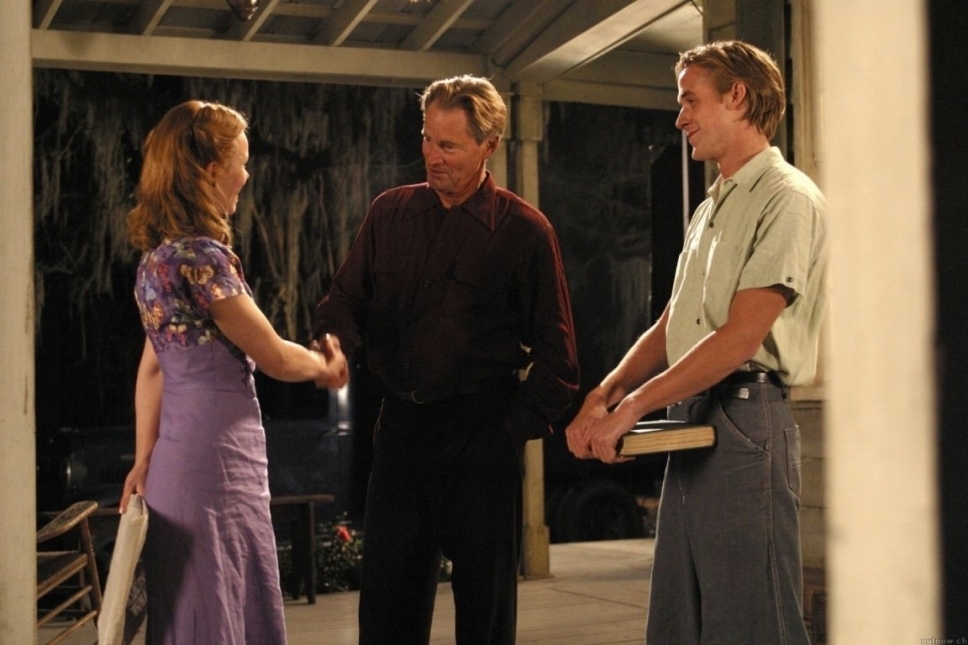
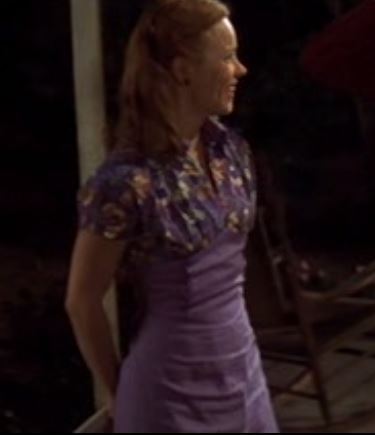
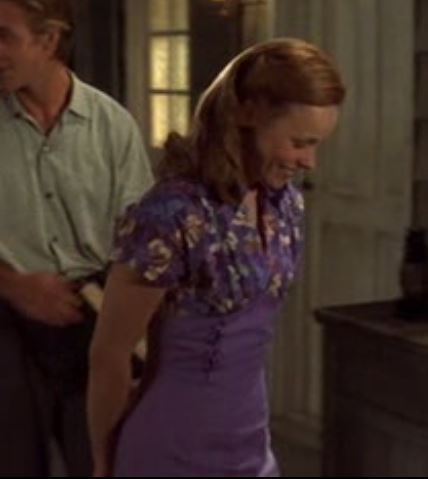
I looove this cute little number. Not because of the colour (not a big fan of purple), but the cut in the front is so adorable. Unfortunately the dress has very little on-screen time and it’s really hard to find proper pictures. I can definitely see a very modern version of this dress.
4. The lady-like dress
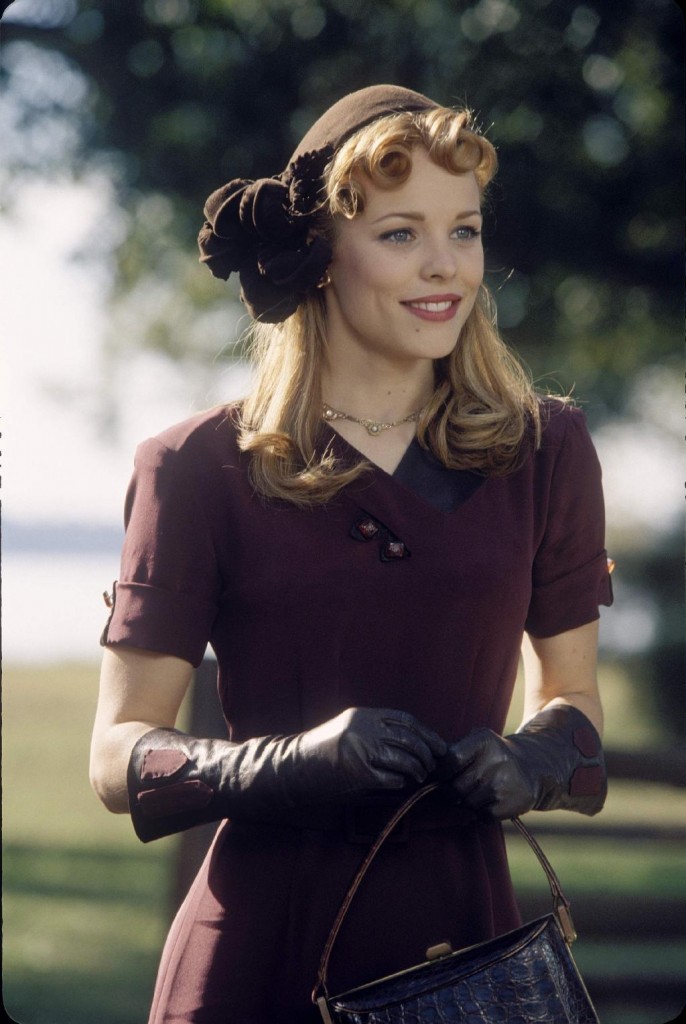
Well, this is just Beau-Ti-Ful. Love the colour, love the neckline. And the matching gloves are amazing!
4. The green dress
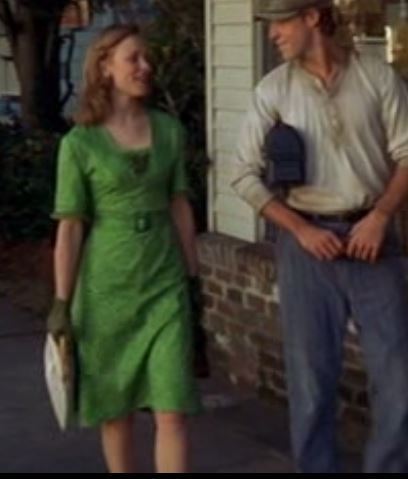
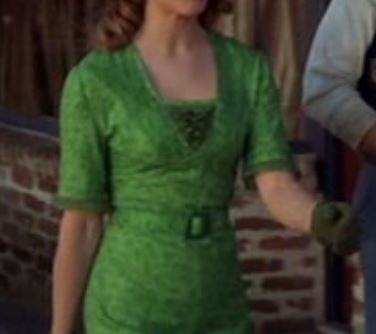
This dress is just super simple but very chic. I love the length of the skirt and sleeves and the ruffles under the v-shaped neckline are a cute detail.
So…..what will I do now?
I have no clue, but there’s plenty of inspiration to work with, that’s for sure! So stay tuned and keep our eyes peeled for the next post coming next month.
In the meantime, we would love for you to join us and take part in the Sewalong!
Part 2 will be posted on April 7th when it’s time to share the inspiration we have decided on and some behind-the-scenes pictures and information of our makes!
The final garment will be posted on May 5th!
If you want to join, grab our button (see right-hand sidebar!) and start sewing! Don’t forget to sent us links/pictures of your make as we would love to feature it as part of our Sewalong series!
Happy Sewing!
♥
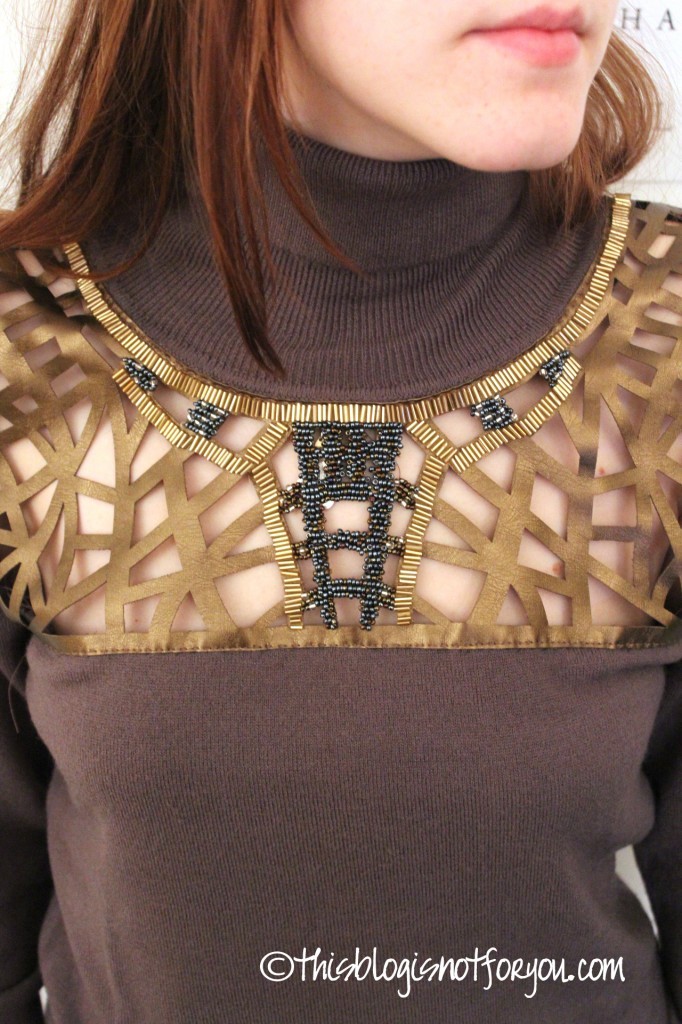
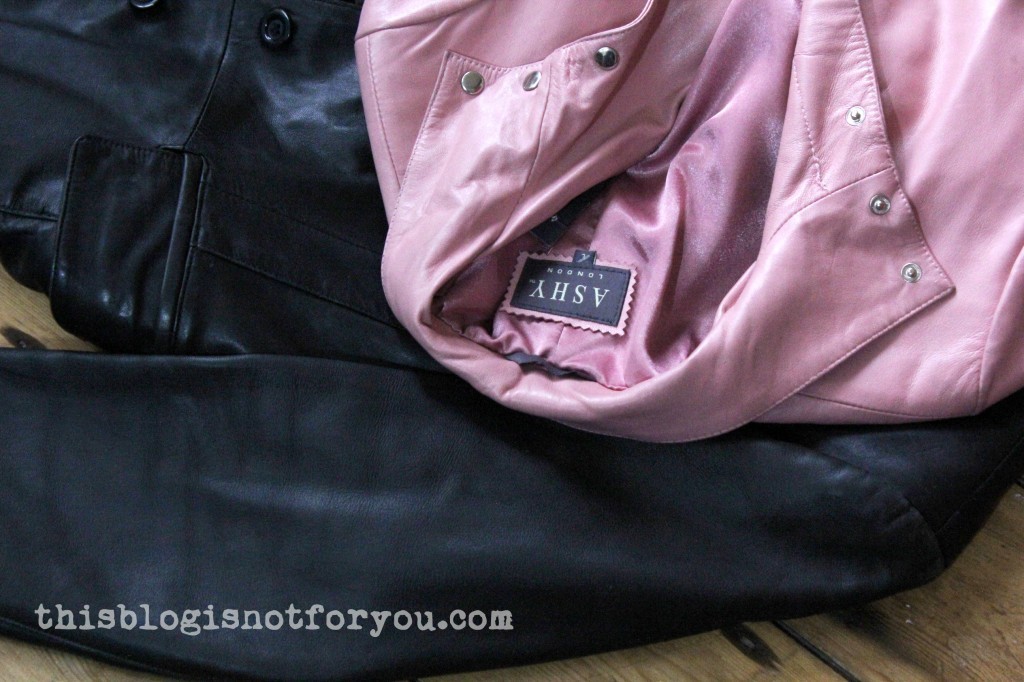 Three weeks ago I sewed with real leather for the first time. And after three weeks, that brief affair is coming to an end. Two souls alas! are dwelling in my breast.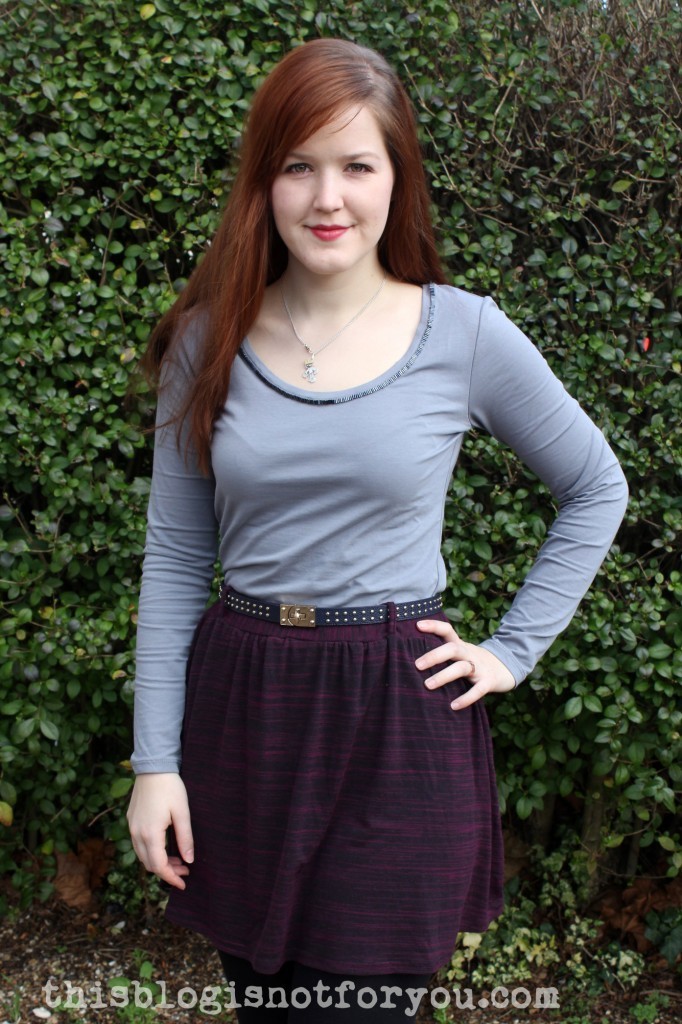
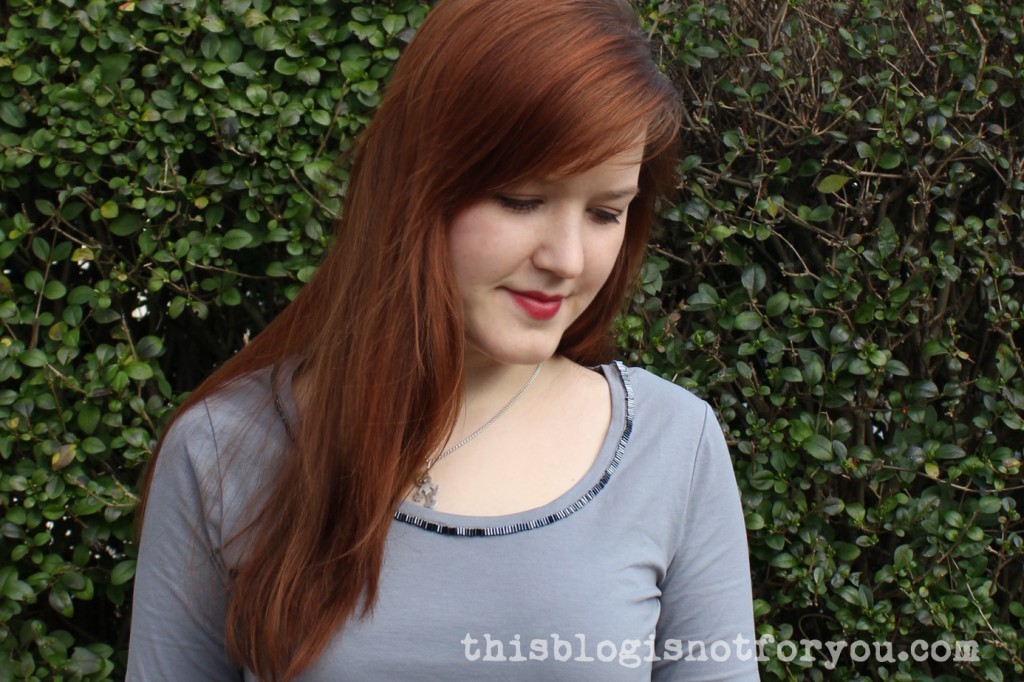
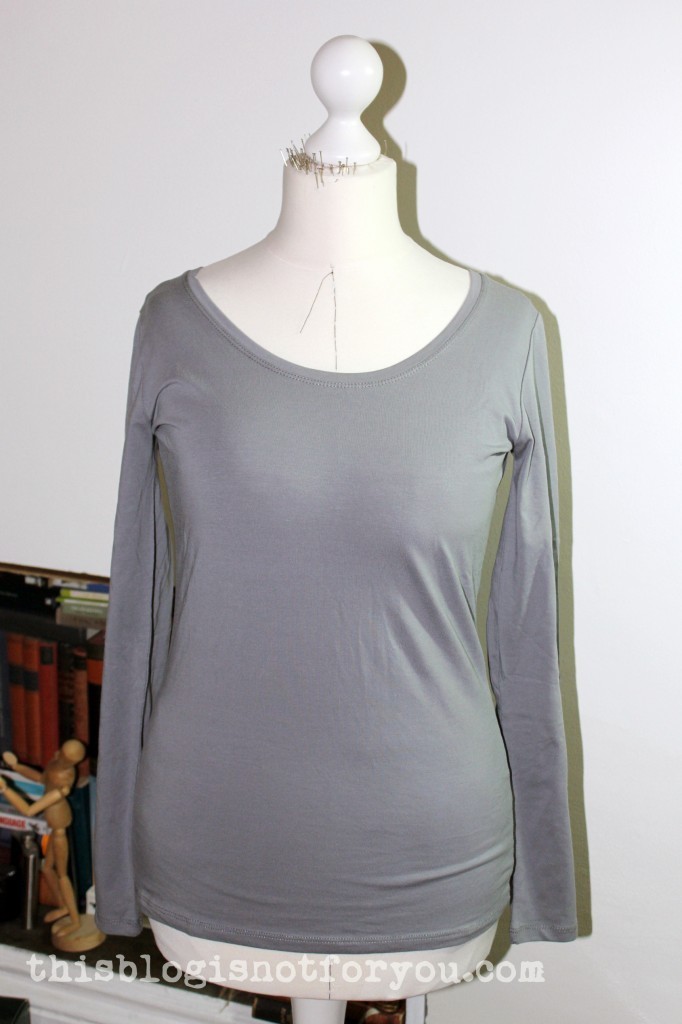 I love wearing these and thought about how to make them look a bit more chic without overdoing it, since they will be worn underneath most of the time. Because the neckline is often still visible, I decided to use a few tube beads to embroider the neckline.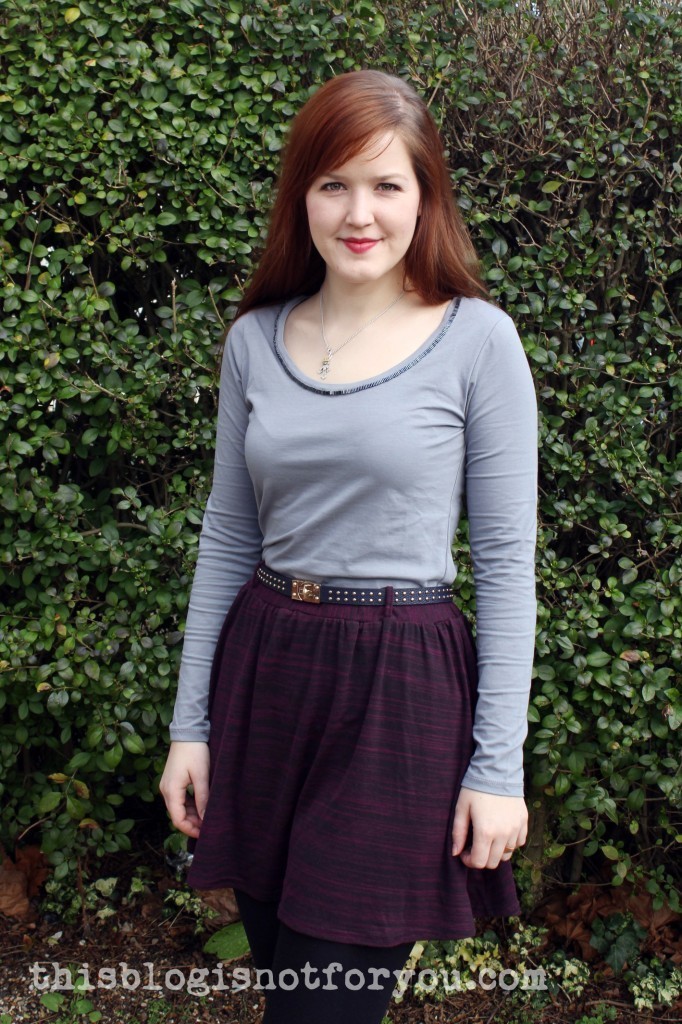

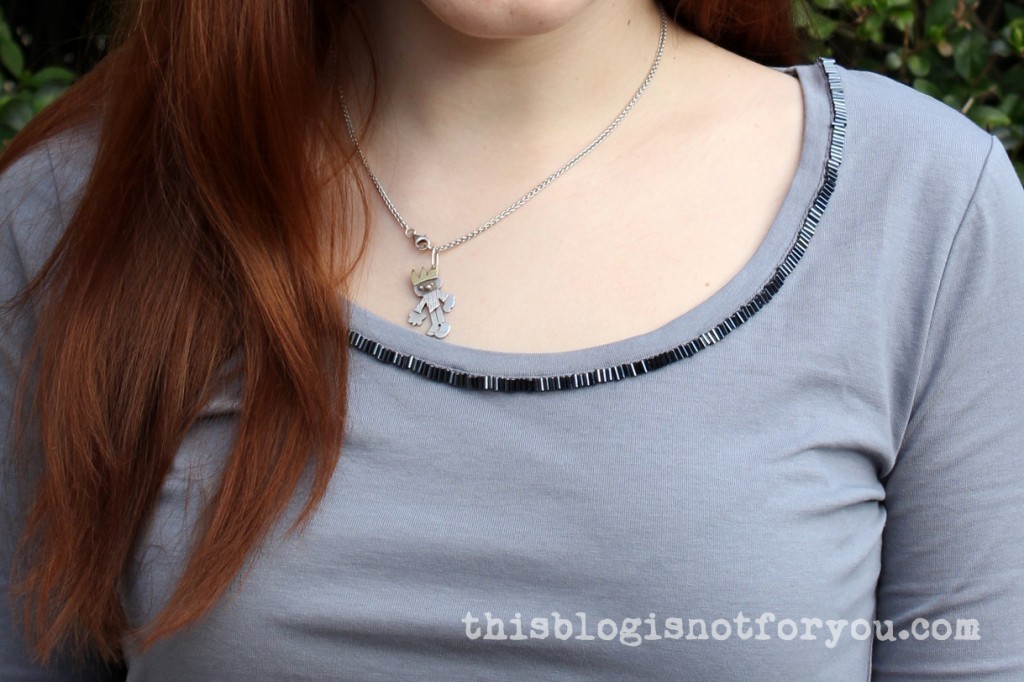 I used greyish-blue tube beads and sewed them onto the topstitching of the neckline binding. I didn’t sew the beads onto the binding itself, since I thought they might be too heavy for the light stretch fabric, pulling it down with the result of the neckline gaping open.
 I didn’t use one continuous thread, but knotted it off after every 10cm/4” or so. In case the thread should break, I won’t have to redo the whole thing.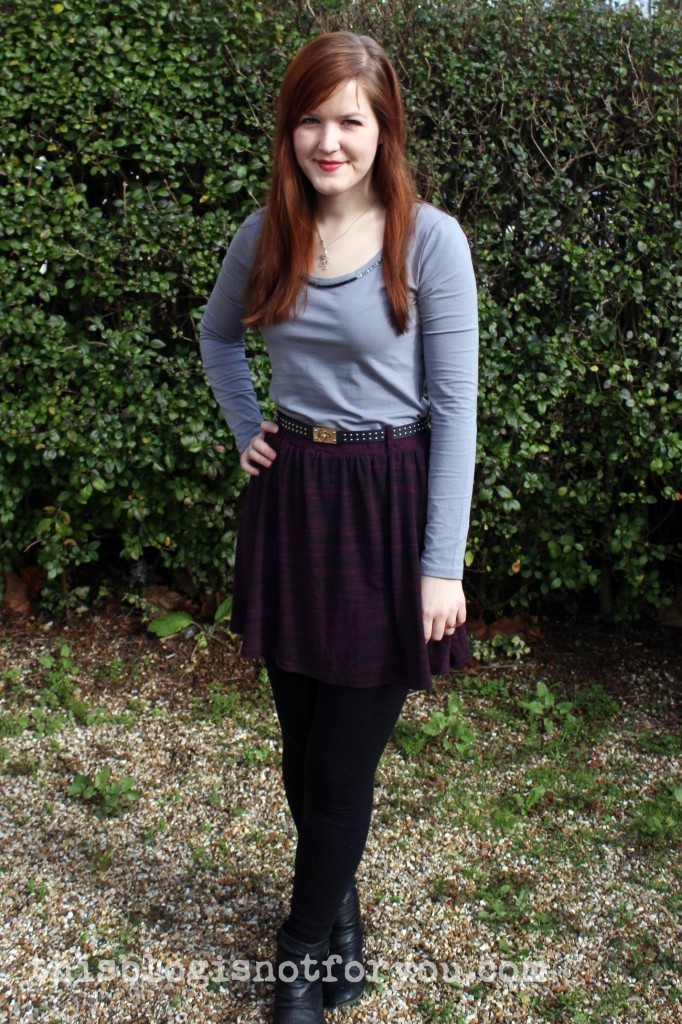

 Heeeeeeeeeeello!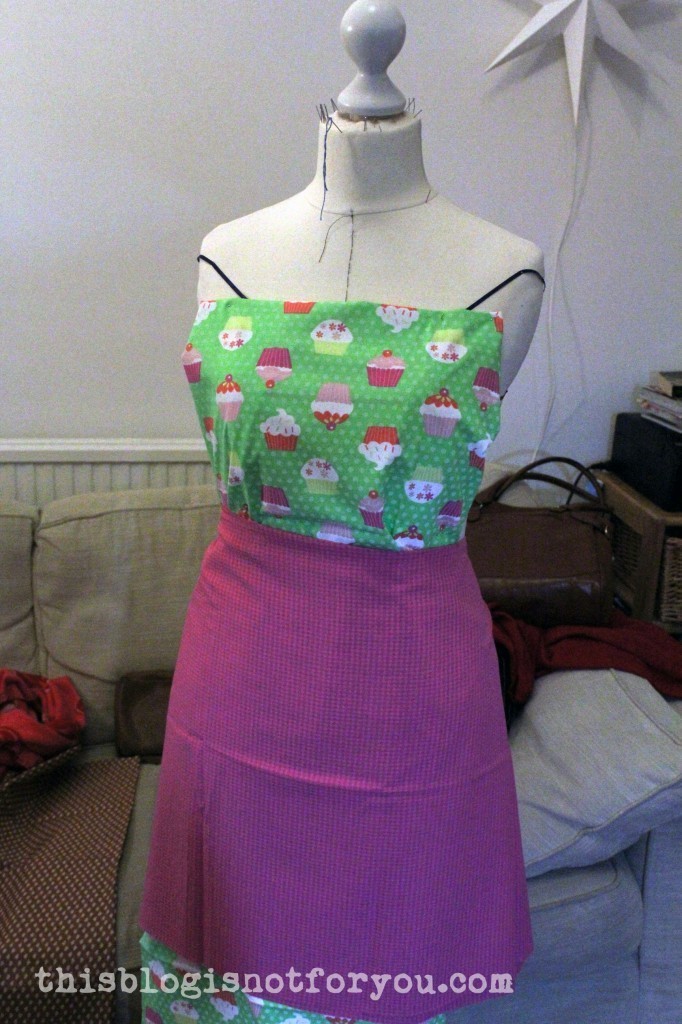
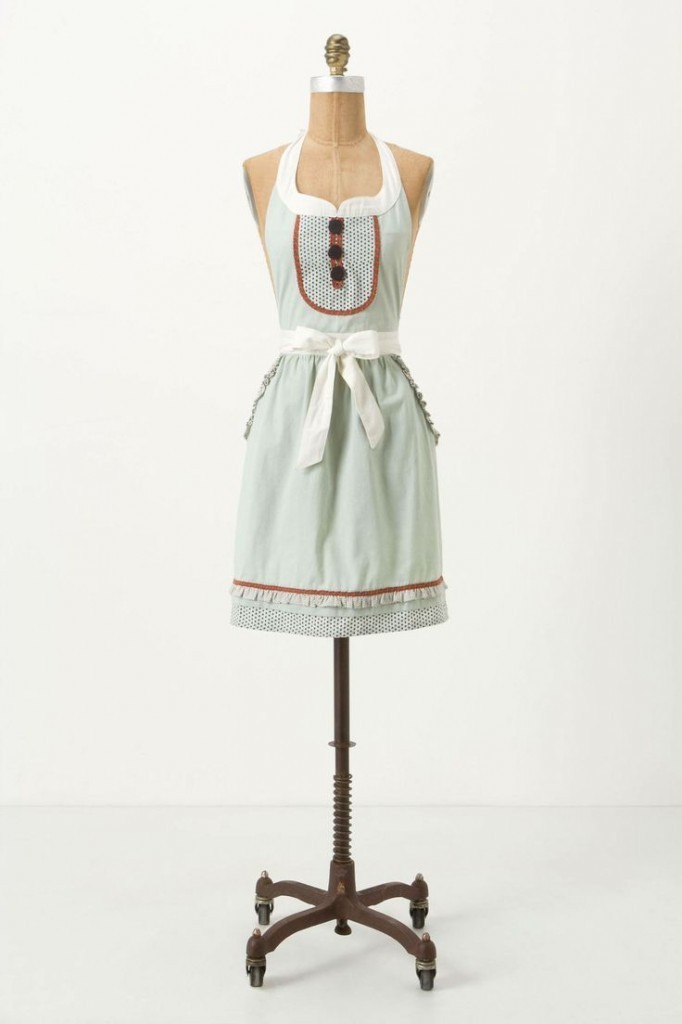
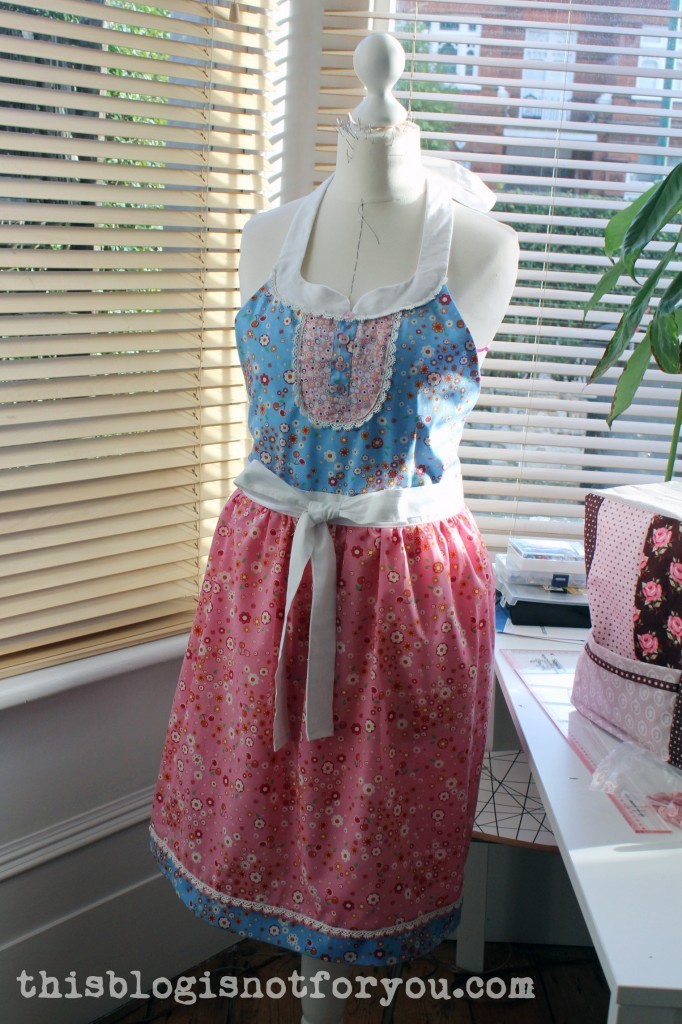
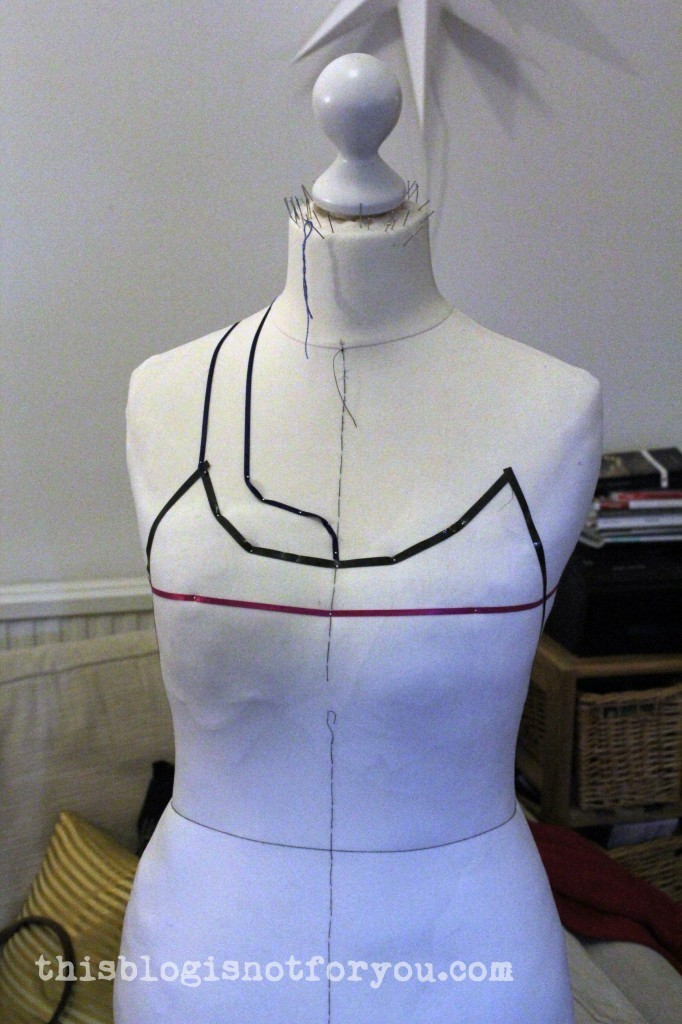 After choosing my fabrics, I used some black tape (you can also use ribbon and pin it) to mark the lines of the apron on my dressform. Alternatively, if you do not have a dressform, just draw it on paper and use it as a pattern piece. (It’s a kitchen apron, so don’t worry about the perfect fit too much.) I tried to make it very similar to the Anthro-version, as I really loved the shape of the neckline.
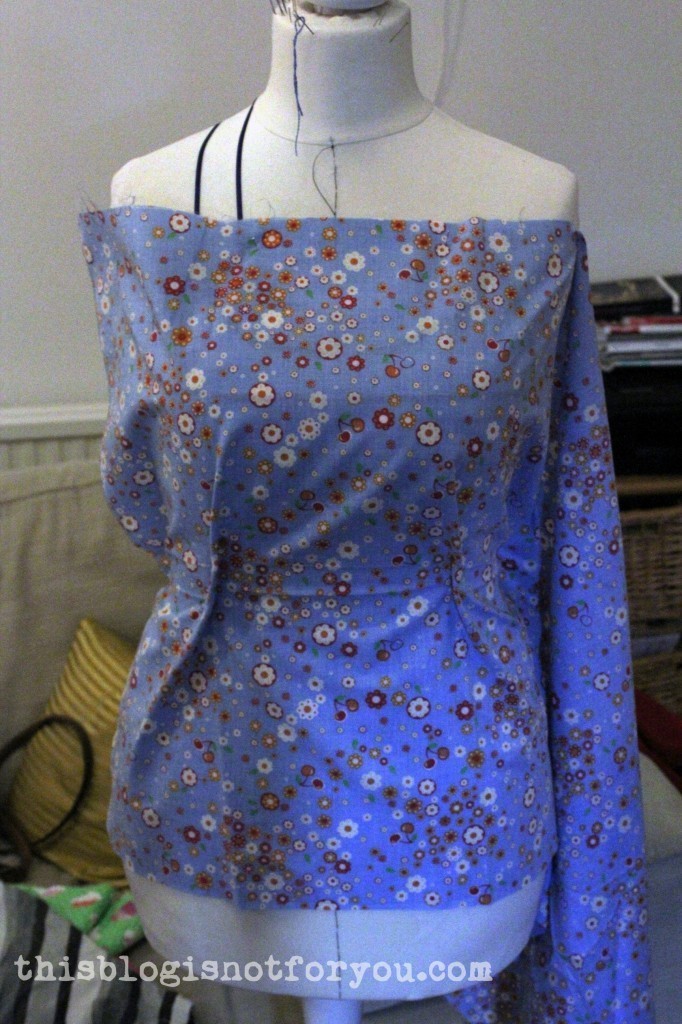 Pinning my fabric (wrong side up) on my dressform, I traced the marked neckline with tailor’s chalk.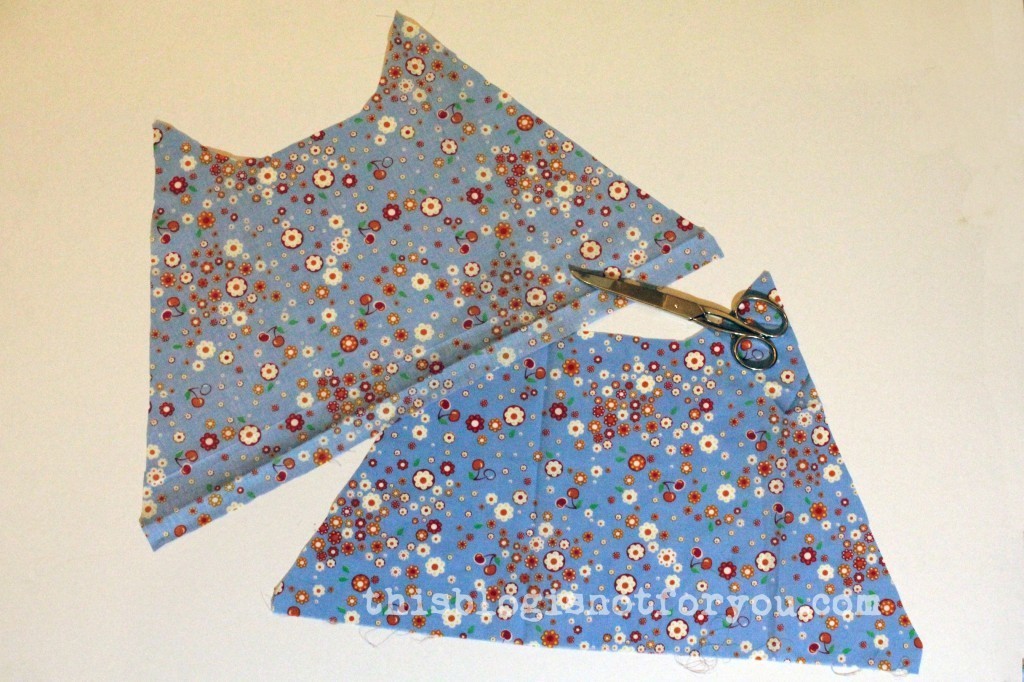
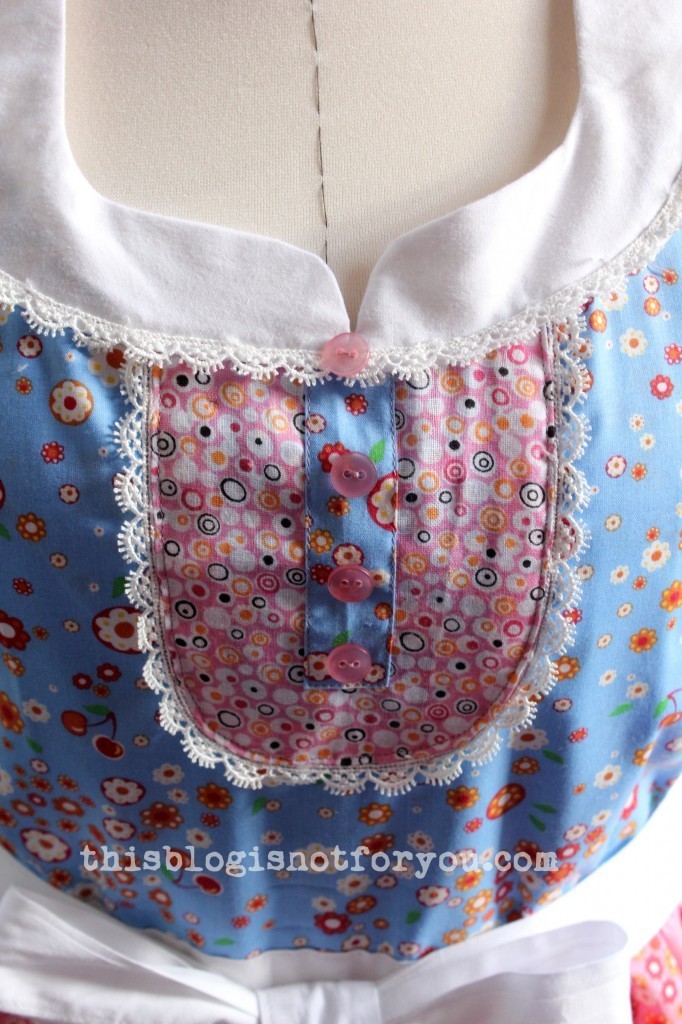
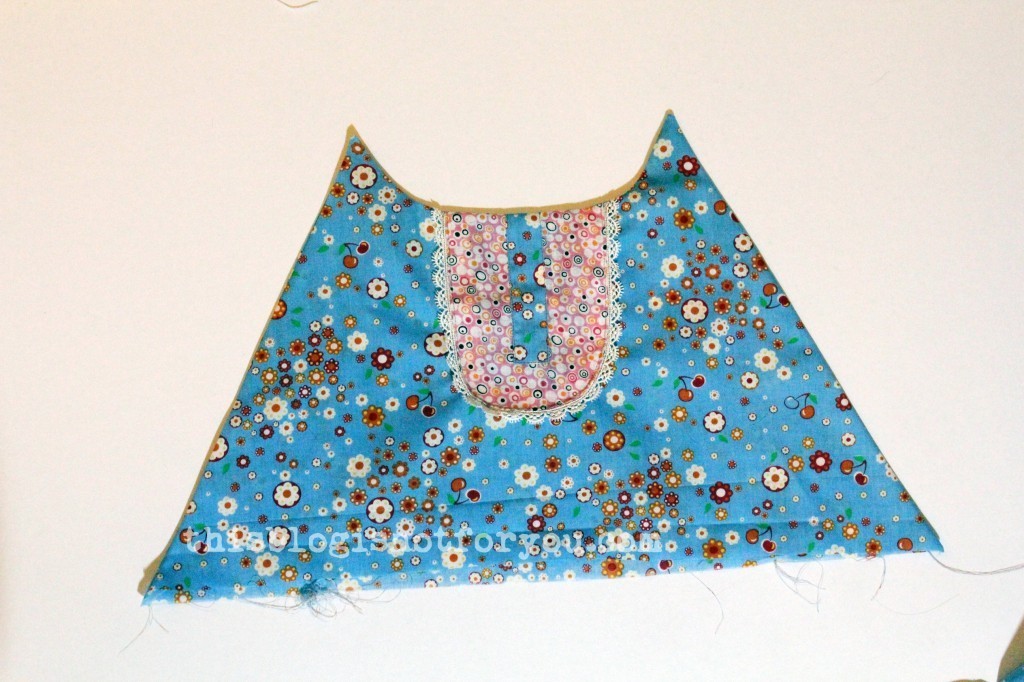
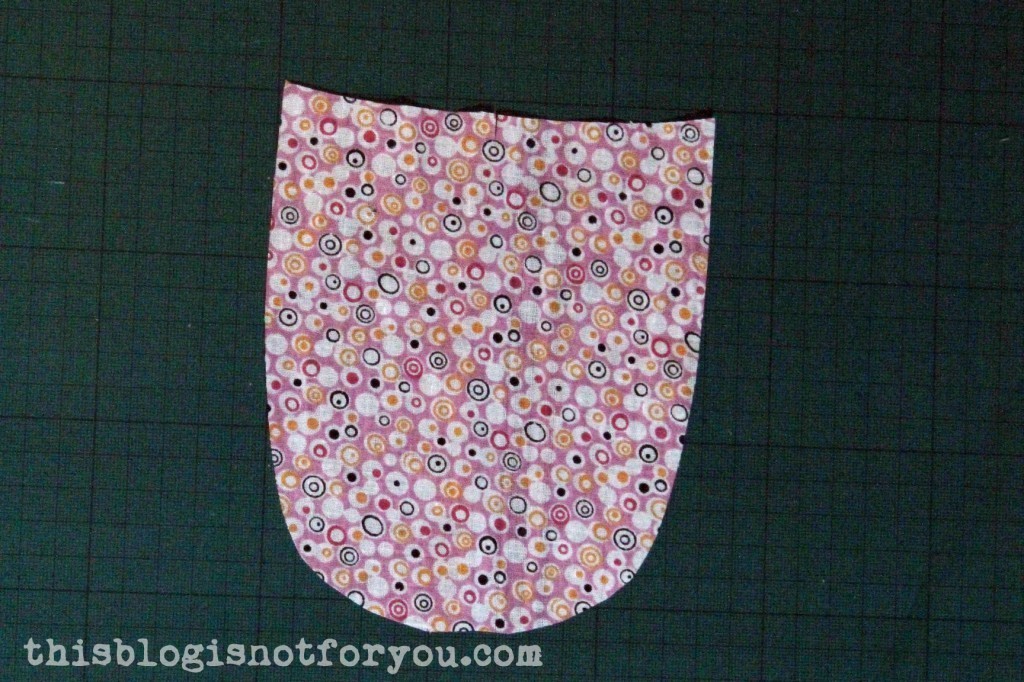 I cut out a bib (don’t forget the seam allowance!).
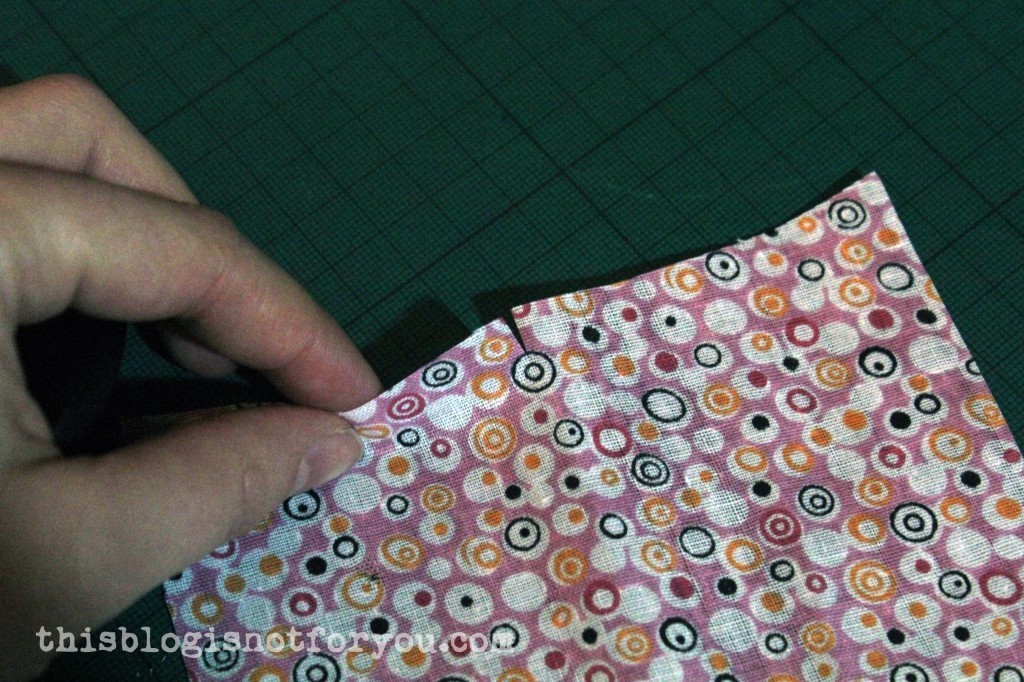 I marked the center on the bib (and also on my bodice piece) with a small notch.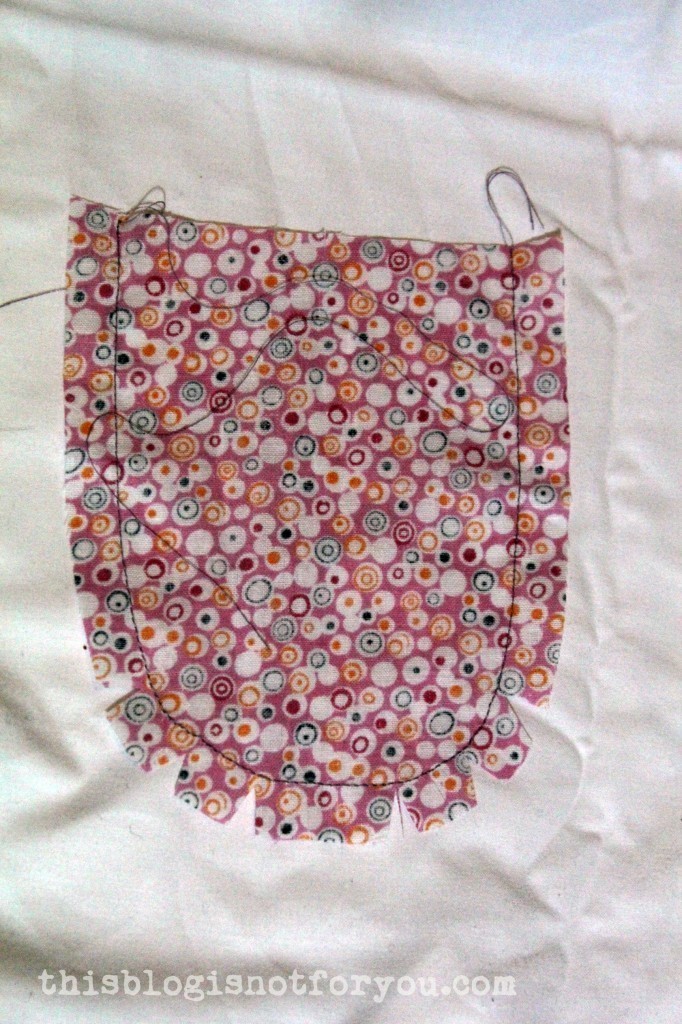
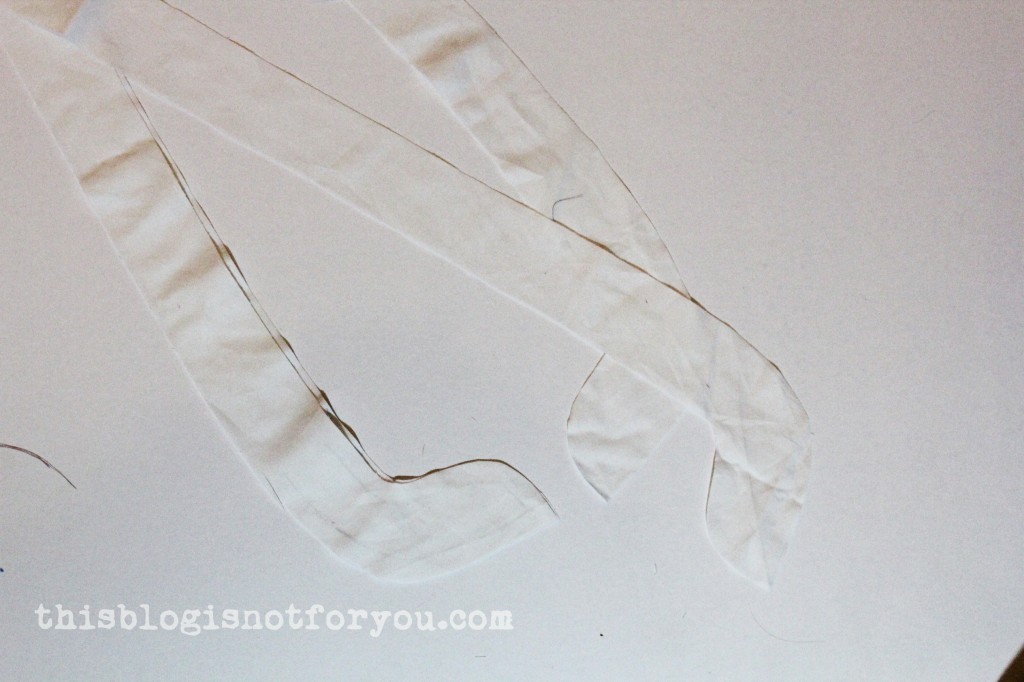 Using the same marking and tracing technique on my dressform, I cut out the straps. I stitched around the edges like so: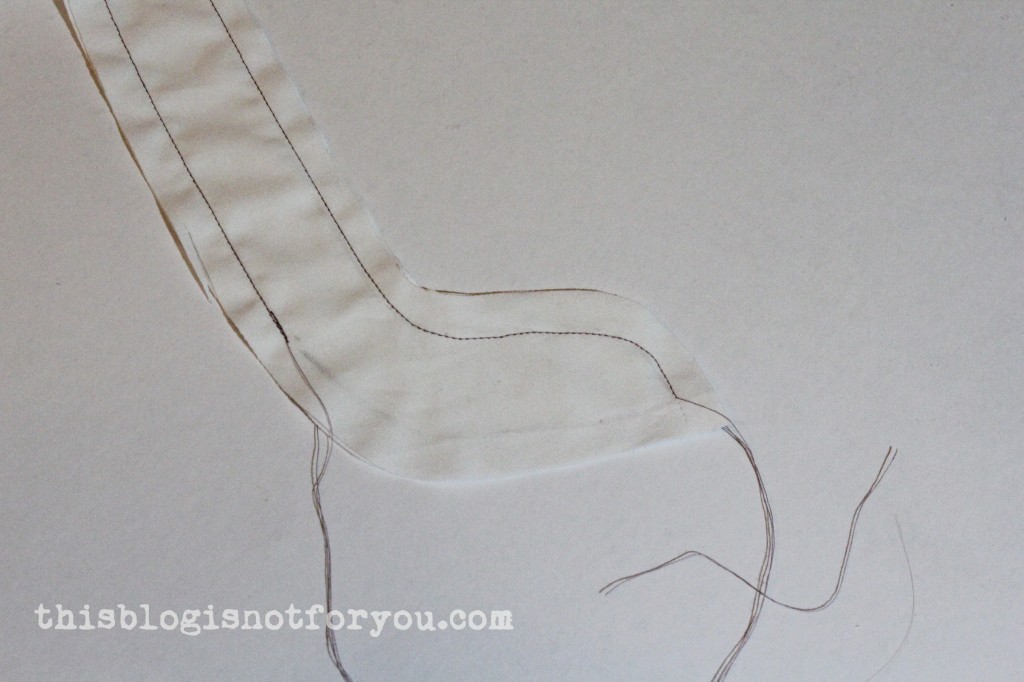
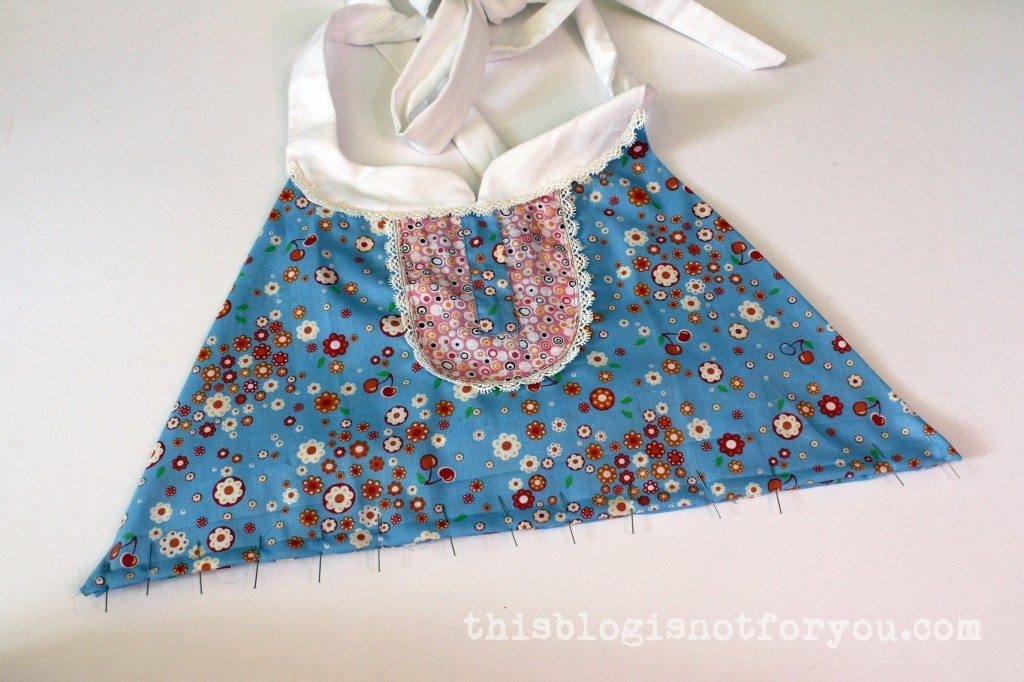
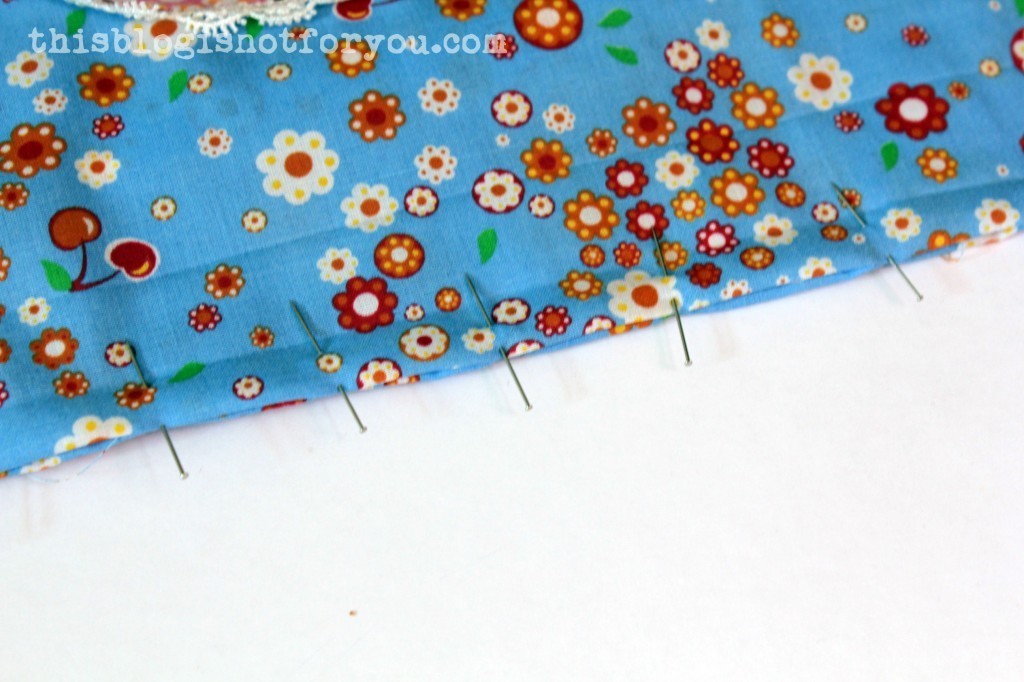
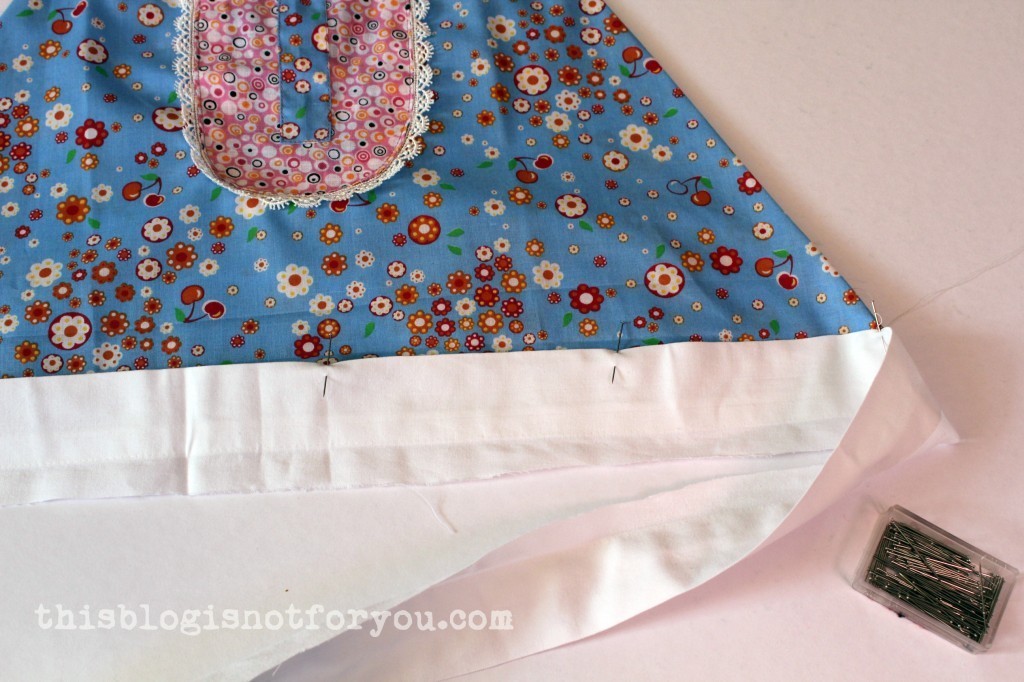 I then attached the waistband to the bodice. When cutting out the strap/straps for the waistband, make sure it’s long enough to tie it in the front.
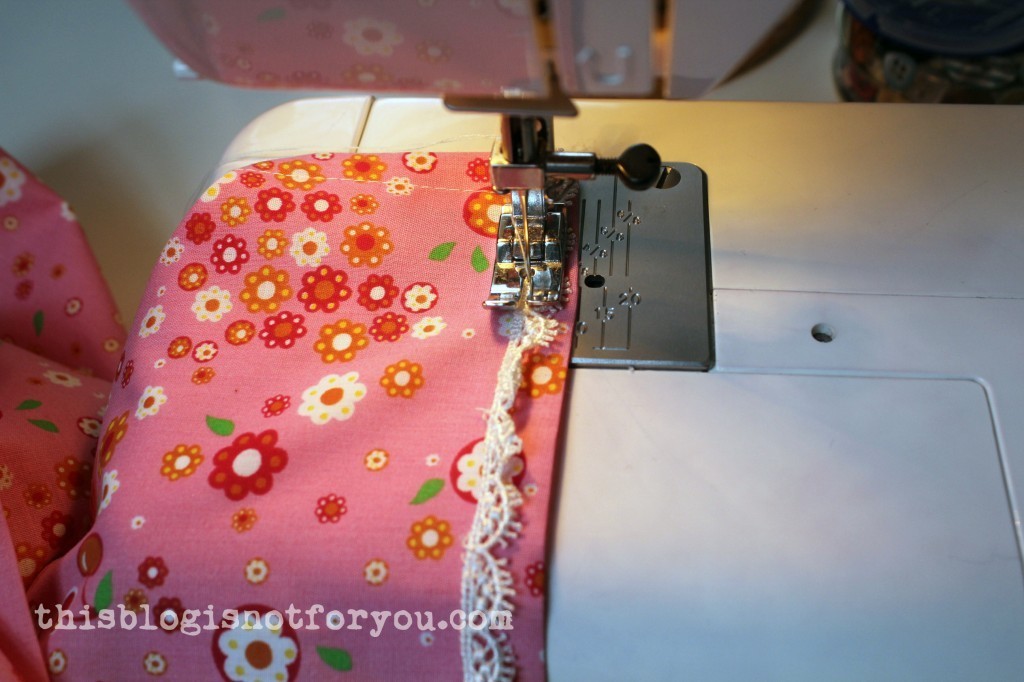 Before gathering and attaching the skirt panel, I hemmed it and added trim. It’s easier to do that when the fabric lies flat.
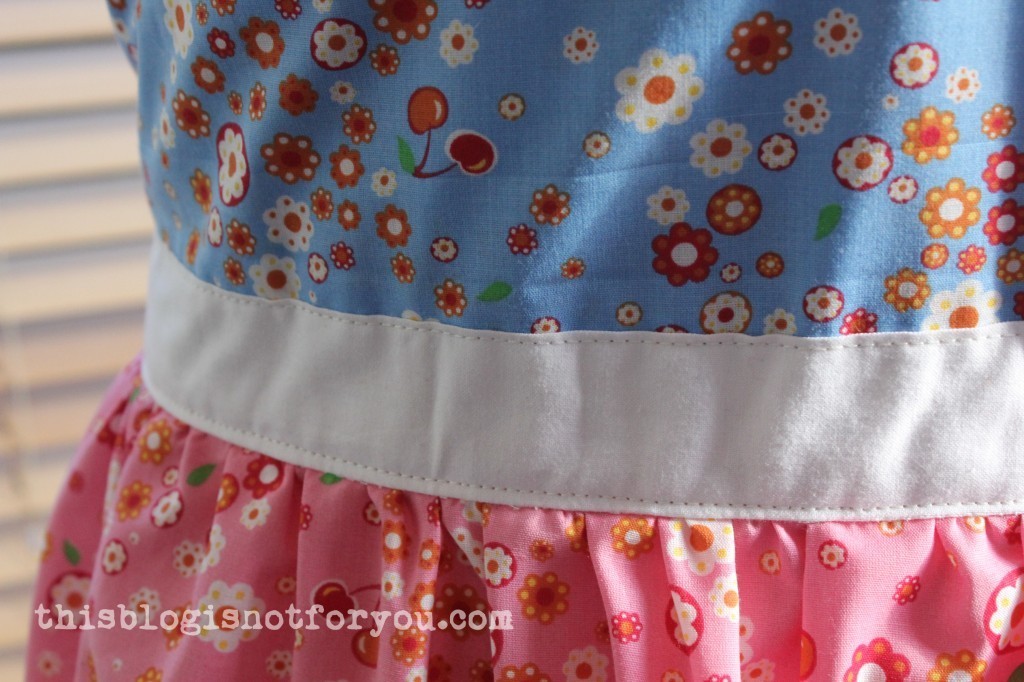
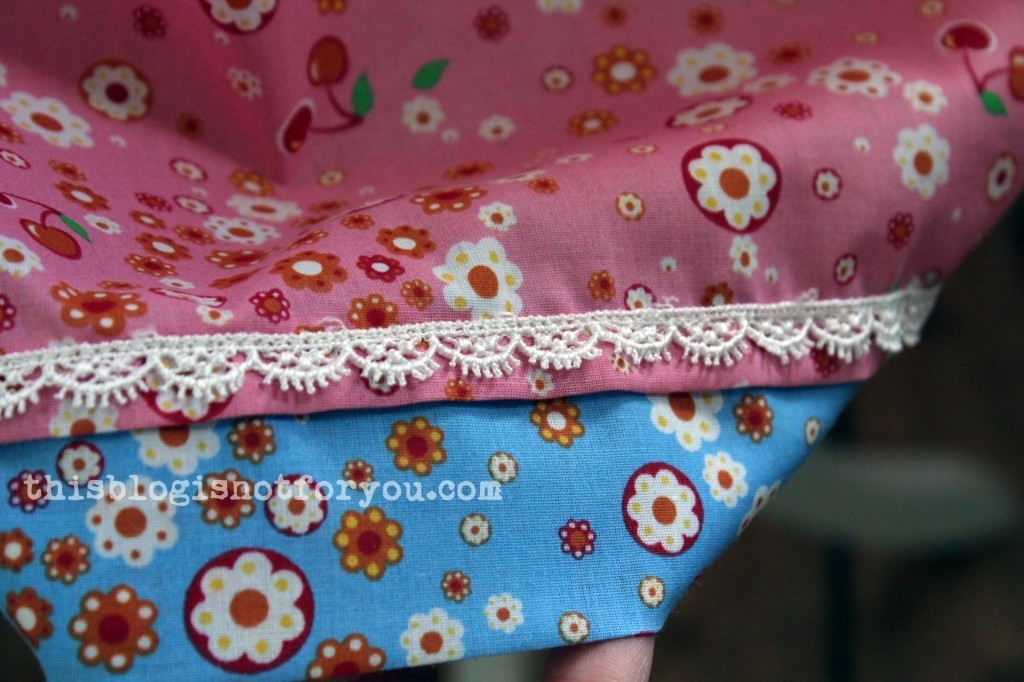 After the apron was finished, I decided to add a ‘second hem’ (is there a name for that?) in a contrasting colour/the same fabric I used for the bodice. I simply cut out a strip twice as wide as I wanted the hem to be, folded it over in the middle and stitched it onto the skirt, both hems overlapping.