
Two Agnes Tshirts

A (slightly late) Happy New Year everyone!
As you might have (not) noticed, I took a little blogging break after Christmas, which was necessary due to being away over the Holidays and starting a new job this month. But now I’m back and filled with an endless amount of sewing mojo!
Too bad I mostly only have the weekends now and the wedding is coming closer, so I am (hopefully) channelling all this energy into making a gorgeous wedding gown. Don’t get too excited, I’ve only just started (shame on me!). I’ve been procrastinating for months and now really have to get going. I’m not yet worried as I work best under pressure. Right now I’m working on the muslin, but this will be a seperate blog post.
Although I won’t have time to sew much else, there will be quite a few garment posts soon. My 2015 me was clever enough to sew and photograph loads of projects before Christmas, so I’ve got some blog posts lined up.
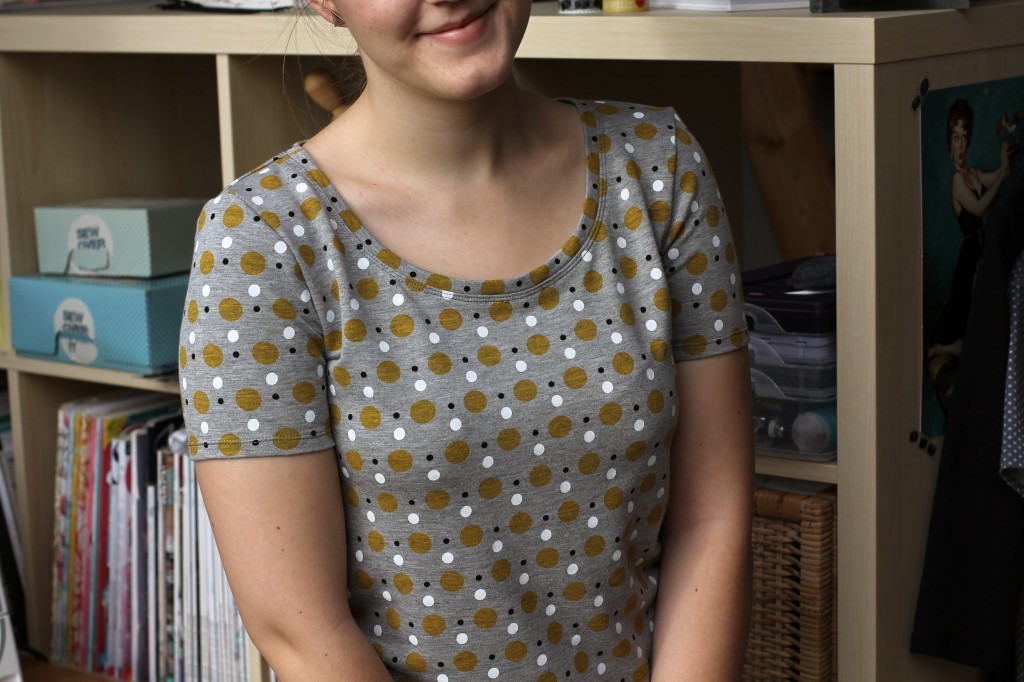
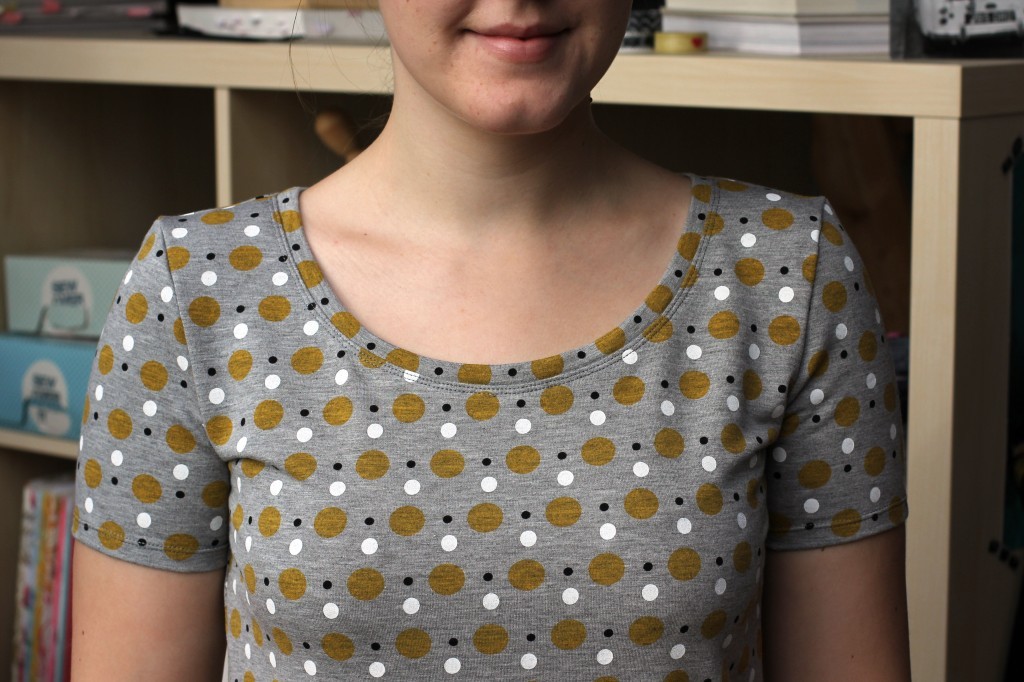
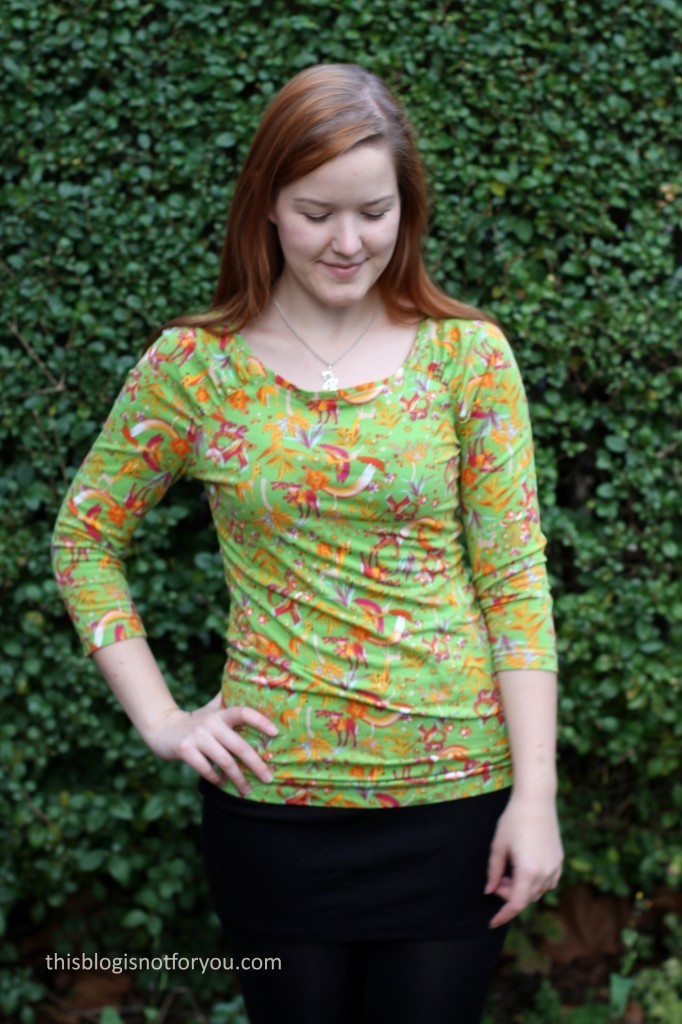
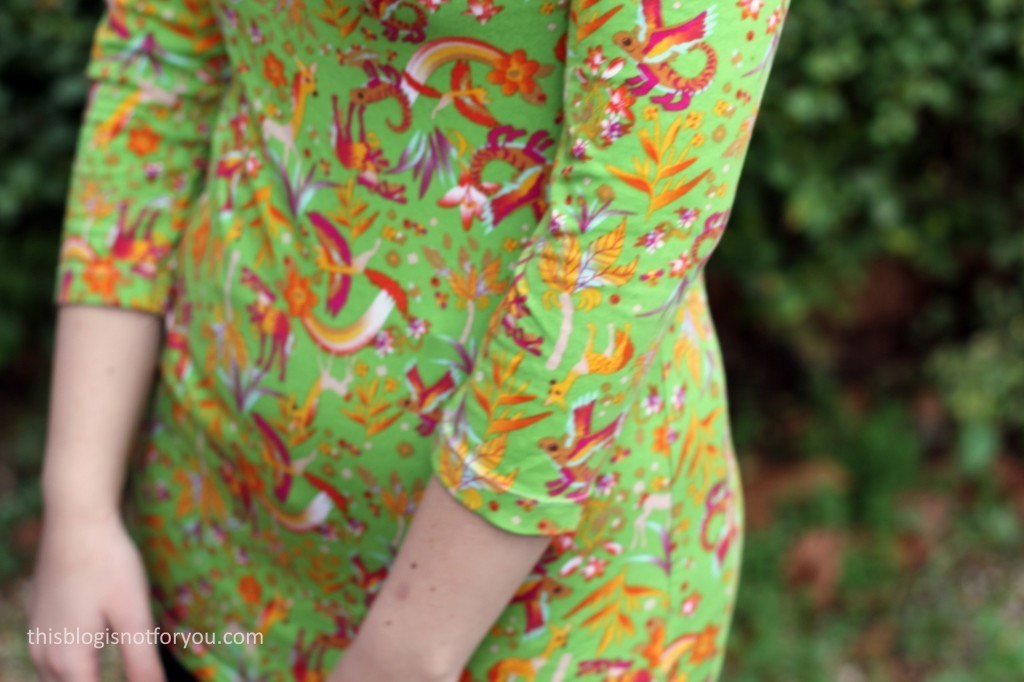
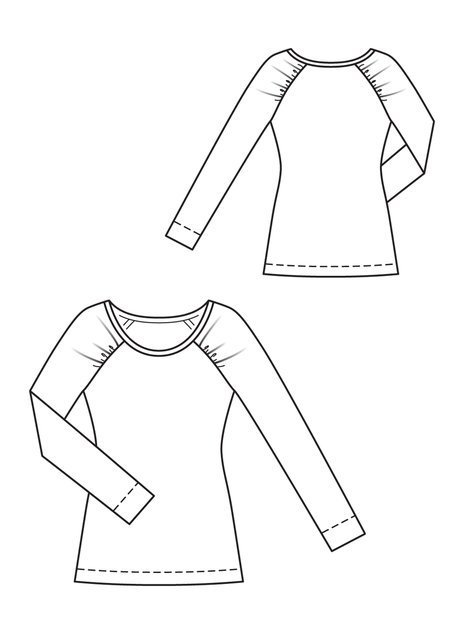
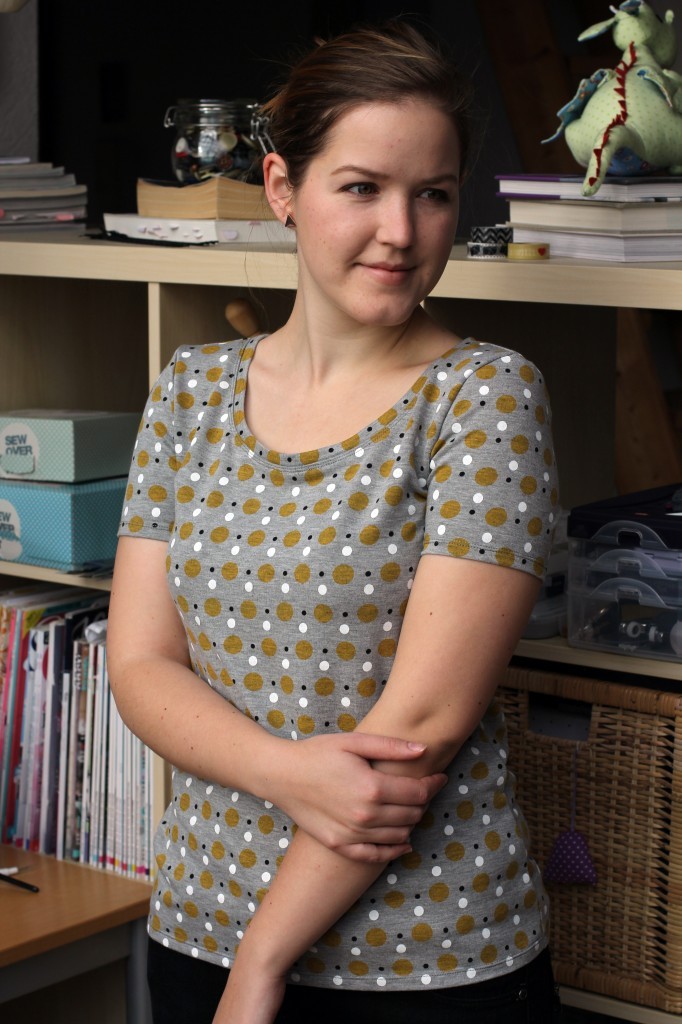 The two Tilly & The Buttons Agnes tops I’m showing you today were Christmas presents for my bff. So, please ignore the fit! We are similar sizes and shapes but the tops were ultimately made for her and not a perfect fit on me.
I won’t say more about the pattern, because I already told you how much I love it here and here and here.
Adjustments:
These two tops are again variations of the original pattern. As you might have noticed they are not as figure-hugging as the pattern is intended to be. My friend doesn’t like super tight tops although she’s got a gorgeous figure, so I went with quite a common Tshirt silhouette. For this I simply added more ease around the waist. I redrew the side seams so they were more of a straight line starting at the armhole.
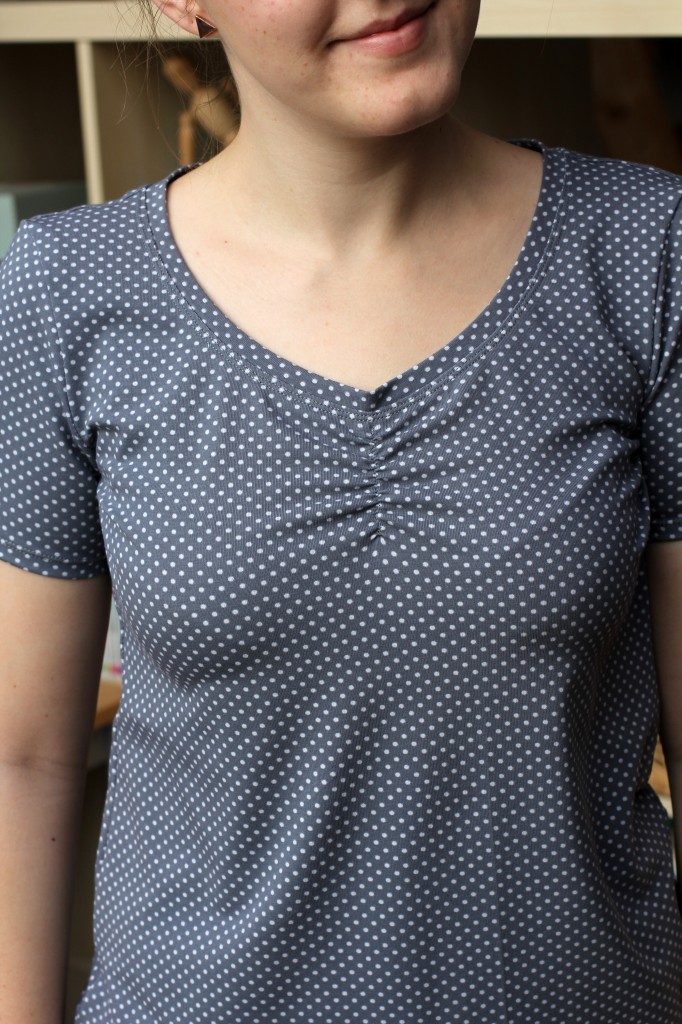
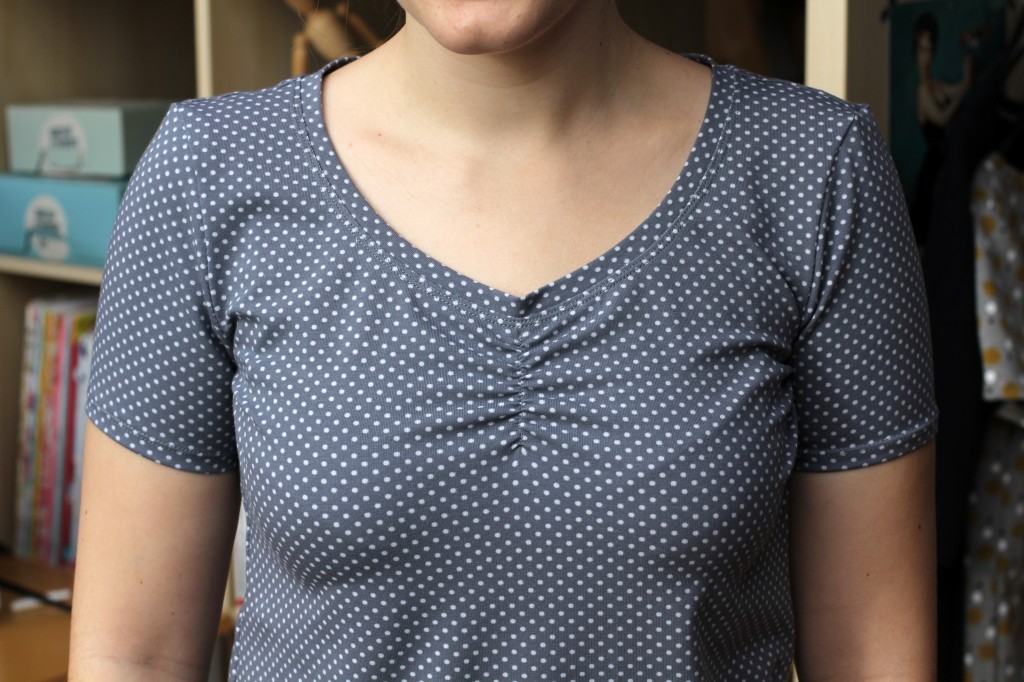
Also, I shortened the sleeves and made them a tiny bit wider around the hem. I left the neckline as it was. For the second top I went with the ruched sweetheart neckline.
 The Fabric:
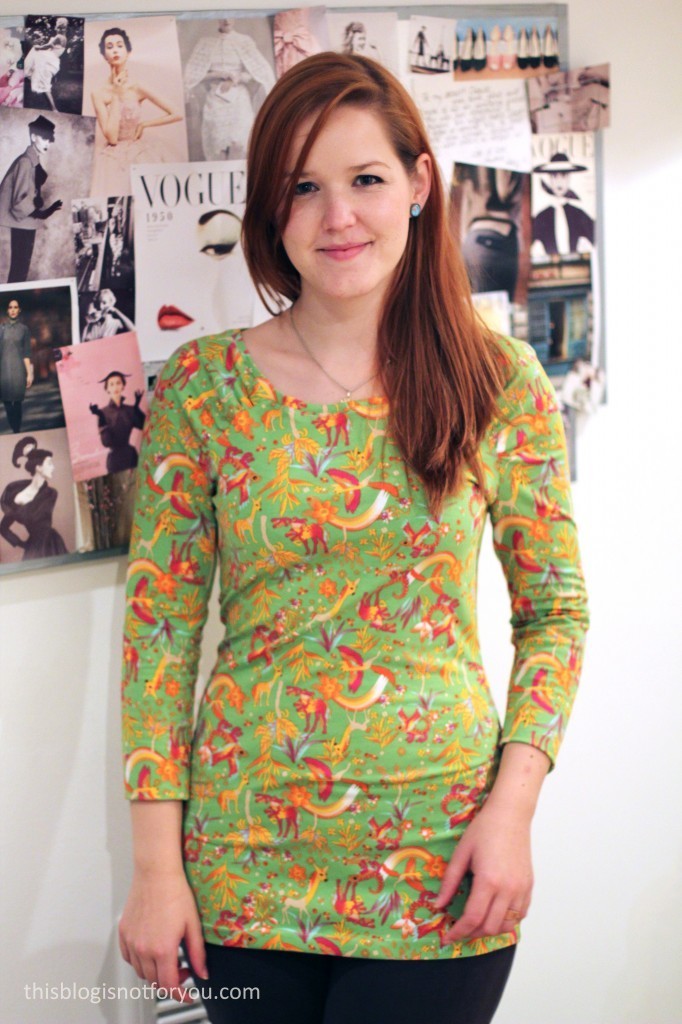
For the first Tshirt I used a slightly heavier cotton knit fabric with a yellow/white/black dots print. My bestie loves dots, but I wasn’t quite sure about the colours and the texture, so I made a second top just to be on the safe side!
This fabric is very soft but quite heavy and reminded me of a cozy warm pyjama. The finished Tshirt looks really cool, though and doesn’t scream pyjama to me. As the fabric was quite thick, I made the simple scooped neckline as I wasn’t sure whether the ruching would work with this fabric.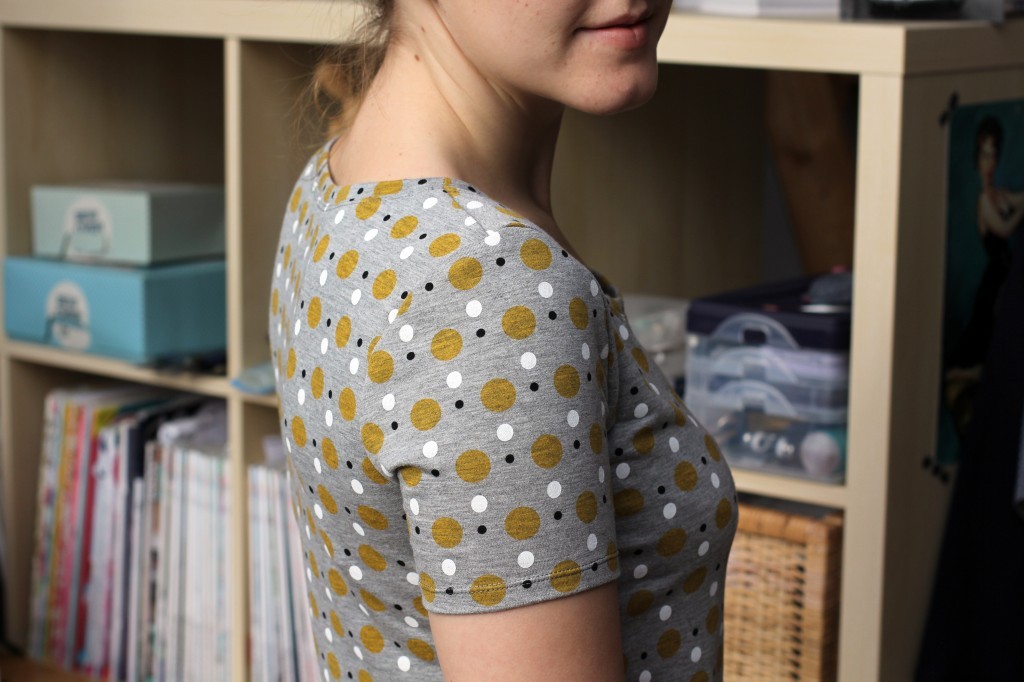
 Anyway, I had already bought the second & safe fabric, so I made another one. These tops are so easy and quick to sew, it didn’t even make much of a difference.
This jersey fabric is super thin and very stretchy. It’s cotton, as well, but a much better quality. The ruching at the neckline worked really well on this and I love the result! Too bad I had to give it away!
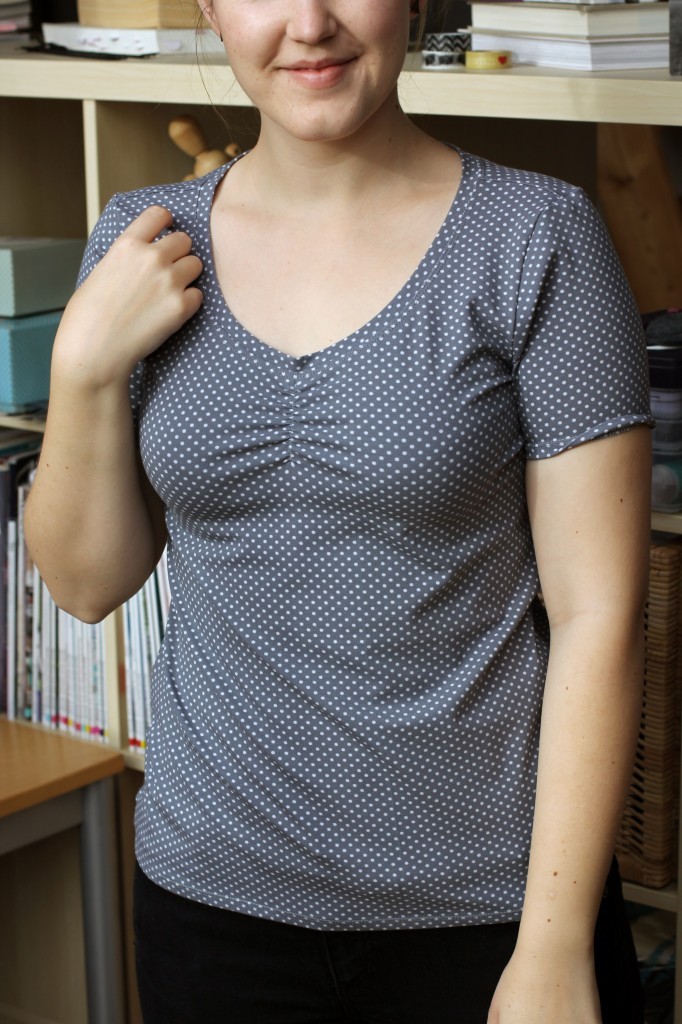 (Ignore the turned up sleeve, I don’t know how to dress myself!)
Soo, as you can see the Agnes Top works as a simple Tshirt, as well! I can’t stress the versatility of this pattern enough. I’ll probably make even more just for the fun of it. When you have little time, quick sewing projects are so so satisfying!
xx
Charlie
Happy sewing!
♥
facebook/bloglovin/pinterest
twitter/instagram
Stay in touch!
 Happy Holidays everyone!


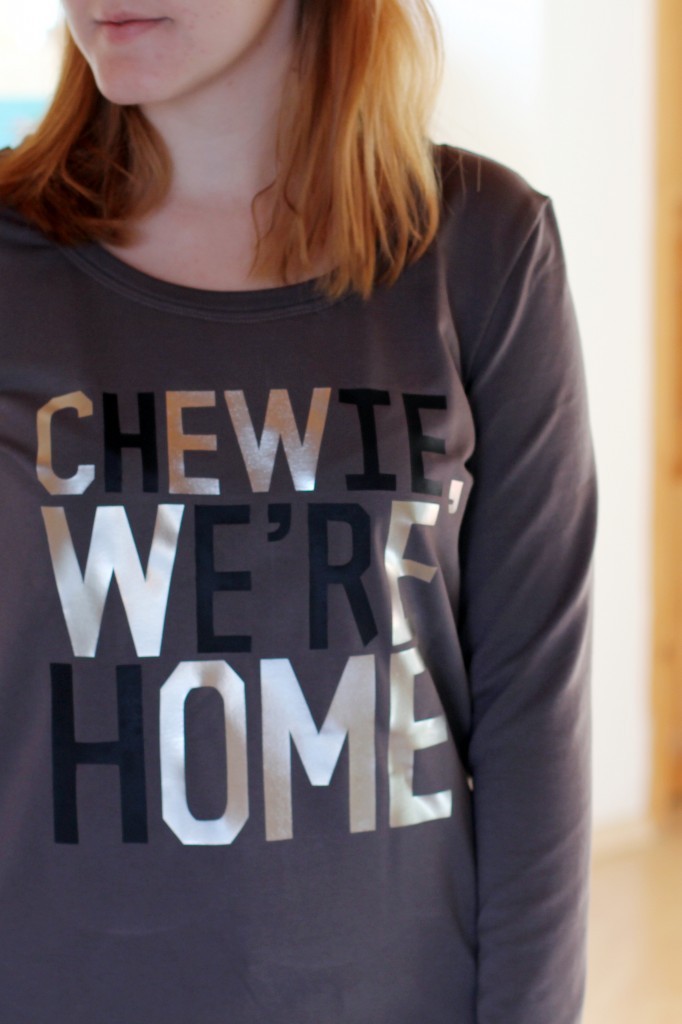
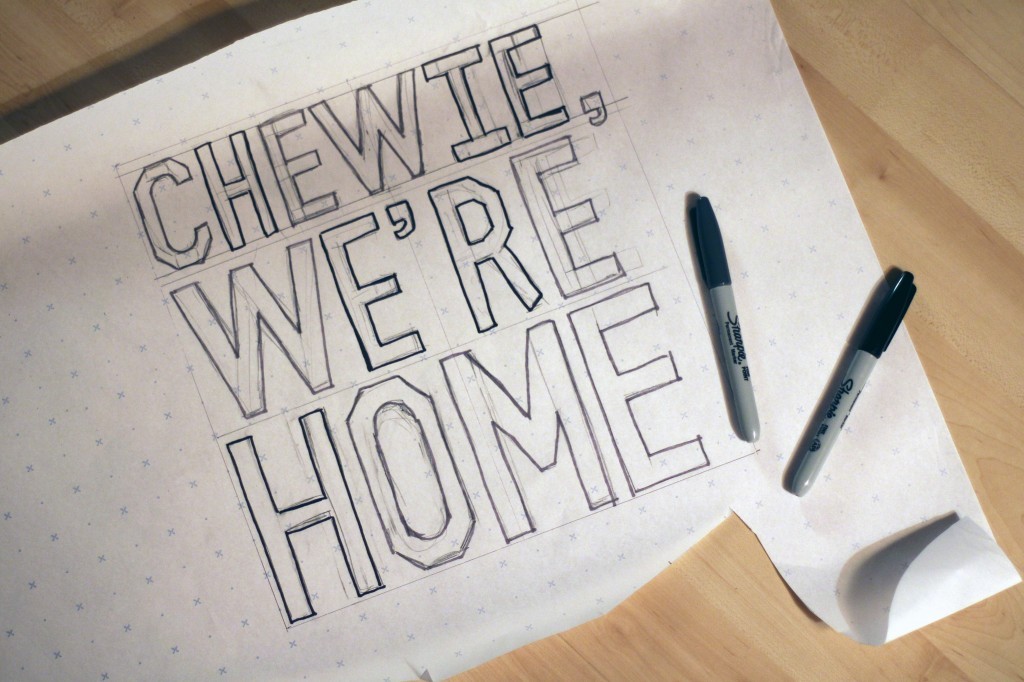 Start of by sketching out the shape or letters you want to create. Alternatively, you can use Word or Photoshop to create a layout you can print off and cut out.
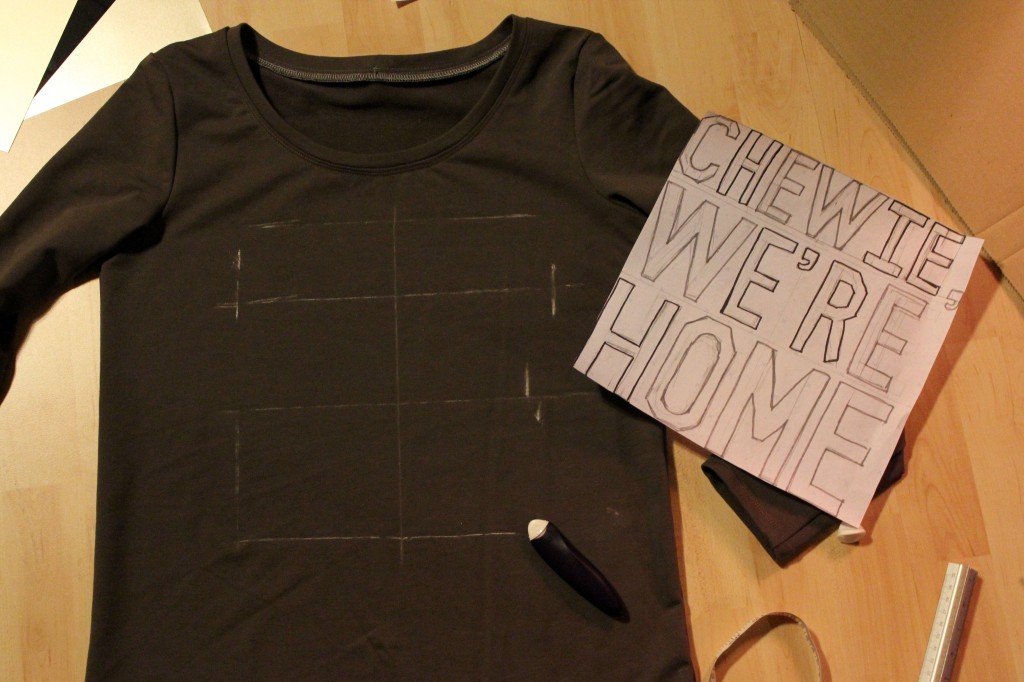 I used the sketch to check if the size was right and to mark the position on the shirt.
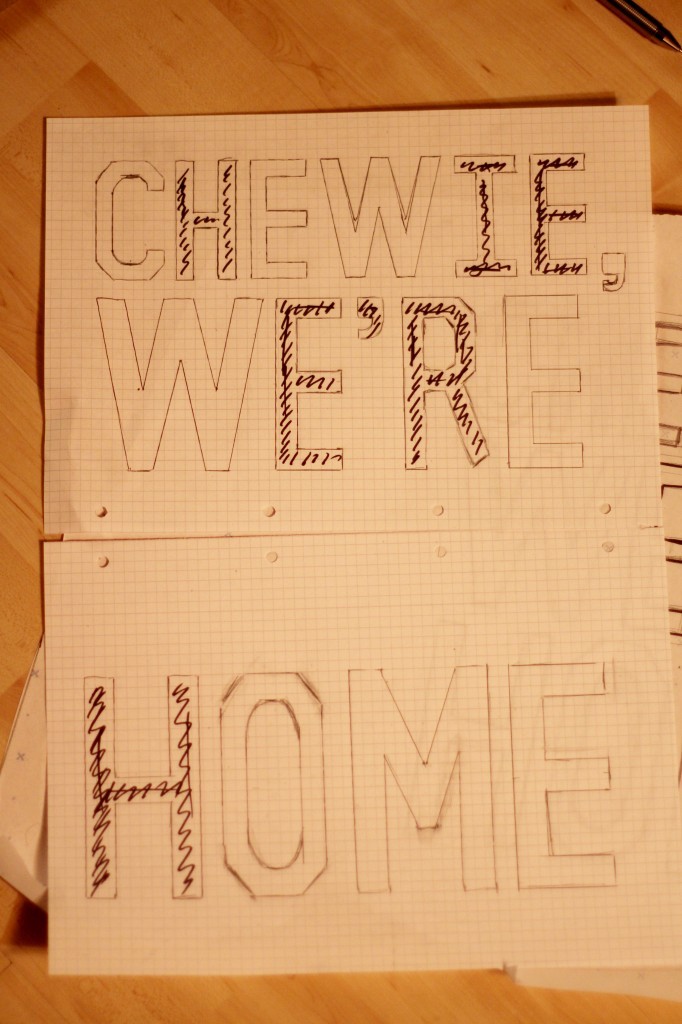 Because I couldn’t find a good font and sketched my own, I copied them onto squared paper to make sure they were even and all the exact same size. I positioned them on the shirt and used chalk for markings.
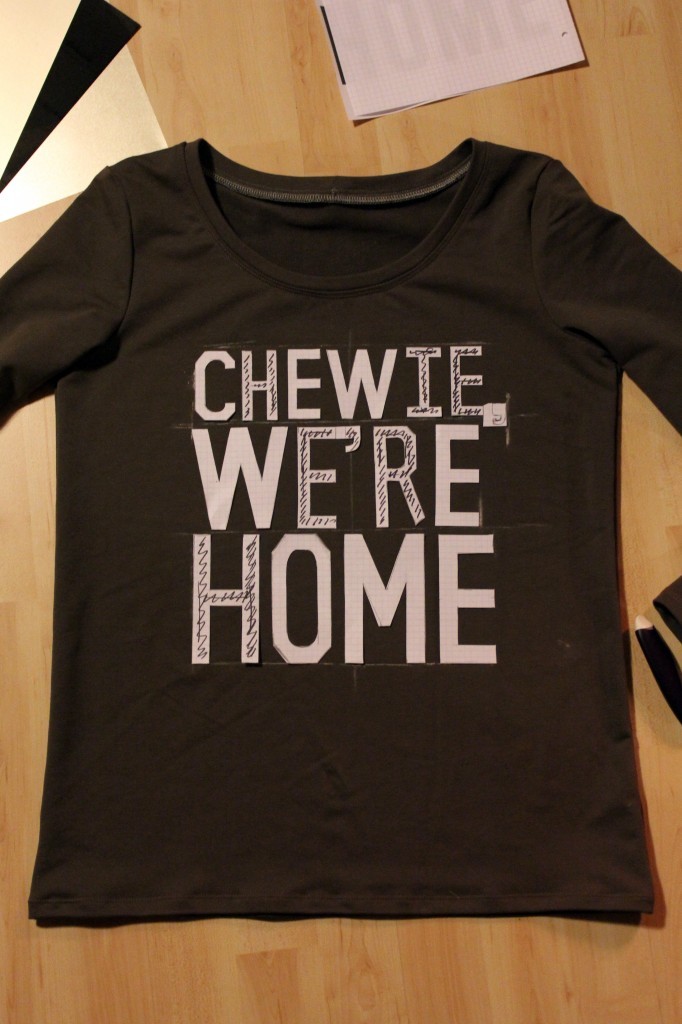 When transferring the template onto the foil, make sure everything is mirrored. Draw the shape onto the matt side of the foil, you can use pen or pencil. If you don’t want to mirror your letters, you can try to draw them onto the “right” side, but since it has a protective film it might be a bit tricky and the ink of your pen might come off and ruin your iron.
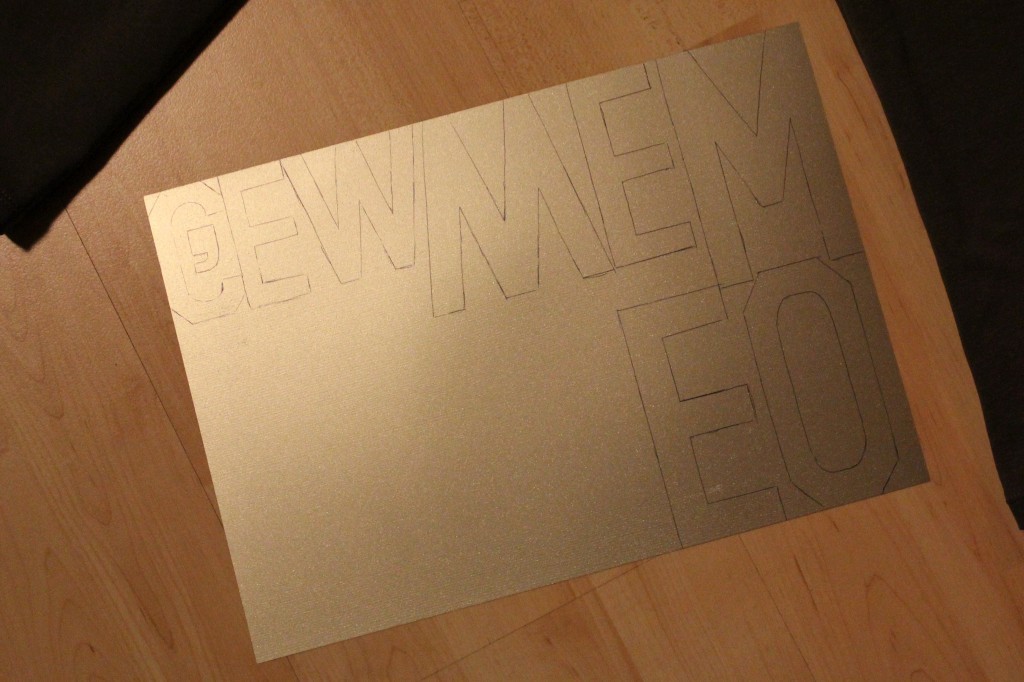 Cut out the letters, place the onto your shirt and press the iron onto them one by one to prevent them from slipping out of positon. Don’t remove the protective film until all the letters are firmly applied and have cooled off.
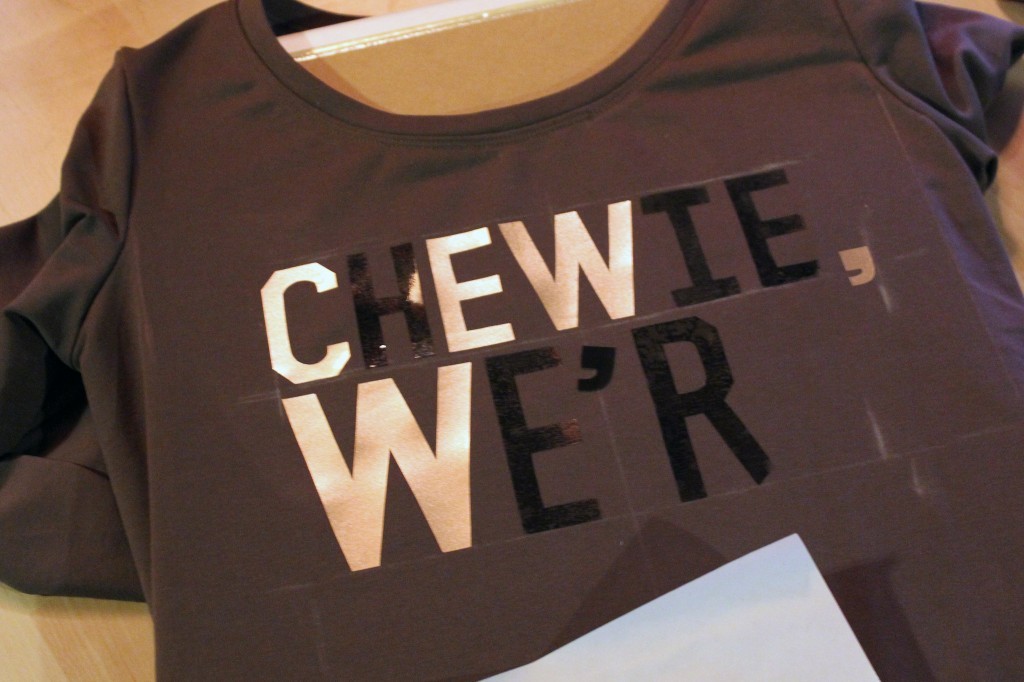
 You can now remove the plastic film and use the extra sheet of protective paper that comes with the foil to set the glue a second time. Never iron without the paper after that otherwise the foils sticks to your iron and the whole this is ruined. You can wash the shirt at 60° and iron it from the wrong side if necessary.
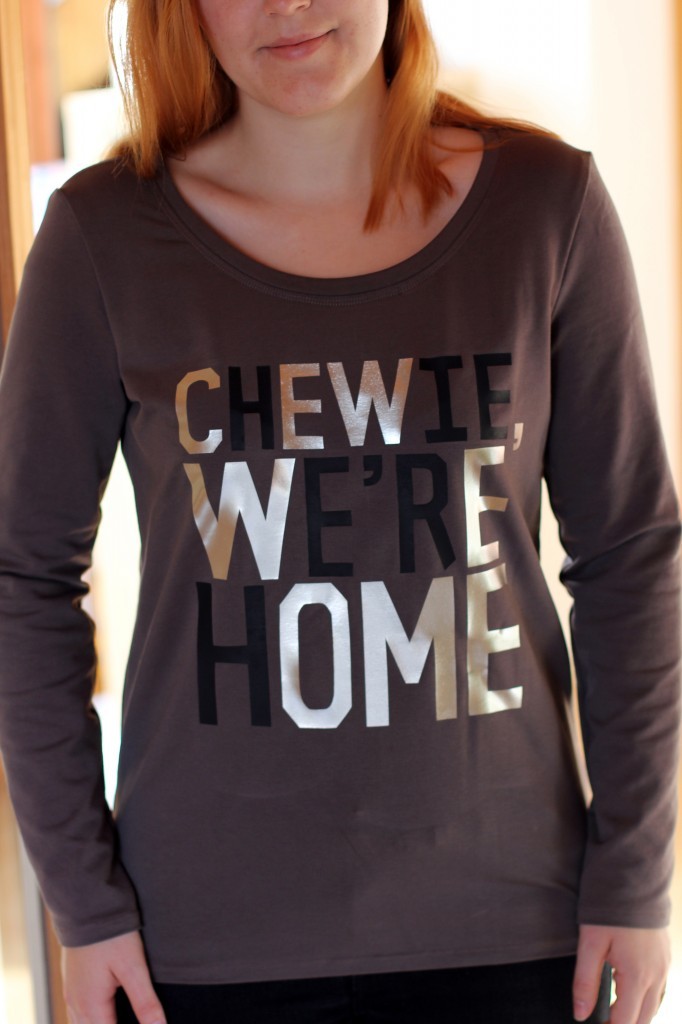
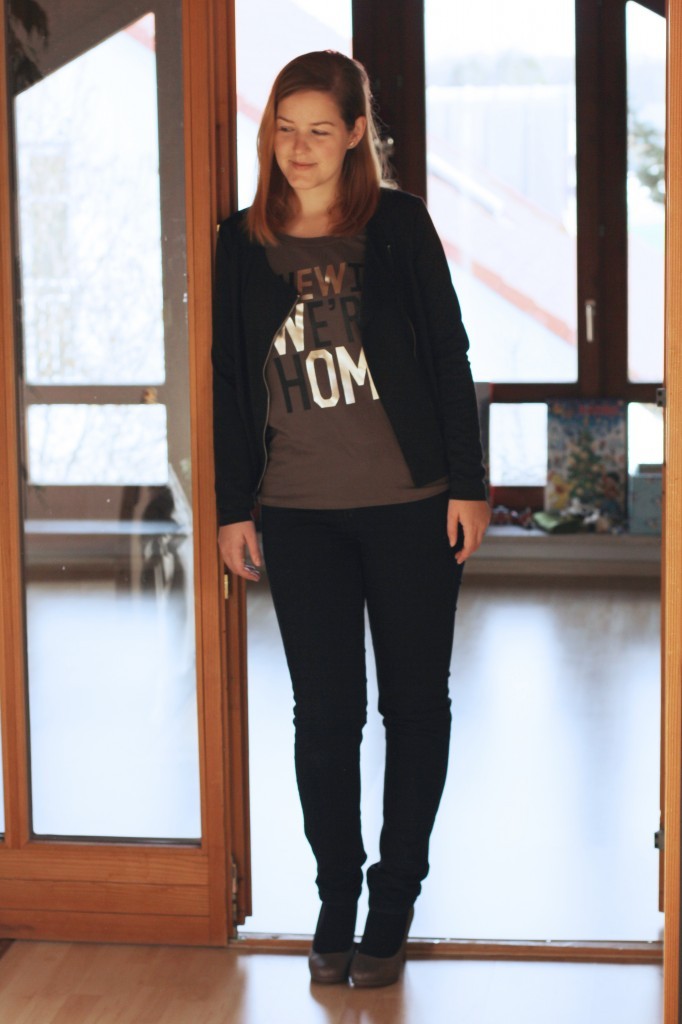

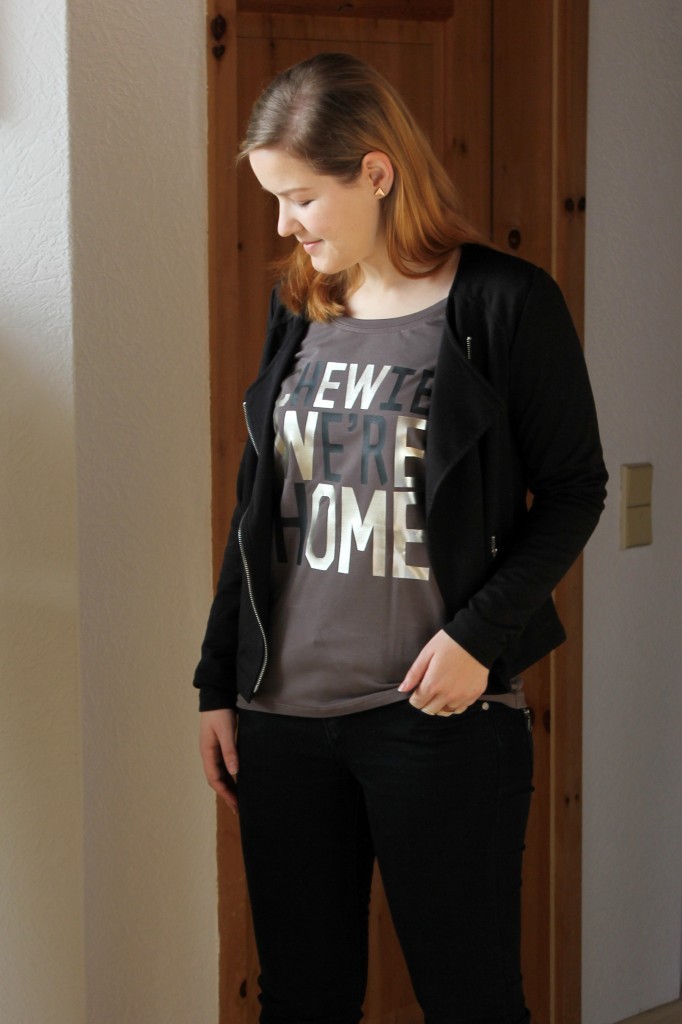
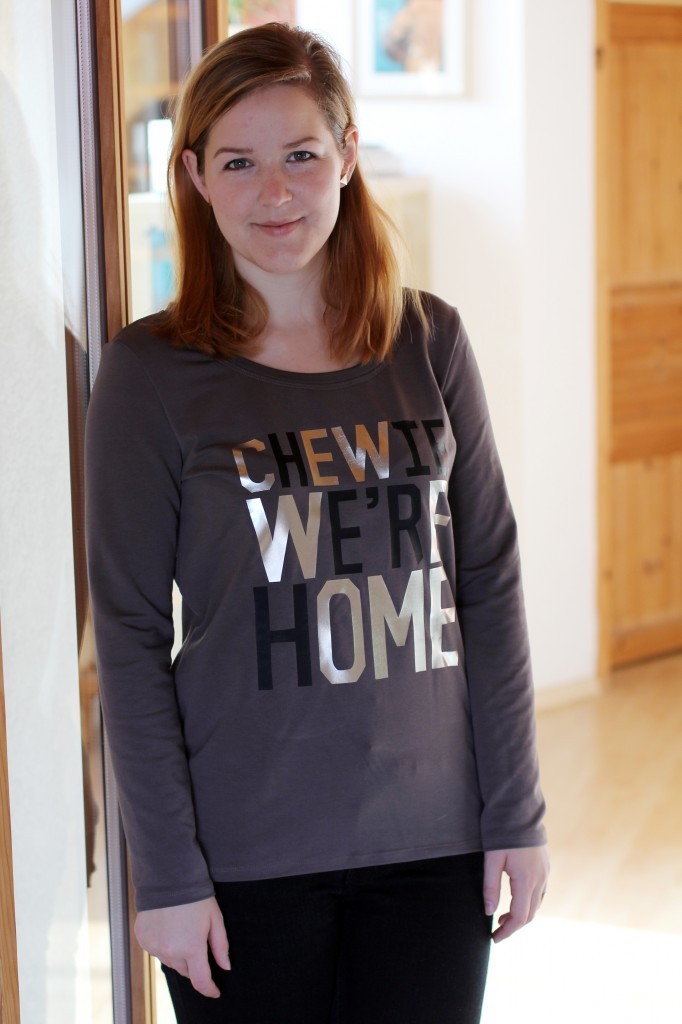
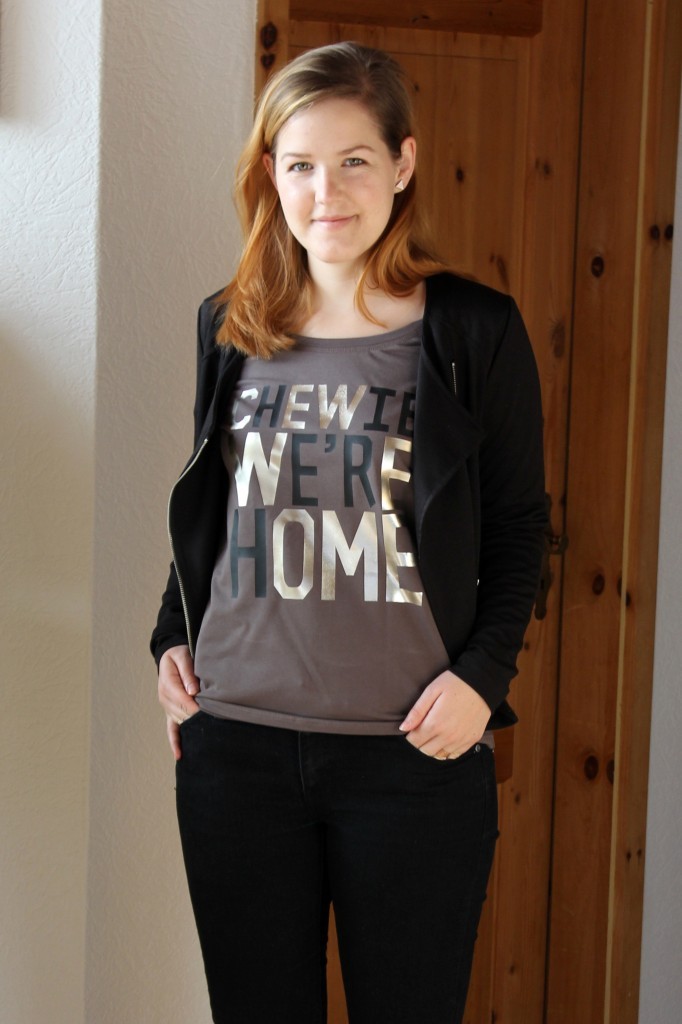
 Hello gang! Life has been so busy lately that I don’t even have the time to share my makes on time anymore! I made this jersey shirt in October.
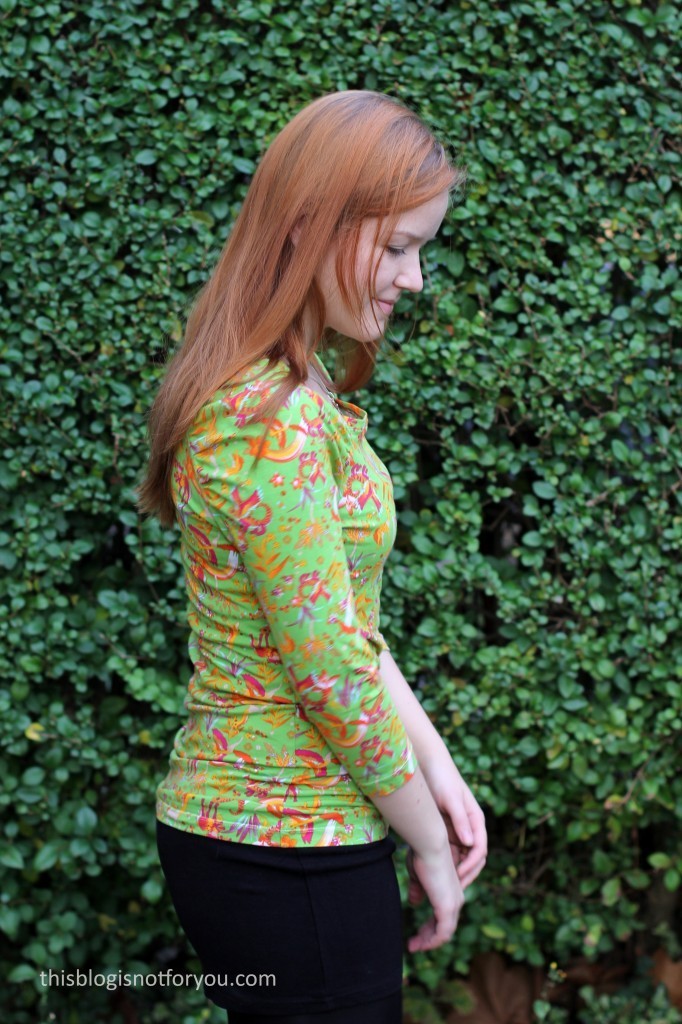
 The Fit:
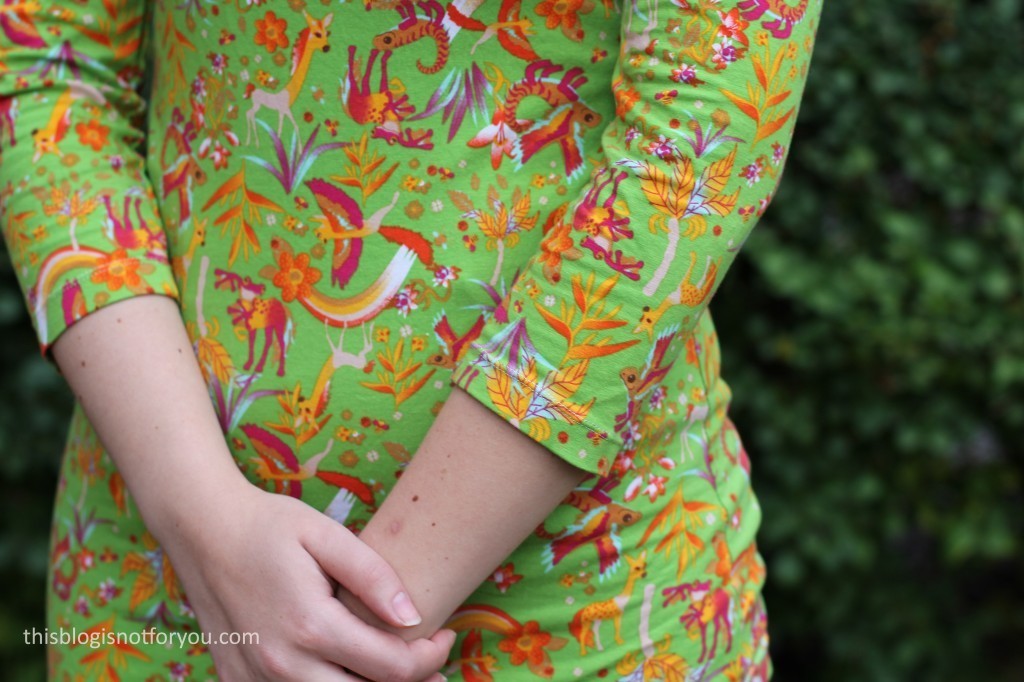
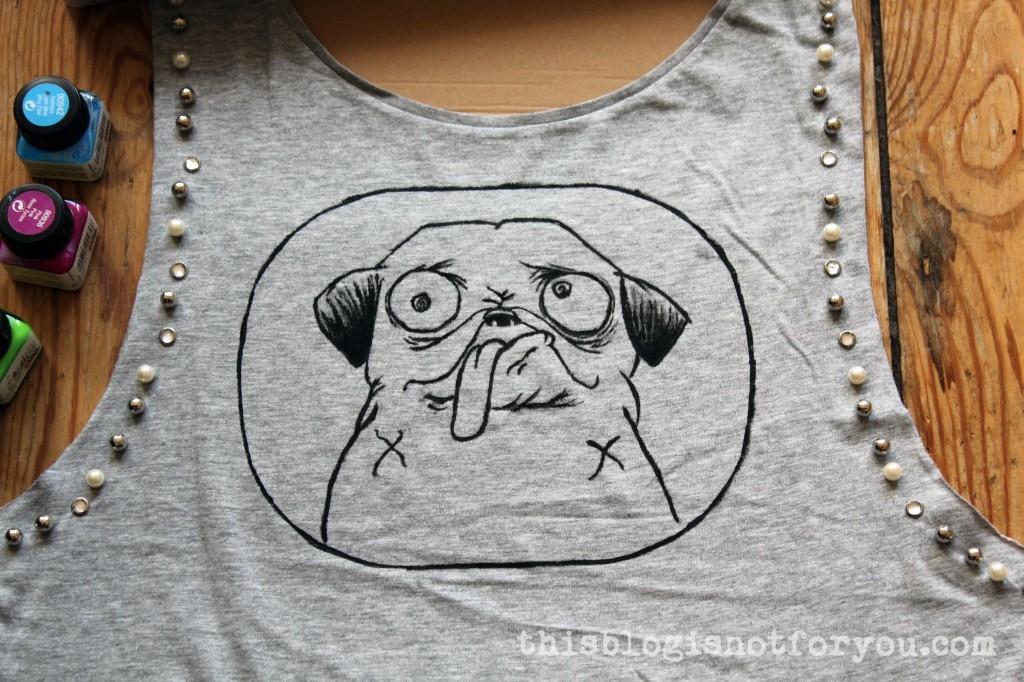
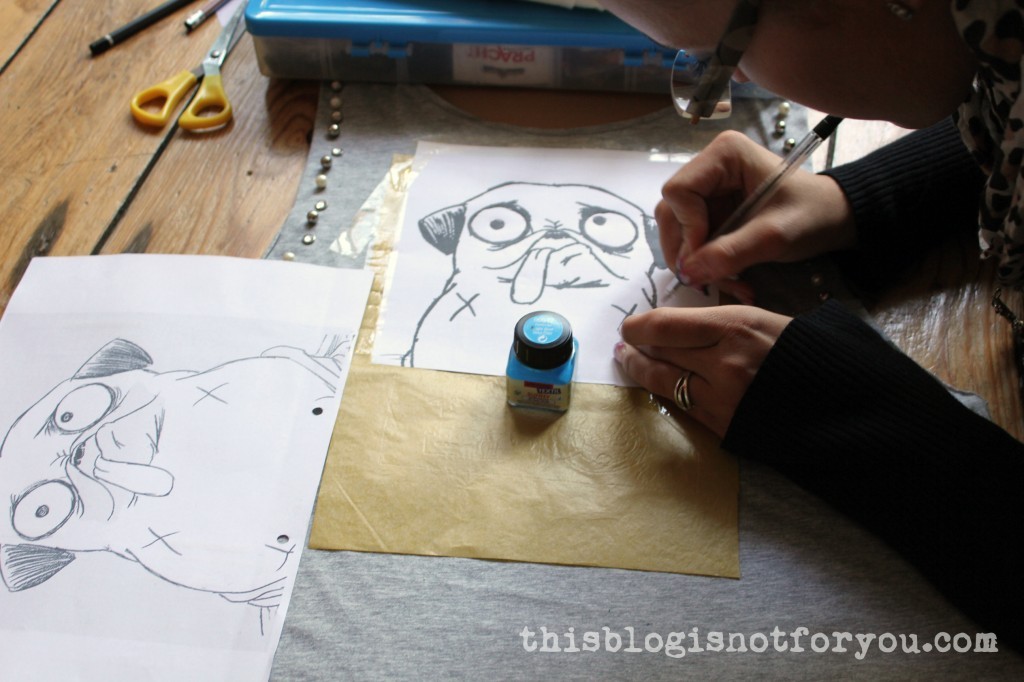 We used transfer paper to transfer the picture onto the shirt. This one leaves very pale yellow lines on the fabric you can easily paint over.
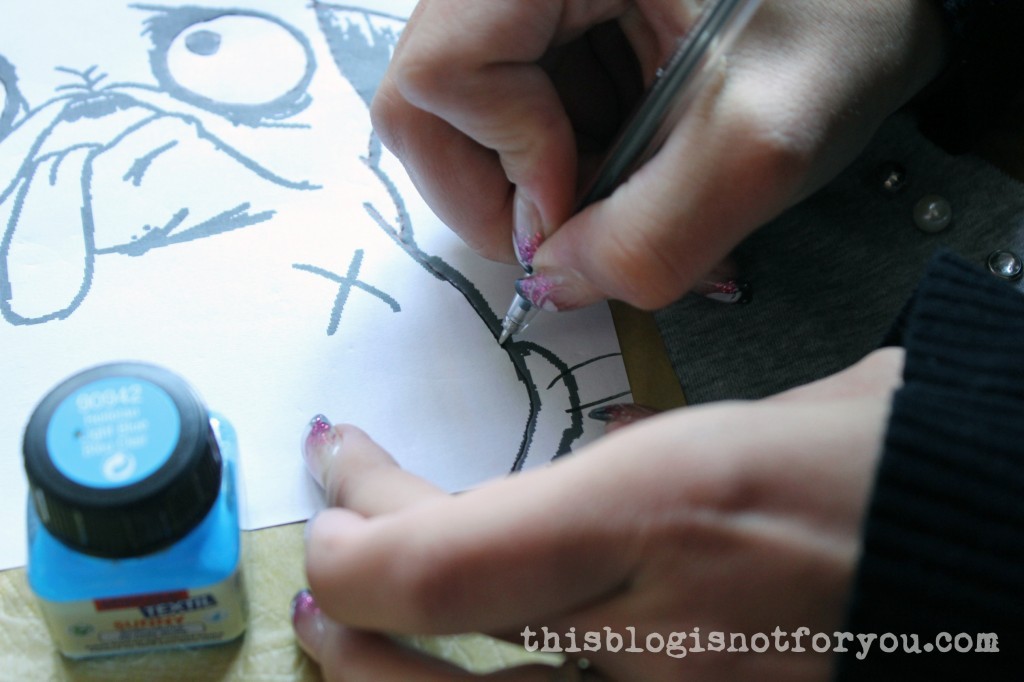 We traced the yellow marking lines with a fabric marker and then used black fabric paint and a small paint brush.
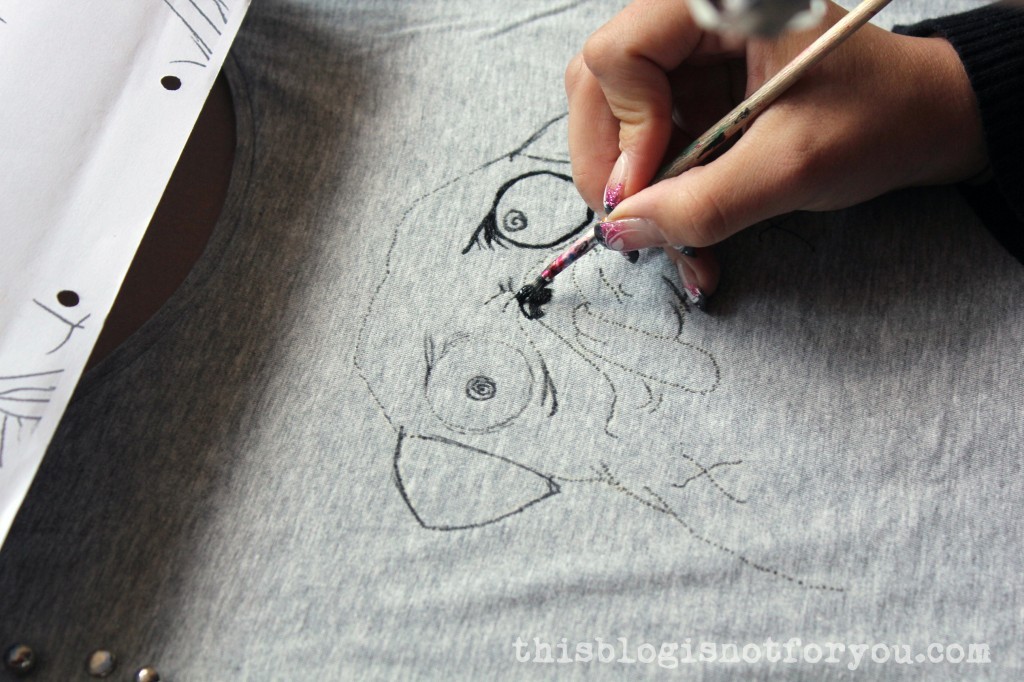
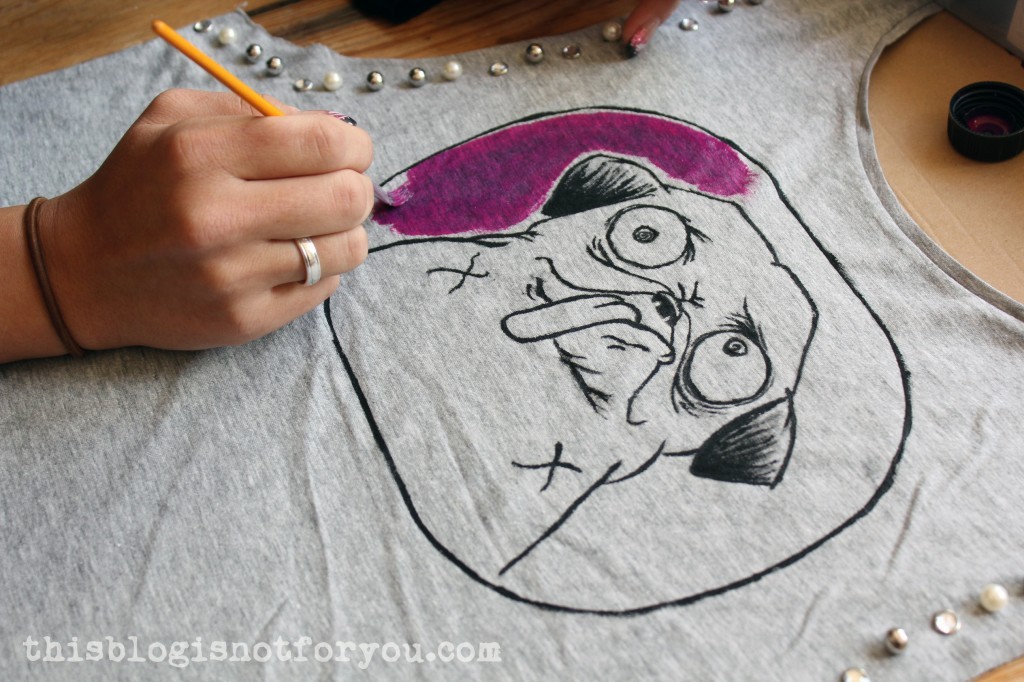 After painting we left it to dry and then ironed it, left side up.