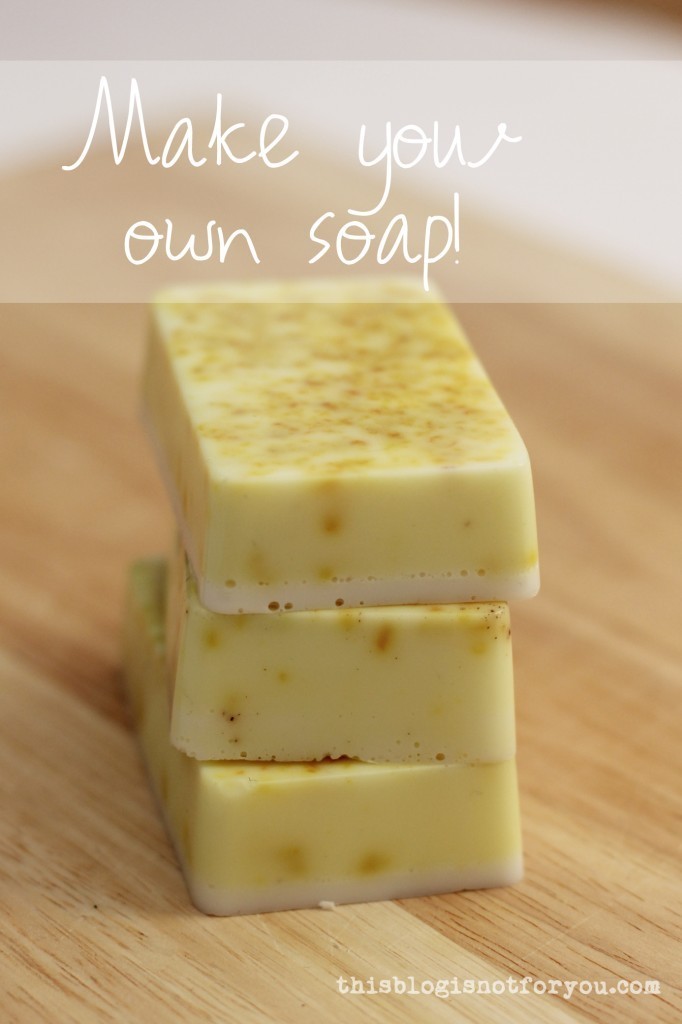
 Ahhh, our flat smells heavenly! One of the many benefits of making your own soap. I love making soap because you can create the perfect soap bar with your favourite fragrances and ingredients. And, believe me, picking up the finished soap bar for the first time and smelling it is such a bliss!
You can make soap-making as easy or hard as you want. I decided to go the easy way, inspired by the ladies over at A Beautiful Mess and bought a goat’s milk soap base. If you want to make soap the hardcore way you can create your own base; there are some fab recipes out there. But it’s much more complicated and you will need a lot more ingredients. If you are trying to make soap for the first time, I would recommend starting with a melt-and-pour soap base. 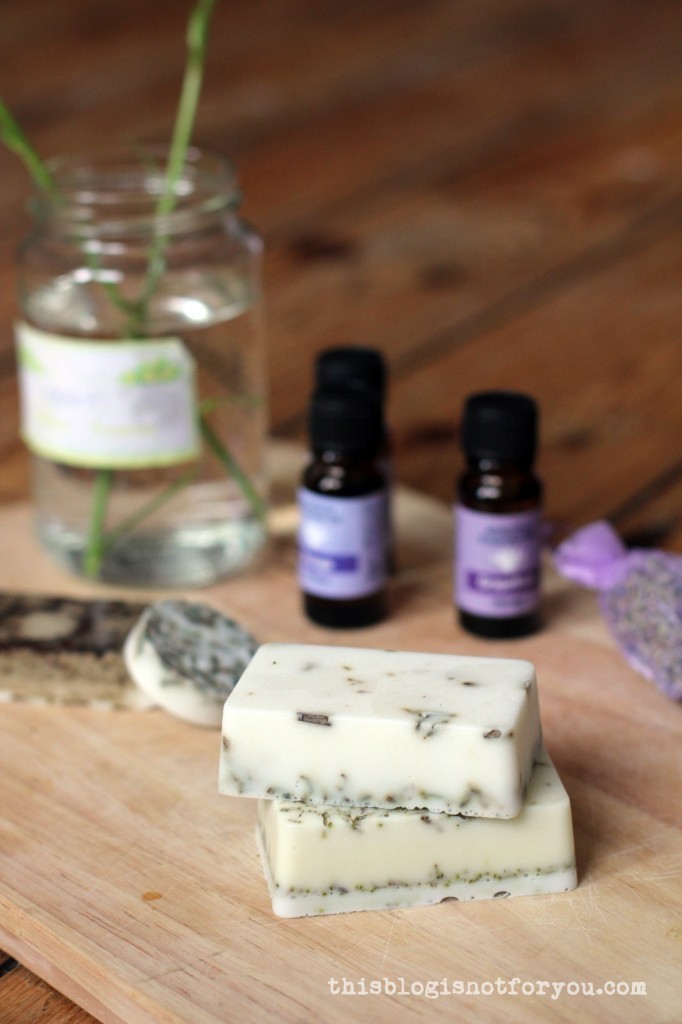

How To Make Your Own Soap
First of all, some basic supplies and ingrediences you will need for making your own soap:
– bowl for melting the soap base (microwave/double boiling)
– grater (for orange/grapefruit zest)
– silicone mould (brownie/cupcake molds are often cheaper than soap molds, but are the same thing)
– wooden spoon/cocktail stick for stirring
– melt-and-pour soap base (You can buy containers in different sizes. I bought 1kg and used about 500g so far from which I got about 12 bars) I bought goat’s milk soap base and really loved it. I’m sure there are also some vegan alternatives out there.
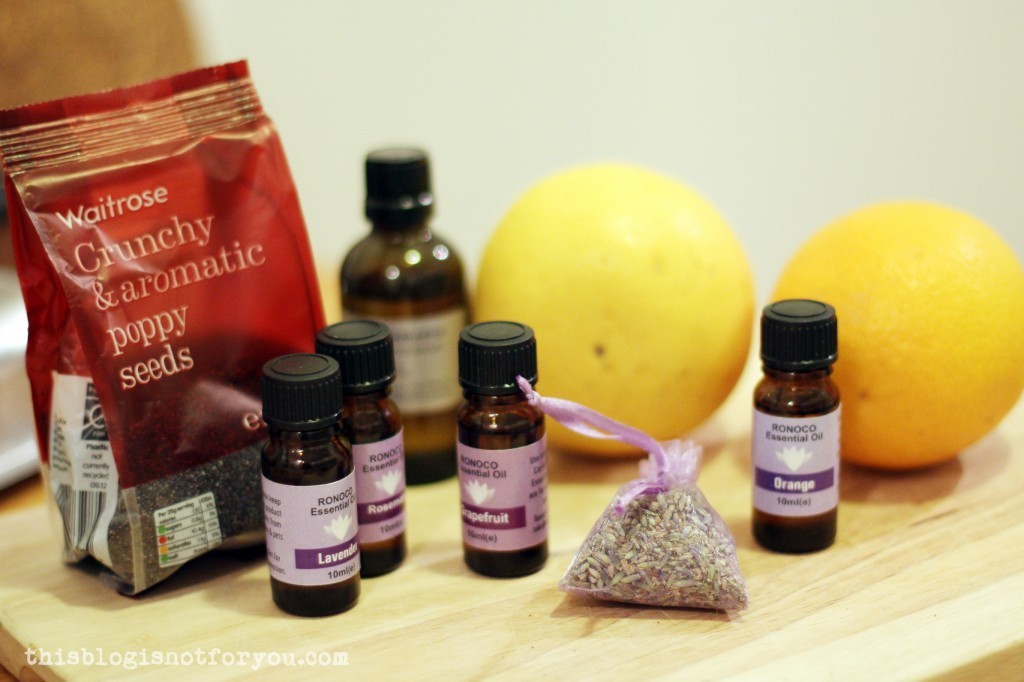
Ingredients you can use:
– orange/grapefruit zest
– various essential oils (lavender, orange, grapefruit, mint, rosemary etc.)
– poppy seeds
– coffee powder or beans
– dried lavender (also great for keeping your closet moth-free)/rosemary
You can basically use whatever fragrances you like. Using essential oils works best, as you only need a few drops to get a long-lasting scent. Dried herbs or blossoms are also nice. Using zest is fine, as the soap base preserves and keeps it from going moldy, but don’t go to crazy with adding fresh ingredients and don’t use more than a couple of teaspoons.
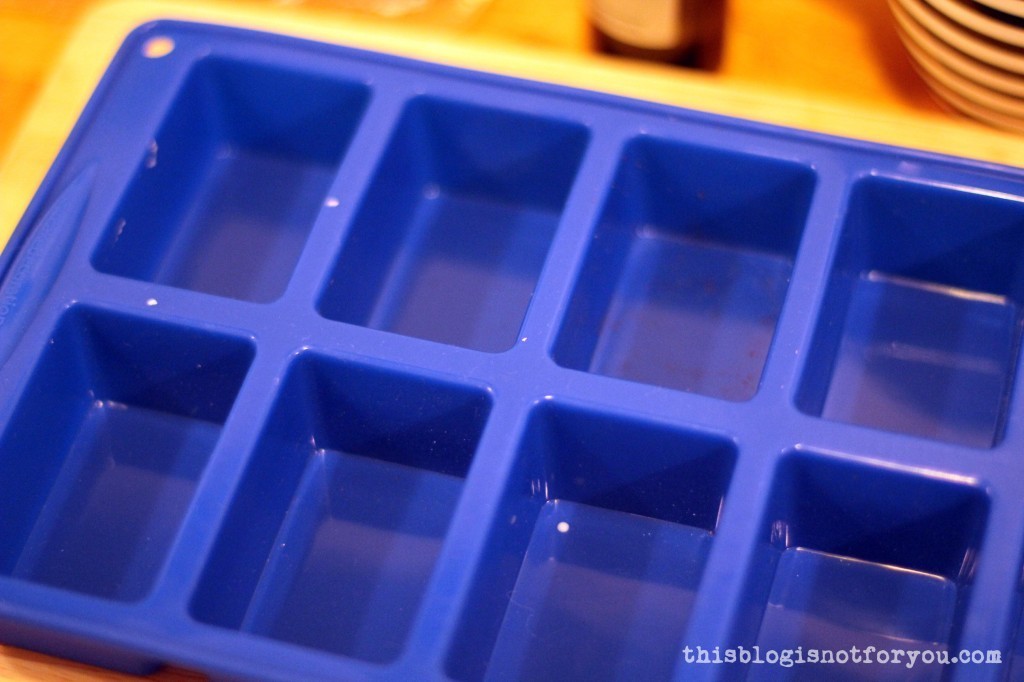 1. Make sure your silicone mould is clean and dry. I placed it on a wooden board, so I could move it while the soap wasn’t completely hardened yet.
 2. Cut your soap base into smaller cubes with a knife and place them in a clean bowl.
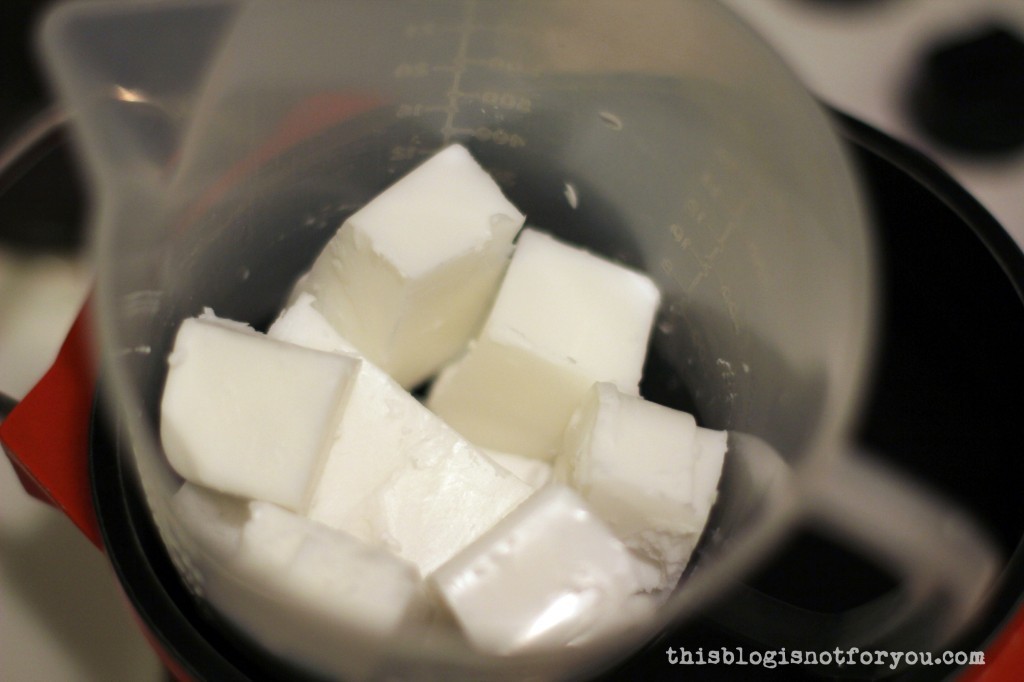 3. Before you melt the soap base, make sure you have all ingredients handy. The soap hardens quite quickly, so it’s better to zest the orange/grapefruit and open any plastic bags before you start melting the base.
If you want to make different soaps, prepare a few clean bowls you can use for the different soap mixes. I did not melt the whole amount of soap base at once but only melted enough to make 3-4 bars at a time, so I could try different recipes without having to hurry too much.
4. Melt the soap base by double boiling or in the microwave. For some reason double boiling did not work with my soap base, so I heated it in the microwave. It melts pretty quickly, so be careful. Mircowave for no longer than 30 seconds at a time. With either method, make sure you don’t burn the soap (or have it explode in the microwave – ask me how I know this!).
5. Once the soap base is melted completely, add your ingredients and stir with a wooden spoon before pouring it into your silicone mould. Stir the soap slowly, otherwise it might form bubbles.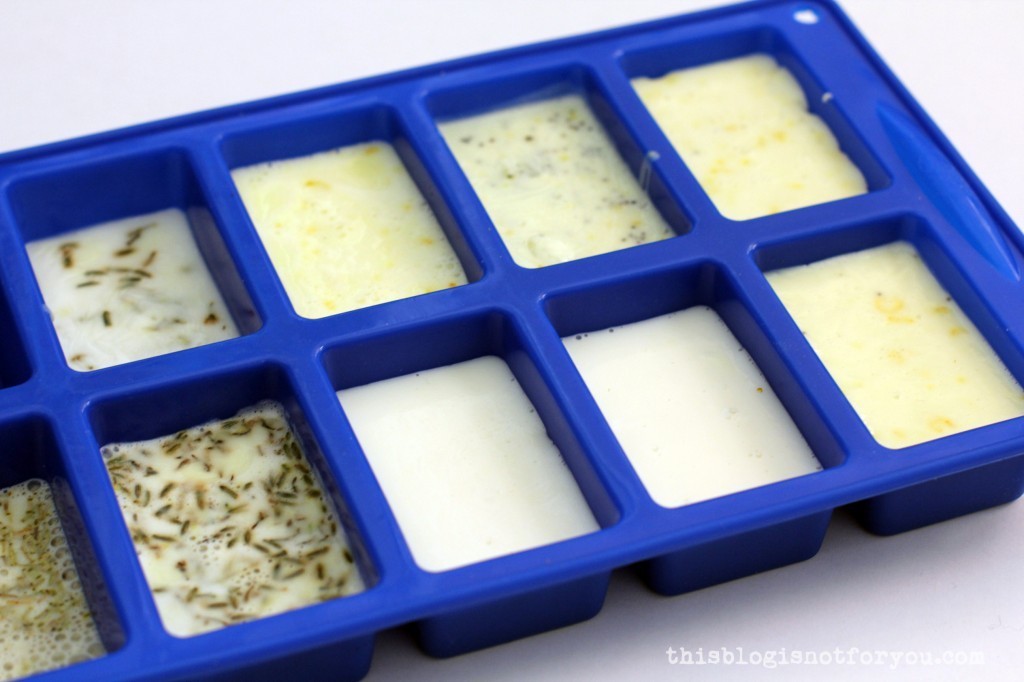 6. Let the soap harden. It only takes a couple of hours, but if you want to be on the safe side you can leave it in there over night. I put a piece of paper over the silicone mold to keep the soap dust-free.
7. Once the soap was hardened I put it in the fridge for a couple of minutes before popping the bars out of the mold.
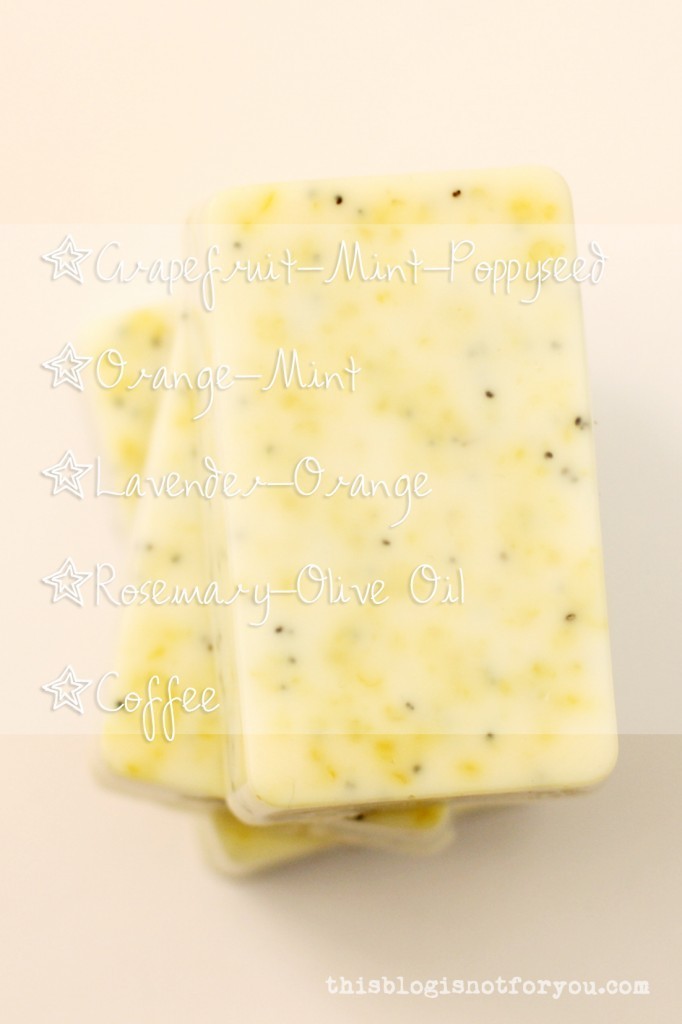 Grapefruit / mint / poppy seed: zest of half a grapefruit, 10 drops of grapefruit oil, 3 drops of mint oil, 1tbsp poppy seeds.
Orange / mint: zest of half an orange, 10 drops of orange oil, 4 drops of mint oil.
Lavender / orange: 1 tbsp dried lavender buds, 10 drops of lavender oil, 5 drops of orange oil.
Rosemary / olive oil: 1 tbsp dried rosemary, 1tsp olive oil, 5 drops of rosemary oil.
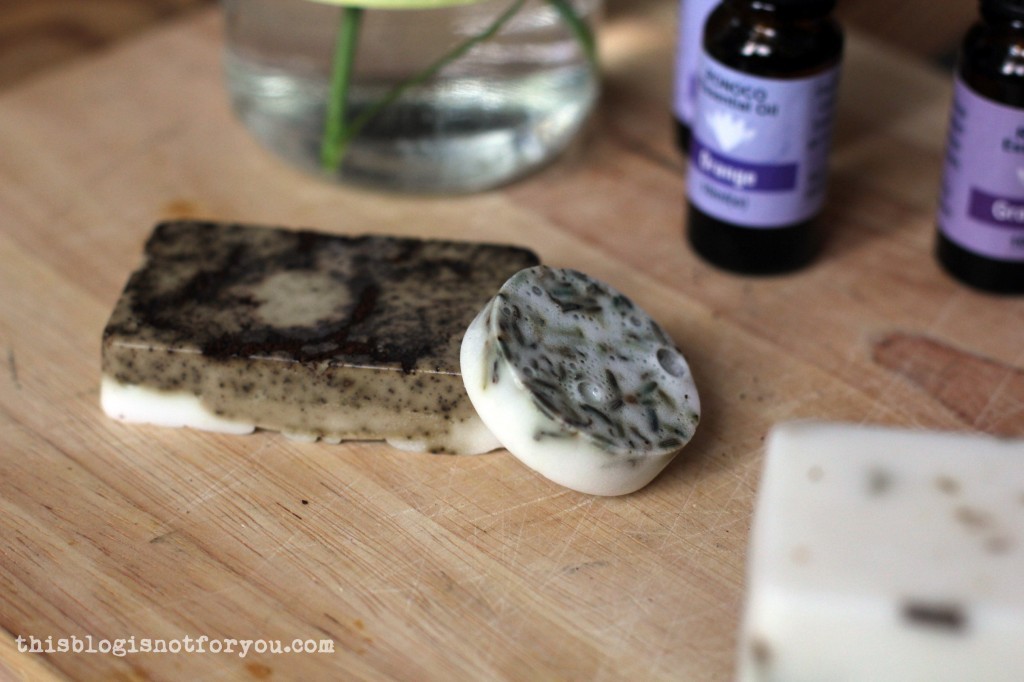
Coffee: 1 tbsp of coffee powder.
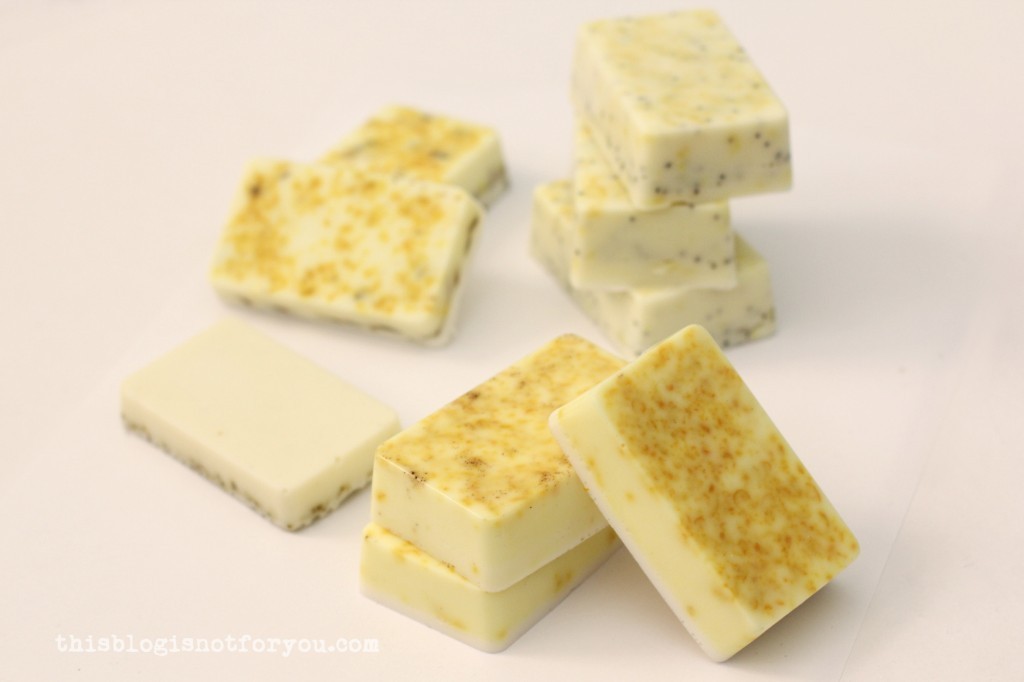
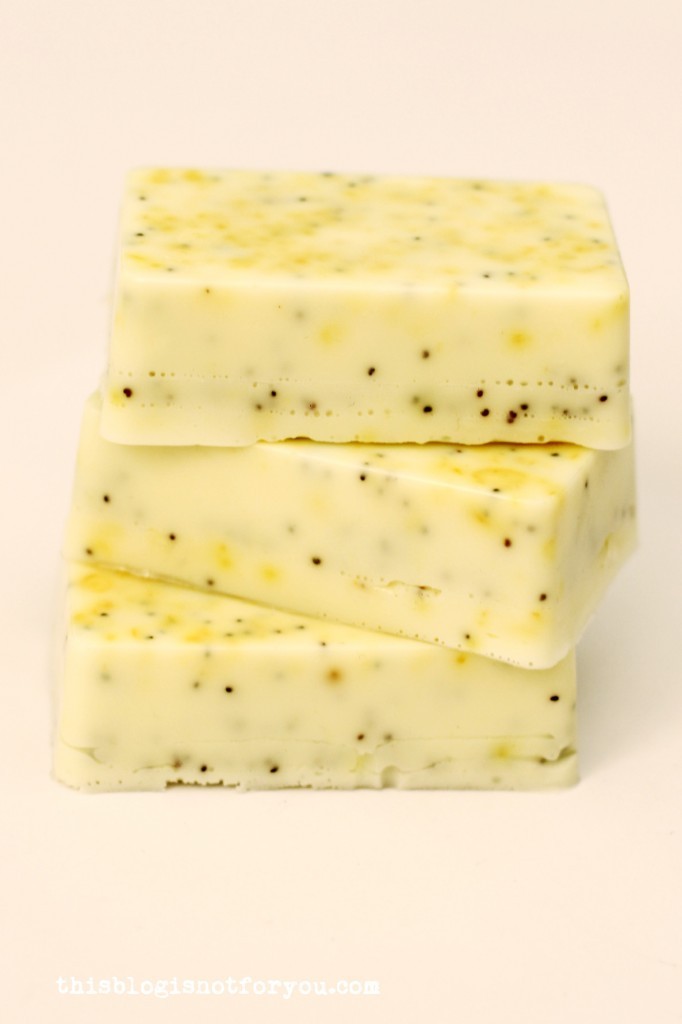
Grapefruit/Poppyseed/Mint (above) and Orange/Mint (below) are my favourites! I created the narrow white layer on the orange/mint bars below by pouring some clear melted soap base on top of the first layer after it was hardened.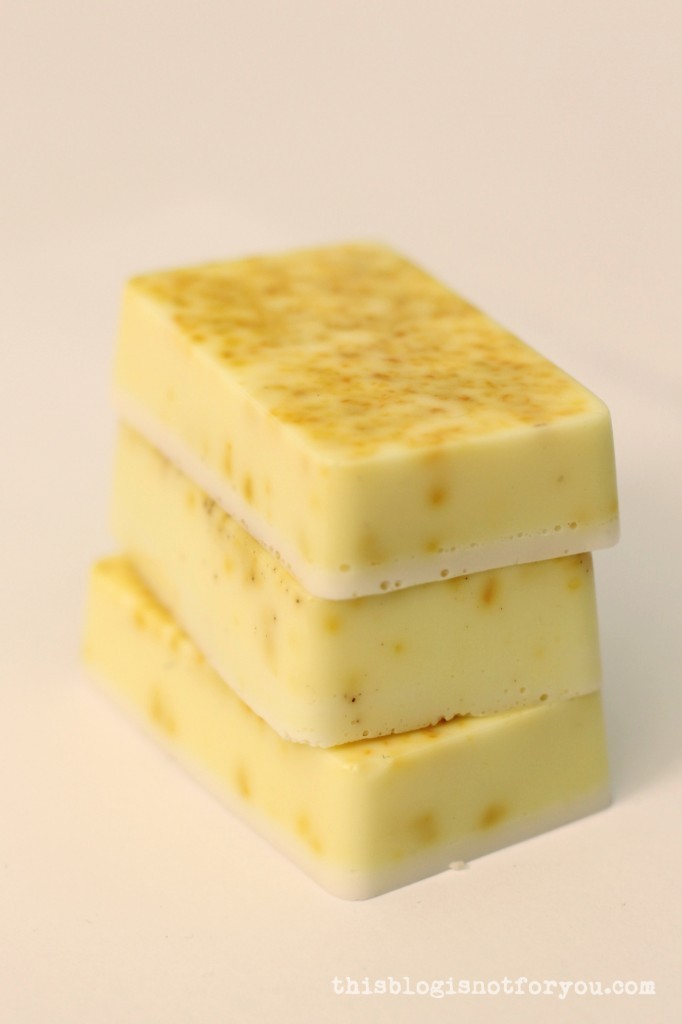 I wrapped the soap bars in recycled paper (I cut strips out of a shopping bag), which I taped together on the bottom.
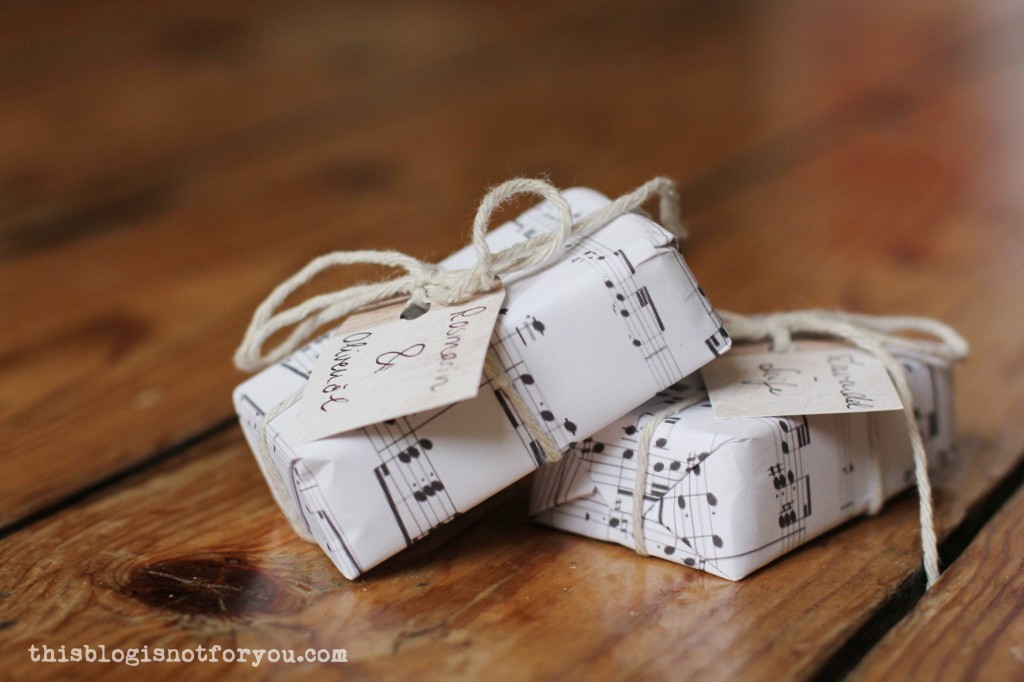
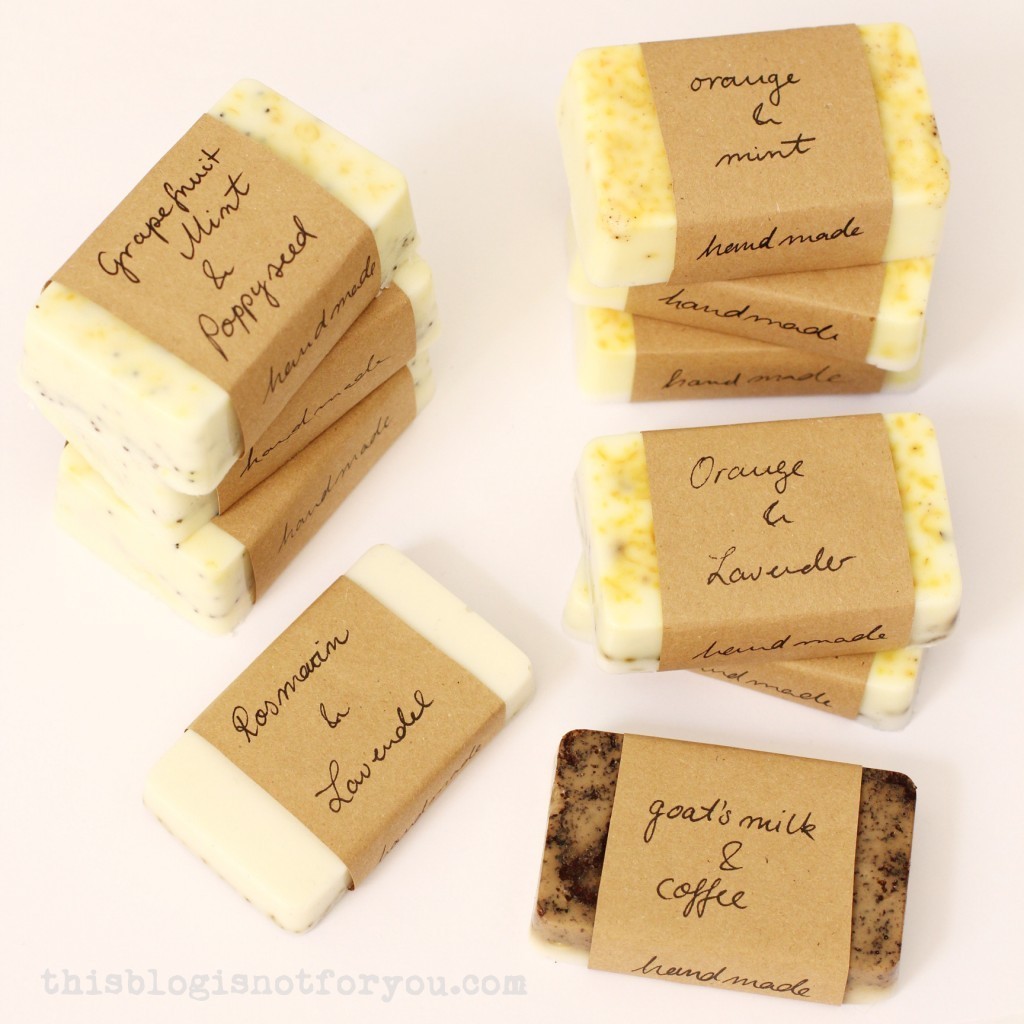 Before I gave some of the soap bars away to friends and family, I wrapped them in music paper (which I had printed out) and attached small labels with twine.
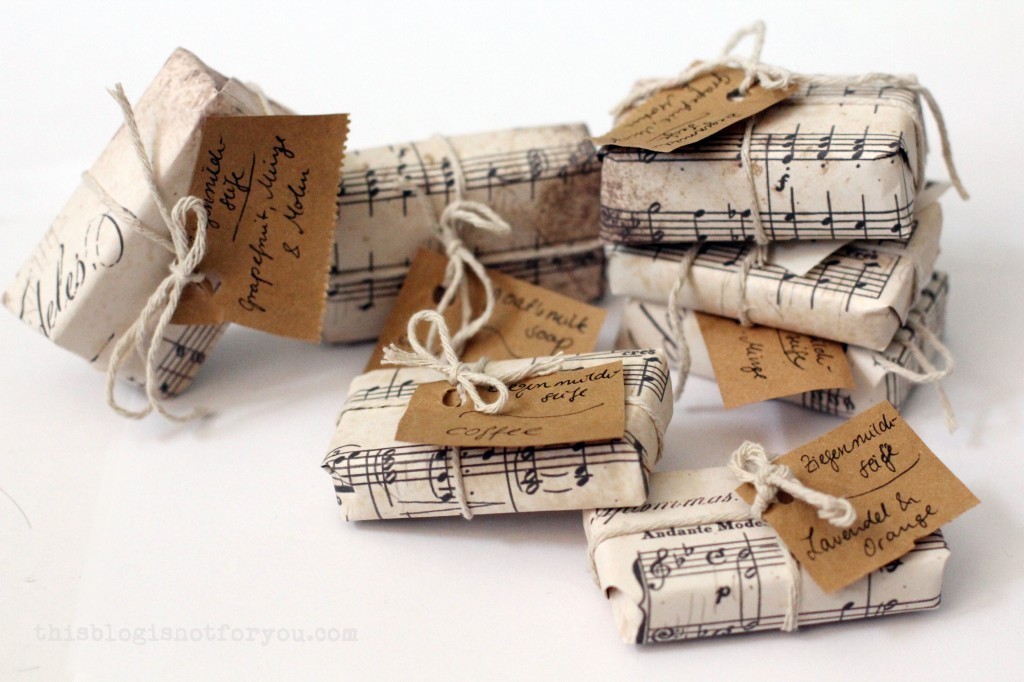
Happy soap making!
♥
facebook/bloglovin/pinterest
twitter/instagram
Stay in touch!

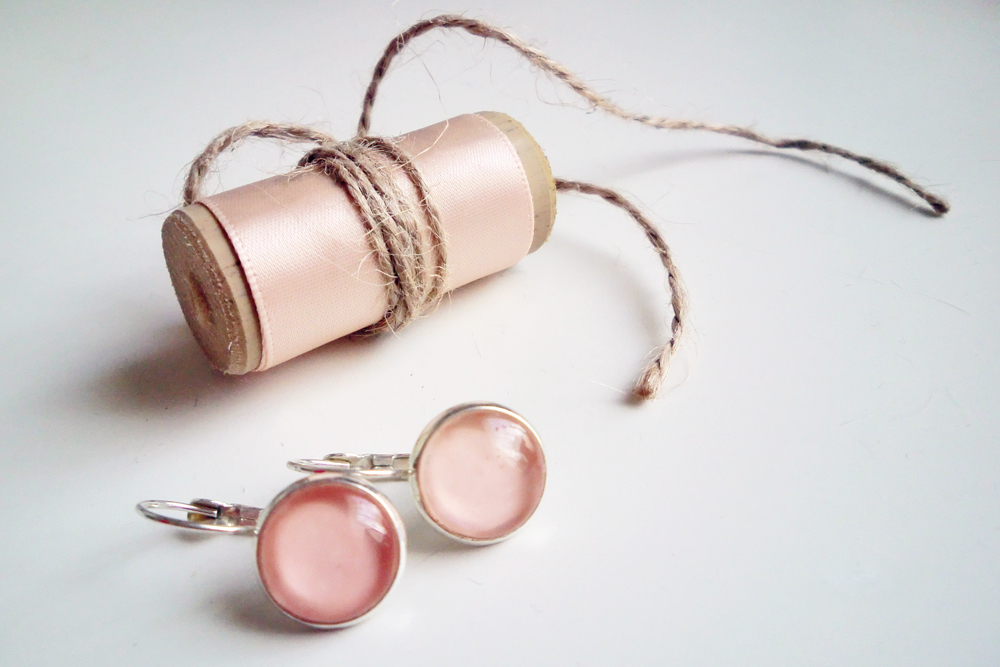
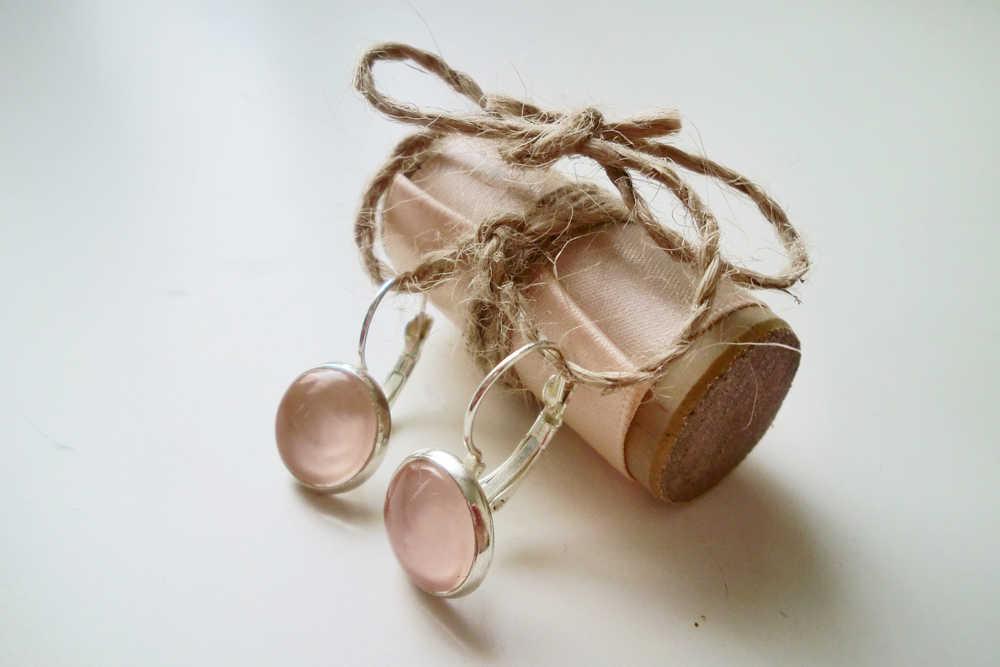
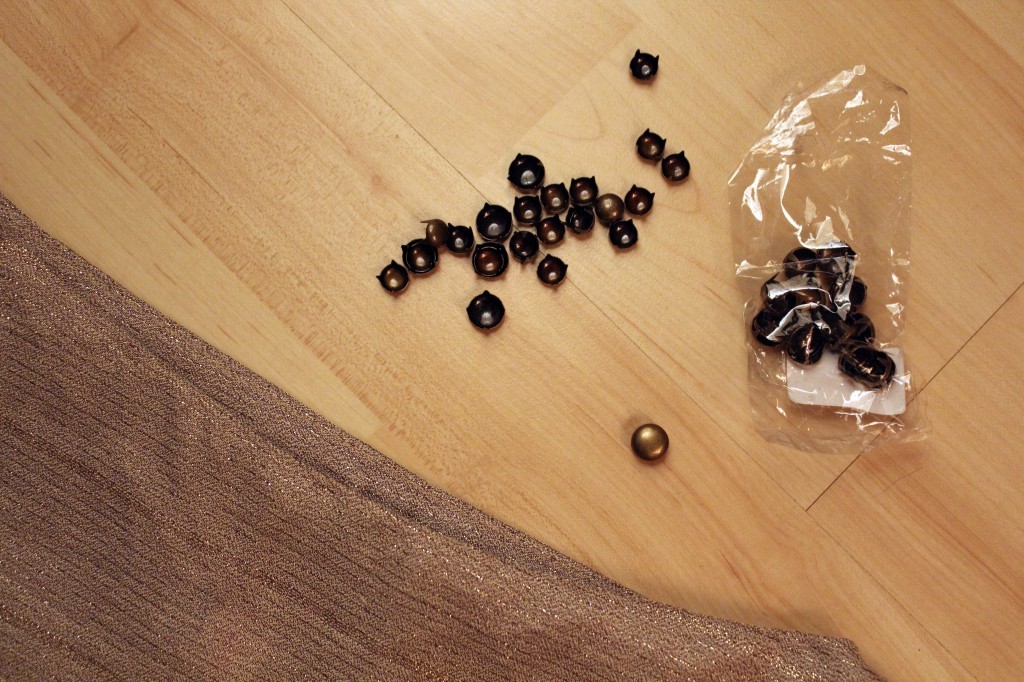
 This is a super simple but also super cute and personal DIY project for all brides-to-be!
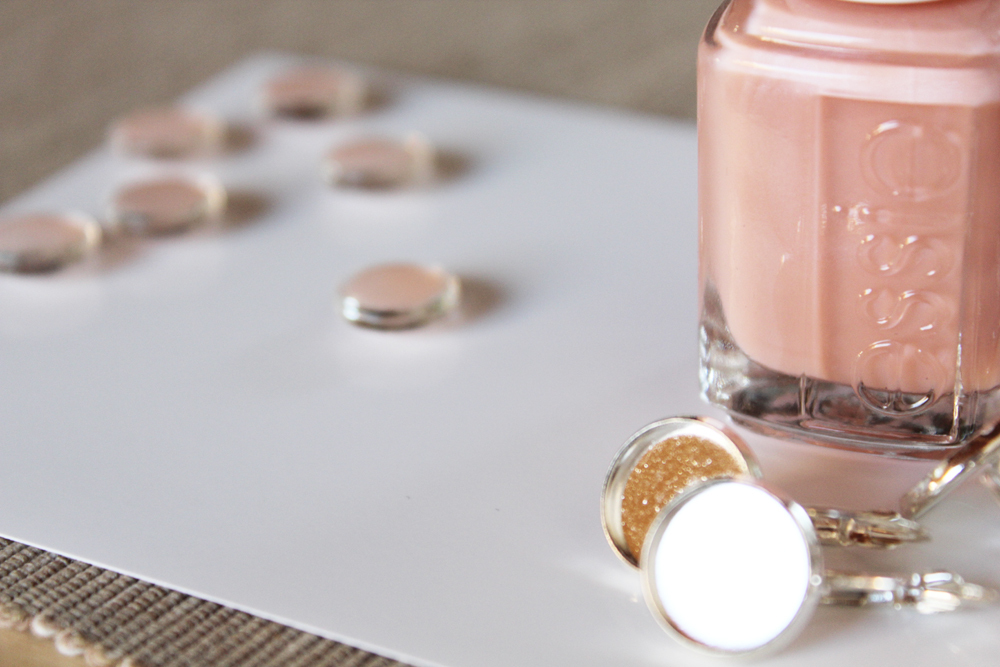 The project is super quick and easy. You’ll need earring settings (which you can order online on Etsy or Dawanda) and glas cabochons. I got mine from Average Pony and they’re really cheap.
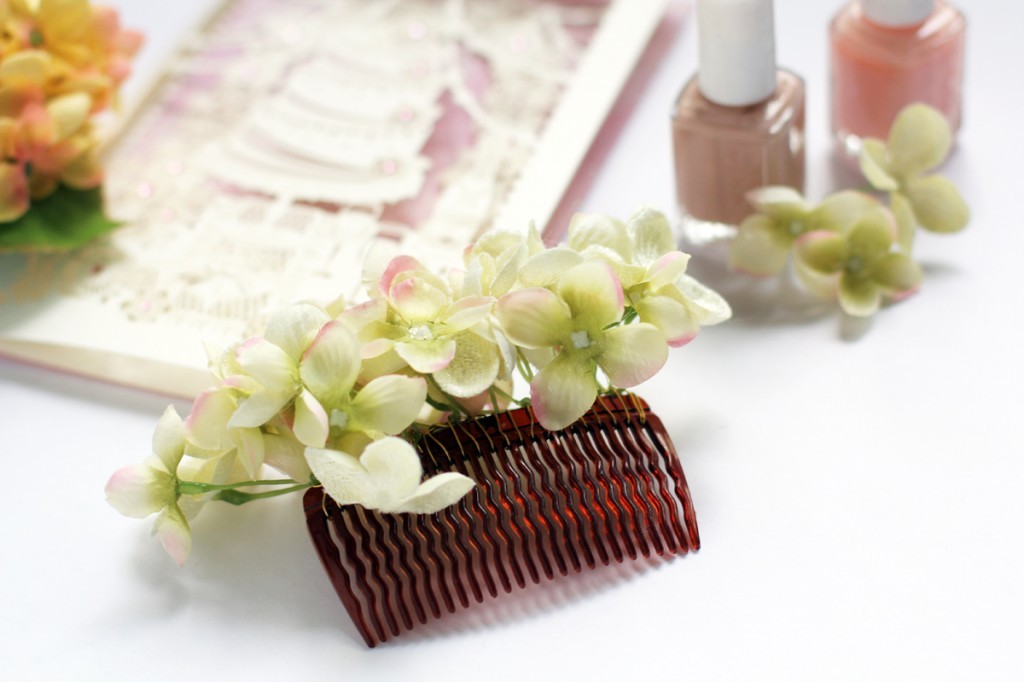
 Our wedding was almost 100% DIY, and so was my hair and make-up and some of the accessories. I did not want to wear a veil, but wanted some sort of bridal hair accessory matching our theme and my dress.
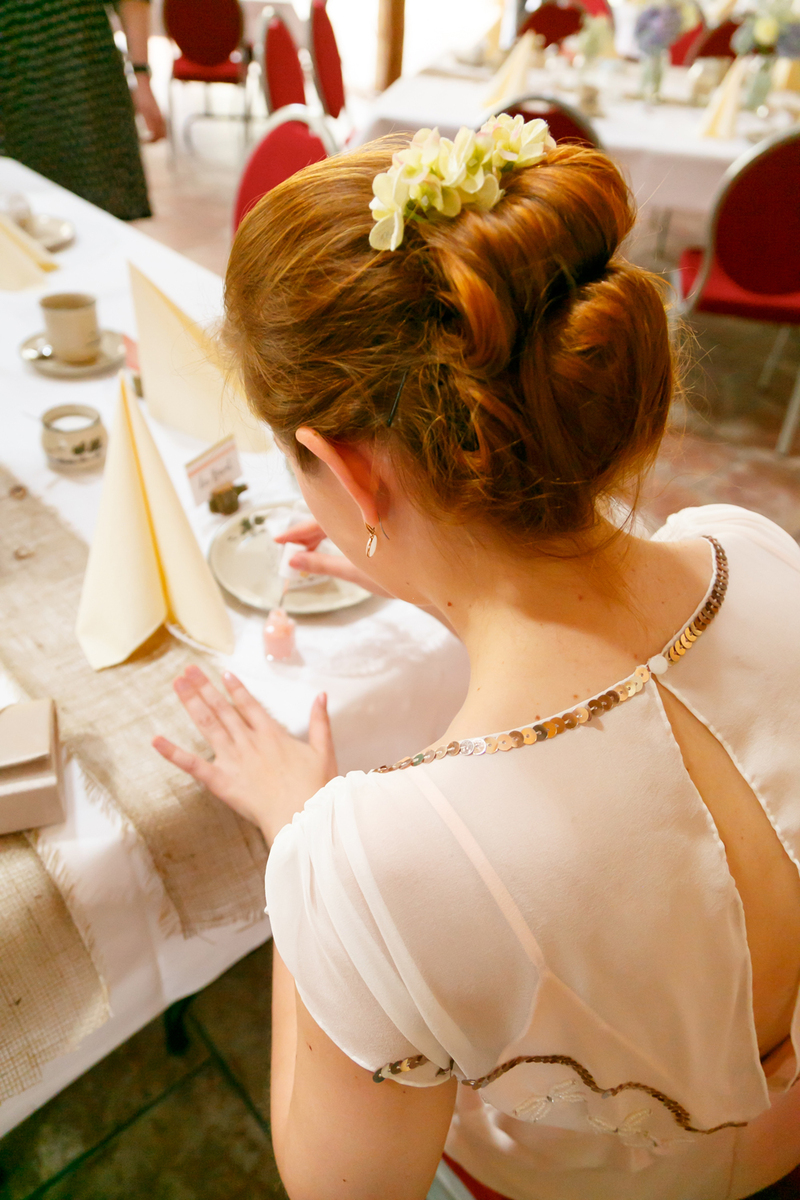
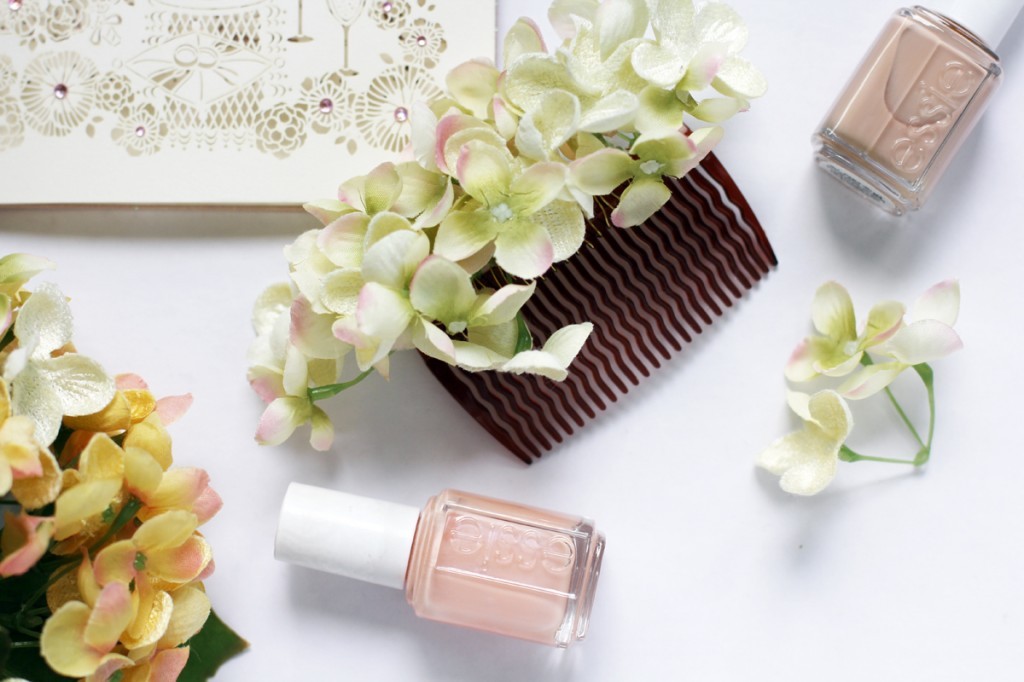
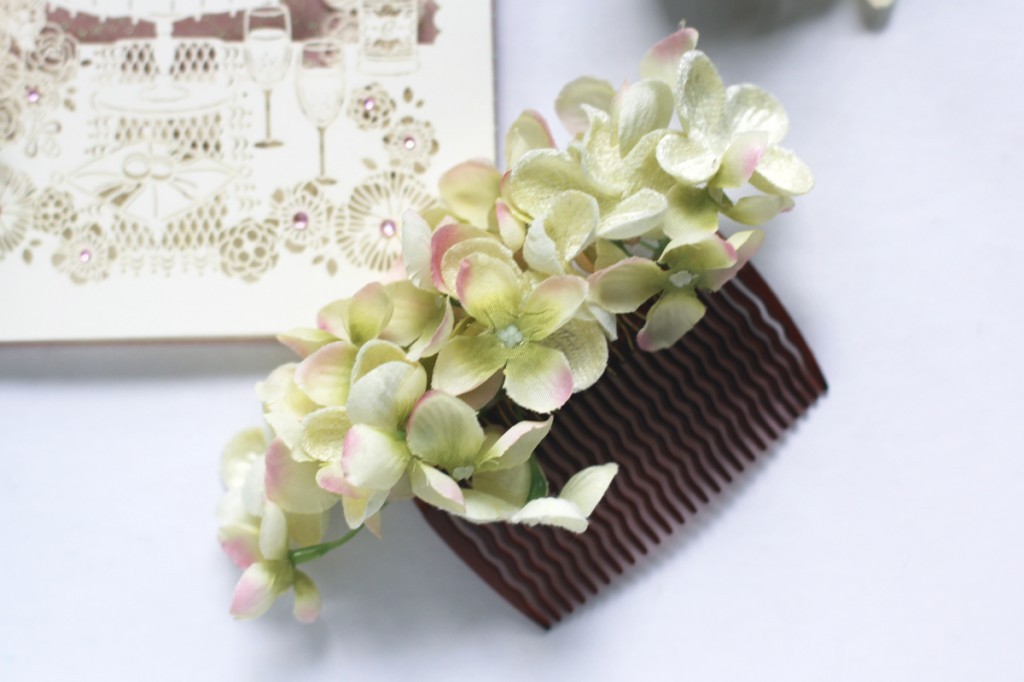
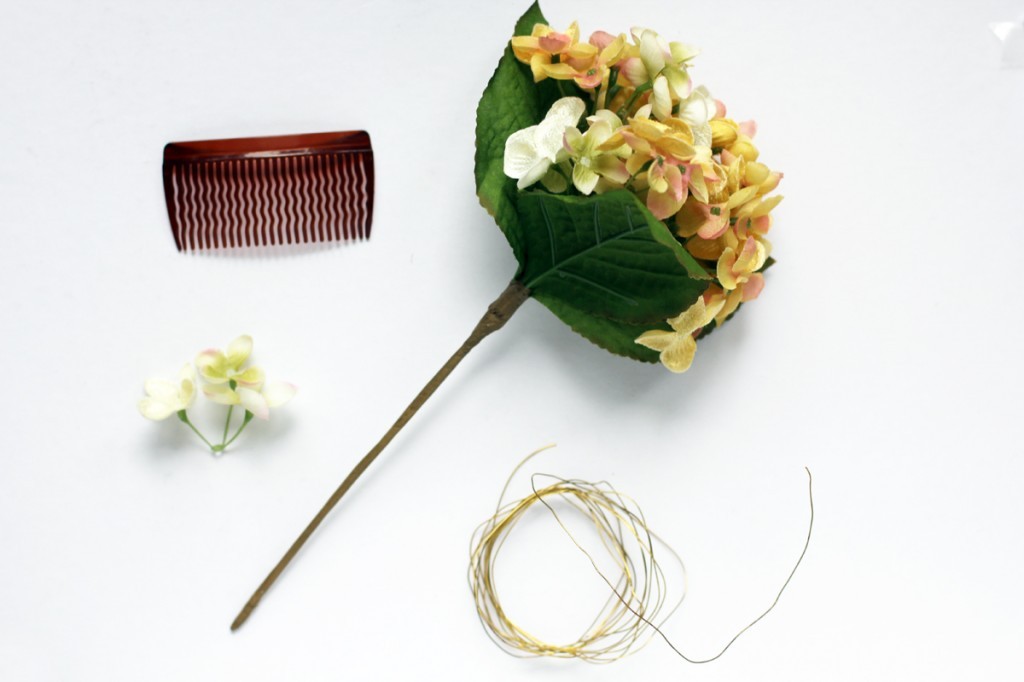 All you really need for this is a hair comb (you get them really cheap at almost every drug store), some artificial (or real) flowers and some fine gold wire.
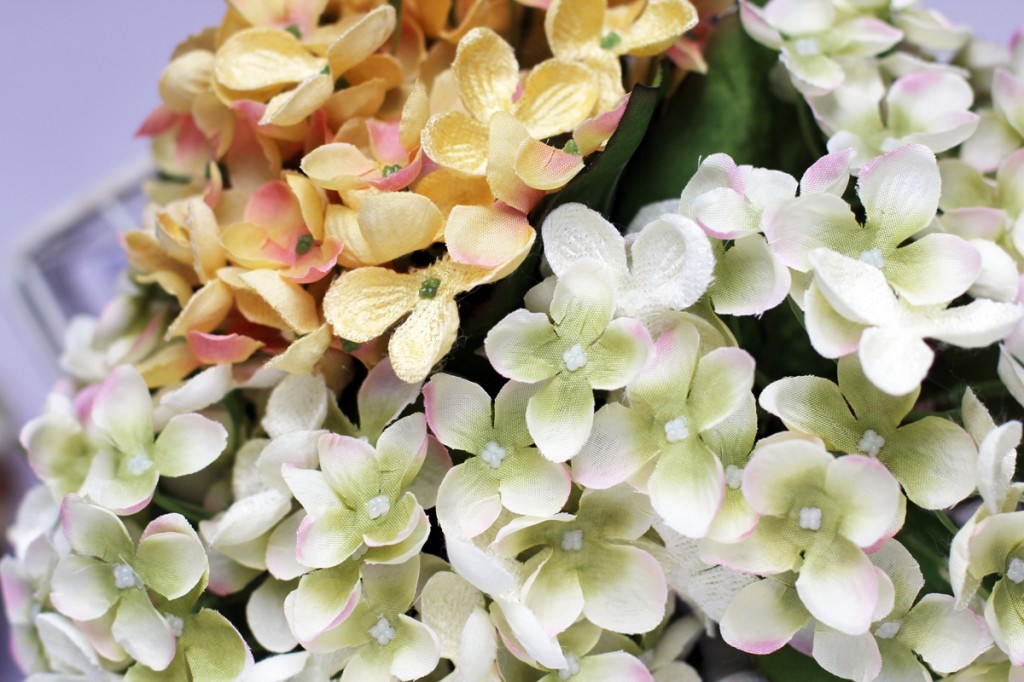 Take the wire and wrap it around the comb once or twice starting at one side to secure it in place. Separate the smaller bouquet from the plastic stems of your artificial flower. You can use the tiny holes at the bottom to pull through the wire. If you are using real flowers, leave the stems a bit longer so the wire can get a proper hold on them. I wouldn’t recommend using real hydrangea blooms because they need to stay hydrated and wilt very quickly.
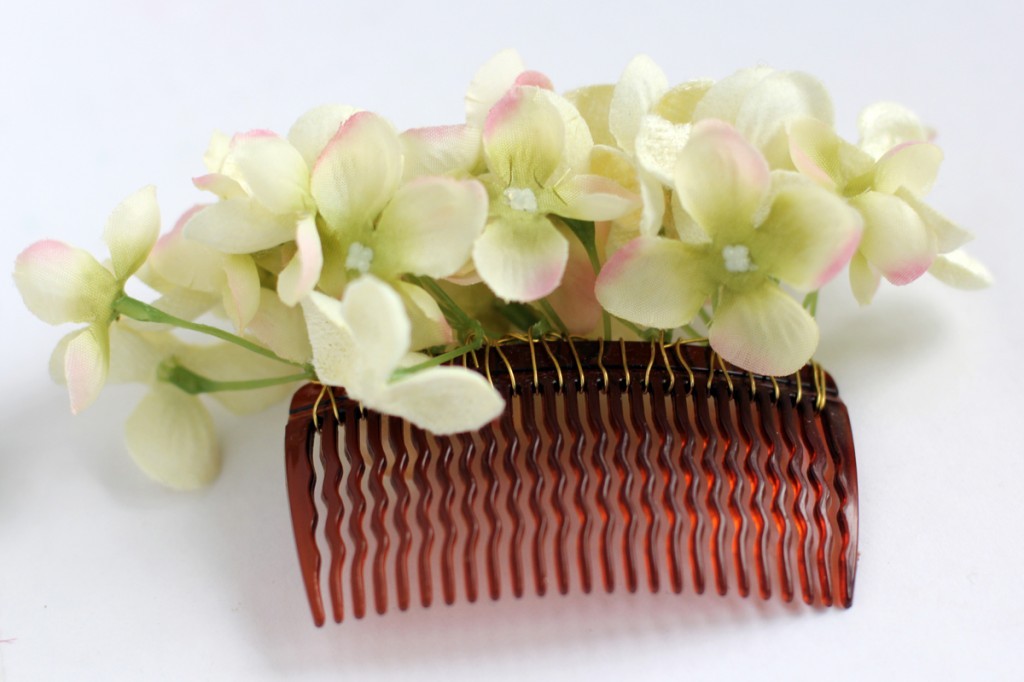 Here’s a pic of the front and back. You cannot see either comb or wire once it’s in your hair. Feel free to add as many blossoms as you like and mix them up if you want to. I had to play around a bit until I got it right for my taste. Using a wire makes it easier to adjust things as you go and you won’t burn real flower as you would with a glue gun.
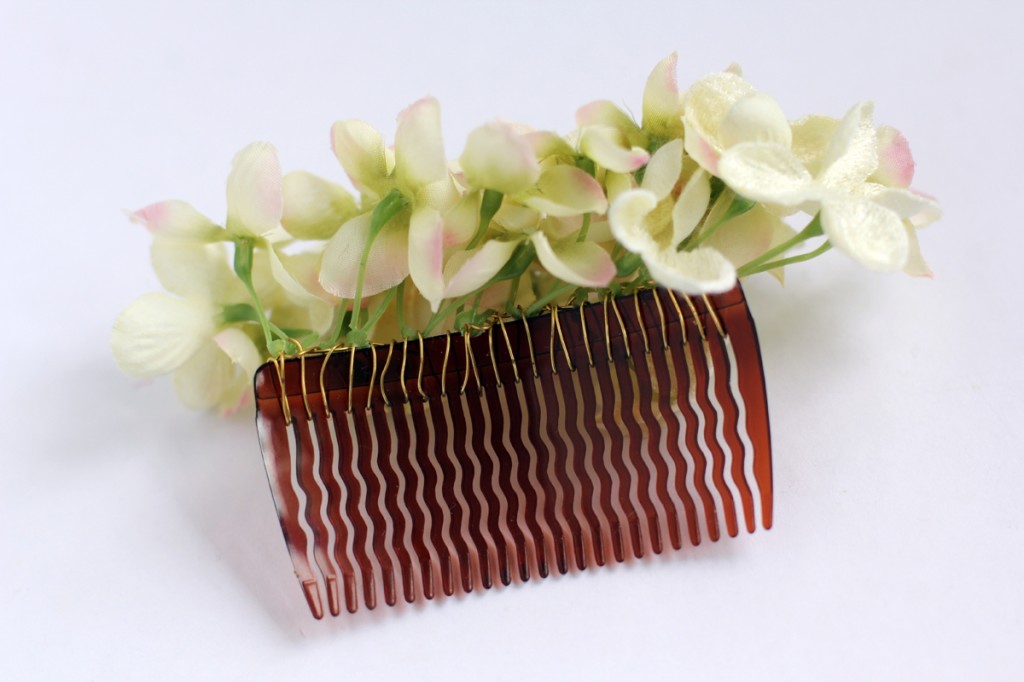

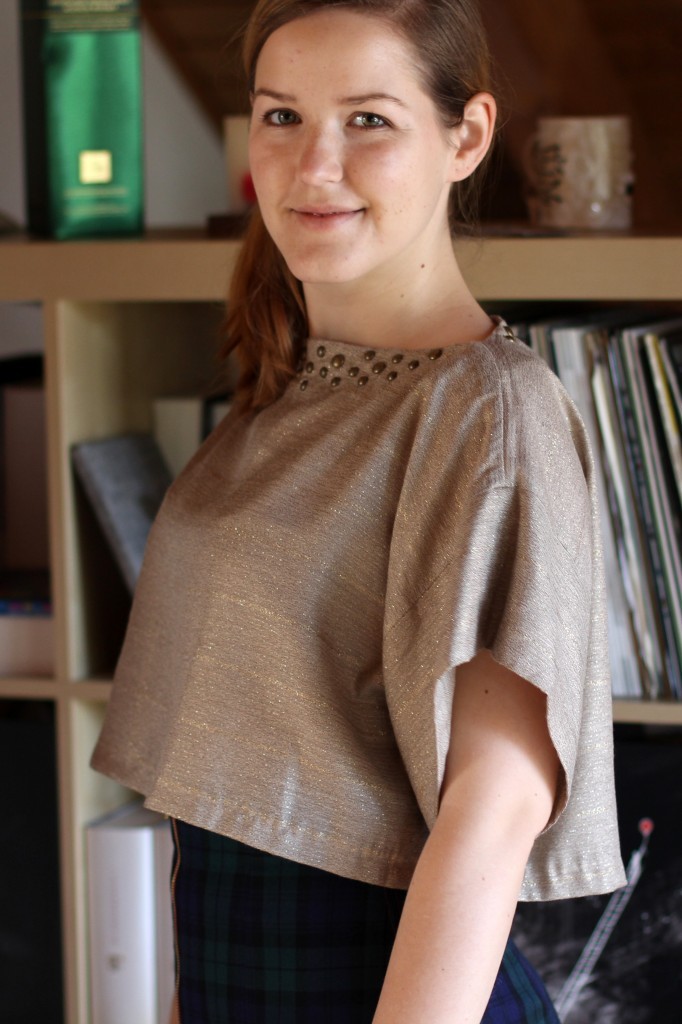
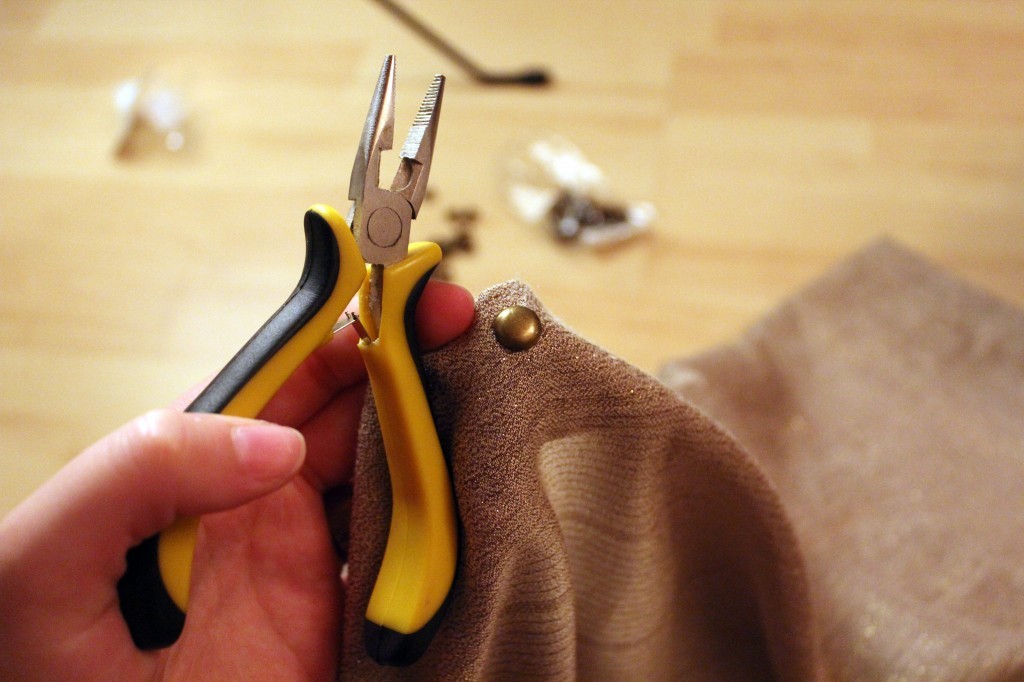
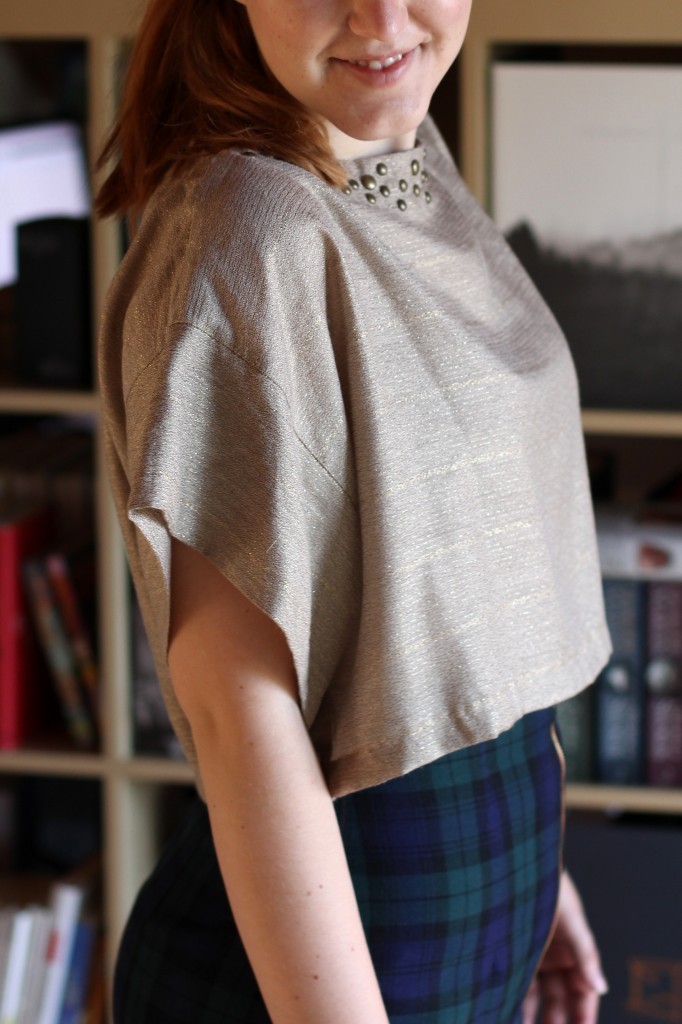
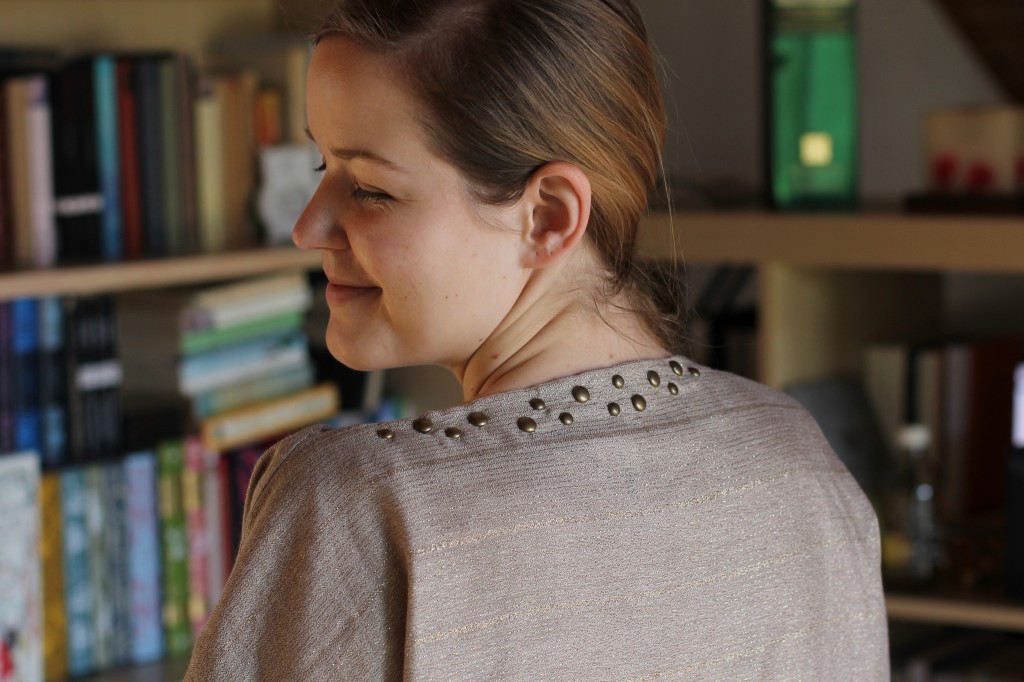
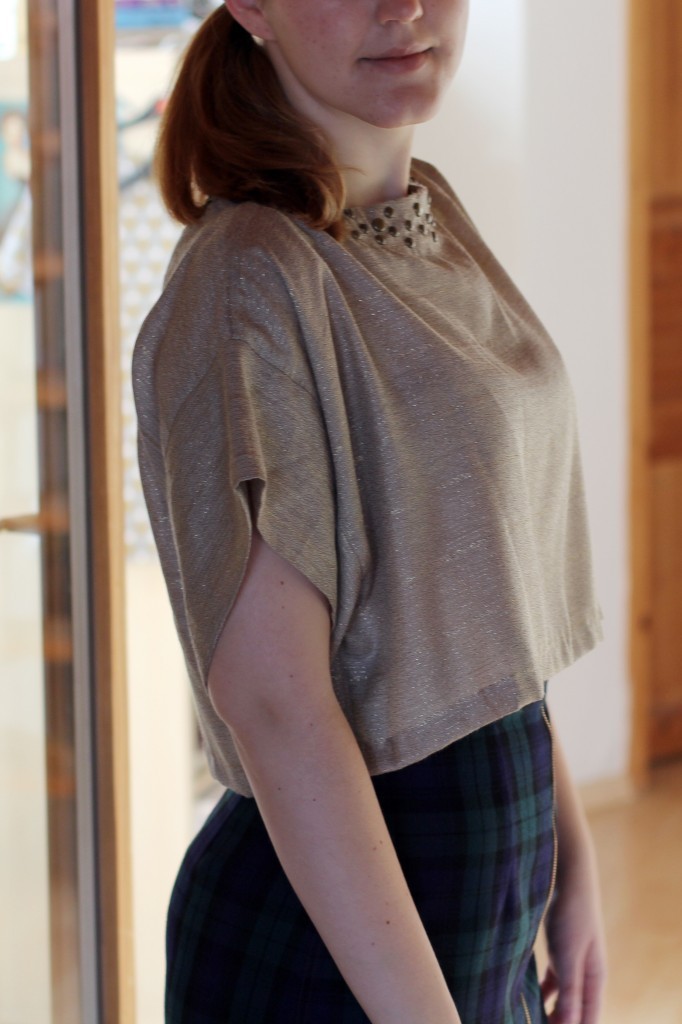
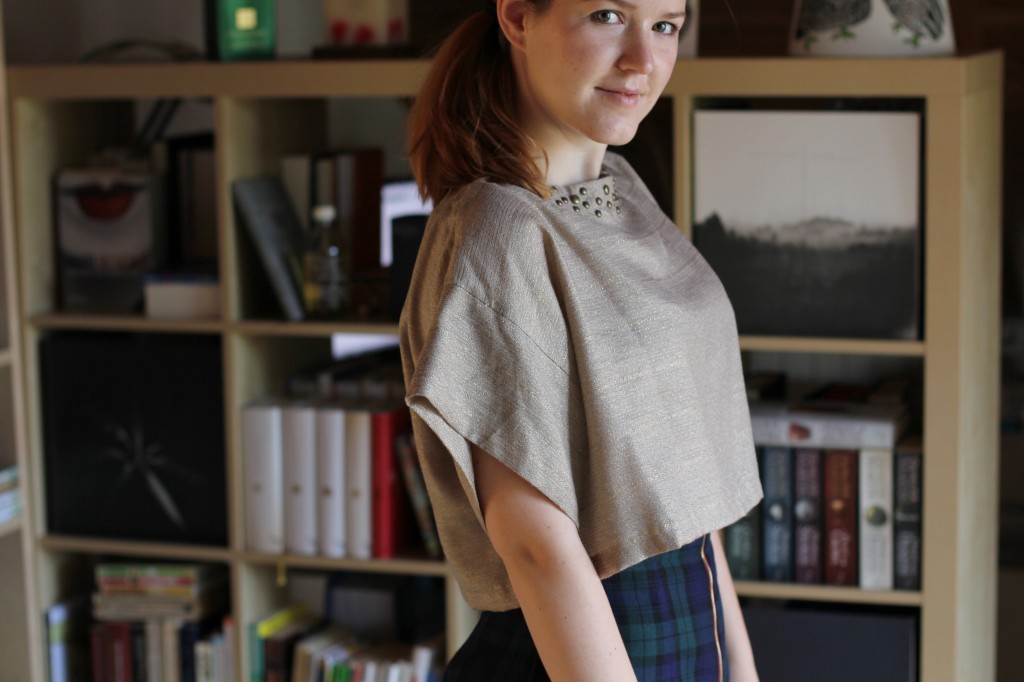
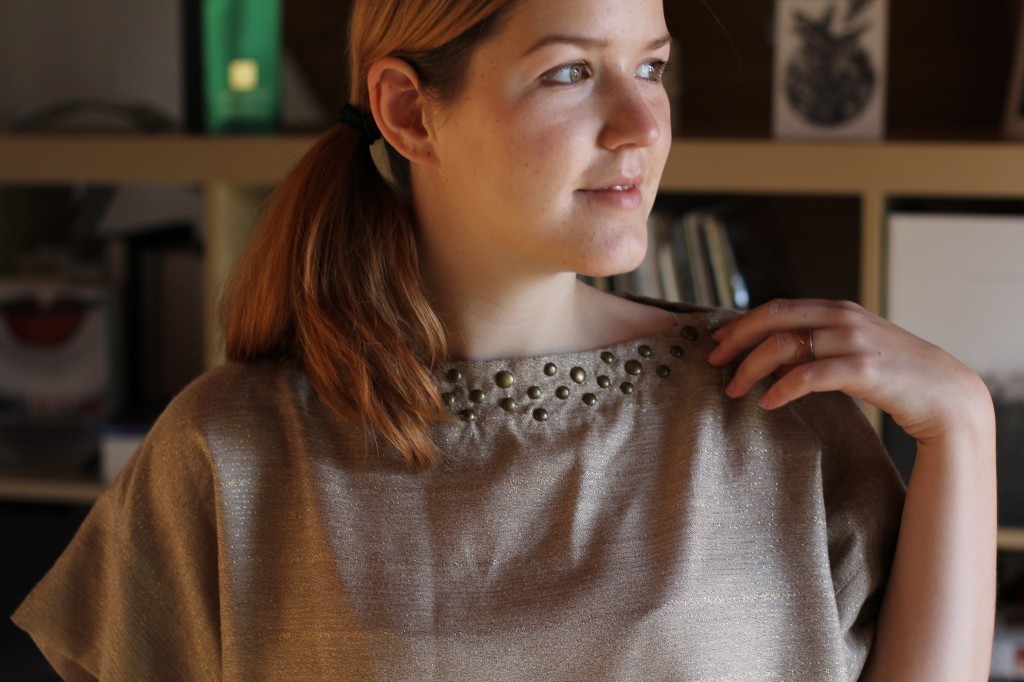 It was basically a rectangular, light-weight long dress that looked suspiciously handmade, but had some sort of label in it, so I’m not too sure about that fact. The dress itself had no shape whatsoever, the hem going way below knee-length. At first I thought it might be edgy and cool but when I put it on it simply looked horrible and I felt like wearing a potato sack.
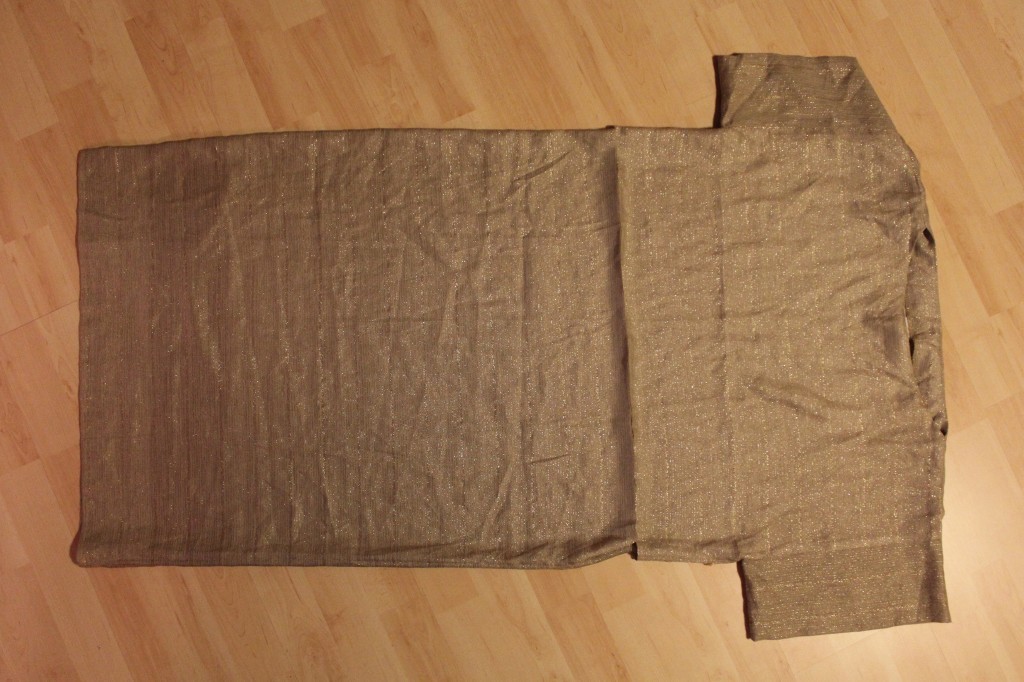 The dress was too narrow to give me enough fabric for cutting out a whole new garment, so I decided to take the easy way out and cut the bottom off. Chop, chop!
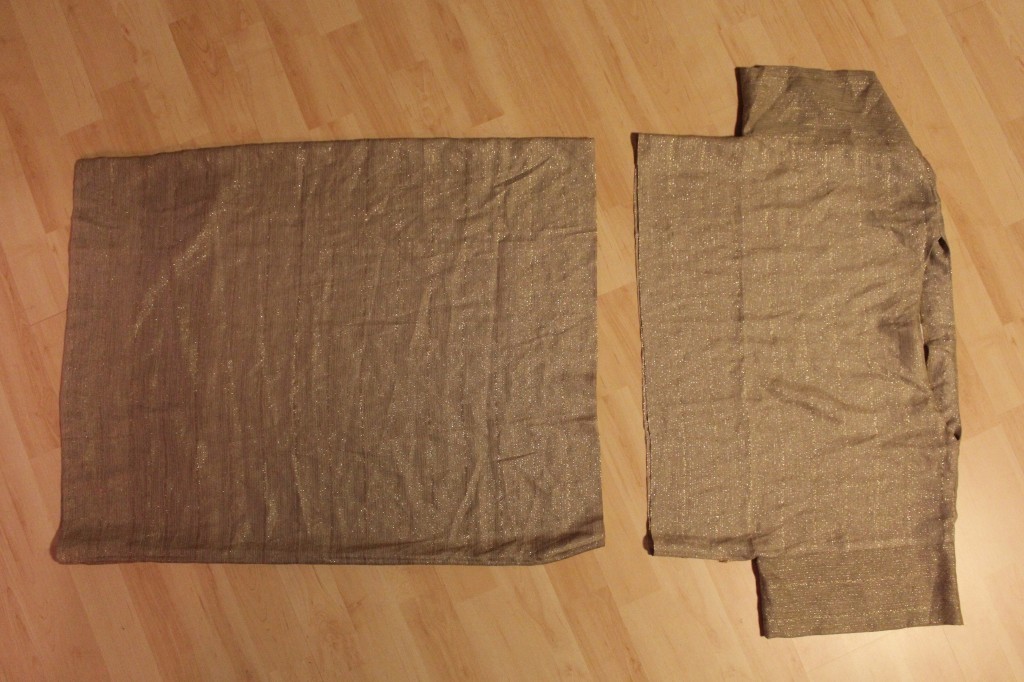 I overlocked the raw seam and hemmed it by hand using matching gold thread.
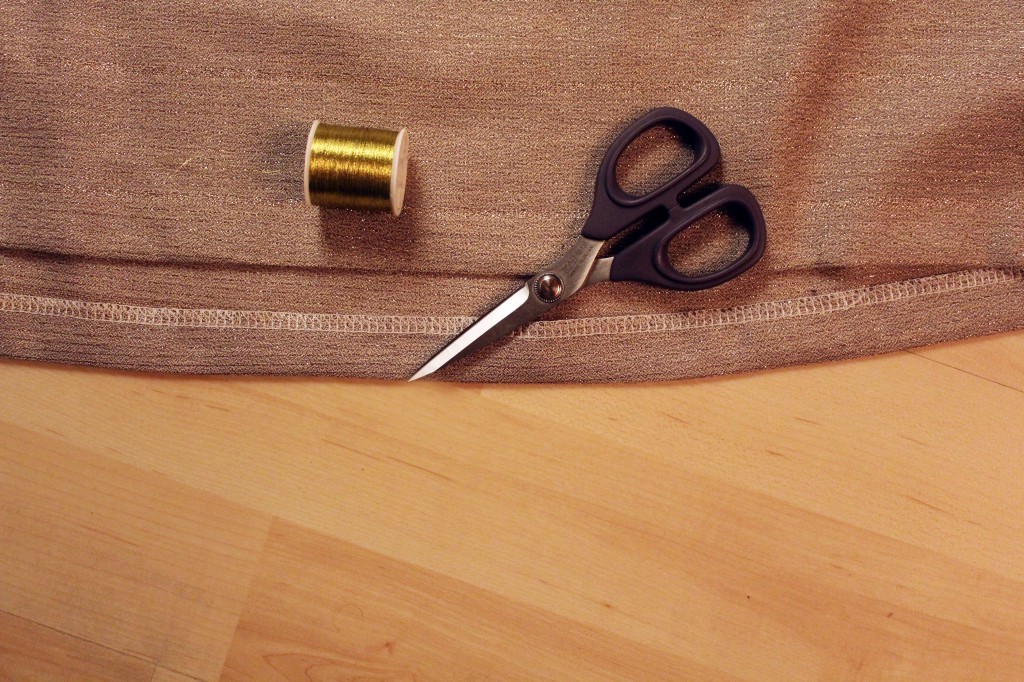


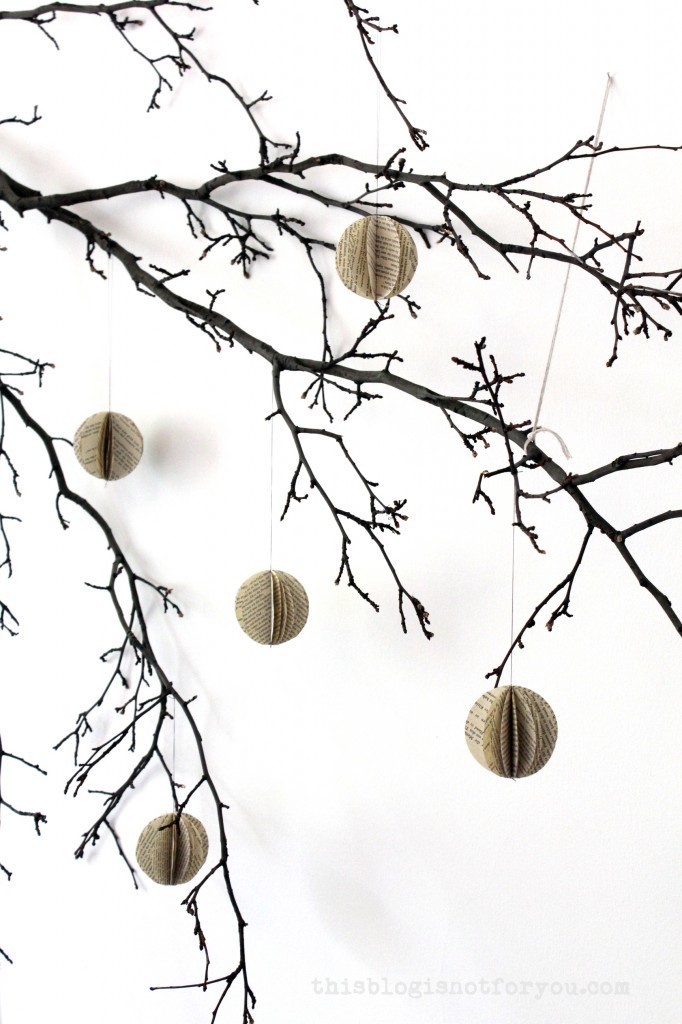
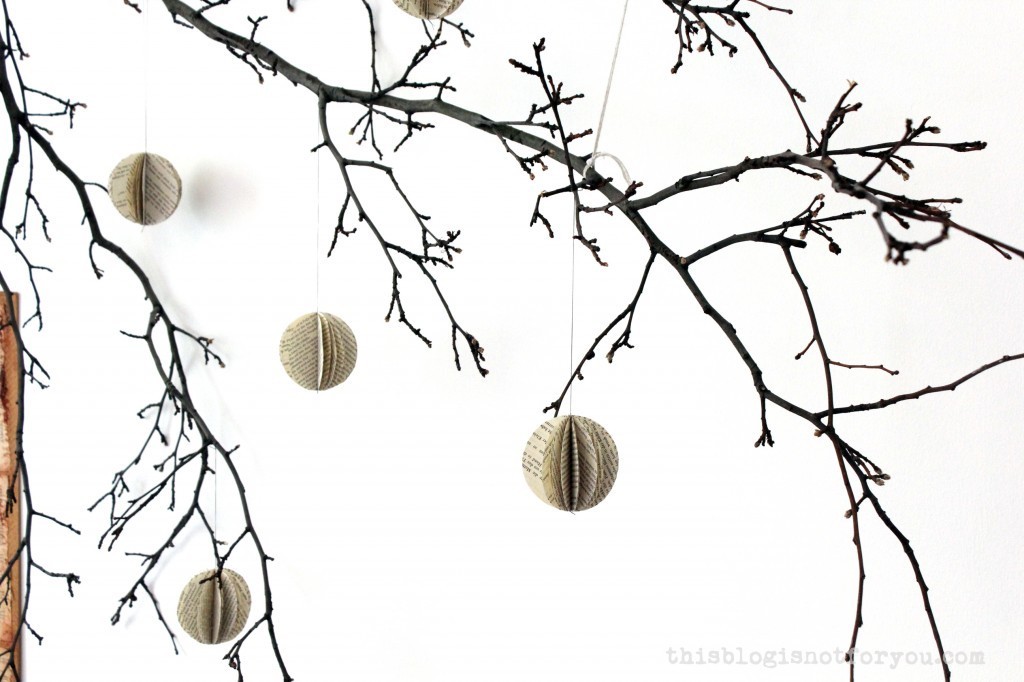 Today I thought I’d share a sewing-related craft project which is super easy to make. You can make these paper balls from different sorts of paper and in whatever size you fancy. They are very quick to make and perfect for parties or home decor.
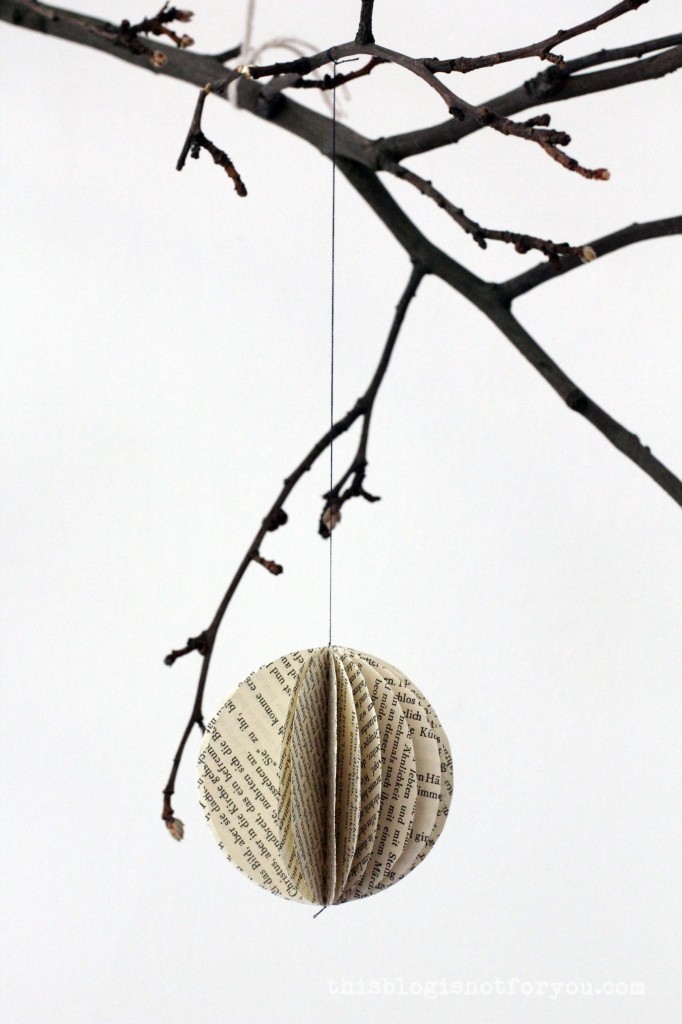
 1. For the book paper balls get some old book from the flea market or your own shelves. Draw a circle onto the paper using a glass/jar/cup and tracing it with a pencil.
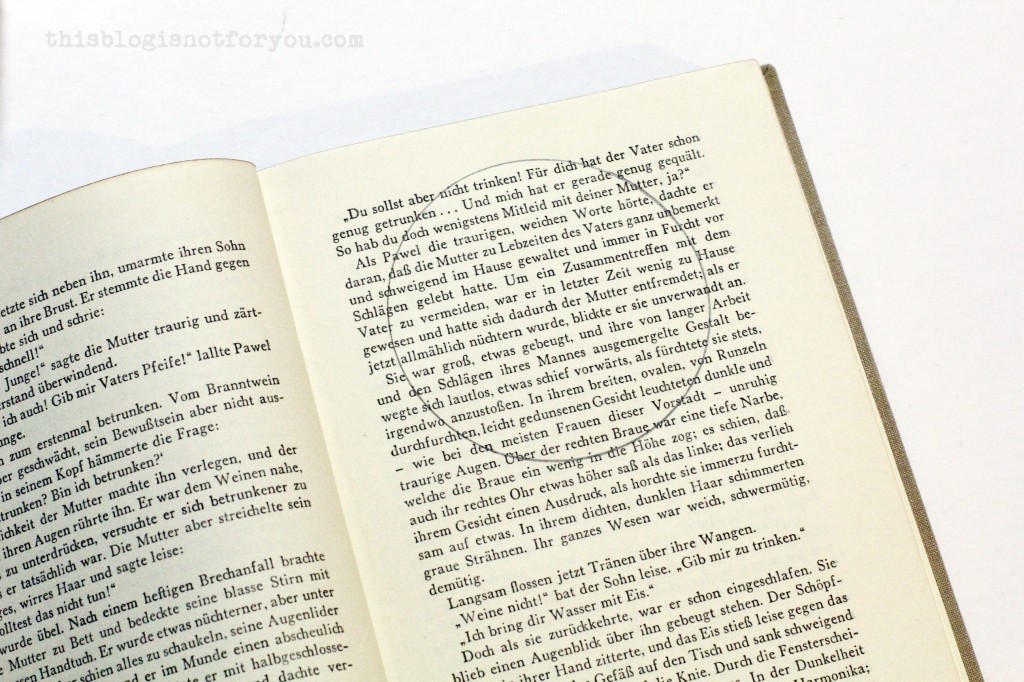
 2. Cut it out (you can cut through several layers at once to speed up the process) and repeat until you’ve got enough pieces for the amount of paper balls you want to make. You will need approx. 8-15 circles per paper ball, depending on the thickness of the paper and the size of the paper ball. For bigger ones I’d recommend using more.
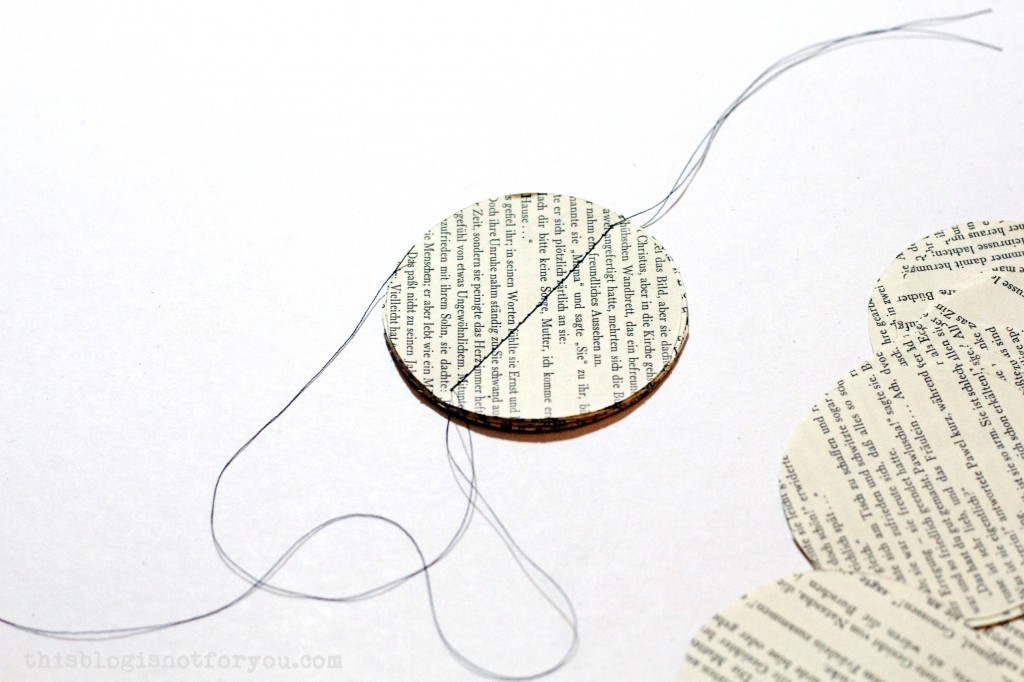 3. Stack them on top of each other and stitch down the middle with a straight stitch and a wider stitch length. My standard machine had no problems tackling 12 layers of book paper. However, if you are using more than 12 layers and they get stuck in your machine, you can simply sew them together by hand or try using a stapler.
 You can also try and make them using colourful scrapbook paper or pages from old fashion magazines.