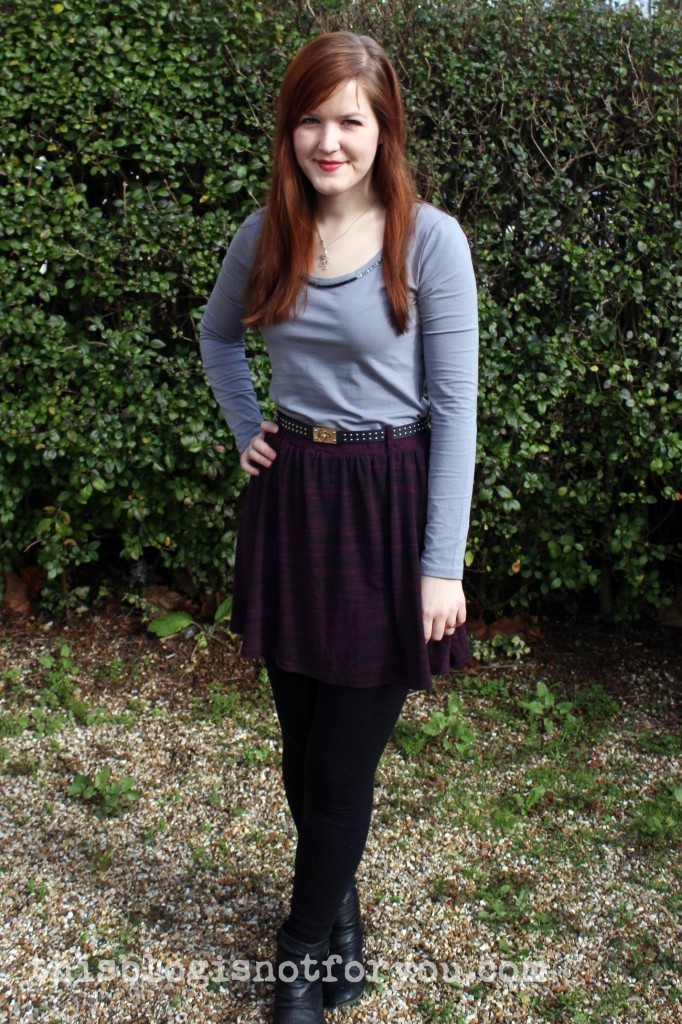
Vintage Lady Skater Dress
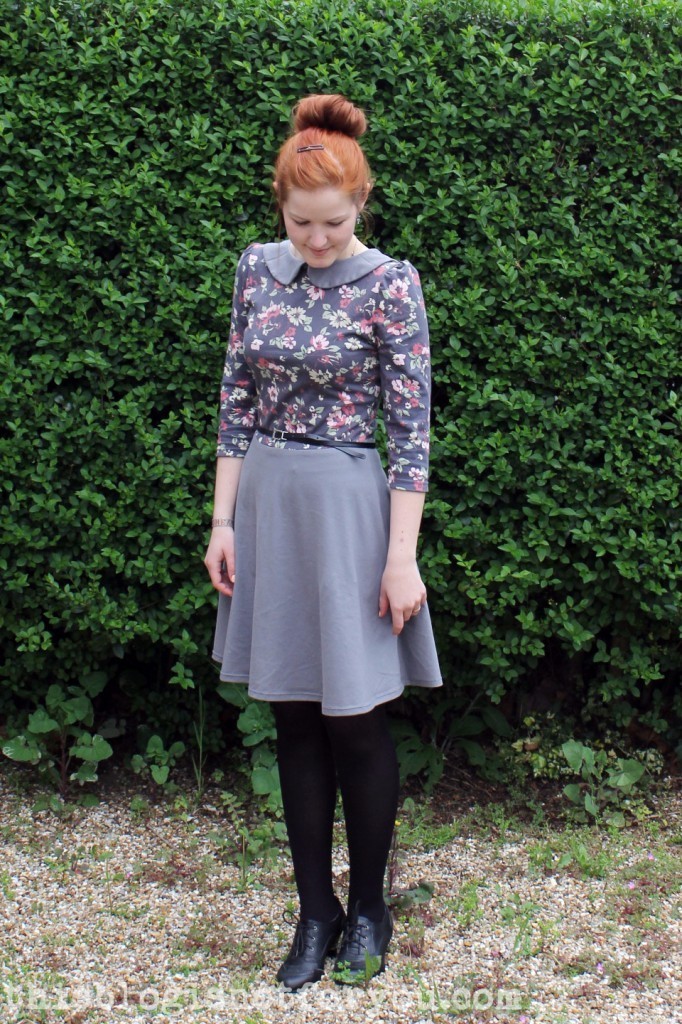
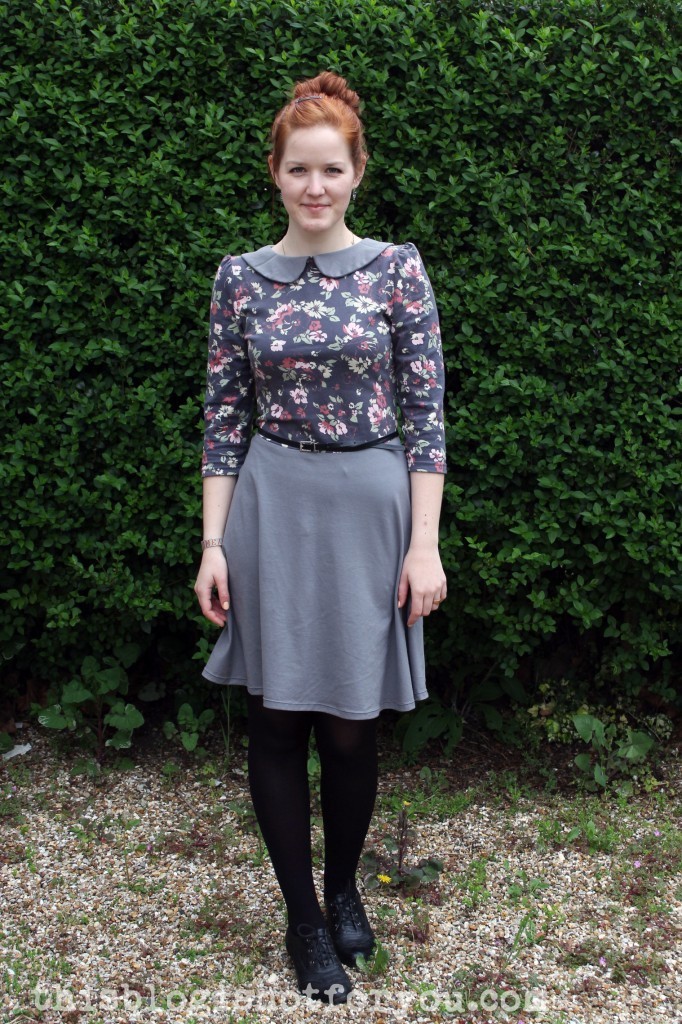 I did it again! I made another version of Kitschy Coo’s Lady Skater Dress! Of course, I couldn’t just stick with the original pattern, but had to make some alterations. I re-used my altered puff-sleeve pattern from my previous pinstripe Lady Skater and also added a Peter Pan collar as I’m not a big fan of the original t-shirt neckline.
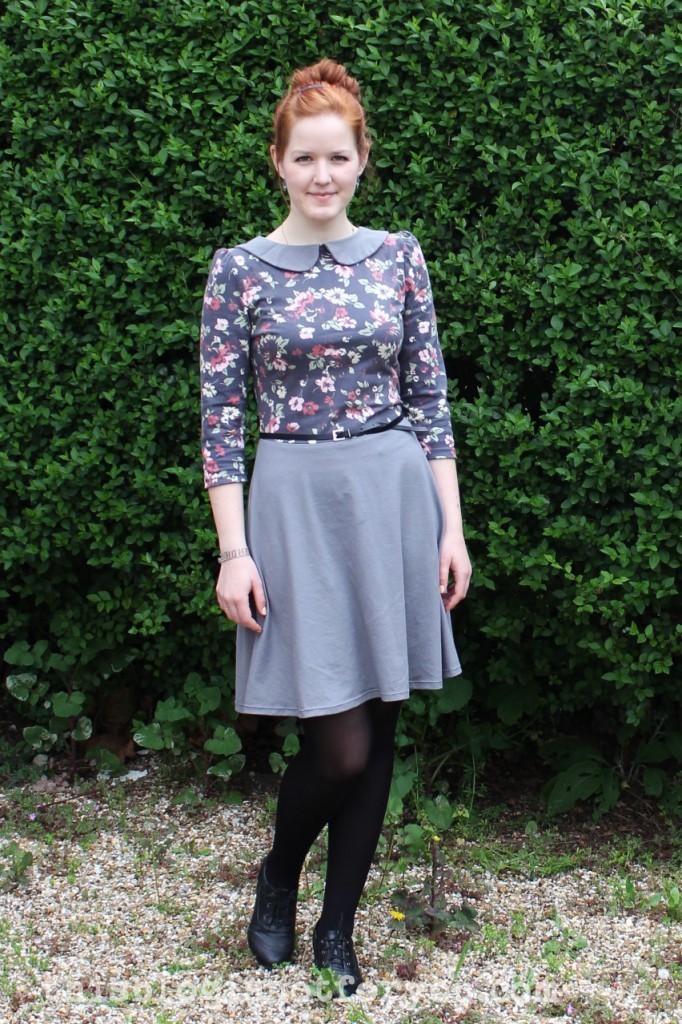
 For the skirt and collar I used a light grey jersey I bought on sale half a year ago. The bodice was made out of a thrifted Laury Ashley jersey skirt. Normally, I’m absolutely not into floral fabrics, but I somehow fell in love with this one:
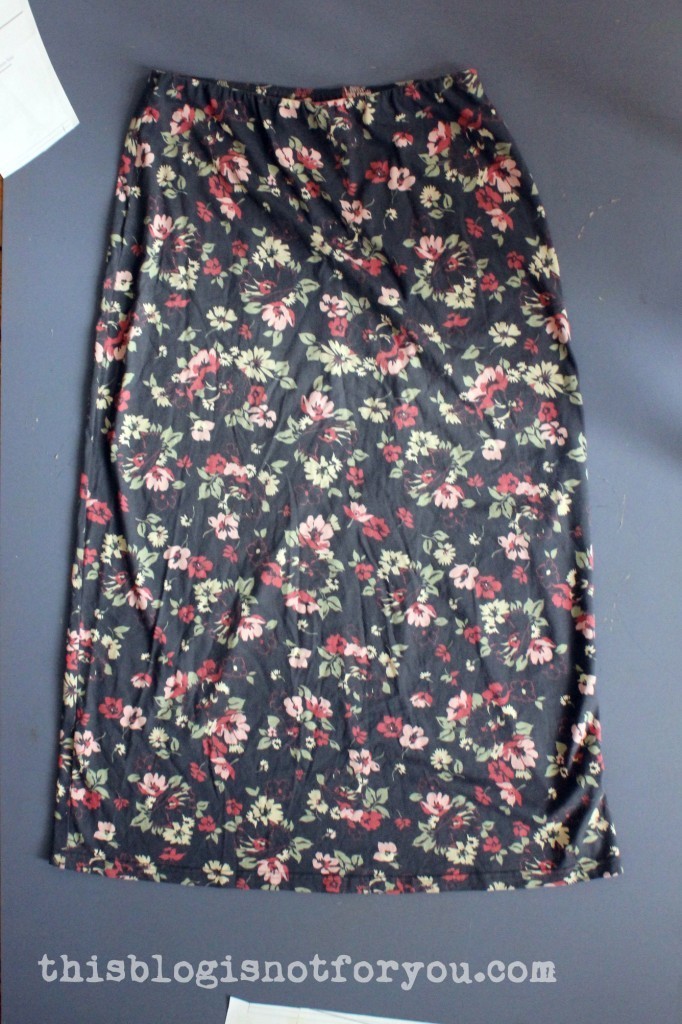
I loved the vintage look of the skirt when I saw it and the Laura Ashley fabric seemed to be of very good quality. I wasn’t sure whether it would be enough, but with a bit of squeezing (and shortening the sleeves) I managed to cut both bodice and sleeves out of it.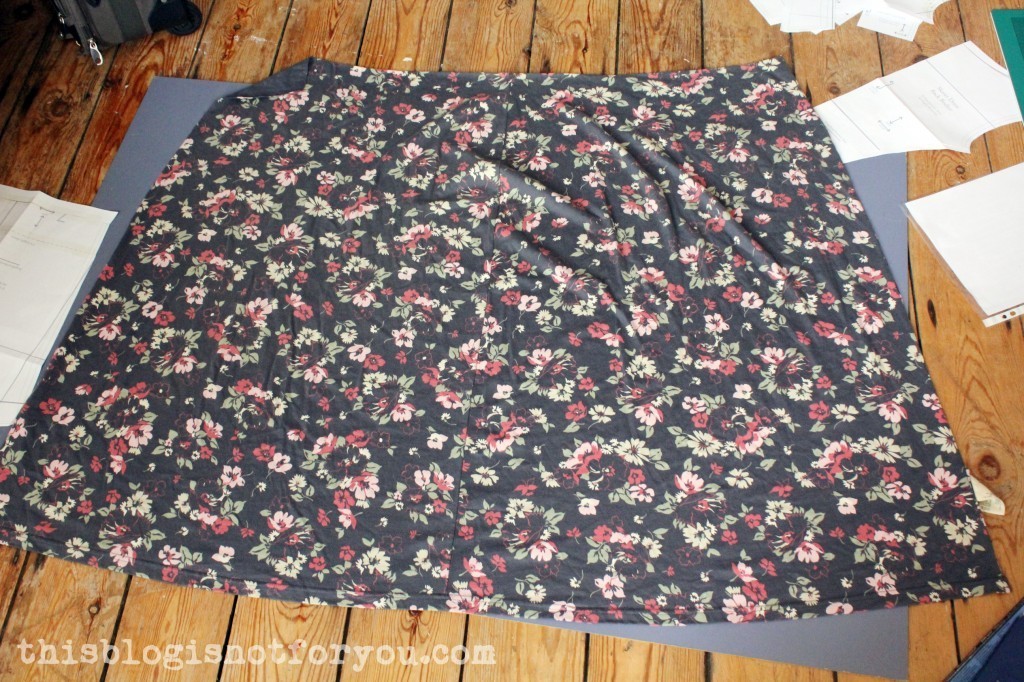 Here you can see that I had to shorten to sleeves a bit, but I could also re-use the hem of the skirt for the sleeve hems. Pretty convenient :)
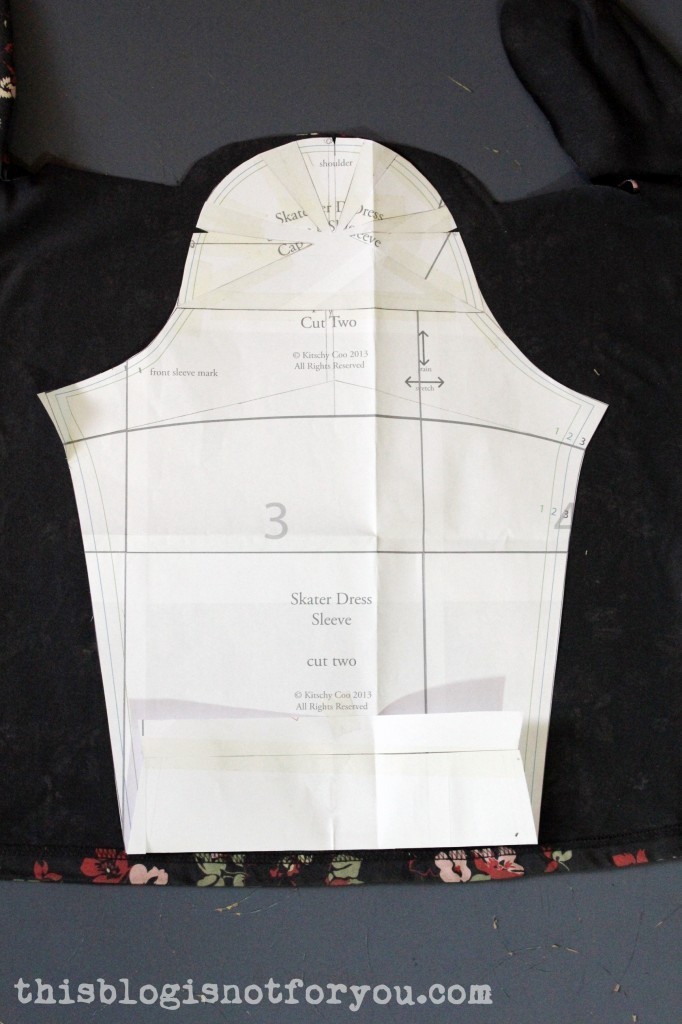
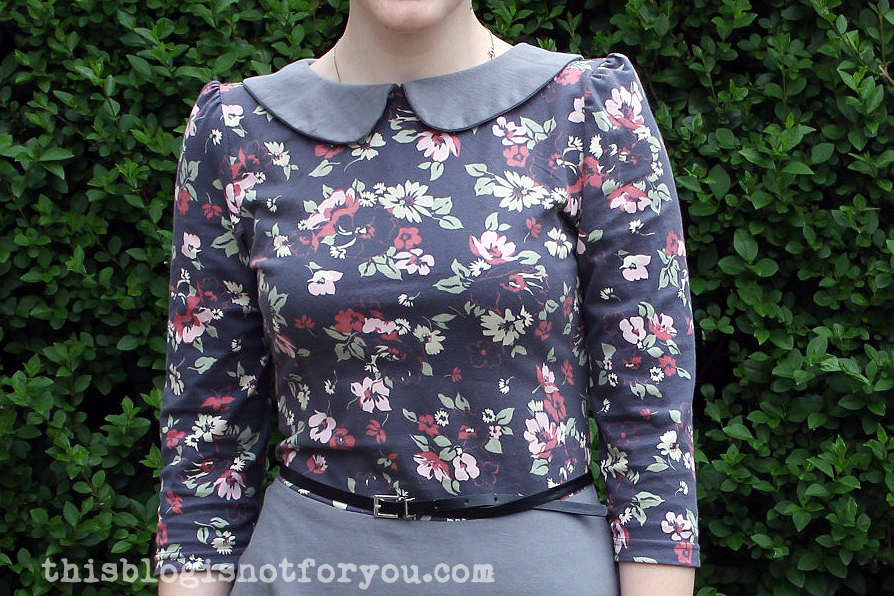
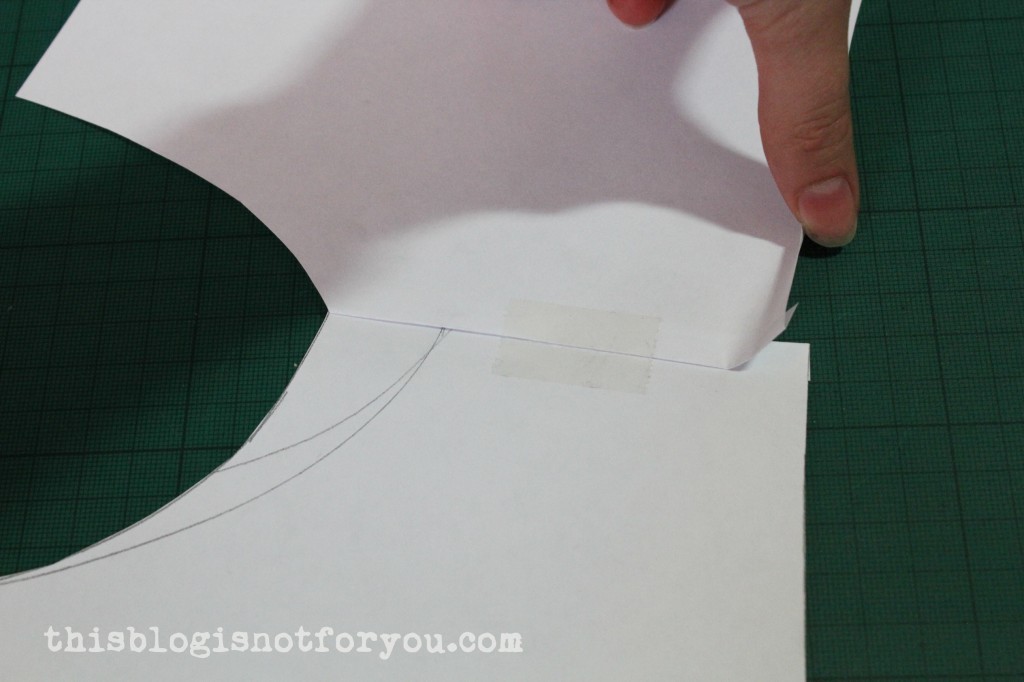
Here’s how I drafted the collar: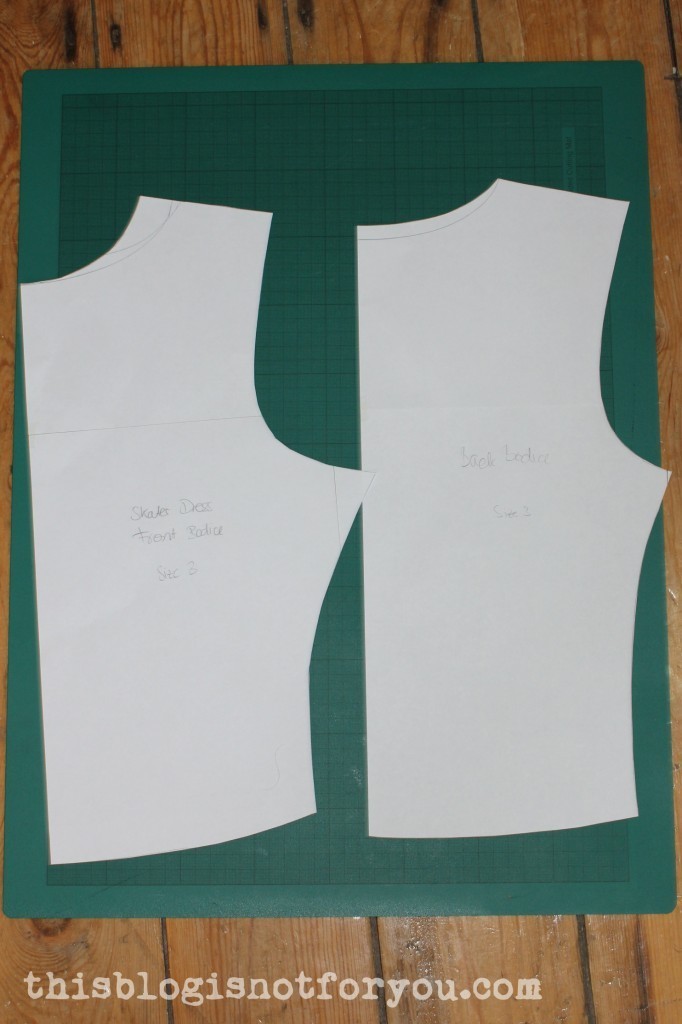 I taped front and back of the bodice pattern together (folding away the seam allowance) so that they were overlapping a bit on the armhole edge (see below). This way the collar lies flatter.
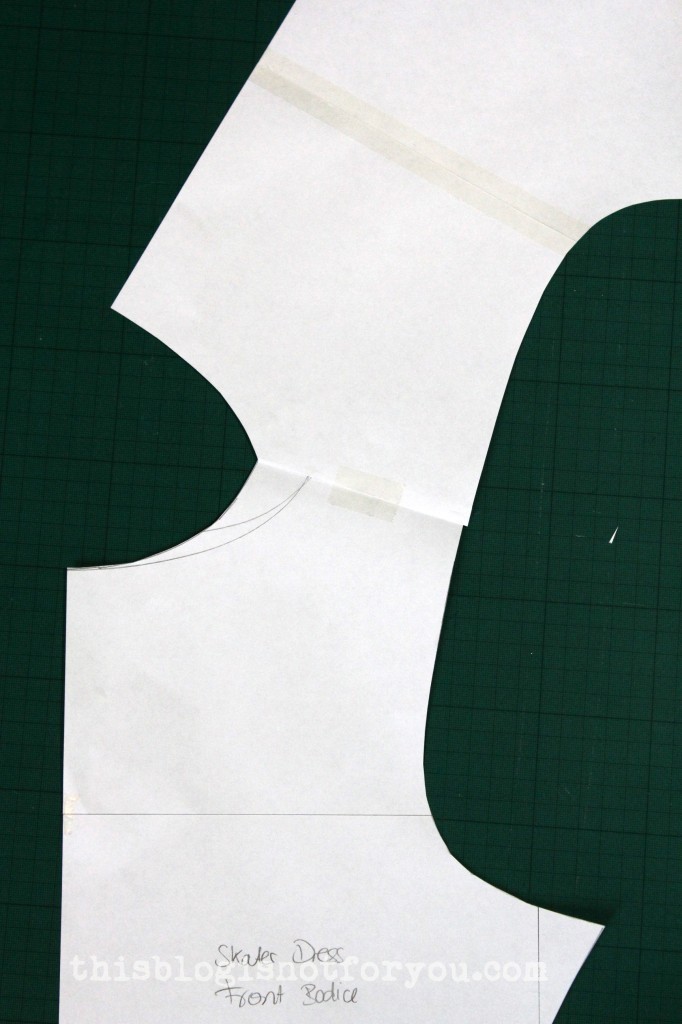
 Drafting the actual collar (don’t forget to add seam allowance!):
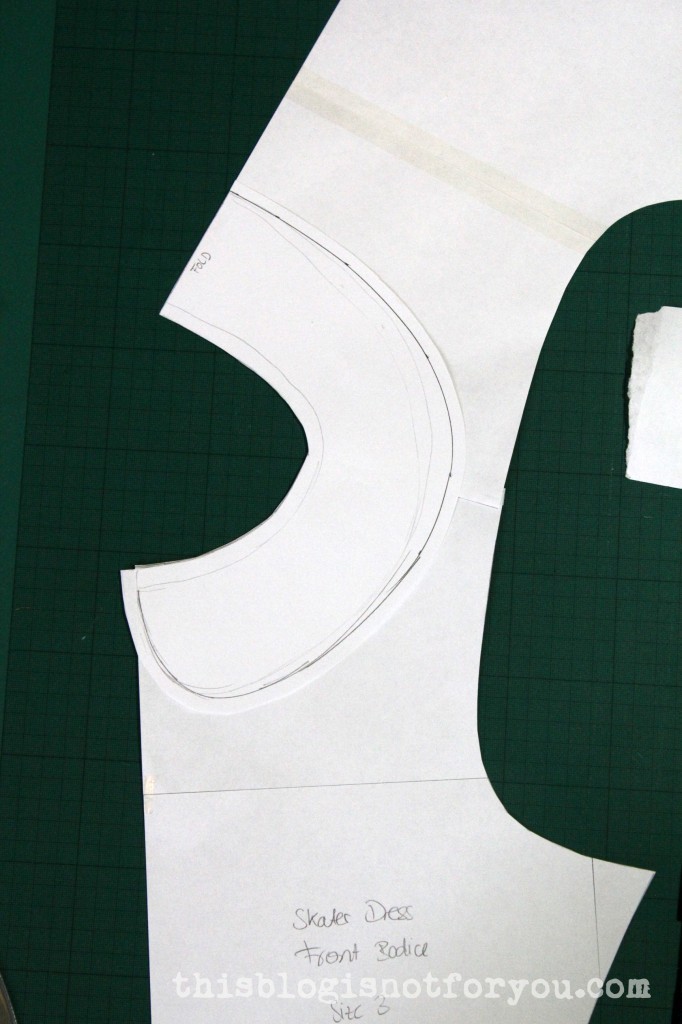 I handbasted most of the seams of the collar before machine sewing them. Parts of the collar are cut on the bias and might stretch and shift, so handbasting seemed like a good idea. I also basted the collar to the dress, turned the raw edges over inside and stitched the raw edges to the dress with a zig zag (which you cannot see from the outside as the seams are covered by the collar).
 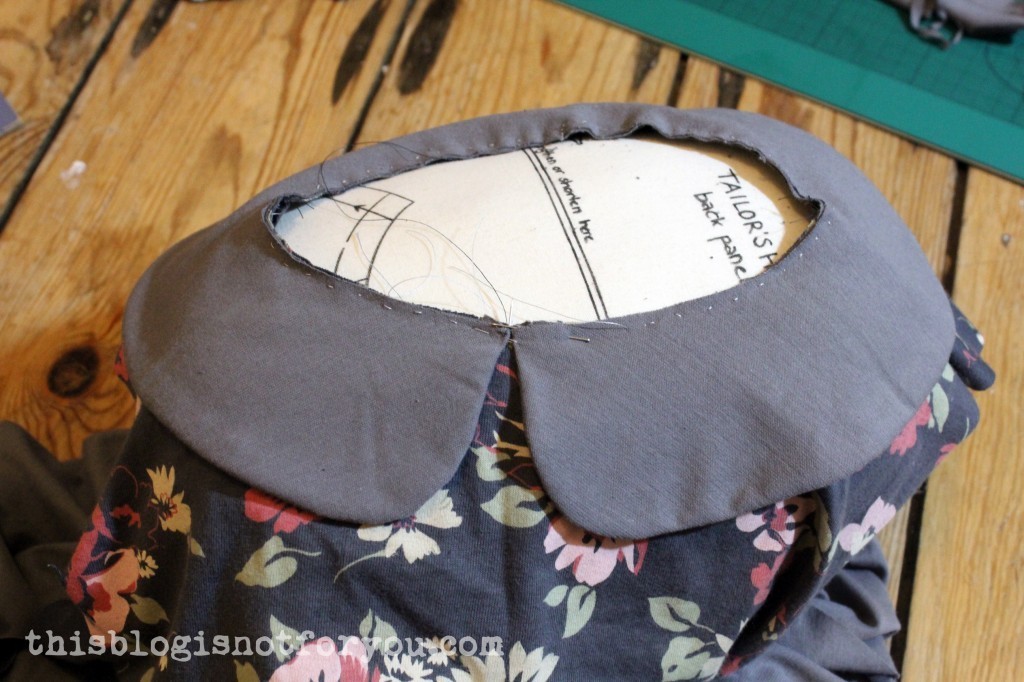 I love my second Lady Skater Dress as much as I love the first one! I wore it already (way too often) over the holidays and in my head I’m already making more!
These pics were taken on one of these days where I was just not in the mood for taking pictures. Do you know these days? Not even my new hair colour seemed to help. Taking pics feeling all of your neighbours are watching you is so awkward!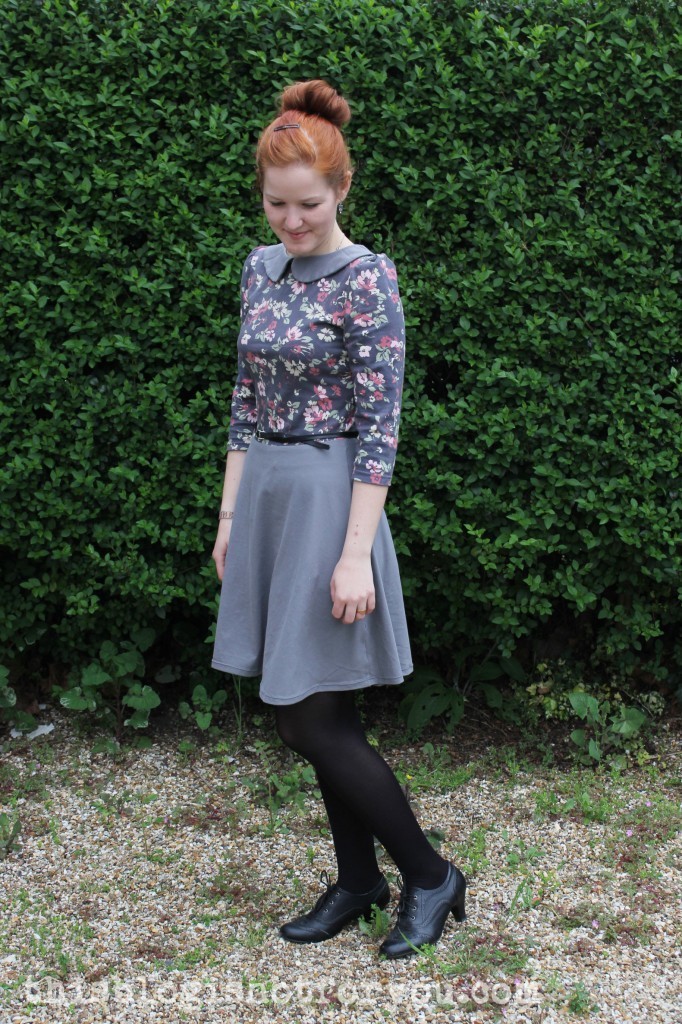
Well, this is #21 of my 27 Dresses Challenge. #22 is finished, too, but still in need of a lining. #23 might never be finished, but more on that later! xx
Happy sewing!
♥
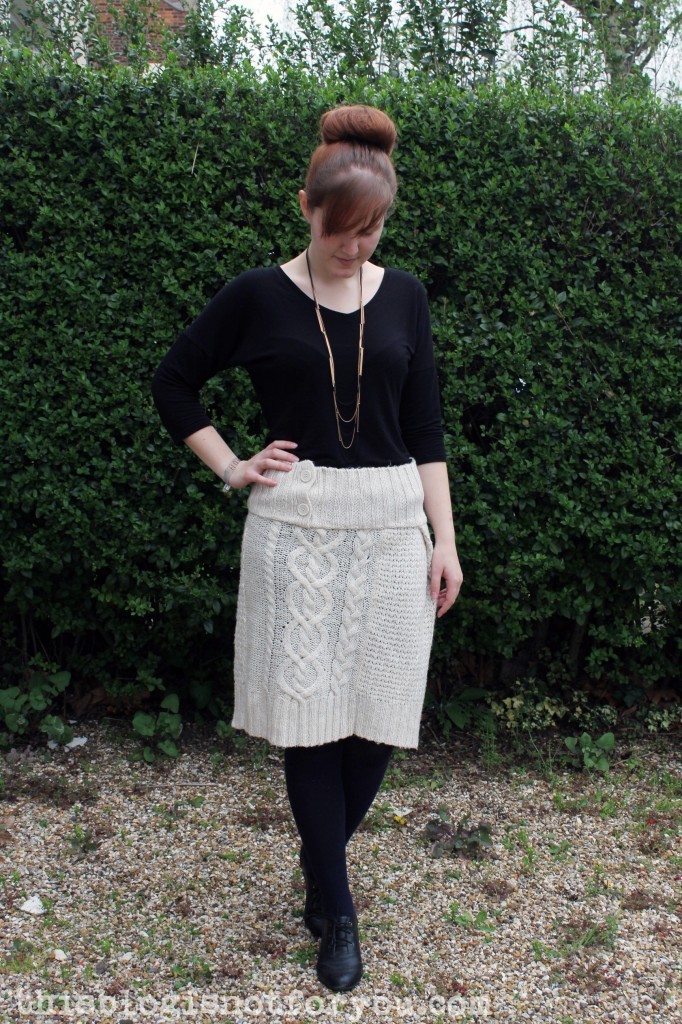
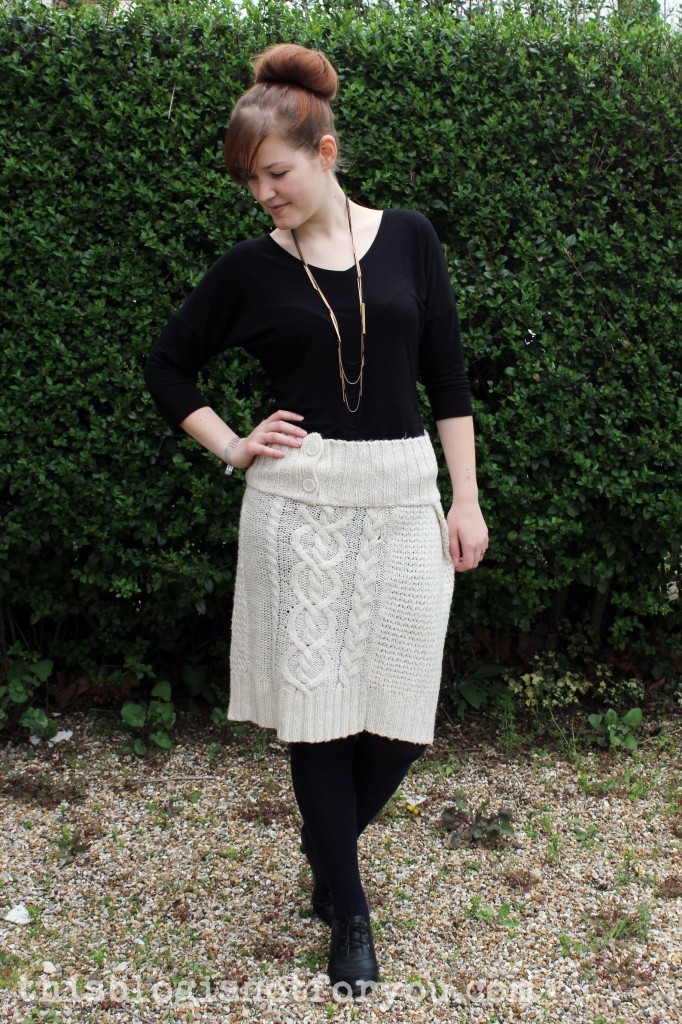 It’s spring and time to get rid of all these sweaters you haven’t worn in years! Before you throw them away, why not try a quick refashion? This way having lived a long boring life in your closet your sweater might at least have a chance to lead a short exciting life as a skirt before it gets replaced by all the lovely summer dresses we can’t wait for.
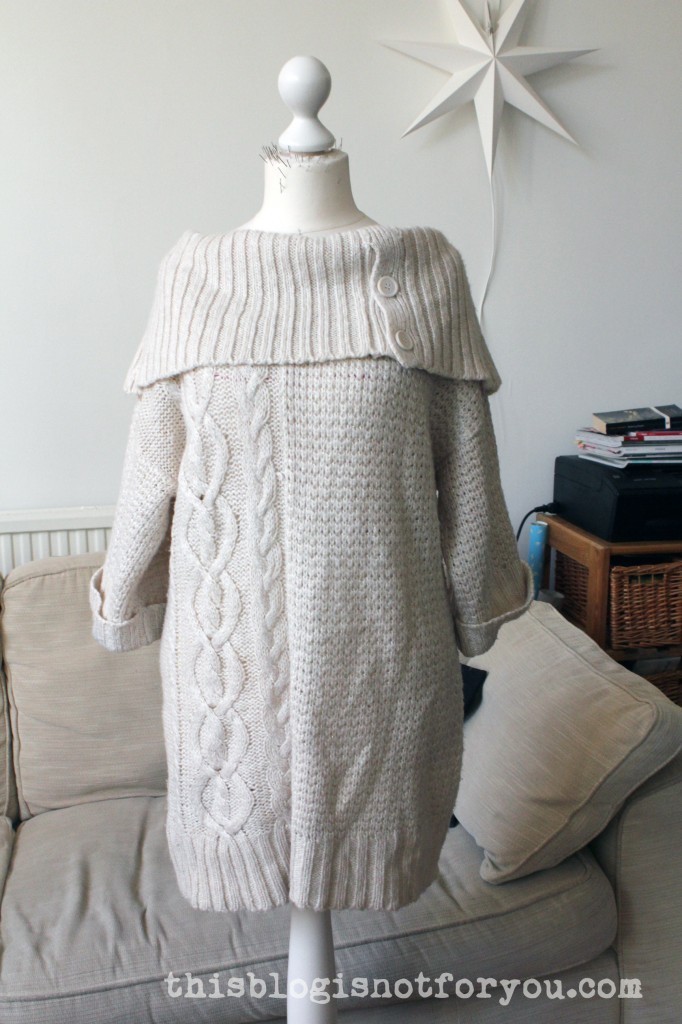 I got this sweater in a charity shop for 2 pounds. It’s 100% acrylic and not too comfy on the skin so I decided to make a skirt out of it.
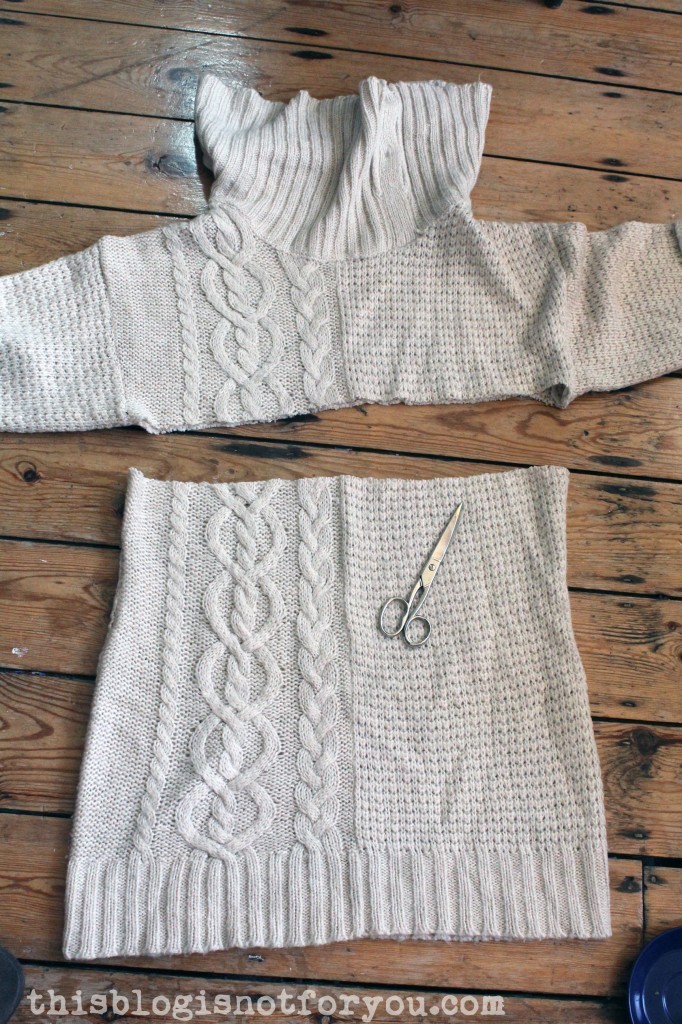 First, I got out my scissors and chop, chop! This is absolutely my favourite part! After this there’s no way back. In the beginning cutting garments apart was absolutely terrifying, now I thoroughly enjoy it. Hmm. What does this say about me?
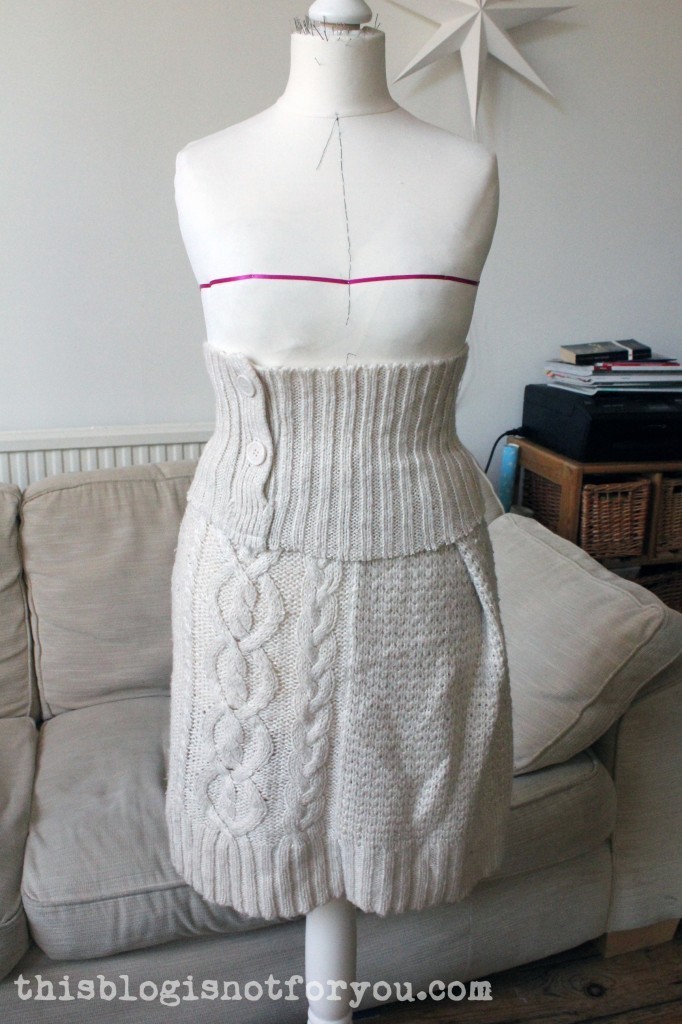 …and here the back:
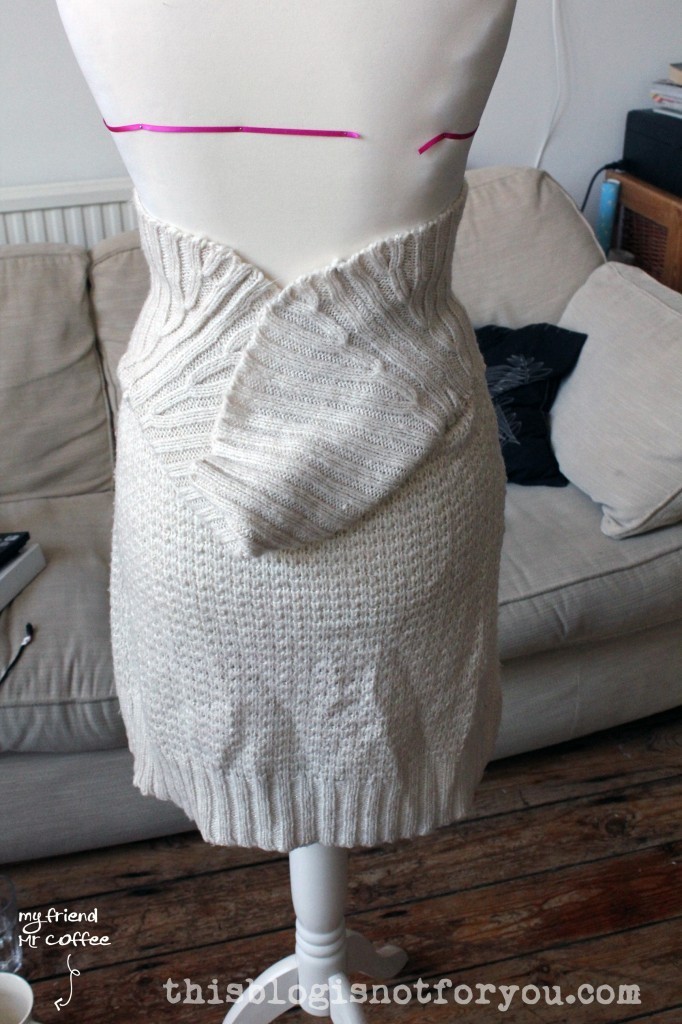 I used the collar to create a waistband. After everything was tucked and pinned into place, I used thick embroidery thread to baste all the layers together.
 I cut off the excess fabric, neatened the edges with a zigzag stitch and sewed everything together.
 Done! (Wowsa, that was quick!)
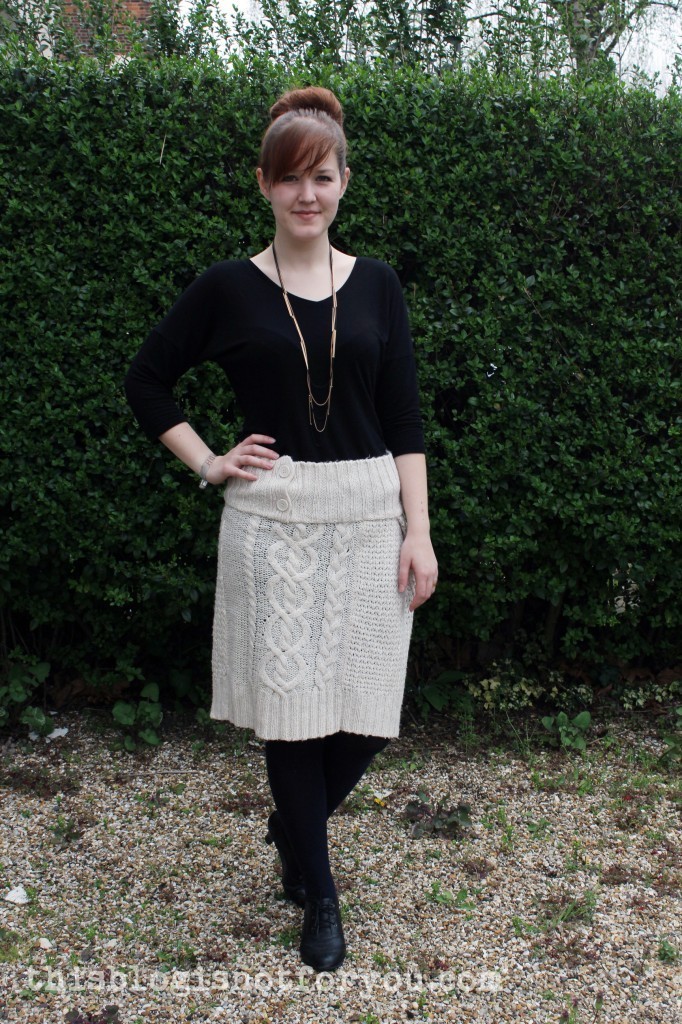 I might add some elastic to the waistband as it easily stretches out of shape and widens a bit when I wear it (so it sits much lower than intended). I bit of elastic will hopefully fix this.

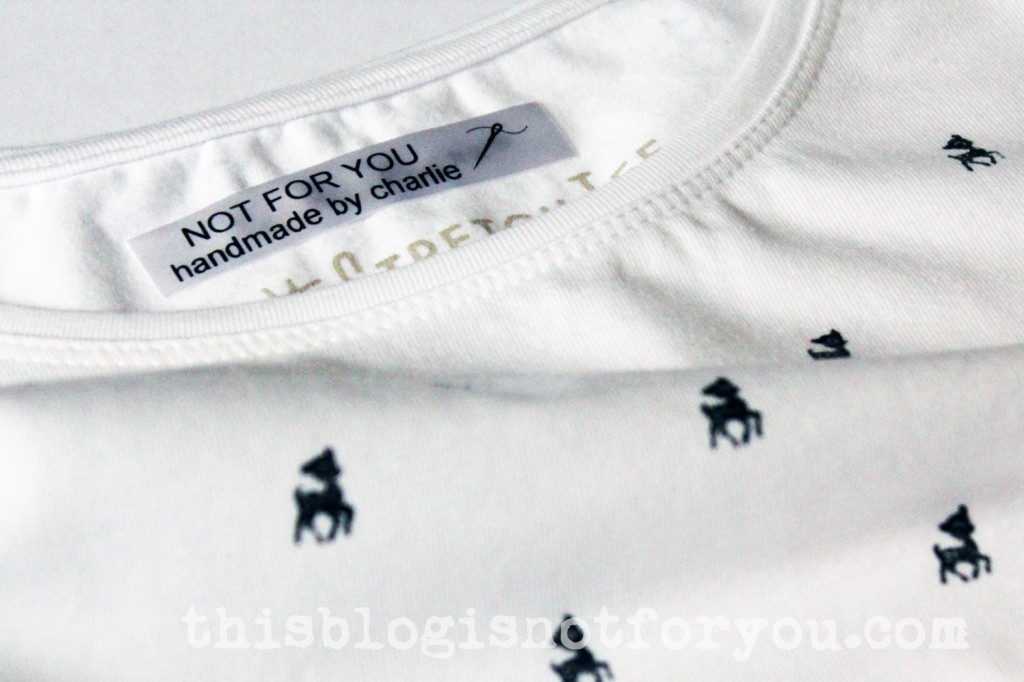
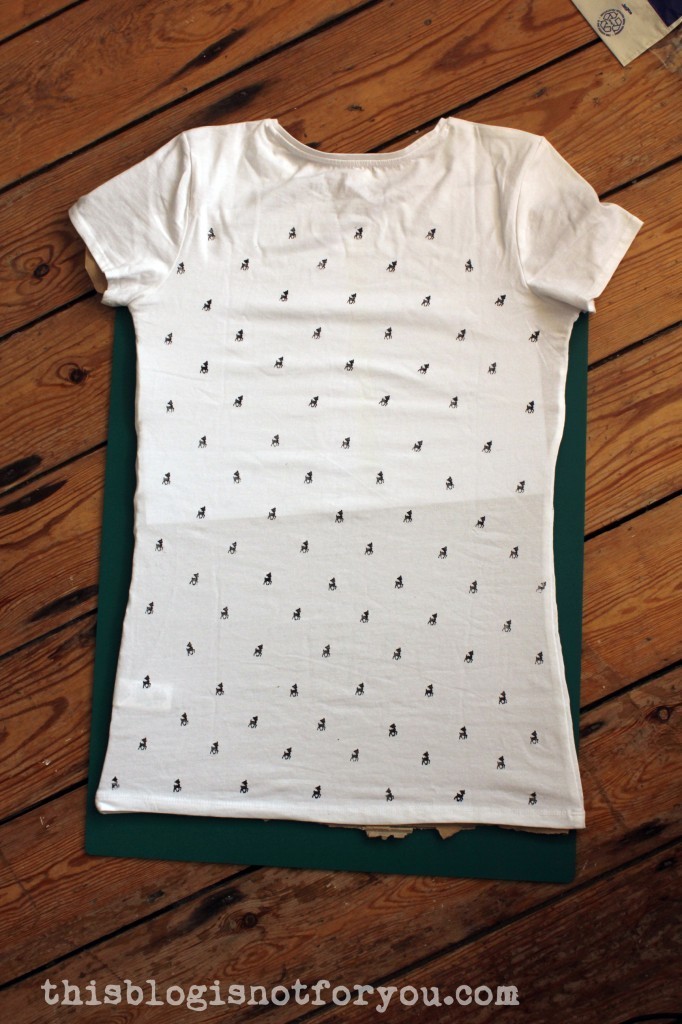
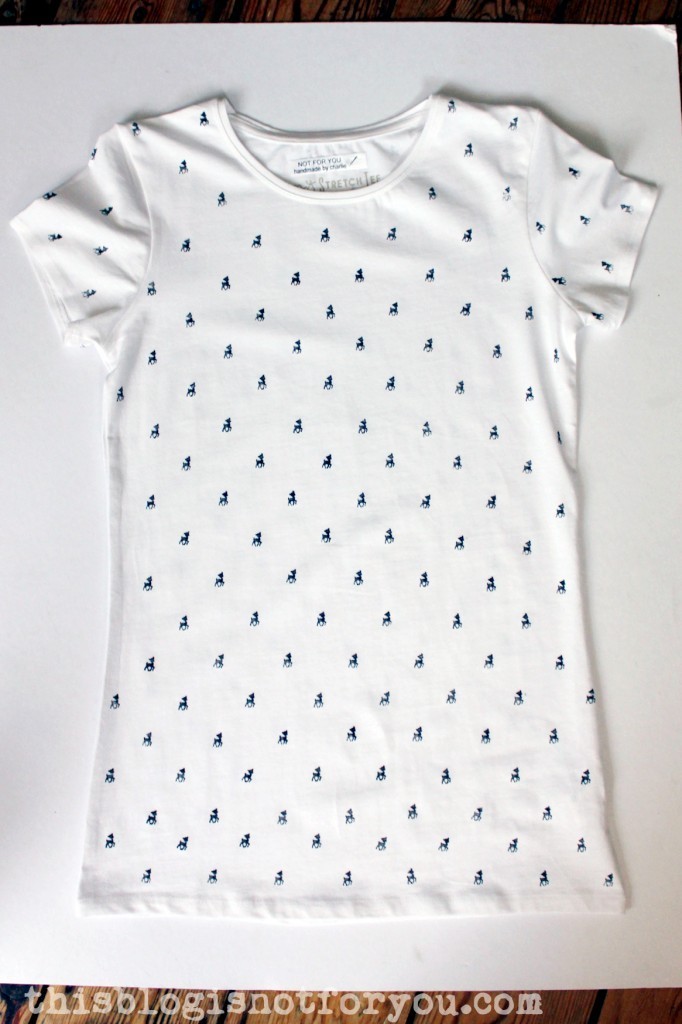
 I recently bought a white tee and refashioned it for my best friend’s birthday (yes, the one who also was lucky enough to get a made-to-measure
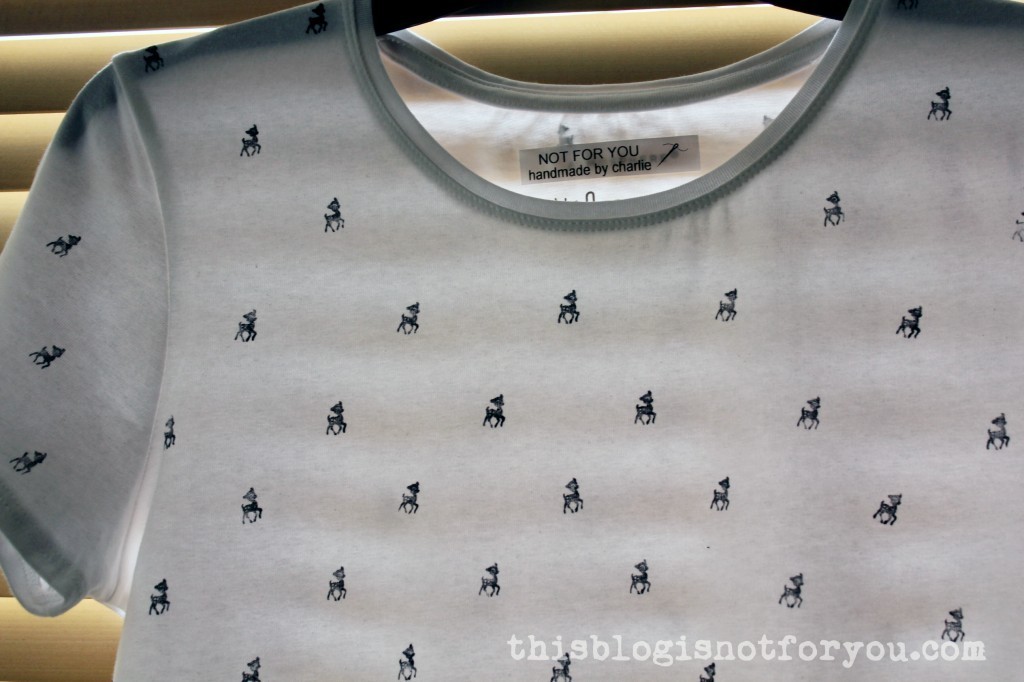
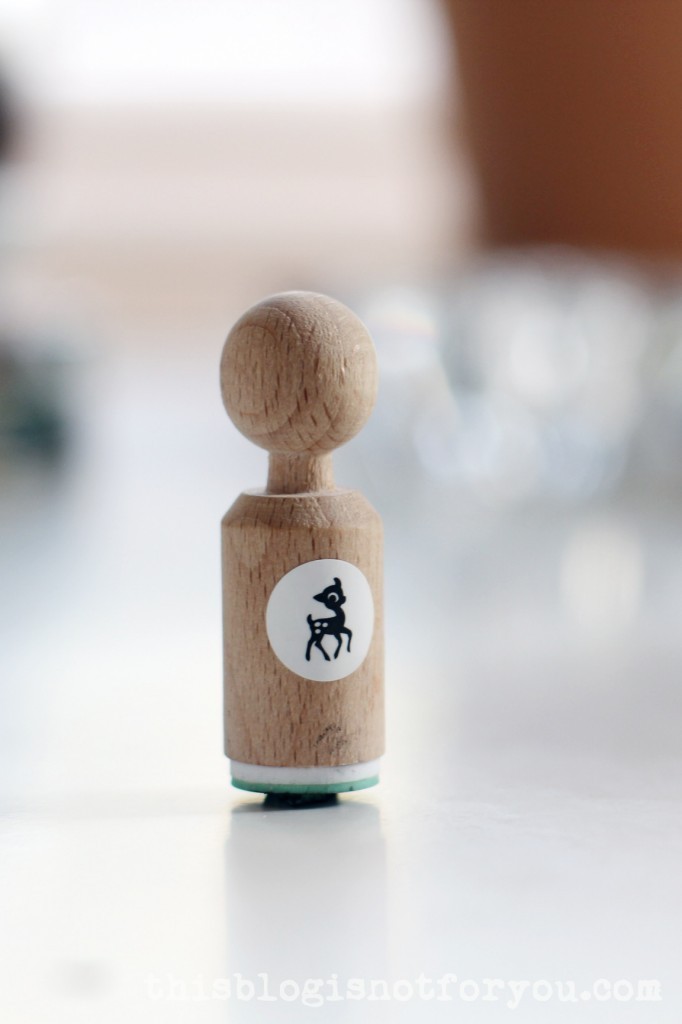
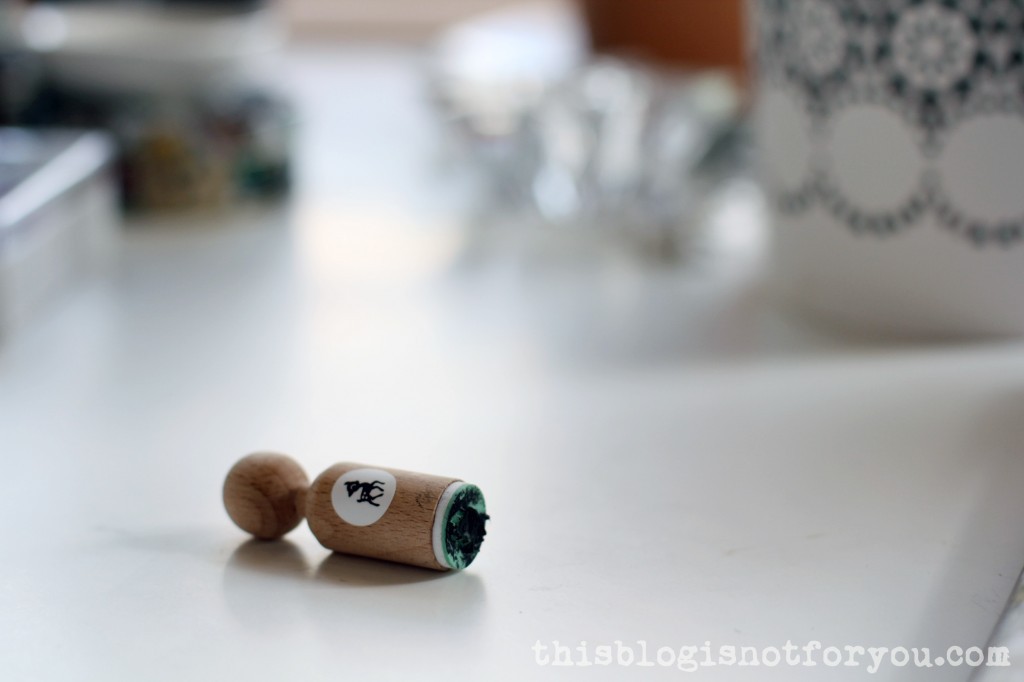 Stamps need to be cleaned before the paint dries. There will be stains that stay, but that’s fine as long as all fluff and paint gets washed off.
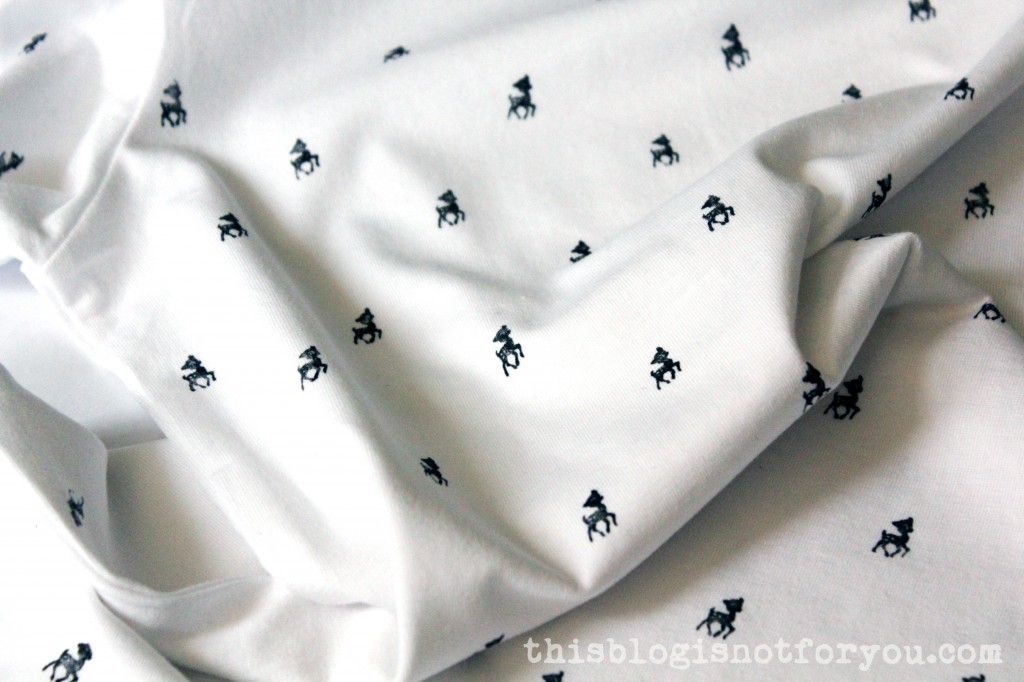
 3. Don’t mix the fabric paint with water. You can do that, if the paint is water-based, but if you want to have a neat and sharp print which looks stamped, I recommend using the paint as it is. You will only need a tiny amount anyway and mixing the paint with water might lead to a slightly blurry outcome.
 Finally.
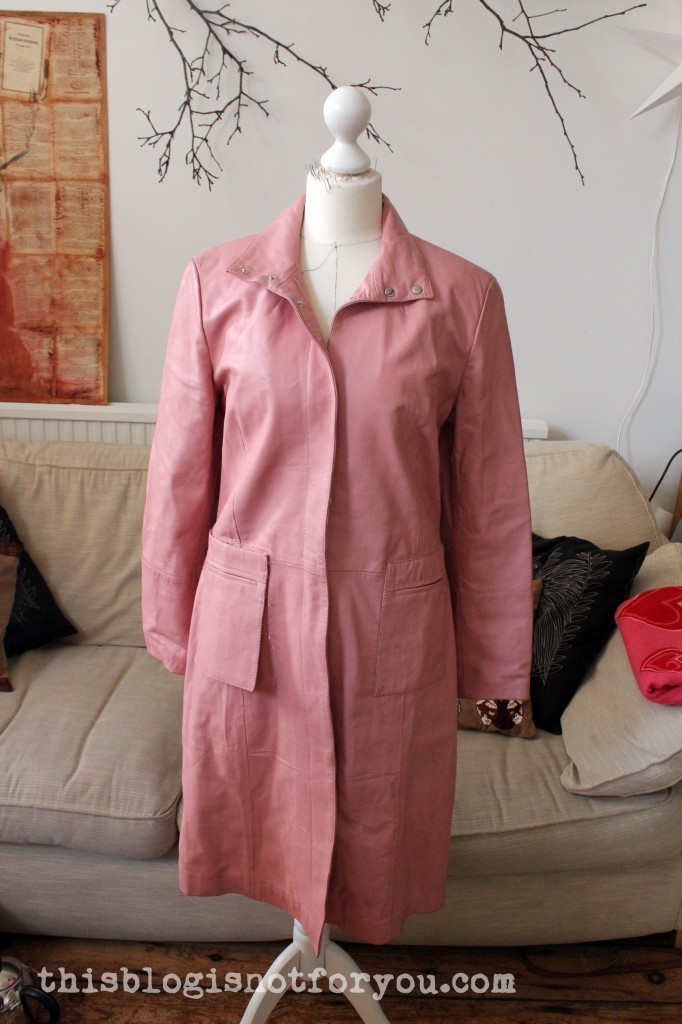

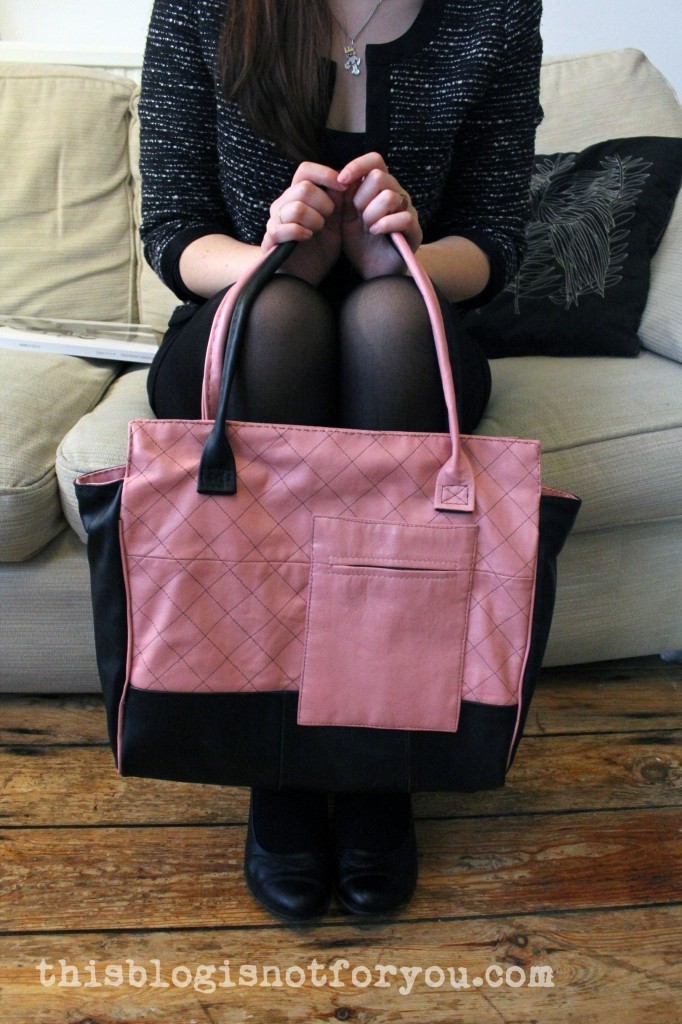 The bag unfortunately doesn’t count into my
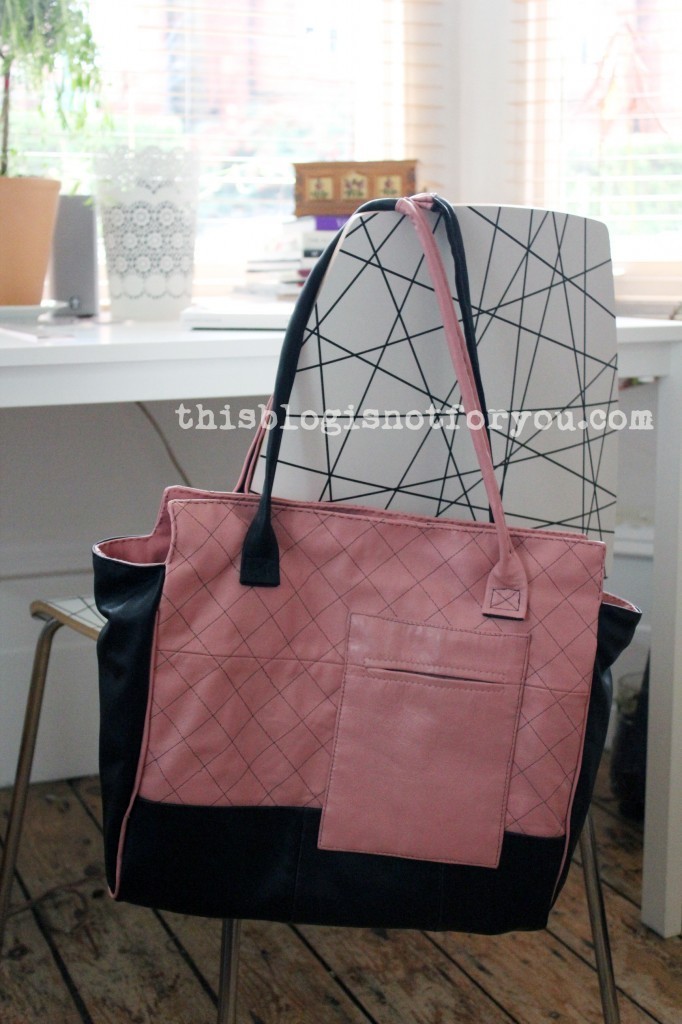
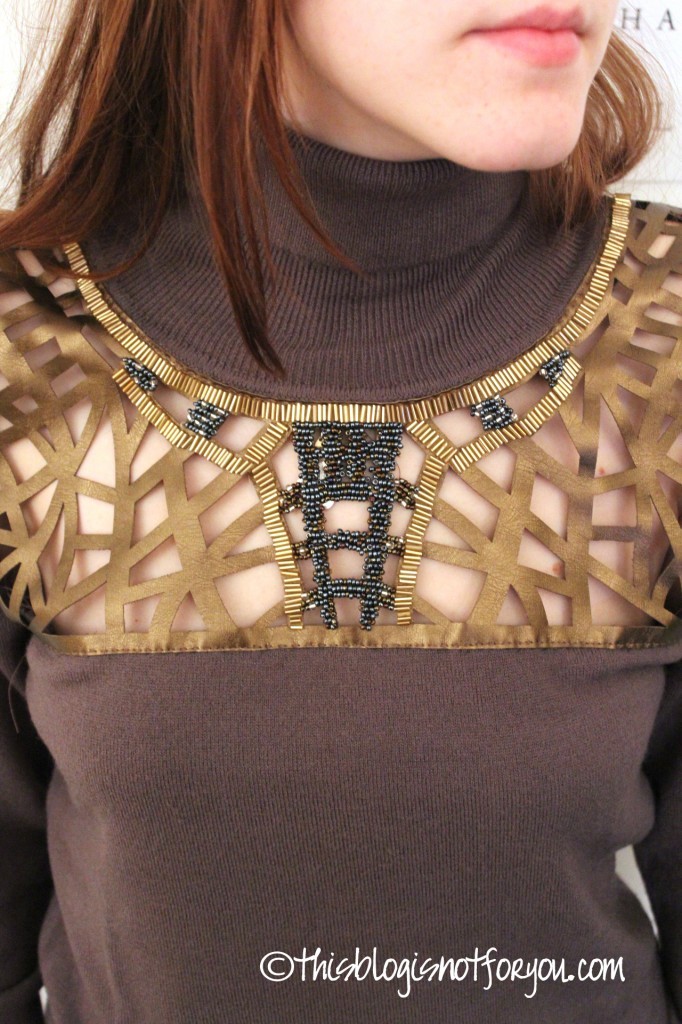
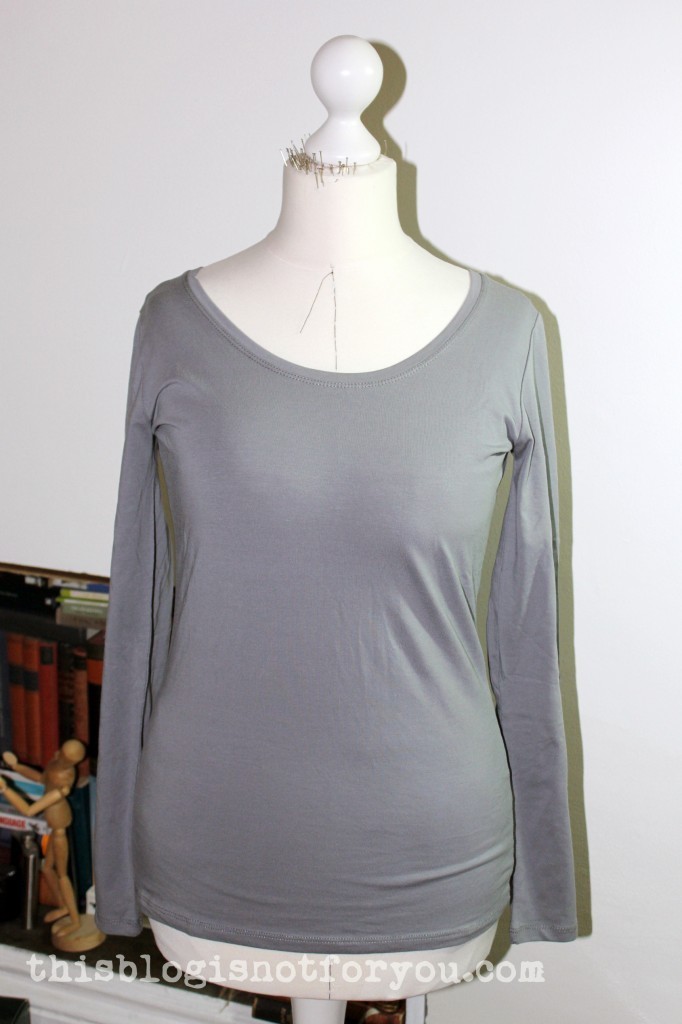 I love wearing these and thought about how to make them look a bit more chic without overdoing it, since they will be worn underneath most of the time. Because the neckline is often still visible, I decided to use a few tube beads to embroider the neckline.
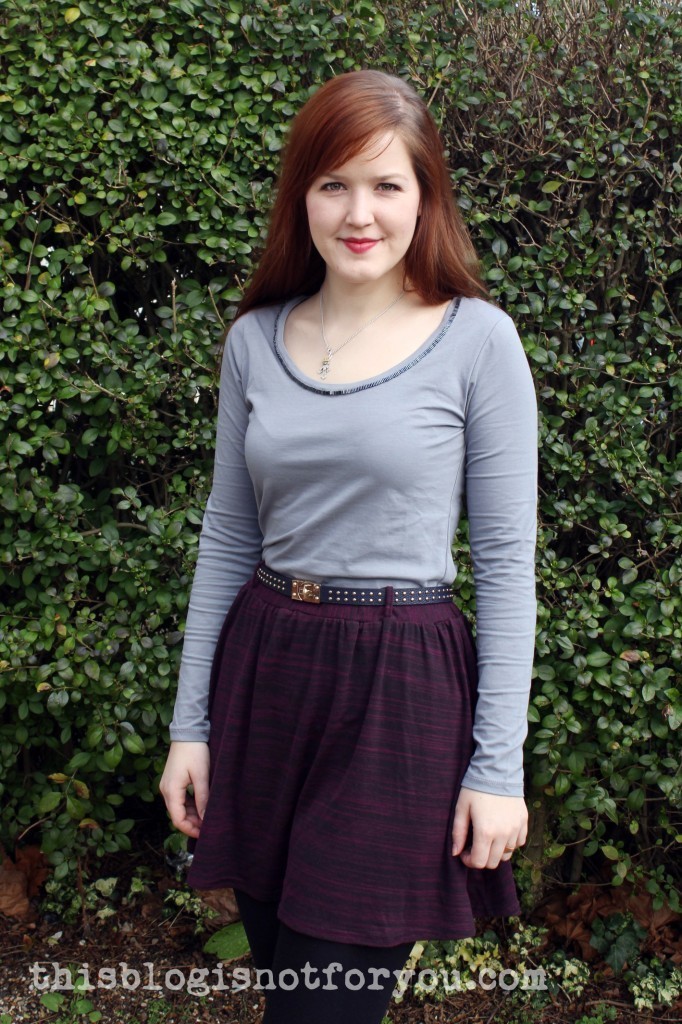

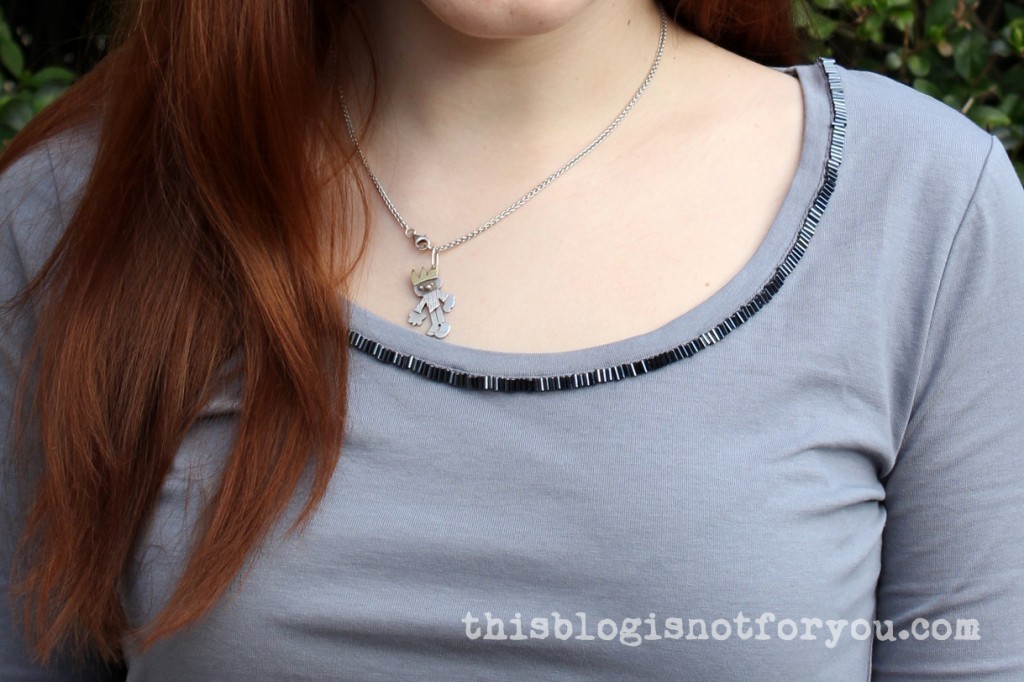 I used greyish-blue tube beads and sewed them onto the topstitching of the neckline binding. I didn’t sew the beads onto the binding itself, since I thought they might be too heavy for the light stretch fabric, pulling it down with the result of the neckline gaping open.
 I didn’t use one continuous thread, but knotted it off after every 10cm/4” or so. In case the thread should break, I won’t have to redo the whole thing.