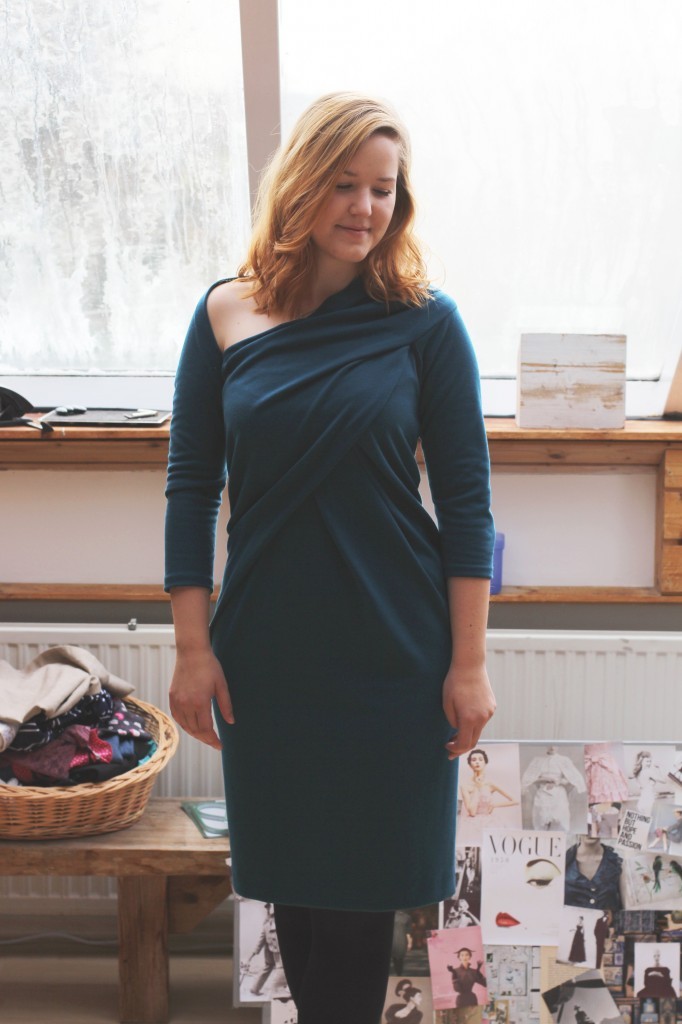
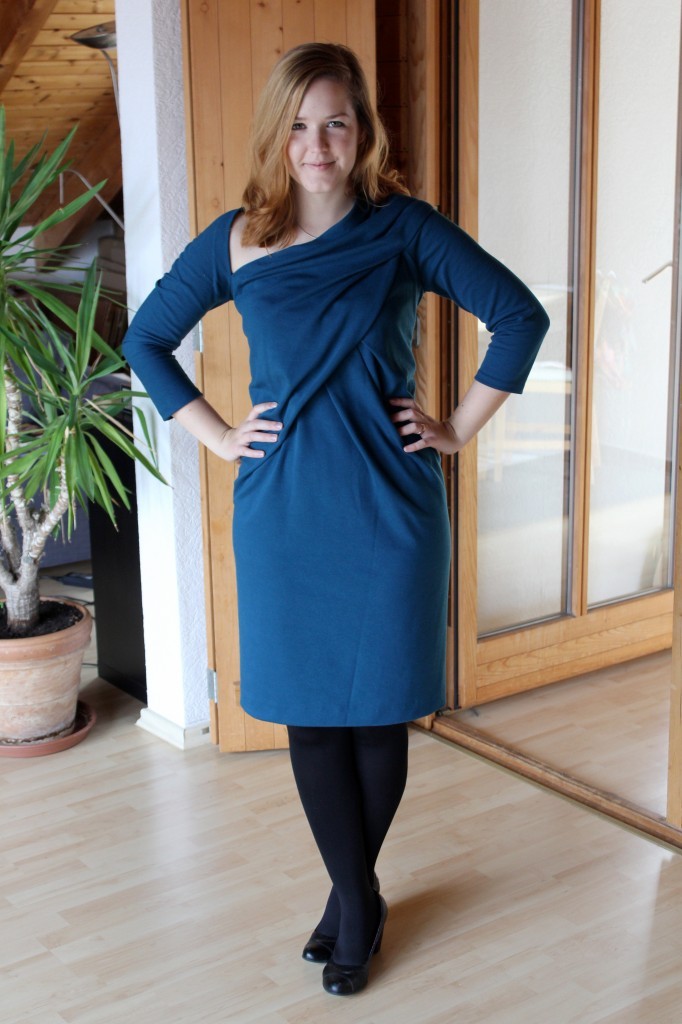
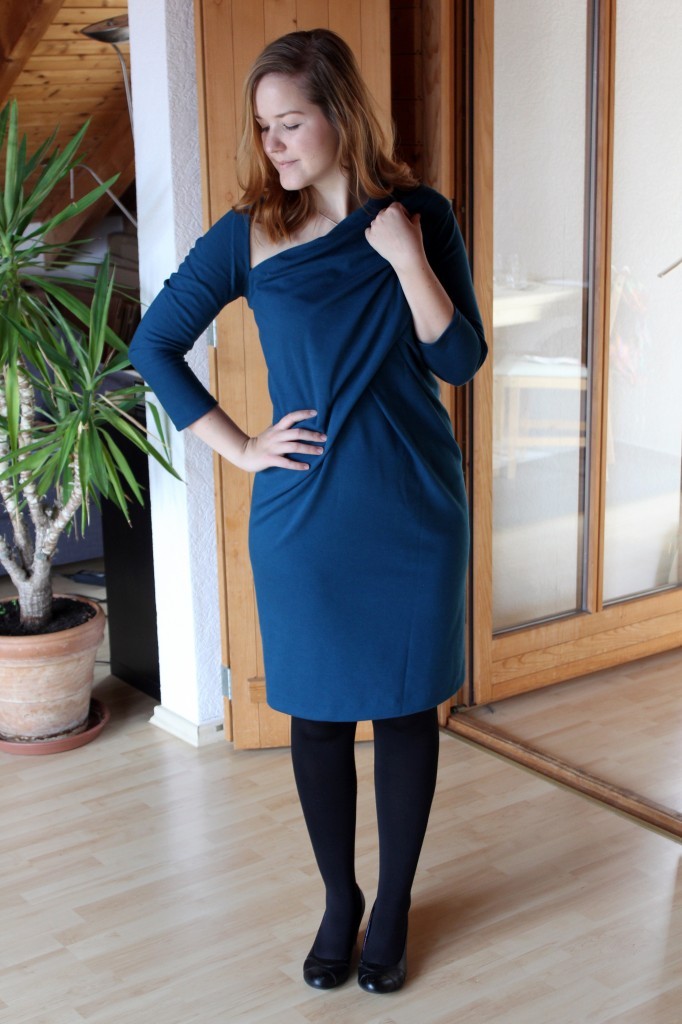
Donna Karan Dress in Teal Knit Fabric

Donna Karan dress by thisblogisnotforyou.comDonna Karan dress by thisblogisnotforyou.comDonna Karan dress by thisblogisnotforyou.com

Donna Karan dress by thisblogisnotforyou.com

If I had to describe my style, I’d struggle. There’s a certain style that I have in mind or how I dress in my head. Garments that I adore and outfits I’d love to wear. And then there’s how I actually dress, which is miles away from the vision in my head. Anyone else have that problem? The seamstress is me promises to work on that.

If I had to sum up the style I have in mind, the style that inspires me, I’d say the ladies of Suits. Anyone else who watches Suits? I’m a pretty big fan – the story is pretty good, Gabriel Macht is pretty hot and I just love the outfits of Rachel, Donna and Jessica. This is how I would dress if I had a job where dressing like this would be appropriate.

Since I got my hands on the Sew Over It pencil skirt pattern, I slowly started to sew more Suits inspired outfits. Pussy bow blouses and pencil skirts go well together. So when I found this Donna Karan pattern, which is the exact dress that Jessica wears in the series, I needed to try it.
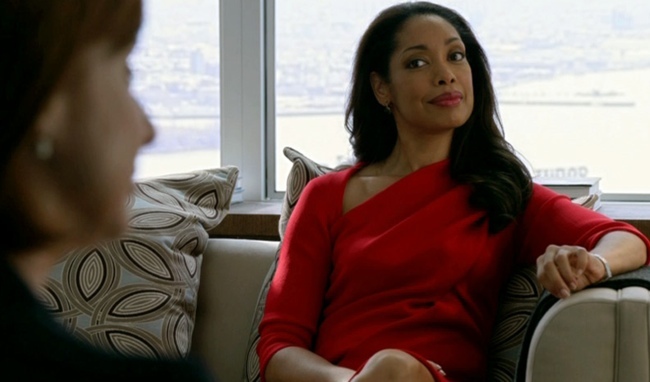
source: cinemazzi.com/

Being part of their blogging team, all the materials needed for this projects are courtesy of the awesome people at White Tree Fabrics.
Donna Karan dress by thisblogisnotforyou.com

THE FABRIC

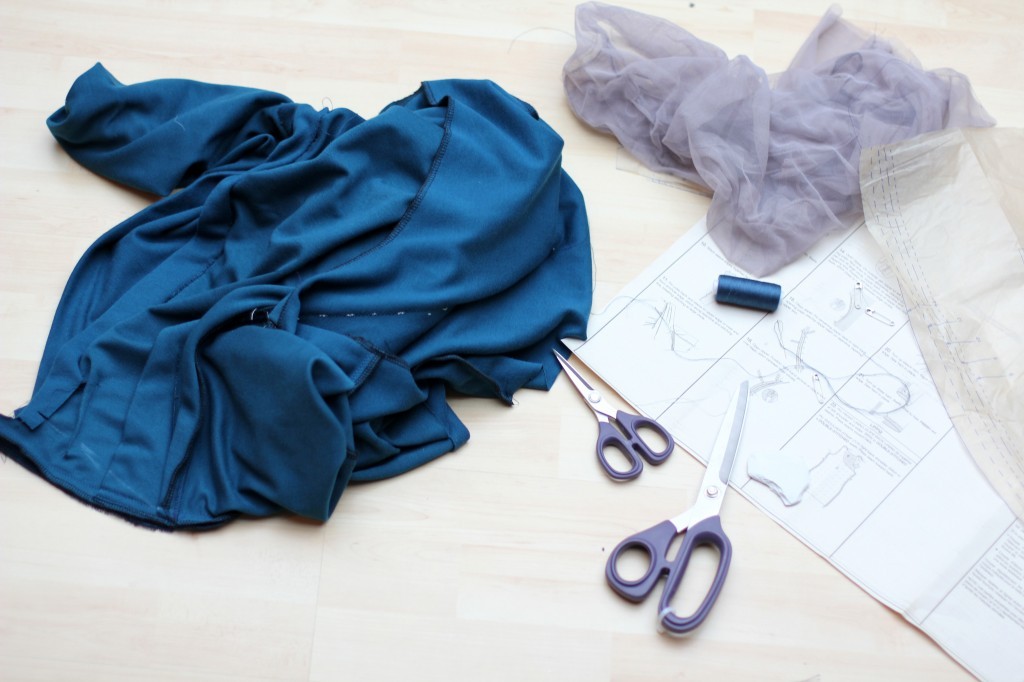
The pattern requires a two-way stretch fabric, such as double knit or wool jersey. I picked a teal ponte roma knit fabric, which has a really lovely quality. It’s looks a bit like royal blue in the pictures since teal always is quite hard to photograph. For the lining I went with the instructions on the back of the pattern and got some grey tricot/mesh fabric. I must have misunderstood the type of fabric which was required. The mesh was great, super stretchy and sewed really well, but was way too lightweight and stretchy to support the heavy knit fabric. I was a bit upset at first, but did a bit of research on tricot fabric. Apparently when I looked it up at first, I found it was similar to mesh and often used in sports wear. Recently I stumbled upon another sort which was more like a stretchy but quite stable jersey, also used to make sports wear. So when you read “tricot” being suggested for lining, go with your guts and pick something that a similar weight to your fashion fabric.
Donna Karan dress by thisblogisnotforyou.comDonna Karan dress by thisblogisnotforyou.comDonna Karan dress by thisblogisnotforyou.com

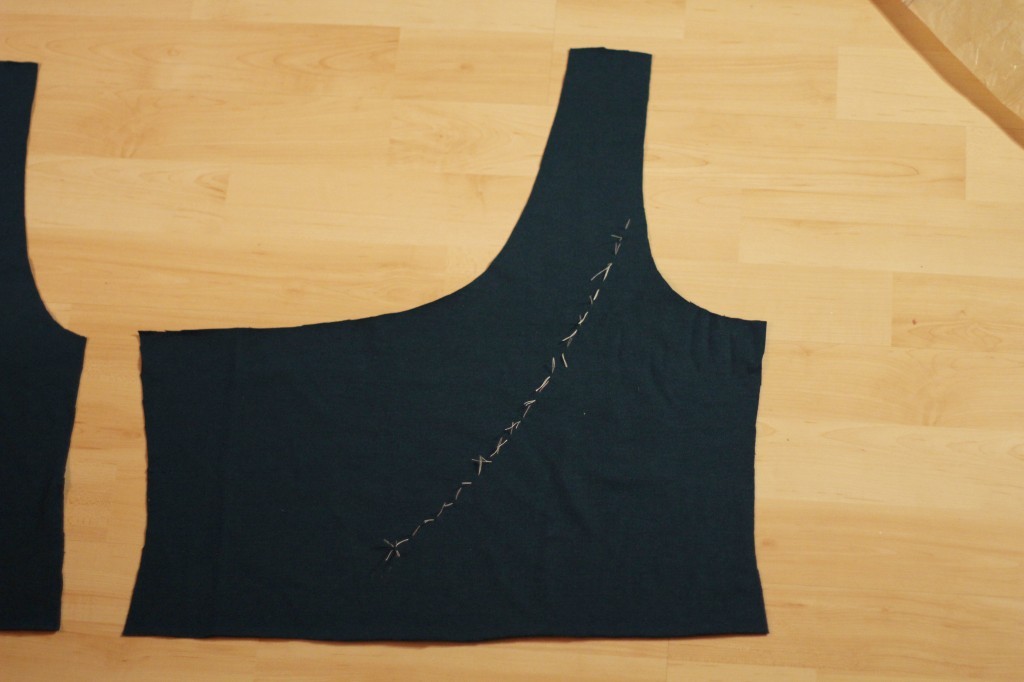
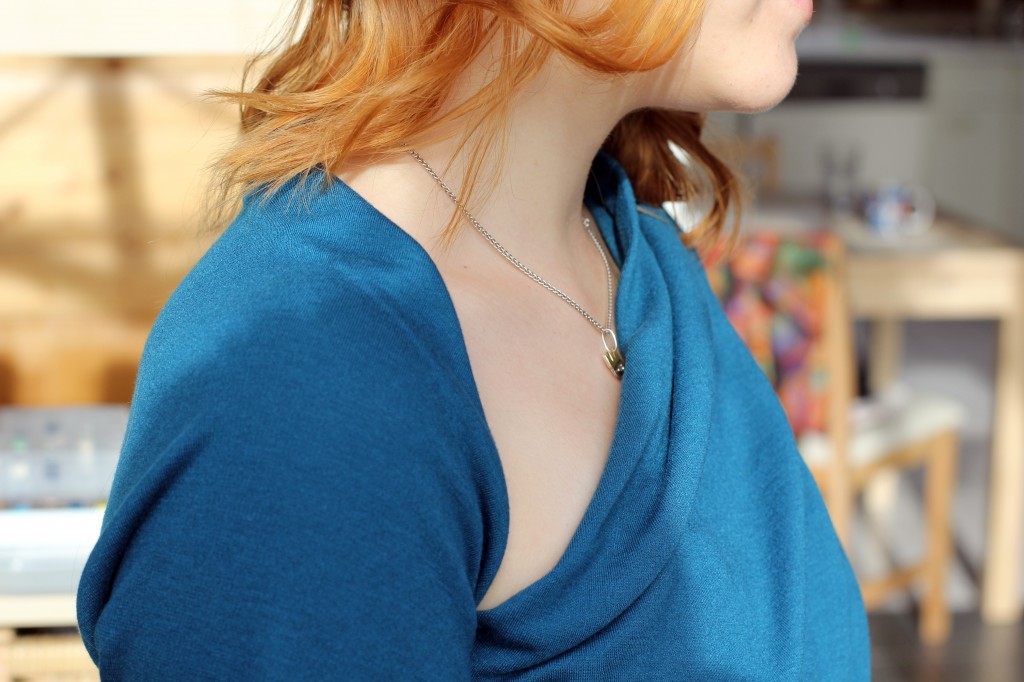
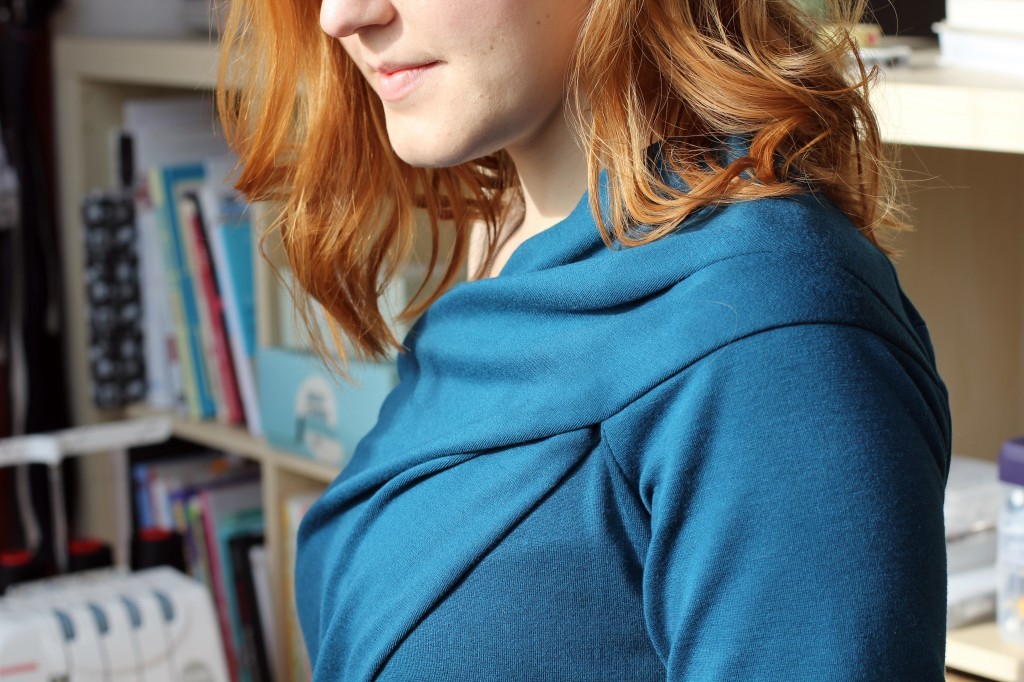
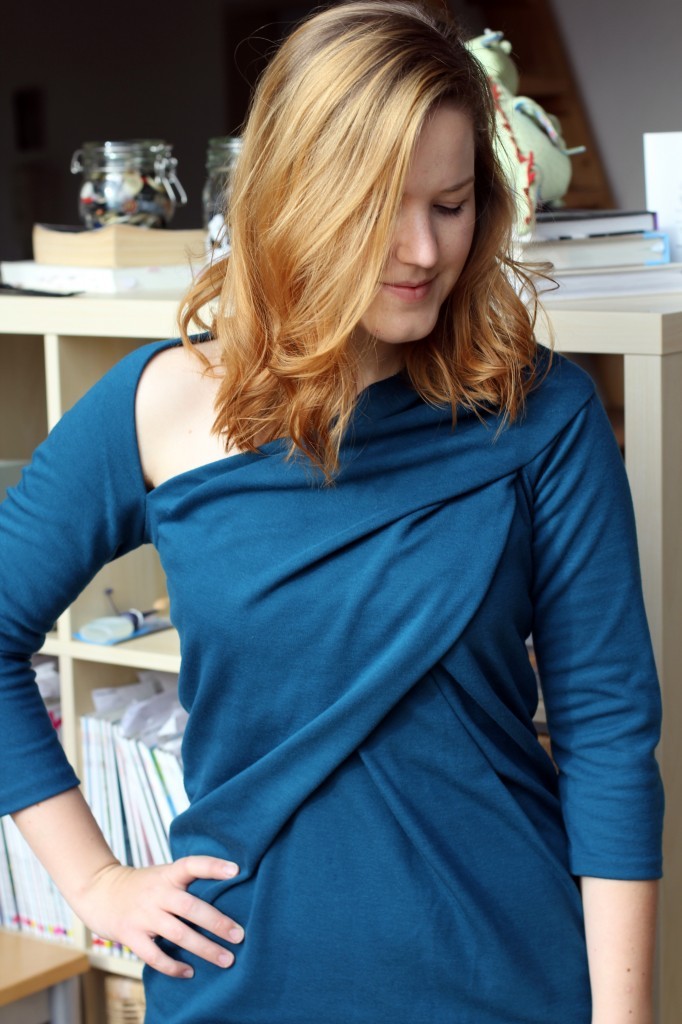
The drape of this dress depends on the lining. The big fold in the front is created by stitching the finished dress to the front lining. This obviously didn’t work with a four-way-stretch fabric, so I decided to use the very last scraps of ponte knit I had left. I only had enough to cut out the bodice, but the knit dress doesn’t really require a full lining anyway. It was Make it work time again.

It turned out alright and really made a difference to the whole fit of the garment. I really recommend sewing in the lining before tackling fit-issues around the bust and below, because you won’t know whether the fit is right before stitching both dresses together.

(I also scrapped the right shoulder strap on the lining and created a single-sleeve top, because however I tweaked it the strap would show through the cut-out.)
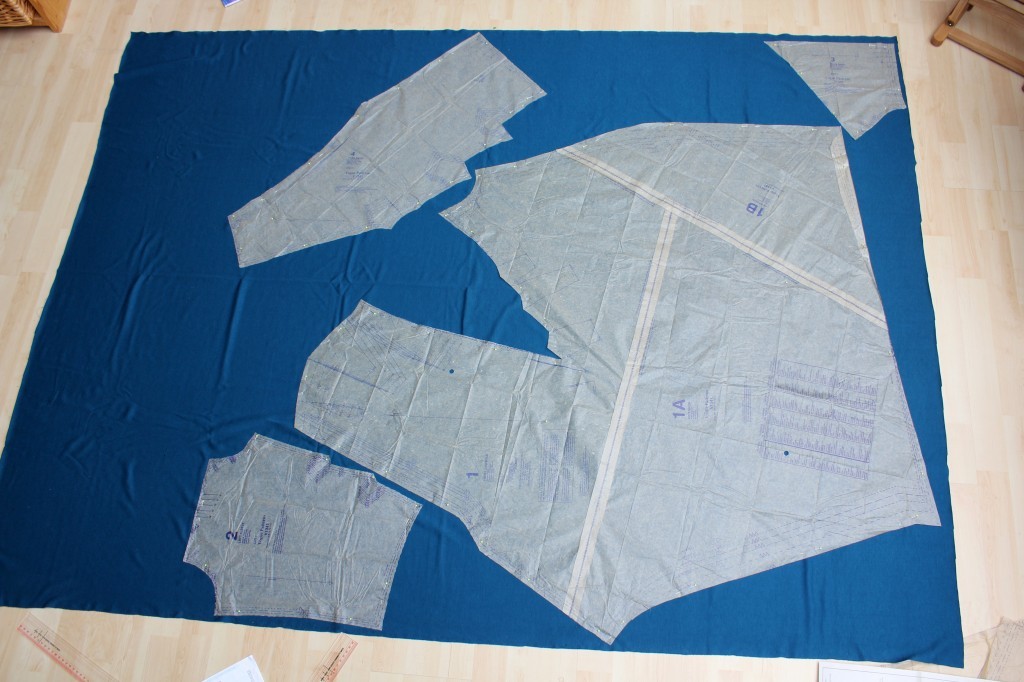
Donna Karan dress by thisblogisnotforyou.com

THE PATTERN & CONSTRUCTION

So, let’s talk about the pattern. This is a Donna Karan for Vogue designer pattern (V1341). I thought it would be quite complicated and was mostly concerned about the fit.

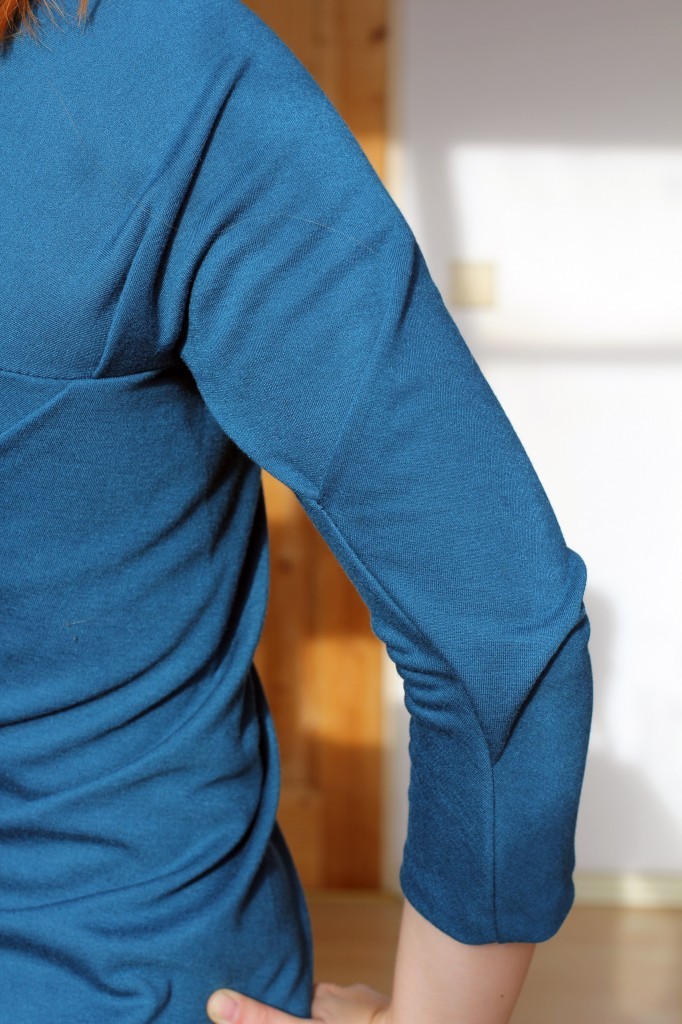
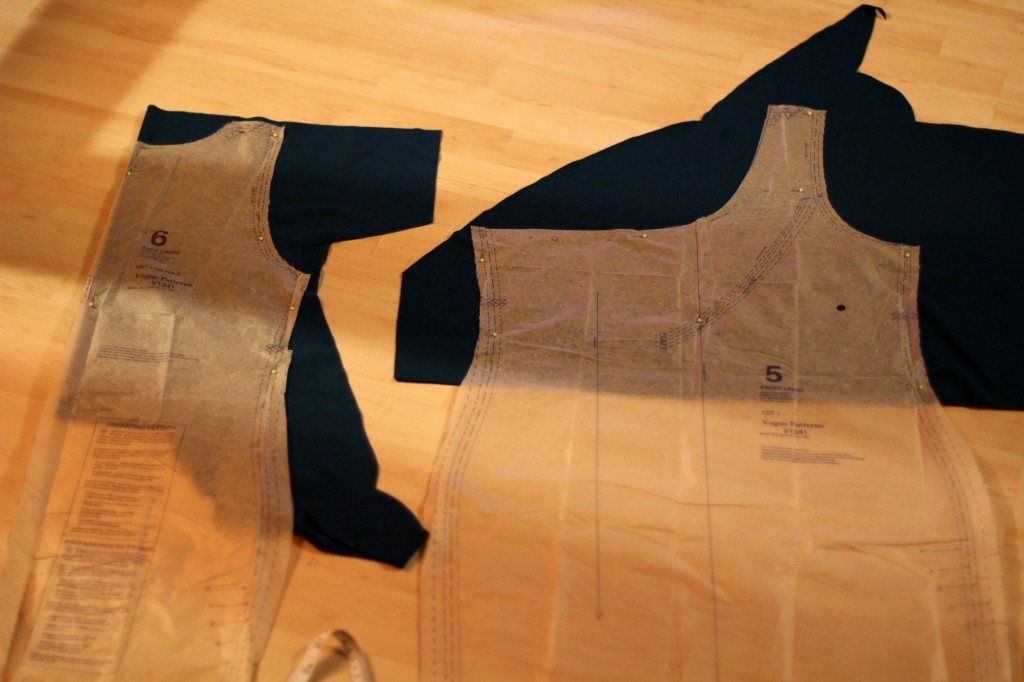
The construction was actually not that hard. Marking the fabric properly (I used tailor tacks) and following the instructions carefully is all it needs. It’s not that hard. There’s pleats, tucks, darts, we all know these. There’s just loads of them. I actually really enjoyed the construction and took time to get all the details right.
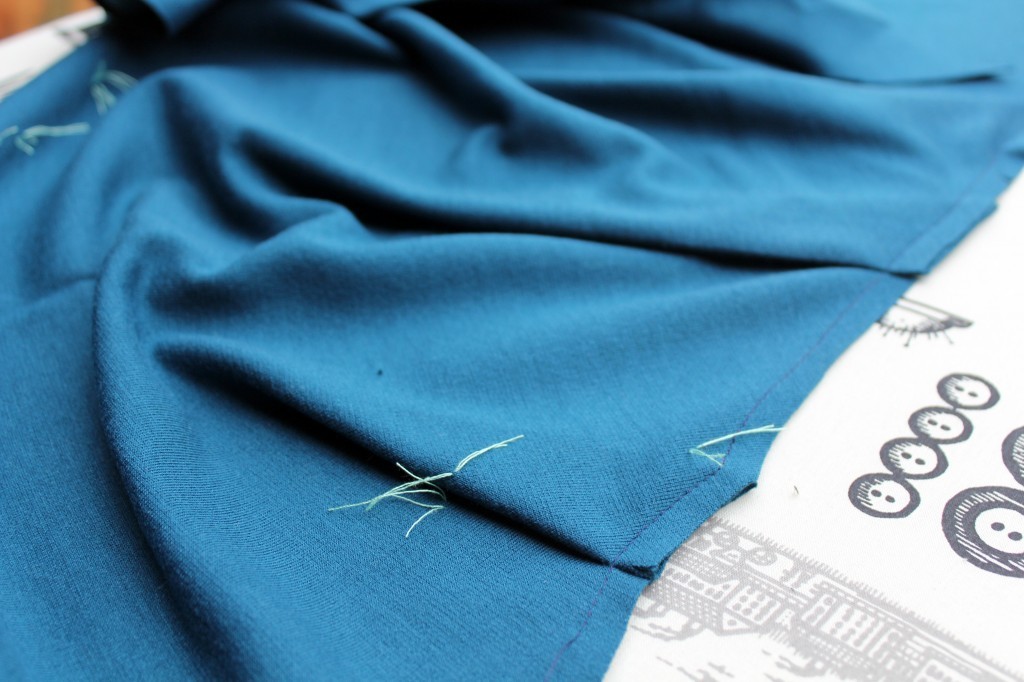
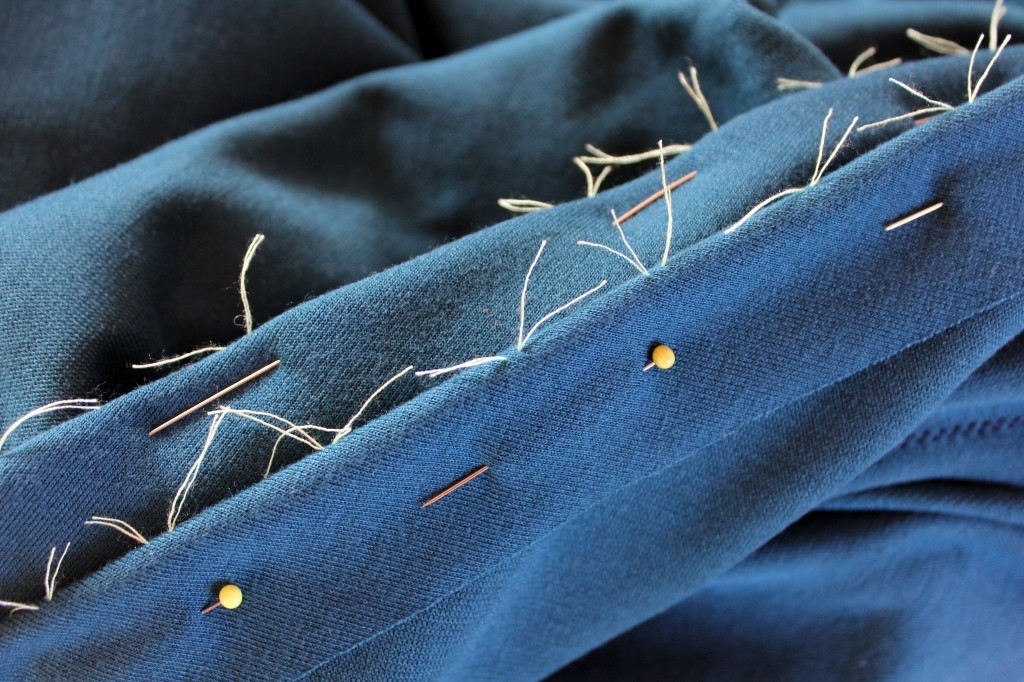
Donna Karan dress by thisblogisnotforyou.comDonna Karan dress by thisblogisnotforyou.comDonna Karan dress by thisblogisnotforyou.com

Donna Karan dress by thisblogisnotforyou.com

FITTING ISSUES

The only issue is that the flat pattern is quite hard to understand. With all the pleats and darts and folds is super difficult to see where the waist, hip or bust line run. I therefore couldn’t measure the pattern before I started and had to trust the Vogue measurement chart. Someone once told me that Vogue patterns run quite large, but I took extra care and cut out a size 12 graded to size 14 for the skirt.

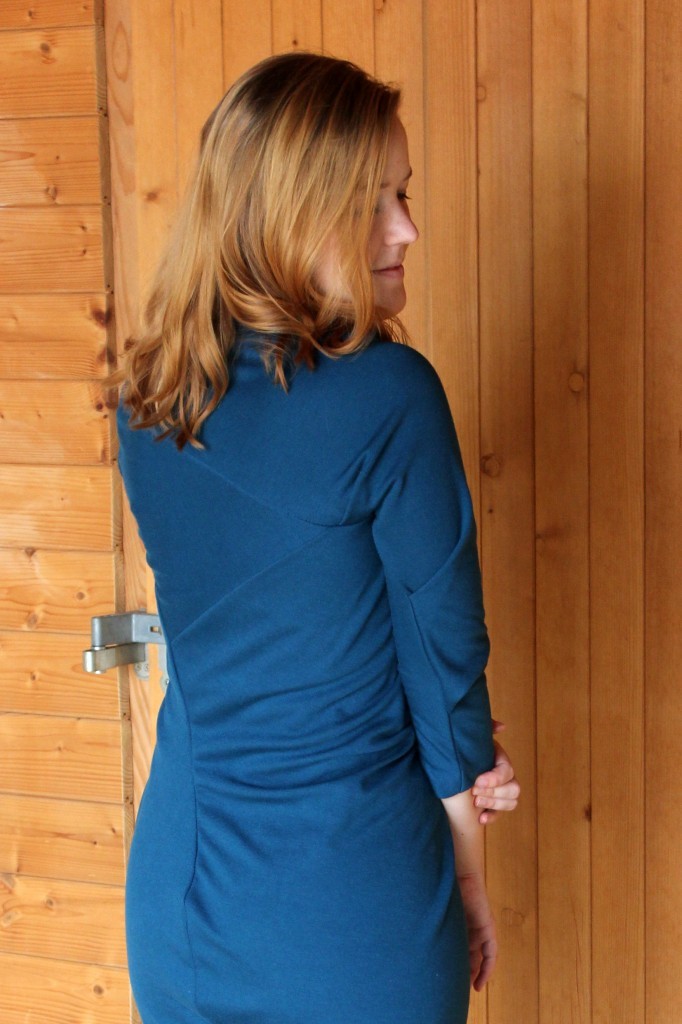
Although the fabric has some stretch the dress was a tad tight around the sleeves, but was much too large in the back.
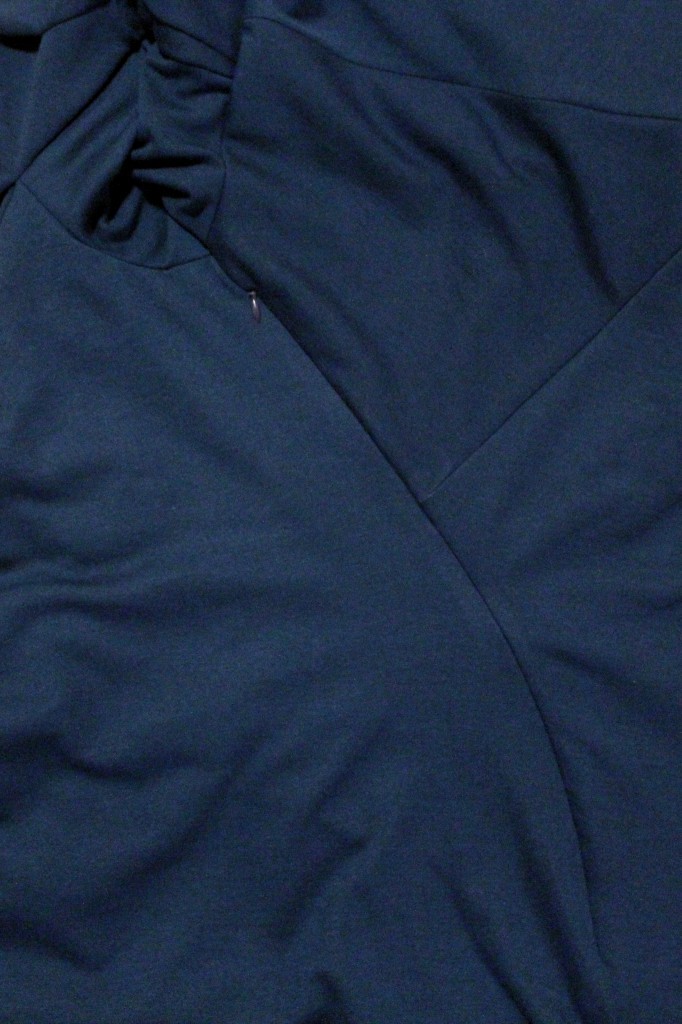
Donna Karan dress by thisblogisnotforyou.com

The back seam runs diagonally across the back, so I had to insert an invisible zip in a curved seam. It’s the prettiest, neatest invisible zip I’ve inserted so far, but in the end I cut it out again because there was so much excess fabric in the back. If you’re making this pattern with a knit fabric, try without a zip first, you probably won’t need one.

After taking in the back the fit was much better. I finished the dress and put it on. The neckline wasn’t right. It was way to large and bulking up at my neck. This Vogue model must have massive shoulders for the neckline to sit that straight! Or maybe the fit issue is concealed by the weird pose she is striking.

Anyway, I took a good 5cm out of the left shoulder seams at the neckline both in front and back and this seemed to help a lot. I could have taken it in even more, but I wanted to keep the little dart at the shoulder.
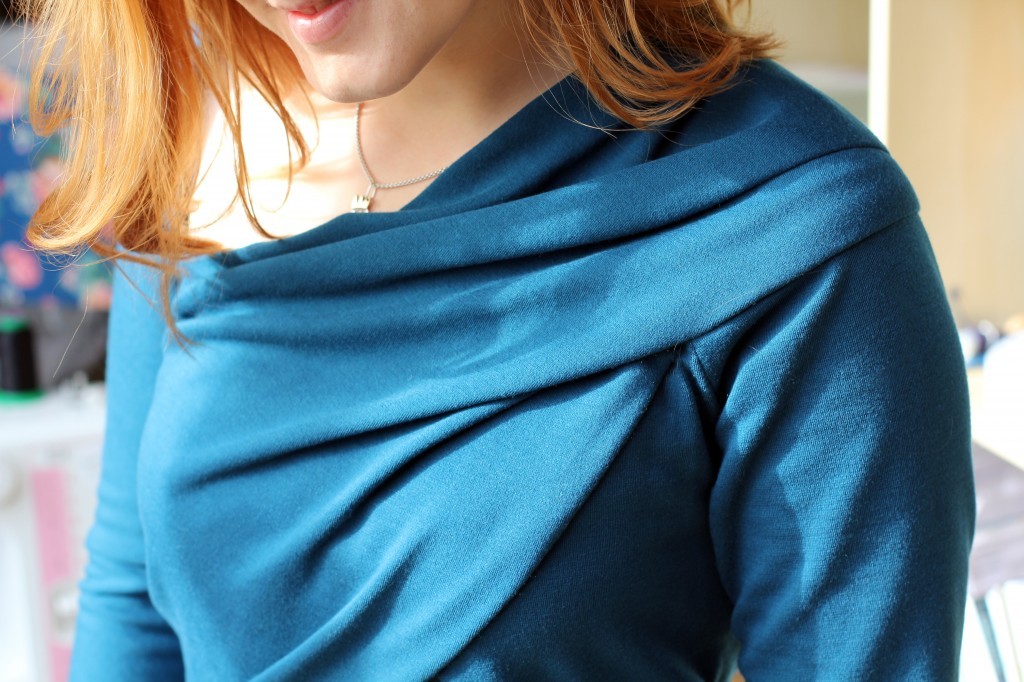
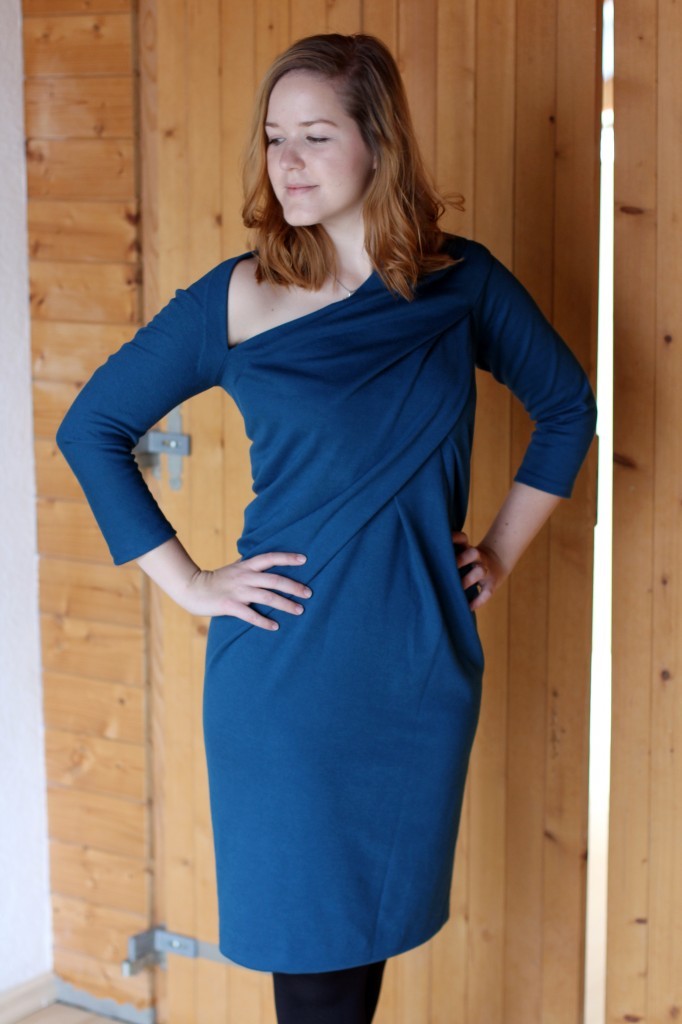
Donna Karan dress by thisblogisnotforyou.comDonna Karan dress by thisblogisnotforyou.comDonna Karan dress by thisblogisnotforyou.comDonna Karan dress by thisblogisnotforyou.com

Although this dress was a bit of a nightmare to fit, I am quite happy with the end result. It was challenging but taught me a lot about tackling fit issues and understanding drape.

The colour of this dress is simply gorgeous and it’s so comfy! The Mr really loves it, which is a bonus.

Will I make it again? I might. It’s quite a fascinating pattern and now that I know what to look out for, it might be a bit easier to make next time. I’ll see how often I get to wear it. If I wear it frequently I might as well make another one in a different colour. Maybe bright red next time?

xx

Charlie


Happy sewing!
♄

facebook/bloglovin/pinterest
twitter/instagram

Stay in touch!
Lottie Blouse for Grandma

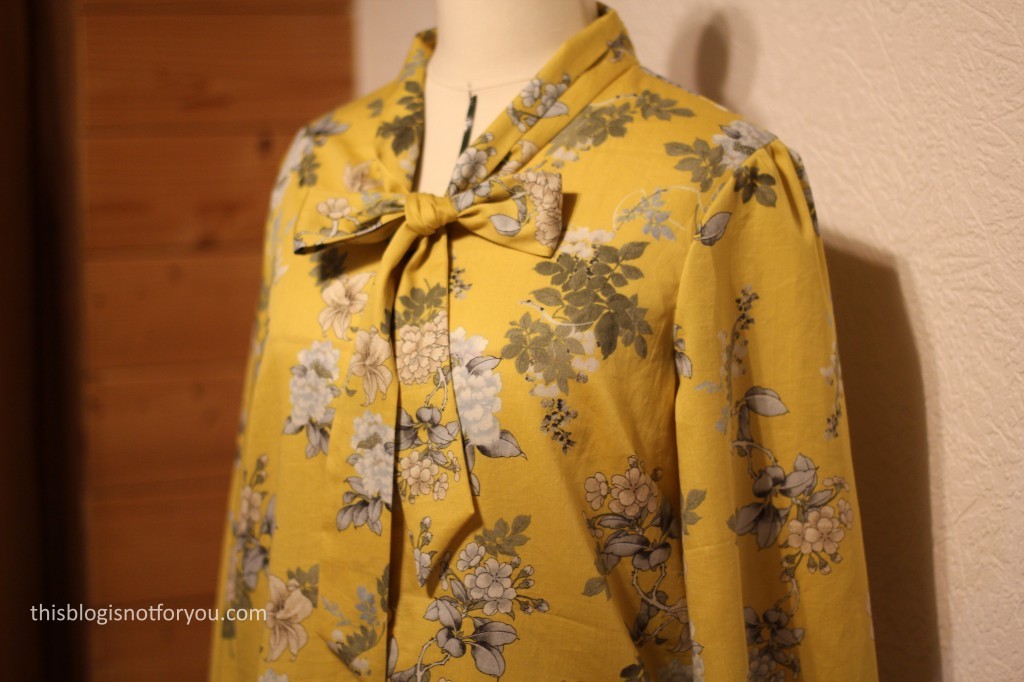
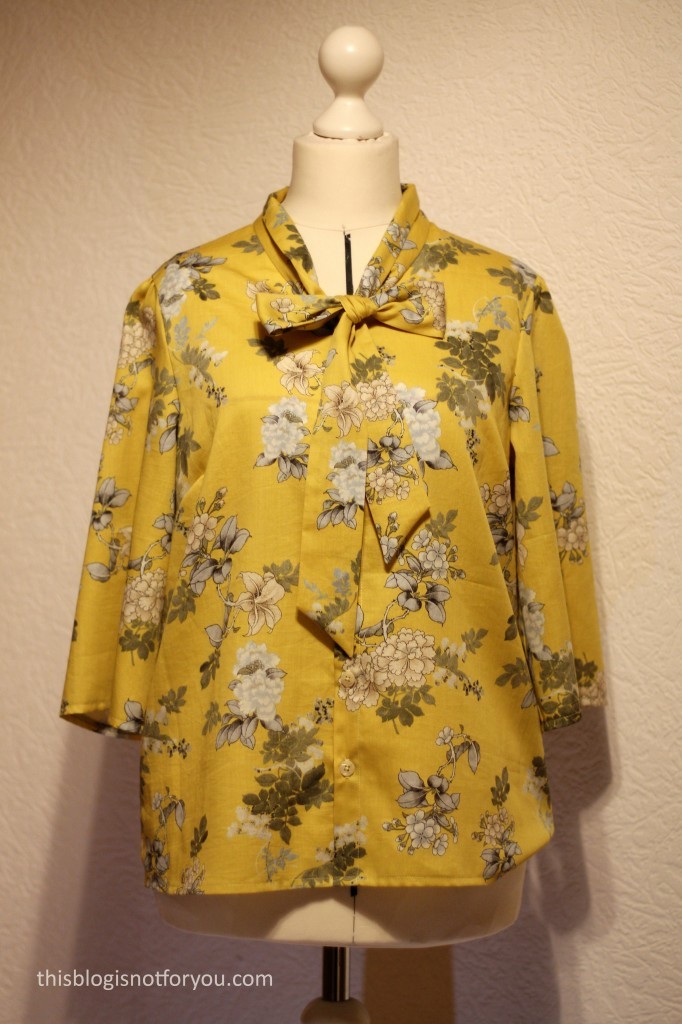
Lottie Blouse by thisblogisnotforyou.comLottie Blouse by thisblogisnotforyou.comLottie Blouse by thisblogisnotforyou.com

I’ve done it again! I thought I wouldn’t but then it happened. I made another Lottie Blouse. Gosh, you must think I’m super boring. To my defense, it’s just such a simple and quick sewing project. And, this time it wasn’t for me. I made this blouse for my grandmother.

I never made her anything before (makes for family and friends happen, but very rarely) and I think she likes it! I made another version of the button up, which is the hack I created for Love Sewing Magazine. Lottie Blouse by thisblogisnotforyou.comLottie Blouse by thisblogisnotforyou.comLottie Blouse by thisblogisnotforyou.com

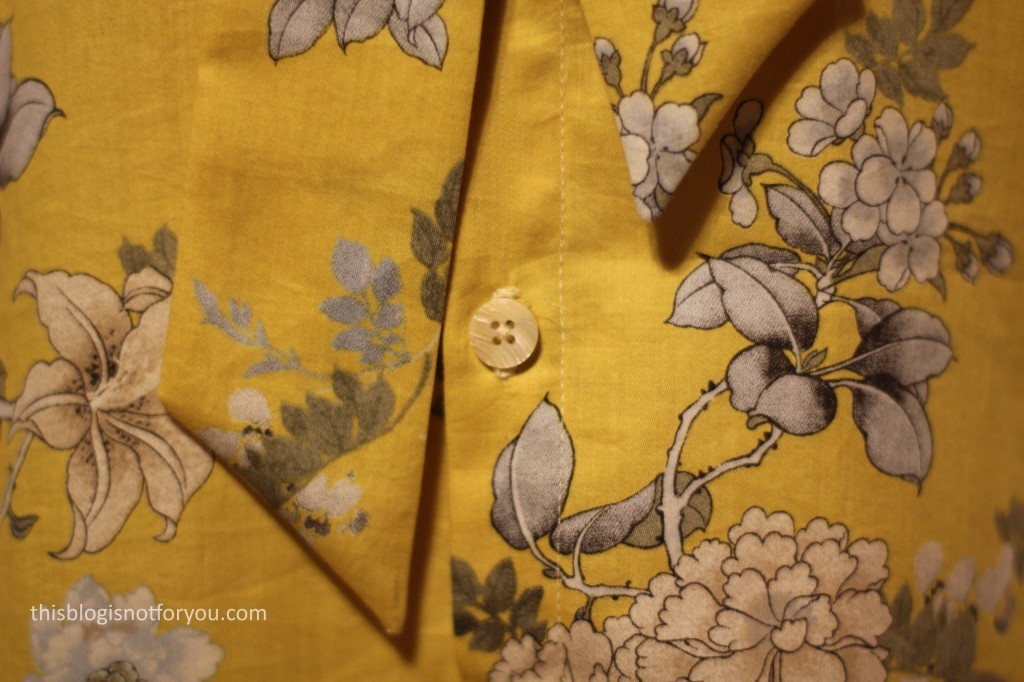
Because the pattern is so simple and easy to fit, I really enjoy taking time to get the details right. The construction involves a tiny bit of handsewing and also the button placket needs a bit of attention if you want it to look flawless.

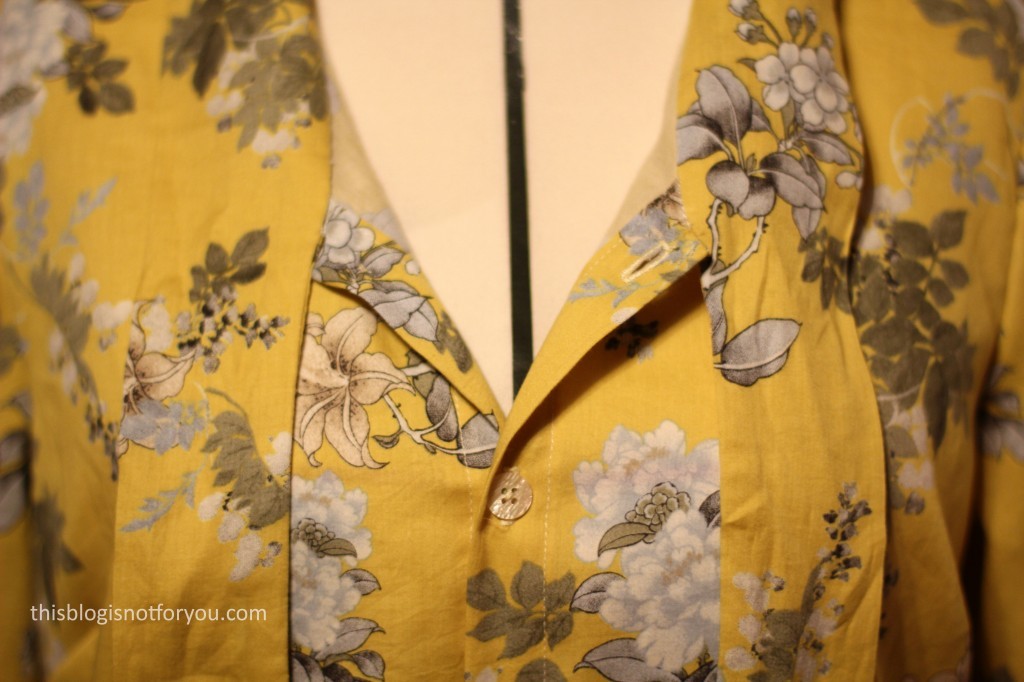
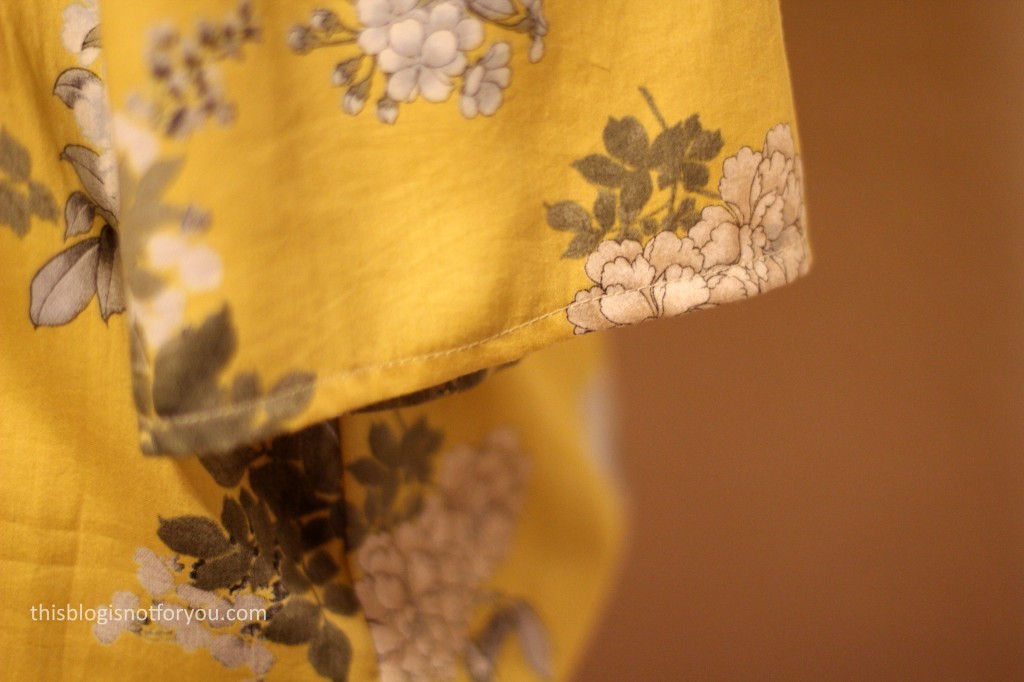
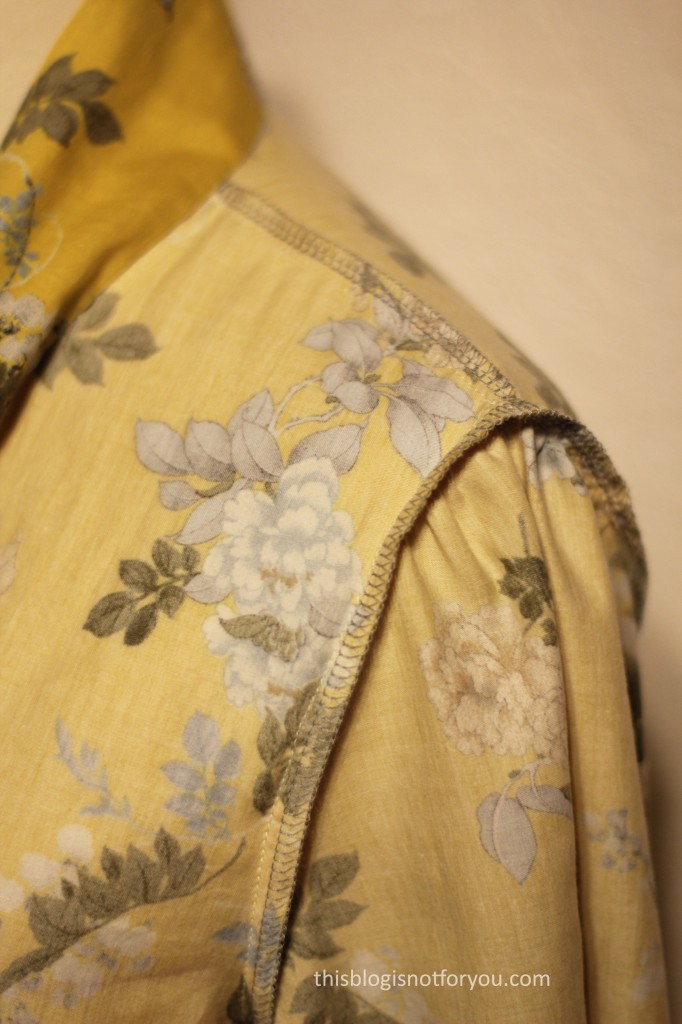
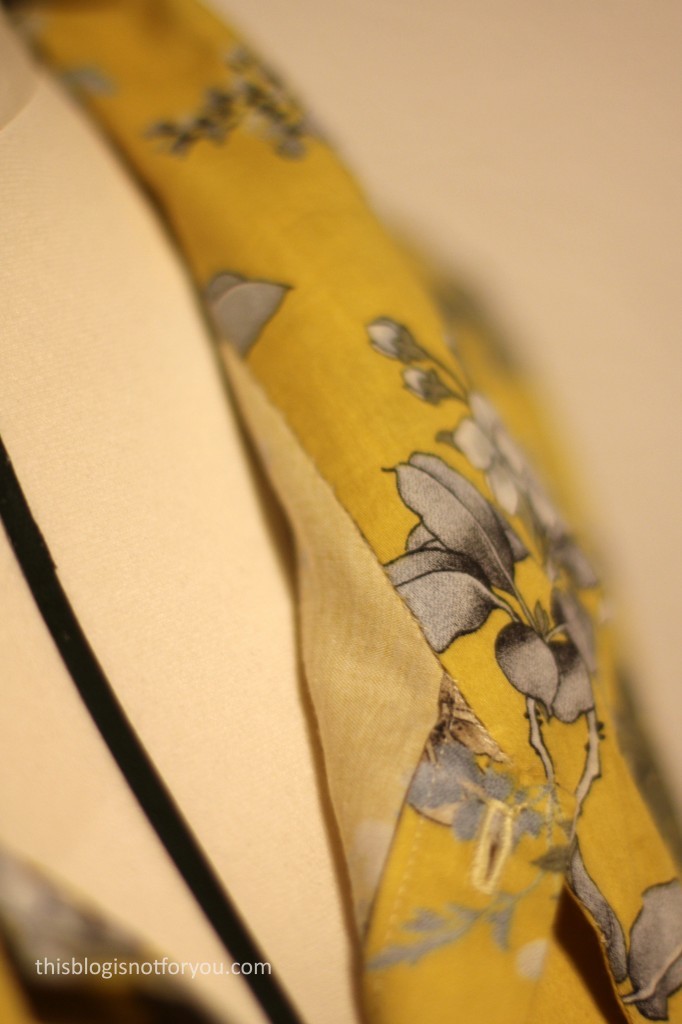
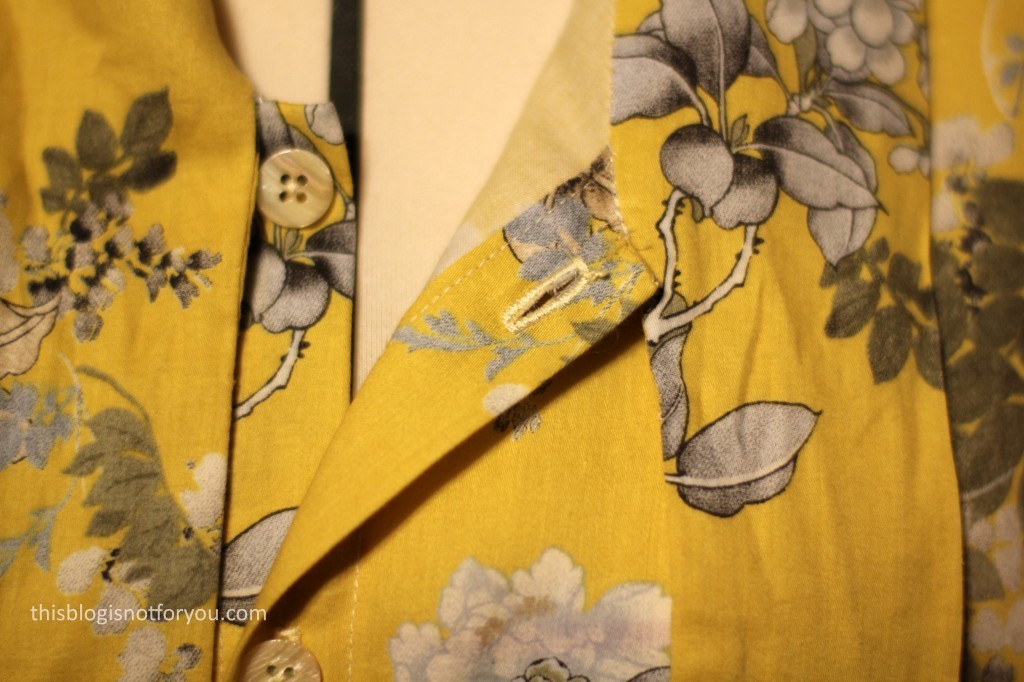
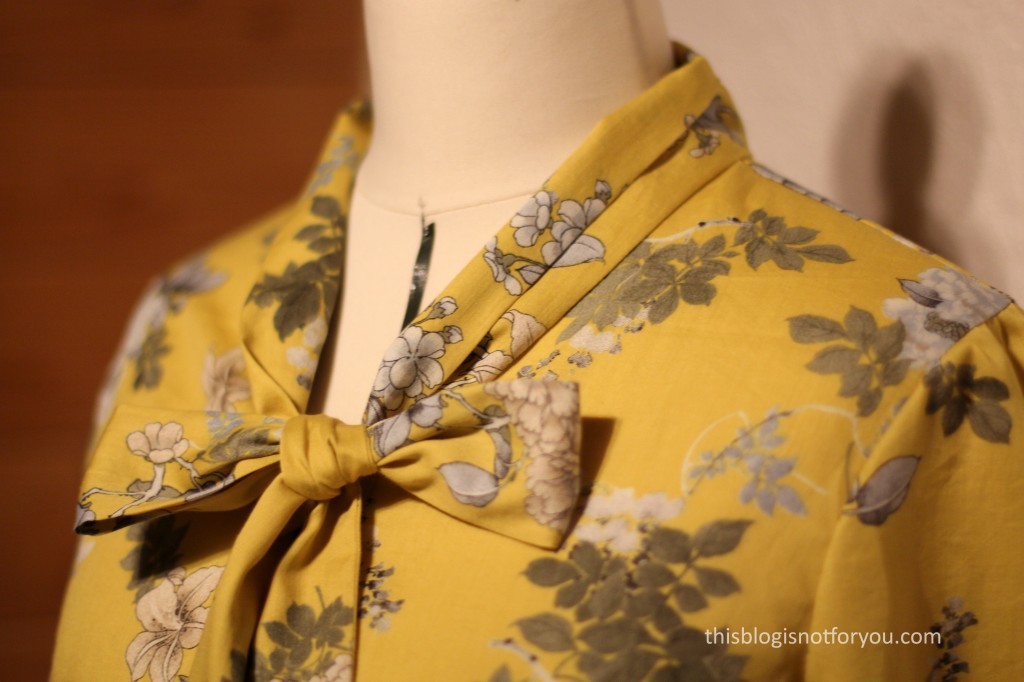
The fabric is a gorgeous cotton lawn, gifted to me by Daniela. I really love it, although I usually don’t wear a lot of yellow. I also would’ve loved to keep this fabric to myself for an Anderson Blouse, but this was the fabric most fitting for my grandma, as she likes flowers and a warm yellow. I’m happy I sacrificed it, the blouse looks fab and I can’t wait to see her wear it. Although I don’t sew a lot for others, it’s always super satisfying to see someone else wear something you made, right?

The buttons are vintage, funnily enough I got them from my grandma a little while ago. So I’ve given them back to her with a blouse attached. Payback time!Lottie Blouse by thisblogisnotforyou.comLottie Blouse by thisblogisnotforyou.comLottie Blouse by thisblogisnotforyou.comLottie Blouse by thisblogisnotforyou.com

I won’t answer the “Will I make it again?” question, because I can’t promise I won’t. I have plenty of Lotties for now, but who knows. I think this might be the 8th Lottie I made. Wow.

Do you have a sewing pattern which you use all the time?

xx

Charlie


Happy sewing!
♄

facebook/bloglovin/pinterest
twitter/instagram

Stay in touch!
My Handmade Dirndl

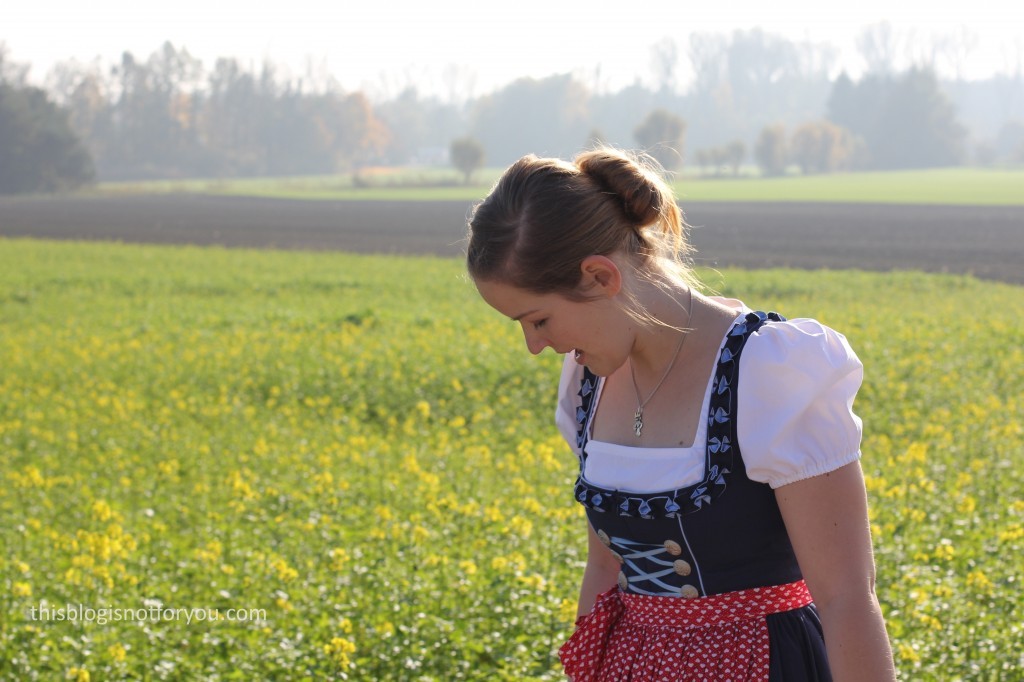
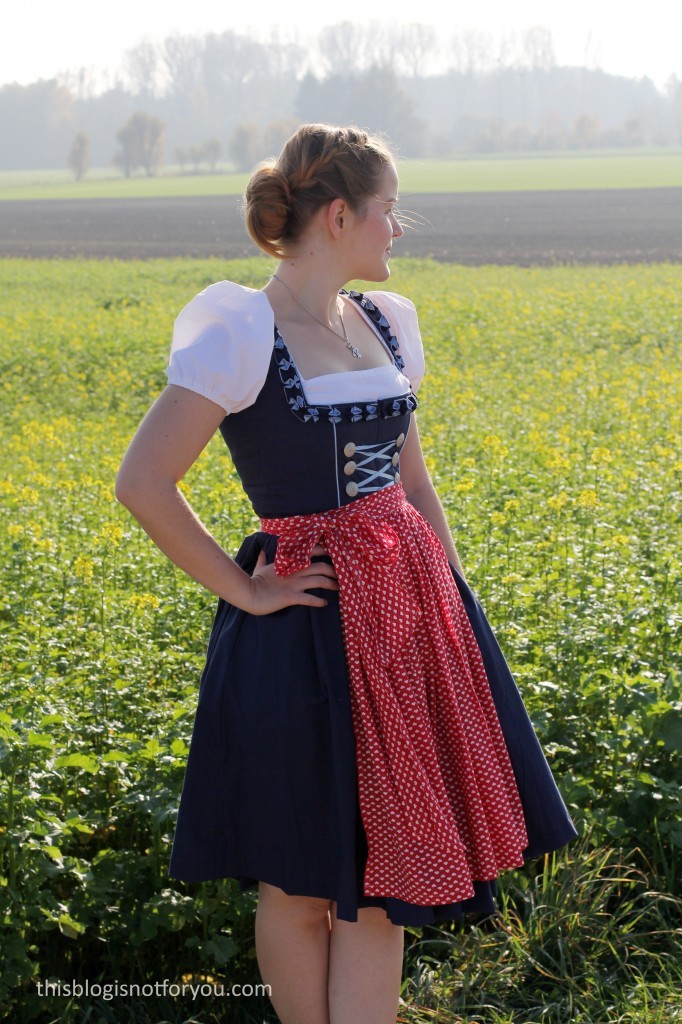
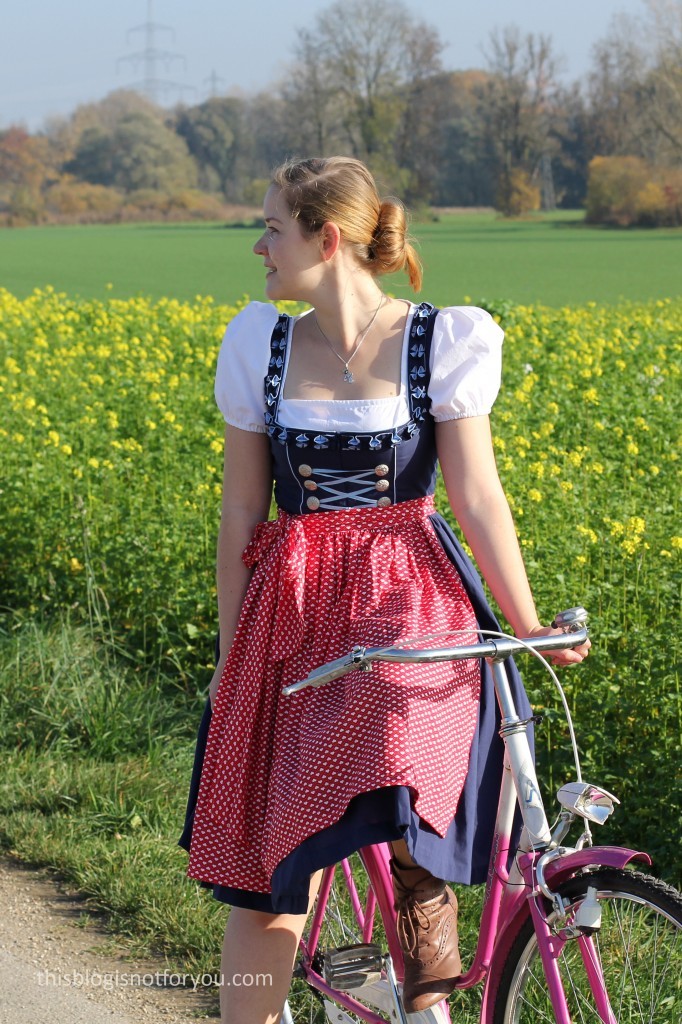
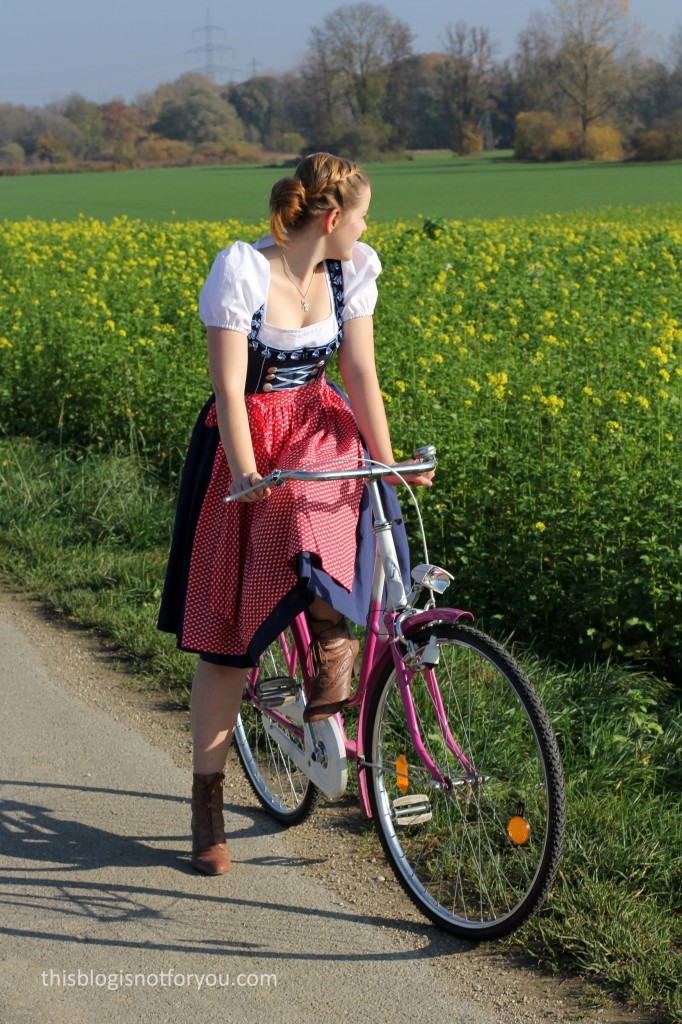
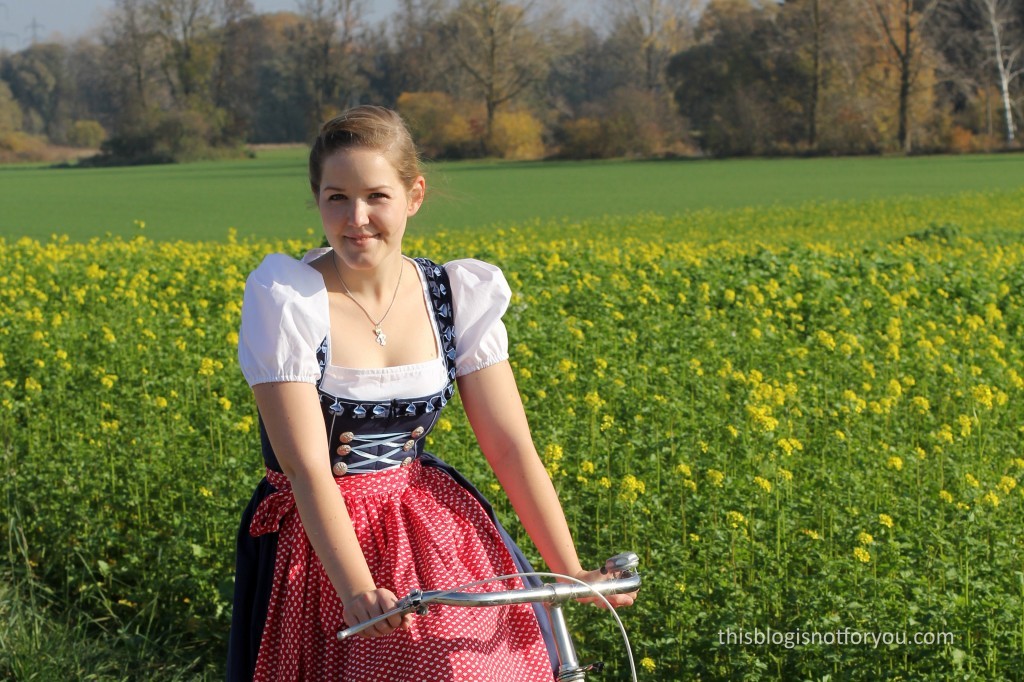
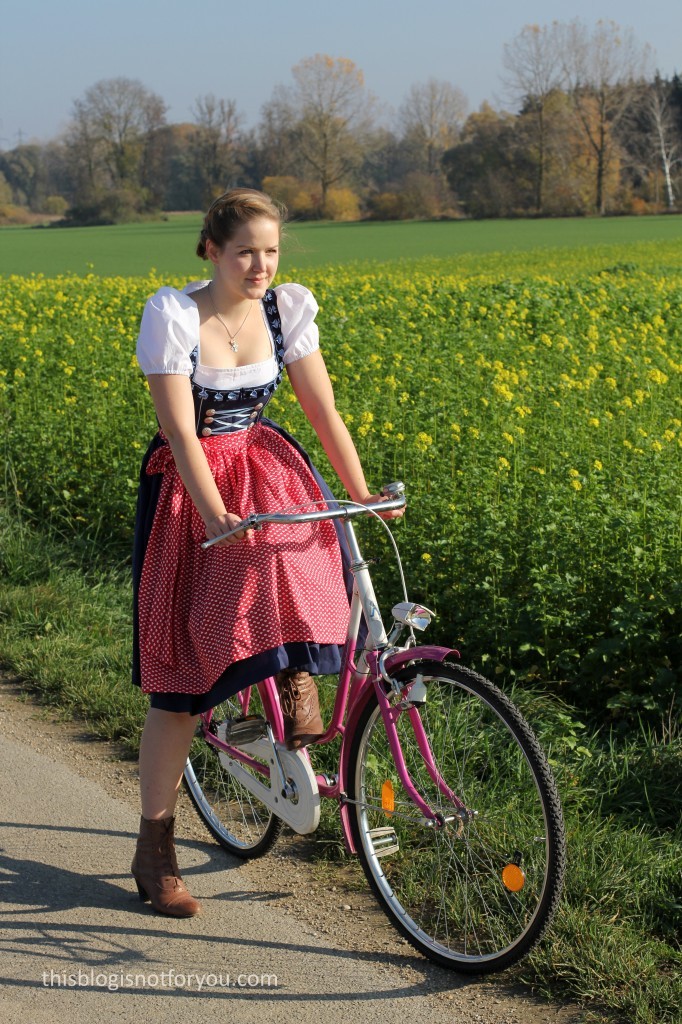
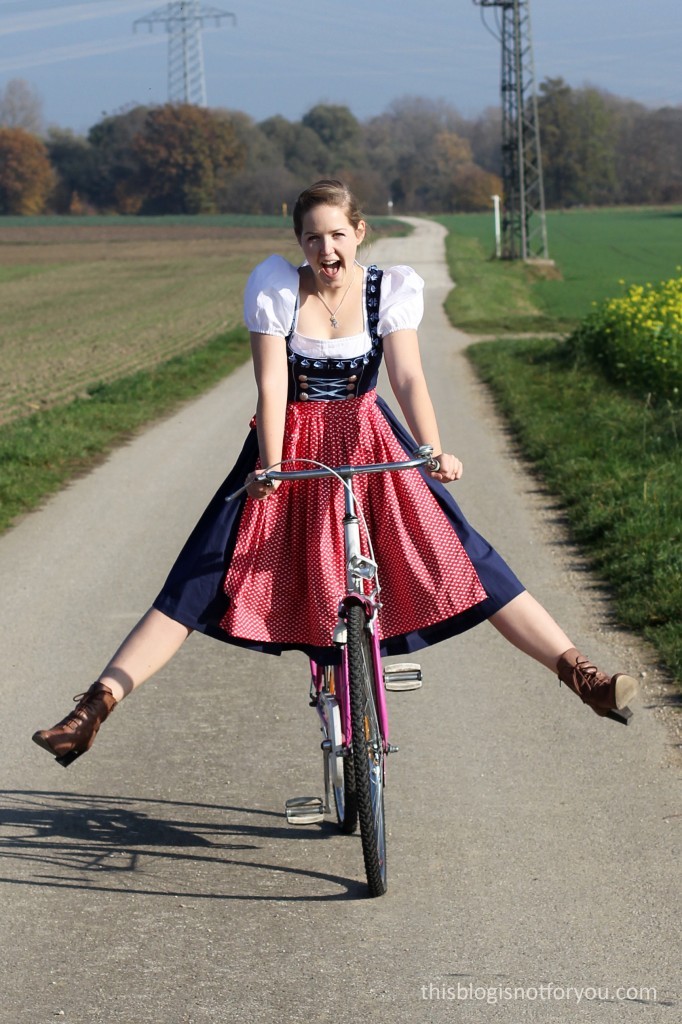
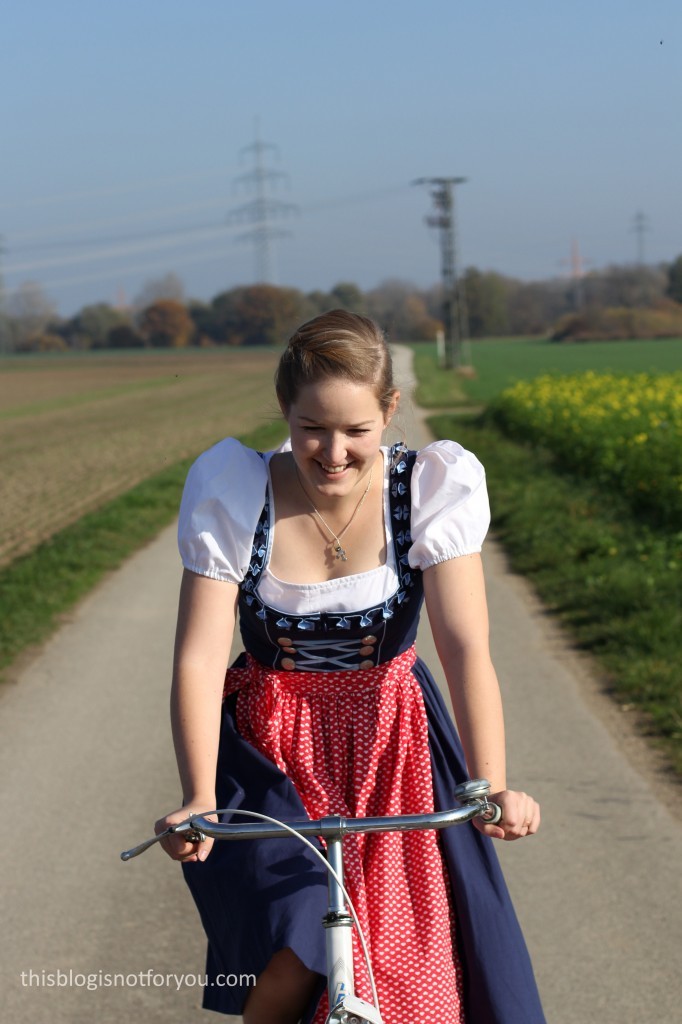
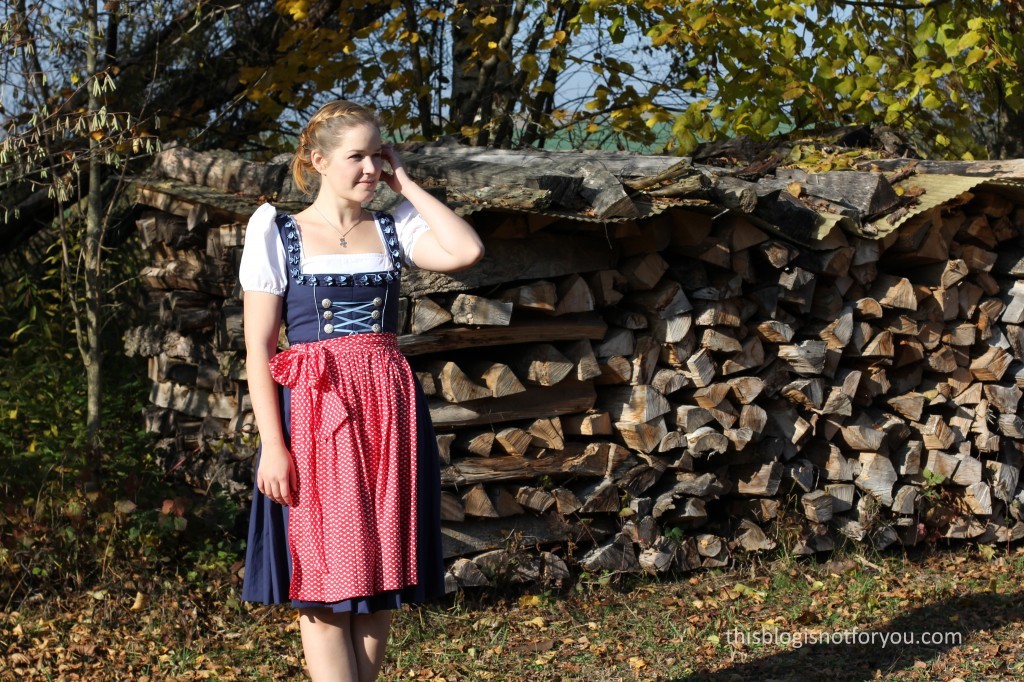
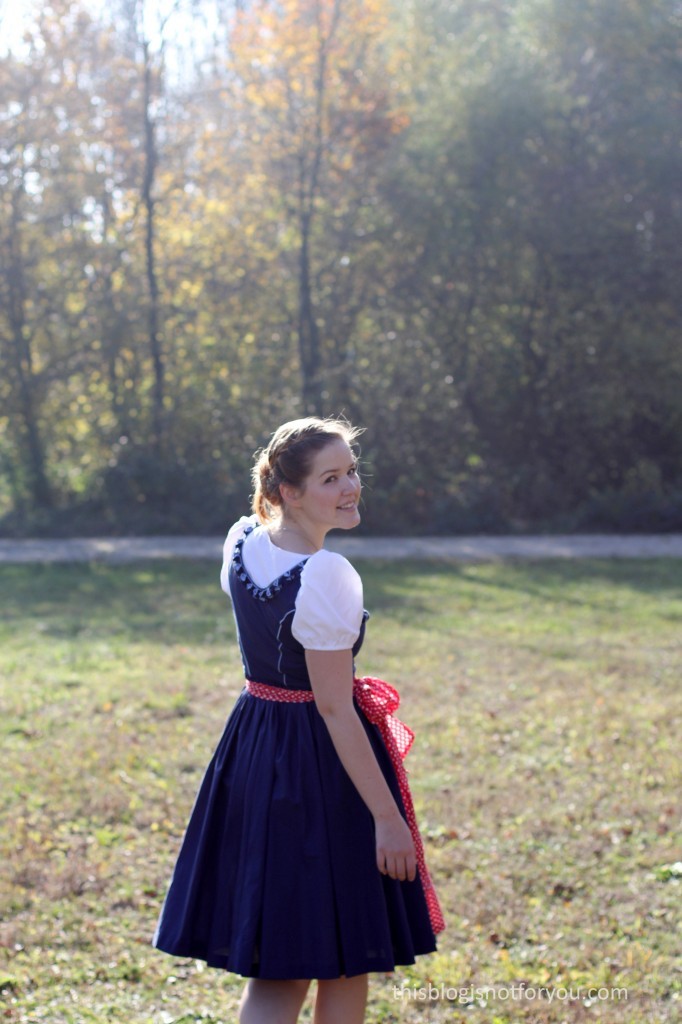
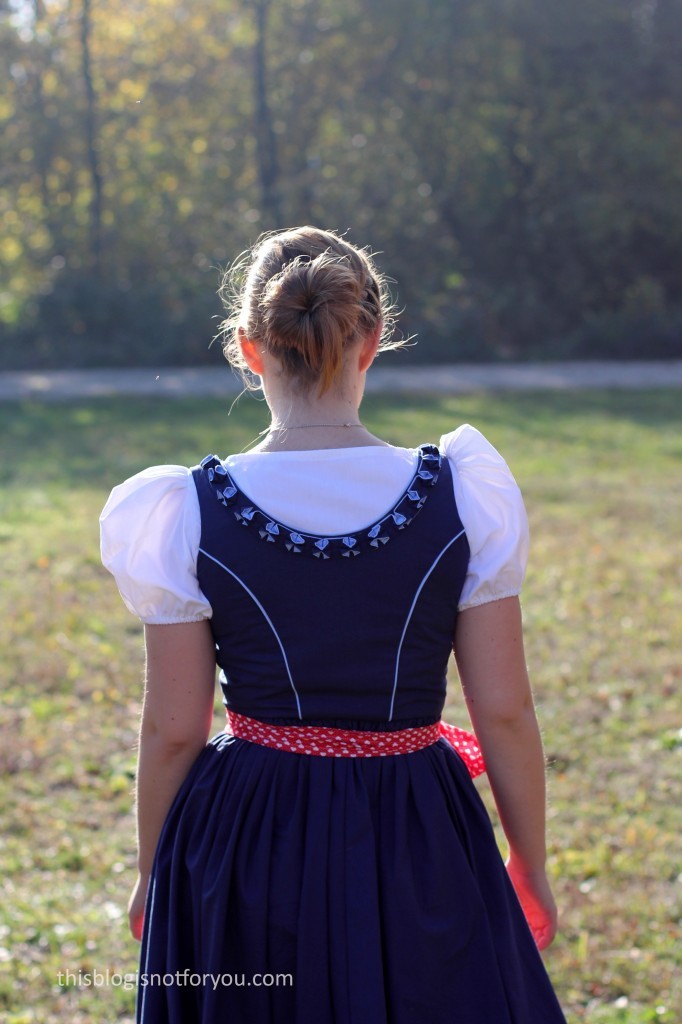
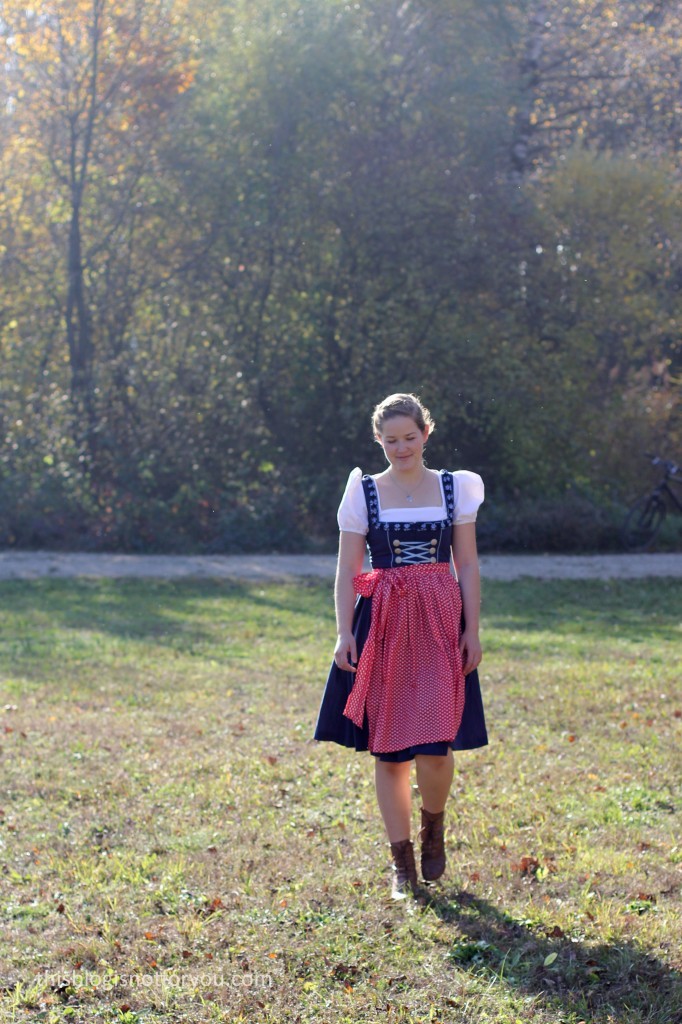
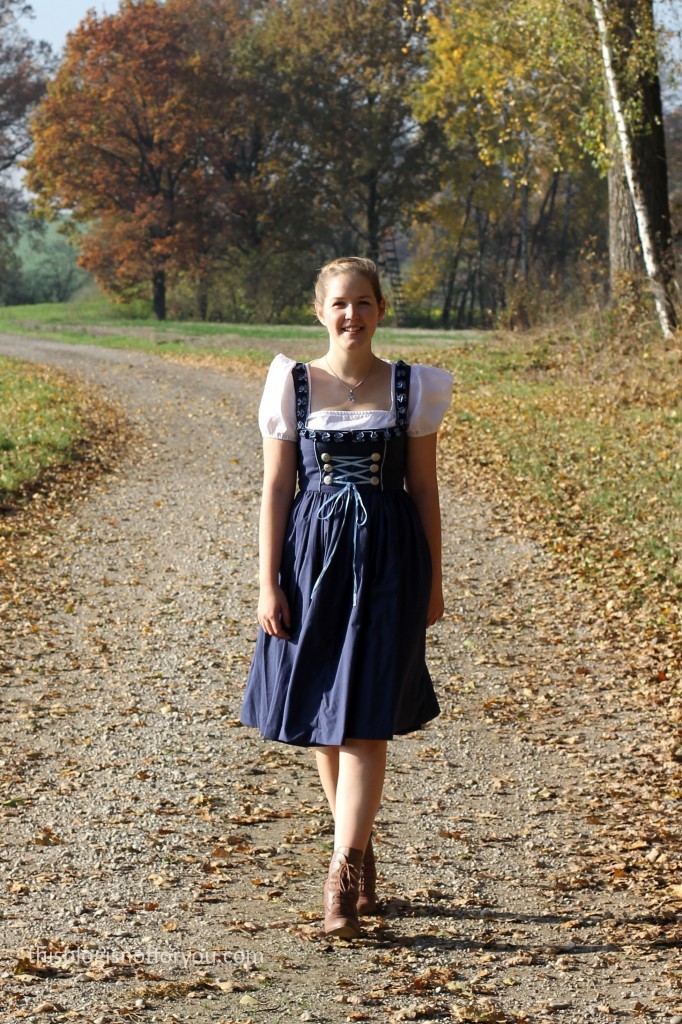
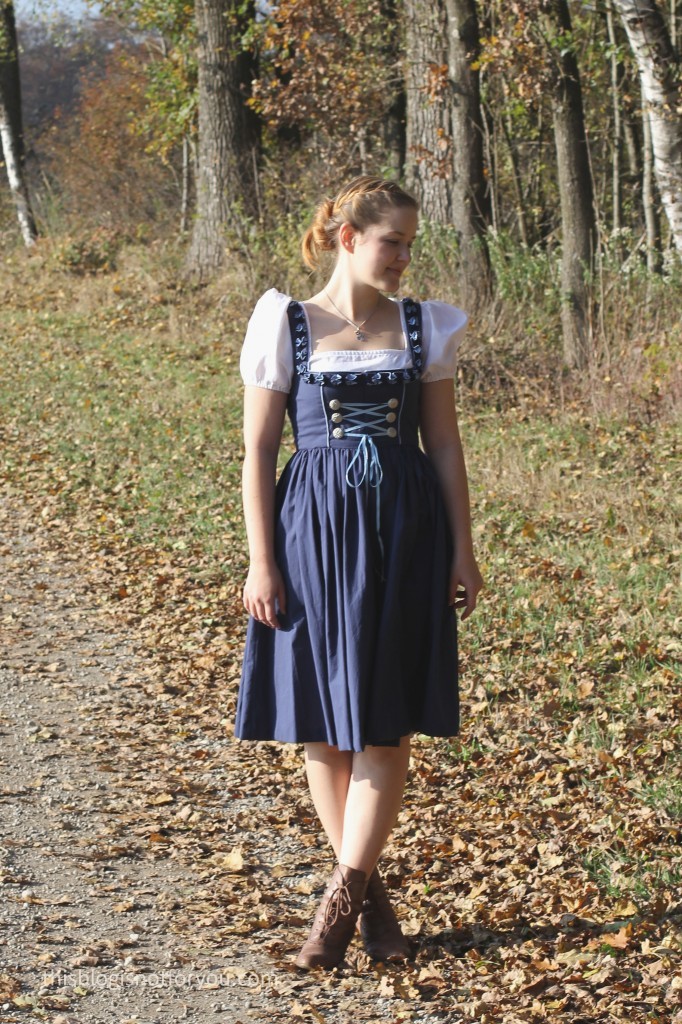
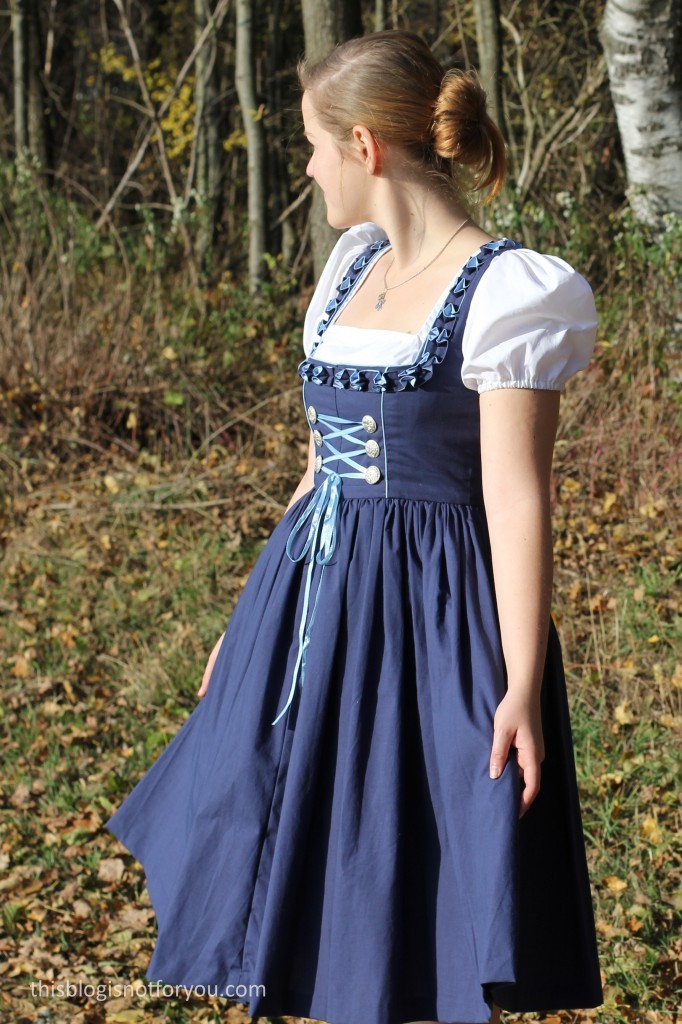
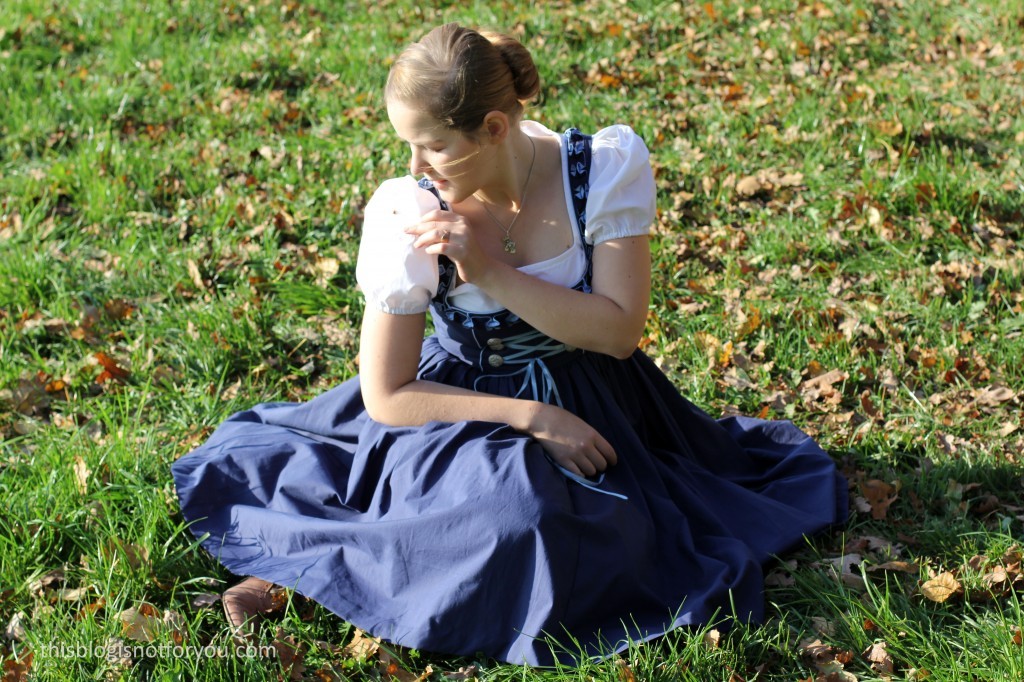
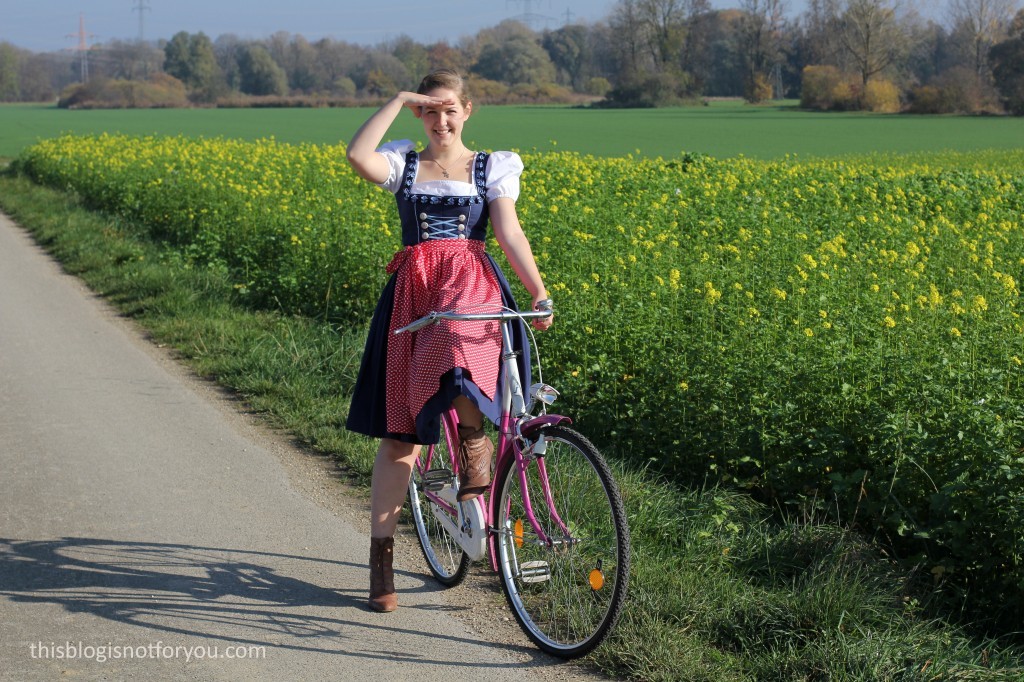
Handmade Dirndl by thisblogisnotforyou.comHandmade Dirndl by thisblogisnotforyou.com

Handmade Dirndl by thisblogisnotforyou.com

Handmade Dirndl by thisblogisnotforyou.com

Hi my lovelies! Guess what?
I’m finally sharing my handmade Dirndl with you!

Man, this is long overdue! I made it in May 2015, which feels like ages ago now. So why would I make a Dirndl if it wasn’t made for Halloween or Oktoberfest?

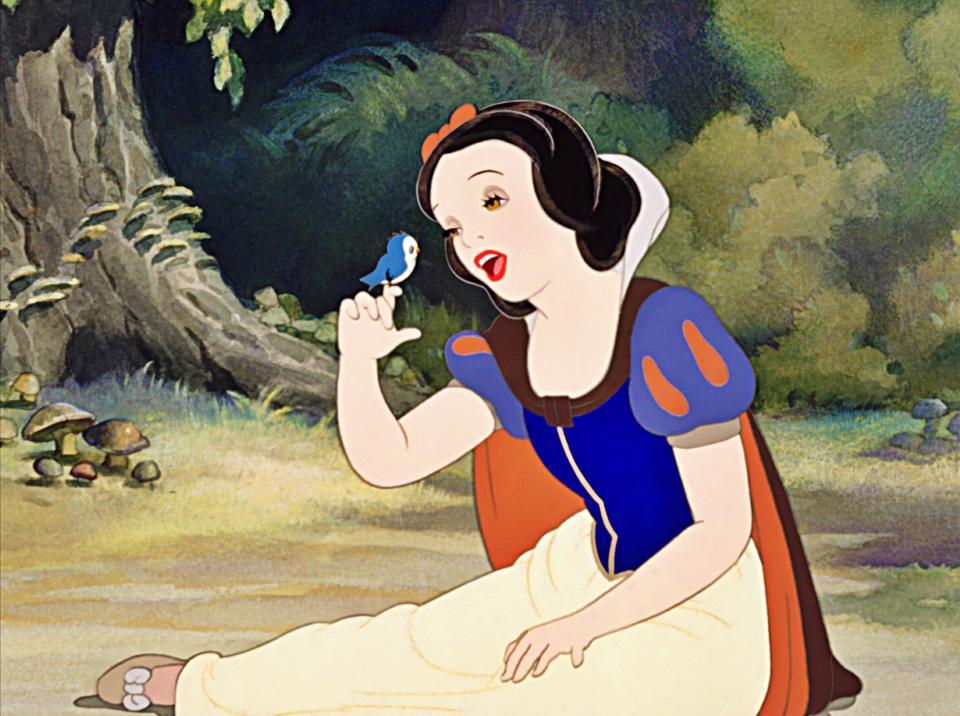
I don’t want to get into the whole Dirndl discussion, but since I’m German, I might say a word or two. Although many people love to think this is what Germans like to wear, wearing Dirndl or Lederhosen is pretty much like wearing kilts in Scotland. The average German will probably never wear or even own one, except for maybe visiting Oktoberfest. The traditional long Dirndls are sometimes worn in some more rural areas in southern Germany, but you see that very rarely and it’s definitely not considered as fashionable in the rest of the country. Having worn one now, I have to say you actually feel very pretty and femine in it. I’d still not wear one in the streets though. Puff sleeves and all, you feel like a freakin’ Disney princess. Which is not the look you’re going for when you’re older than 12, I guess.

I made my Dirndl for a fancy dress party at work which funnily enough was on my last day at work. Since I was working in a hospital back then I didn’t want to go over the top with my costume (I also had to attend my exit interview that day). As I was the German girl on the ward anyway, I decided to dress up as one. Pretty imaginative, eh?Handmade Dirndl by thisblogisnotforyou.com

So that’s the story. I haven’t worn it since and wasn’t to keen on going outside dressed like this to take picture for the blog!

Now, five months later, we actually live in Bavaria (who would’ve known!) and it’s not that weird to wear one here.

THE PATTERN

From having the costume idea to the actual fancy dress party I had exactly three days. At first I thought about drafting a Dirndl based on my By Hand London Elisalex pattern, but then I thought What the heck, if you’re actually making a Dirndl, do it properly.

You can find a whole bunch of Dirndl dress patterns on the German Burdastyle website. Which is where I found a really nice burda young pattern, which looked a bit prettier than the common Dirndl patterns. Burdastyle has added more Dirndl patterns since, so whoever is interested, this is Dirndl paradise now.

source: burdastyle.de

Handmade Dirndl by thisblogisnotforyou.comHandmade Dirndl by thisblogisnotforyou.comHandmade Dirndl by thisblogisnotforyou.comHandmade Dirndl by thisblogisnotforyou.com

THE FABRIC & MATERIALS

Originally, I wanted to use some light blue cotton and add a white apron (to get more of an Alice in Wonderland look), but as it turns out, Dirndls are fabric eaters and I didn’t have enough.

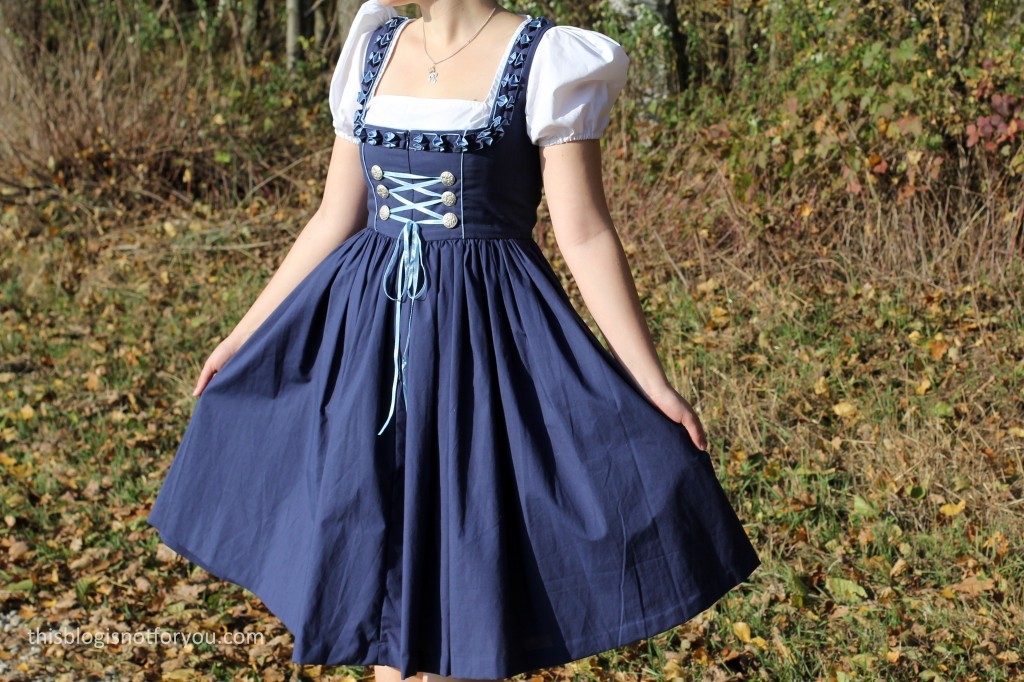
For the actual dress, I used a navy blue 100% cotton, which originally was a John Lewis duvet cover I got at Oxfam for £4. It was a massive piece and the only fabric I had enough  of to cut the skirt from. The skirt consists of 4 pattern pieces and has approx. an 8 metre long hem. I still had enough left to cut the bodice and lining from it two.

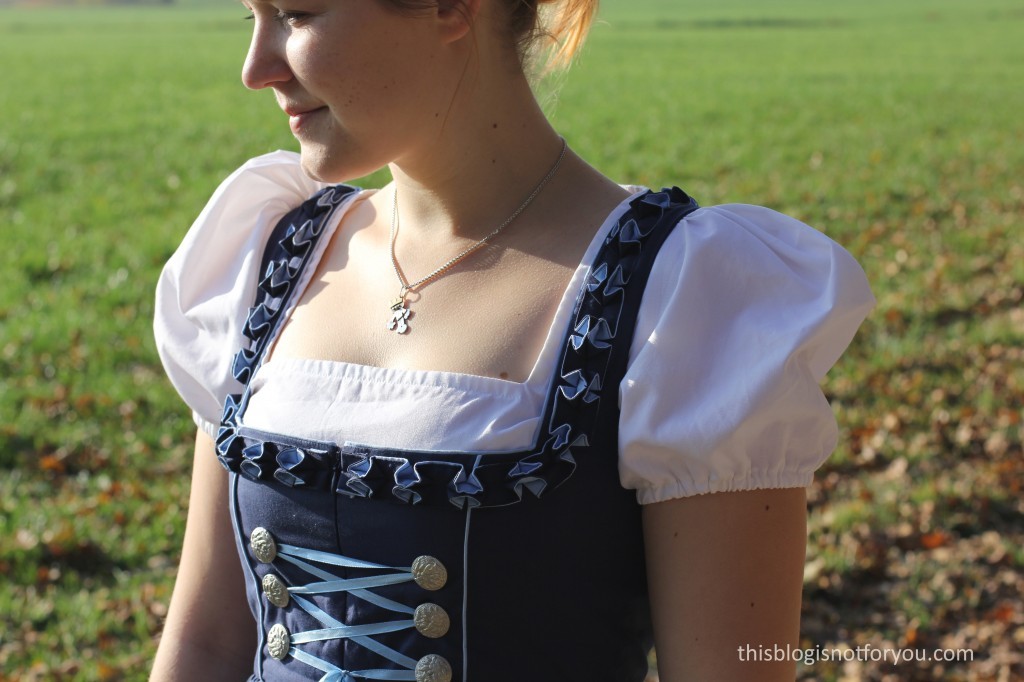
I used the light blue fabric for the piping in the front and back (which isn’t included in the pattern!) and to make the Froschgoscherl trim. The trim took ages to make, but was the most fun part in the construction. Instead of using readymade trim, I made the ‘ribbon’ myself by sewing two massive strips of dark and light blue cotton together and turning it inside out. I pressed it and topstitched close to the edges with contrasting thread. The ribbon is then folded and stitched in an origami-esque way to create the Froschgoscherl.

Handmade Dirndl by thisblogisnotforyou.com

Handmade Dirndl by thisblogisnotforyou.com

Handmade Dirndl by thisblogisnotforyou.comHandmade Dirndl by thisblogisnotforyou.com

Handmade Dirndl by thisblogisnotforyou.com

Handmade Dirndl by thisblogisnotforyou.com

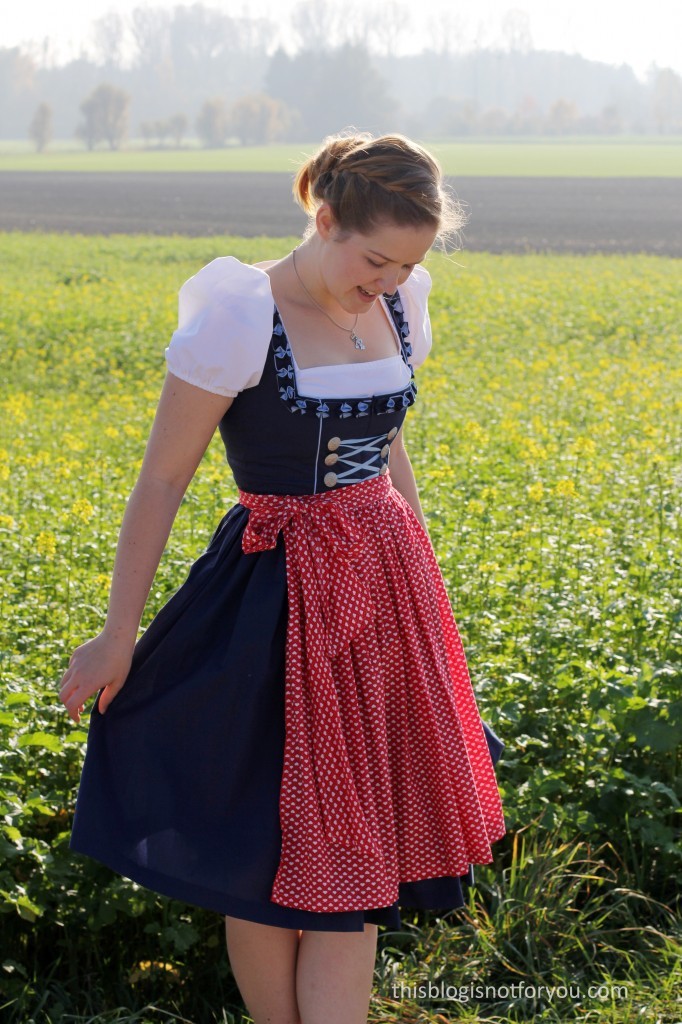
The dress has an ivisible zip in the front, which is a bit unusual normally but actually quite common for a Dirndl dress. The lacing is just decorative. I used six folklore buttons and some satin ribbon.

The blouse is part of the Burda pattern and the pattern also includes different sleeve and neckline options. I went for full on puff sleeves.

The blouse is made from white 100% cotton fabric. As is common for Dirndl blouses, it end just below the bust, so as not to add any bulk around your waist area. This is actually pretty genius, although a bit uncomfortable at first.

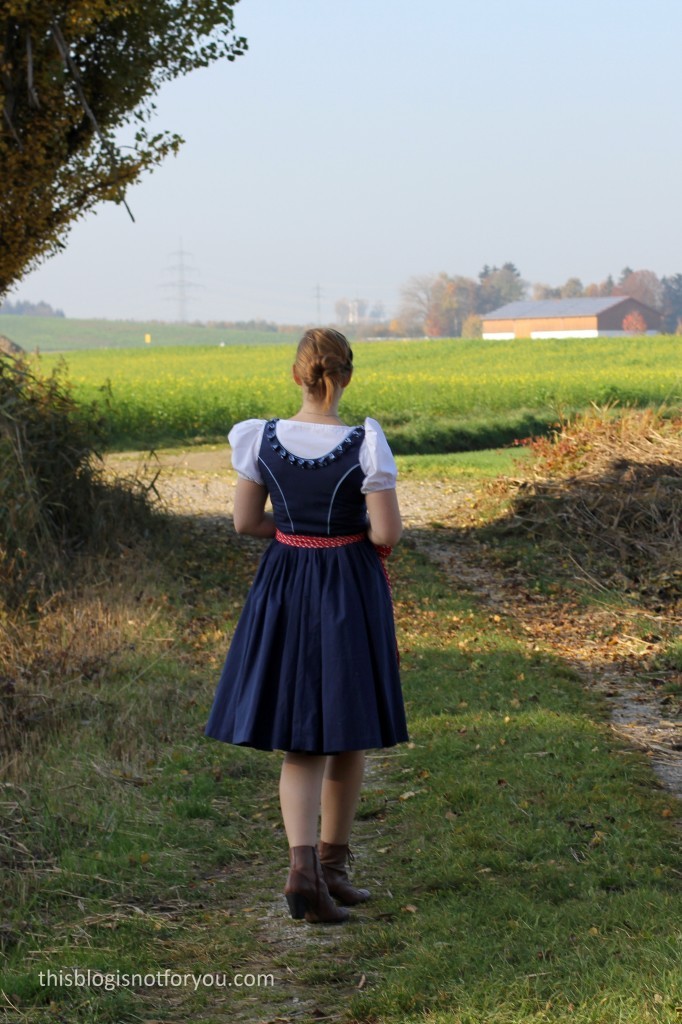
The apron is made from some quilting cotton I bought years ago. It’s red with tiny white hearts on it.

I really prefer the Dirndl without the apron, it’s much prettier and less costumy, right?Handmade Dirndl by thisblogisnotforyou.comHandmade Dirndl by thisblogisnotforyou.comHandmade Dirndl by thisblogisnotforyou.com

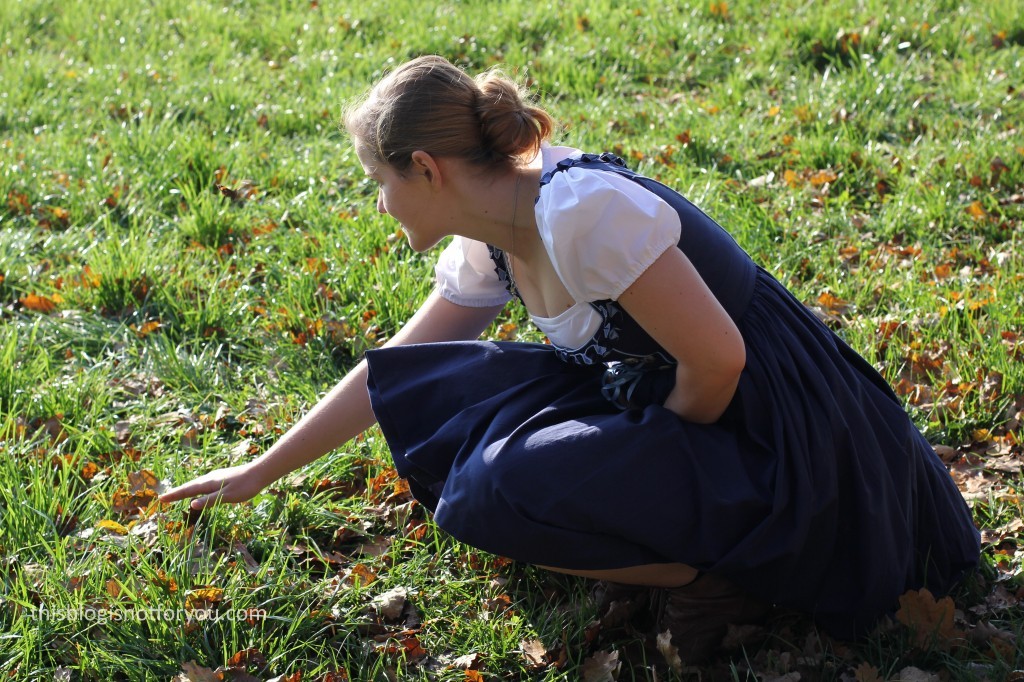
White puff sleeves attract lady bugs and butterflies…what does it remind me of again…? Umm…Handmade Dirndl by thisblogisnotforyou.com

Handmade Dirndl by thisblogisnotforyou.comHandmade Dirndl by thisblogisnotforyou.com

Will I make it again? Umm, no. It was super fun and a lot of work and I could use loads of old cottons from my stash. But since I hardly wear it at all, I don’t think I’ll make another one.

Hope you all have a Happy Halloween! It’s the perfect excuse to buy all the kids candy in the supermarket! I’m hoping the kids in our street won’t ring at our door, so that I can have all the chocolates myself. Ha!

xx

Charlie


Happy sewing!
♄

facebook/bloglovin/pinterest
twitter/instagram

Stay in touch!
Lottie Blouse Hack and Mini Pencil skirt

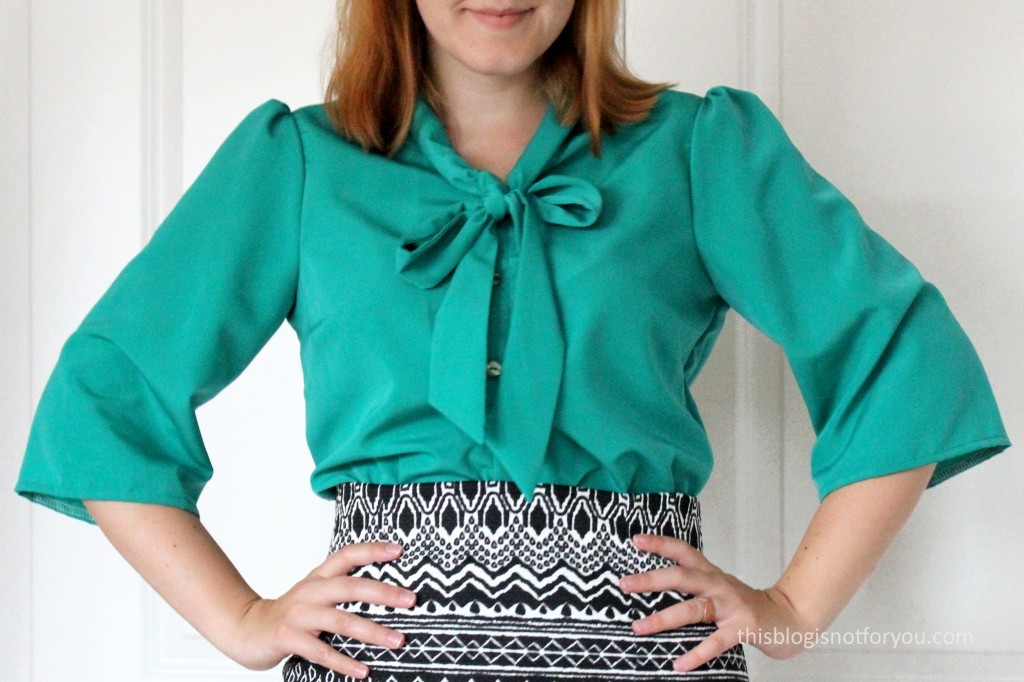
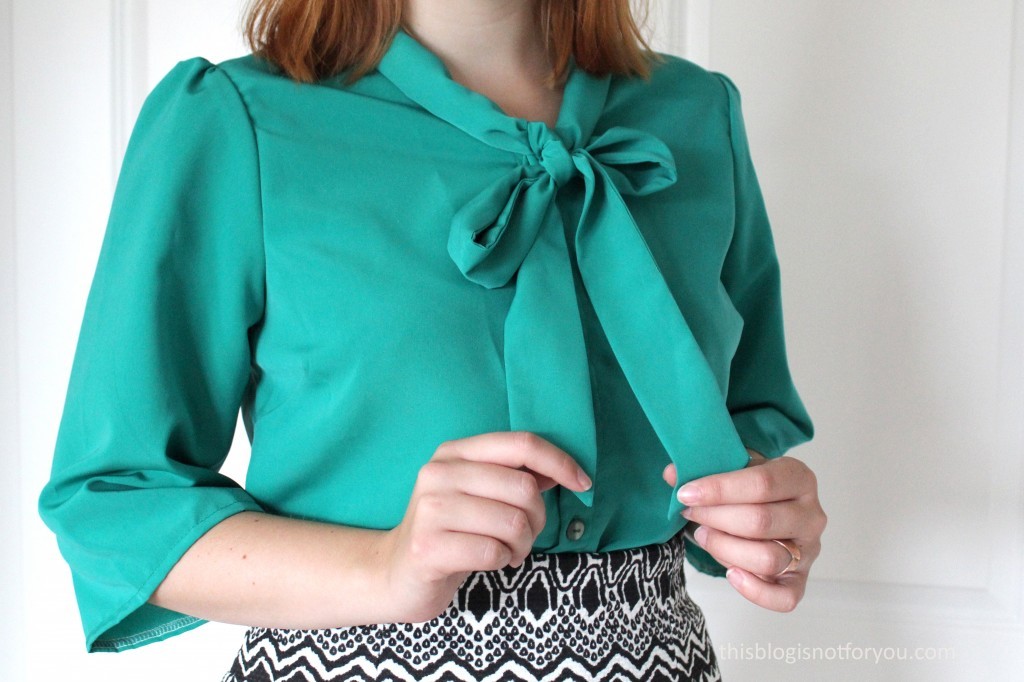
Lottie Blouse Hack and Pencil Skirt by thisblogisnotforyou.comLottie Blouse Hack and Pencil Skirt by thisblogisnotforyou.com

Lottie Blouse Hack and Pencil Skirt by thisblogisnotforyou.comLottie Blouse Hack and Pencil Skirt by thisblogisnotforyou.com

A PERFECT MATCH

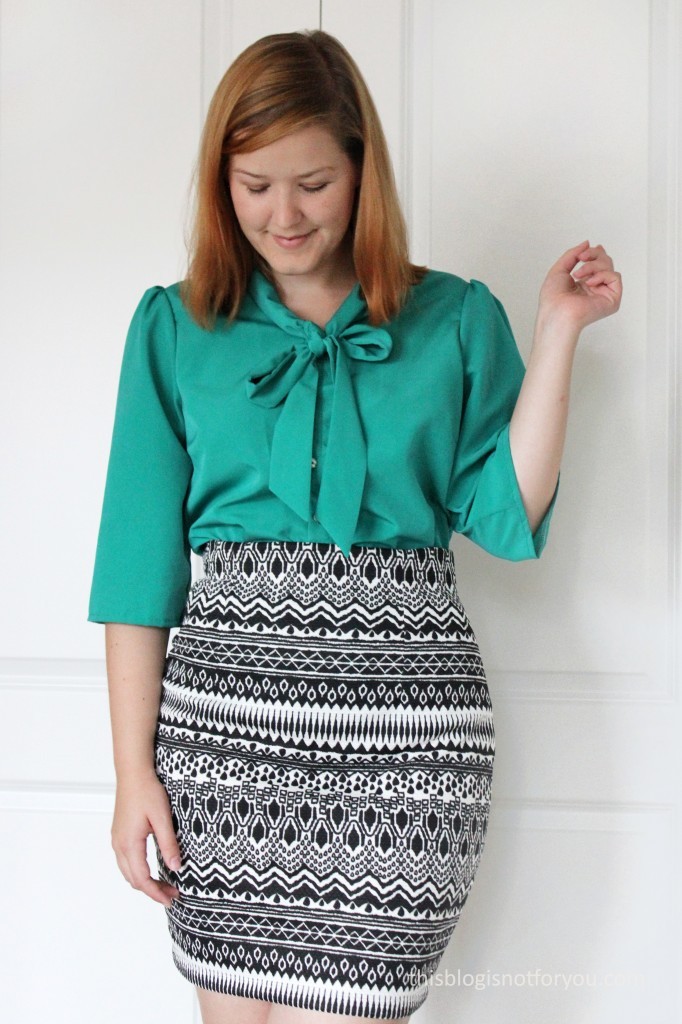
Guess what? I’ve done it again (sorry, if you’re getting really bored by now)! I made YET ANOTHER Lottie Blouse version and my third Sew Over It classic pencil skirt so far. If you’re already screaming in your head, you should probably unfollow me, because one thing I can promise you: There will probably be more.

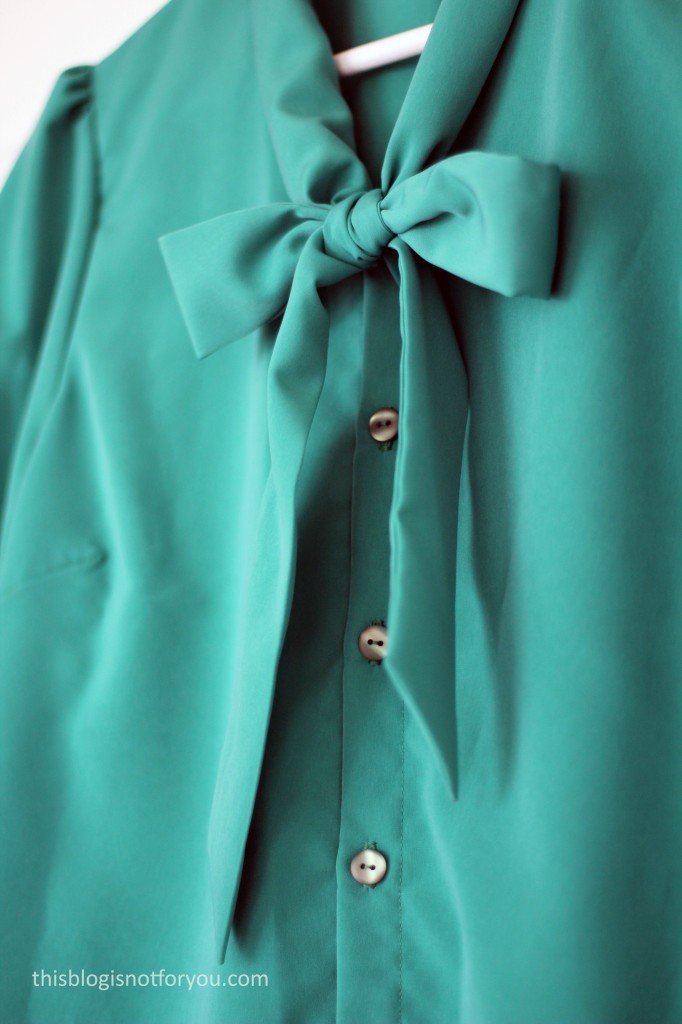
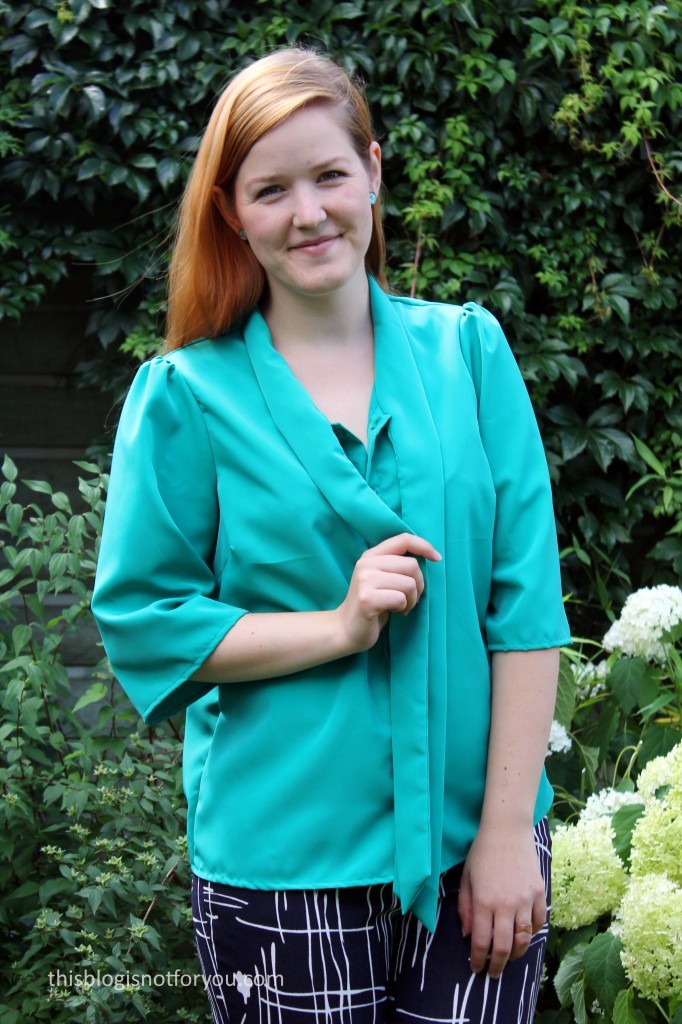
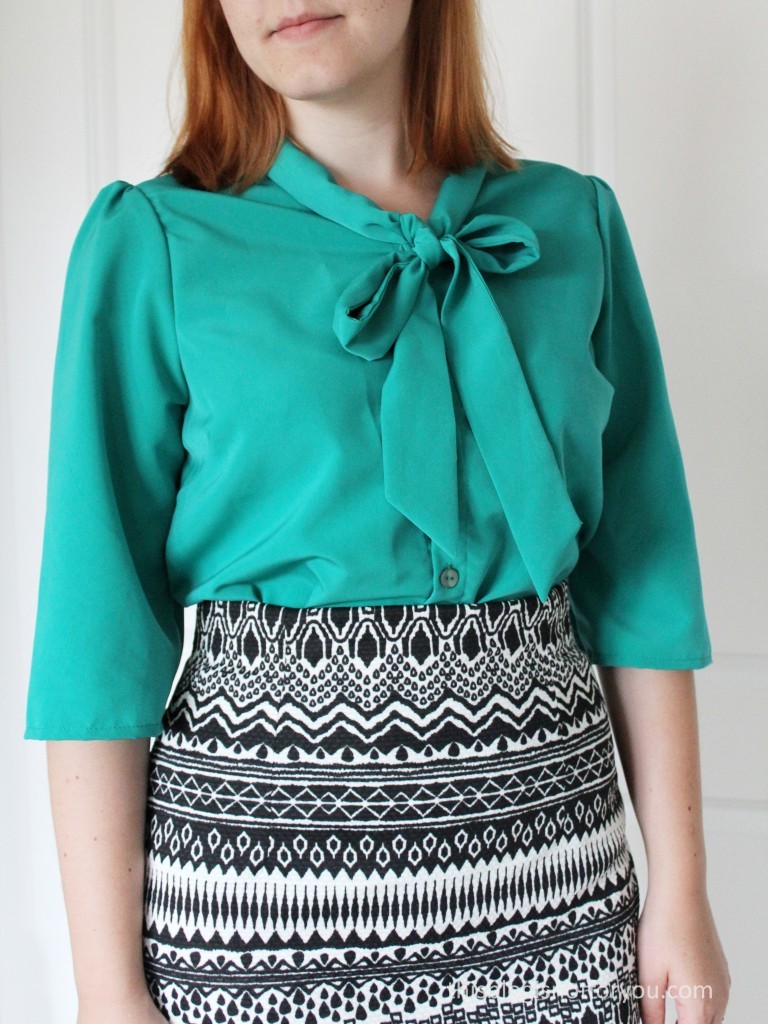
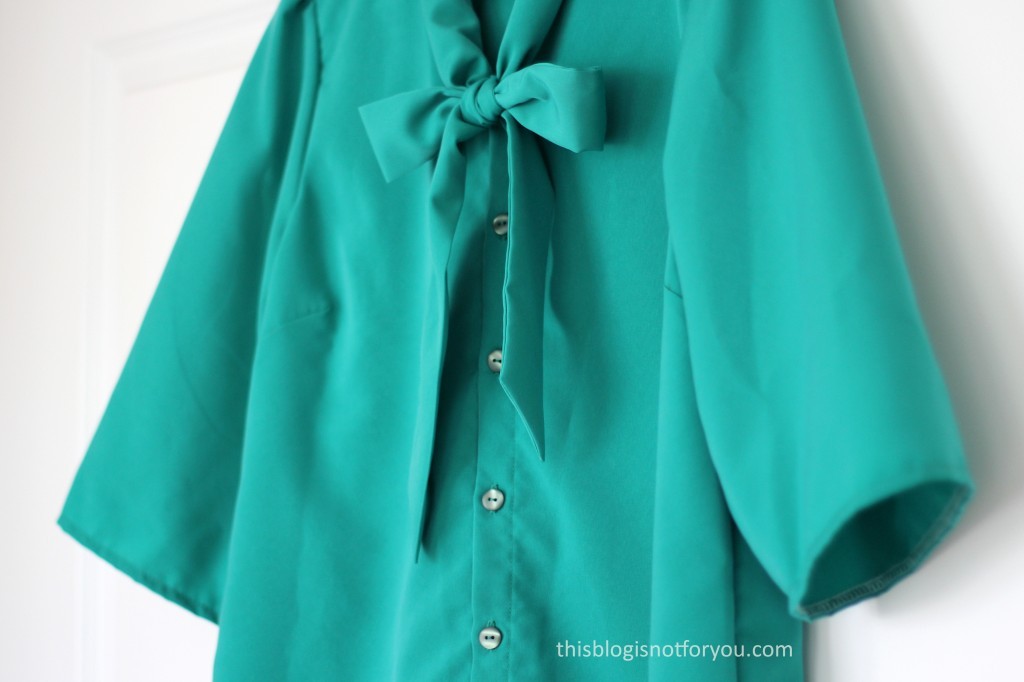
For this Lottie Blouse I didn’t alter the pattern much, but added a button placket. (If you want to learn how to do this, you can read the full tutorial in Love Sewing Magazine, Issue 18, pages 46-48, which is in stores now.)

Lottie Blouse Hack and Pencil Skirt by thisblogisnotforyou.comLottie Blouse Hack and Pencil Skirt by thisblogisnotforyou.comLottie Blouse Hack and Pencil Skirt by thisblogisnotforyou.com

The Fabric:

The fabric is Verona Peachskin in emerald (ÂŁ10pm, www.fabricgodmother.co.uk) and was gifted to me for this particular project by Love Sewing Mag (all opinions are my own!). It’s got a lovely feel and drape to it, although it wasn’t as drapey as I thought it would be in the end. I’ve made all my other Lottie blouses from fabrics with very similar qualities, so I knew what to expect.

I won’t say much about the fit, you’ll find this information in the other Lottie posts (find them in the project gallery). In my last Lottie post, I noticed how the blouse was a bit too tight in the bust area after omitting the keyhole. Last time, I added a few extra cm at the centre front. This time I simply cut out the blouse one size larger than my usual size.

It fits much better around the bust and I have no problem with a gaping button placket or anything, but it’s a bit too wide at the shoulders (for my taste). The looser fit was great to wear during the really hot weeks this summer, though. Lottie Blouse Hack and Pencil Skirt by thisblogisnotforyou.comLottie Blouse Hack and Pencil Skirt by thisblogisnotforyou.com

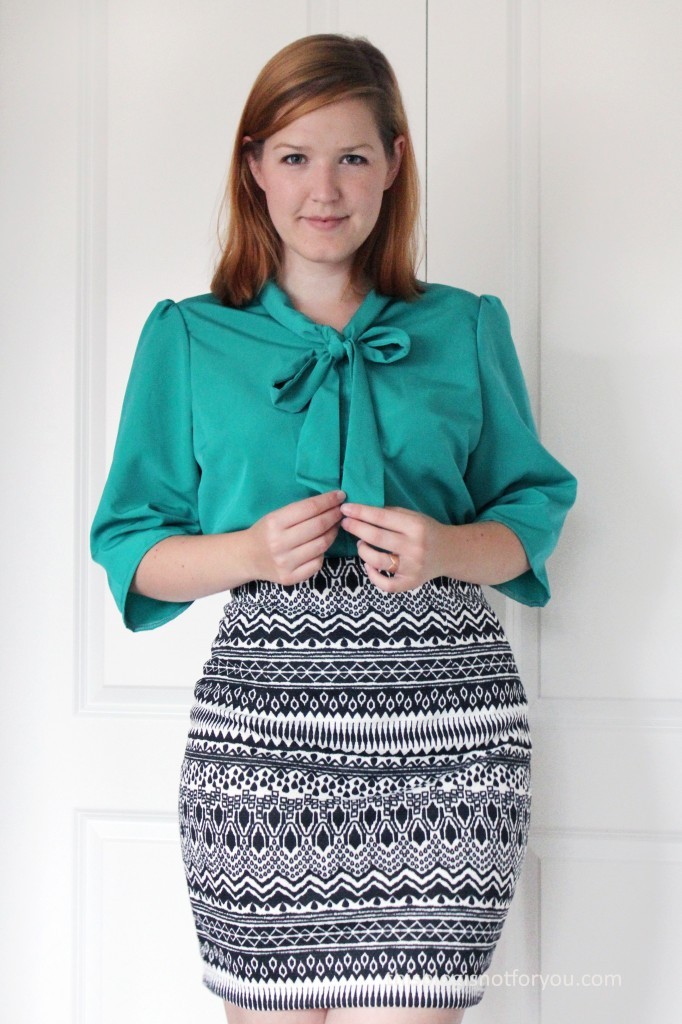
I ‘ve matched the blouse with a me-made skirt. I used my go-to pencil skirt pattern (Sew Over It) which is my all-time favourite. I just cannot stop mentioning how flattering it is. I’m not a super confident person, but I always feel great when I wear my pencil skirts. That’s just a fact.

This time I made a mini version which hits above the knee. I simply shortened the pattern and omitted the kick-pleat.

The Fabric:

I bought the fabric during our Sew Brum meet-up in Birmingham last year. I can’t remember the name of the warehouse-like shop we went to (Barry something something? It’s called Barry’s Fabrics – Thanks, Charlotte!). It’s a jaquard jersey, a very stable knit, that I got for £5pm. I only got half a metre (no risk no fun!) and it was just enough to make this skirt.

It fits like a glove and is really comfy. It’s a bit short when I sit down, so I won’t be wearing it at work. I love that it’s black and white, because it goes really well with all my plain coloured tops.

Lottie Blouse Hack and Pencil Skirt by thisblogisnotforyou.comLottie Blouse Hack and Pencil Skirt by thisblogisnotforyou.comLottie Blouse Hack and Pencil Skirt by thisblogisnotforyou.comLottie Blouse Hack and Pencil Skirt by thisblogisnotforyou.comPhoto-bombing dog!IMG_4826

The combination pussy bow blouse & pencil skirt is my absolute favourite outfit at the moment. The mini skirt is great for going out and the knee-length one is perfect for work.

Oh, and for the very observant readers: Yes, I cut my hair! It was quite long before but really damaged from all the dyeing, so I decided to get a LOB (I just very recently learned that this is what you call a long bob). So far I’m really happy with it.

I’m moving to Munich next week and hope to set up my new sewing corner soon!

xx

Charlie


Happy sewing!
♄

facebook/bloglovin/pinterest
twitter/instagram

Stay in touch!
Wedding Dress Part I: Decisions, decisions!
thisblogisnotforyou.comA couple of months ago, when I helped my friend Daniela with her beautiful handmade wedding dress and the various little crisis involved in such a massive project, I had absolutely no idea that I might face the same questions a few weeks later! Well, here I am and having said YES (and being a sewing addict) I’m faced with a bunch of decisions to be made.

The first big question:

WILL I MAKE MY OWN DRESS?

For me it was a definitive yes from the beginning. Here’s why:

  • Sewing my own clothes has made me super picky in regards to fit, style, fabric quality and finishes. How will I possibly manage to find a ready-made dress that ticks off all these criteria and doesn’t cost a fortune? It’s hard to control all these factors and stay within the budget if you buy a dress of the rack.
  •  I’m a big fan of couture and try to use as many techniques as possible when making garments. Having the opportunity at trying my hand at making a full on couture gown is just too tempting. It’s the perfect excuse to buy all the lovely, expensive fabrics I wouldn’t buy otherwise.
  • The thought of having a super unique dress that is 100% my style and then being able to say: ‘I’ve made this’!

Looking at it realistically, it is simply sewing a dress. I’ve sewn many dresses and most of them were pretty wearable. So why not?

The next step:

PLANNING THE DESIGN

Every sewing projects involves quite a few decisions you have to make before you start. What garment to you want to make? What style and pattern? Fabric? Colours and prints? Embellishments?

I started by looking at loads of dresses, especially the ones by my favourtie designers. Pinterest is a big help. I basically pinned everything I liked. At this point I thought I’m never going to make it. I just couldn’t make up my mind.

Kaviar Gauche

Augusta Jones

Papilio

Silk taffeta, silk chiffon, tulle, lace, satin? Embellishments? Sleeves or straps or neither? Ballgown, A-line, mermaid, empire? Short, long, tea-length? Oh, and then there’s not only simply white dresses! This struggle is real, people!

It took me about a month to realise that you really have to narrow it down to “the one” before you can start. This is the hardest, but most necessary part I think. After looking at dresses for over a month I had formed a pretty clear idea of what I liked and what I didn’t like. I dismissed some old ideas and picked quite a few of my favourite dresses.

Some of you might disagree with the idea, but I sat down with the Mr himself and tried to narrow it down to a few styles that we both liked. In the end this was the most helpful thing to do. Seriously! I wouldn’t want to spend months making something that he might hate in the end. Our tastes are quite different and in the end there was only one that we both loved. (Yes, loved, not liked! Liking, in this case, just isn’t enough!)

So we took all that we liked most of the design we picked and added some of our own touches and details we liked on other dresses. We made definite decisions on fabrics, colours and so on. The Mr is really good with making final decisions, which helps a lot. Nothing is worse than making a decision and starting to question it again and again. Make it, stick to it. The sewing process is flexible enough to change little detail here and there if something doesn’t work out the way you planned it.

Photo by Photo: Philip Friedman; Styling: Blake Ramsey Wedding Dress Fabric Glossary. Found on: www.realsimple.com

Allure Bridals

SHOPPING FOR FABRICS

First, I set a budget. The budget will also guide you when shopping for fabrics. Chiffon or silk chiffon? Satin or silk satin? Tulle or lace? This is not only a design question but also a question of costs.

If it comes down to the pennies, you might want to sew a muslin first, to see how much fabric you really need.

Also, go with your guts. When I went fabric shopping, I only wanted to get fabric for the muslin. I found the most gorgeous, perfect fabric in the end. I knew that I would regret not buying it and then spend loads of time finding something similar later on. The fabric was just within my budget and I went ahead and got it that day. It’s super scary but a relief at the same time. 

Apart from buying the fabric and fabric for making a toile, I haven’t progressed any further yet. We’re moving into a new flat soon (finally!) and I’ll wait until I have my dedicated sewing space back before I start working on the pattern.

Have any of you made your own dresses? Any advice you’d like to share? And those of you who decided against it, I’d love to hear why!

xx

Charlie


Happy sewing!
♄

facebook/bloglovin/pinterest
twitter/instagram

Stay in touch!