Make the Cape: Printing & Assembling the Pattern // Choosing Design Variations & Fabric
Hello! This is the first part of the Fairy Tale Cape sewalong. There will be quite a few sewalong posts coming up in the next few days/weeks. If you’re not sewing along, bear with me – I’ll try my best to throw in some other posts every once in a while! I have yet to figure out the schedule. I have quite a few finished garments that need to be photographed and blogged, but the sewalong will keep me pretty busy!
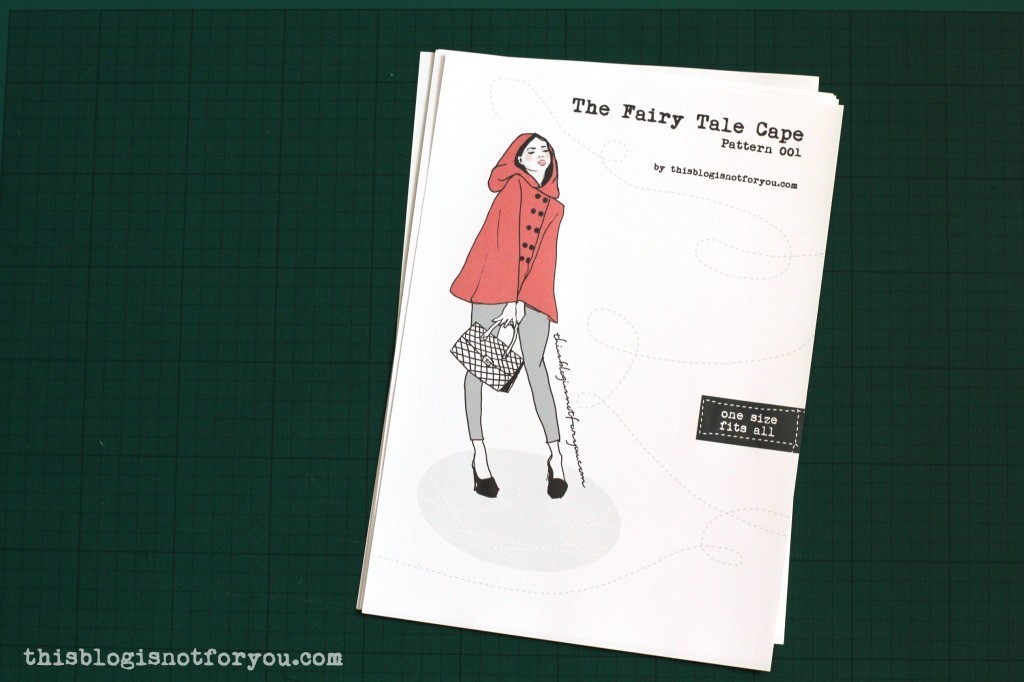
Printing & Assembling the Pattern
Before printing the pattern and cutting your fabric, make sure you have read all of the
instructions included in the pattern file.
Before printing the complete pattern, please print the page with the Test Square first and measure if the sizing (4’’/10.2cm) is correct to make sure you are printing to scale. It is also important that your printing program is set on “Actual Size”. Do not scale the pattern (e.g. “Fit to Page”) as this will affect the sizing.

I suggest leaving the pile of pages after printing as it is (without arranging all of the pages on the floor/table before glueing). To avoid mixing up the pages & getting confused by the numbers you can cut and glue the pages one by one as you go until you have reached the end of the pile. The pages are arranged in rows (you start assembling at the top/bottom working your way down/up).
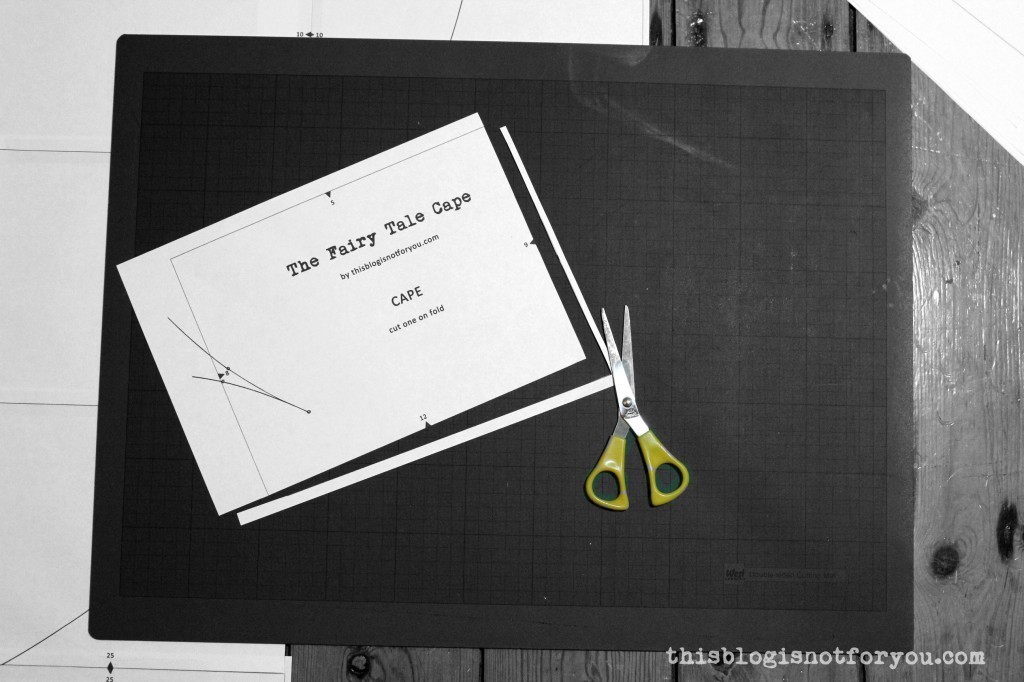
Trim the right and bottom edge of the paper off, cutting on the lines.Then start assembling the pages, either starting at the top or bottom of the pattern.
Match the numbered notches on the pattern sheets, aligning the grid lines.
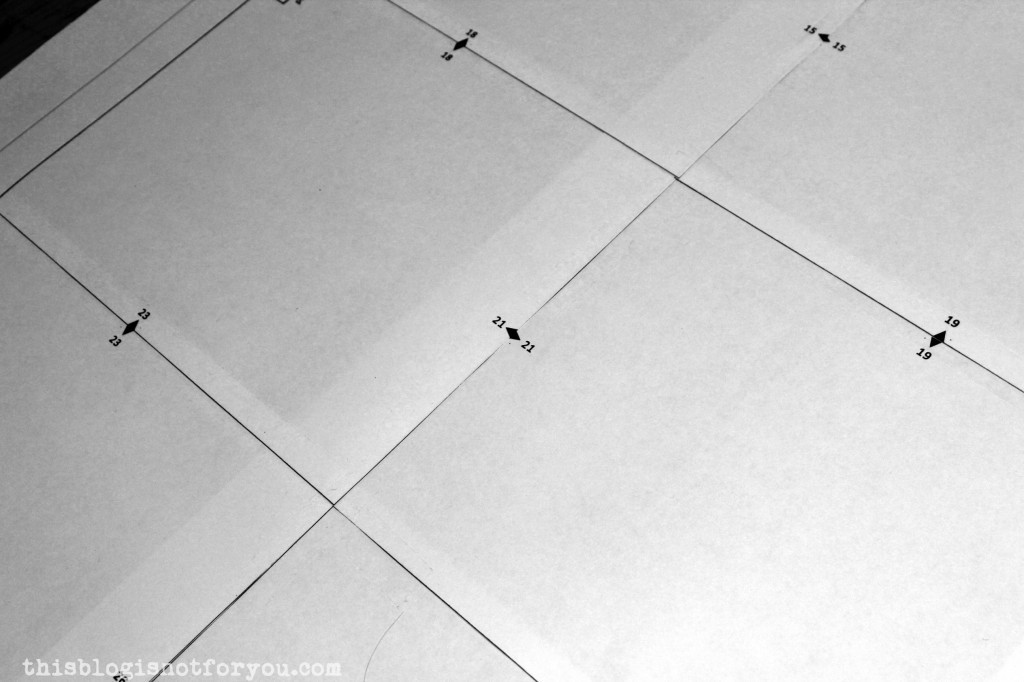 Depending on whether you cut directly on or slightly next to the gridlines, some pattern pieces might not match exactly at the notches. That’s ok. Try to match the pieces as good as you can, orienting yourself on the grid and and pattern lines rather than the notches. Use the notches as a guide to match the right pages (they can be a bit off, as long as all the gridlines are parallel/perpendicular and the pattern lines are matched up).
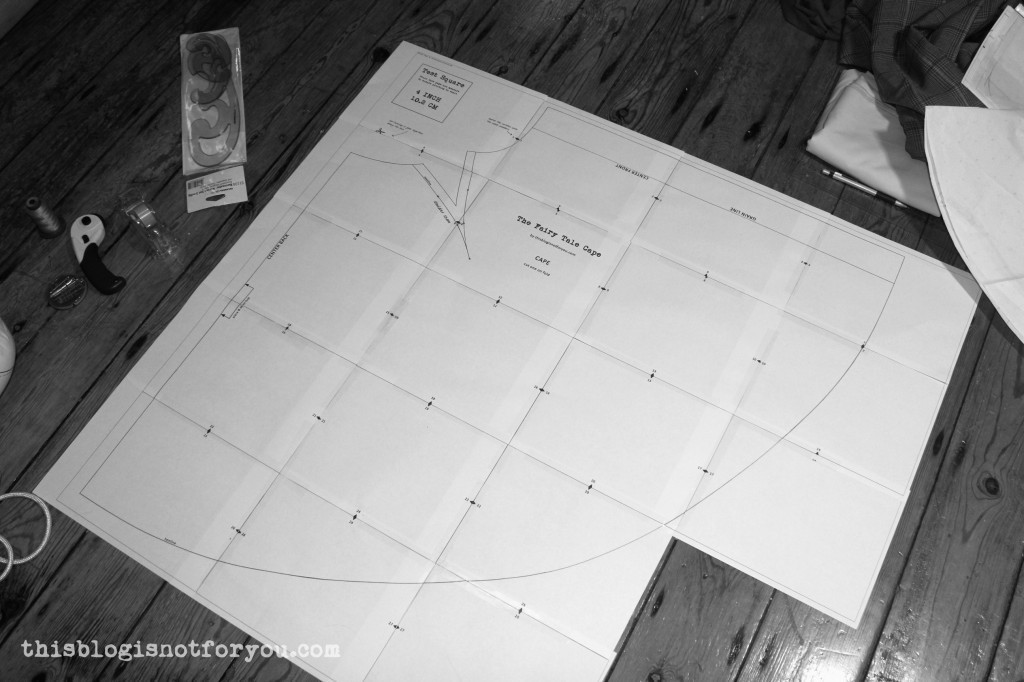
Tape/glue the sheets together and cut out the pattern (seam allowance is included).
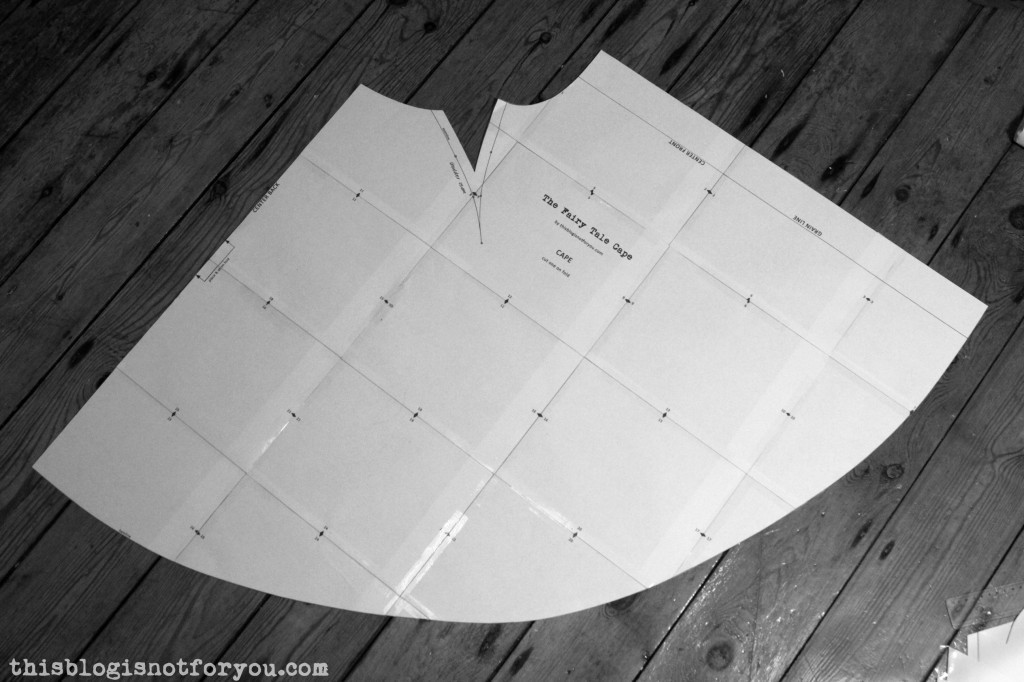
Choosing Design Variations & Fabric
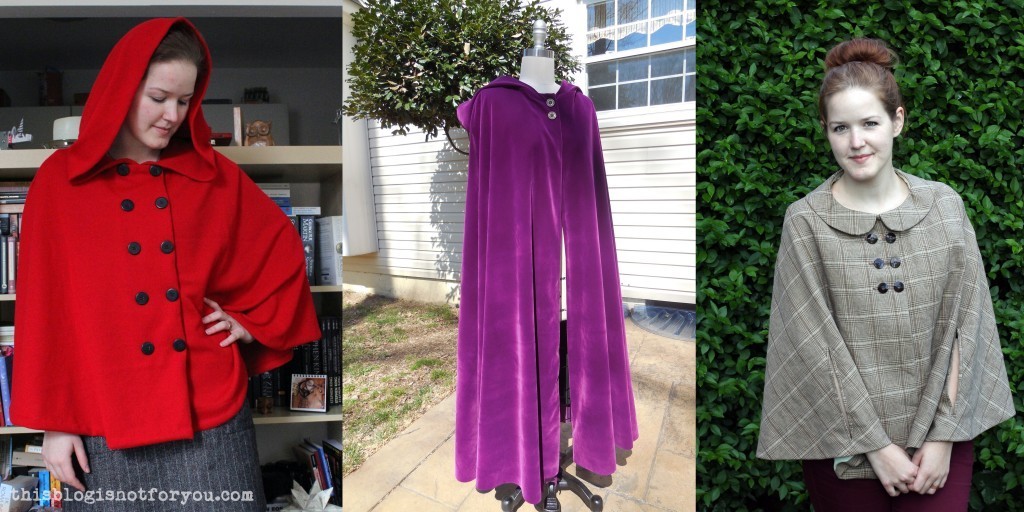
The simple cut of the cape allows for a range of variations. You can remove the hood, add buttonholes or arm slits, alter the hemline and play around with different fabrics and patterns. 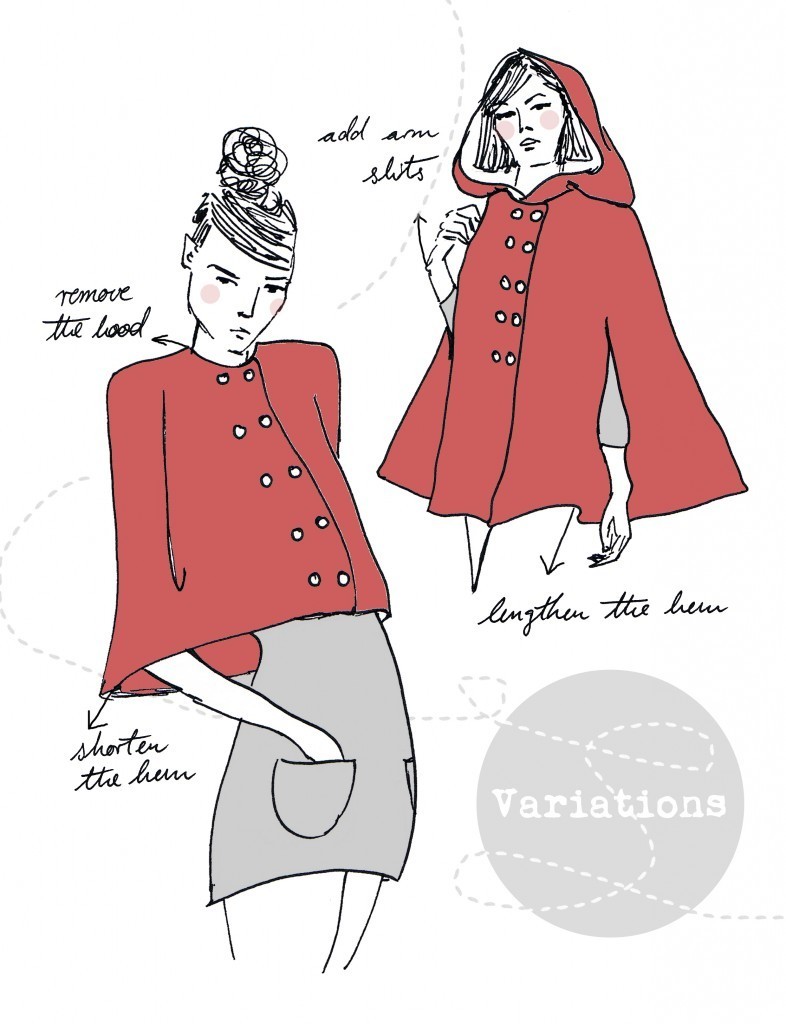
Different versions may require a different amount of fabric or additional notions, so plan ahead before you start cutting into your fabric.
Neckline/Hood:
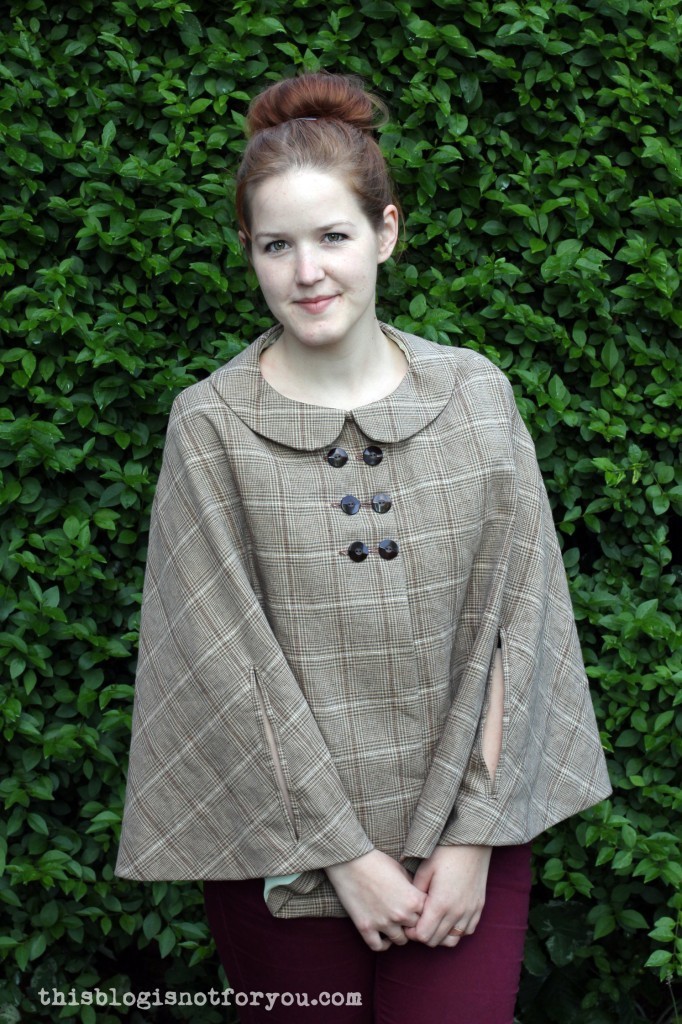
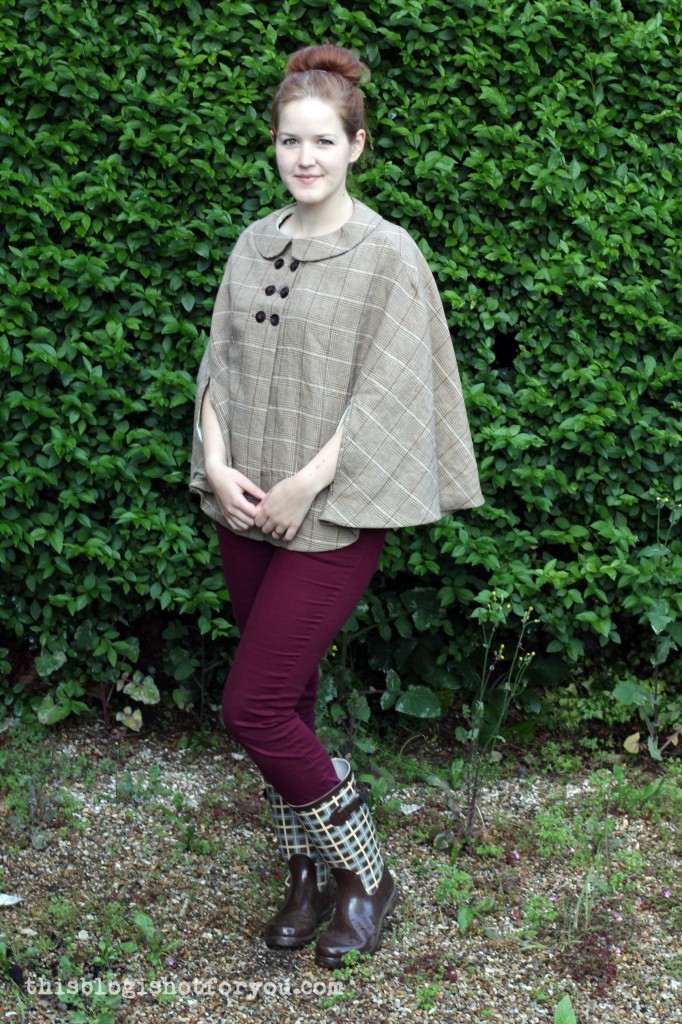
For my latest version I decided to replace the hood by a Peter Pan collar. The hood is super cosy and adds a very romantic look to the cape, whereas removing hood or adding a collar gives it a more sophisticated or vintage look.
If you want to add a colllar or sew the cape without the hood, I recommend using wovens, as they are more stable and less likely to stretch out compared to knits. It’s only a recommendation – heavier knit-fabric will probably work as well. Just be careful not to distort the fabric.
You might also want to use fusible interfacing when using wovens. Without the hood, the focus will definitely be on the neckline of the cape, so you want to make sure it looks very neat.
Front & Closures
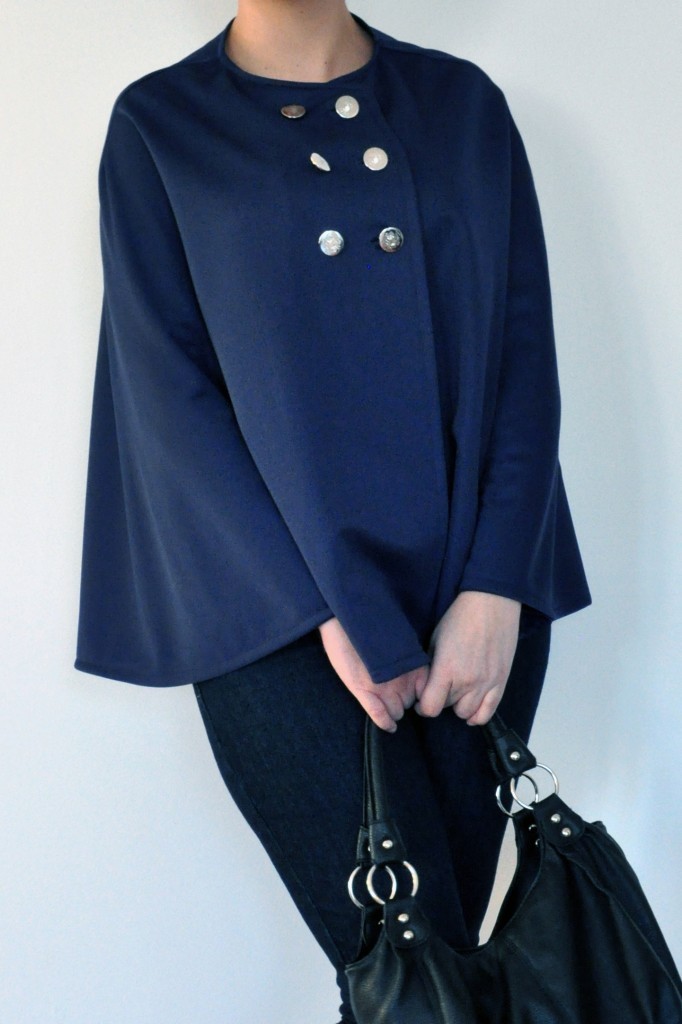
When using knits/jersey you don’t have to worry about adding any closures to your cape. The neckline opening will the wide and stretchy enough for you to just pull the cape over your head like a tee. You can add buttons for some contrast, but this is completely optional.
However, when using wovens, I recommend adding actual buttonholes (if you are lazy, you can do this for top row of buttons only and skip adding lining). This will require the use of fusible interfacing and a lining or facing at the front. Think about these things and make a list of the materials you need before you start.
The placement and amount of buttons you use also has a big impact on the look of your cape.
Hemline
Altering the length of the cape is pretty straight-forward. You can lengthen the hem by extending the front edge by a few cm/inches (see Rachael’s floor-length version here) and adding the desired amount to the marked hemline accordingly. The same thing applies to shortening the hem. Simply cut off the desired amount, cutting parallel to the hemline.
When adding extra length to your cape, consider that you will need a lot more fabric! (It’s similar to making a maxi circle skirt!) The cape is cut as a half-circle and adding a considerable amount of length will require getting a lot more fabric than stated in the fabric requirements. You might even need to add a center back seam in order to fit the altered pattern on you fabric.
Armslits
Adding armslits isn’t as hard as it might seem. I will guide you through the steps with detailed pictures.
 Armslits don’t neccessarily require a lining, but for a more professional result I’d recommend adding one. The armslits are cut into the fabric at quite a late stage in the process. If your cape isn’t lined at all, you can even decide to add them at a later stage after the cape is finished. Adding armslits does not require much extra fabric, you can even use a different fabric in a contrasting colour.
Recommended Fabric
You can use both wovens or knits. I recommend wool, velvet, linen, heavy-weight knits or jerseys. Please note that the fabric choice will have a big effect on the drape of the cape.


If you want to wear the cape as a cardigan I recommend more light-weight fabrics, such as Jerseys or knits.
If you plan on wearing this cape instead of a coat, I recommend using a warm wool fabric. In this case the drape will also be much improved by adding a lining.
You can use stretch or non-stretch fabrics. When using non-stretch fabrics, I recommend adding actual buttonholes.
That’s it for today! Now it’s your turn to think about the design of your cape and what fabric you want to use for it.
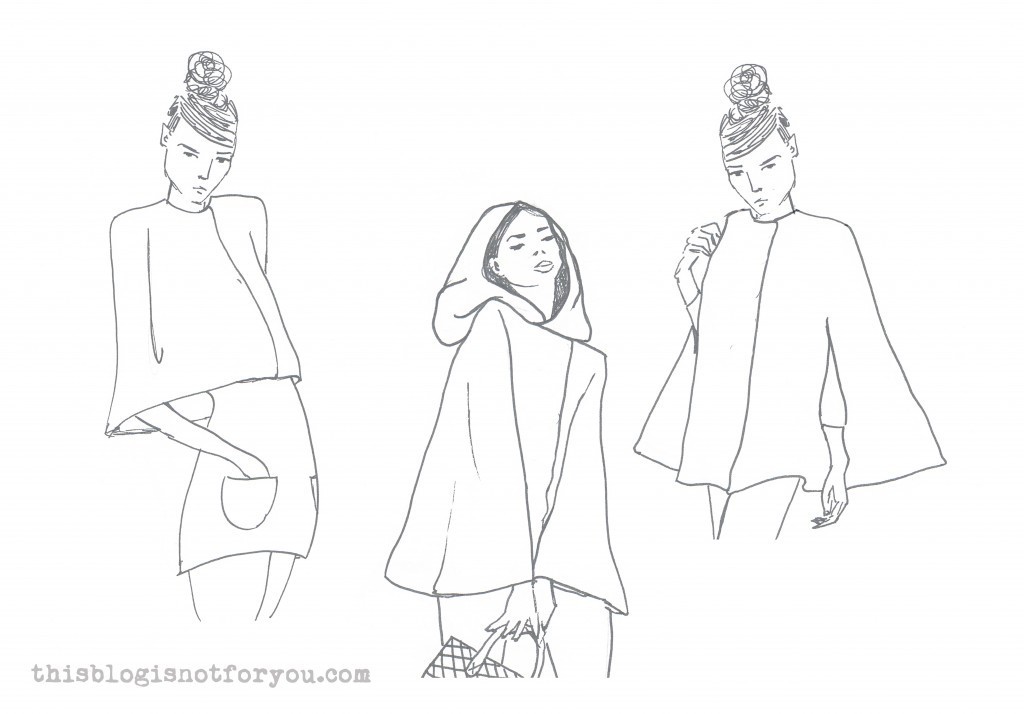
To make it easier to visualise your ideas, I prepared a template which you can use to make a sketch of your design. Sometimes it helps to colour in a sketch or technical drawing of a garment to see whether certain colours or prints work or not. It might also help to figure out the buttons and shape of the collar.
The next part of the sewalong will be coming this weekend and covers:
Drafting a Peter Pan Collar for Your Cape // Sewing the Collar
Happy sewing!
♥
 Hello my fabulous sewalongers! My
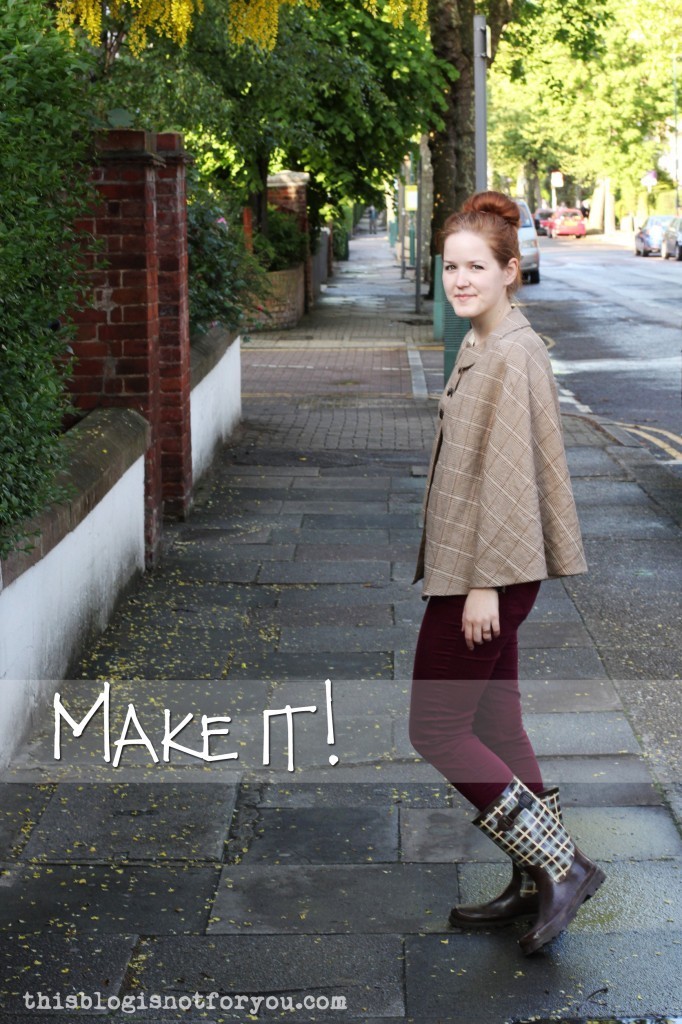
  Very sherlock-y, isn’t it? And it was raining here in Londontown, that’s why I’m wearing gumboots. (That was last week – now the weather is just perfect and sunny and I could wear my
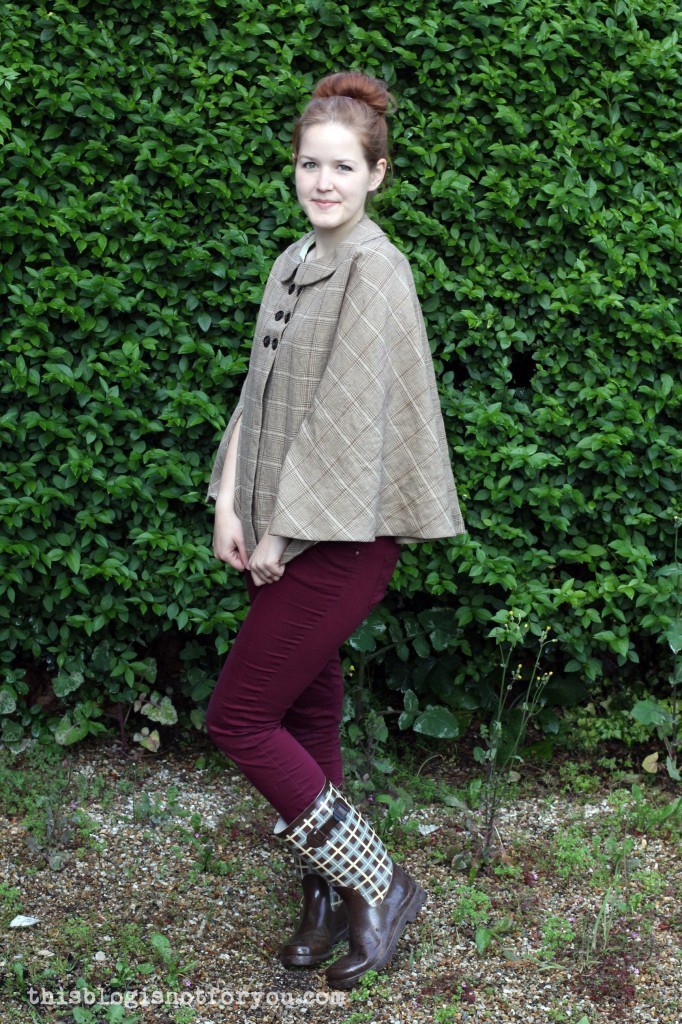
 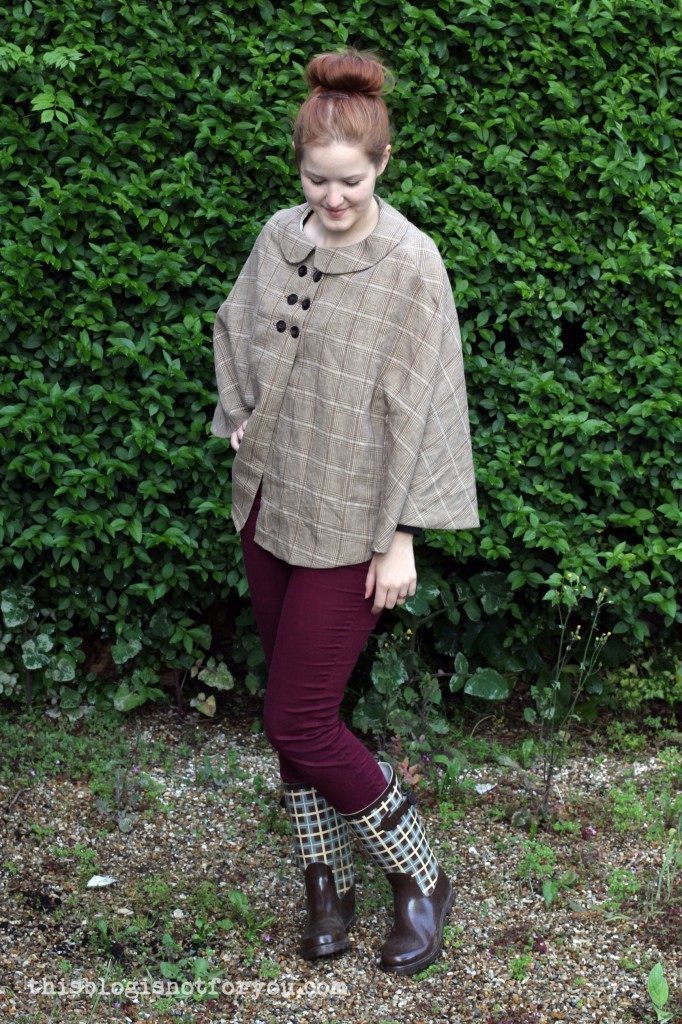 I kept the length of the cape, but decided to swap the hood for a cute Peter Pan collar! Instead of
 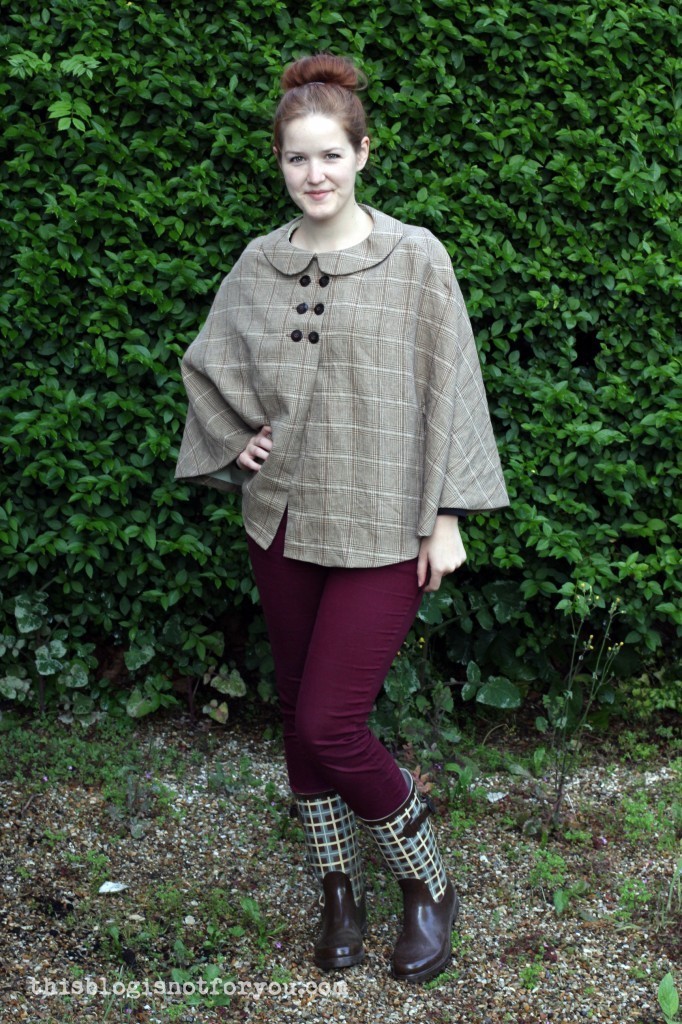 The fabric is soft, lightweight linen I bought at Saeed’s Fabrics in Walthamstow. It is lined with soft lime-coloured cotton.
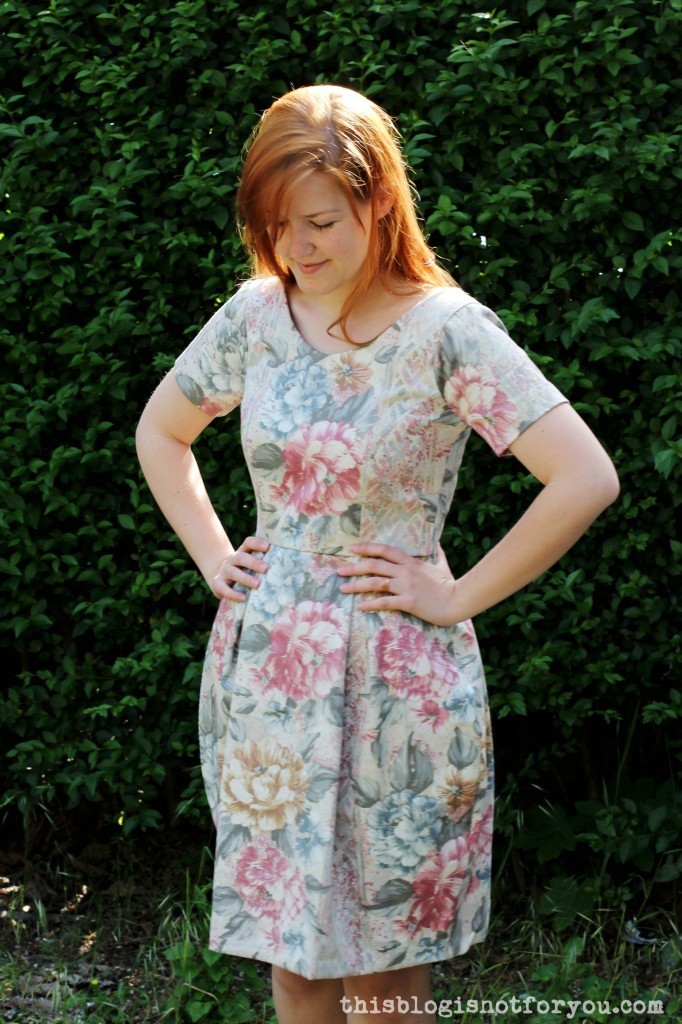 Hooray! The sun’s finally back out here in London and I bribed Mr Thisblogisnotforyou into taking some pictures of my recent makes. After almost a year I finally, finally managed to sew the Elisalex dress by
 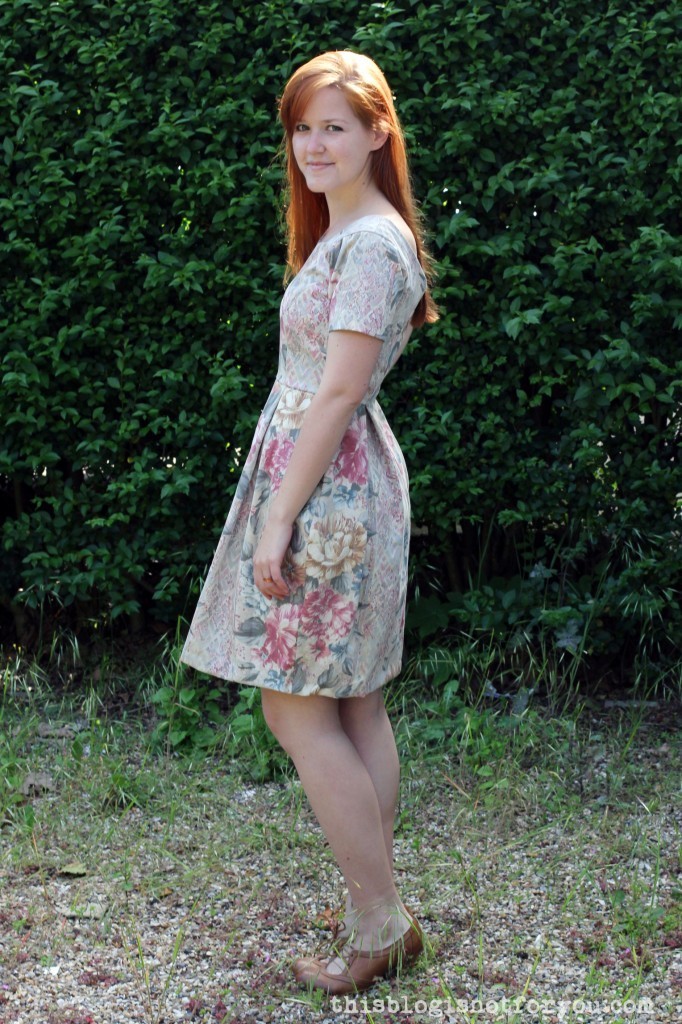 Normally I complain a lot about what went wrong during the sewing process, but this time I really can’t complain about anything – except for my inability to stand straight on gravel when wearing heels. This is why I risked showing you the ugly front of our flat..ehh our neighbours flat, of course. We surely are not the ones with the pealing paint and empty flower pots.
 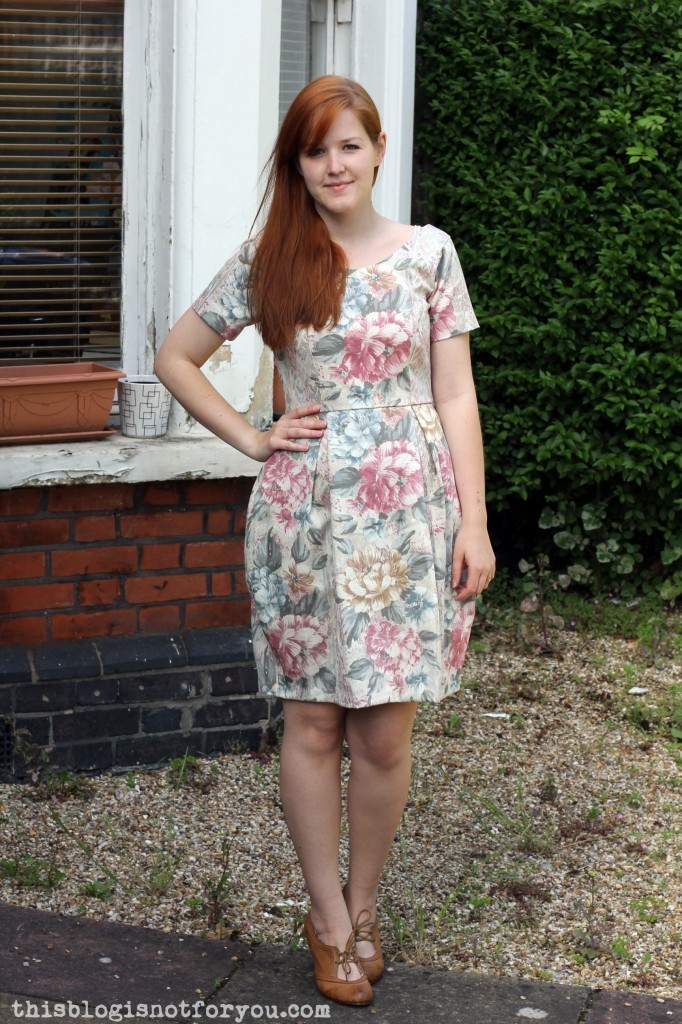 I hadn’t made something with princess seams in quite a while, so I actually made a toile, which fit so well that I ended up using it as bodice lining – win! I cut out a size 10 – according to the BHL measurements it’s exactly, EXACTLY my size. Since the skirt is super voluminous I didn’t even have to grade up the bottom part. Another win!
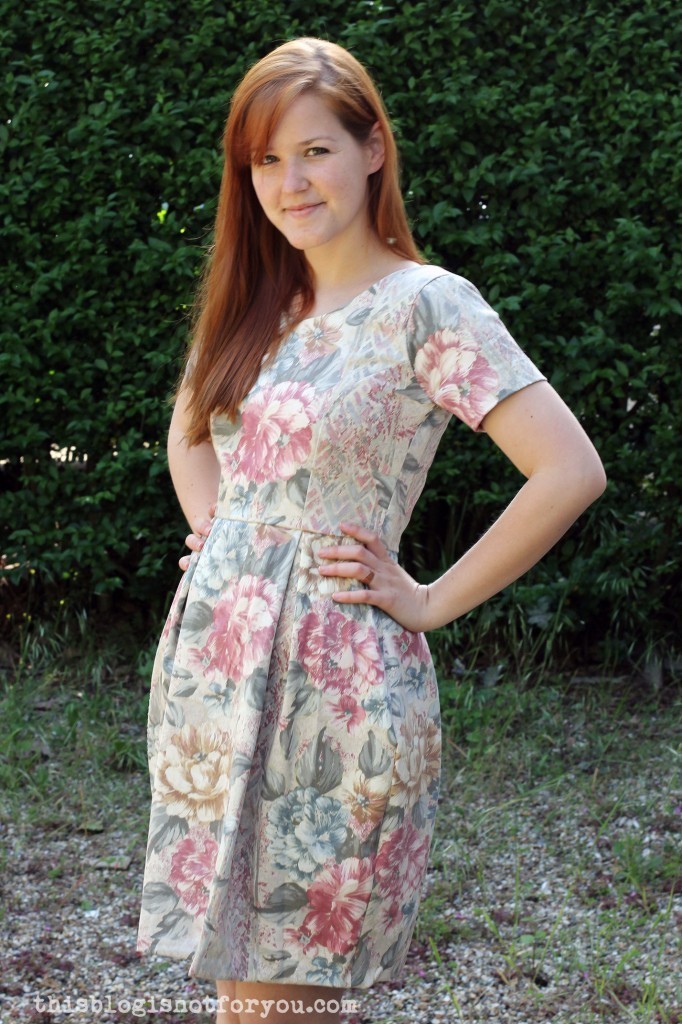 As for the fabric, well. I was inspired by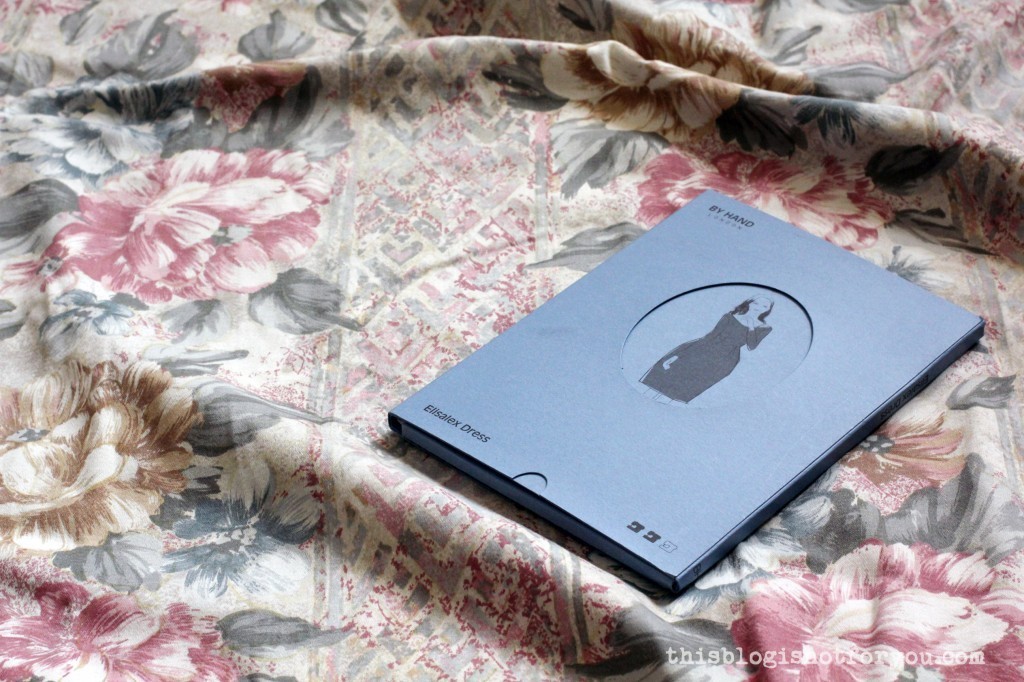
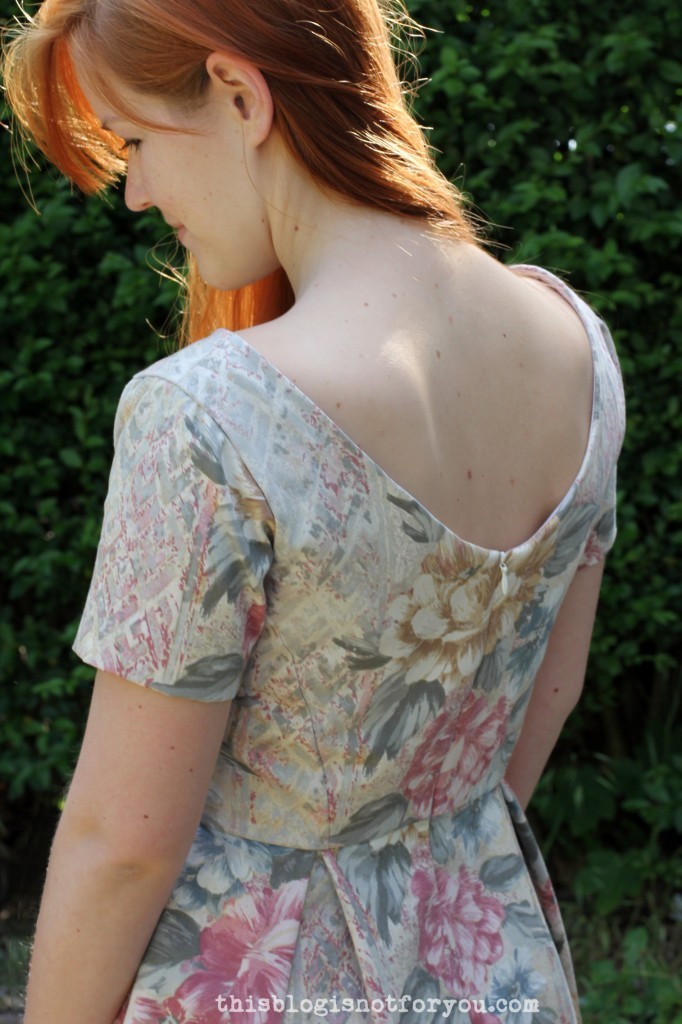
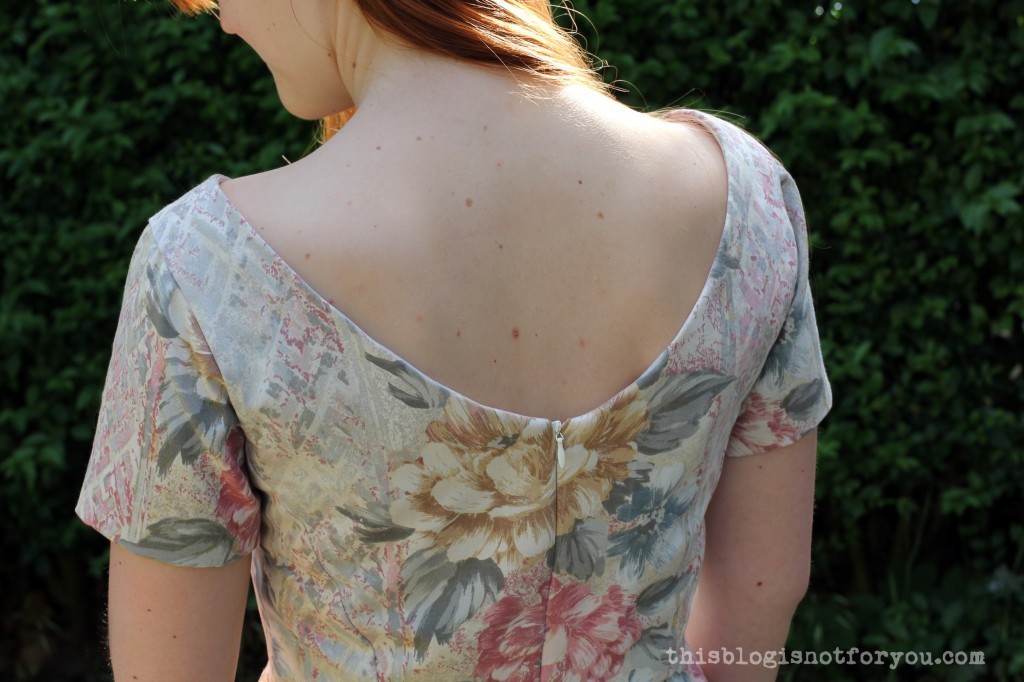
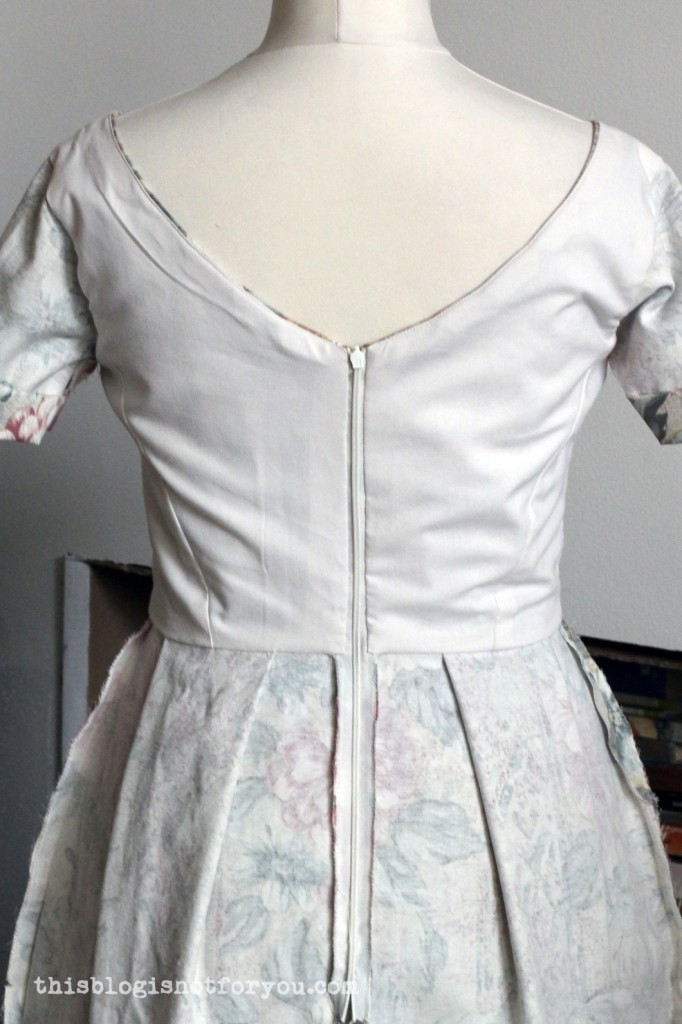 The bodice lining needs to be sewn on by hand which took quite a while, but you all know that I have a weird masochistic fondness for handsewing.
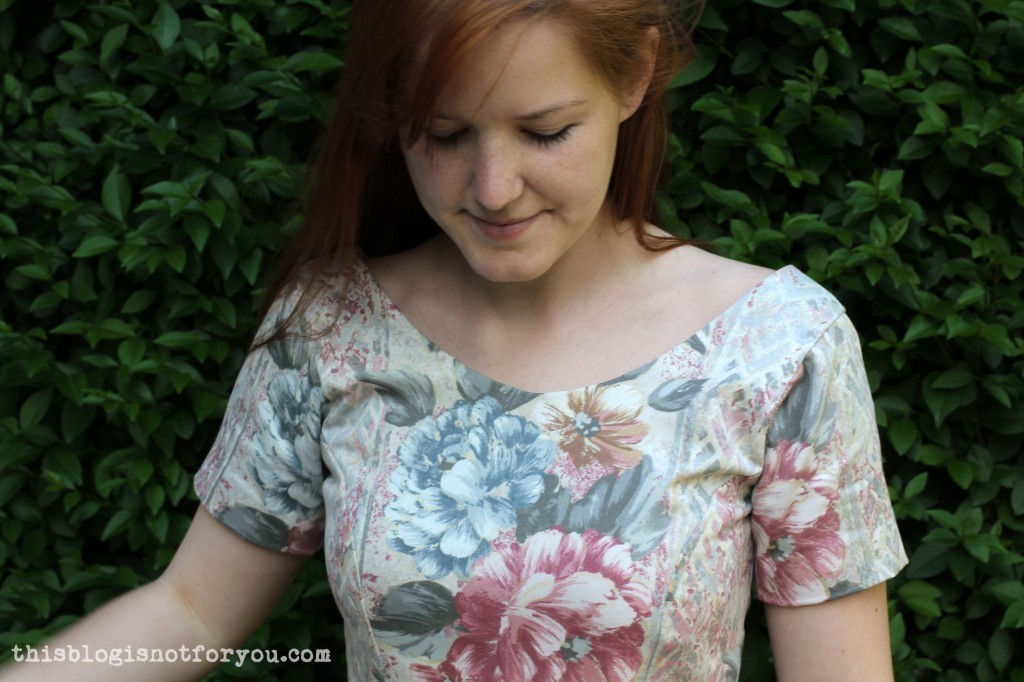 The only drawback of the pattern is that the lenth of the skirt is acutally 77cm, which I find is way too long and unflattering. It’s also a bit misleading that none of the pictures on the By Hand London website show the acutal length of the dress, but only shorter versions. The inobservant sewer might buy and cut out way too much fabric and end up chopping off half of the skirt. But that’s the only con, really.
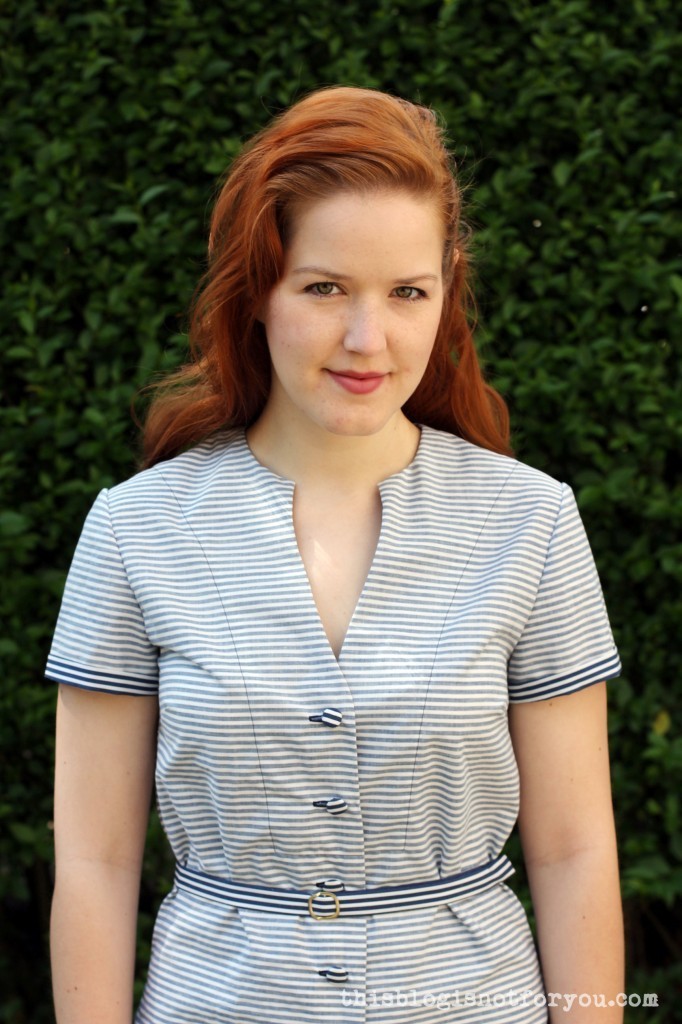 Hurray! It’s time to reveal our final garment for the “The Notebook”-themed Hollywood-Sewalong!
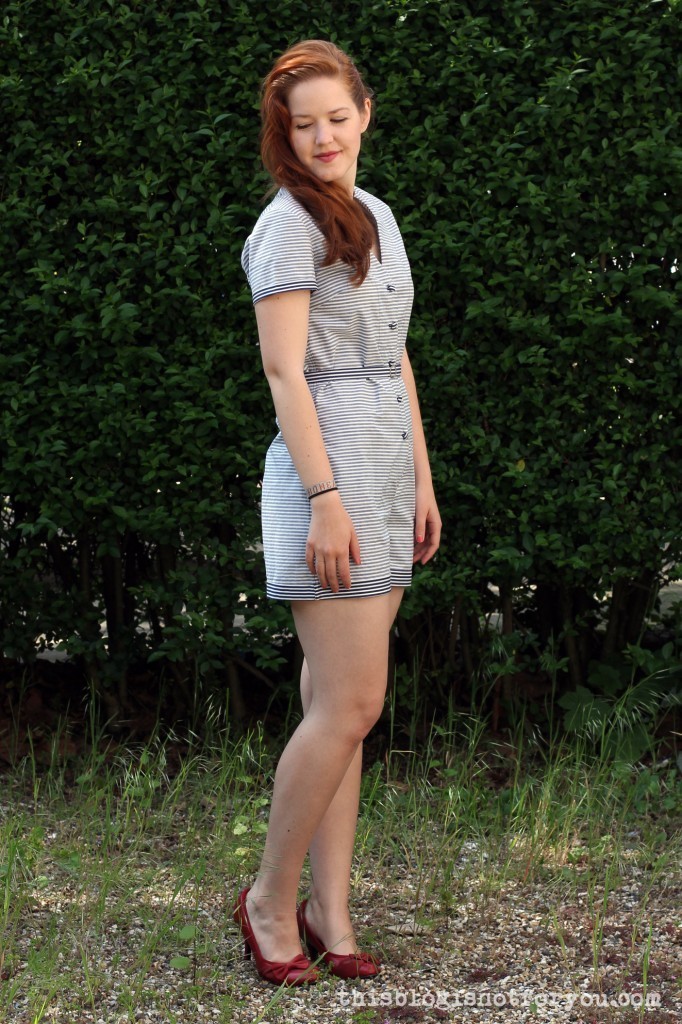
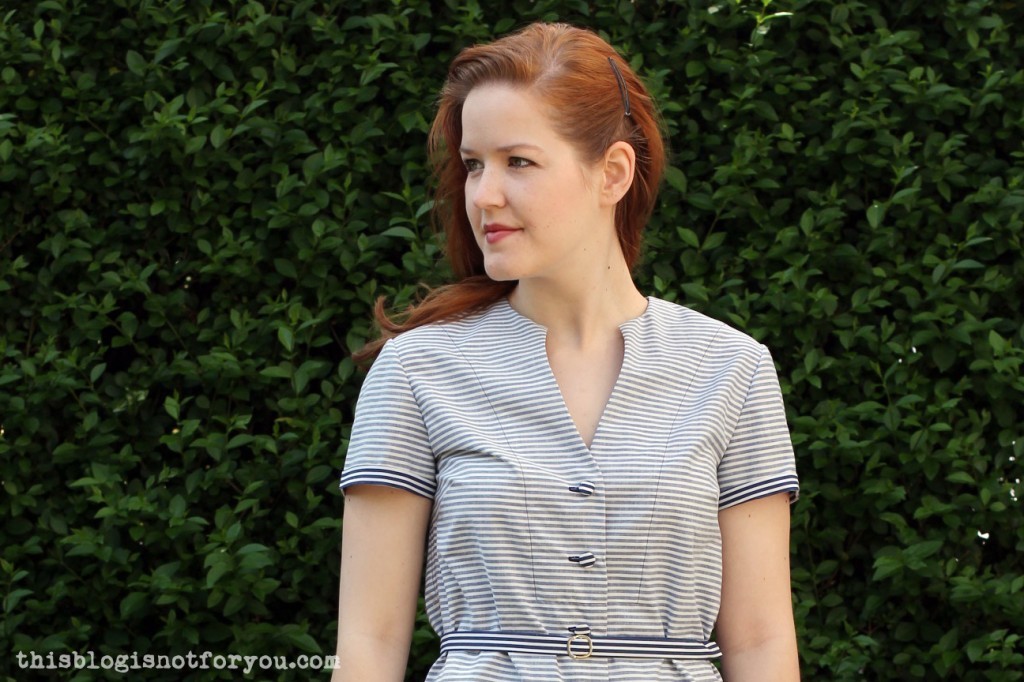
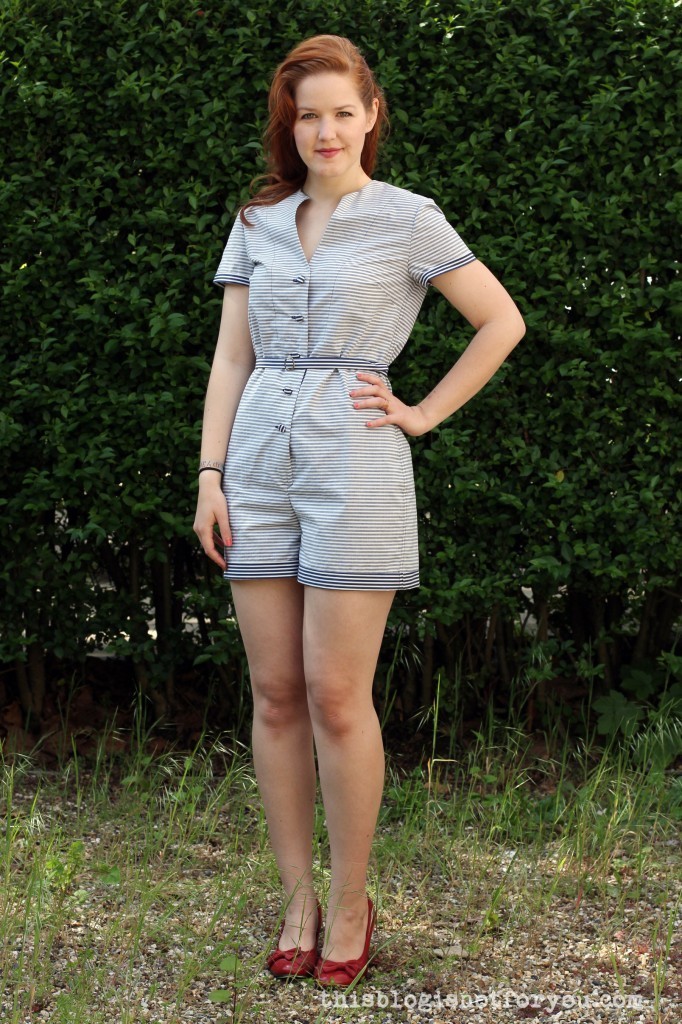
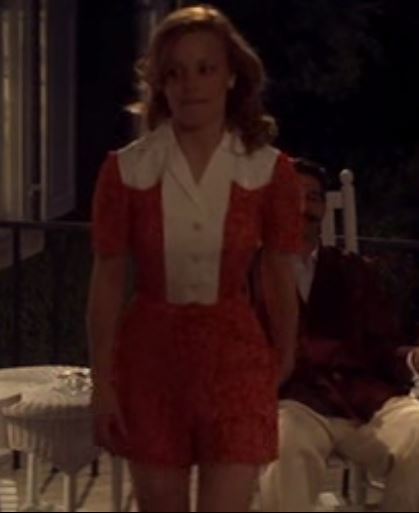

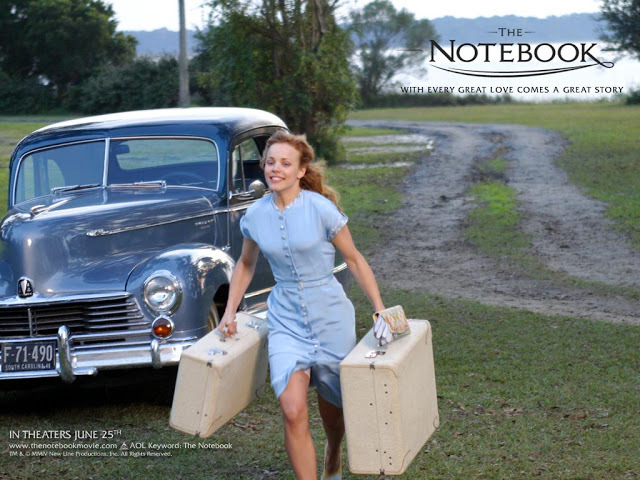
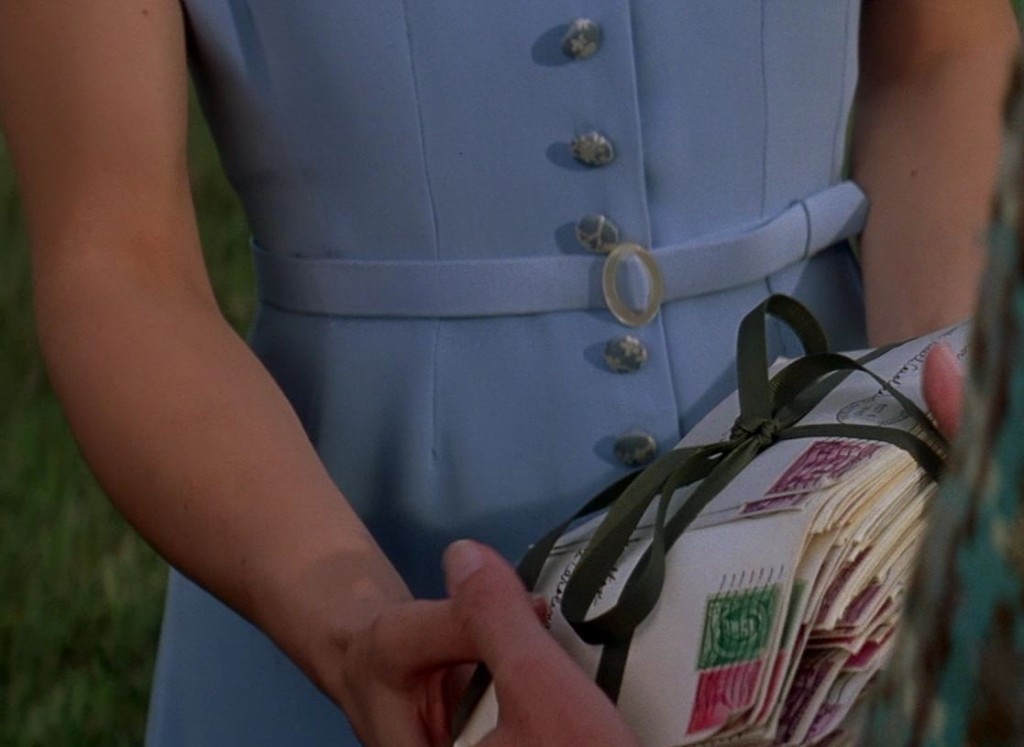 I drafted the pattern for this playsuit myself. I based the bodice on a shirt dress and changed the skirt part to shorts. After trying on my first muslin, I had to add some extra length in the waist (I wasn’t able to sit down before, haha!). This was really the only chang I had to make to my pattern. The second muslin magically fitted perfectly and I could start cutting into my fabric.
 Cutting out the pattern pieces was just so unbearable that I thought I had to scrap the whole thing and start all over again. Well, that was a week ago and I was in no mood of going fabric shopping.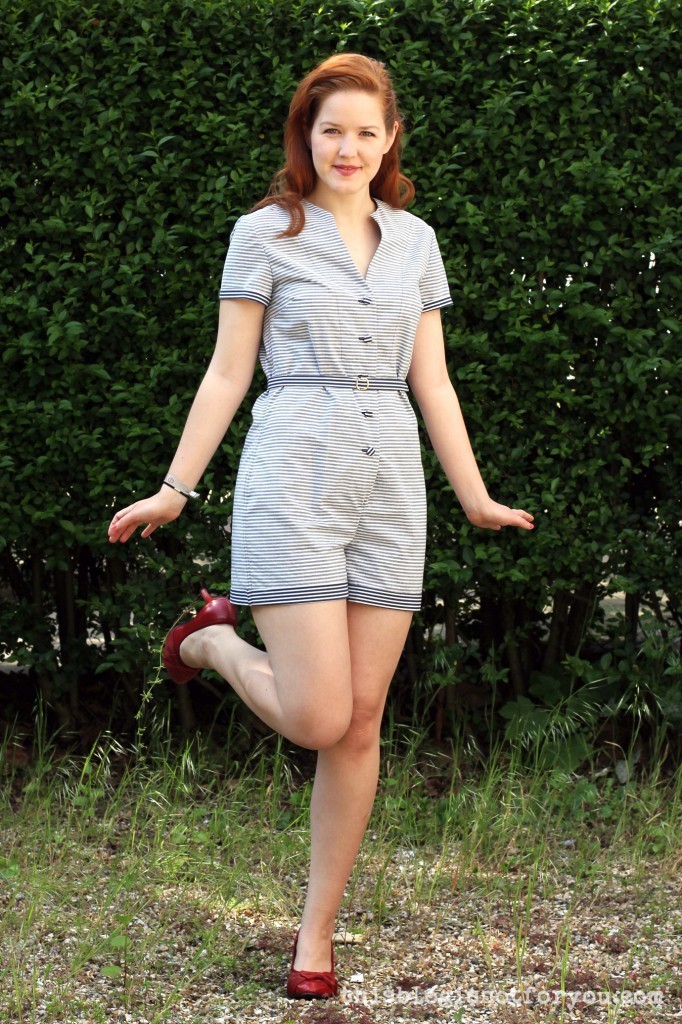

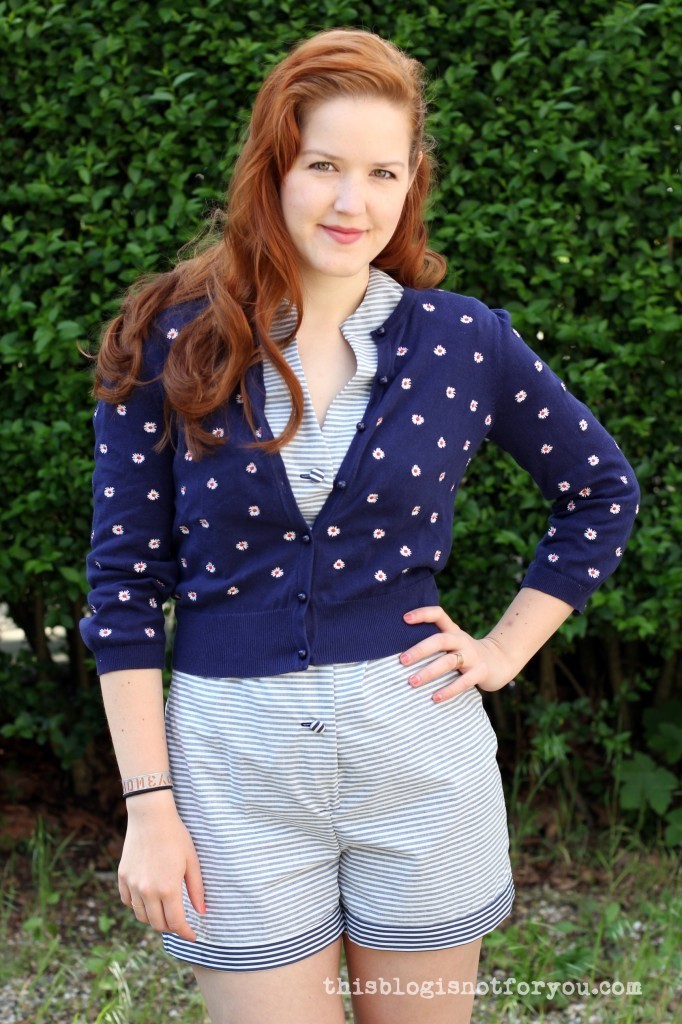
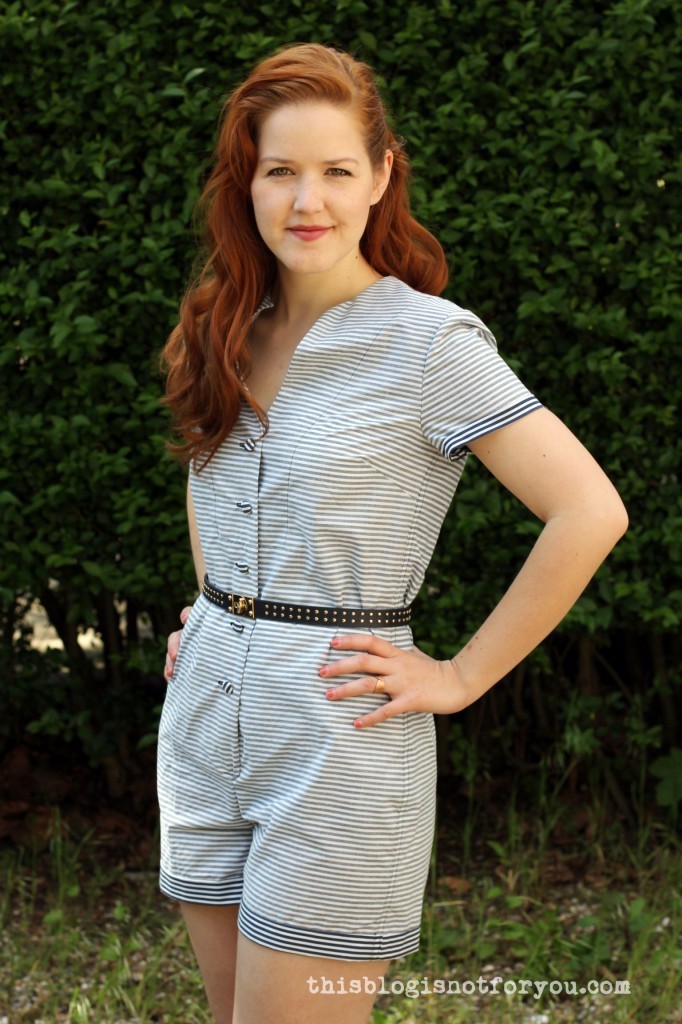
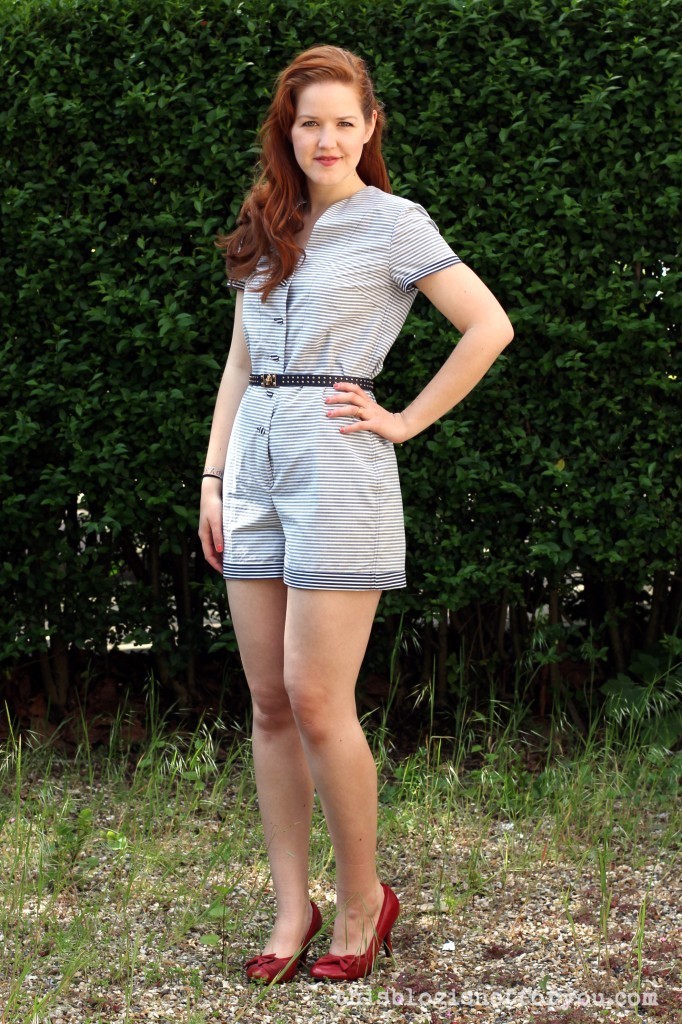
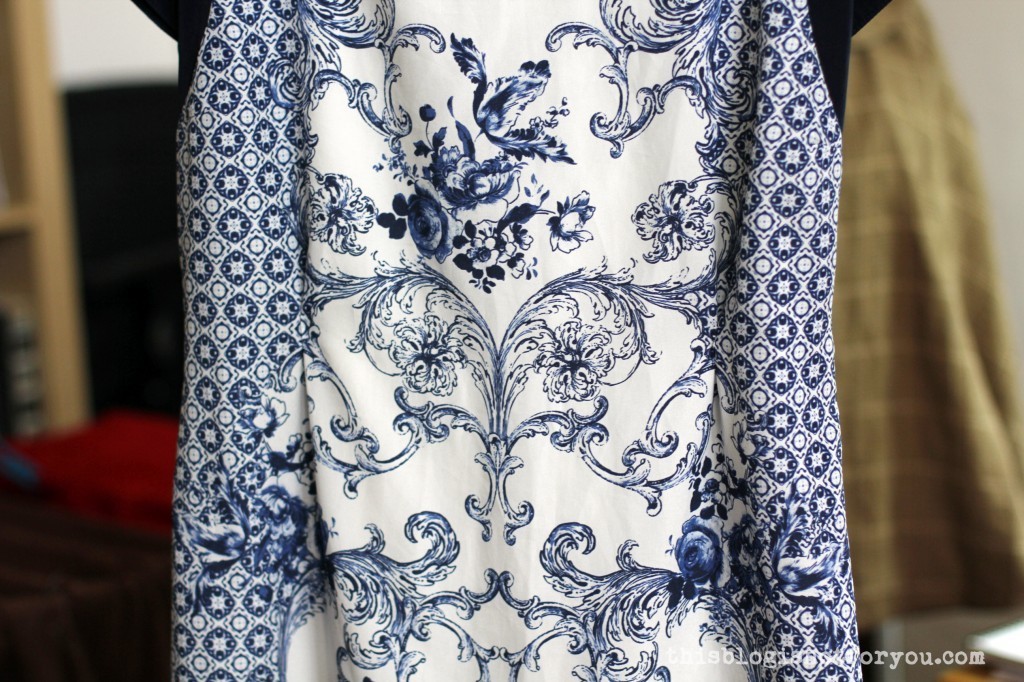
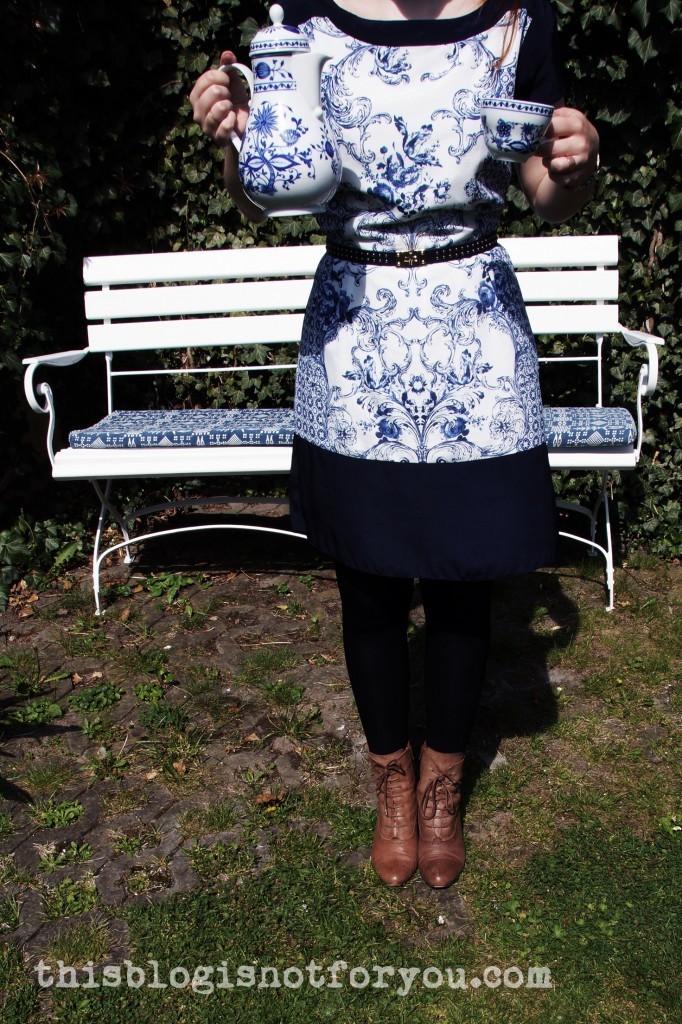 I’m all ready for the tea party, just couldn’t find the rabbit-hole yet. In the meantime I had many cups of pretend-tea while my sister was snapping pictures of me and my newly refashioned porcelain dress.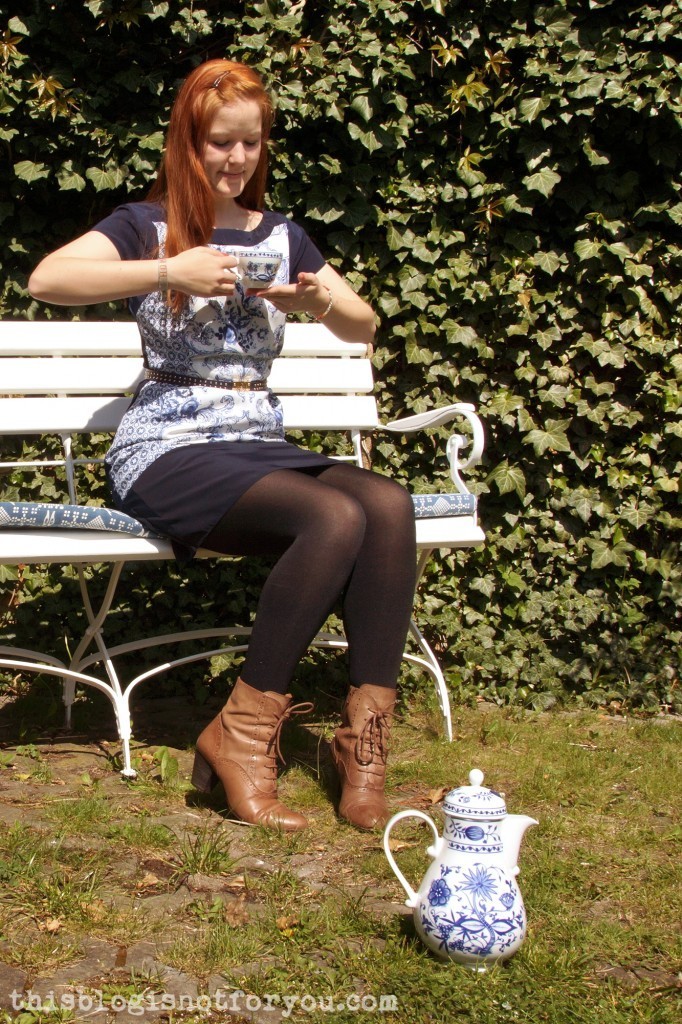
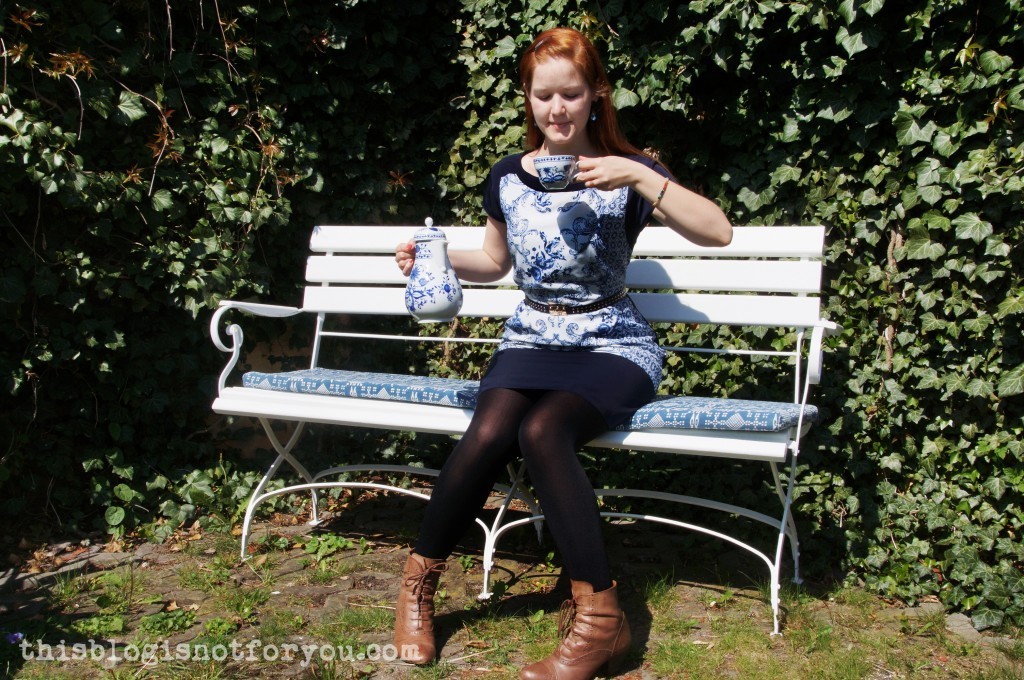
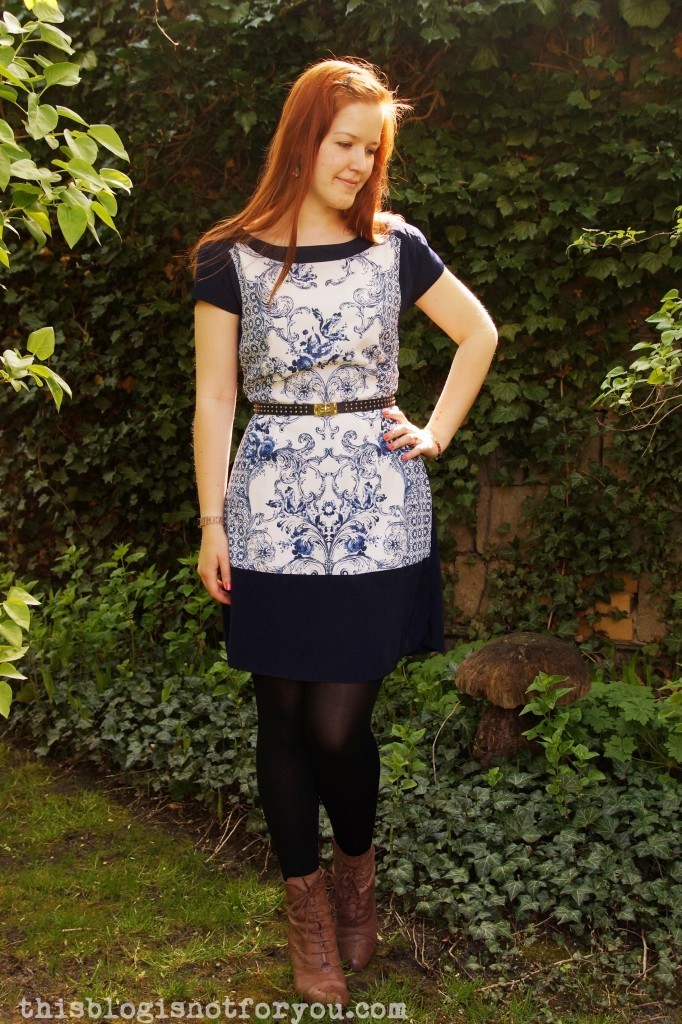

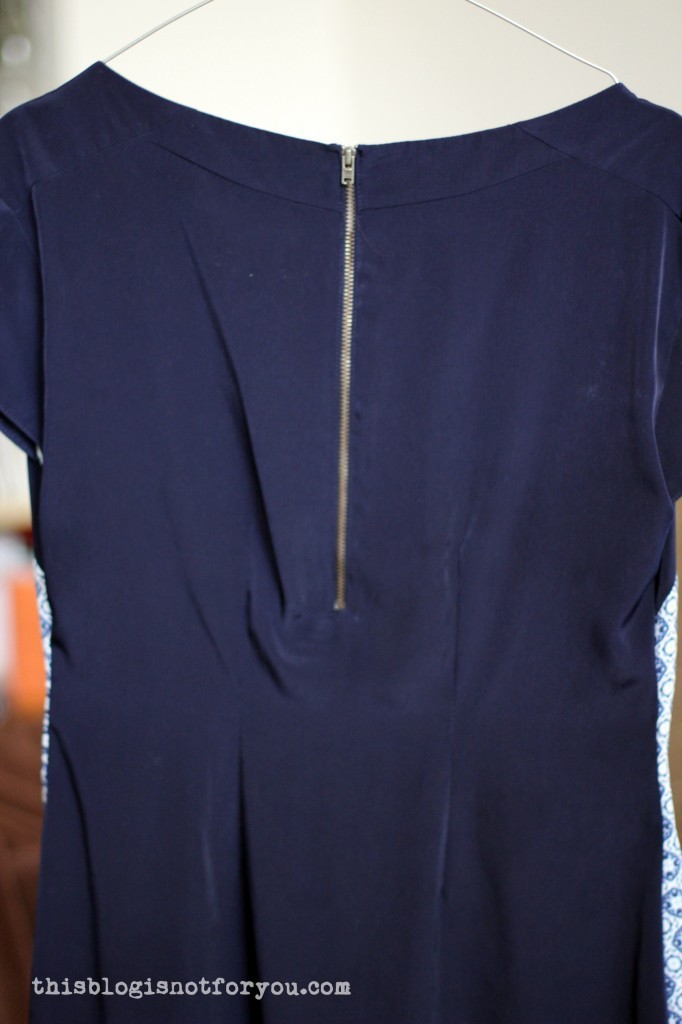
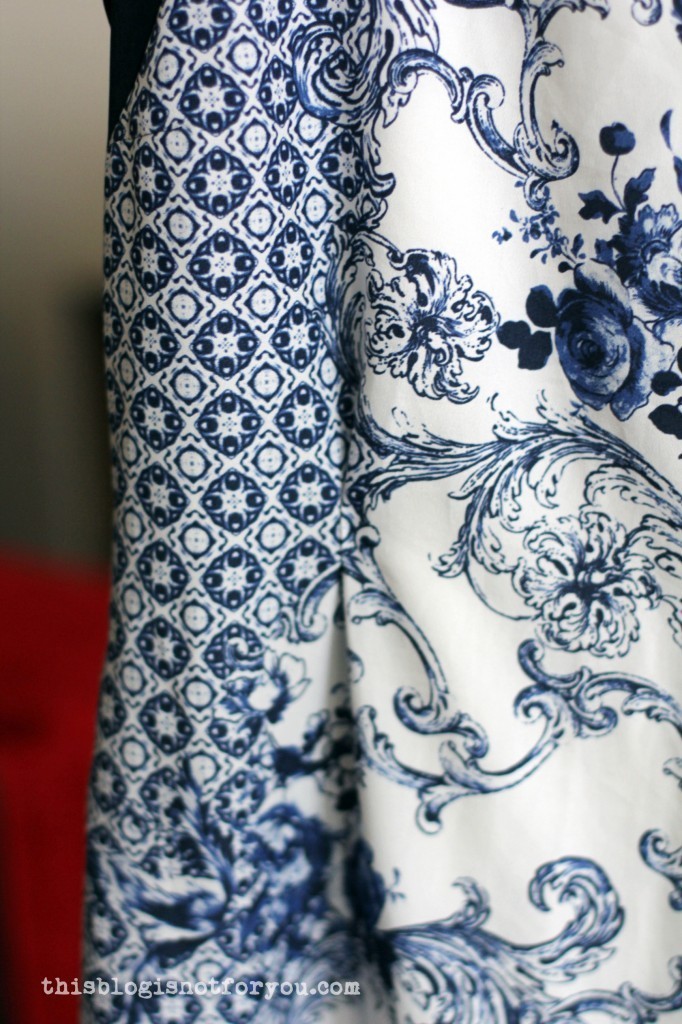
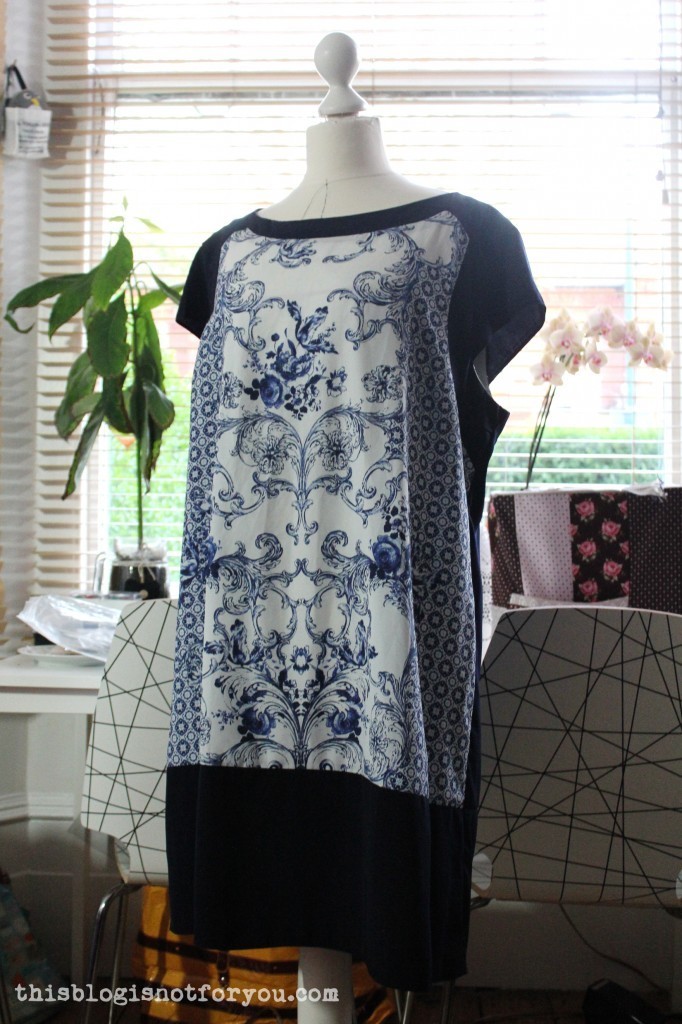 It was a size 20 Dorothy Perkins dress I absolutely fell in love with because of the fabric. Although it’s polyester is has a very soft and silky feel to it and the print is just fabulous. I don’t know if you guys know onion pattern porcelain, this is basically what I grew up with.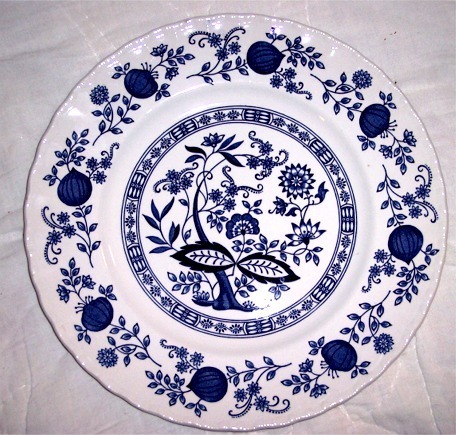
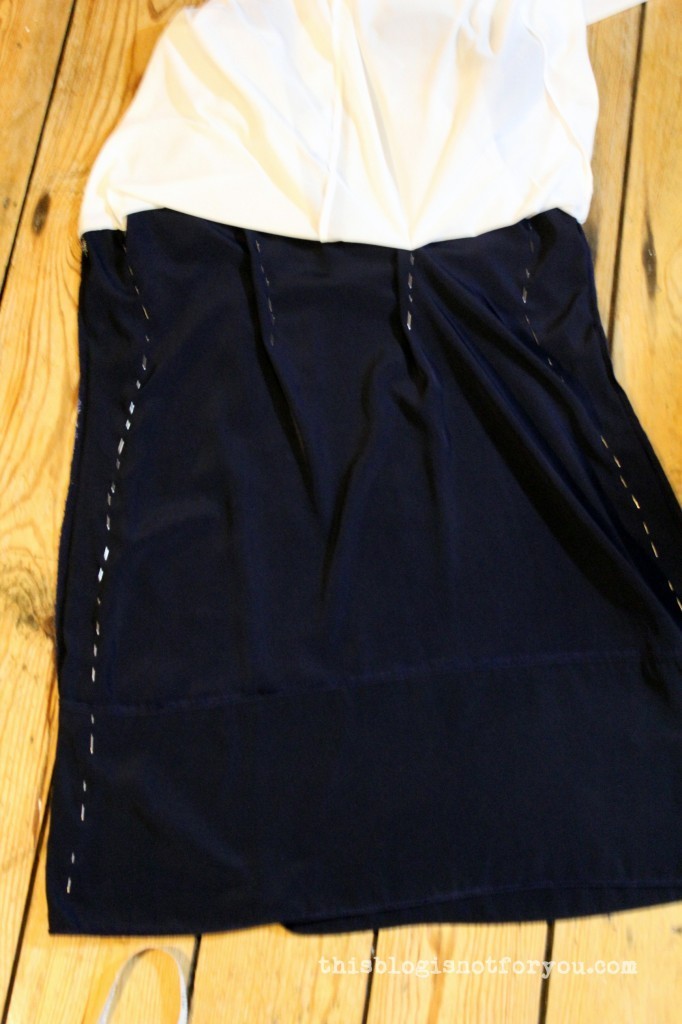
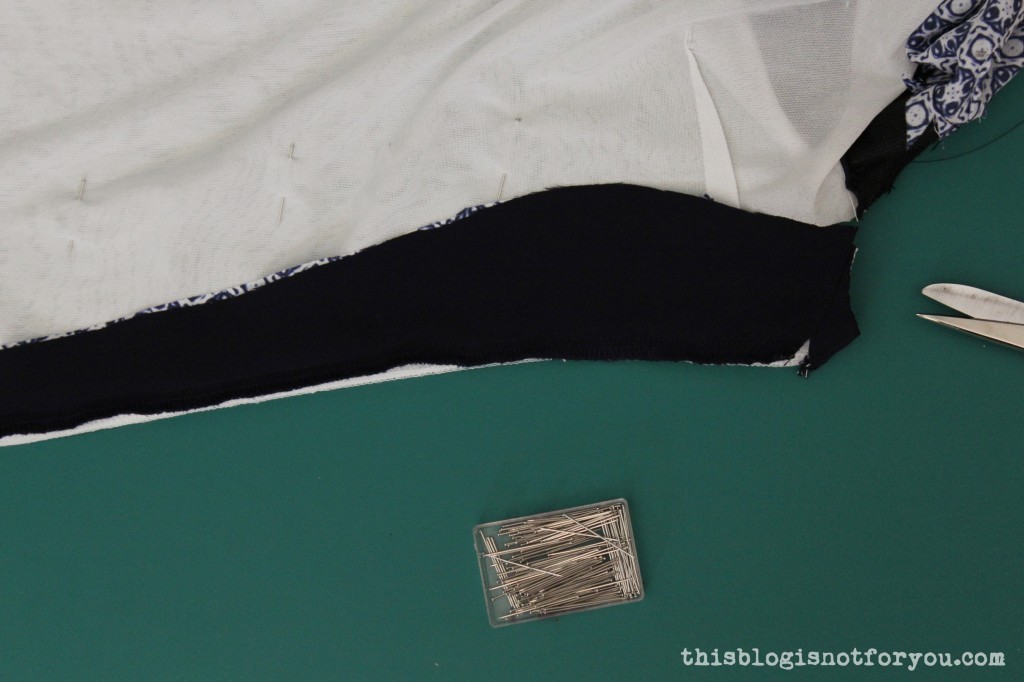
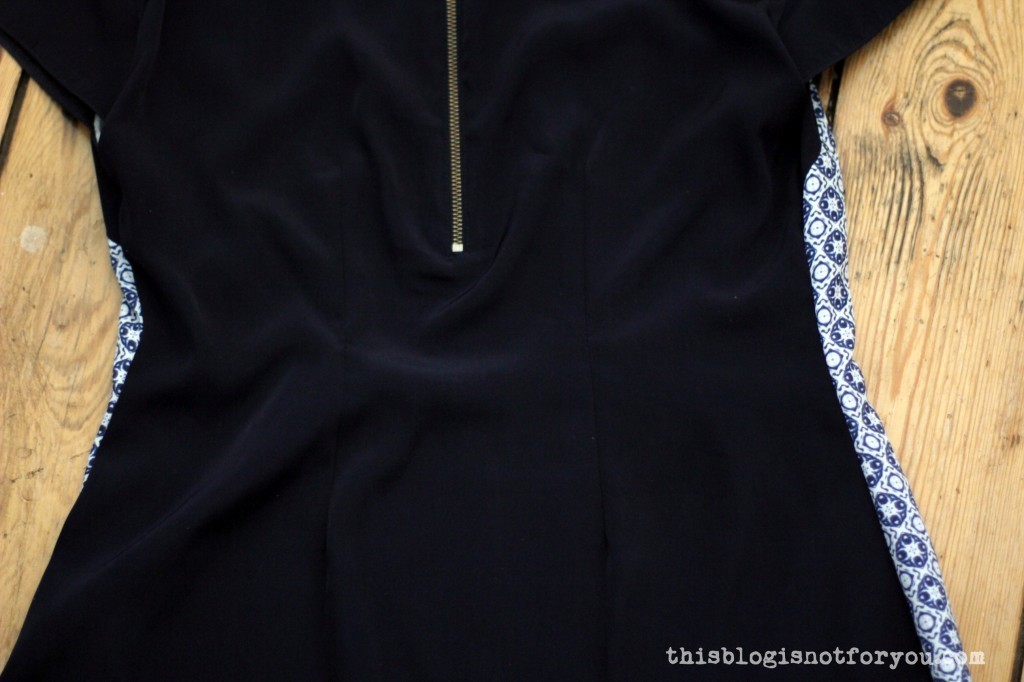
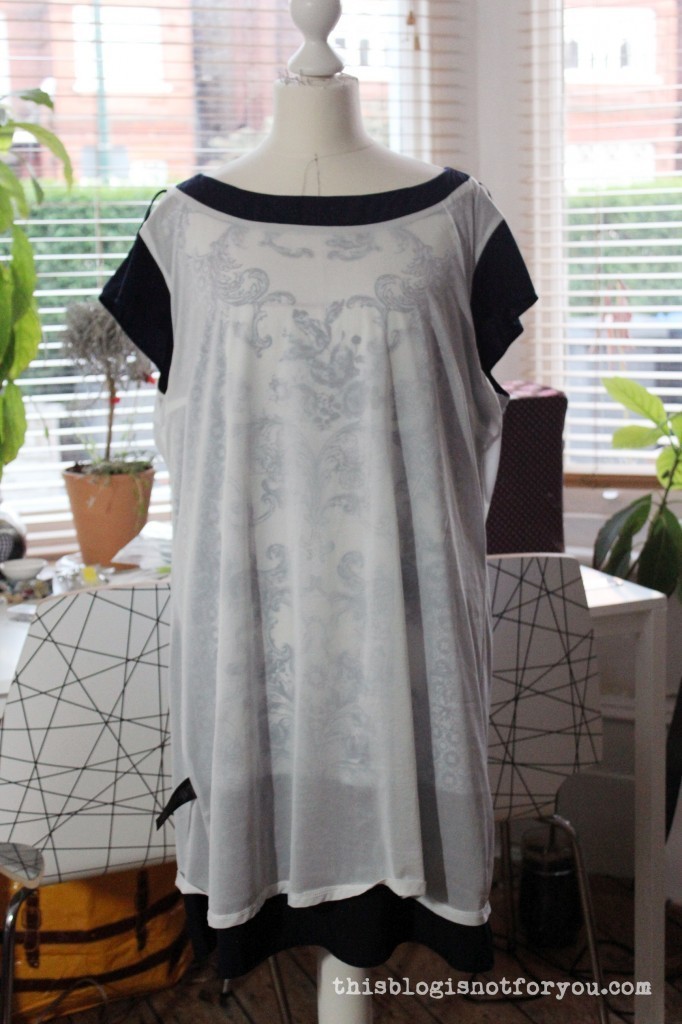 I threw the dress on my dressform, inside out. Pinning the lining out of the way I took in the sides of the dress, which actually took a bit longer than it sounds. Pinning, trying it on, repeat. Until I was satisfied with the fit. The tricky bit was the fact that there is just a very short zip in the back. I couldn’t take it in too much at the waist as it still had to fit over my shoulders and bust.

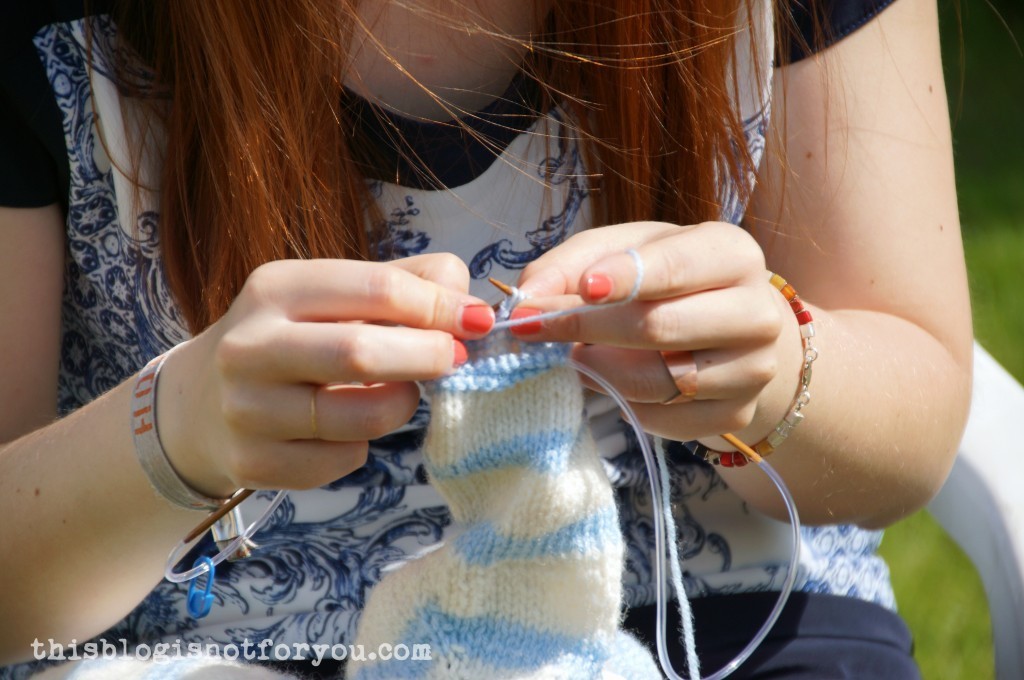
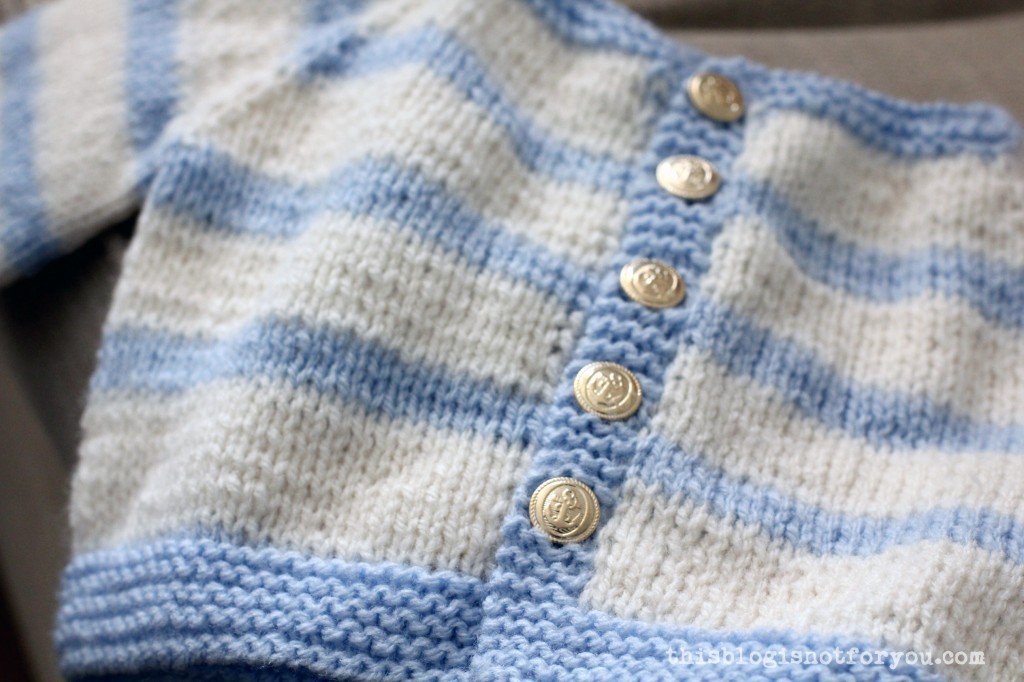 As a soon-to-be-auntie I will have loads of excuses to sew tiny clothes and practise pretend-tea drinking. Ha!