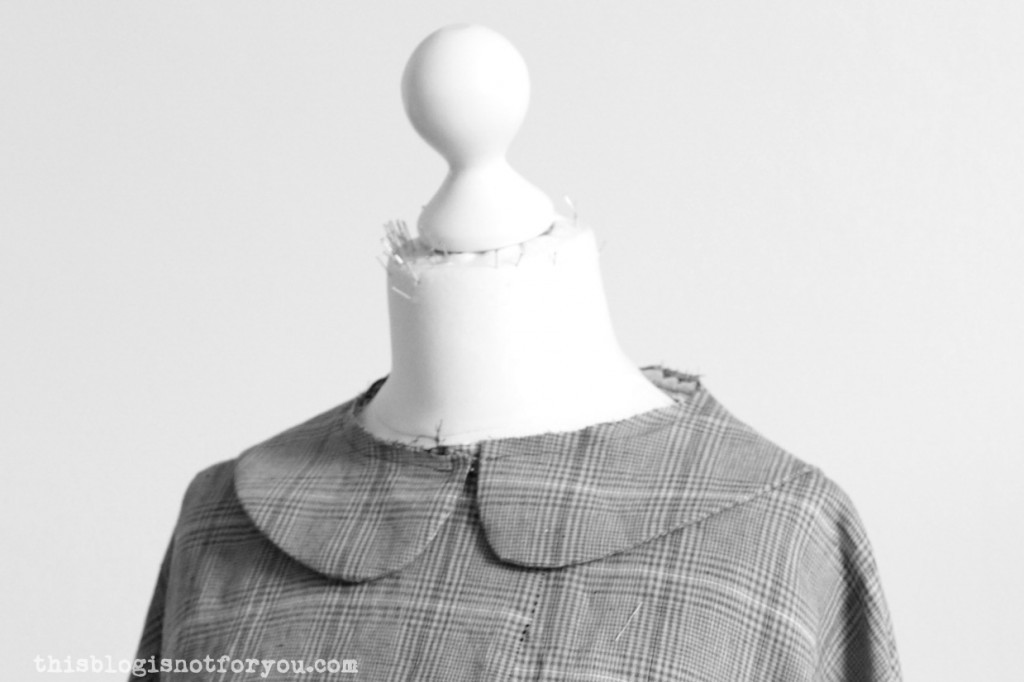
Make the Cape: Sewing the Cape // Cutting Out and Sewing the Lining
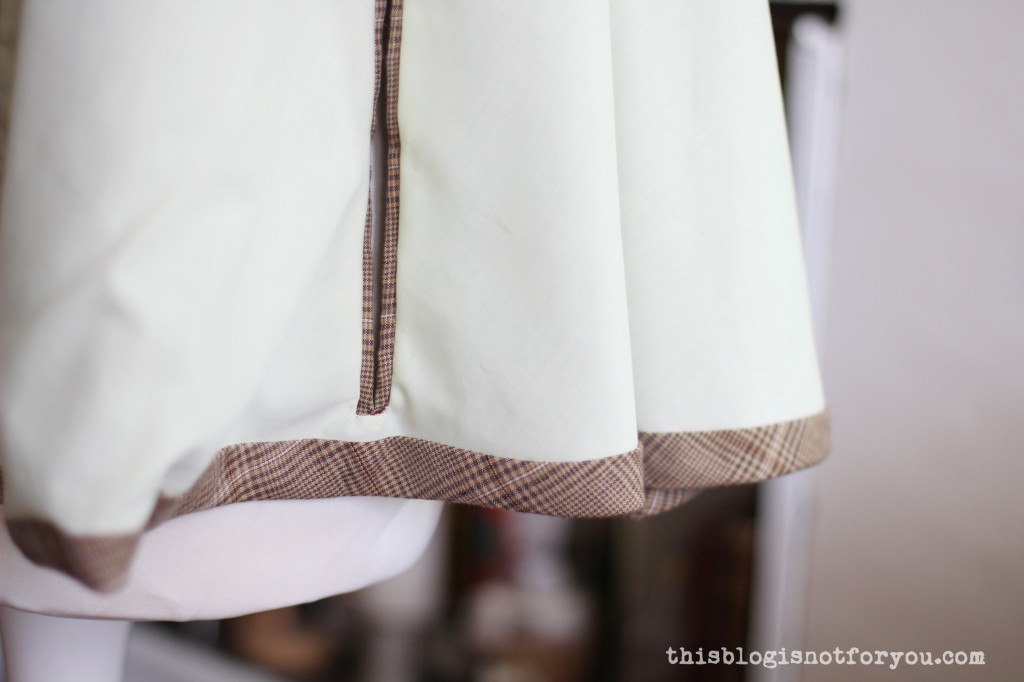 Making the cape? Pattern assembled and cut out? Then it’s time to sew the cape and add a lining!
(But before we add a lining, you should have made up your mind about whether your cape will have a hood, a collar or none of the two.)
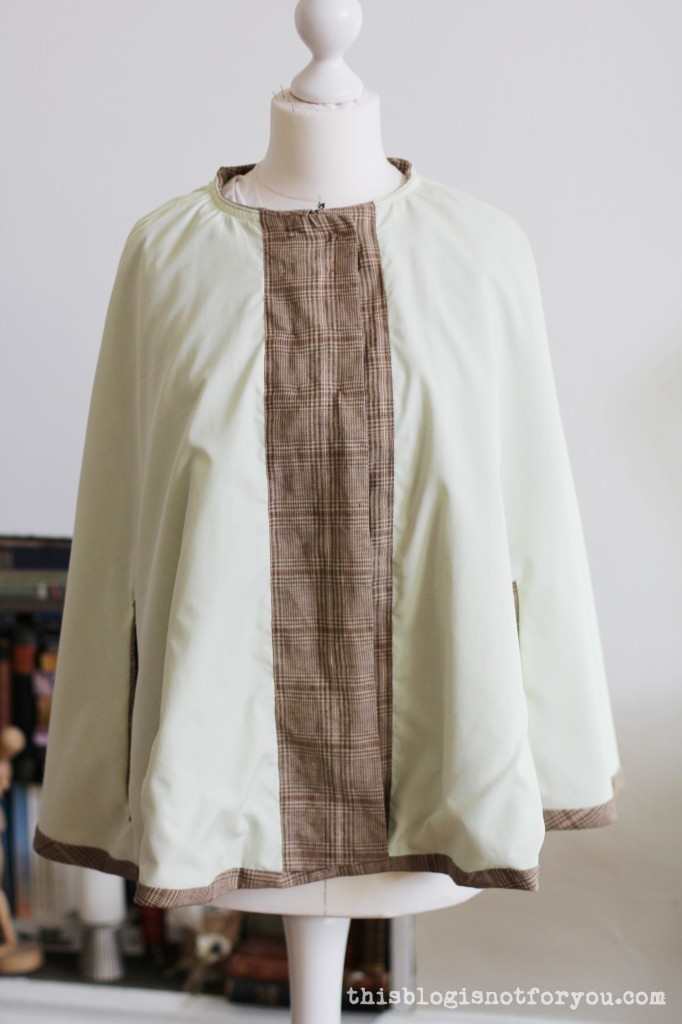
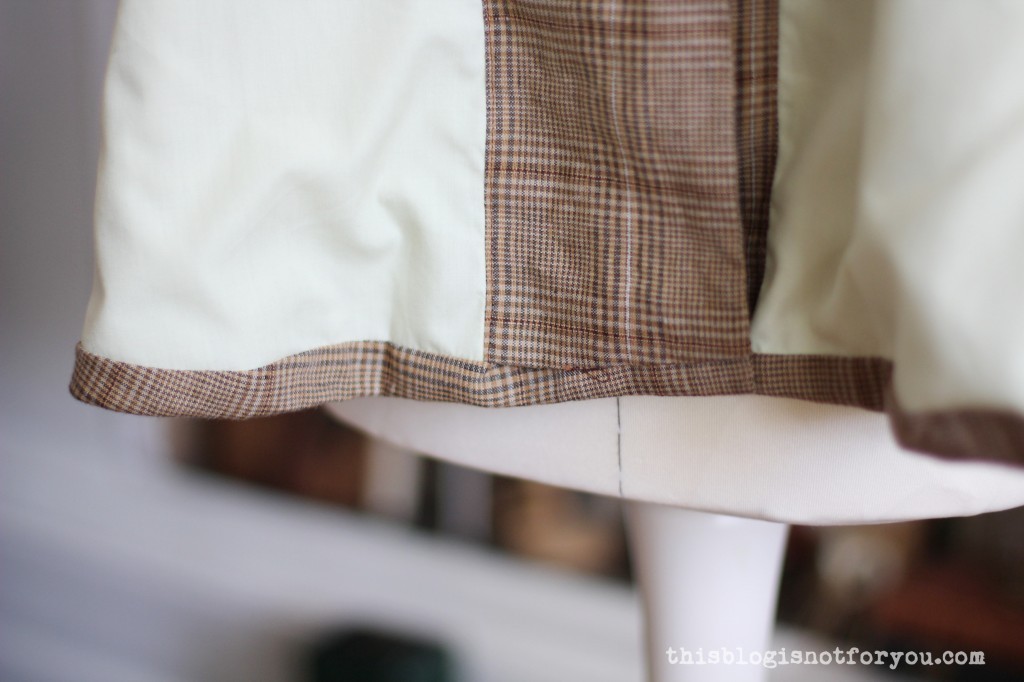
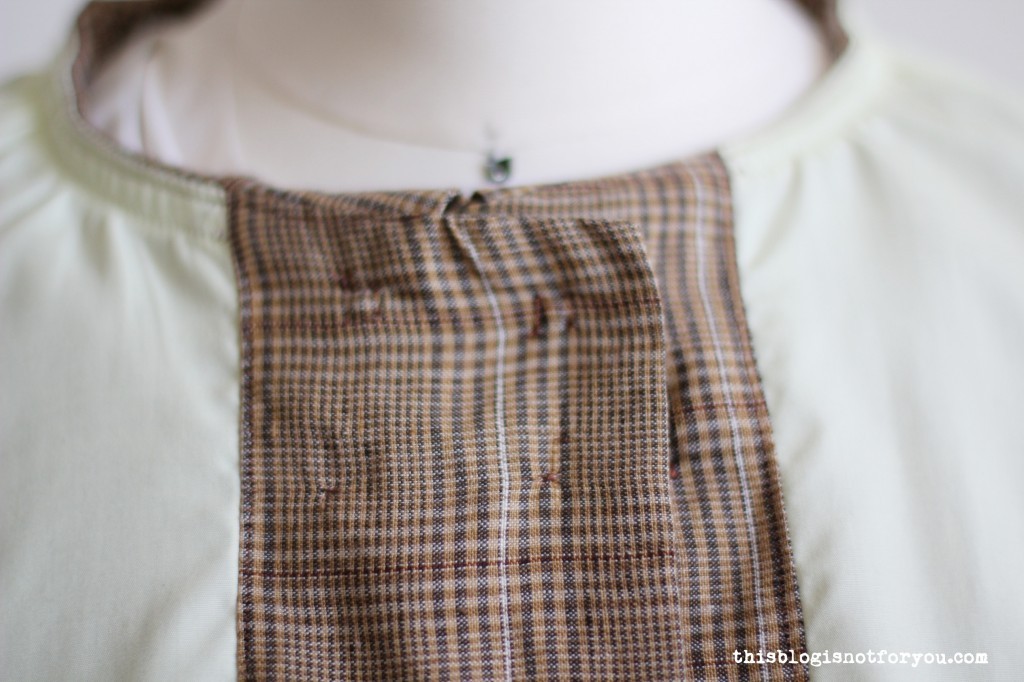
Sewing the Cape
Before we start cutting out the lining fabric, we will cut out and assemble the cape first. You will find all the major steps with illustrations included in the pattern, but I’ve also taken some pictures while sewing this cape.
 1. Before you cut into your lovely fabric, have a think about pattern matching, if your fabric has some sort of a print. The centre front will be parallel to the grainline, the centre back will be perpendicular to the centre front.
If you’d like to match up patterns, it’s best to use the centre front as a guideline.
2. Pin pattern to fabric. Make sure you cut the cape on fold!  3. The first thing we will do is sew the shoulder seams. Pin the shoulder seams (right sides together) and stitch on the marked seamline (1.5cm seam allowance).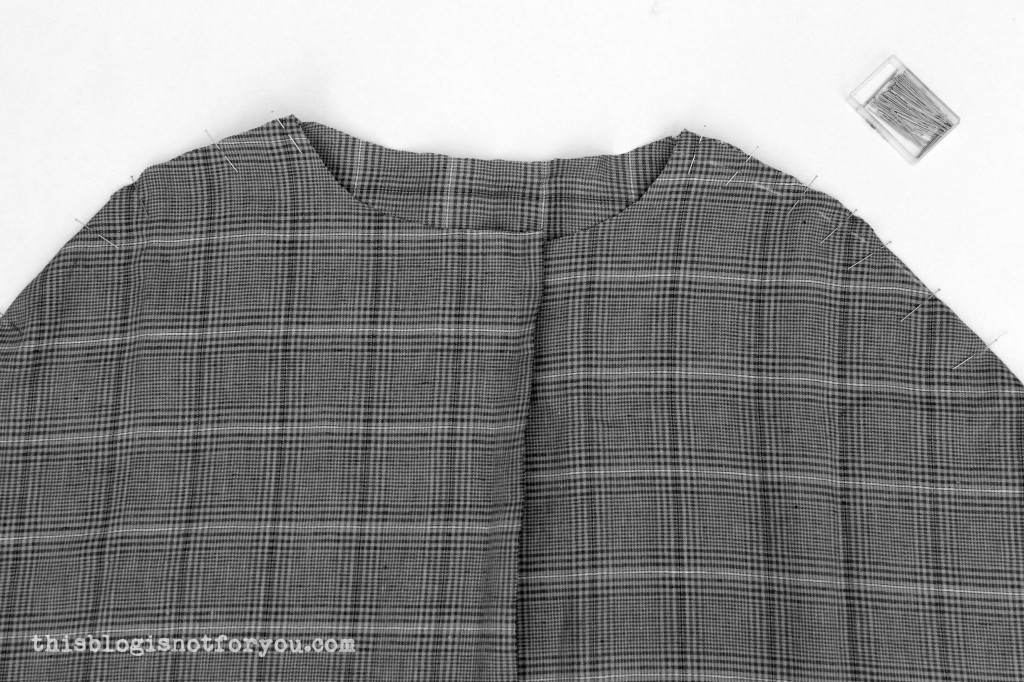
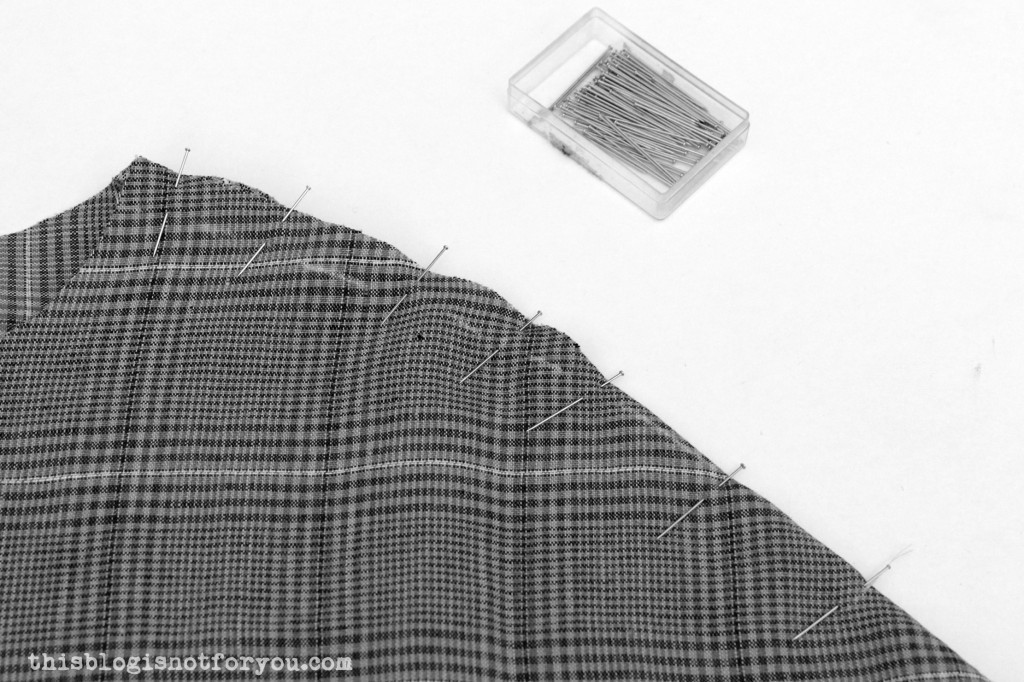 4. Press seam open like so: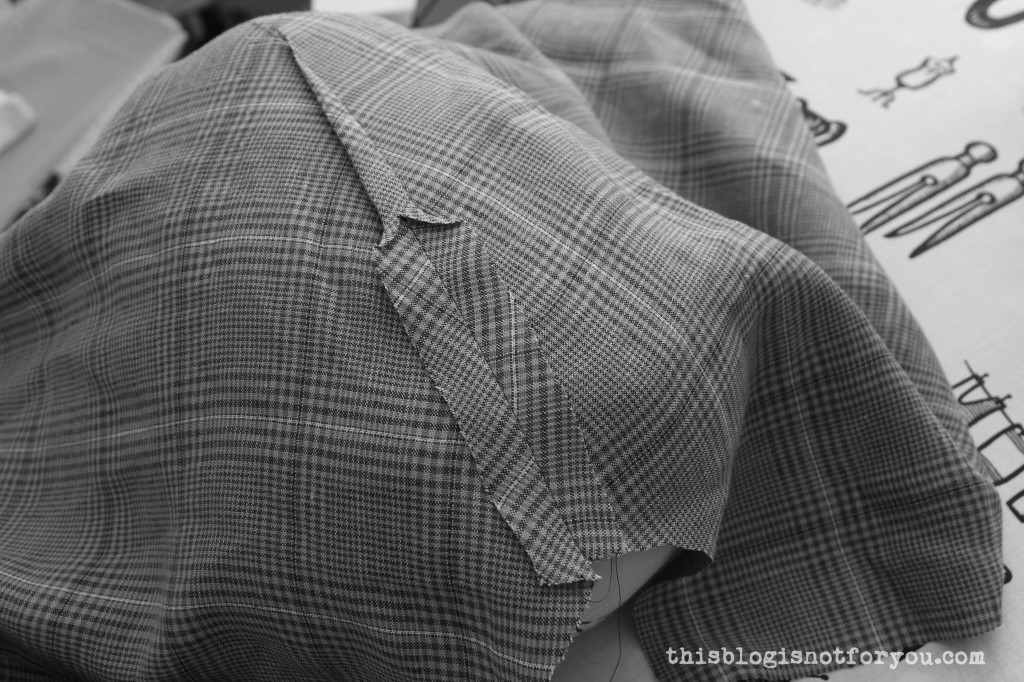
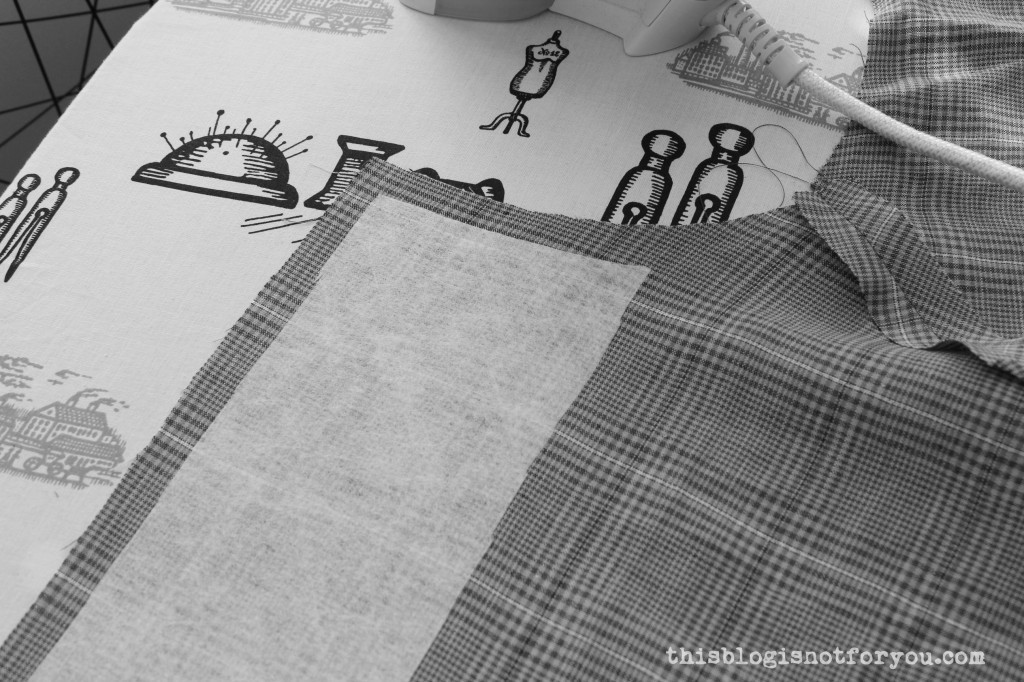
5. Cut out fusible interfacing to stabilise the front of the cape. I cut out one large piece, but you could also interface each buttonhole individually. I never know the exact position of my buttons and buttonholes until I’ve finish sewing a garment, so this is why I prefer cutting out a large piece and interfacing the entire front of the cape.
Using my cape pattern piece, I cut out an approx. 10cm wide piece of interfacing (minus seam allowance). I personally don’t apply interfacing onto the seam allowance in order to avoid extra bulk.
Using your iron, fuse interfacing onto the left side of your fabric and right front of your cape (which is the side where your buttonholes will be).
 6. This next step is completely optional.
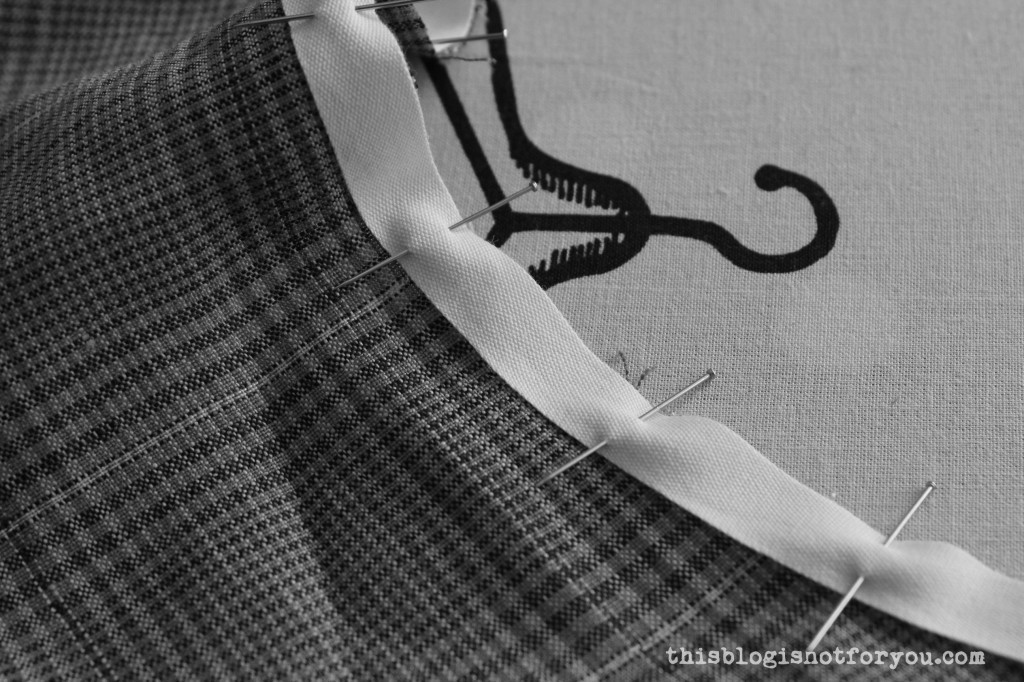
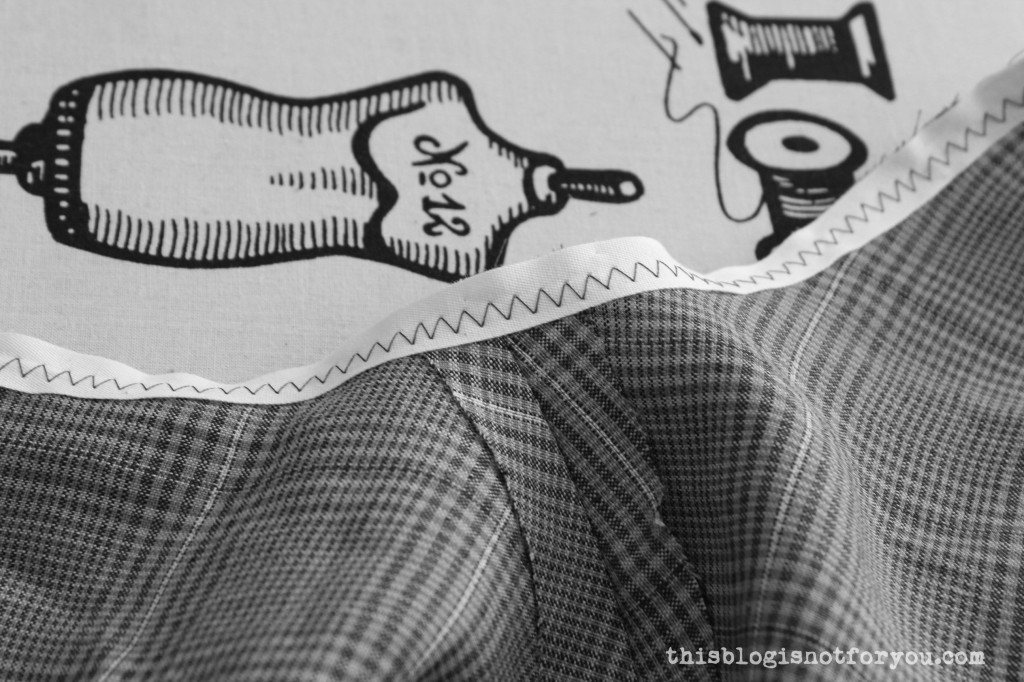
As the cape is partly cut on the bias and the fabric can stretch out easily, you might want to add clear elastic (if you are using knits/stretch fabric) or cotton tape to your shoulder and neckline seams before you proceed with sewing in the lining.
Stitch clear elastic/cotton tape to the wrong side of the cape neckline seam, making sure not to stretch the elastic at all. I recommend reinforcing the shoulder seams in the same way.

7. Now it’s time to attach the hood or collar.
Alternative 1: Peter Pan Collar
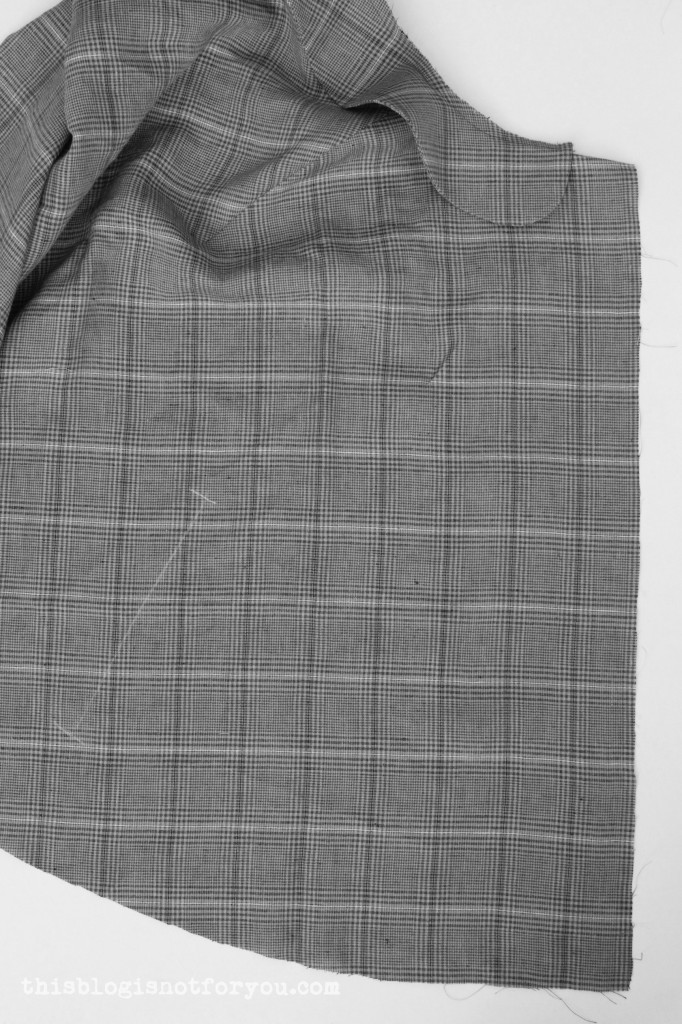
Sew on the collar onto the cape neckline, left side on right side (see below). Match up the collar with the center front and shoulder seams. Stitch within the seam allowance (approx. 1cm from the edge).
Alternative 2: Hooded Cape
Now I do not have pictures for this step, as I haven’t lined my other cape’s hood and added a Peter Pan collar when I sewed this cape.
But it’s pretty straight-forward:
- Cut out the two hood pattern pieces in your lining fabric and cape fabric.
- Pin and sew the darts on both of the hood parts. Press towards the back.
- With right sides together, stitch, serge or zigzag your two hood pieces together at the curved seam ending at large circle.
(Do this for both the outer fabric and the lining)
Then you simply sew together the two hoods you’ve created. You sew them together at the front opening (right sides together) leaving the neckline opening as it is. You can understitch or topstitch to keep the lining in place.
Turn inside out and continue to attach the hood to the lined cape. You can also baste the hood lining to the hood fabric at the neckline, so layers don’t shift. I would sew the hood onto the cape (right sides together), press the seam allowance down inside the cape.
8. If you are using wovens, put your cape on your dressform or a hanger and leave it hanging for a few hours or overnight. You can cut out the cape lining in the meantime.
As the cape is partly cut on the bias, the fabric might stretch out in these areas which can distort the shape of the hemline. Leaving it hanging gives it some time to stretch (some fabrics don’t if you’re lucky), so you can adjust the hemline before attaching the lining.
(I also recommend doing this with the lining, once it’s cut out.)

Here’s what my cape looked like the next morning.
Put your cape on a flat surface and place the pattern piece on it. Cut of the excess fabric.
armslits option
If you’d like to add armslits to your cape additionally to the lining, I’d recommend you pause at this point and wait for the next part of the sewalong in which I will show in detail how to sew the armslits. It’s much easier to sew the armslits when the lining isn’t attached yet.
(Although it’s not impossible to add the armslits after you’ve finished your cape.)
9. Cut out the cape lining.
Cut out the cape pattern piece in your lining fabric. Then trim off 2.5cm (1 inch) from the hem.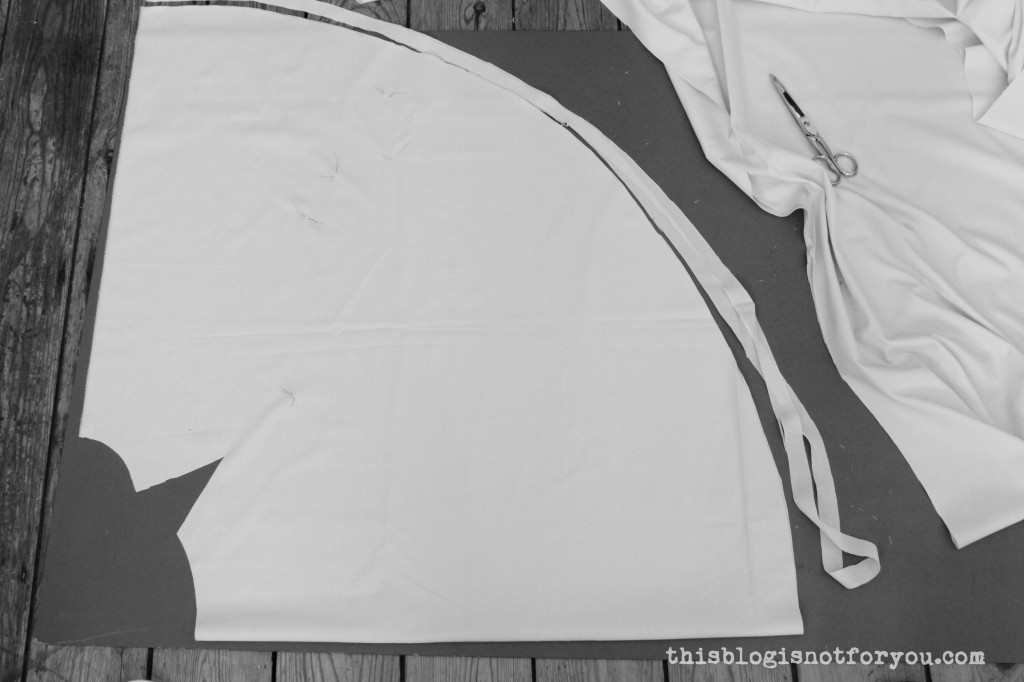 We want the lining to be a tiny bit shorter than the cape, so it doesn’t peek out at the hem later. We will be bagging the lining.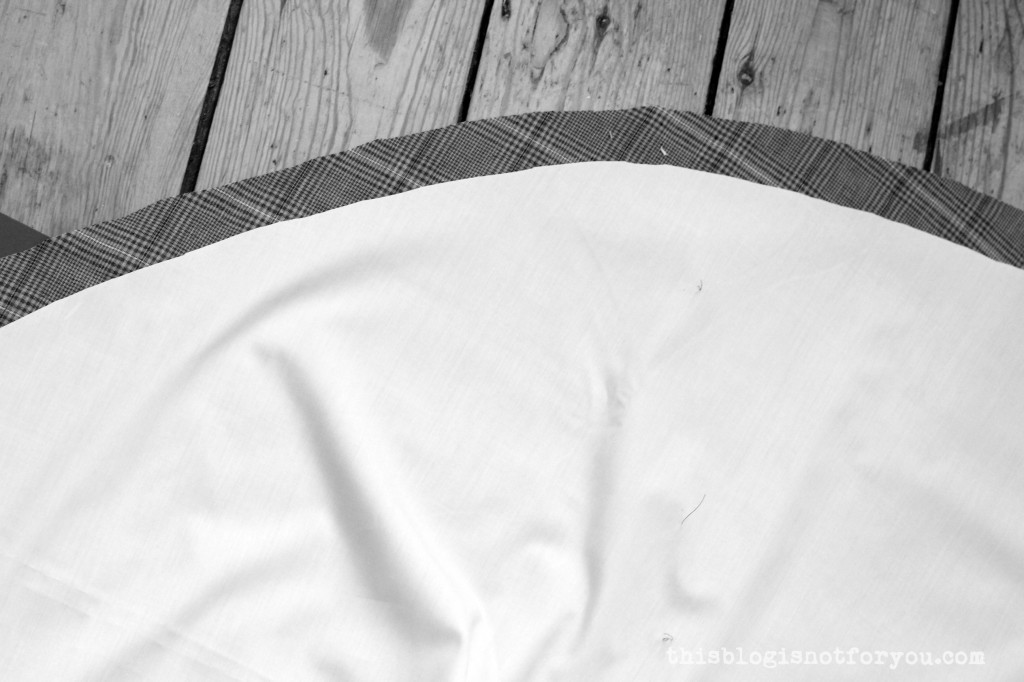
10. Again, this next step is optional.
I wanted to add a facing to my lining, cut out of the cape fabric. Using the cape pattern, I cut out the front edge (12cm wide, incl. seam allowance) twice. Cut off the same amount minus 1.5cm seam allowance (10.5cm for my facing) from the cape lining. (Hope that makes sense!)
Just keep in mind that, after you have sown facing and lining together, it should have the original size. (Check with your pattern)
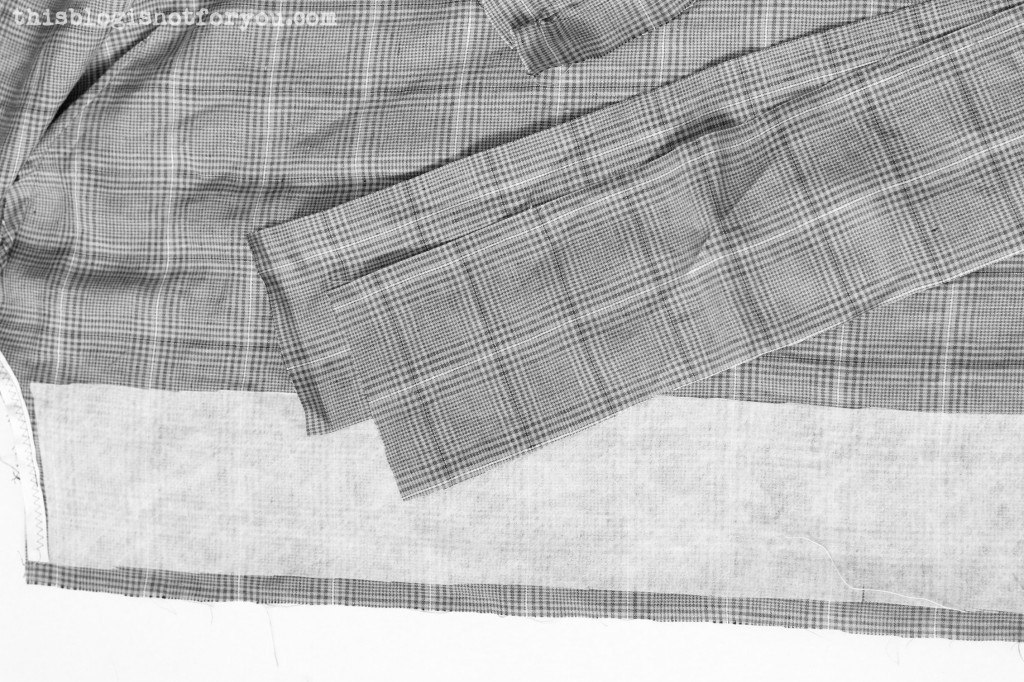
To sew the facing onto the lining, pin both together (right sides together) and stitch with 1.5cm seam allowance. Press seam open or towards the facing (if your lining is slightly see-through like mine and you don’t want the seam allowance to show).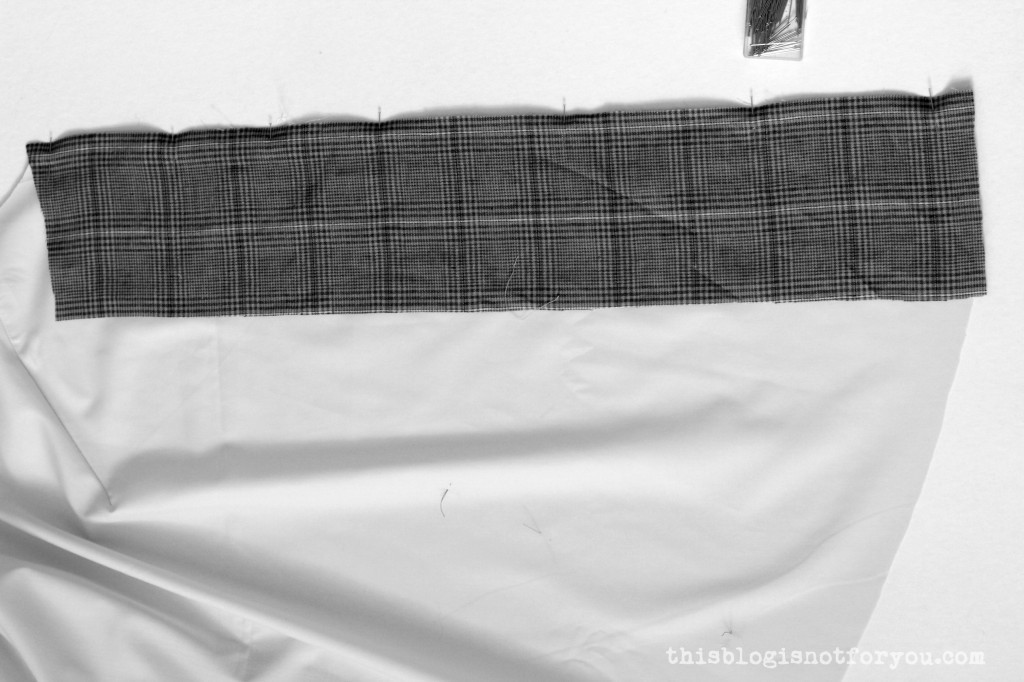
Alright. Now cape and lining are ready to be joined together!
11. Place lining on cape, right sides together. We will sew the hem first, to bag the cape.
Without shifting the two layers, pin both together at the hem. Stitch (1.5cm seam allowance).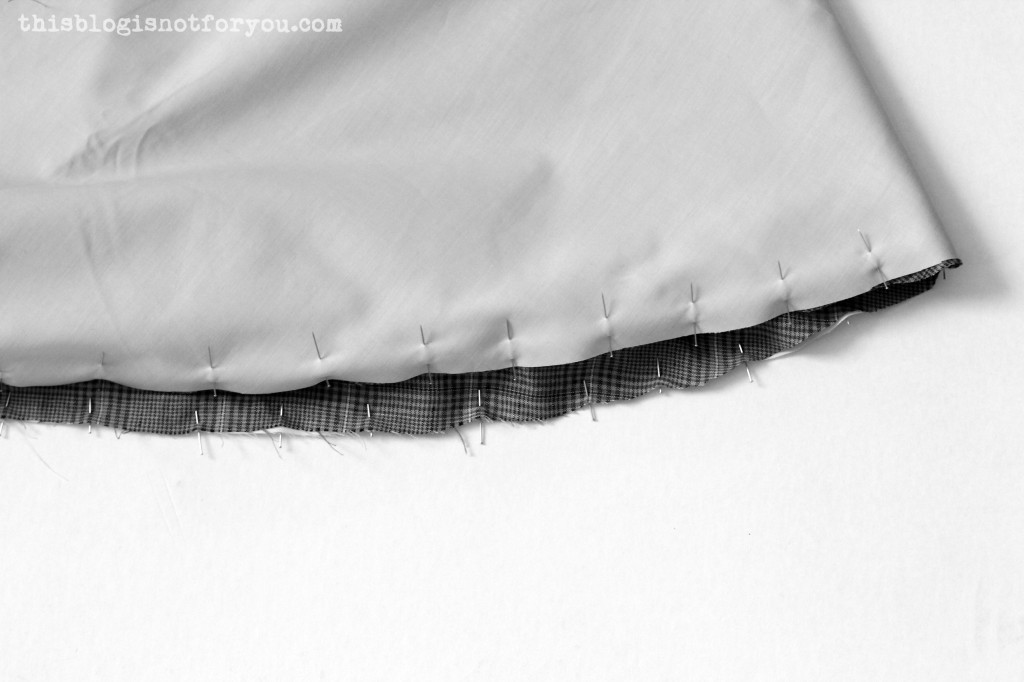
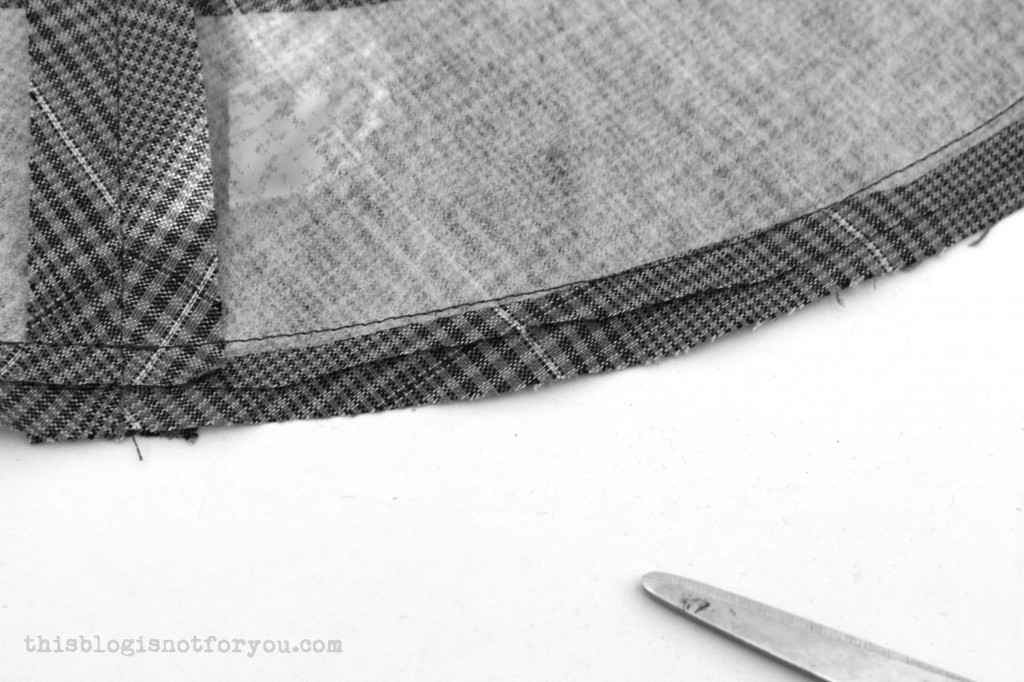
12. Now pin both layers together at the neckline. Since your lining is short than your cape fabric, you will find that the hem moves up into the cape. Make sure your cape lies flat and press the hem. 13. Breathe! You just finished the hem! The biggest and most difficult part is done!
Well, the hem is finished, but your cape will now look like this: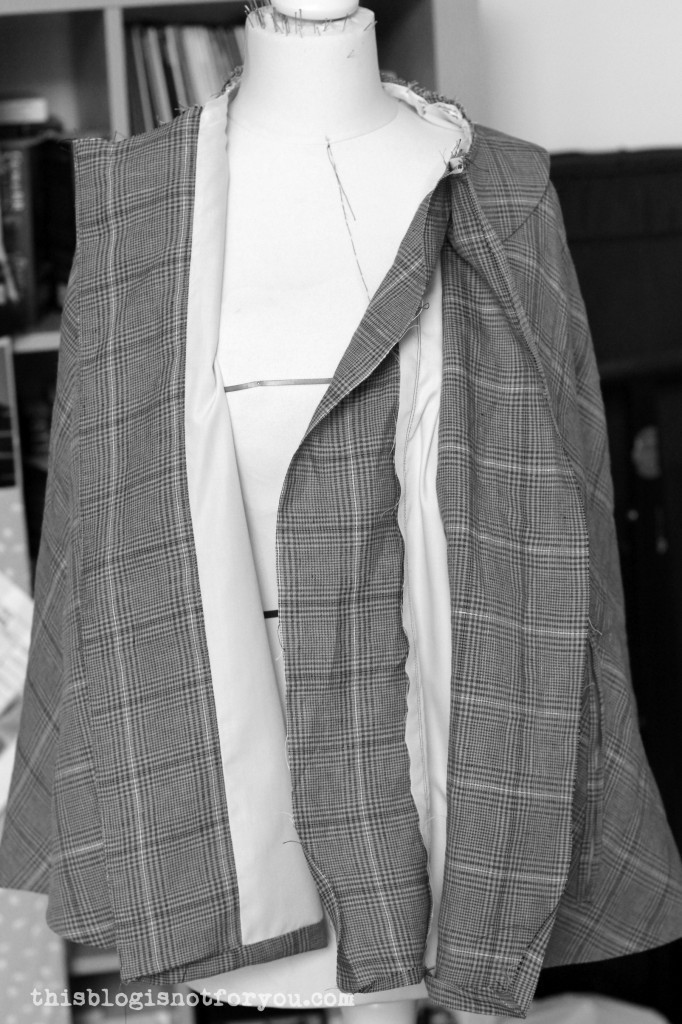
What a mess!
Turn the cape, so that the lining is facing you (Don’t turn it inside out yet, just put it on the dressform or hanger or floor the wrong way around). Like so:
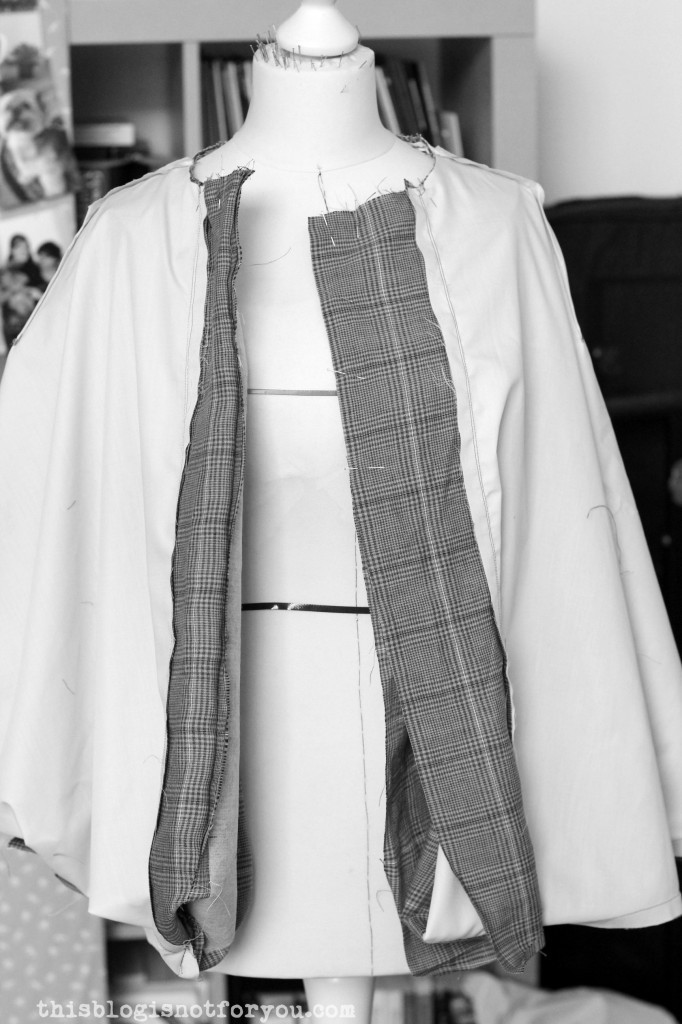
The collar or hood will now be between the two layers. 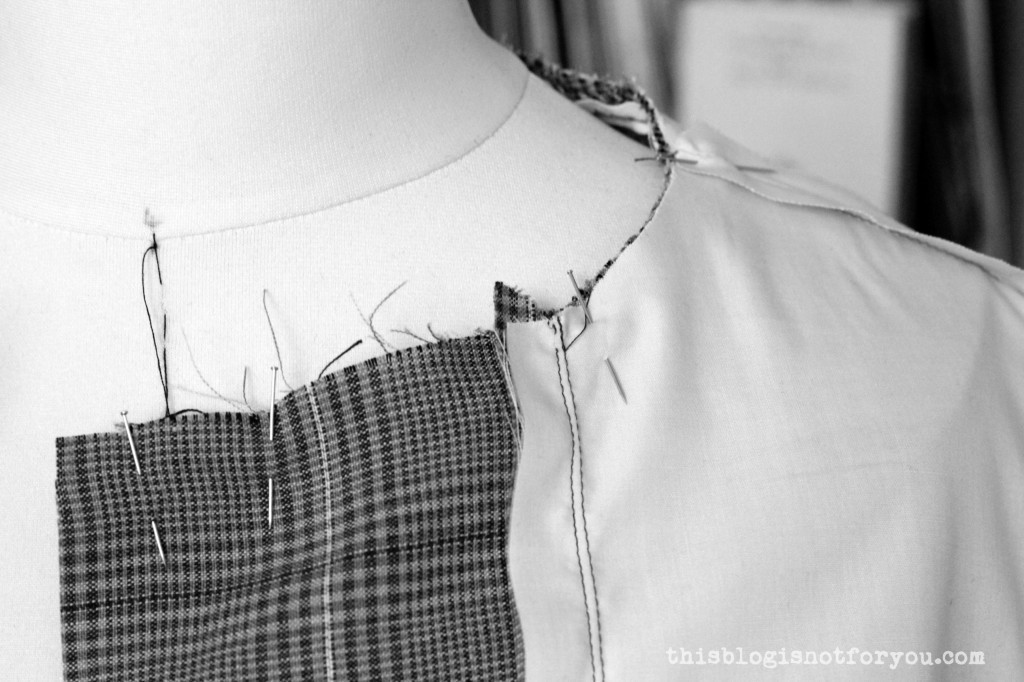 14. Pin along the neckline and front edges down to the hem, leaving a 20cm gap on one of the edges (we need this to turn the cape inside out later). Stitch all the way around the front edge and neckline making sure you don’t sew the gap closed. If you’ve attached the hood, make sure you don’t catch it while you’re stitching.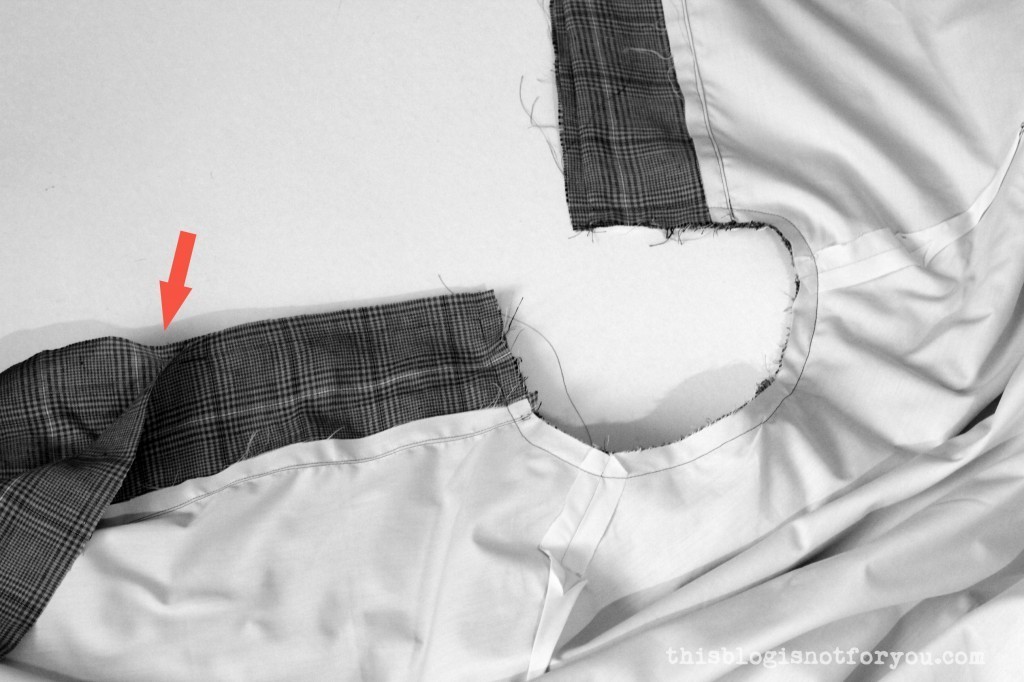
15. Trim of the corners in the front to remove bulk.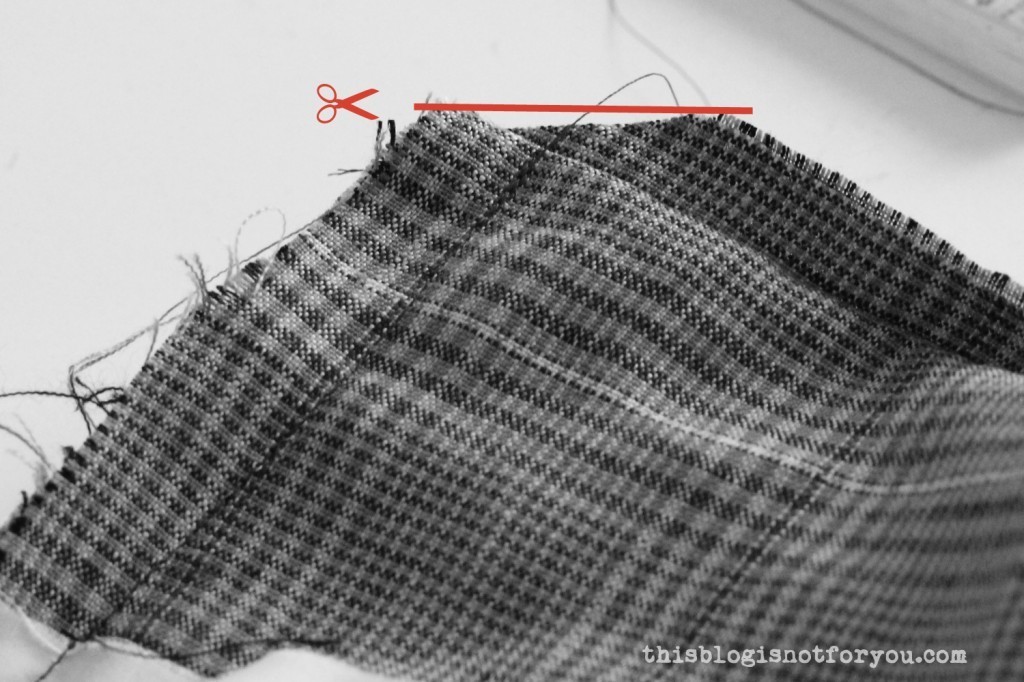
16. Turn the cape inside out and make a happy dance. You’ve almost finished! But what do we do with that silly gap on the facing in the front?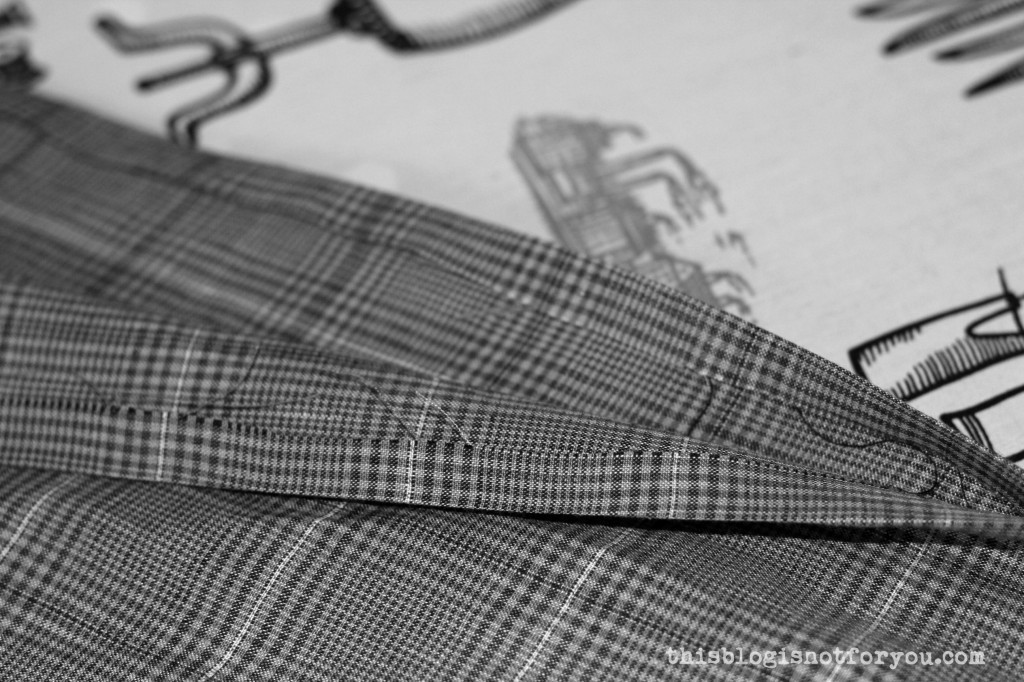
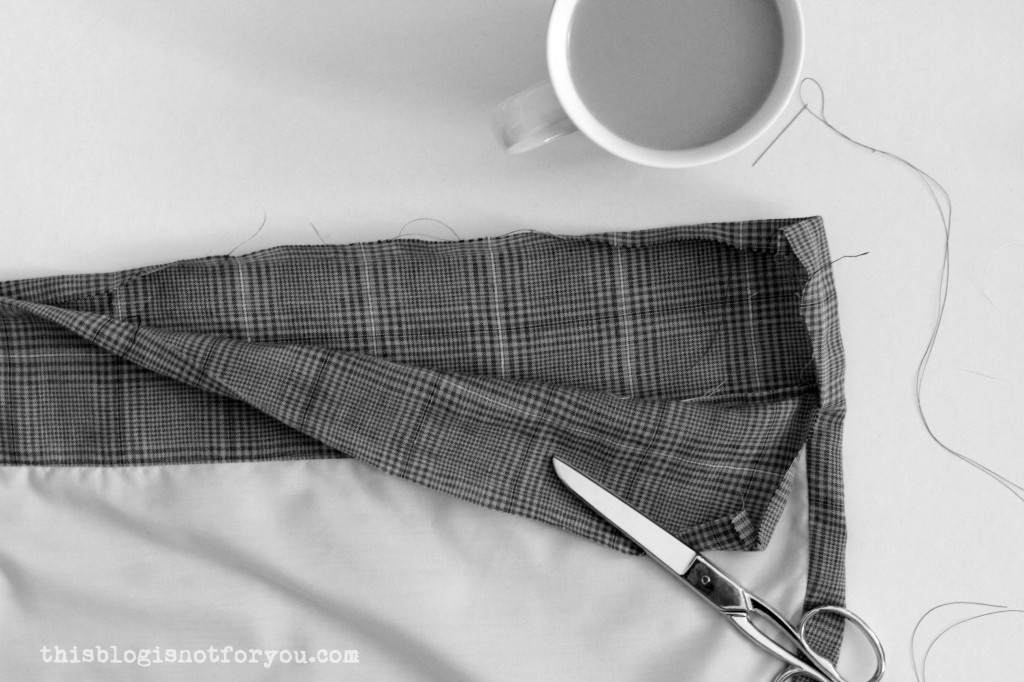
17. Grab a coffee. You know what’s coming.
.
.
.
Handsewing.
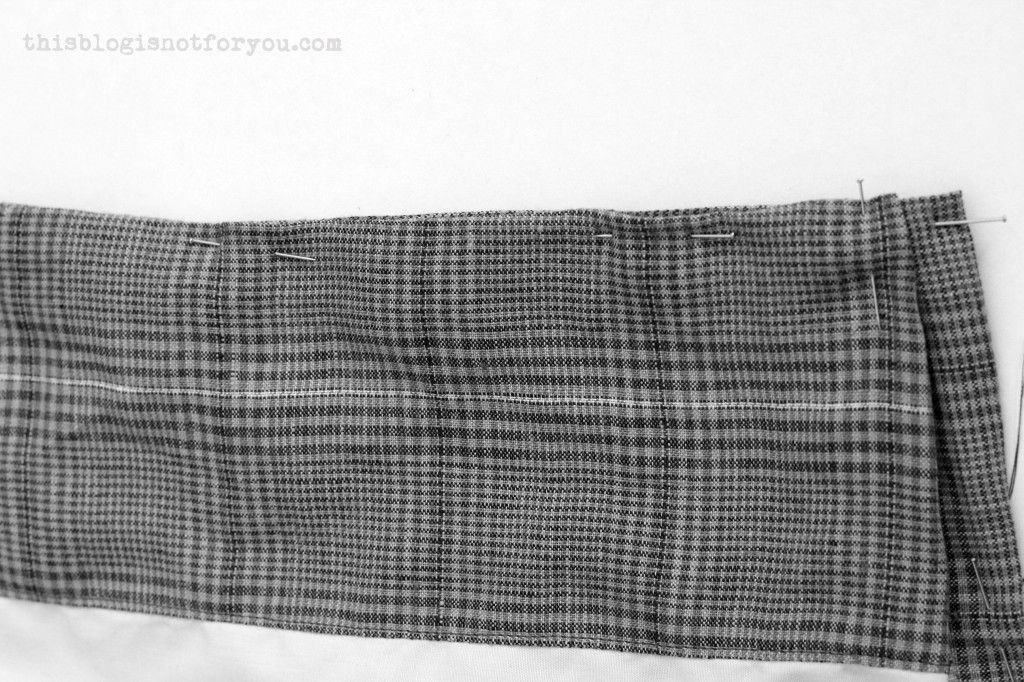
Press the seam allowance inside (either with your fingers or the iron) and then pin the facing to the cape. Attach by hand with a slipstitch.
Press.
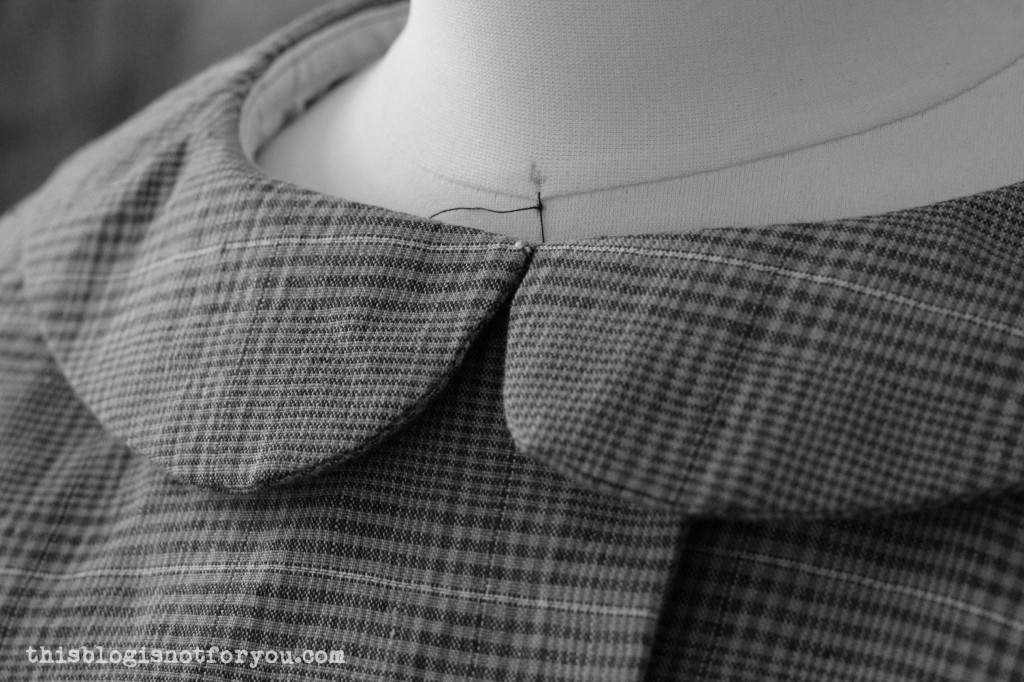
18. Now the only thing that’s missing is the buttons & buttonholes!
The buttonholes will be sewn onto the right front of the cape.
Since my cape has a pretty collar which would’ve otherwise covered up the first row of buttons, I used snaps on the top, which are almost invisible from the right side. My first row of buttonholes therefore starts a bit further down.
The size of your buttonholes varies and depends on the size of your buttons. There are many rules for determining the width of a buttonhole, I always go with diameter + height of button. Some people add another 2mm to that. Whatever works best for you.
If in doubt, sew the buttonhole onto a piece of scrap fabric first, to check whether it’s the right size.

19. Sew on your buttons.
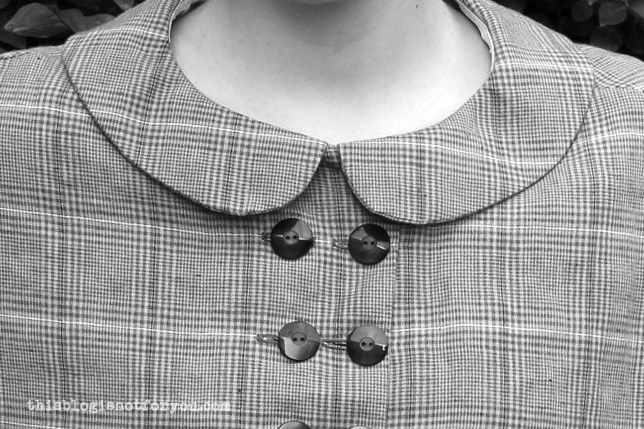
Congrats, you’re done!!
There will be a link party at the end of this sewalong where you can link up your fabulous capes!
The next part of the sewalong will be coming this week and covers:
Happy sewing!
♥
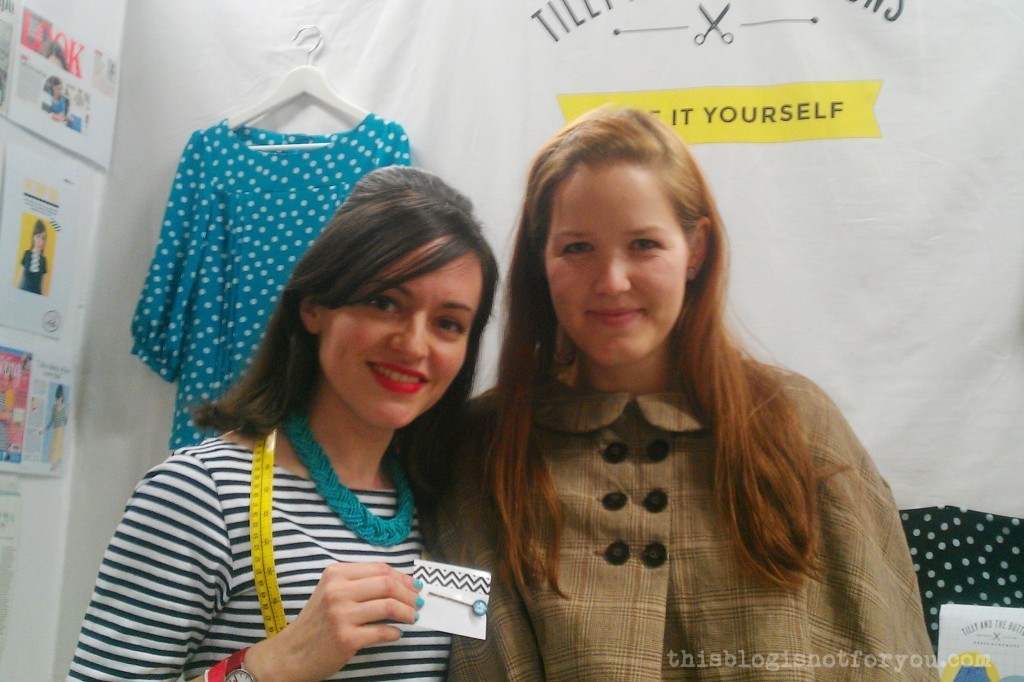
 Me and fellow sewing bloggers Roisin (
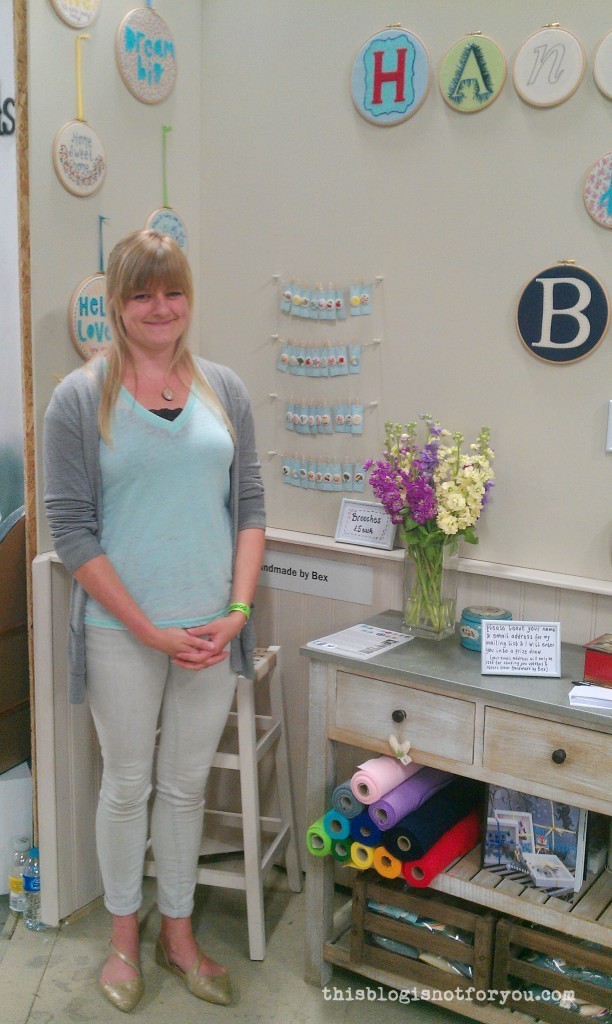
 I also met the lovely Freya (
 I also really loved “






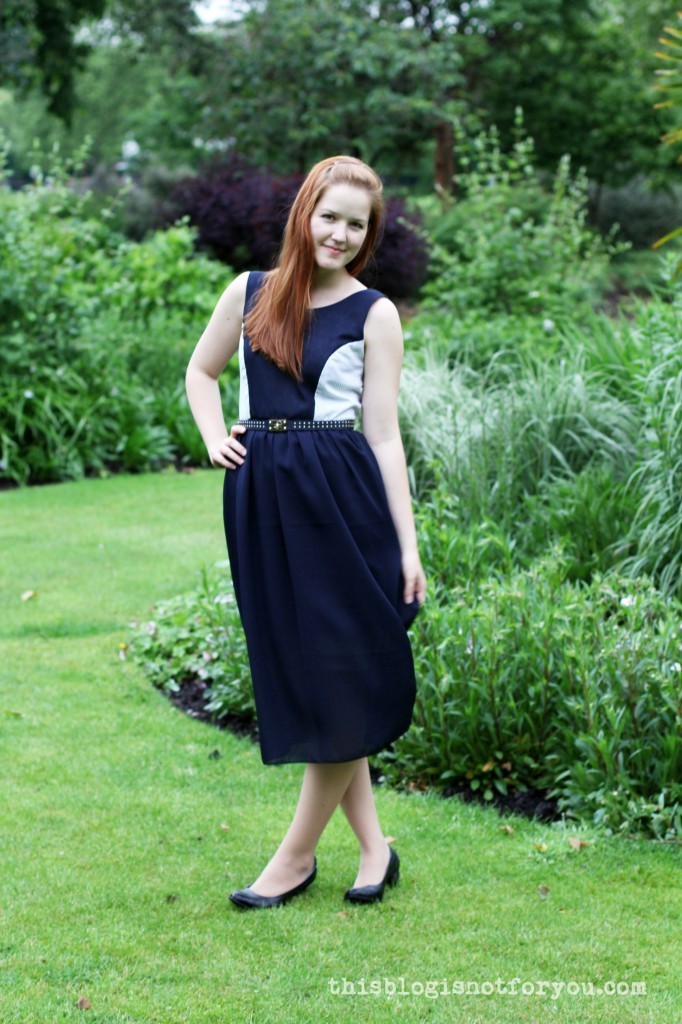

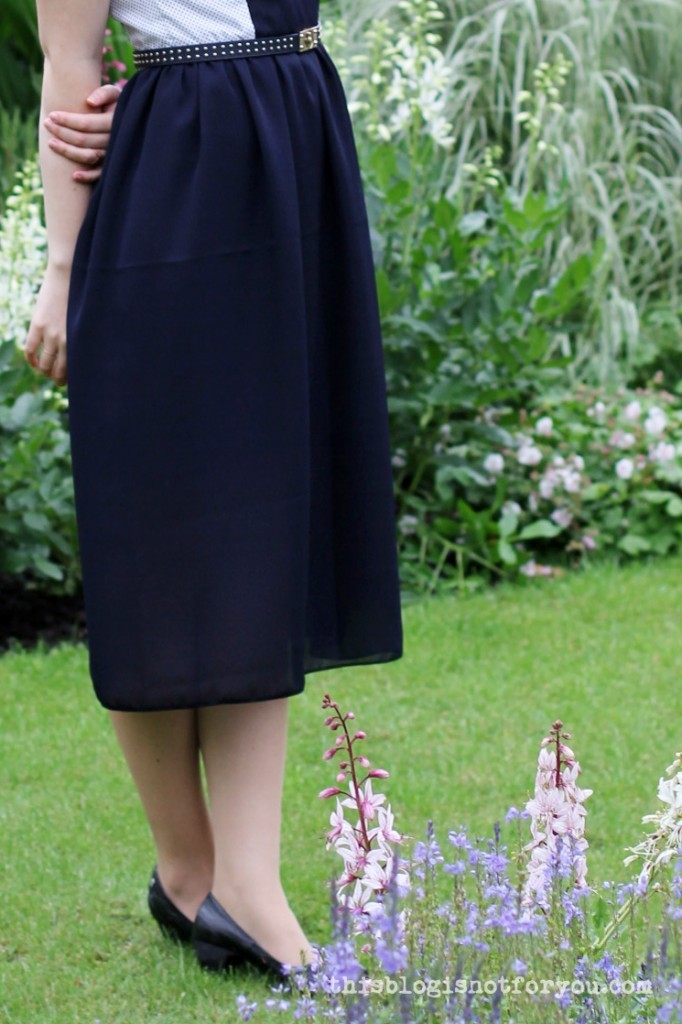 Wow, two garment posts in a row! Don’t worry, that’s not going to become a habit! I just wanted to squeeze in this dress, in time for this week’s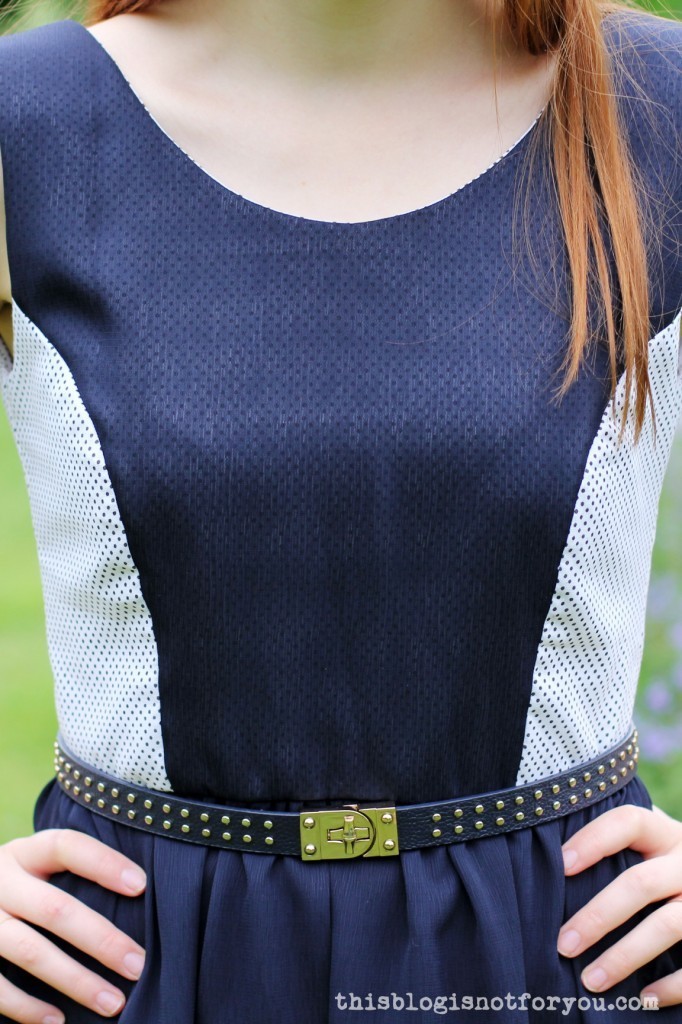


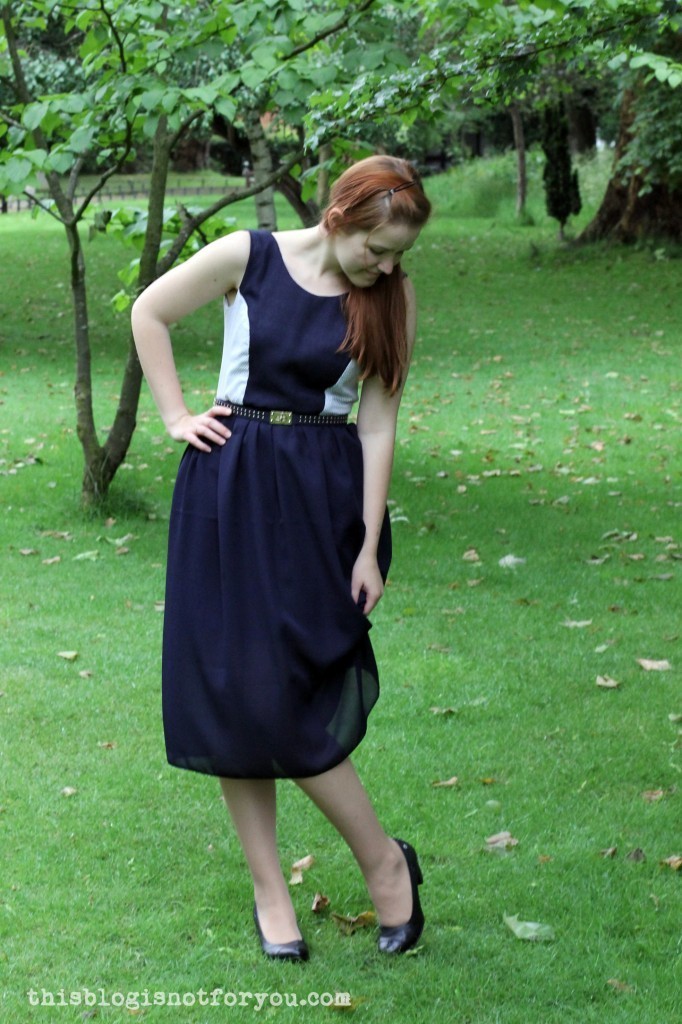
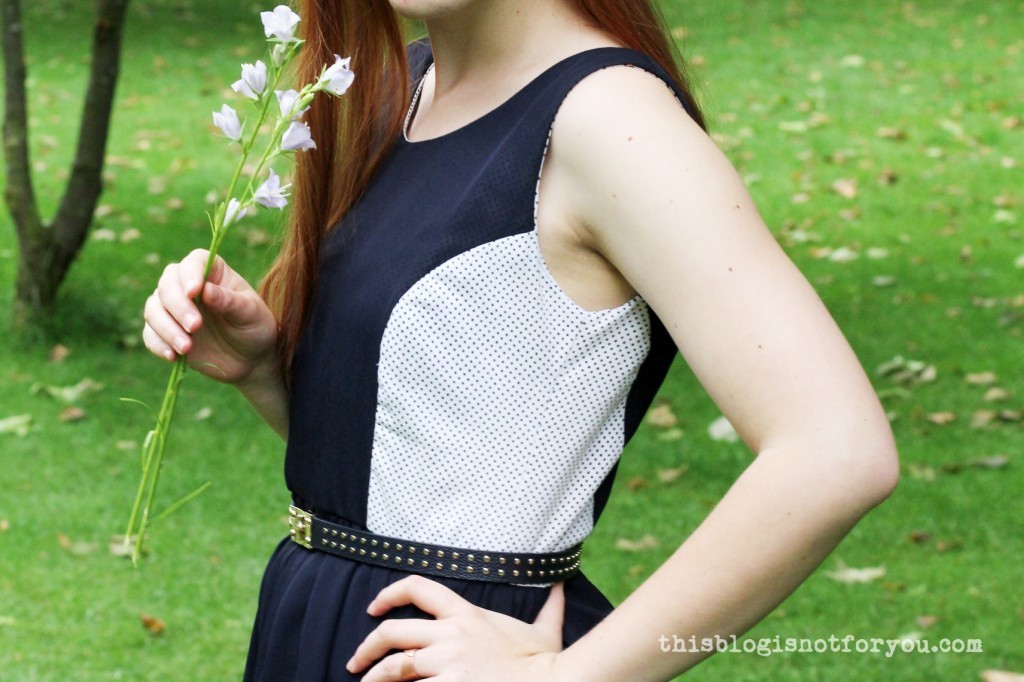
 Our local pub had some veeeeeeery convincing signs outside their door when we went to the park. But after we had to walk there twice (don’t forget to charge the camera batteries!) in this shitty weather, we decided to go to the off-licence around the corner and get some drinks to take home.


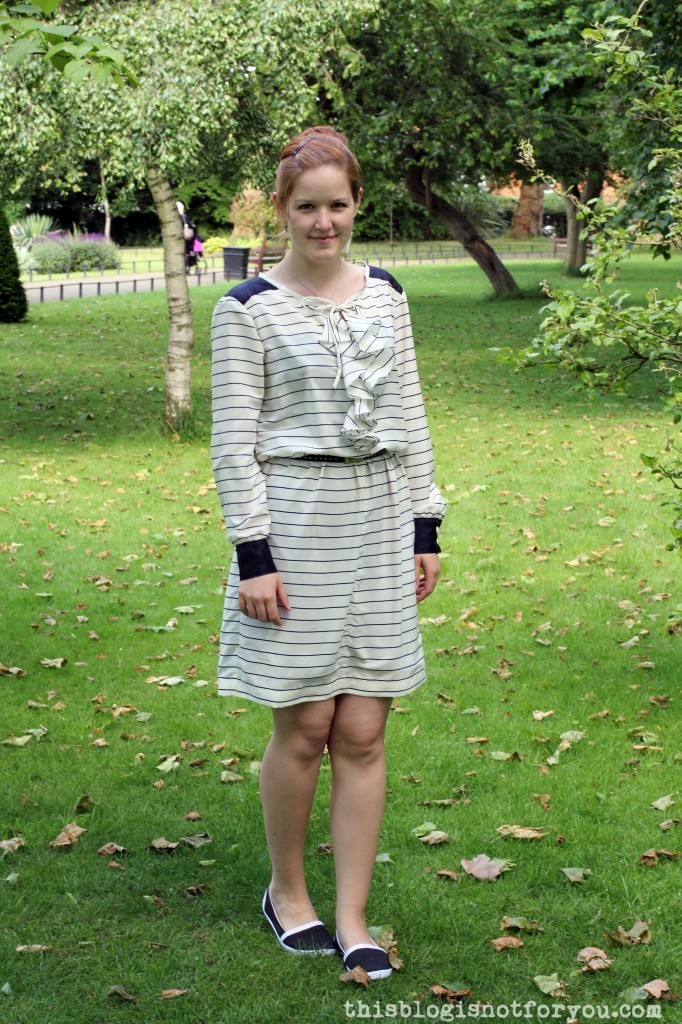





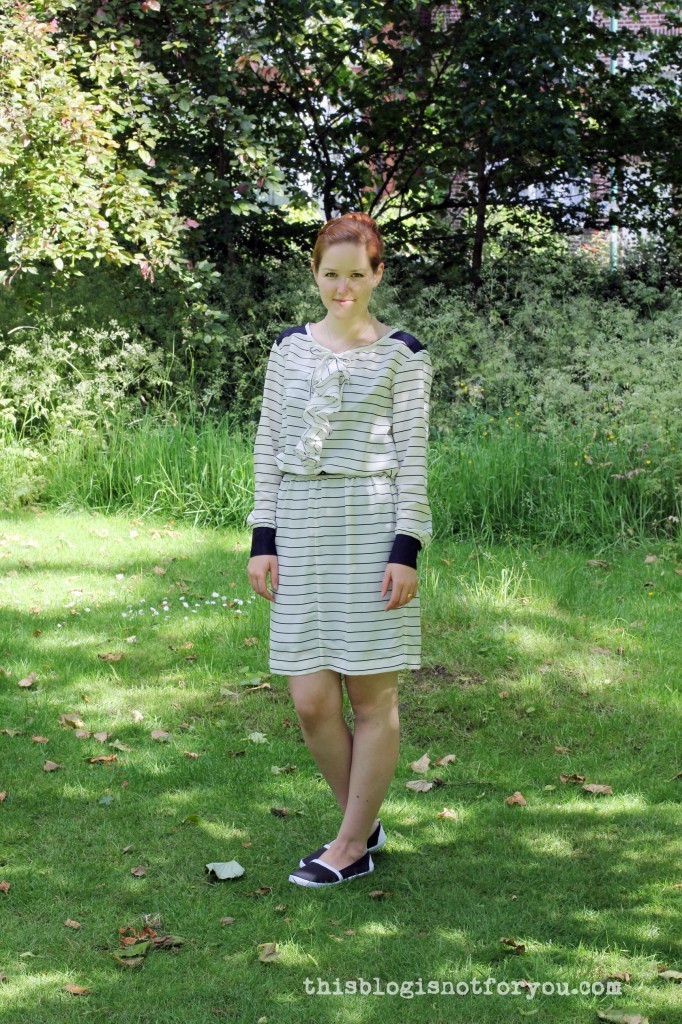
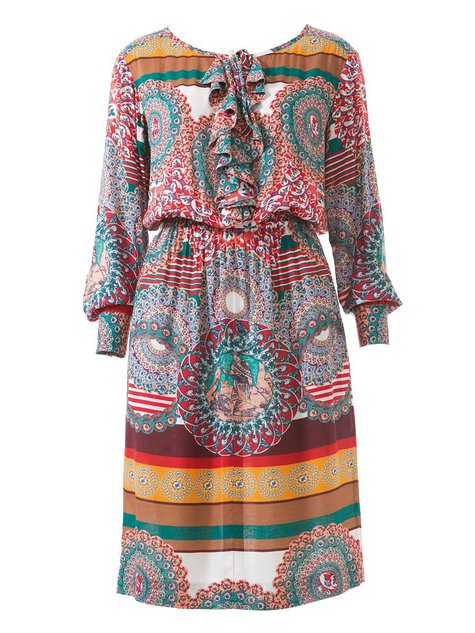
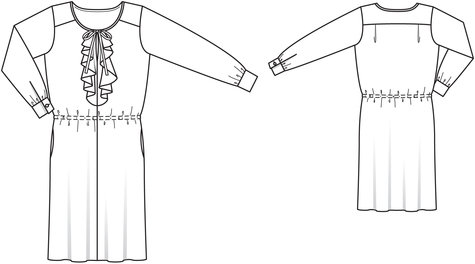
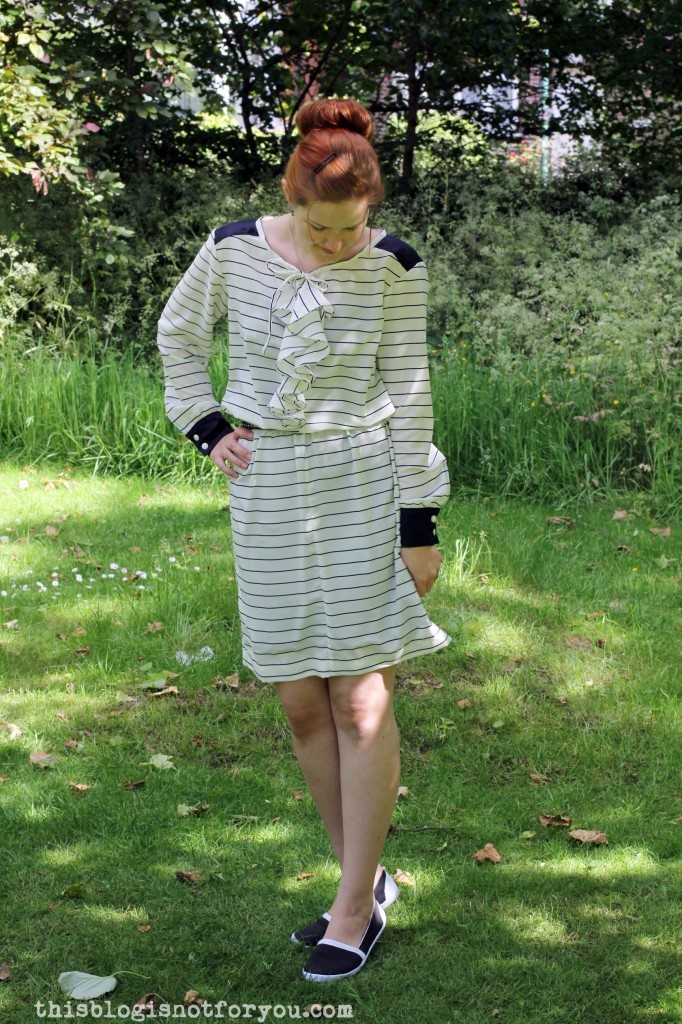
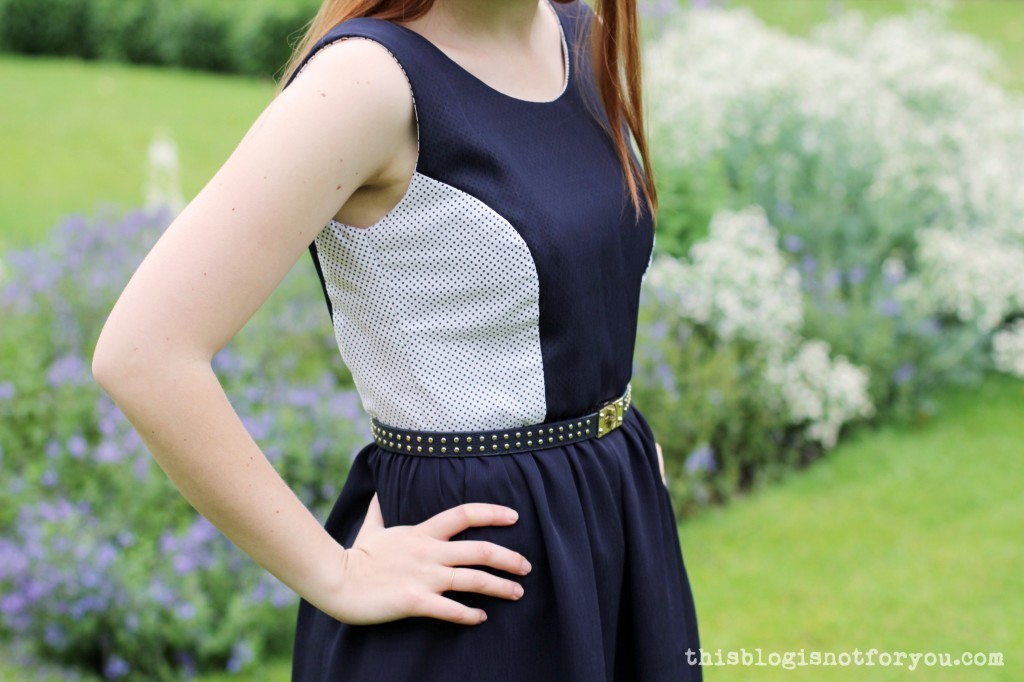
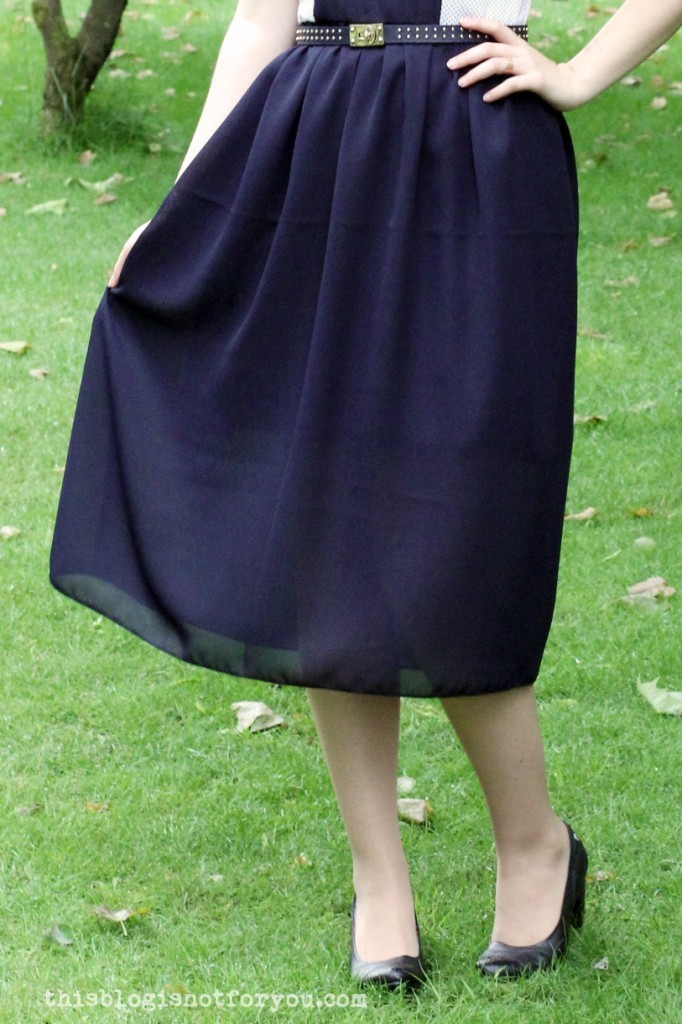
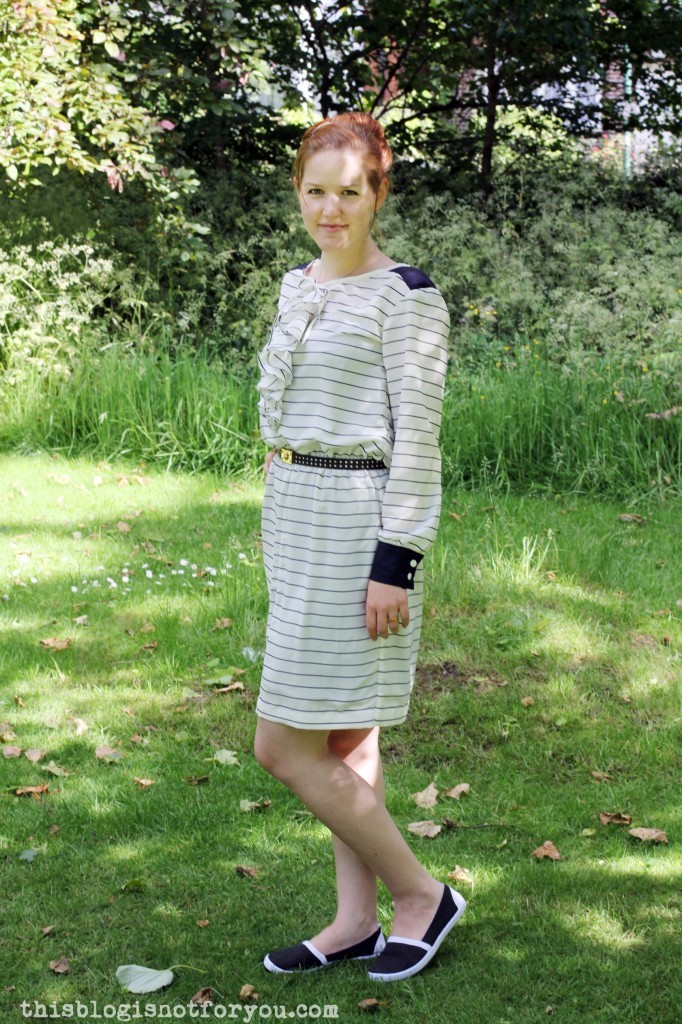
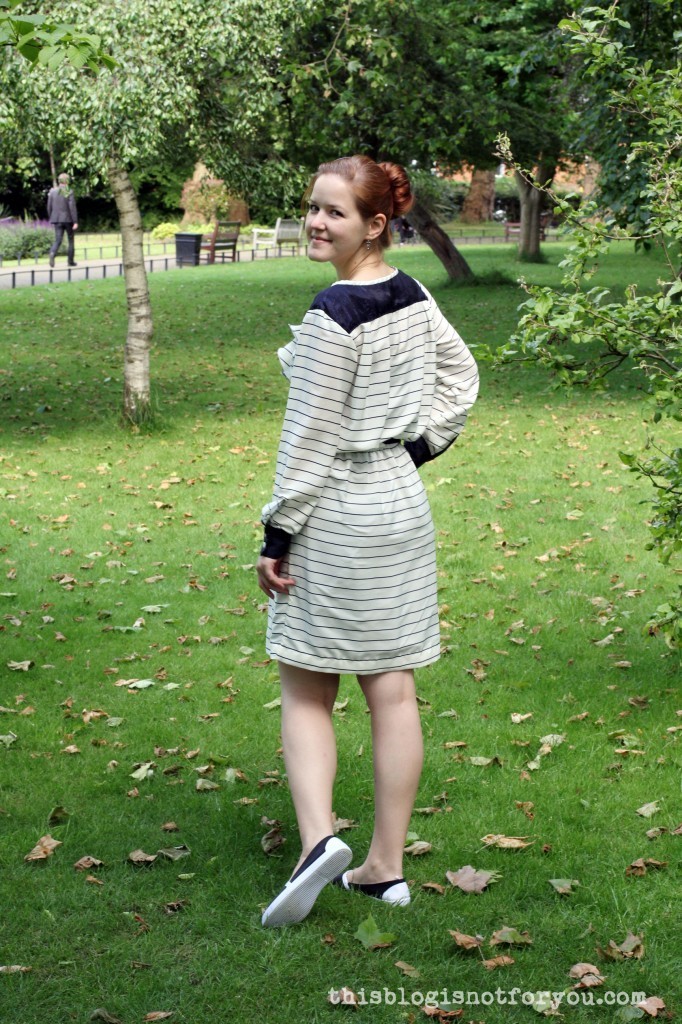
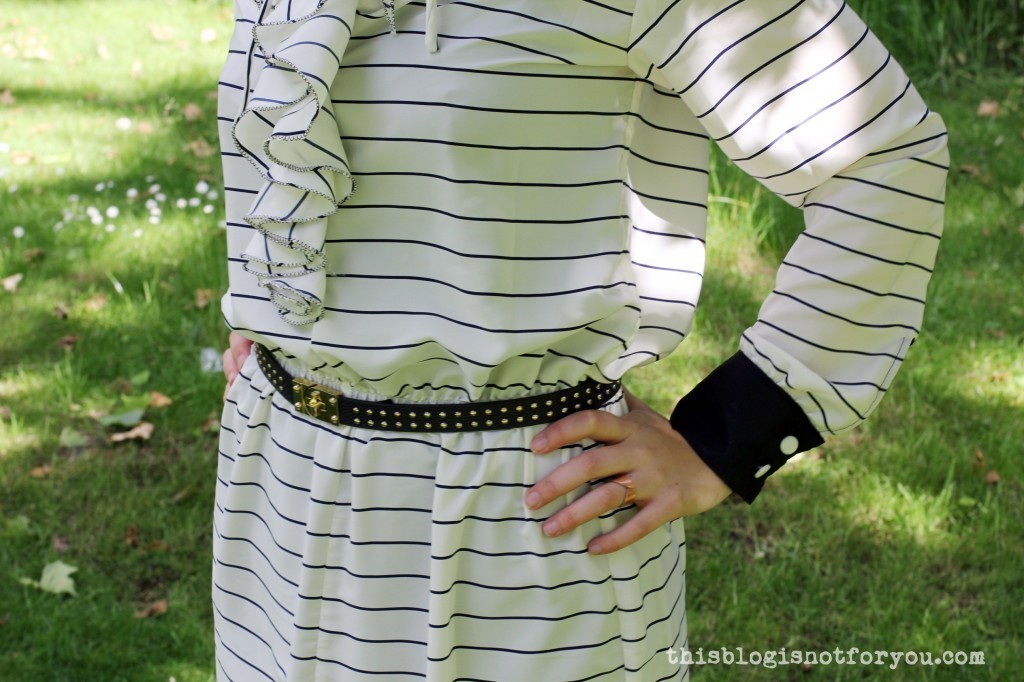 The dress has a casing for an elastic which cinches in the waist. (The belt is from Primark and it’s my absolute favourite belt on earth!..which is why it’s in almost every outfit picture.)
 Oh! And the shoes are DIY, too! They used to be a dirty white bargain from Primark, so I painted them black. Remember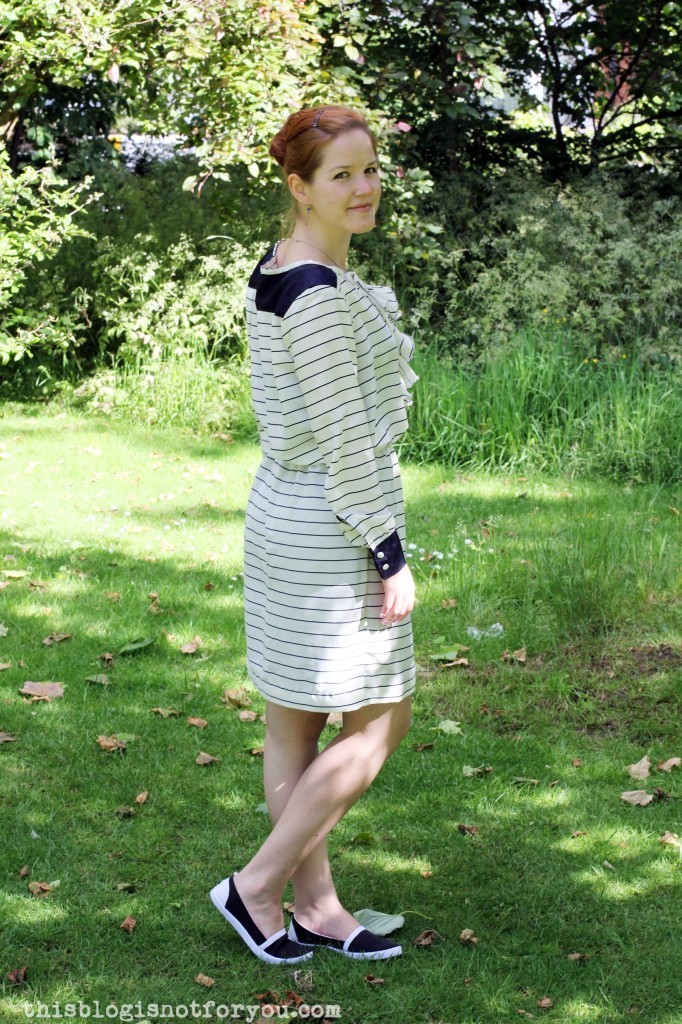





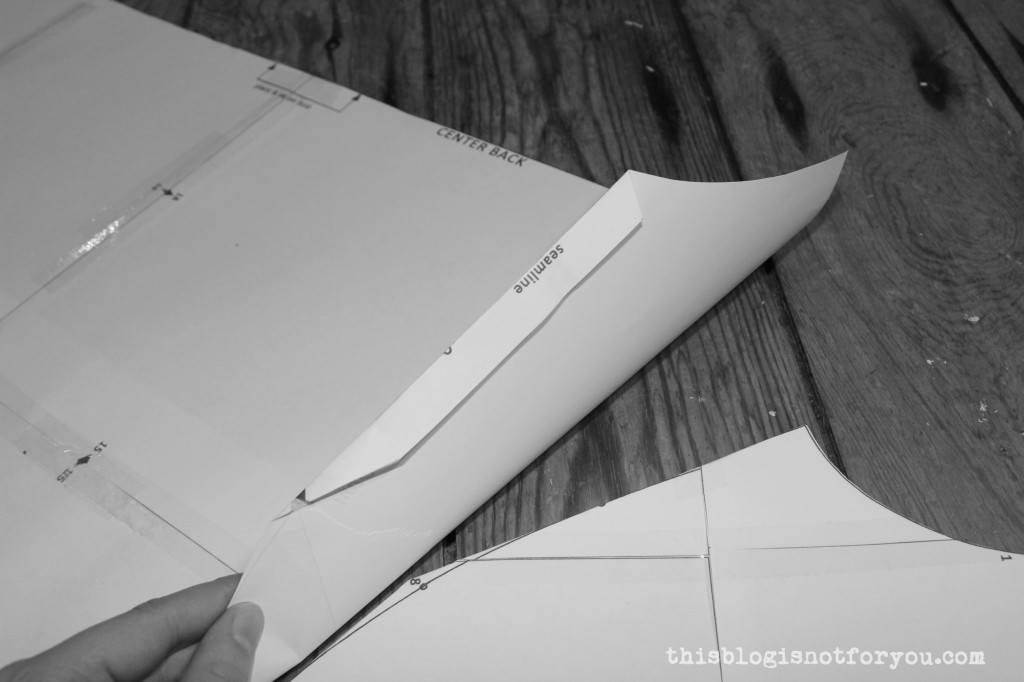
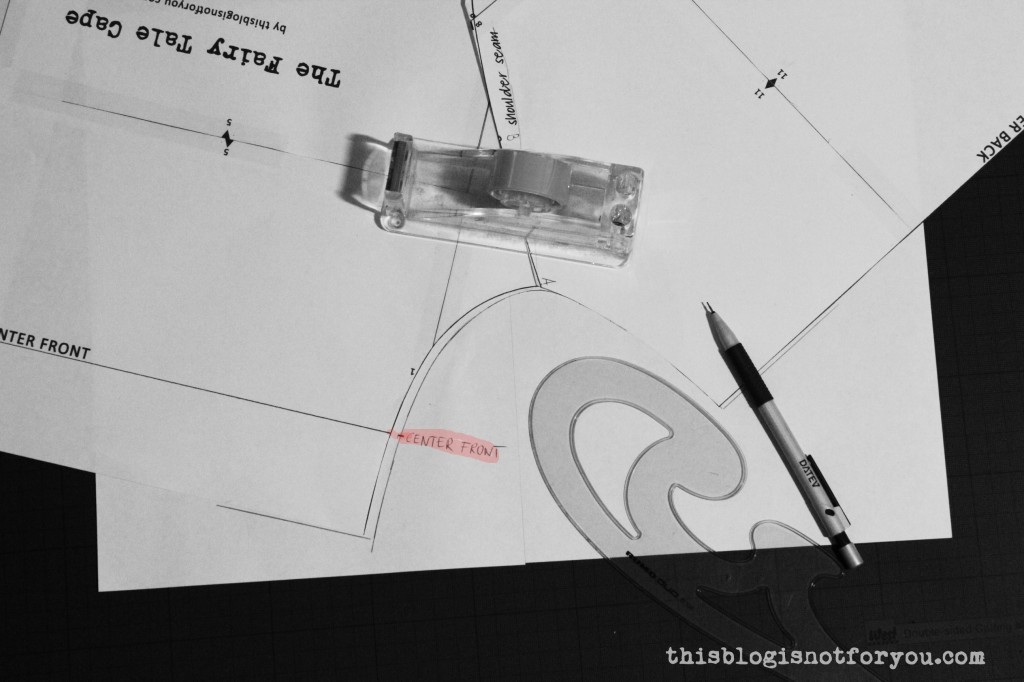
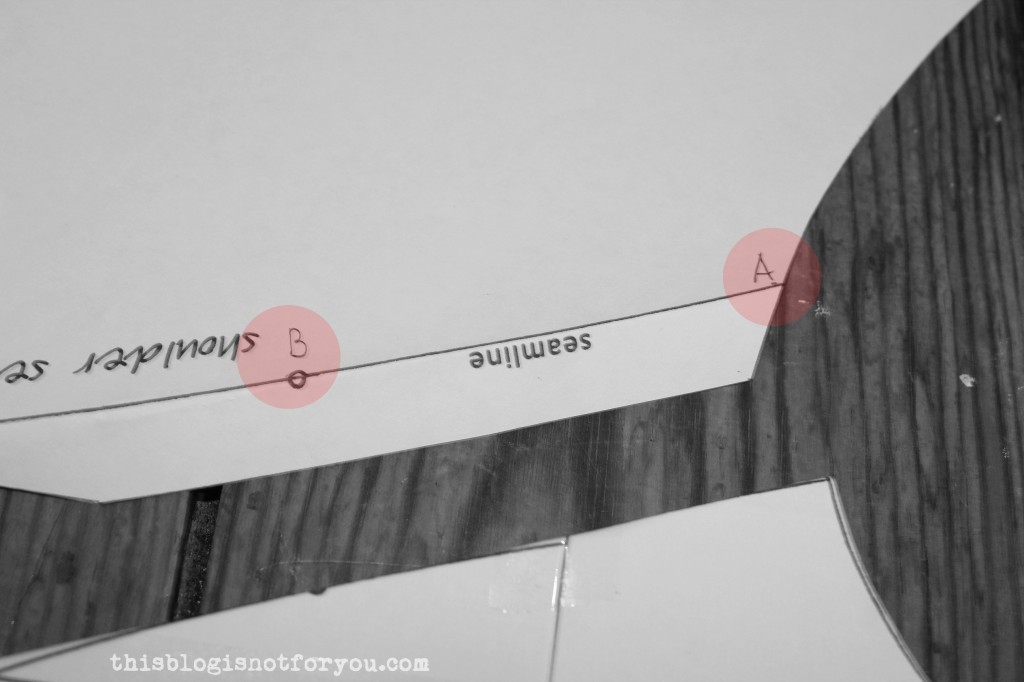 To make explaining this step easier, I have marked two points, A and B. A is where the shoulder seamline meets the neckline. B is where the small circle is marked.
 4. Now join the two pattern pieces, so the As match up and the Bs overlap by approx. 1cm. Tape together (don’t glue, you will want to be able to separate the pieces again and tape them back together in order to cut out your cape if you haven’t done so yet).
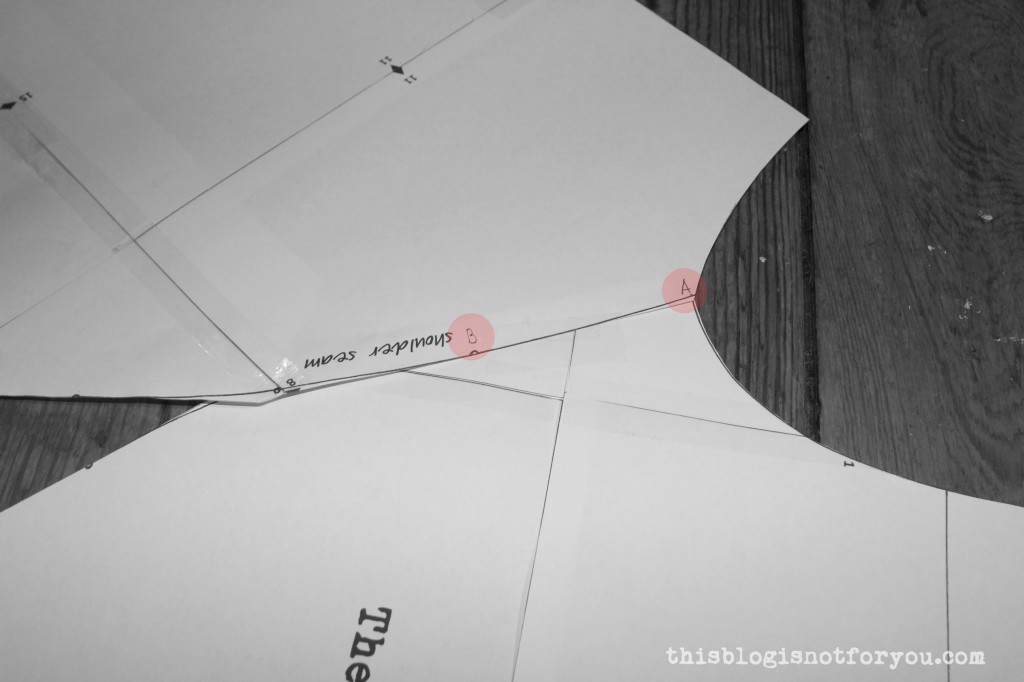 Your pattern will now look like this:
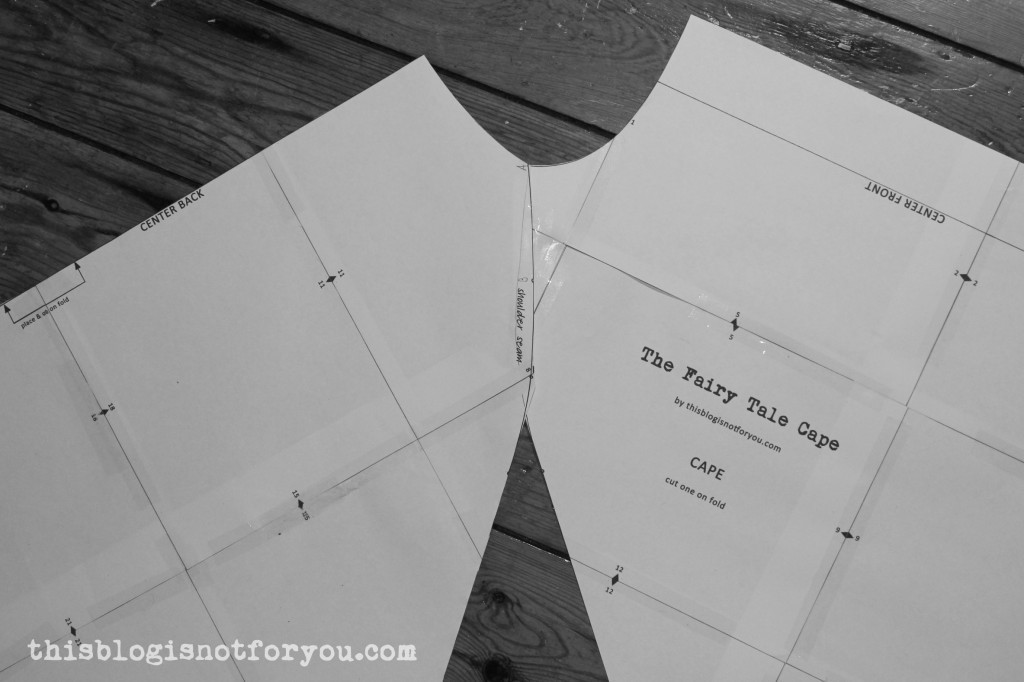 Now that we have a continuous neckline, we can start drafting the collar.
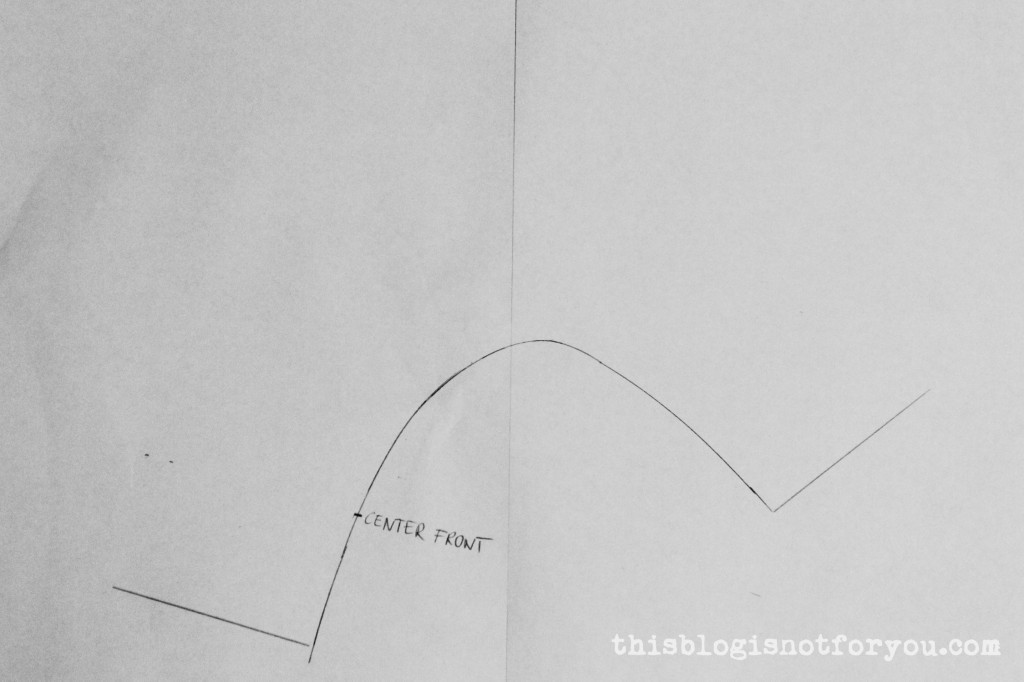
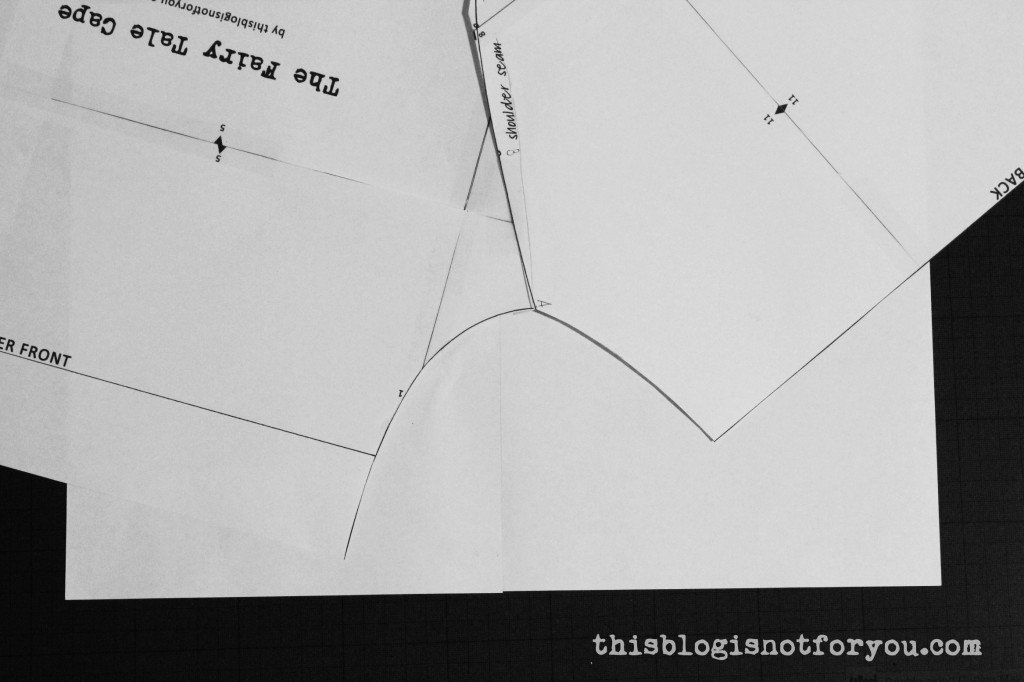 6. Copy the shape of the neckline, also marking the position of center front & back and the shoulder seamline.
 It should look like this:
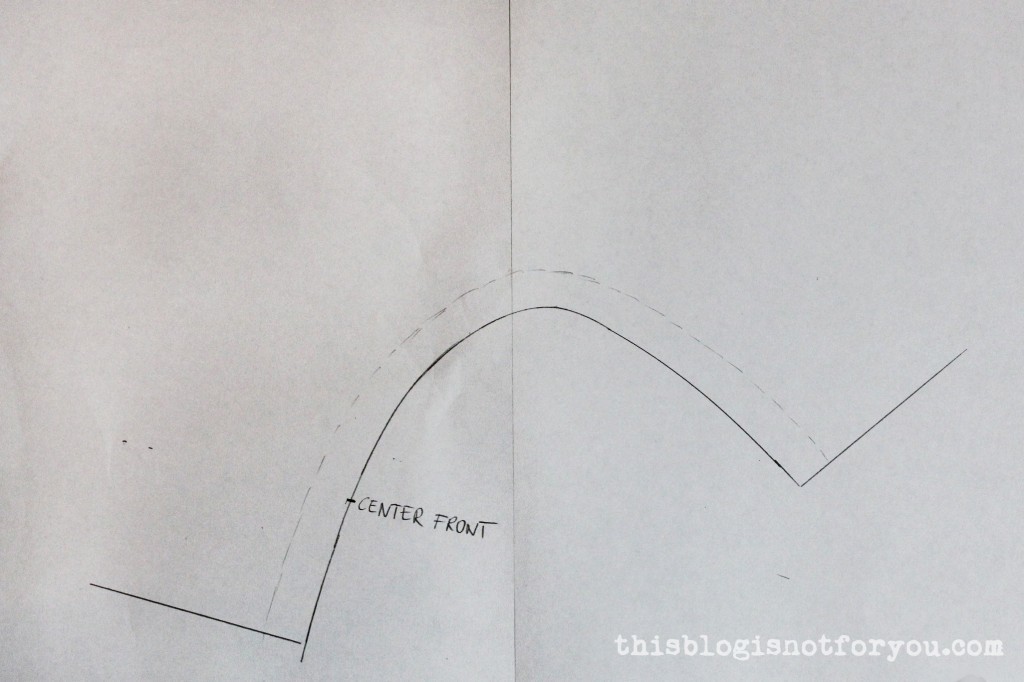
 7. Now add 1.5cm (5/8”) seam allowance. (The seam allowance is already included in the cape pattern, which is why we need to mark it on the collar piece. You don’t want your collar end up too narrow).
 8. Draw the center front line (parallel to the front edge).
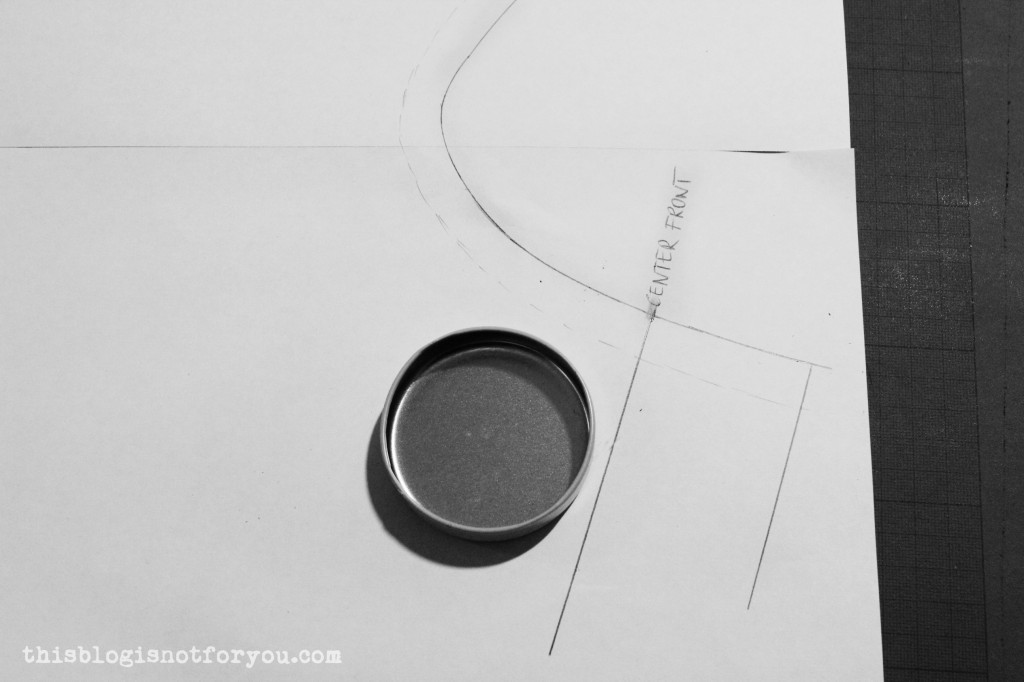 9. For this step I used a lid, but you can also do this free hand. Starting at the center front line draw a curved line. Here it’s completely up to you how you want the shape of your collar to look. When you’re satisfied with the shape, measure the width.
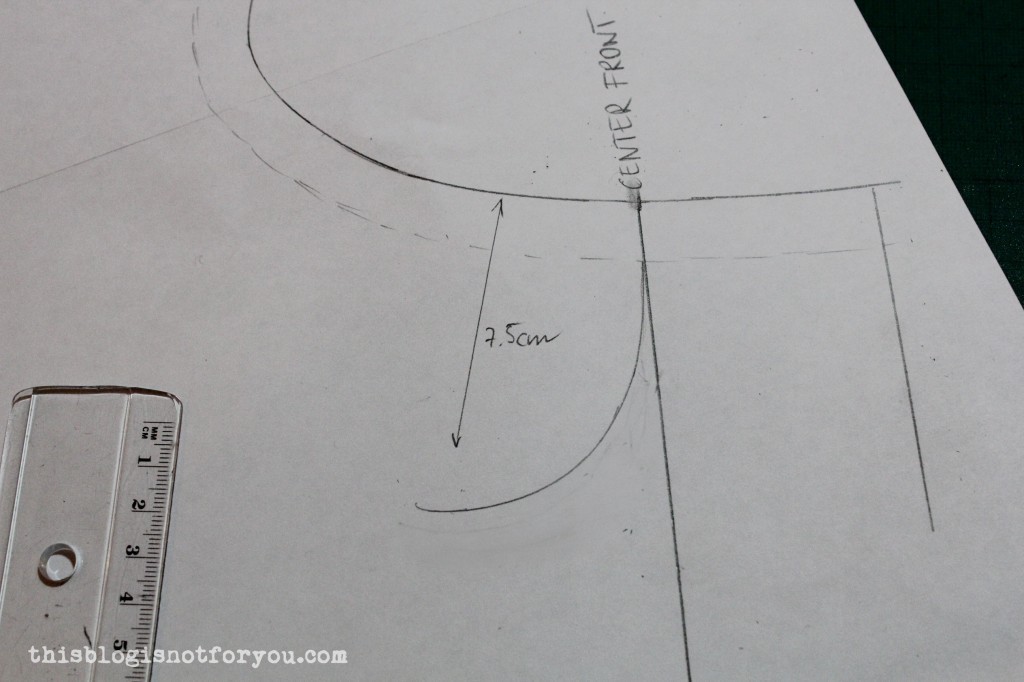 10. Mark the width measurement on the center back seam. Depending on the fabric you use the collar will be either cut on fold or in two pieces. If you are using fabric in a plain colour, you can simply cut the collar on fold (make a note next to the center back line). If you’re using patterned fabric which needs to be neatly lined up in the front, you will have to cut the collar in two pieces. In this case you will have to add 1.5cm of seam allowance to the center back edge.
 11. Mark the measured width all the way around the neckline.
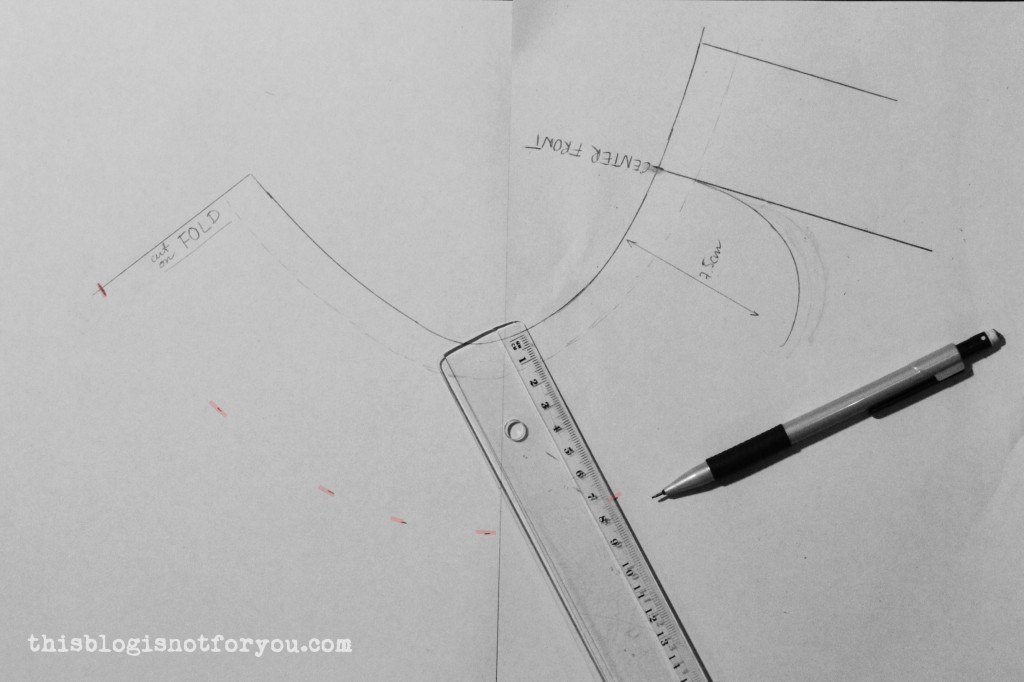 12. Draw a smooth line through all of the marks.
 13. Now you’re almost done! Just add some seam allowance to the bottom edge of your collar.
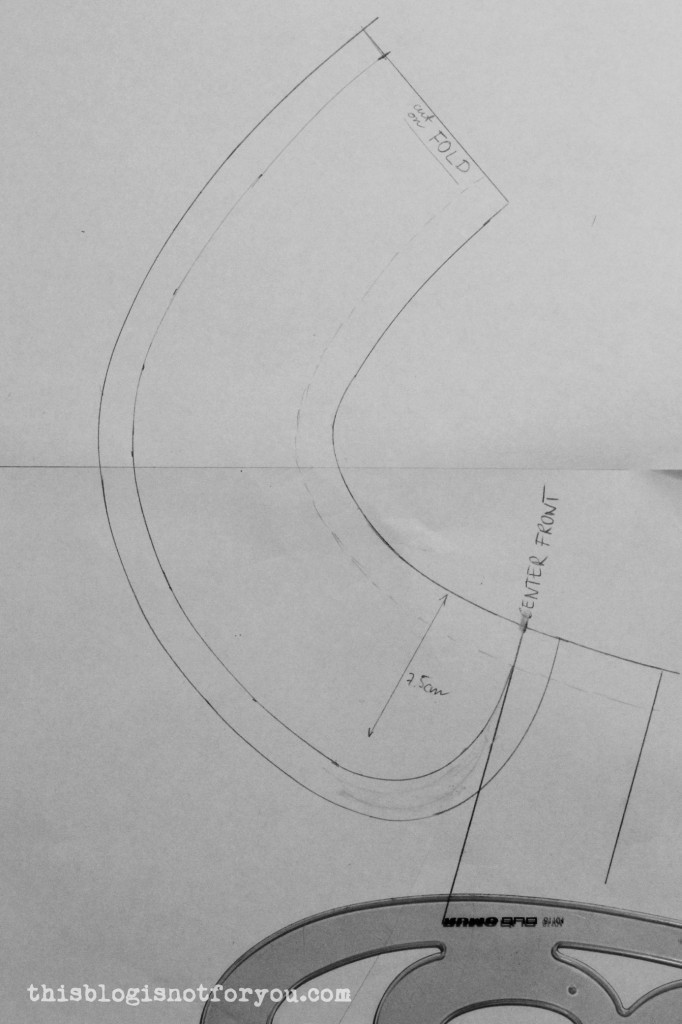 14. Mark the shoulder seam placement and center front with notches. Now grab a coffee and admire your newly drafted Peter Pan collar!
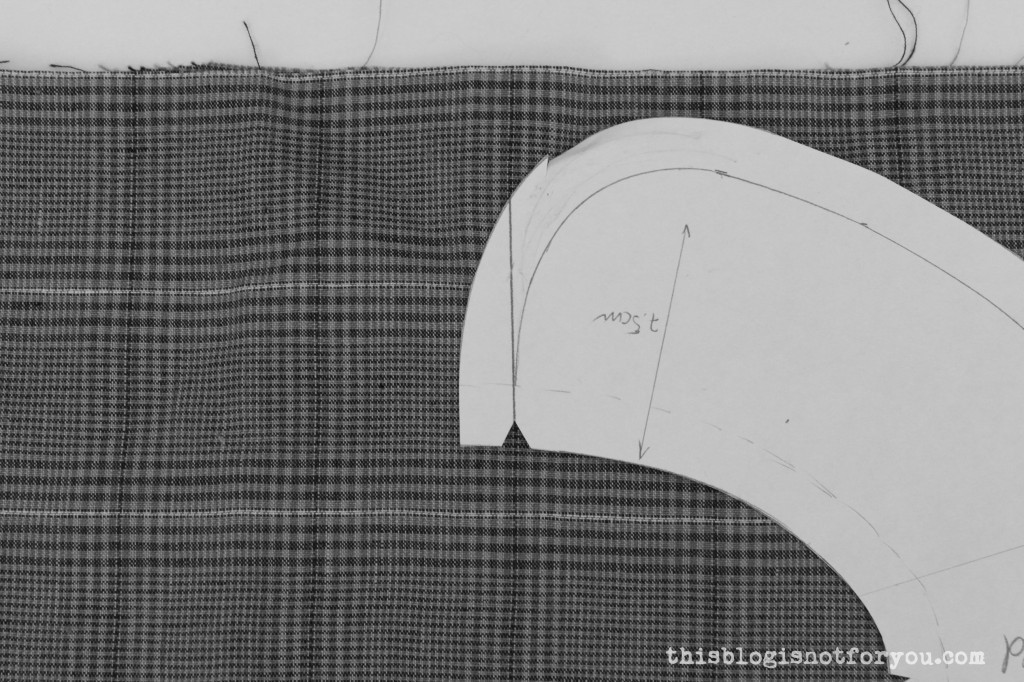

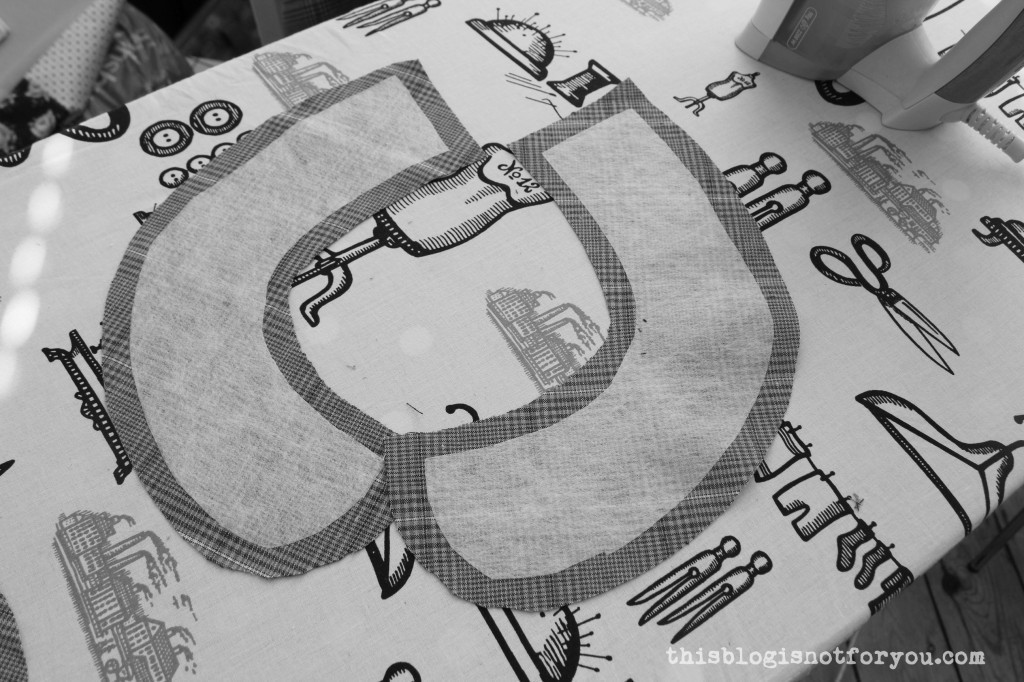 3. If not cut on fold, sew your collar pieces together at the center back. Press seam open.
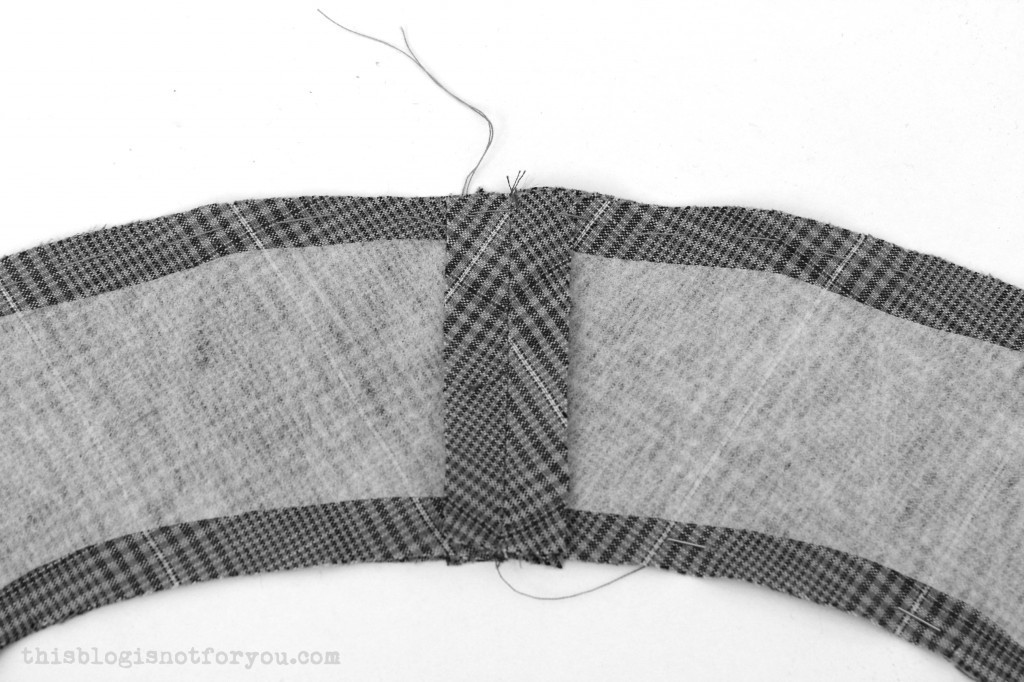 4. Pin or baste collar pieces together (right sides together) starting at the seam allowance mark at the front corner, all the way along the bottom edge. Leave the top edge as it is. Don’t sew it closed!
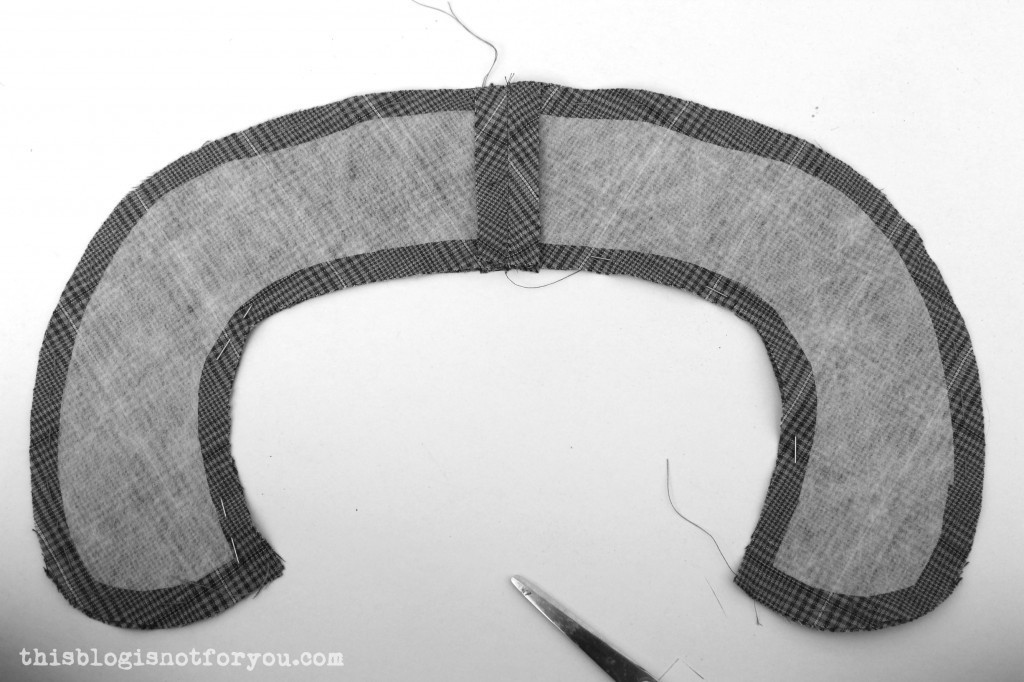 5. Sew along the pinned/basted edge using 1.5 cm of seam allowance. Before you turn the collar inside out, clip the rounded edges to remove bulk like so:
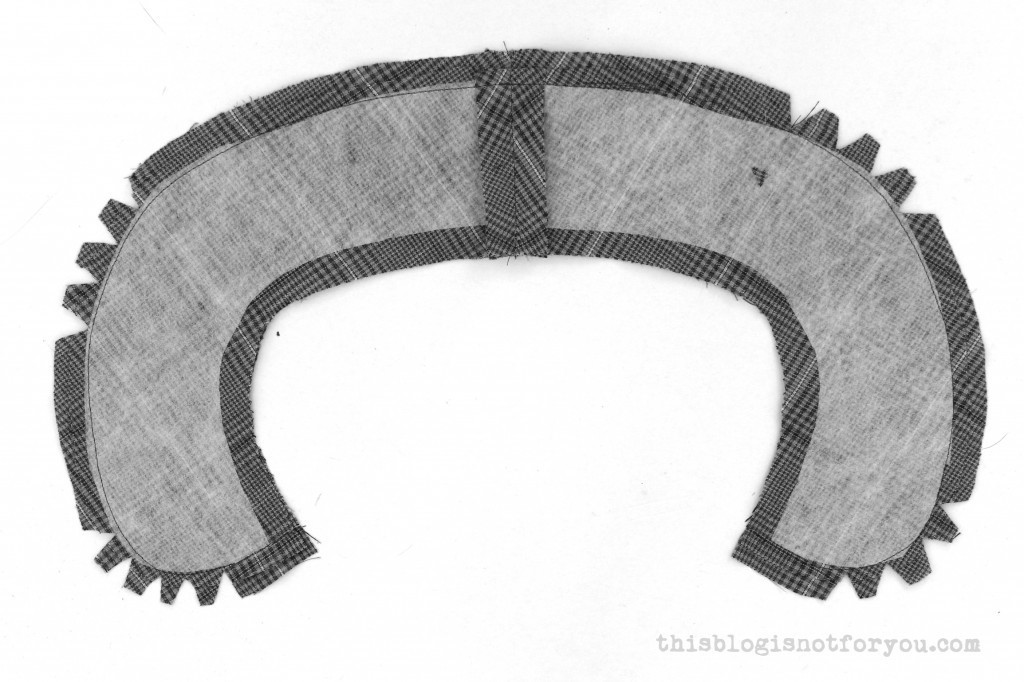 You can trim one seam allowance shorter than the other. this also helps to remove bulk.
 6. Turn inside out and give it a good press.