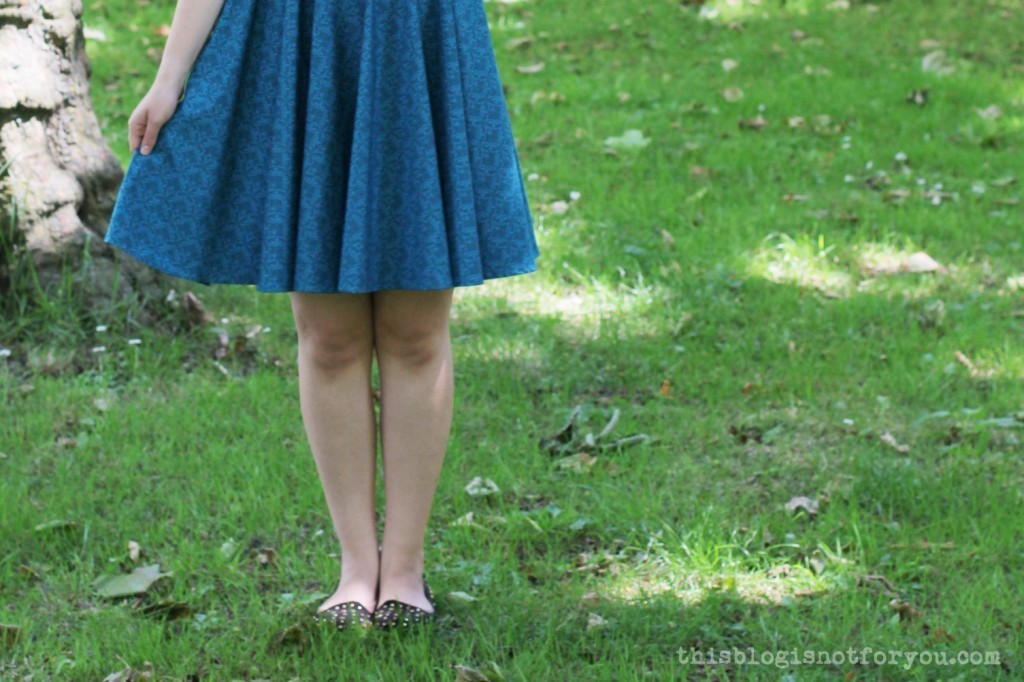
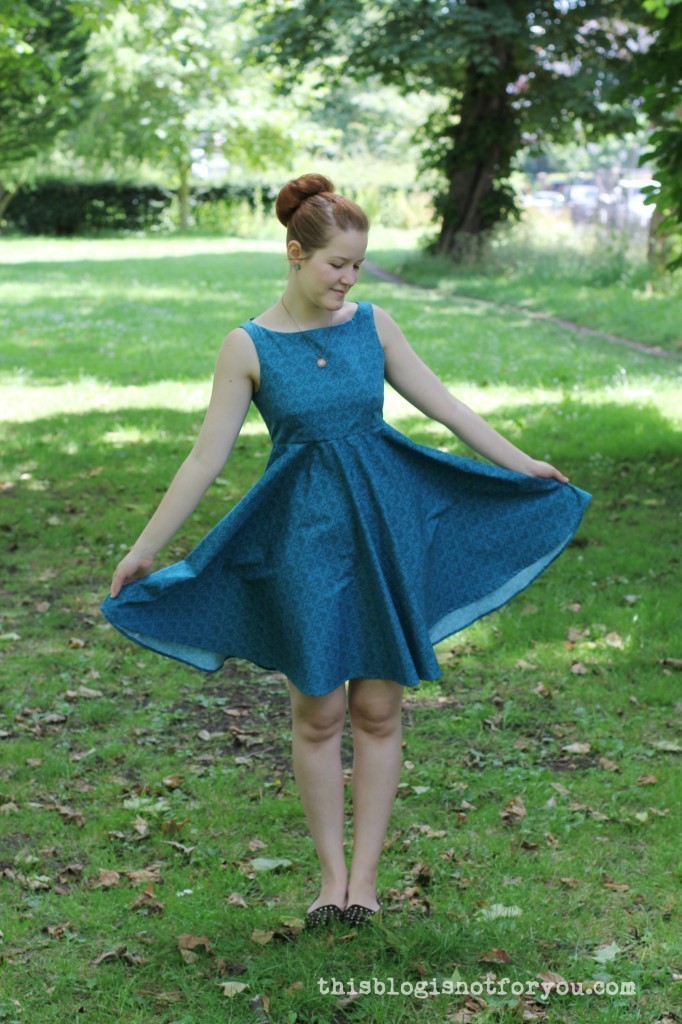

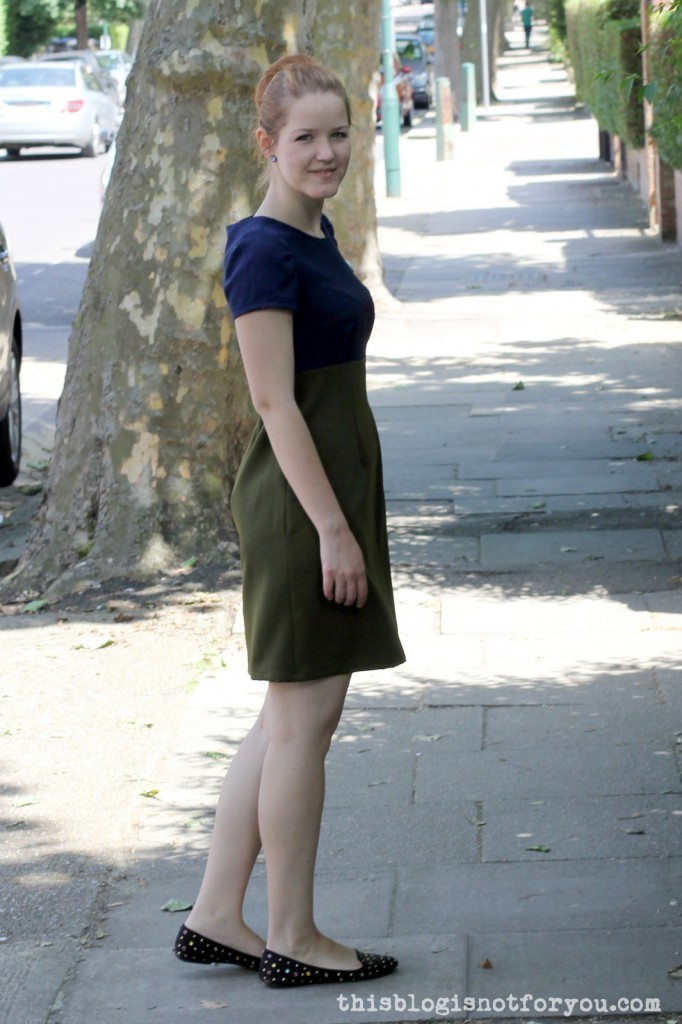
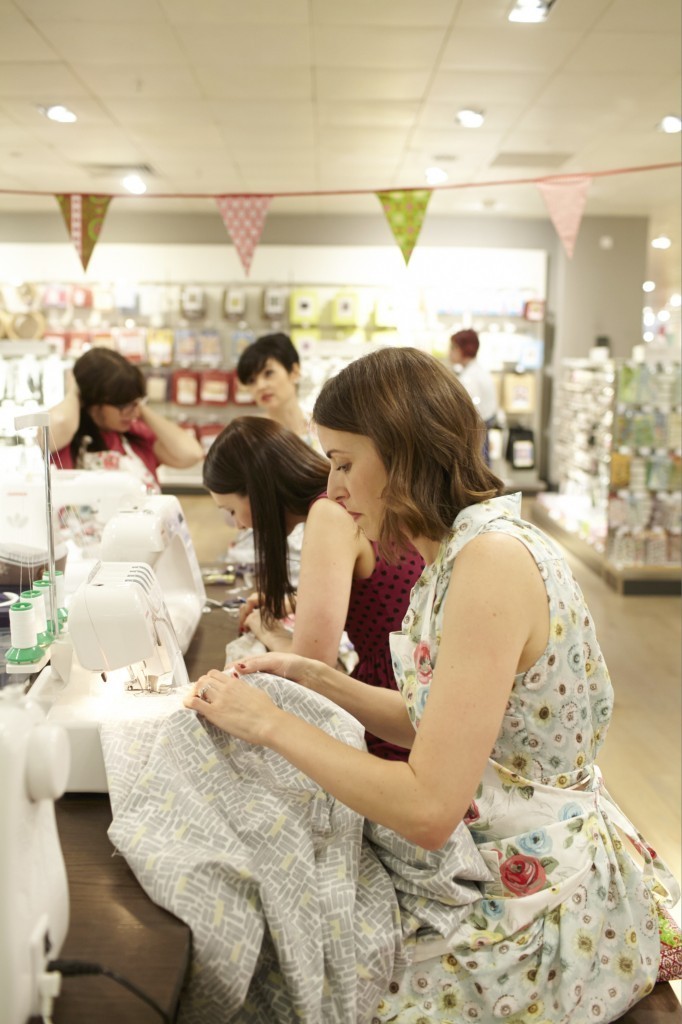
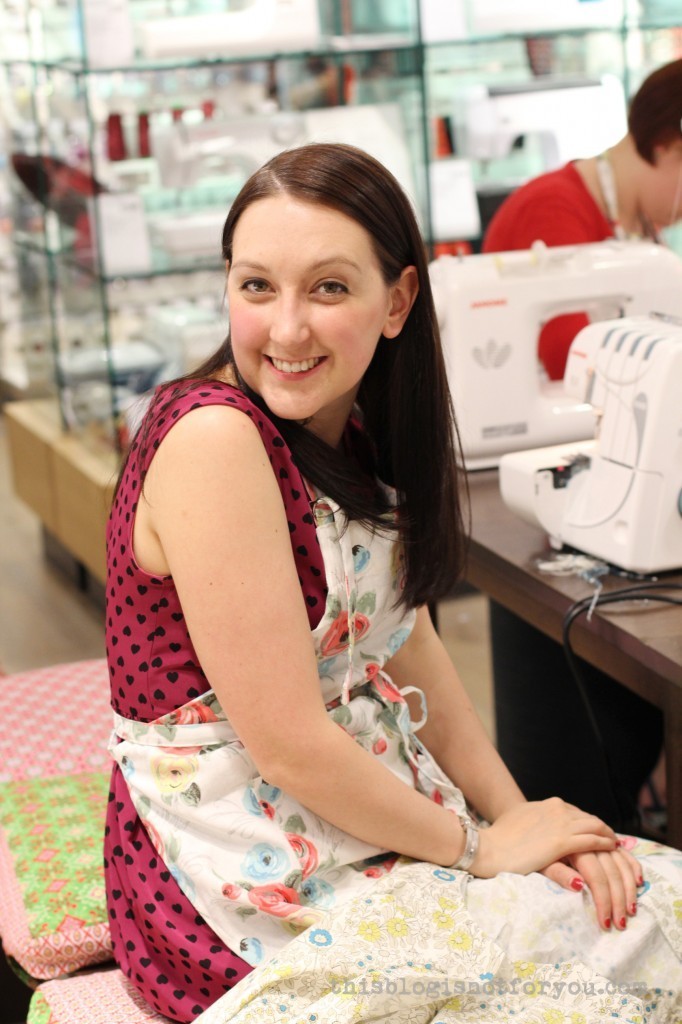
Hello my lovelies! You can’t imagine how hard it was not to show you this dress before it was finished and properly photographed! I’m just so excited about this dress! I love the fit, the colour and fabric and it was just the best thing to wear in this hot weather today. And, not to forget, I made this dress at John Lewis’ sewing bee last Saturday.
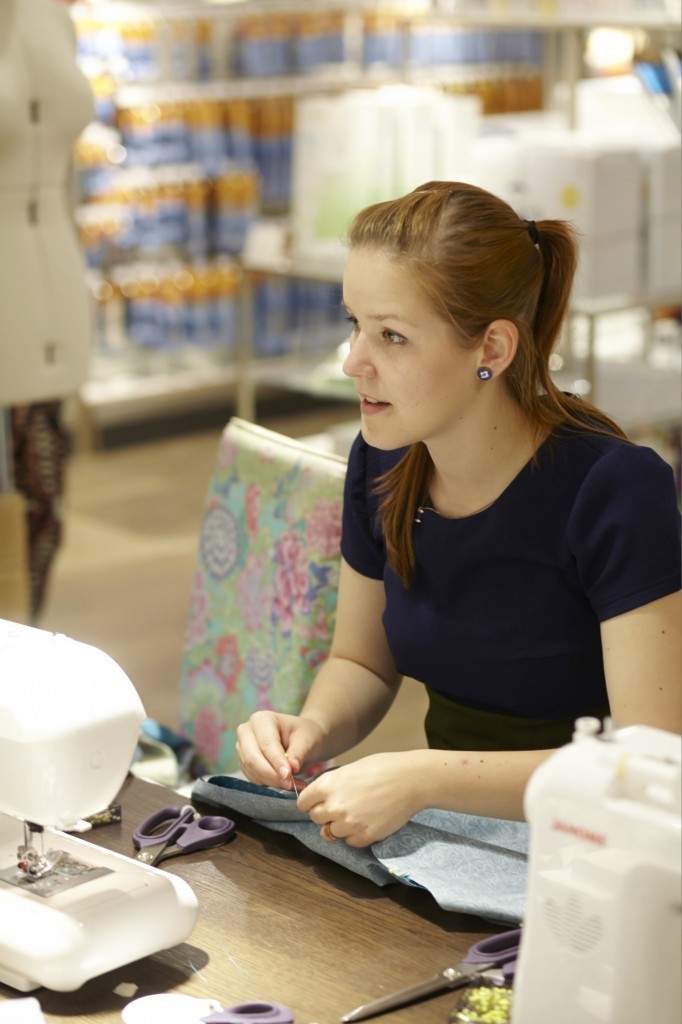
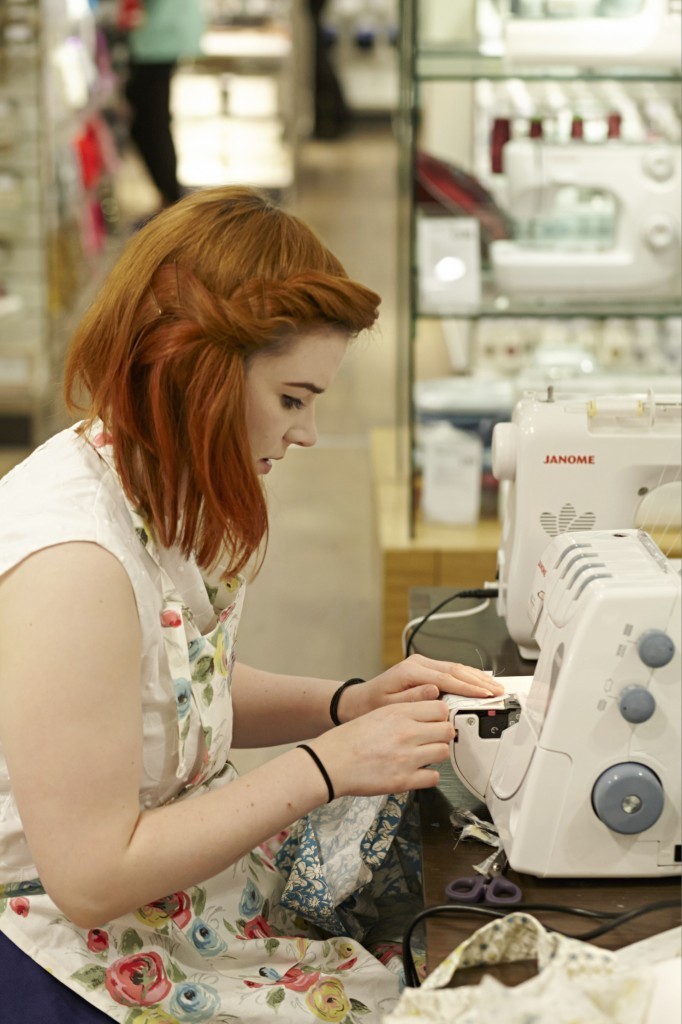
The sewing bee was amazing and I enjoyed every minute of it. I met some awesome sewing ladies and wasn’t in the slightest disappointed that I didn’t manage to finish the dress that day. At least I had overlocked all seams by then! My very first time using an overlocker; all I can say is I’m in love! I had the chance to try John Lewis’ Janome 9200D overlocker and I’ve been eyeballing it since then. The moment I start my new job this baby will be miiiiiine!
When I came home I still hat to restitch some parts of the bodice and lining, put in a zip and shorten and hem the circle skirt. Also, the bow in the back turned out to be more complicated than I thought.

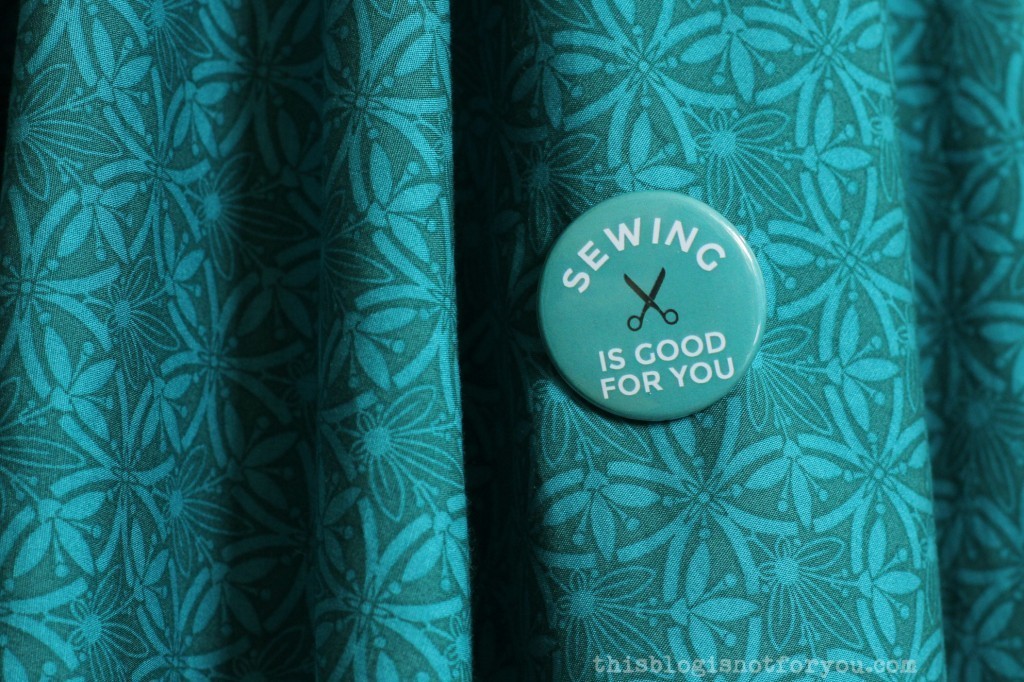
Fabric: John Lewis had a great variety of heritage print cottons from their 150 collection for us to choose from. I decided to go with a turquoise Cummersdale print (in reality it’s much greener than in the pictures – this colour is really hard to photograph). The fabric is super soft and perfect for hot summer days.
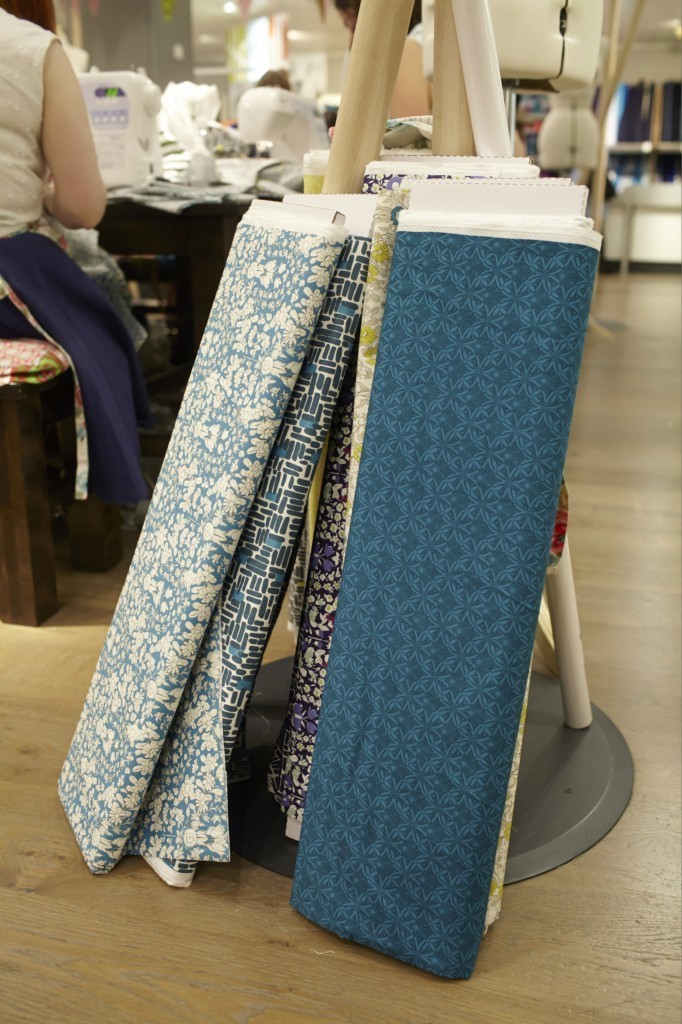
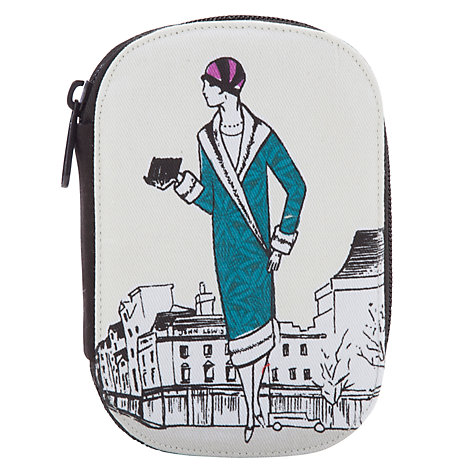
I love the range of heritage fabrics John Lewis brought back from various decades. They didn’t use the prints just for fabrics but also all sorts of sewing accessories and home decor. I’m really thinking about getting this matching sewing kit…
Anyway, let’s talk about the pattern!
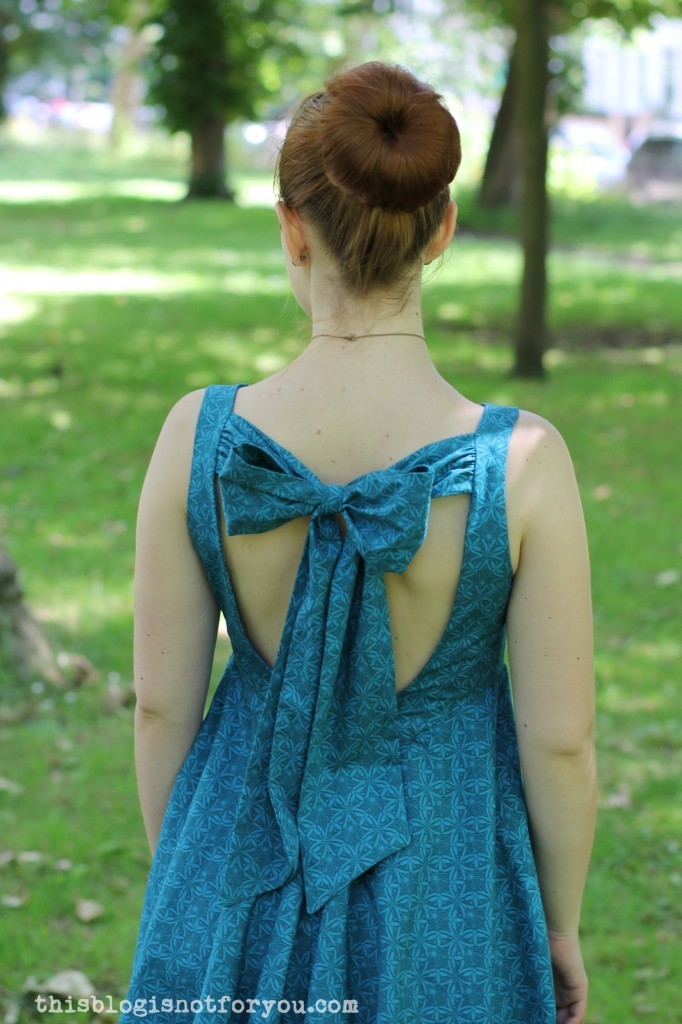
Pattern: I went for a Vogue pattern V1102 which is backless, has a high waist, a circle skirt and a massive bow in the back. It was definitely the bow that made me pick this dress without thinking. I didn’t even realise it was backless until I started cutting out the pattern. It must have also been the Audrey-ish impression of the dress itself, because I think the garment pictures on the envelope are just awful. 

Seriously, was she not allowed to smile or move her arms naturally or use some powder on her forhead? Hmm. Poor missy.

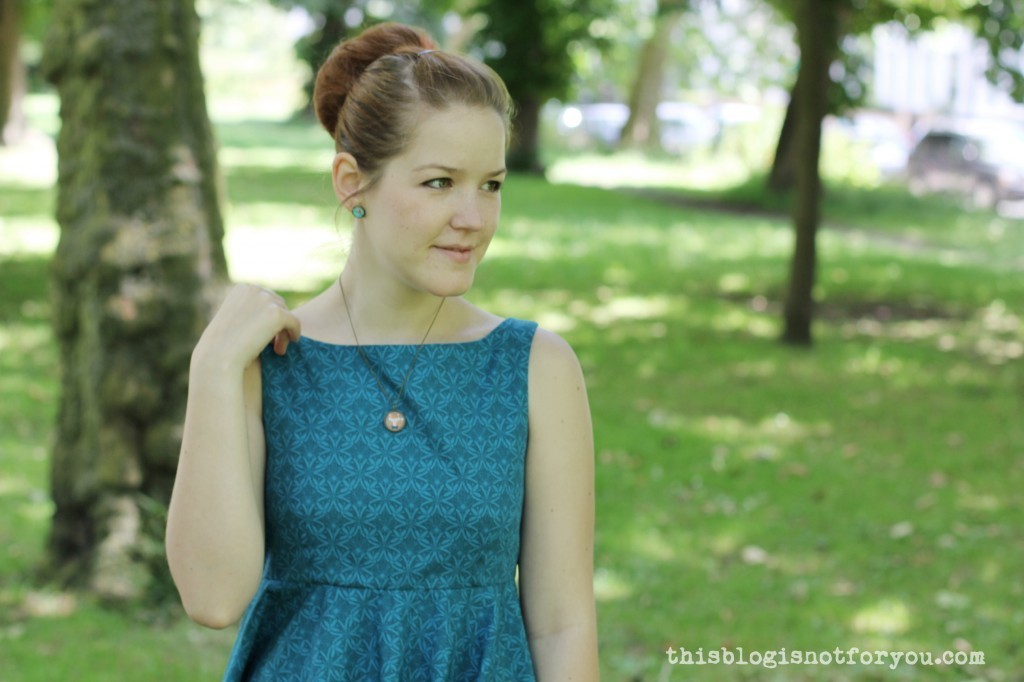
Also the measurements indicated I needed to cut out a size 12, Lisa told me that Vogue patterns usually fit quite loosely and since I didn’t have to worry about my hips measurement in this dress, I went for size 10. Luckily! The dress was still a bit wide and I had to take in the lower back a bit.
There were just a few issues with this dress. The pattern instructions themselves were quite confusing and misleading as they were using sew-in interfacing which Amy (who was also sewing the dress) and I didn’t realise until after we cut out the pattern pieces.
During the fitting (without the bow) there was some gappage at the neckline we managed to eliminate. The instructions suggested simply hemming the bow pieces. The back of my cotton fabric was too bright and didn’t look too good and since I didn’t want it to show in the back I decided to sew the bow as a tube instead and turn it inside out.
This way it looks much nicer, but the bow is quite heavy and was complicated to tie. Instead of tying it, I used a little strap of fabric and folded and stitched the bow into place.
The weight of the bow keeps dragging the straps from my shoulders towards the neck a little bit, which brought the gappage back in the front. Well, I can live with that.
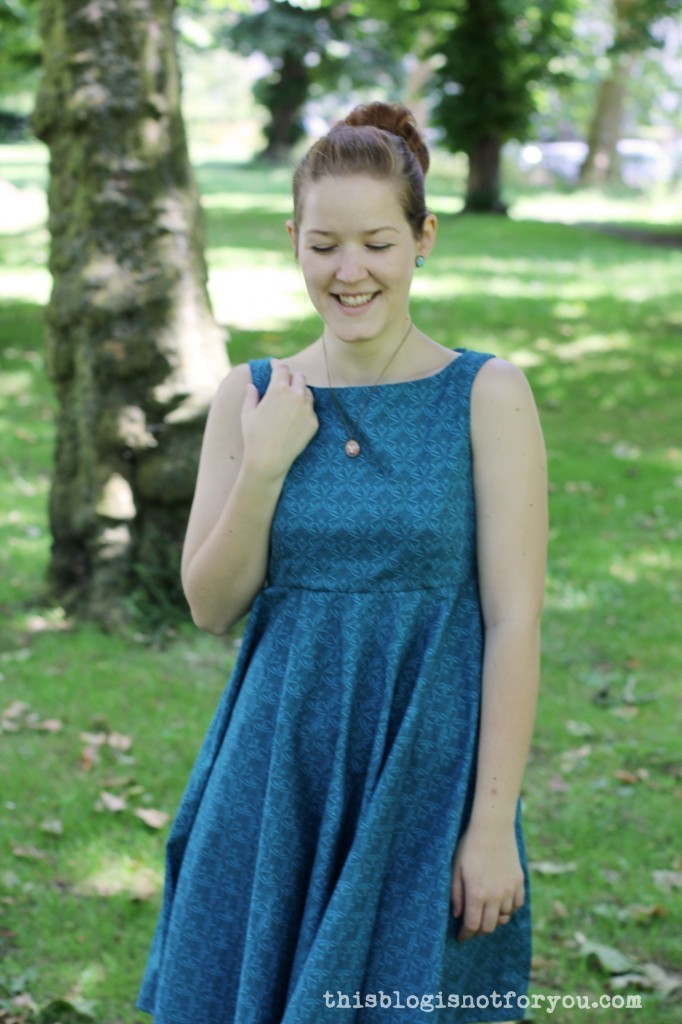

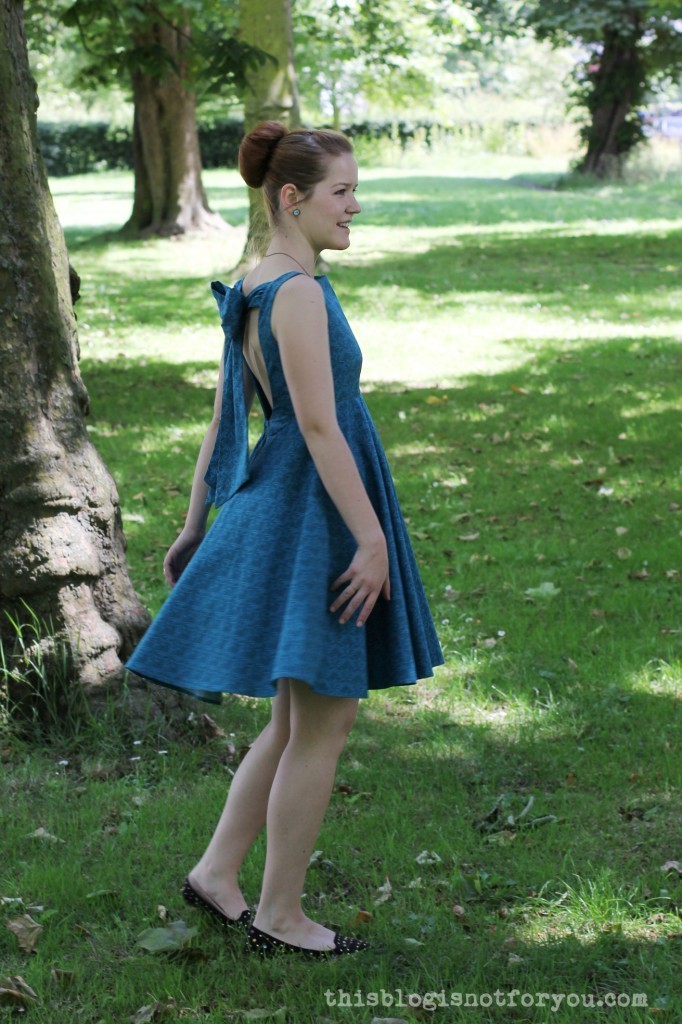
Another problem, which I didn’t realise until I went outside: This dress is not a friend of windy weather. The light-weight cotton plus the high waist really help the wind blow up this dress for a true Marilyn-moment. Maybe I should sew myself some matching knickers from the leftover fabric.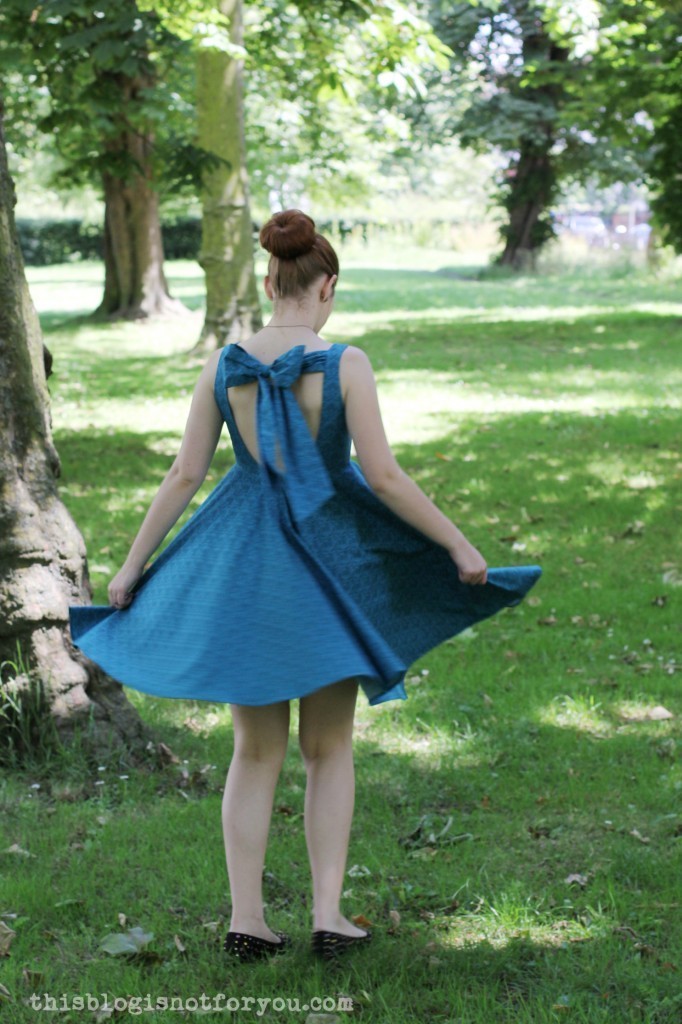

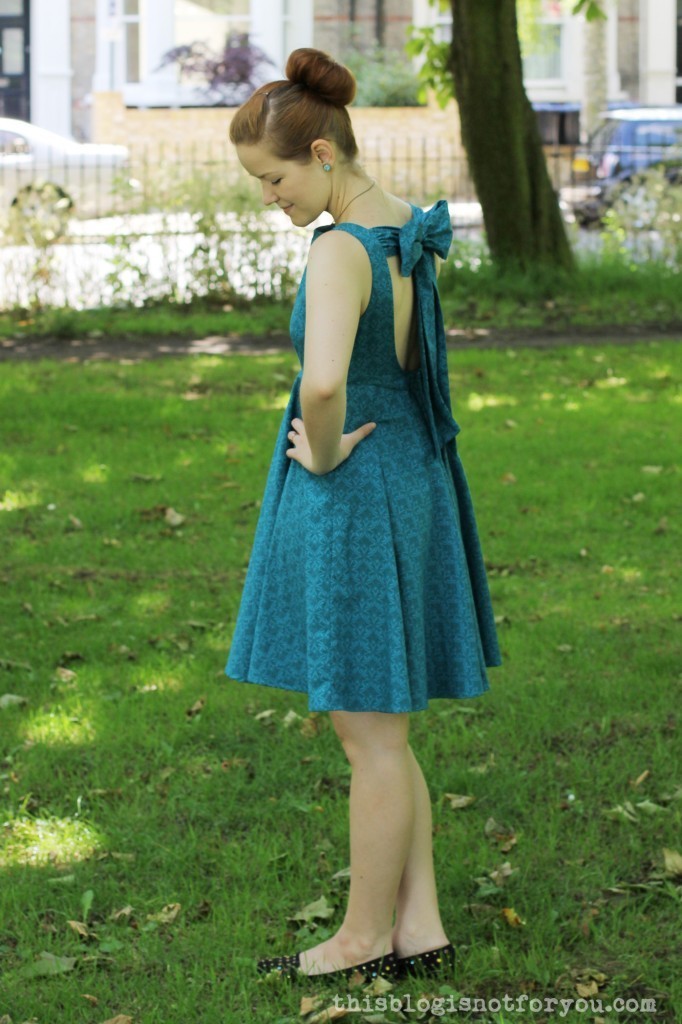
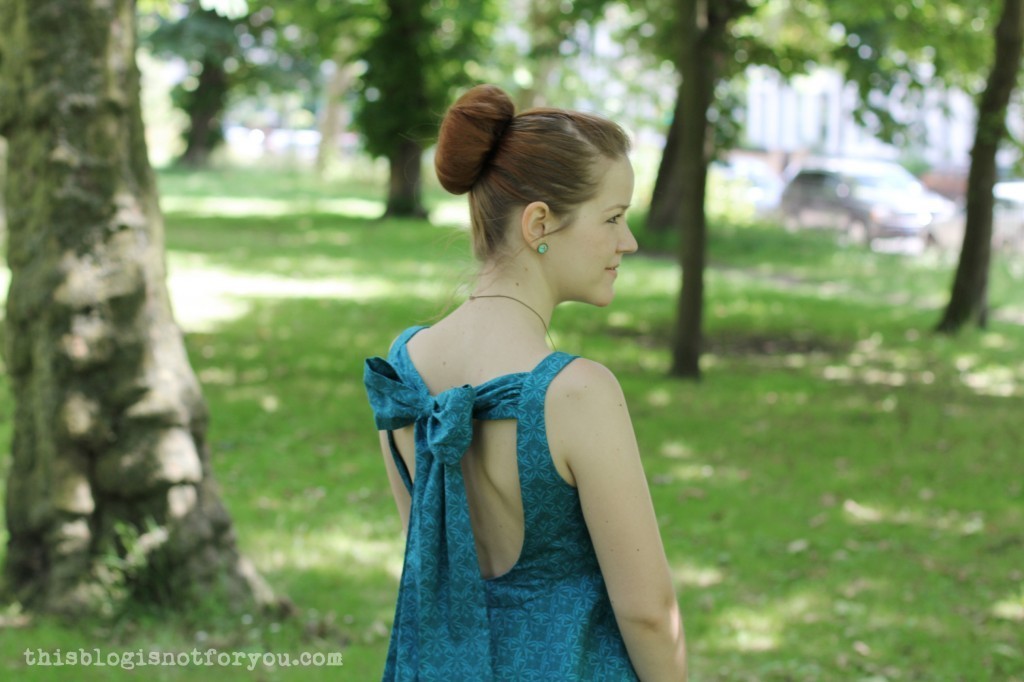
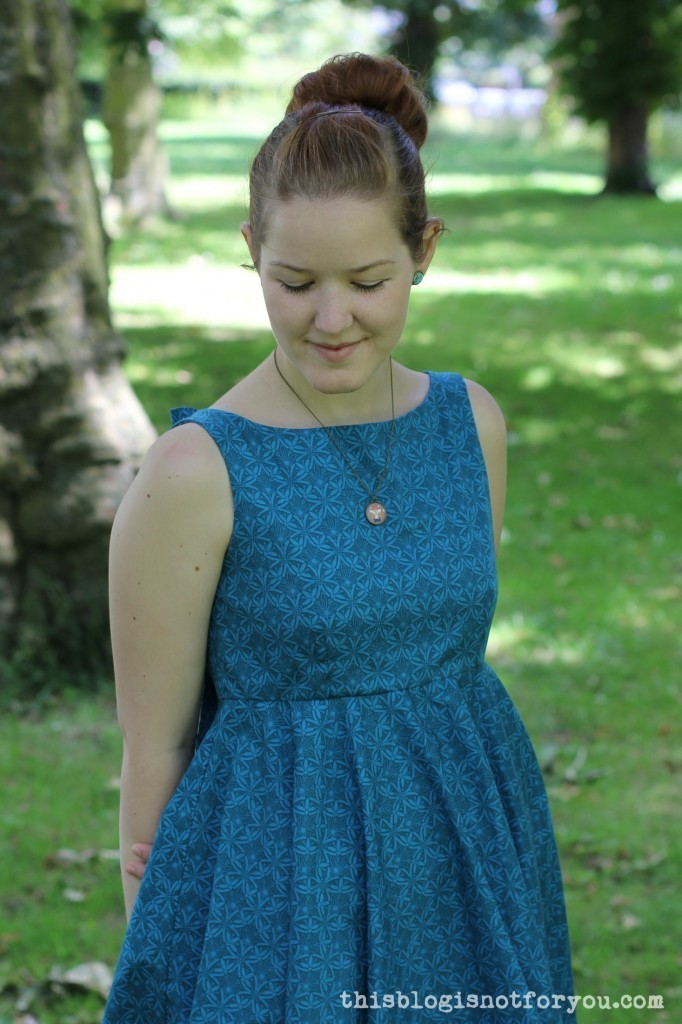
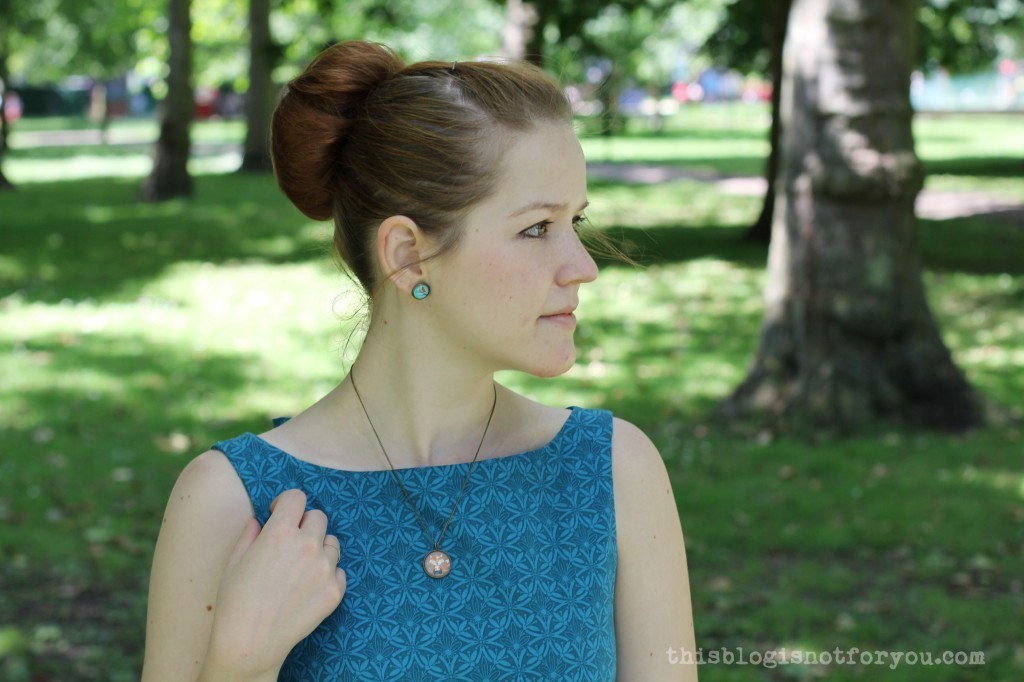
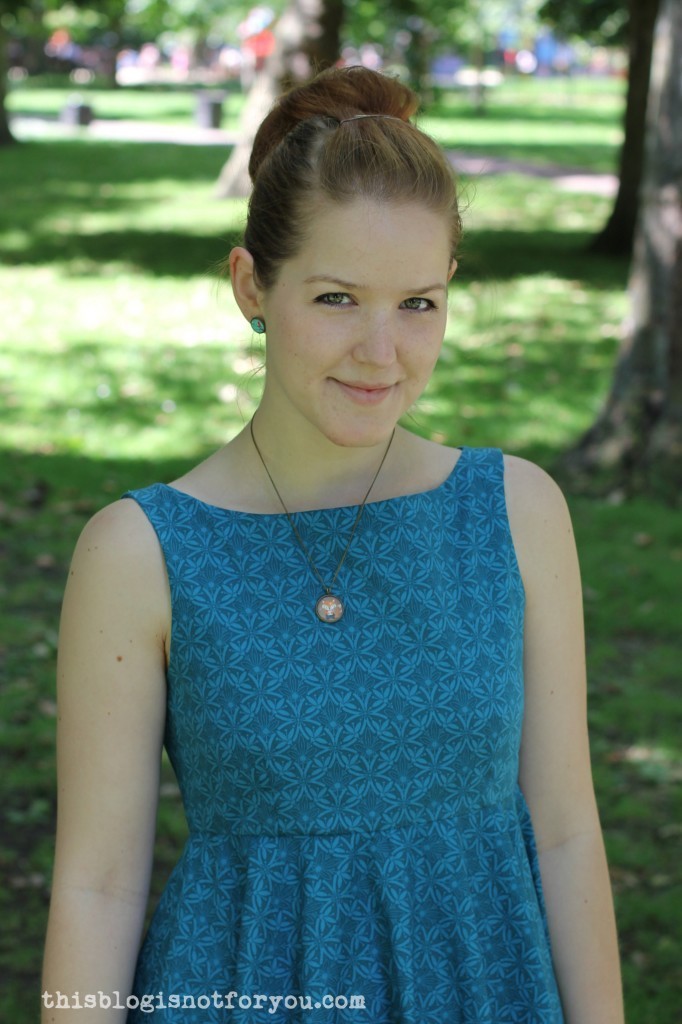
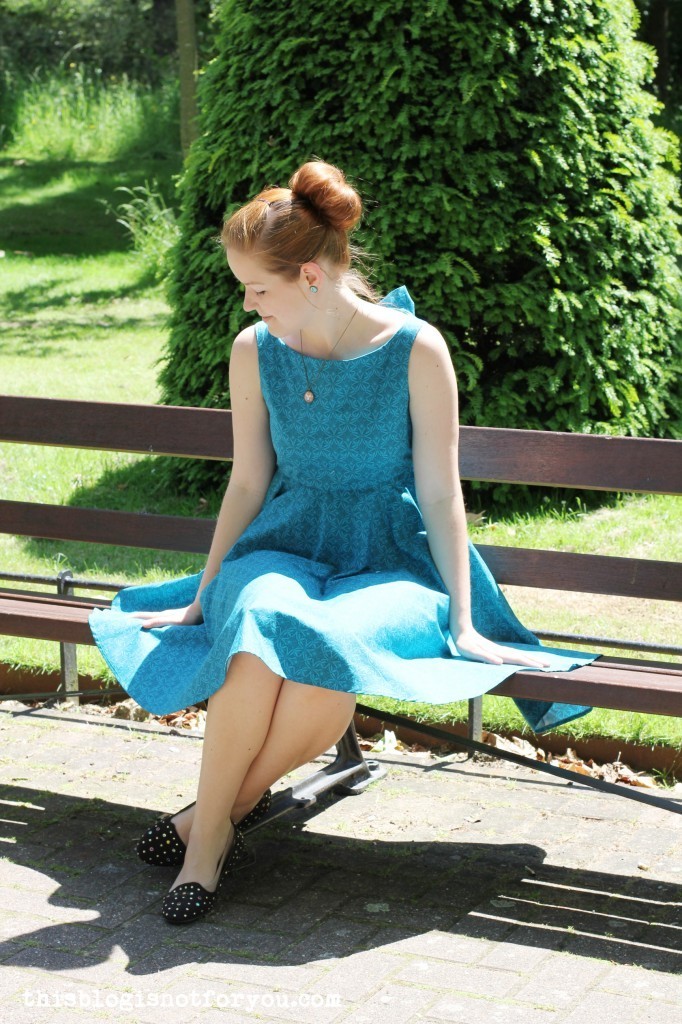 I just love this dress and hopefully will be able to wear it on many occasions this summer. I also love my new handmade jewelery – some of the materials are courtesy of my new sponsor, which I will introduce this week!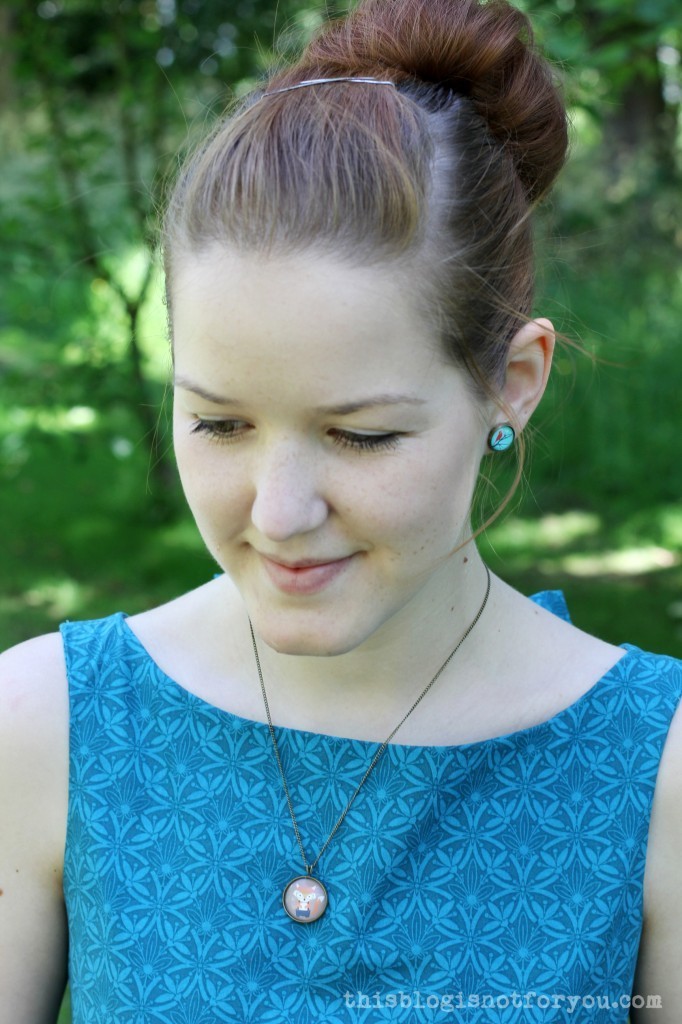

Happy sewing!
♥
facebook/bloglovin/pinterest
twitter/instagram
Stay in touch!

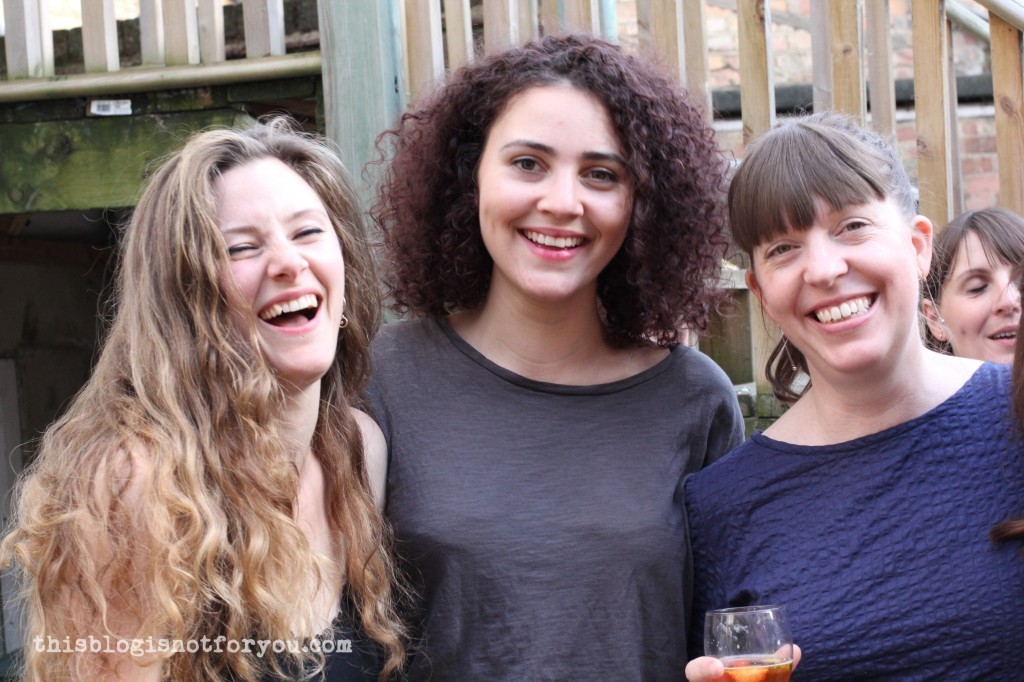
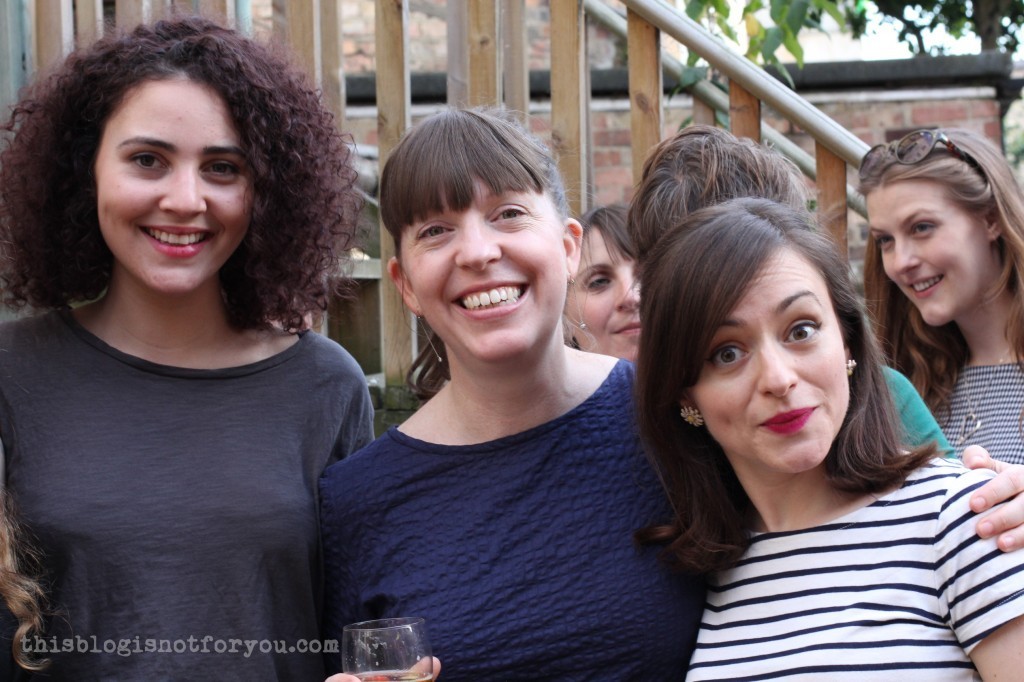
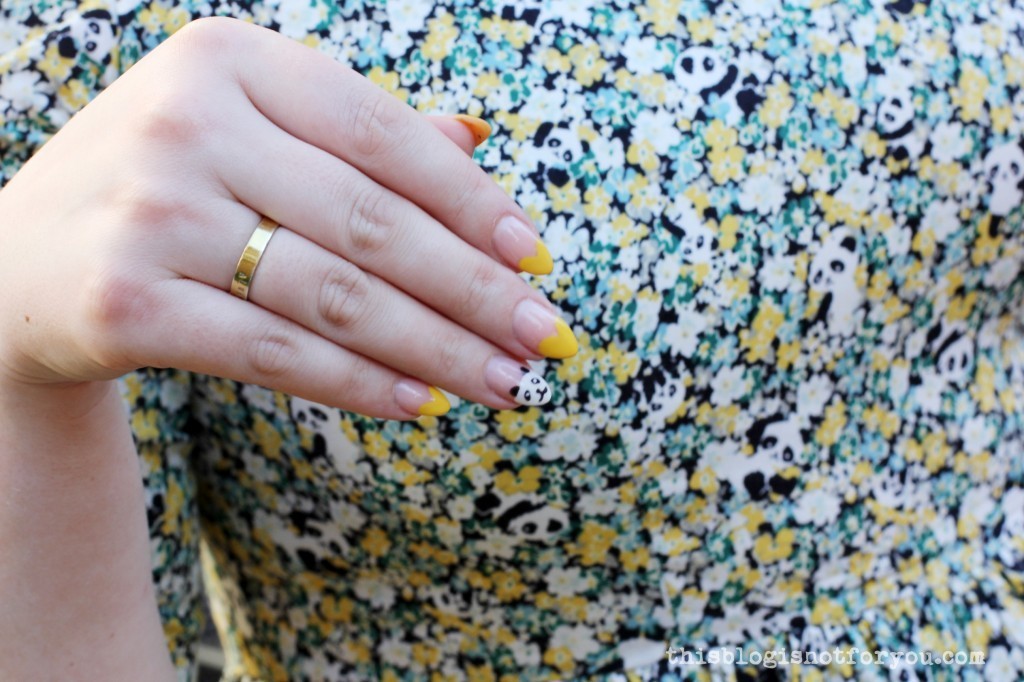 I loved meeting Sarah, who only started sewing this year and wore her 50th (!) Emery Dress that night! She got a prize for that. Well deserved! I loved the Panda fabric of her dress. She even had matching nails!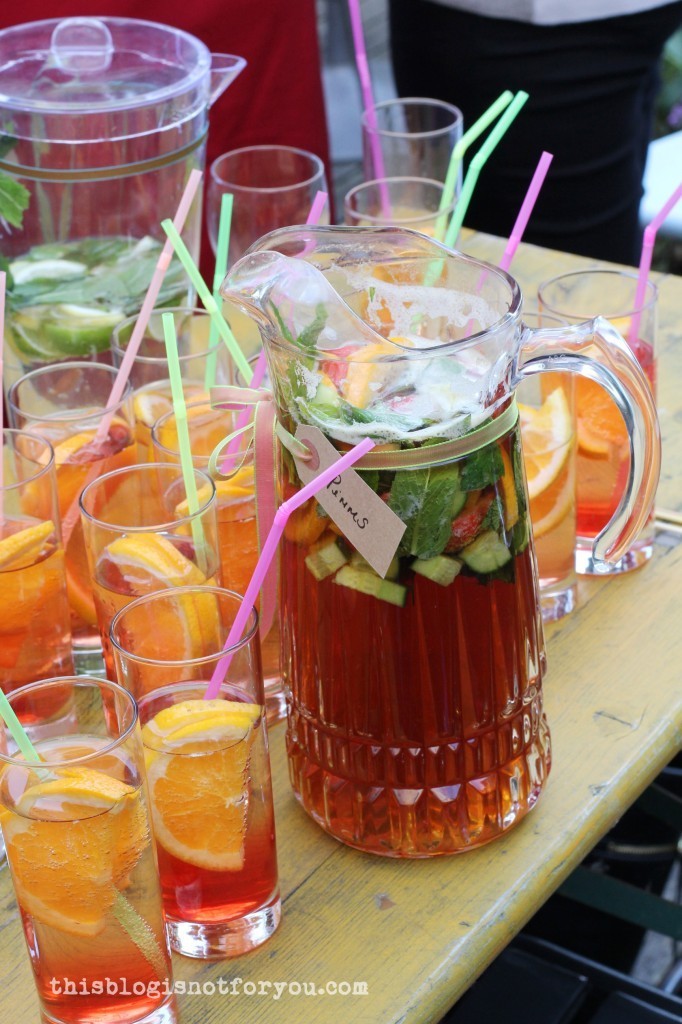
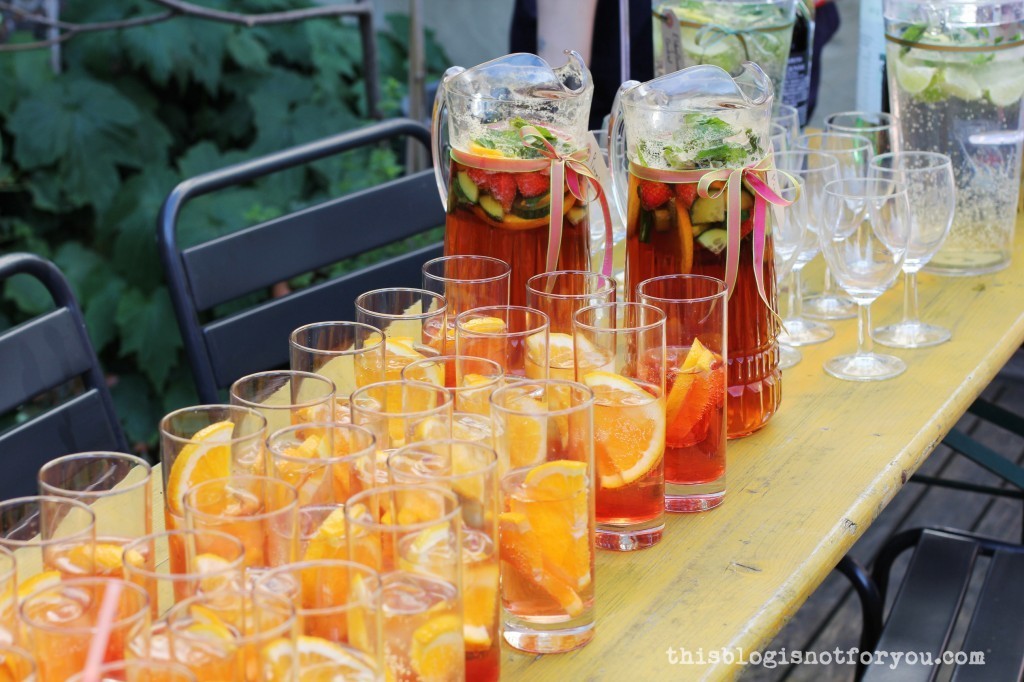
 Loads of drinks and nibbles! Ray-Stitch is probably the cutest fabric store I have seen so far! I couldn’t leave without buying something, of course. There fabrics were amazing, but a bit out of my budget, so I went with a Georgia Dress pattern and some lovely colourful trim instead.
 Two weeks ago I got Tilly’s


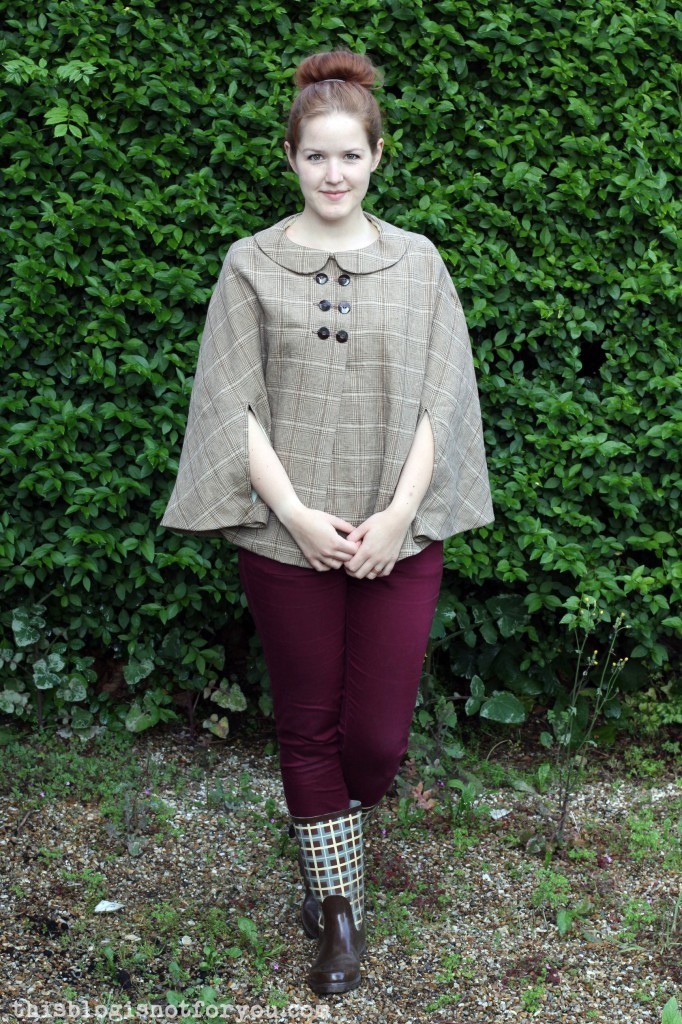 Sewing along and making the cape?
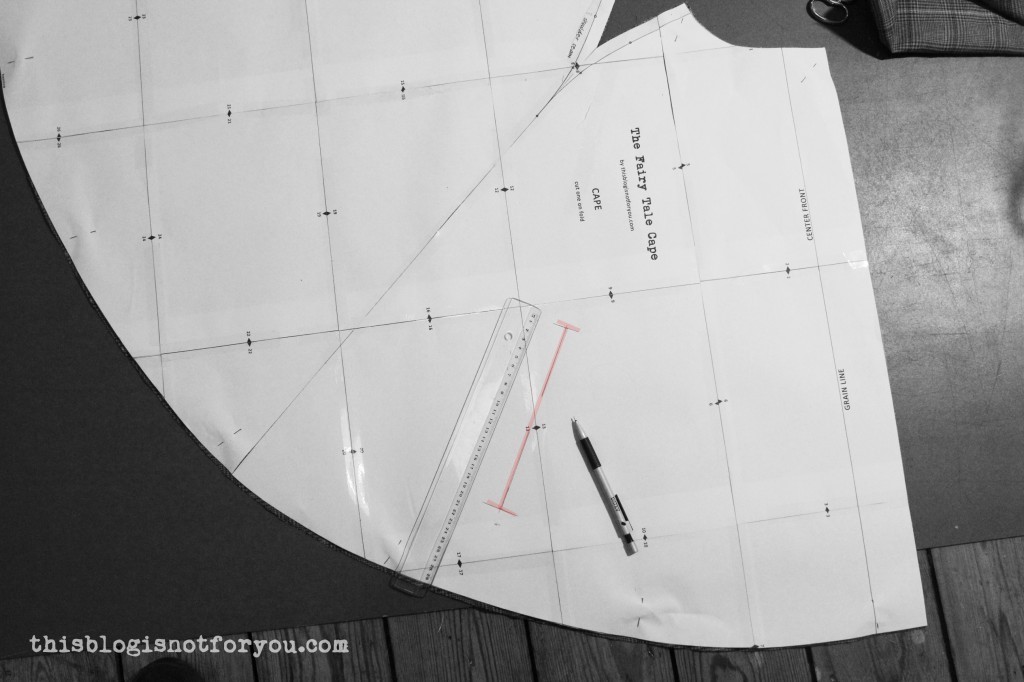
  1. Take your cape and pattern piece and mark the position of the arm opening as shown above. The position of the armslits really is up to you. I put mine closer to the centre front, others prefer it to be on the lengthened shoulder seam line.
 3. After marking the position of the arm opening (with chalk or tailor’s tacks), cut out four strips of your main fabric (or lining fabric if you prefer the contrast), two for each armslit. They should be approx. 4-5cm (2inch) wide and 3cm longer than your armslit measurement. So if your armslits are 20cm long, these strips will have to be at least 23cm long in order to include a seam allowance of 1.5 cm on each end.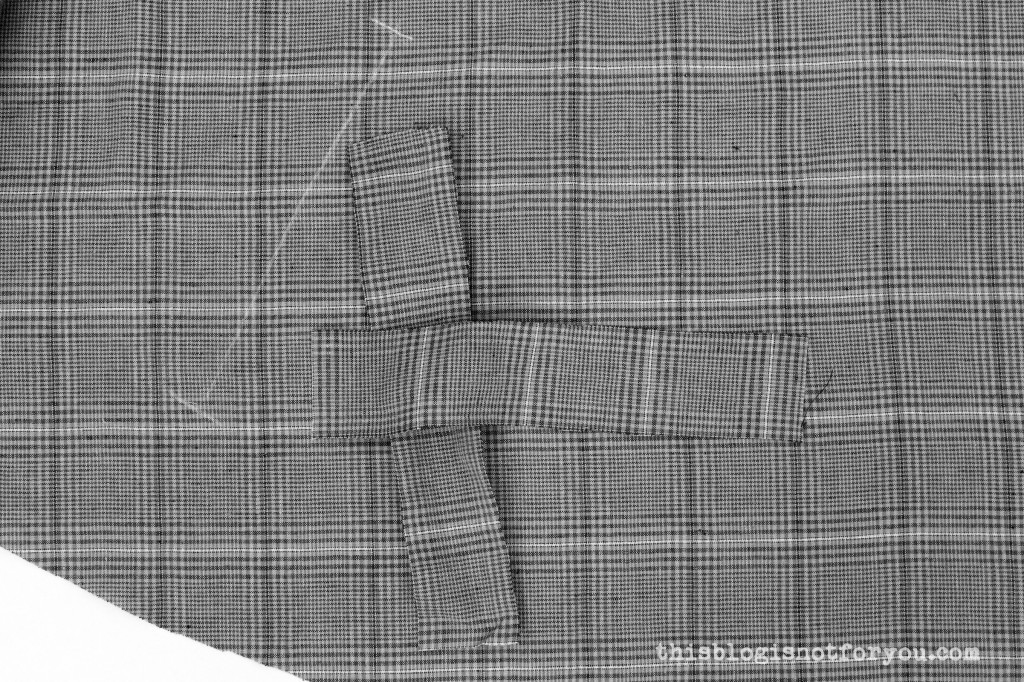
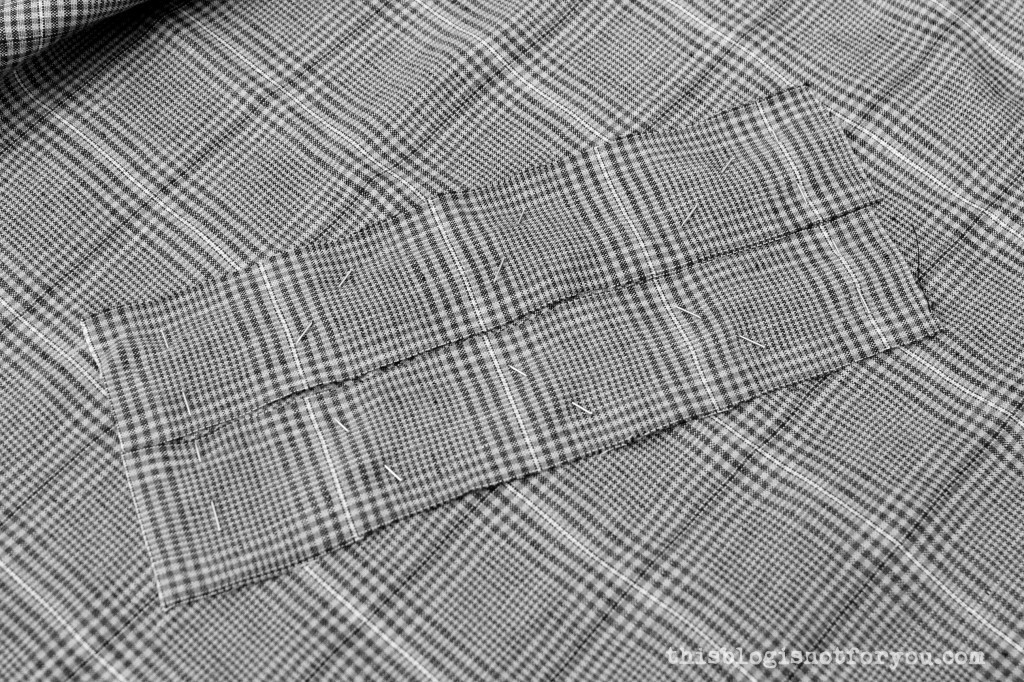 5. Turn your cape around, so that you are facing the left side of the fabric. Carefully stitch two lines approx. 7mm (2/8”) from the armhole marking, starting and ending your seam at the markings, as shown below.
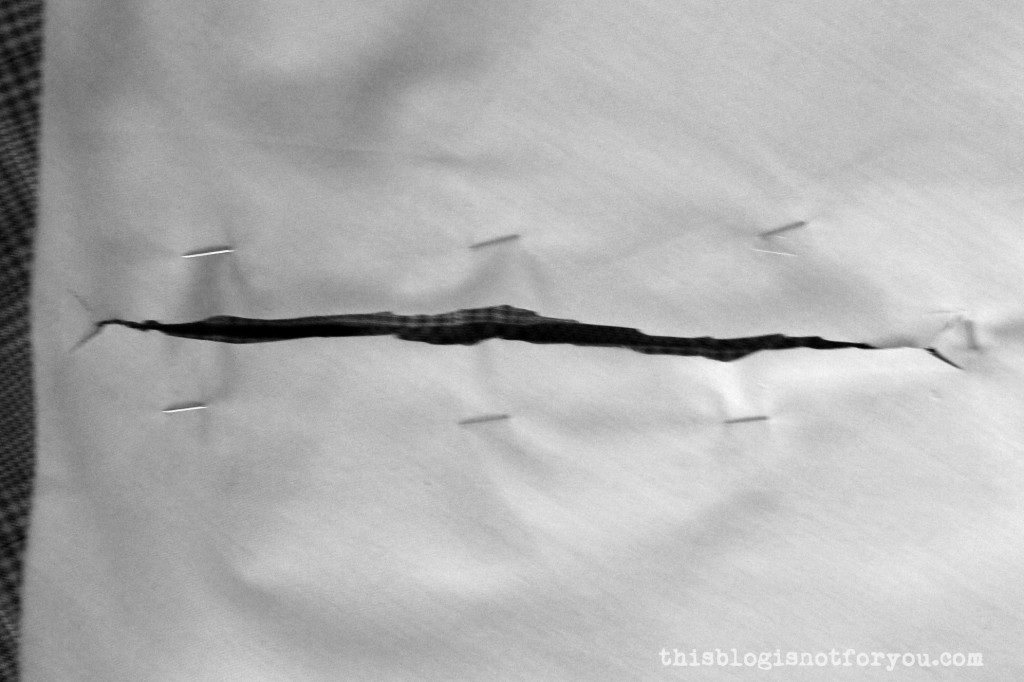
 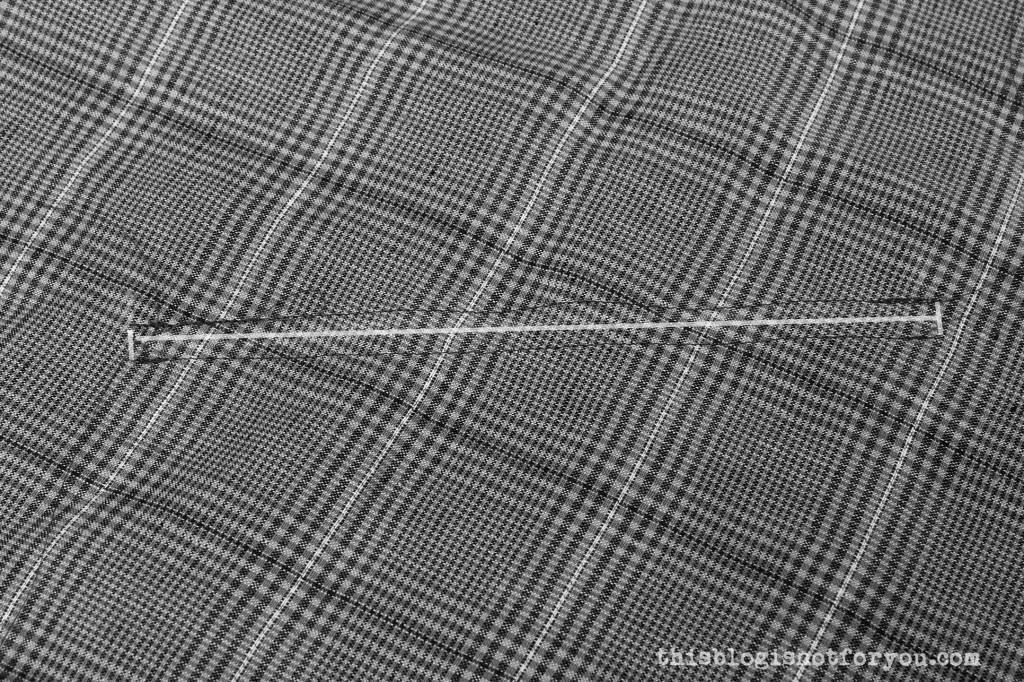 6. Cut the armslit open along the marked line starting and ending 1.5cm from the marked end of your line (see picture below).
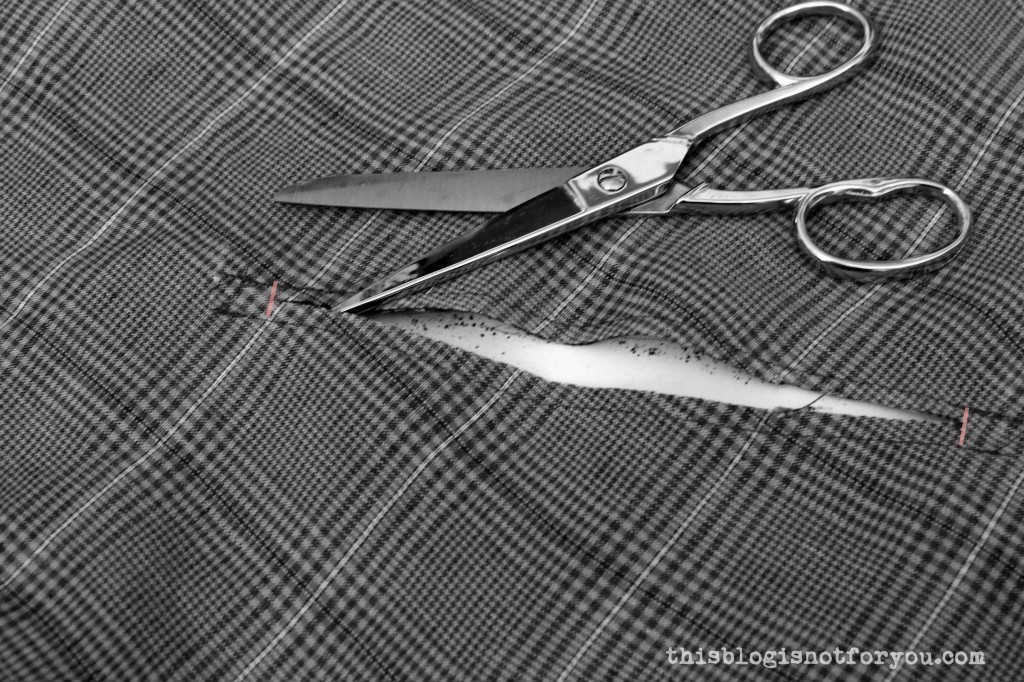 7. Cut diagonally towards the end of your stitching lines, so you will end up will small triangles.
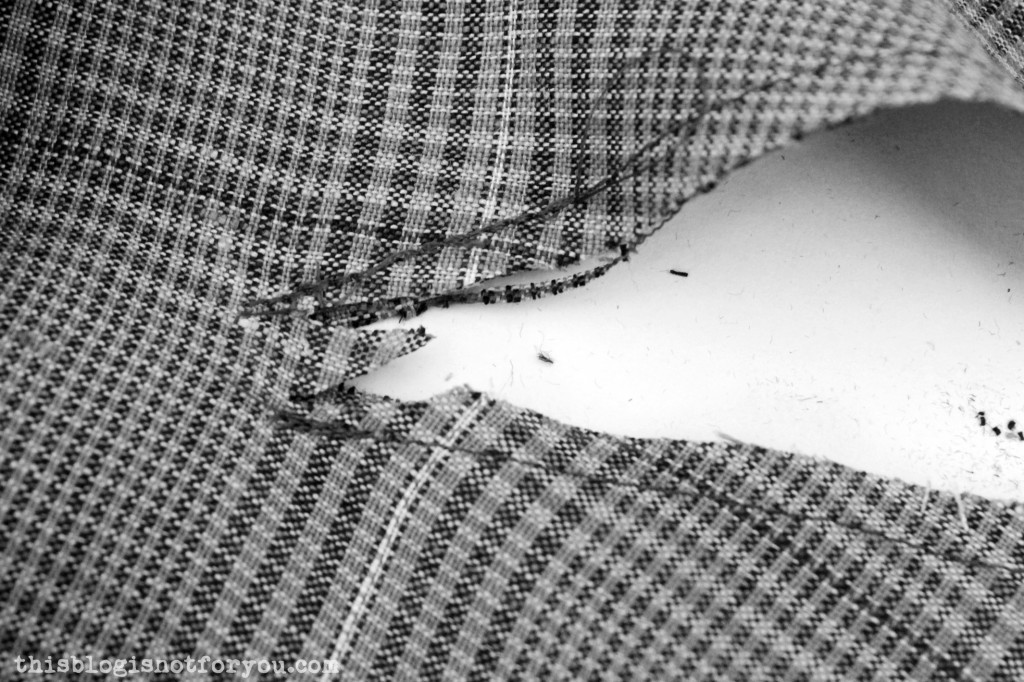 8. Push the fabric through to the other side and press.
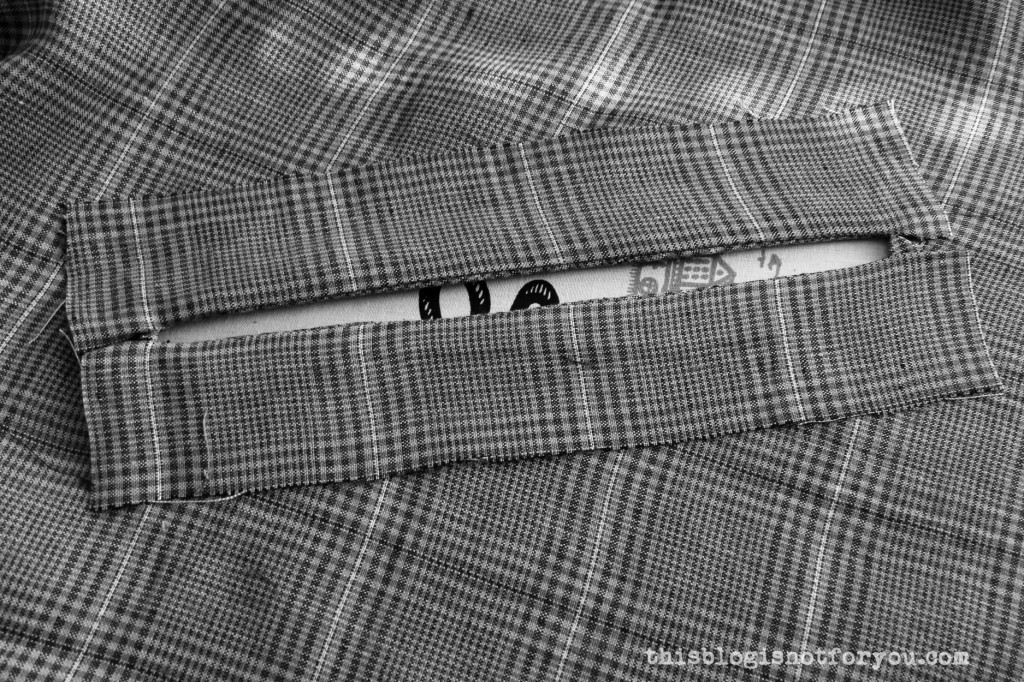 9. You could now simply understitch the facing. I decided to press the facing so that it shows through the opening on the other side.
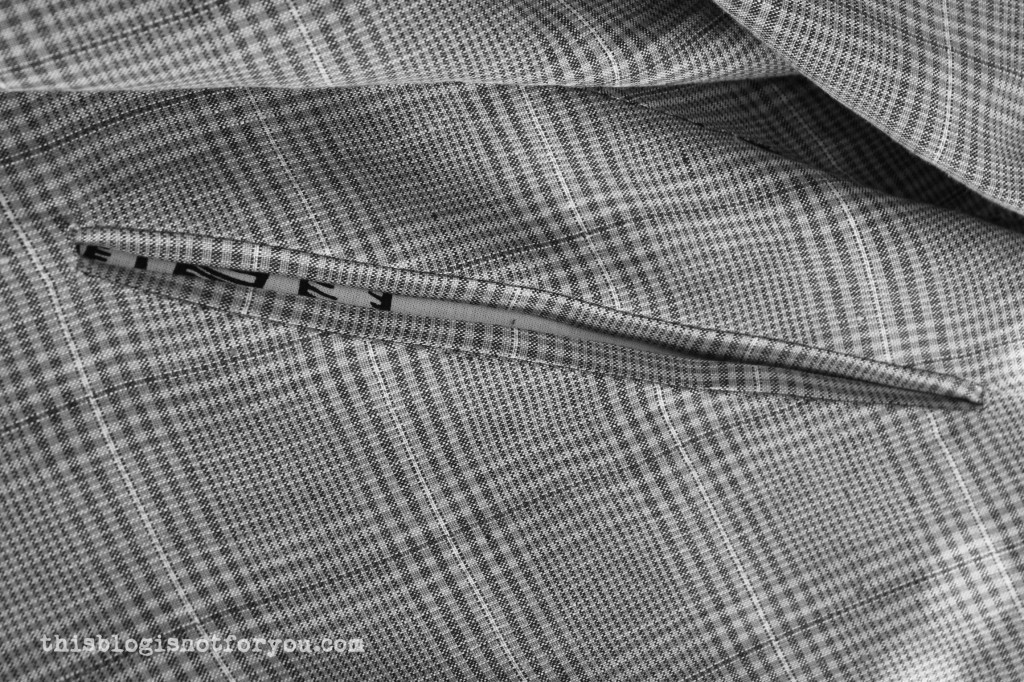 10. Stitch in the ditch to hold the facing in place.
 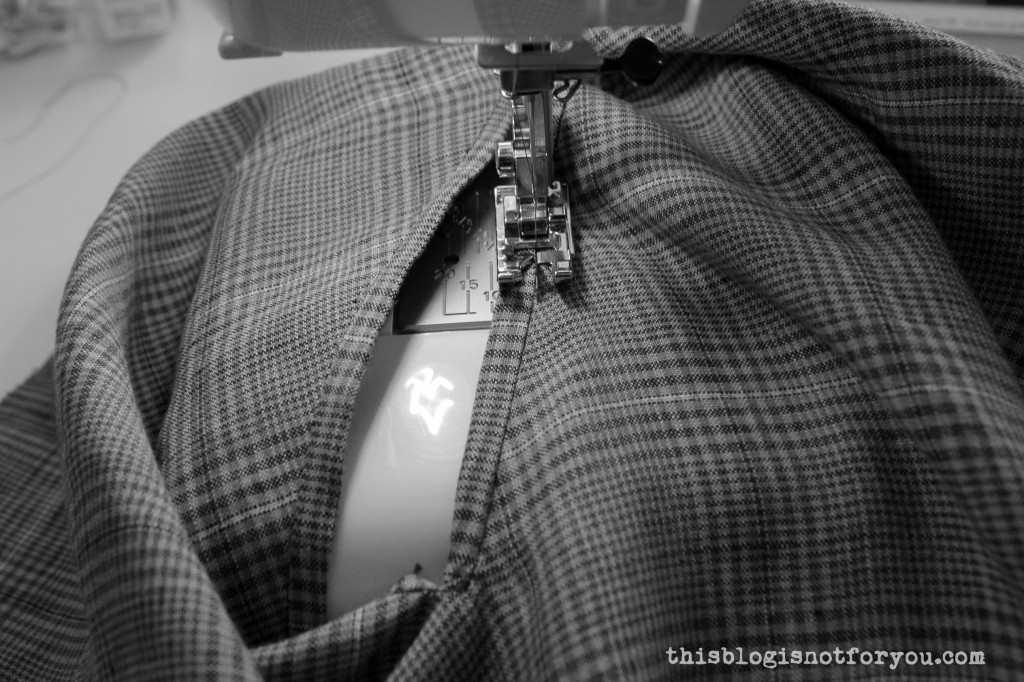 I used a special presser foot for that, but you can simply use a standard feet as well, stitching slowly on the previous seam.
 11. When you have understitched, topstitched or otherwise secured the facing, pin the small triangles in place and stitch them onto the facing’s seam allowance. You can either to that by machine or with hand.
  12. If you are not adding a lining to your cape, you can sew the outer edges of the facing onto your cape with wide catch-stitches.
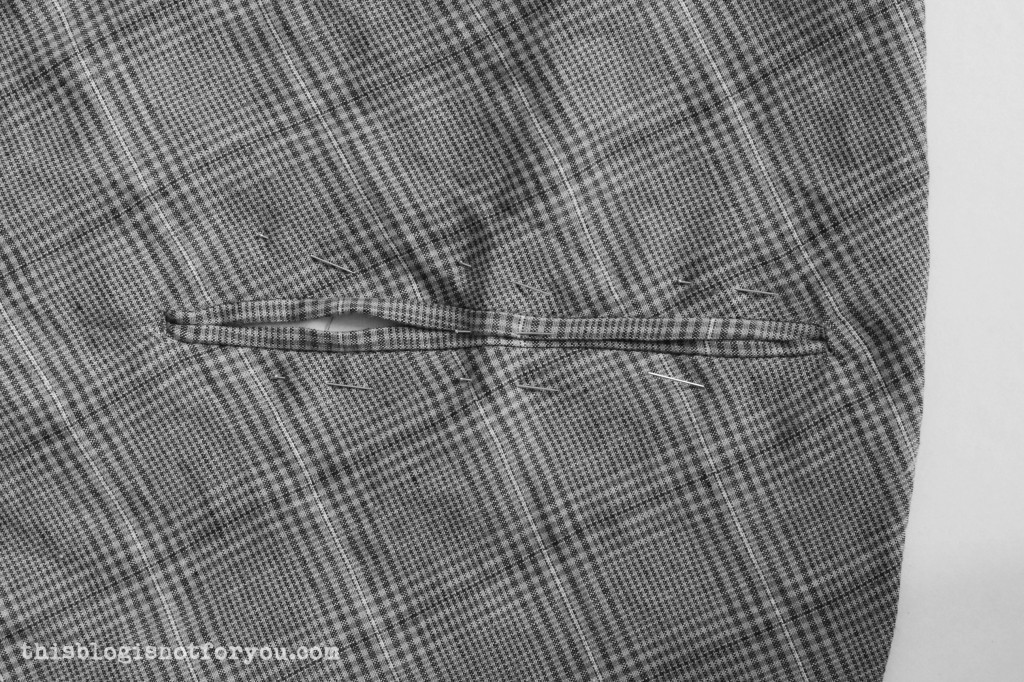 1. After your cape is lined and pressed, first pin the armslits closed and an then add some pins to hold lining and main fabric together along the opening. Make sure all layers are lying very flat before you pin (or baste) them together.
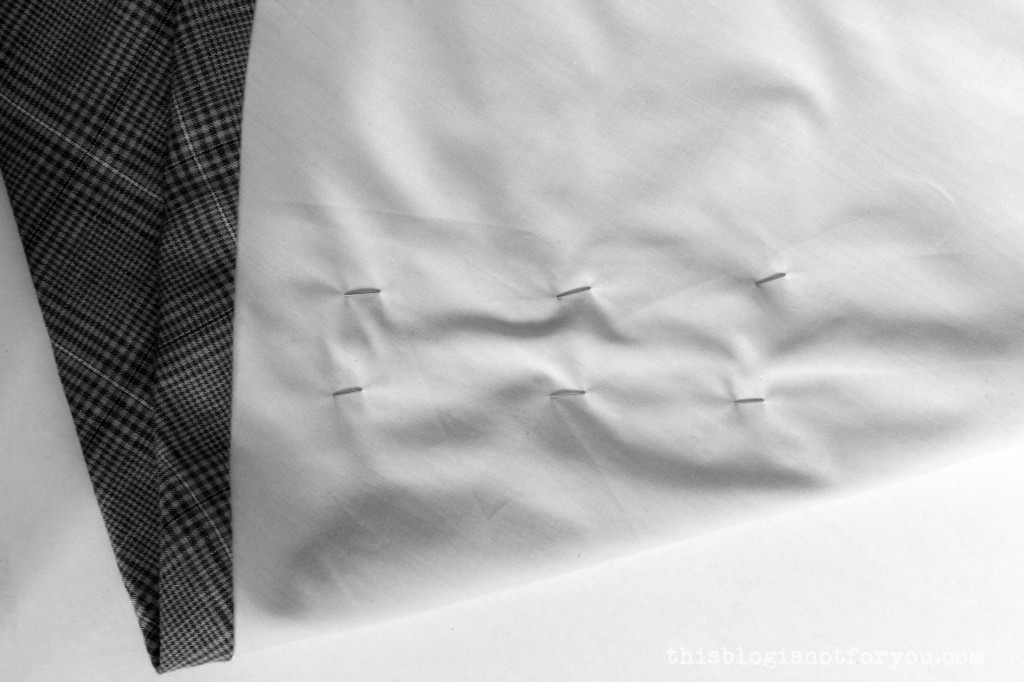 2. Take out the pins you used to close the opening and carefully cut the underlying lining open along the marked armslit line. (You can either mark the line before you sew in the lining, or before cutting, after you take out the pins.)
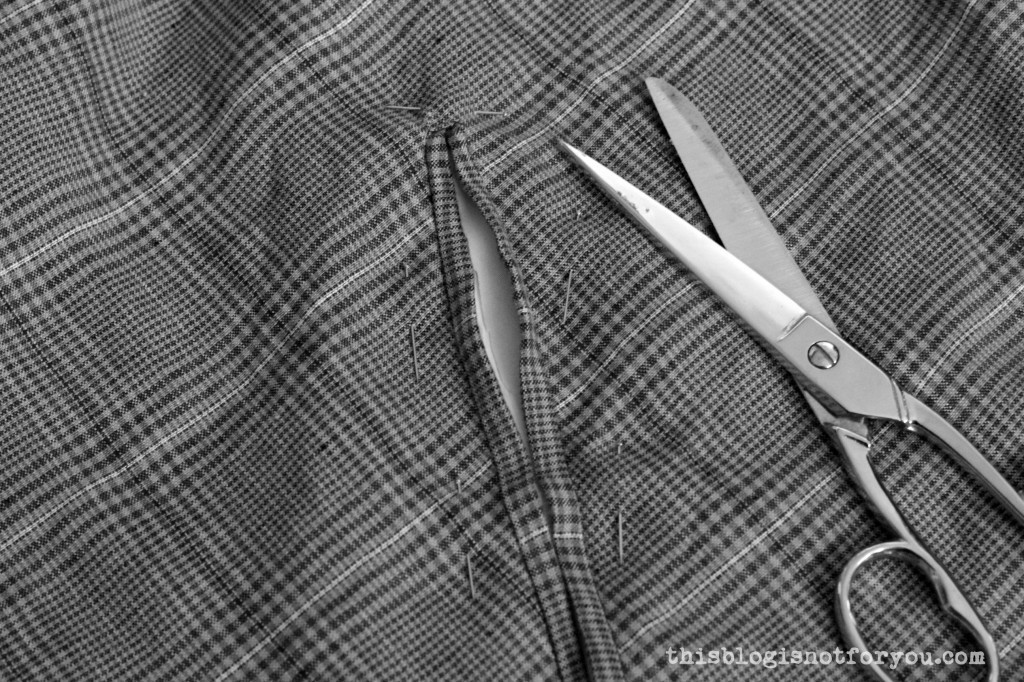 You make the cut in exactly the same way as before, ending the cut with the small triangles.
 3. Push the seam allowance between the layers and pin everything in place.
  4. Using thread and a handsewing needle, slipstitch the lining to your facing. If you absolutely loathe handsewing, you can (from the right side) stitch in the ditch again, catching the lining. For a neater finish, I’d always recommend handsewing, though.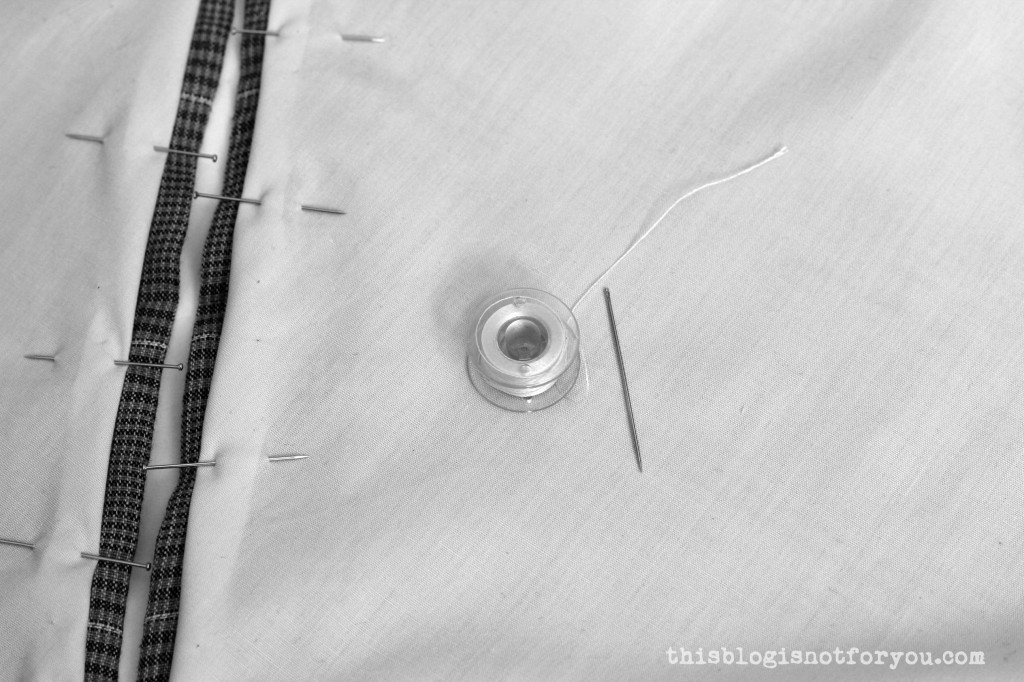
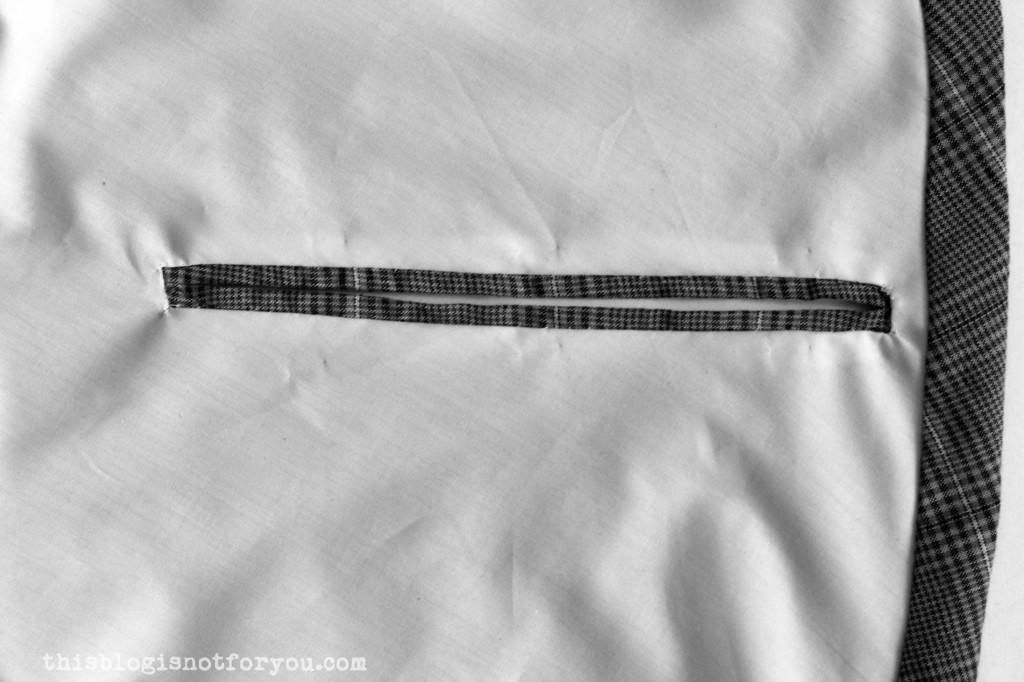 And you’re done! Congrats!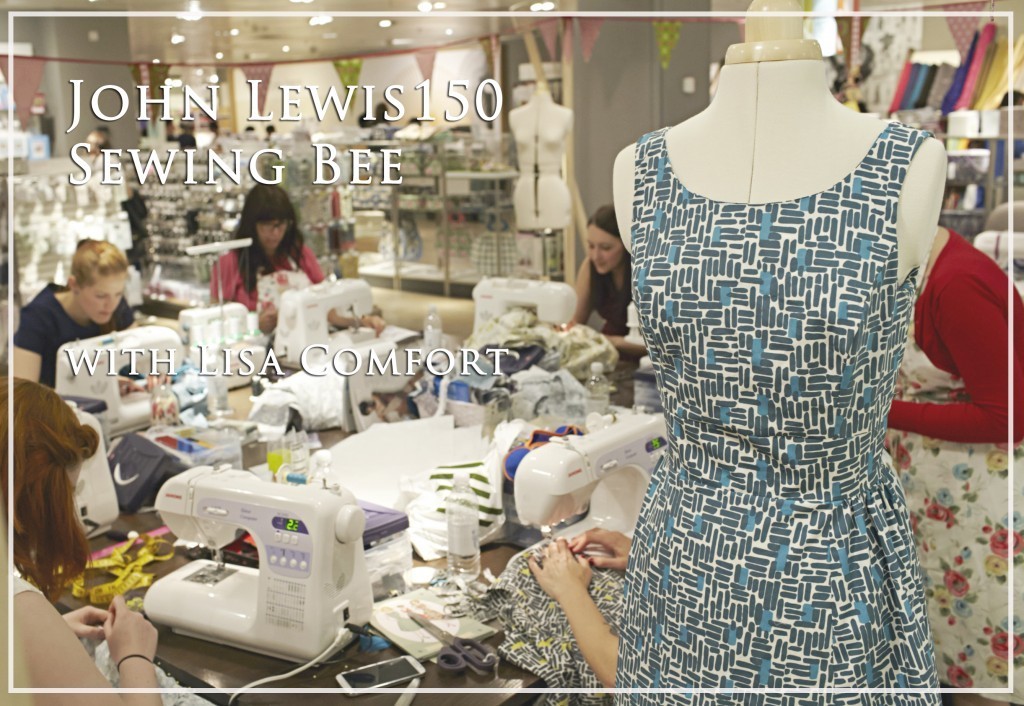
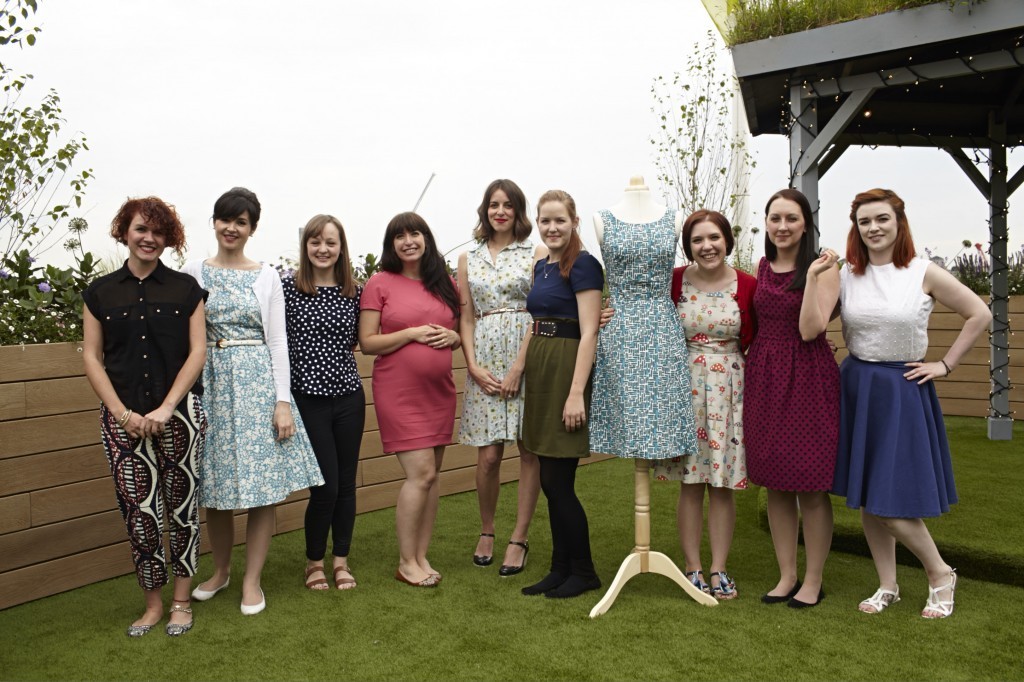
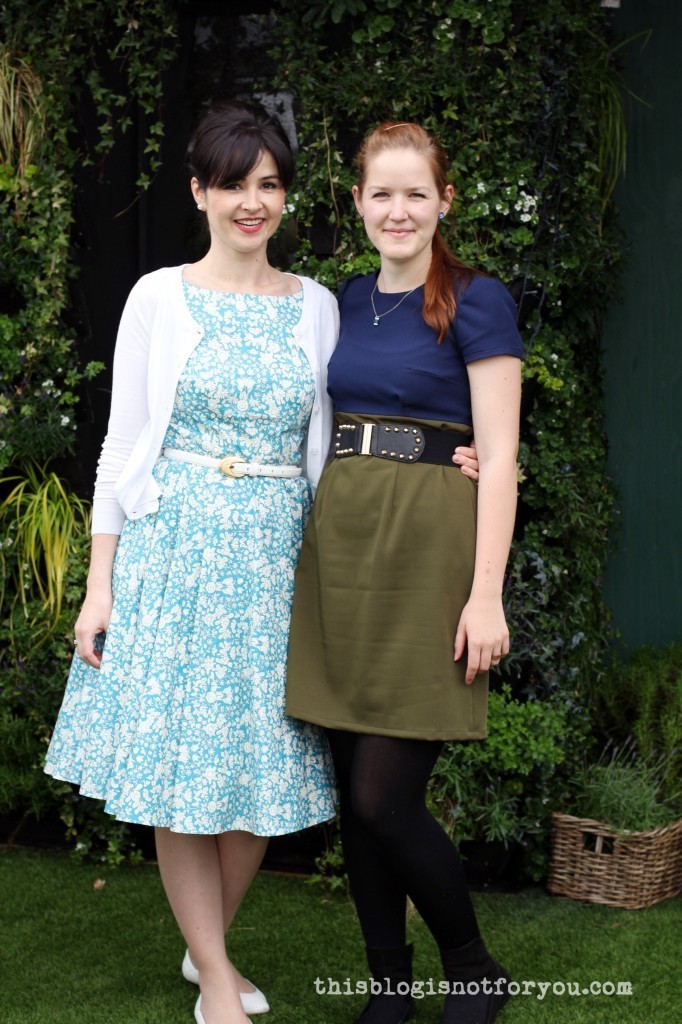
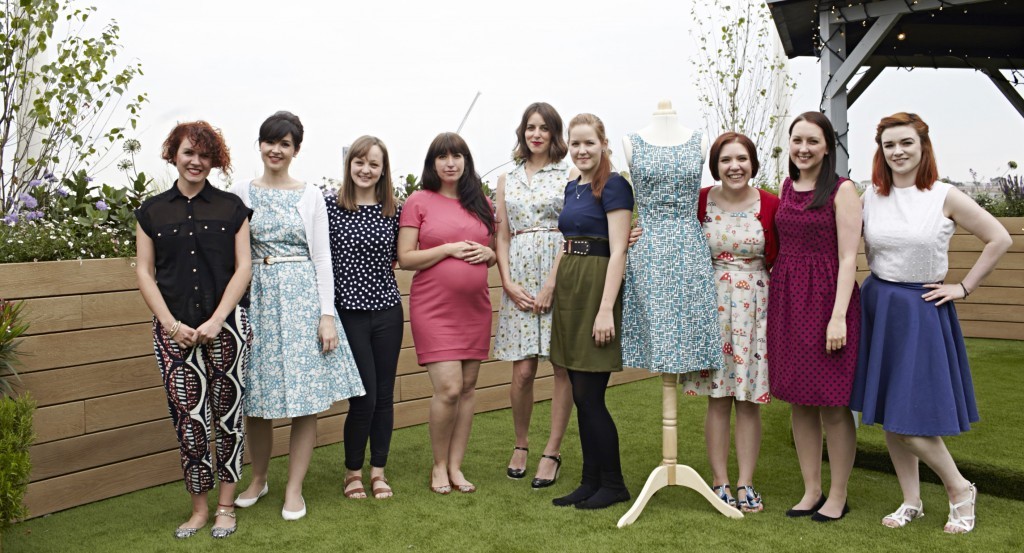 Left to right: Freya (who assisted Lisa during the day), Lisa, Fiona (
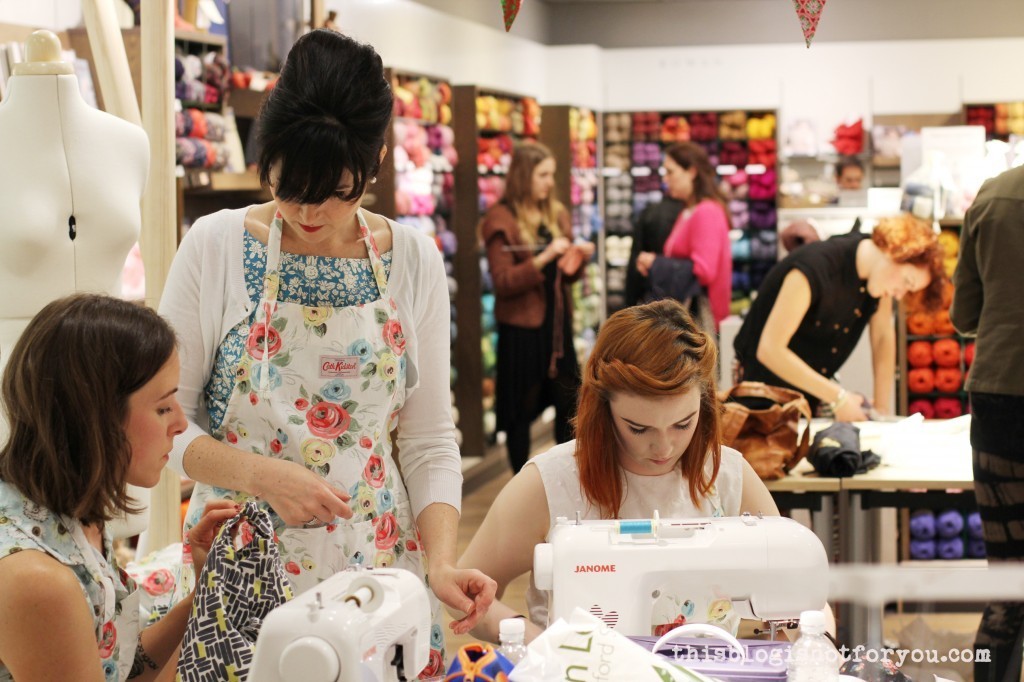
 To celebrate their anniversary, John Lewis brought back heritage fabrics from various decades and we were using these gorgeous John Lewis Commemorative 150th fabrics to make our dresses. Lisa had picked some cotton fabrics and patterns for us to choose from.
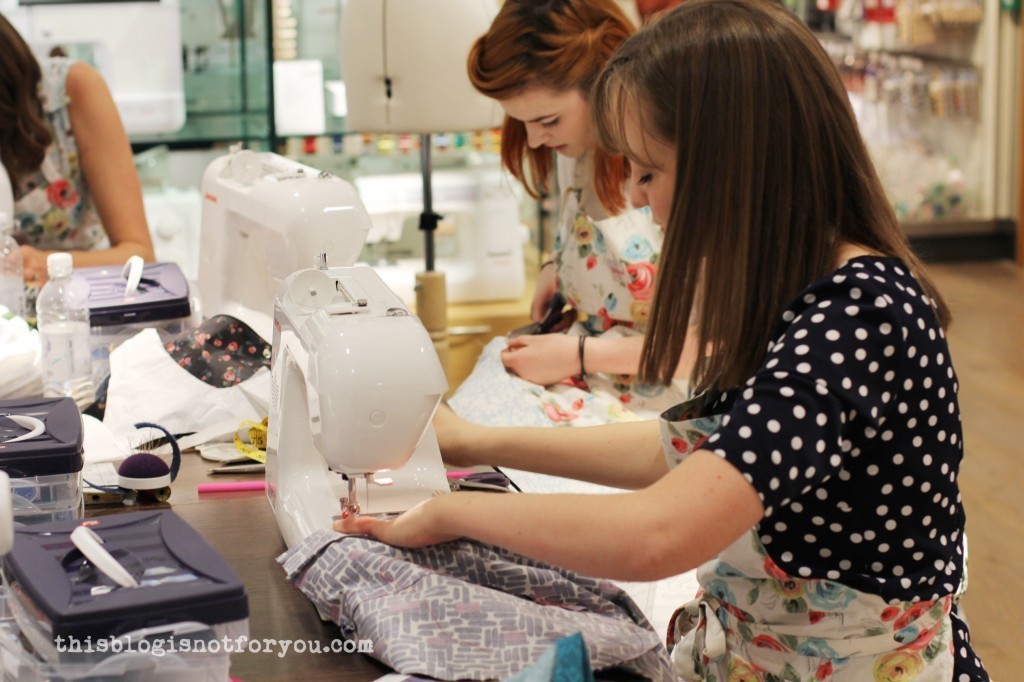
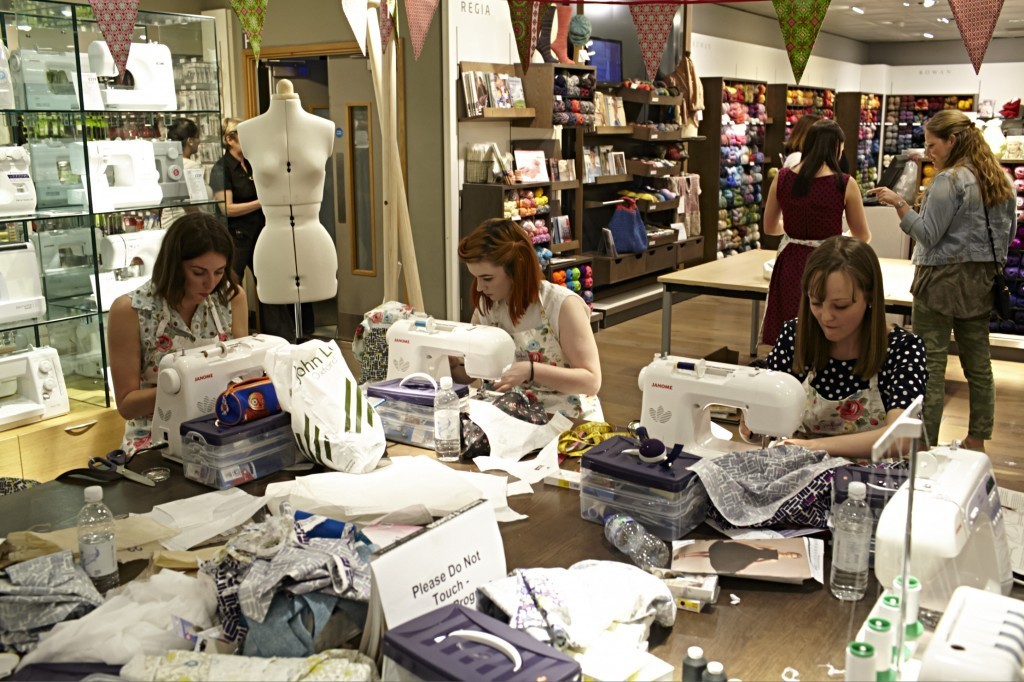 Sewing Bees are messy. Here’s the evidence.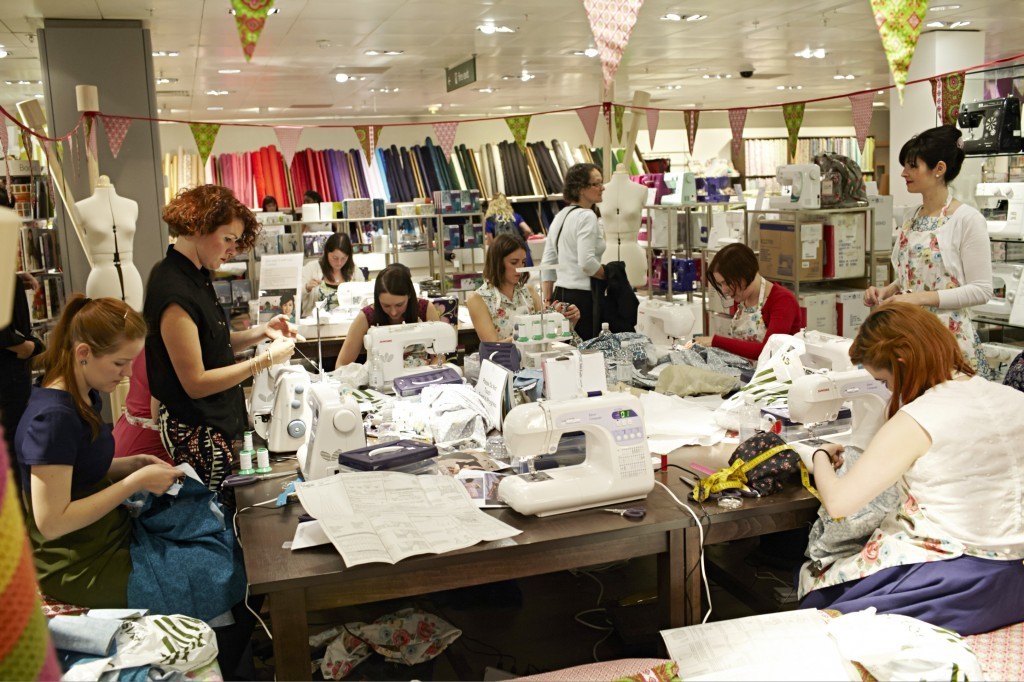

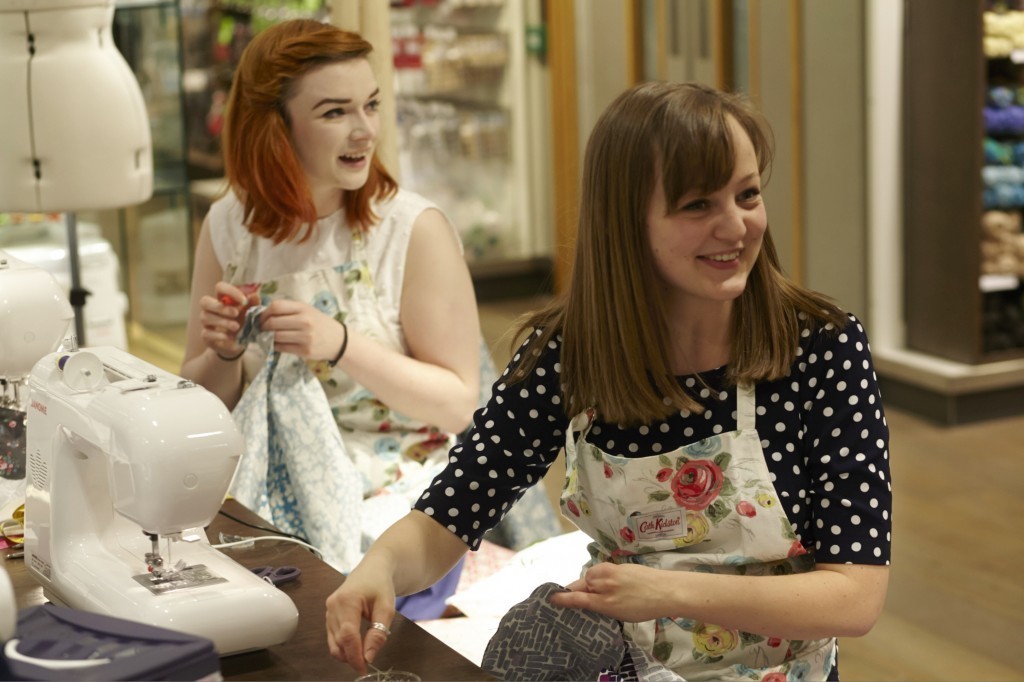
 Fiona went for the purple/pink brick/’bacteria’ fabric.
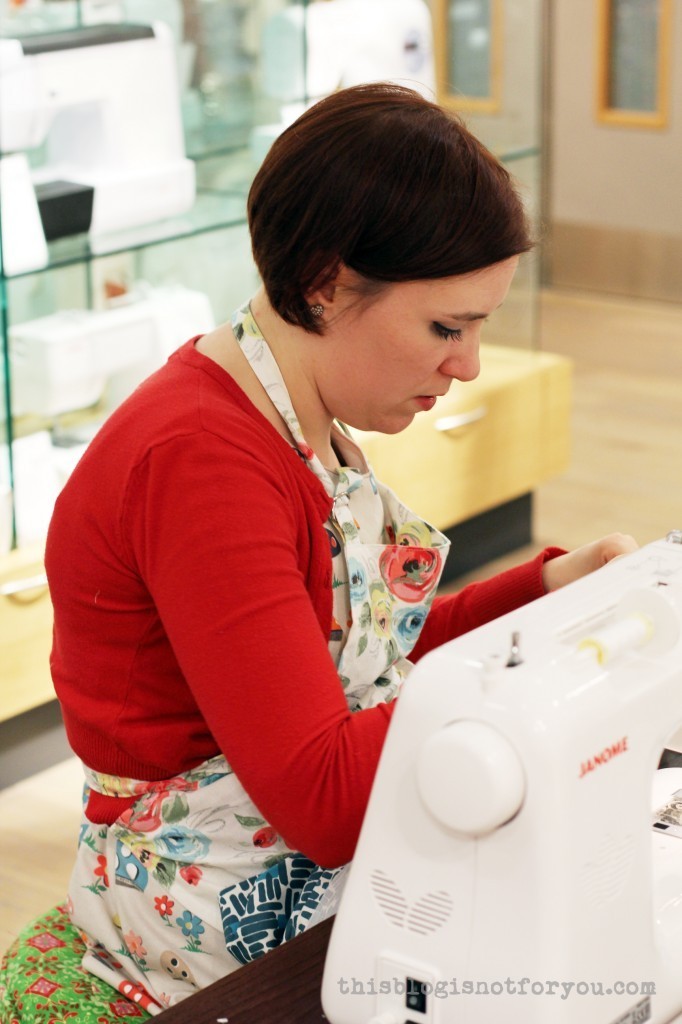 Roisin. Probably the fastest sewer in the world.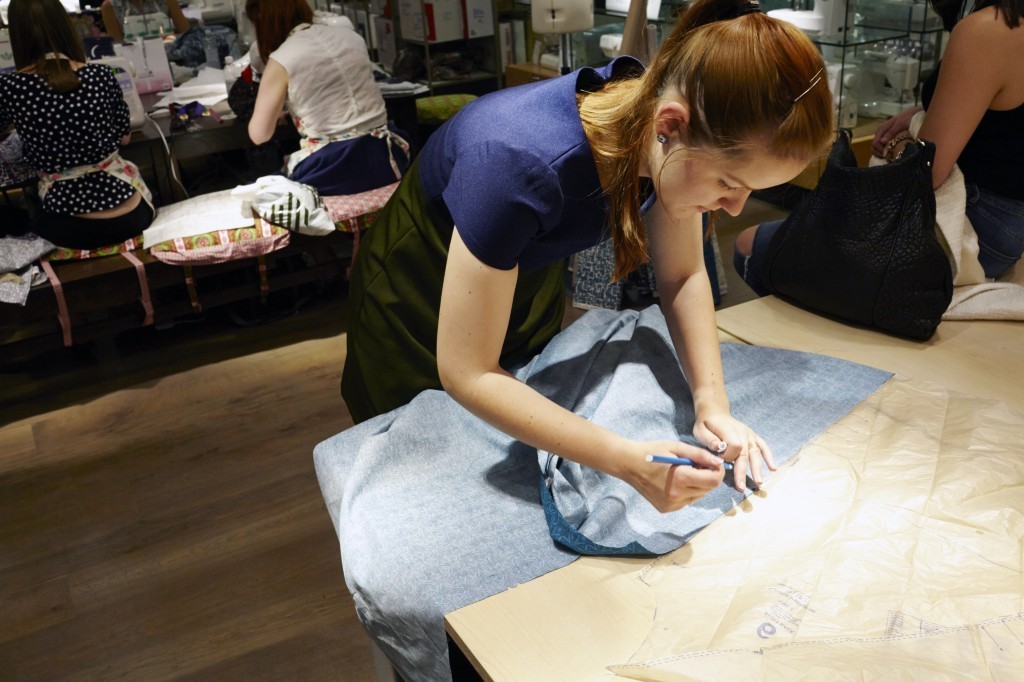
 Emmie decided to be dress twinsies with Lisa and made a Betty dress from a gorgeous flower print cotton.
 I don’t know how she did it, but Clare managed to baste all seams first, fitted the dress and still had an almost finished dress by the time we left. And I loved the McCalls dress she wore that day!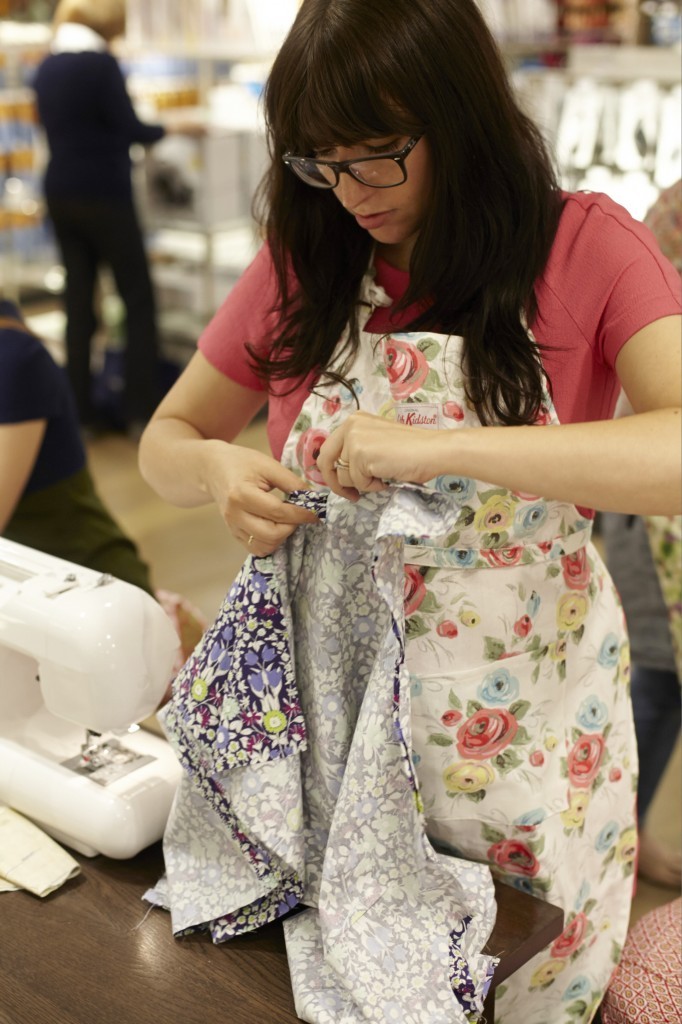
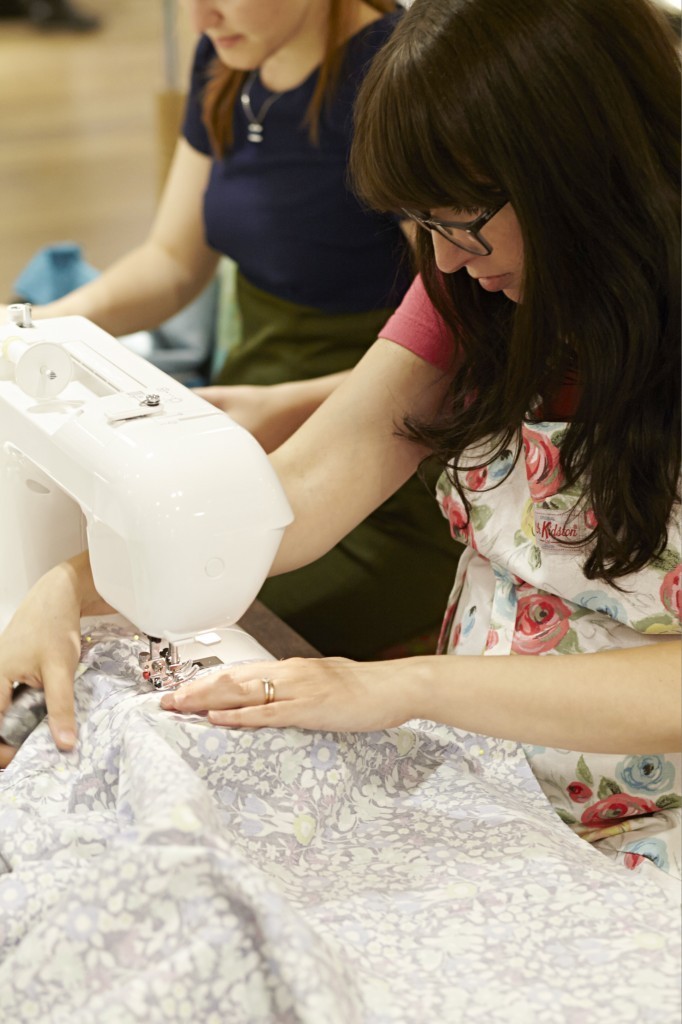 This awesome lady, Elena, was just so much fun to have around. I’m loving the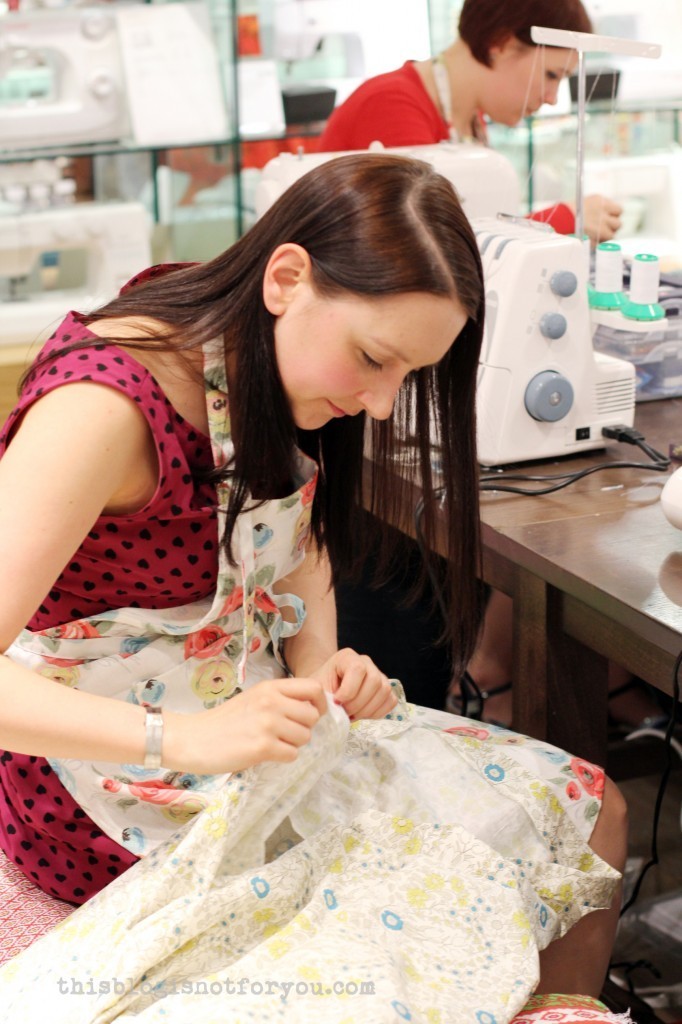
 Amy chose the same Vogue pattern, but a completely different fabric. I can’t wait to see her finished dress!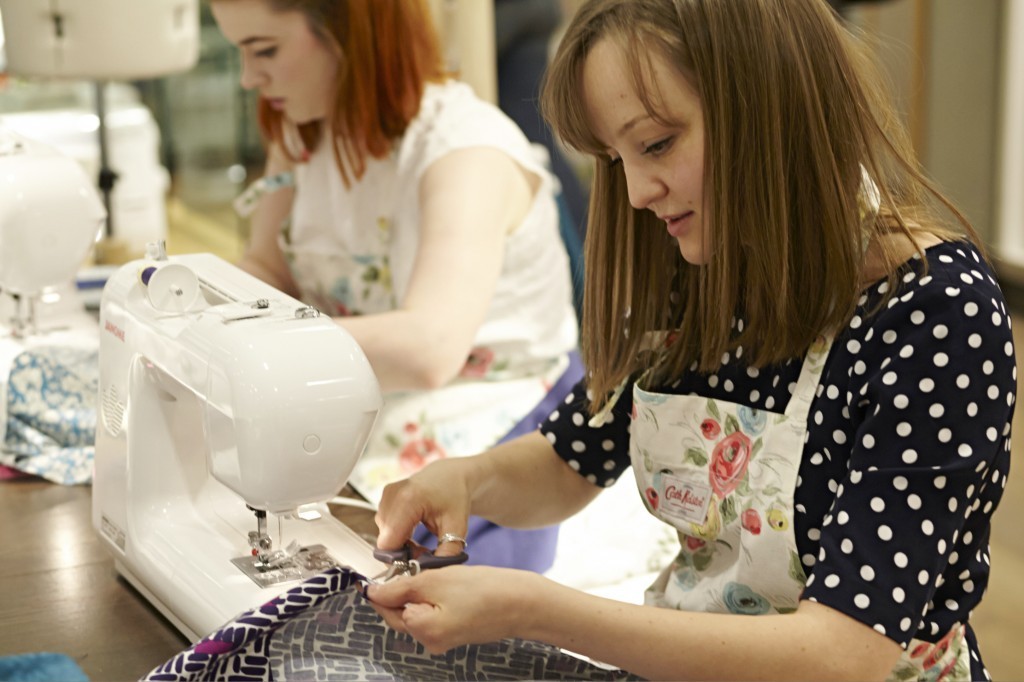
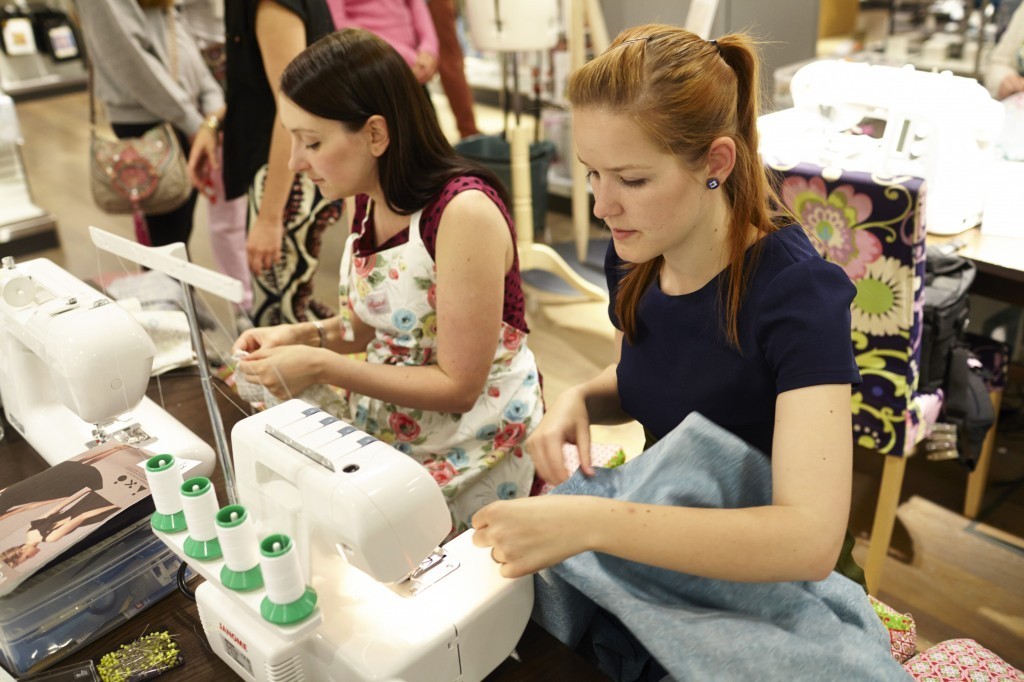 And yes! I was able to try out the Janome overlocker, which I probably fell in love with that day. I’m trying to convince the Mr to come with me on one of the next weekends and pay it a visit (and carry it home!).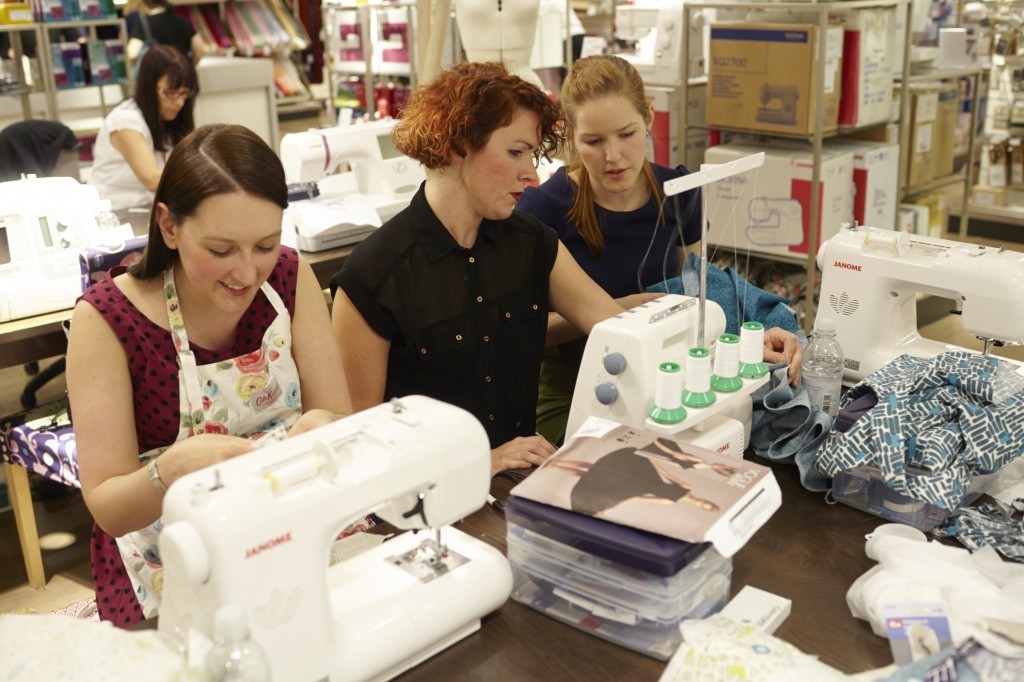

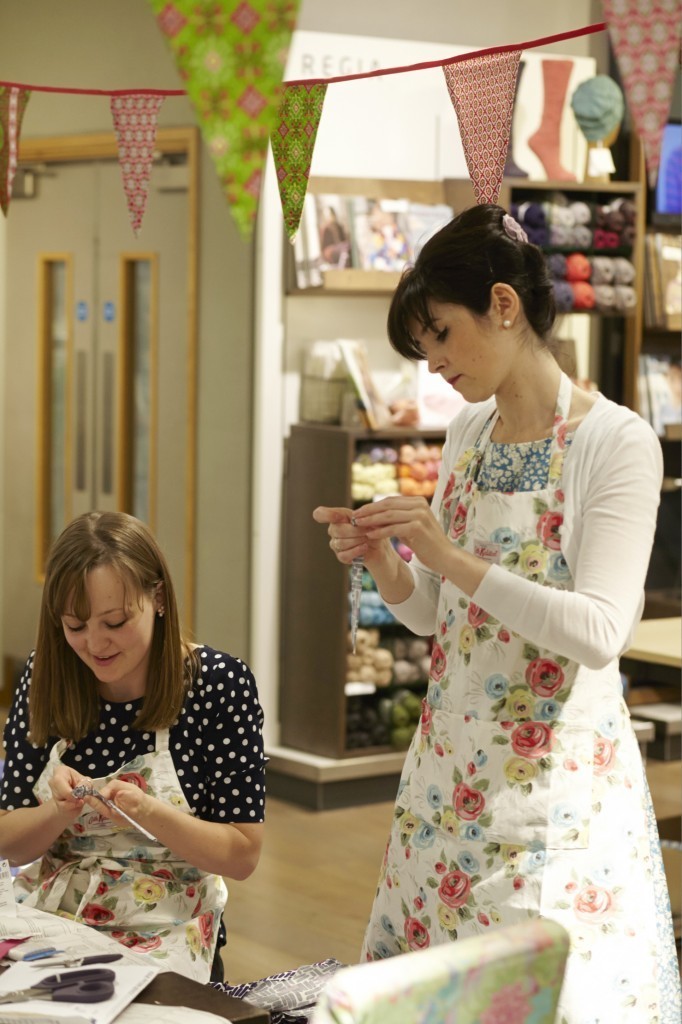 Amazing Lisa was such a great help that day and was so kind to be our fitting buddy. If this woman approaches you armed with scissors or a seamripper, let her. She knows what she’s doing!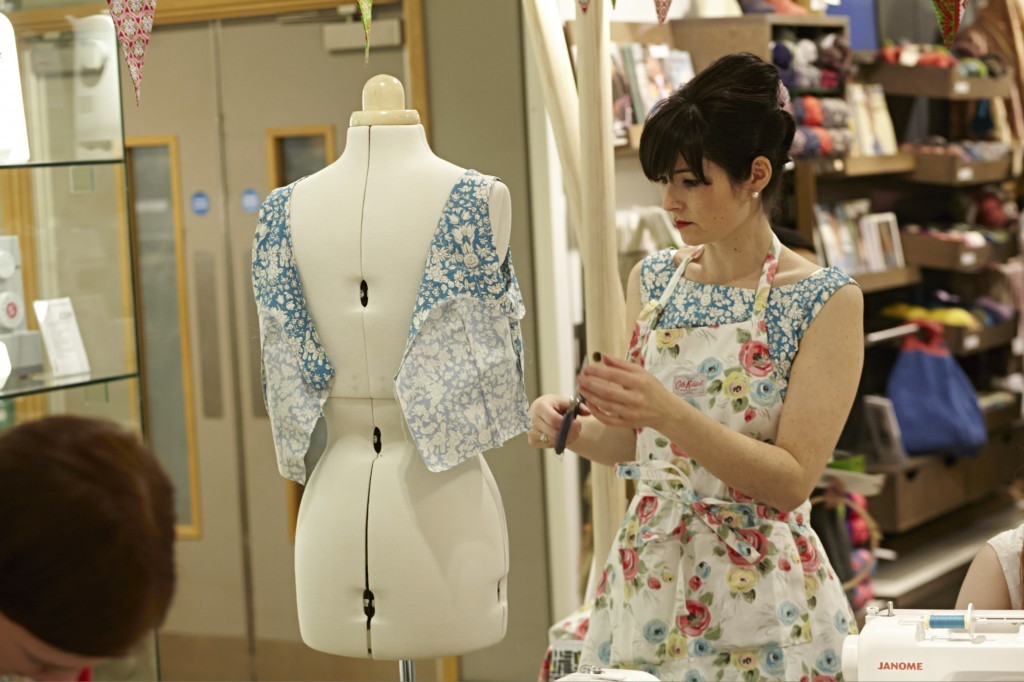
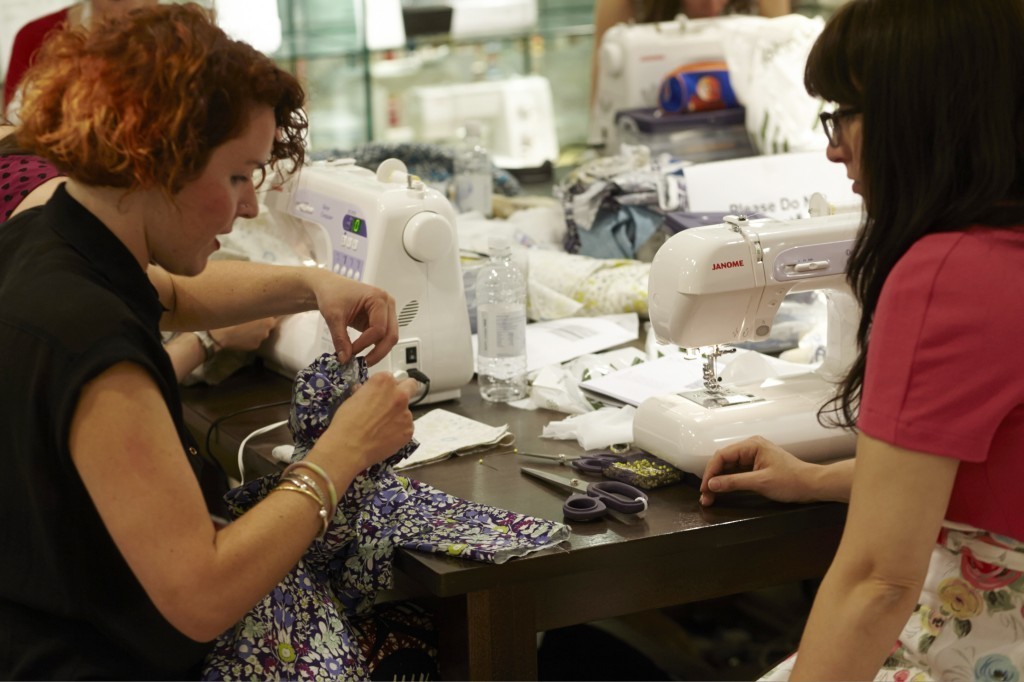 Freya helped us out cutting fabric, interfacing and pressing while we were still sewing. Thank you, Freya!!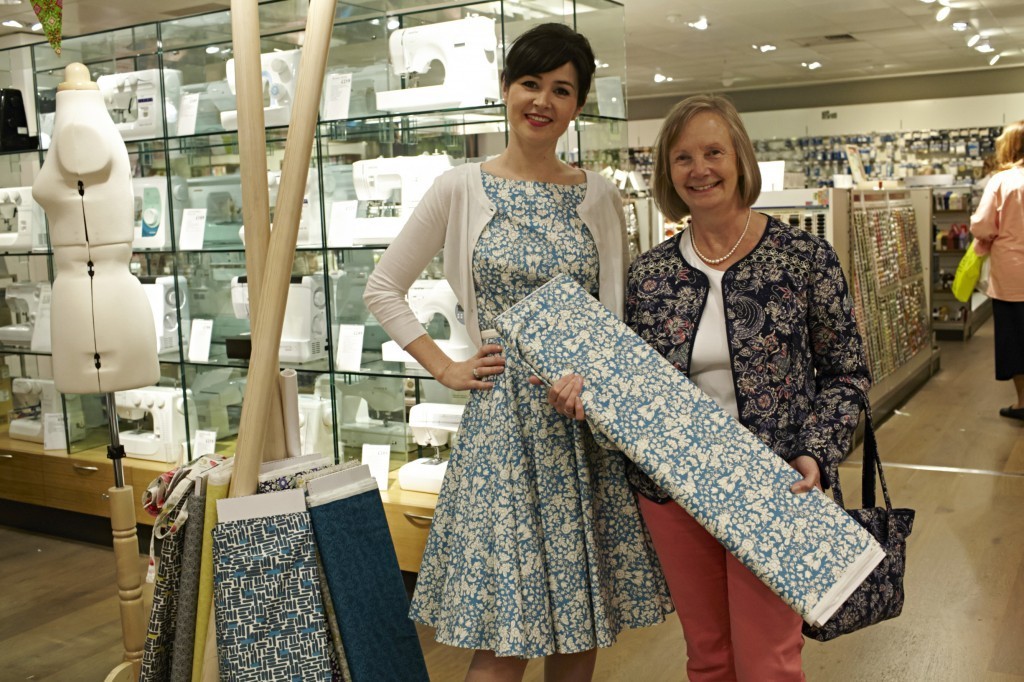
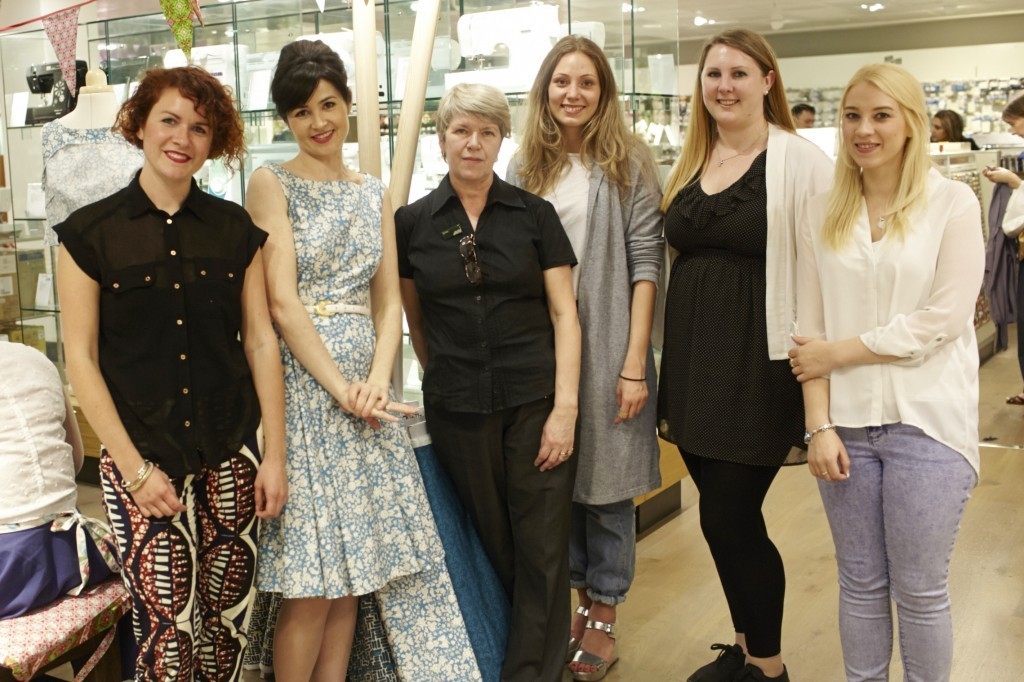 Freya and Lisa with the awesome JL team!
 Guess who was the only one with a dress on the dressform when the photographer came to take pictures? Yep. In Dolly-Clackett manner Roisin whipped up this dress in no time. Pretty impressive, me thinks. Never take part in the GBSB, should this lady be one of the contestants. You will hear her pull up the zip when you’re still cutting out fabric.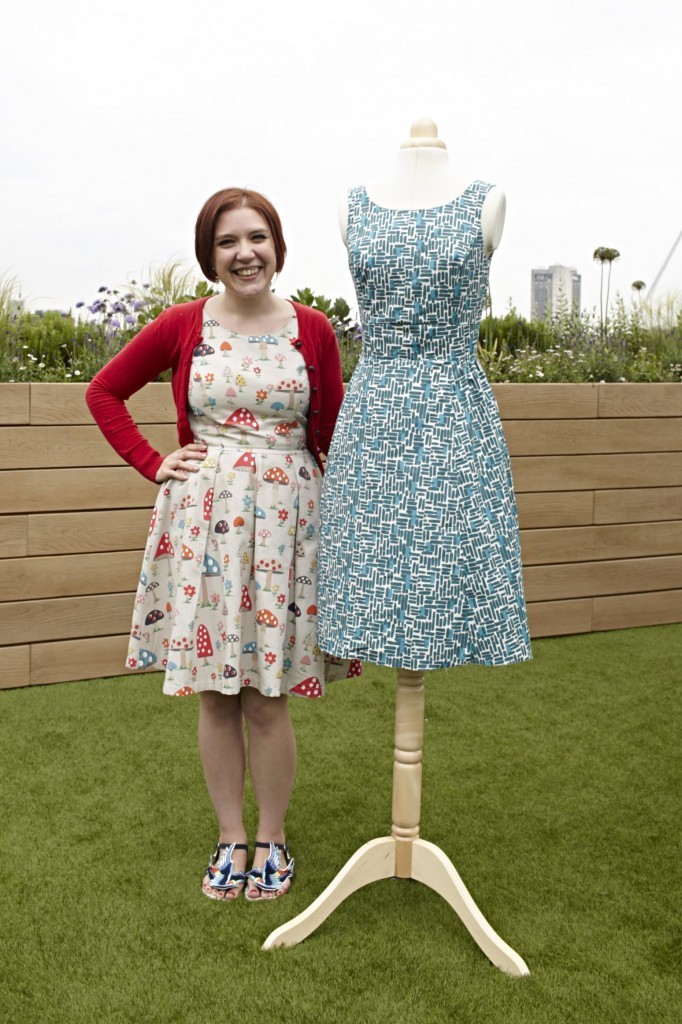
 We all loved our fabulous pinneys!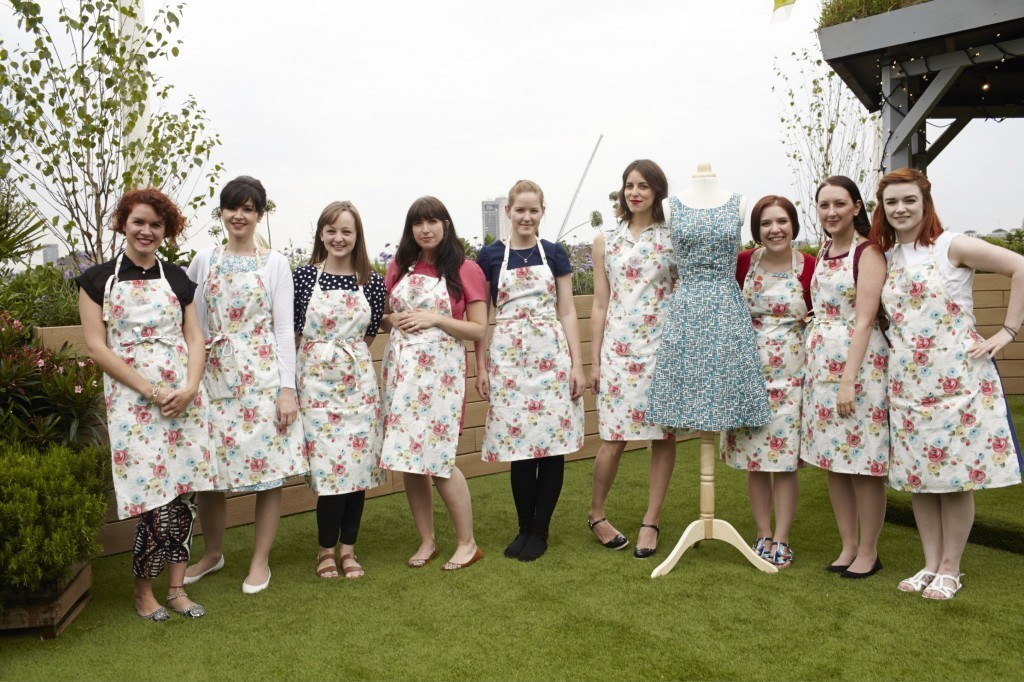
 We took the group photo on the new rooftop garden. It was pretty amazing up there. They even have a juice bar there!
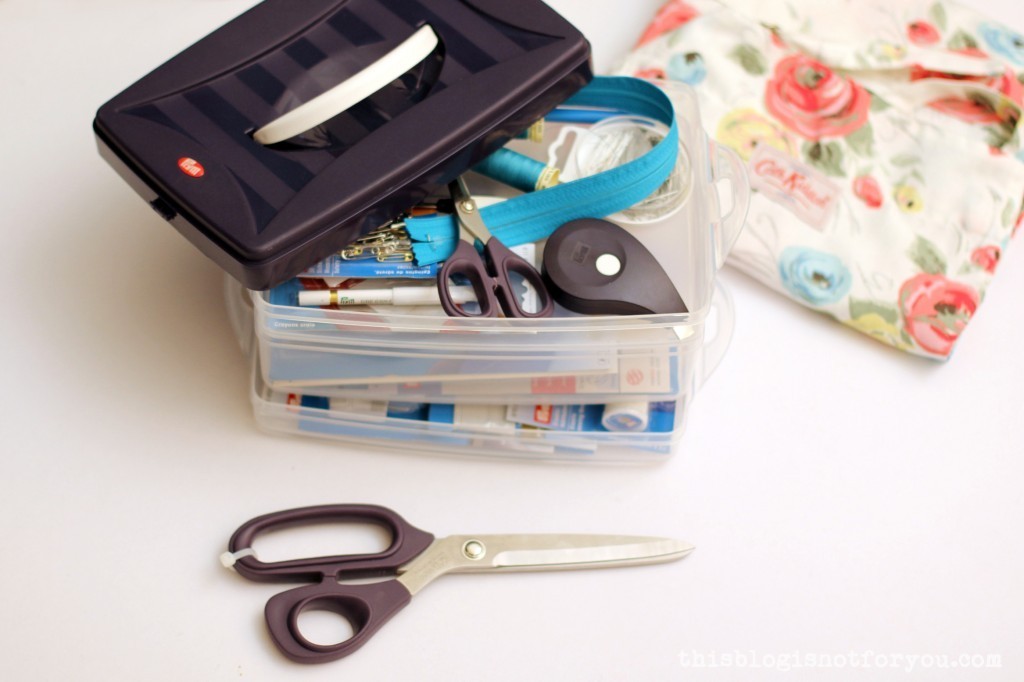
 John Lewis provided a pretty freaking fantastic sewing box for everyone of us for the sewing bee. And the best part? We got to take it home!
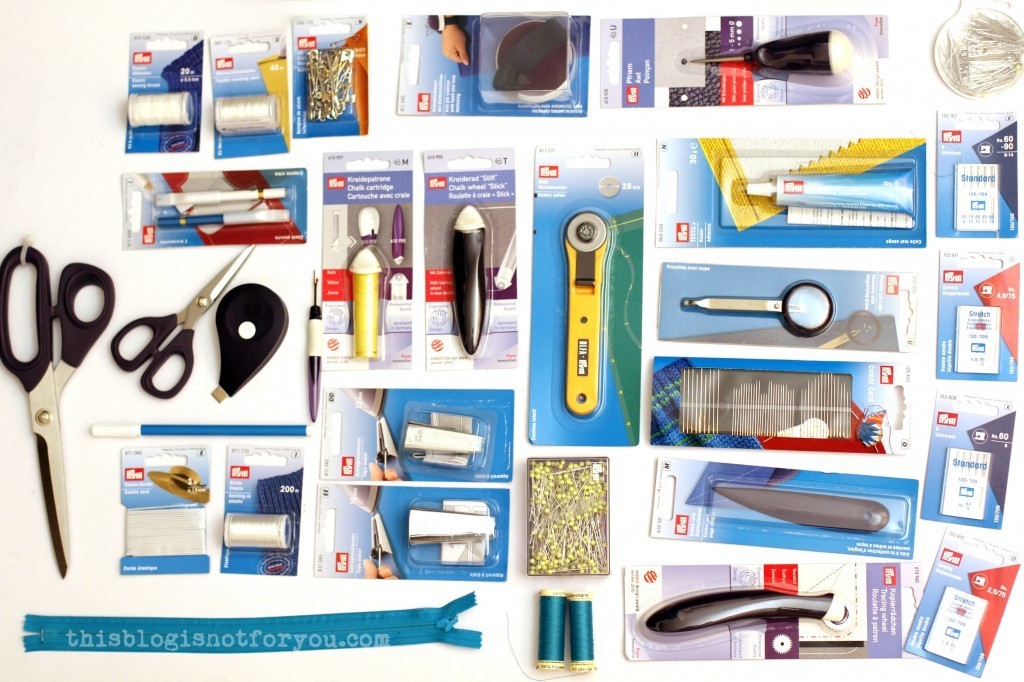
 Loads (!!) of goodies in there (sorry, I had to show it off):
 I guarded it like a treasure chest on the train home.
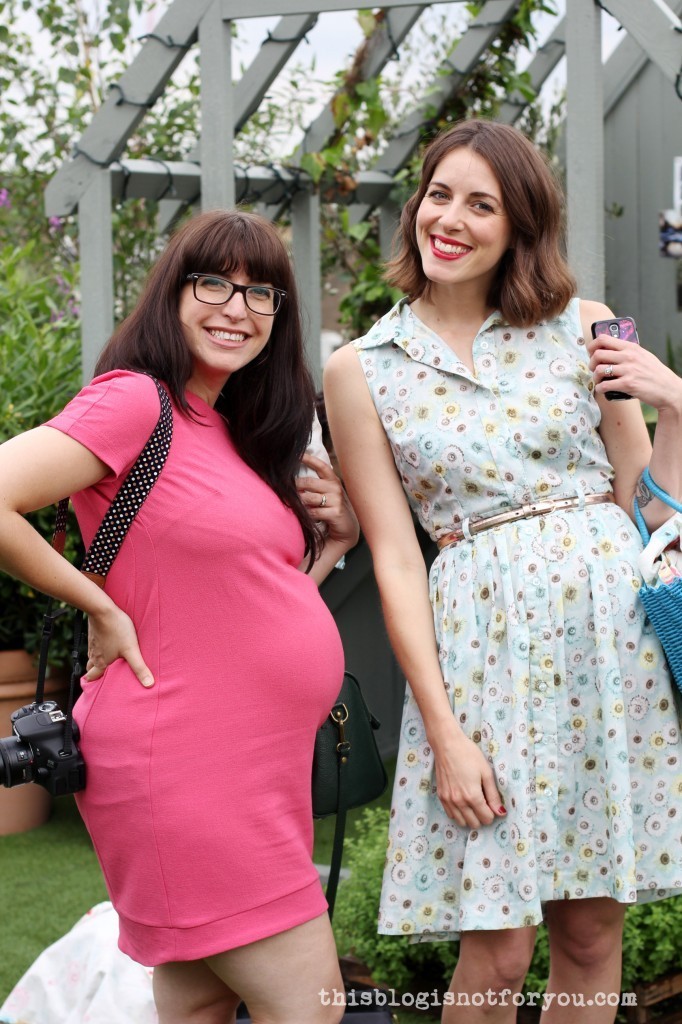 Such happy faces after a whole day of sewing like mad. Sewing really must be good for you!