
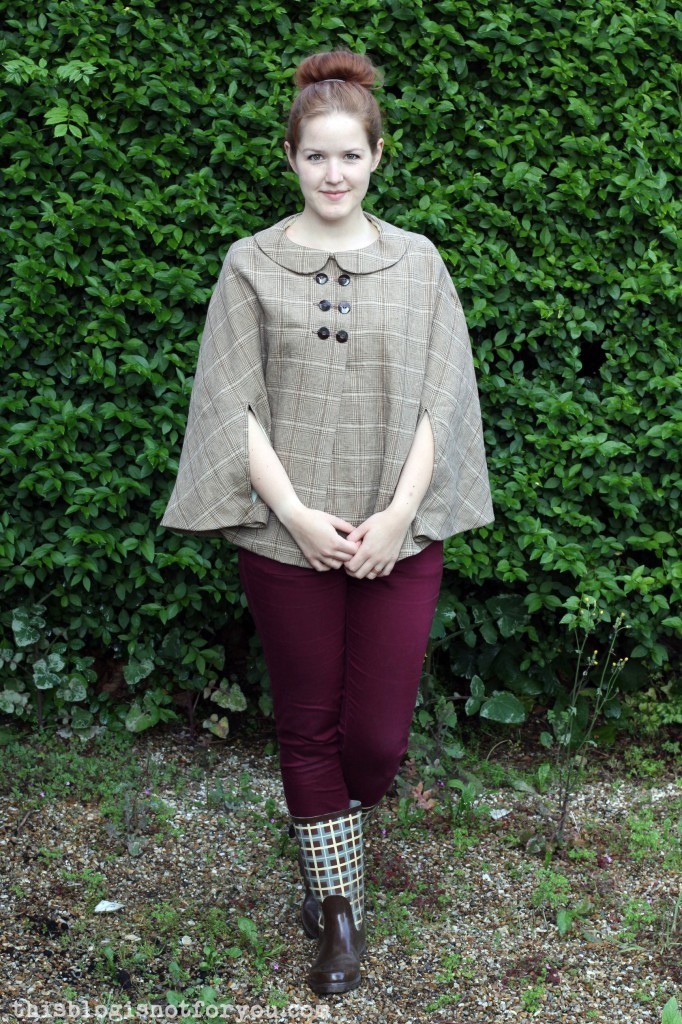
 Sewing along and making the cape? Cape sewn together and lining prepared? If you did all that, it’s time to add some armslits to your cape!
 1. Take your cape and pattern piece and mark the position of the arm opening as shown above. The position of the armslits really is up to you. I put mine closer to the centre front, others prefer it to be on the lengthened shoulder seam line.
I recommend you put on your cape and, standing in front of a mirror, mark the preferred position of your armslits on one side of the cape.
The lower end of the arm hole should be approx. 10-15cm from the bottom edge of the cape and the opening should be at least 20-25cm long to be able to move your arms comfortably.
2. When you are satisfied with the position, mark it on the pattern piece and transfer it to the other side of your cape. Thus, you can easily mark it on the lining, as well.
 3. After marking the position of the arm opening (with chalk or tailor’s tacks), cut out four strips of your main fabric (or lining fabric if you prefer the contrast), two for each armslit. They should be approx. 4-5cm (2inch) wide and 3cm longer than your armslit measurement. So if your armslits are 20cm long, these strips will have to be at least 23cm long in order to include a seam allowance of 1.5 cm on each end.
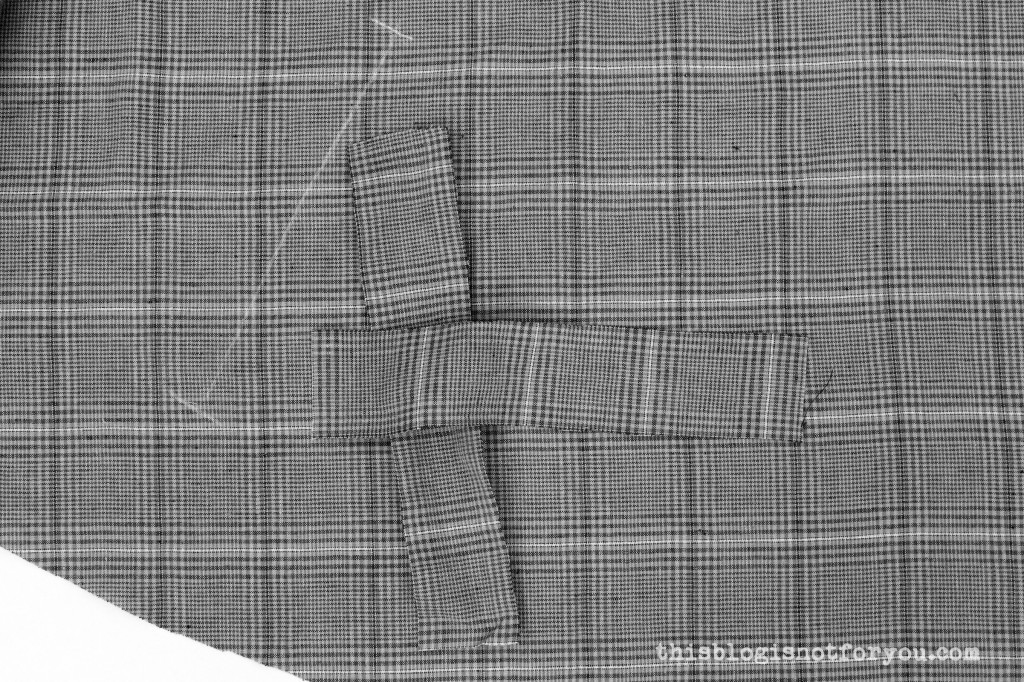
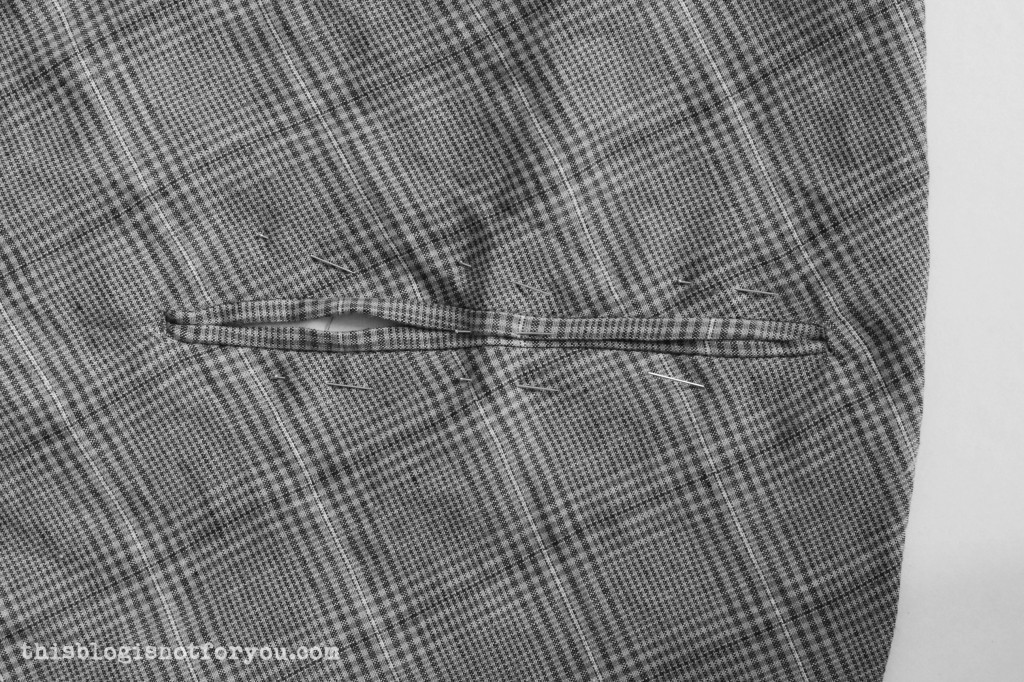
4. Place these strips right sides together onto your cape, so that the edges of the strips are lined up along the armhole marking. Pin. Make sure you don’t position the pins too close to the armhole marking in order to avoid sewing over them in the next step.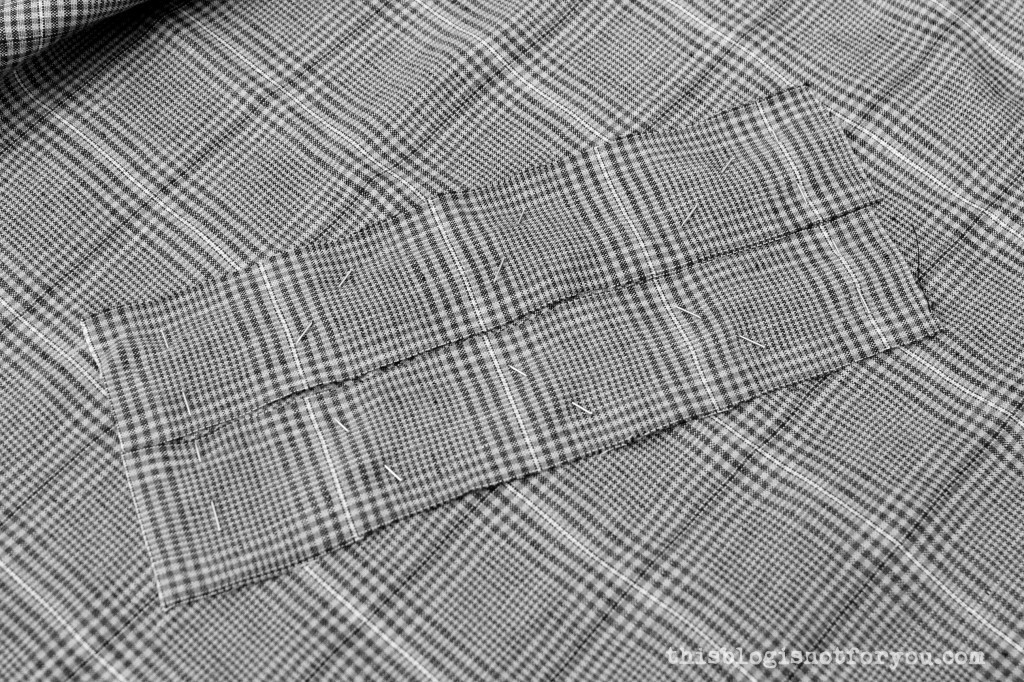 5. Turn your cape around, so that you are facing the left side of the fabric. Carefully stitch two lines approx. 7mm (2/8”) from the armhole marking, starting and ending your seam at the markings, as shown below.
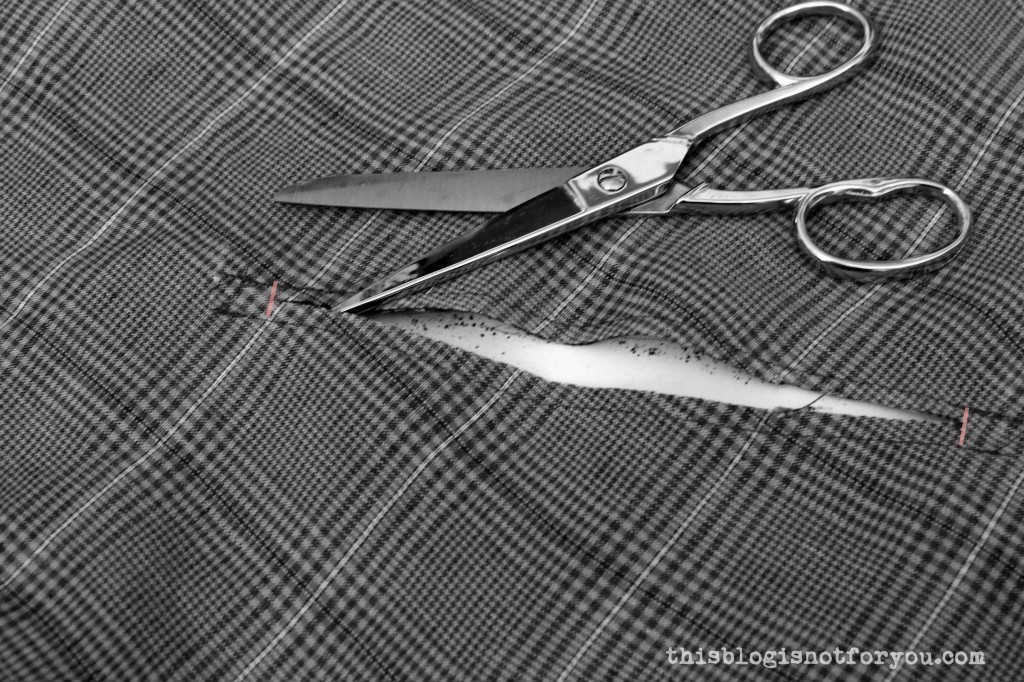
 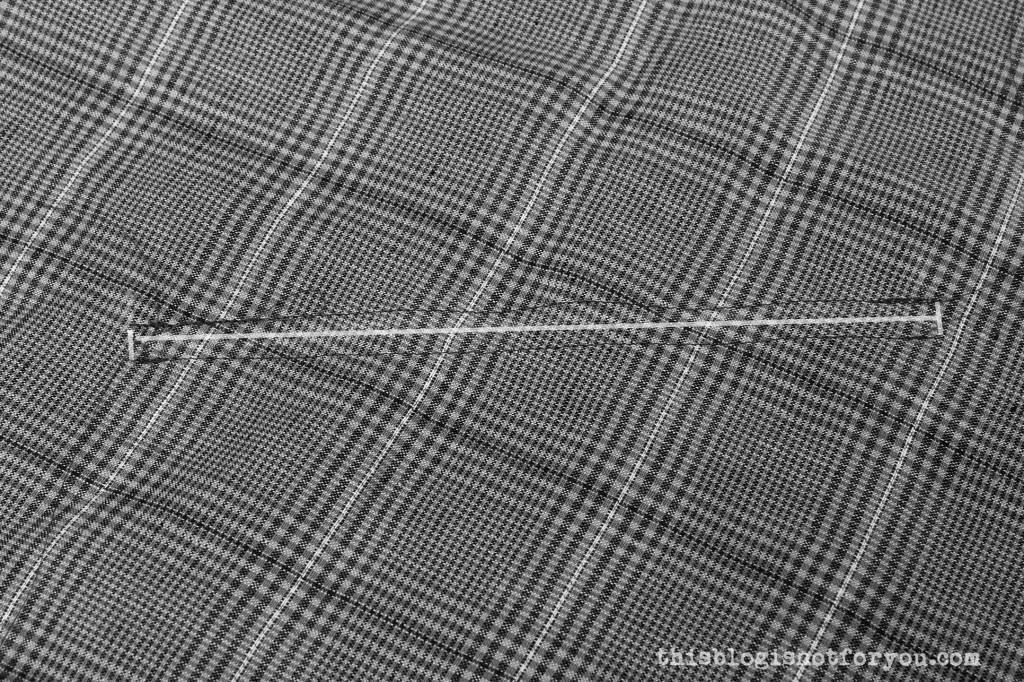 6. Cut the armslit open along the marked line starting and ending 1.5cm from the marked end of your line (see picture below).
 7. Cut diagonally towards the end of your stitching lines, so you will end up will small triangles.
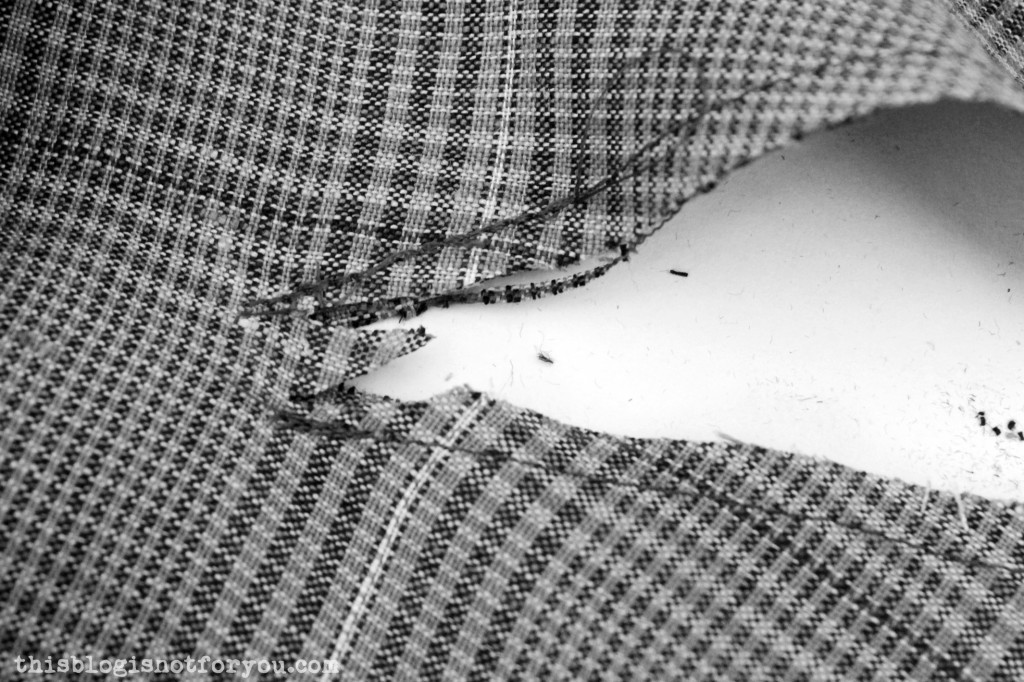 8. Push the fabric through to the other side and press.
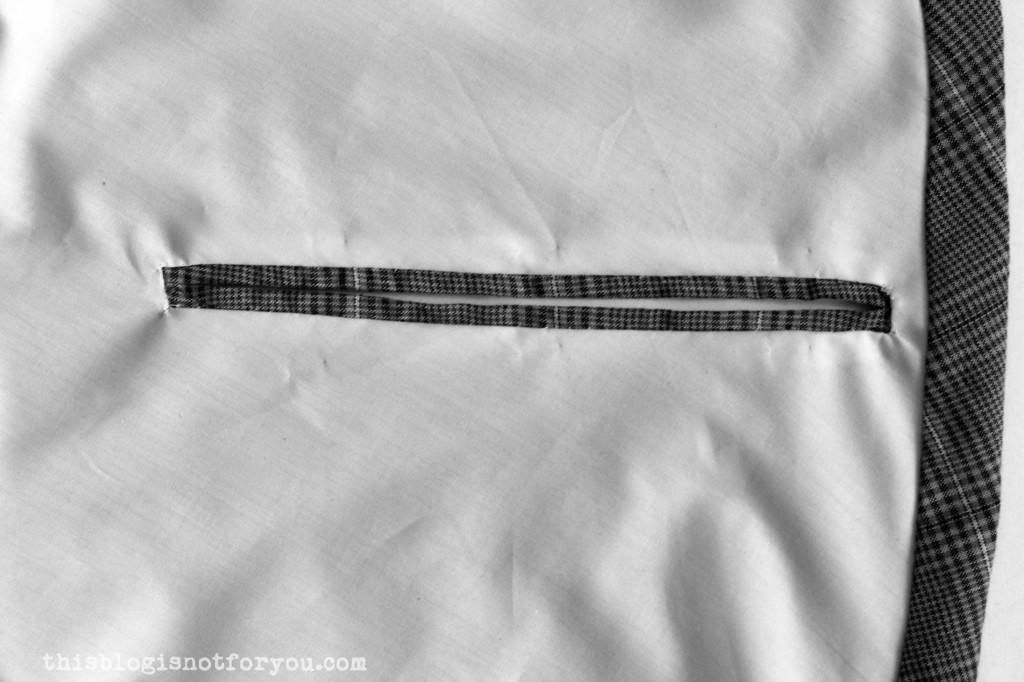
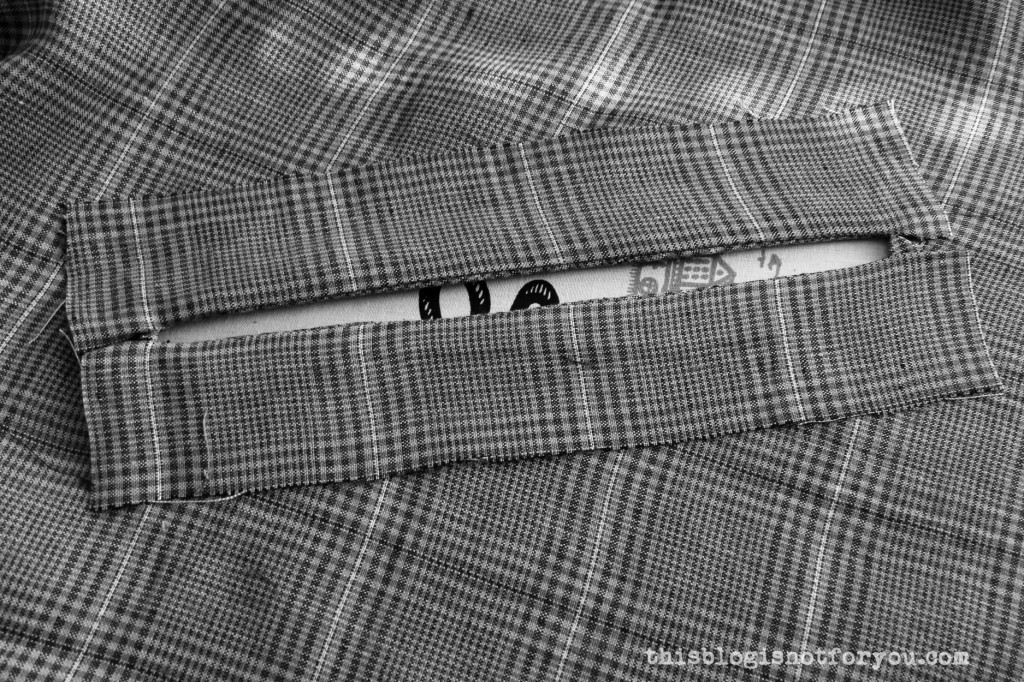 9. You could now simply understitch the facing. I decided to press the facing so that it shows through the opening on the other side.
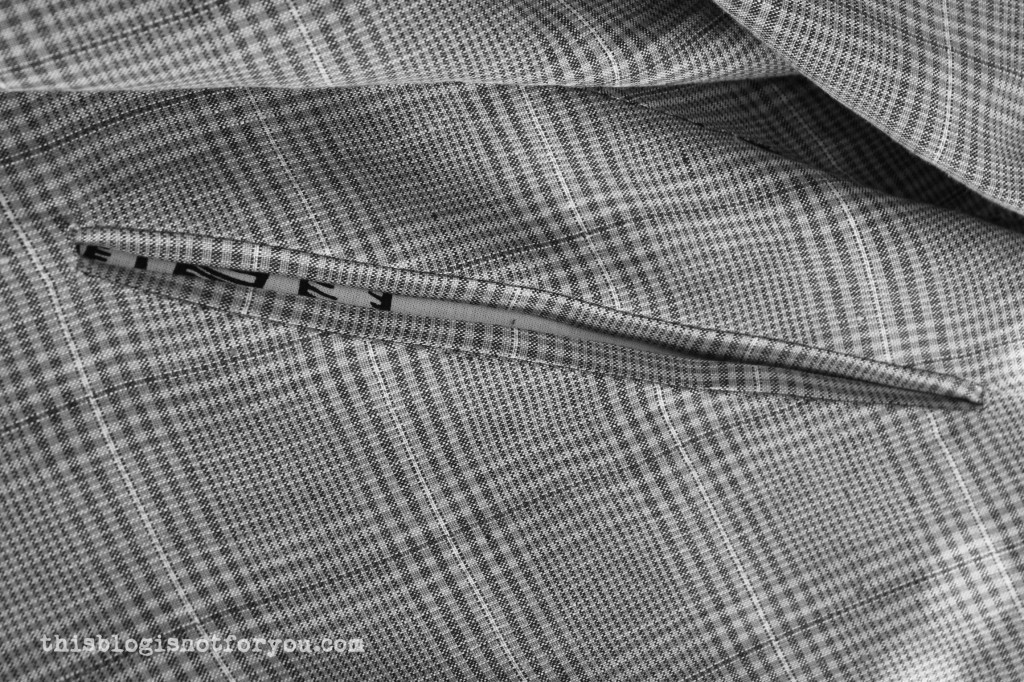 10. Stitch in the ditch to hold the facing in place.
 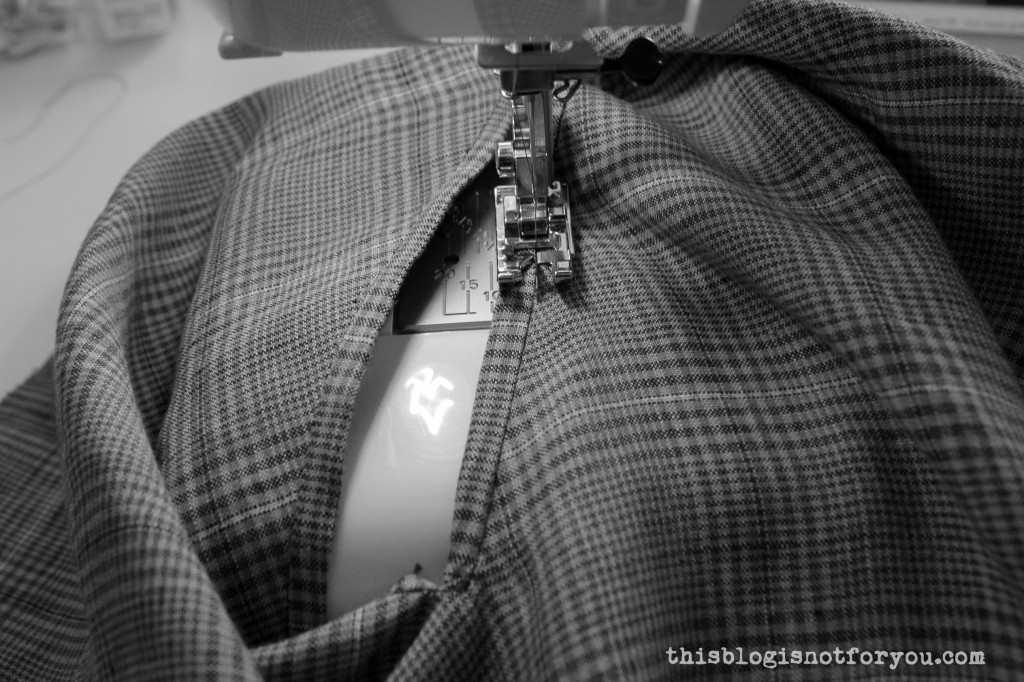 I used a special presser foot for that, but you can simply use a standard feet as well, stitching slowly on the previous seam.
 11. When you have understitched, topstitched or otherwise secured the facing, pin the small triangles in place and stitch them onto the facing’s seam allowance. You can either to that by machine or with hand.
  12. If you are not adding a lining to your cape, you can sew the outer edges of the facing onto your cape with wide catch-stitches.
Lining the Armslits
If you haven’t done so yet, prepare your lining and sew it into the cape following the instructions from the last part of the sewalong.
 1. After your cape is lined and pressed, first pin the armslits closed and an then add some pins to hold lining and main fabric together along the opening. Make sure all layers are lying very flat before you pin (or baste) them together.
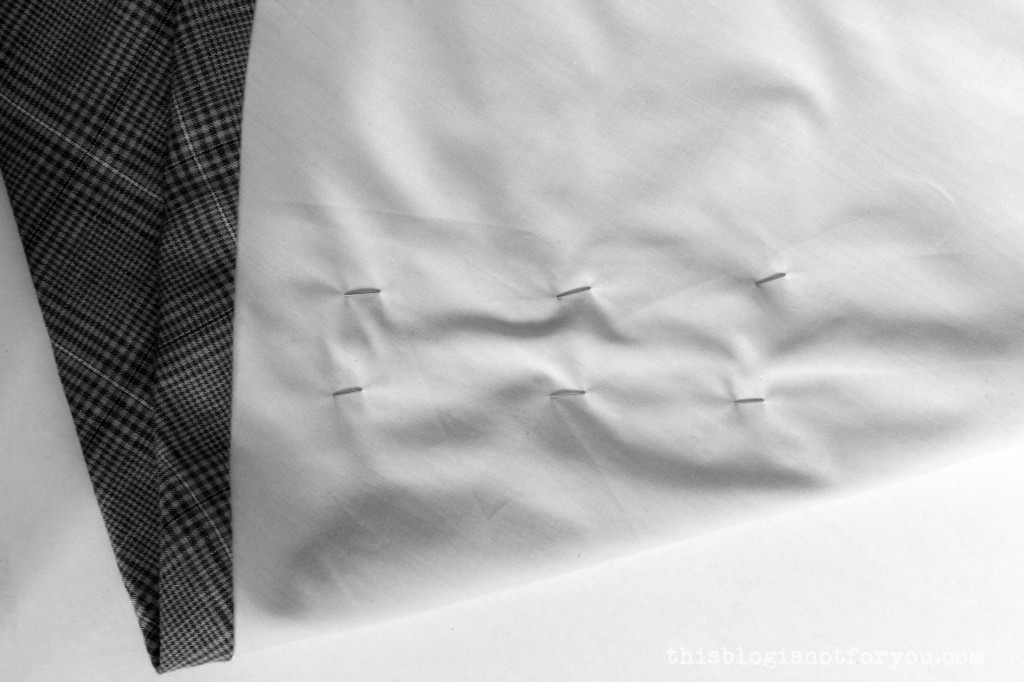 2. Take out the pins you used to close the opening and carefully cut the underlying lining open along the marked armslit line. (You can either mark the line before you sew in the lining, or before cutting, after you take out the pins.)
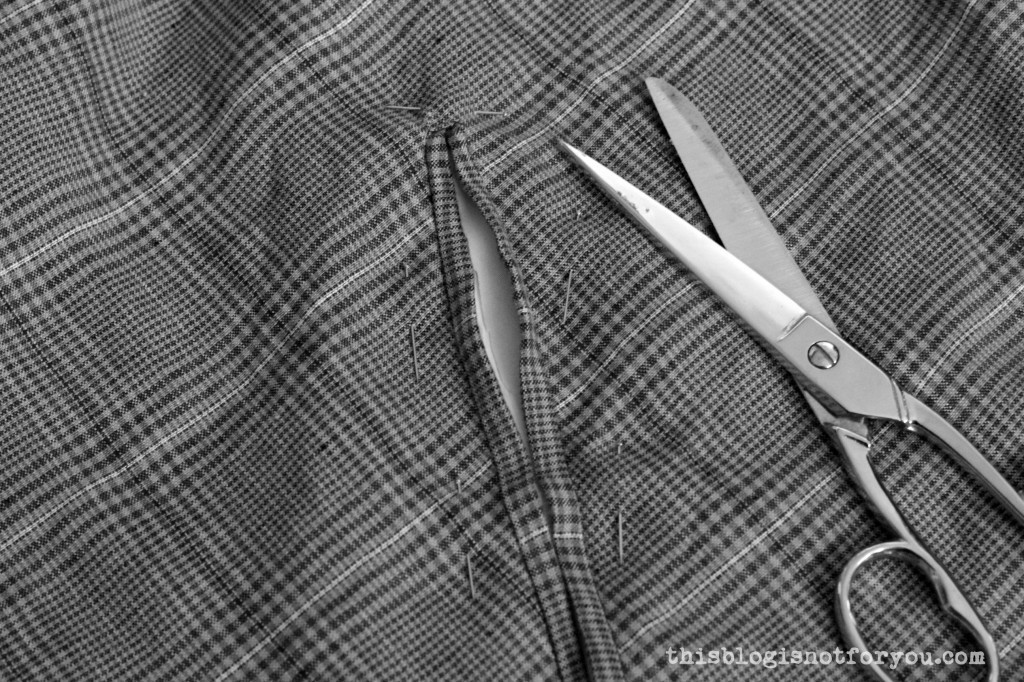 You make the cut in exactly the same way as before, ending the cut with the small triangles.
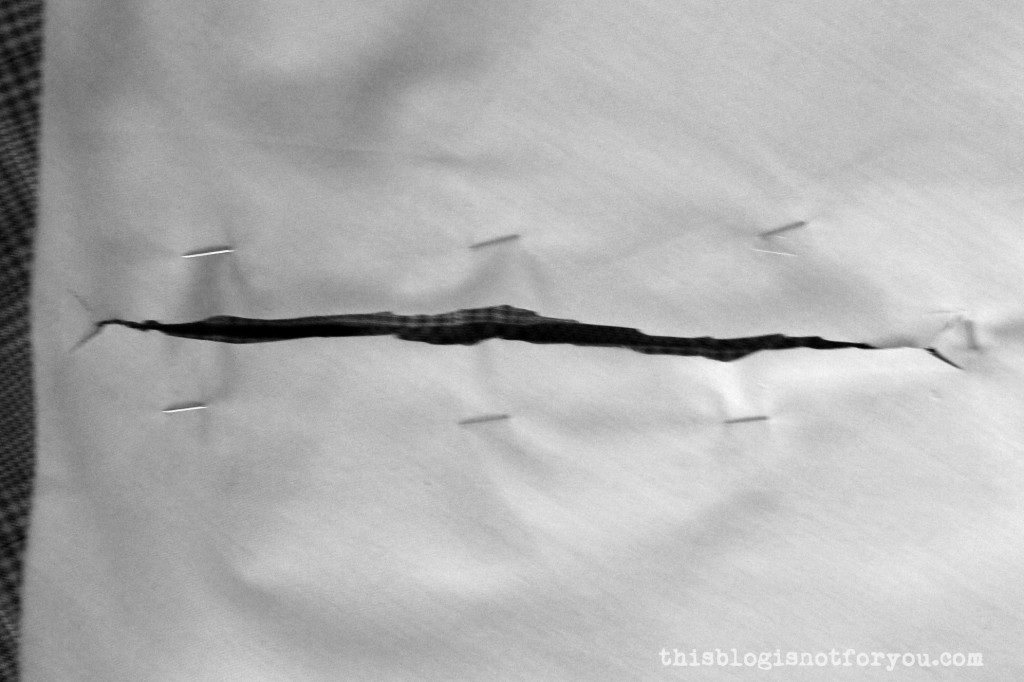 3. Push the seam allowance between the layers and pin everything in place.
  4. Using thread and a handsewing needle, slipstitch the lining to your facing. If you absolutely loathe handsewing, you can (from the right side) stitch in the ditch again, catching the lining. For a neater finish, I’d always recommend handsewing, though.
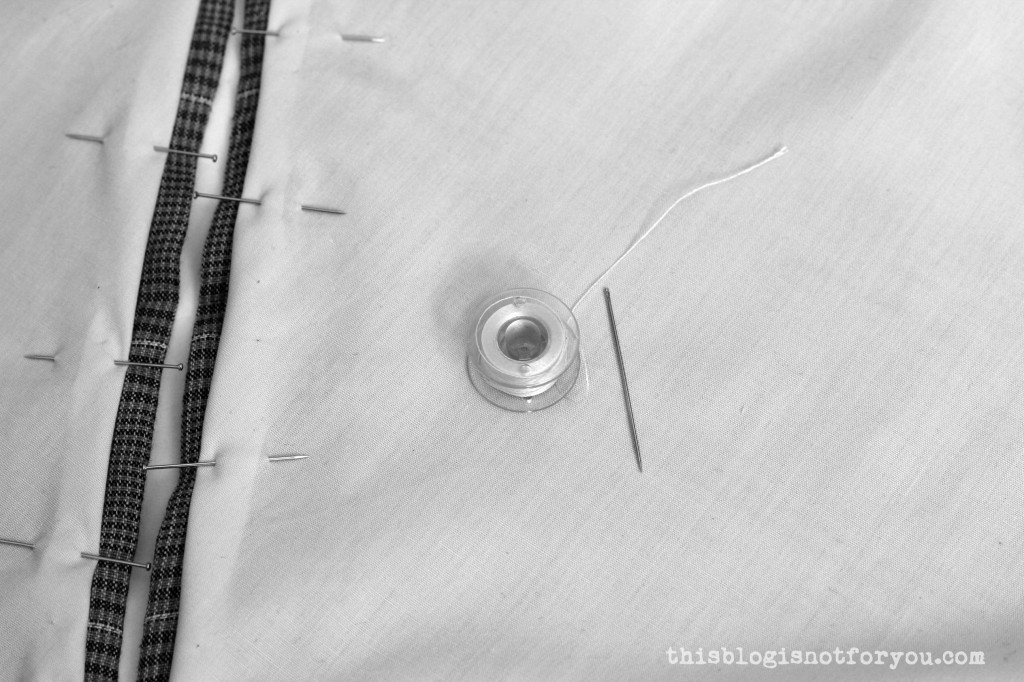
 And you’re done! Congrats!
This was the last part of the Fairytale Cape Sewalong! Hope you enjoyed making your cape! I can’t wait to see it when it’s finished!
There will be a link party coming up soon where you’ll have the chance to link up your lovely capes! And it might even include goodies! Keep your eyes peeled! 😉
Happy sewing!
♥
facebook/bloglovin/pinterest
twitter/instagram
Stay in touch!
what do you mean by left side of my fabric? is that the wrong side of the fabric or the right side of the fabric?
It means the wrong side of the fabric 🙂
Thank you so much for these wonderful instructions!! I’ve sewn for many years but I’ve never made myself a cape. I’m making a double sided long cape and I wanted to add arm slits. Your instructions and photos are fabulous!
Thanks so much, Linda! Glad you liked it! Please feel free to send some pics of the finished cape 😉 xx
Thank you. This was very helpful and you look sweet in your cloak.