Refashion It! [Upcycling a stained shirt Tutorial]

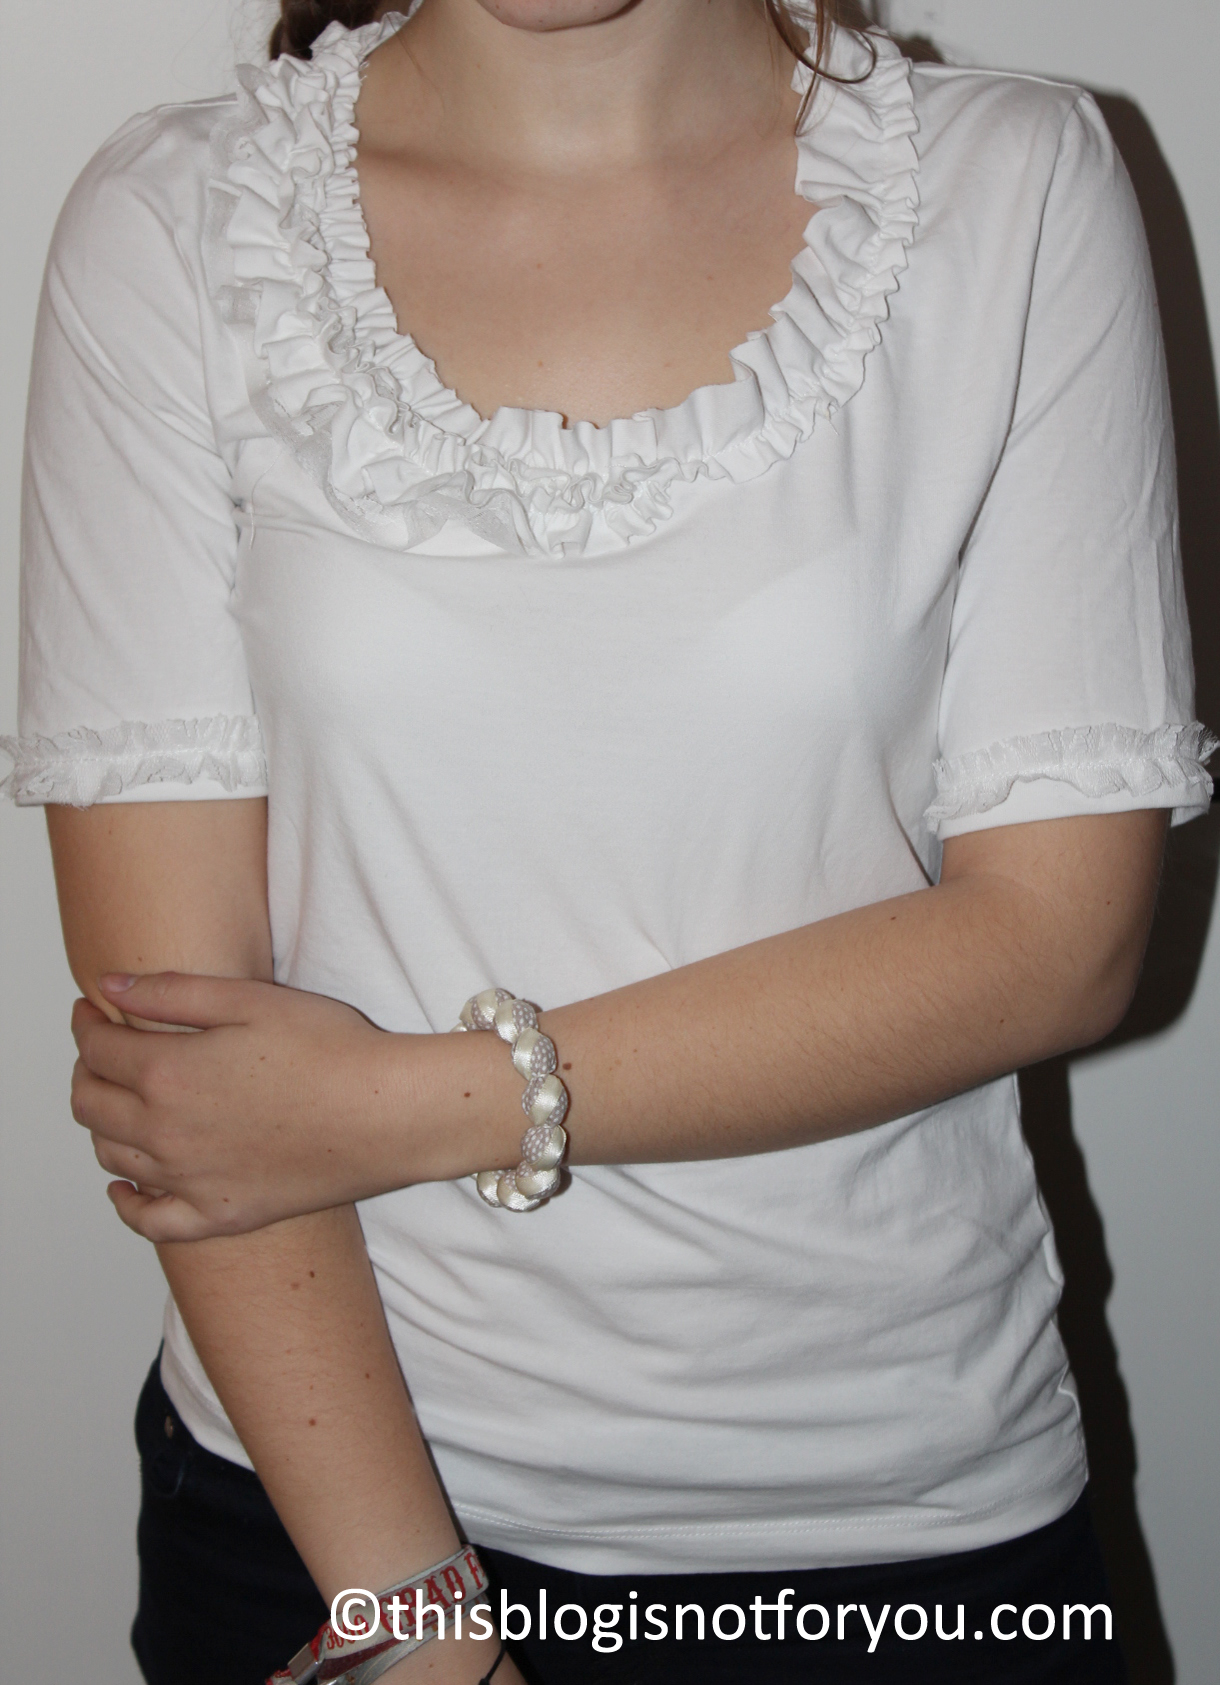
So I bought a white shirt. And spilled something on it. Of course, that’s what white shirts are for. Luckily the stain was on one of the sleeves, so I thought about cutting them off. I read a lot of blogs about upcycling clothes lately and discovered a whole bunch of knock offs of this jcrew shirt:

My craft alarms set off and I decided to do this myself. Since I wasn’t sure how this would turn out, I tried it on a second, even older and more worn-out shirt before. Just in case. It turned out pretty well and now I have two – goody!

For doing it I found Suzannah’s tutorial most helpful. She blogs at Adventures in Dressmaking – a totally awesome blog you should check out if you’re into sewing and crafting.
Ok, now: Here’s my version of how to do it:
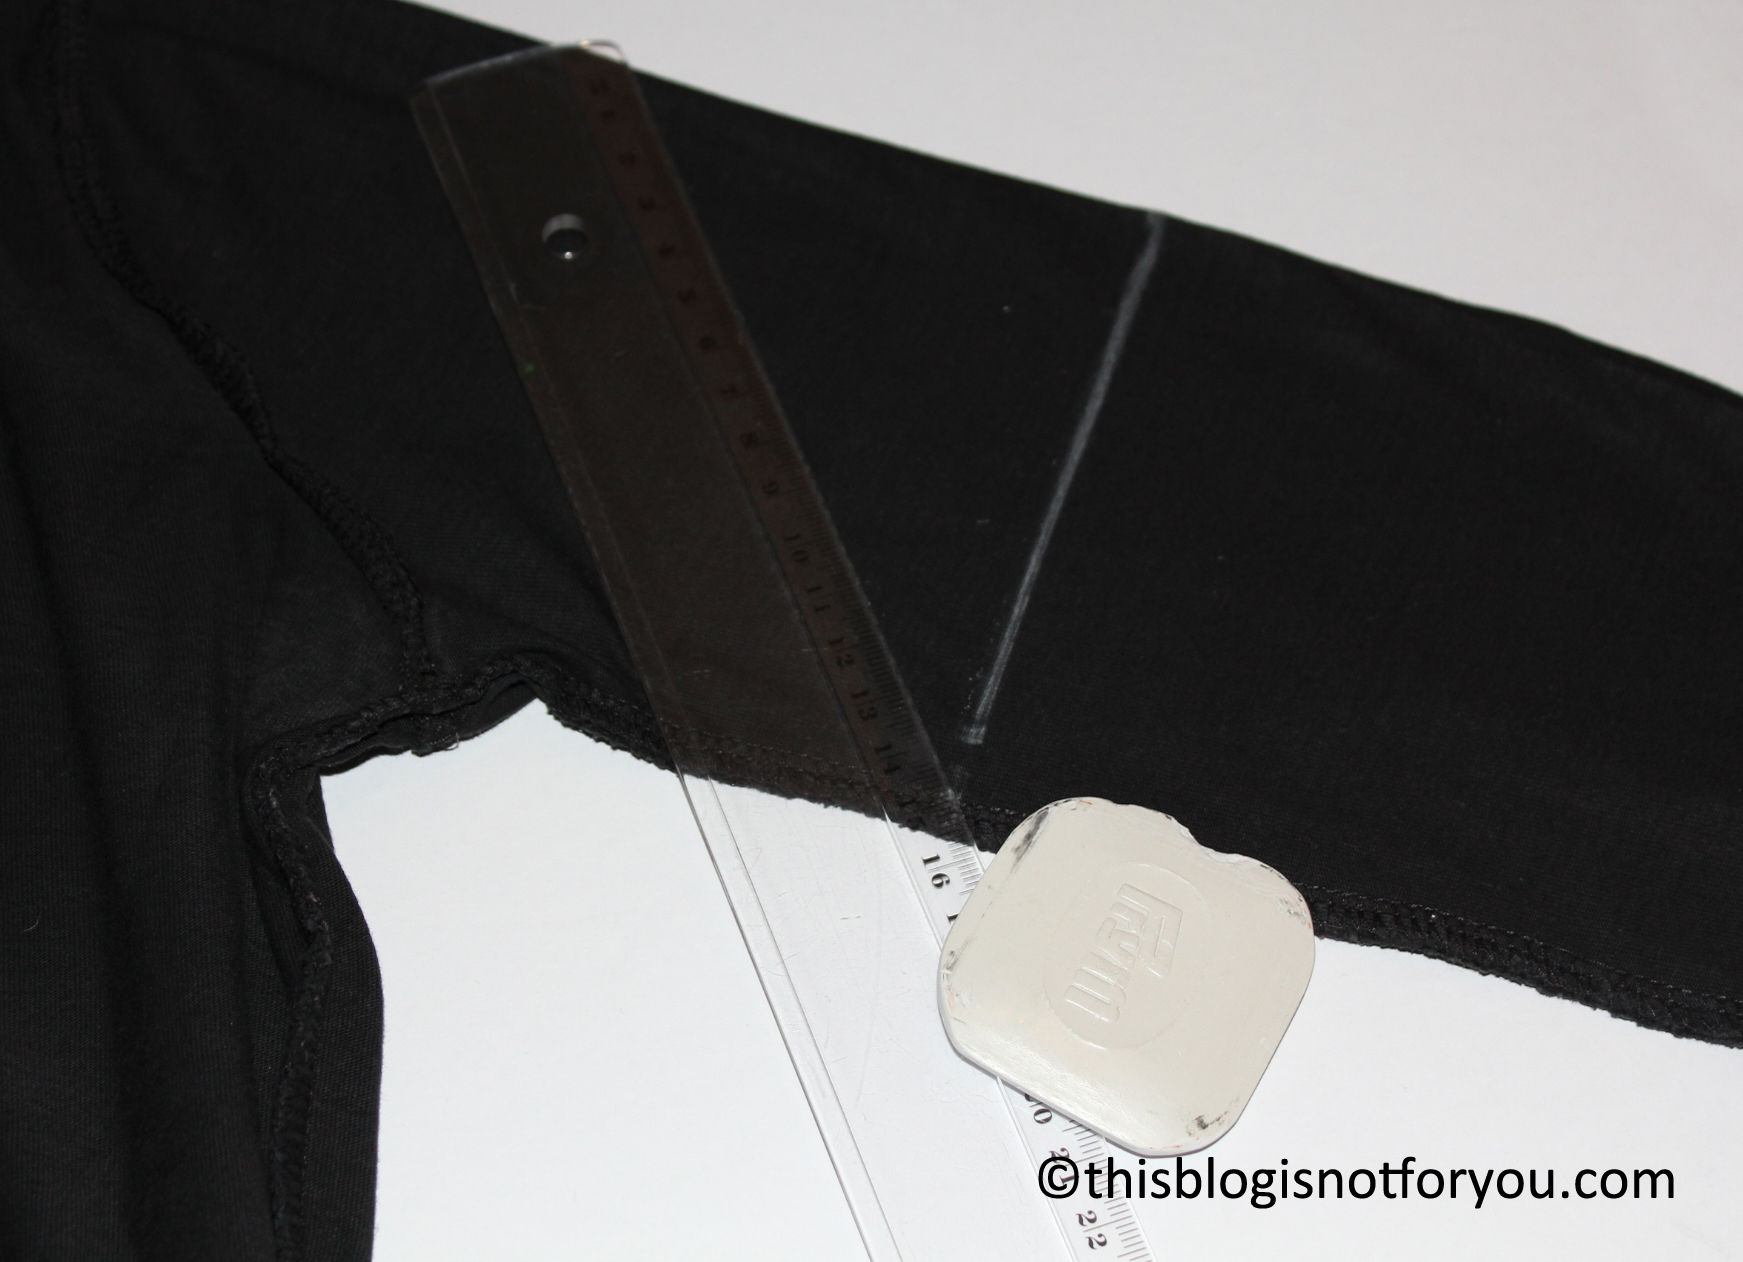
Mark the line where you want to cut off the sleves. To find out what’s the perfect length for you, put on the shirt, measure from the end of the left shoulder to the point where you want your sleeve to end. Add the seam allowance and mark the line at a right angle.
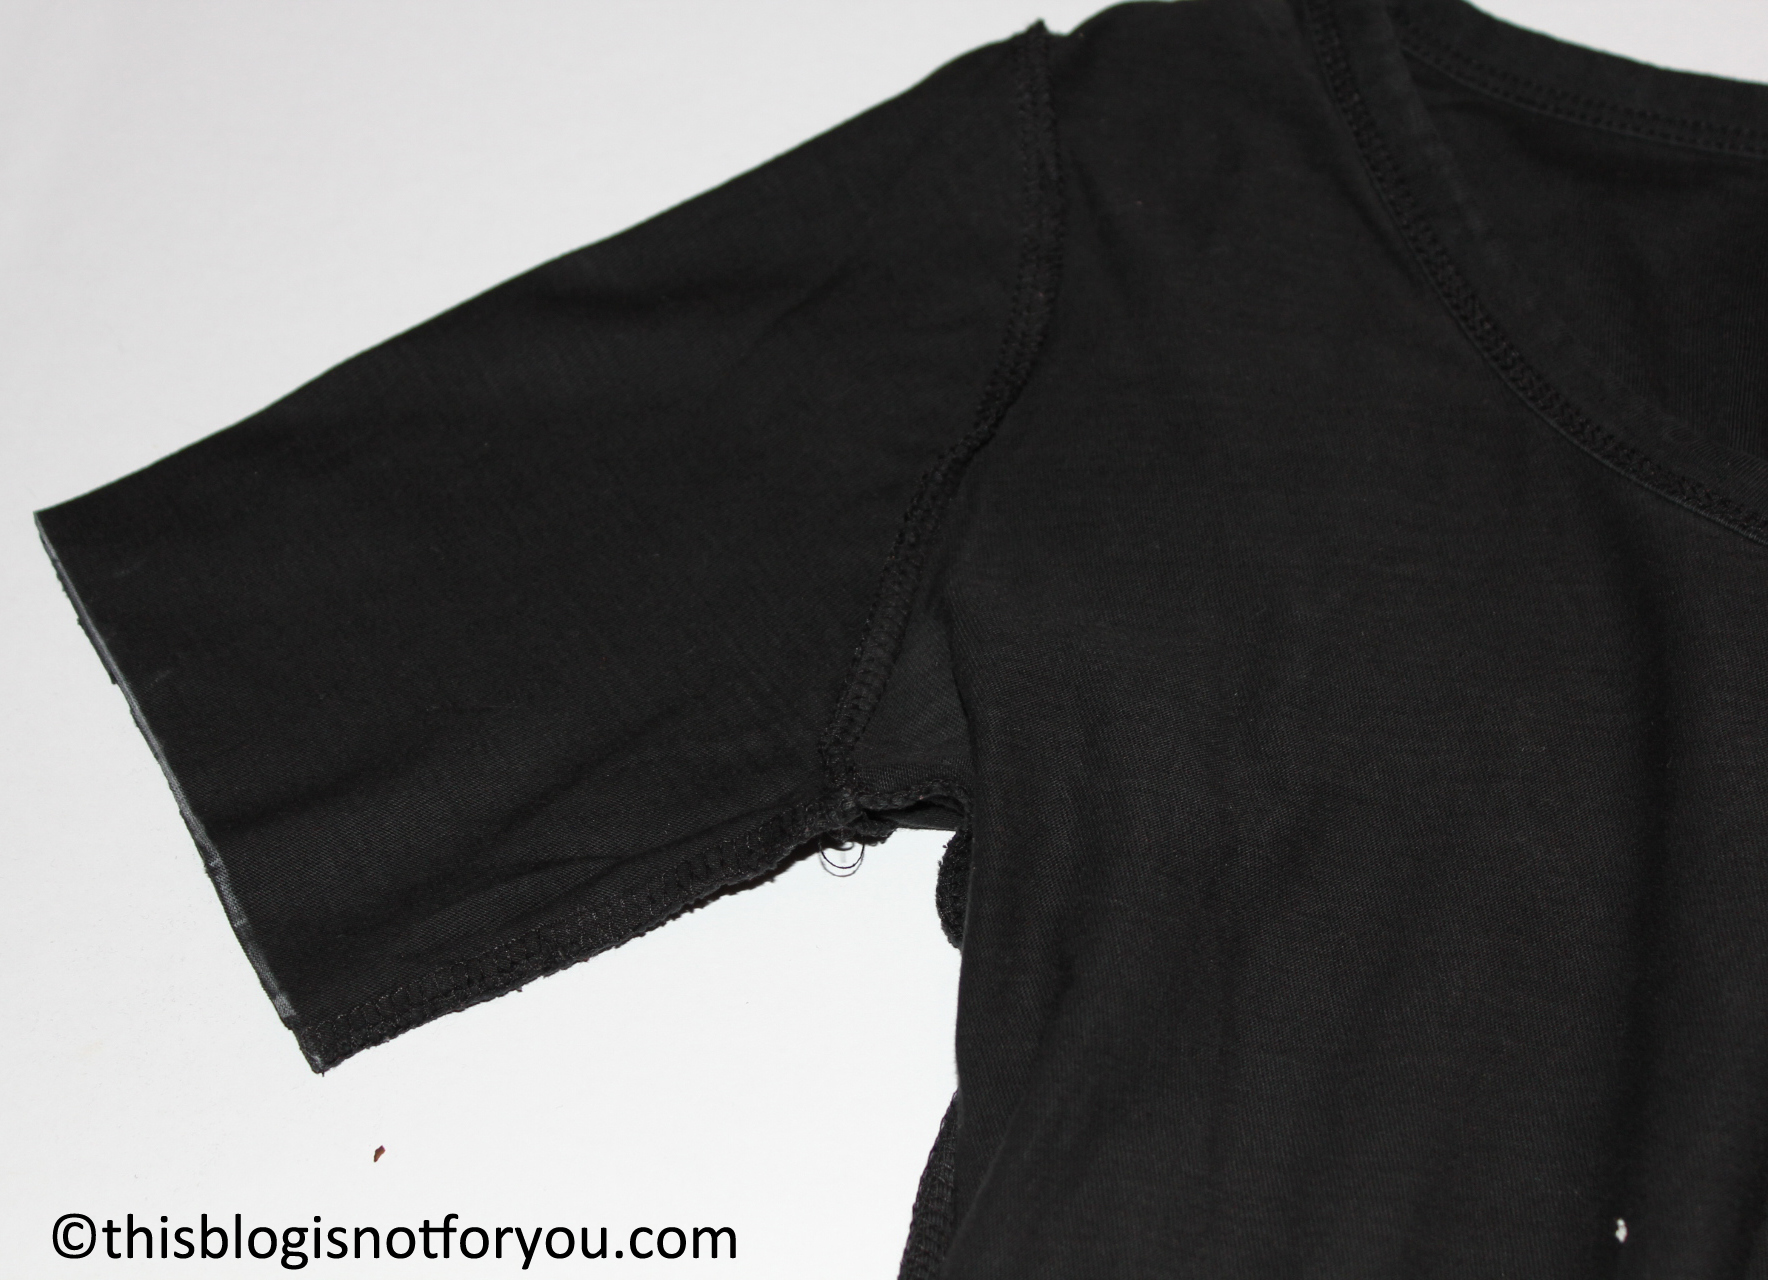
Cut off the serged seam allowance and the hem.
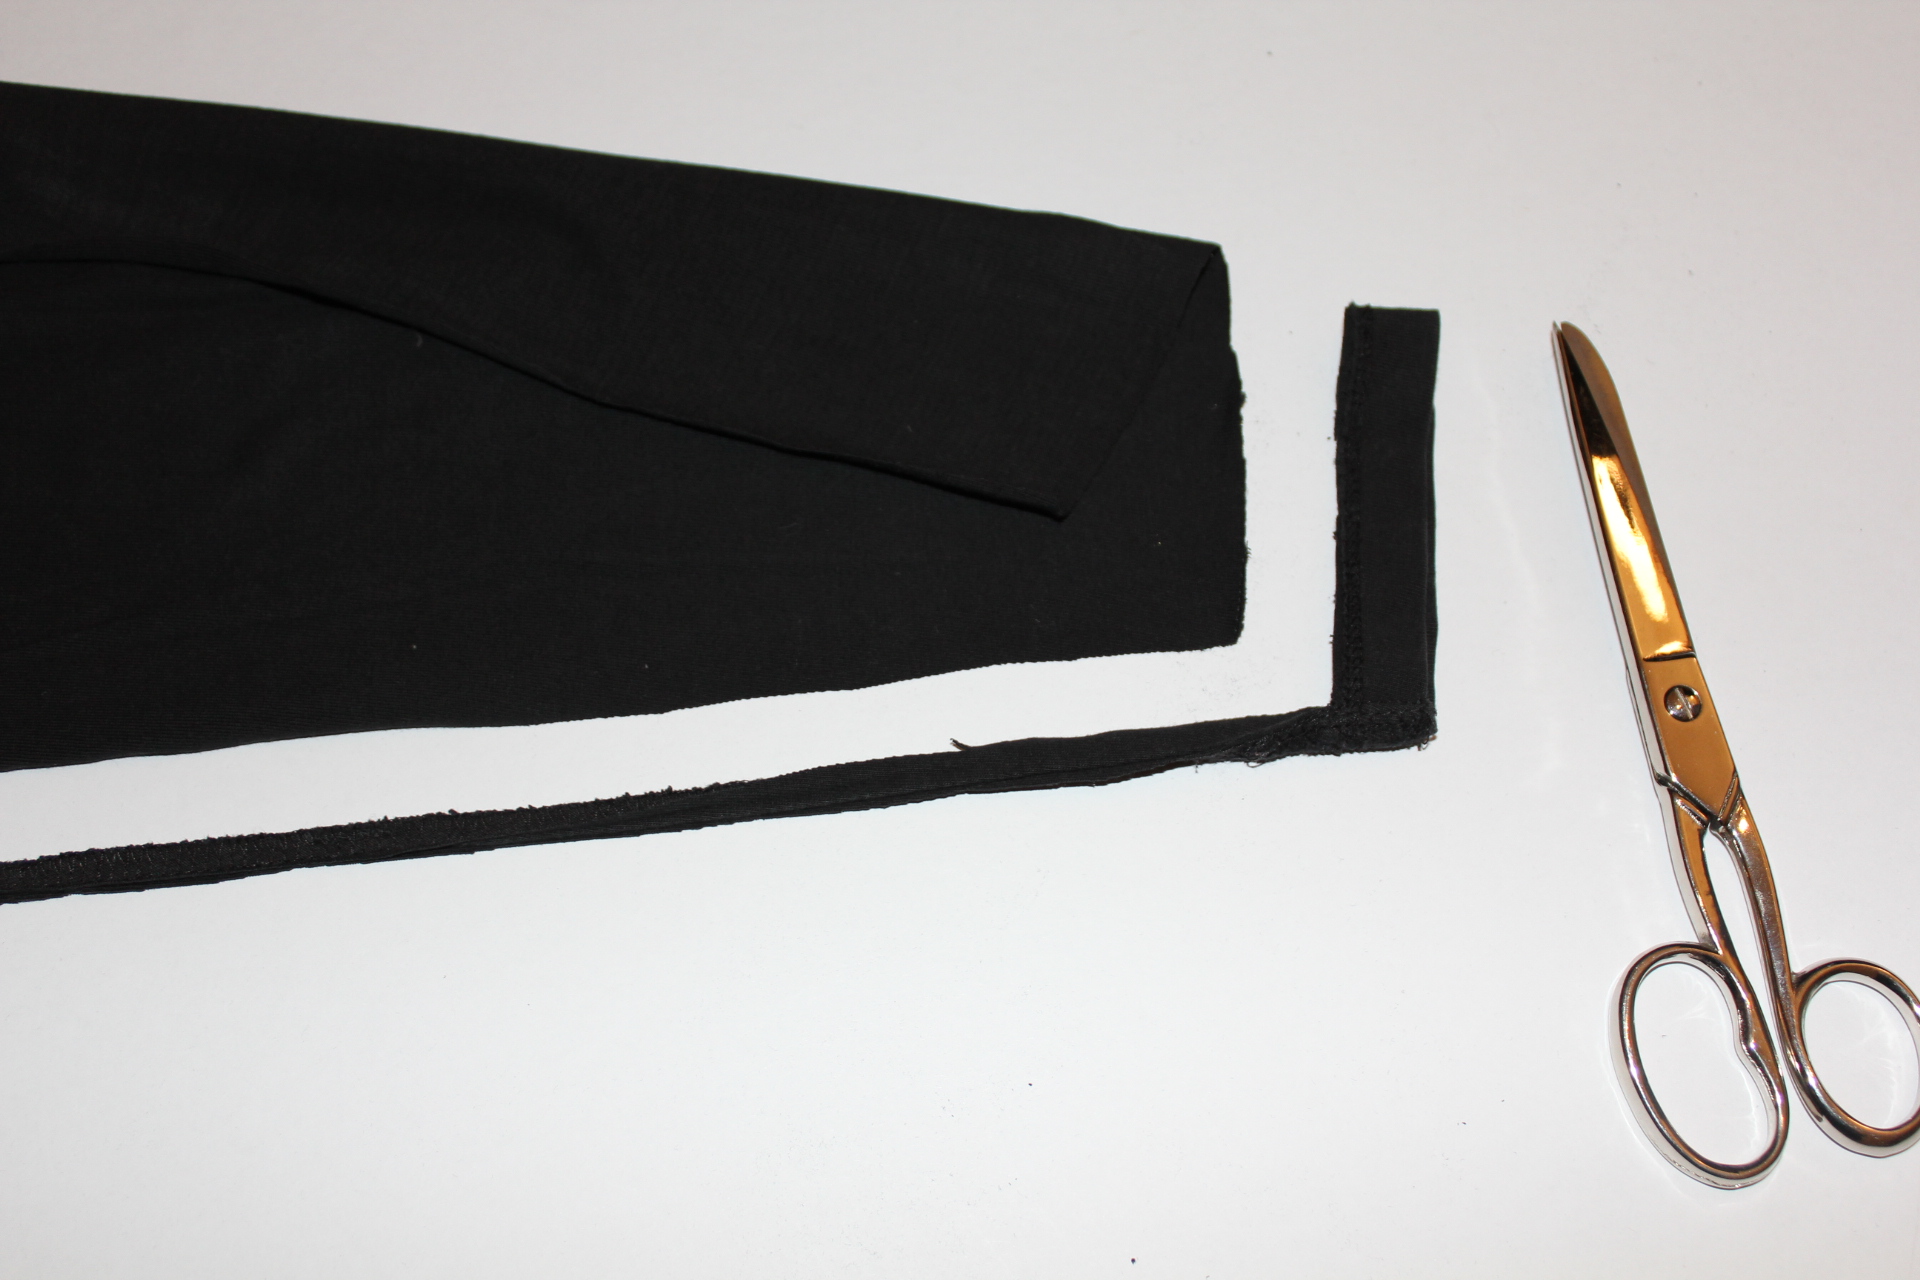
Trim the pieces of fabric to two even rectangles.
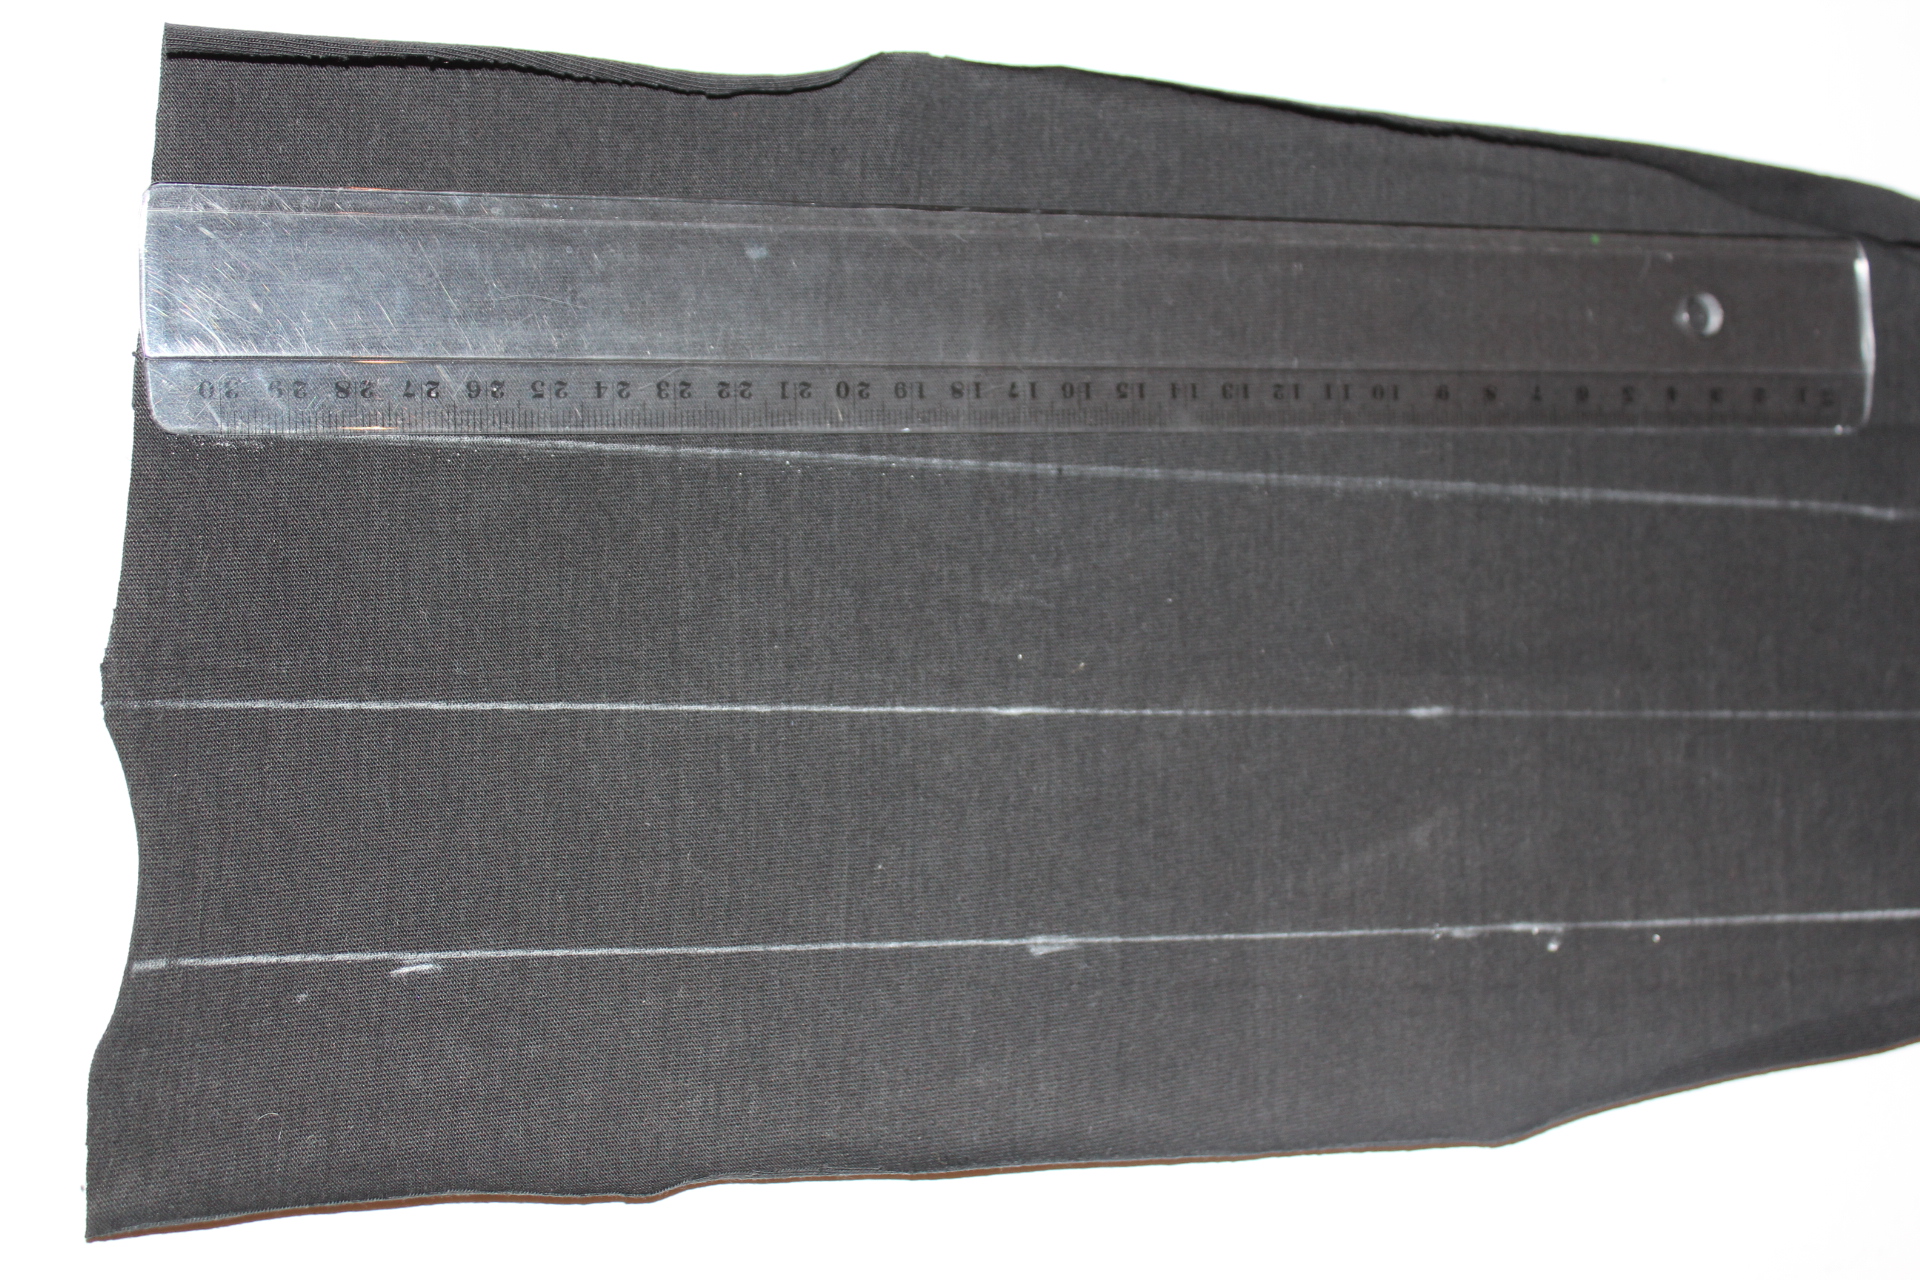
Cut one of the sleeves into evenly sized strips of about 1,5 inch/4cm.
Cut the other one into larger strips (2inch/5-6cm).

Hem the shortened sleeves of your tee.

Sew all 1,5 inch strips together into a longer single strip. Do the same with the 2 inch strips.

Now, for the ruffles:
Sew along one side on both of your strips with straight stitches. Use large stitches and a tight tension, it makes it easier to pull the top thread to gather the fabric.

Gather the first strip piece (1,5 inch) until it reaches the circumference of the neckline of your tee and pin it in place (see picture below), pointing up.

Sew along the seam of the ruffles.
Now do the same with the wider strip piece, pin it starting at the shoulder seam, pointing down. Cut it shortly before reaching the middle of the front neckline/ just above the V, if you’re using a V-neck tee. Sew down.
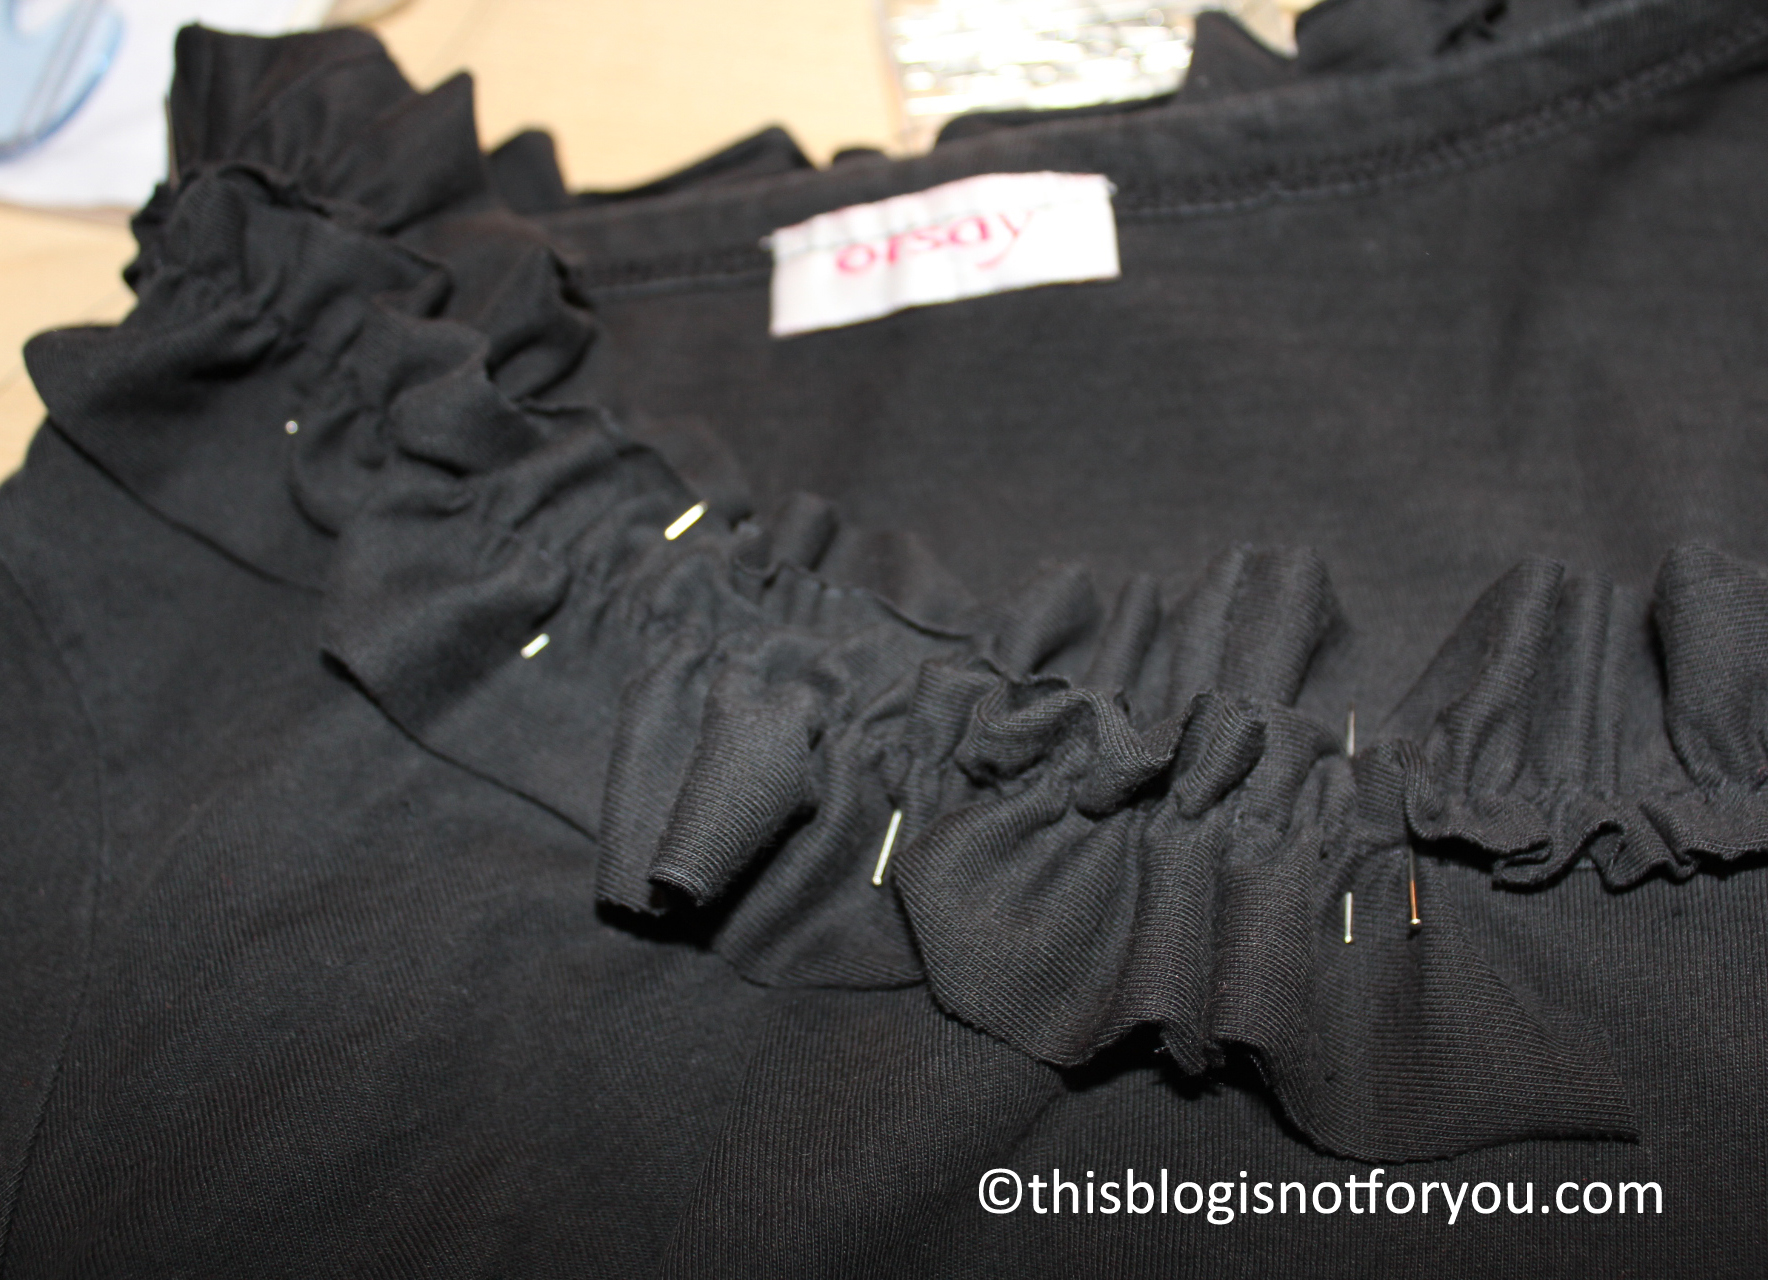
Use the cut-off rest and sew it on the top of the second strip. Start a few inches behind the shoulder seam and cut the strip off a few inches after the second strip. This way you’ll get a smooth transition between the pieces.

Trim the second and third strip into a nice round shape at the end. And you’re done!

For the white one I added a lace layer instead of the second strip.
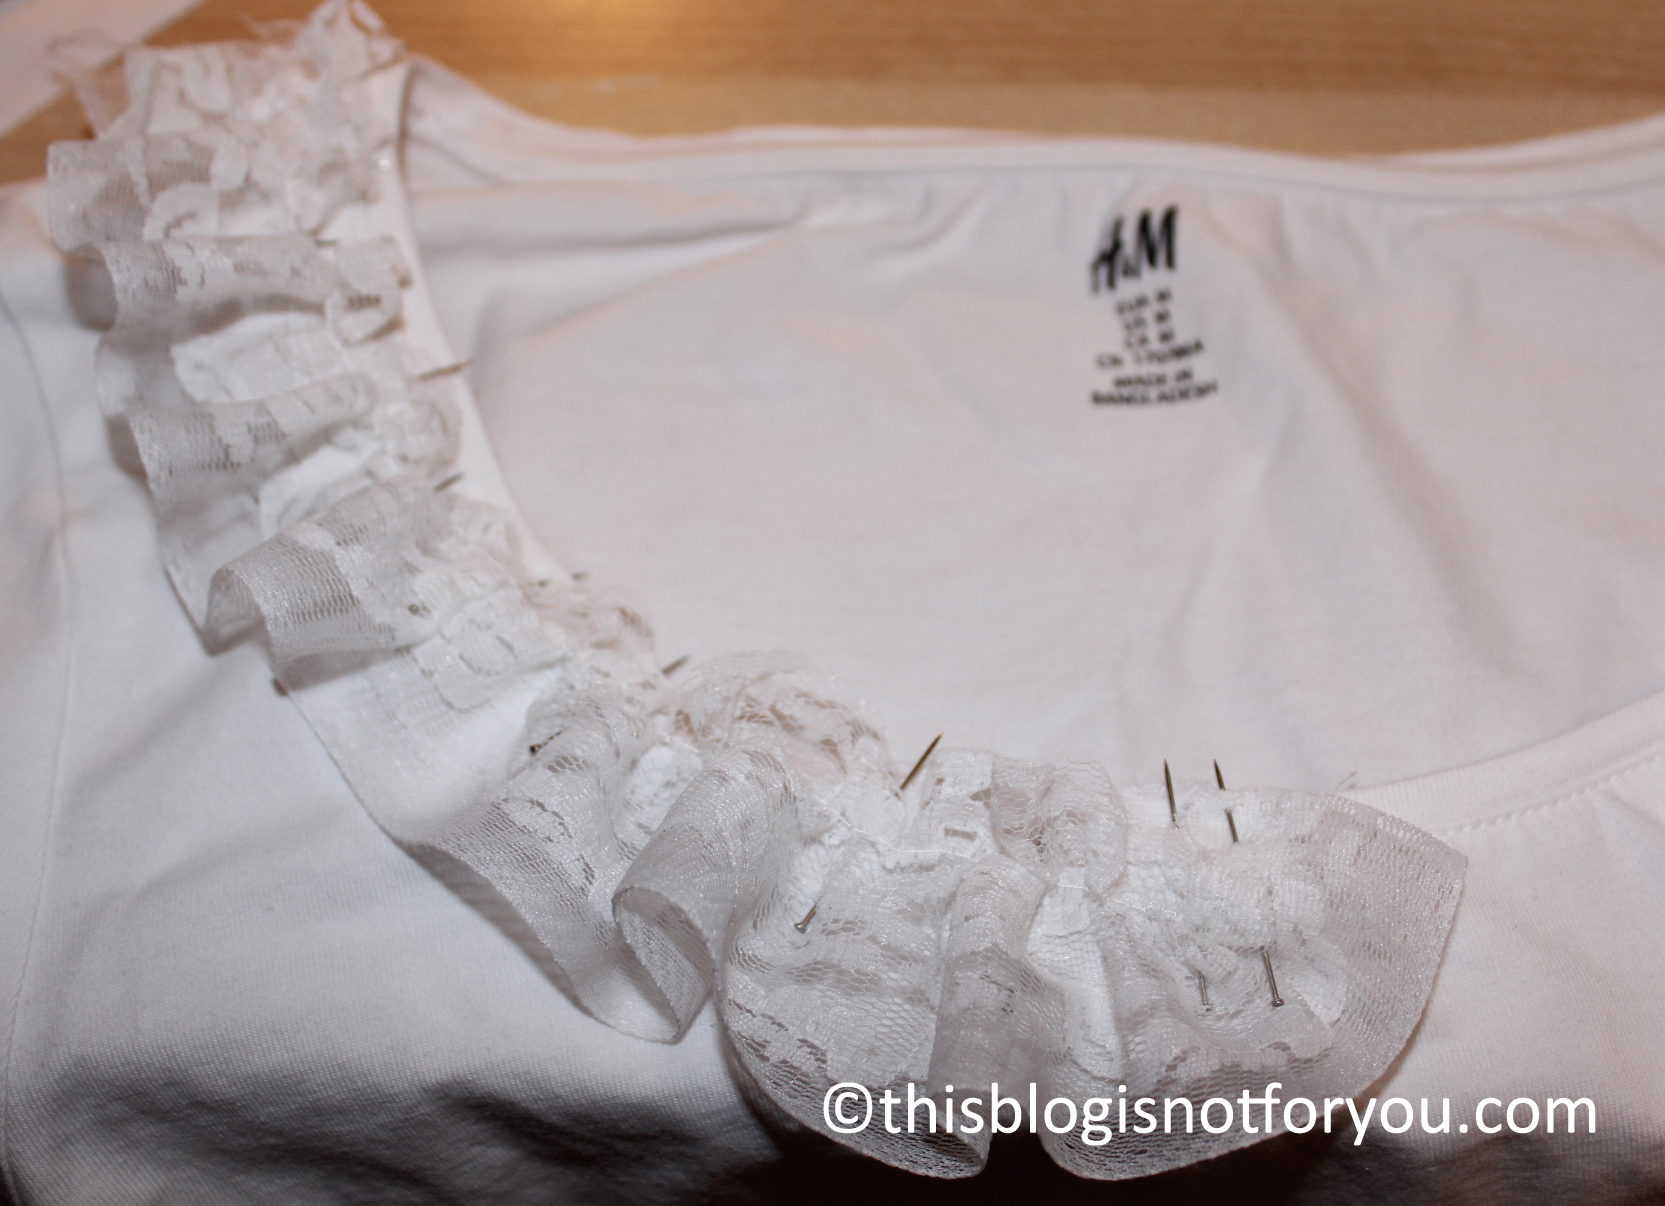
Because just trimming the lace at the end makes it look rather ragged, I pinned it in place in a round shape, as you can see in the picture below. This way I wont need trimming.

Before adding the third strip:

I also added some lace to the hem of the sleeves.
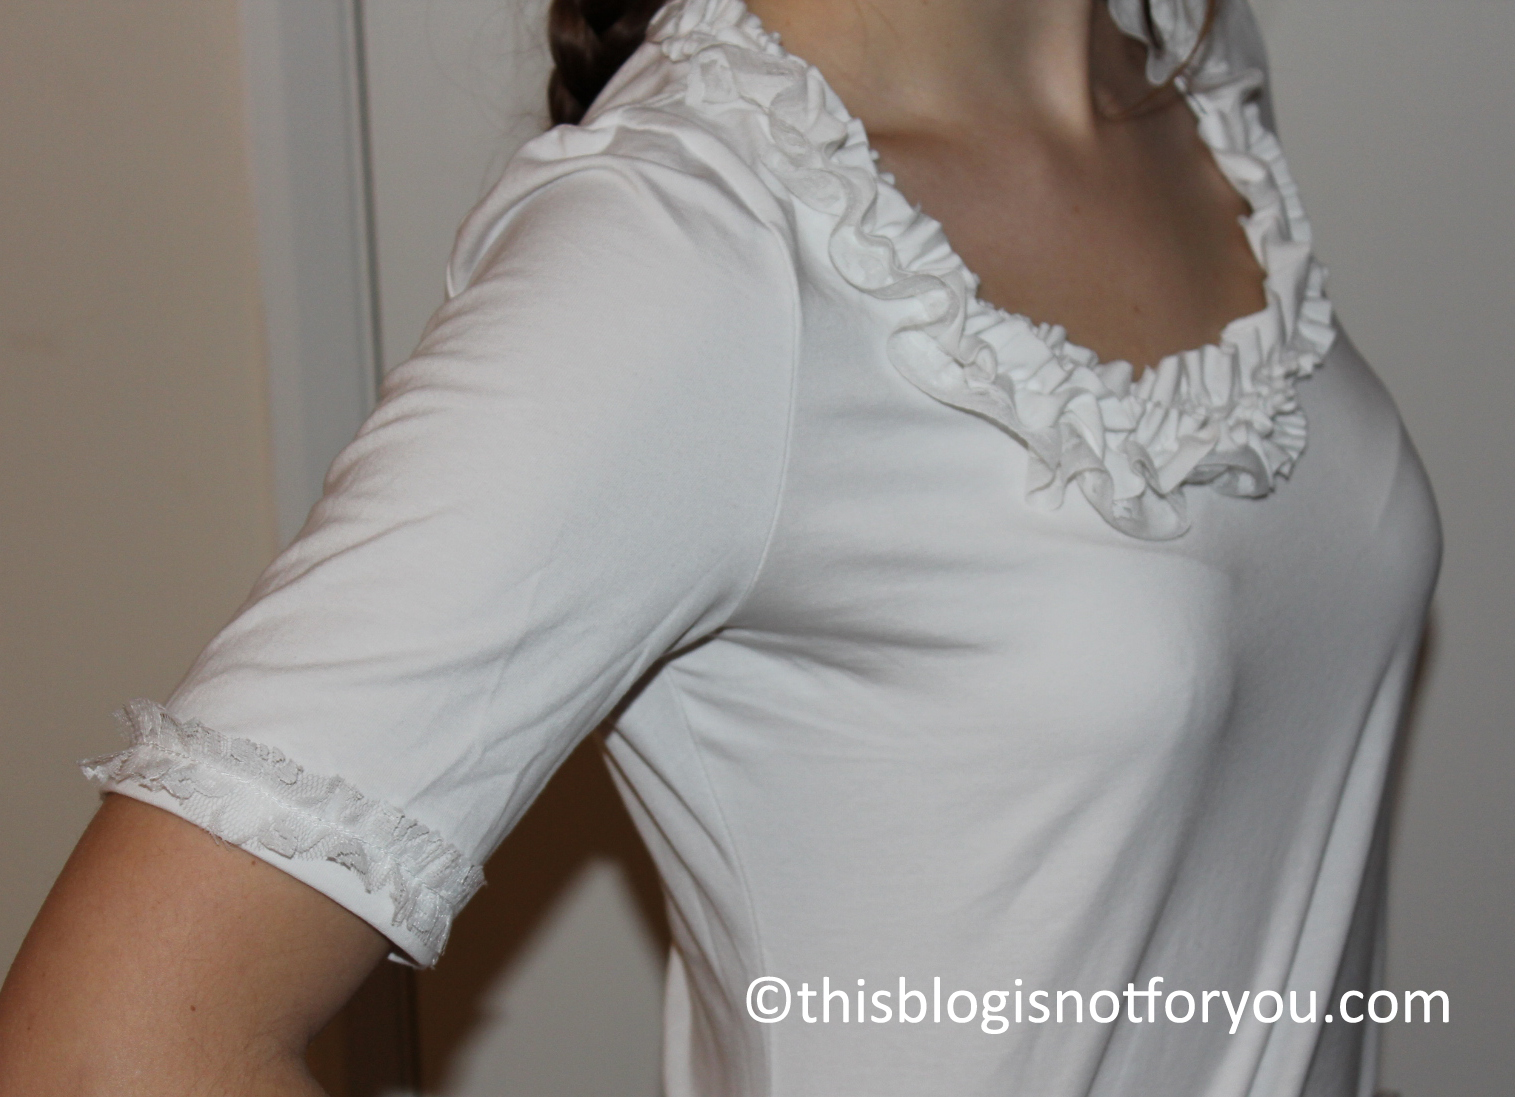
Now I’m glad I didn’t throw it away. Two “new” shirts – yay!
unfinished tales of my sewing table [sneak peek at upcoming projects]

Do you know the feeling of having an uncountable amount of good ideas and inspirations always in moments where you have least time to put them into action?

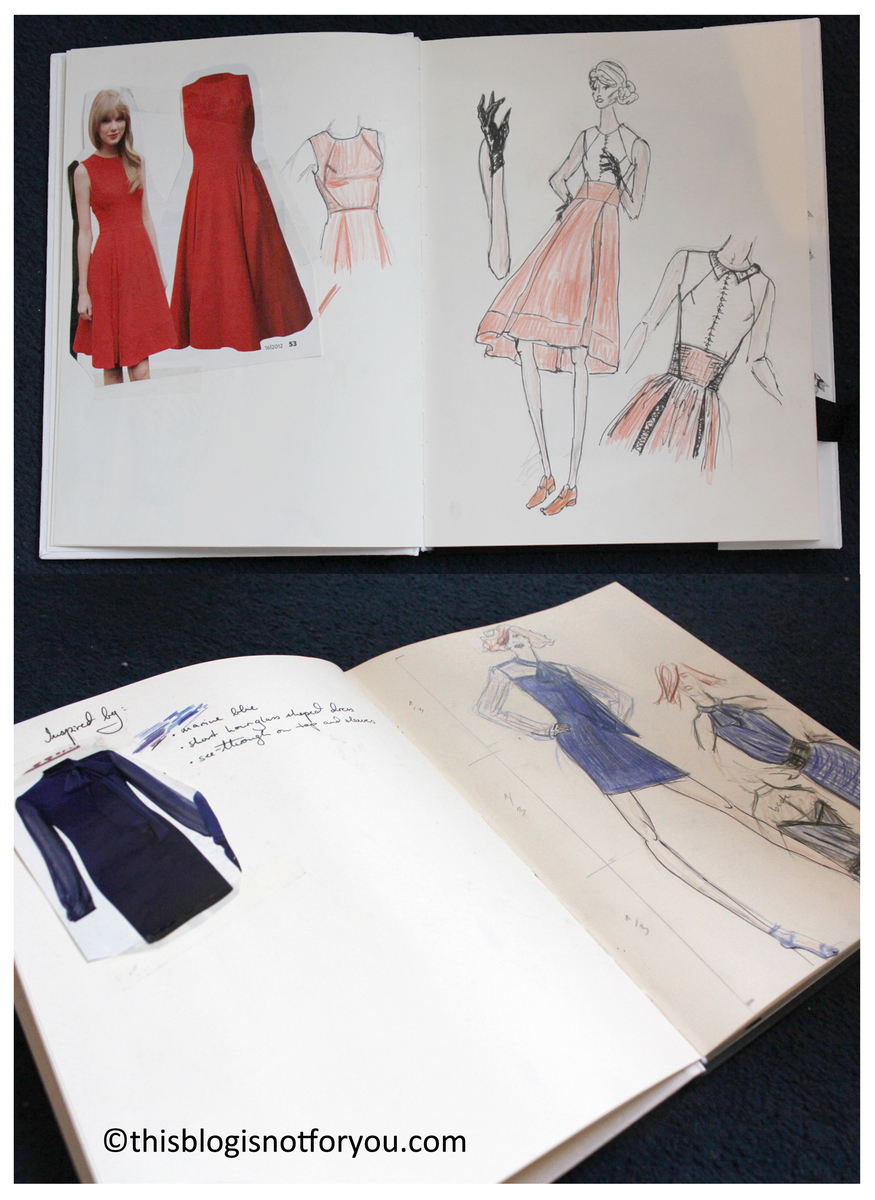
Well, happens to me all the time. Maybe creativity is part of procrastination, but when I am stressed out and have thousands of other things to do my head just doesn’t stop having loads and loads of crafting and sewing ideas. I started something like a “draft book” to keep track of ideas and inspirations and as soon as I have time I start crafting away my collected “to do’s”.

Once I found a good pattern or idea for a dress, I try to think of what kind of fabric I will use  and how much of it I’ll need. Keeping little snippets of the chosen fabric together with the pattern helps a lot at keeping ideas and future project well-assorted and you don’t have to start at the scratch later on.

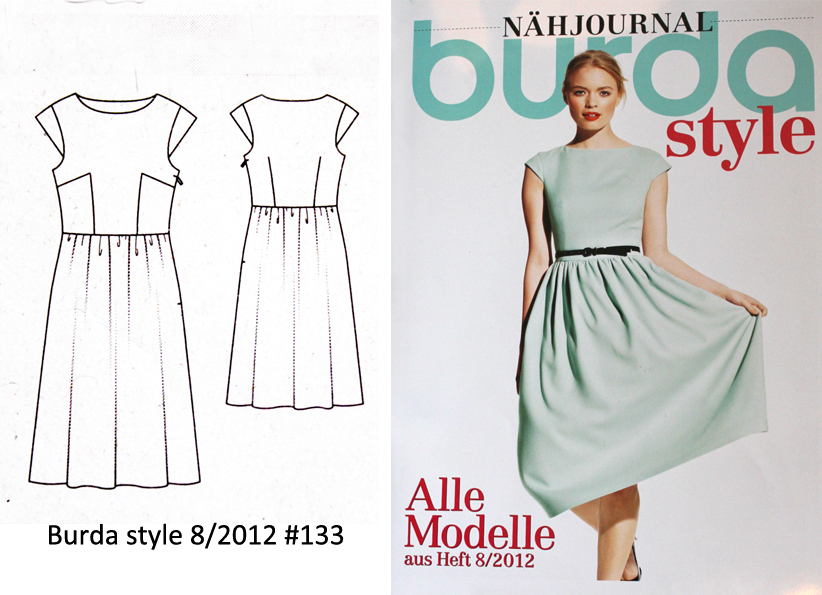
The dress above is the one I have been working on recently and it just needs some more finishing until it’s done. I used the #133 pattern of Burda Style 8/2012.

I love the pattern and will use it again for sure. I decided to keep the skirt a little longer (as on the picture above) since it goes well with the checked pattern of the fabric. But I’ll certainly make another one with a different and lighter fabric that is going to be way shorter and a little more modern. If only I had more time…!

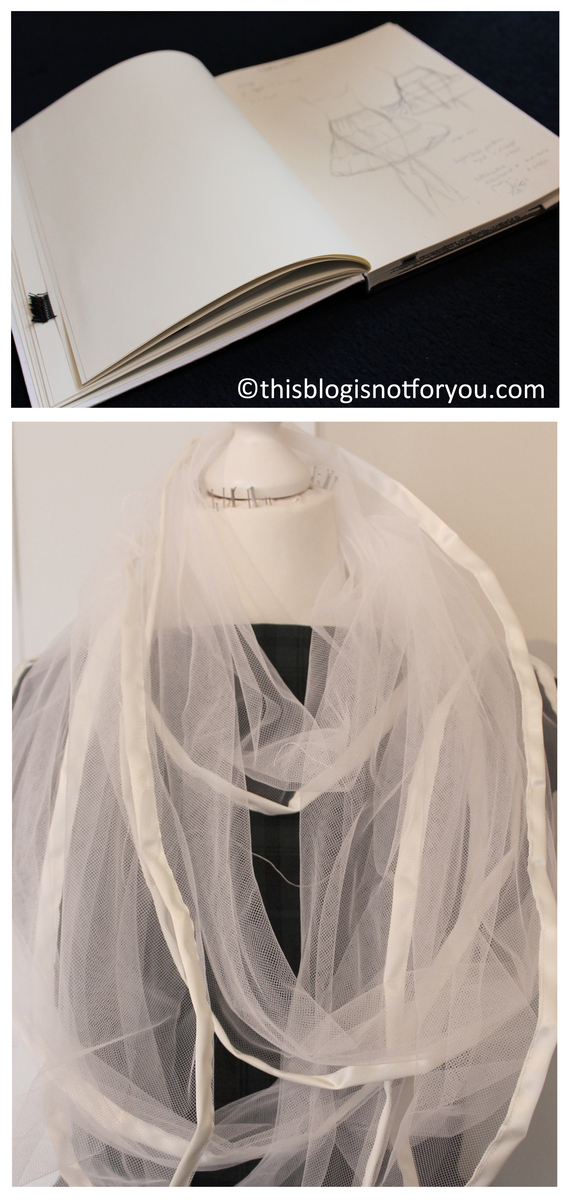
As mentioned, I am sewing a second (fuller) petticoat, but all the tulle-gathering is very time-consuming and since I want to do a tutorial about petticoat sewing as well (taking pictures, writing instructions) I will probably take a few more days and weeks

.

This looped stole developed more or less out of an accident – it was supposed to become a scarf, but I ran out of wool and couldn’t get more of that kind. The idea of making a looped stole out of it actually wasn’t that bad, it’s really nice and cosy to wear. I am going to adorn it, but I haven’t figured out what I am going to use for that. I’ll post a picture when I am done!

 Additionally, I am working on several smaller sewing projects at the moment, mainly christmas gifts. That’s the main reason for not posting any proper pictures yet – I don’t want to spoil anyone. But there are several sewing tutorial in the pipeline for after Christmas, so keep some fabric remnants ready!

come dance with me

I did it.

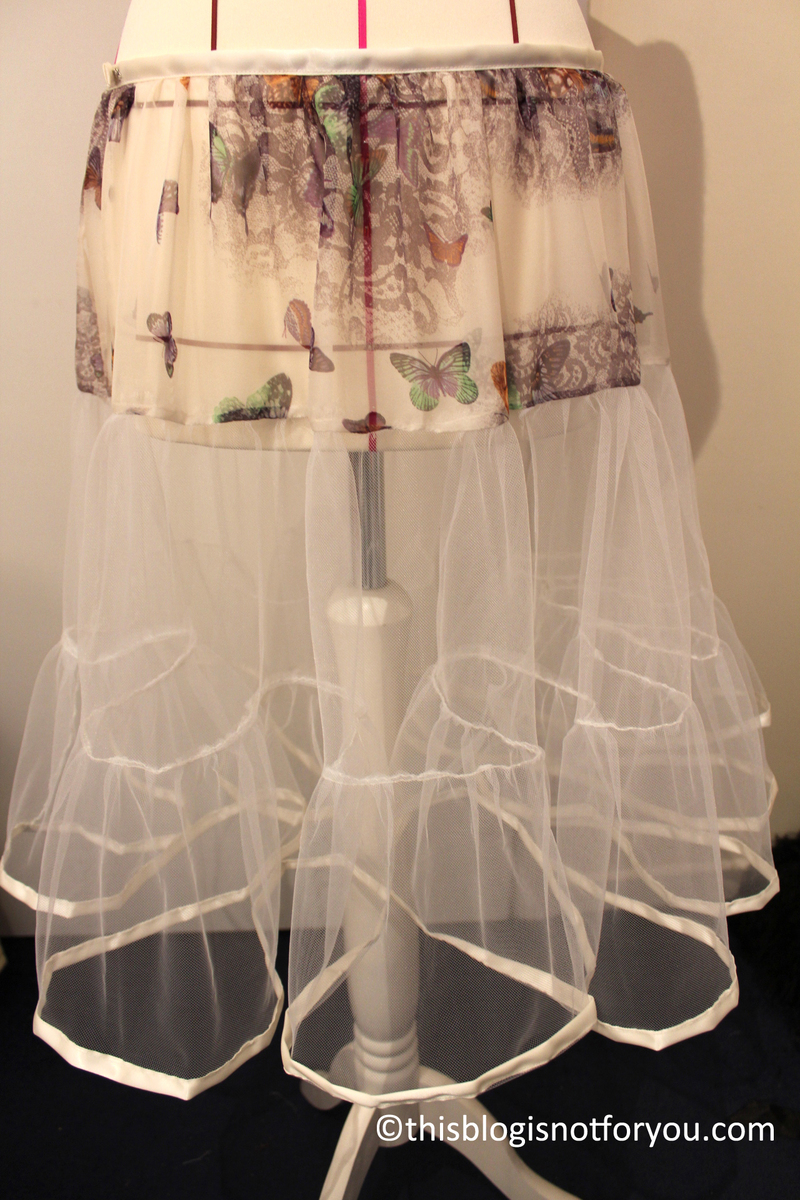
After a weekend of listening to Sinatra and being covered over and over in tulle I managed to make my own Petticoat. Here it is:

 I wanted to do that for years and had the fabric and tulle lying around since last year. It took quite a lot of time (all that fabric gathering is very tiring and costs a lot of time and nerves…) but good ol’ Frank (and some glasses of red wine) helped me not to lose it.

This one turned out like I wanted – not too puffy (I made it for my christmas dress I’m working on at the moment). But I’m planning on doing a second one that’s fuller and has more layers (for my upcoming 50’s dresses – yay!). I’ll probably do a tutorial on Petticoat sewing as well, but don’t be disappointed if that doesn’t happen in the next few weeks. I’ll probably have to buy a few more Sinatra records before…

diamonds are a girls best friend [Bracelet Tutorial]

…but not many of us can actually afford those pretty little friends. Me neither and that’s why I make a lot of my jewelry myself and try to do that as inexpensive as possible. I use all kinds of materials, just recently I tried making jewelry from old pieces of fabric and cheap plastic beads. It turned out really nice, I think.

Here is how to make one of those: (It takes about an hour, so take your time.)

 #1 – What you need

Basically, you don’t need any fancy materials and tools to make this. Make sure you have:

large plastic beads (they don’t have to be the same size) or an old necklace/ bracelet

a piece of fabric/ scraps (it should be at least 30cm x 5cm, depending on the size of your beads)

matching thread, a needle, scissors

a matching, rather narrow piece of gift ribbon, if you want to give your bracelet a final touch up. Be creative with your choice of fabric and ribbon. I used a cream-coloured ribbon (6mm) for both bracelets.

You won’t need a sewing machine, but it’s useful and goes faster if you have one.

 #2  Pick out the beads you want to use or cut an old necklace of yours. You can use plastic or wooden beads with different sizes and probably different shapes, as well, but make sure the size difference is not too big.

#3 Pick out the fabric and a matching ribbon (optional). If you want your bracelet to be more modest, leave off the ribbon. If you pick a fabric with a bigger pattern, try to imagine how it looks on your beads (Just wrap it around one of your beads and see what it looks like). You might be better off with a smaller pattern.

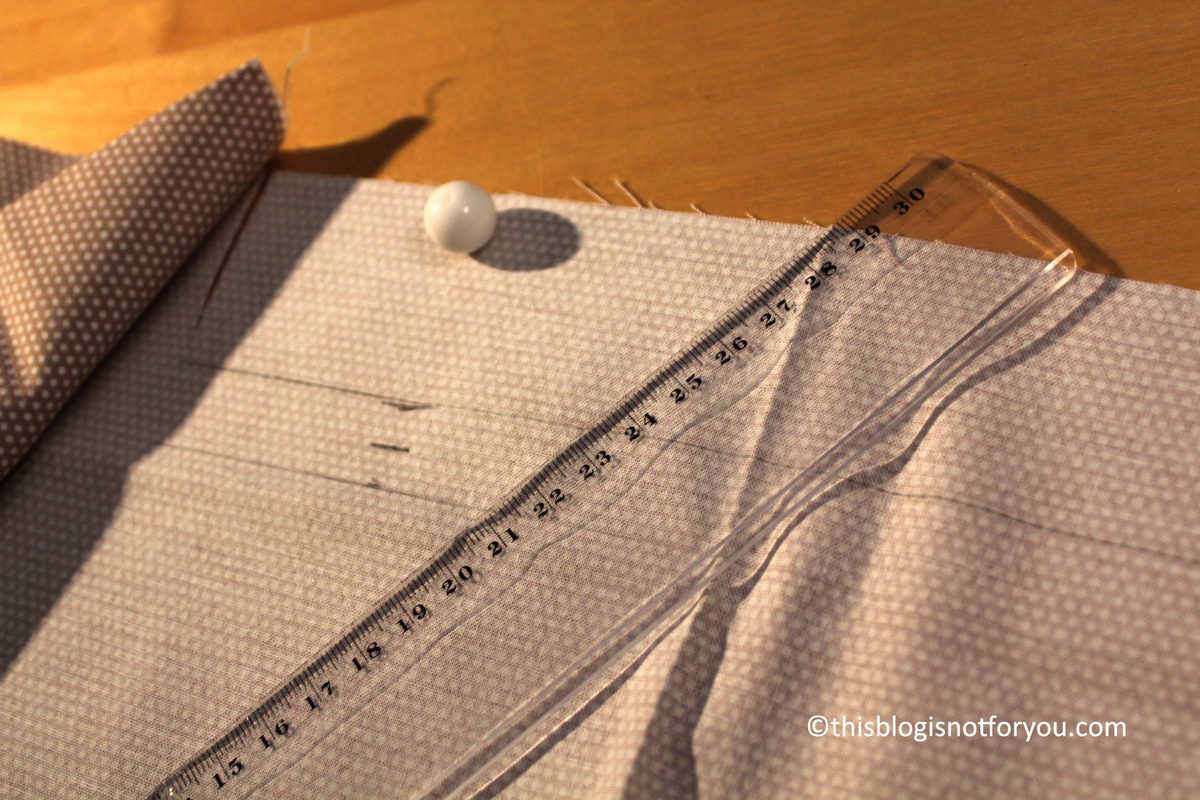
For the length of the fabric, measure the circumference of your wrist + some extra cm (30 cm should work for most of you). For the width, cover the largest bead that you are going to use + 1cm for the seam allowance. 

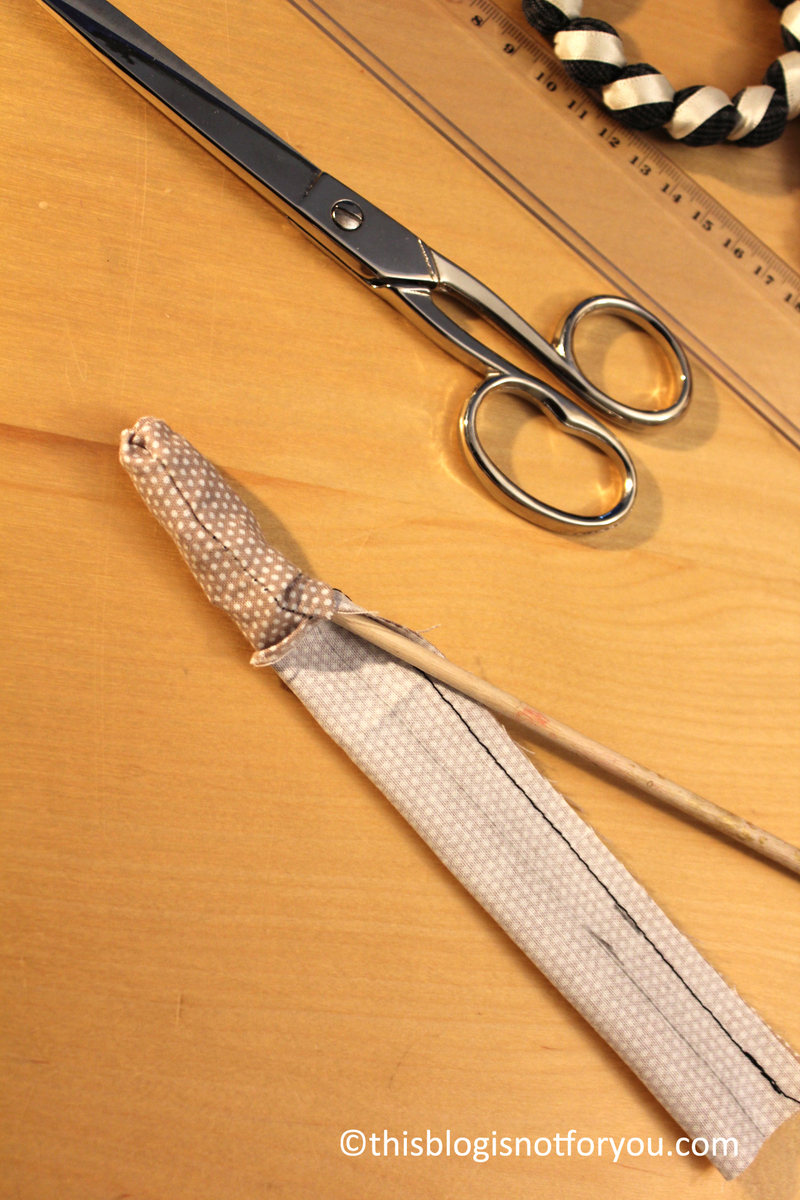
#4  Fold the right sides together, sew the fabric end to end using 0,5cm seam allowance. Turn inside out. You can do that with the help of a pen or brush.


#5 Slide a bead into the tube (but leave at least 5cm of the tube open), then stick a needle through the tube above the bead and wrap it around the tube several times then tie it off. Try to hide the knot. Repeat until all the beads are in the tube (I used 10 beads (1,5cm) for each bracelet).

#6 After you finished putting the beads in, close both ends.

#7. Cut the ribbon (twice the length of your fabric). Sew it to one end of your bracelet, tie it off. Wrap it around the beads (see picture below) and sew it to the other end of your bracelet. I wrapped it around the ends several times before sewing it.

Use the loose ends of the ribbon to make a knot and a bow. And you’re done!