A Festive Party Outfit – Two Ways
LaLinna Schnittgeflüster and Sew Over It Pencil Skirt by thisblogisnotforyou.com

LaLinna Schnittgeflüster and Sew Over It Pencil Skirt by thisblogisnotforyou.com

LaLinna Schnittgeflüster and Sew Over It Pencil Skirt by thisblogisnotforyou.com

LaLinna Schnittgeflüster and Sew Over It Pencil Skirt by thisblogisnotforyou.com

LaLinna Schnittgeflüster and Sew Over It Pencil Skirt by thisblogisnotforyou.com

Classy Comfort

Happy New Year, everyone! Hope you all had a great start into the new year. In Germany we say ‘Have a great Rutsch‘, whishing you a lovely skid into the new year… I’m starting 2018 by sharing my Christmas and NYE outfit. I sincerely hope you guys are not too tired of hearing about holiday outfits by now!

Isn’t this a beautiful combination of patterns? Before I get into too much self-praise, let me tell you how this outfit came together.

Last December I was approached by the lovely folks over at Stoffe.de (also known as myfabrics.co.uk) offering to sponsor my holiday outfit. Yup, December and I didn’t already have one. I’m a classic last-minute sewer, so I had neither an outfit nor plans for one (yet).

I wanted to create a festive look that would work both for Christmas and New Years Eve. But how to do formal and casual in one?

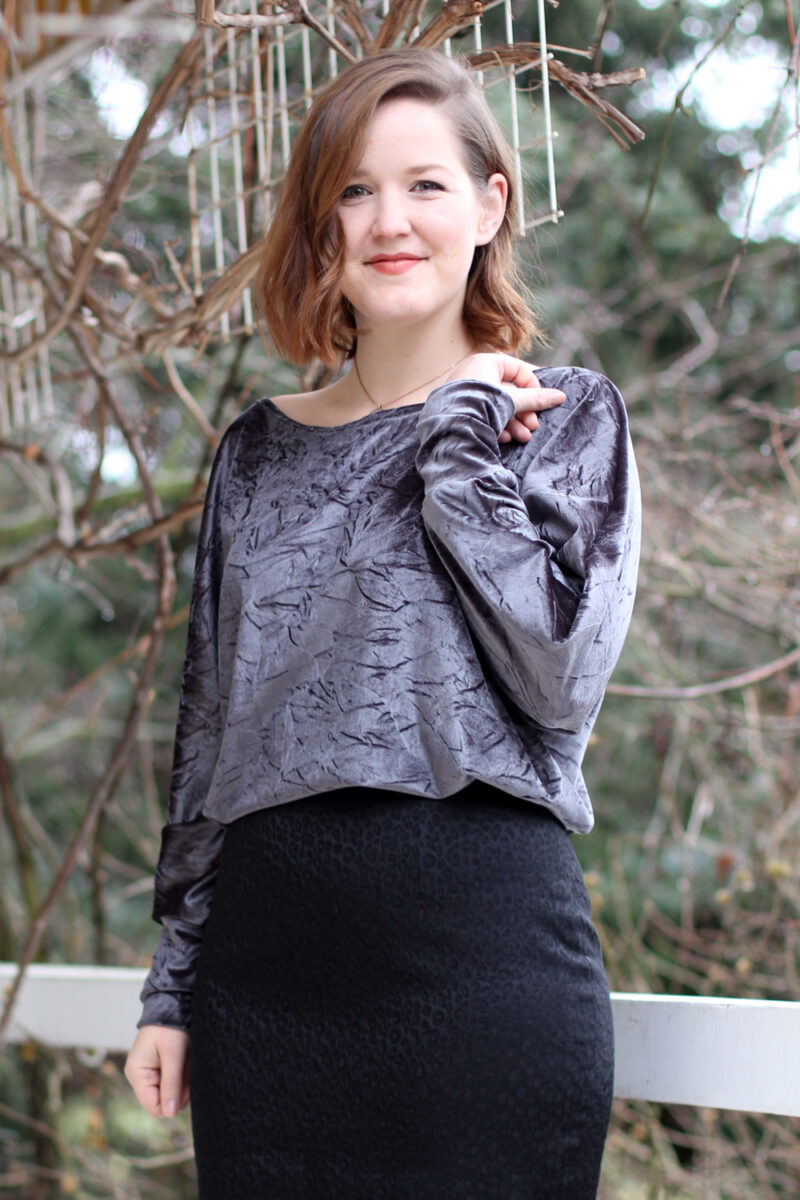
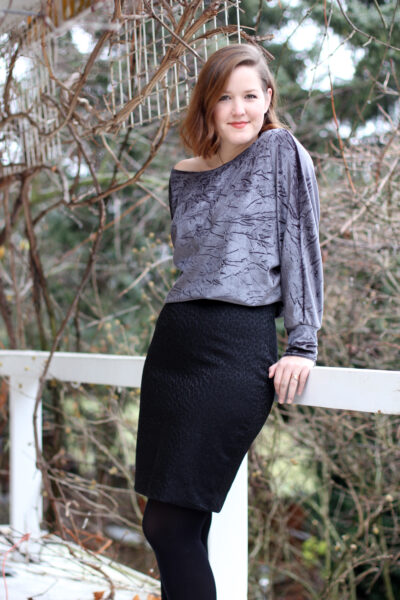
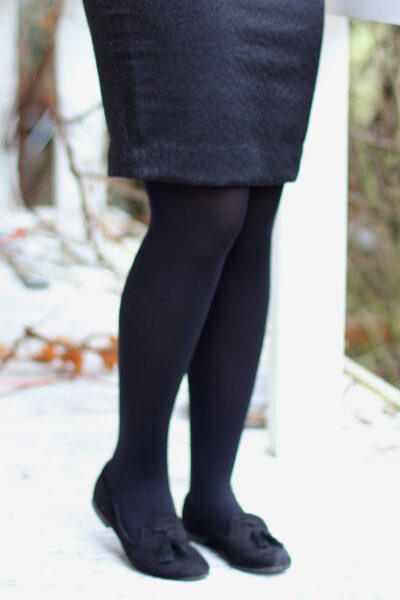
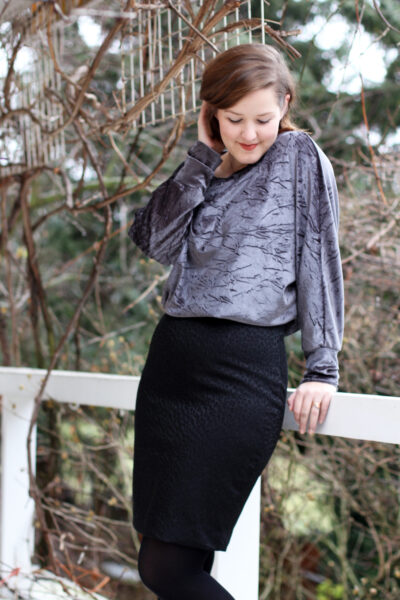
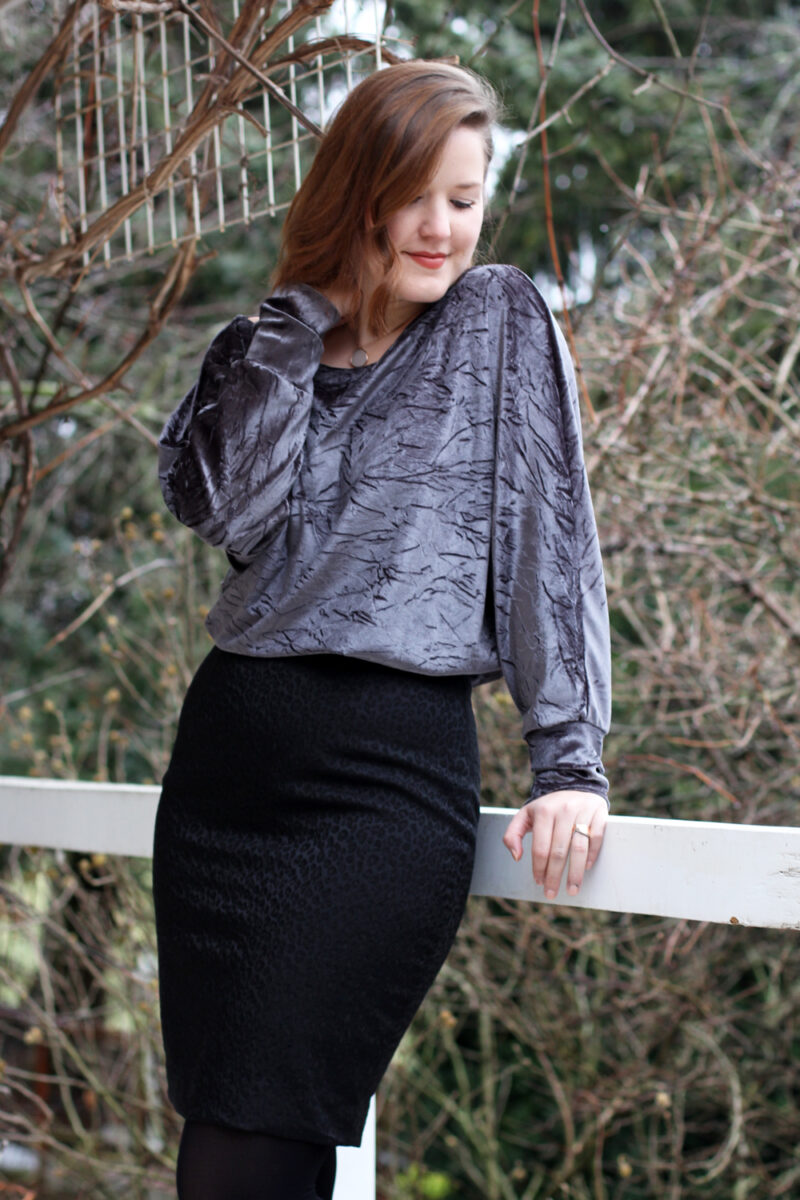
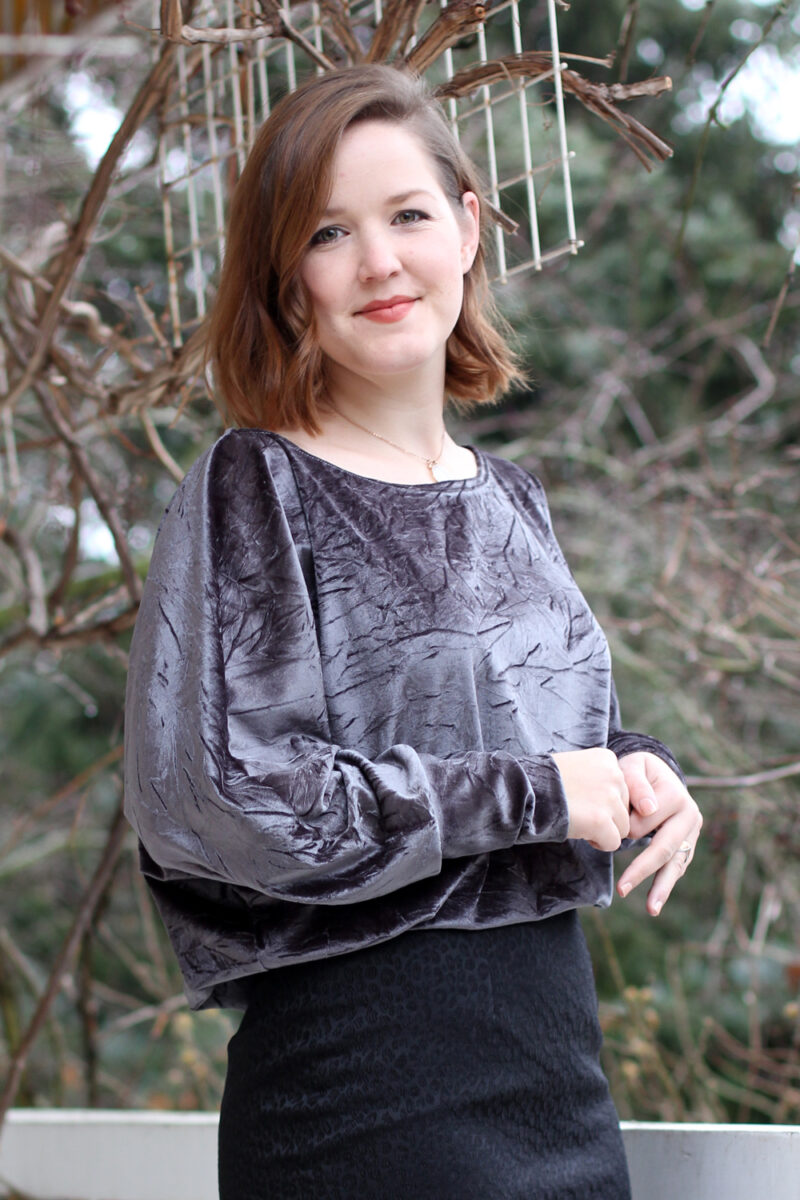
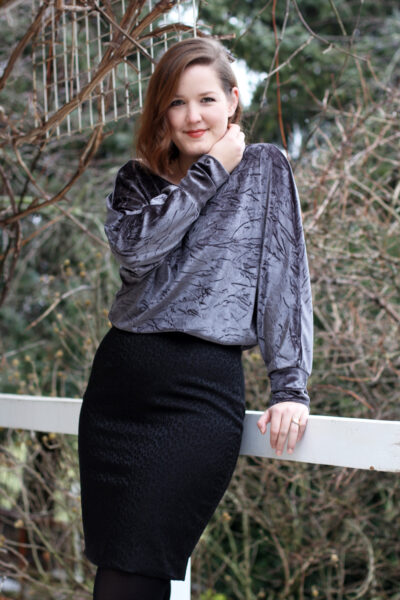
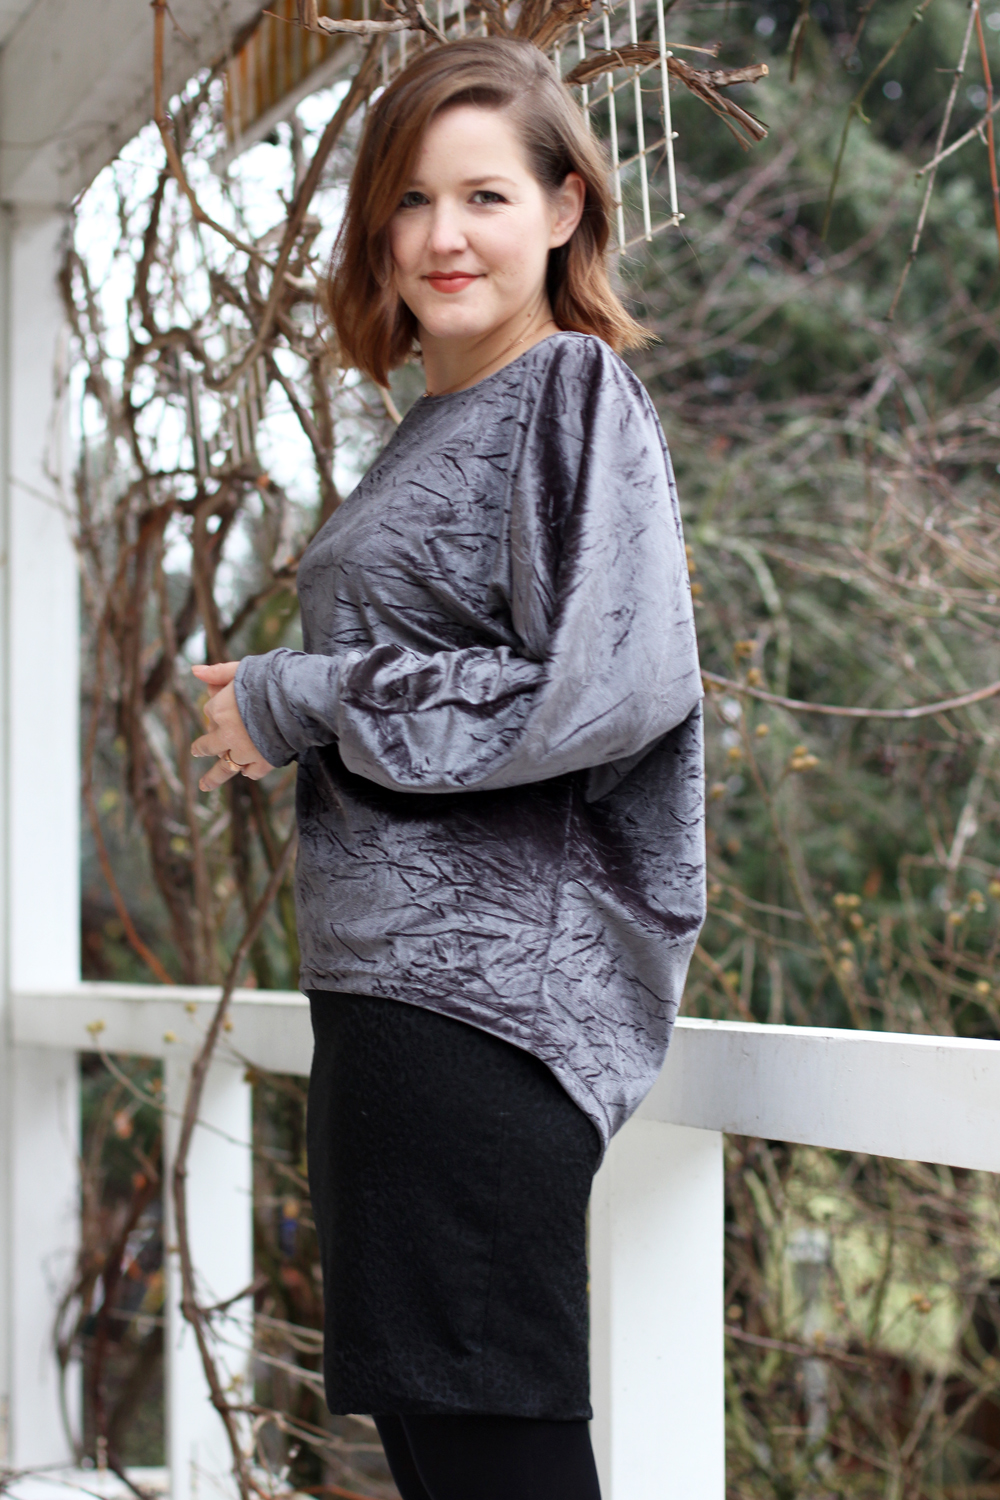
I went for quite festive fabrics, combined with a more minimalist and casual cut. Well, you know I love my pencil skirts for every occasion. They can be worn two ways – top tucked in or left out. It creates two very different looks.

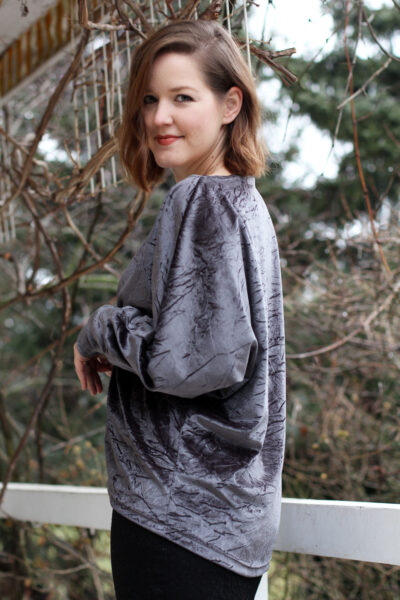
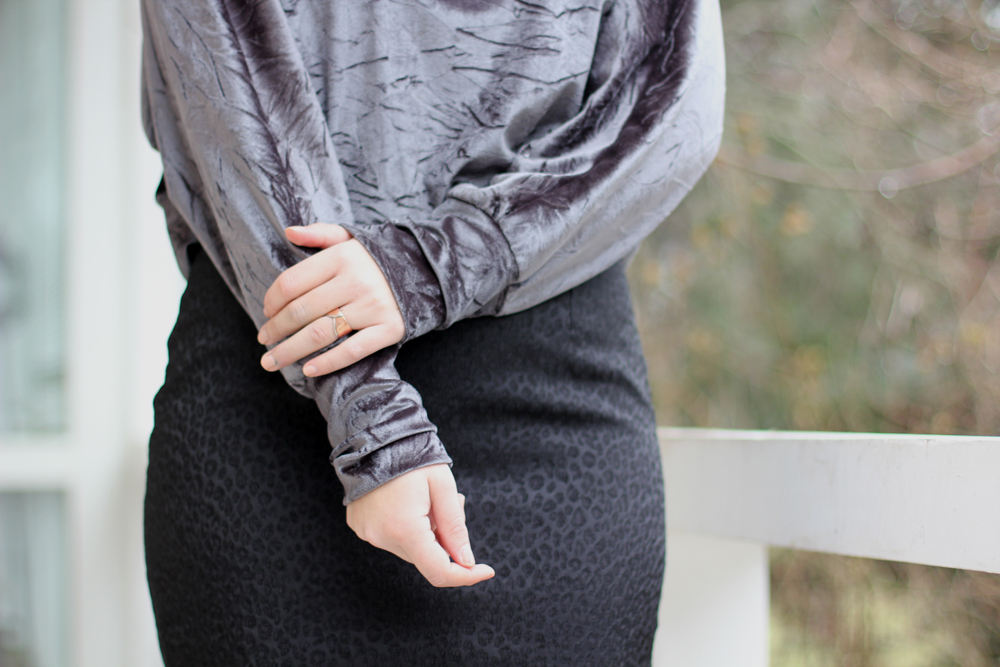
I paired it with a jumper pattern – mostly for comfort (and to have enough room for all the holiday meals).  I’ve followed the newly arisen velvet craze and wasn’t too big a fan at first. Velvet can look outdated very, very quickly. But I thought I’d challenge myself a little and use fabrics I hadn’t used before: animal print plus velvet. If this isn’t stepping out of your comfort zone, then I don’t know what is.
LaLinna Schnittgeflüster and Sew Over It Pencil Skirt by thisblogisnotforyou.com

LaLinna Schnittgeflüster and Sew Over It Pencil Skirt by thisblogisnotforyou.com

A Pattern Dream Team

Let’s get into all the details, right? Pattern-wise I combined an old love with a new one! My beloved, fitted-to-death  Ultimate Pencil Skirt pattern by SEW OVER IT, which I loooove to pieces. I stopped keeping track of how many I made so far. Roughly ten, I guess. I suppose I could sew it in my sleep now. I won’t go into too much detail, as I’ve been gushing over this skirt for years now. Well, it’s a classic and therefore qualifies as perfect base for any two-piece outfit.

Since moving back to Germany, I slowly make my way around German sewing blogs and indie pattern companies. There are so many amazingly talented people out there, it’s unbelievable. I wish I had the time to follow more and try more patterns.

For this project, I tried the wonderful LaLinna jumper pattern by SCHNITTGEFLÜSTER (‘pattern whisperings’), who’s made it her goal to create super minimalist, basic patterns for all sizes. Their patterns range normal to plus size and are available as PDF-Download. They’re also very affordable and easy makes for beginners. As an advanced sewer, I had a lot of fun to use this cut as a foundation to add some fun details. Man, they have just SO many gorgeous patterns to gush over, I bet from now on you’ll never hear the end of it. I see a whole Schnittgeflüster year coming. Brace yourselves, I warned you.

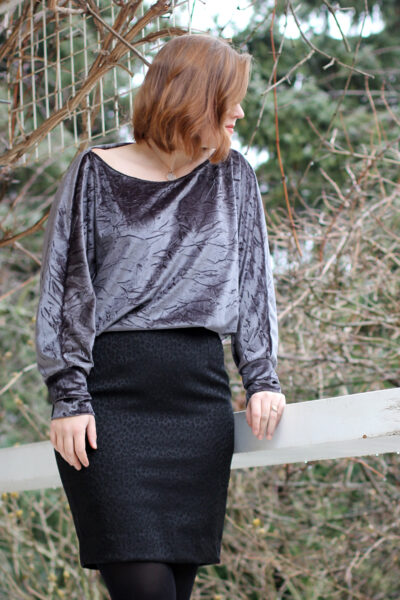
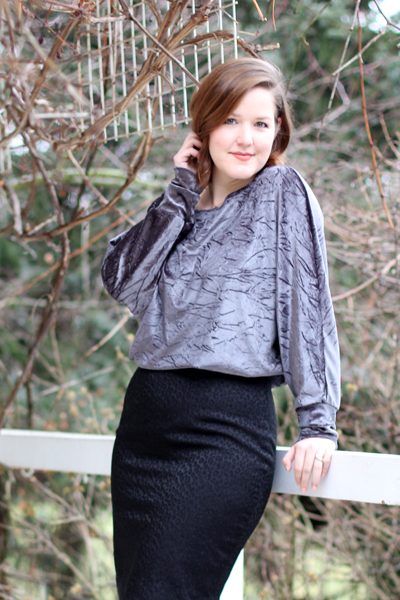
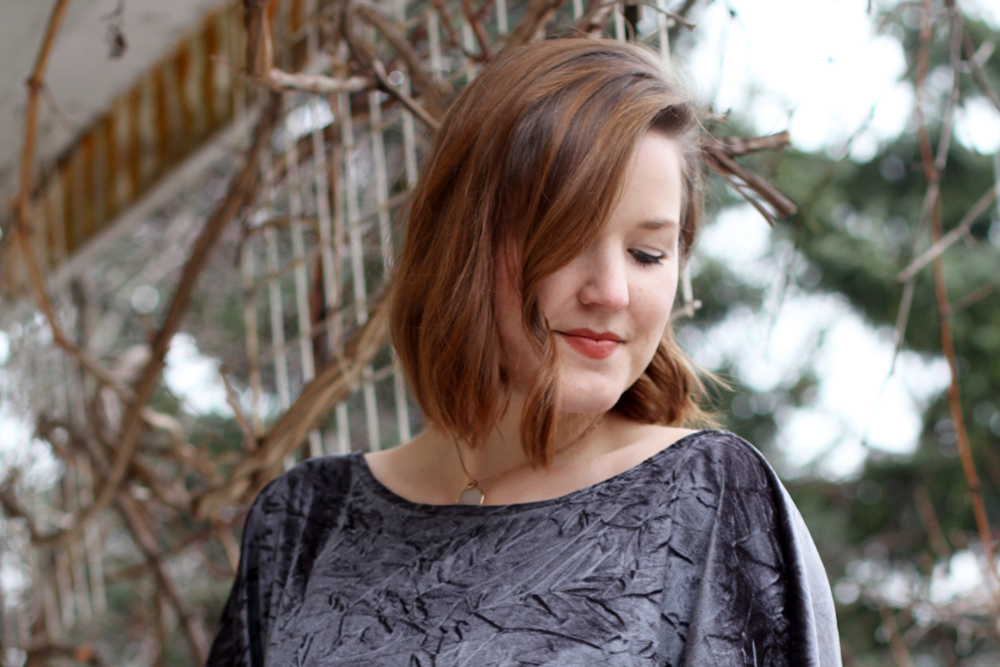
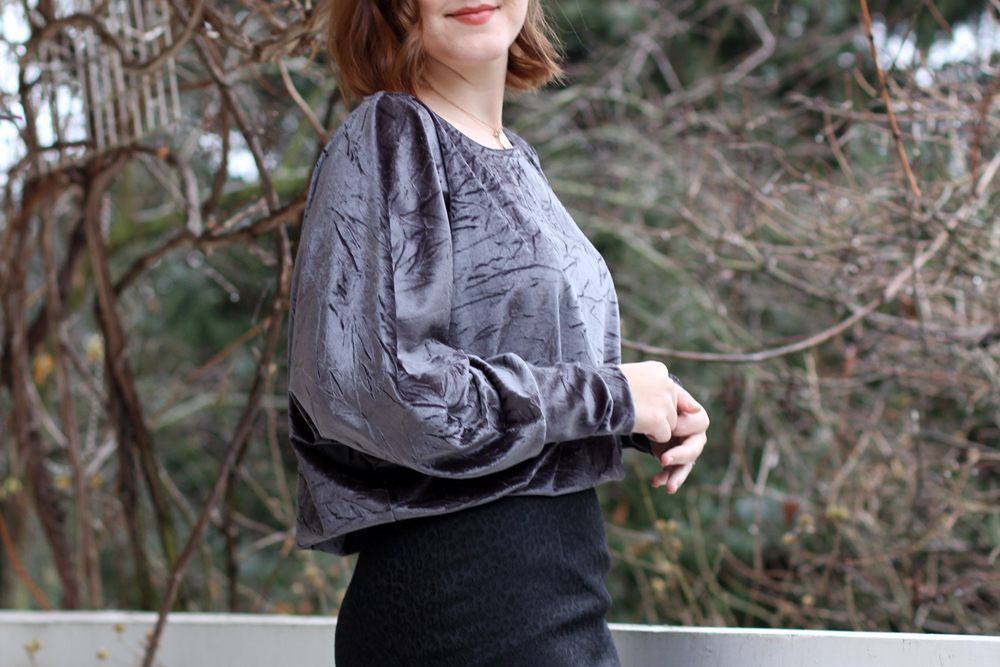
LaLinna is perfect tucked in or casually worn over the skirt. The batwing-sleeves are very comfy, add to a beautiful drape and look quite elegant with narrow cuffs. I changed the neckline to a boat neckline and lengthened the cuffs to make them appear even narrower. The hemline drops down at the back, adding even more volume and creating a gorgeous silhouette. The jumper looks great worn over skinny jeans, too. I wouldn’t mix it with really wide-fitting trousers or A-line skirts, though.
LaLinna Schnittgeflüster and Sew Over It Pencil Skirt by thisblogisnotforyou.comLaLinna Schnittgeflüster and Sew Over It Pencil Skirt by thisblogisnotforyou.comLaLinna Schnittgeflüster and Sew Over It Pencil Skirt by thisblogisnotforyou.com

LaLinna Schnittgeflüster and Sew Over It Pencil Skirt by thisblogisnotforyou.com

LaLinna Schnittgeflüster and Sew Over It Pencil Skirt by thisblogisnotforyou.com

Who Said Animal Print and Velvet Isn’t Cool?

Let’s talk about these fabrics now, shall we? I really went for something I haven’t tried before and picked a crushed stretch velvet in antique silver (HERE‘s the link for you German folks) and a leopard print stretch jacquard in black (which appears to be out of stock, unfortunately!). Both fabrics are courtesy of Stoffe.de (also known to UK folks as myfabrics.co.uk).

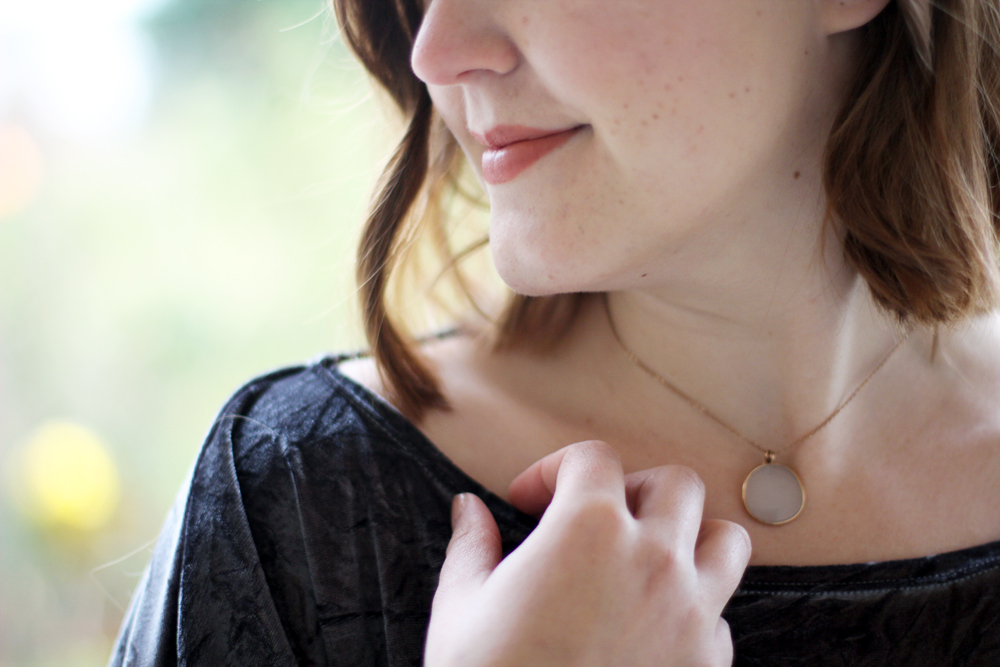
Despite having heard many horror stories about sewing with velvet, this wasn’t one of them. The velvet sewed like a breeze and wasn’t sliding around at all. It’s got a very lovely soft texture with an elegant shine.

The leopard jacquard is perfect for sewing close-fitting skirts (or trousers) as it has a nice amount of stretch. I used a stretch lining fabric (link for Stoffe.de) to go with it. The jacquard has a nice sheen and matches the velvet perfectly.
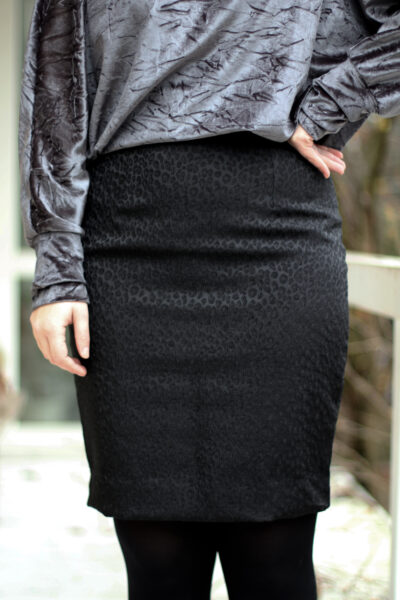
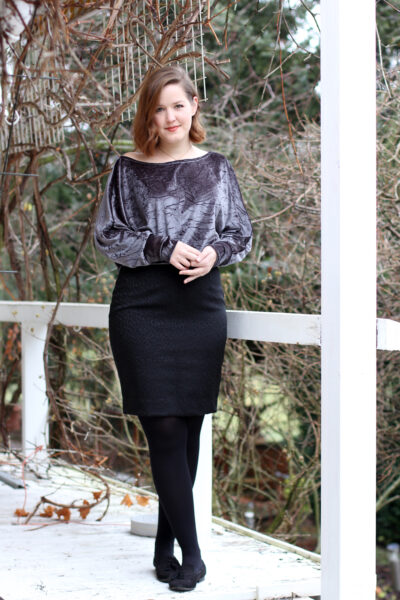
LaLinna Schnittgeflüster and Sew Over It Pencil Skirt by thisblogisnotforyou.com

LaLinna Schnittgeflüster and Sew Over It Pencil Skirt by thisblogisnotforyou.com

So far so good, I’m VERY happy with this combo. I’ve worn the LaLinna jumper loads since the holidays, mostly with skinny jeans to work and can’t wait to rock that skirt again some time soon.

Did you make something for the holidays? Also, if you have some great pattern recommendations for me to try in 2018, please share!

xx

Charlie


Happy sewing!

facebook/bloglovin/pinterest
twitter/instagram

Stay in touch!

A Cosy T&TB Coco Jumper

Coco Jumper by Thisblogisnotforyou.com

Coco Jumper by Thisblogisnotforyou.com

Coco Jumper by Thisblogisnotforyou.com

COSY CHRISTMAS

Hello sewcialists! I hope you had a wonderful Christmas! Having some time between the holidays I could finally get around to take pictures of quite a few of my recent projects.
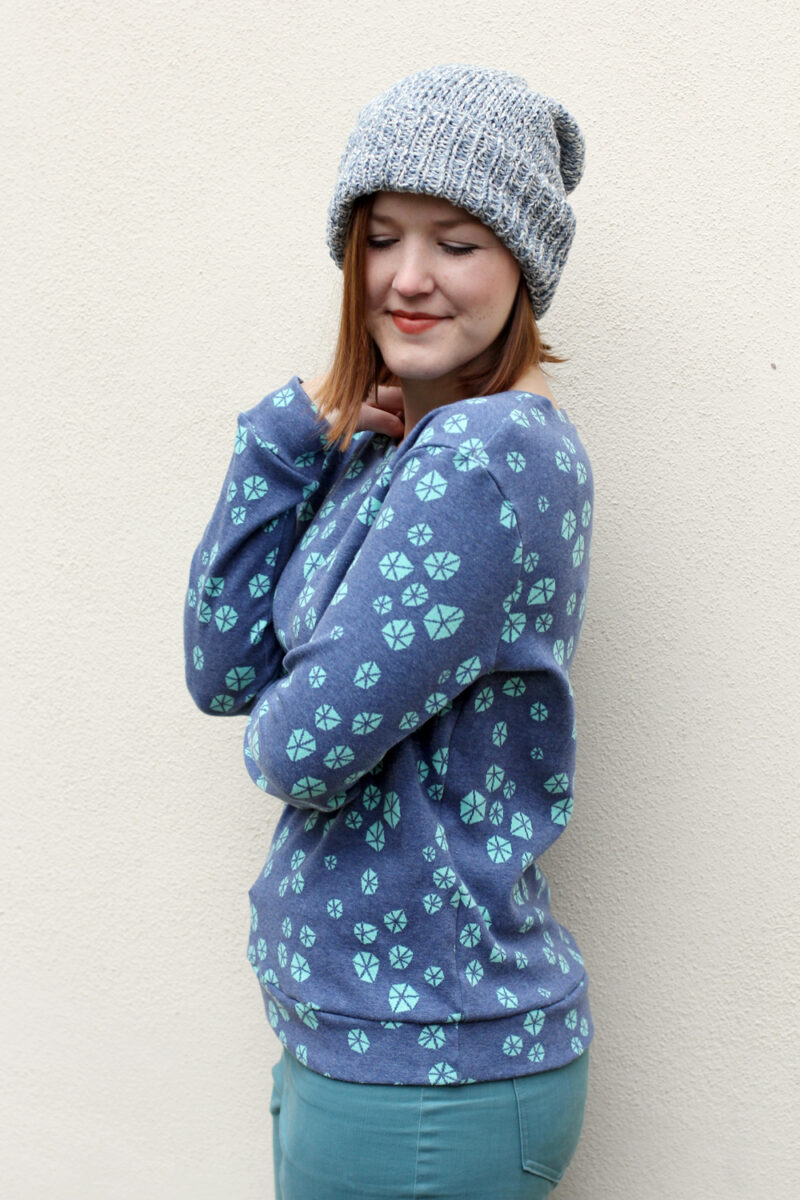
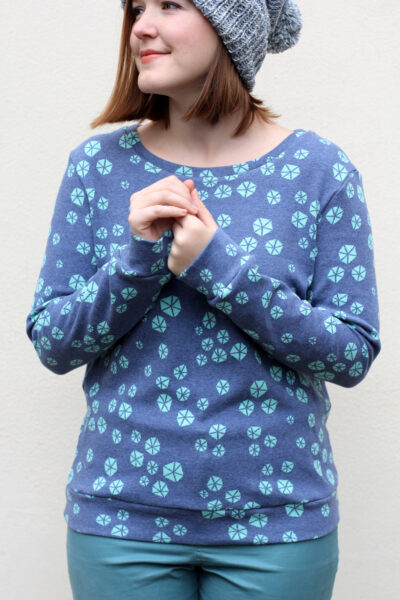
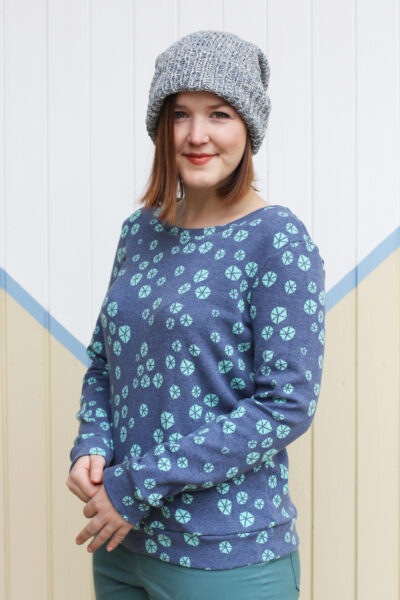
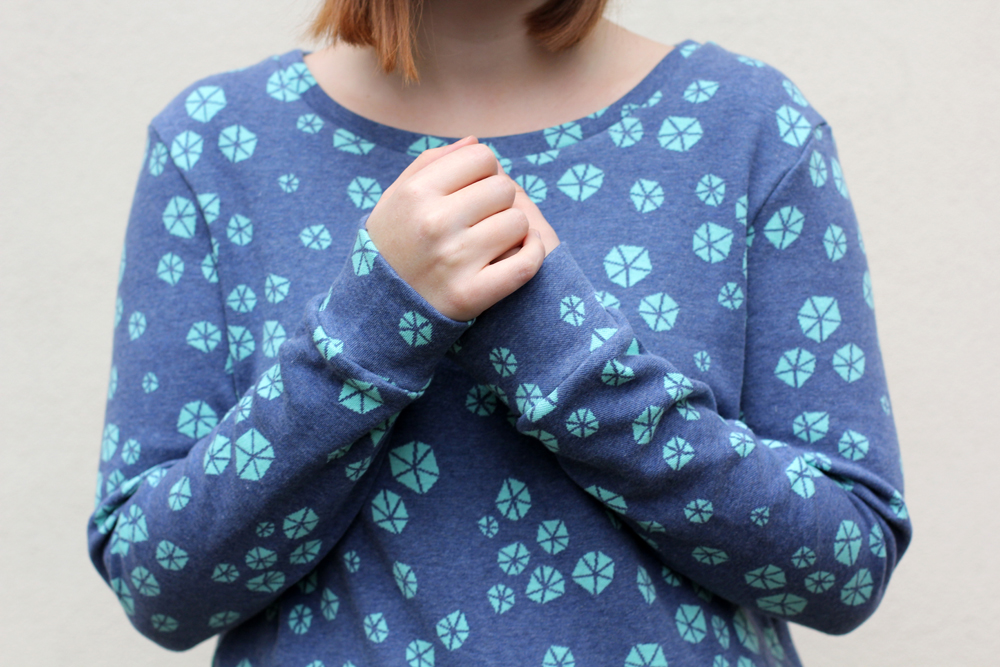
This cosy jumper is one of them. I made it as a Christmas gift for my best friend who designed it and picked the fabric herself this year.

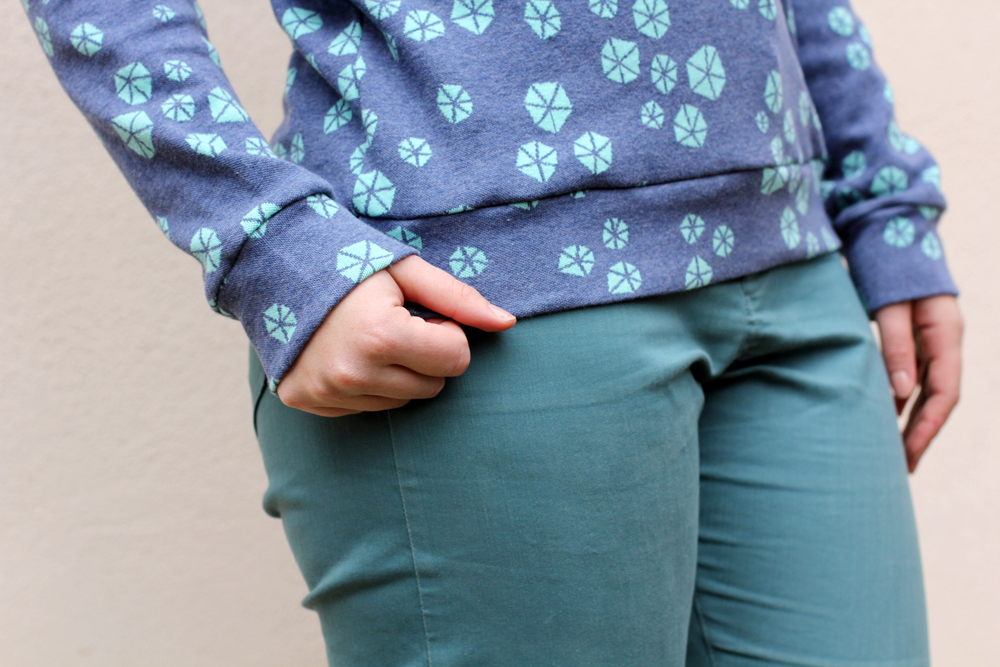
The fabric (‘Anemone’ by Albstoffe) is from a German fabric online shop Königreich der Stoffe (Kingdom of Fabrics). I only recently discovered this shop and really love it. They have the most amazing prints and a gorgeous selection of knit fabrics. They ship internationally, so do check them out on you’re next shopping spree!

The fabric was quite expensive (26€/m), an amount I rarely spend on fabrics, but ohhhh, it’s so soft and cosy! It’s worth every penny. Unfortunately, this beauty traded hands just after Christmas Day!

Coco Jumper by Thisblogisnotforyou.com

The pattern for this sweater is based on Tilly & The Buttons “Coco” and a sleeve hack from their “Agnes” pattern which I also used for my Star Wars sweater last year. I added cuffs and made it a bit wider at the waist and sleeves. Here I’m wearing it with my Mia Jeans and handmade beanie hat.

I have more and more completely handmade outfits and I’m planning to make more matching separates next year. My To Sew List is full of sweaters, jeans and blouses. If I’m lucky, I get half of that list done! Coco Jumper by Thisblogisnotforyou.com

My Christmas & New Year’s Eve outfits are 100% handmade this year! I look forward to sharing them with you soon. What are your sewing plans for 2018?

xx

Charlie


Happy sewing!

facebook/bloglovin/pinterest
twitter/instagram

Stay in touch!
Handmade Dog Collars

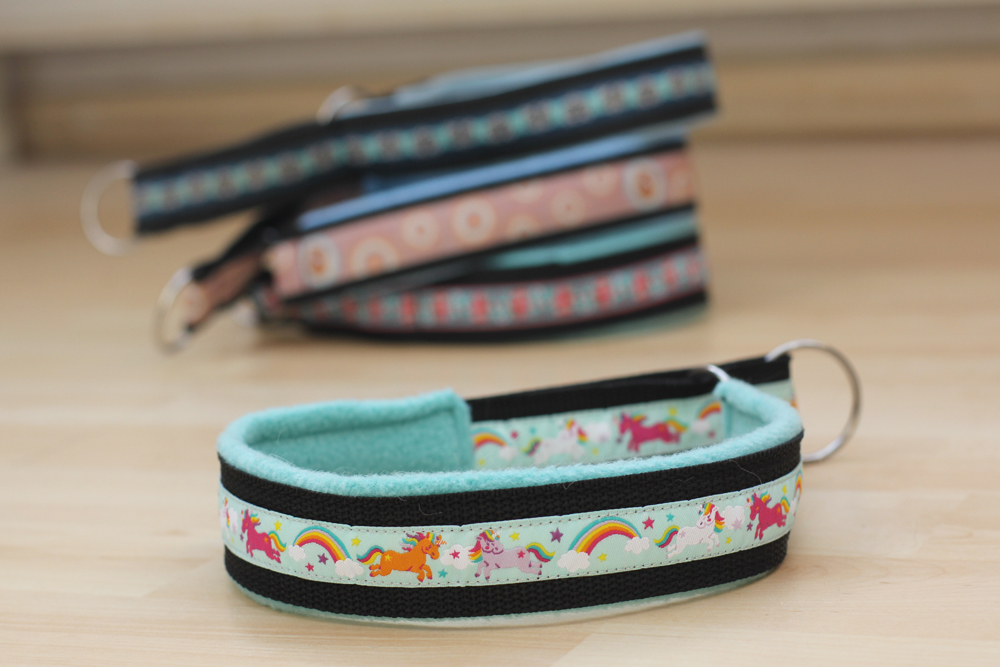
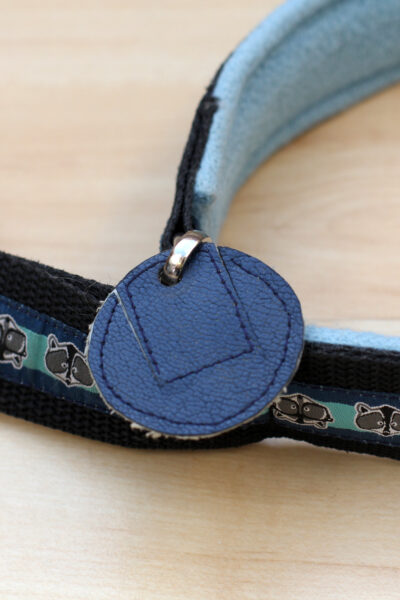
DIY Dog Collar by thisblogisnotforyou.comDIY Dog Collar by thisblogisnotforyou.com

DIY Dog Collar by thisblogisnotforyou.com

DIY Dog Collar by thisblogisnotforyou.com

Happy weekend, everyone!

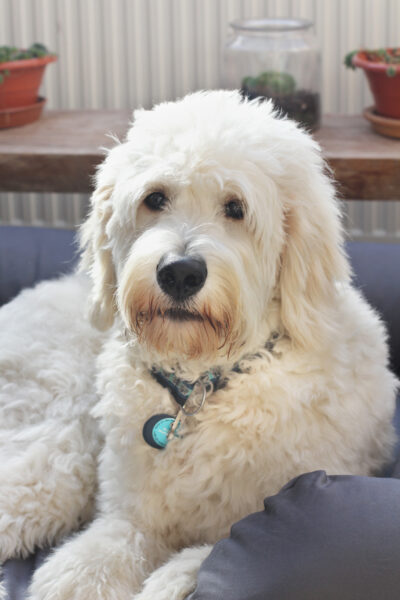
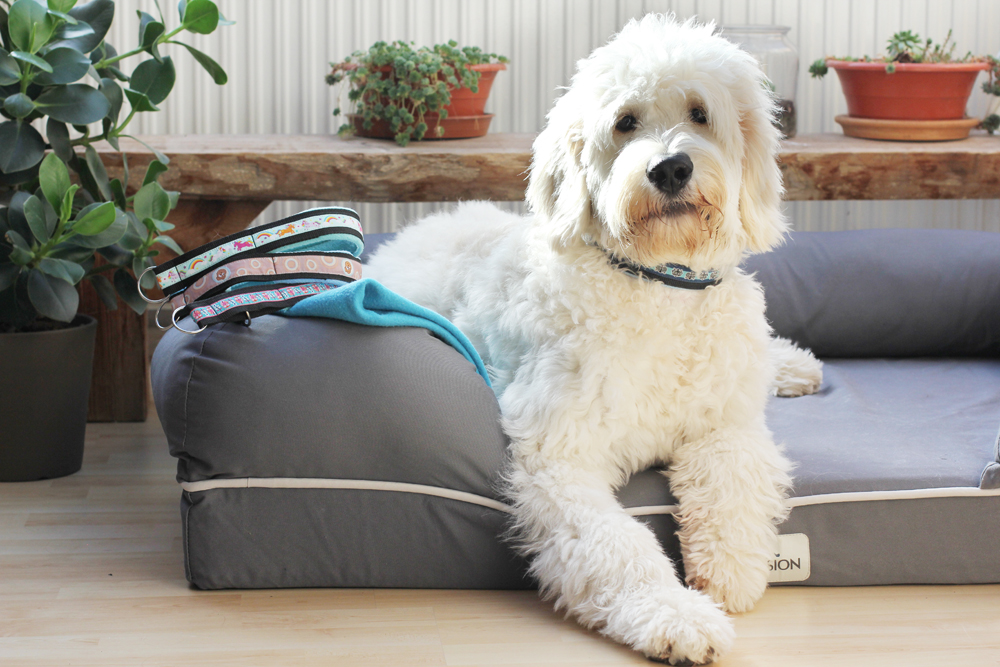
(He’s such a cutie, right?)

Today I have another one from the DOG DIY category for you! I really enjoy these doggo DIY projects, but there are only so many things you can make for your pup that you actually need. For us this is mostly leashes, collars and toys. We don’t dress our dog up (if a multitude of different style collars and leashes don’t count…) so I always look for other fun sewing projects that are useful.

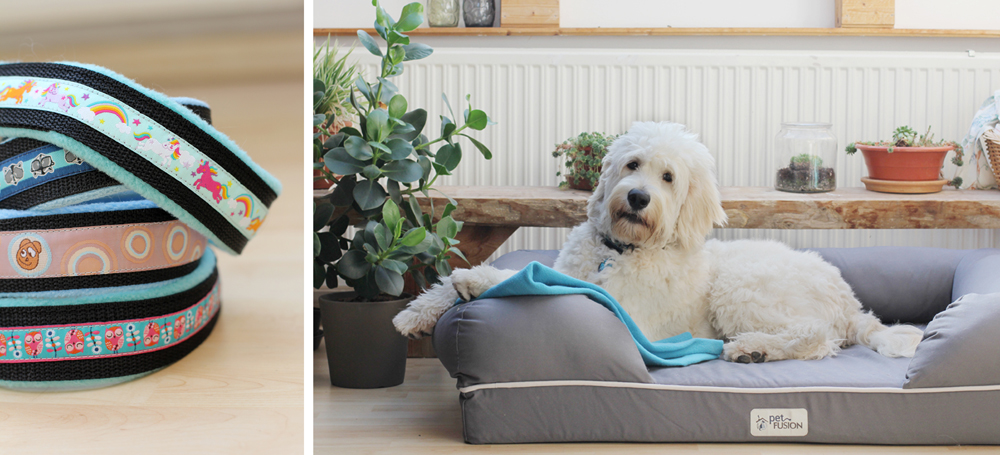
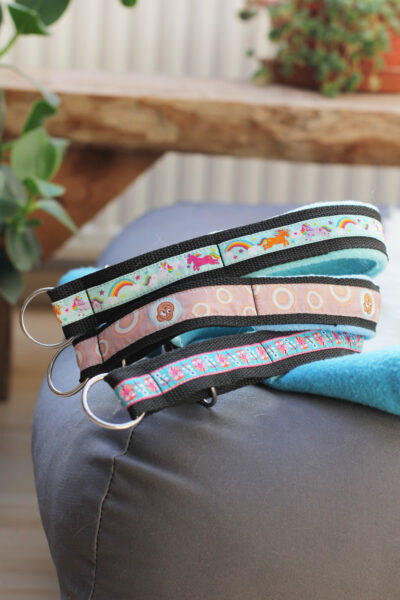
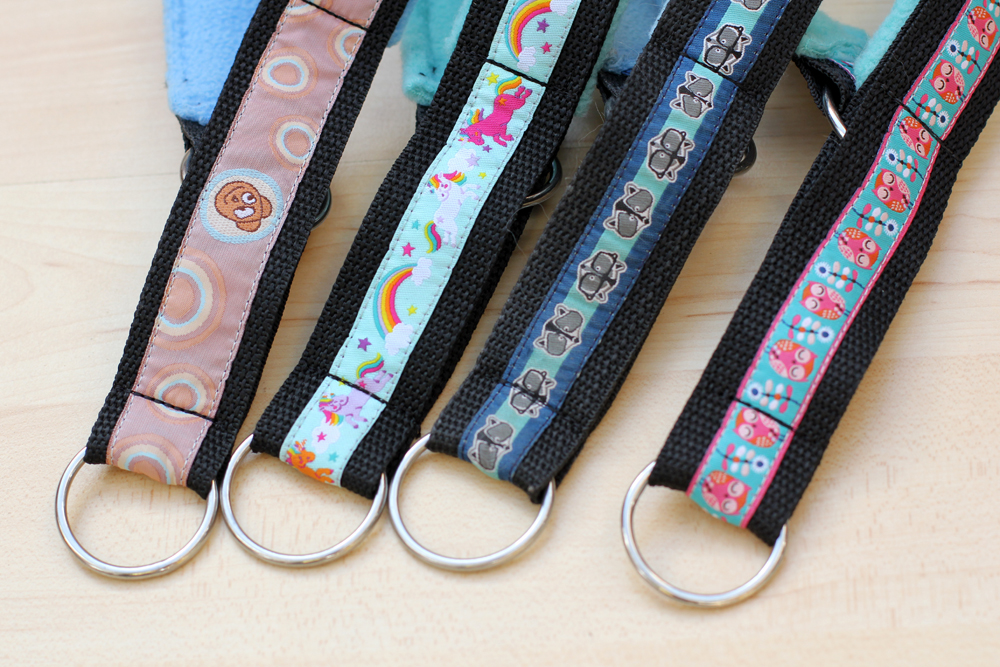
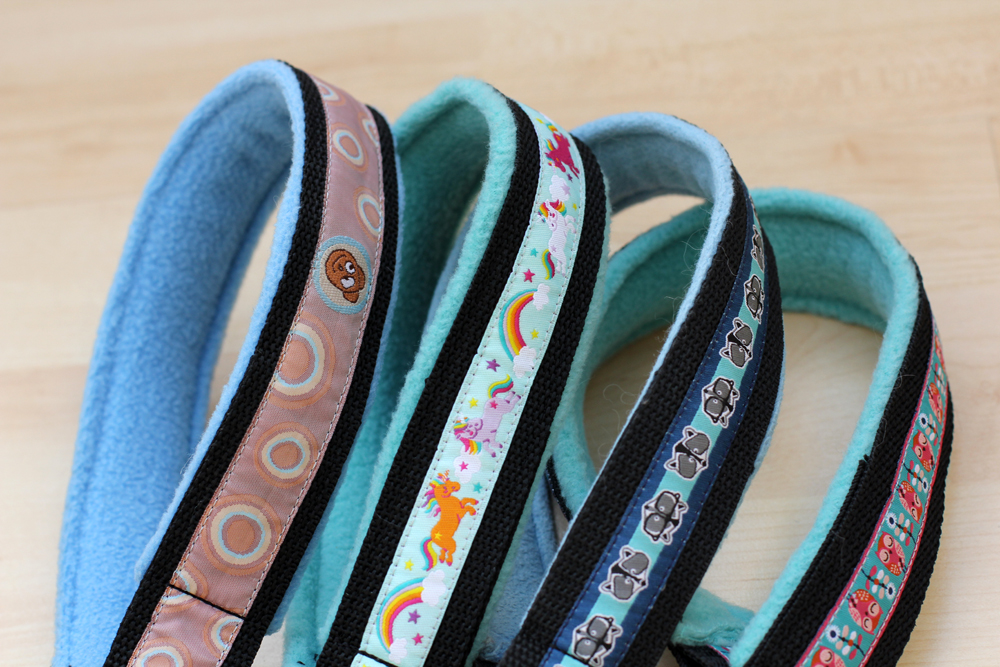
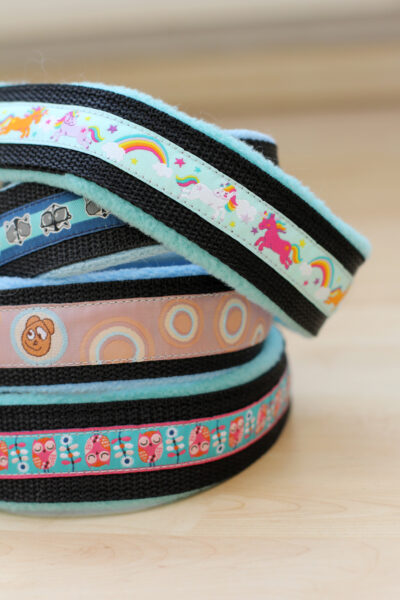
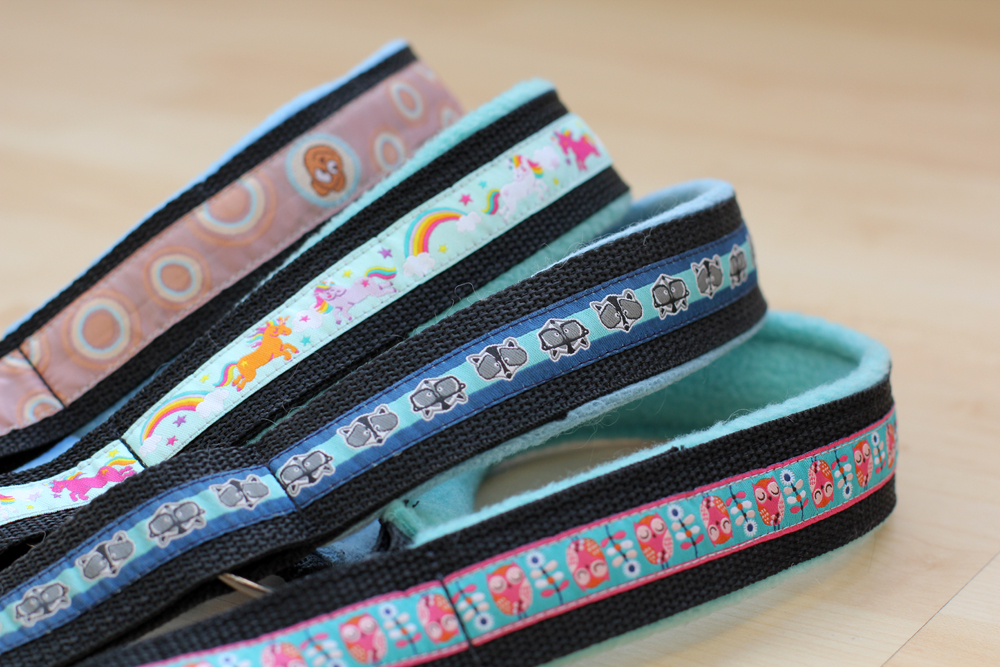
We had someone make a costum-made dog collar for Aslan that was super cute. It was quite costly and only took the lady 10 minutes to make on her industrial machine. Unfortunately the collar ended up being a tad too tight after only a few days (!) and I had all these cute ribbons and I’m addicted to sewing… so what can I tell you? Off course I had to copy that thing as best I can and add a few tweaks and end up making four dog collars in a matter of only a few hours. Matching leashes will follow.

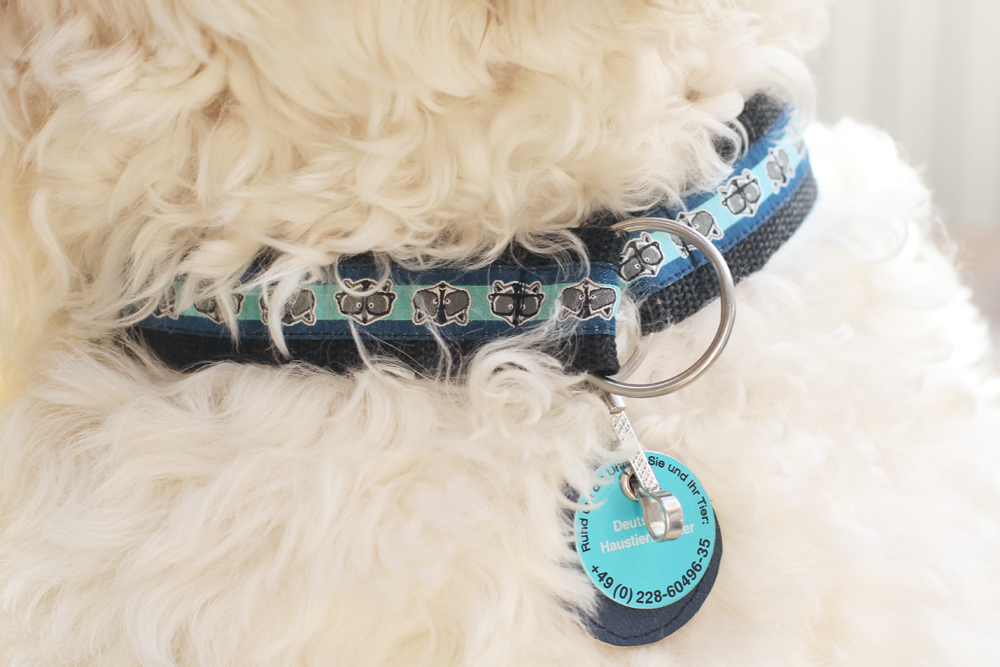
Here are a couple of close-ups:

DIY Dog Collar by thisblogisnotforyou.com

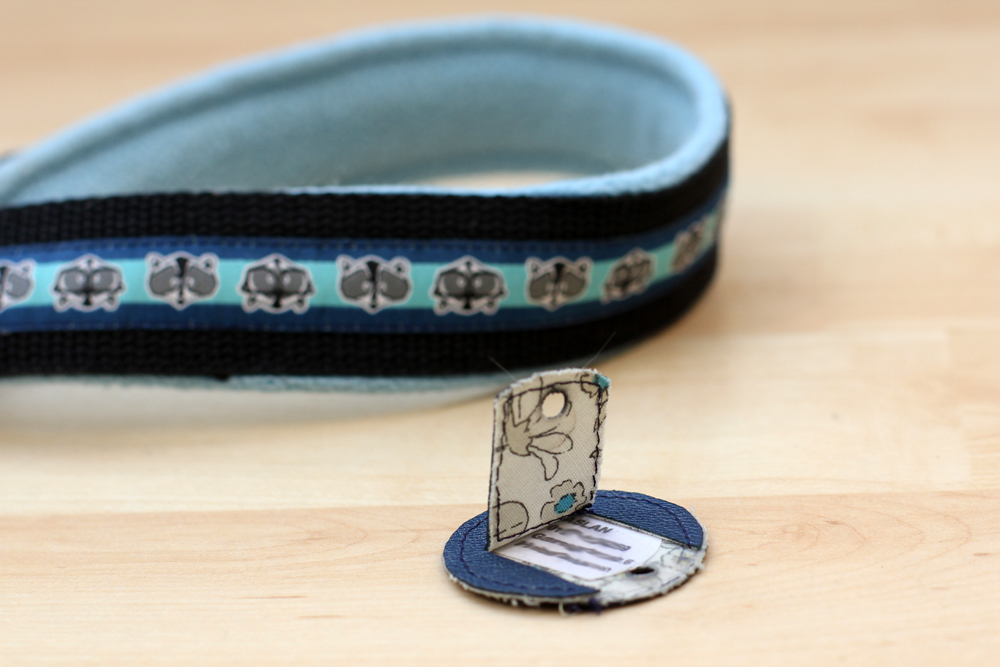
(Did I mention matching dog tags?)DIY Dog Collar by thisblogisnotforyou.comDIY Dog Collar by thisblogisnotforyou.comDIY Dog Collar by thisblogisnotforyou.comDIY Dog Collar by thisblogisnotforyou.comDIY Dog Collar by thisblogisnotforyou.com

DIY Dog Collar by thisblogisnotforyou.com

DIY Dog Collar by thisblogisnotforyou.com

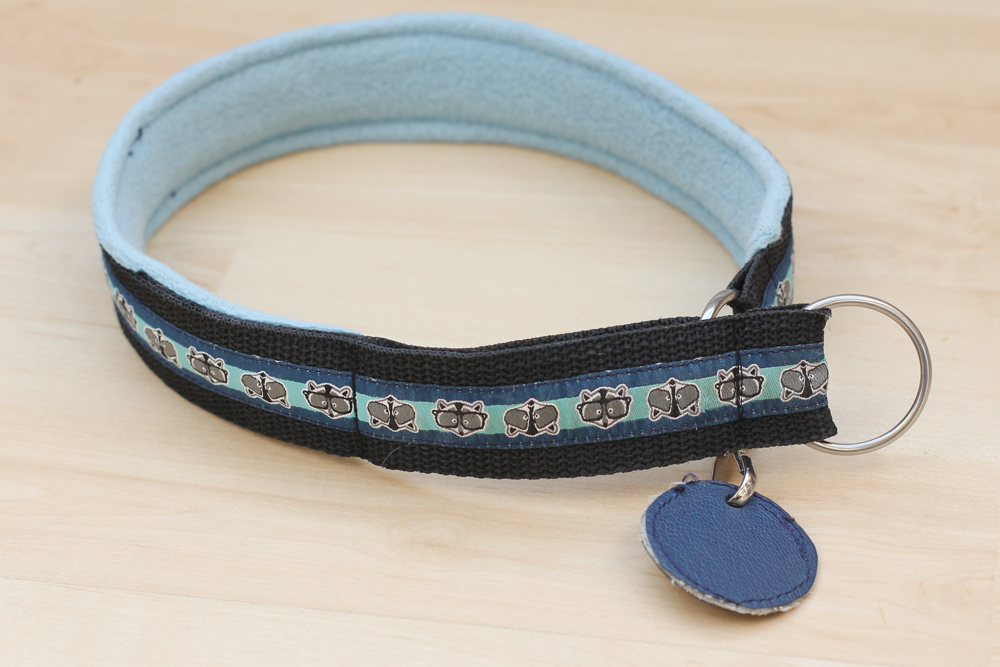
I made this cute leather address tag in a very short time. I followed a tutorial in Burdastyle Magazine, the process is fairly simple. I lined the leather with some flower-print cotton I fused onto it before cutting out.

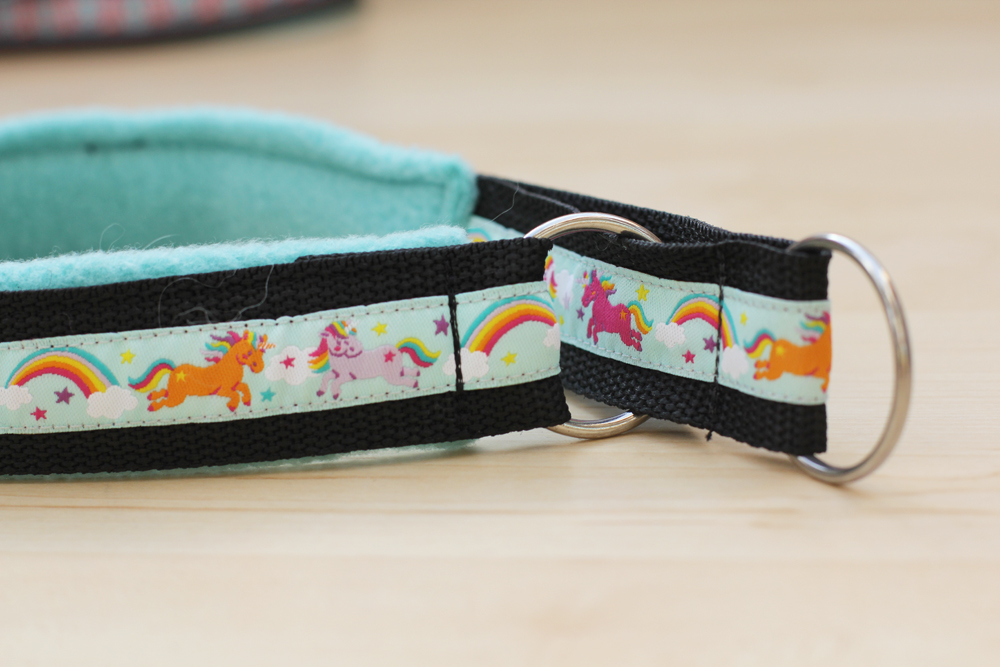
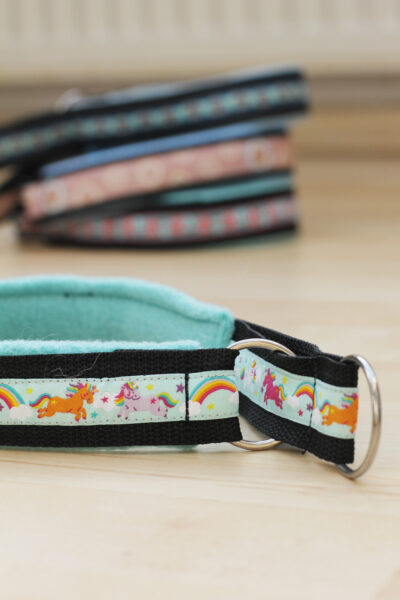
But back to the dog collars! The unicorn one is my favourite by far!

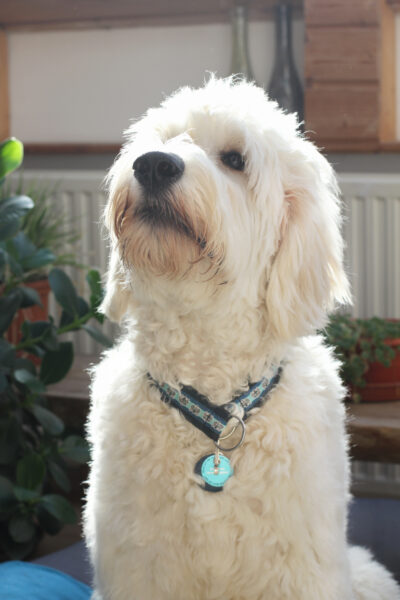
As you can see in the picture below, these collars are made to slip over your dog’s head and they tighten once you pull the leash. These are no-choke collars, which means even when pulling, the collar has about one inch wearing ease. This is small enough for your dog not to break free when pulling backwards but not too tight to choke him. To not accidentally choke your dog it’s actually better to make a bespoke slip collar yourself than buying one that might be too small (so-called half-choke collars).

For safety these are extra wide (approx. 3.5-4 cm). A dog collar should be wide enough to cover at least the width of two neck vertebrae, which roughly is 3-4 cm for larger dogs.

DIY Dog Collar by thisblogisnotforyou.com

DIY Dog Collar by thisblogisnotforyou.com

DIY Dog Collar by thisblogisnotforyou.comDIY Dog Collar by thisblogisnotforyou.comDIY Dog Collar by thisblogisnotforyou.com

As some of you requested on Instagram, there will be a tutorial for making these (plus matching fleece-lined leashes) on the blog soon!

So keep your eyes peeled if you have a doggo yourself or want to make pupper Christmas gifts this year!

xx

Charlie


Happy sewing!

facebook/bloglovin/pinterest
twitter/instagram

Stay in touch!
Off-the-shoulder top + voucher for your own Dutch Label Shop labels!

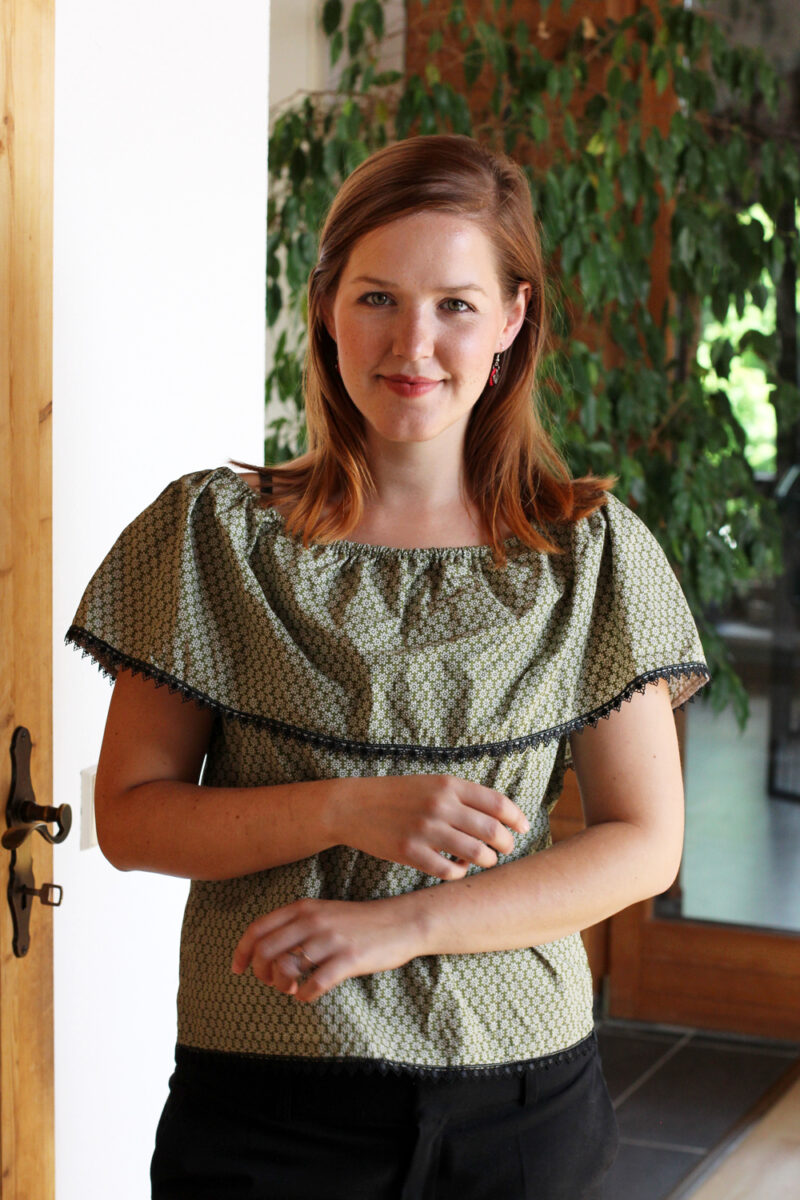
Off the shoulder top by thisblogisnotforyou.com

Off the shoulder top by thisblogisnotforyou.com

Off the shoulder top by thisblogisnotforyou.com

GOODBYE SUMMER

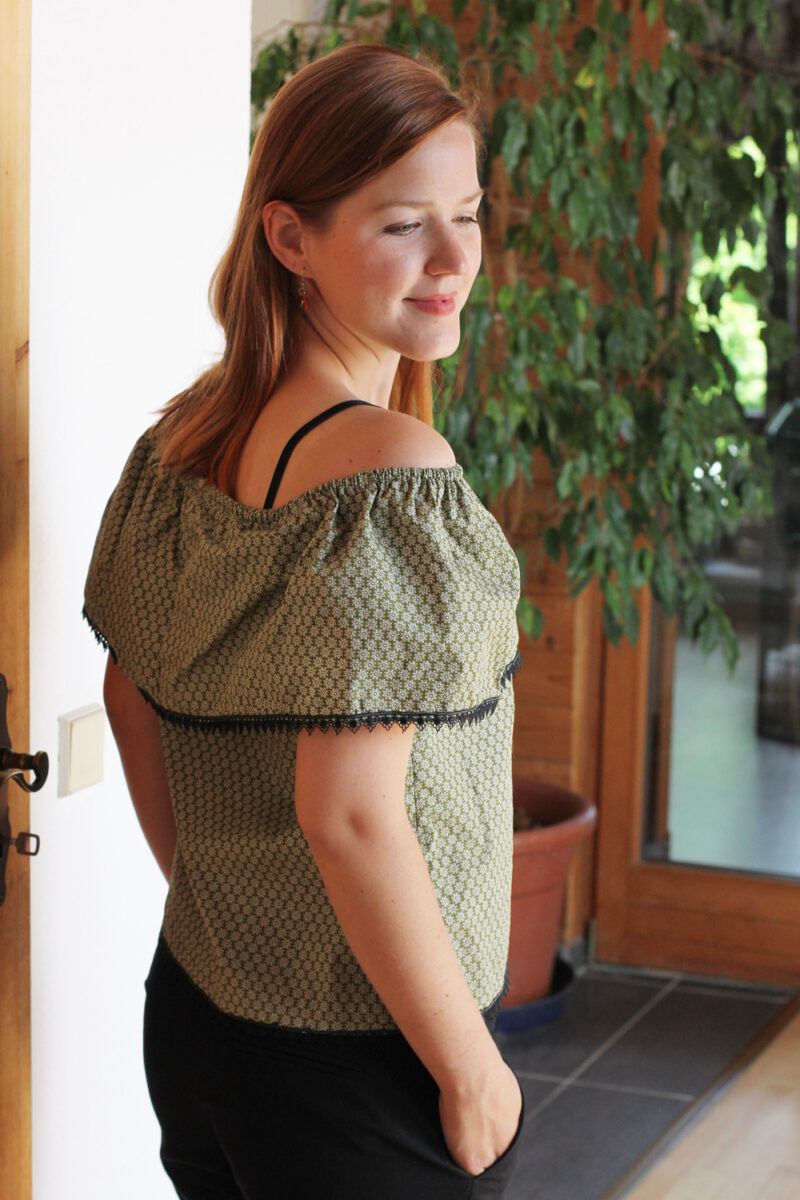
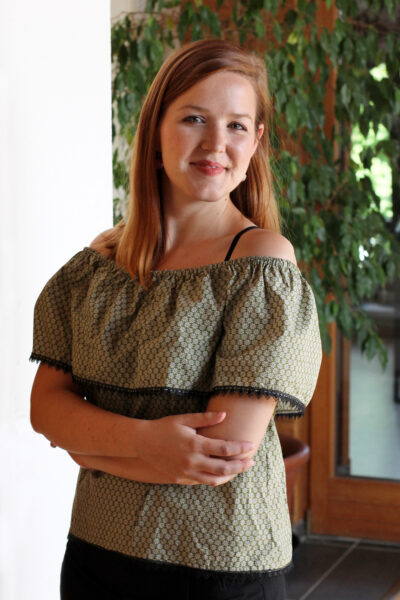
Hello everyone! We had a super warm and sunny weekend here in southern Germany – I suspect it’s gonna be bye bye summer clothes from tomorrow on for good. Before I get into the mood to get out all the knits and wools I want to share this cute little top I made this summer.

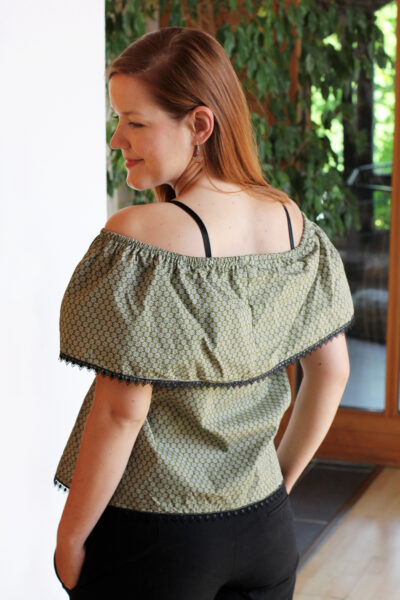
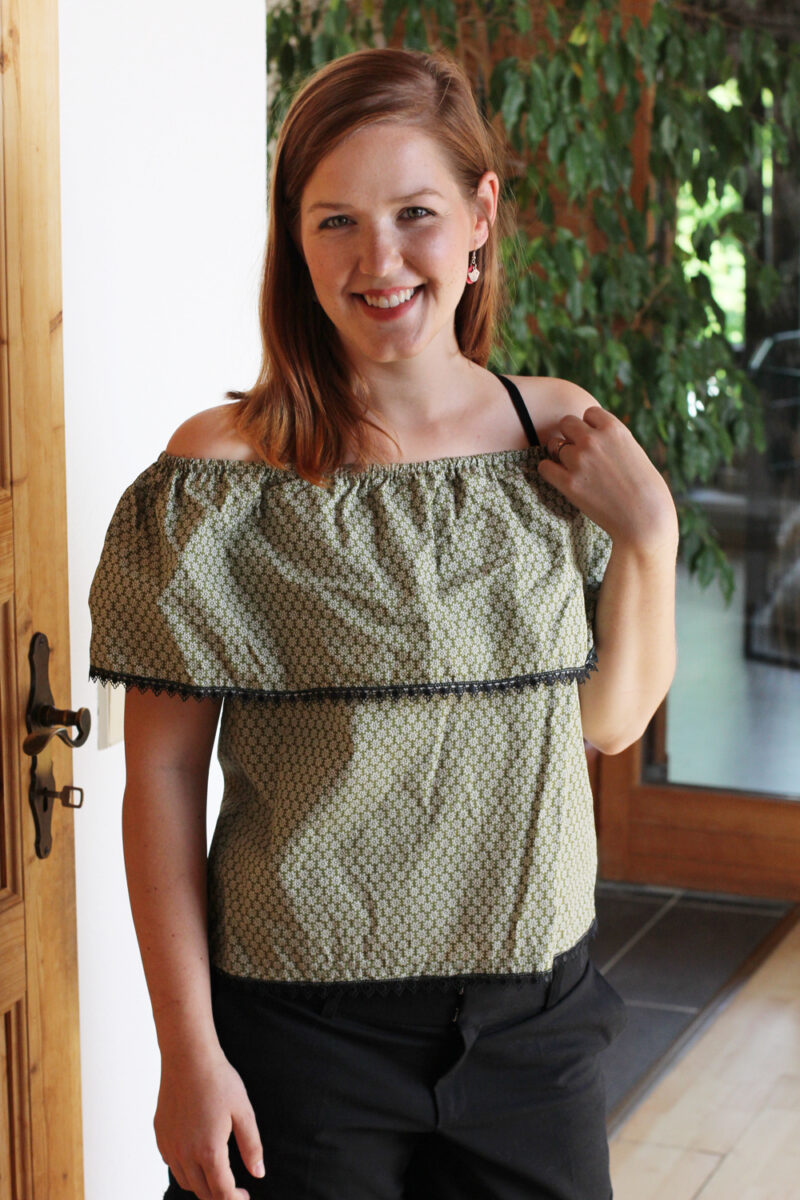
I made this top with less than 1 metre of cotton fabric and it only took me around 30 minutes to make! I followed Elisalex’s tutorial for drafting a very quick little pattern.

Instead of making the full-length dress I decided to go for a little top. I made quite a few dresses last summer, but found that I actually prefer wearing separates at work and at home. This is why I made a bunch of tops and jeans this year.

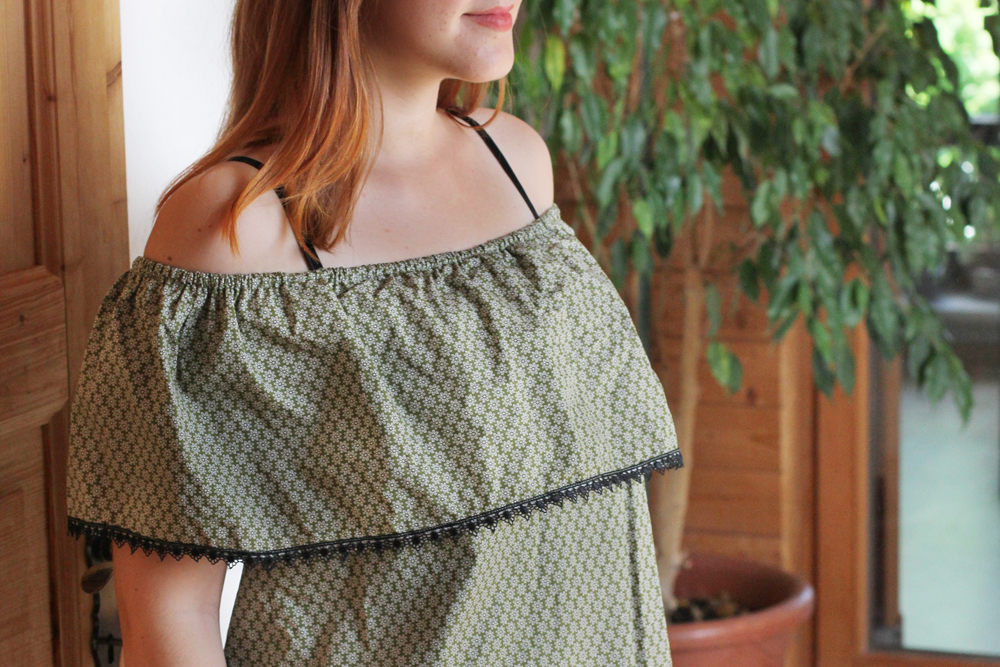
Making this top requires only a minimum amount of fabric. I used less than 1 metre plus some trim and elastic. This top has very few seams and doesn’t necessarily require hemming if you hide the overlocked raw edges under a cute trim. No darts, no fitting! This is the perfect Sunday morning project.

Off the shoulder top by thisblogisnotforyou.com

Off the shoulder top by thisblogisnotforyou.com

Off the shoulder top by thisblogisnotforyou.com

Off the shoulder top by thisblogisnotforyou.com

Off the shoulder top by thisblogisnotforyou.com

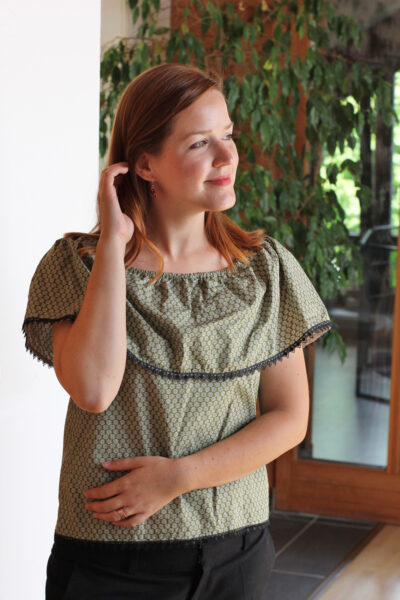
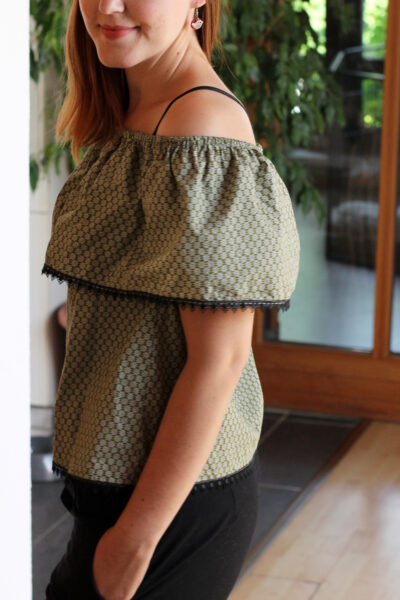
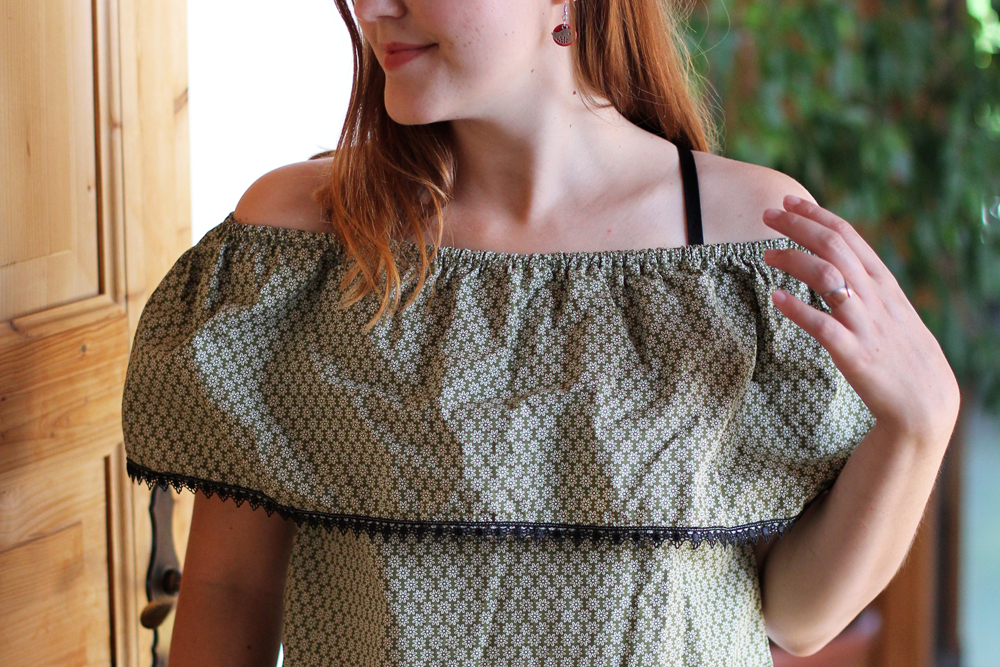
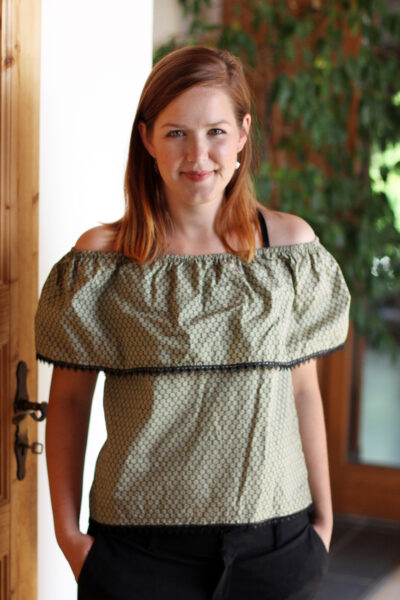
I love how this top works both off and on the shoulder. The fabric I picked is fairly stiff, even after a few washes. I’m definitely going to make this top again, but probably a drapier fabric next time.

I really love the lace trim at the bottom! It makes this top so much prettier. Off the shoulder top by thisblogisnotforyou.comOff the shoulder top by thisblogisnotforyou.comSew Over It Silk Cami by thisblogisnotforyou.com

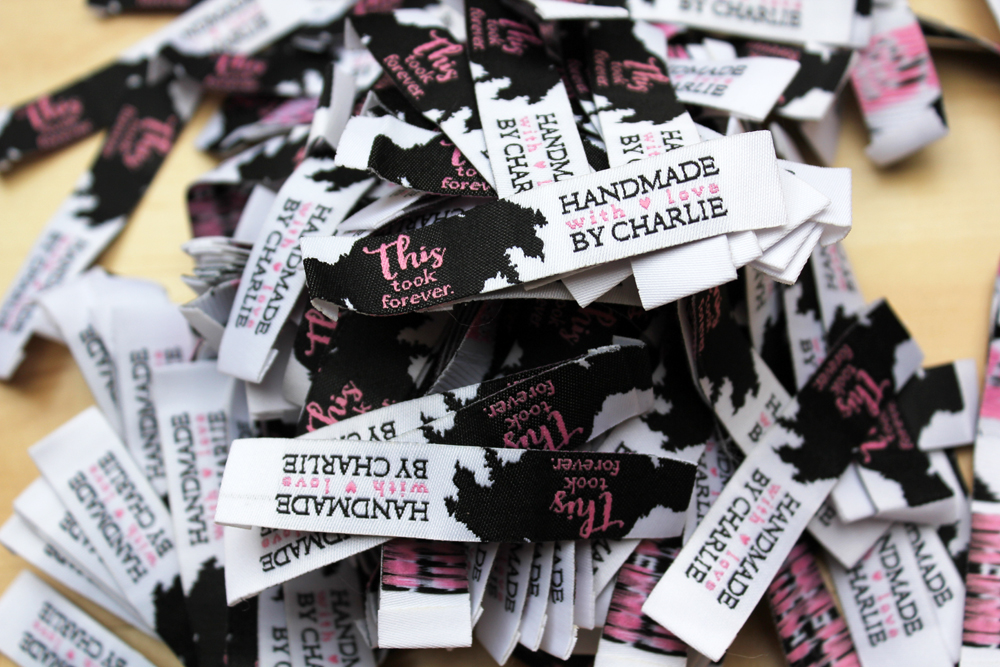
You seemed to really like my new labels, so the lovely folks over at Dutch Label Shop have a discount for you all to use if you want to create your own! You can use the code “thisblogisnotforyou15” to get 15% off your purchase in the next 30 days! 

Have a great week everyone!

xx

Charlie


Happy sewing!

facebook/bloglovin/pinterest
twitter/instagram

Stay in touch!
 

New clothes labels & SEW OVER IT Silk Cami

Sew Over It Silk Cami by thisblogisnotforyou.comSew Over It Silk Cami by thisblogisnotforyou.comSew Over It Silk Cami by thisblogisnotforyou.com

Summer is almost over and I haven’t even shown you any of my summer makes yet! I made a couple cute summer tops this year I’ll share nonetheless, because they’re just too cute not to.

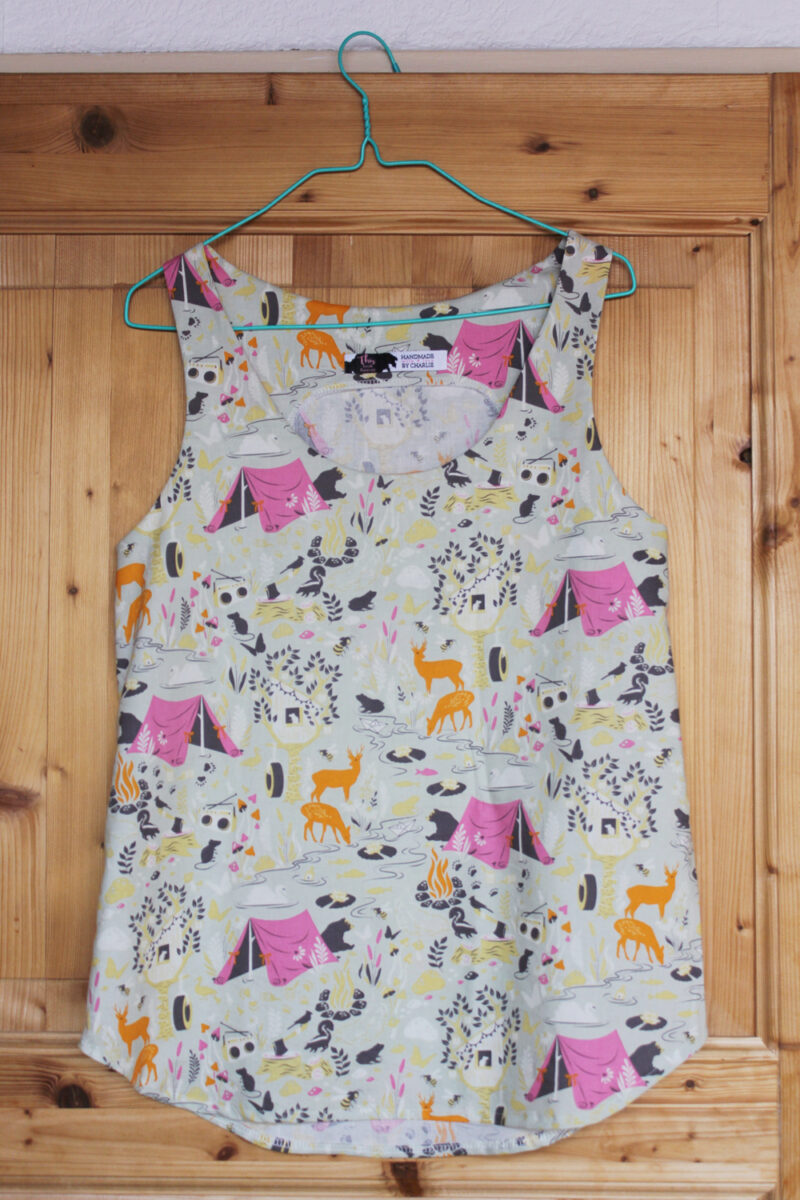
This one is an oldie but goldie! You all probably know the Sew Over It Silk Cami by now. I’m pretty late to join the party – but as I said, better late than never. I always knew this little pattern had massive potential to become a wardrobe staple in many ways, but for some reason it took me a couple of years until I finally bought it. I have no excuses. I probably thought this pattern was too basic to spent money on, but these are actually the patterns you want to invest in! A basic, well-drafted pattern is perfect to first get to fit right and then use as base for endless variations.

The Silk Cami comes together super quick and is perfect to show off really cute prints that don’t work well with garments that have a lot of seams, darts and pleats.

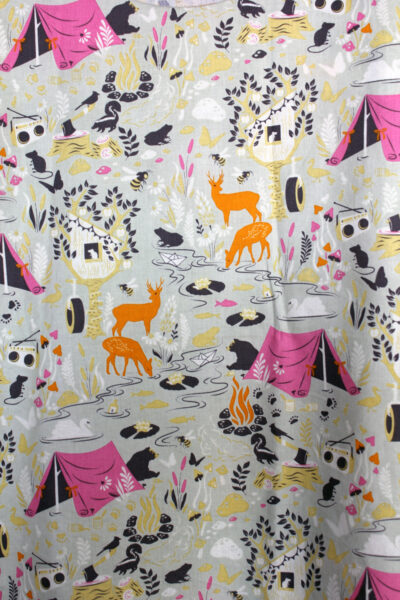
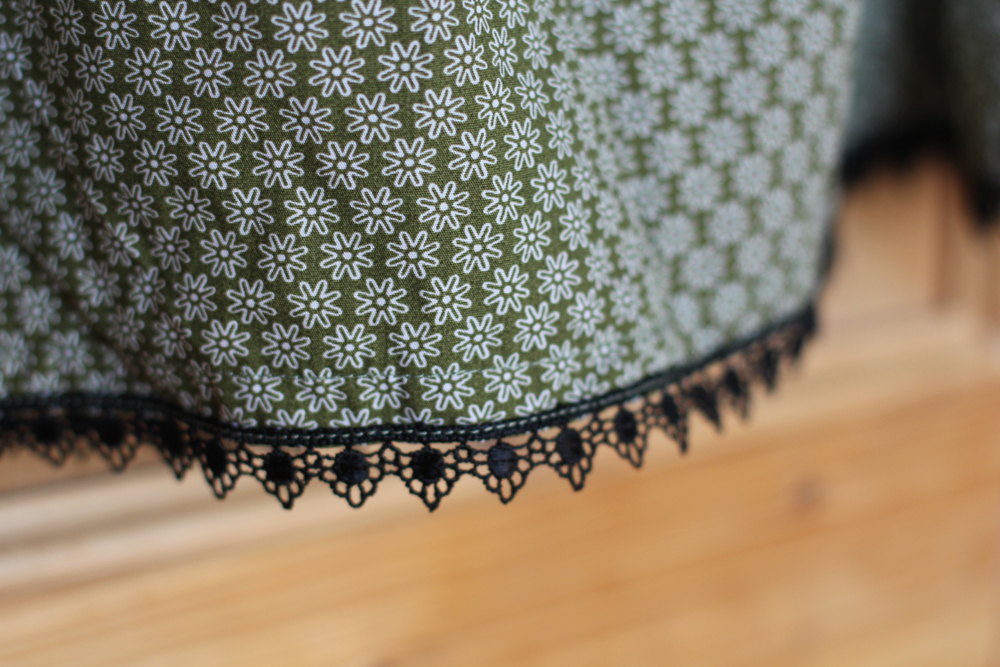
So this top was the right companion for this super cute fabric I have had in my stash for a few years now. I bought it at the first SewBrum Meetup in Lauren’s shop, Guthri & Ghani in Birmingham. It’s 100% cotton and was something around 18£/metre. I normally don’t spend that much money on cottons, but the print was love at first sight. I kept it in my stash for ages, because I was waiting for the right project to come along.

For me, the longer a fabric sits in my stash the less “valuable” it becomes. At first, I hesitate and dare not cut into the more expensive ones, but give it a few years and I will use them for wearable (well, mostly wearable) muslins. I know this makes no sense.

Well, this is why this gorgeous cotton ended up being used for my silk cami muslin. And guess what? It doesn’t fit! Good thing is, it fits my best friend perfectly and she’s more than happy to take it off my hands.

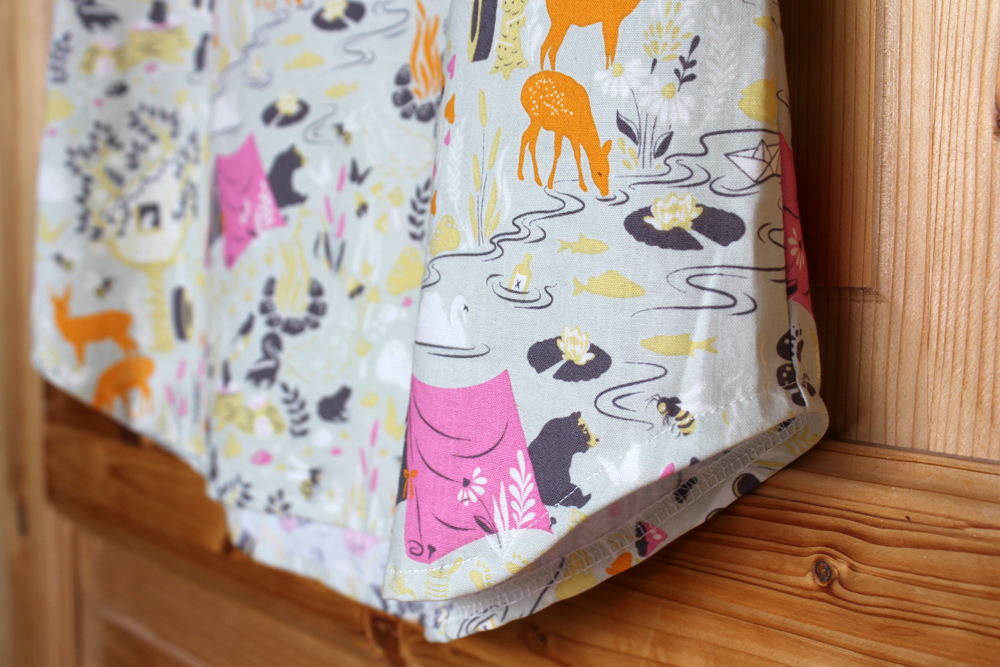
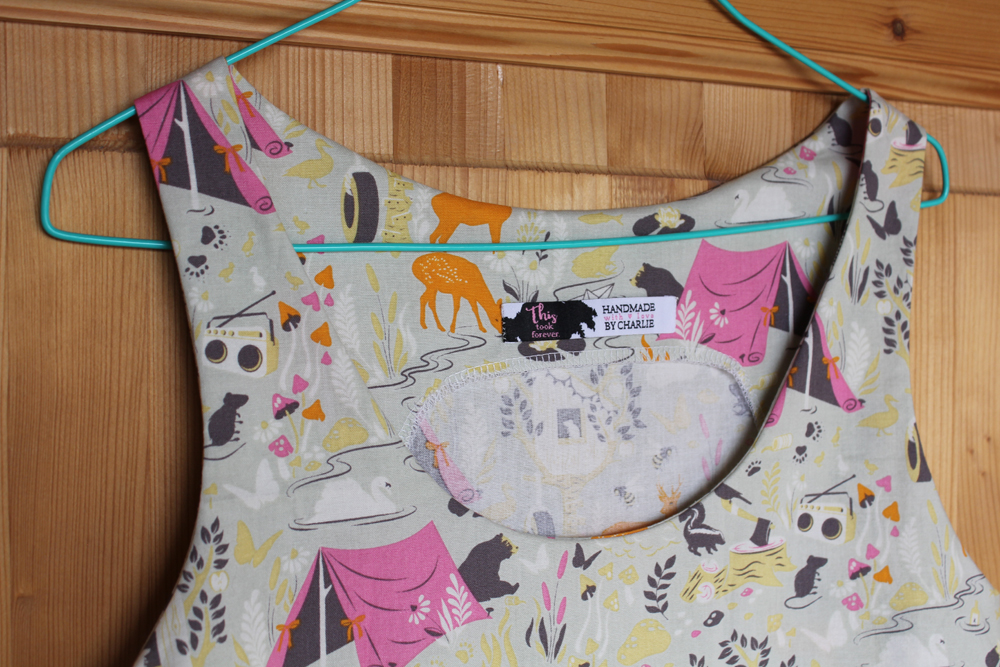
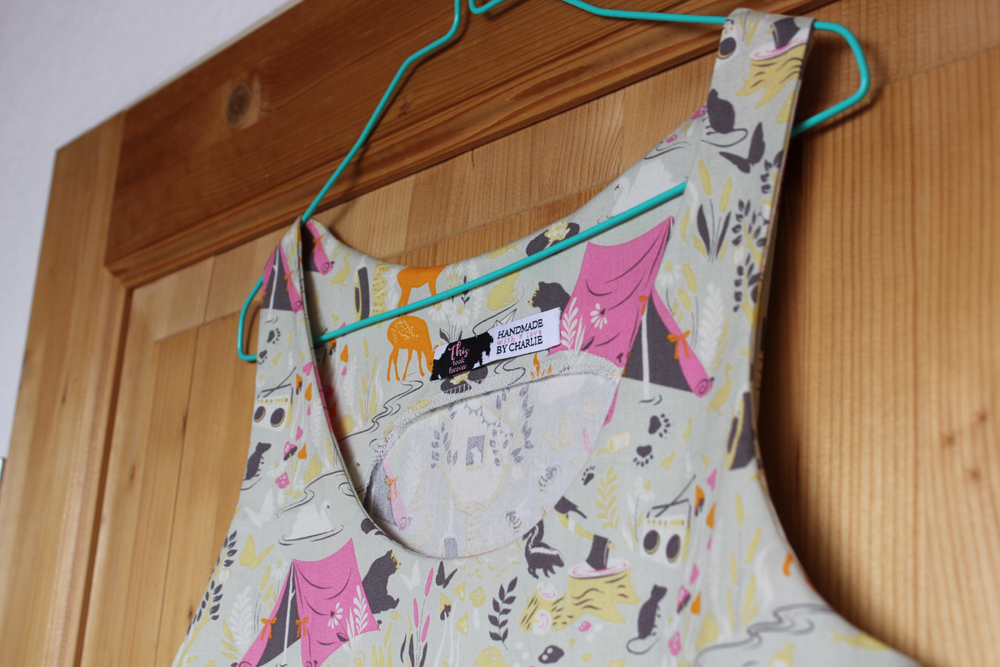
It’s just too tight around the bust and gaping a bit at the back neckline. I adapted the pattern accordingly and the second and third top I made are a great fit. But I have to say goodbye to my bear-behind-a-tent-fabric. Life is tough!
Sew Over It Silk Cami by thisblogisnotforyou.com

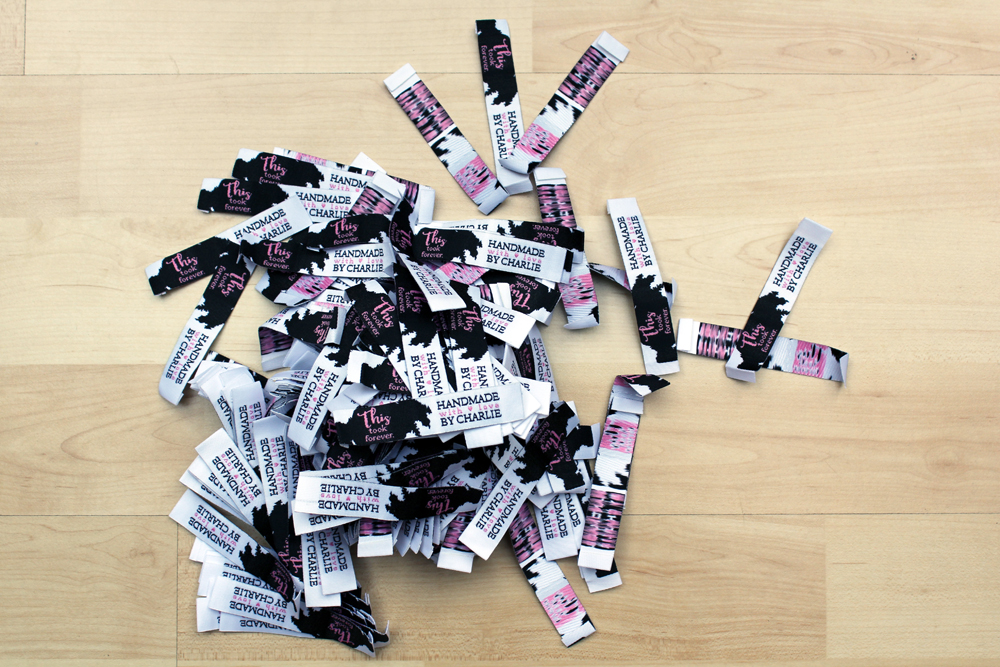
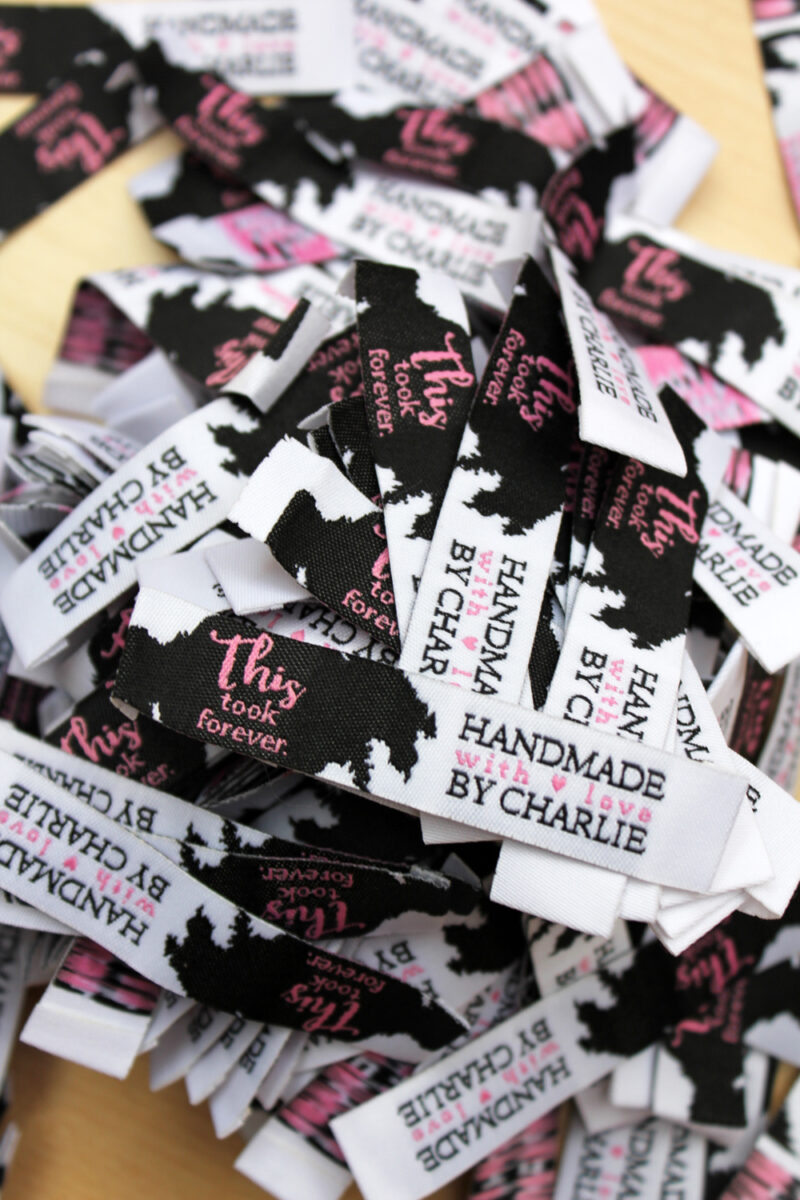
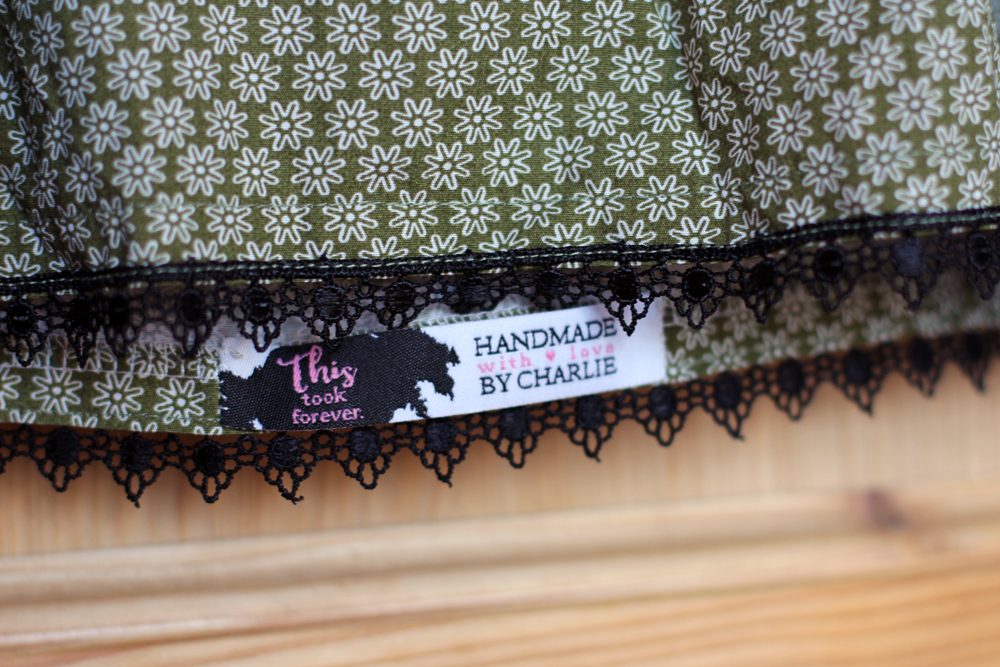
Another great thing about this top – it colour-matches perfectly with my new labels. I’m so, so happy about them that I had to give them some more screen time on the blog. Here we go!Sew Over It Silk Cami by thisblogisnotforyou.comSew Over It Silk Cami by thisblogisnotforyou.comSew Over It Silk Cami by thisblogisnotforyou.com

These wonderful labels are courtesy of The Dutch Label Shop who kindly approached me and offered to try out their costum-design labels. I was getting tired of my old ones that I’d been planning to update for a while, anyway.

I picked a sew-on label with very practical end folds –  so I could use these as a coat hook for lightweight cardigans, as well. I’m very happy about going back to the sew-on type. I had some iron-on ones made a few years ago by a different brand, that come loose after a few washing circles.

These labels might certainly be quite an investment for some, but the quality really shows compared to other brands.

What I really love about the ones from Dutch Label Shop is that you can upload your own design, costumising fonts and colours as well. This made it possible to incorporate parts of my blog’s design into the labels. Don’t they look fantastic?
Sew Over It Silk Cami by thisblogisnotforyou.comSew Over It Silk Cami by thisblogisnotforyou.com

I have 200 labels now – I’m probably not anywhere close to having sewn 200 garments over the years – so these will last me a looooong time! I already started to sew these into some of my older handmade garments, just to take off some of the pressure, hehe.
Falling leaves or not, I’ll share some of my other summer makes soon!

Have a great week,

xx

Charlie


Happy sewing!

facebook/bloglovin/pinterest
twitter/instagram

Stay in touch!