Another Pair of Mia Jeans

Mia Jeans by thisblogisnotofryou.com

Mia Jeans by thisblogisnotofryou.com

Mia Jeans by thisblogisnotofryou.com

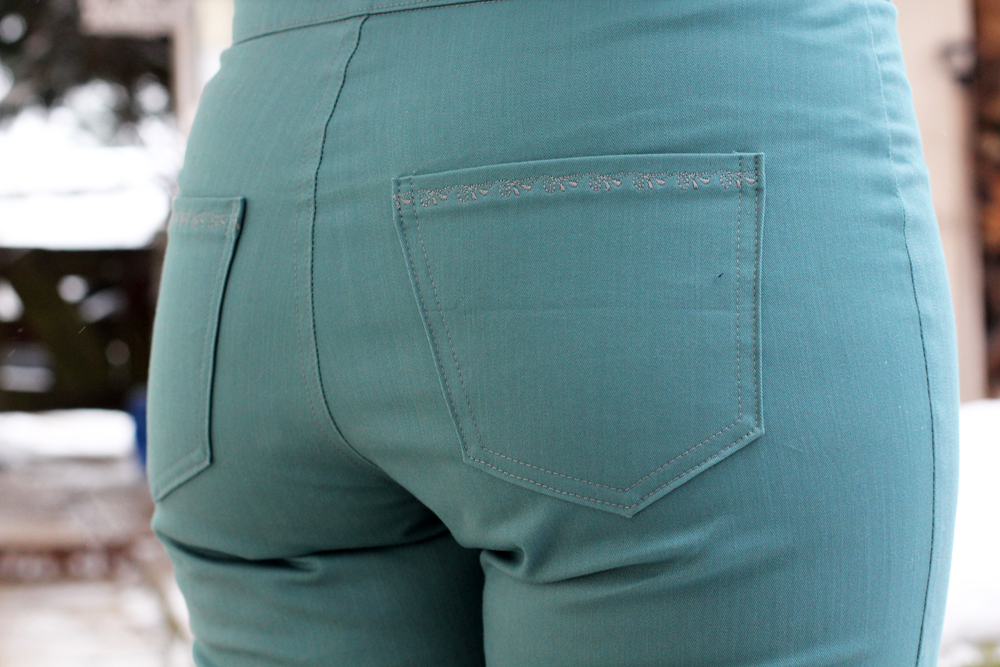
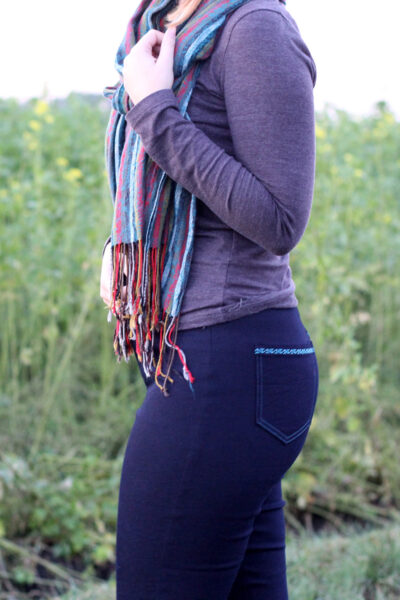
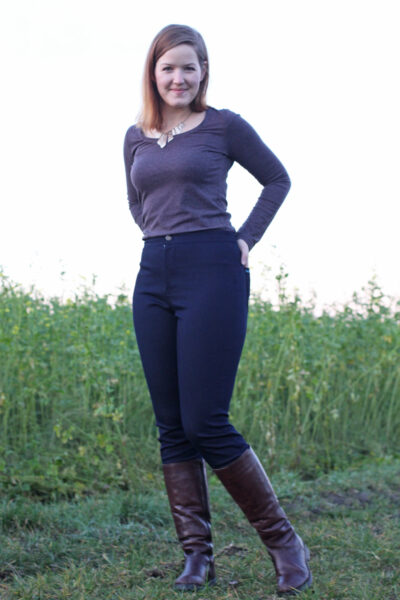
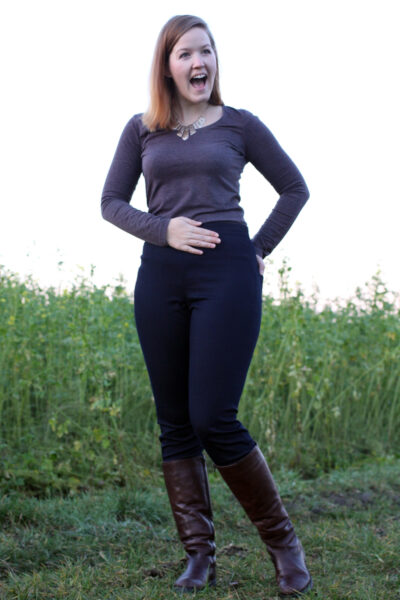
Hello! Here’s a quick share of another pair of Mia Jeans by SEW OVER IT that I made a couple of weeks ago. As you can see, the weather wasn’t too great when taking these pictures. If you need more details on this pattern, check out my first Mia Jeans post.

I’ve worn them pretty frequently and they’re holding up great. So far, they haven’t stretched out at all and the waistband kept its shape nicely. The fabric of the first pair of Mias I made was softer and stretchier, and the waistband creases quite a bit.

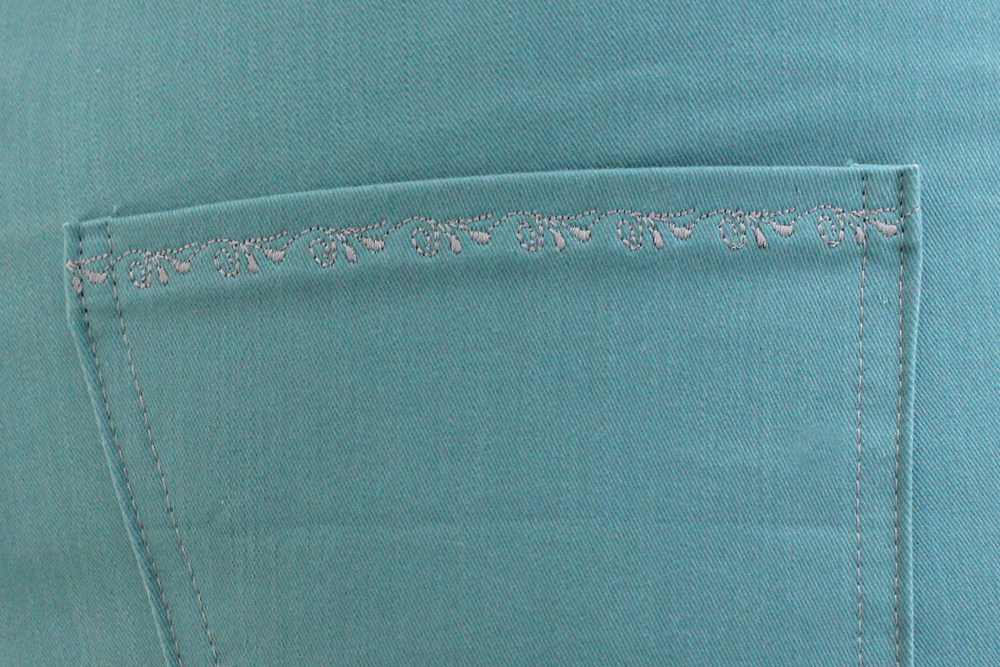
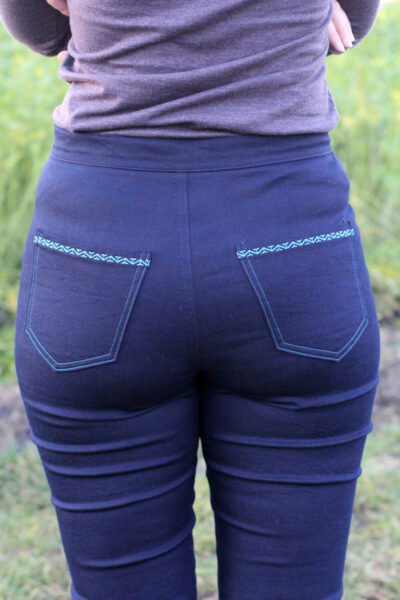
Again, as last time, I used the back pockets construction to try out some more embroidery stitches on my new sewing machine. I’m not a big fan of contrasting stitching on jeans, and this tiny added detail suits my taste perfectly. This time I interfaced the pocket pieces before adding the embroidery stitches, so the fabric didn’t stretch. Mia Jeans by thisblogisnotofryou.comMia Jeans by thisblogisnotofryou.comMia Jeans by thisblogisnotofryou.com

I’m really happy with this pattern. The fit is great and it’s a perfect base for future hacks. I like the extra large seam allowance – it really helps with the fitting process. The stretch fabrics make it easy enough, but as the amount of stretch in fabrics differs quite often, it’s necessary to do at least one fitting (or more if necessary), before finishing the outer side seams.

And yay! This time I got the front fly right from the beginning! I’ve got three more fabrics waiting to become some sort of Mia hack, so keep your eyes peeled!

Have a great week everyone,

xx

Charlie


Happy sewing!

facebook/bloglovin/pinterest
twitter/instagram

Stay in touch!

A KEIRA Hack: The Waterfall Cardigan

Keira Cardigan free pattern by thisblogisnotforyou.comKeira Cardigan free pattern by thisblogisnotforyou.com

Keira Cardigan free pattern by thisblogisnotforyou.com

Keira Cardigan free pattern by thisblogisnotforyou.com

Hello everyone! I hope you are all cosy and warm behind the sewing machine or on the couch. As gorgeous as it looks, the weather is quite unpleasant at the moment. I spend most of the time these days on the sofa, I have to admit. As much as I love sewing, nothing beats a hot tea or coffee and a great book when it’s freezing outside. I will try and squeeze in some sewing tomorrow, though. I’m in desperate need of some thick, cosy sweaters!

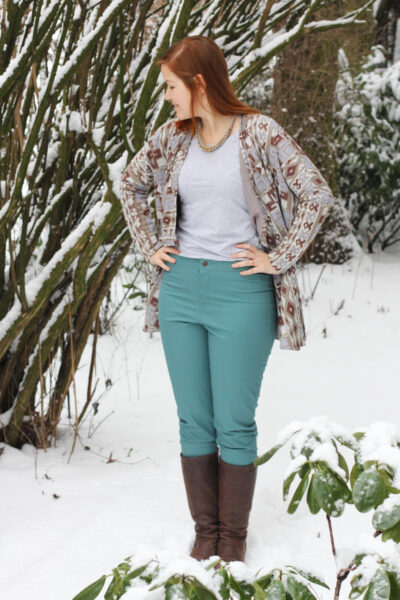
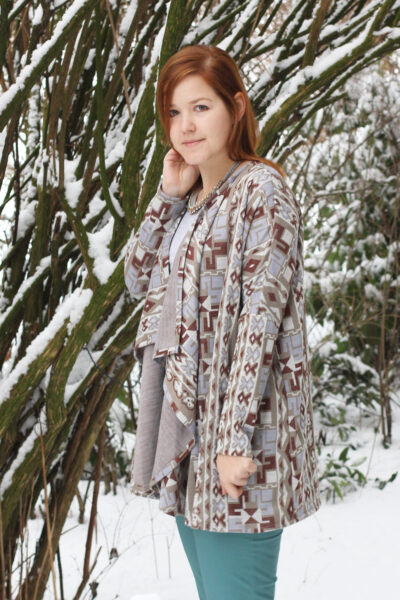
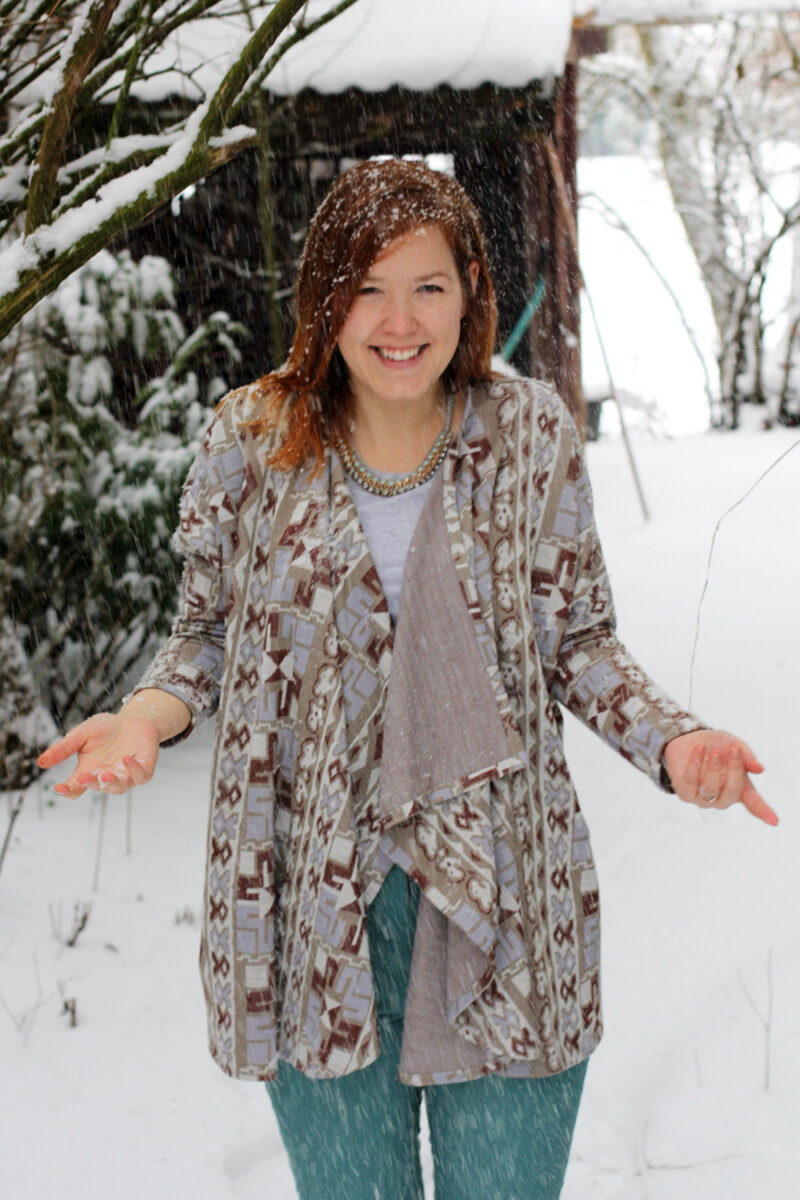
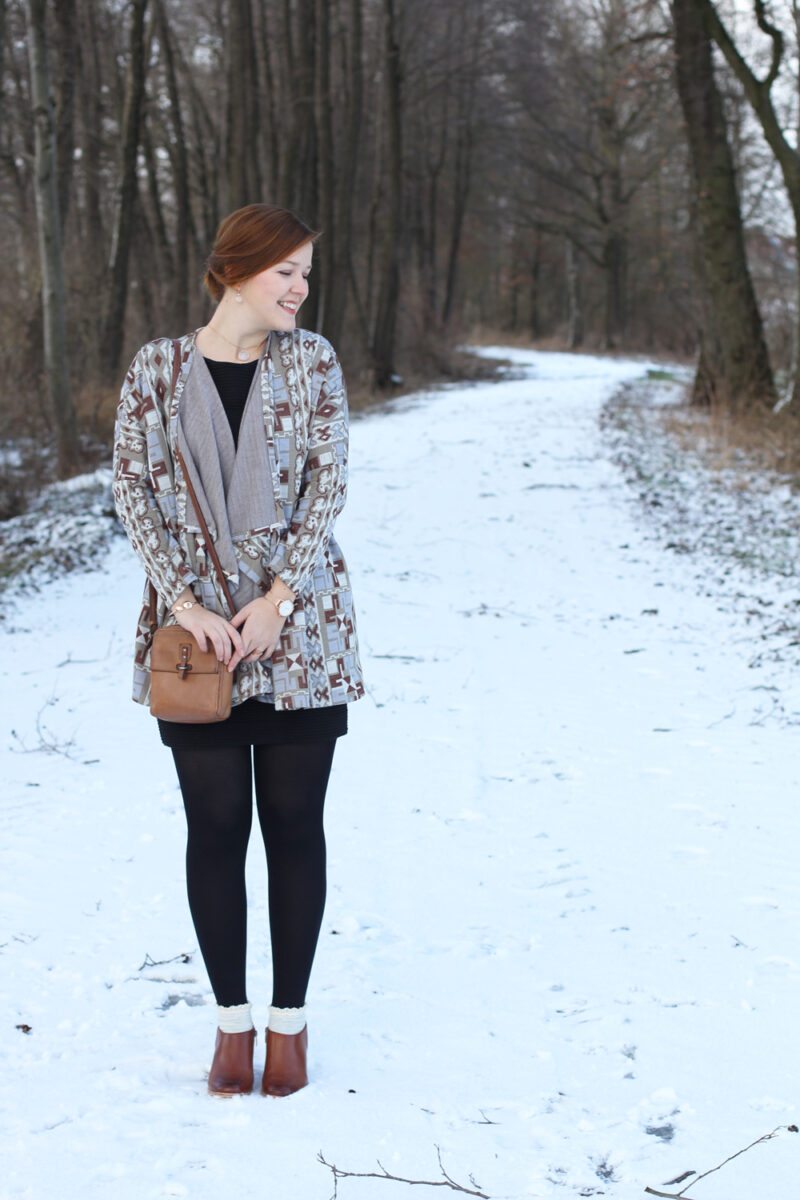
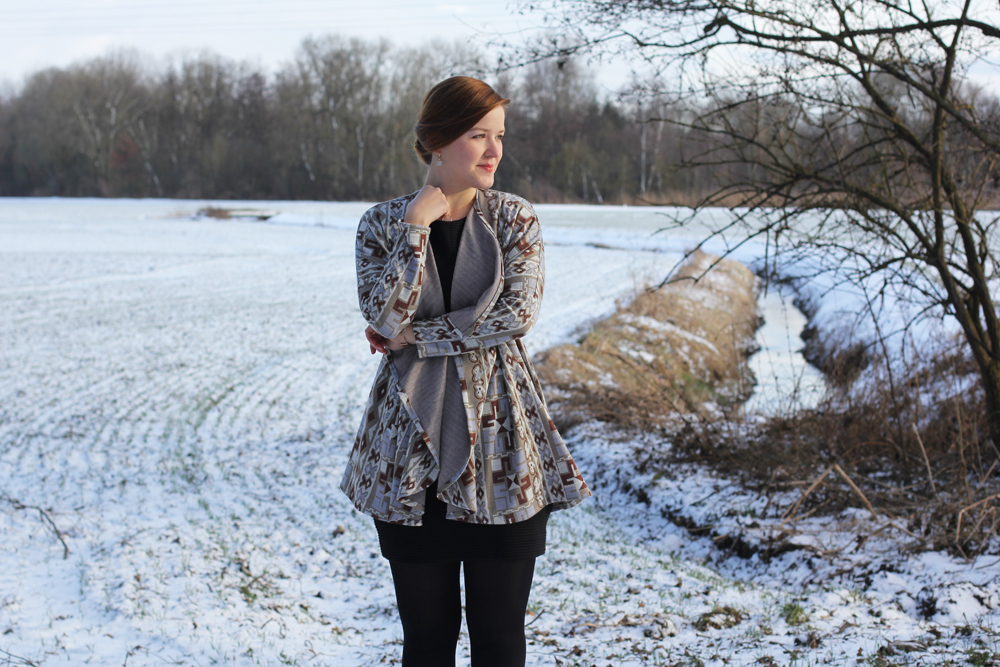
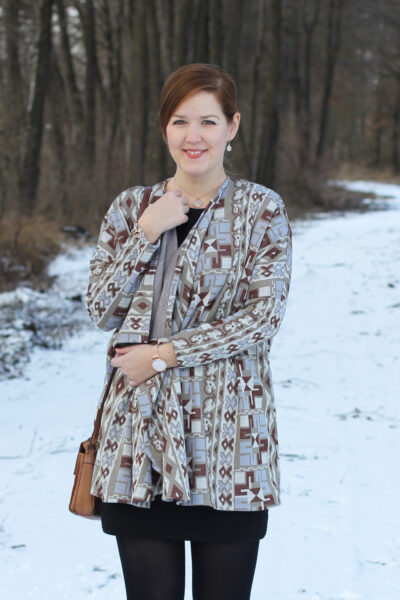
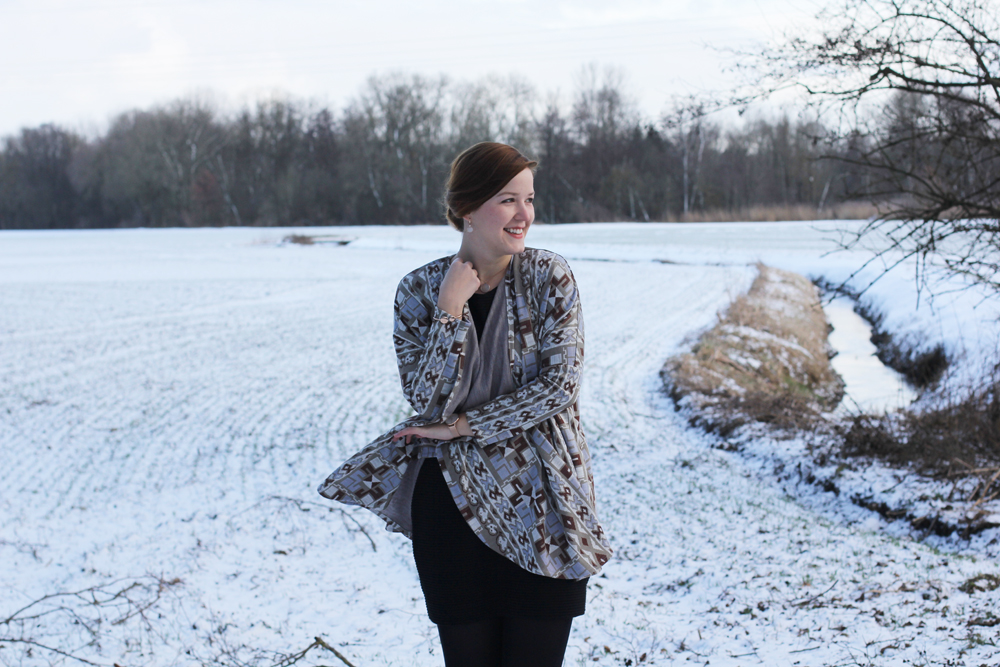
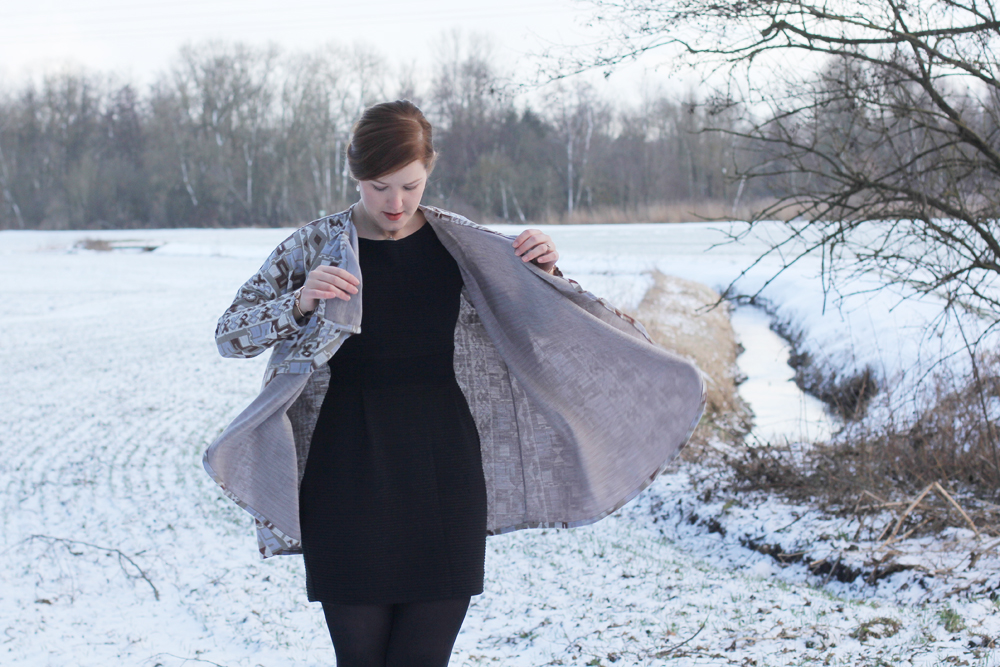
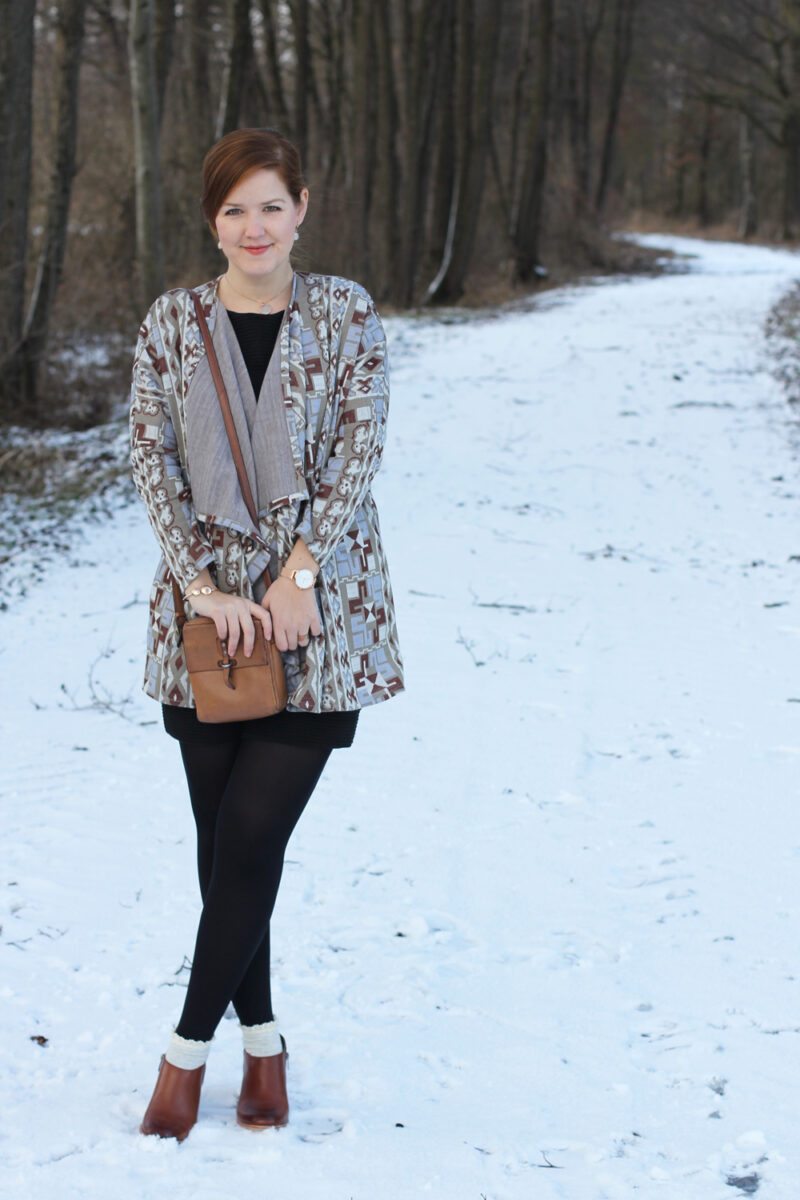
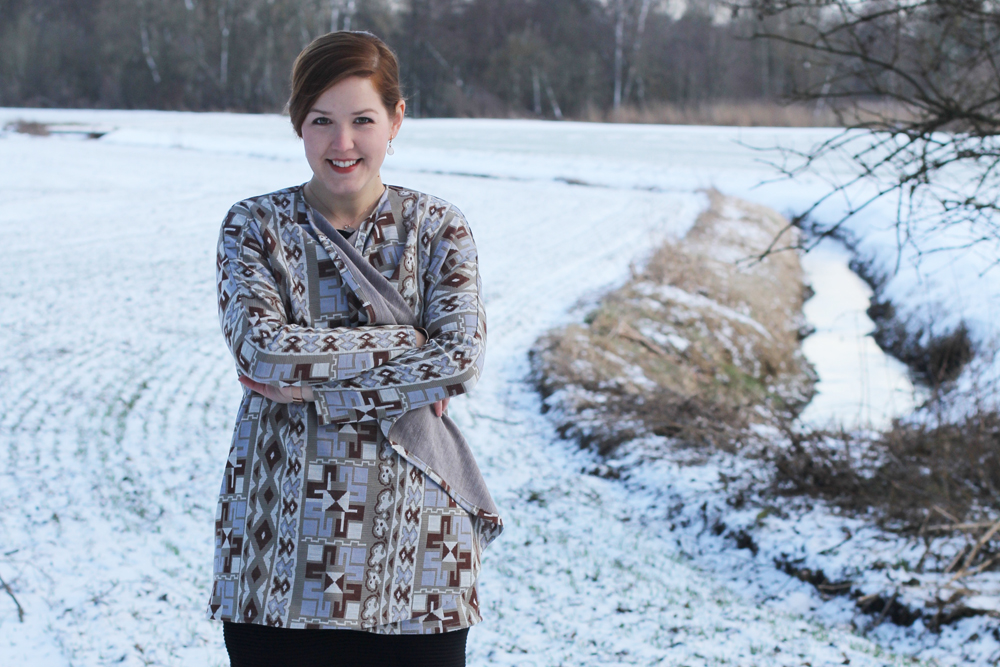
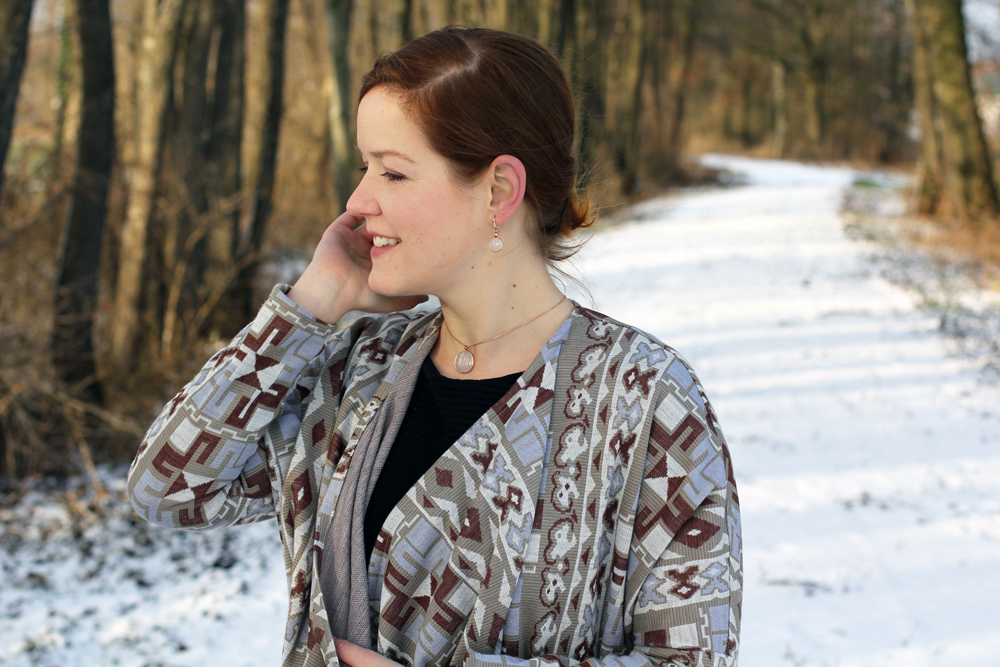
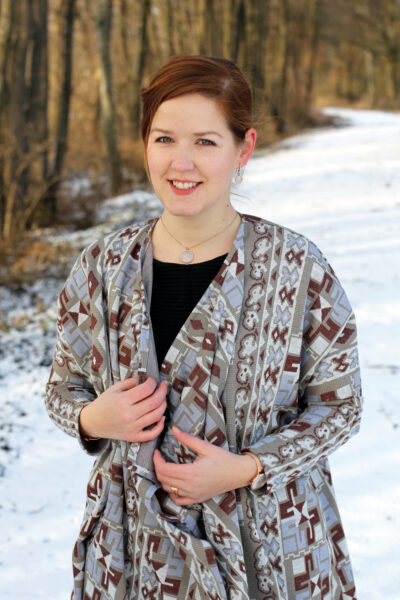
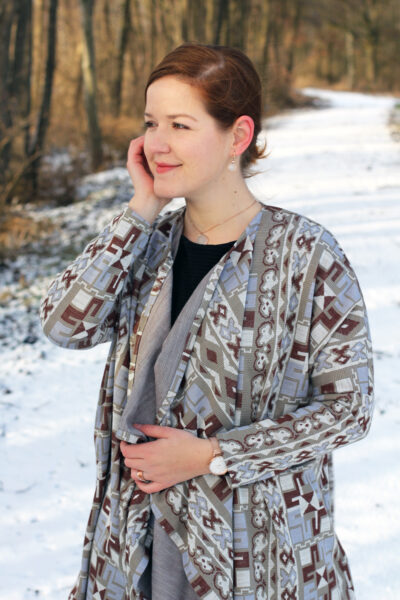
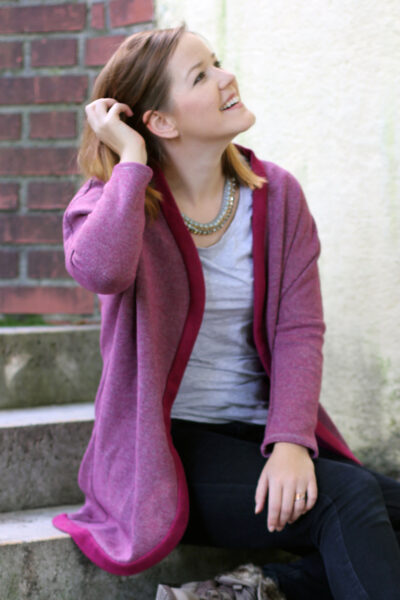
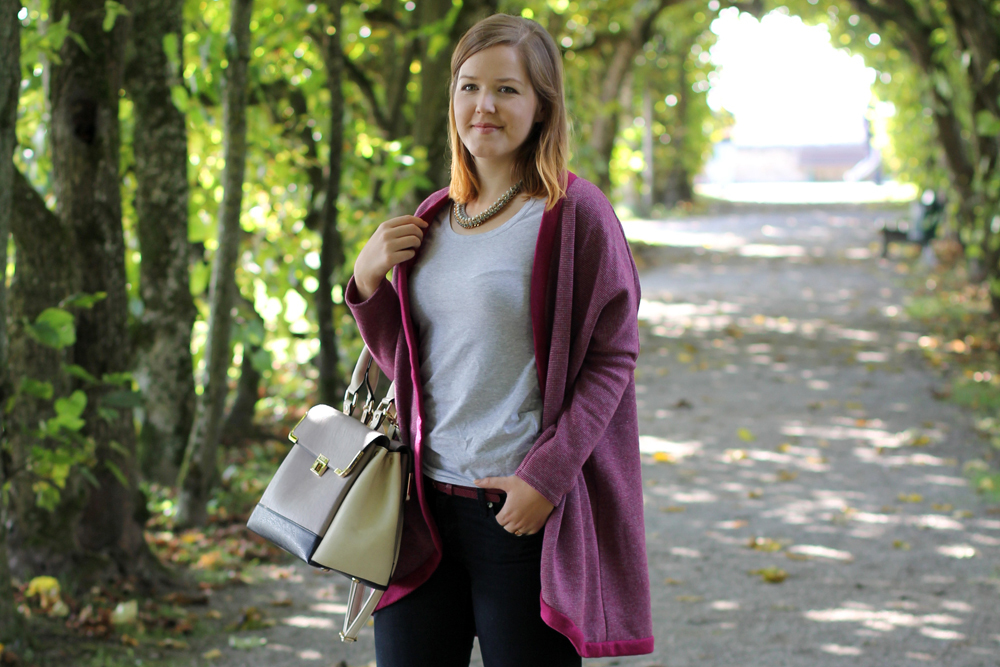
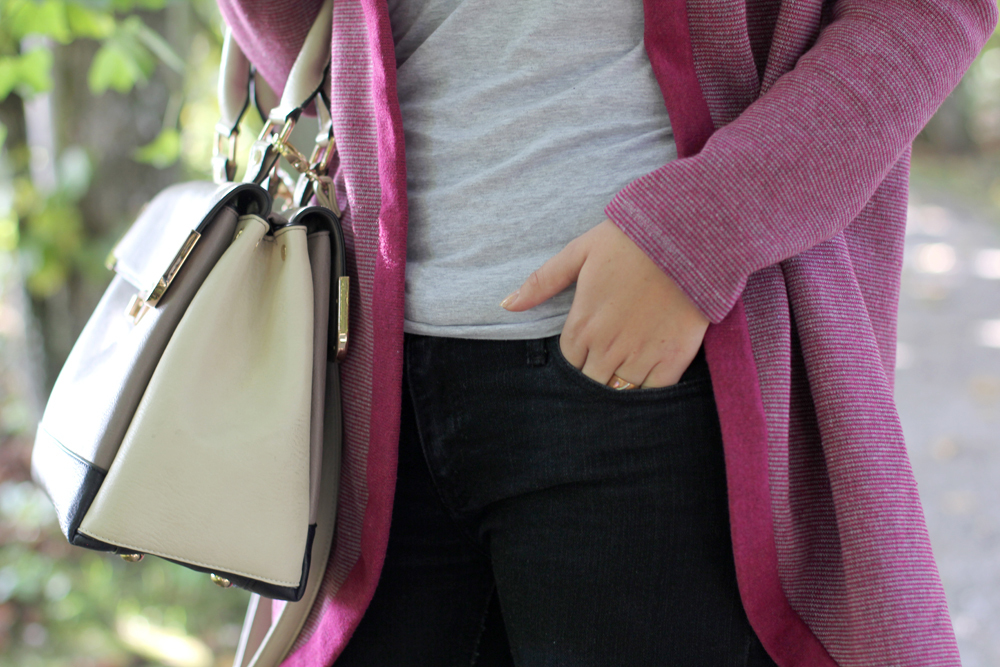
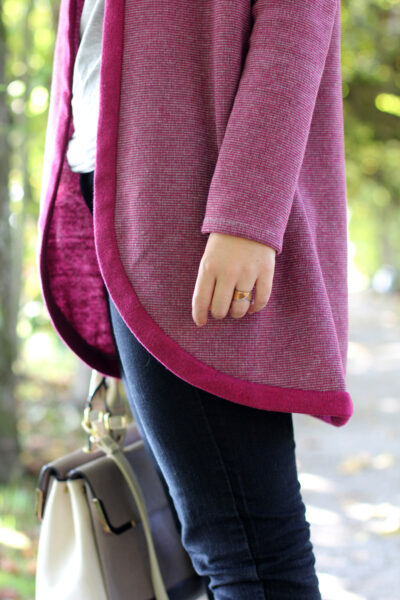
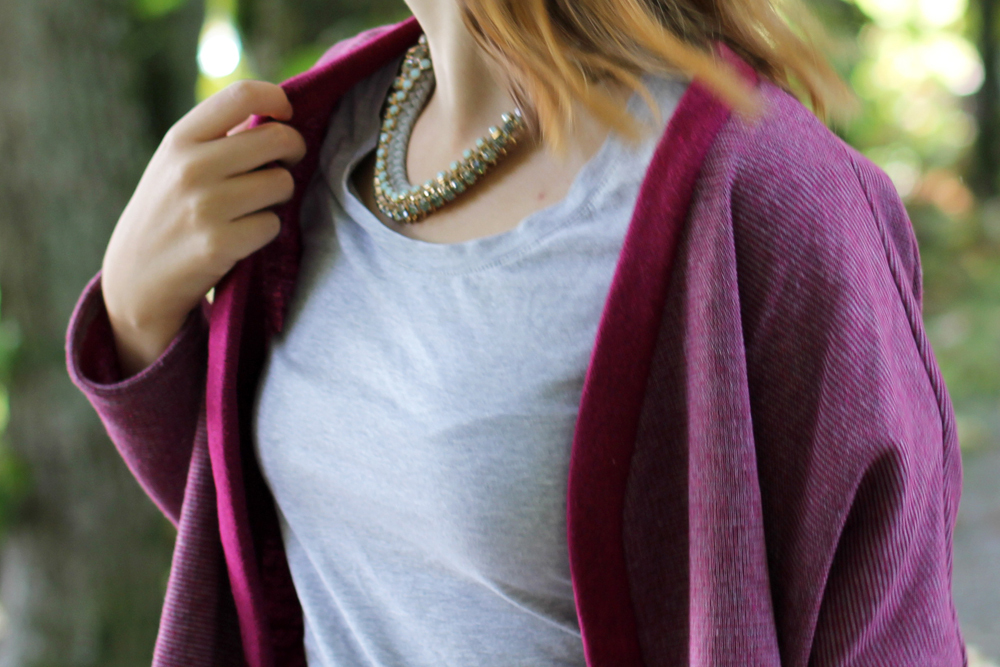
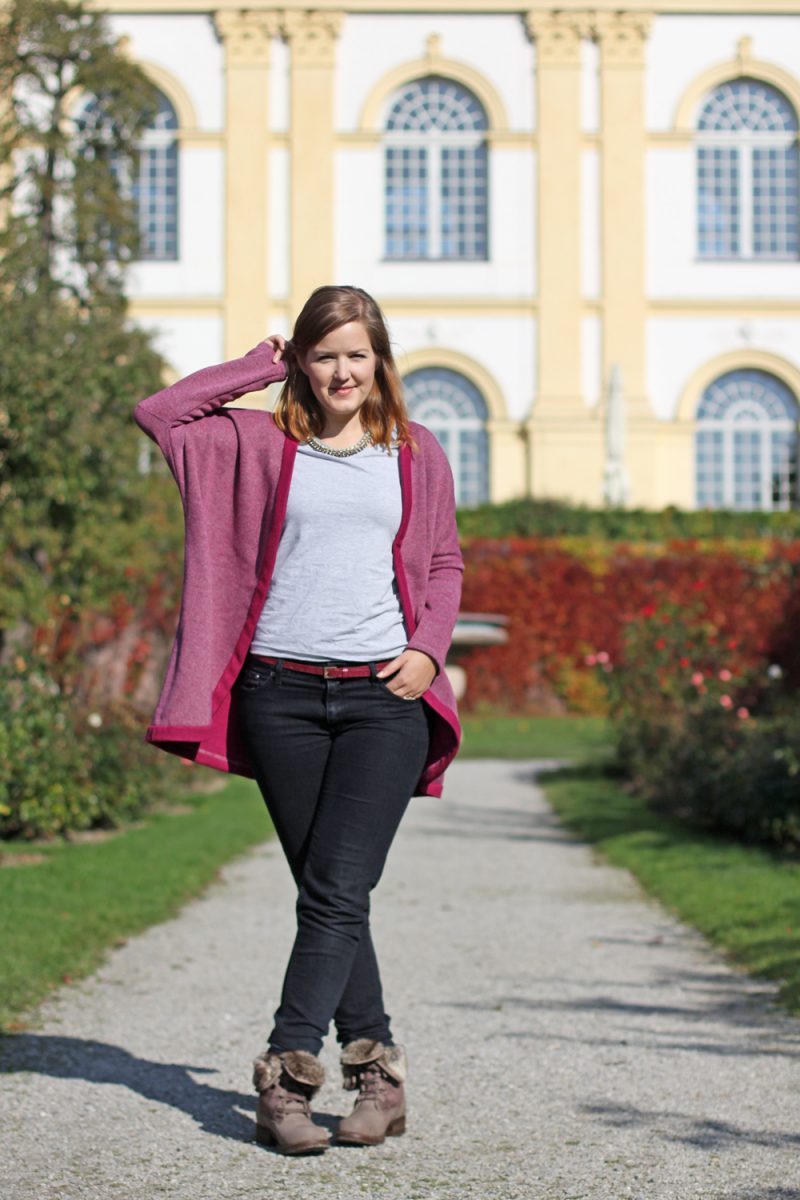
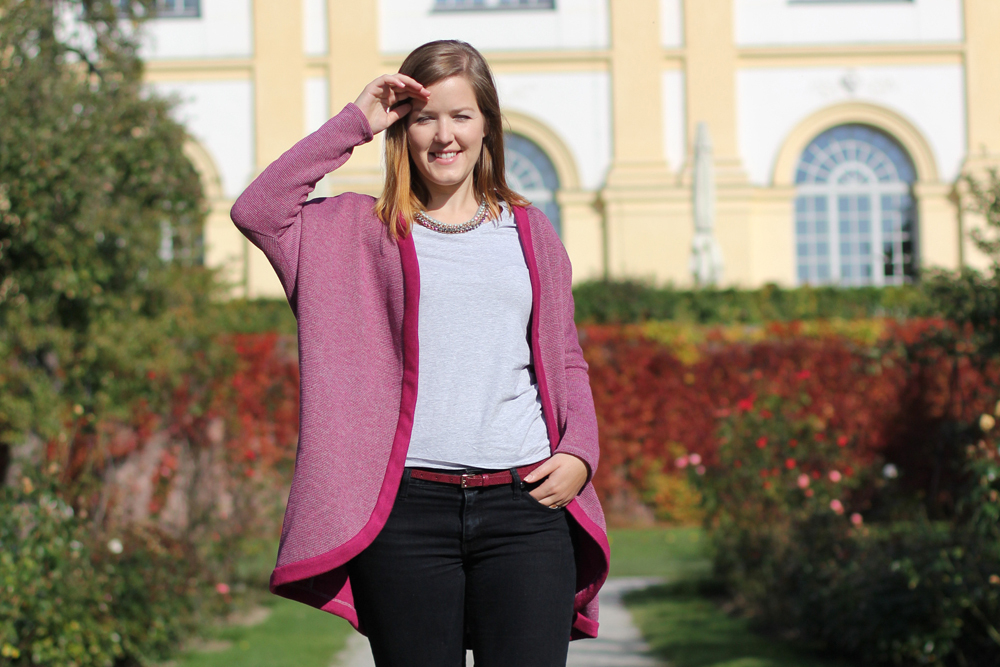
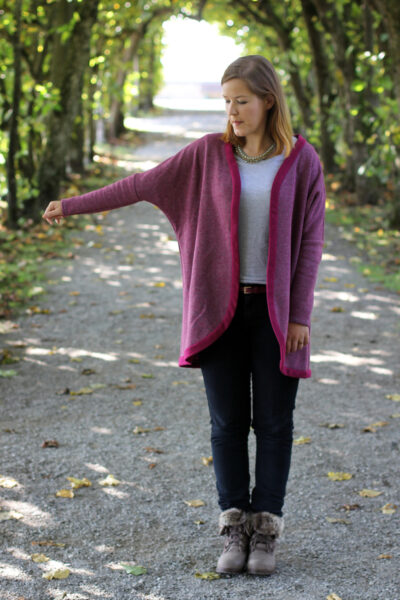
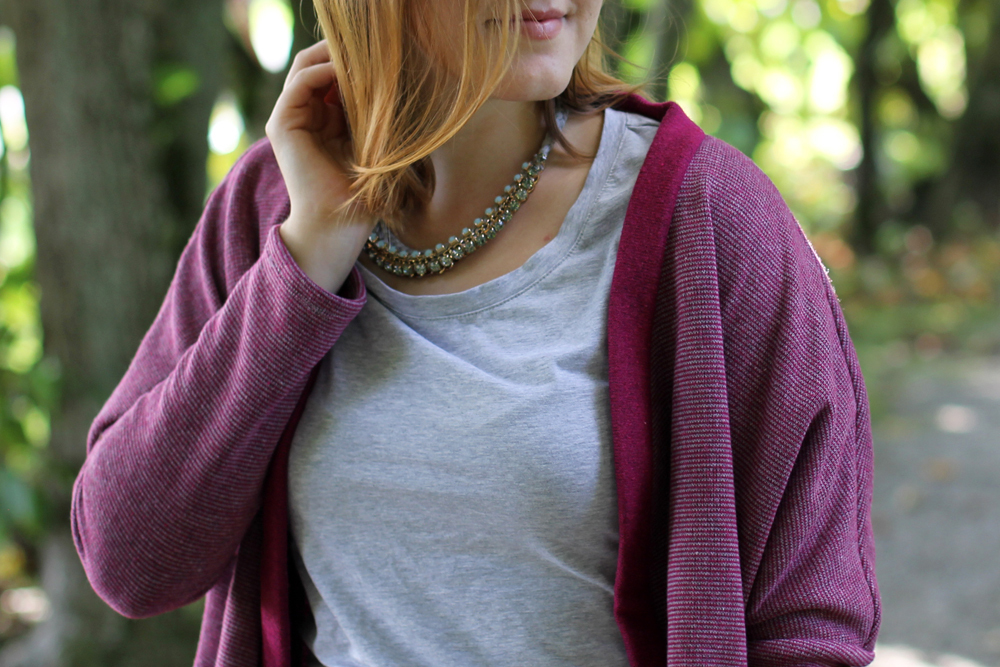
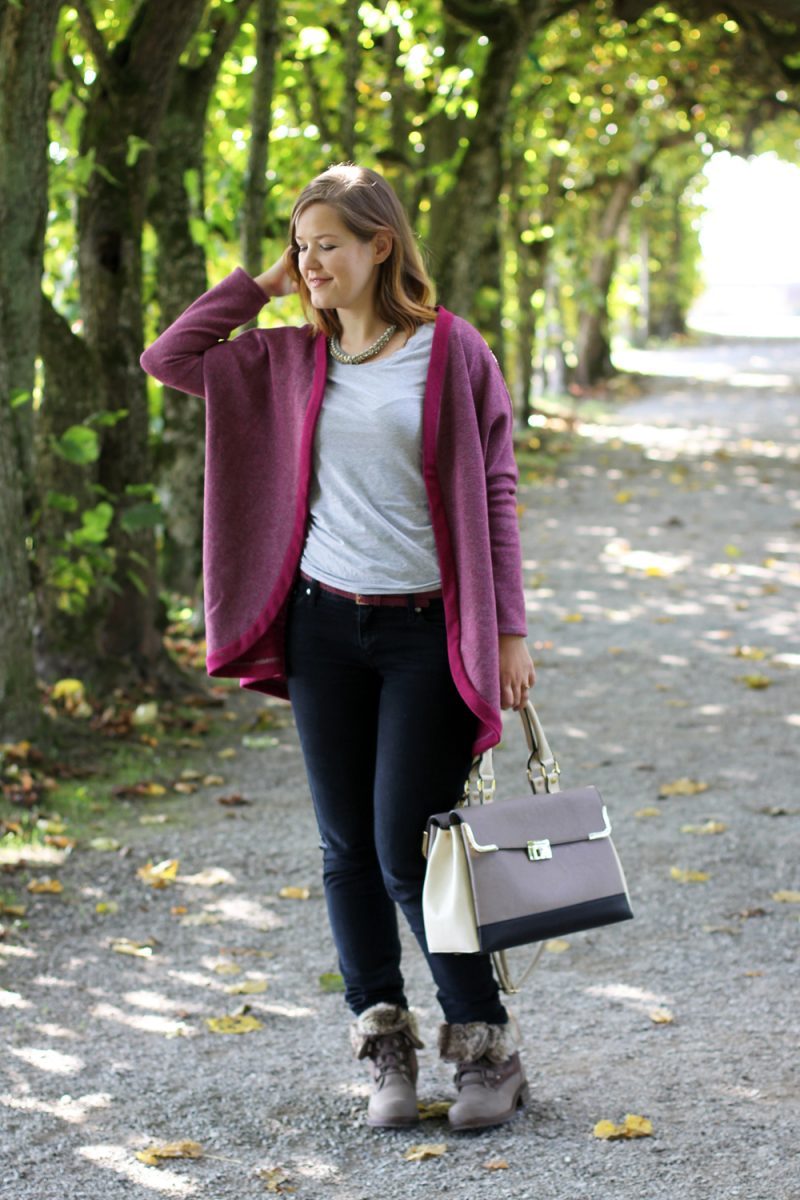
Today I’m sharing another version of the KEIRA Cardigan with you. This time I tried hacking the pattern into a waterfall cardigan. They’ve been fashionable for the last few years and are super comfy during the cold season while looking quite chic. The extra fabric at the front ensures a bit more warmth even when you’re wearing the cardigan open.Keira Cardigan free pattern by thisblogisnotforyou.comKeira Cardigan free pattern by thisblogisnotforyou.comKeira Cardigan free pattern by thisblogisnotforyou.comKeira Cardigan free pattern by thisblogisnotforyou.com

The pattern hack is quite simple. First, print out and assemble the PDF pattern. (You can download it for free or pay whatever you think is appropriate.)

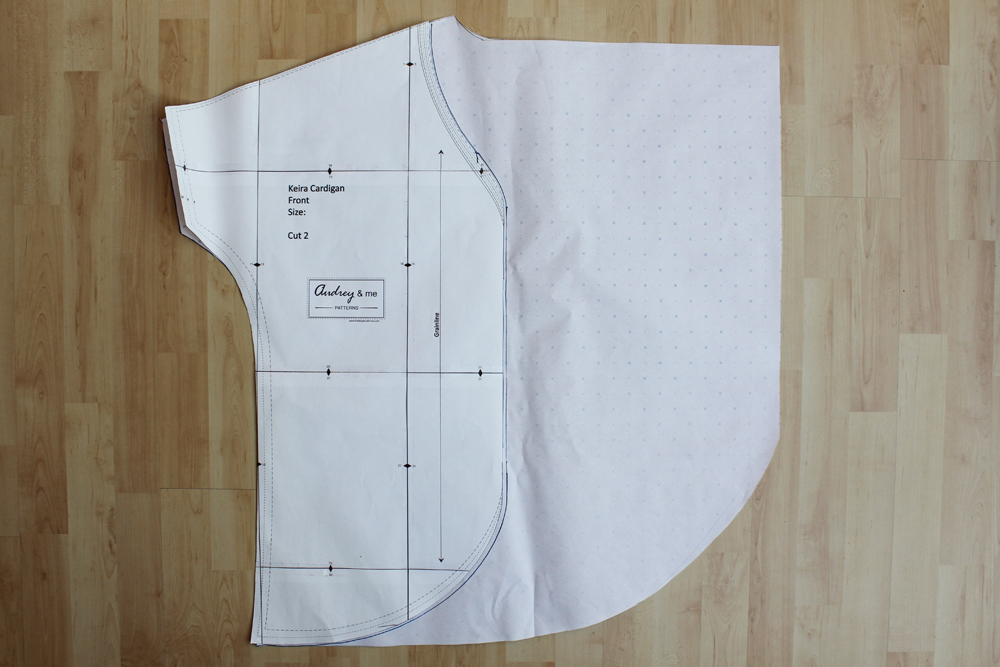
Once you cut out your size, you’ll need the front and back pattern pieces and a large piece of paper. Dot-and-cross paper works really well, but you can also tape together some printer paper.

As I wanted to preserve the original pattern that I had already assembled, I traced it first. I’d recommend keeping one set of original pattern pieces to use and trace for multiple hacks, if it’s a pattern you use often. If it’s a one-time project, you might as well glue additional paper onto the pattern and apply all changes directly onto it.Keira Cardigan free pattern by thisblogisnotforyou.com

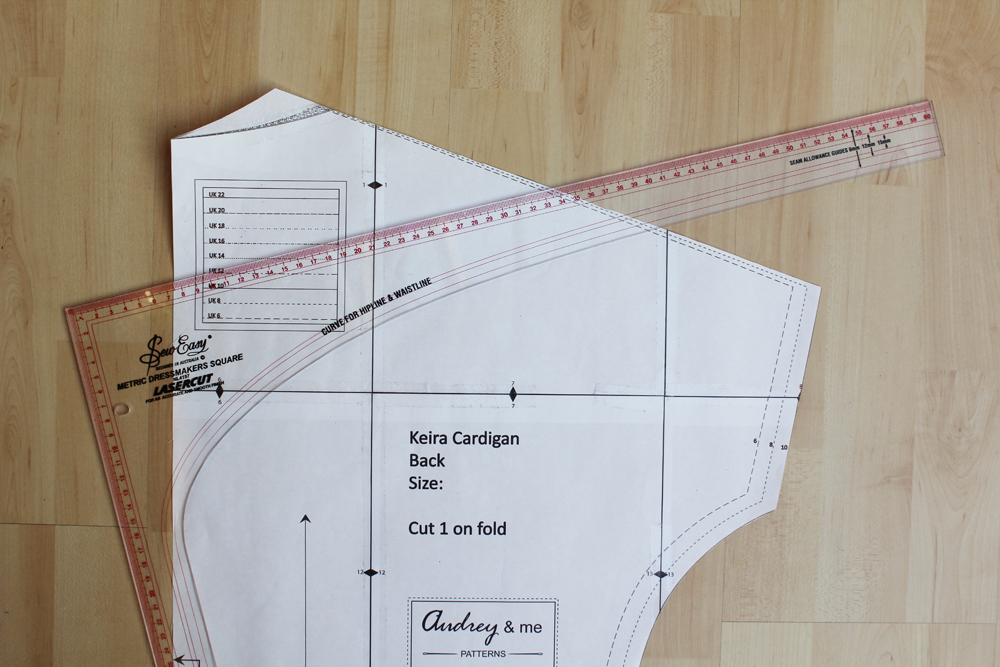
Once traced, I lengthened the shoulder seam by 3.5 cm, as I did not want to add any binding. Thus, the neckline would sit a bit higher up and closer to the neck. I then moved the centre front by 36cm (14in). This is the extra fabric that will create the waterfall effect.

You will need to redraw the curved neckline which now doesn’t plunge down as far (approx. 5cm) and then proceeds as a straight, perpendicular line until it meets the centre front line. There are two style options for the hem. You could either  just draw a straight line towards the centre front or, as I did, go for a curved hem and shave off that lower corner on the new front pattern piece.

If you leave that corner, the fabric will dip down below the hemline as the fabric drapes into the waterfall. I tried that at first, but it wasn’t for me.
Keira Cardigan free pattern by thisblogisnotforyou.com

There are only minor changes to be made on the back pattern piece. Just add those extra 3.5 cm at the shoulder seam line, so both pattern pieces match up in the end. You’ll also need to redraw the neckline here.
Keira Cardigan free pattern by thisblogisnotforyou.com

And that’s basically it! You can now cut out and construct the cardigan as shown in the instructions. Instead of using a binding, I folded the hem over twice by 1 cm, stitching everything in place close to the edge of the fold. This needs a bit of skill where the hem curves. I used a lot of pins to create a smooth, even curve and gave it a thorough press before machine stitching the hem. Keira Cardigan free pattern by thisblogisnotforyou.comKeira Cardigan free pattern by thisblogisnotforyou.com

Keira Cardigan free pattern by thisblogisnotforyou.com

Keira Cardigan free pattern by thisblogisnotforyou.com

Cardigan: handmade (Keira Cardigan)
Dress: handmade
Lace trim socks: Primark
Shoes: Clarks
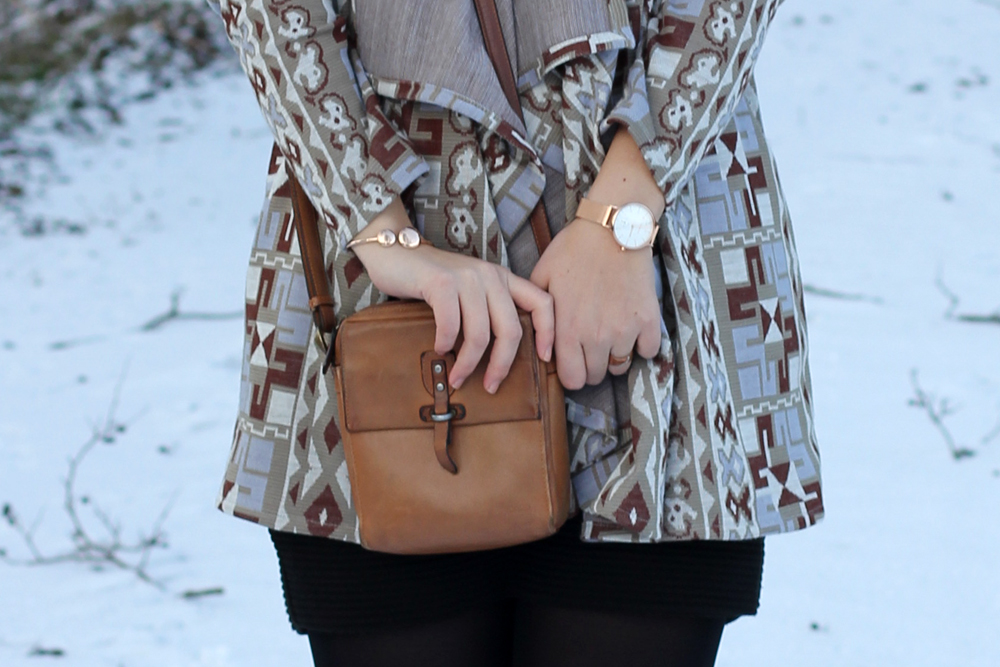
Jewellery: Skagen

Hope you liked this easy pattern hack! Feel free to download the pattern and try it yourself. It’s such a quick project – perfect for a lazy Sunday afternoon! I’ll definitely make another one. Next time probably is an even cosier fabric, such as wool or fleece-back jersey.

Have a great weekend & keep warm!

You can DOWNLOAD the pattern HERE.

xx

Charlie


Happy sewing!

facebook/bloglovin/pinterest
twitter/instagram

Stay in touch!

Burda Wool Coat & Mia Jeans

Burda 09/2015 #117 and Mia Jeans by thisblogisnotforyou.comBurda 09/2015 #117 and Mia Jeans by thisblogisnotforyou.com

Burda 09/2015 #117 and Mia Jeans by thisblogisnotforyou.com

Burda 09/2015 #117 and Mia Jeans by thisblogisnotforyou.com

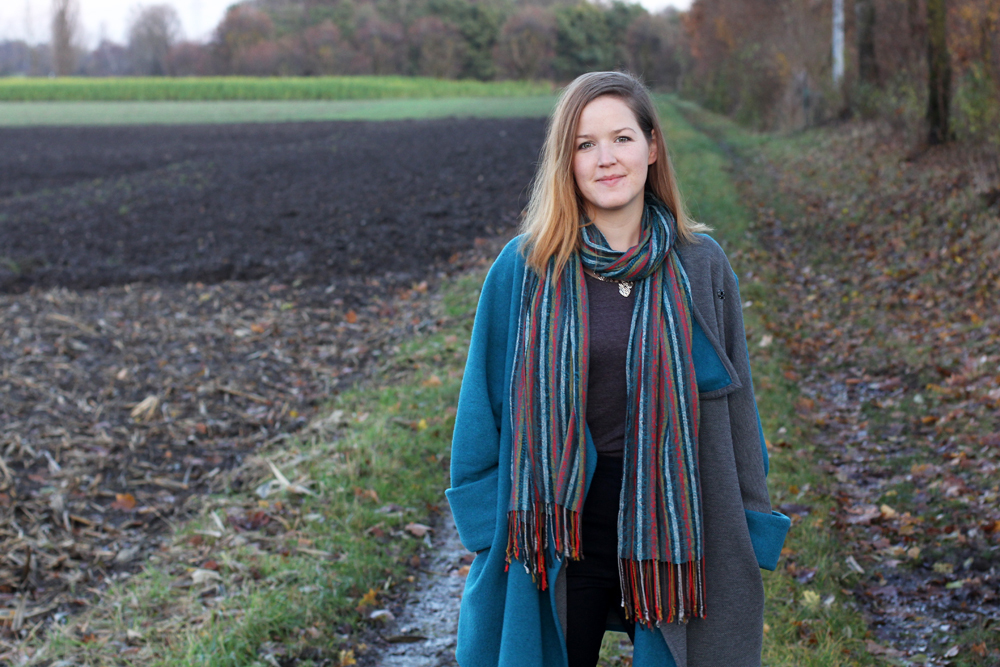
Today I’m sharing two pretty amazing projects with you. One is an oversized coat I made last Winter and didn’t get around to blog until now and the other one is hot off the sewing machine: my first pair of skinny jeans!

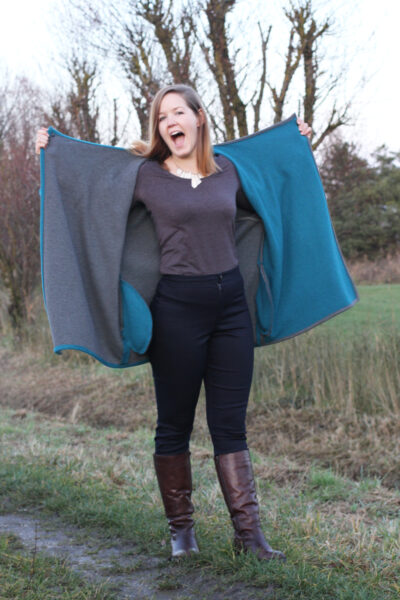
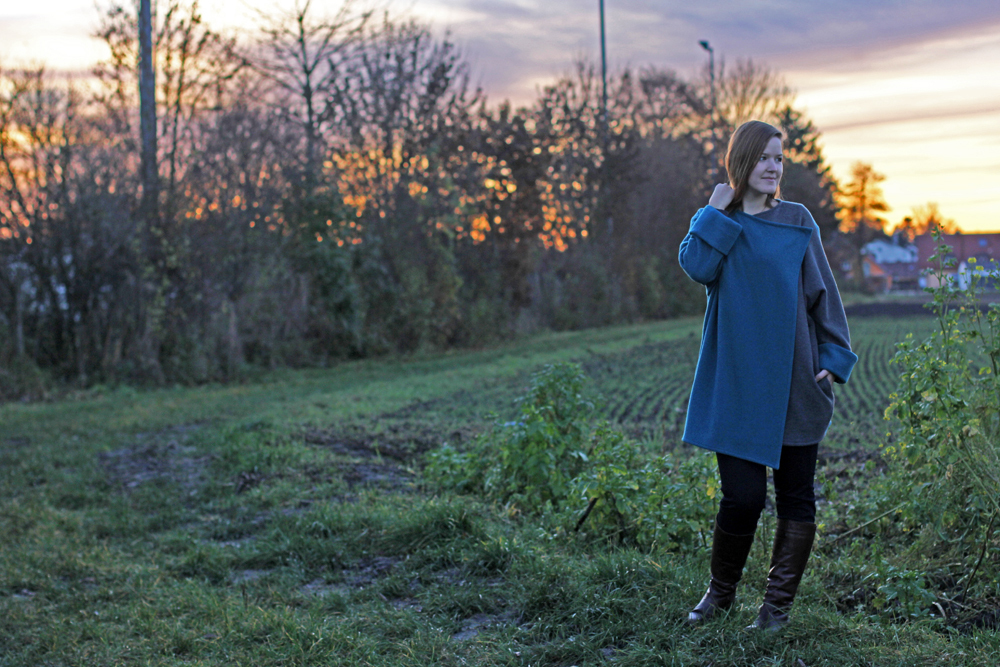
Coat pattern: Let’s have a look at the coat first. For this cosy wool coat I used Burdastyle pattern 09/2015 #117A. View B is belted and slightly shorter than View A. The pattern is pretty brilliant as long as you use the right fabric. They’re asking for double-sided wool because it comes without lining. Therefore, it’s a really quick, simple sew. No interfacing, no lining, no bindings. It’s pretty much just three pattern pieces: front, back and back sleeve (plus pockets). The sleeves are two pieces. The front one is cut as a kimono sleeve and part of the front bodice pattern.
 

Burda 09/2015 #117 and Mia Jeans by thisblogisnotforyou.com

Burda 09/2015 #117 and Mia Jeans by thisblogisnotforyou.com

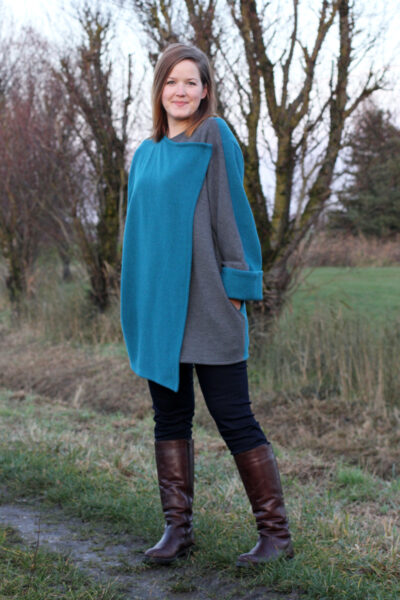
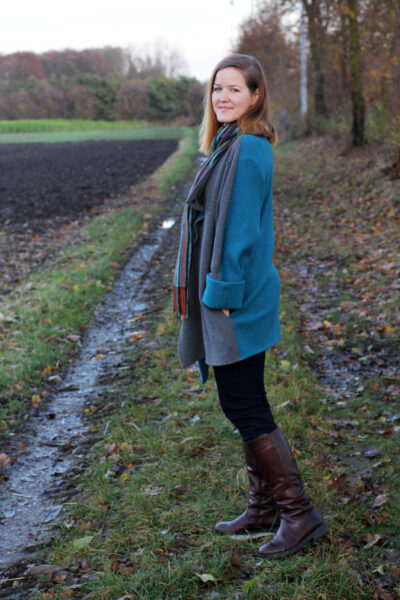
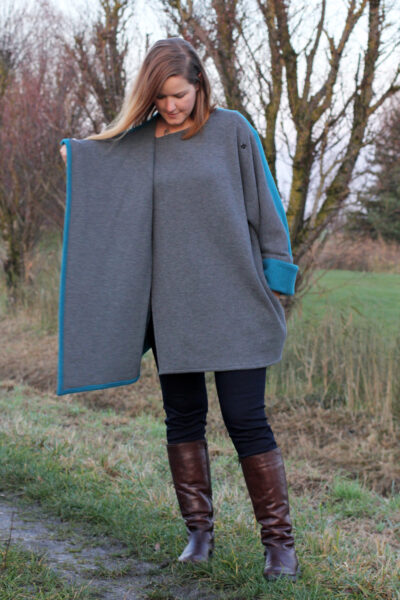
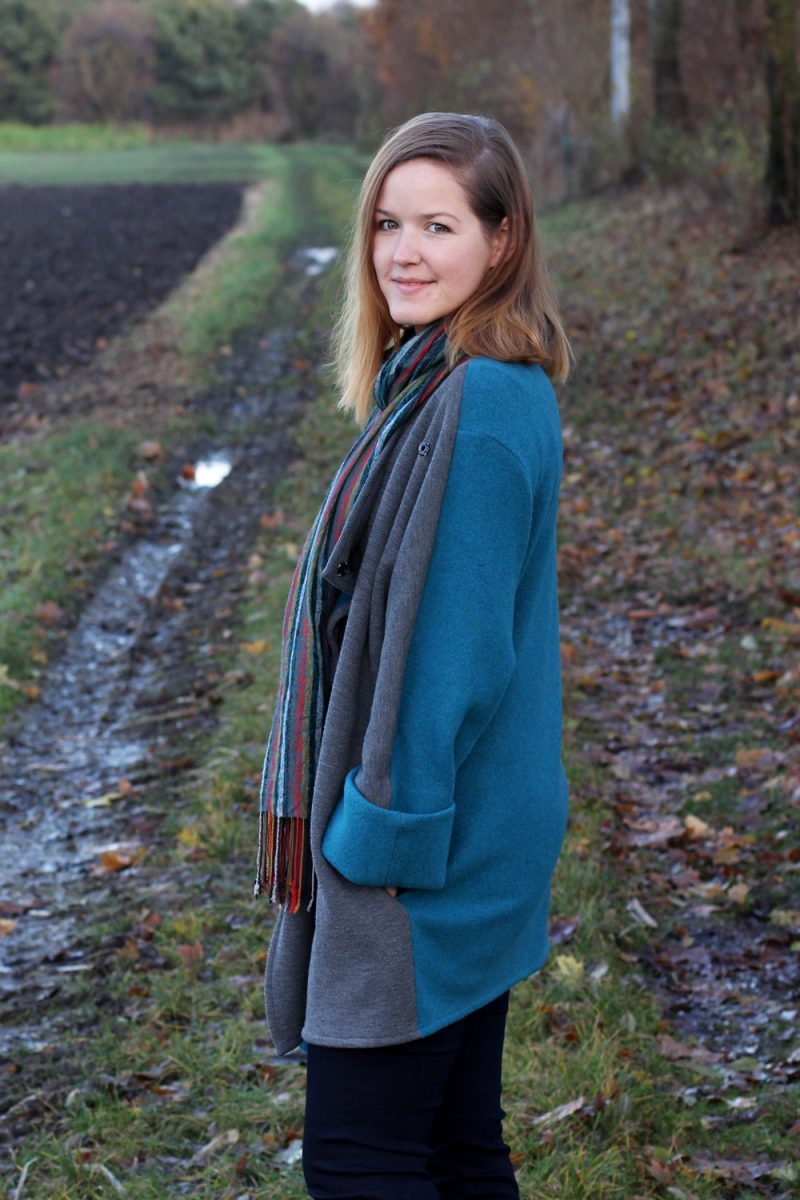
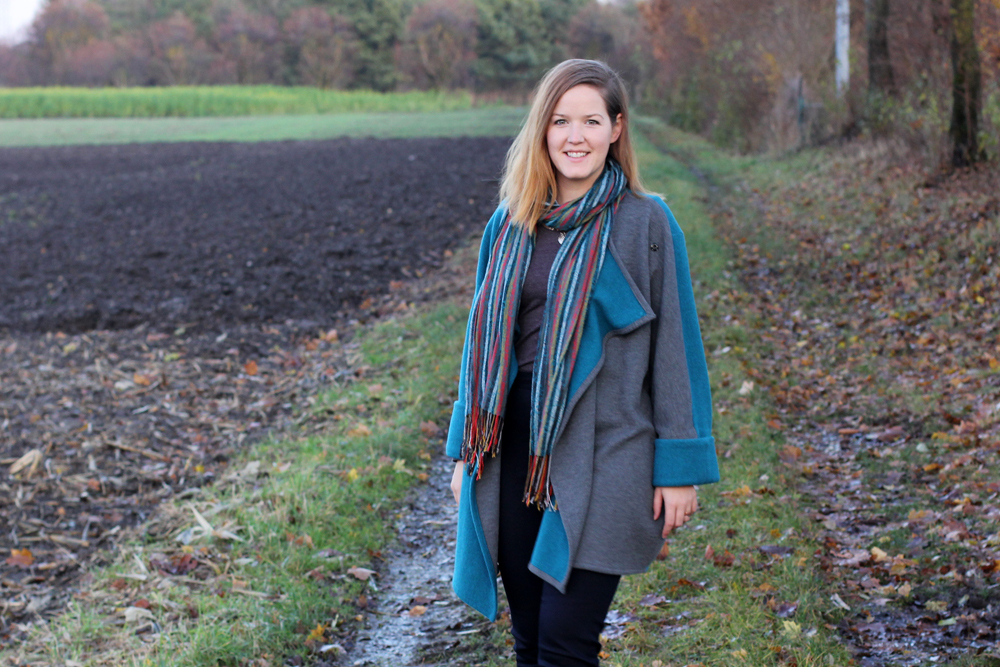
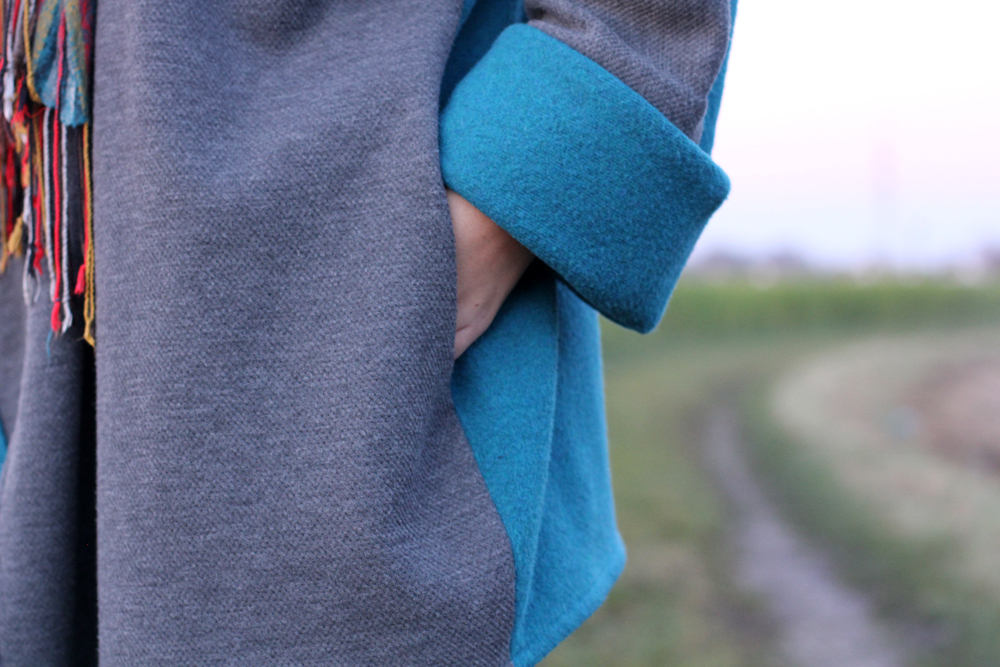
Fabric & construction: I found this amazing double-sided wool fabric at stoffkontor.eu for a very good price. Unfortunately, they’ve run out of it since. It’s a lovely teal boiled wool on one side and a grey sweater knit on the other side. The pattern really requires a fabric with “two good sides”, so this one was perfect.

You might wonder about the contrast detail I did in the front. Well, this wasn’t planned I have to admit. I made a mistake I haven’t made in a long time: I forgot to mirror the front pieces. To my defense, I had to cut the coat with the fabric laid flat in one layer, because the pattern pieces are huge. I simply forgot to flip over the front pattern piece before cutting it out a second time. As I did not have enough fabric and couldn’t be bothered to order more, I decided to run with it.

Looking at it now, I think it looks pretty neat. The Mr thinks it’s the best feature of the coat, and he’s kind of right. Still, I sometimes catch myself thinking of it as a mistake, because I know it wasn’t planned.

The construction is very easy. So this is a great project for anyone who doesn’t feel ready yet to tackle a proper coat. As for finishing the raw edges, you simply fold over the edges and stitch them in place. So the only tricky bit is getting the mitred corners right and neat.

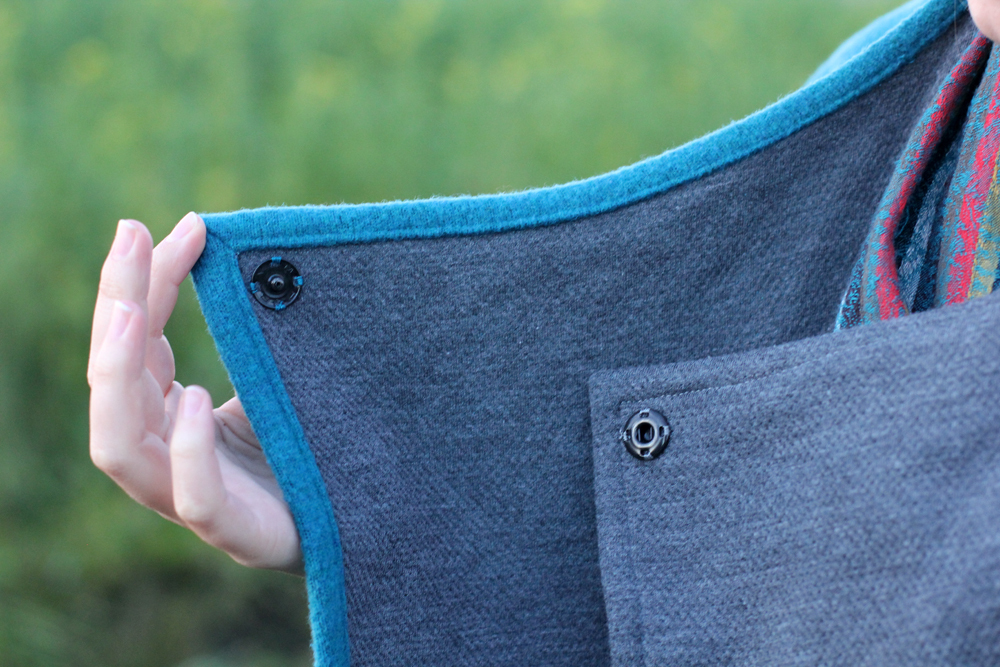
The coat closes as a wrap with two snap fastenings at the top.
Burda 09/2015 #117 and Mia Jeans by thisblogisnotforyou.comBurda 09/2015 #117 and Mia Jeans by thisblogisnotforyou.com

Burda 09/2015 #117 and Mia Jeans by thisblogisnotforyou.com

Burda 09/2015 #117 and Mia Jeans by thisblogisnotforyou.com

Skinny jeans pattern & construction: Let’s talk about my first pair of Mia Jeans! When SEW OVER IT published their Capsule Wardrobe pattern ebook, I couldn’t wait to try the skinny jeans pattern. I love a good high-waisted, simple pair of trousers and I love skinny jeans.

I was a bit concerned that getting the fit right might be a bit of a struggle. Luckily I had some really stretchy denim fabric in my stash which I could use as a muslin. Turned out I didn’t really need a muslin, as the fit was great and I only had to make minor adjustments. The pattern comes with an extra wide seam allowance at the side seam which makes fitting very easy.
Burda 09/2015 #117 and Mia Jeans by thisblogisnotforyou.com

Burda 09/2015 #117 and Mia Jeans by thisblogisnotforyou.com

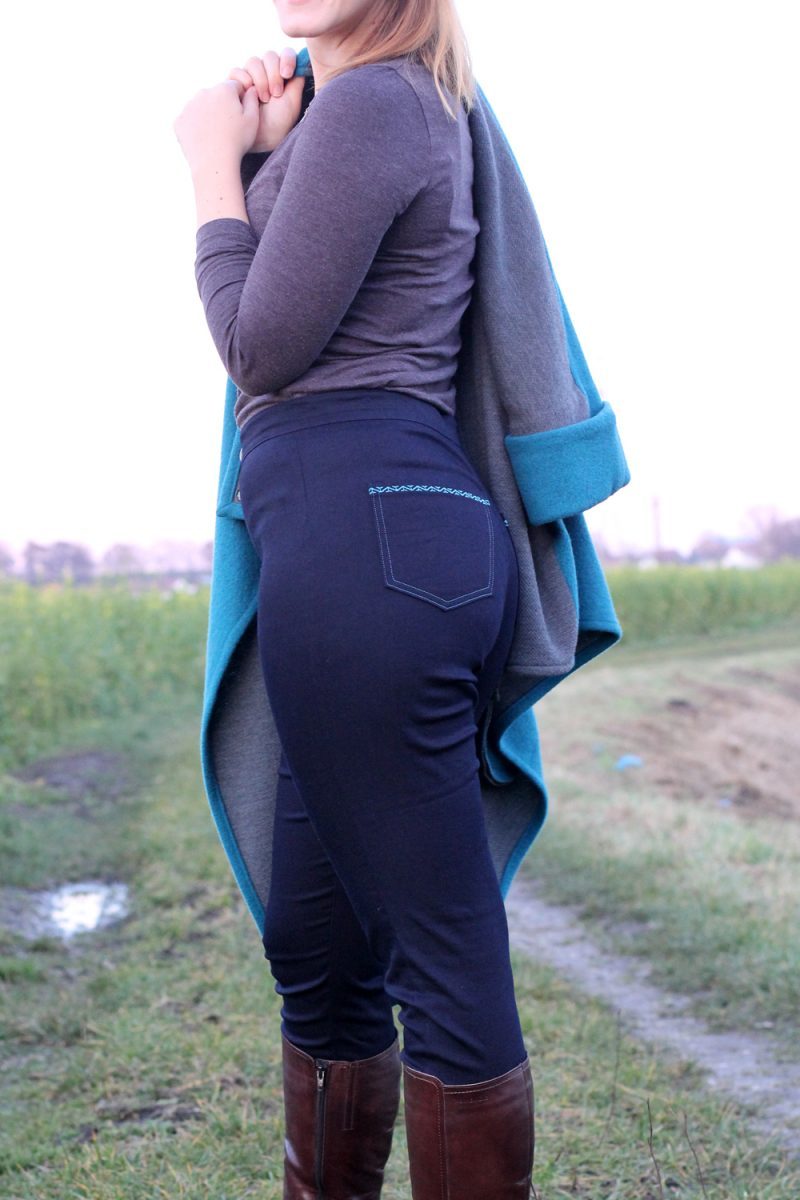
Sewing the pockets was so much fun. Next to sewing the front fly, getting the pockets right is probably taking longest. I basted them on by hand before stitching to get them perfect.

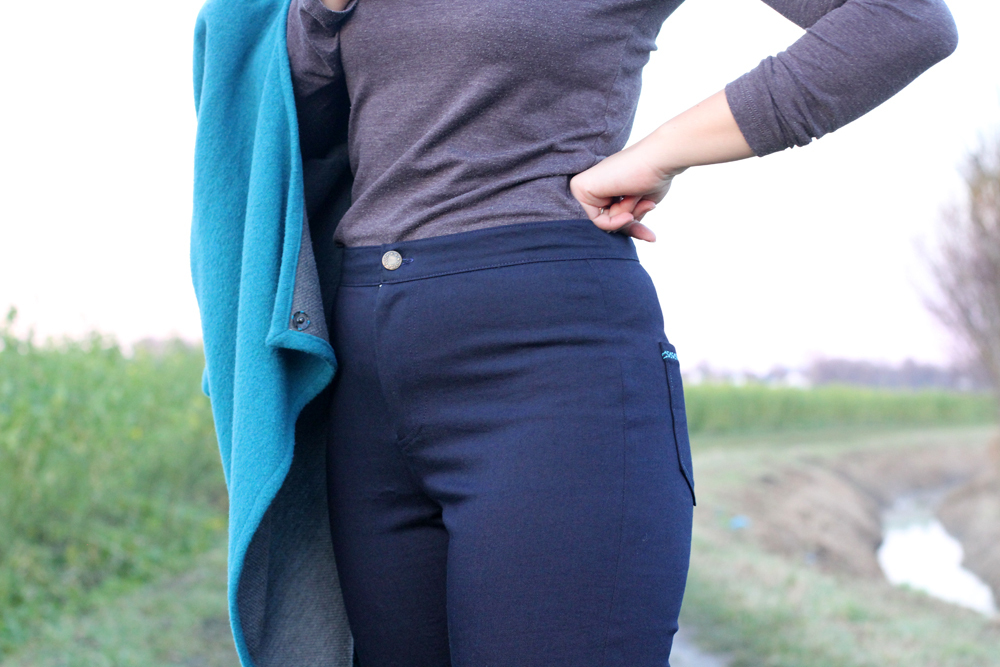
I had a lot of fun trying out decorative stitching with my new sewing machine. I did not use contrasting thread for all seams, just for the pockets. It’s a very minimalist pattern, so the pockets really are the eye-catcher.

Although I’ve sewn quite a few front flies before, I struggled a bit with this one. I accidentally sewed the front shut and overlocked the seam before realising I was missing the front fly. Stupid, I know. I had to cut off quite a bit of the seam allowance to remove the overlocked edge and there wasn’t much left to play around with. Which made constructing the front fly a bit difficult. That’s why the zip is showing a bit, which is somewhat annoying.

Lisa of SEW OVER IT made a wonderful video tutorial on sewing the front fly, which you can find on her youtube channel. There are photographed instructions in the ebook, but if you’ve never tackled a front fly before, I really recommend watching the video tutorial.
Burda 09/2015 #117 and Mia Jeans by thisblogisnotforyou.com

Burda 09/2015 #117 and Mia Jeans by thisblogisnotforyou.com

(Very casually sucking in that tummy and hiding the showing zip)Burda 09/2015 #117 and Mia Jeans by thisblogisnotforyou.com

Both jeans and coat are amazingly comfy and therefore my new work uniform. I got a lot of compliments for the coat. Nobody mentioned the jeans, which, I think, means they don’t look handmade and that is a good thing.  I made a pair of skinny jeans that looks store-bought, ha!

Will I be making more? I definitely won’t make the coat again, as you do not need an indefinite amount of coats, and I am planning on making a properly lined and interfaced one this winter. But I will be making tons of Mia Jeans! In fact, I have already made another pair and bought fabric for at least three more! It’s definitely my go-to jeans pattern now and plain enough to use as a base for some great pattern hacks.

What’s your favourite pattern at the moment?

xx

Charlie


Happy sewing!

facebook/bloglovin/pinterest
twitter/instagram

Stay in touch!

Keira Cardigan in Black

Keira Cardigan free pattern by thisblogisnotforyou.comKeira Cardigan free pattern by thisblogisnotforyou.comKeira Cardigan free pattern by thisblogisnotforyou.com

Keira Cardigan free pattern by thisblogisnotforyou.com

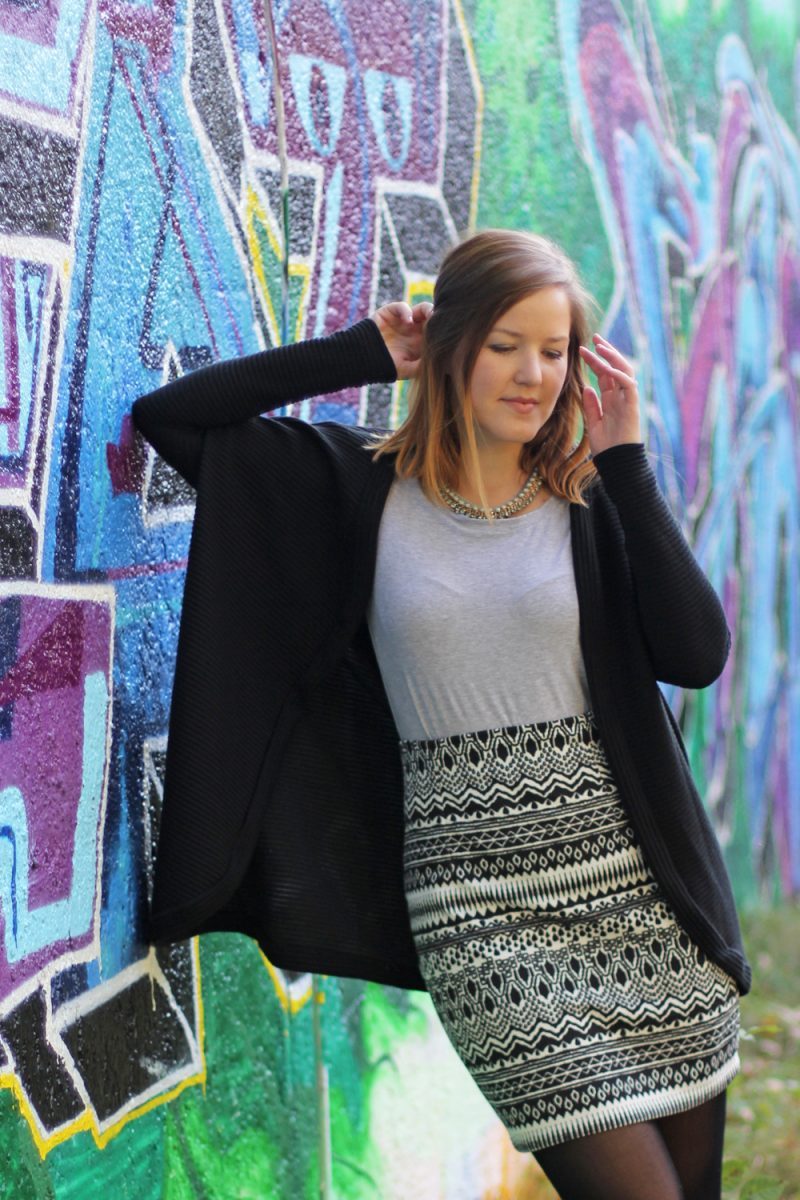
Lately, I was so busy sewing (and reading and knitting in order to muster some willingness towards the cold season) that I completely forgot to blog some of the makes we photographed a little while ago. One of these is another version of my KEIRA CARDIGAN, which I released a few weeks ago:

Keira Cardigan by Thisblogisnotforyou.com

The KEIRA Cardigan pattern is a pay as you wish pattern – so it’s basically free unless you choose to pay for it. You can download it here and read more about it here.

Pattern & Adjustments: As mentioned above, I used one of my own patterns for this cardigan. This one is actually one of my test versions I made prior to releasing this pattern. I sewed it up pretty much over a year ago, as I was planning to release the pattern last winter. I made the version with the wide binding around the edges. I only tweaked the sleeves a bit after this one, as the fit was a bit too snug – still wearable though.

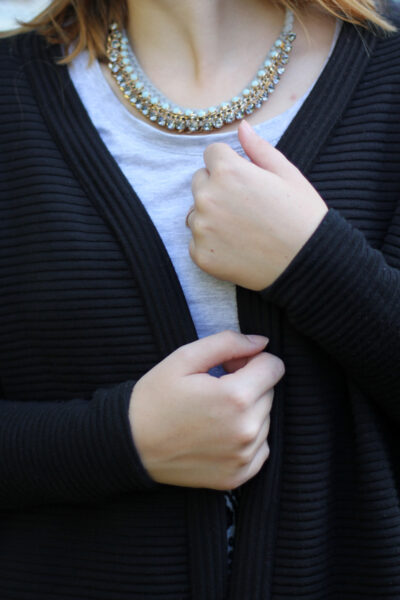
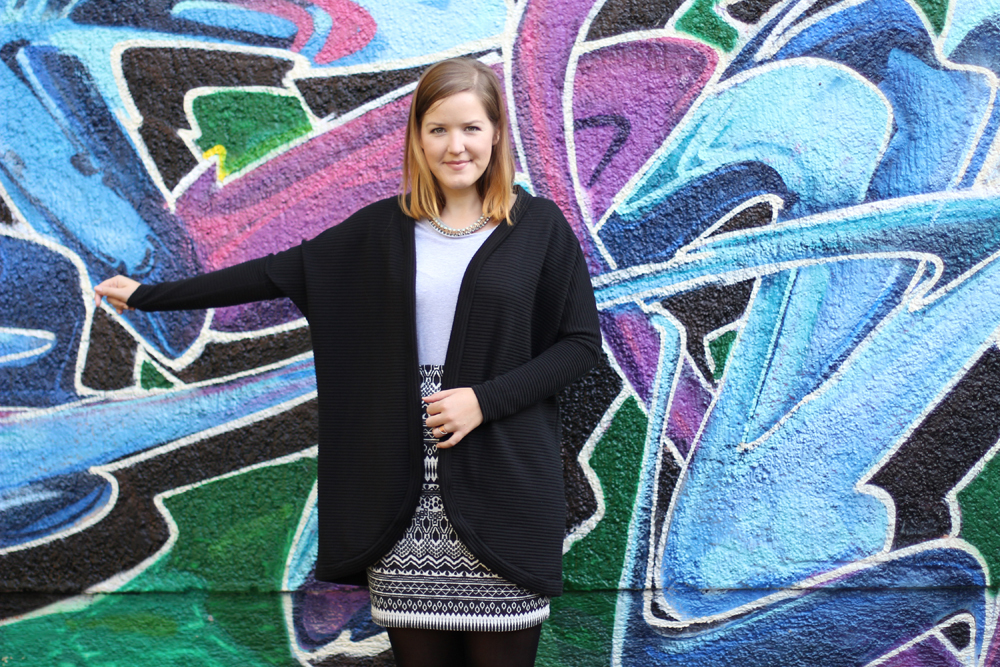
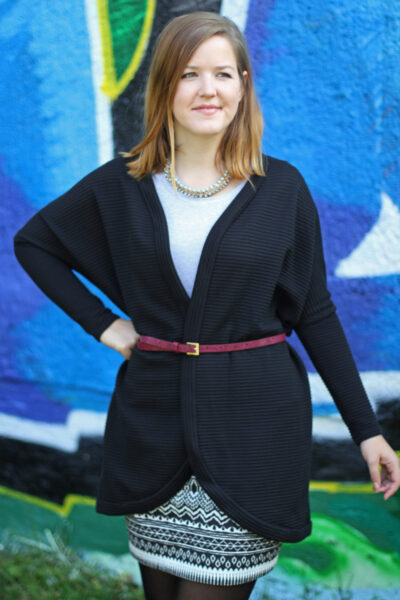
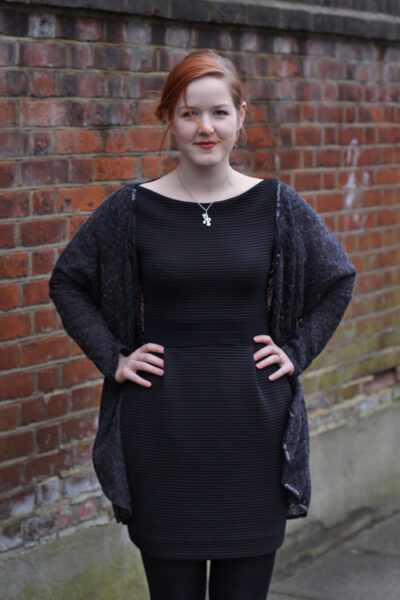
Fabric: This jumbo ribbed jersey, which I suspect is almost certainly 100% polyester, is really comfy and was a breeze to sew with. I bought it ages ago in a local fabric store when I still lived in Queen’s Park, London. It was £1.50/m, 60 inch wide. I bought 2 metres of it. The fabric has made an earlier appearance on the blog, as a Lady Skater/Ultimate Pencil Skirt Frankendress. A little black dress I made with a self-drafted sequinned cardigan which is the original KEIRA cardi I based the pattern on.
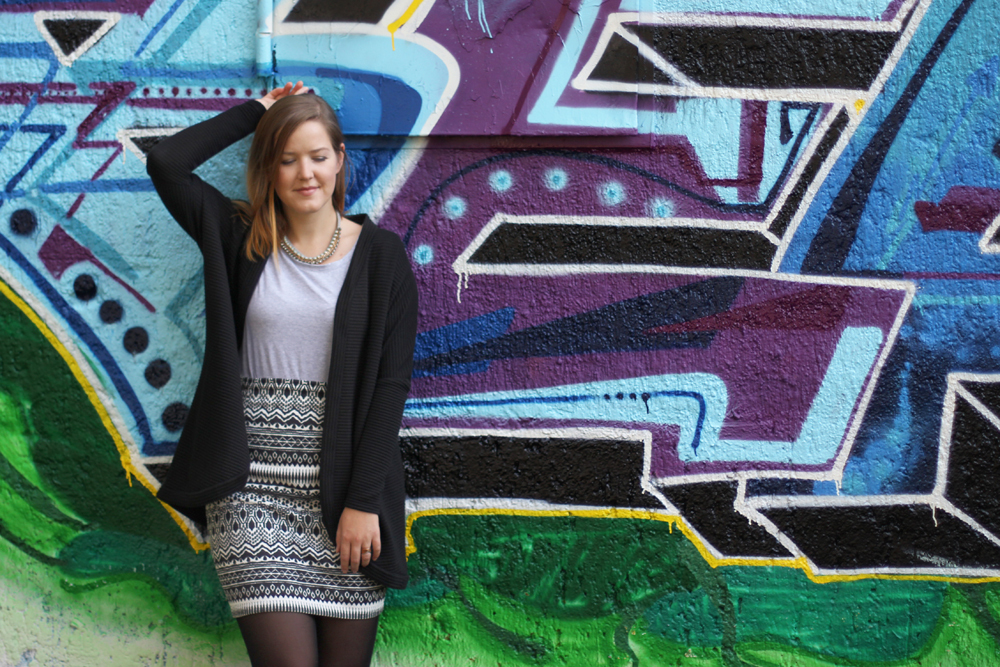
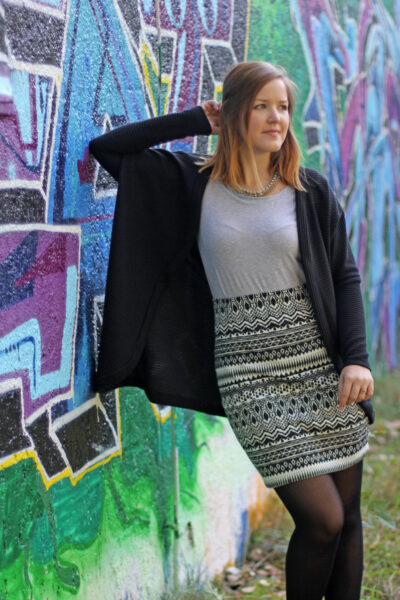
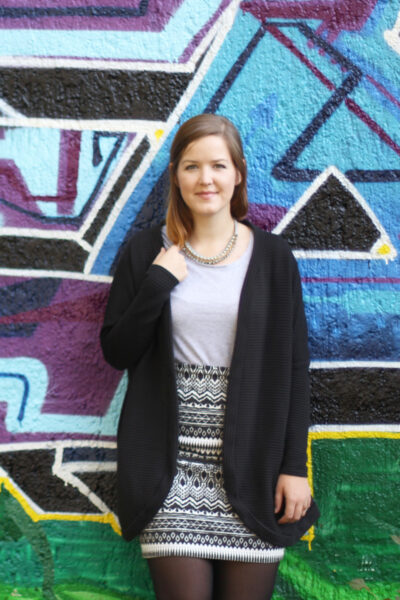
After wearing this cardigan for more than a year, I am surprised how well this fabric holds up. As you can see in the picture we took recently, there’s no trace of the innumerable times this garment has been in the wash. Pretty good for spending no more than £3 on it considering I managed to squeeze out two garments.

Keira Cardigan free pattern by thisblogisnotforyou.com

Keira Cardigan free pattern by thisblogisnotforyou.com
img_8764

Keira Cardigan free pattern by thisblogisnotforyou.comKeira Cardigan free pattern by thisblogisnotforyou.com

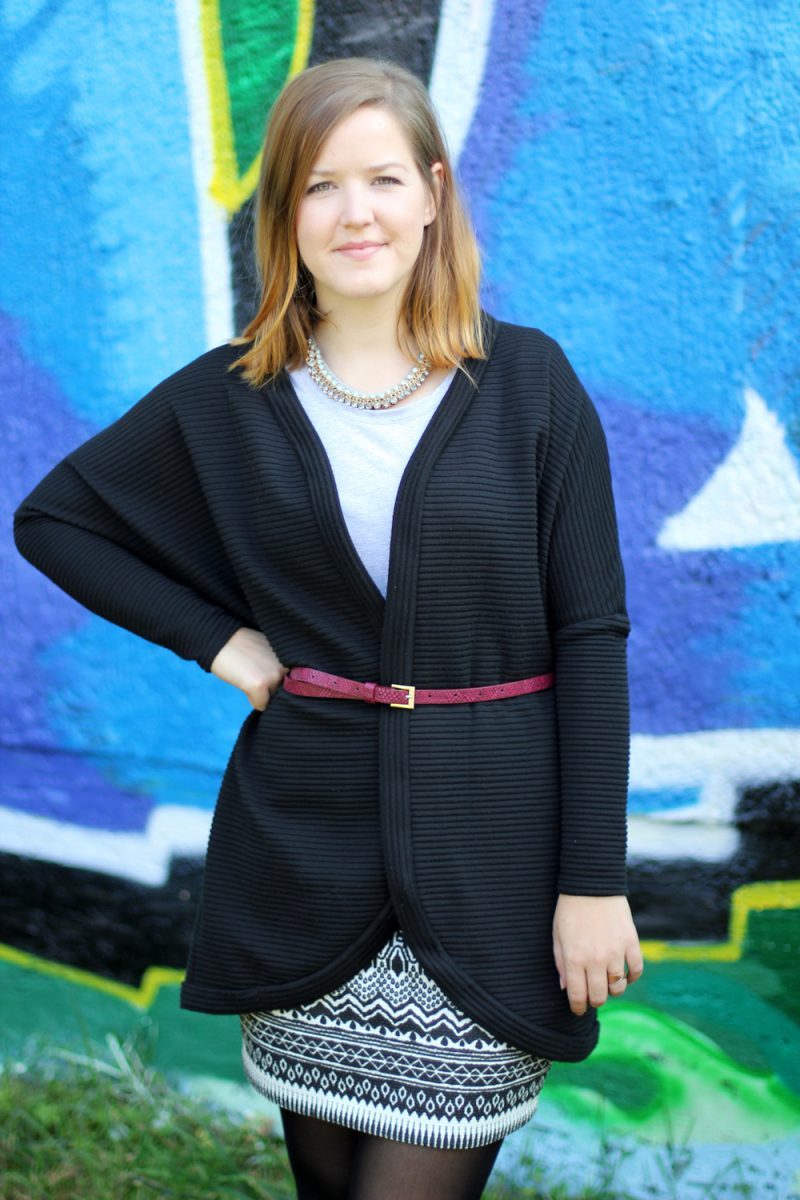
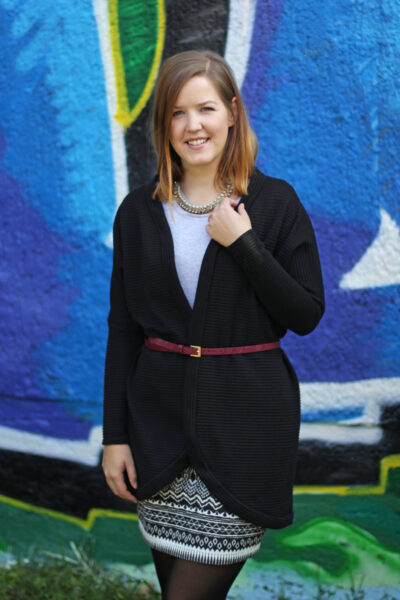
cardigan: handmade, KEIRA Cardigan by Audrey & Me Patterns
skirt: handmade, Ultimate Pencil Skirt by SEW OVER IT
belt: Primark
T-shirt: C&A

I’ve worn this KEIRA loads in the past year. All through last winter and spring and now again since it’s become really chilly again. Through summer I sometimes wore it instead of a light jacket. It goes with pretty much anything; mini skirts, fitted dresses, skinny jeans – it really is your wardrobe BFF! So far I’ve made four KEIRAs which are rotating pretty quickly as I love wearing them at the moment.

What’s your favourite (handmade?) garment this season?

Have a great week!

xx

Charlie


Happy sewing!

facebook/bloglovin/pinterest
twitter/instagram

Stay in touch!
New Pattern: Hello, Keira Cardigan!
Free Pattern! Keira Cardigan by Thisblogisnotforyou.comFree Pattern! Keira Cardigan by Thisblogisnotforyou.comFree Pattern! Keira Cardigan by Thisblogisnotforyou.com

  HELLO KEIRA!

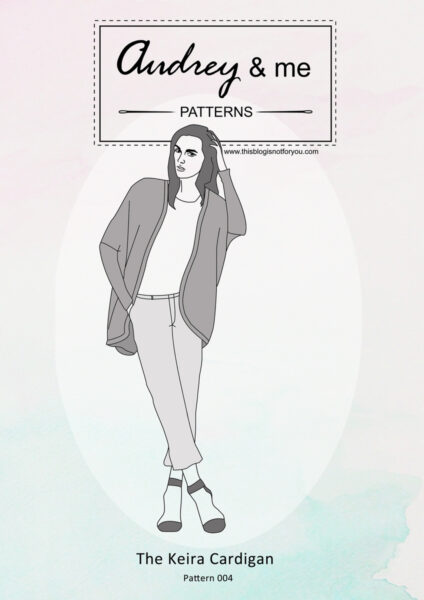
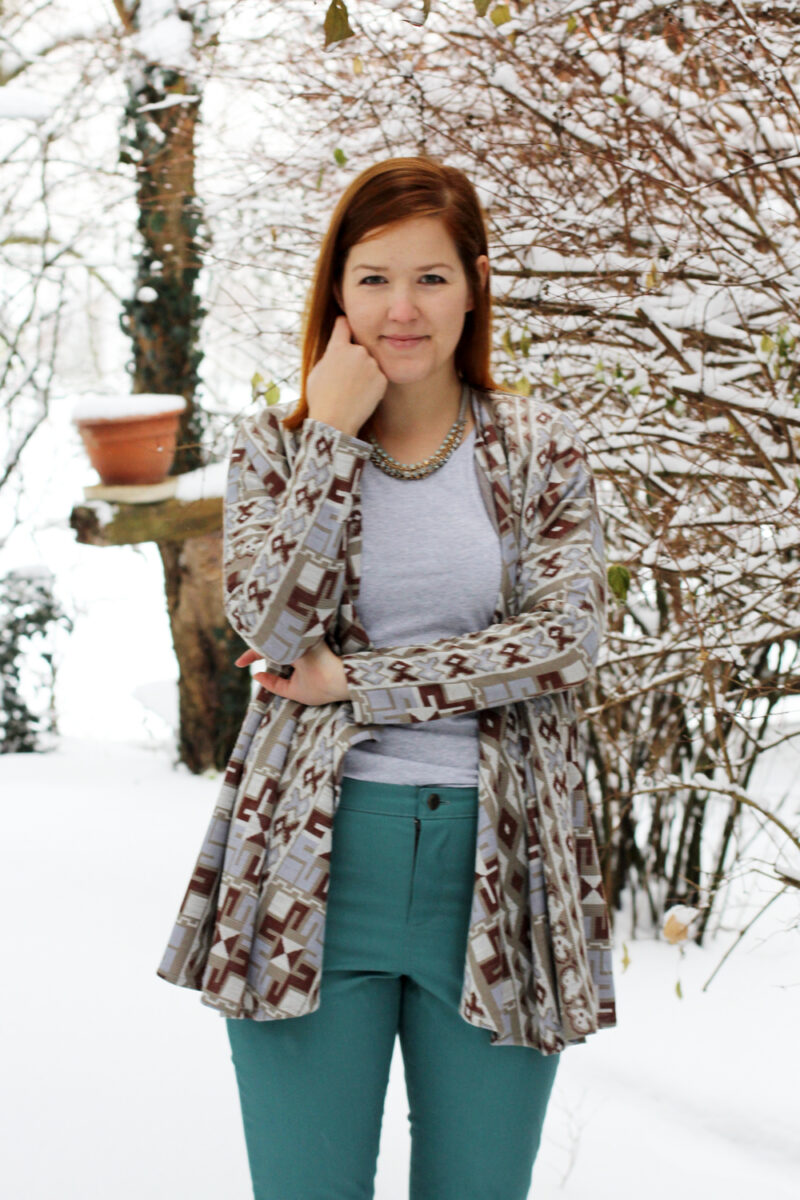
Have you been looking for the perfect chic little cardigan to go with most of your outfits? Well, look no further! Say ‘hello’ to KEIRA, everyone! This lovely lady is the newest addition to my little pattern family! 

She is a true allrounder.

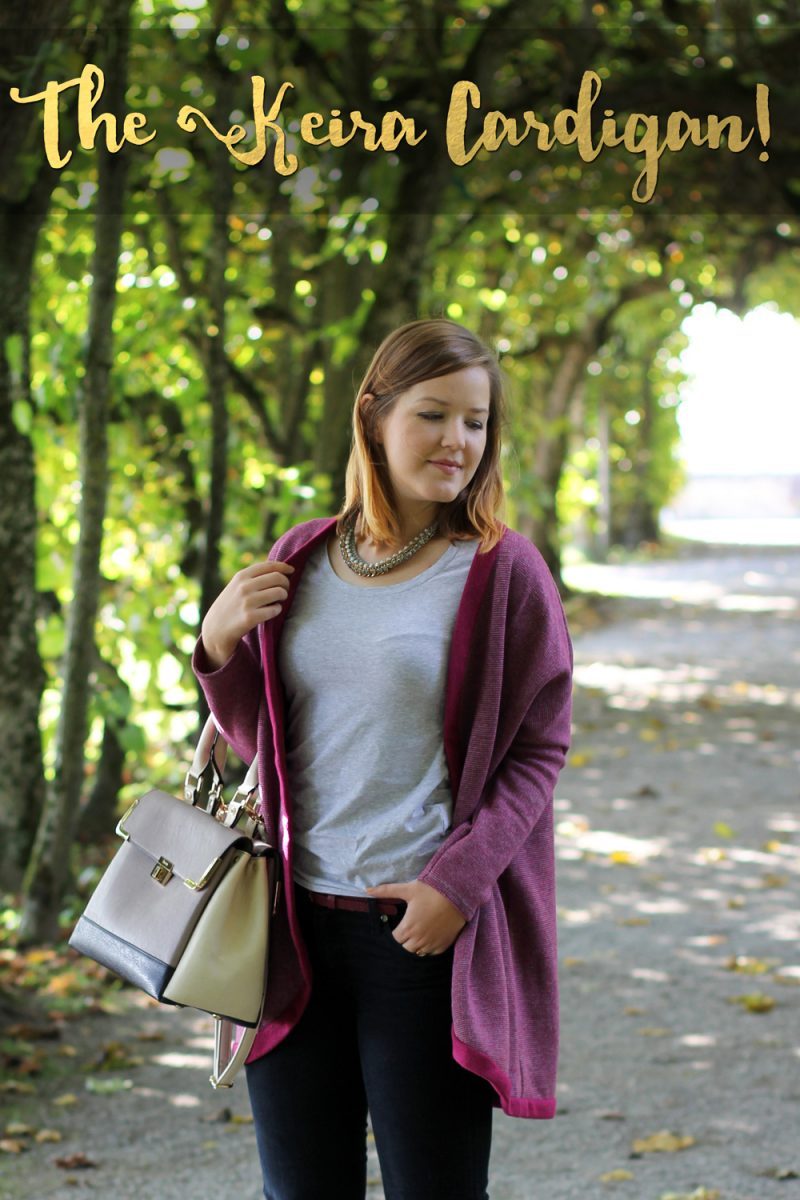
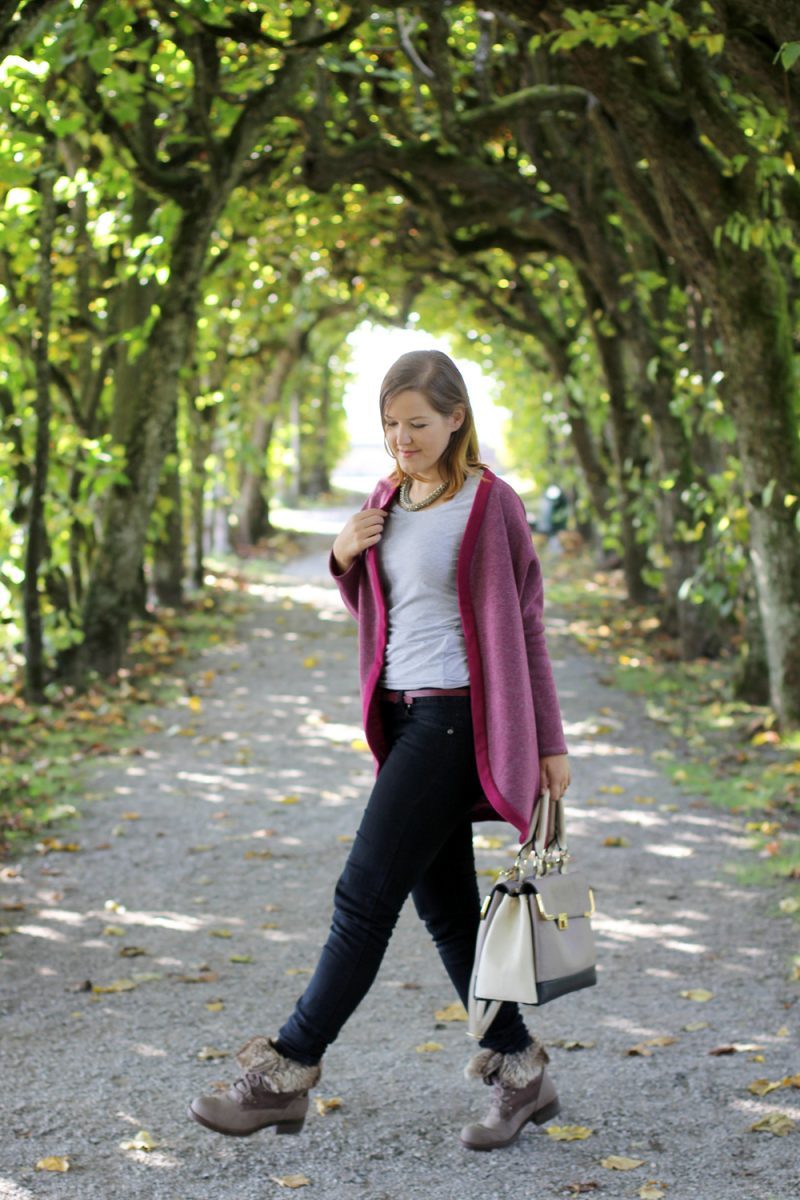
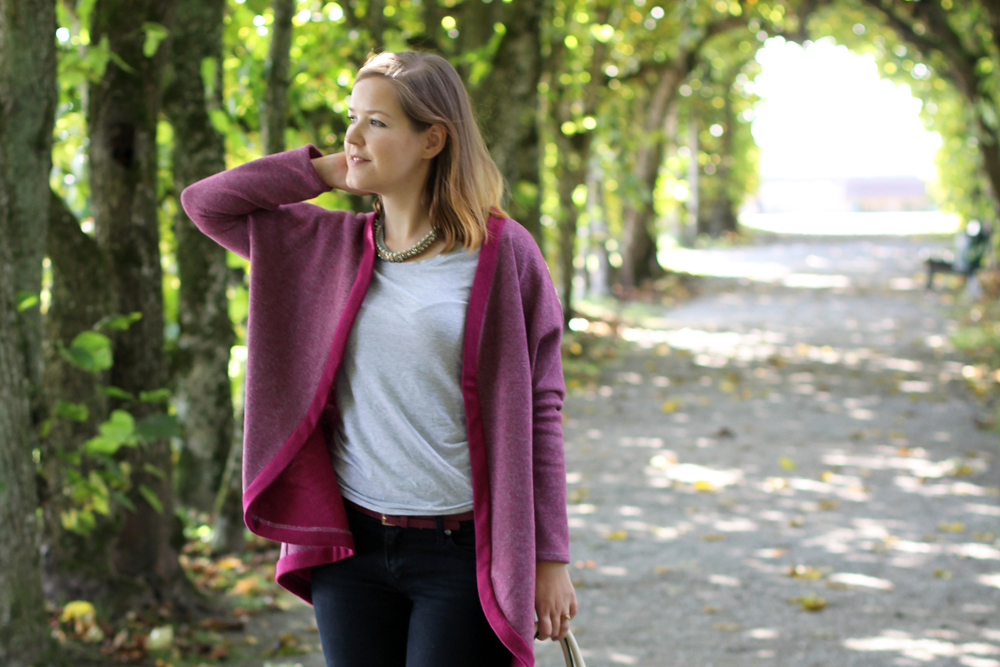
KEIRA is incredibly comfy with a wide cut around the bodice and snug sleeves for an elegant, feminine silhouette. The minimalist design will allow you to go wild with adding your own touches. Add a binding for a sleek finish or play around with decorative trim to add fun details.

Made in a warm wool or knit fabric it will be the perfect companion for cold winter days. Use a lightweight jersey and it will be perfect for layering in the warmer seasons. And if you don’t want to go without it in summer, whip one up in a breezy chiffon!

After two years, Audrey & Me Patterns (which is me!) is finally releasing a new pattern and I am so excited to share this one with you! Have a look:

Free Pattern! Keira Cardigan by Thisblogisnotforyou.com

Free Pattern! Keira Cardigan by Thisblogisnotforyou.com

Free Pattern! Keira Cardigan by Thisblogisnotforyou.comFree Pattern! Keira Cardigan by Thisblogisnotforyou.com

Free Pattern! Keira Cardigan by Thisblogisnotforyou.com

Free Pattern! Keira Cardigan by Thisblogisnotforyou.com

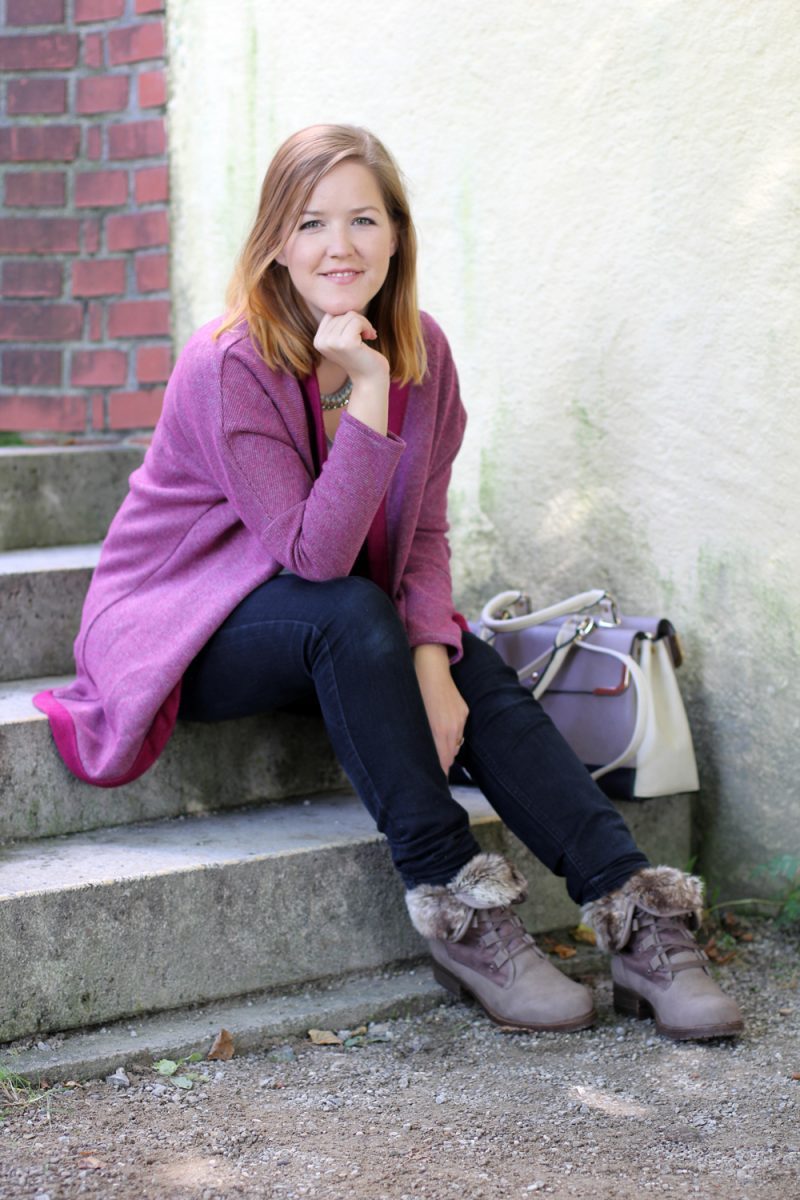
This KEIRA is made with a lovely warm double-sided wool knit, which is the perfect fabric for this pattern! It’s super cosy and has enough stretch for the snug fit of the sleeves. As the armhole seam hits the upper arm just above the elbow, it is perfect for layering over t-shirts and thick jumpers without feeling restricted in your movements. Free Pattern! Keira Cardigan by Thisblogisnotforyou.comFree Pattern! Keira Cardigan by Thisblogisnotforyou.com

Free Pattern! Keira Cardigan by Thisblogisnotforyou.com

Free Pattern! Keira Cardigan by Thisblogisnotforyou.comFree Pattern! Keira Cardigan by Thisblogisnotforyou.com

This pattern is a really quick sew and suitable for beginners. It offers different ways to add own touches and variations, so advanced sewers will have fun with it, as well! Included are sizes 6-22 (UK), all nested together so it is easy for you to grade between sizes. (Edit: Don’t be confused by Size 22 missing in the sizing chart. It IS included, I’ll update the chart asap!)

The pattern includes instruction for two different styles of finishes. You can add a wide binding for a clean, minimalist finish or leave the edges raw, decorated with fun trims and ribbons!

Free Pattern! Keira Cardigan by Thisblogisnotforyou.com

Oh, the best part? As my first pattern, The Fairy Tale Cape, this pattern is a Pay-As-You-Wish pattern! This means you can download it for free or donate whatever amount you feel is appropriate. So feel free to try out the pattern to see whether you like it. And if you do, you can show your appreciation by making a small donation if you want.

I’ll share some more variations and simple hacks of this pattern on the blog in the next couple of weeks – so keep you eyes peeled for more!

You can DOWNLOAD the pattern HERE.

xx

Charlie


Happy sewing!

facebook/bloglovin/pinterest
twitter/instagram

Stay in touch!