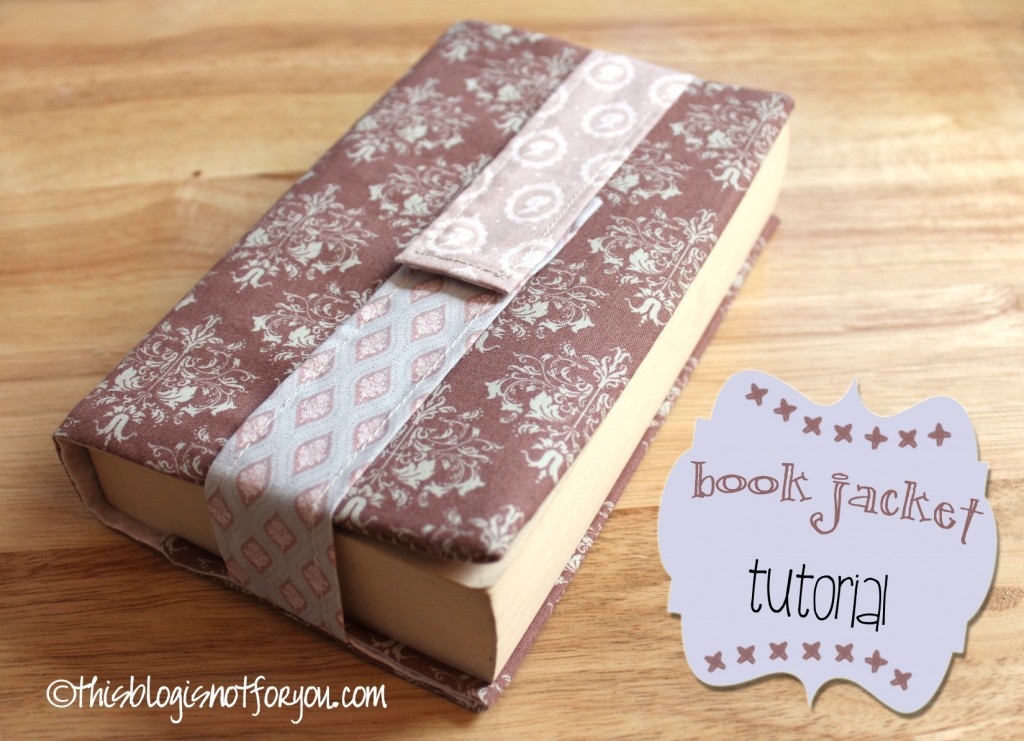
How to sew a book cover {that fits more than just one book}

book jacket

Do you carry your book around wherever you go? Well, I do.
To keep them from getting damaged in my bag I use handmade book covers. No dog-ears no more!

Depending on how large you make the cover, it will fit several books that are about the same size.

book cover tutorial

book cover tutorial 7

book cover tutorial 6

book coverFirst of all you need to make a pattern.
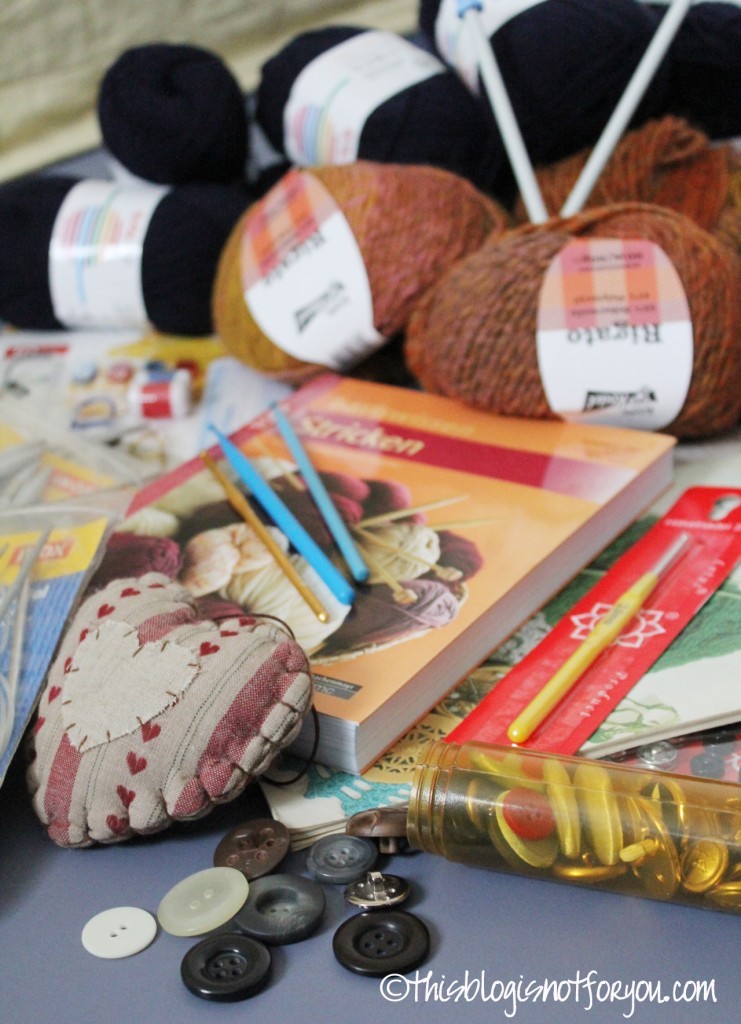
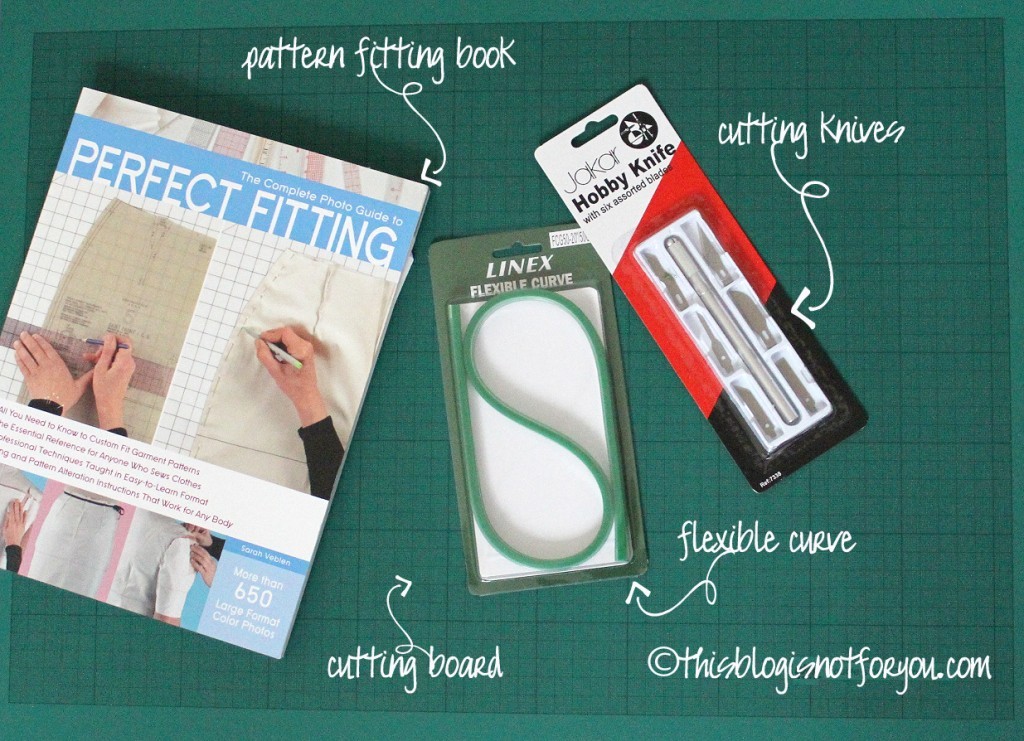
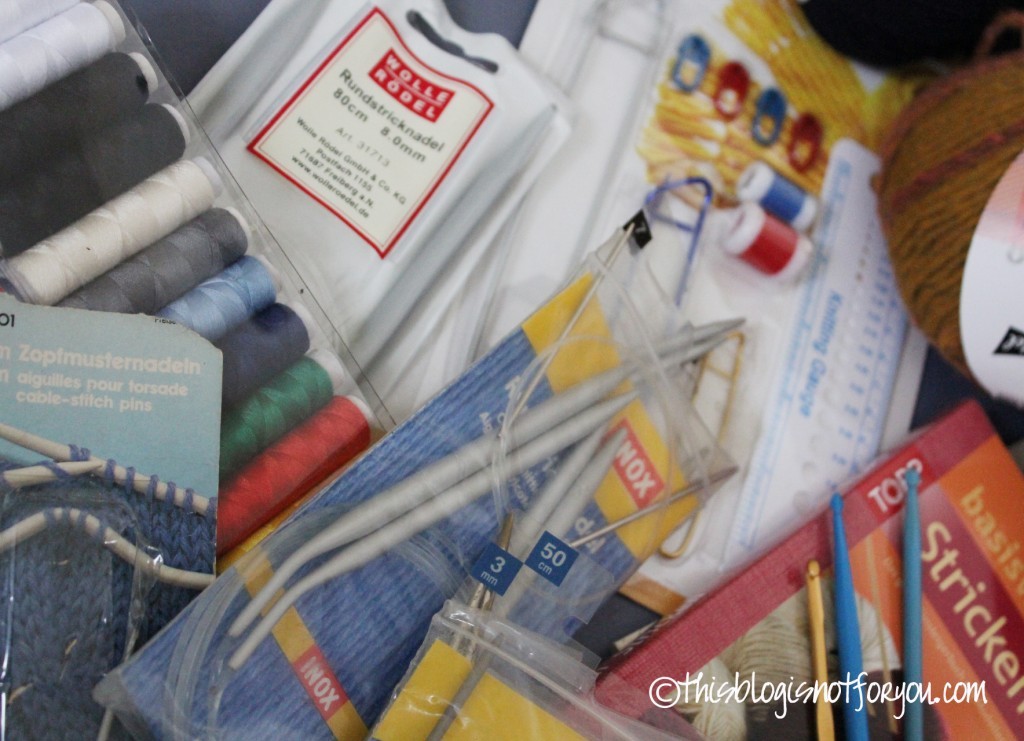
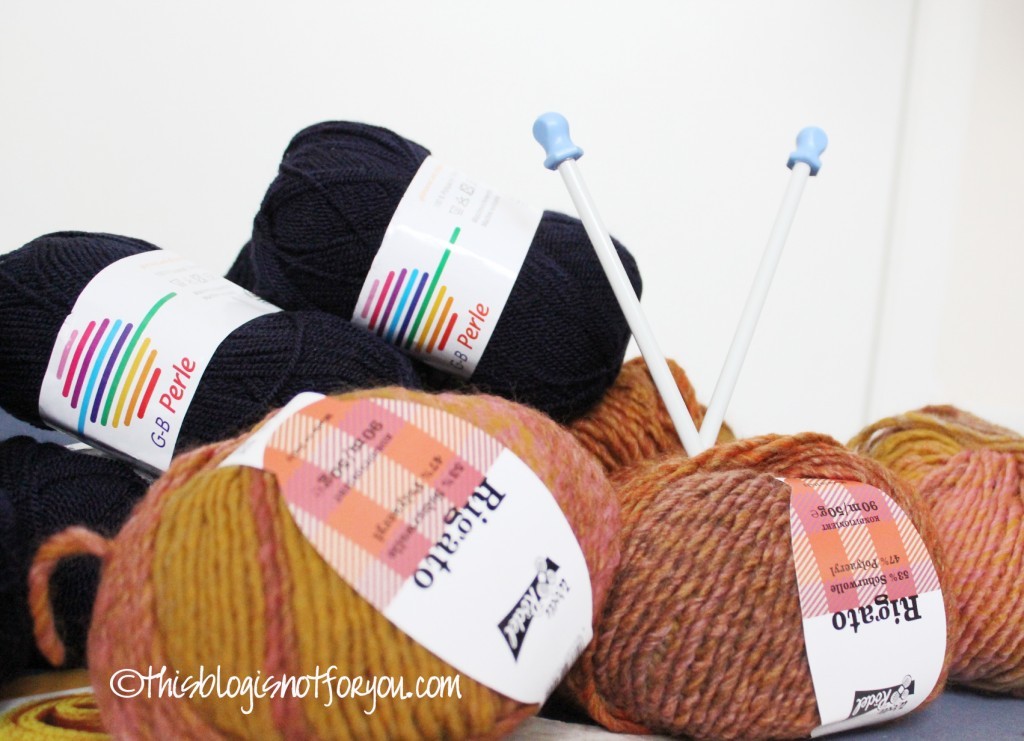
What you need:

book cover pattern15

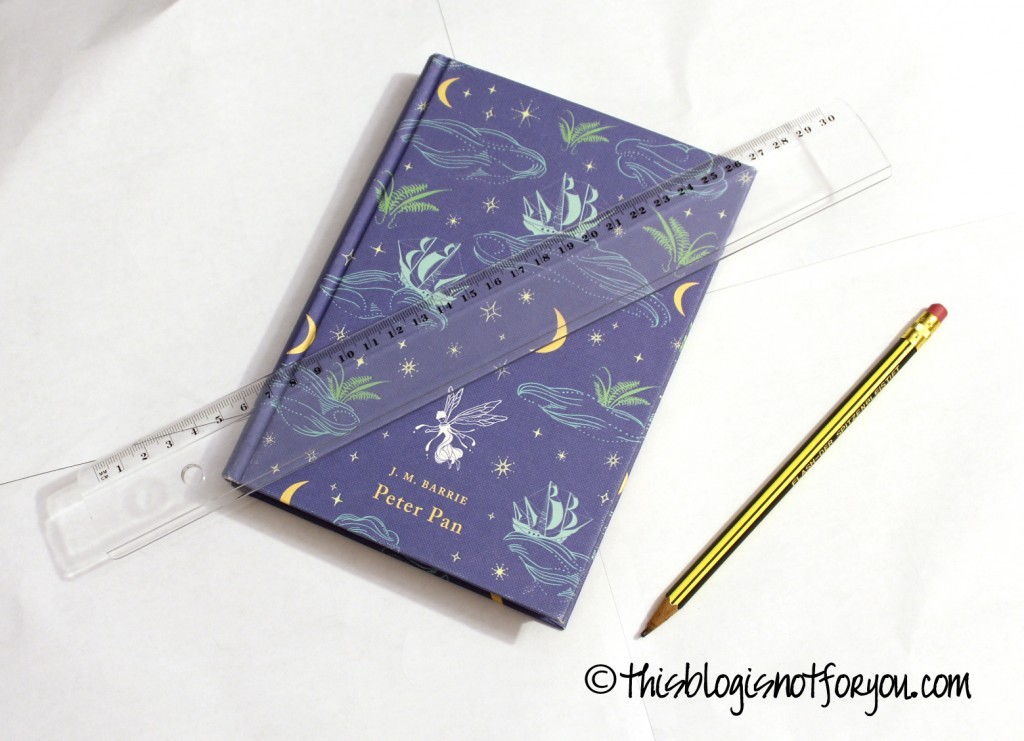
Pick a book size you like. It can be your favorite one, the one that you read at the moment or one you want to give as a present to someone.
I think a standard paperback book size works great, since you’ll probably have and find a lot of books that fit in there.

book cover pattern16


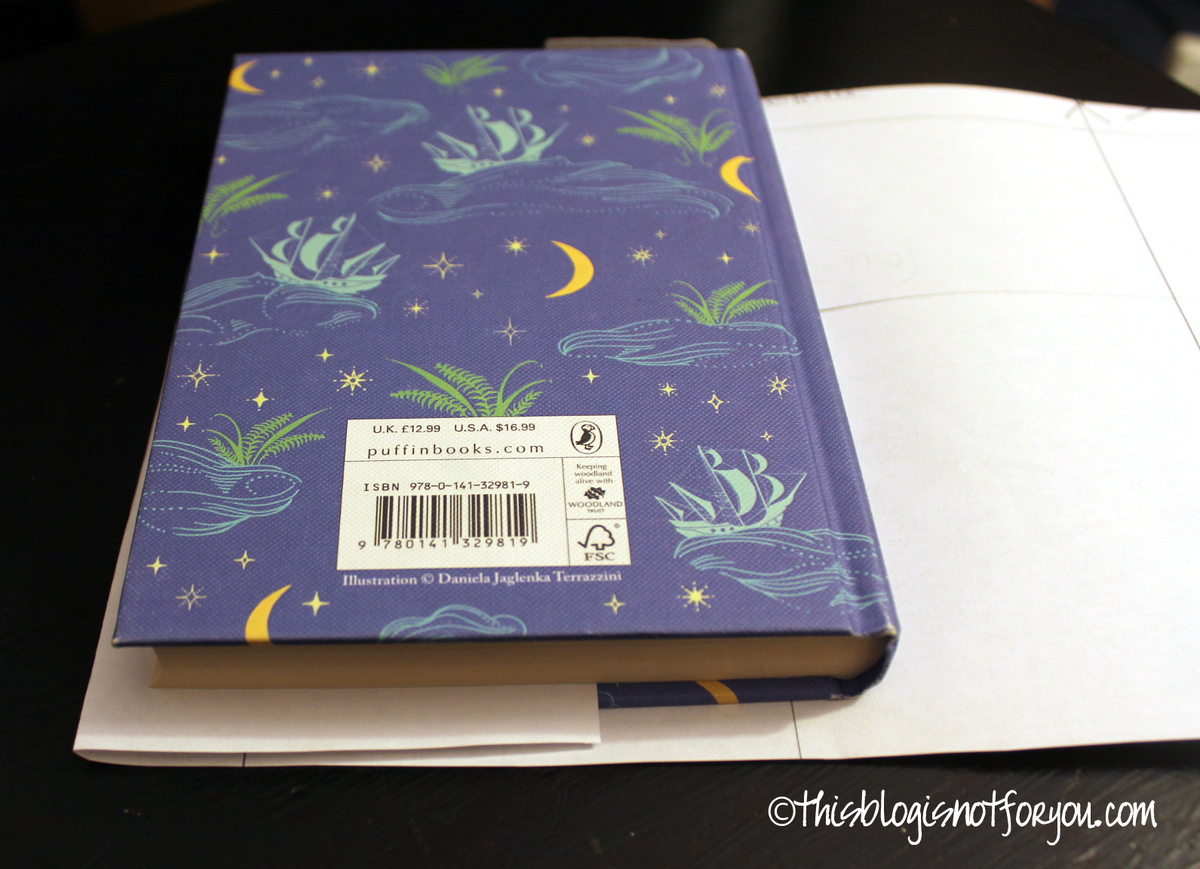
Take a large sheet of paper (or tape some sheets together). It should be more than three times as wide as your book is. The height is the height of your book plus a comfort zone of about 2-3cm/1-1,5inch.

You’ll need that so the book slips in easily and the bigger the comfort zone, the more books will fits into the cover. But don’t exaggerate, otherwise it will be too loose.

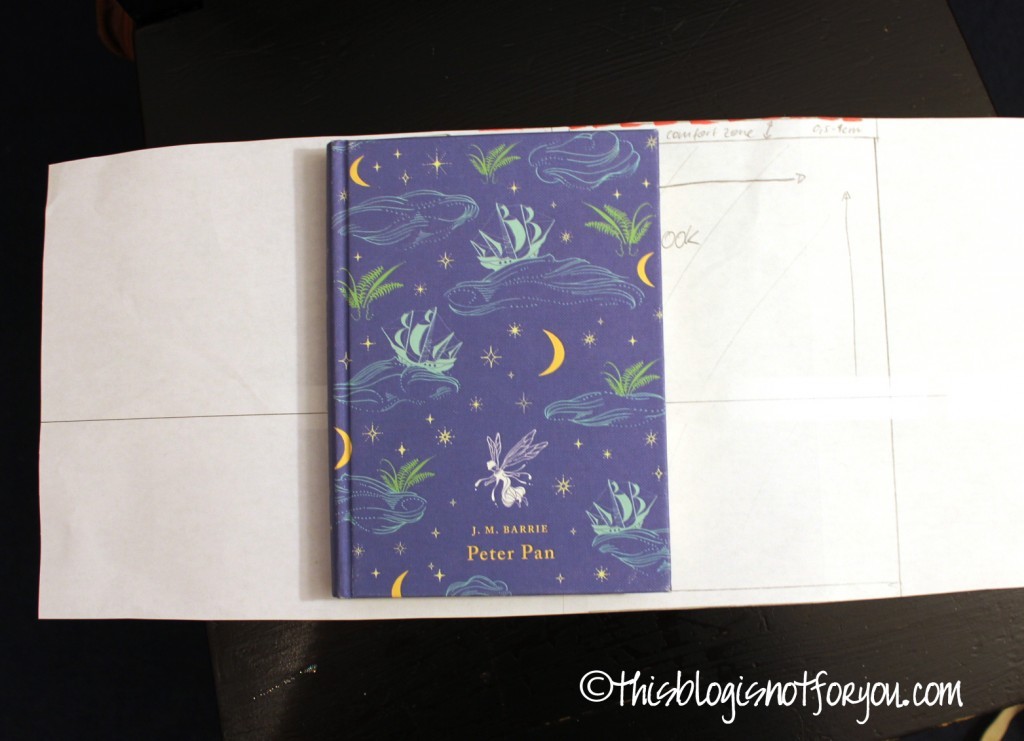
Lay the book on the paper strip, front cover facing you.
To determine the size of the flap, fold the left side of the paper over the cover until the flap has the size you want it to have.
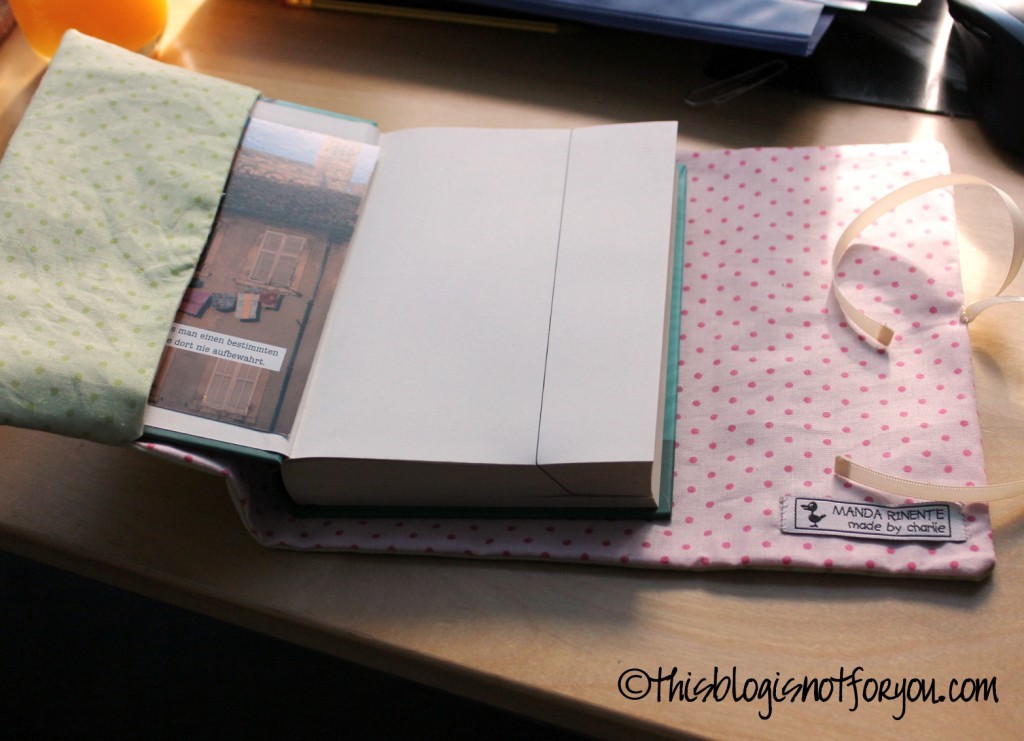
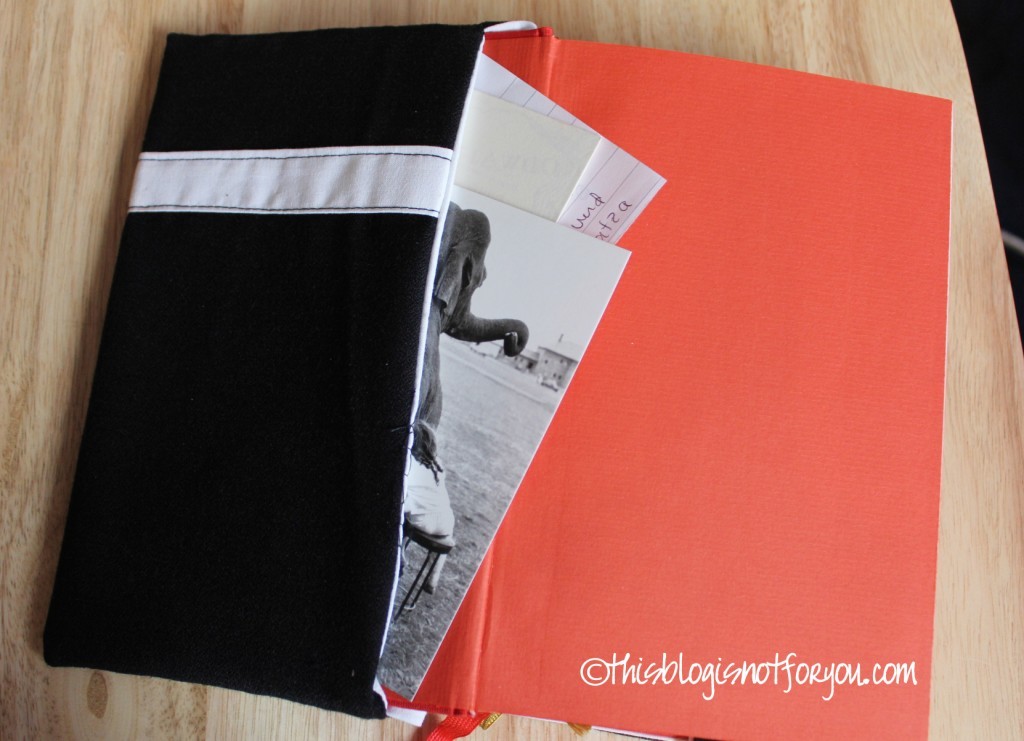
I think a large flap is good – the book cover will fit more tightly and you’ll have to space to keep some postcards, bookmarkers, etc.

book cover pattern17


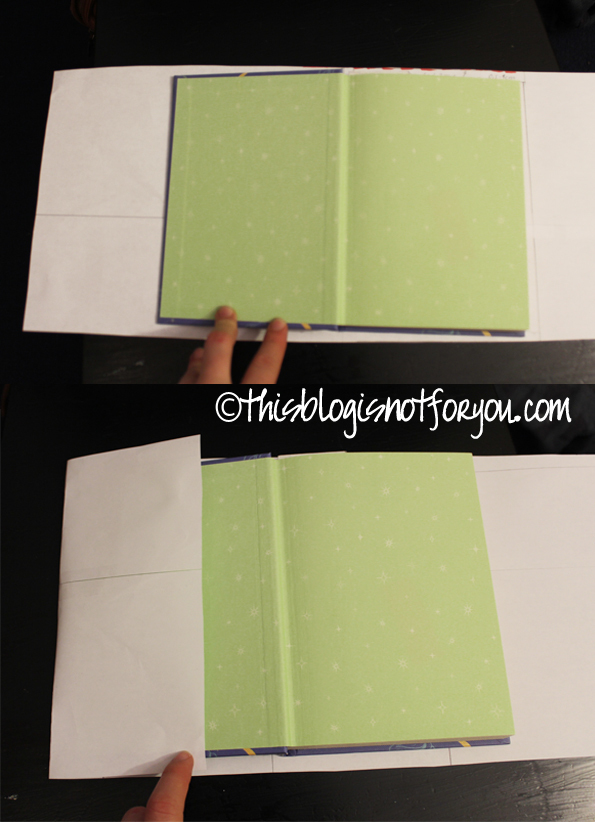
Now close the book and turn it as seen in the pictures below.

book cover pattern18book cover pattern19

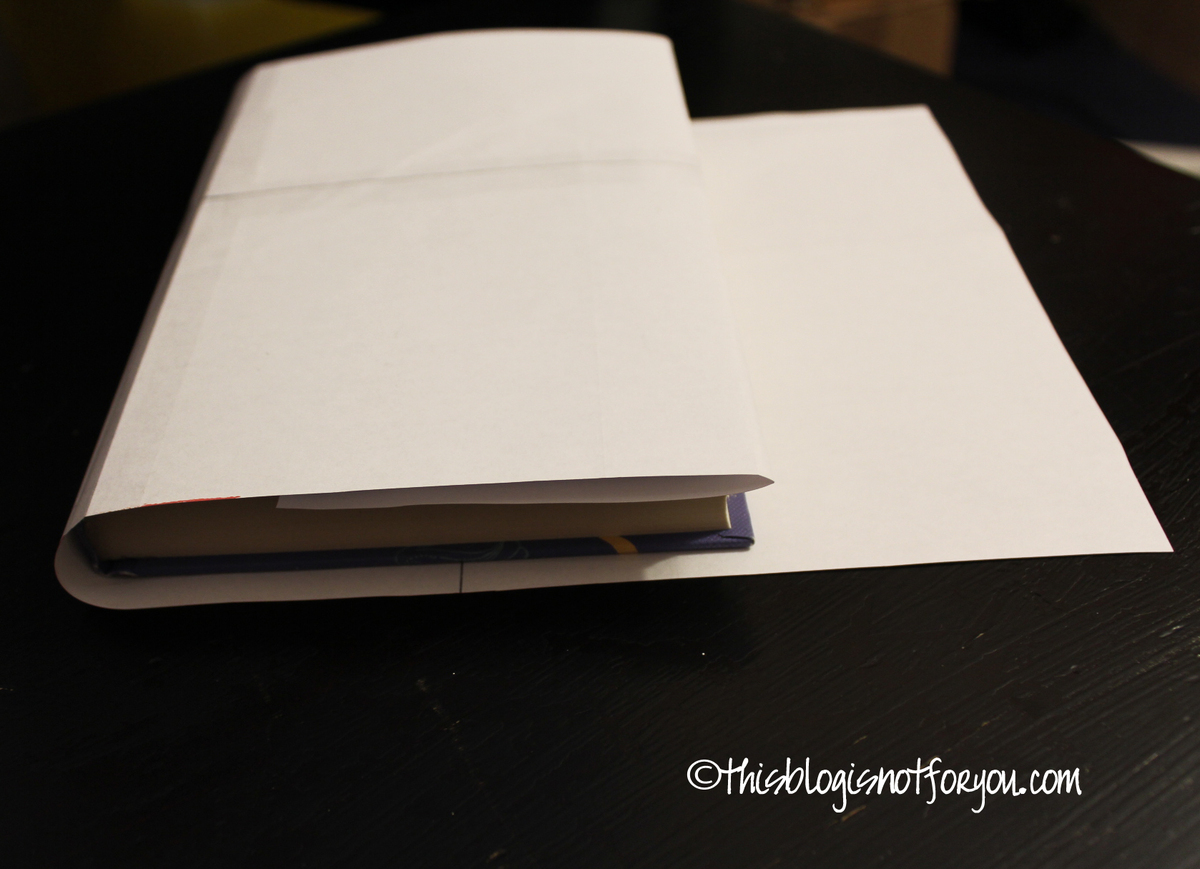
To get the size of the front flap, fold the right side of the paper over your book and mark the paper where you want your front flap to end. Draw a line and cut the rest of the paper off.

book cover pattern20

Now you’ve got the pattern for cutting out your fabric.
For a simple book cover with a button fastening you will need two pieces of fabric.
When you place your pattern on the fabric, don’t forget to add seam allowance! I used about 1cm of seam allowance for the book cover I made.

In case you want to embellish your fabric, for instance with sequins, buttons, fabric paint etc., do it after you cut out the fabric and before you start sewing.
This is especially important when you’re using fabric paint, since you have to iron it before sewing to fix it.

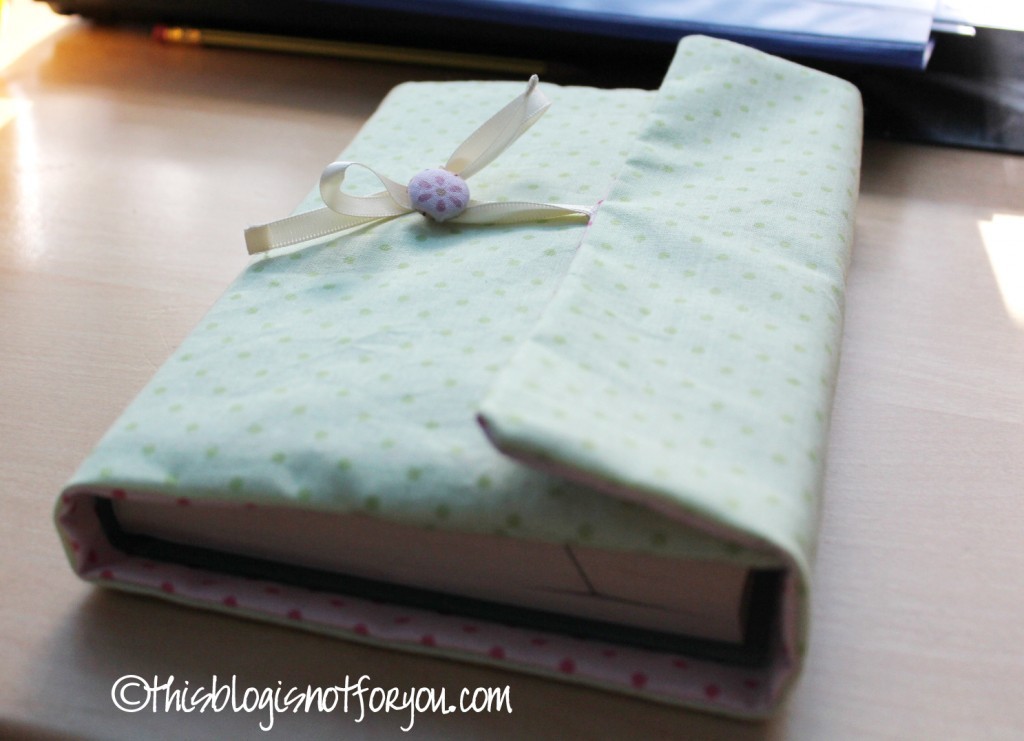
This is one idea of how to embellish simple fabric with fabric paint. This book cover was a gift for my best friend.

book cover tutorial


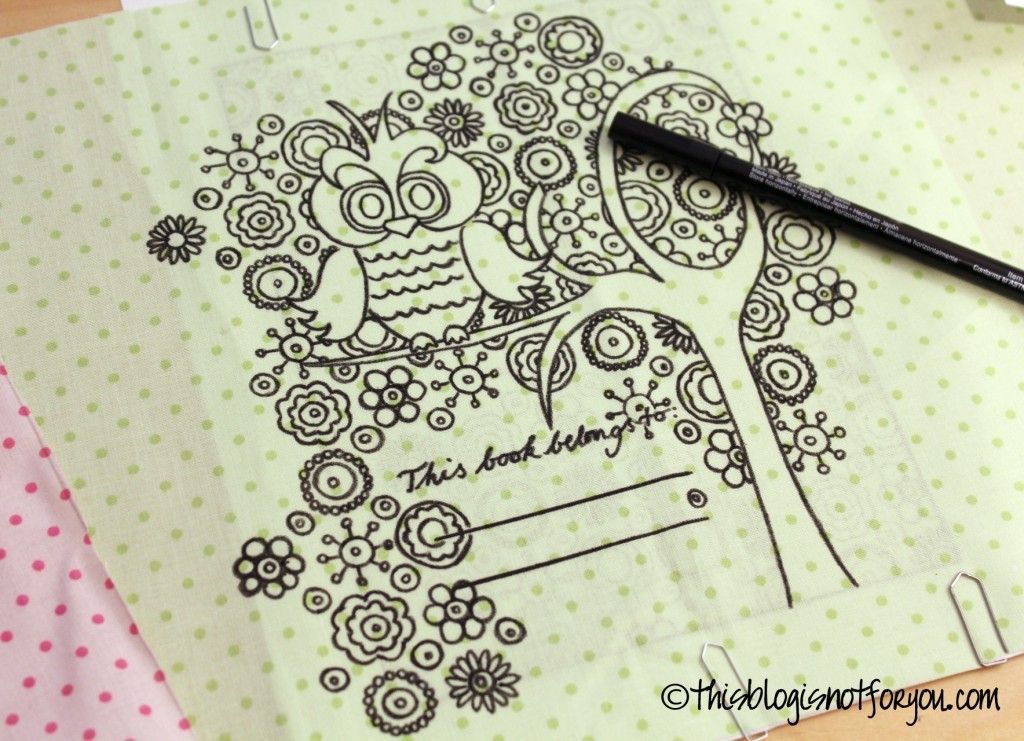
If the fabric is slightly see-through, you can just place a copy or print-out of want you want to draw underneath the fabric and trace it with a textile pen.
I found the picture with the owl here and slightly changed it.

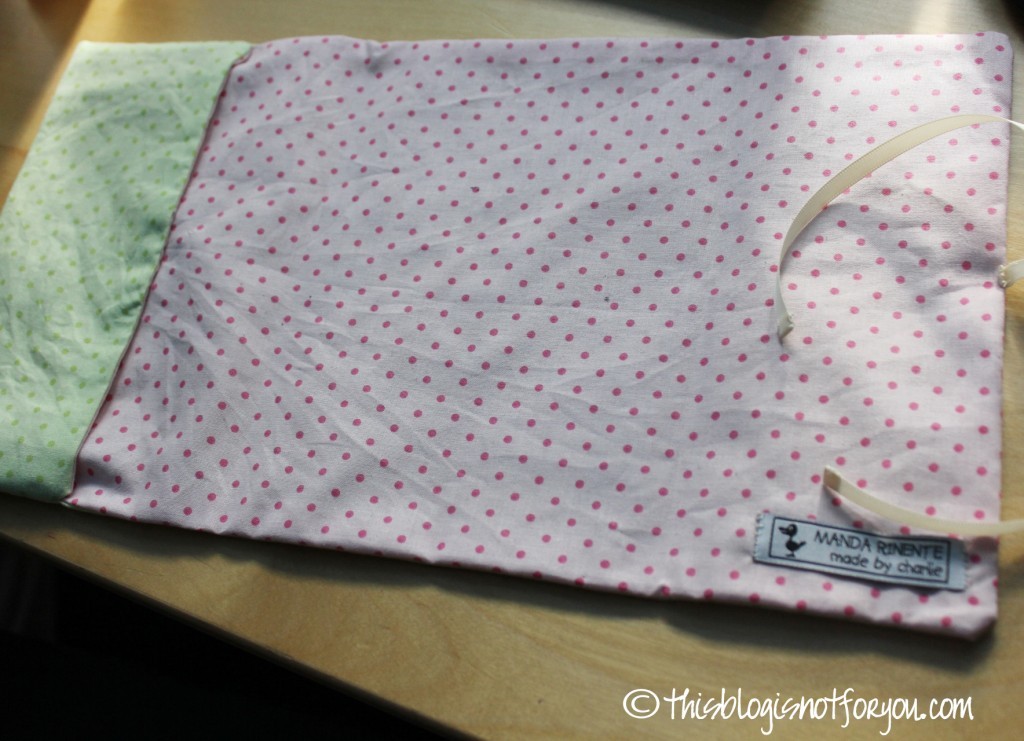
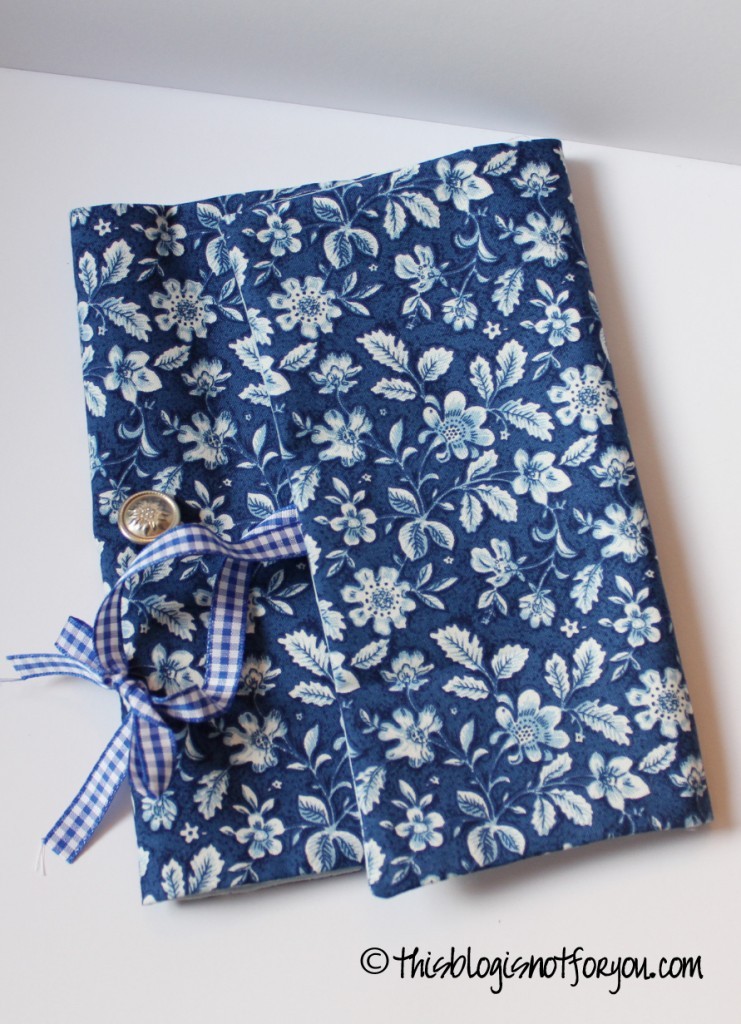
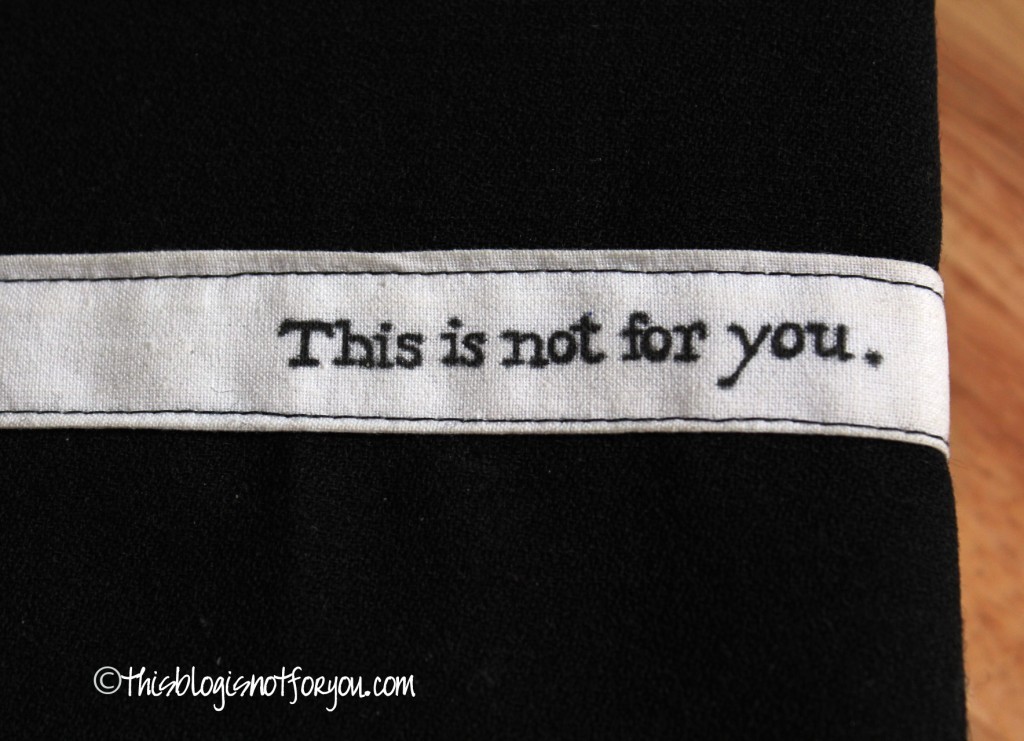
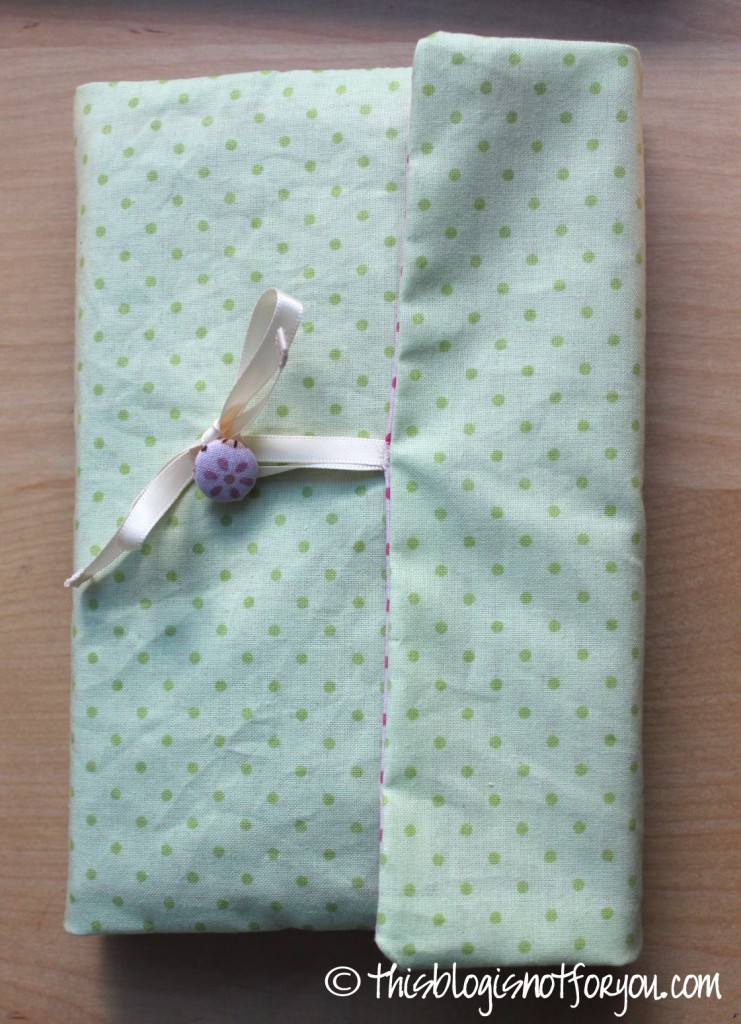
Before pinning and sewing everything together, it’s time to add any ribbon or labels.
book cover tutorial 13
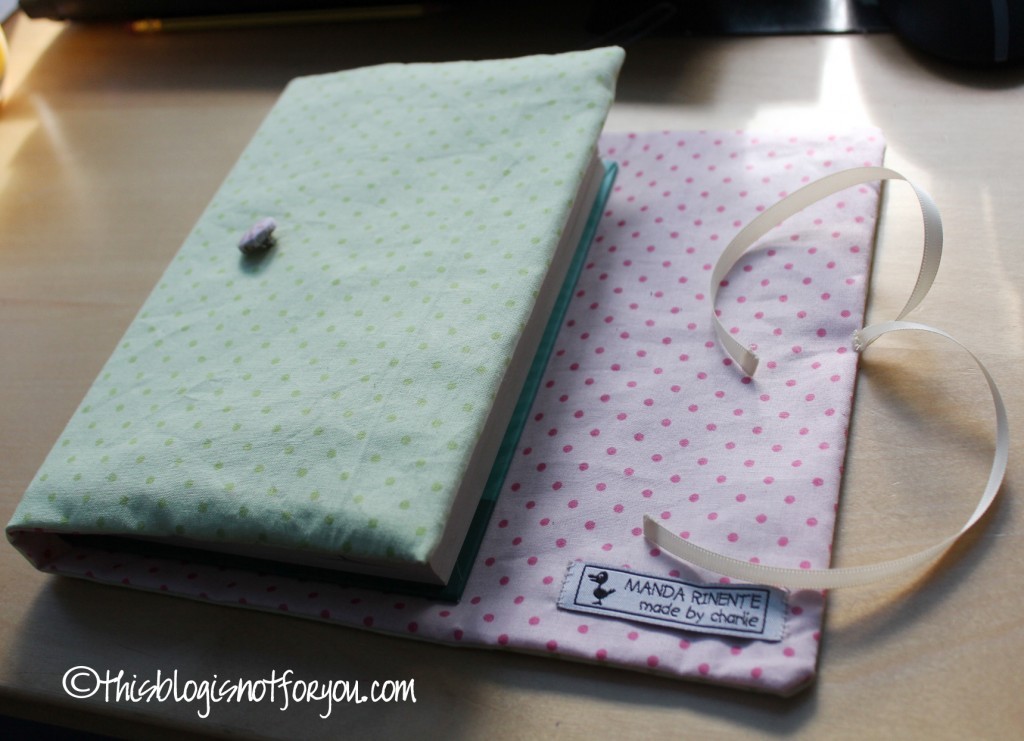
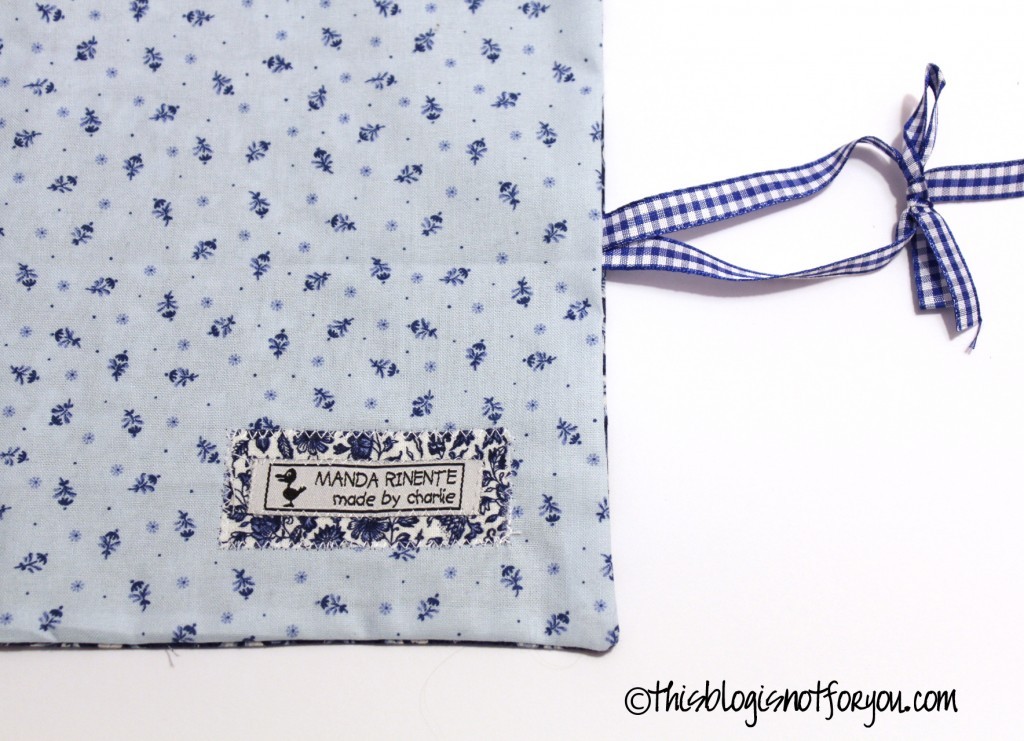
If you want to add ribbon as in the picture above, place it in between the two fabric pieces and pin the ends of the ribbon onto the seam allowance to fixate it before sewing.

The Sewing

Pin the two fabric pieces together, right sides facing each other. Then sew along the marked seam line.
Don’t sew them together completely, but leave a gap of about 5-6cm/2-3inch, since you have to turn the whole thing inside out.
For that pull out the fabric, grabbing the right side through the gap you have left in the seam. The part will be handstitched up later on. A ruler may help you to define the edges and corners.

book cover tutorial


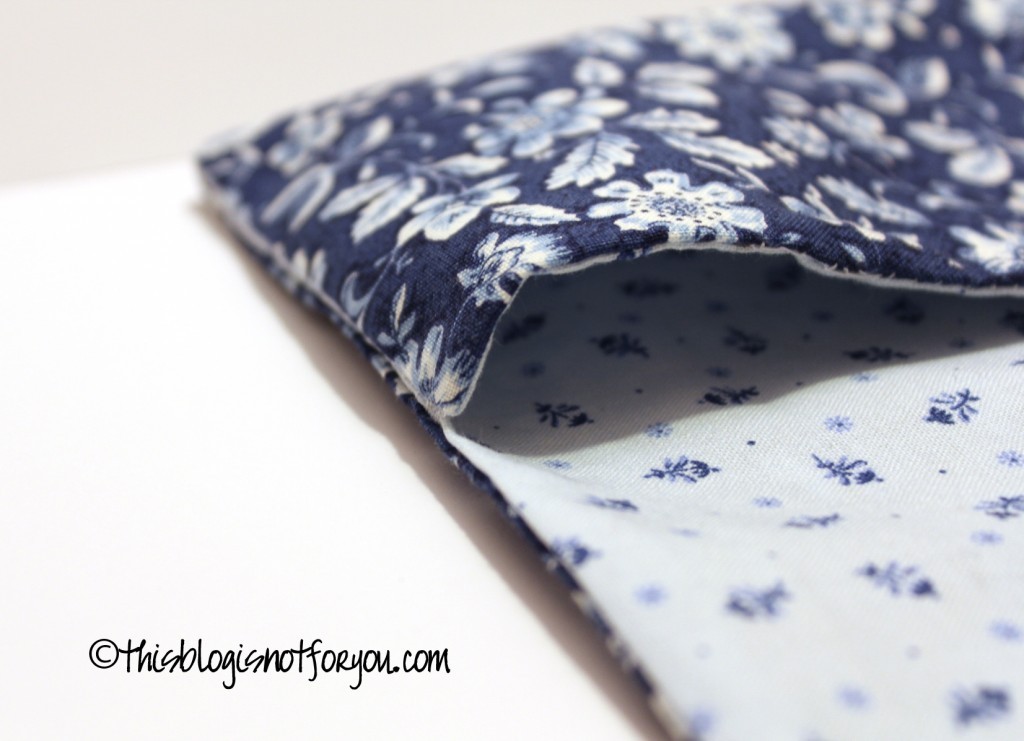
To get a flap like in the picture below, you need to turn your fabric right side up, so the lining is facing down.
book cover tutorial 5


Now fold one side of the fabric to create the flap. Make sure you’ve got the correct side, in case you embellished the outer fabric. You don’t want everything to be upside down in the end or the have the flap on the wrong side.book cover tutorial 3


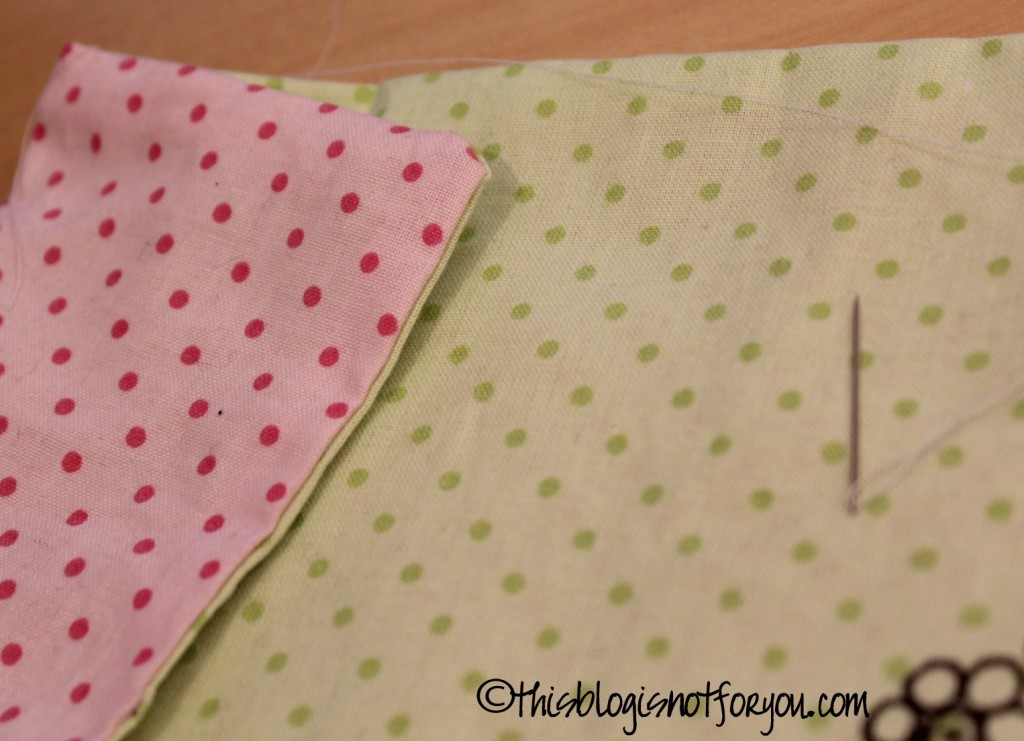
The seam of the flap will be handstitched.book cover tutorial 10

Pin the flap an shown in the picture above.
book cover tutorial 11
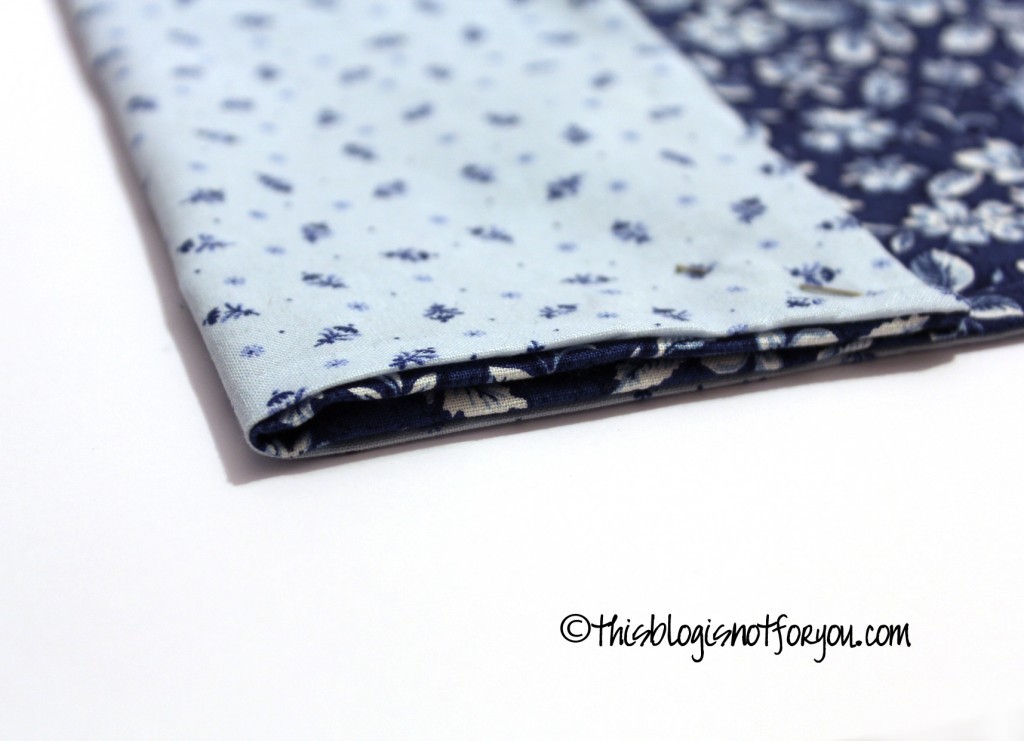
In the picture above, the darker blue fabric is the outer fabric. We will only be stitching together the edges of the lining!.
It looks nicer in the end and you don’t want the flap to sit too tight.

book cover tutorial


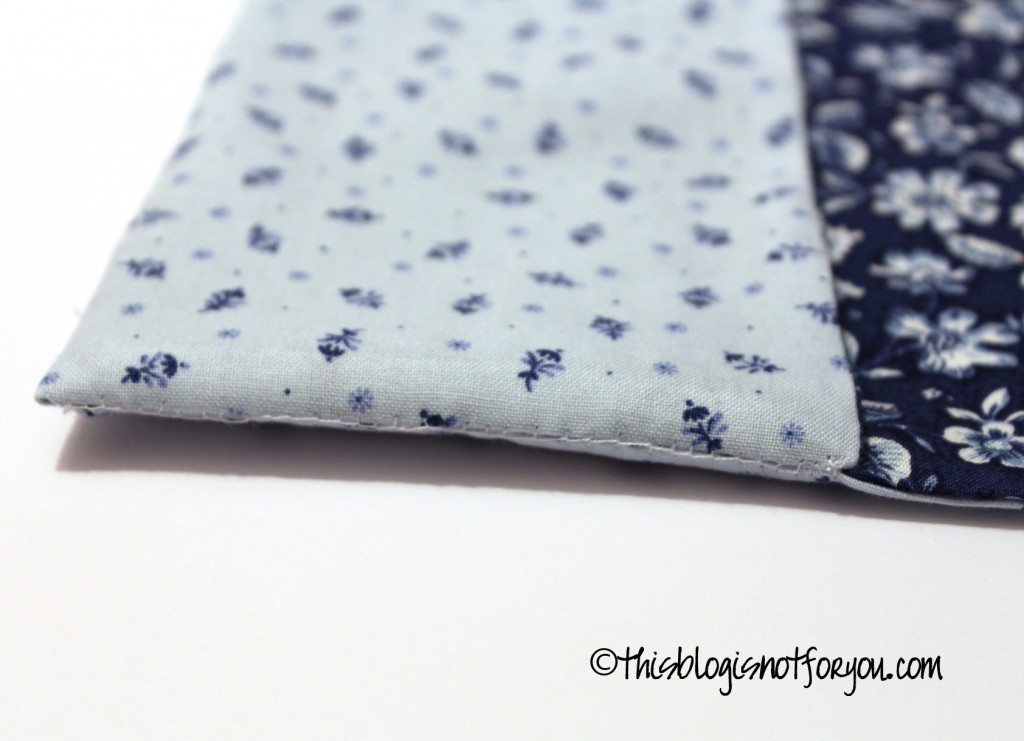
This is how it looks when everything is stitched up nicely. you can now turn it and it should look like this:book cover tutorial

book cover tutorial 15


Put your book inside and close the cover to marke the point where you want to put a button. Handstitch the button onto the cover and you’re done!

book jacket 2

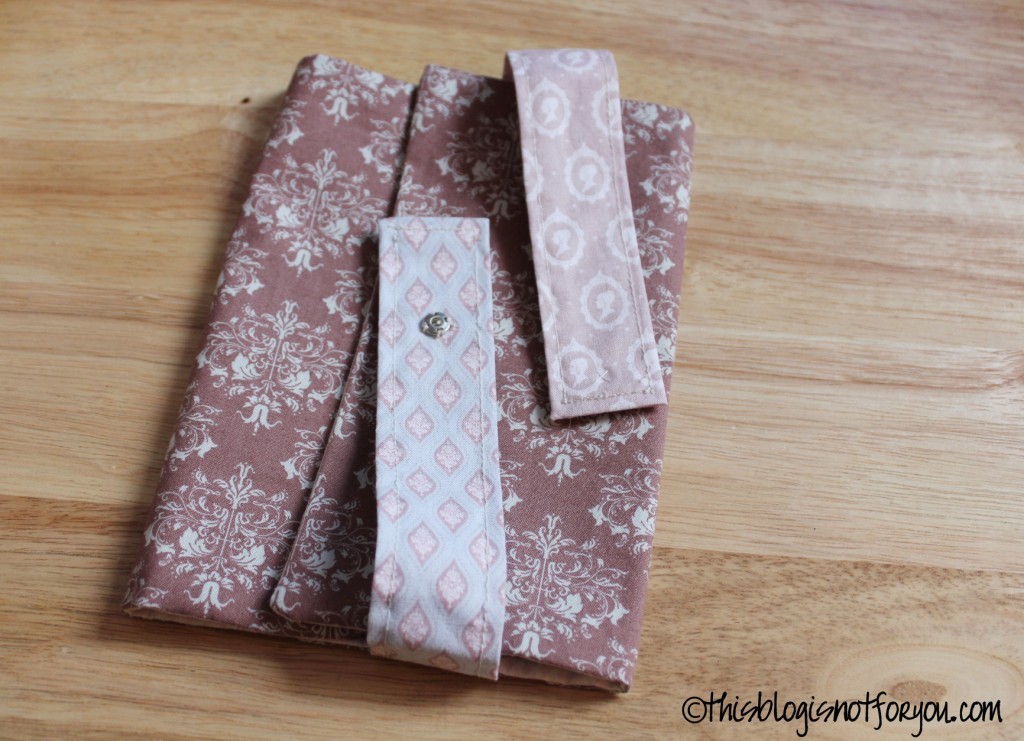
Here are some ideas/book cover I made lately:

book jacket 7book jacket 8

book jacket 9

book cover tutorial 8book cover tutorial 4

book jacket 6

I was featured at:

Blogging Basics – Part 1 {Get People to Look at You}

Hi! Thanks for stopping by and welcome to part 1 of my new Blogging Basics series!

Untitled-1

…you’re an absolute Blogging Newbie
…you just started blogging and you feel like you could need some helpful tips and tricks
…you have been blogging for a while but somehow feel like you might have missed out some vital steps
…you have been blogging for years but somehow you have trouble getting people to read your blog and subscribe

INTRODUCTION

 “Blogging tips – great!
Wait, what? Didn’t you just start blogging? What do YOU know anyway?”

I know.
There are millions of blogs that have existed for years now and probably know much much more than I do after blogging for half a year.
And there are probably hundreds that have already written about How to grow your blog, How to grow your traffic, How to this and How to that.

I started reading such Blogging Tipps when I started, but soon was completely swamped with all that information about Twitter, Pinterest, Search Engine Optimisation and so on. I hadn’t even decided on a layout yet! I missed the simple stuff. The “How to start”-stuff.

During the past six months I learnt a lot. But most lessons I learnt the hard way. And as soon as you get more traffic, the first subscribers and blogging becomes part of your every day routine, you begin to take everything for granted. Very soon you tend to forget how it all started, how you struggled in the beginning and that some months ago you were without the faintest idea of how to insert that stupid link.

Before I forget, I want to share the blogging basics I learnt in the past weeks and months. The things I found most helpful and wish I would have known from the start.

blogging basics part1

PART 1: GET PEOPLE TO LOOK AT YOU

What’s the point of blogging, when there’s no one to read your blog? Well, it’s not that there is no one. There are millions out there that could be potential readers of your blog, but they don’t know yet that you exist. That’s why you have to get people to look at your blog and to remember it.

#1 Have a good blog name.

Take your time to think about your blog name. Don’t necessarily use the first thing that comes to your mind. Was it just your first idea because you’ve seen something similar before? Or maybe there is a catchier version of your idea? Think about your name really hard!

Your blog name is important, because you will be stuck with it for a long long time.

Pick a name that says something about your blog’s content or is interesting and creative. Make it memorable!
Do you want to describe yourself or your blog? If your blog is a personal blog, pick a personal name.
For instance, some of my favorites are “Adventures in Dressmaking”, “A Matter of Style”, “Trash to Couture” or “A Fashionable Stitch”. These names include some information about the blog’s content and aren’t boring at all.

A Beautiful Mess” is less obvious, but it’s creative and the oxymoron (combining contradictory terms) makes it even more interesting.

Be inventive! When you have an idea, google it. Sometimes names are already taken. Don’t take a name that’s already out there. Don’t be “Trash to Couture #2”. This only leads to confusion and makes it look unimaginative, especially when you copy a name that belongs to a well-known and popular blog.

#2 Blog URL should match your blog name.

Your blog URL should match your blog name. This is important if you want people to find your blog. People are most likely to remember your blog name instead of your URL. If the two are the same, it’s easier to find your blog on Google, Bloglovin’, in bookmarks etc.

Therefore it’s worth getting your own server. Not only that you have so many more options to customize your layout, but a “Thisblogisnotforyou.com” is more memorable than “thisblogisnotforyou.wordpress.com”.

Which link is more likely to be followed? “suzy89.blogspot.com” or “sewing-suzy.com”?

#3 Have a memorable and easy-to-read URL.

Your blog name will be more memorable when it’s easier to read. If it consists of more than one word, it might be reasonable to use hyphens or underscores to break up a hard-to-read name/URL. There are some that work better with and some better without hyphens/underscores. “Abeautifulmess” or “Sewingsuzy” works fine without separating the words, whereas “suzysawesomesewingtips” would probably look better with hyphens.

However, using hyphens is usually discouraged, because it’s somewhat associated with spam website. And once people know your blog, and they type in your URL themselves then readability doesn’t matter any more anyway. So the hyphenated version is mostly useful if you want to advertise your blog by posting the URL somewhere. If you want, you could get both the hyphenated and the unhyphenated version and redirect the former to the latter. This way, you can give people the easily readable version if they don’t know your blog yet. And for anything else you can use the version without hyphens.

#4 Invest time in your “About” page.

Your “about”-page is the flagship of your blog and the place where you can tell people why spending time on your blog is a good thing. It doesn’t need to contain all personal data about you. Instead it should summarise what your blog is about and what its aim is.
You also should tell people a little bit about yourself. Why are you doing what you do? What is special about you and your blog?

The “about”-page is one of the most visited pages on every blog.
I didn’t really care about it for the first few weeks until I realized that more and more people clicked on it.

People rarely follow your blog because of a single post they liked. That might happen, but most of the time people want to know more about a blog before they decide to follow it. People are more likely to enter their email address if they know a little bit about you and your blog.

Make it look interesting. Include a picture of yourself. If you want to stay anonymous, take a picture of something related to your blog, draw something etc.

Be critical. Revisit your “about”-page every once in a while. If you don’t like it anymore, change it!

#5 Do some “research”.

Before you go on to make decisions about layout, content and social networking options – do some “research”. What blogs do you love and admire? Look at the blogs you love. Don’t copy, but study them!
What makes it so unique? What so special about it? What parts of it do you like, what do you find annoying? Get inspired!

Read Part 2 {Layout}
Read Part 3 {Content #1}
Read Part 4 {Content #2}
Read Part 5 {Invest your time wisely}
Read Part 6 {Grow your traffic}
Read Part 7 {Make your blog legal}

Liked it? Have feedback? Please do tell me!

And stay tuned…Part 2 of my Blogging Basics is coming up next week! In the next part I will share some helpful tips for your blog’s layout! x


Follow on Bloglovin

a blogger’s Christmas gifts!

I know, Christmas is now already four weeks ago! (Wow, time is going by so fast!) But I really want to share these lovely gifts I got – gifts that warm the heart of any crafter!

a blogger's xmas gifts3

I just started knitting  – and got a huge bunch of knitting and crocheting supplies.
And buttons. I love buttons!

a blogger's xmas gifts

I love my new cutting board! It’s also perfect for tracing patterns. I started reading the pattern fitting book and have to say, it’s really good. I totally recommend it. In the next weeks I’ll write a few reviews of the sewing and pattern making books I use!

a blogger's xmas gifts1

a blogger's xmas gifts2 marilyn monroe vinyl

 One of my favorites! I collect vinyls and I am a big Marilyn fan. The record is second hand and soo pretty. A collection of best of songs from Marilyn Monroe. Aww.

What hobby and craft items did you get for Christmas? What was your favorite?

Pinterest + other following options

The last few weeks have been crazy! ThisBlogIsNotForYou is getting more and more visitors every day.
That’s one of the reasons ThisBlogIsNotForYou finally joined Pinterest!

You will find a link to my page on the right side bar.
On Pinterest I’ll share all my tutorials and made by me‘s, project ideas and inspirations –  and it’s really easy for you to follow me, pin and share the stuff you like.

For the bloglovers, if you haven’t noticed yet – I’m also on Bloglovin‘ (love it and can only recommend it)! See the button on the side bar.

The third option is following ThisBlogIsNotForYou via RSS feed.

If you don’t have or want any extra accounts to follow my blog, the easiest way is to subscribe via email. This way you’ll receive the newest blog posts and never miss a new tutorial 😉

Whatever way you choose, there will be loads of new fun and inexpensive projects coming up you surely don’t want to miss!

Thanks for stopping by and leaving all the lovely comments!


Refasion It! The Embellished Sweater {DIY appliqué}

Last week I went bargain hunting for some easy weekend upcycling projects. (I wrote about it in my “When a Crafter goes Shopping” post and explained my “method” of selecting the clothes.)

Now it’s time to share my first finished project with you: the embellished sweater.
embellished sweater

embellished sweater


When I saw Trash to Couture’s post a few weeks ago, I wanted to try a knock-off project.
Unfortunately I didn’t have any nice appliqués, so I postponed the project.

But when I went shopping last week, lucky me found a nice top with a faux leather insert. When I saw it I immediately had to think of the Trash to Couture DIY sweater, so I bought it. I also found a matching anthracite-coloured sweater that was even cheaper than the top.

embellished sweater

embellished sweater

The faux leather insert wasn’t embroidered, which wasn’t that bad since I had the beads and everything to do it myself at home.

I have to admit, as easy as it was, you need to have patience. A. Lot. Of. Patience.
I am normally not very much blessed with patience, but after weeks of essay writing and other assignments it was a welcome change.

embellished sweater

I started with simply removing the faux leather from the rest of the top. The white fabric will be used for one of the next projects.

embellished sweater

After trying different combinations, I decided to use some dark blue, brown and champagne-coloured beads that matched the sweater as well as the gold-brown faux leather.

appliqué DIY

Appliqué DIYappliqué DIY

To explain the embroidering part: A picture is worth a thousand words. This is a copy of a page of Burda Magazine. I know, it’s German, but the pictures are pretty self-explanatory.burda embroidering instructions

I used the mannequin for pinning and basting the appliqué to the sweater.embellished sweater

embellished sweater

After basting I handstitched the appliqué onto the sweater. Then I cut the remainder of the sweater on the inside, leaving a small seam allowance, and finished the seam to keep the knitted fabric from fraying.embellished sweater

embellished sweater

I love how the sweater matches the petticoat I made a few months ago. Fortunately I still have some of the butterfly fabric left and will definitely make a pleated skirt out of it in the future.
embellished sweater

embellished sweater