Painted Shirt – London Souvenirs

Painted Shirt DIY by thisblogisnotforyou.com

Isn’t this little boy adorable? 🙂

Last weekend I showed my sister, who visited me in London, how to paint a jersey shirt. We had bought this one from Primark’s sale rack and it seemed to be missing something.

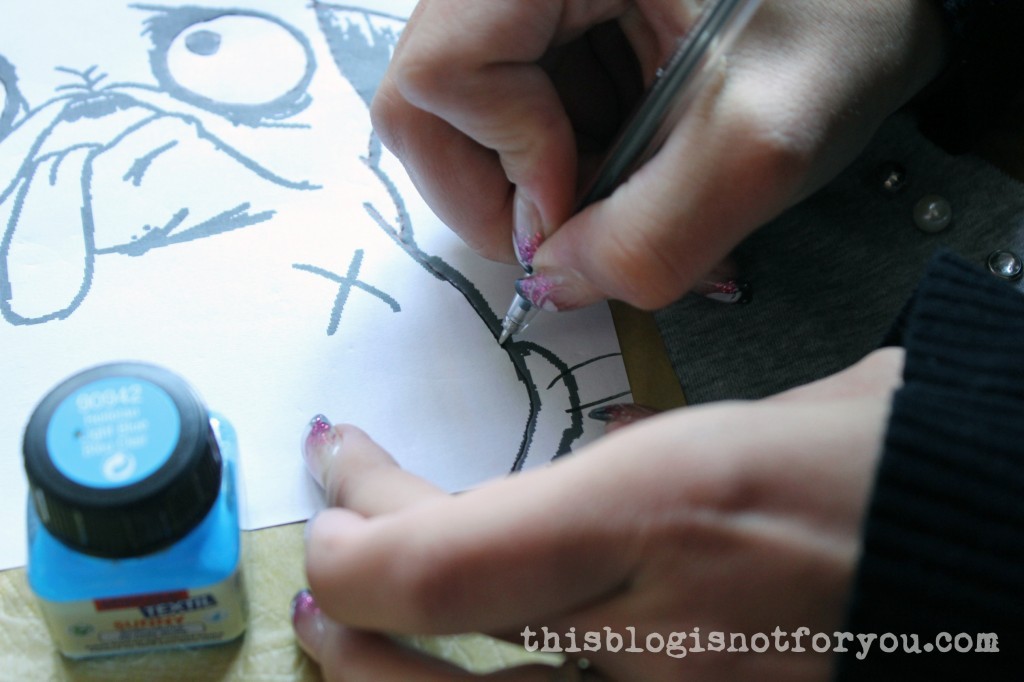
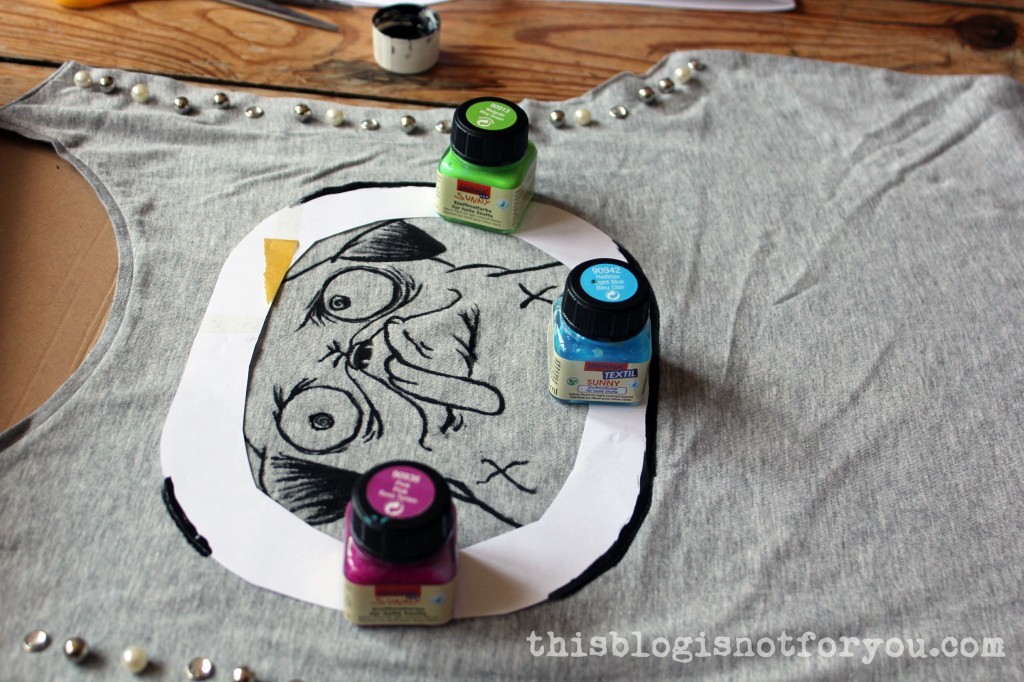
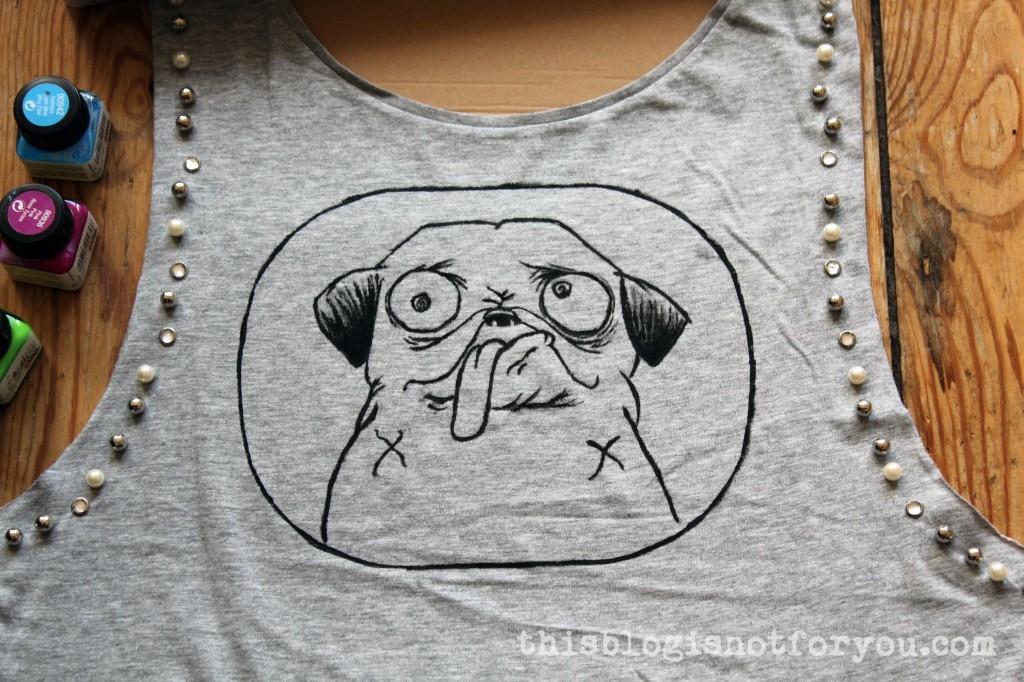
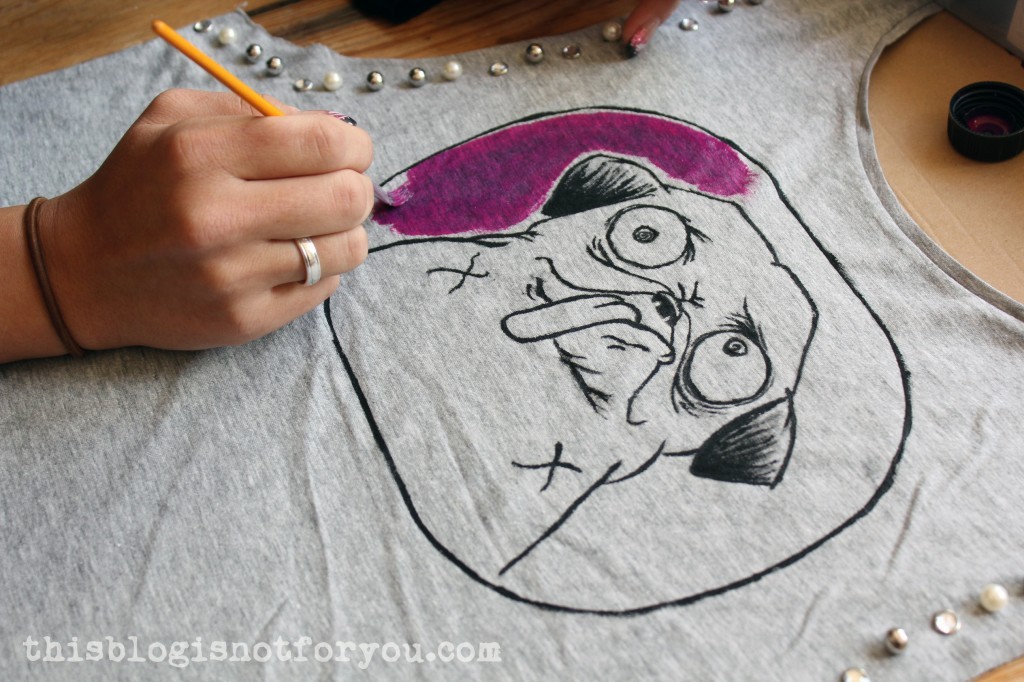
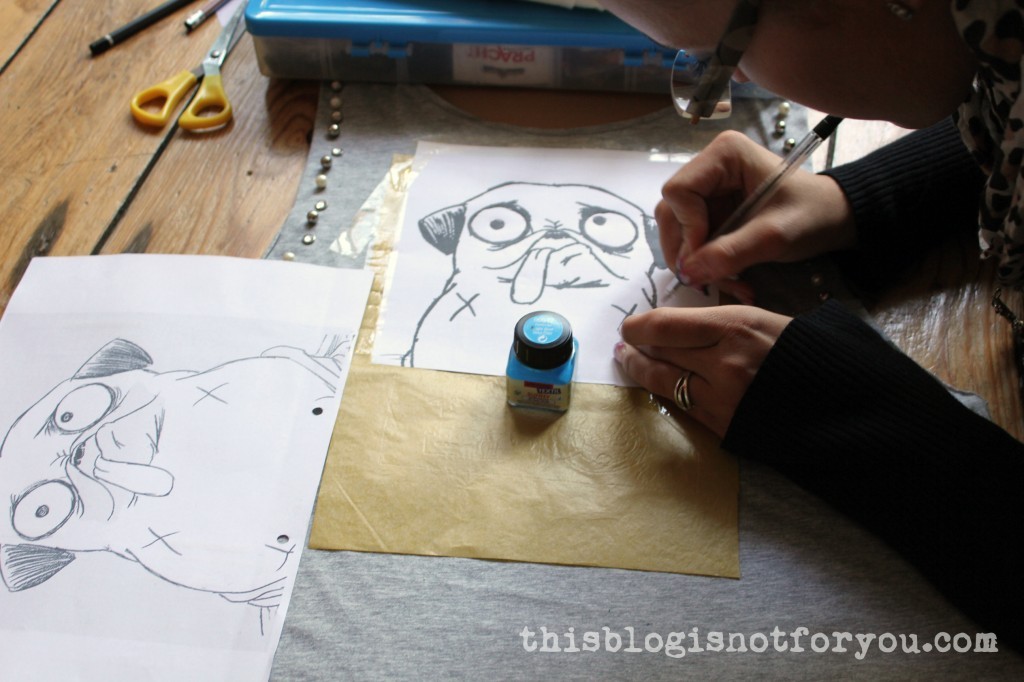
We found these adorable Puddin’ the Pug drawings by Jake Barlow online and my sis decided to print one out and use it for her shirt.

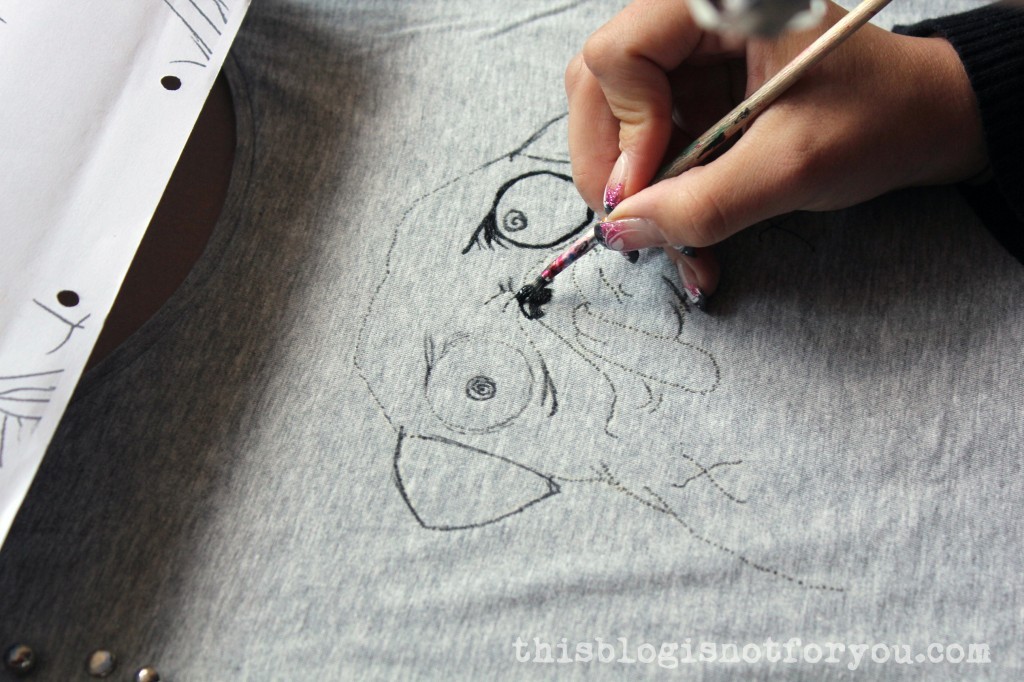
Painted Shirt DIY by thisblogisnotforyou.comWe used transfer paper to transfer the picture onto the shirt. This one leaves very pale yellow lines on the fabric you can easily paint over.Painted Shirt DIY by thisblogisnotforyou.comWe traced the yellow marking lines with a fabric marker and then used black fabric paint and a small paint brush.Painted Shirt DIY by thisblogisnotforyou.comPainted Shirt DIY by thisblogisnotforyou.comPainted Shirt DIY by thisblogisnotforyou.comPainted Shirt DIY by thisblogisnotforyou.comAfter painting we left it to dry and then ironed it, left side up.Painted Shirt DIY by thisblogisnotforyou.com

The picture quality isn’t the best, because we finished late at night. 😀

By the way, my sister’s visit has been the reason why it has been so quiet around here. I’m working on several projects at the moment – so keep your eyes peeled!

What have you been up to lately?

facebook/bloglovin/pinterest
Stay in touch!


Inspiration wall DIY

Inspiration Wall DIY by thisblogisnotforyou.comHi everyone!

I wanted to share something with you I made without using my sewing machine!

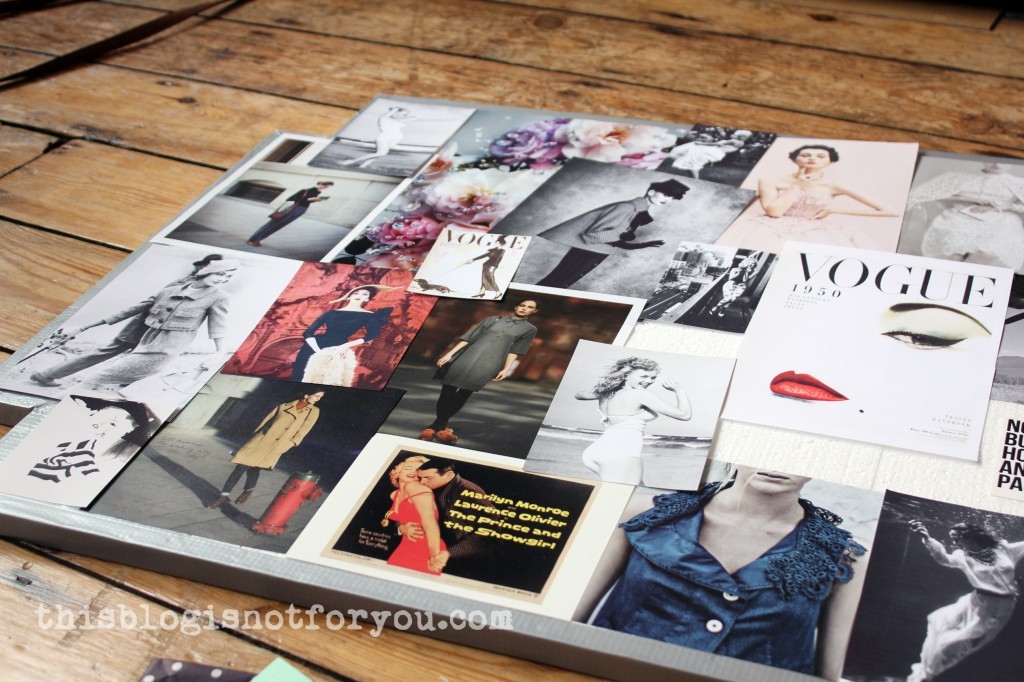
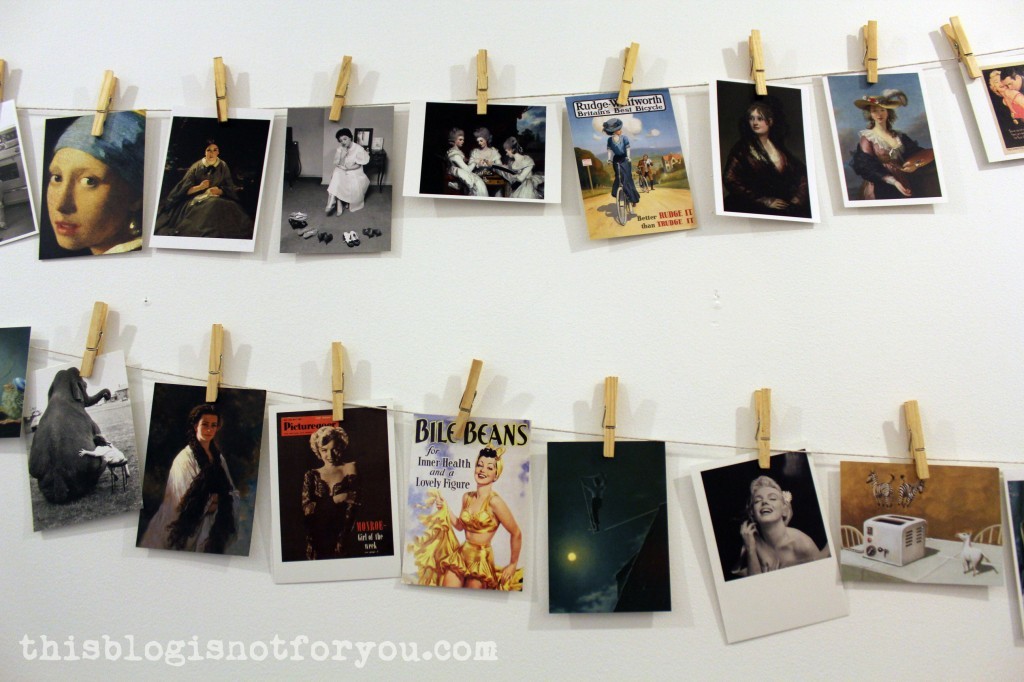
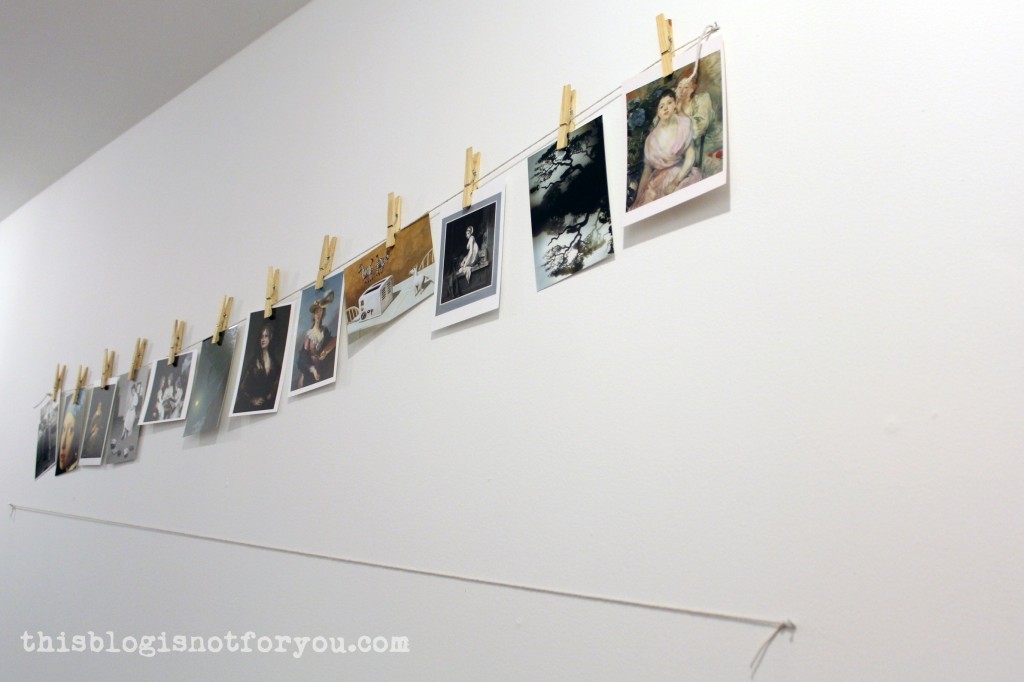
I love inspiring pictures and photographs and also keep collecting postcards from museum gift shops. I wanted to hang these up on the wall without having to make too many holes in the wall.

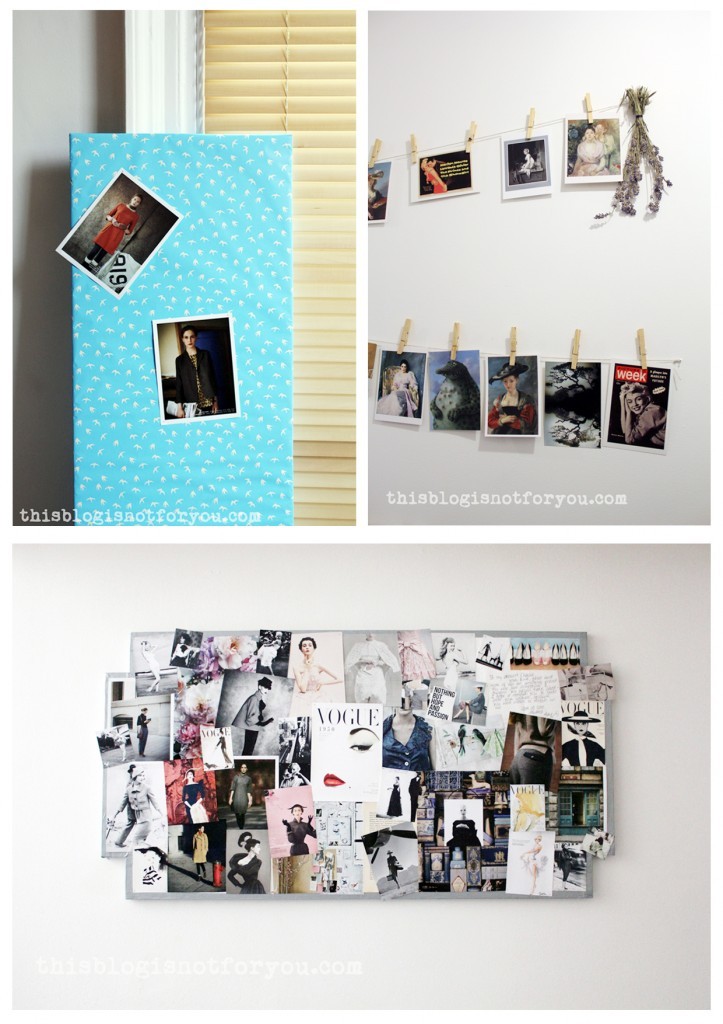
Here are three super easy and fun ways to decorate your walls with your inspiration or pictures.

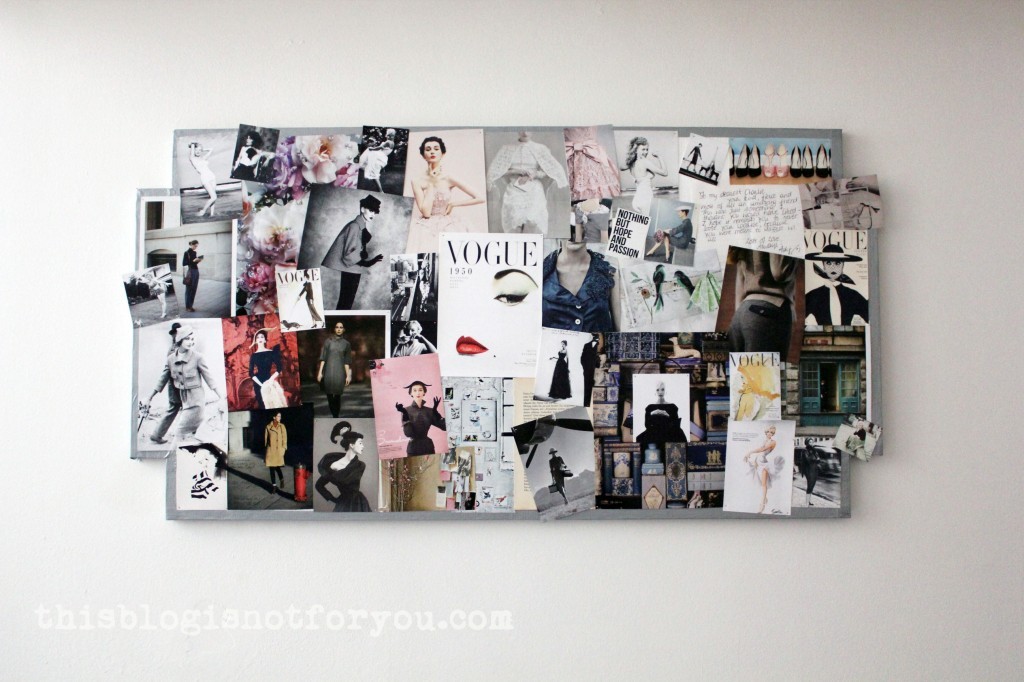
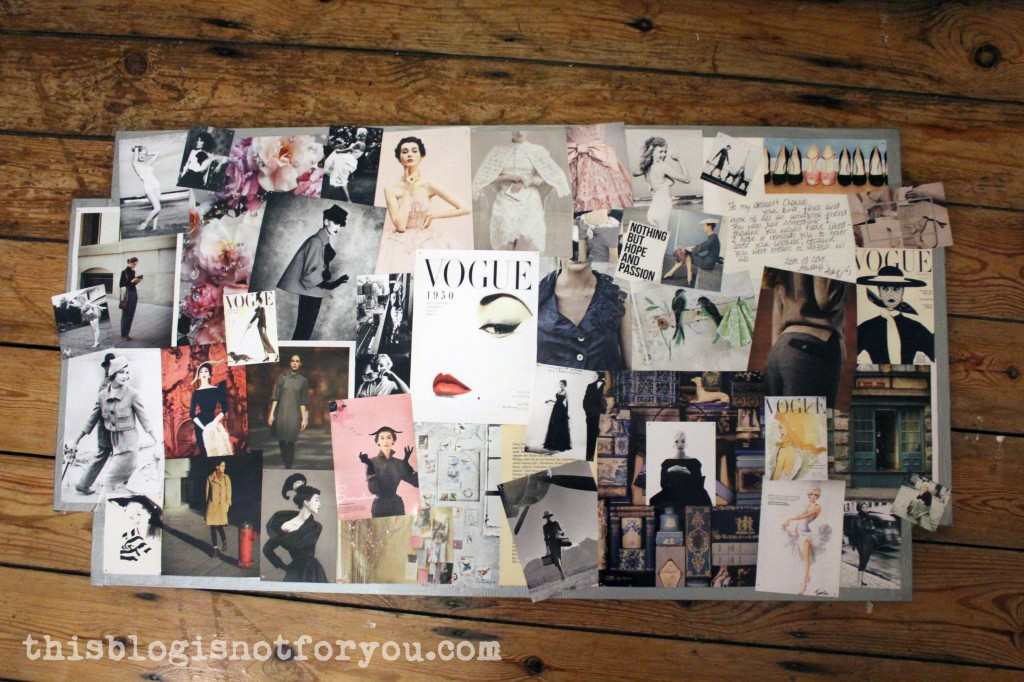
Polystyrene Pinboard:inspiration wall DIY by thisblogisnotforyou.com


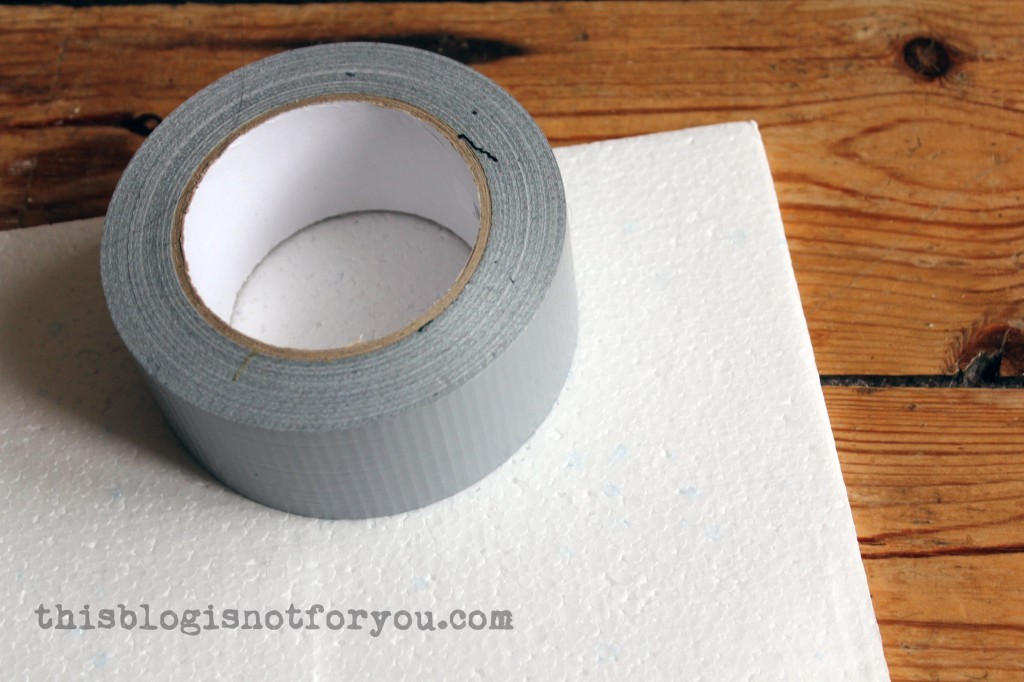
I made this useing polystyrene sheets (these were left from the packaging material of our IKEA wardrobe) and duct tape.

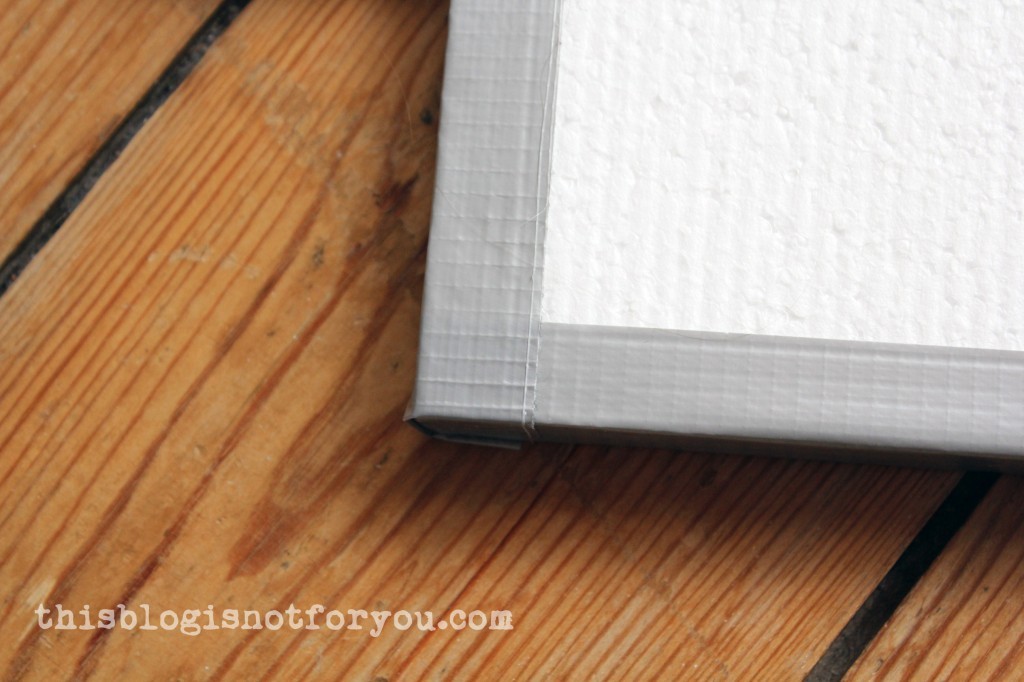
inspiration wall DIY by thisblogisnotforyou.cominspiration wall DIY by thisblogisnotforyou.com


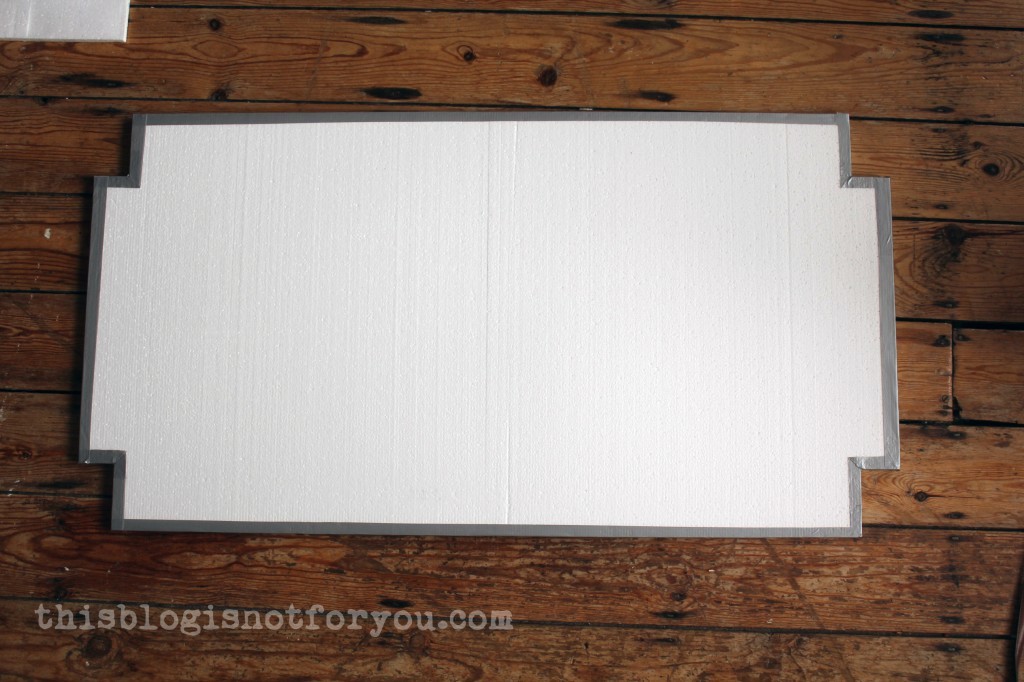
I covered the edges with duct tape to make them look more finished.

inspiration wall DIY by thisblogisnotforyou.com

inspiration wall DIY by thisblogisnotforyou.com

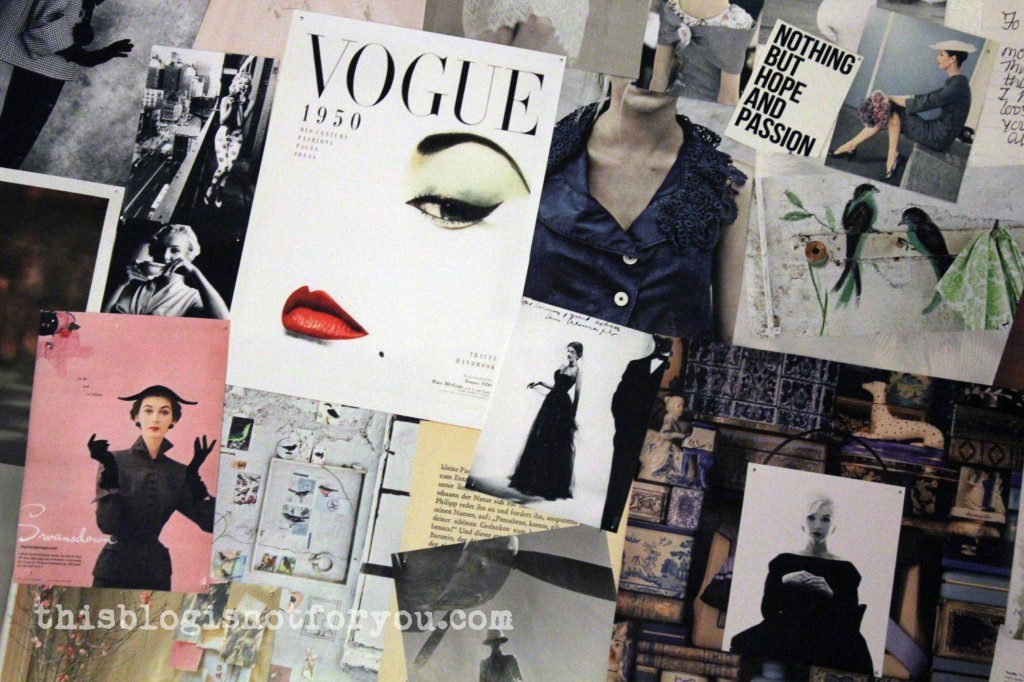
Now the fun part! After printing out all my favourite pics onto photo paper, I started arranging them which took quite a lot of time.

inspiration wall DIY by thisblogisnotforyou.com

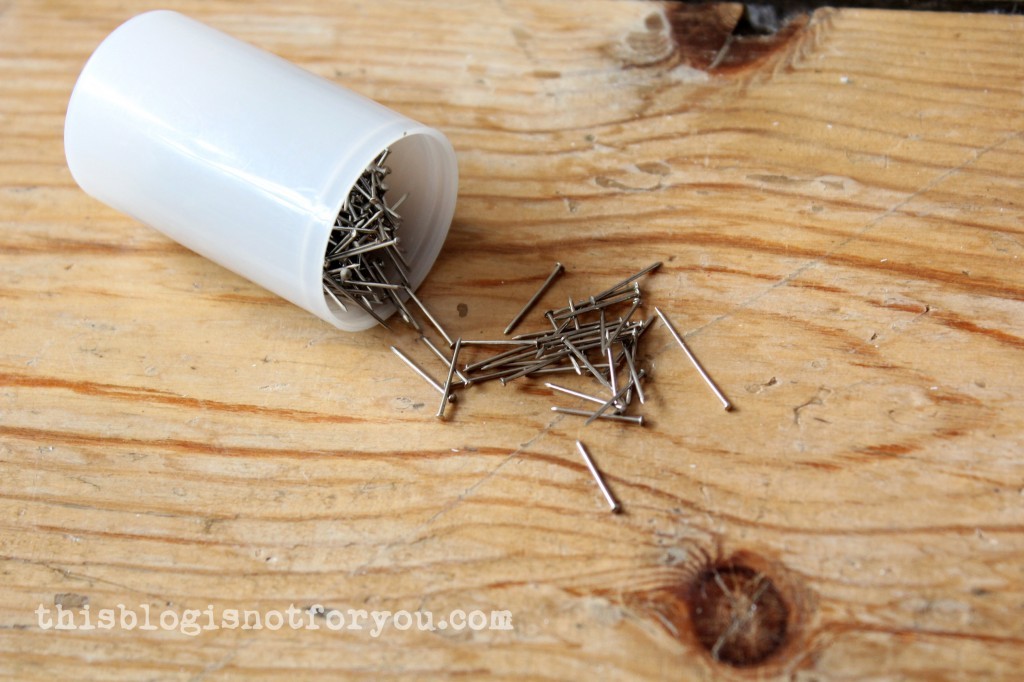
I used these short pins to pin everything in place.inspiration wall DIY by thisblogisnotforyou.cominspiration wall DIY by thisblogisnotforyou.com


Cardboard & Wrapping Paper

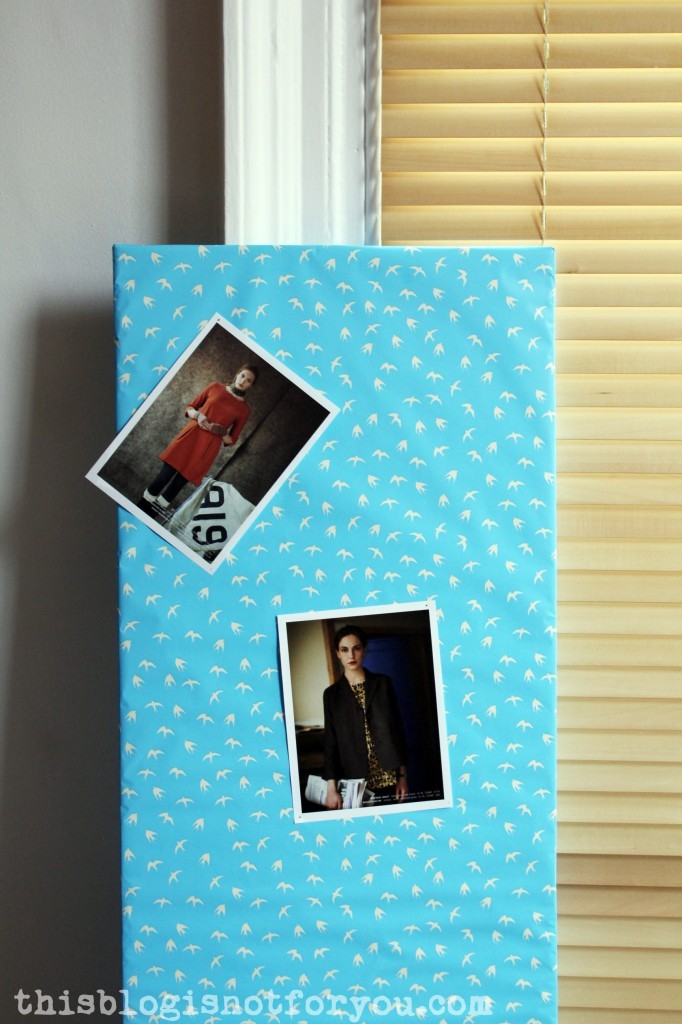
inspiration wall DIY by thisblogisnotforyou.com

This one is even easier if you want to avoid the hours of arranging and pinning.

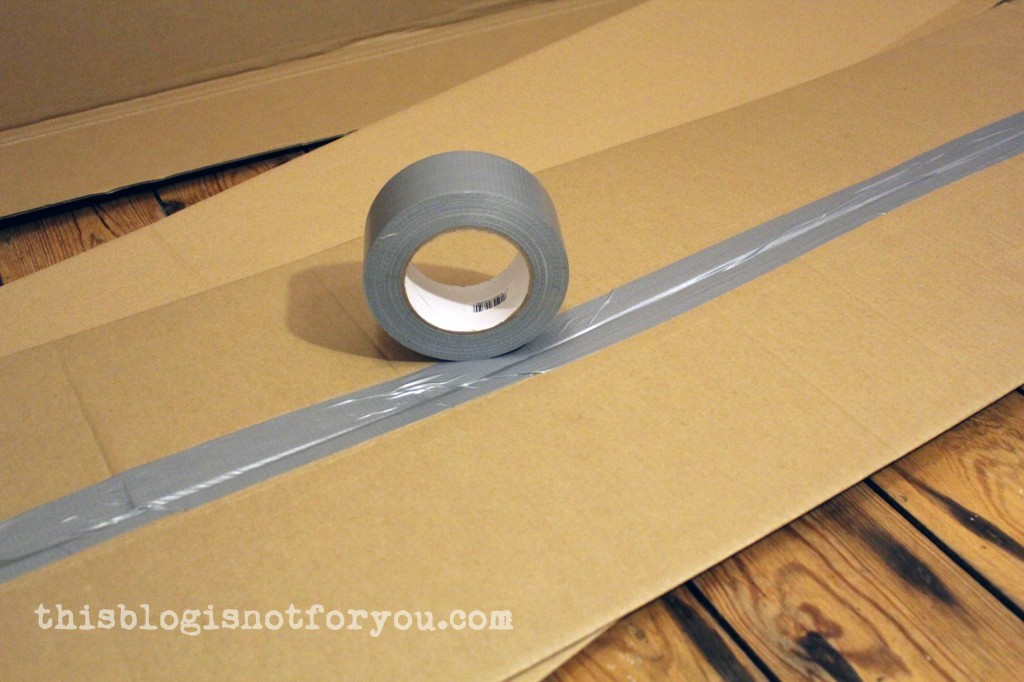
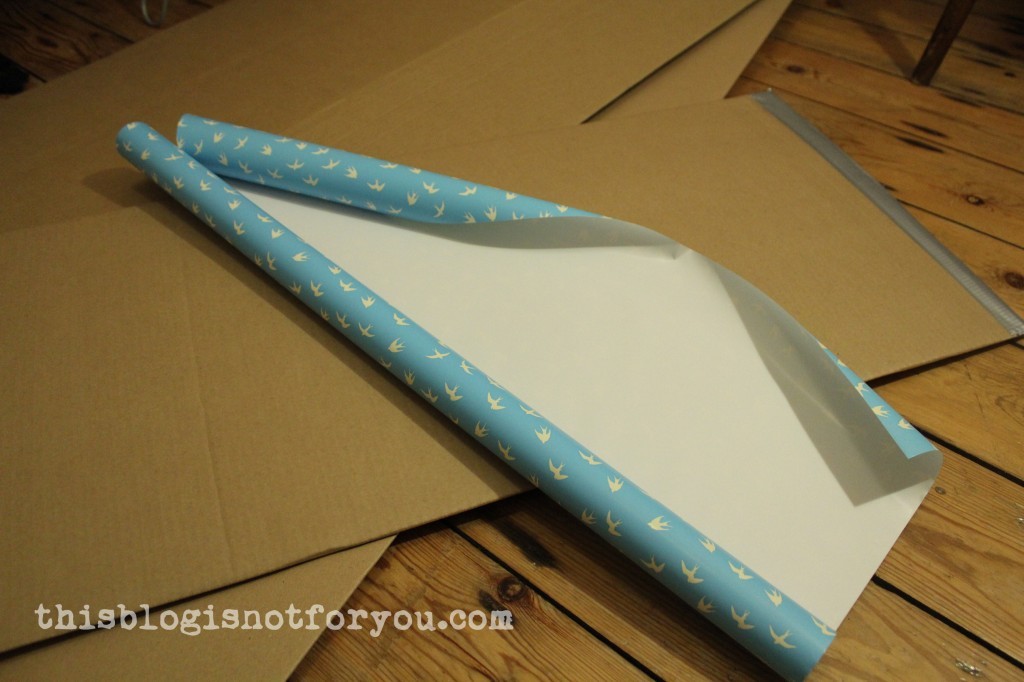
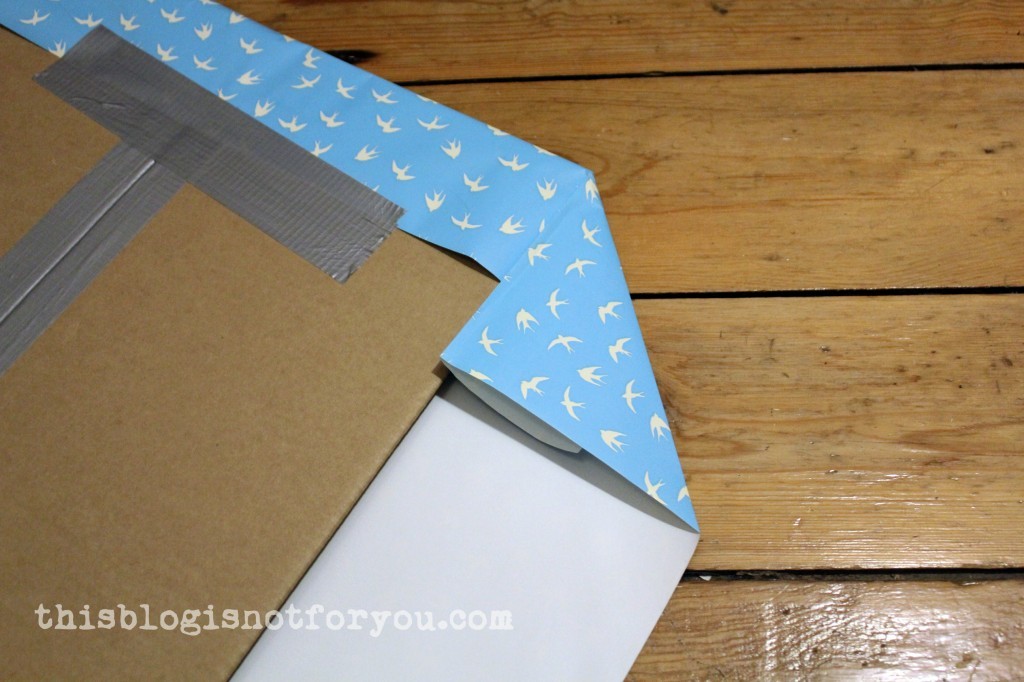
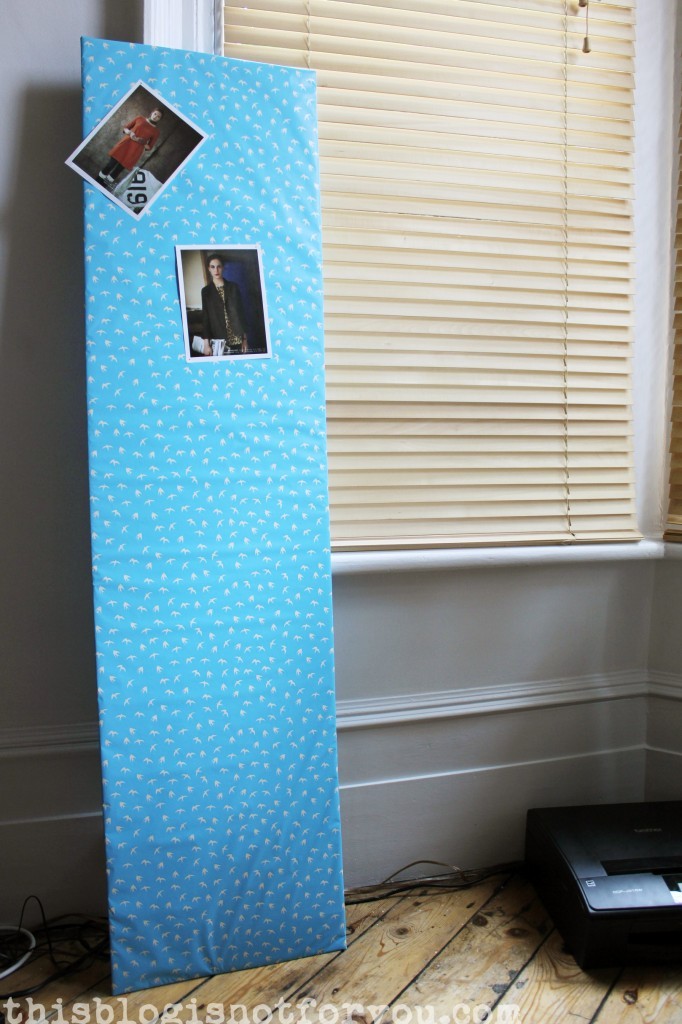
inspiration wall DIY by thisblogisnotforyou.comWith this one I used some cardboard (also left from our IKEA shopping trip), duct tape and wrapping paper.
inspiration wall DIY by thisblogisnotforyou.com

I taped the cardboard together at the back, so there are two layers, which makes pinning easier.inspiration wall DIY by thisblogisnotforyou.com

I got this cute swallows wrapping paper for just 1 pound at Primark.inspiration wall DIY by thisblogisnotforyou.com

inspiration wall DIY by thisblogisnotforyou.com

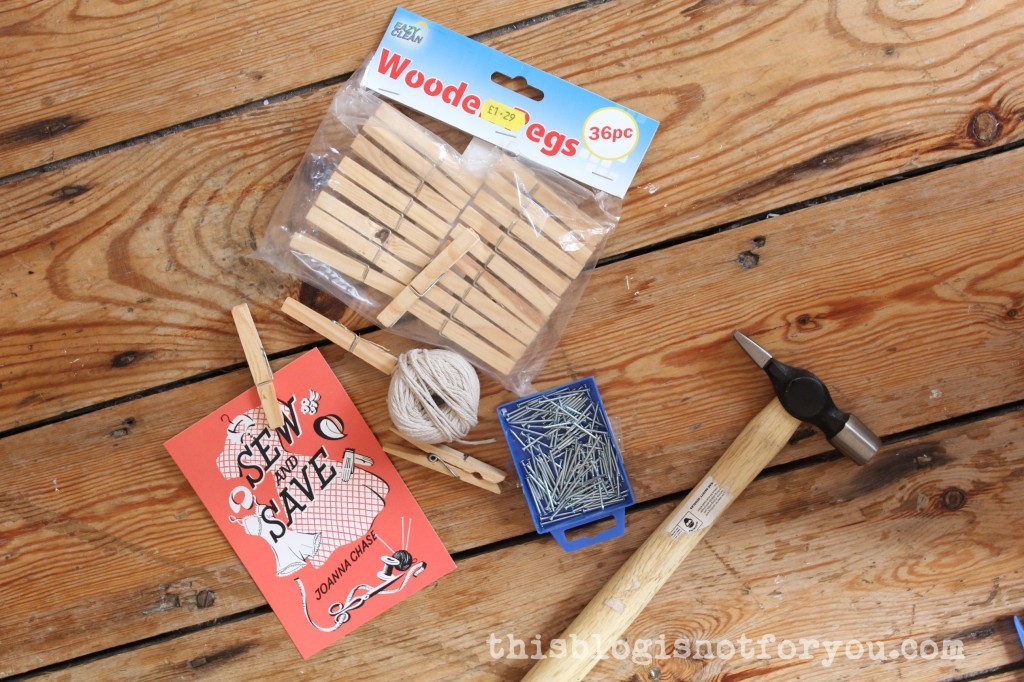
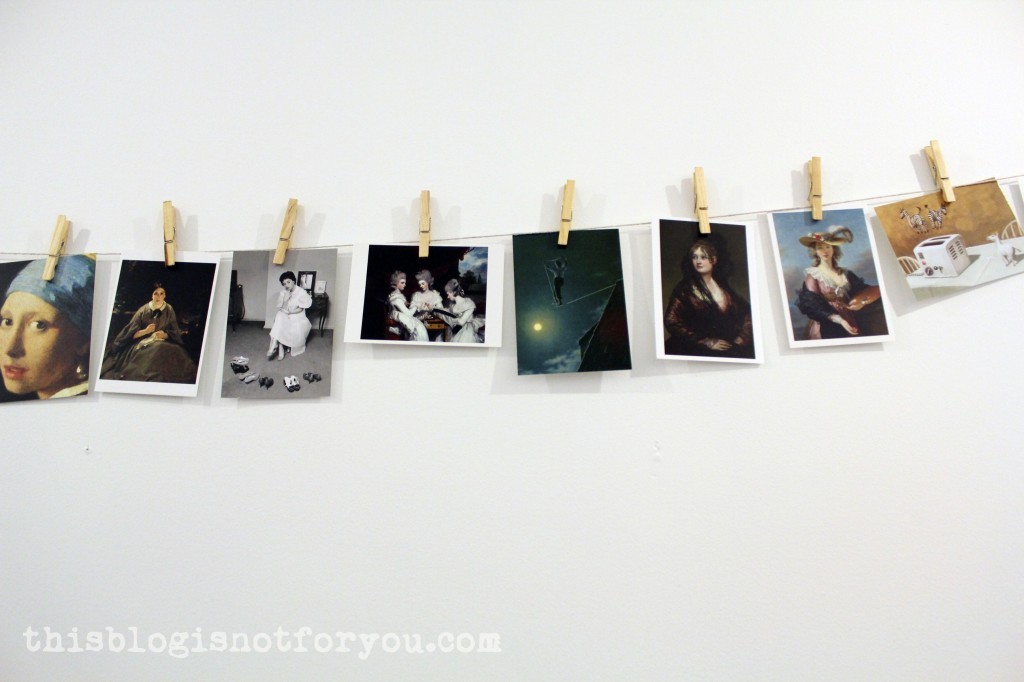
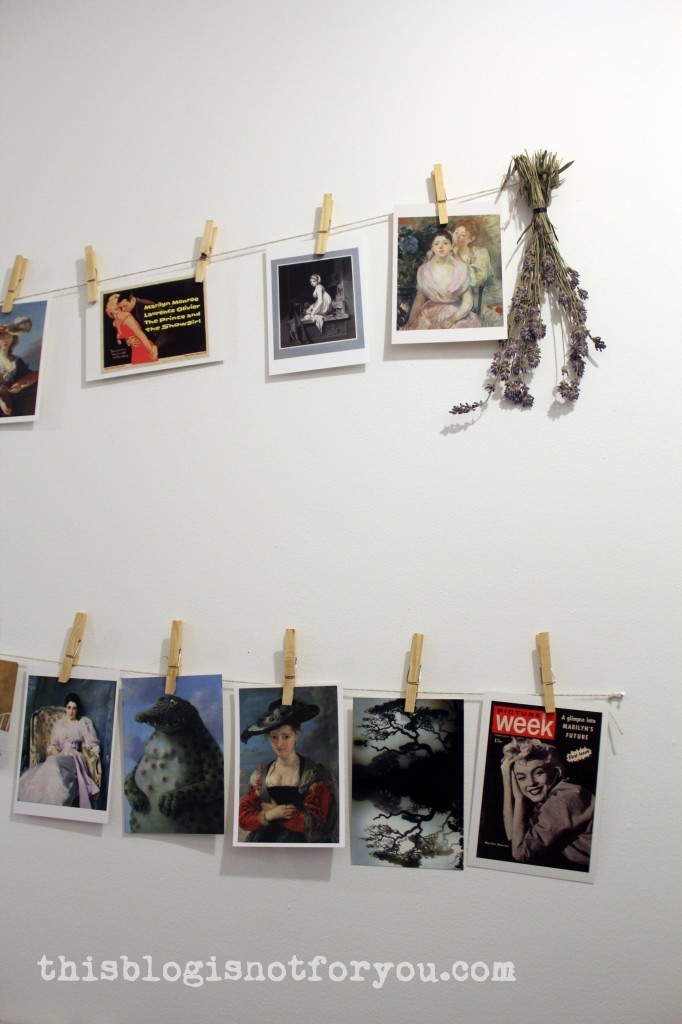
String & Pegs

inspiration wall DIY by thisblogisnotforyou.cominspiration wall DIY by thisblogisnotforyou.cominspiration wall DIY by thisblogisnotforyou.comI hung up only one row at first to see where it would hang, before starting with the second row.
inspiration wall DIY by thisblogisnotforyou.com

inspiration wall DIY by thisblogisnotforyou.cominspiration wall DIY by thisblogisnotforyou.com

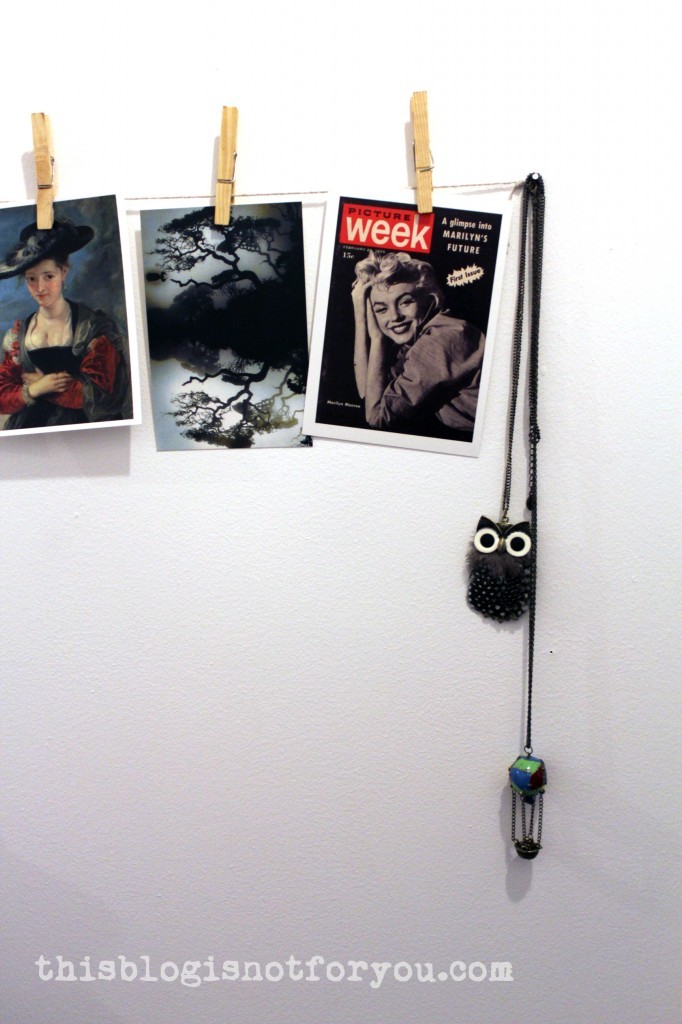
You can either hide the nails like I did with the dried lavender or use them for hanging up jewelry.

I had a lot of fun doing these projects, but now it’s time to go back to sewing 😉

facebook/bloglovin/pinterest
Stay in touch!

Oh lala, my dress form got bigger!

altering a dressform by thisblogisnotforyou.com

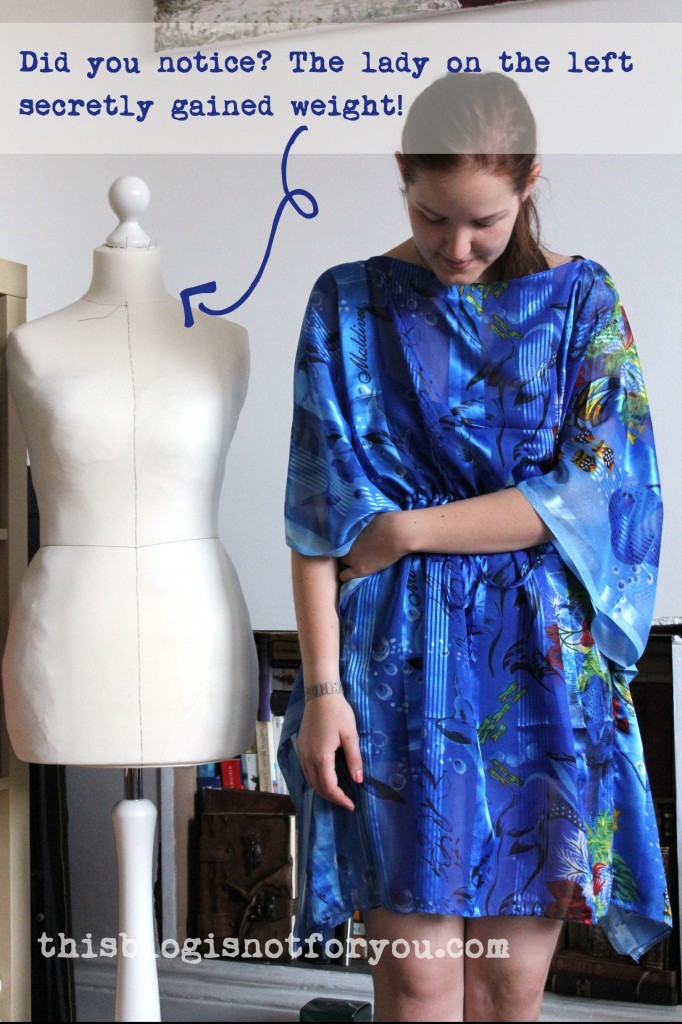
You probably haven’t noticed as you hopefully focus your attention on the dresses I make and not the dummy wearing them, but my dress form is now a curvier lady.

Actually, she’s got my curves as I customised my former dummy by padding her out, giving her exactly my measurements.
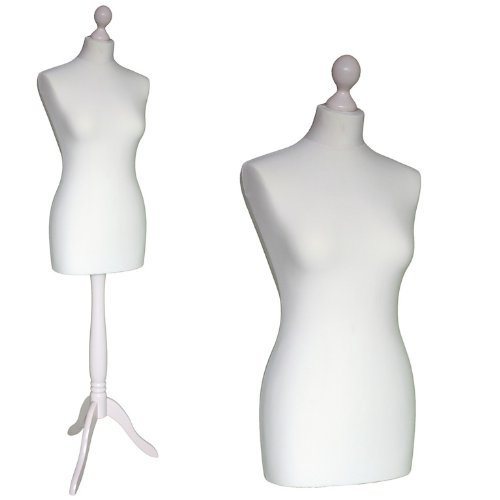
I don’t really have any ‘before’ pictures of her, since I normally photograph her wearing more or less pretty dresses, but I found a picture on Amazon (where I bought her April last year):

dress form size 34/36 (UK 8-10)

38 Euro  really isn’t much for a dress form and I can only recommend this one if you are approximately the size of the dress form (they sell them in different sizes). Mine is a 34/36 (UK 8/10) which is the closest to my size. However, I couldn’t really drape on the stand as she is much smaller around the hips and has a different shape. These dummys are often quite “round”, whereas a normal body (well, at least mine) is wider but also flatter at the same time. So even when the circumference measurements are the same, you might end up with a dress that doesn’t fit well (ask me how I know this!)

As many other lovely ladies out there, I’m of the pear-shaped kind and they don’t sell dress forms like that. I would probably need a size 34/36 bust and size 40 hip dress form. Luckily, I was smart enough to buy a dress form that was slightly smaller than I am, so I could alter her shape by adding wadding, pillow stuffing and muslin pieces. I sewed them onto the styrofoam with a curved upholstery needle.

Bad blogger I am I forgot to take pictures of the process. (Oh no!)  But here’s a link to a post from another blogger who basically did almost the same thing (in a more professional way hehe): Customising a tailor’s dummy

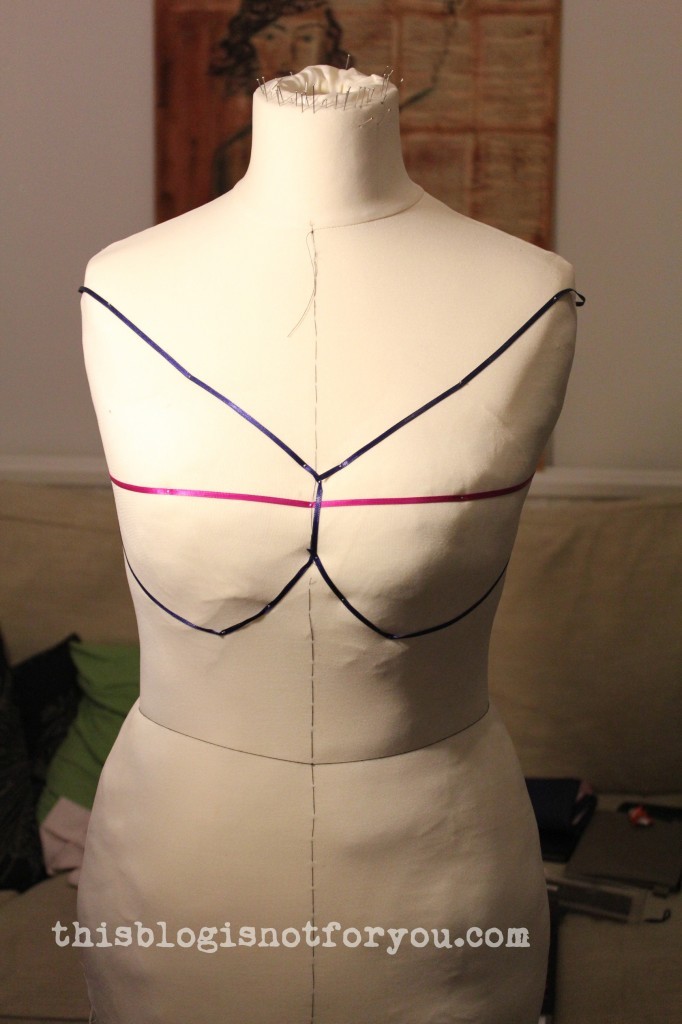
Here she is, pretty much looking like me 🙂
altering a dressform by thisblogisnotforyou.comDon’t look too close – she’s got a few bumps here and there, especially on her unmentionables, but I love her anyway.

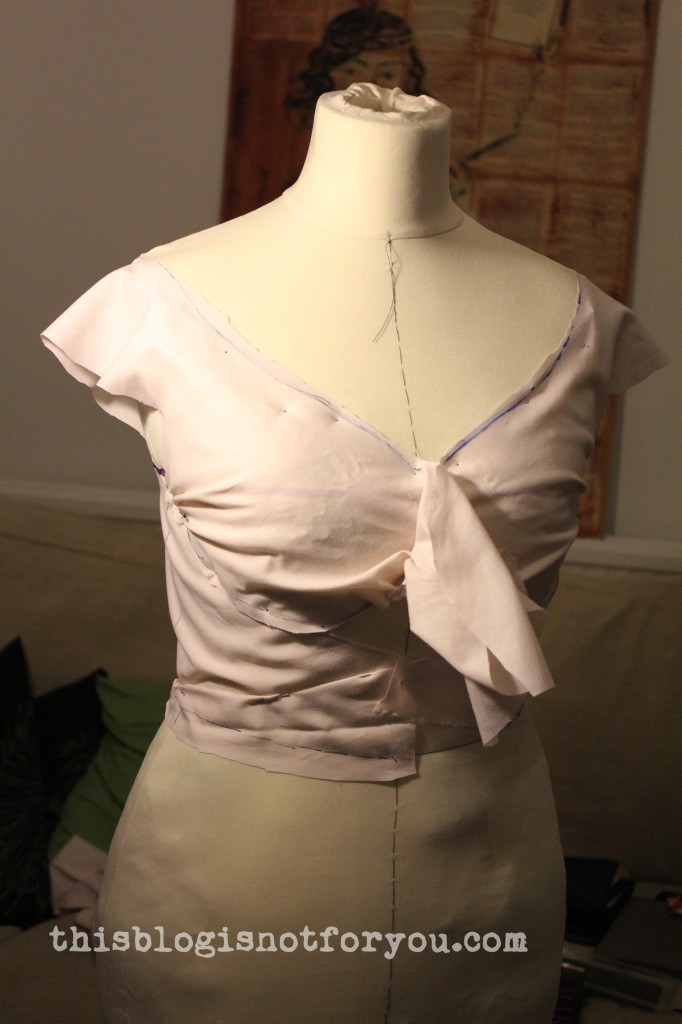
Draping and making muslins is sooo much more fun now – the first muslin I draped on her fits like a glove. The blue ribbon I used as markings for my recent project (which is still top-secret). Here’s a glance – don’t even try to figure out what it’s gonna be!

altering a dressform by thisblogisnotforyou.comIf you don’t have a dress form and want a dummy which represents your size, there are different options for making one yourself.

Tilly from Tilly and the Buttons has posted about her paper maché dummy here.
This is one of the easiest ways of making a dummy. There are also much more complicated options out there.

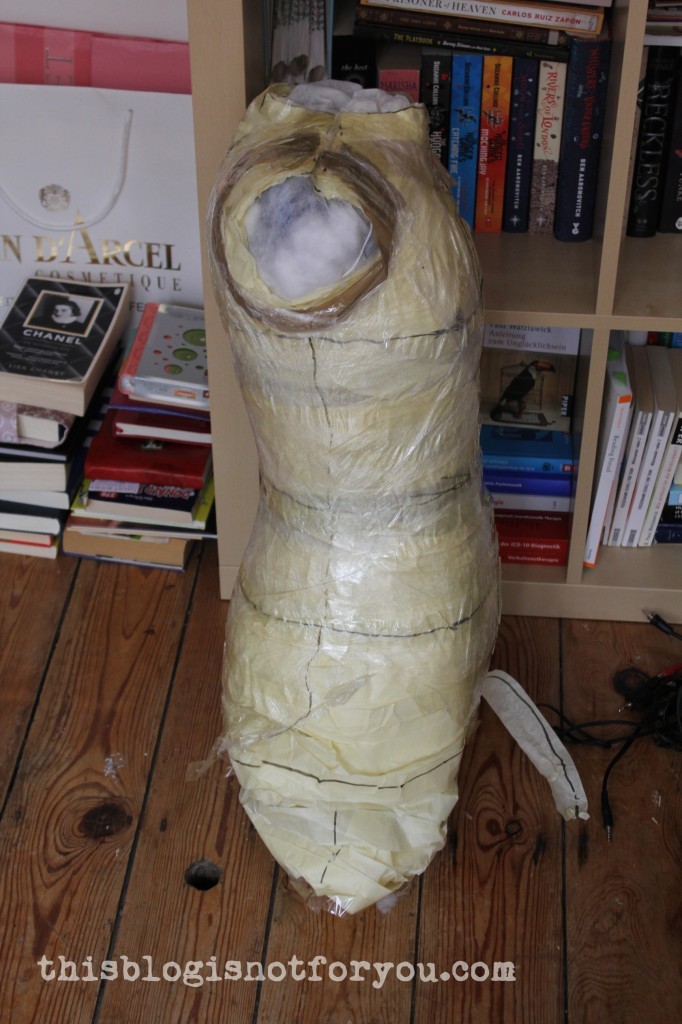
I tried the Tilly version just before I decided to alter my already existing dress form. Why I didn’t post about it? This is why:

making a dressform by thisblogisnotforyou.commaking a dressform by thisblogisnotforyou

This may look like a distorted version of a clone of me in a parallel universe but it’s totally unusable. I bet our neighbours almost got a heart attack when finding this headless mummy in the dustbin.

Problem with the paper tape/paper maché option:

  • If you don’t use enough tape, the whole thing will loose it’s shape when cut off your body.
  • If you use enough tape, this thing will be a lot bigger than you actually are (ask me how I know this).
  • Try not to tie up your unmentionables with the tape, otherwise your dummy end up looking like mine. Hooray!
  • And: I almost fainted since I couldn’t really breathe after adding the third layer. I started shouting at Mr Thisblogisnotforyou who had patiently wrapped me up in this %$§$% and then had to lay me down (by this time I was stiff and hard as a concrete plank not breathing and definitely not moving) and cut me out of this thing. My second near death experience (first time I choked badly while drinking water)!

Well, sometimes the easiest way is not the best way.

At least there was a happy end – now I’ve got a perfect dress form. I’m still looking for a name (I name everything. Even my bicycle and plants. I have to in order not to neglect them). My sewing machine’s already named Marilyn. So this one might become an Audrey or Coco or Dita. Ideas?


  facebook/bloglovin/pinterest
Stay in touch!

Making a Tailor’s Ham and Sausage

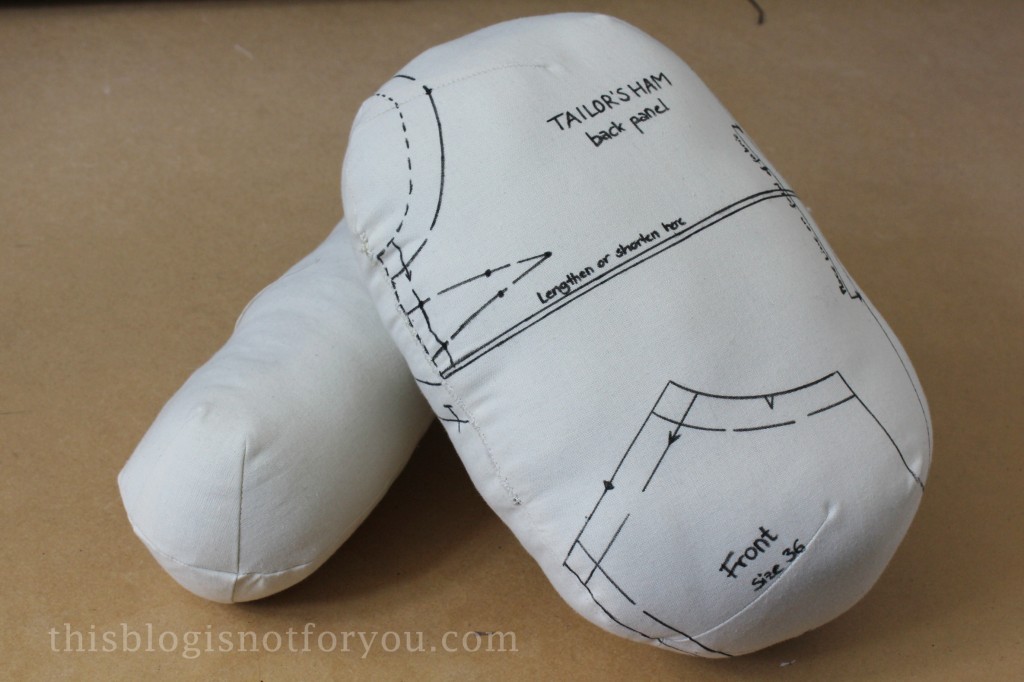
How to make a tailor's ham by thisblogisnotforyou.com

Hope you all enjoyed the long weekend (if you had one)! Did you use the long weekend for something crafty? Well, I did. Nothing too crazy, but I got a few projects done that had waited to be finished for a while.

I was sewing up a cute summer blouse and while desperately trying to press the darts into a nice shape, I thought I finally needed to tackle the tailor’s ham project I planned weeks ago.

I found a brilliant tutorial by Kristiann (the Victory Patterns lady!) who did a great guest post over at Tilly and the Buttons. Check out her site for the instructions and the patterns.

I did it a bit differently though, since I neither had sawdust nor thick cotton canvas lying around.

I basically used an old cheap Primark pillow and fabric scraps for the stuffing. Since I did not have cotton canvas, I used plain (muslin) cotton in two layers I basted together before sewing the darts. Using two layers creates the right thickness and makes the cotton sturdy enough.
How to make a tailor's ham by thisblogisnotforyou.com

I basically cut out each piece four times. I lengthened the pattern a bit at the fold to make the shape more oval for the ham, I personally felt it was a bit too round and was afraid it might be a bit wobbly when pressing. I added about an inch to the pattern at the fold line.

How to make a tailor's ham by thisblogisnotforyou.com

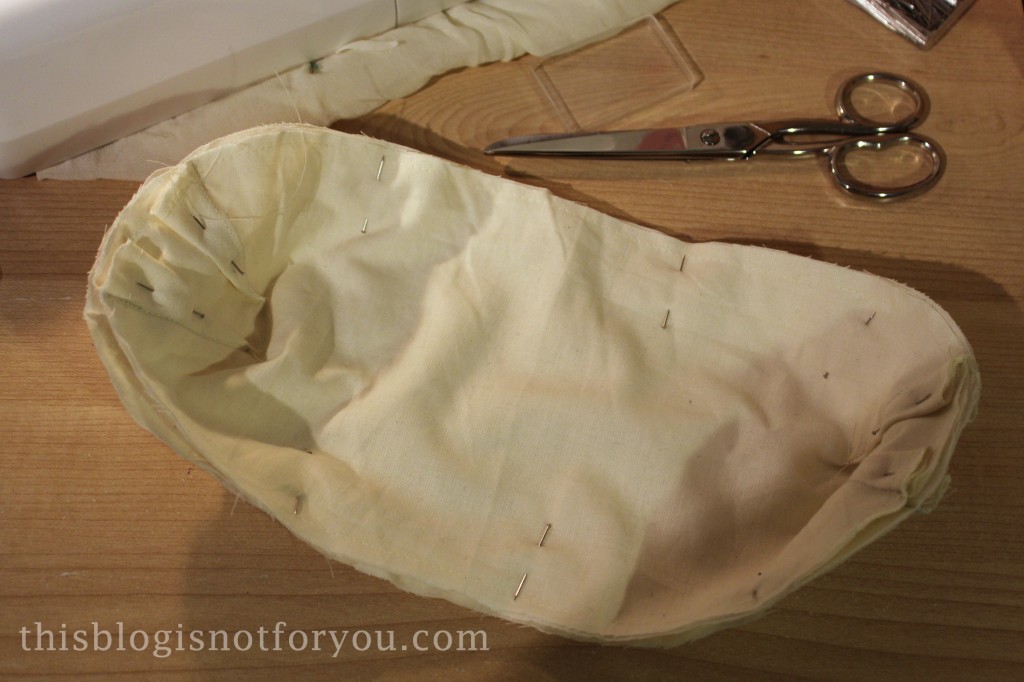
Here you can see that I basted the two layers of cotton together in the seam allowance (about 2/8” or 7mm from the edge). I then sewed the darts and basted them onto the seam allowance so they lay nice and flat and didn’t shift while I stitched all four layers together.

Make sure you leave at least 3”/10cm of the seam open on one side where the stuffing goes in.

Turn what now looks like a slightly unshapely bag inside out.

How to make a tailor's ham by thisblogisnotforyou.com

Yep, that’s how it’s supposed to look. Looks nothing like ham and sausage, right? 😉
How to make a tailor's ham by thisblogisnotforyou.com

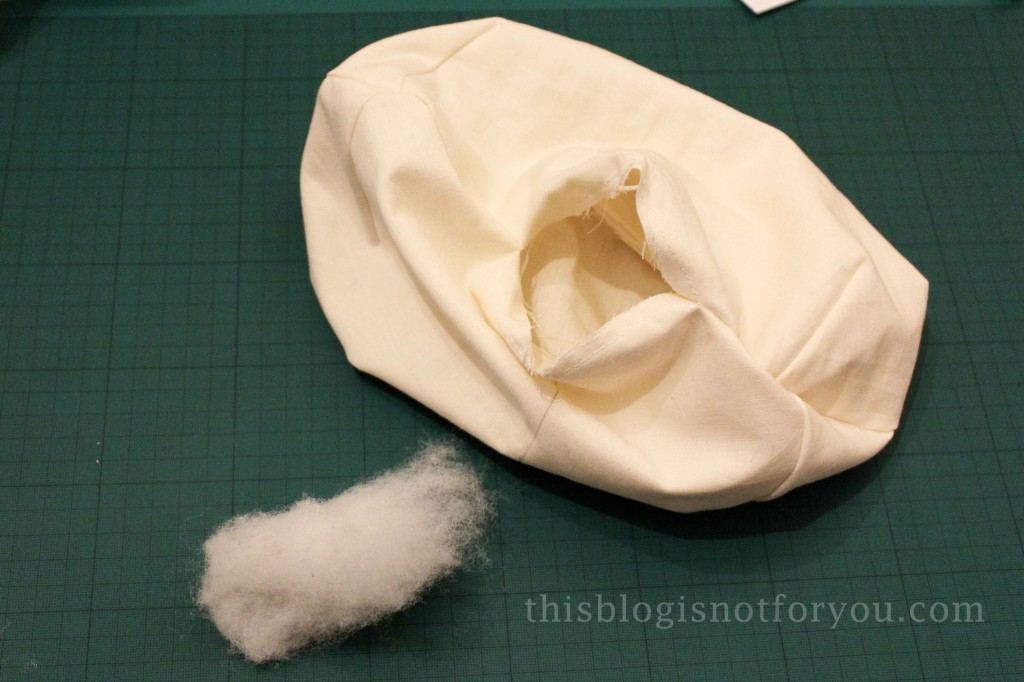
Now comes the fun part. For the ham I basically cut apart and old Primark pillow (they are quite cheap and the whole pillow fits exactly into the tailor’s ham.
I have no idea what these cheap pillows are made of really, the stuffing was quite itchy. In case you make this as a fun weekend project with your kids, I suggest wearing household gloves.

Now, stuff it. (For the tailor’s sausage I used old fabric scraps. I always keep those useless way too tiny bits and pieces, but for this project they came in very handy!)

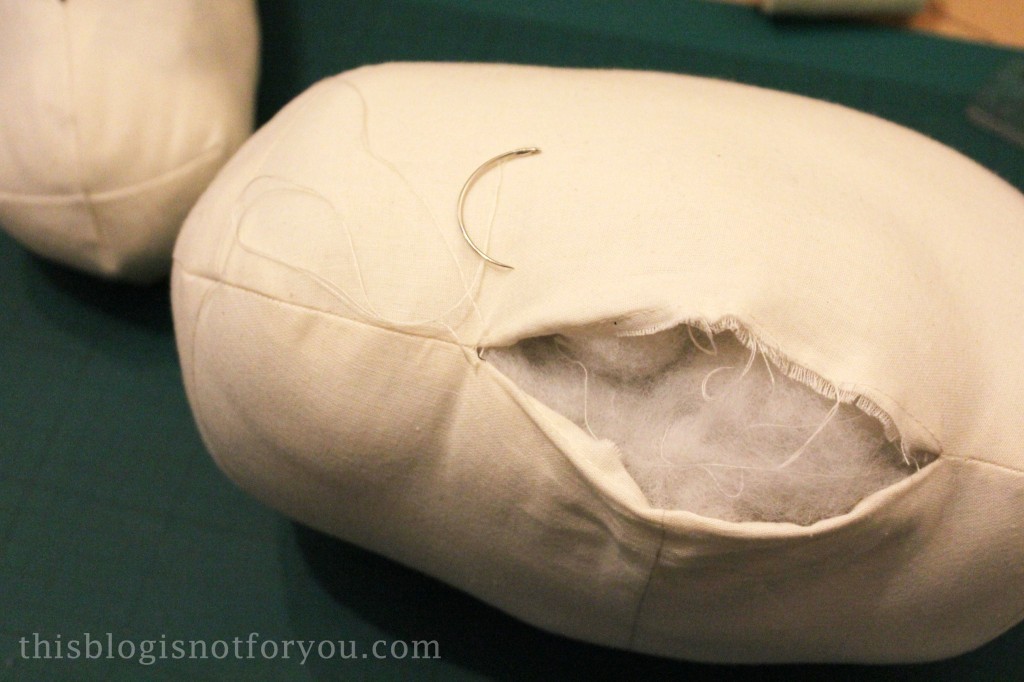
how to make a tailor's ham by thisblogisnotforyou.com

How to make a tailor's ham by thisblogisnotforyou.com

To sew up the open side I used a curved needle and double thread (I had no upholstery thread at home, doubling the thread worked just fine). A single thread will tear quickly. Just pull normal thread through the eye and double it up. Knot the two tail ends together and then sew with the doubled up thread.
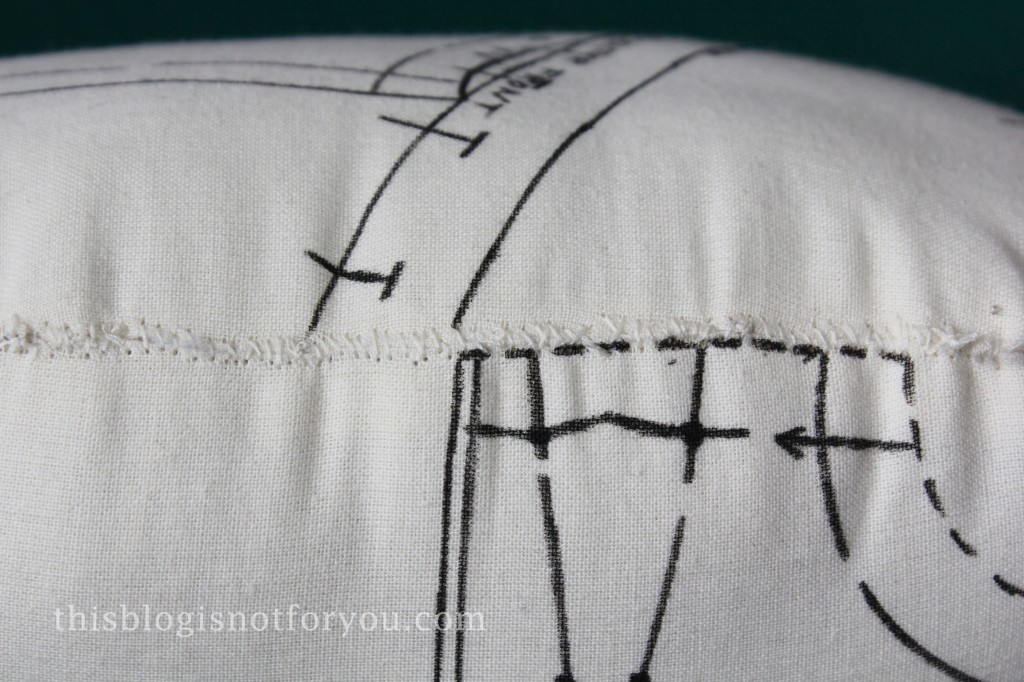
How to make a tailor's ham by thisblogisnotforyou.com

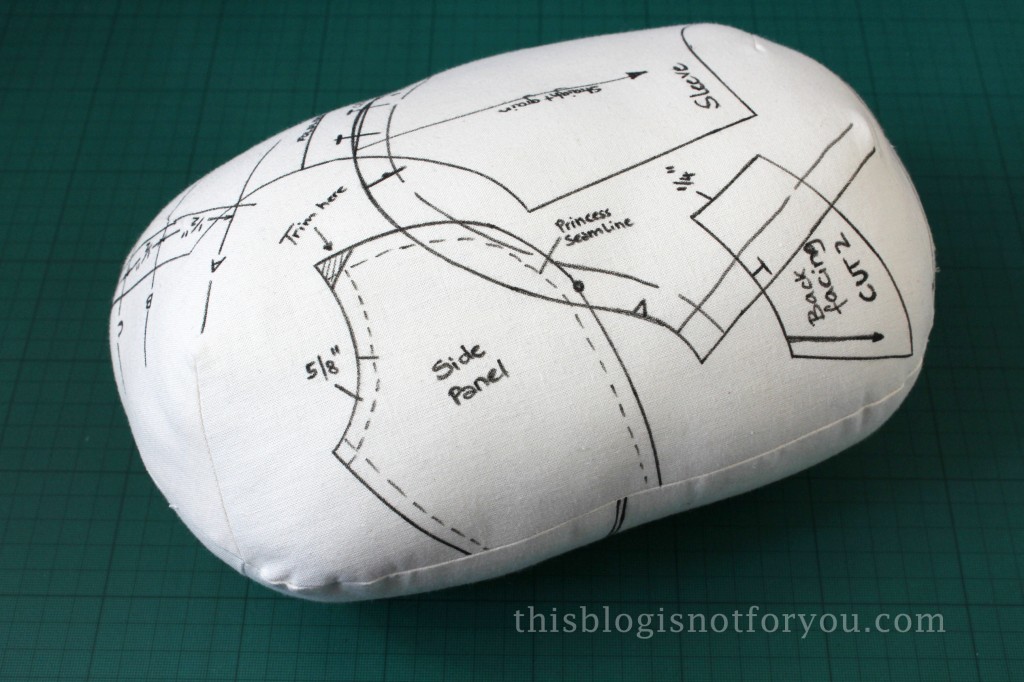
Not the prettiest seam, I know. But, voilá! Now I have my very own tailor’s ham and tailor’s sausage!

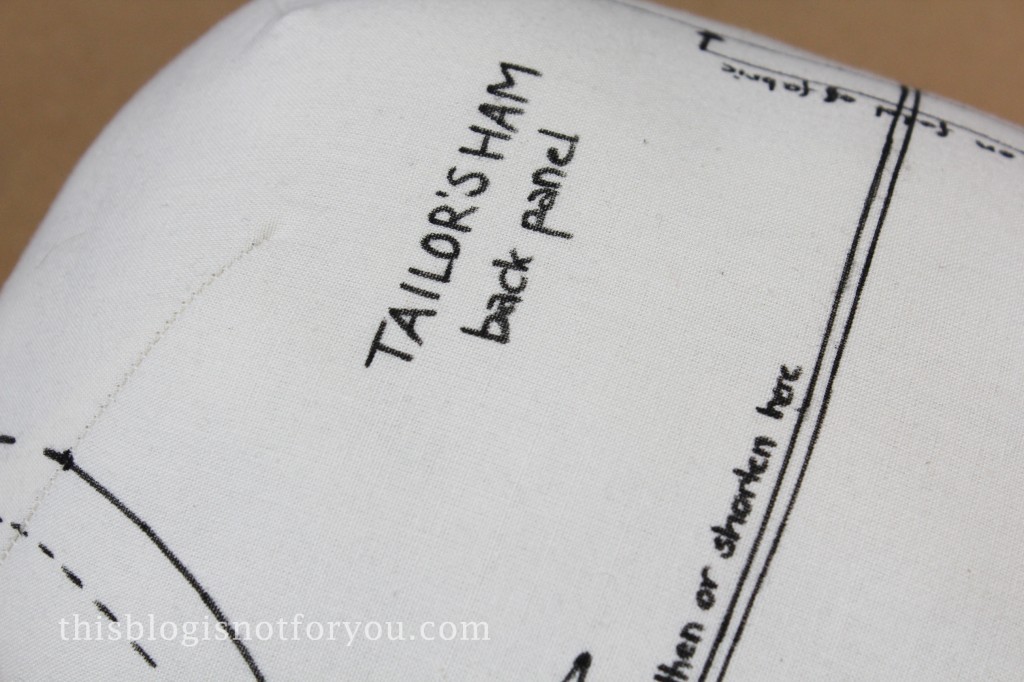
I chose to decorate the ham with a fabric marker. You could also use a cute colourful fabric instead of a second layer of cotton.
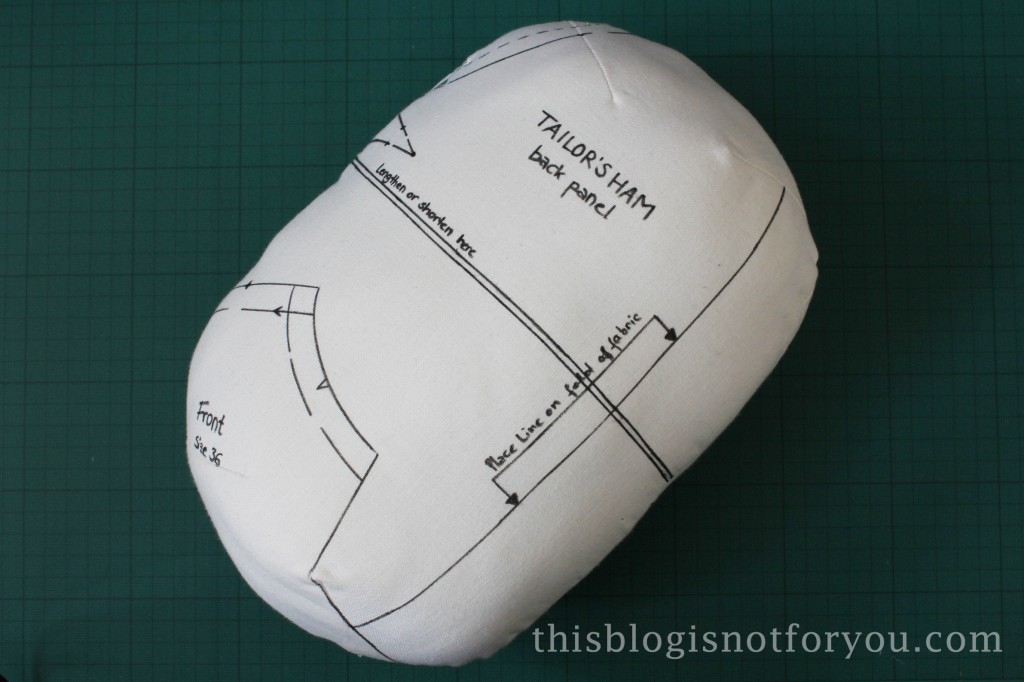
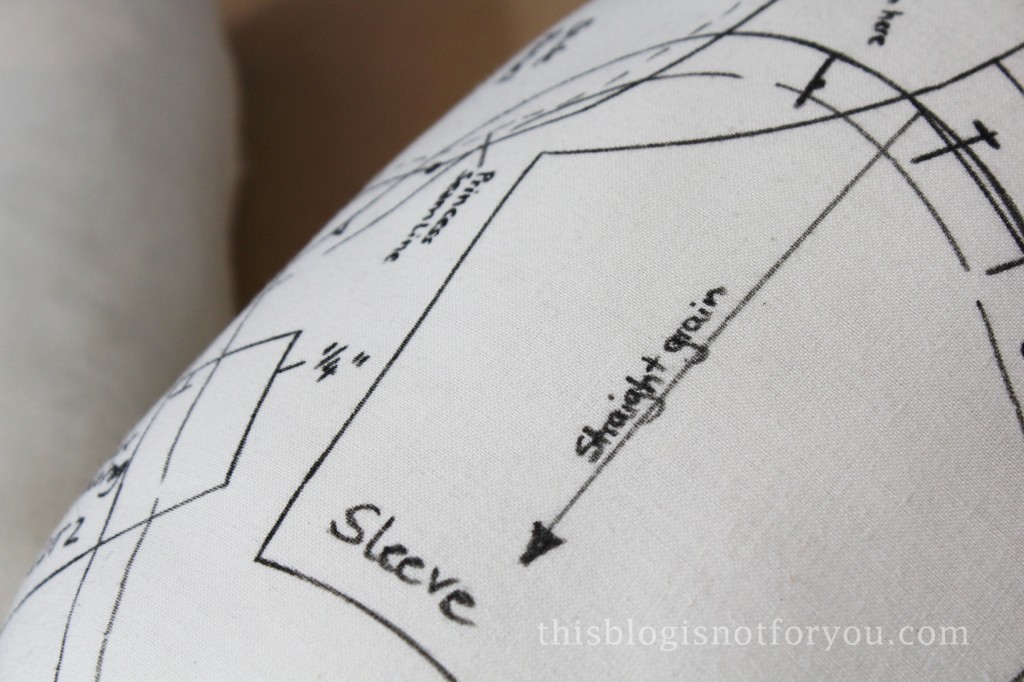
How to make a tailor's ham by thisblogisnotforyou.comHow to make a tailor's ham by thisblogisnotforyou.comHow to make a tailor's ham by thisblogisnotforyou.comHow to make a tailor's ham by thisblogisnotforyou.com

Super easy, super fun and super useful!

My man became quite alert when hearing I was making something with ham and sausage, not so excited anymore when he saw me ripping pillows on the carpet. Now he thinks the tailor’s ham makes quite a nice neck support pillow… 🙂

Peachy Lace/Splash Nails for Spring – do it yourself!

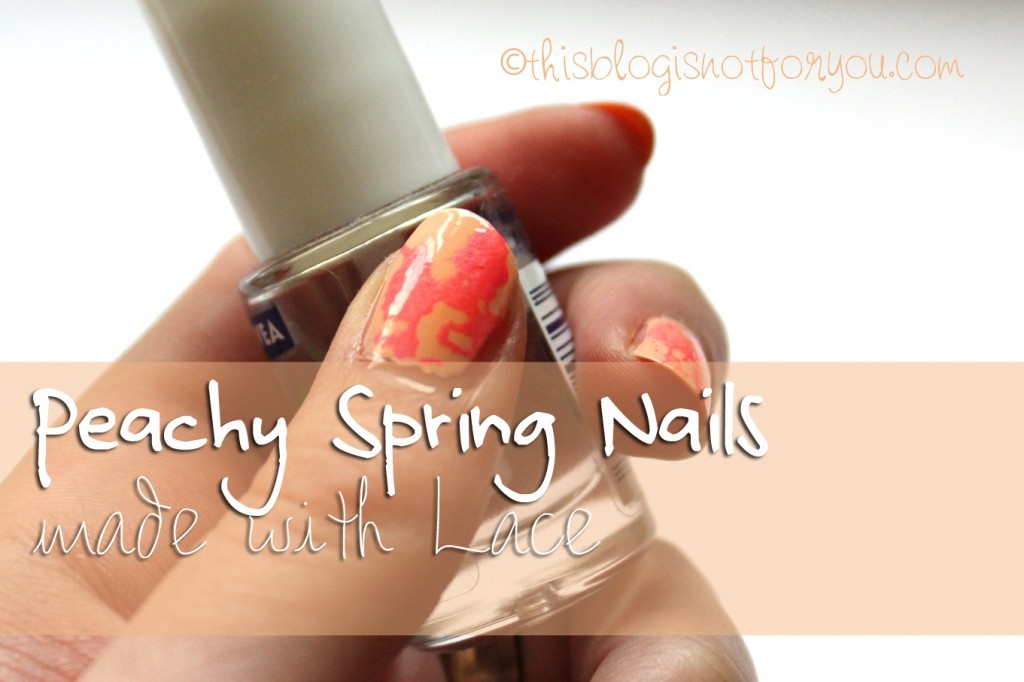
Peachy Spring Splash Nails made with Lace by thisblogisnotforyou.comHello again! I had a lovely sunny start into the week and hope you did, too! As there are signs everywhere of spring finally having badly kicked winter’s ass, here’s a really quick spring nails tutorial.
Nails? Yep, I know normally I don’t ‘do beauty tutorials’ and my nails are most of the time looking rather damaged by all my pins and needles, but I found this lovely peachy nail colour the other day. I had the idea of combining it with a neon pink nail colour I never wear and I think it turned out great.

In case you’re wondering, you can get this pastel coloured nail polish everywhere these days – it’s THE trend colour this spring (and lace THE trend fabric, btw).
If you want to have this exact peachy colour -HINT- just buy the latest issue of Instyle Magazine (which I also normally don’t buy, what is wrong with me these days? Must be spring, I guess) – they have three different nail colours in their June 2013 issue (at least here in the UK), so make sure you pick the right one 😉

Enough talk, here we go. All you need is two different colours of nail polish, a transparent one and a piece of lace.
Peachy Spring Splash Nails made with Lace by thisblogisnotforyou.com