Blogging and Body Positivity and a Silk Cami Dress

Sew Over It Silk Cami Dress by thisblogisnotforyou.com

Sew Over It Silk Cami Dress by thisblogisnotforyou.com

Sew Over It Silk Cami Dress by thisblogisnotforyou.com

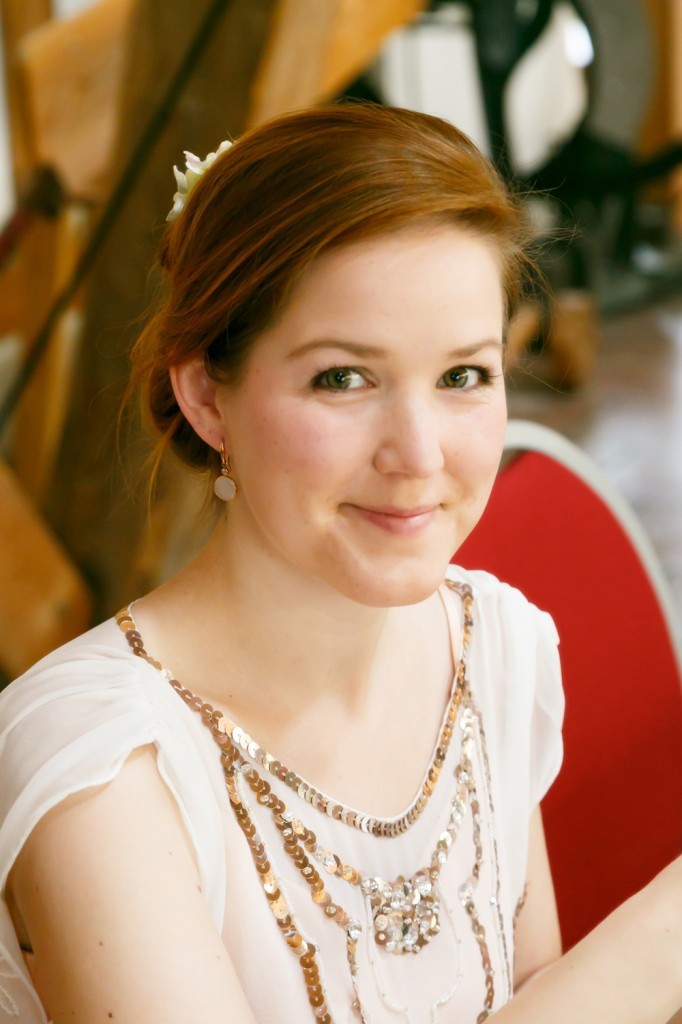
When you like the garment but the model sucks

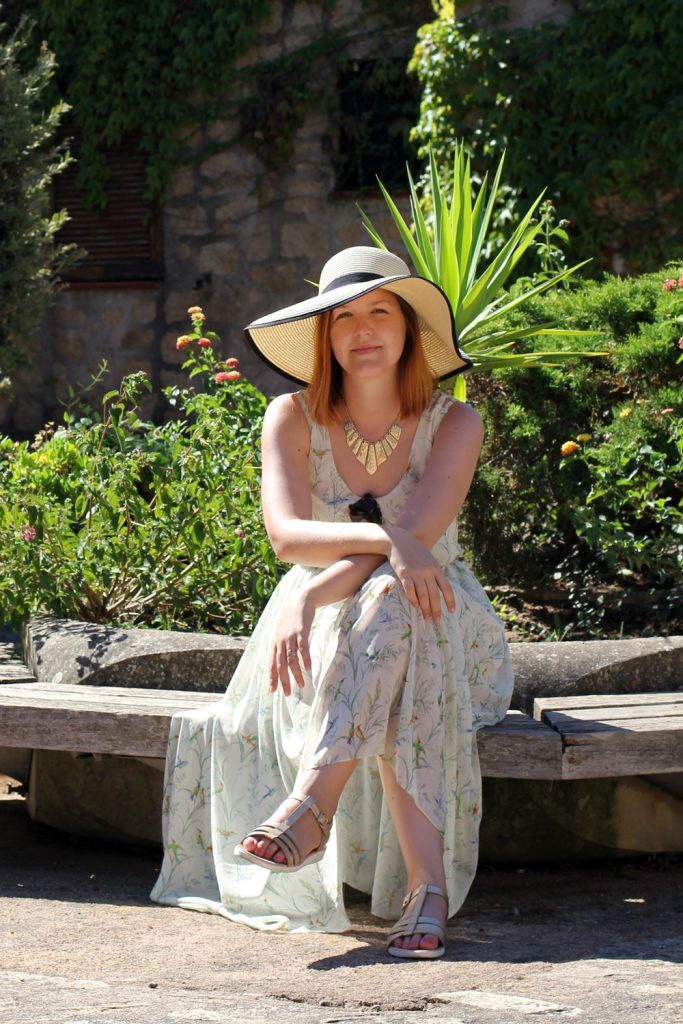
Hi everyone! I haven’t shared a proper garment post in ages. I can’t even say this is my newest make, because I sewed this little number last autumn, when it was way to cold already to actually wear it. Anyone else into off-season sewing?

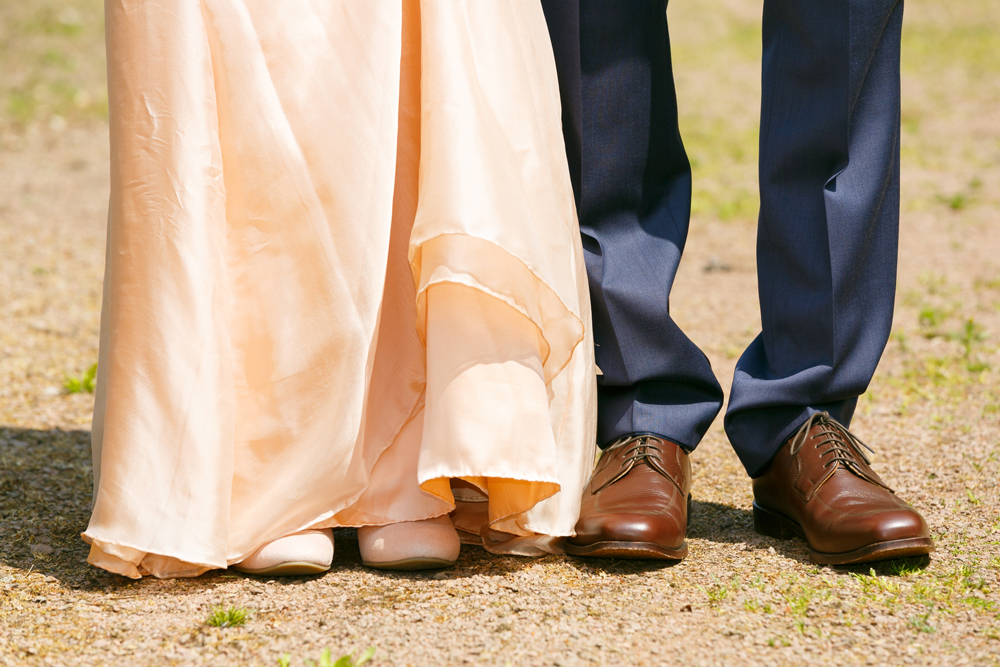
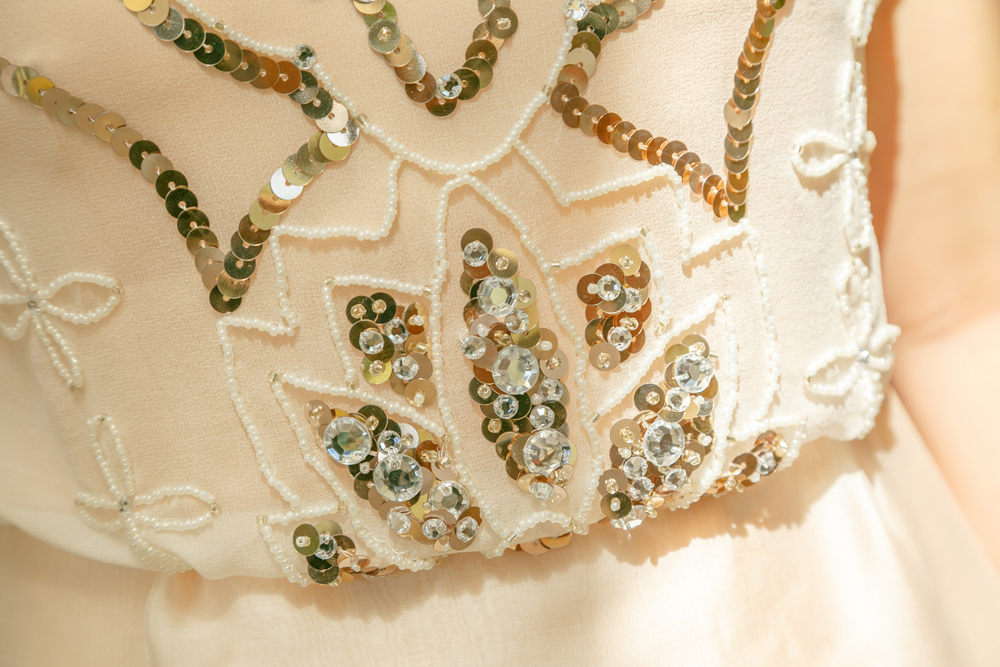
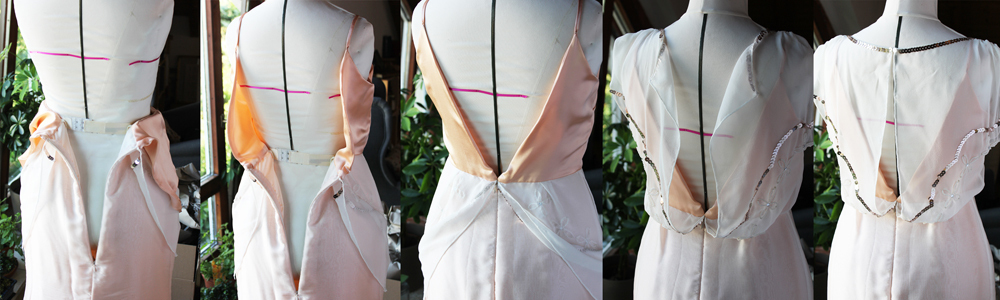
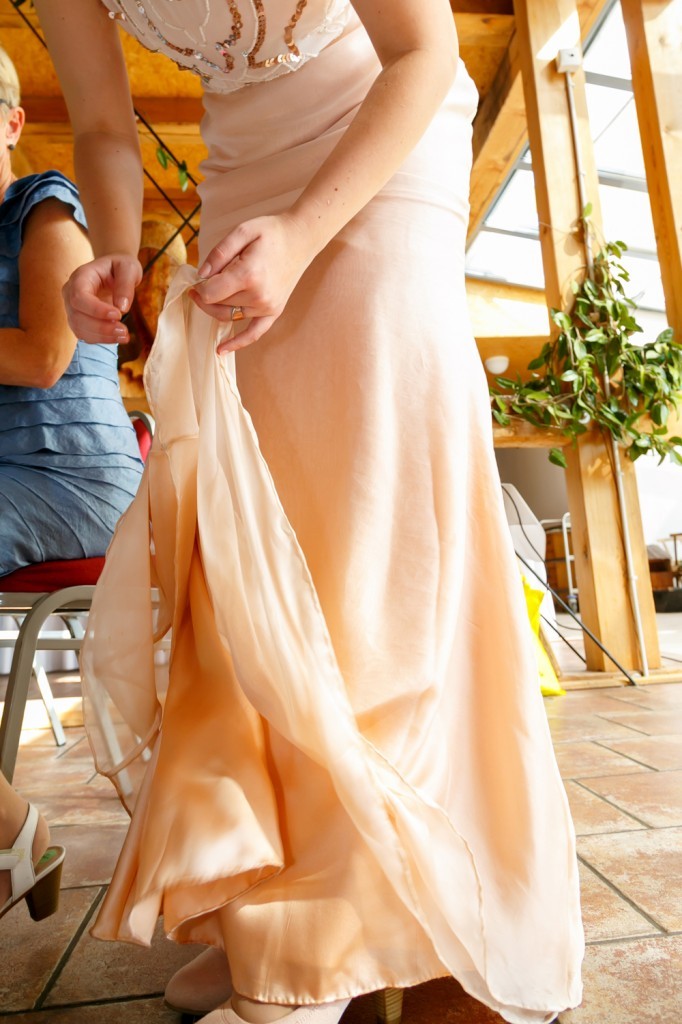
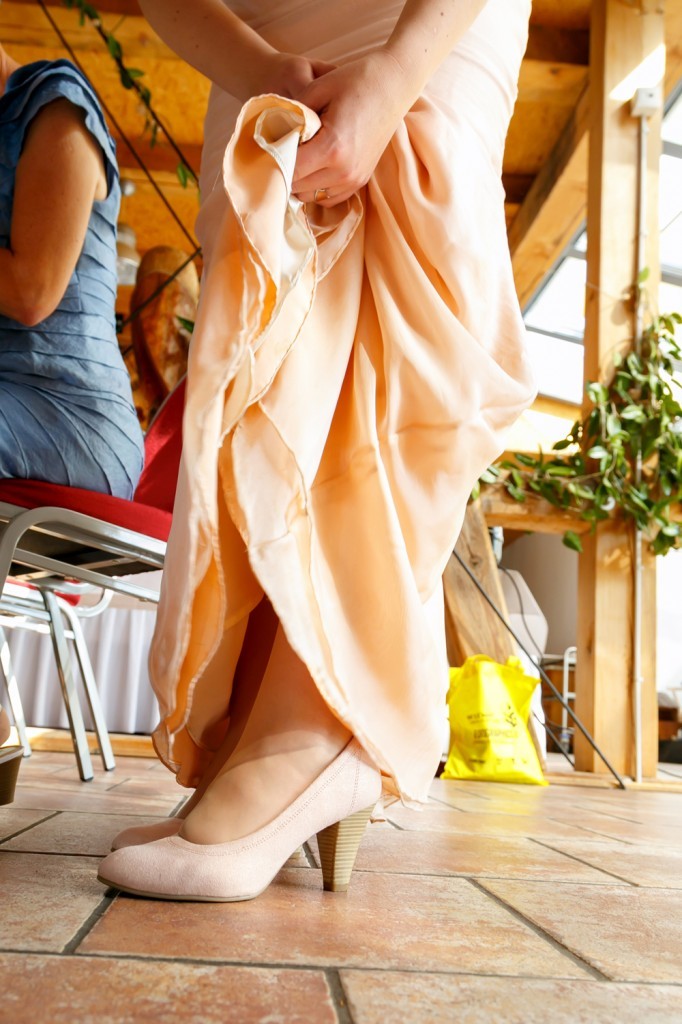
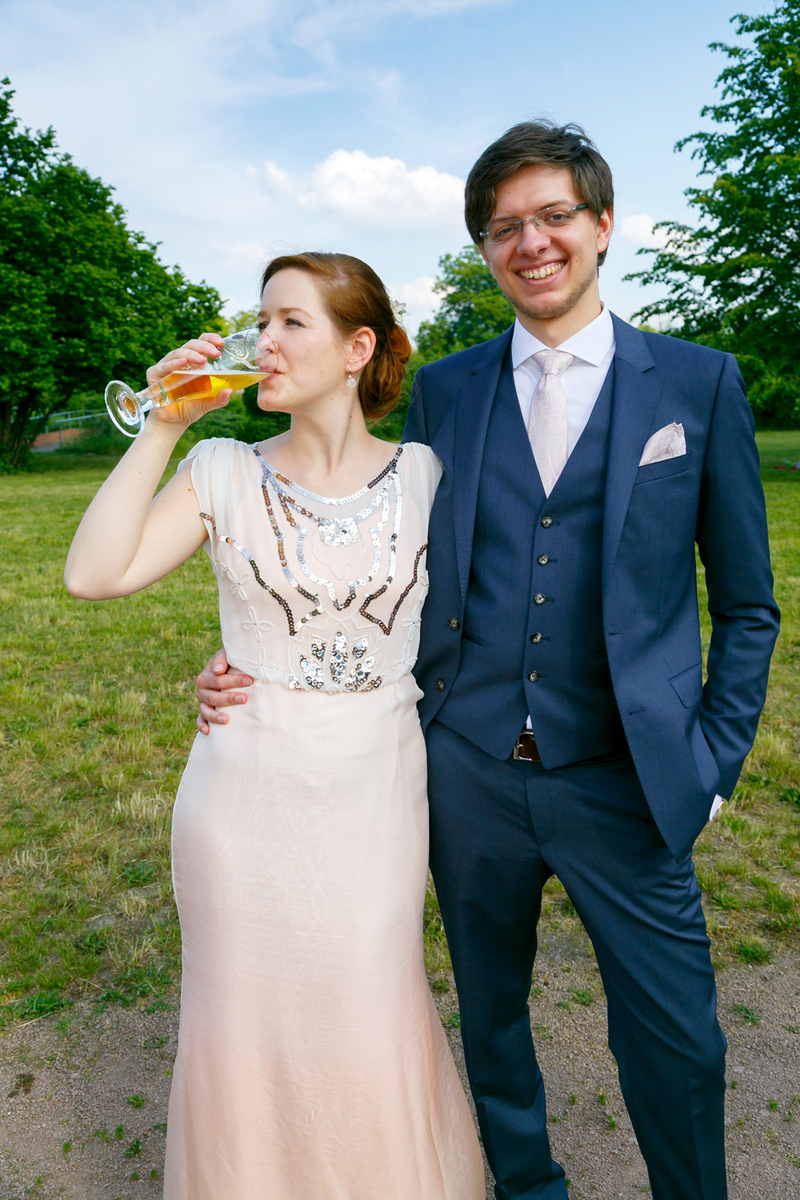
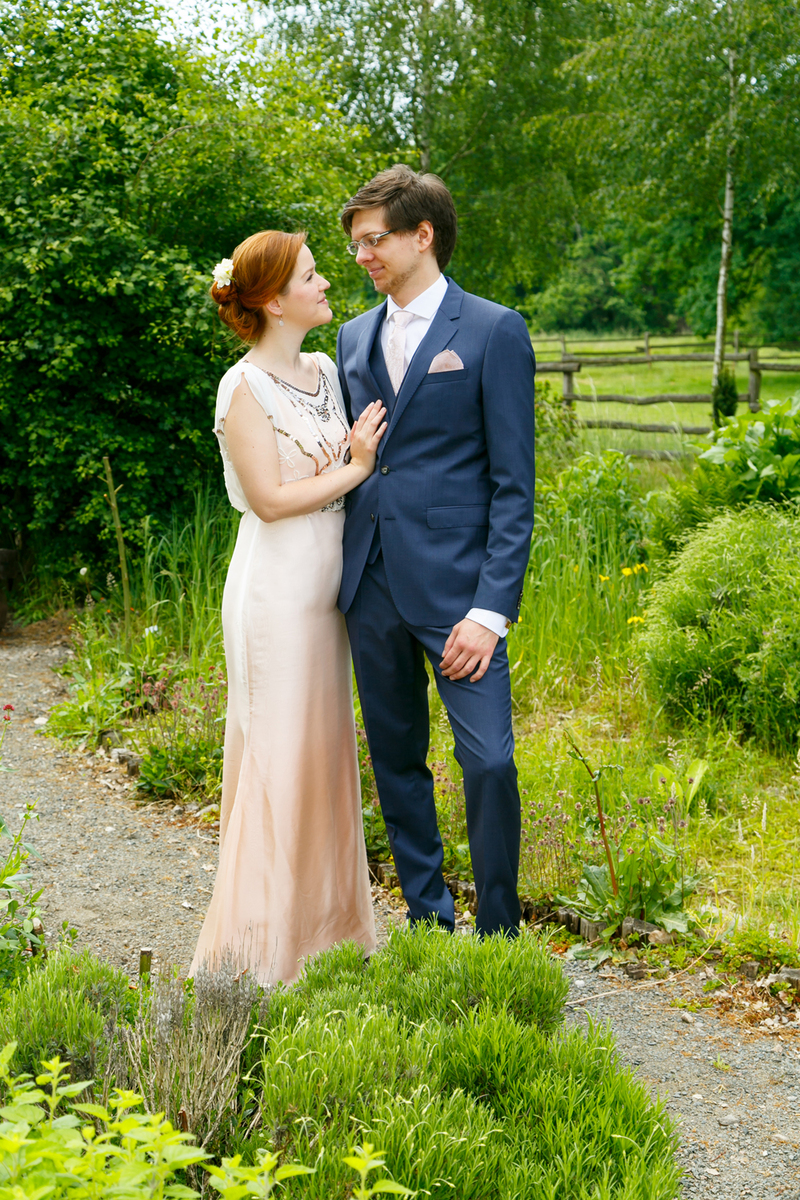
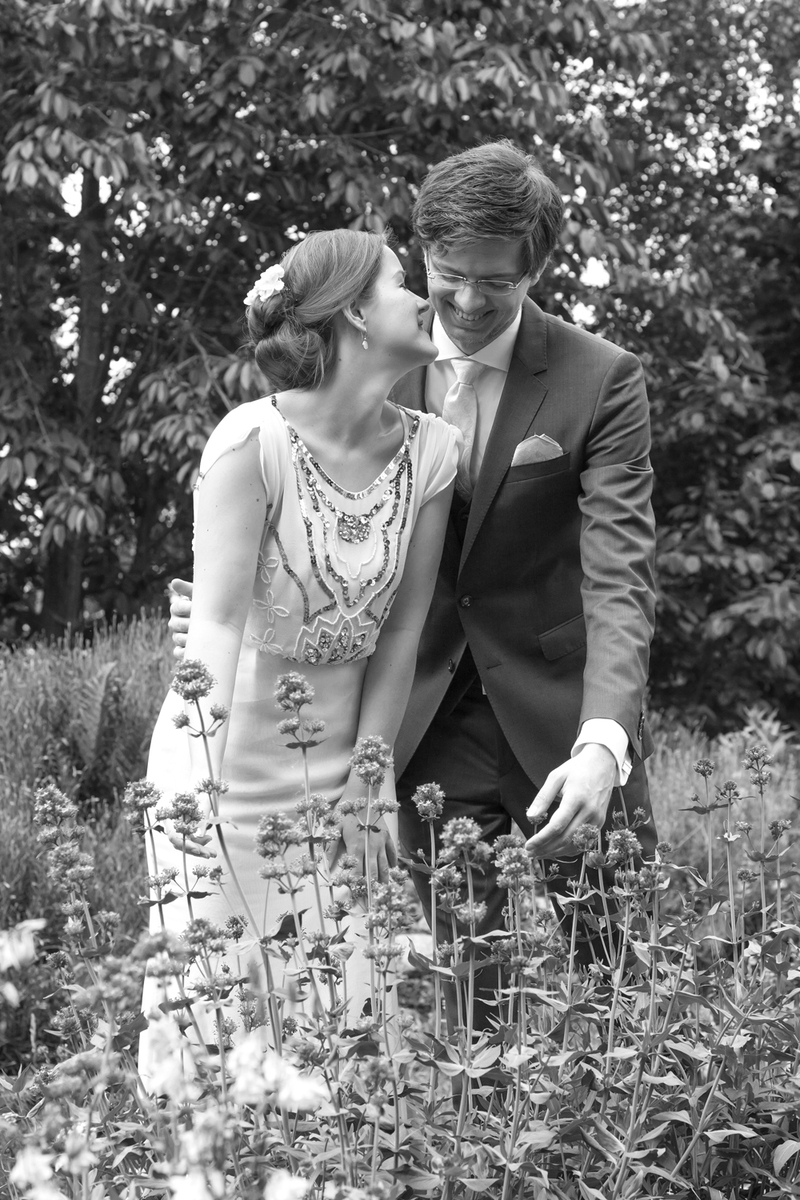
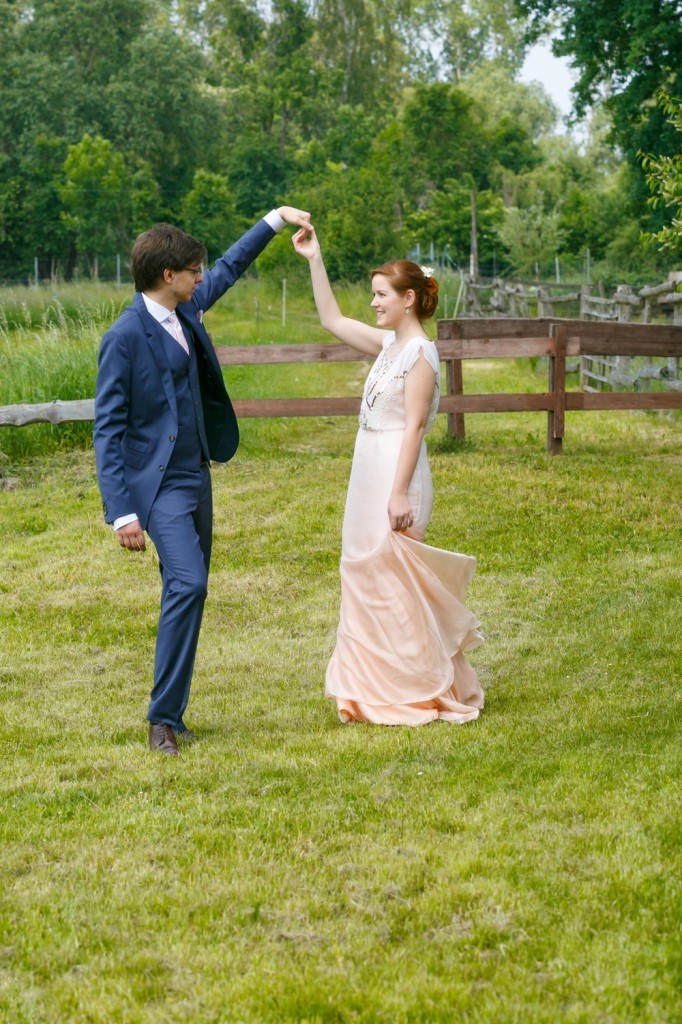
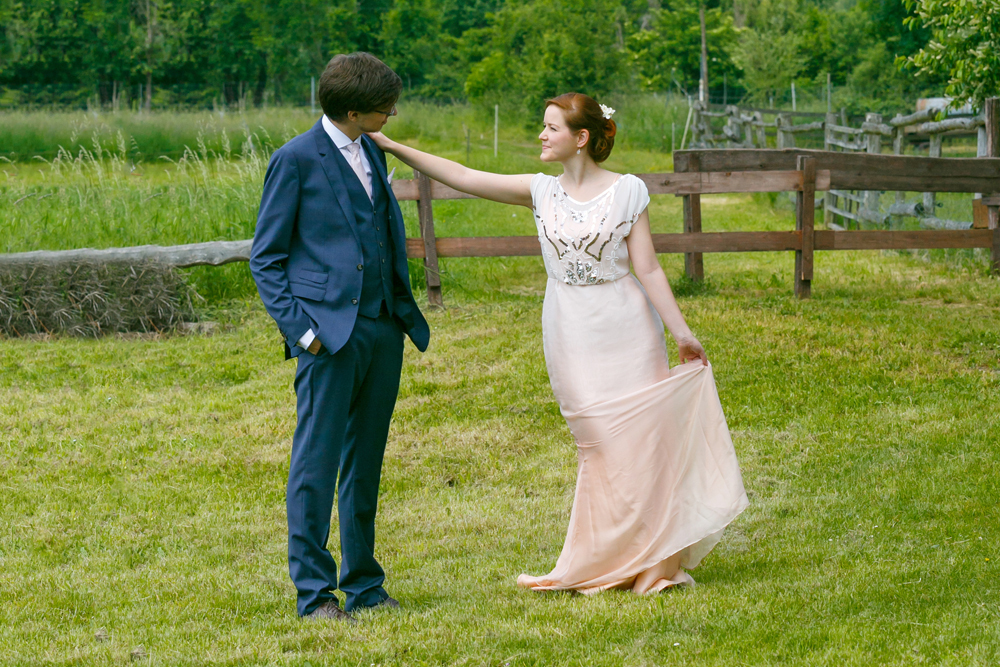
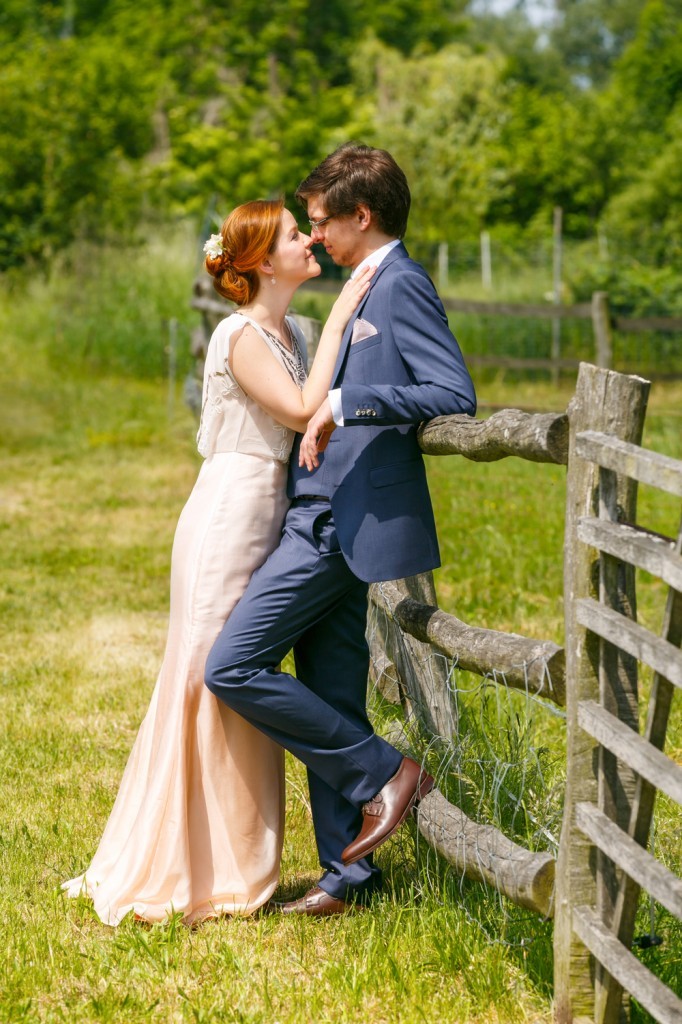
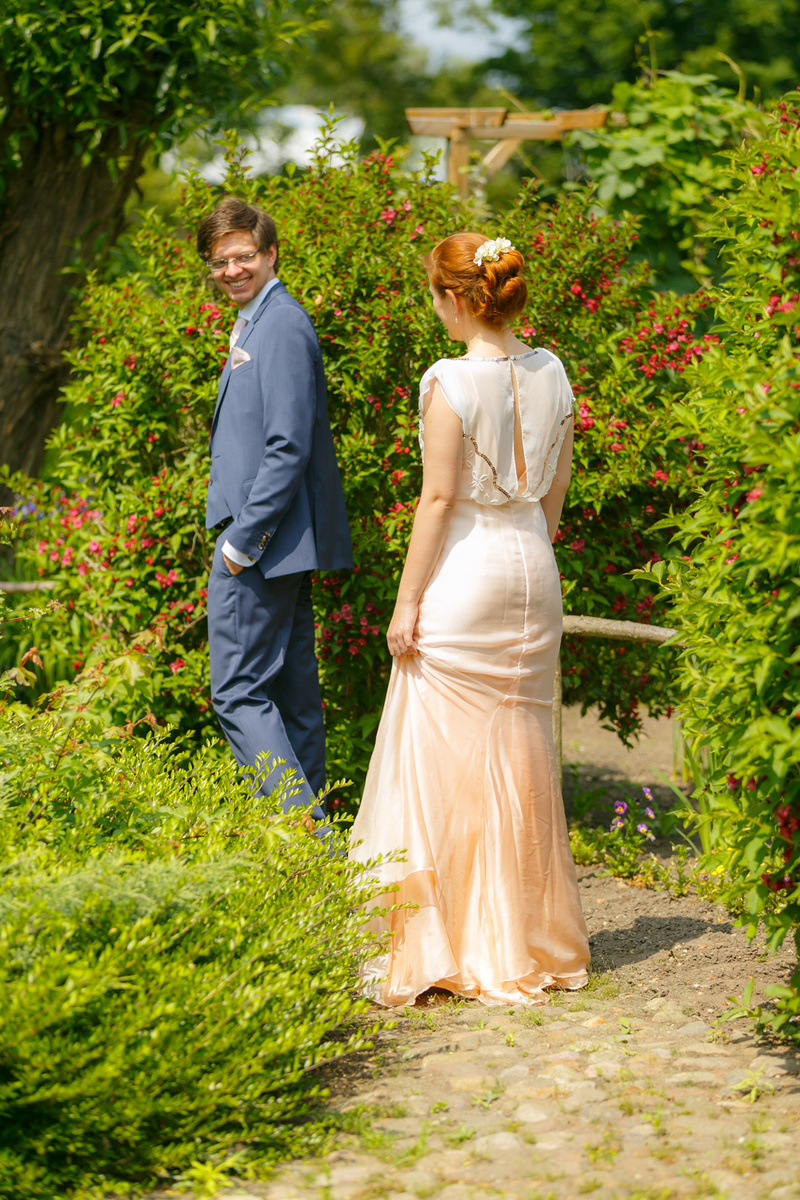
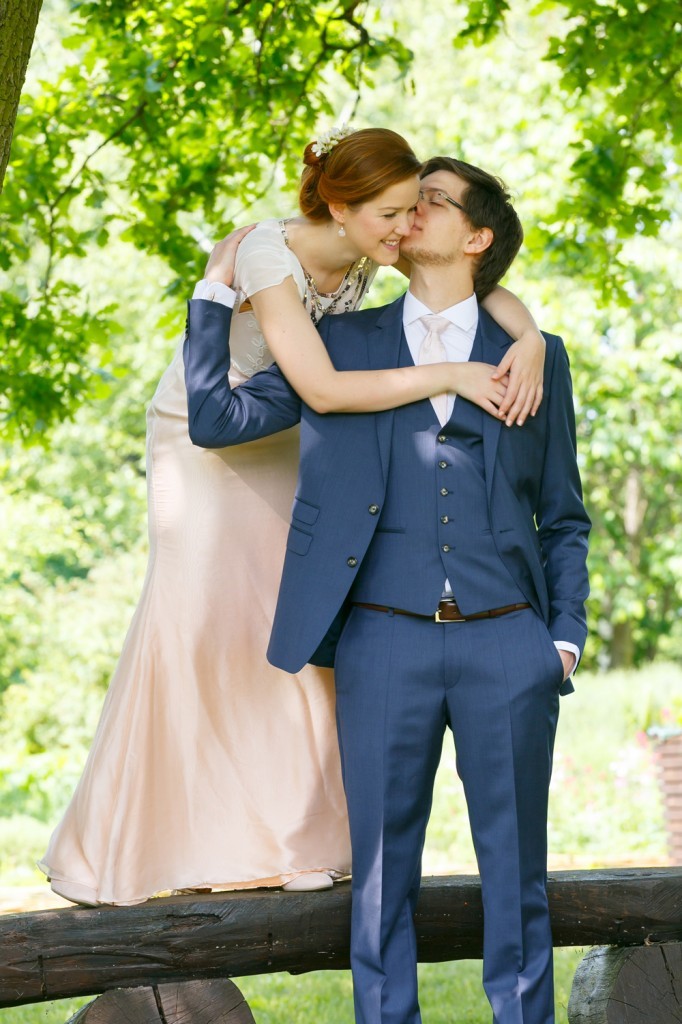
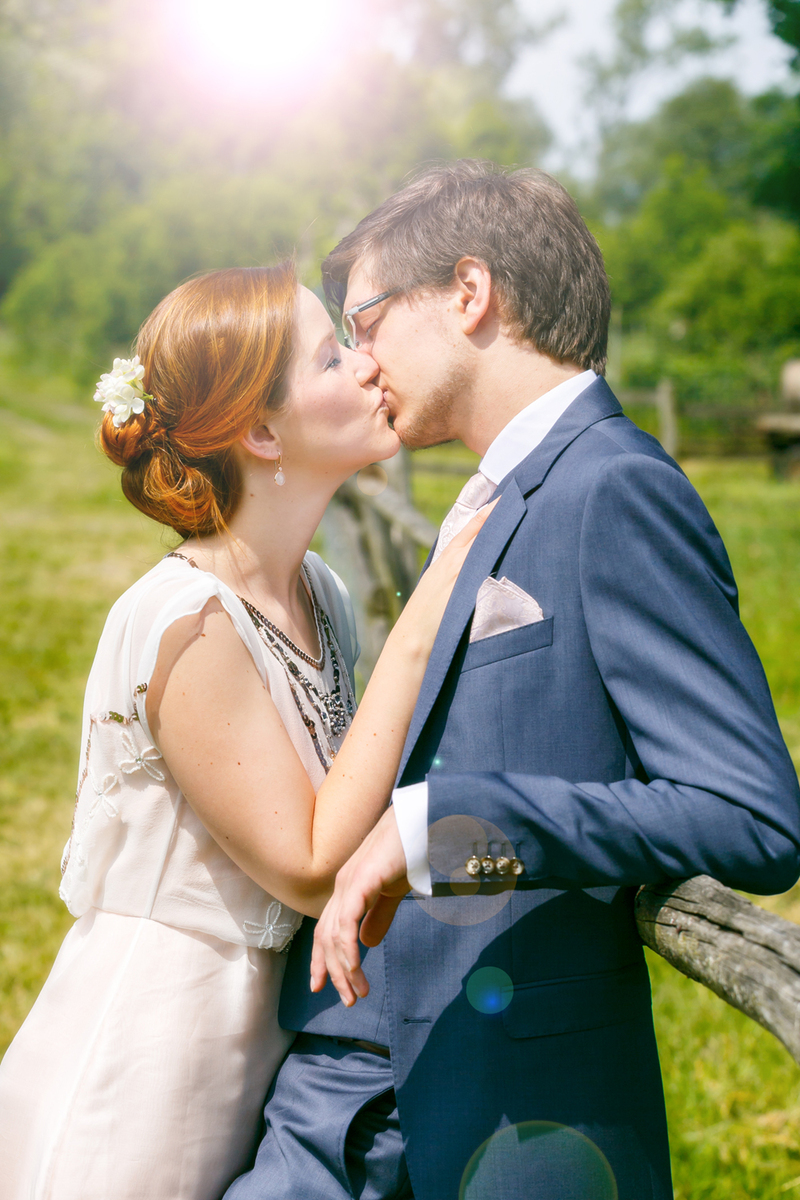
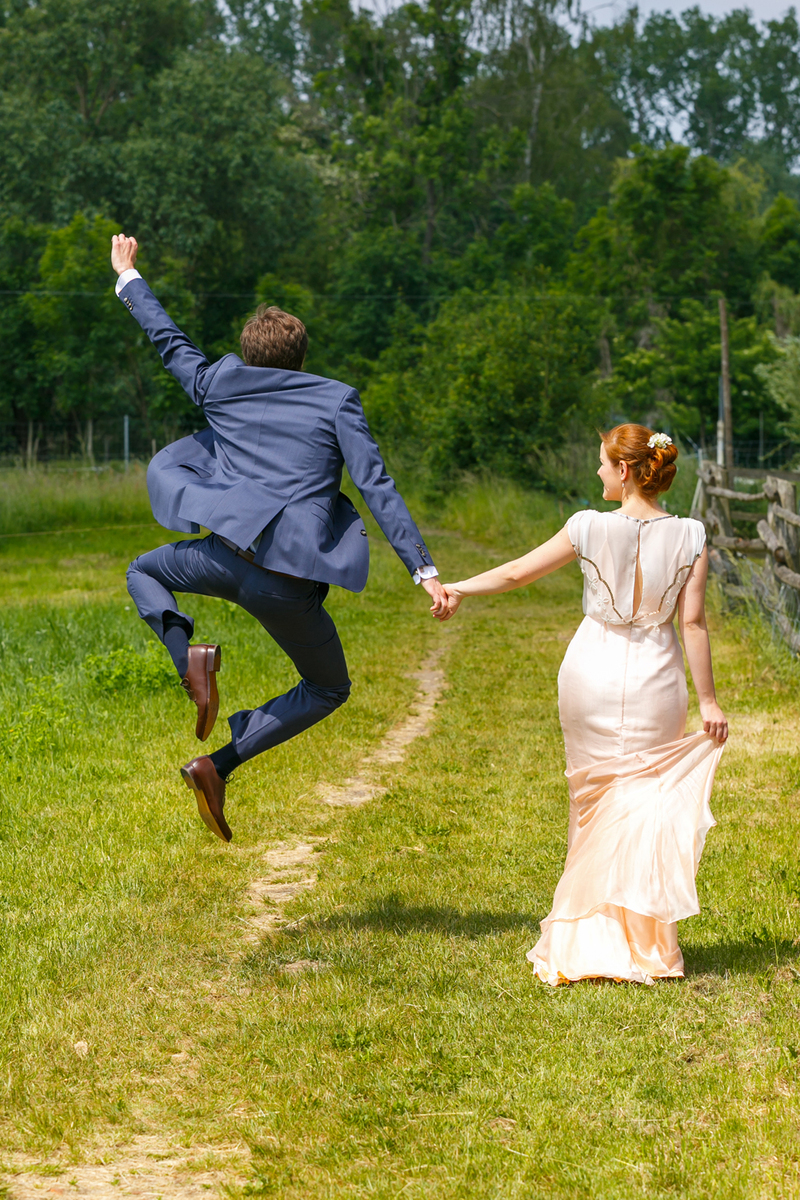
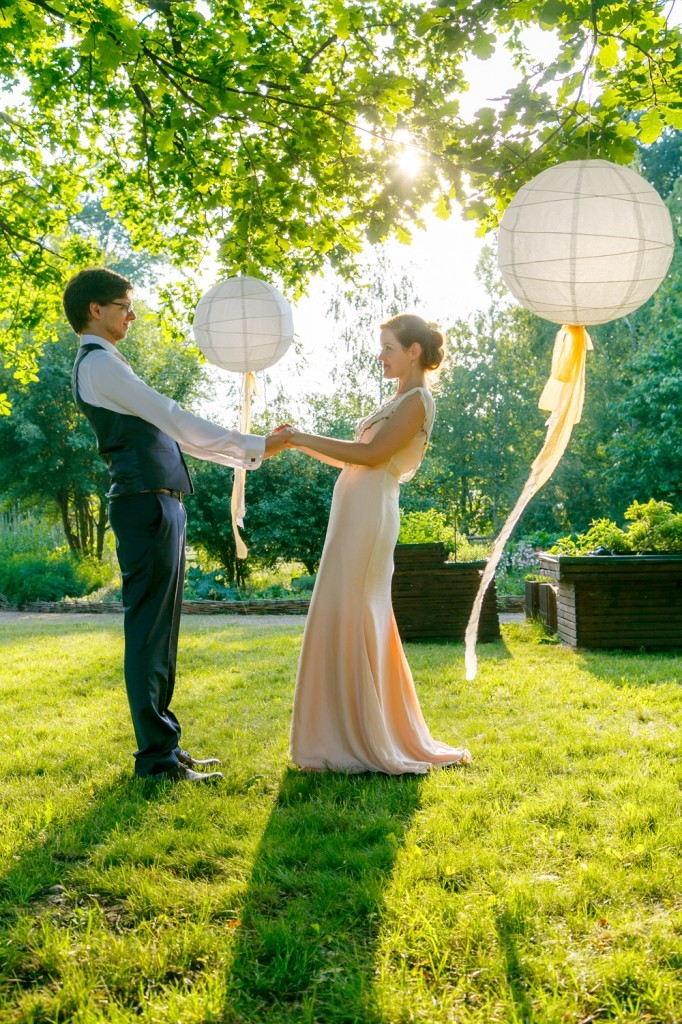
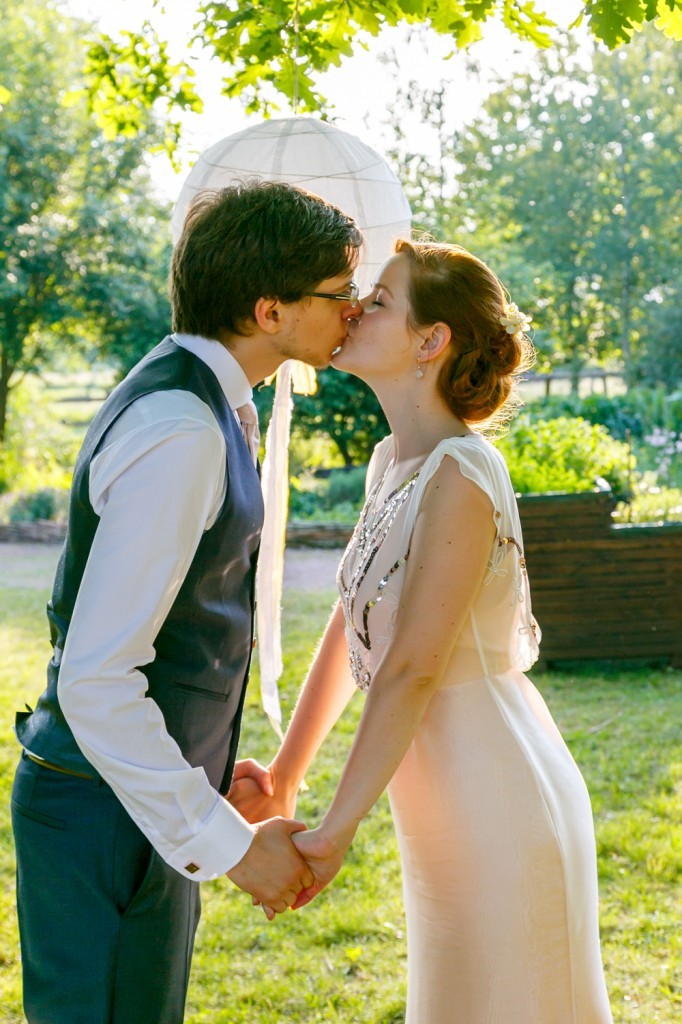
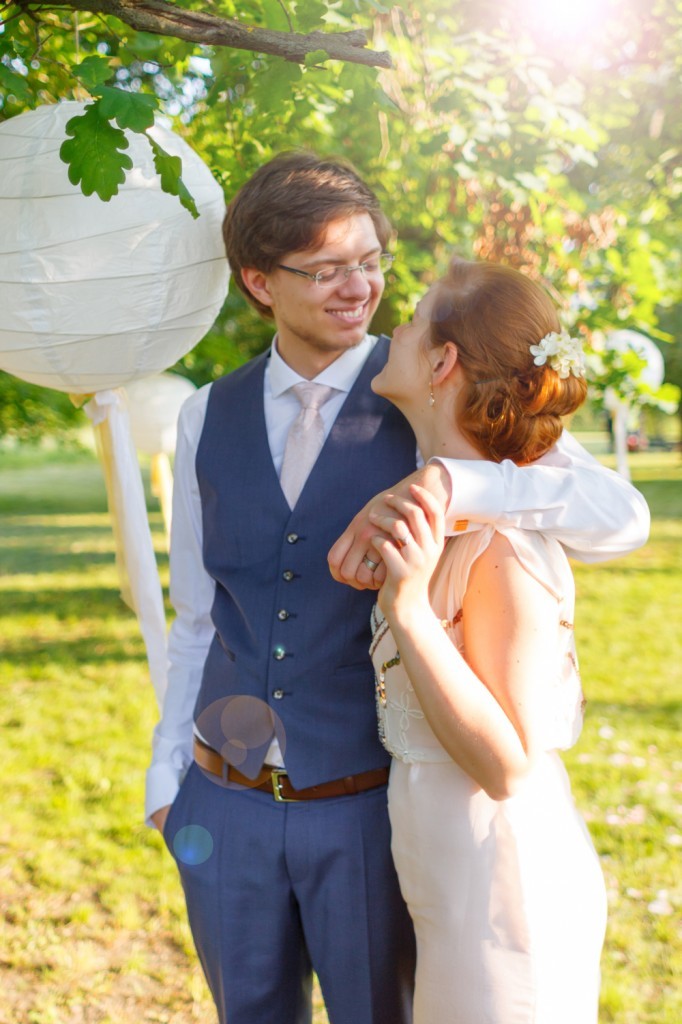
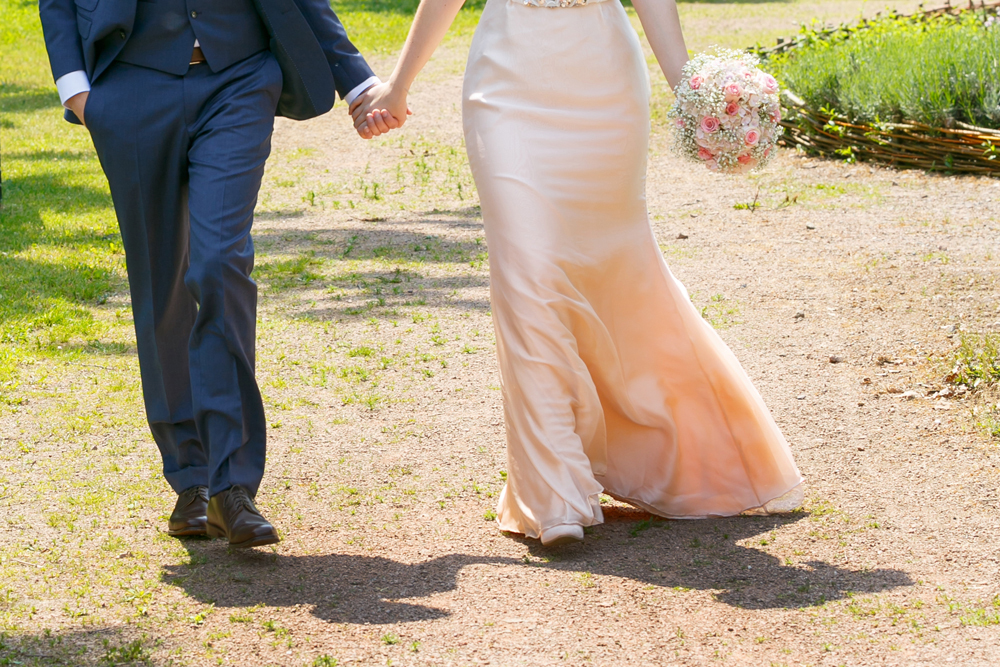
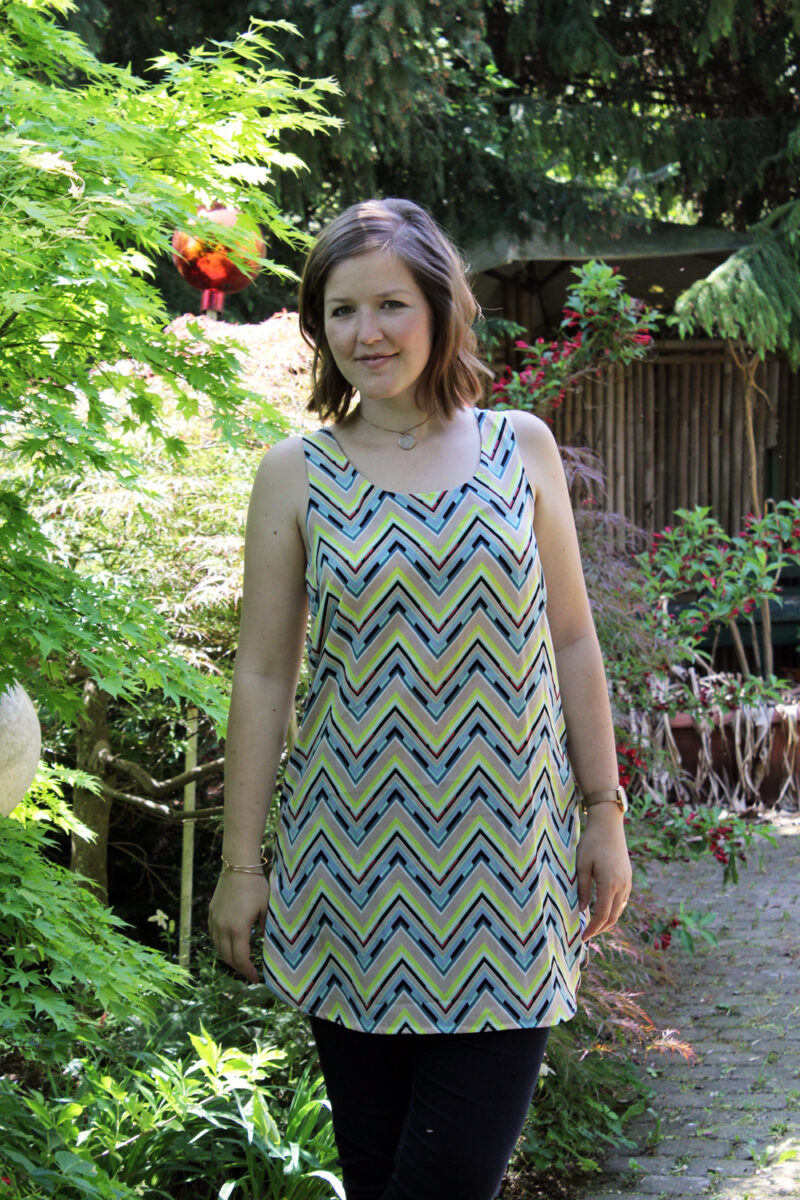
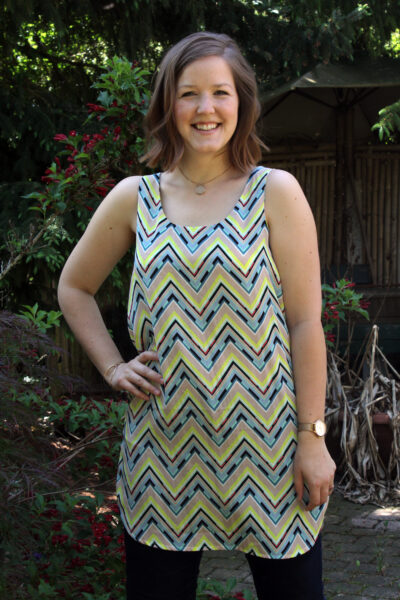
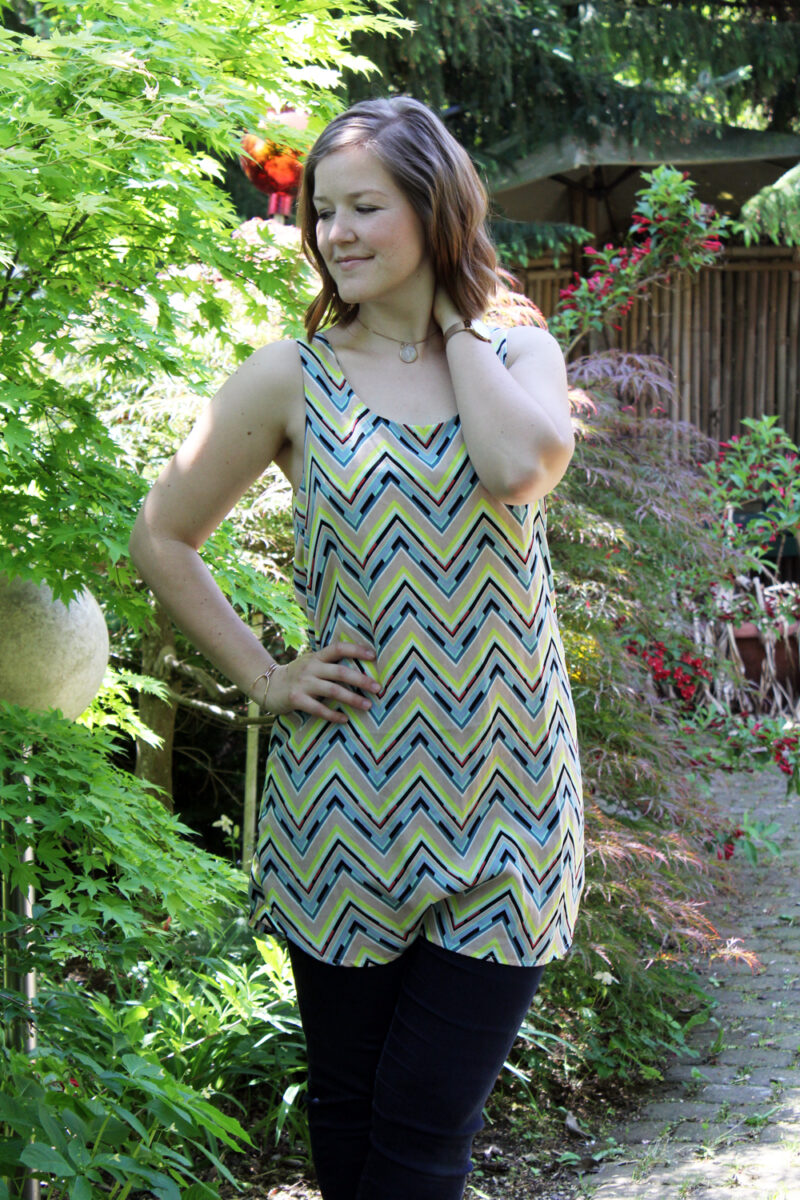
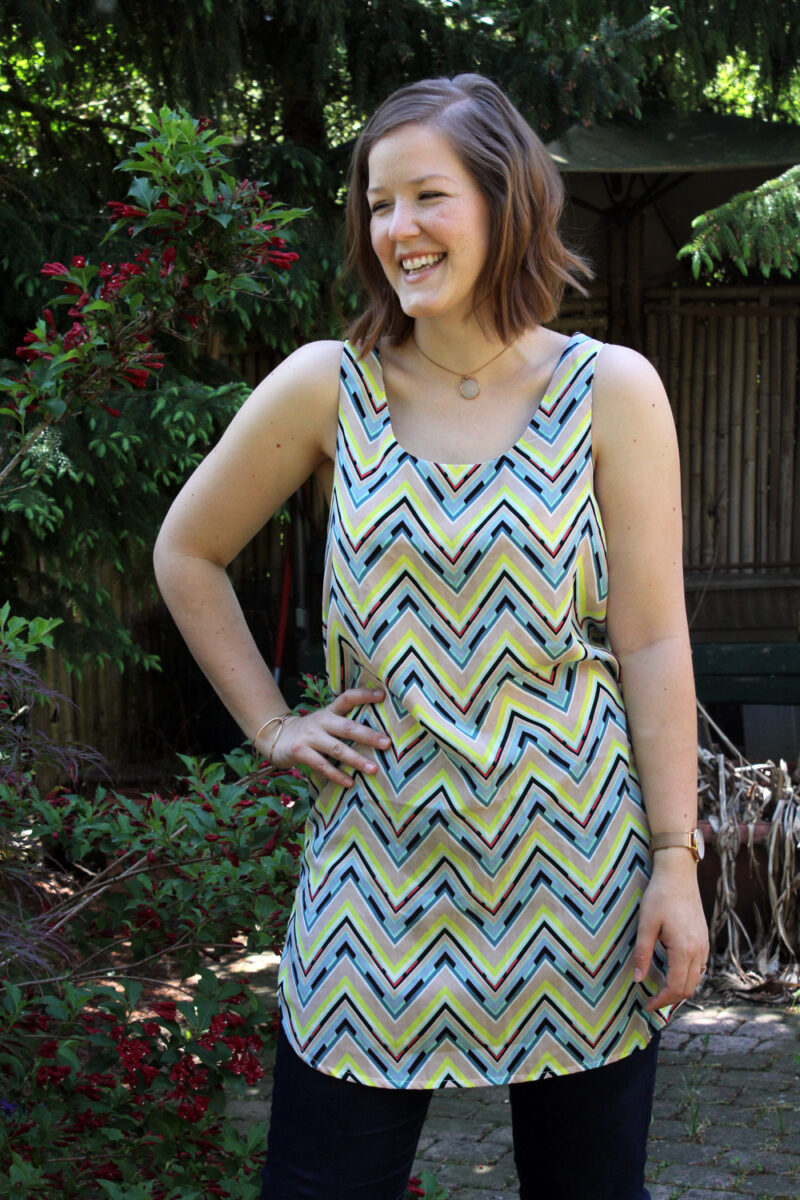
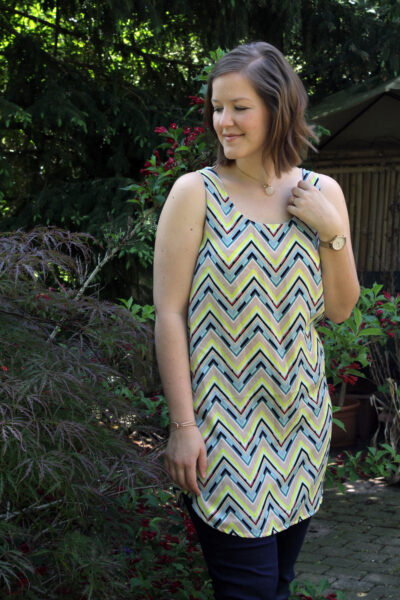
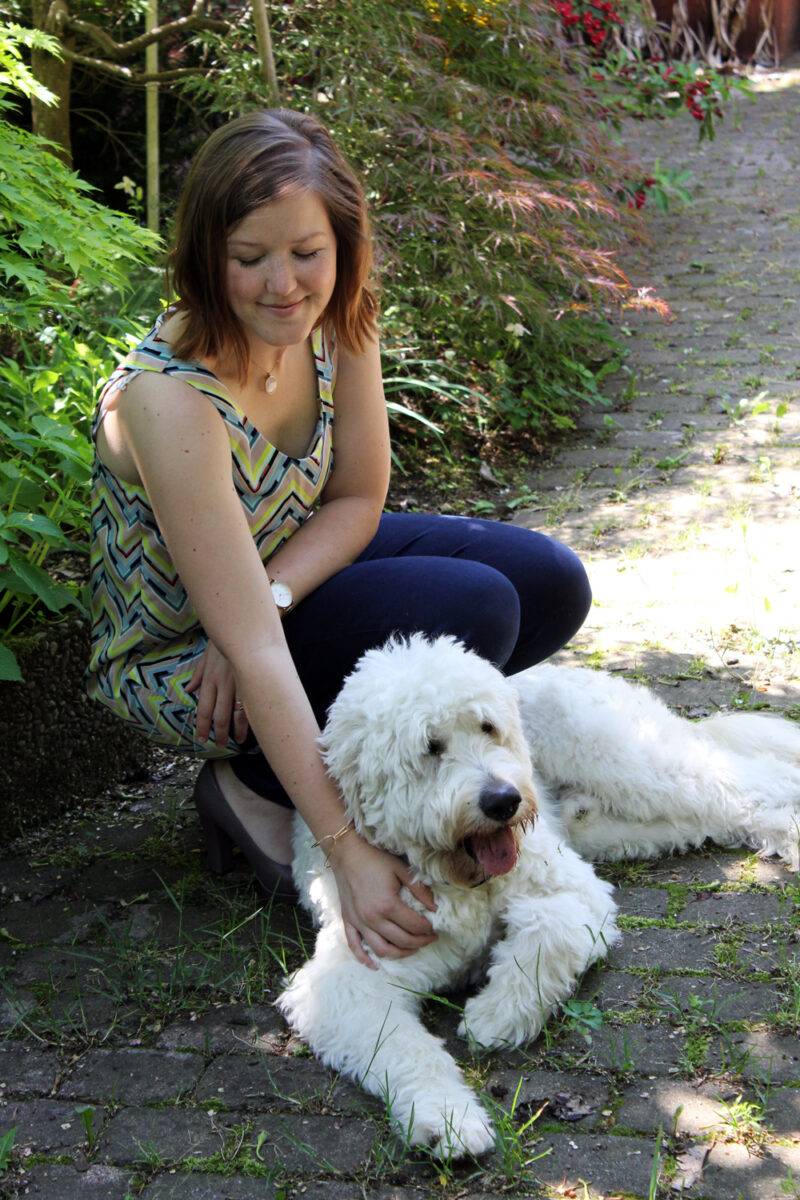
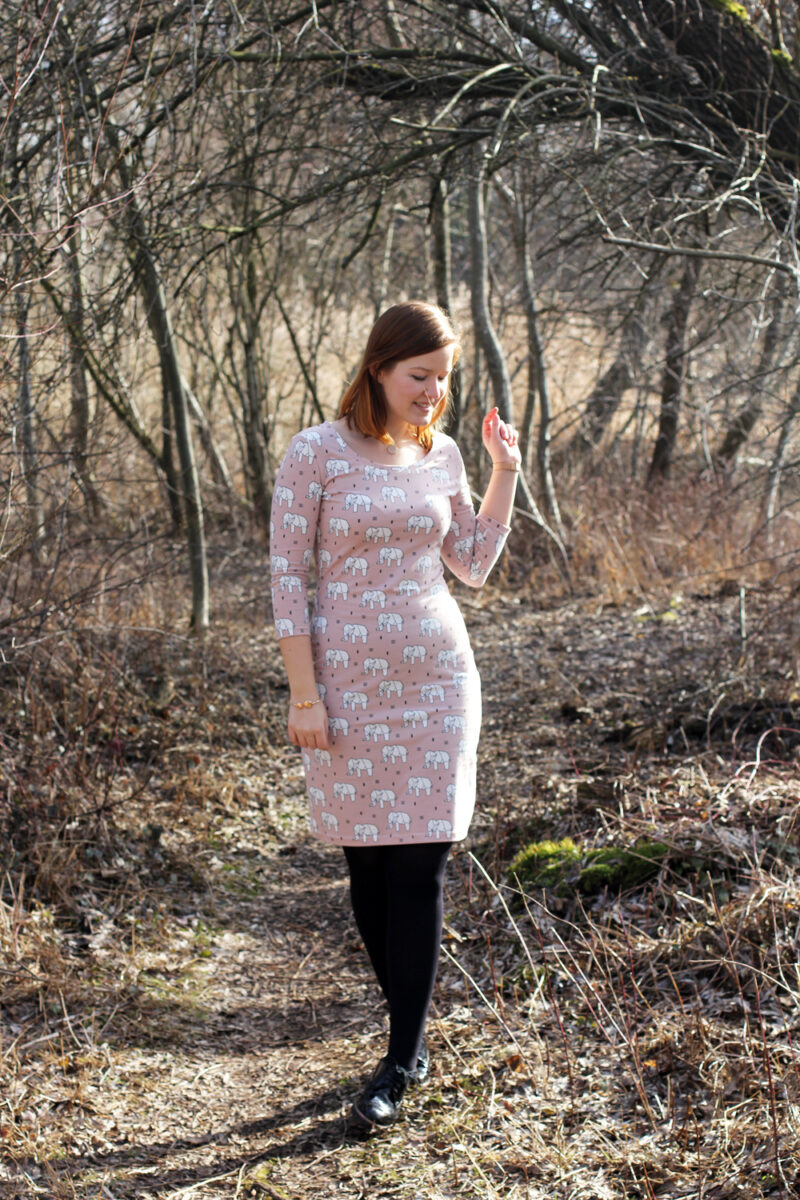
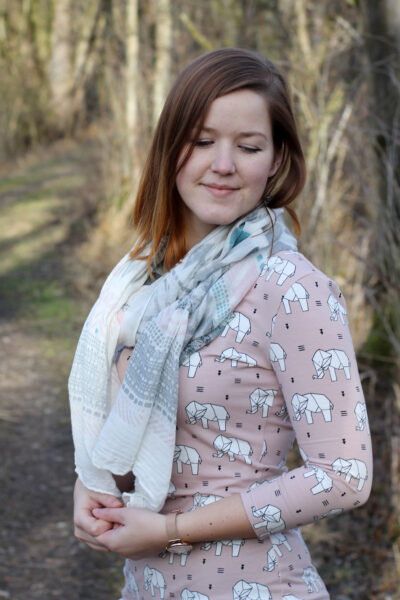
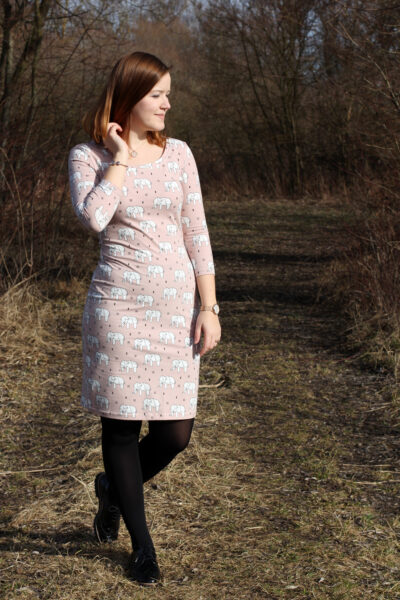
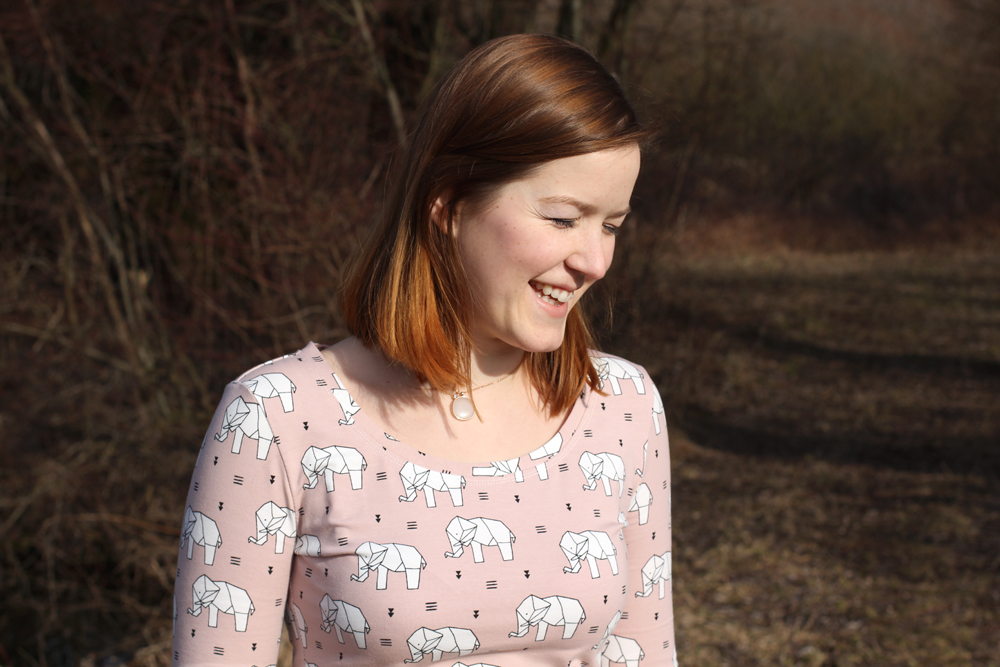
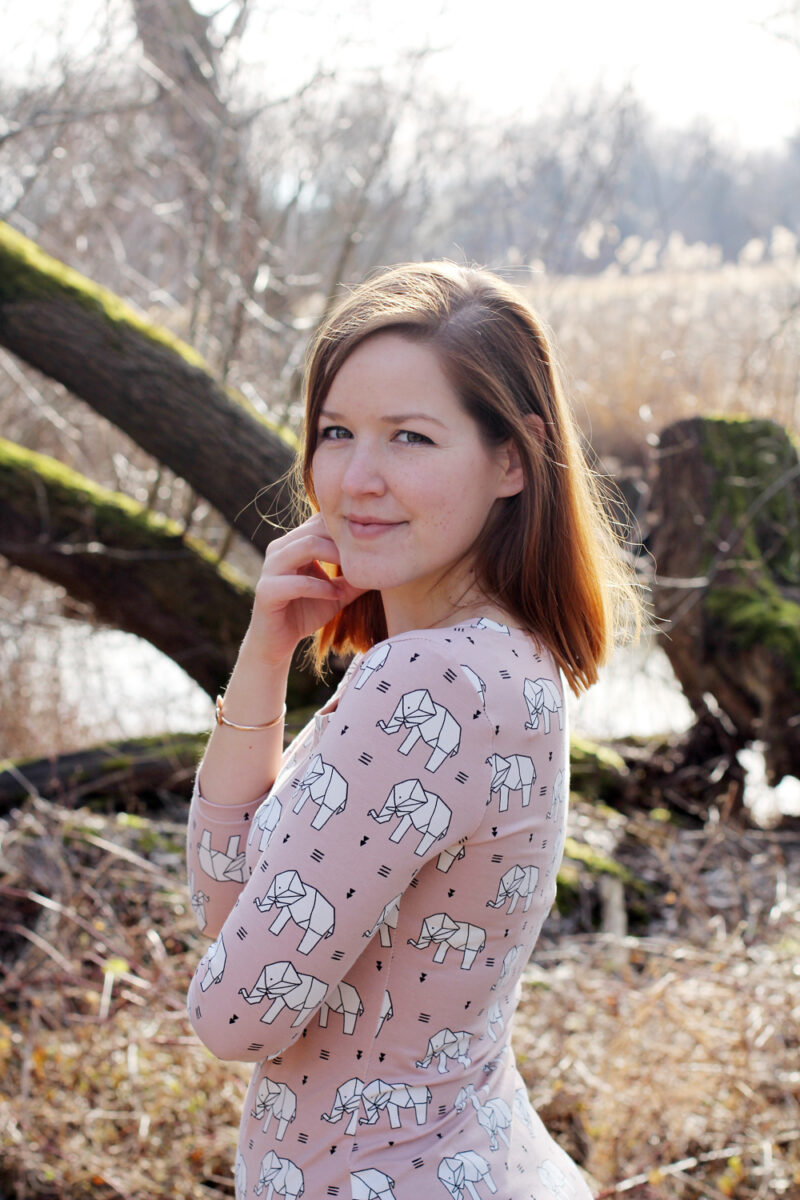
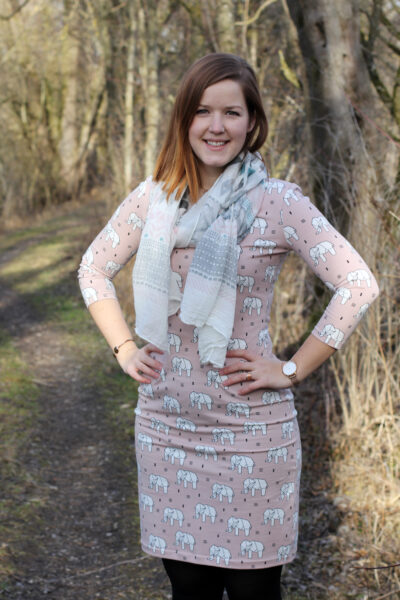
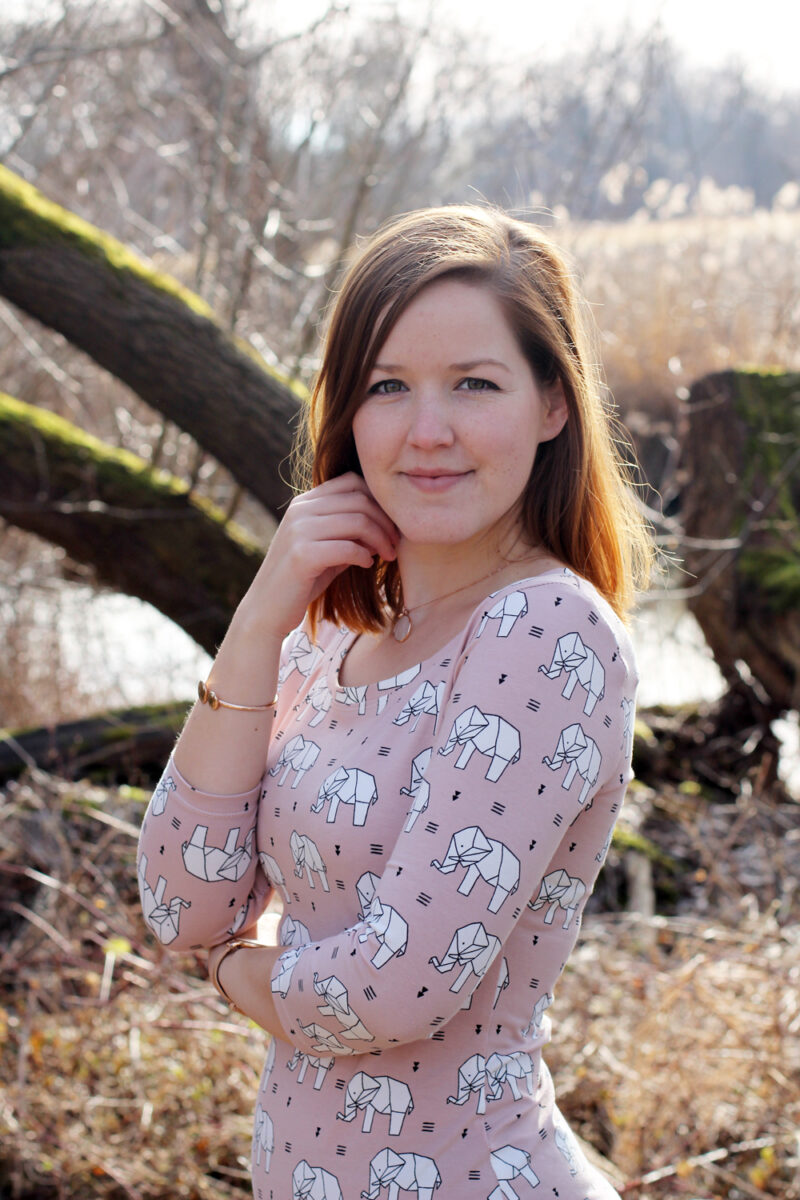
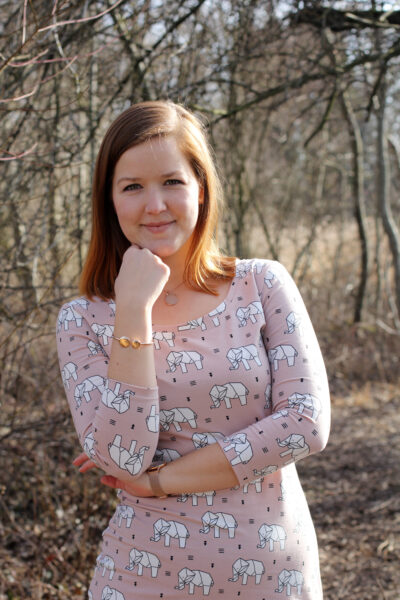
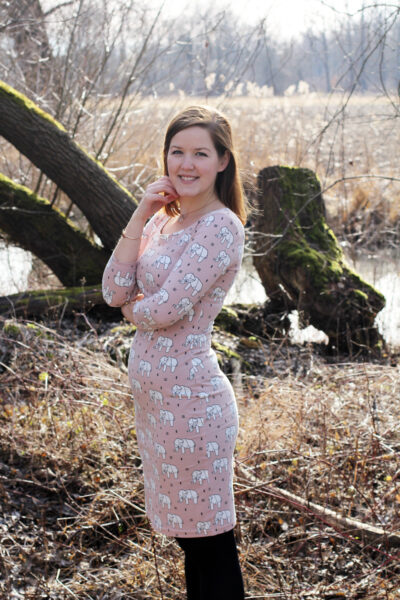
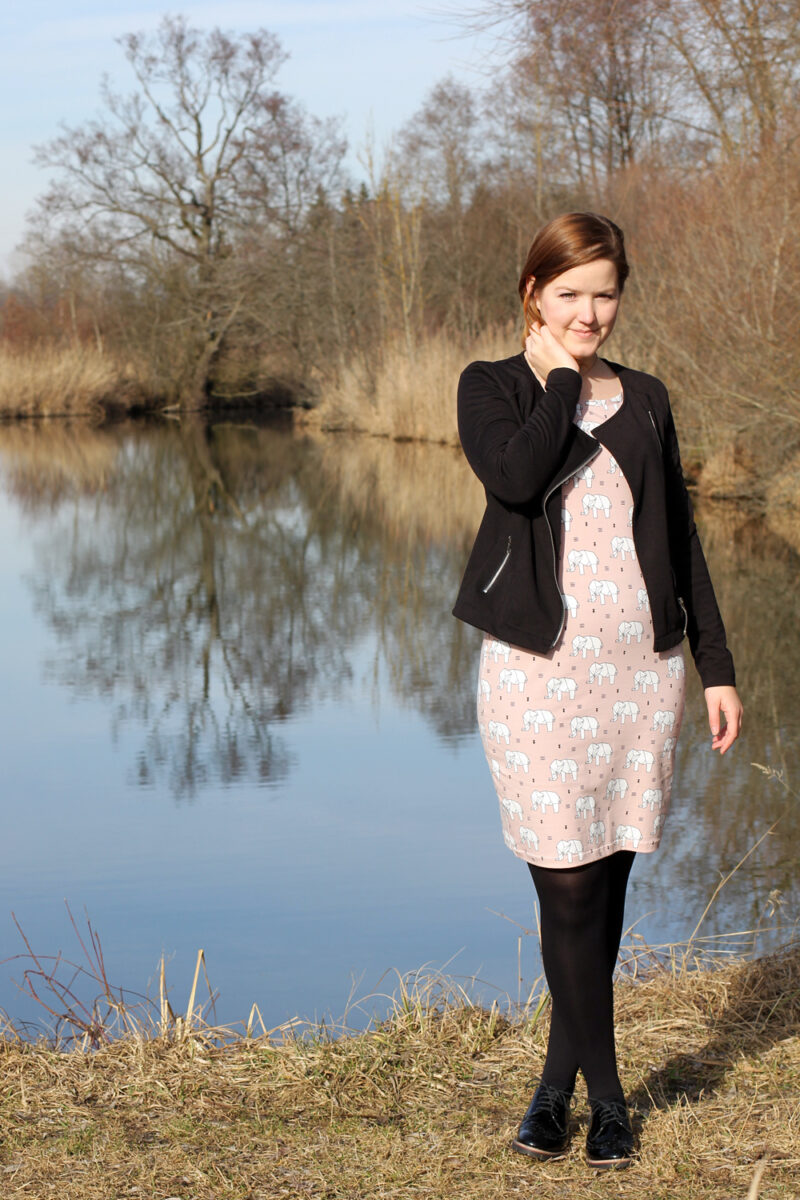
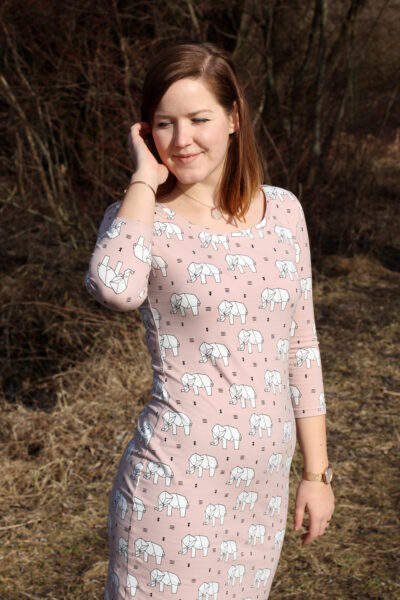
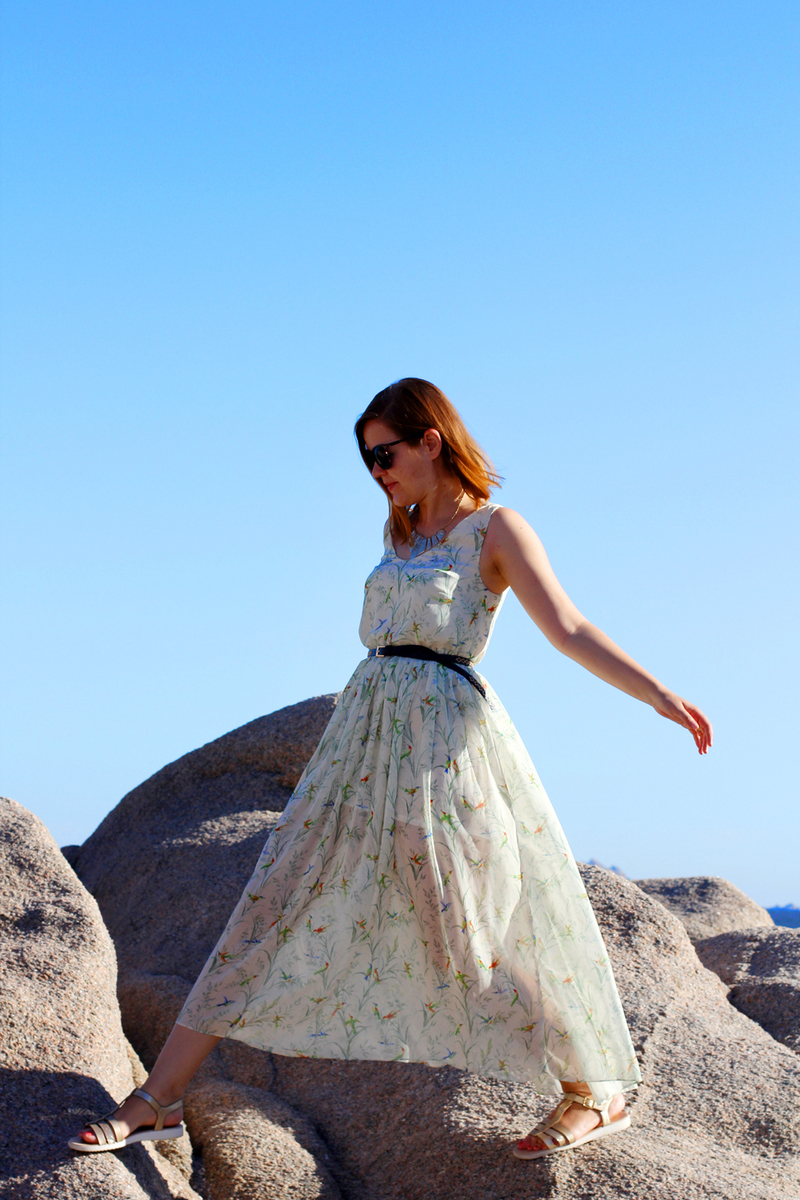
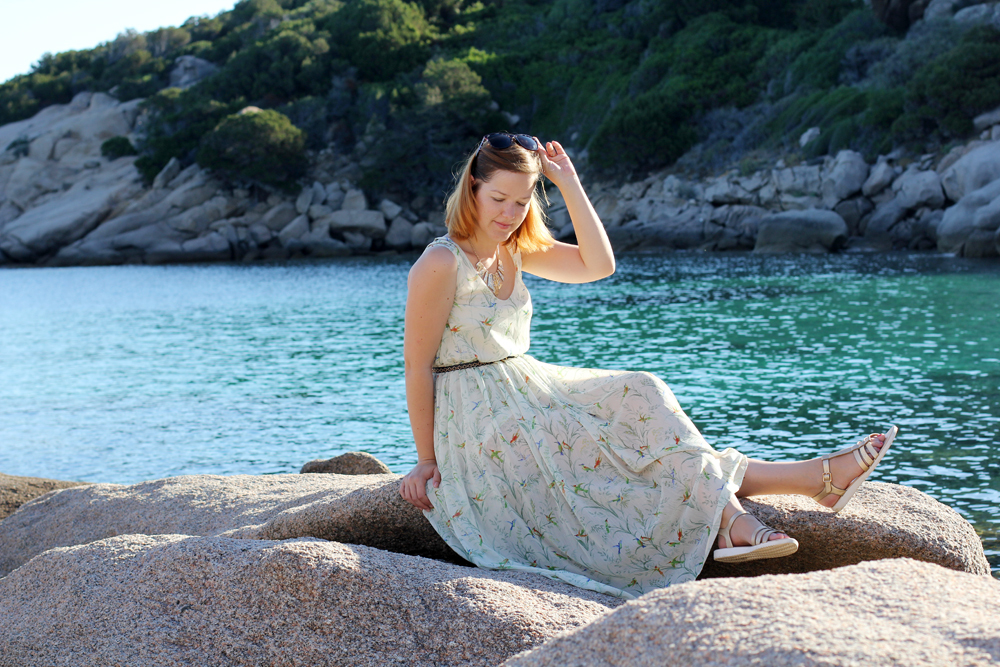
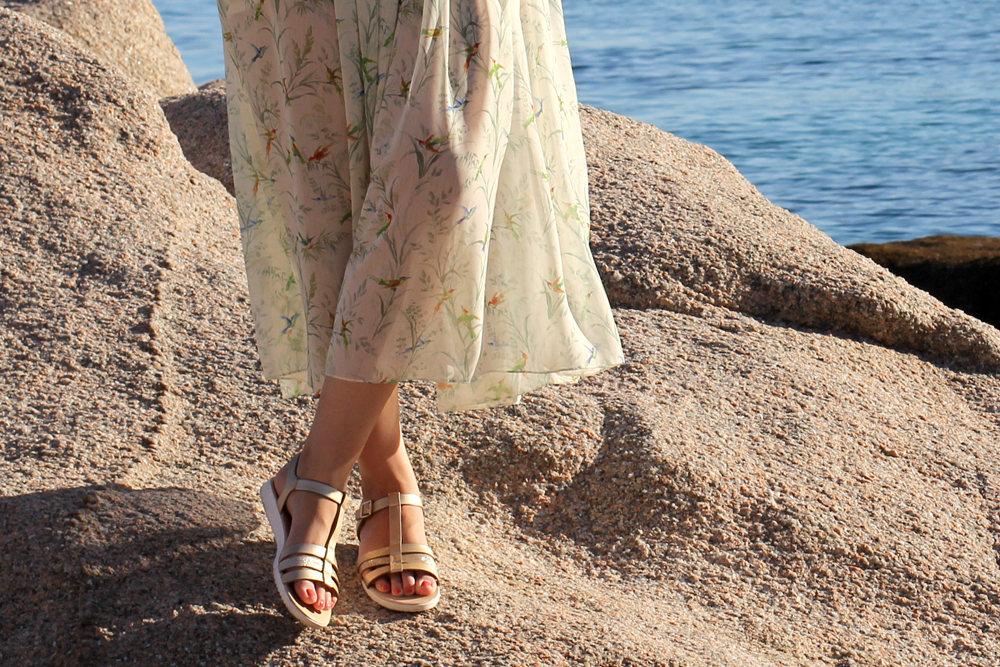
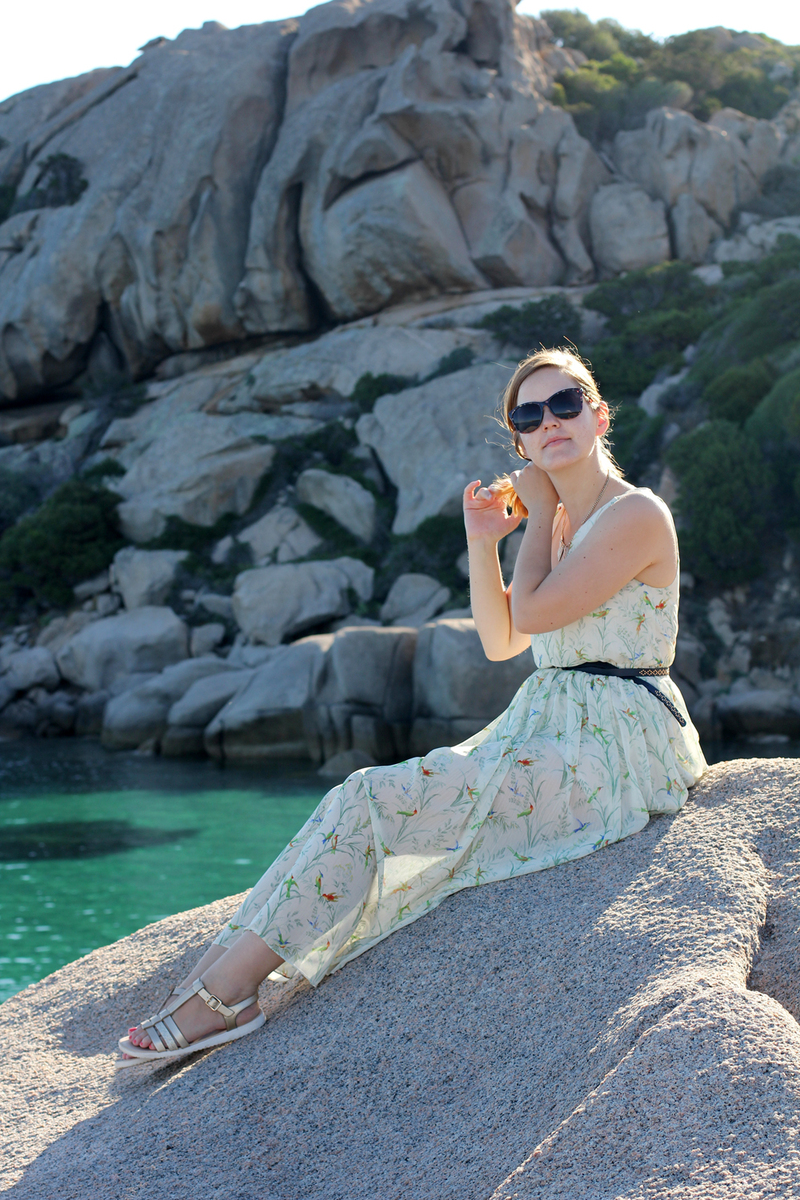
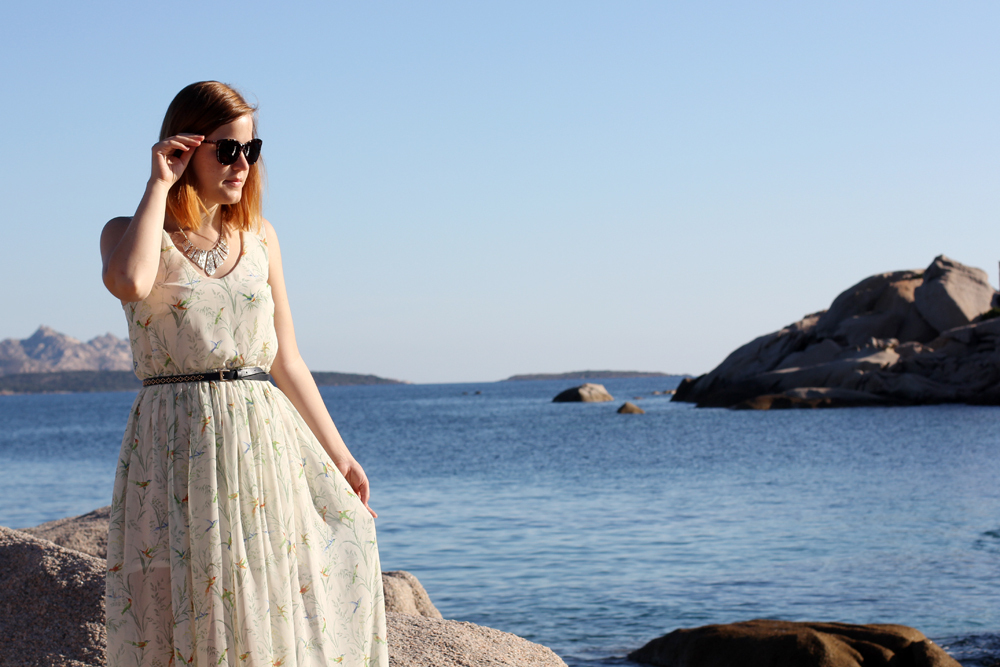
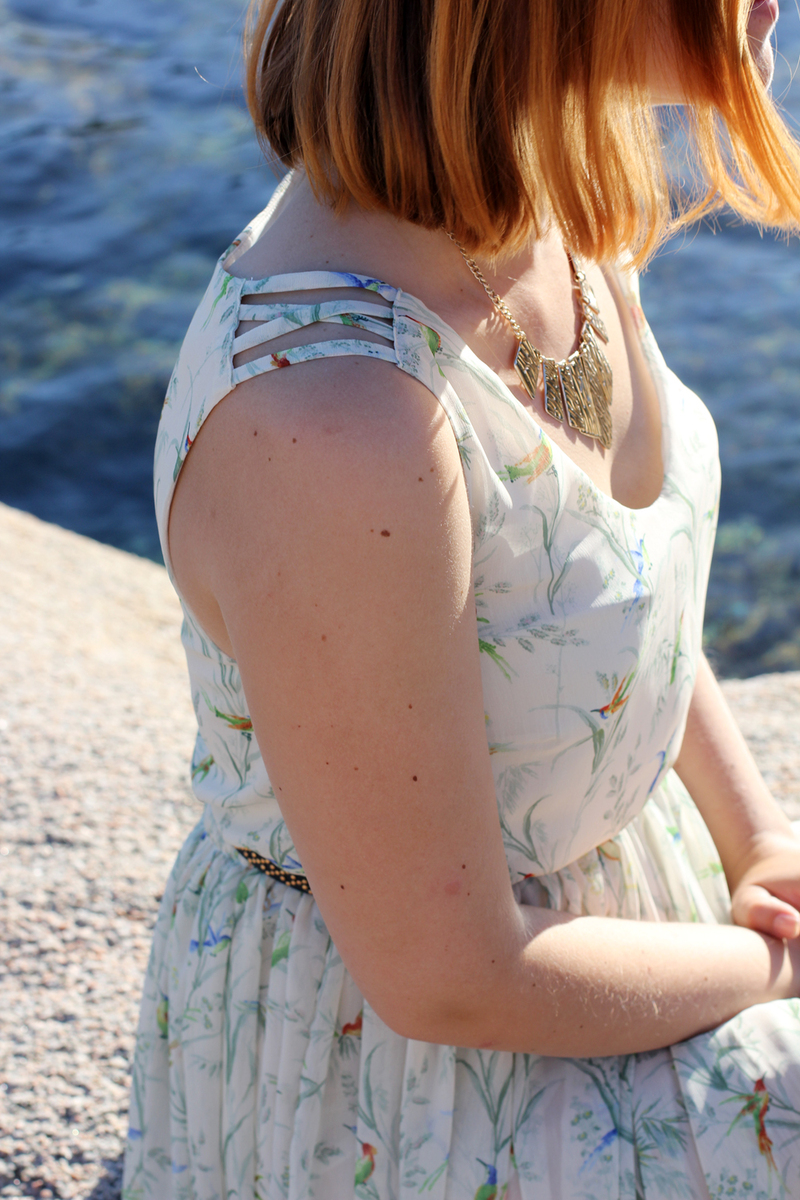
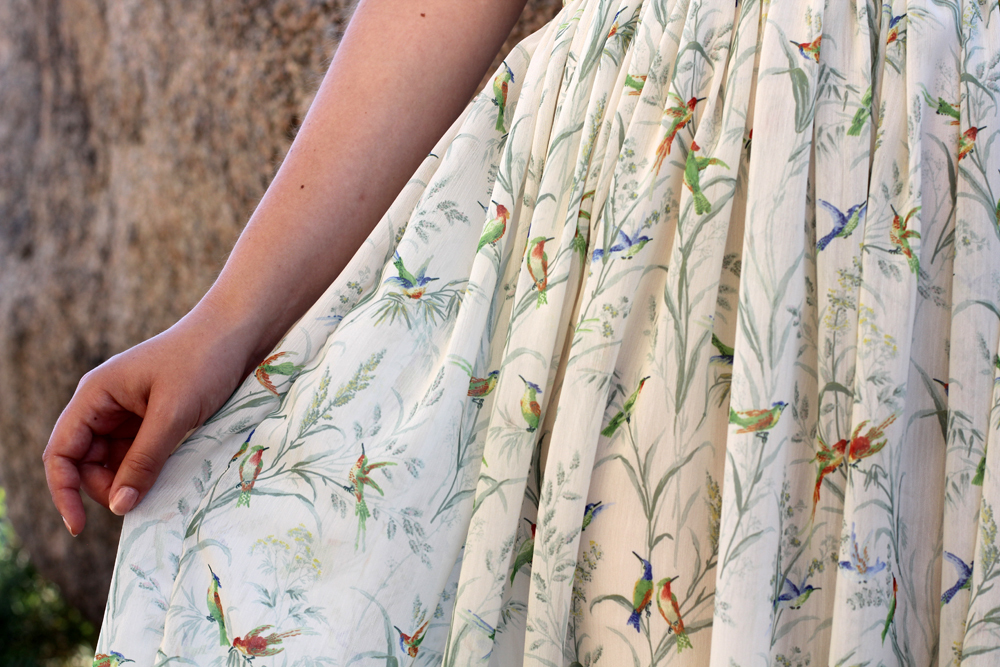
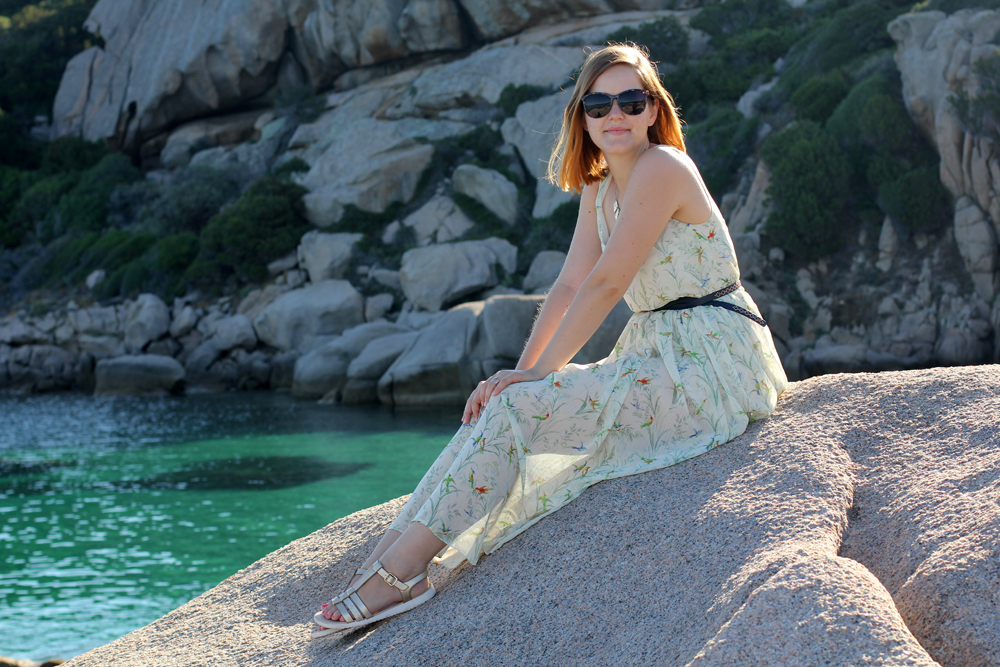
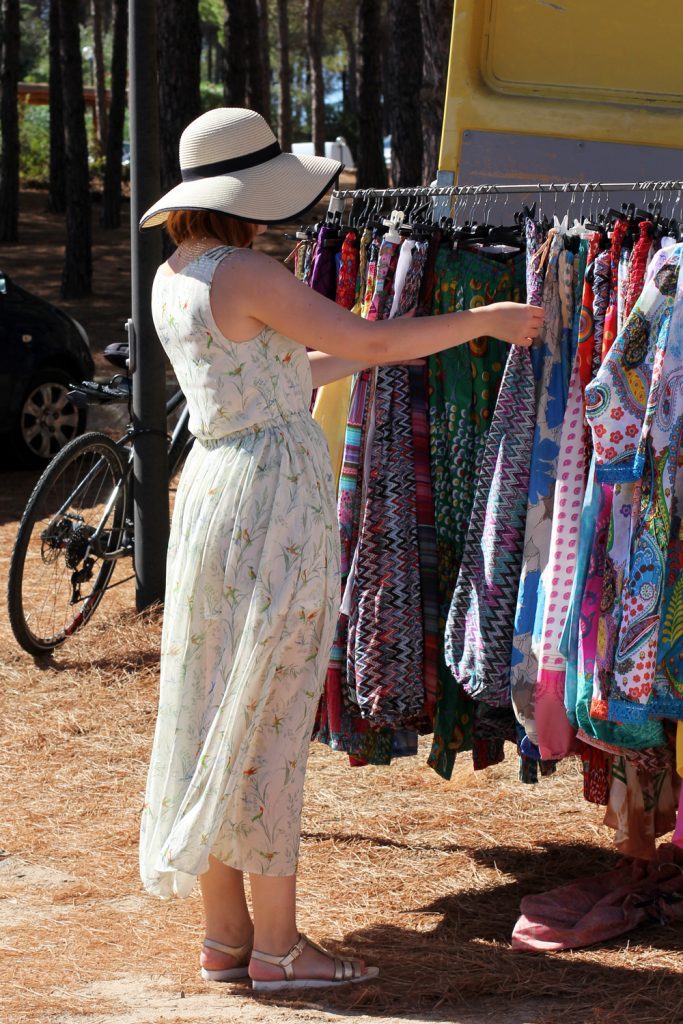
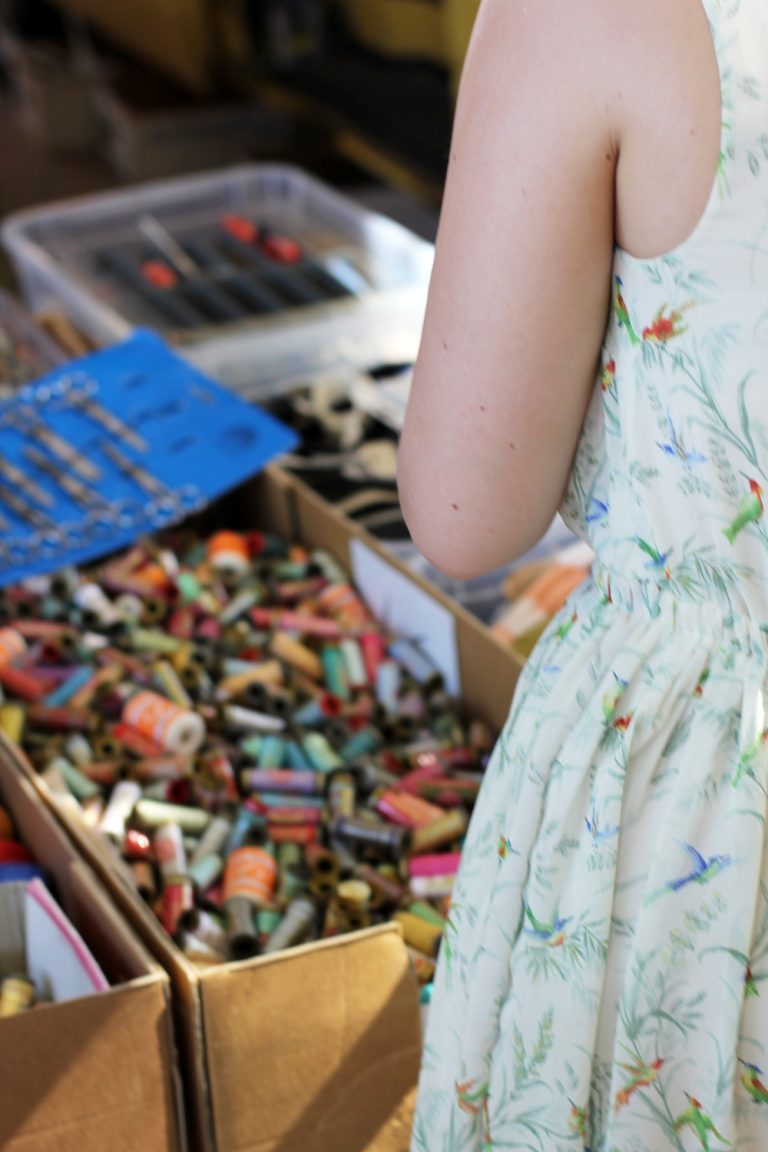
The pattern is the fabulous Sew Over It Silk Cami, which I simply lengthened into an awkward not-quite-a-dress-but-too-long-for-a-top length. And I actually really like it! I looks really good paired with skinny jeans or even leggings. I’ve been wearing it to work like this a lot recently. I will definitely make it again – but lengthen it to a more appropriate hemline and maybe add some darts in the back. The Silk Cami is a fantastic little pattern to play around with. You can  check out my project gallery to see some other versions that I have made.

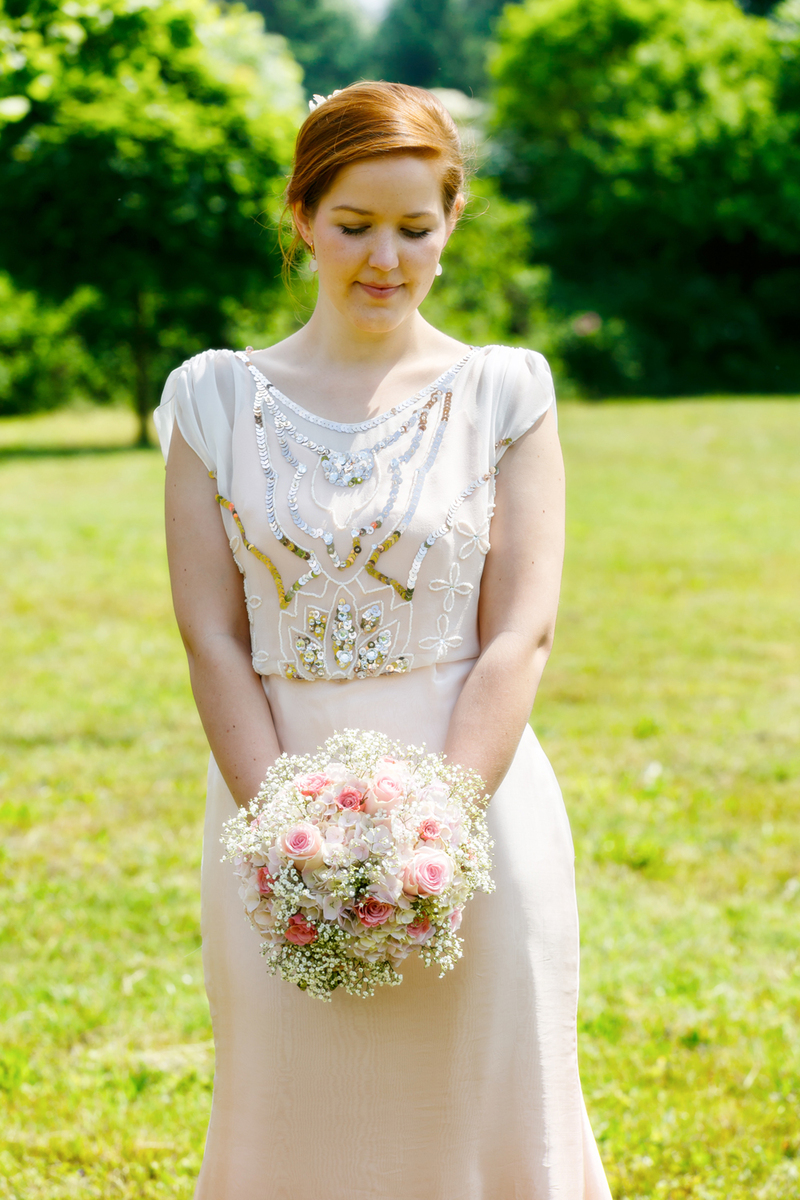
The fabric is a  lightweight polyester with a lovely peach-skin feel to it. I found it buried in my stash, so I am not entirely sure when and where I got it. I suppose it’s a survivor from one of my Goldhawk Road shopping sprees years ago! Well, I’m glad past-self bought it back then, because I really love this top/dress!

Sew Over It Silk Cami Dress by thisblogisnotforyou.com

Sew Over It Silk Cami Dress by thisblogisnotforyou.com

Sew Over It Silk Cami Dress by thisblogisnotforyou.com

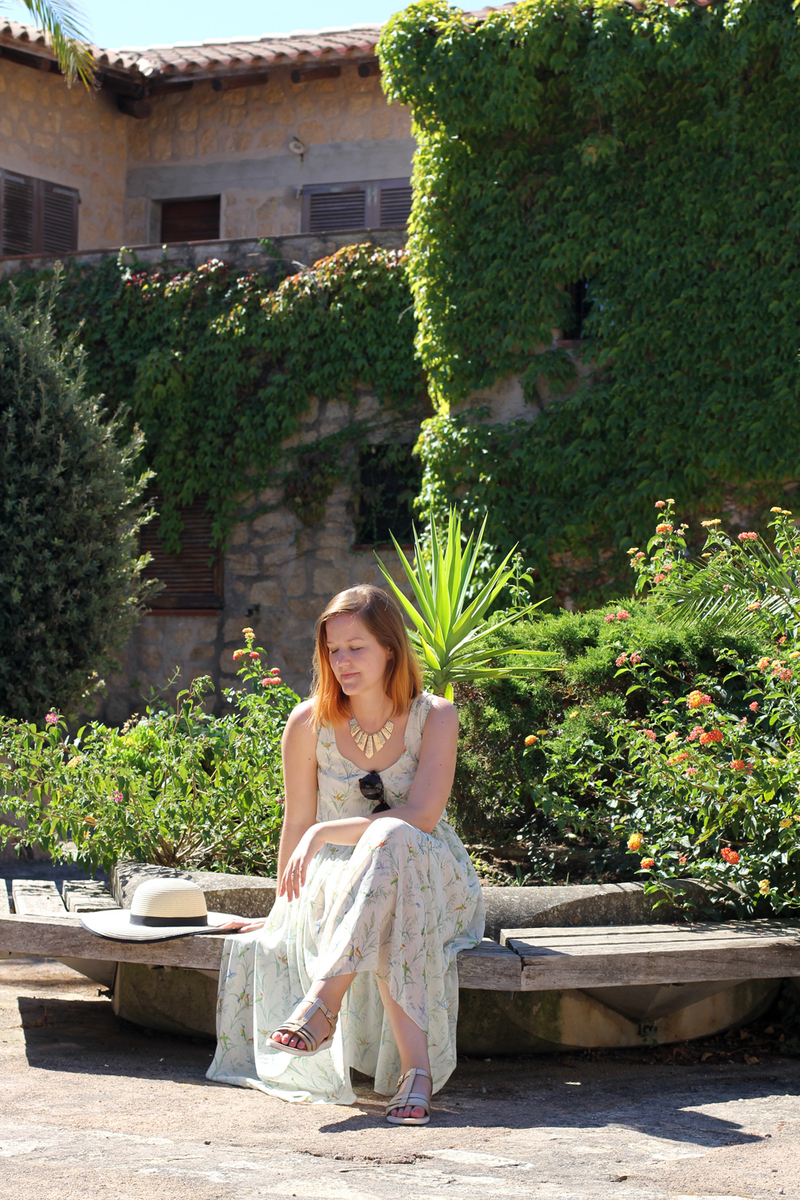
As nice as this project turned out, I wasn’t too keen on blogging it. And I thought I’d share why, because I feel that many of you might relate:

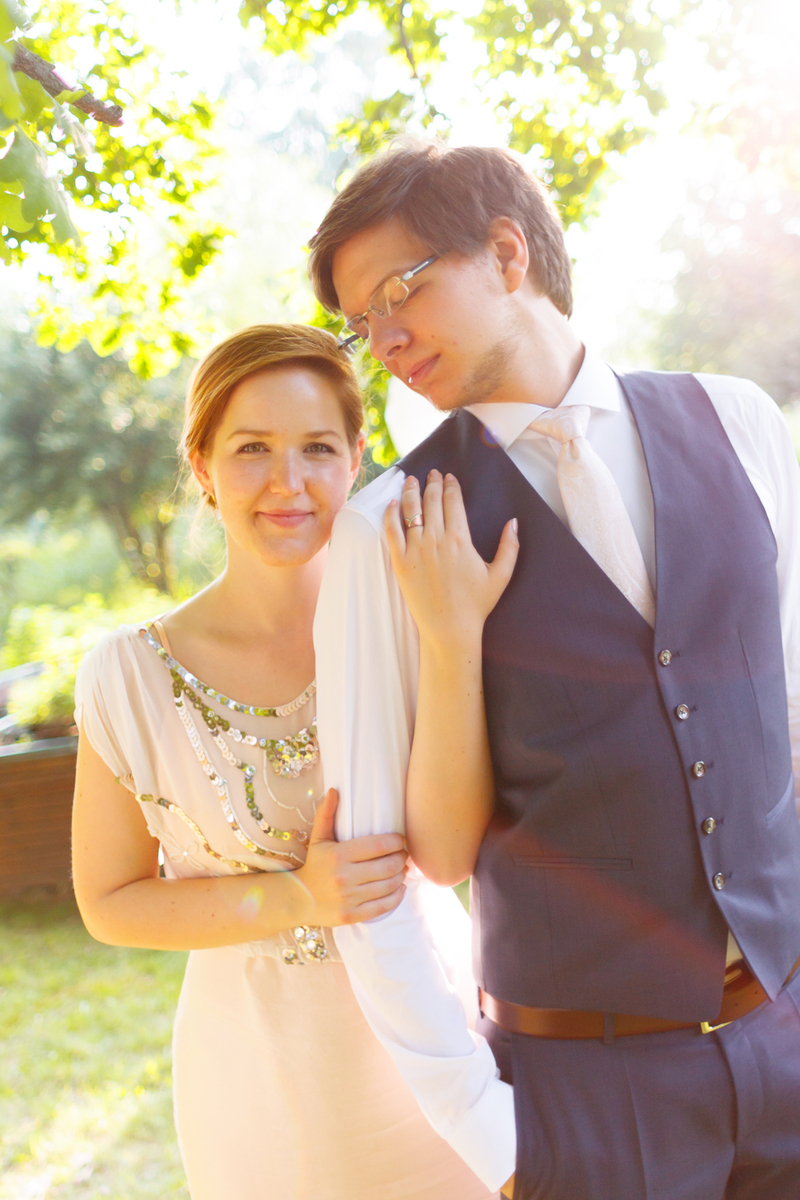
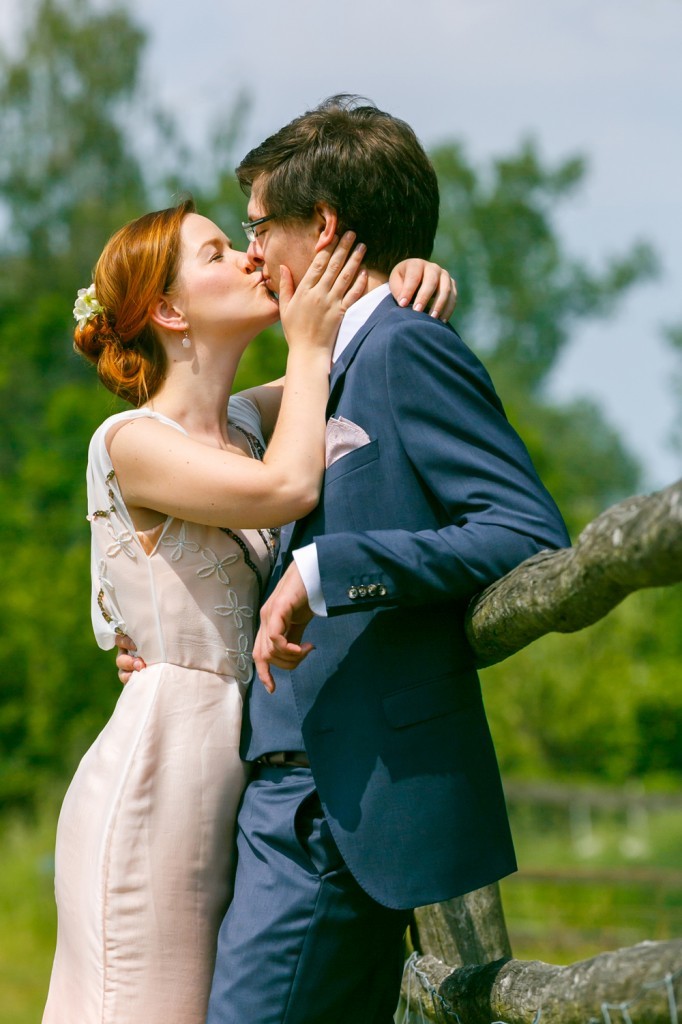
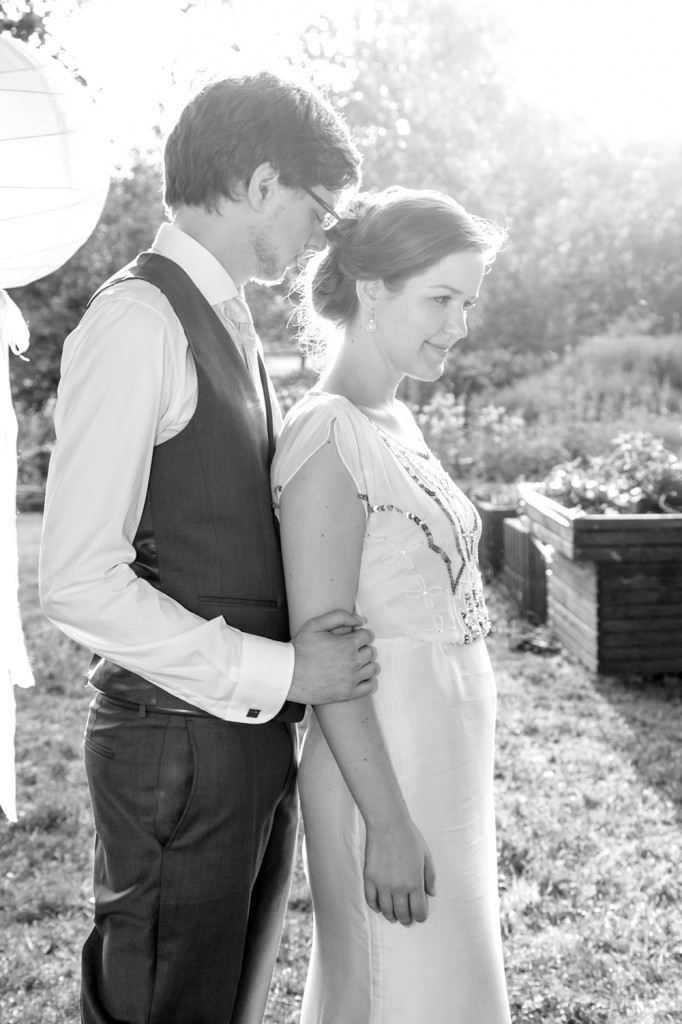
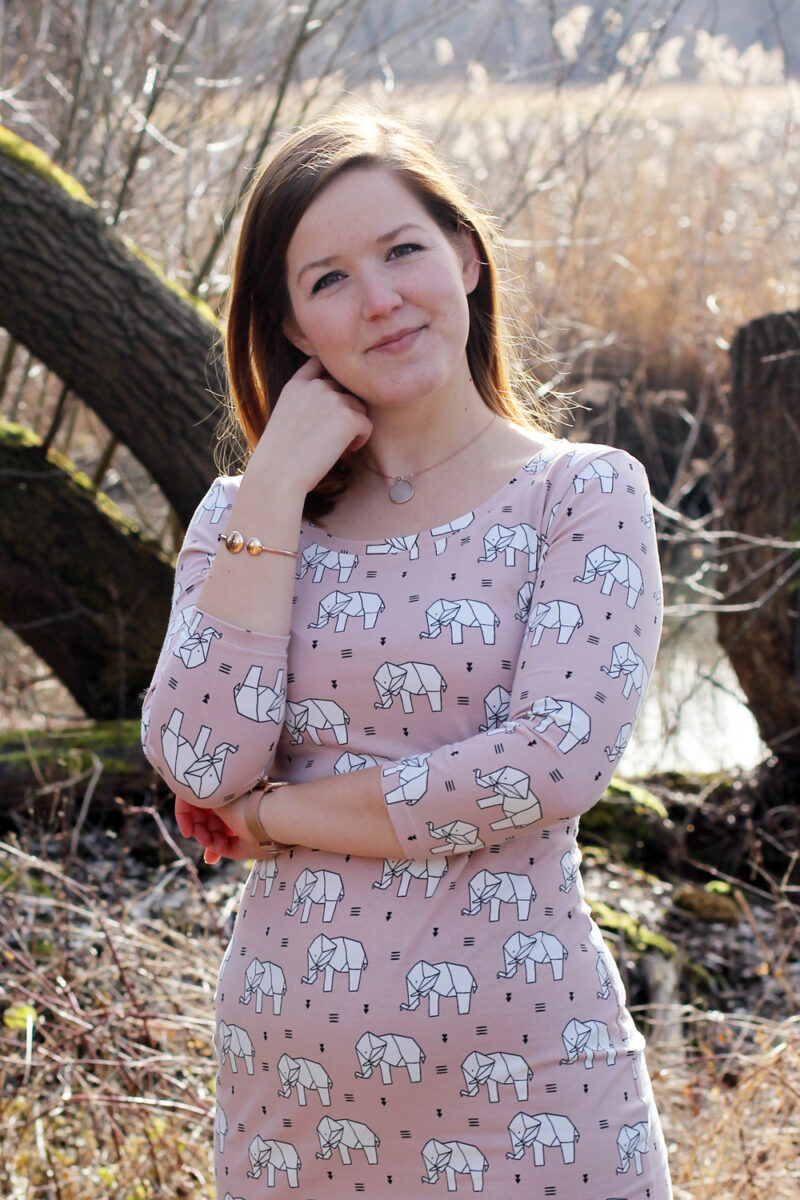
There are days when I hate myself in pictures.

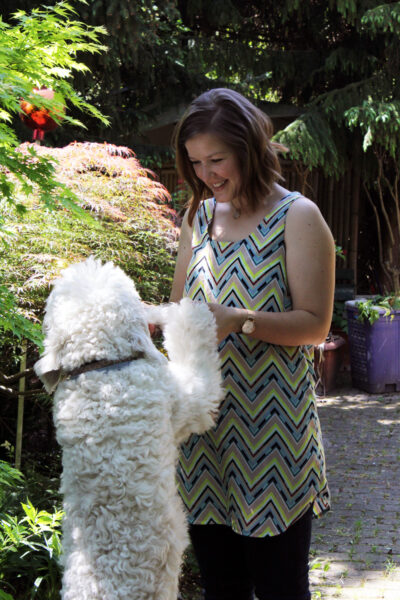
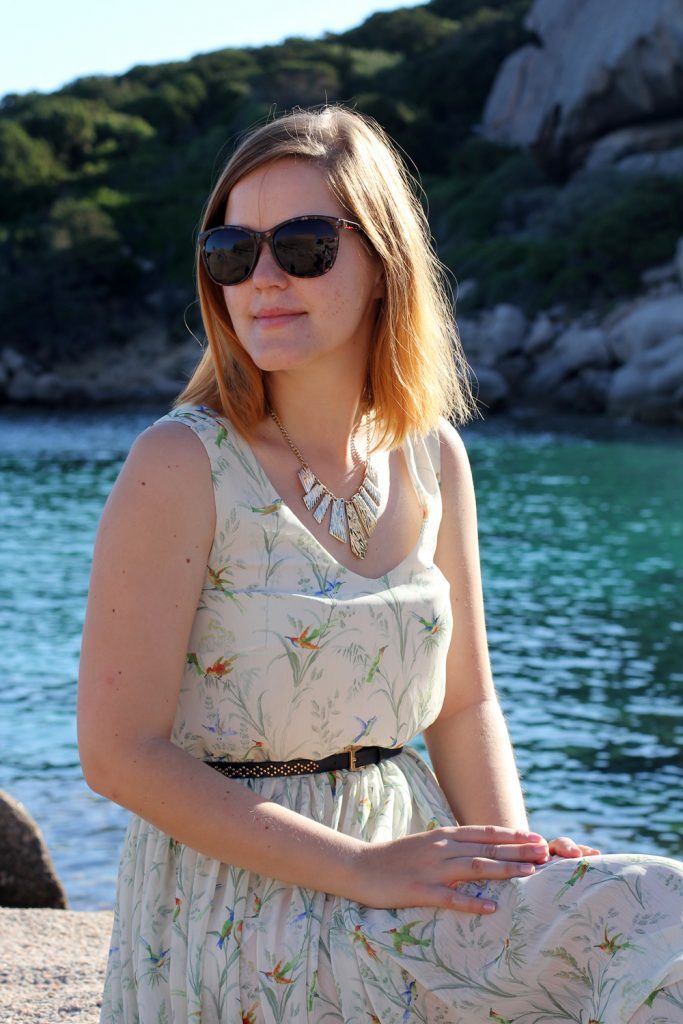
I say days, because there are also days when I’m really into a blog shoot and love the pictures we took. But many times as on this particular day, we take 50-100+ photos and afterwards I find it really hard to find enough pictures for the blog post that I like. It can be really unnerving, because I do love most of my me-made garments and feel great in them and proud but it doesn’t always transport into the picture. Sometimes it even chips away at the initial joy a finished project brings.

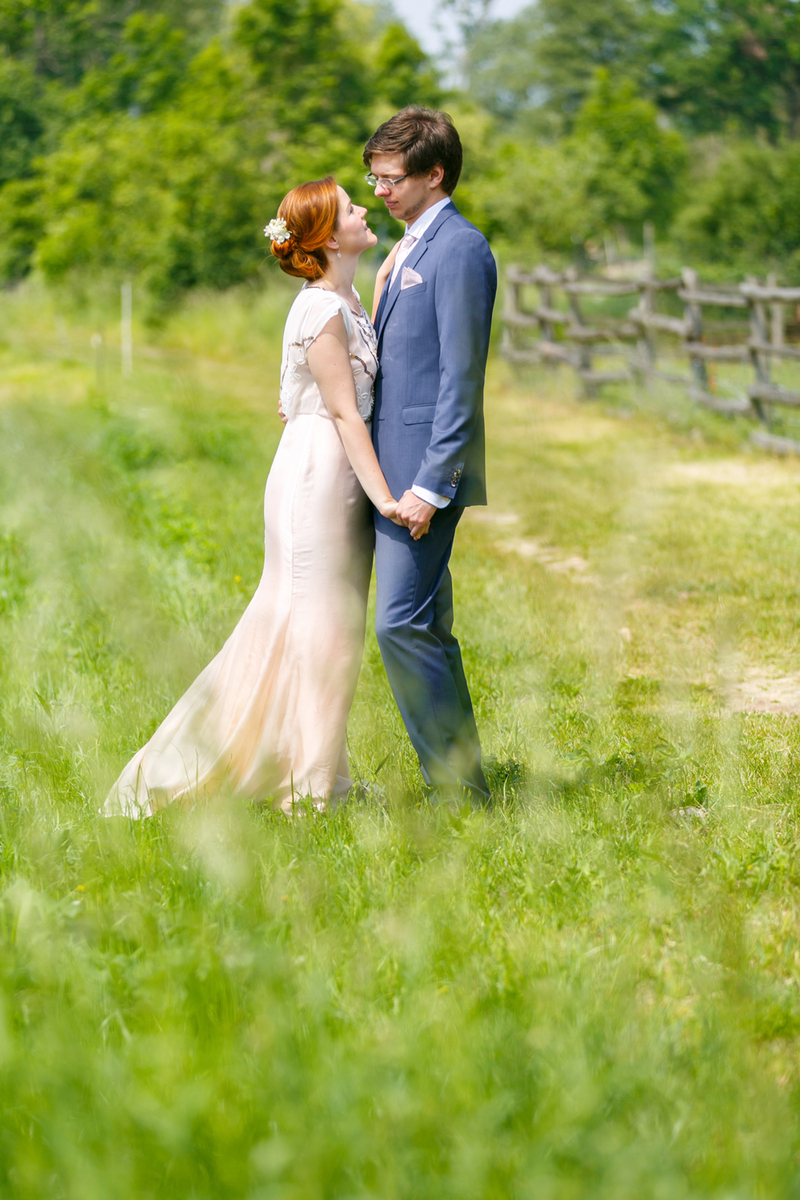
Well, I’m a maker, not a model, but this is part of the job, when you choose to share your makes online. Some days it just takes so much more courage and self-acceptance than others.

Recently, sewing has more and more been connected to body positivity and as a mental health professional I can only applaud that. Generally, I think sewing helps a lot with body positivity. Wearing something that fits you well, suits your body shape and style and on top of that is handmade, is simply amazing. But I think we have to separate sewing from blogging-about-sewing in this case, because sharing pictures of yourself online is a whole different story. I’m not sure if it helps with body positivity or rather pushes insecurities. What do you think?

I will write a more in-depth article on sewing, blogging & body image and I’d love to hear your thoughts on this!

xx

Charlie


Happy sewing!

facebook/bloglovin/pinterest
twitter/instagram

Stay in touch!


Elephant Print Agnes Dress

Agnes Dress by thisblogisnotforyou.comAgnes Dress by thisblogisnotforyou.comAgnes Dress by thisblogisnotforyou.com

Agnes Dress by thisblogisnotforyou.com

Agnes Dress by thisblogisnotforyou.comAgnes Dress by thisblogisnotforyou.com

Agnes Dress by thisblogisnotforyou.com


Hey guys, hope you’re all having a fantastic Sunday!

After spending the last couple of weeks mostly sewing for friends and family, I finally could squeeze in a sewing project for myself. I really have to be more selfish with my sewing if I want to keep wearing handmade clothes! I find it really hard to say no to requests and then also I often find myself offering my help. Sounds familiar, anyone? For some reason I can find little joy in sewing for others, especially if there’s no opportunity for a fitting. Putting a lot of work into something not knowing whether it will fit is just not enjoyable to me. (The exception is my nieces, really. Sewing for babies is always fun as fitting is easy and you can just go wild with your fabric choices and use up all your fabric scraps.)

I bought this amazing elephant print jersey on Stoffe.de (myfabrics.co.uk in the UK). I loved the print right away. I wanted to make an Agnes top at first, but had enough fabric left for the dress hack. The last Agnes dress I made has become such a wardrobe staple for me, which can easily be dressed up or down for the occasion, that I had to make another one. It was my husband’s birthday that weekend, and a dress would be much cuter for the party than jeans + top.

As mentioned before, I used the Tilly & The Buttons Agnes Top pattern, which I have sewn and hacked many times before. (Check out my project gallery for all the different versions!) Hacking the top into a dress is really, really simple. I also added 3/4 sleeves and went for the simple scoop neckline, as the print was busy enough.
Agnes Dress by thisblogisnotforyou.com

Agnes Dress by thisblogisnotforyou.com


As always, the fit of the Agnes pattern is amazing. As the fabric wasn’t as stretchy as I had hoped, it was a little bit tight at first, but stretched out after the first wear. The Agnes pattern is super versatile and so quick to cut out and sew. I wasn’t really lucky with the first bunch of Tilly patterns (especially from her Love At First Stitch book), as I just couldn’t get them to fit right no matter what I tried. But Agnes really makes up for it!

The pattern is perfect for busy prints like my elephant fabric. Although I used this pattern quite a few times before, all the clothes I made with it look so different, that you can’t really tell it’s the same pattern.

Will there be more Agnes’ in the future? Hell, yeah!Agnes Dress by thisblogisnotforyou.com

Agnes Dress by thisblogisnotforyou.com

Agnes Dress by thisblogisnotforyou.comAgnes Dress by thisblogisnotforyou.comAgnes Dress by thisblogisnotforyou.com

I’m so happy that spring’s back! The sun is luring me out of the house. Luckily there are enough rainy weekends still, to get some sewing done for the warmer season…

Do you have any recommendations for wardrobe staple patterns? And what are your spring sewing plans?

xx

Charlie


Happy sewing!

facebook/bloglovin/pinterest
twitter/instagram

Stay in touch!

Honeymoon Maxi Dress

Chiffon Maxi Dress by Thisblogisnotforyou.comChiffon Maxi Dress by Thisblogisnotforyou.comChiffon Maxi Dress by Thisblogisnotforyou.comChiffon Maxi Dress by Thisblogisnotforyou.comChiffon Maxi Dress by Thisblogisnotforyou.comChiffon Maxi Dress by Thisblogisnotforyou.com (Click through for more pics and info!)

Chiffon Maxi Dress by Thisblogisnotforyou.com

Chiffon Maxi Dress by Thisblogisnotforyou.comChiffon Maxi Dress by Thisblogisnotforyou.com

  GOODBYE SUMMER

Before this blog fills up with autumn makes and lush wool fabrics, I need to share this last summer make with you! I made this dress for our honeymoon in Sardegna, Italy.

Although this dress is far from perfect and not exactly how I envisioned it, I’m really pleased with it and loved wearing it on holiday. Since we’ve been back from our trip, it has been hanging in the closet, though, waiting for summer to return next year.

I drafted the pattern myself by copying a RTW mini summer dress I liked the fit of. Copying the pattern was quite easy and the cut was rather boxy and simple. I had this really beautiful and delicate bird print chiffon in my stash. I knew it would be quite see-through even with the lining, so I decided to use a lot more fabric for the skirt, cutting a wider skirt and thus, adding more gathers. This helped with the transparency, but I have to admit that it’s not the most flattering silhouette – and it’s a lot warmer, as well.

Apart from this, I really love it, although the sewing process didn’t go as smoothly as I hoped. By copying the pattern, I somehow lost about 5cm of shoulder strap length – I have no idea how that happened. And I didn’t notice until I tried the fully-constructed bodice on – lining understitched an all. The fit was horrible and it took me a while to get behind the reason for this. The bodice was sitting way too high, too tight around the bust and the armholes were also too small! There was no way I would’ve deconstructed the whole thing again and I would’ve lost a lot of skirt length by cutting out a new bodice. I was forced to get creative, which is how this awesome criss-cross shoulder strap detail happened. I basically cut the bodice at the shoulder seams and inserted the missing 5 cm of length by adding four tiny straps to each side.

Chiffon Maxi Dress by Thisblogisnotforyou.comChiffon Maxi Dress by Thisblogisnotforyou.comChiffon Maxi Dress by Thisblogisnotforyou.comChiffon Maxi Dress by Thisblogisnotforyou.com

The dress is lined with some ivory tricot fabric. The skirt a very simple shape, no gathers or even darts. It hits mid-thigh, with is a lot shorter than I usually wear, but the long layer of chiffon keeps it quite decent-looking.

The chiffon skirt is basically just two large rectangular pieces sewed together at the side seams and gathered into the waist. I used my rolled-hem foot to hem the skirt. Initially, I wanted to make a floor-length maxi skirt, but I didn’t have quite enough fabric so now it’s a midi rather than a maxi length.

You see, there have been a lot of changes and some frustration in the process of making this dress. In the end I somehow managed to turn it into something wearable I really like.

So all’s well that ends well.

I wore the dress on a little trip through town, shopping at the local market. They even had some really lovely haberdashery on display!

Chiffon Maxi Dress by Thisblogisnotforyou.comChiffon Maxi Dress by Thisblogisnotforyou.comChiffon Maxi Dress by Thisblogisnotforyou.com

Chiffon Maxi Dress by Thisblogisnotforyou.com

Chiffon Maxi Dress by Thisblogisnotforyou.comChiffon Maxi Dress by Thisblogisnotforyou.com

These rather bumpy projects can be the most valuable! Mistakes don’t have to become failures. They can push us to be more creative.

Do you have any sewing fails that you managed to turn into something beautiful?

xx

Charlie


Happy sewing!

facebook/bloglovin/pinterest
twitter/instagram

Stay in touch!

Zierstoff ANIKA Dress

Zierstoff Anika Dress by thisblogisnotforyou.comZierstoff Anika Dress by thisblogisnotforyou.comZierstoff Anika Dress by thisblogisnotforyou.com

Zierstoff Anika Dress by thisblogisnotforyou.com

Zierstoff Anika Dress by thisblogisnotforyou.comZierstoff Anika Dress by thisblogisnotforyou.com

Hello there!

These pictures make me feels like autumn is already around the corner! But it’s actually really hot and summery here at the moment. I took these pics two weeks ago when the weather was quite cool and windy after we had a week of rainy days. Right now there’s nothing that could make me wear anything long-sleeved!

Let’s talk about the pattern!

The pattern is the ANIKA DRESS by ZIERSTOFF. Zierstoff is a German indie pattern company who recently started offering some of their favourite patterns in English. They have some really awesome women and kids wear patterns, you should really check them out if you don’t know them yet.Zierstoff Anika Dress by thisblogisnotforyou.comZierstoff Anika Dress by thisblogisnotforyou.comZierstoff Anika Dress by thisblogisnotforyou.comZierstoff Anika Dress by thisblogisnotforyou.comZierstoff Anika Dress by thisblogisnotforyou.com
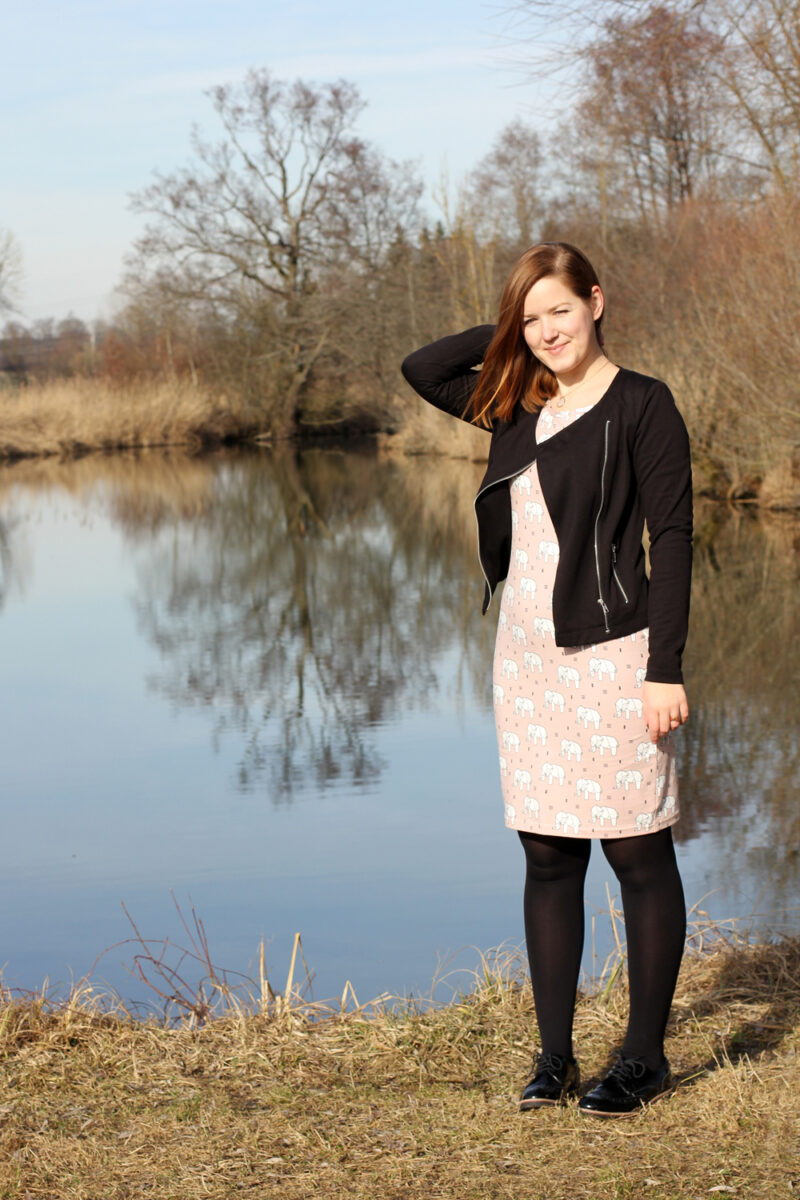
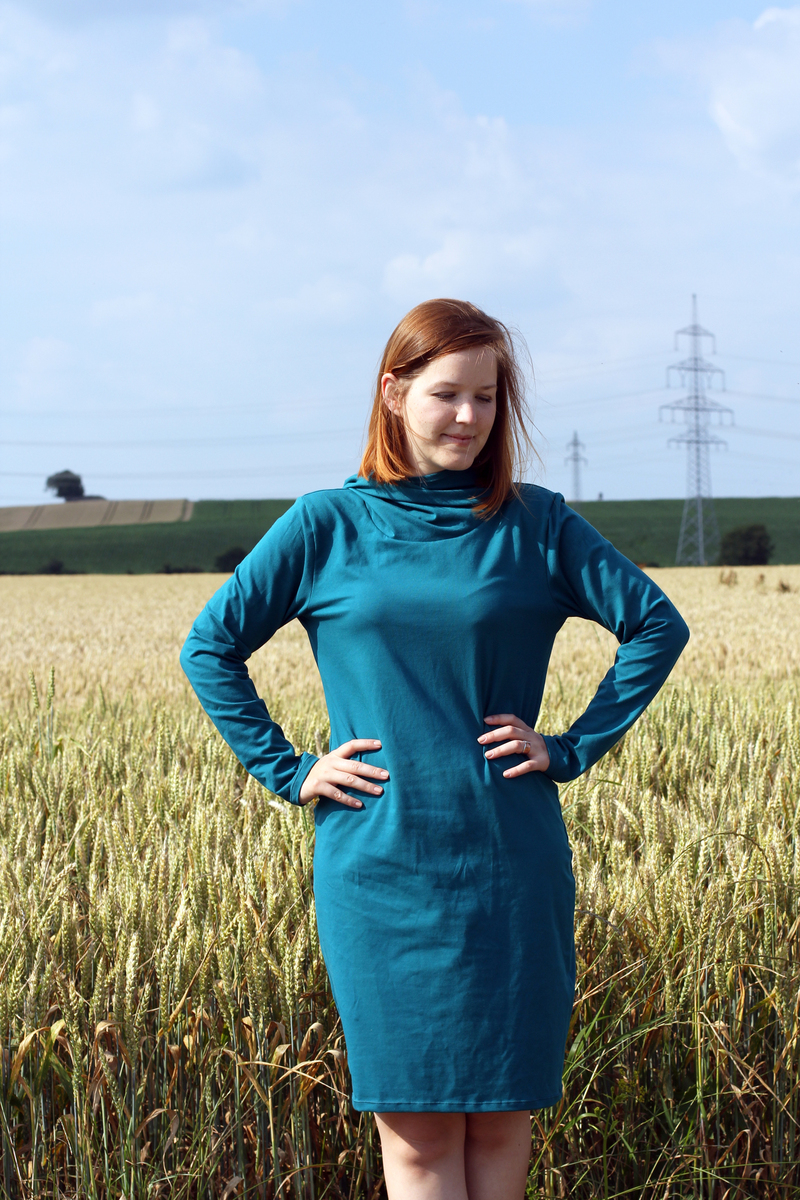
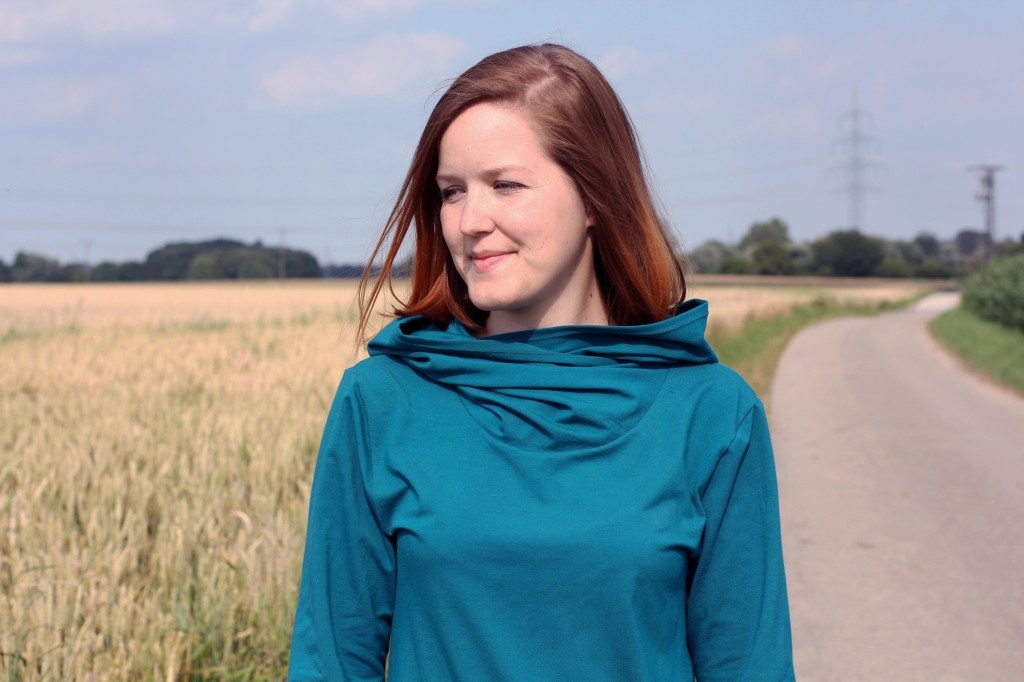
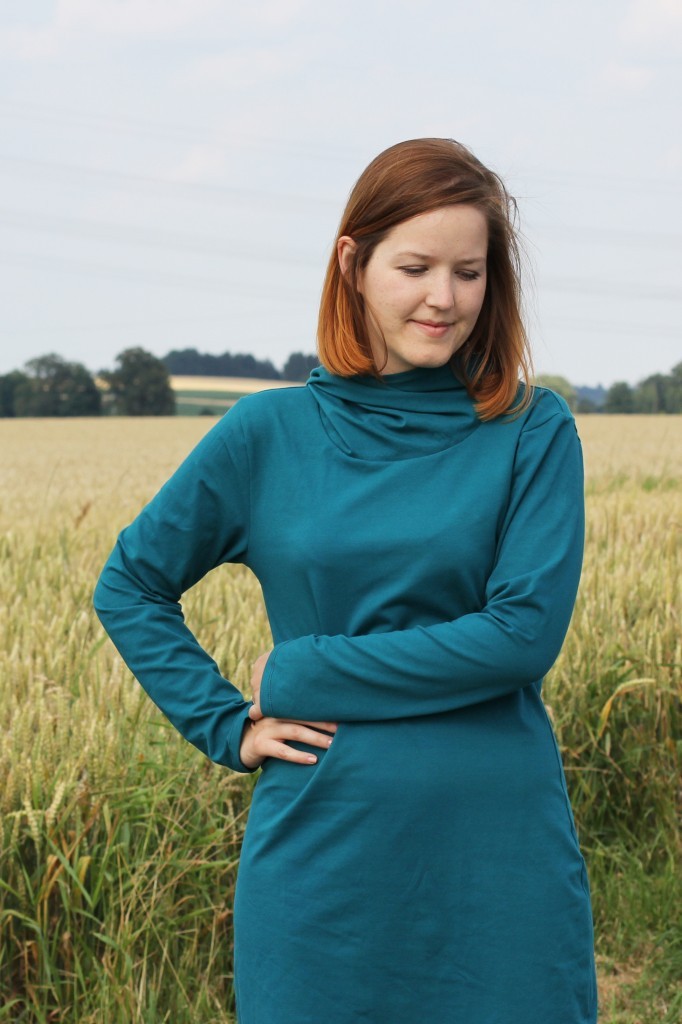
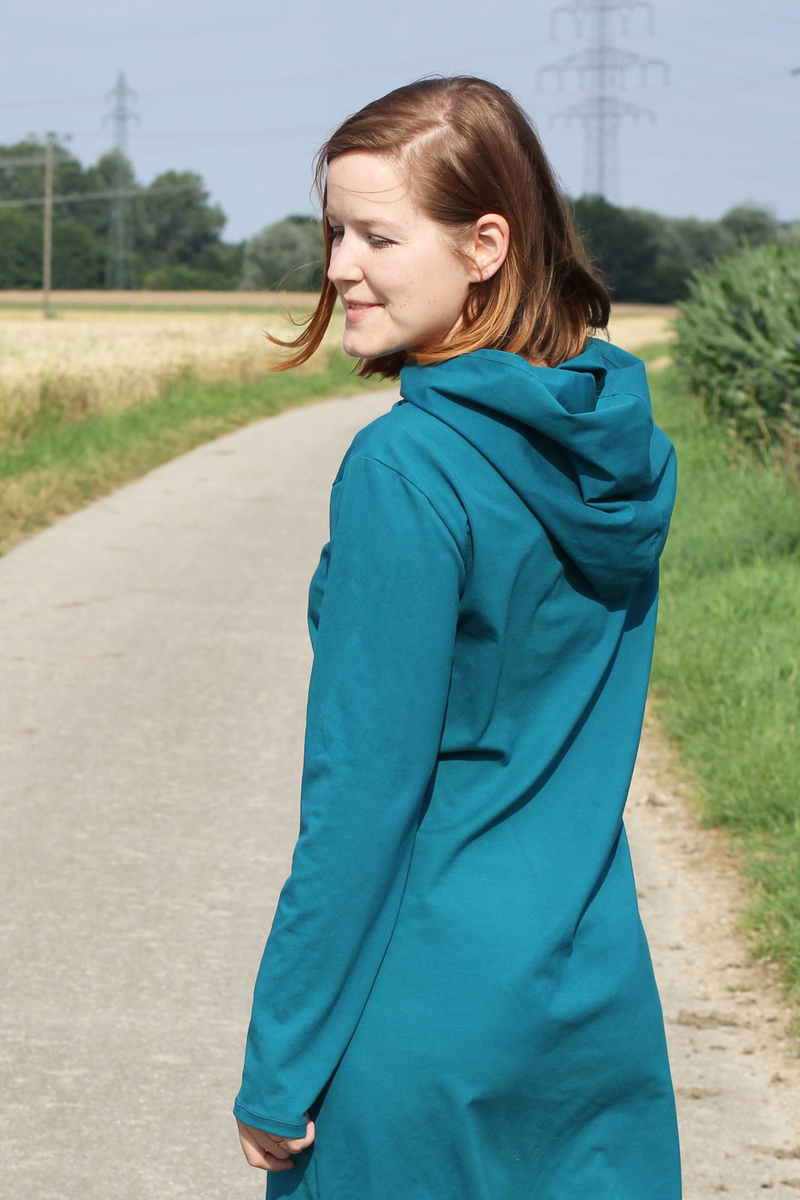
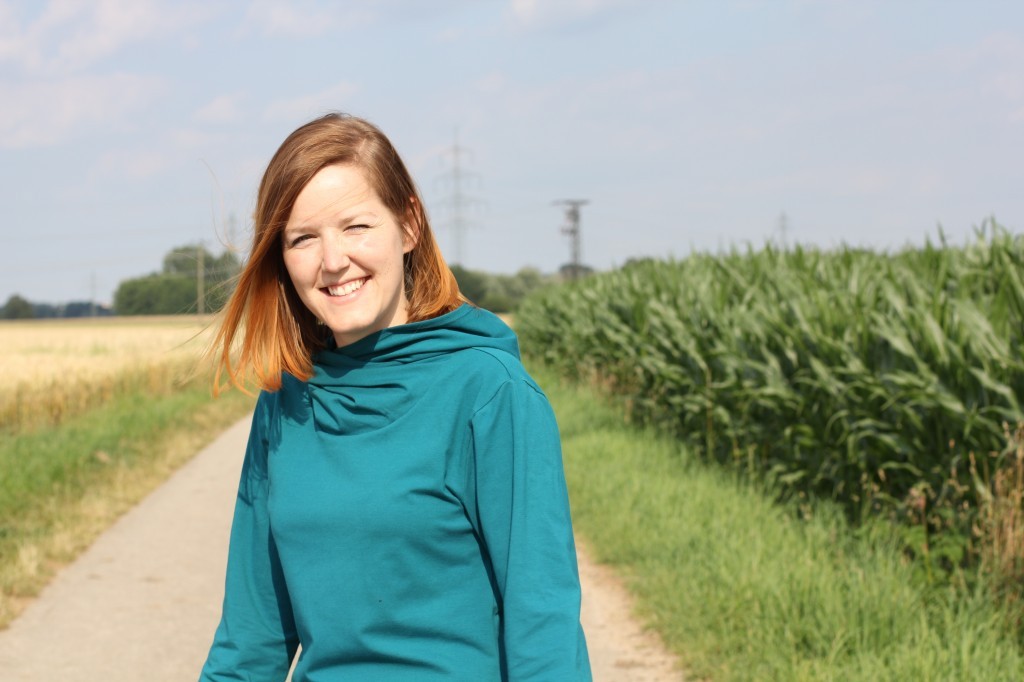
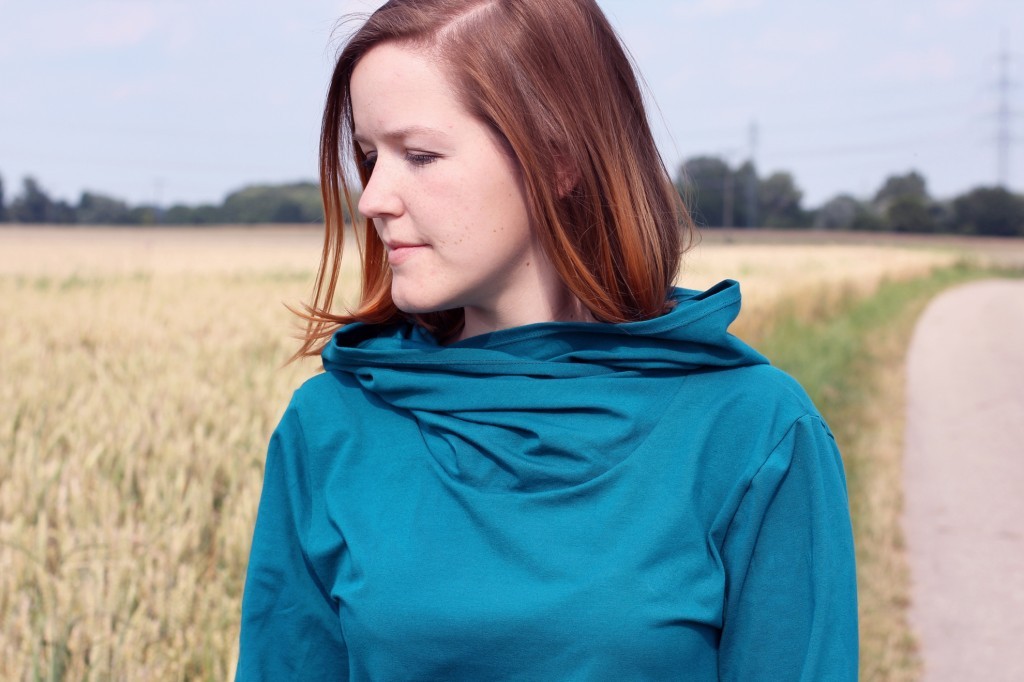
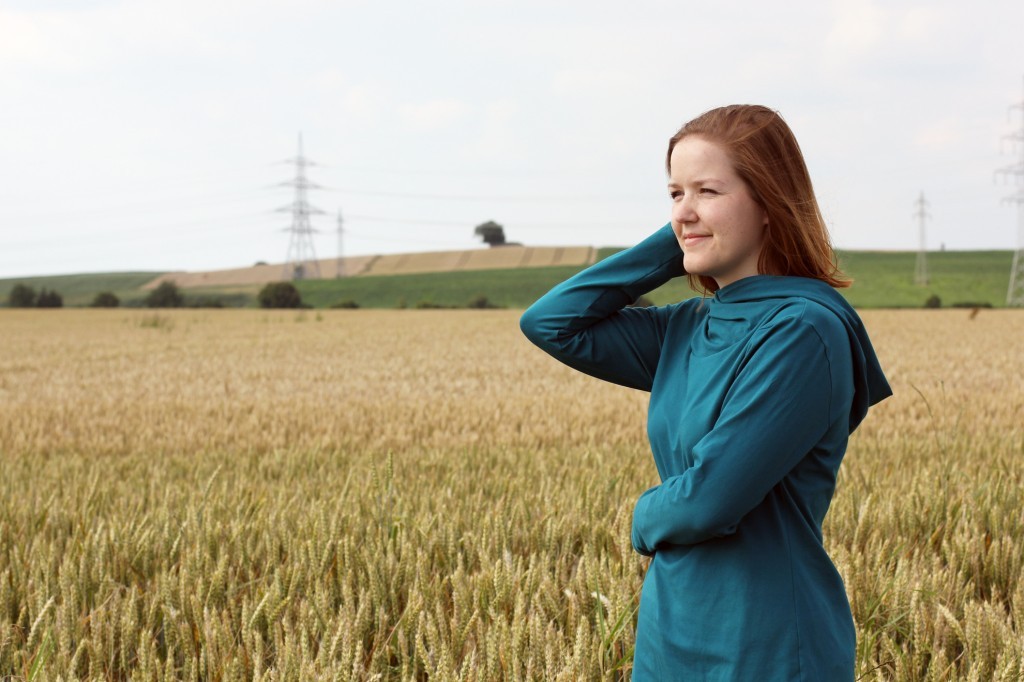
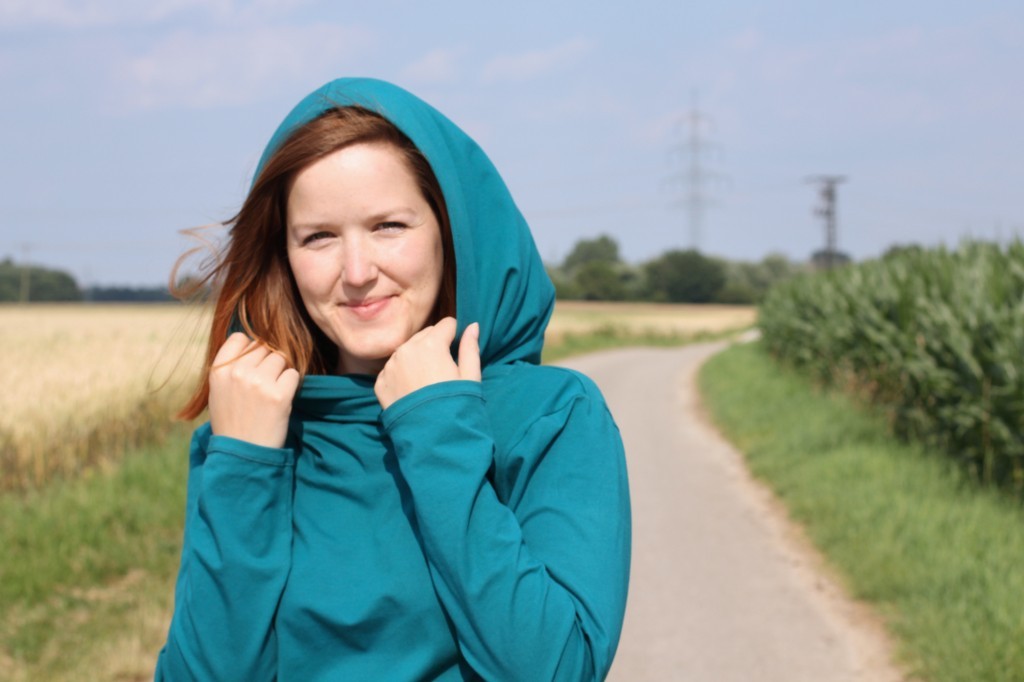
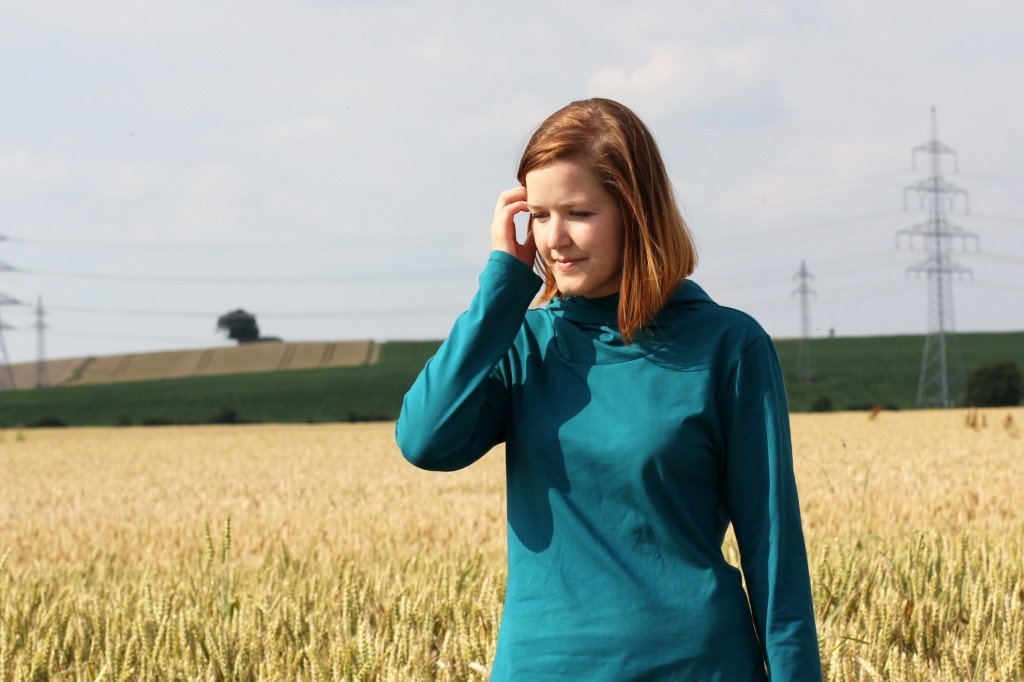
The Anika dress is a really easy and quick to sew pattern that comes in two versions: you can either make it with a collar or a hood. Both collar and hood cross over at the front which looks really cool if you ask me.

I decided to make the hooded version, because, you know, if you can make it with a hood, make it with a hood!

In terms of sizing, the pattern runs slightly on the larger side. I cut the pattern without making prior changes and the fit was pretty much ok. As I said, it’s slightly large at the sleeves and waist, but that’s how it looks on the envelope as well. Obviously if you wanted it to be more fitted, you could simply take it in a bit.

I love that it’s not too tight. I have a lot of tight knit dresses and I’ve found that I prefer baggier, comfy clothes during the colder seasons.

This will definitely become a wardrobe staple for my autumn sewing!Zierstoff Anika Dress by thisblogisnotforyou.comZierstoff Anika Dress by thisblogisnotforyou.comZierstoff Anika Dress by thisblogisnotforyou.comZierstoff Anika Dress by thisblogisnotforyou.comZierstoff Anika Dress by thisblogisnotforyou.com
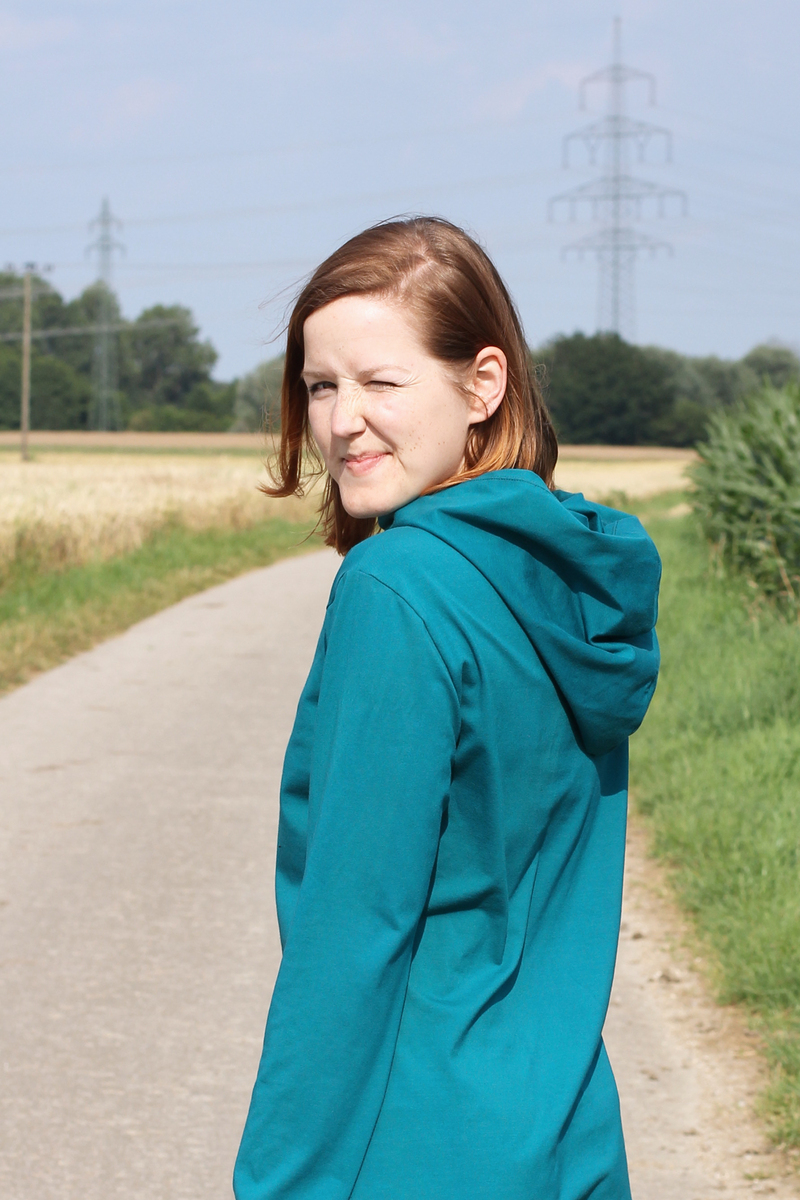
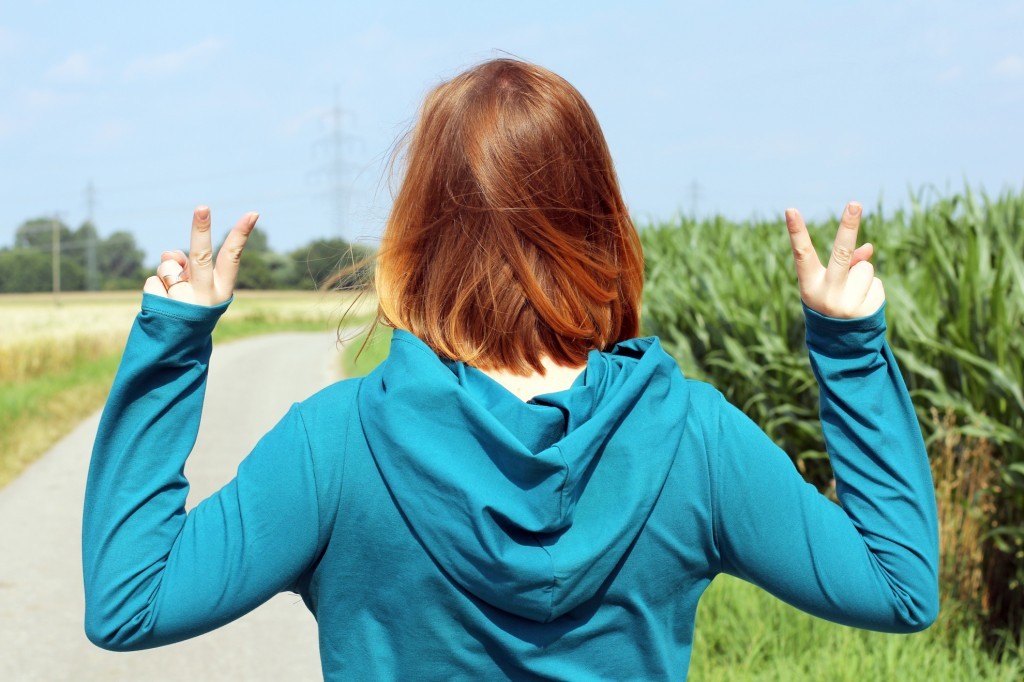
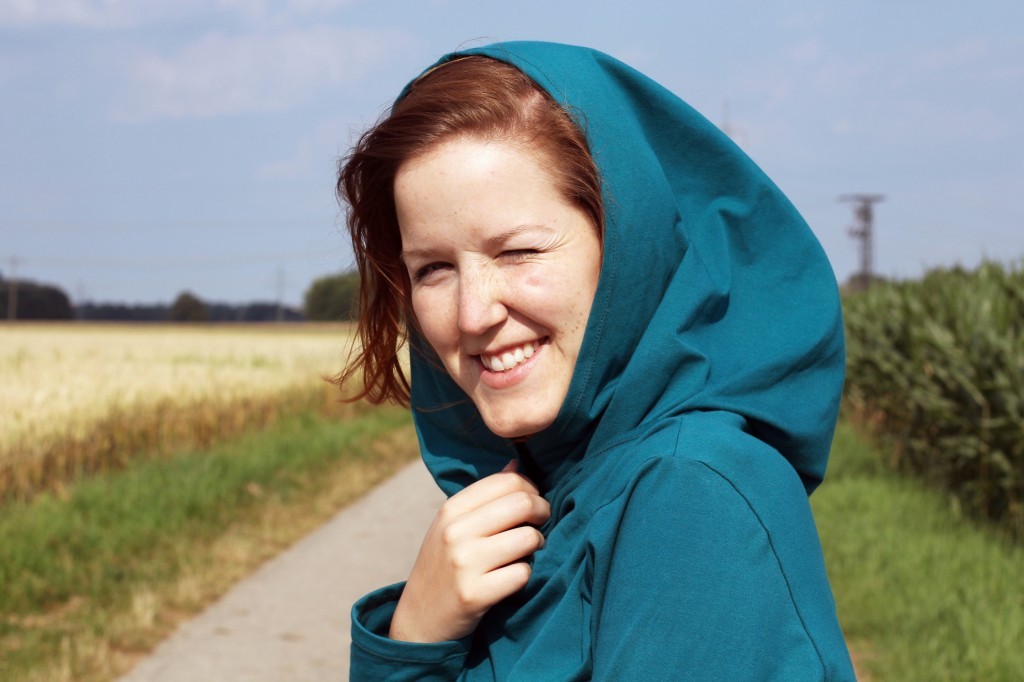
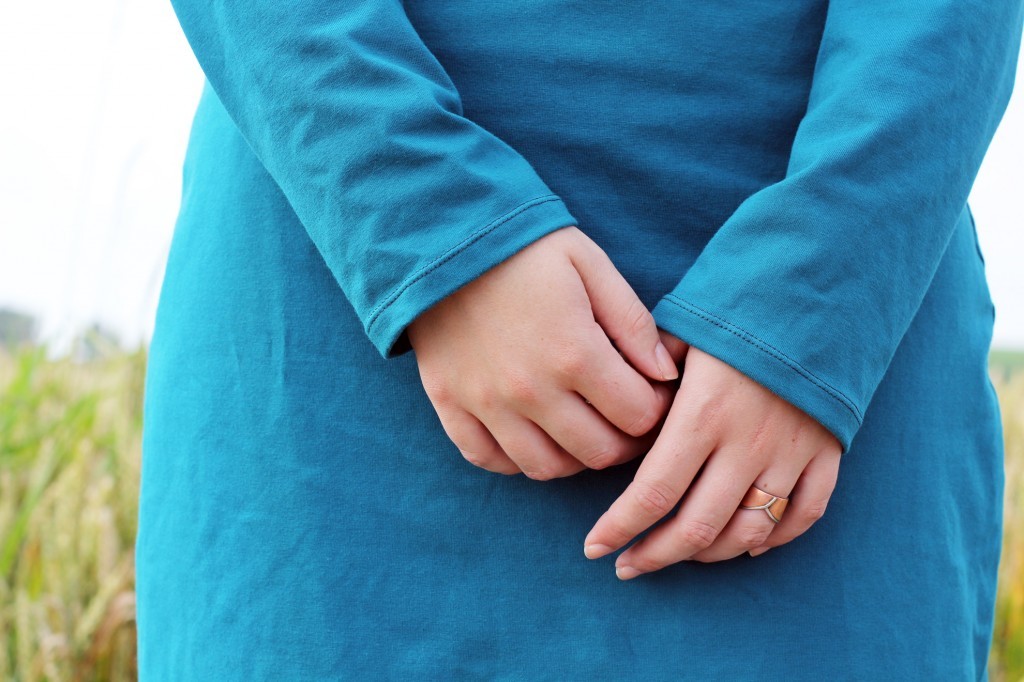
The fabric is a gorgeous teal one-way stretch knit fabric, courtesy of Zierstoff. The lovely ladies over at Zierstoff headquarters offered to send me some of their fabric so I was able to make the exact same dress as the one in the sample pictures.

This is by far one of the more comfy dresses I’ve made and I love wearing it. It’s the perfect dress to wear at home. The version with the wide collar would also make a really nice comfy dress for the office.Zierstoff Anika Dress by thisblogisnotforyou.com

Are you already planning your autumn wardrobe or are you still caught up sewing summer clothes?

xx

Charlie


Happy sewing!

facebook/bloglovin/pinterest
twitter/instagram

Stay in touch!

Wedding Dress Part VII: Revealing the Dress

DIY wedding dress by thisblogisnotforyou.com

Oh hello!

It’s nice to see you’re back! Thanks for following this journey of my handmade wedding dress so patiently, you really deserve to see some actual dress pics now! So here we go…DIY wedding dress by thisblogisnotforyou.comDIY wedding dress by thisblogisnotforyou.com

DIY wedding dress by thisblogisnotforyou.com

This is THE dress! I’m pretty proud I have to say. And here’s my DIY bridal bouquet  – there will be another post about some of the wedding DIYs, as well. It’s hydrangea – my favourite flower of all time – , two kinds of roses and baby’s breath. Pretty simple recipe, but very effective. I absolutely loved it, and it turned out even better than my trial bouquet a couple of weeks before.DIY wedding dress by thisblogisnotforyou.com

Here’s the dress is all it’s glory and from all possible angles:DIY wedding dress by thisblogisnotforyou.comDIY wedding dress by thisblogisnotforyou.com

DIY wedding dress by thisblogisnotforyou.com
IMG_1021A

DIY wedding dress by thisblogisnotforyou.com

I’m in love with the embroidery, I’d never thought it would turn out so well! As it was a super sunny day I also served as the disco ball at the party! I never wore the dress outside before, so the reflecting sequins were quite a happy surprise.

And here’s the open back that cost me a lot of nerves until I discovered self-adhesive bras…

DIY wedding dress by thisblogisnotforyou.com

I have never felt so pretty in my life! Putting on the dress was easy as pie as I could put it on all by myself. As I did not have any underskirts or petticoats, using the bathroom was no problem at all. It was just like wearing a normal maxi dress. Here’s the steps of putting on the dress:

First closing the waist-stay, so the dress would stay on and I had both hands free for the zip and button fastening. Putting on the lining top, then closing the zip. After that, putting on the delicate embroidered top and last but not least, closing the button fasting at the back.DIY wedding dress by thisblogisnotforyou.com

DIY wedding dress by thisblogisnotforyou.com

Me finding a loose thread just before the guests arrive. These pics show the layers of the dress nicely and my matching shoes!

Shoes and bag and everything colour coordinated in blush pinks and champagne matching our pastel themed barn wedding.

DIY wedding dress by thisblogisnotforyou.comDIY wedding dress by thisblogisnotforyou.com

Trying to frantically apply nail polish before the first guests arrive, because yes, I forgot about that and was way too late for the party already. So I tried to squeeze that in between taking pic with out photographer and shaking hands with arriving guests.DIY wedding dress by thisblogisnotforyou.com

DIY wedding dress by thisblogisnotforyou.com

This is my excited face, apparently. Oh and my pretty rose-gold SKAGEN earrings, matching our rose-gold wedding rings (and my dress!)DIY wedding dress by thisblogisnotforyou.comDIY wedding dress by thisblogisnotforyou.com

It was such a lovely, happy, wonderful day. The complete wedding (reception, party, ceremony) all took place in a beautiful rustic barn in a tiny village in Germany. We got married by my wonderful grandfather, who was a pastor until he retired some years ago. It was unbelievably touching and romantic to be able to celebrate this way. After years living away from family in London, it was nice to see everyone again for this wonderful occasion.

Most of the wedding was DIYed, not just including the decorations, but also my hair and makeup, some of my accessories, the bridal bouquet, our wedding cake and more. If you’re interested, I’ll share these on the blog, as well.

If you have any questions regarding the dress or something else, just leave them in the comment section below.

Here’s some more wedding pictures! Beware, there are quite a few – so grab a coffee or tea (or delicious, cold German beer) and enjoy!

All the pictures were taken by our amazing wedding photographer who was with us the whole day, early morning until way past midnight, snapping our favourite moments and making all these wonderful memories last forever. So if you’re getting married in Germany, check out his website!

DIY wedding dress by thisblogisnotforyou.comDIY wedding dress by thisblogisnotforyou.comDIY wedding dress by thisblogisnotforyou.com

DIY wedding dress by thisblogisnotforyou.com

DIY wedding dress by thisblogisnotforyou.comDIY wedding dress by thisblogisnotforyou.com

DIY wedding dress by thisblogisnotforyou.com

DIY wedding dress by thisblogisnotforyou.comDIY wedding dress by thisblogisnotforyou.comDIY wedding dress by thisblogisnotforyou.com

DIY wedding dress by thisblogisnotforyou.com

DIY wedding dress by thisblogisnotforyou.comDIY wedding dress by thisblogisnotforyou.comDIY wedding dress by thisblogisnotforyou.comDIY wedding dress by thisblogisnotforyou.com

DIY wedding dress by thisblogisnotforyou.com

DIY wedding dress by thisblogisnotforyou.com

DIY wedding dress by thisblogisnotforyou.com

DIY wedding dress by thisblogisnotforyou.com

So this is it!

Let me know what you think. Have you made your wedding dress yourself? Or are you planning to? I’d love to know!

If you missed out on any of the making of posts, just click on the wedding dress tag below or choose the DIY Wedding category on the right to find your way to the other posts in this series.

xx

Charlie


Happy sewing!

facebook/bloglovin/pinterest
twitter/instagram

Stay in touch!