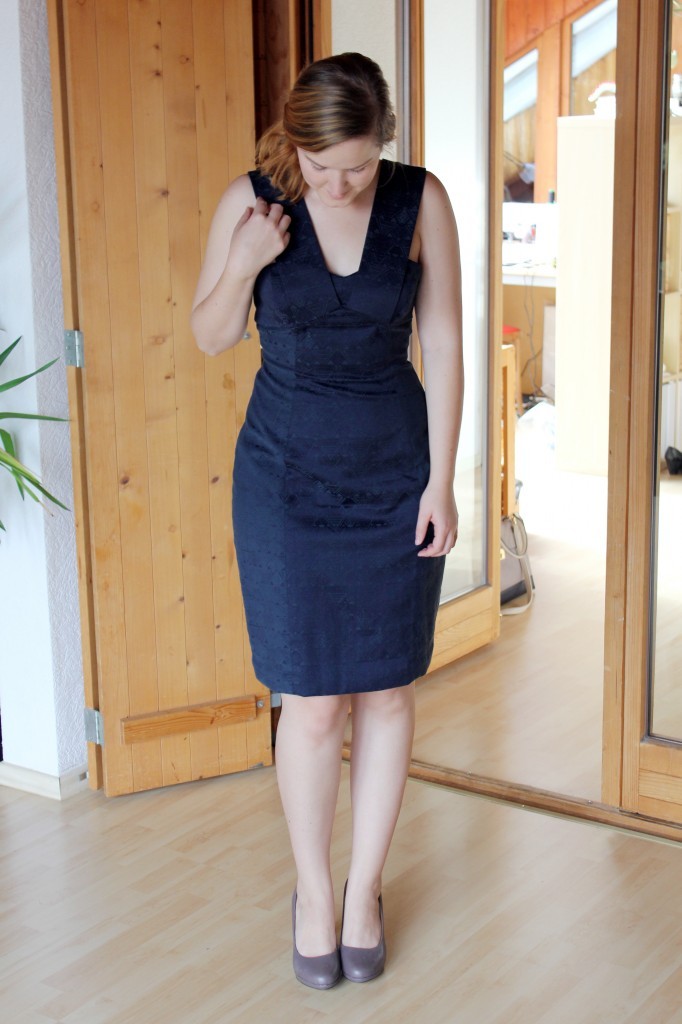
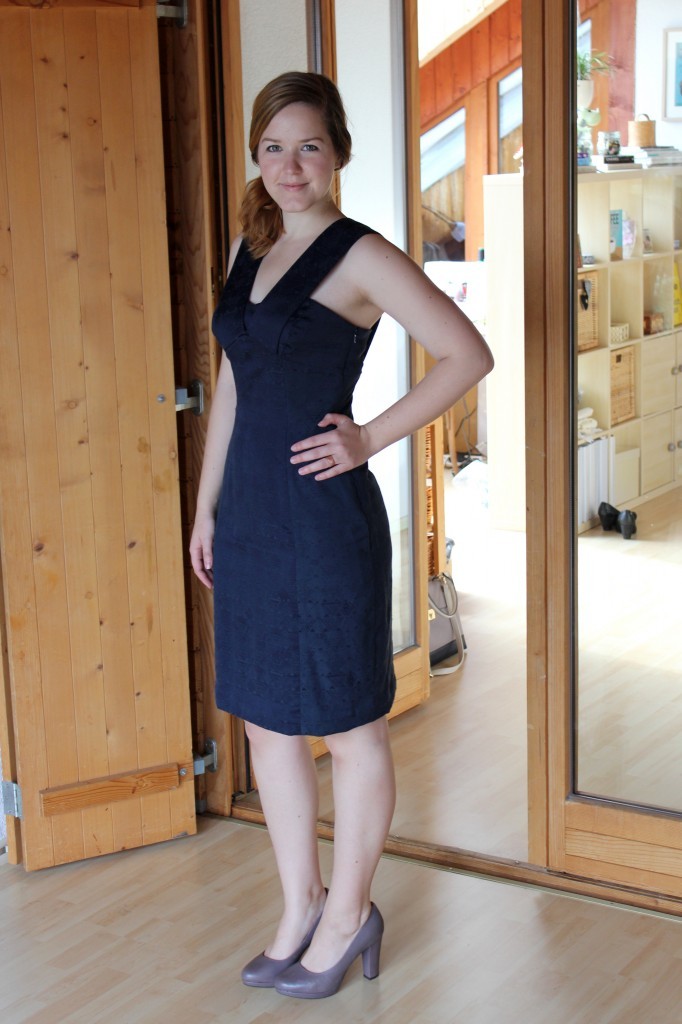
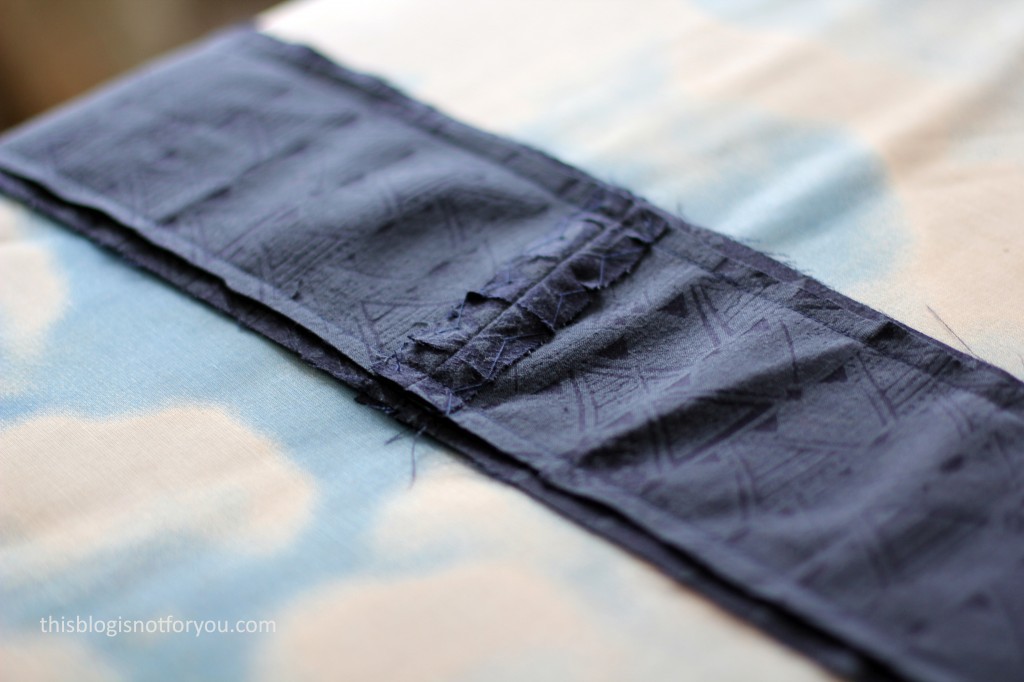
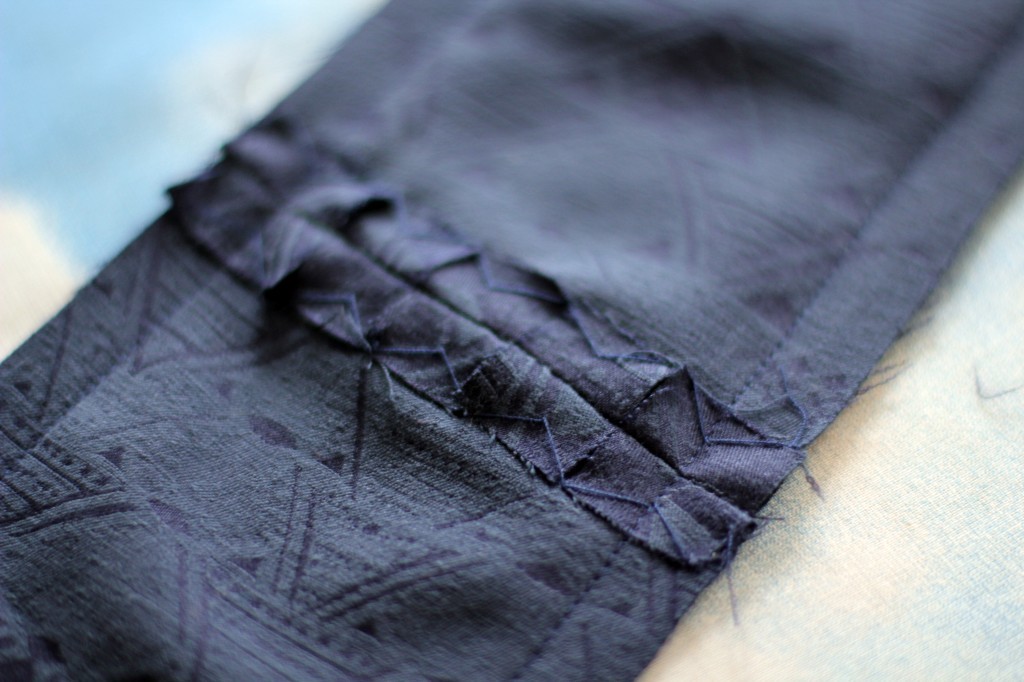
Wedding Dress Part VI: Constructing the Dress (+ Detail Pics)
DIY wedding dress by thisblogisnotforyou.comTime for a quick recap! What have I done so far? I’ve designed, drafted, muslined, fitted my pattern. Then made a trial dress. Spend hours on making a couture corset, which I ended up not wearing, sigh. Again, spend hours on hand-embroidering my bodice. All preparations done. Check.

Finally, it’s time to have a look at the construction of the dress. Grab a cup of tea or coffee, this post is picture-heavy!

After all these teaser pics and showing you details (as I will do again in this post), here’s a quick reminder of the actual design of the dress. It’s based on Jenny Packham’s Esme dress, changed to my needs:
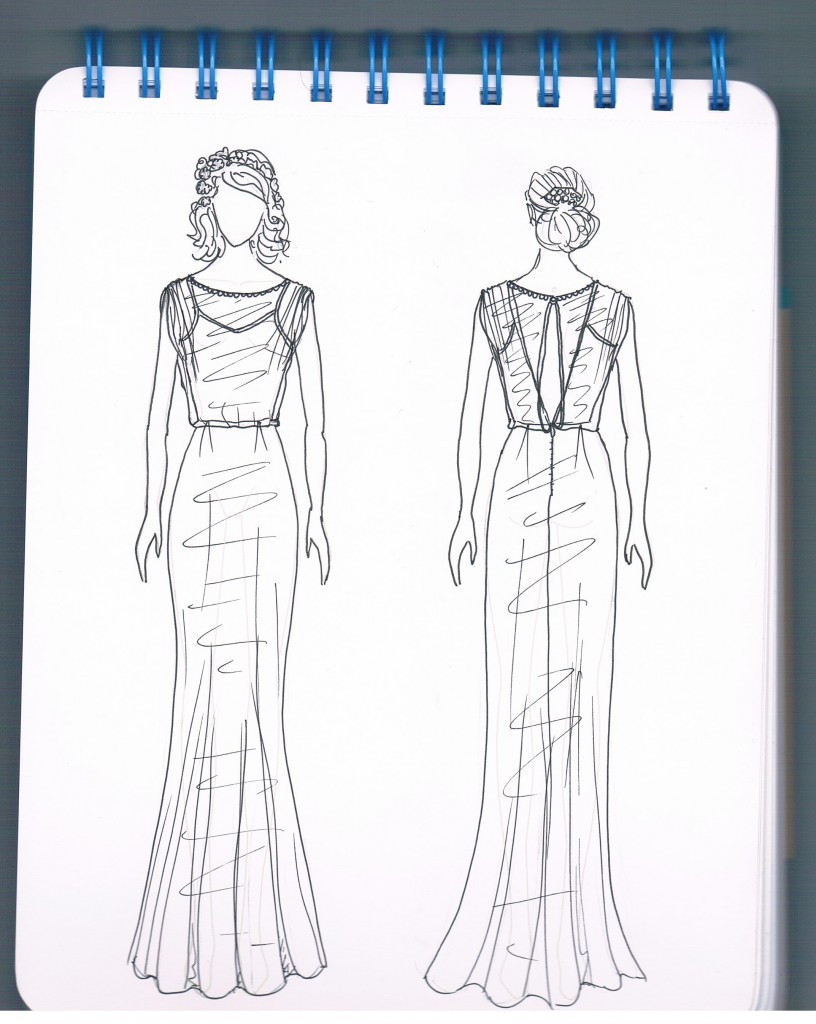
DIY wedding dress by thisblogisnotforyou.com(This is a sketch of when I thought I had to go without the embroidery)DIY wedding dress by thisblogisnotforyou.com
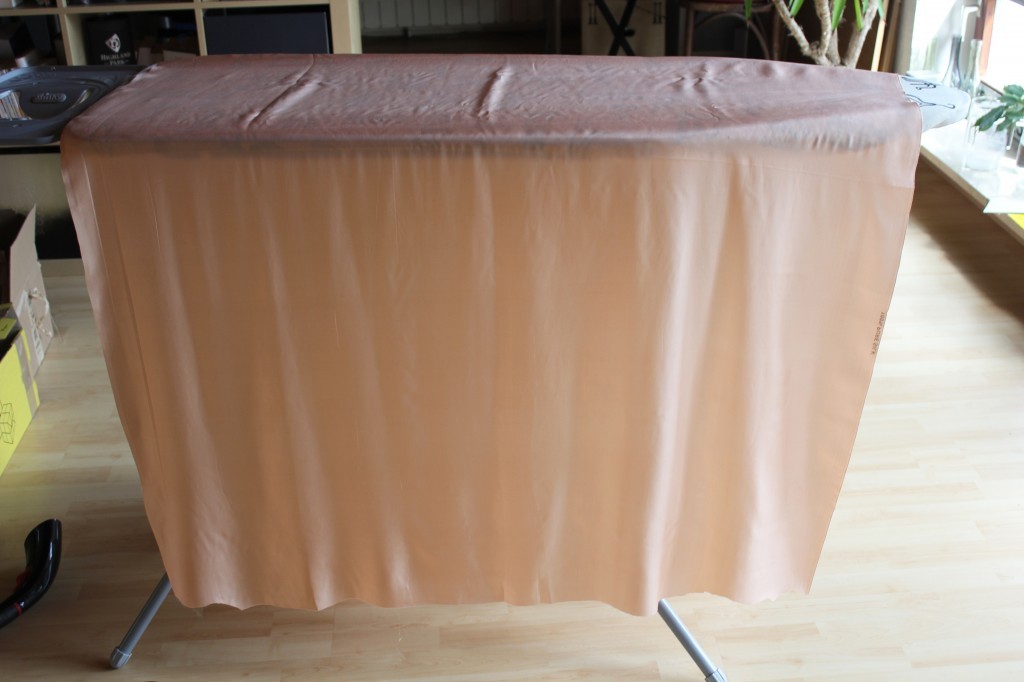
So what do we do first? Well, yes we pre-wash our fabrics. I actually skipped that part. I didn’t want to take any chances as all my fabrics were 100% pure silk and you don’t want to mess with expensive fabrics. I wasn’t planning on washing my wedding dress anyway, so it wasn’t that important.

So my first step was to iron metres and metres of fabrics. Why am I telling you this? Well, it’s simply part of the process. As I mentioned before, wedding dress sewing isn’t romantic. At all. It’s nerve-wracking and most of all, it’s work. A lot of work. And some of it is acutally pretty boring. So here is me ironing 6 metres of my silk lining fabric:DIY wedding dress by thisblogisnotforyou.comI started sewing all four (!) skirt layers first, starting with my lining. It was my first time working with silk, so I thought starting with a layer you wouldn’t see was pretty clever. And I practised on some fabric scraps as well. I noticed pretty quickly that the knack with silks is simply using millions of pins. I didn’t use any gelantine or starch to prepare my silk for sewing and it still worked pretty well. Sometimes laziness pays off.DIY wedding dress by thisblogisnotforyou.com
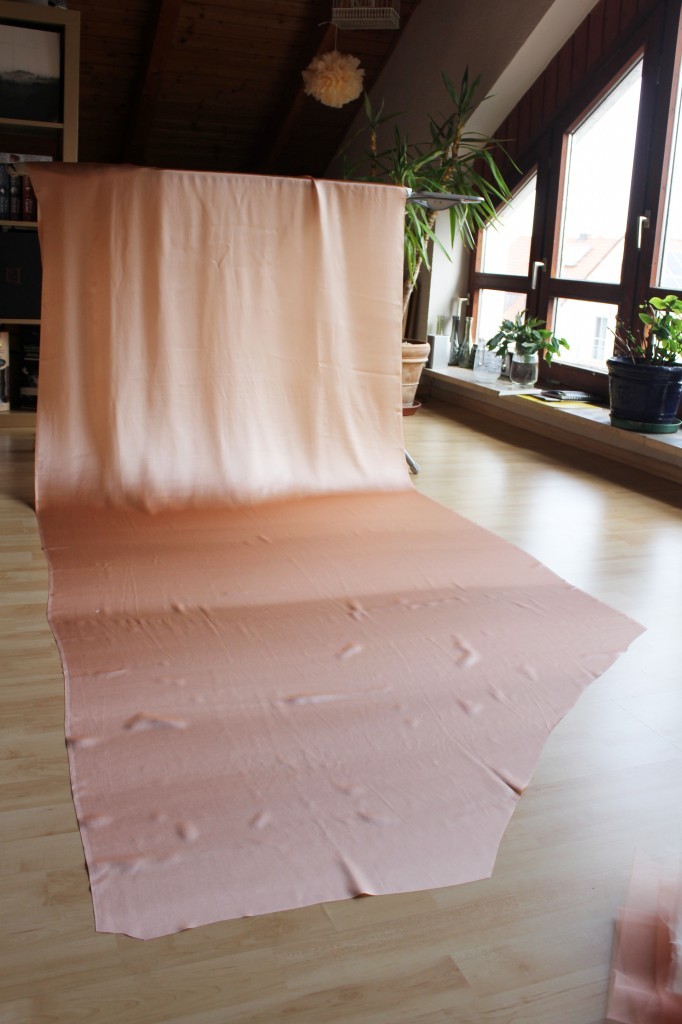
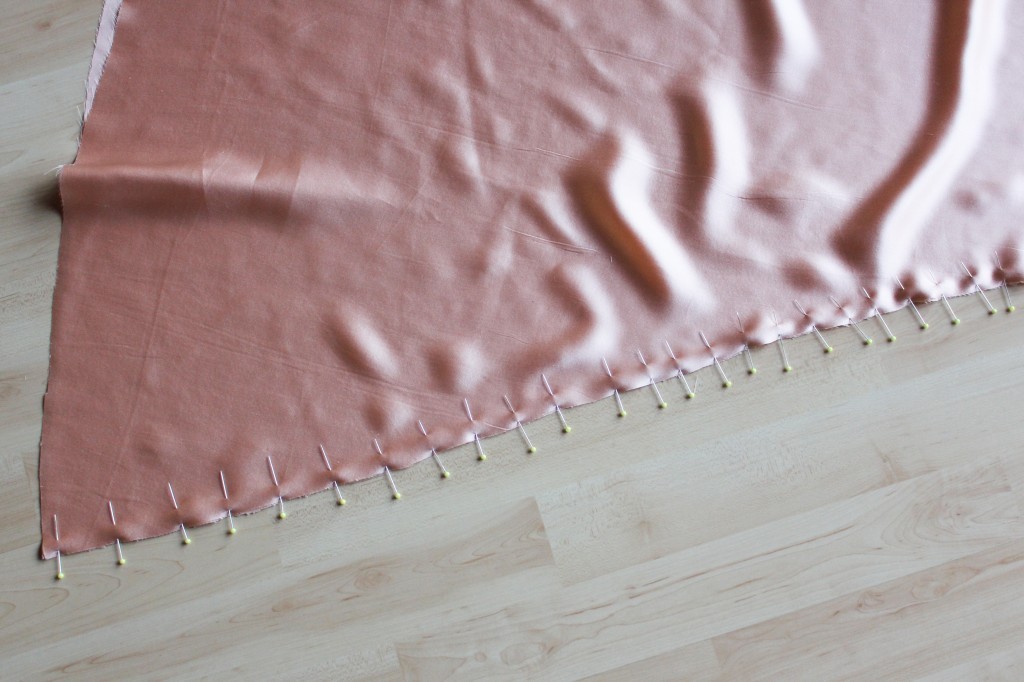
Trickier than the silk itself were all the bias seams at the skirt panels. Most seams of the dress are french seams, so I had to be extra careful. The lining seams got a bit stretched, but they’re pretty much invisible anyway.DIY wedding dress by thisblogisnotforyou.com
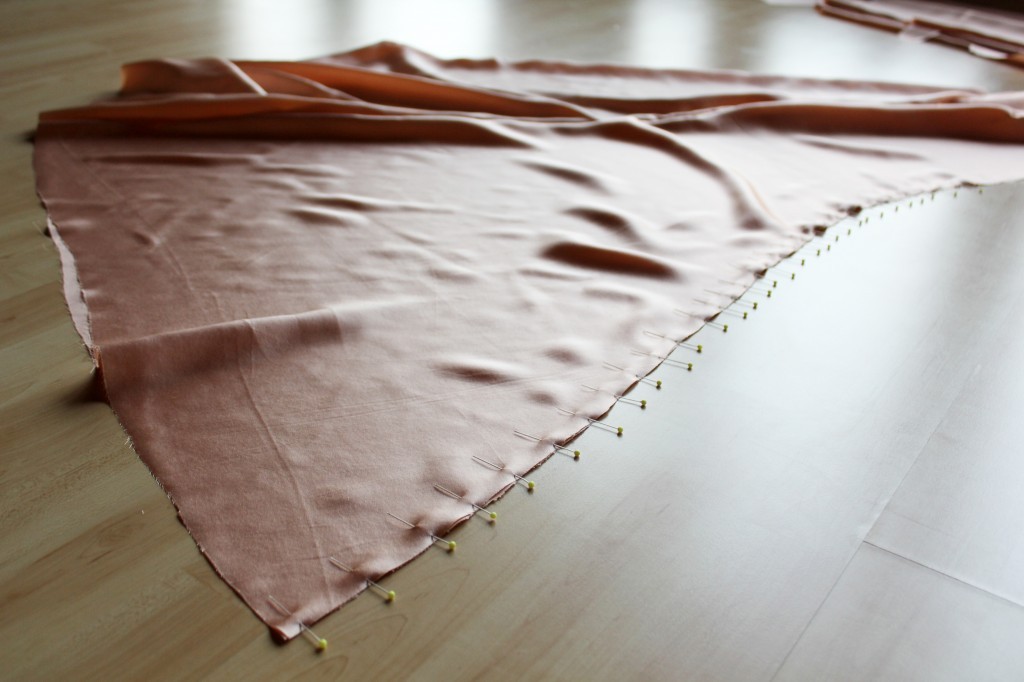
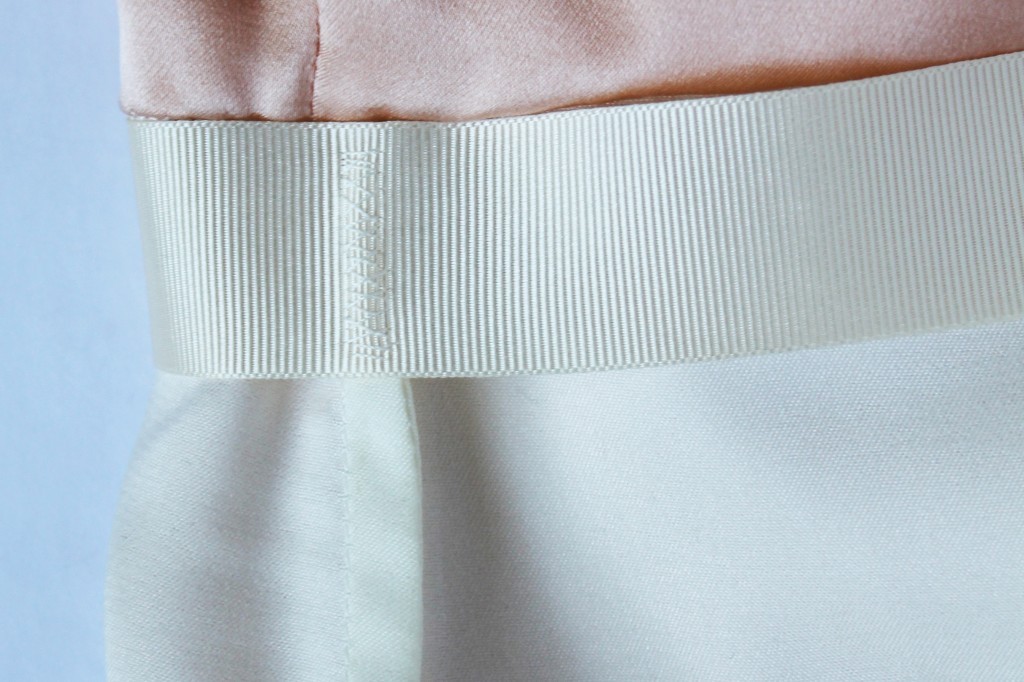
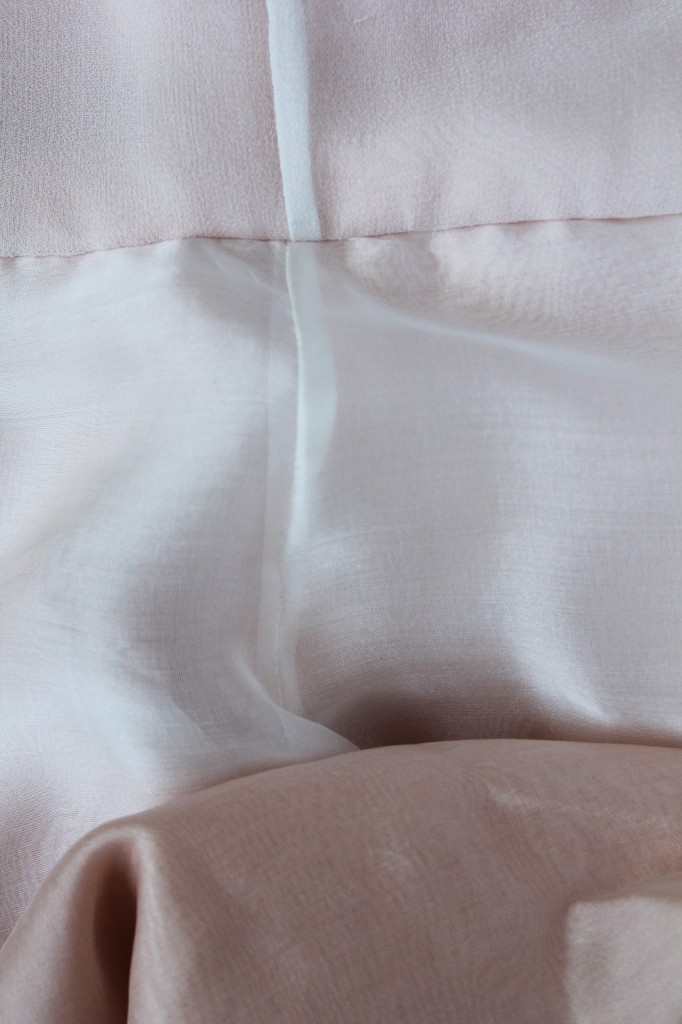
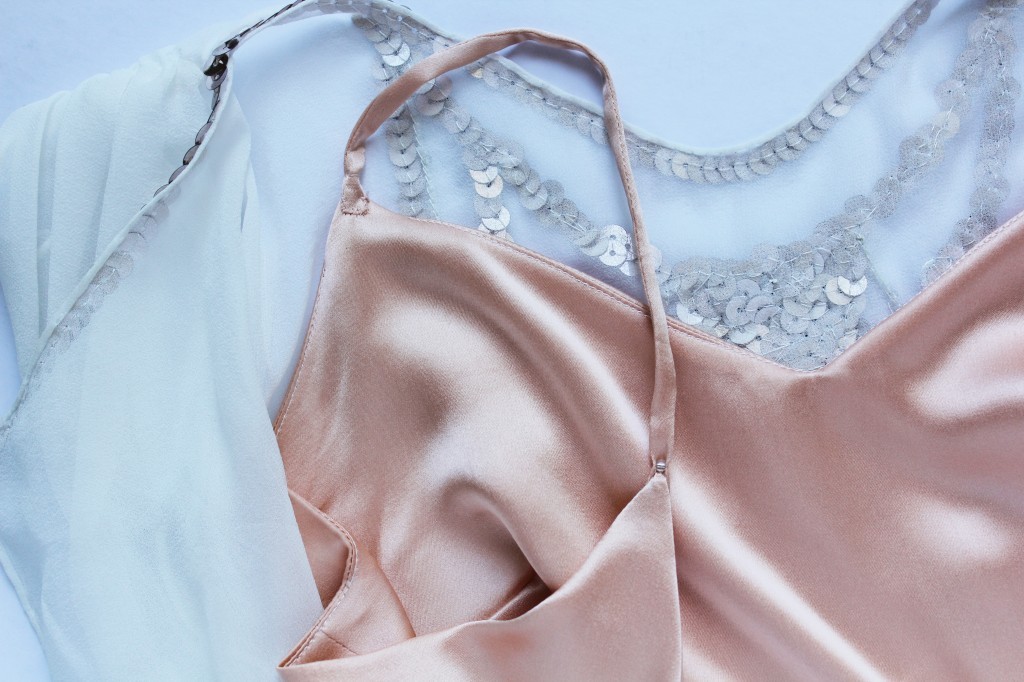
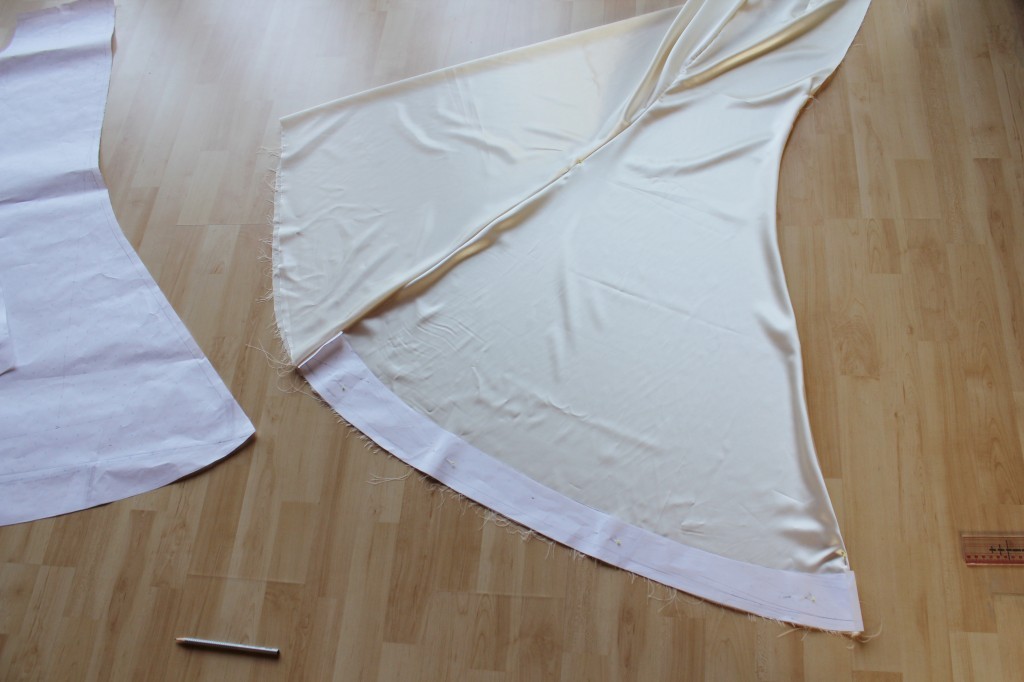
As you can see, I chose a blush pink/salmon coloured silk for my main lining. It’s a very drapey, soft silk and although it’s not transparent, it was slightly see-through. For that reason, and as a ‘reflecting’ layer to create more luminosity I lined the lining, because why not. The lining lining is a cream poly satin that I used as a lining for my trial dress. Here’s a picture in which you can see the actual shape of the skirt panels pretty well. This right here is one of the two back panels (on the right) and the foldes front panel:
DIY wedding dress by thisblogisnotforyou.com

The skirt is basically the Sew Over It Ultimate Pencil Skirt, lengthened and flared to about 3m of hemline.

Now you all want to know what fabric I used as fashion fabric/top fabric, right? Well, here we go!

From the beginning I knew I probably wouldn’t end up with a white dress. I didn’t want anything too out there or, for instance, a bright red dress. I wanted it to be a pretty blush tone, champagne or dove grey. It took me ages to find the perfect fabric and I finally found it on Goldhawk Road: it’s a 100% Pure Silk chiffon (I say organza) fabric for 22£/pm with an ombre effect: it’s ivory blending into a really lush, blush pink from one border to the other:DIY wedding dress by thisblogisnotforyou.com
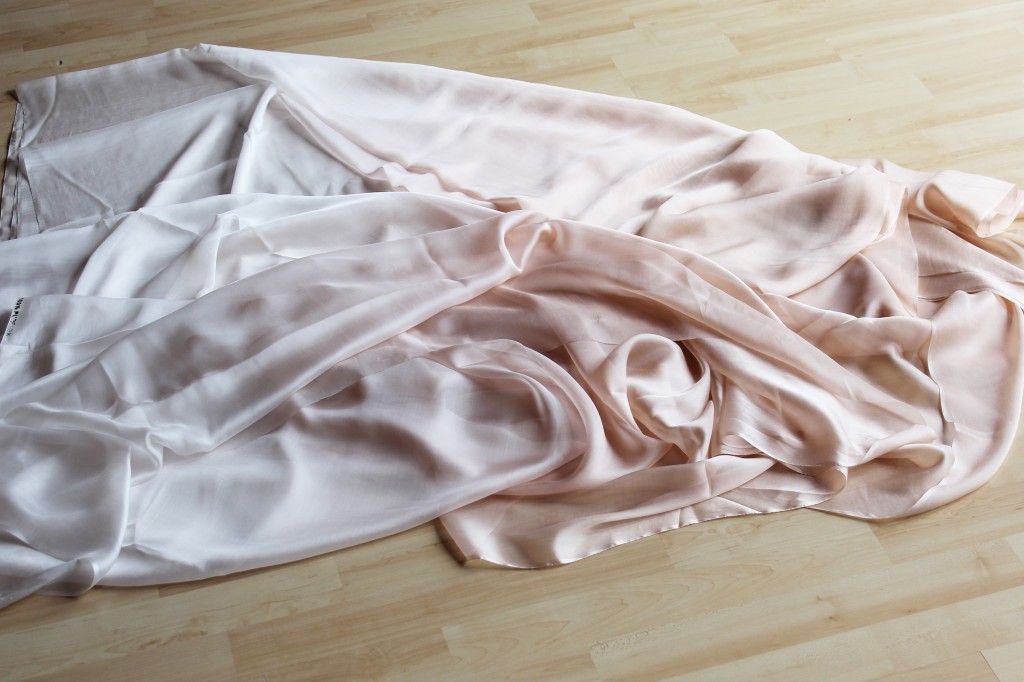
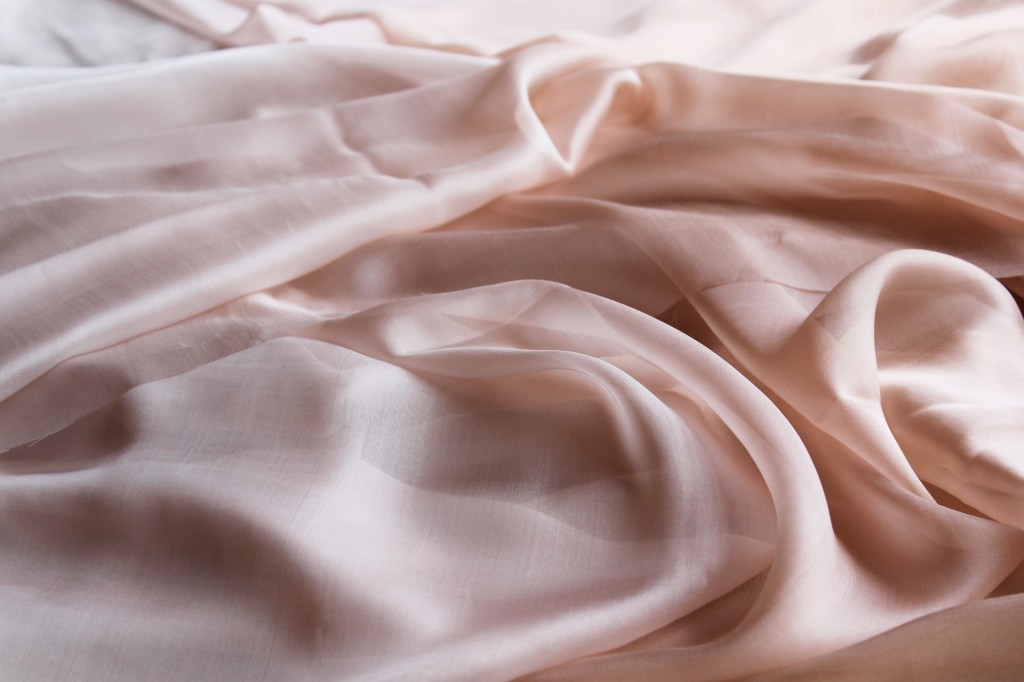
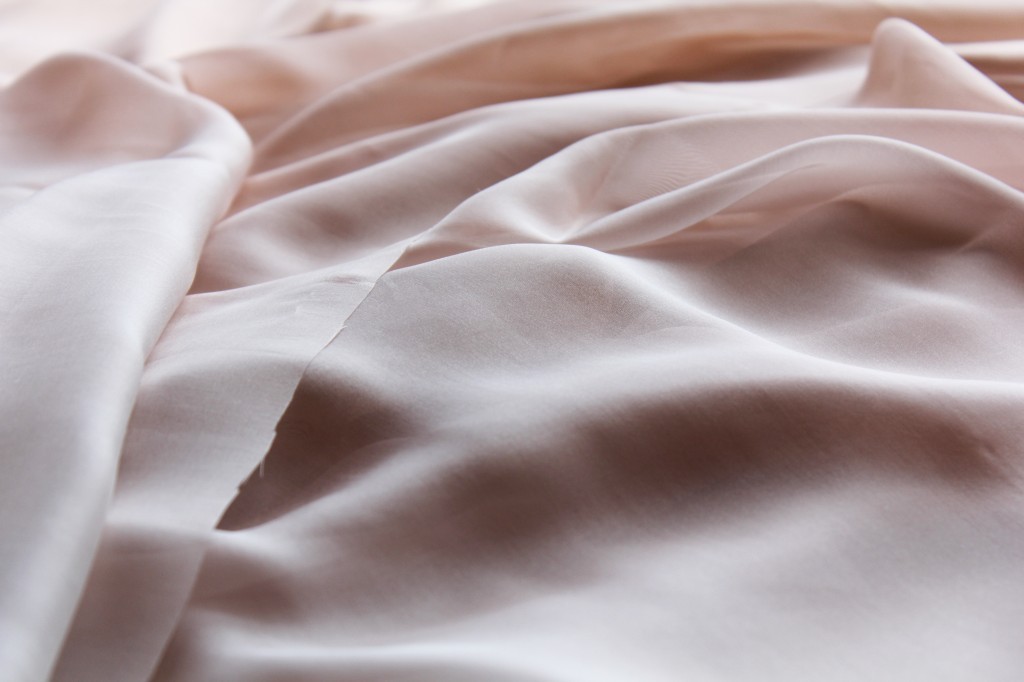
Although in retrospect I’d say it’s not the ideal fabric for a fitted, slightly mermaid shaped dress, it was simply perfect. I got a lot of compliments just because of it’s subtle and pretty colour. Our wedding was pastel themed anyway, so all the pieces came together in the end.DIY wedding dress by thisblogisnotforyou.comIsn’t it simply georgeous? It’s almost like liquid rose-gold.DIY wedding dress by thisblogisnotforyou.com
So here’s a rough coloured version of the sketch:DIY wedding dress by thisblogisnotforyou.com

As you can see I wanted the blush pink lining to peak through the sheer ivory top layer of the bodice. The skirt would also be lined in blush pink, with a double ivory/blush pink top layer, so the ombre effect would be subtle but still pretty visible on the dress as a whole with the brightest colour at the top, blending into a darker salmon pink tone at the botton.

The plan was to create a unconventional wedding dress that would still let me look like a bride. So bridal at the top, individualism at the bottom.

After embroidering the bodice fabric, I cut out the bodice pieces, sewed front and back panels together and finished the seams. I created the lining bodice, a spaghetti top which is lined and basted top layer and lining together at the waist seams. I didn’t attach the spaghetti straps until after having constructed the dress as a whole with an added waiststay. Only after that step I knew exactly where the top would sit and how long I needed the straps to be.DIY wedding dress by thisblogisnotforyou.com
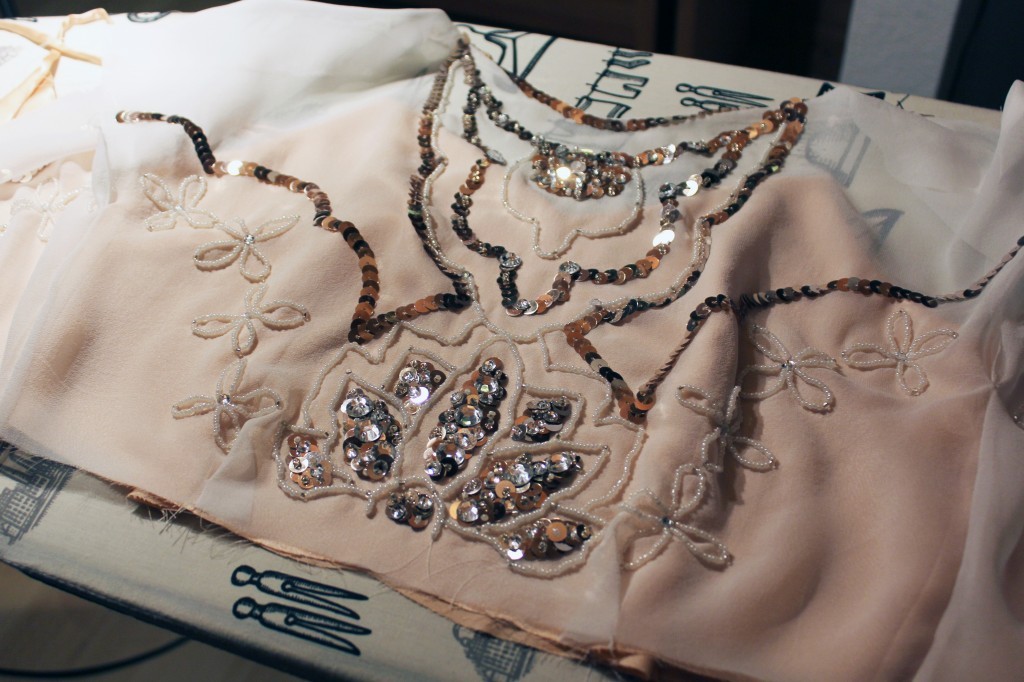
Apart from the french seams on the sides of the bodice and skirt panels, most seams were hand-sewn. I finished the neckline and armhole edges on the sheer bodice with a hand-rolled hem, the go-to technique when finishing silk fabrics.DIY wedding dress by thisblogisnotforyou.comDIY wedding dress by thisblogisnotforyou.com
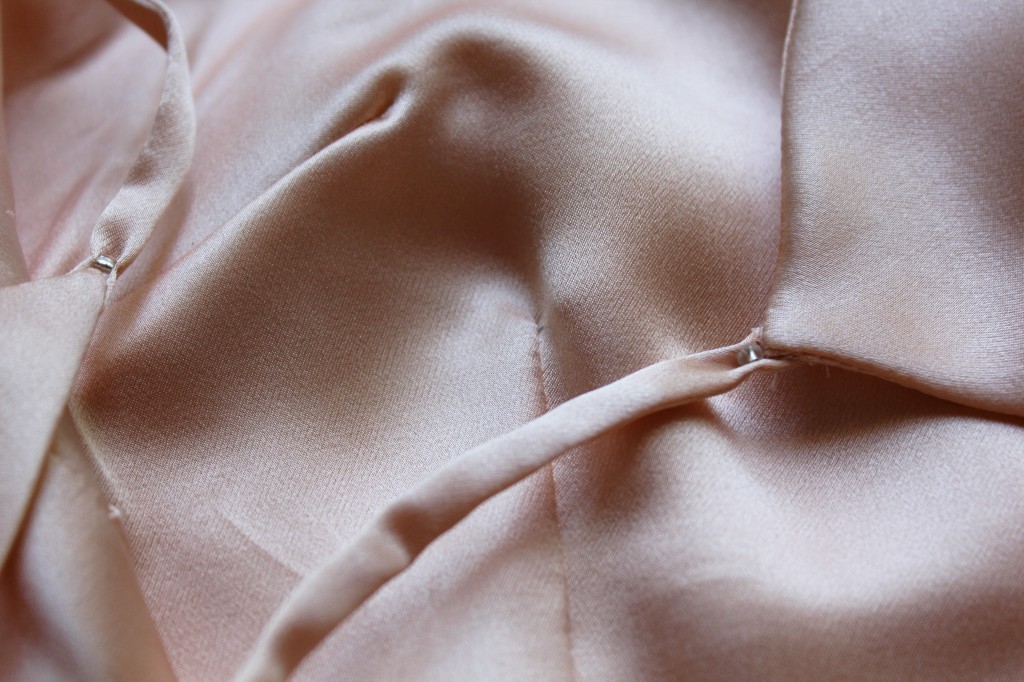
I decided to add a pretty detail on the front and back when I attached the lining straps:DIY wedding dress by thisblogisnotforyou.com
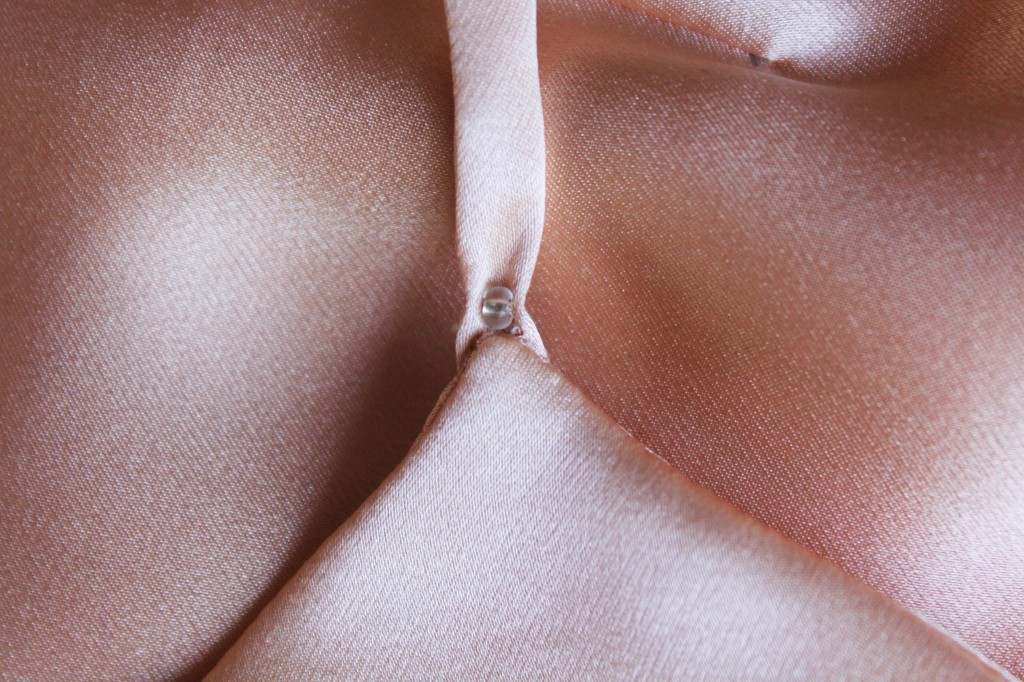
Here you can see the understitching on the lining’s lining and where I handsewed the straps onto the lining bodice.DIY wedding dress by thisblogisnotforyou.comDIY wedding dress by thisblogisnotforyou.com
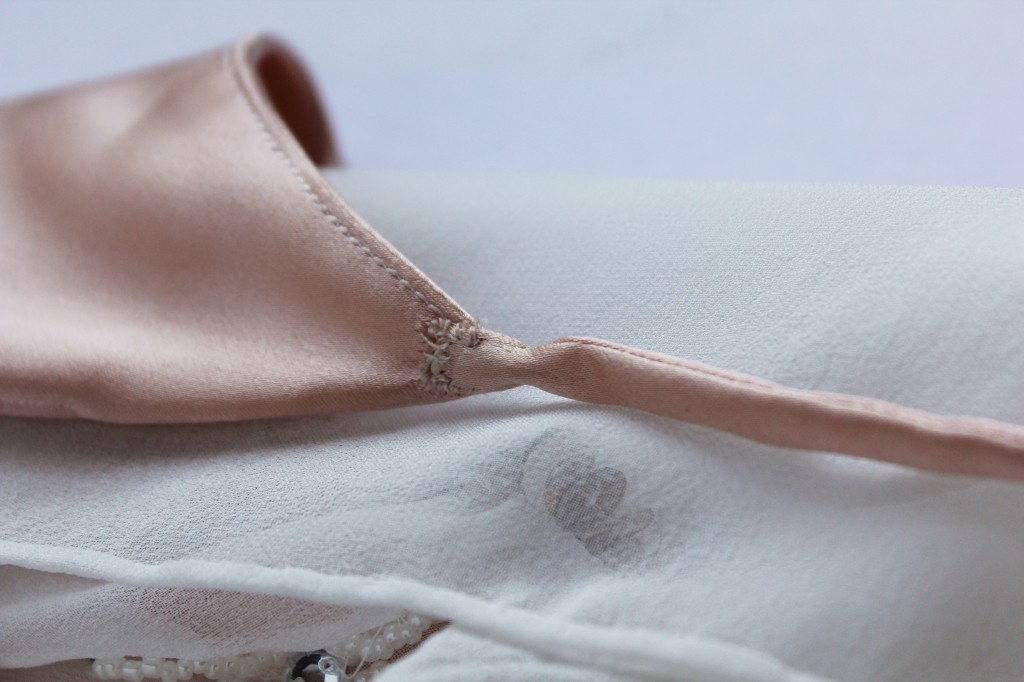
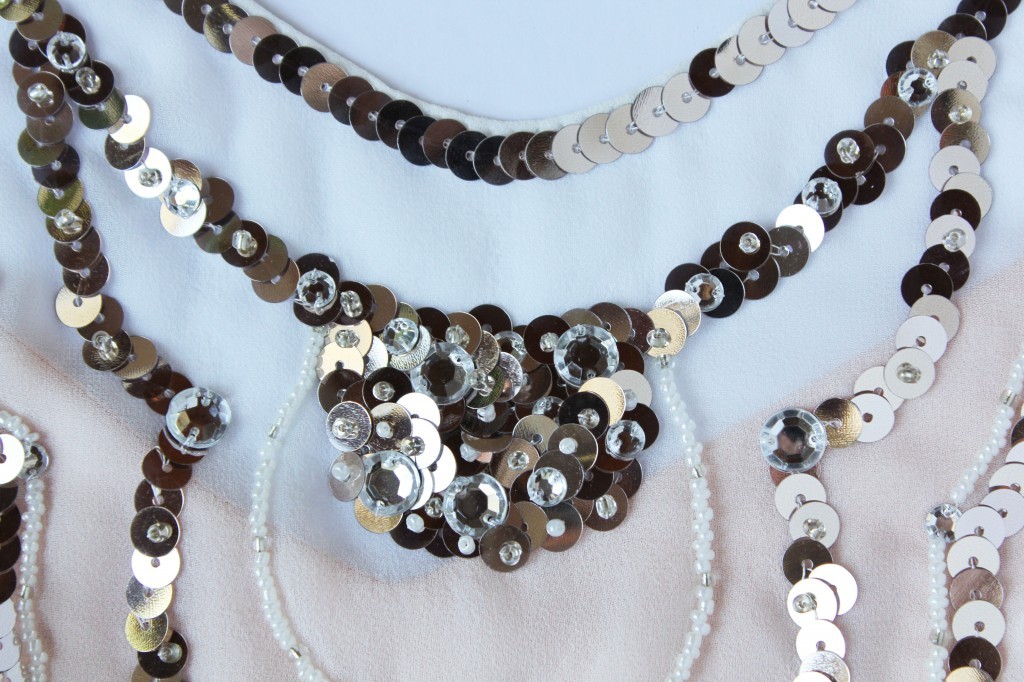
A very fine hand-rolled hem at the neckline with just enough edge standing over to keep the sequins from my skin (scratchy!)DIY wedding dress by thisblogisnotforyou.com
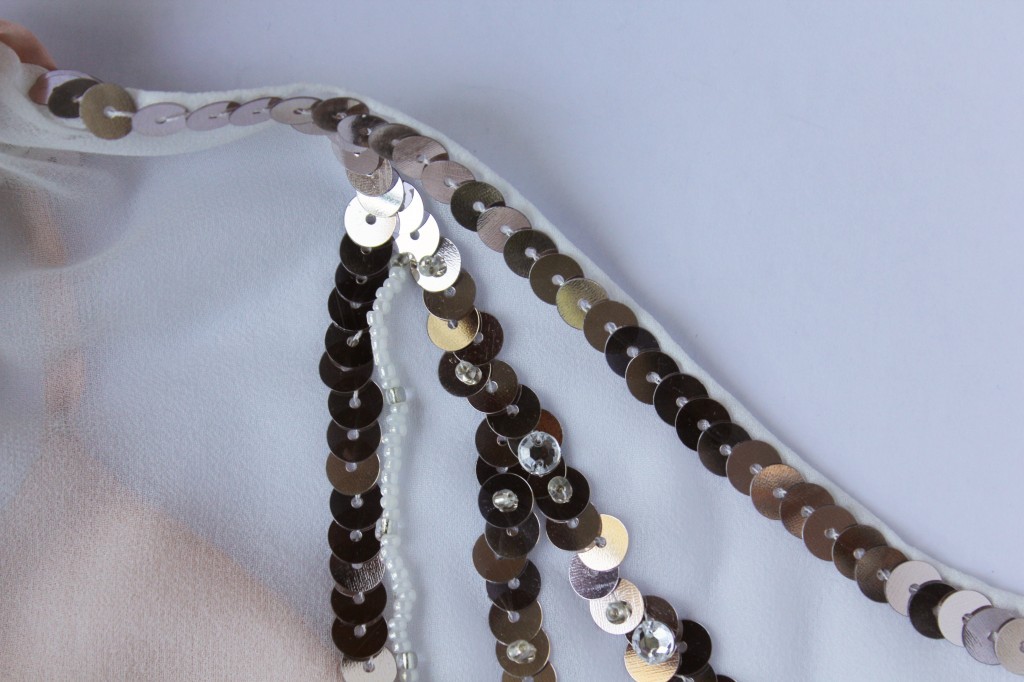
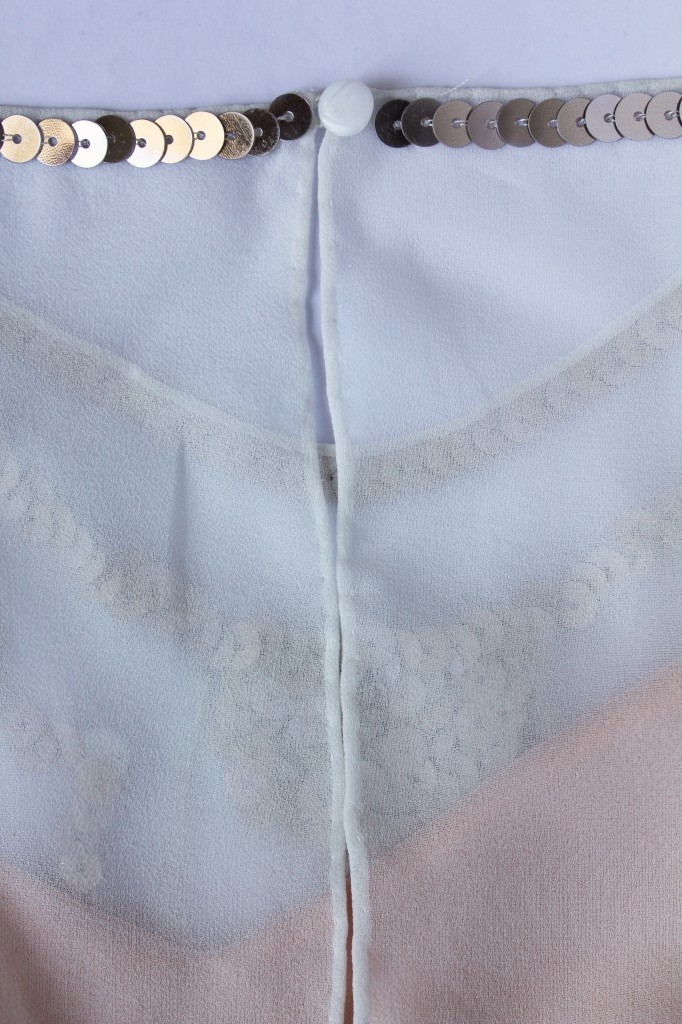
The back opening is finished with a hand-rolled hem as well. (I spend a lot of hours doing this while watching Homeland non-stop). The button is vintage, a single one I found in my collection.DIY wedding dress by thisblogisnotforyou.com
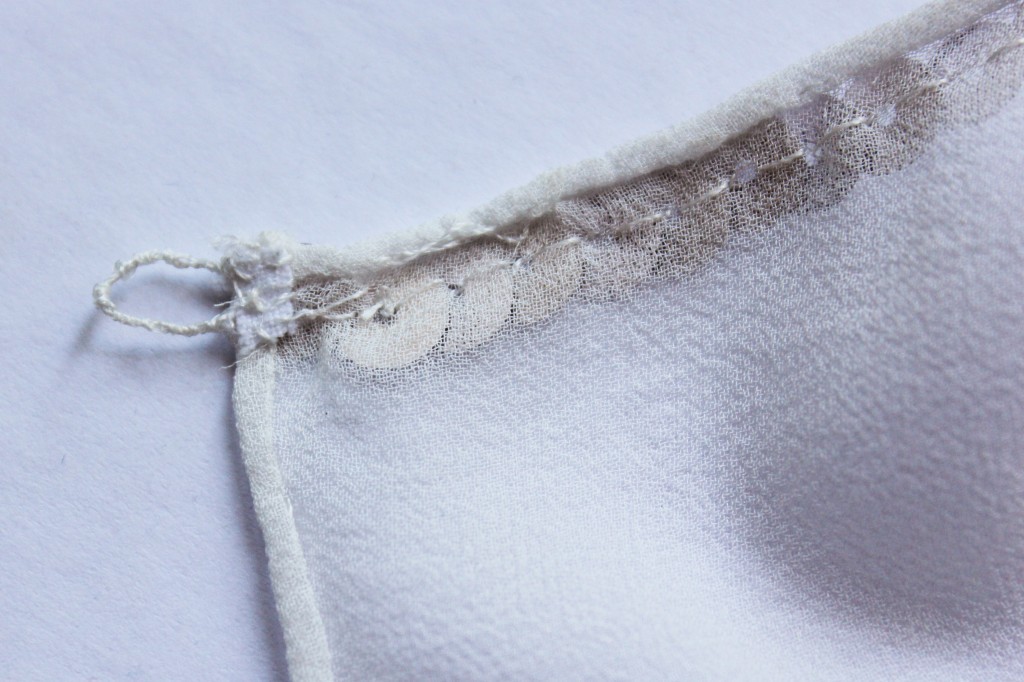
Here’s the loop I created for the button. If you look closely, you can see a tiny piece of white cotton fabric in the corner, to stabilise the silk georgette from the strain of the button fastening.DIY wedding dress by thisblogisnotforyou.com
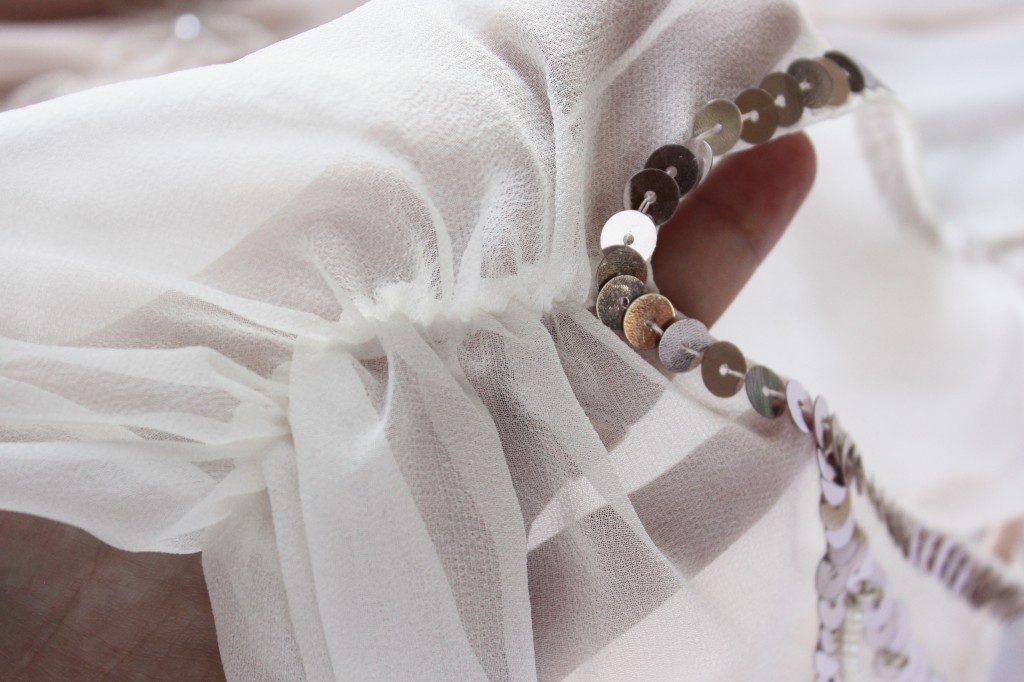
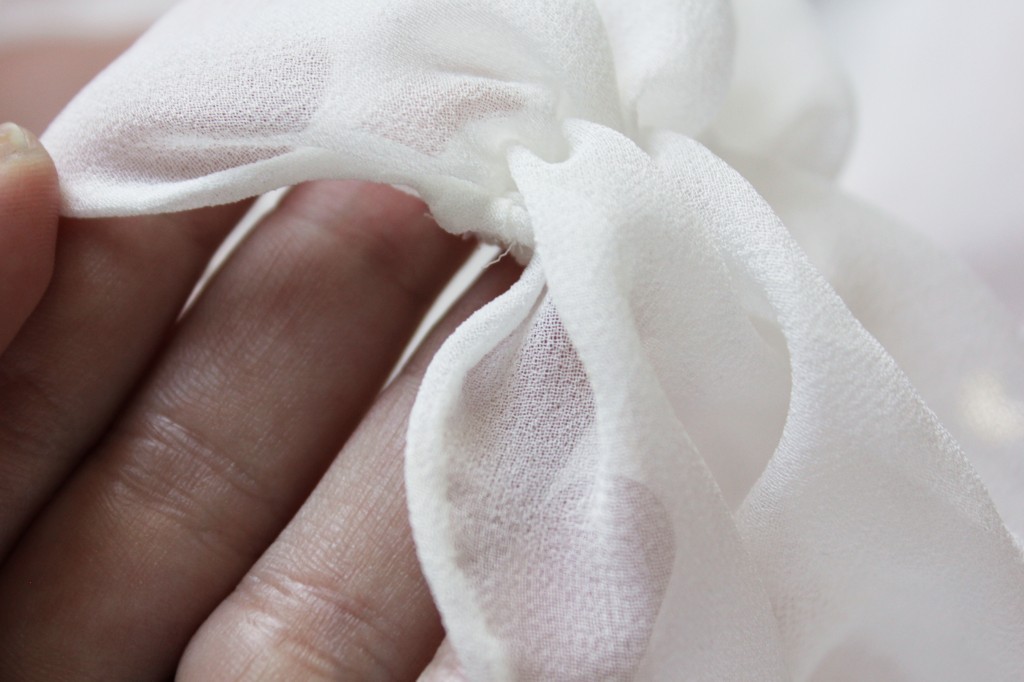
The ruched shoulder seams…DIY wedding dress by thisblogisnotforyou.com

…also with the edges finished with a hand-rolled hem. I actually didn’t sew the row of sequins up to the seamline. I left a tiny gap of about 1,5cm on each shoulder piece and added single sequins after sewing both pieces together.DIY wedding dress by thisblogisnotforyou.com
Now to the skirt:

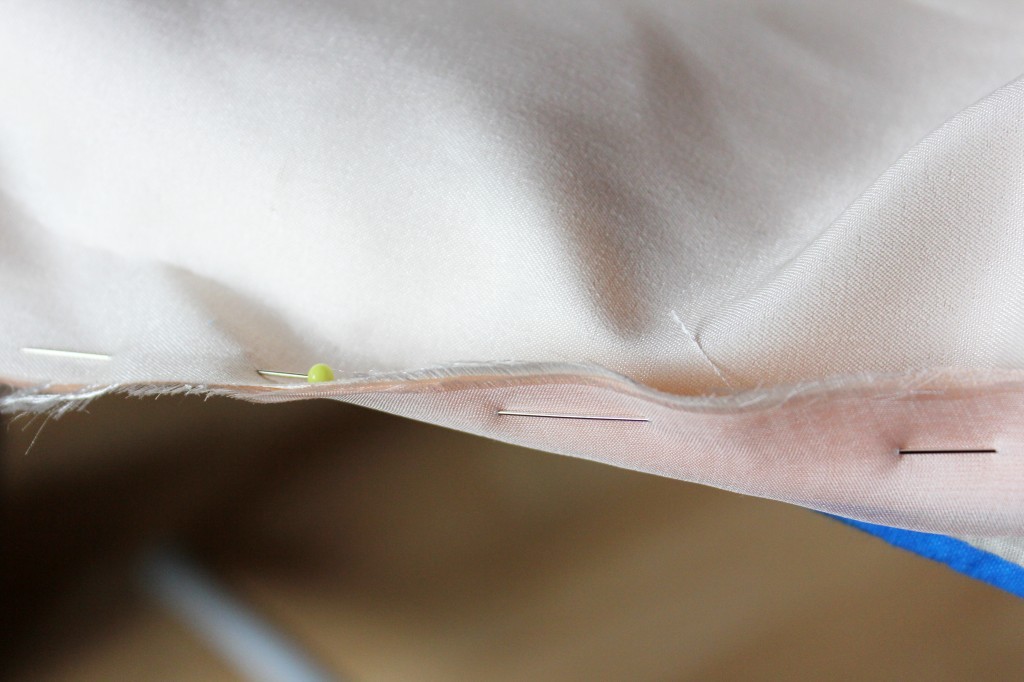
First of all, I had to deal with three layers of silk fabric plus one slippery layer of poly satin. So yes, there was basting involved. First, I finished all seams on the skirt (except for the hem) and then basted all four layers together at the open centre back before the zip went in.DIY wedding dress by thisblogisnotforyou.com
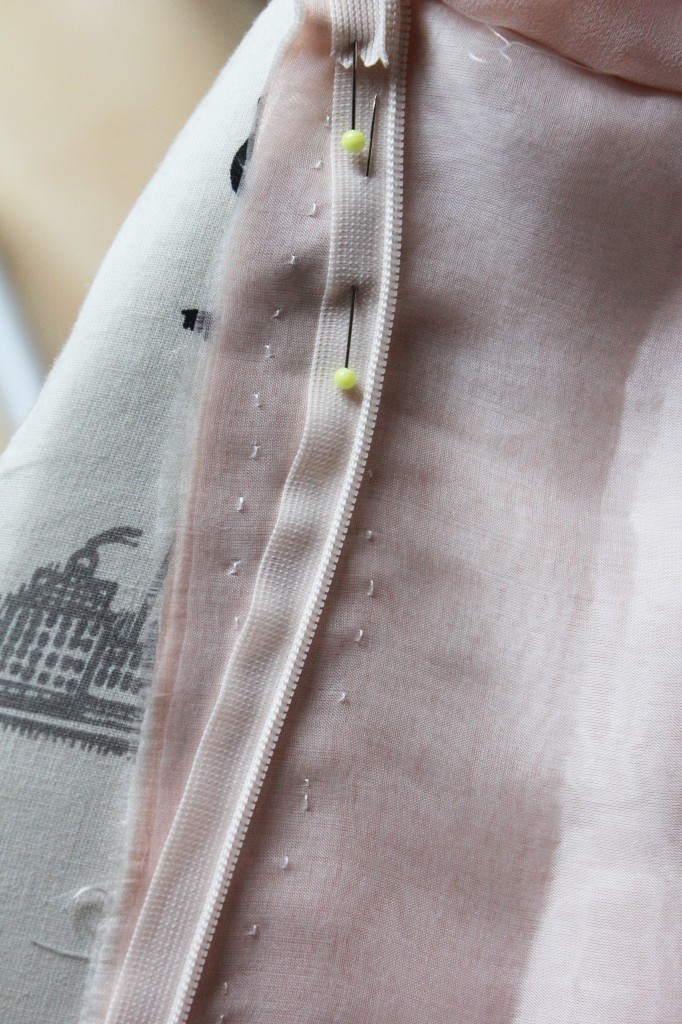
One last fitting before sewing in the zip along the newly marked seamline. I sewed the zip in by hand and I might have added a row of machine stitching afterwards, but I can’t actually remember.DIY wedding dress by thisblogisnotforyou.com
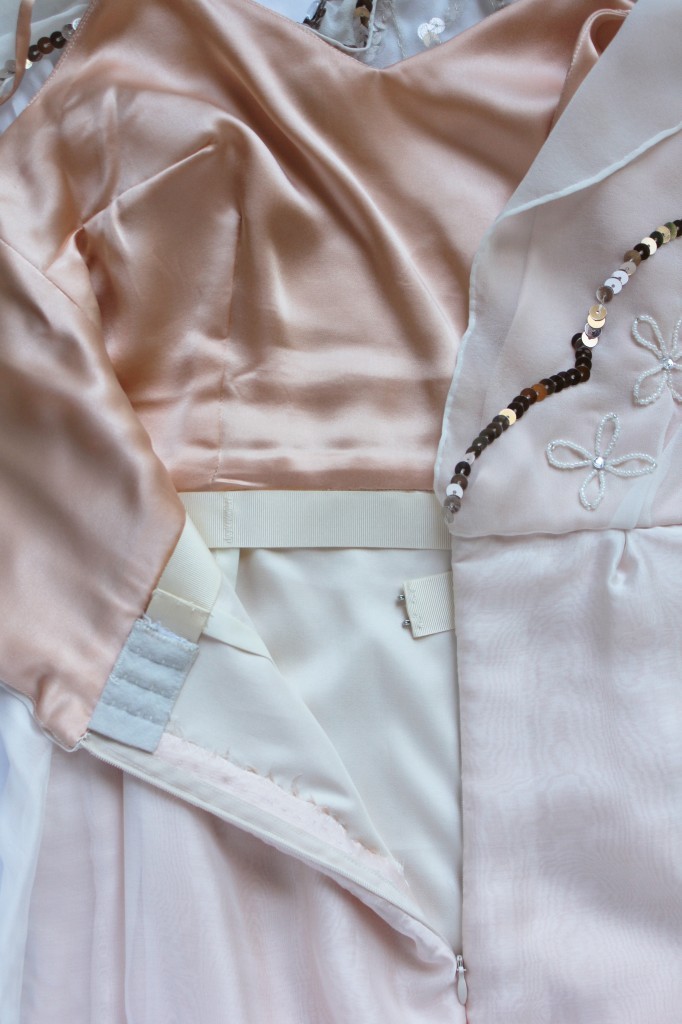
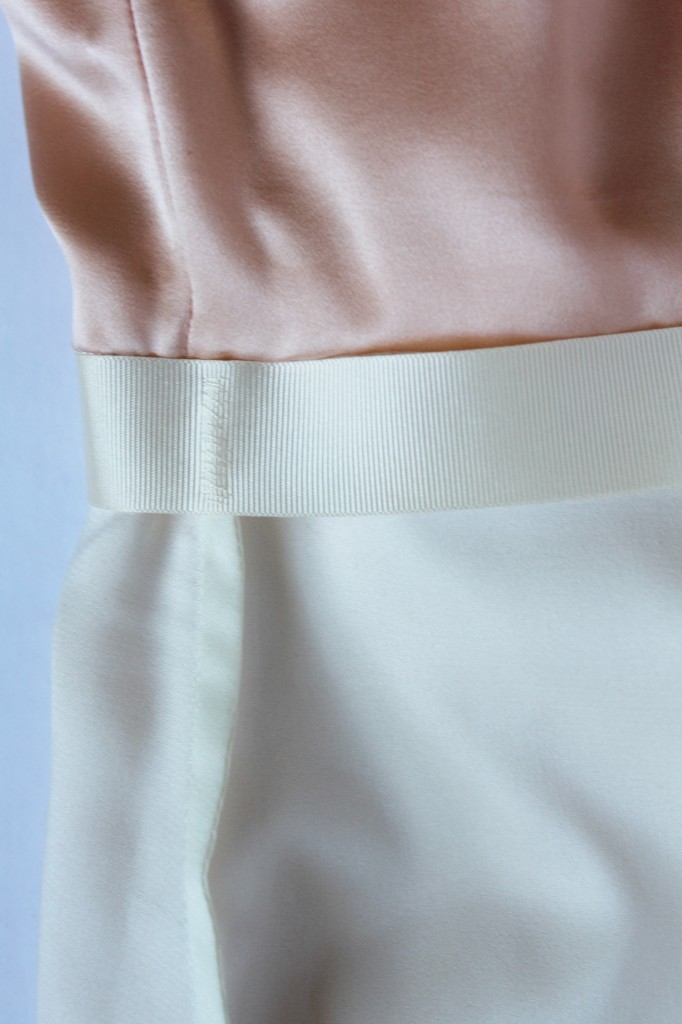
Here’s a photo of the finished zip and waistline with sewn-in waist-stay:DIY wedding dress by thisblogisnotforyou.com
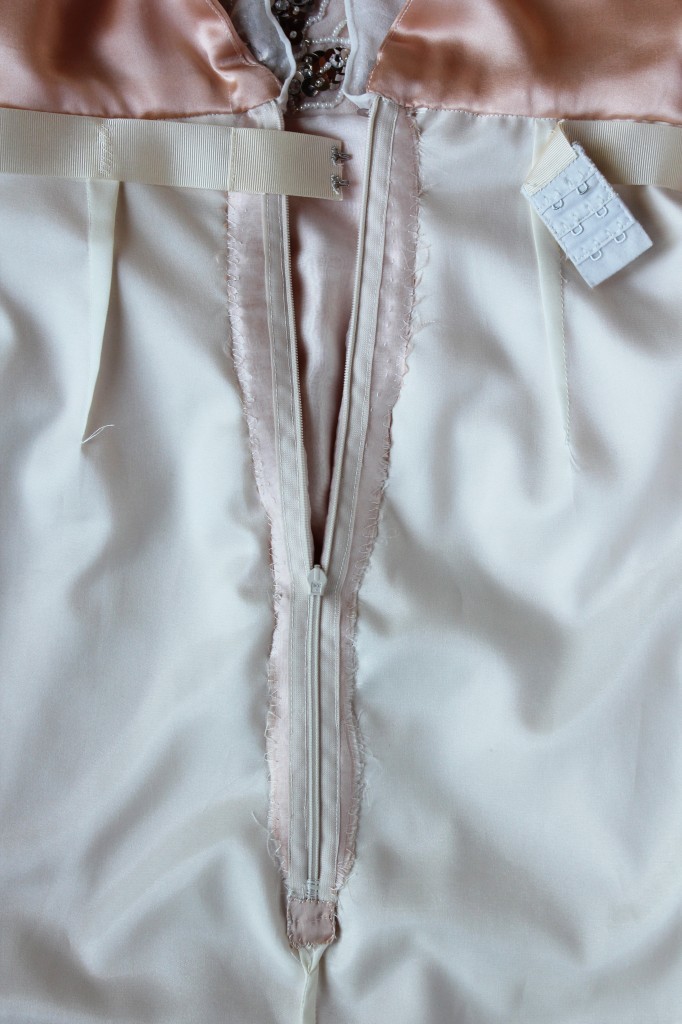
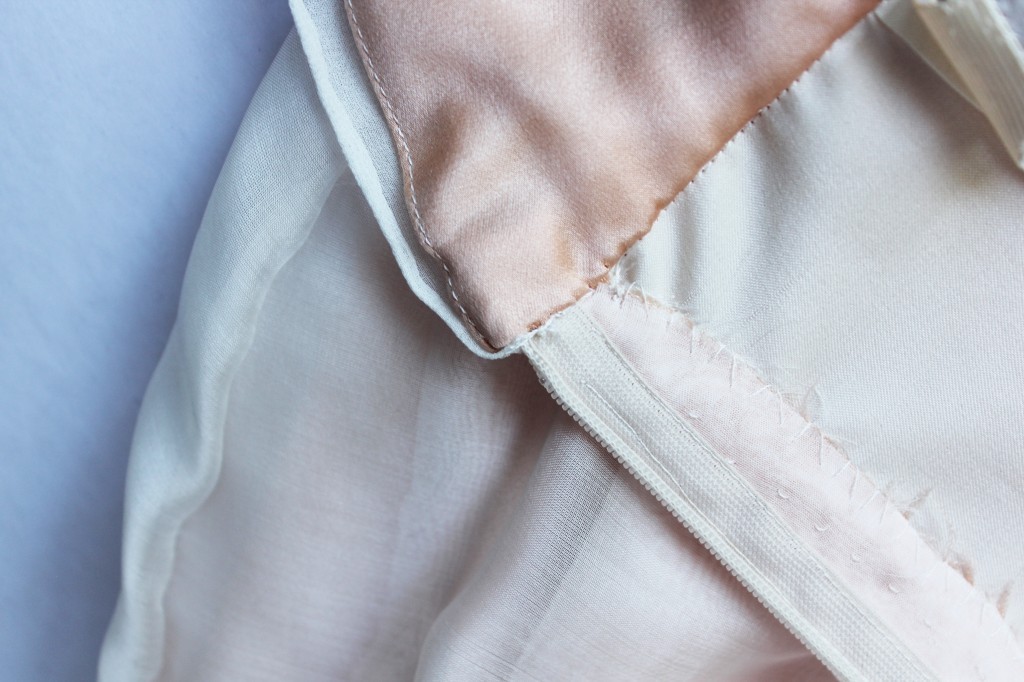
The raw edges are sewn onto the lining, thus finished. I added a small tap at the bottom of the zip to prevent any raw edges from itching (especially since I had to shorten my zip by cutting off the lower half). The centre back seam then blends into a french seam below the zip:DIY wedding dress by thisblogisnotforyou.com
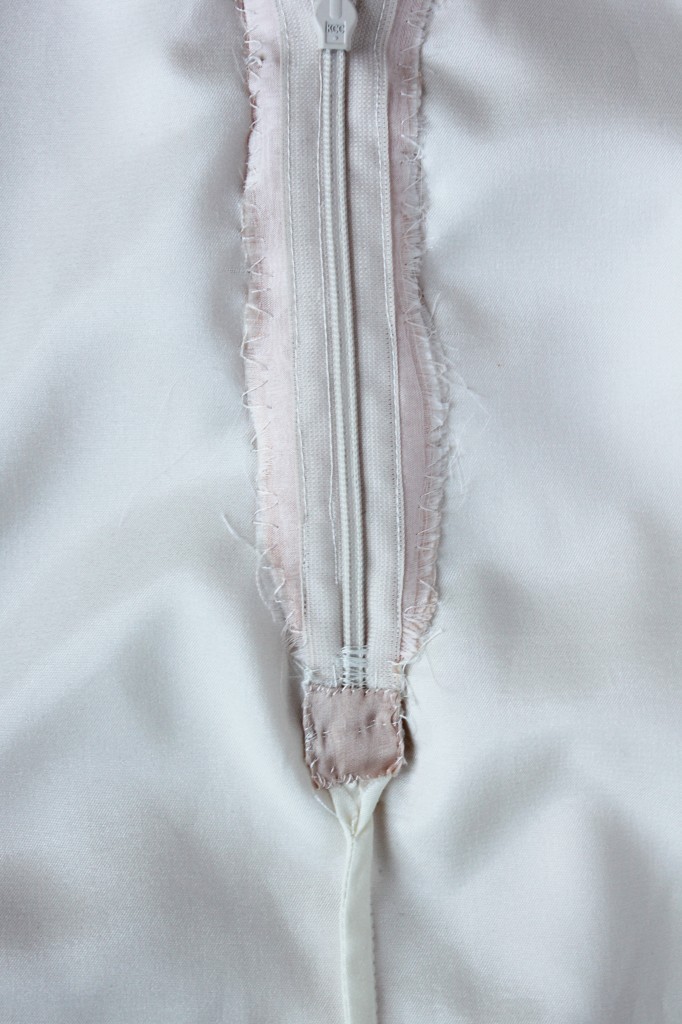
I’m pretty happy with the result. None of the delicate silk fabrics got caught in the zip during all these numerous fittings, which is pretty awesome. DIY wedding dress by thisblogisnotforyou.com
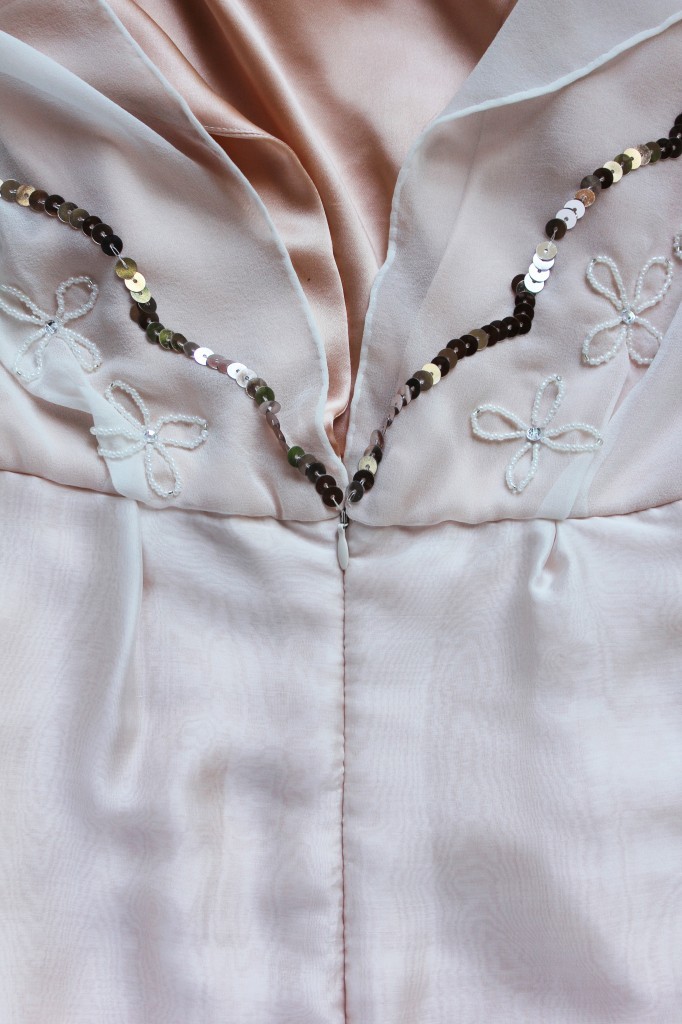
You can also see that I created tucks and pleats instead of darts of the top layers of bodice and skirt. The lining pieces all have darts. This is to have a bit of give in the delicate, non-stretch silks to prevent them from ripping, e.g. when sitting down.DIY wedding dress by thisblogisnotforyou.com
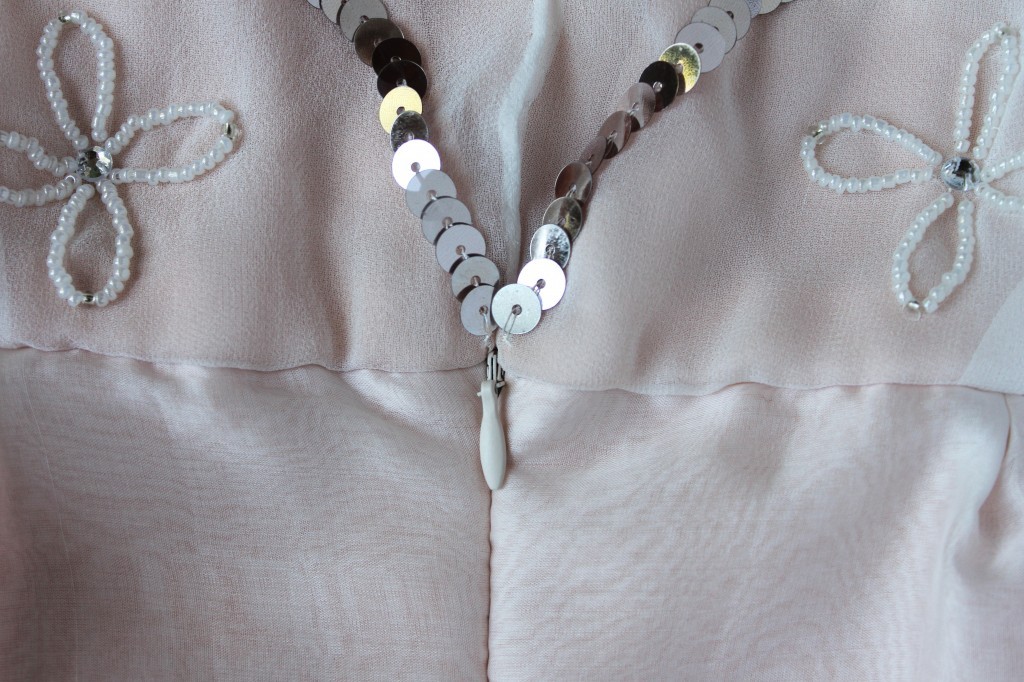
End of the zip blending into the waistseam and finished seams of the open back:DIY wedding dress by thisblogisnotforyou.comDIY wedding dress by thisblogisnotforyou.com
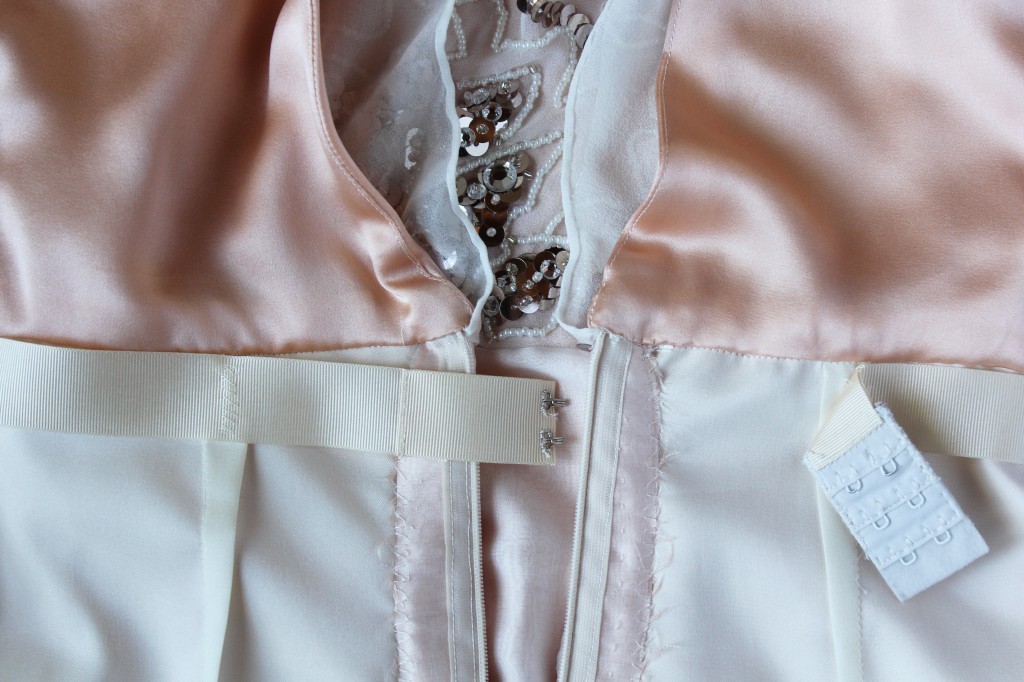
I recycled an old bra for the waiststay closure:DIY wedding dress by thisblogisnotforyou.com
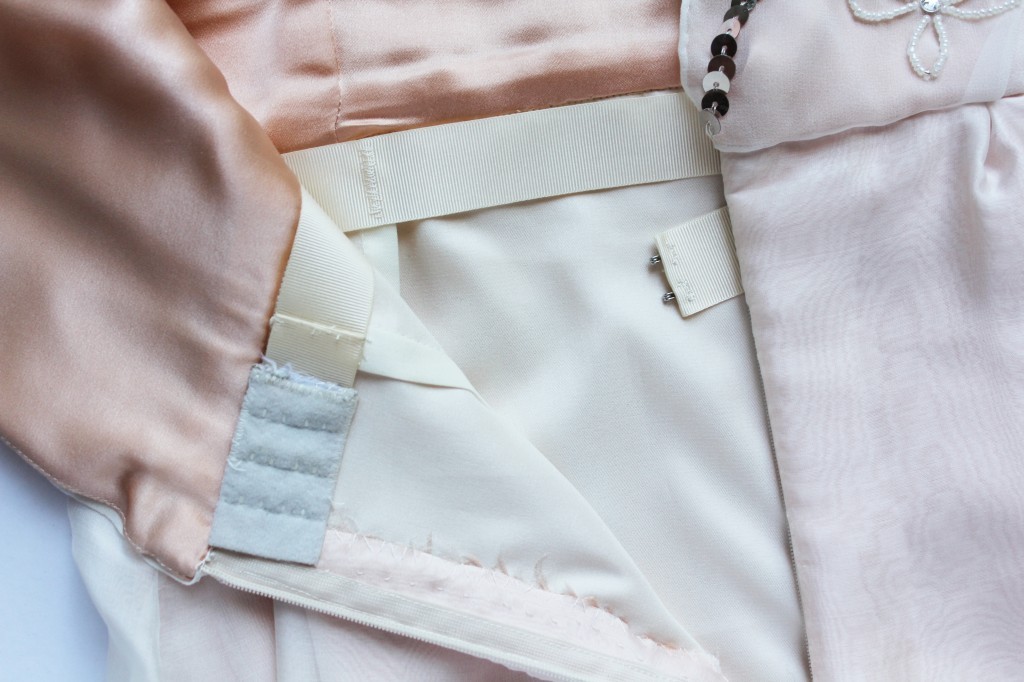
The waiststay is attached to the waistseam at the darts and side seams, invisible from the outside:DIY wedding dress by thisblogisnotforyou.comDIY wedding dress by thisblogisnotforyou.comDIY wedding dress by thisblogisnotforyou.com
Here’s the well-enough matched-up french side seams of bodice and skirt. (You can see the subtle difference between the georgette at the top and the organza at the bottom)DIY wedding dress by thisblogisnotforyou.com
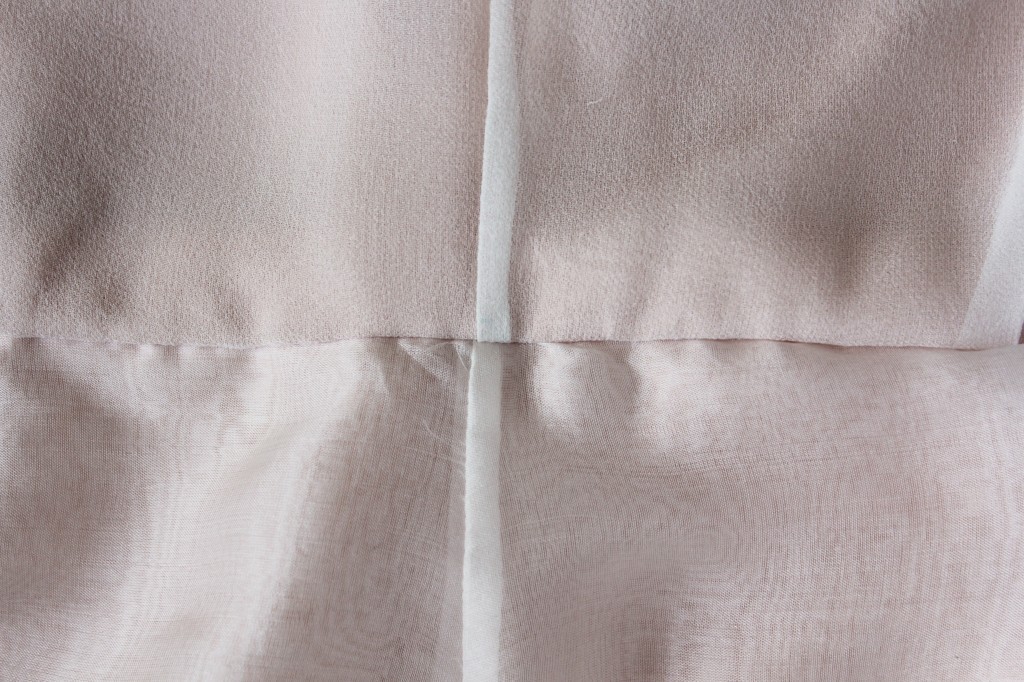
The colour scheme top to bottom:DIY wedding dress by thisblogisnotforyou.com

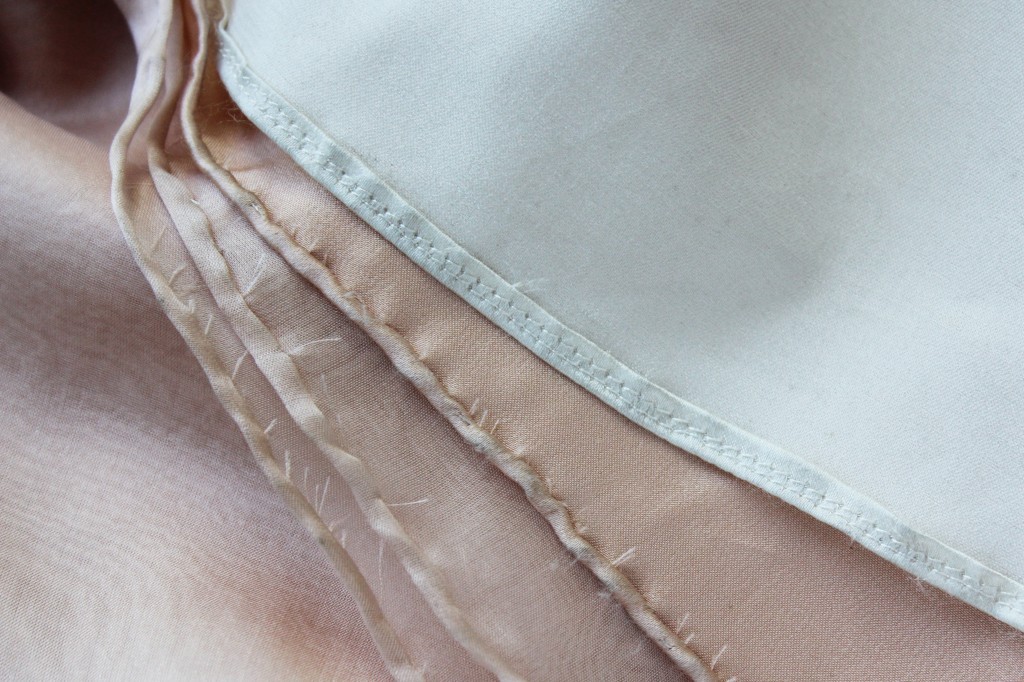
All four layers (roughly 12m hemline), three of them hand-finished. This pic was taken after the wedding, so please excuse the frayed seams and dirty fabrics.DIY wedding dress by thisblogisnotforyou.comDIY wedding dress by thisblogisnotforyou.com
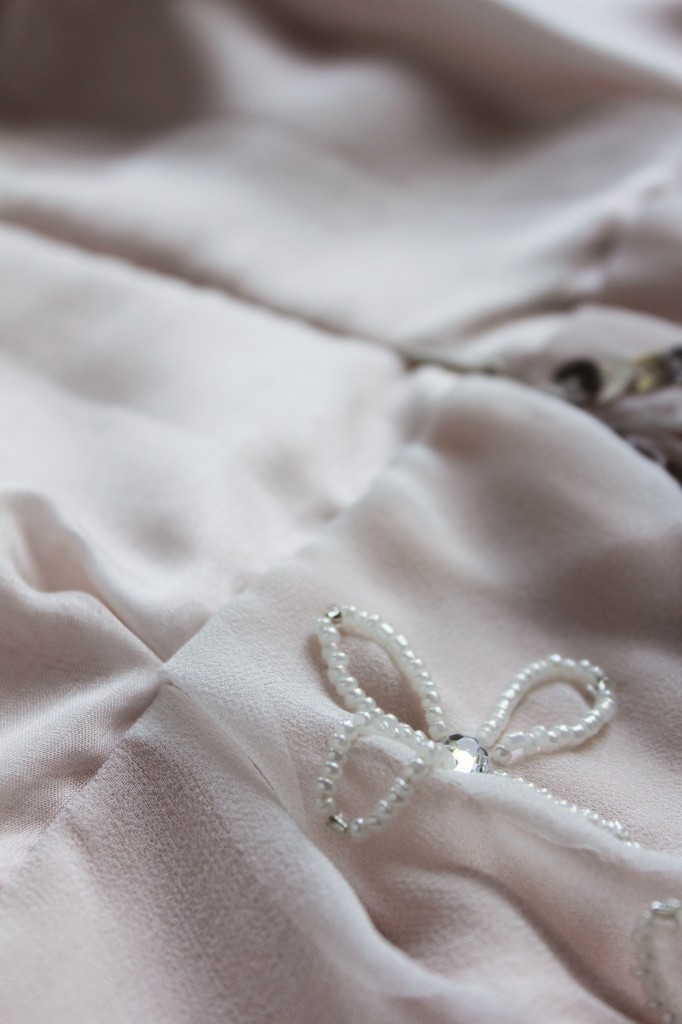
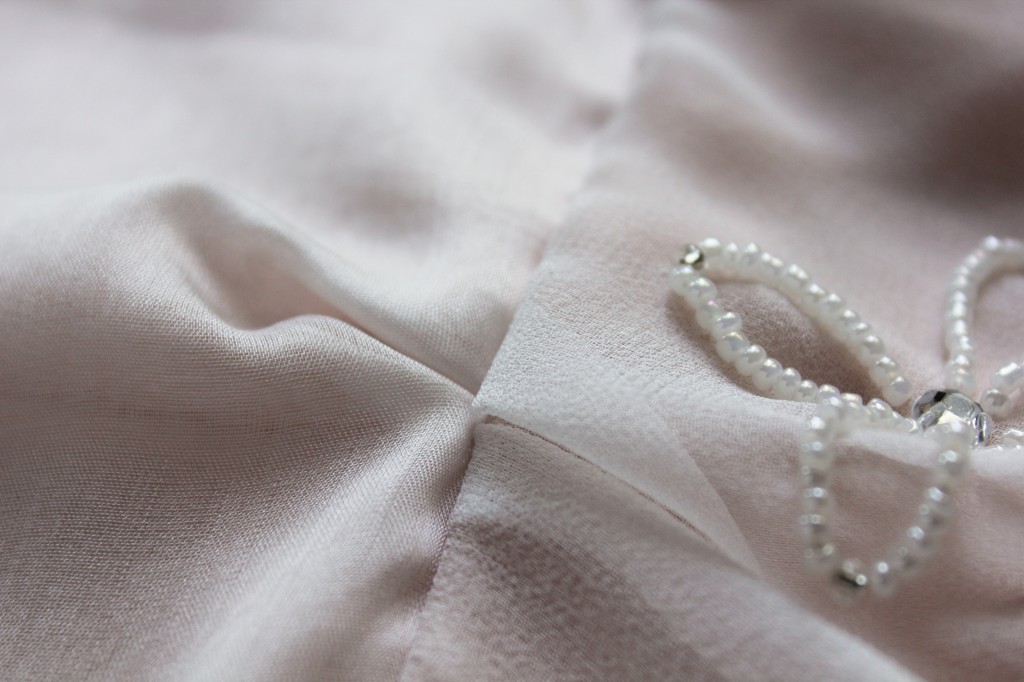
Here you can compare the texture of the embroidered georgette to the delicate silk organza:DIY wedding dress by thisblogisnotforyou.com
Well, and that was it. Apart from the more-than-average-priced fabrics and a lot of hours of fitting and handsewing, I simply have sewn a dress I wore to a special occaision. There was no wedding dress magic involved. So if you are thinking about making your wedding dress yourself, do it! All you need is time and a lot of nerves.

So you want to see the finished dress? Here it is:
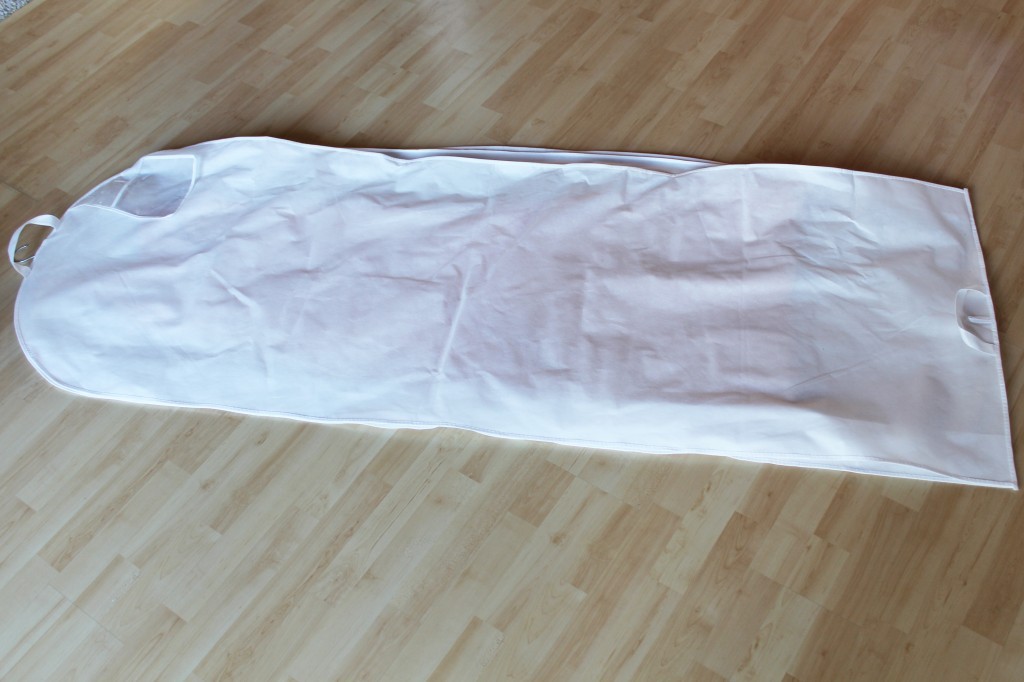
DIY wedding dress by thisblogisnotforyou.com

Just kidding. That was enough pictures for one post. Make sure to keep your eyes peeled for the final post in this series: The big reveal! (Although you probably have a pretty detailed picture of the dress in mind by now. It might not be very huge surprise tbh.)

So there will be wedding pictures soon! And, if you don’t mind, I’ll share some other wedding DIYs after that, as well. Let me know when you get tired of all this wedding stuff! I’m sure not done yet.

If you missed out on any of the other making of posts, just click on the wedding dress tag below or choose the DIY Wedding category on the right to find your way to the other posts in this series.

xx

Charlie


Happy sewing!

facebook/bloglovin/pinterest
twitter/instagram

Stay in touch!

T&TB Agnes Dress in John Kaldor Jersey

Tilly & the Buttons Agnes Dress by thisblogisnotforyou.com

HACKING AGNES INTO A DRESS

Hello again!

After reviewing the pattern and showing you my wearable muslin, it’s time to get out the actual project I was working on.

The pattern and fabric used for this project are courtesy of WeaverDee.com. They very kindly offered me to pick some fabric along with a pattern for me to try. (As usual, all opinions are my own.)

I wrote about the pattern, the Agnes Top by TILLY AND THE BUTTONS,  after I made the puff sleeve version as a muslin.

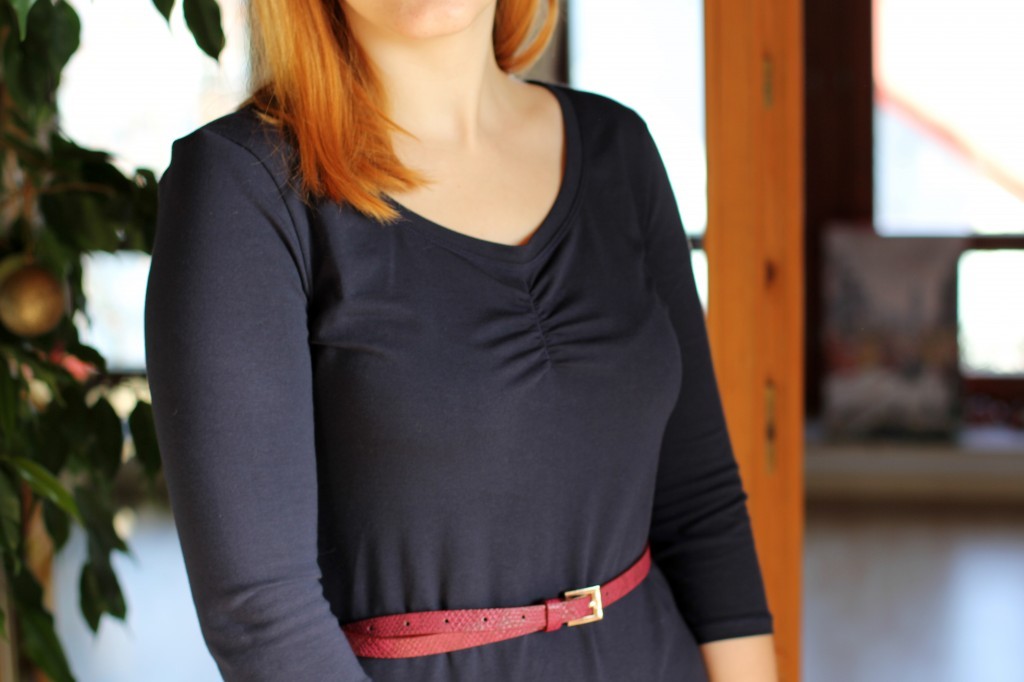
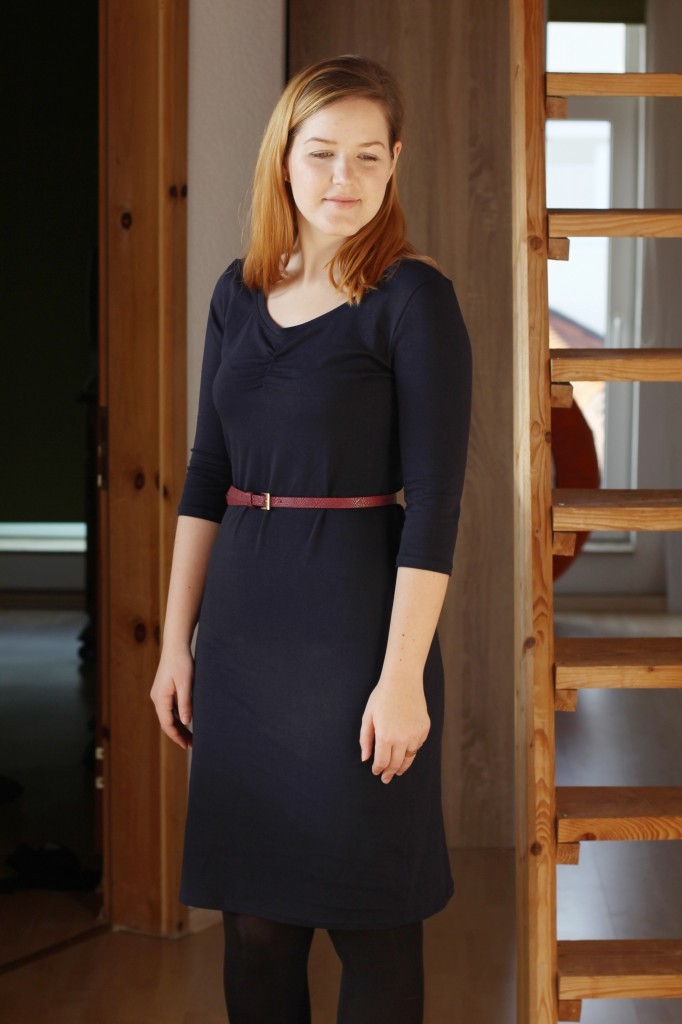
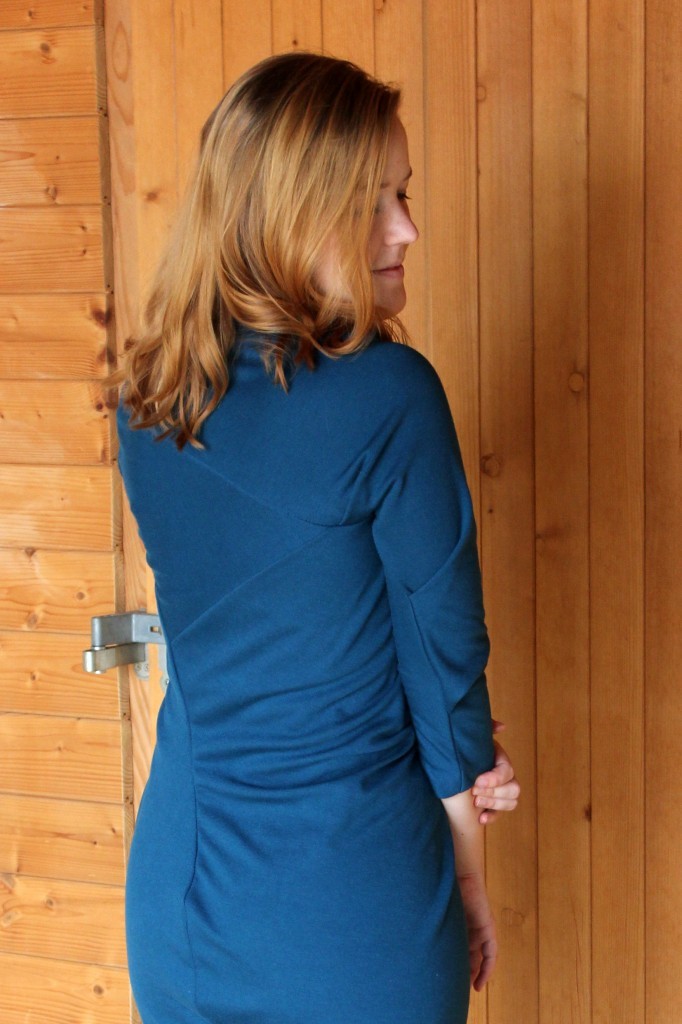
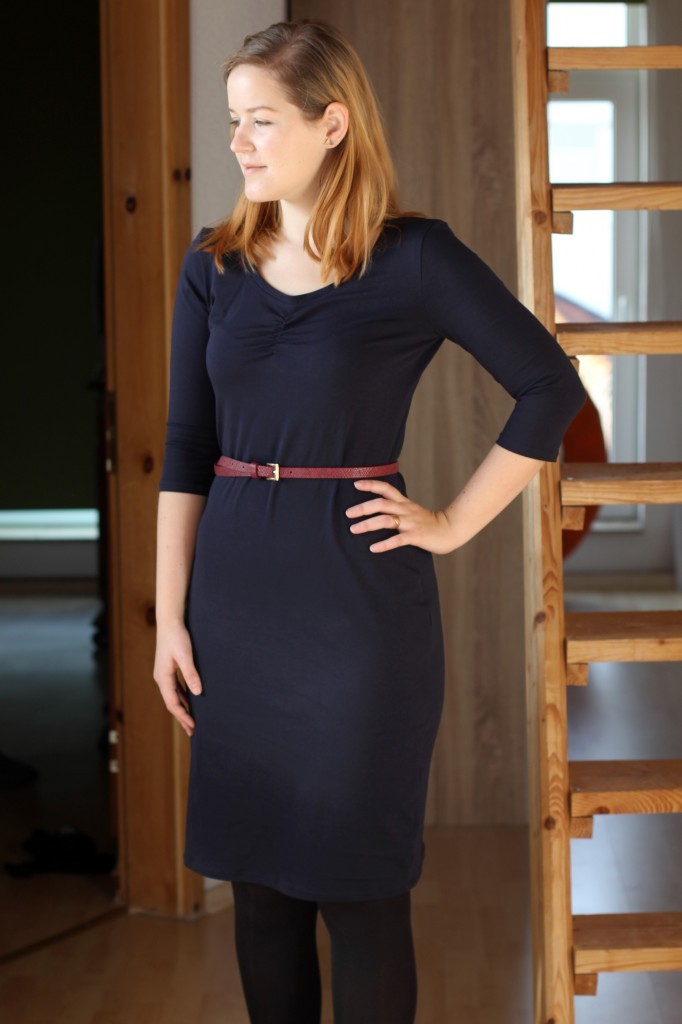
For hacking the pattern into a close-fitting dress, I picked a gorgeous navy blue John Kaldor jersey (92% cotton, 8% elastane). The fabric is very smooth with quite a cool, luxurious feel to it. It didn’t give off any fluff after washing and the colour didn’t fade. It’s quite a dark rich colour, but it was a bit hard to photograph which is why it looks a bit greyish in some pictures. WeaverDee.com also has other beautiful John Kaldor jerseys, the fuchsia and kingfisher ones look soo tempting!

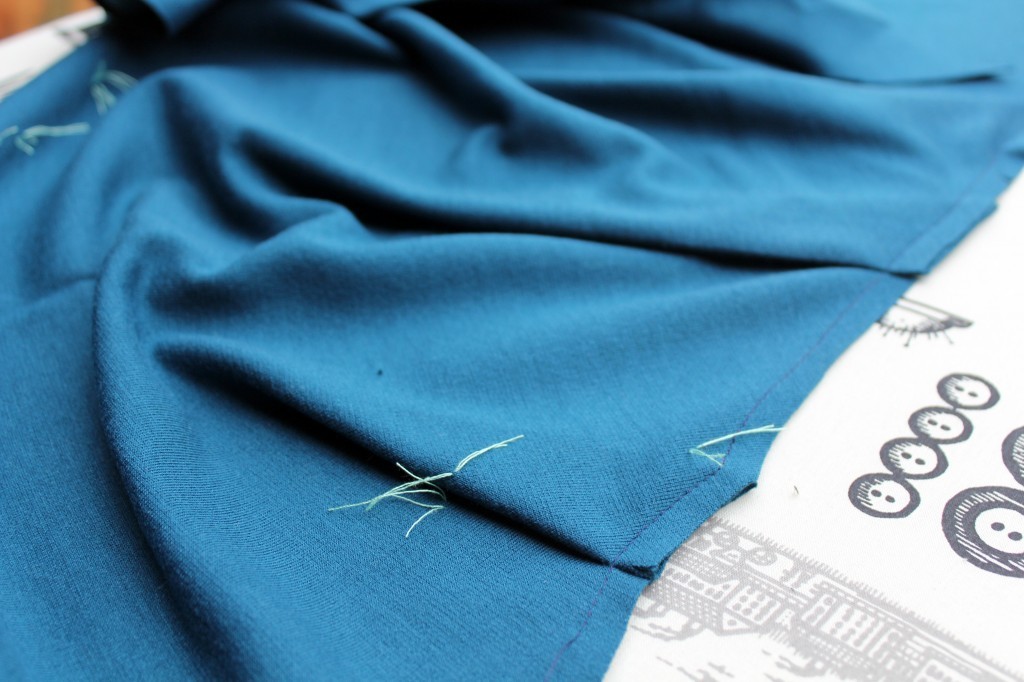
The fabric sewed and pressed really well. When pressing dark jersey fabric you always have to be careful to only press from the left side of the fabric, other wise the bulk of the seam allowance might leave marks on the right side.

Tilly & the Buttons Agnes Dress by thisblogisnotforyou.com

Tilly & the Buttons Agnes Dress by thisblogisnotforyou.com

PATTERN ADJUSTMENTS & FIT

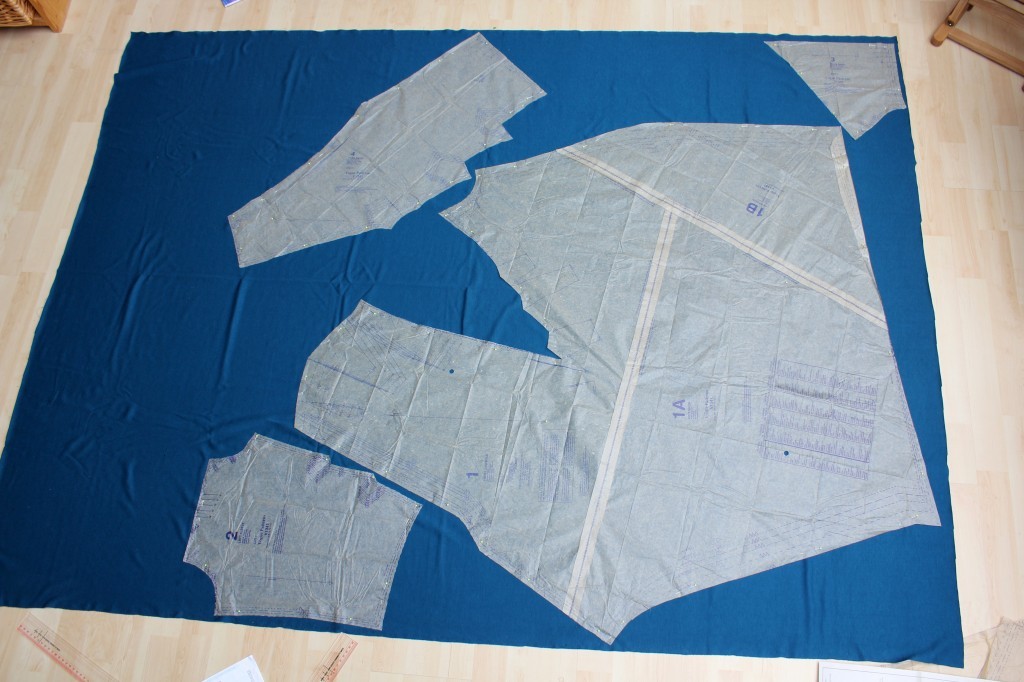
To make the top into a dress I used my hip measurements and lengthened the top all the way to knee-length shaping in below the hip. I’ve done this to a couple of stretch patterns, so I keep using an older hacked pattern as reference. You can merge any pattern by lining up the bodice and skirt pieces at the waistline. This is the reason why I try to copy all marks when I trace a pattern. You never know when you might need it.

source: http://shop.tillyandthebuttons.com/

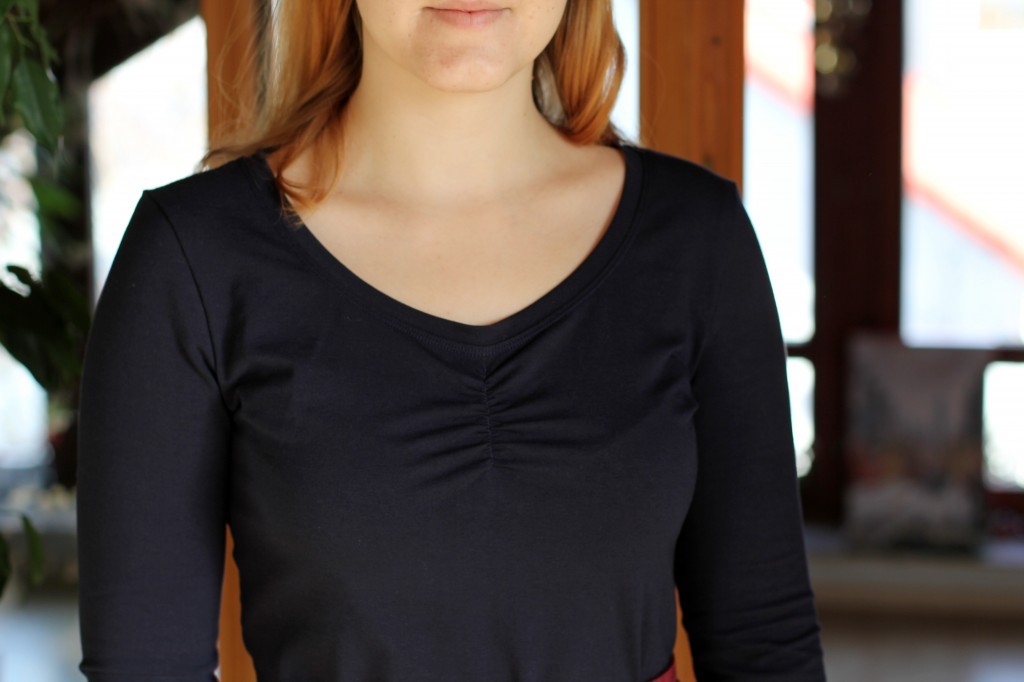
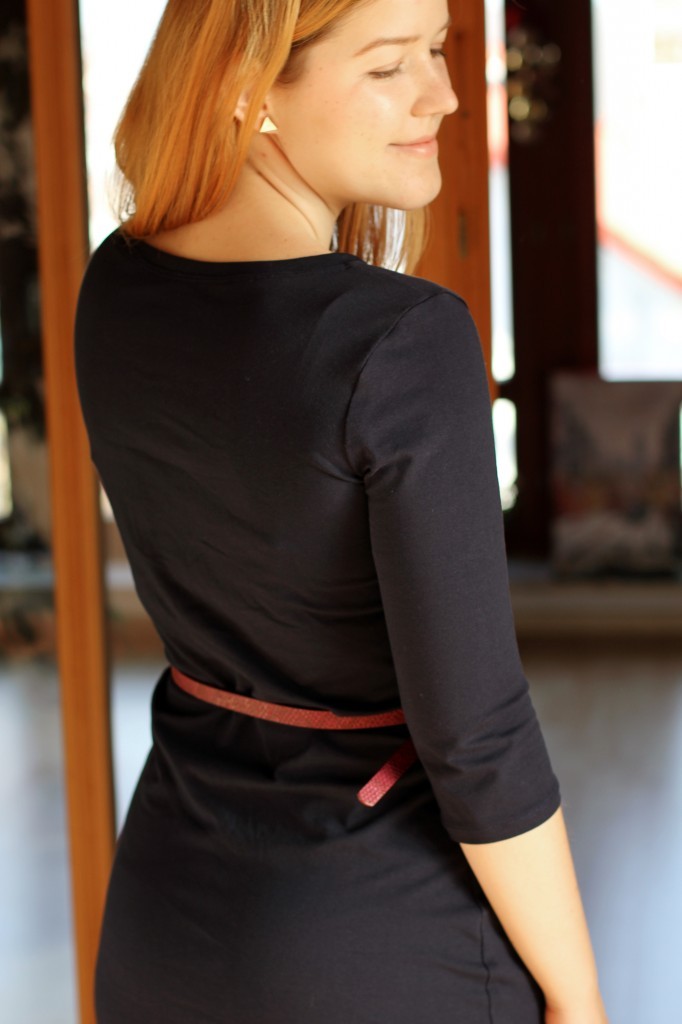
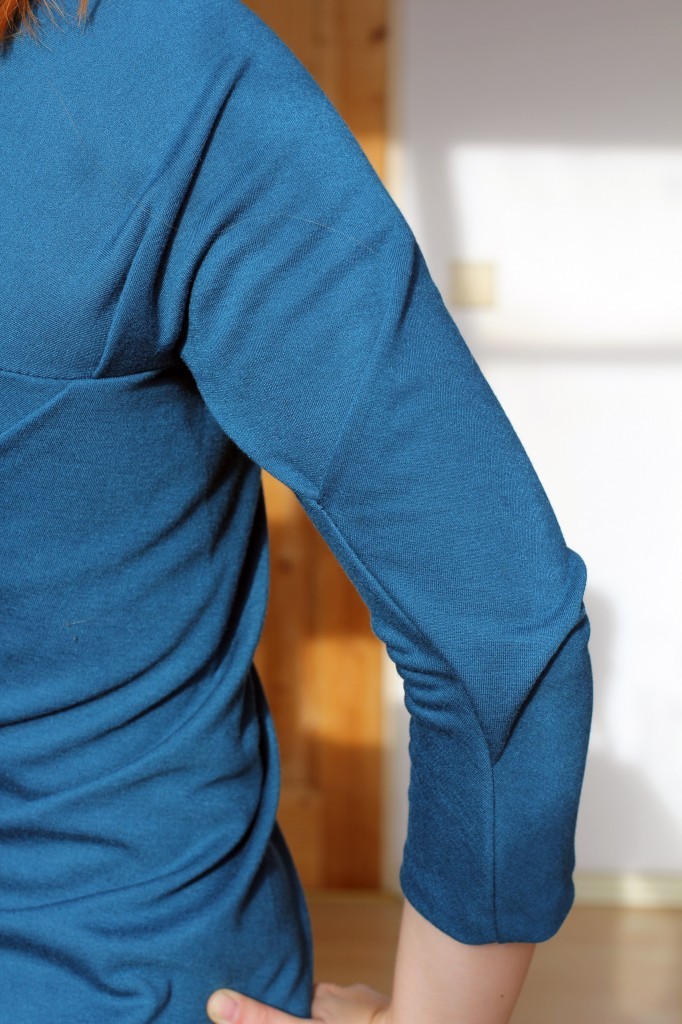
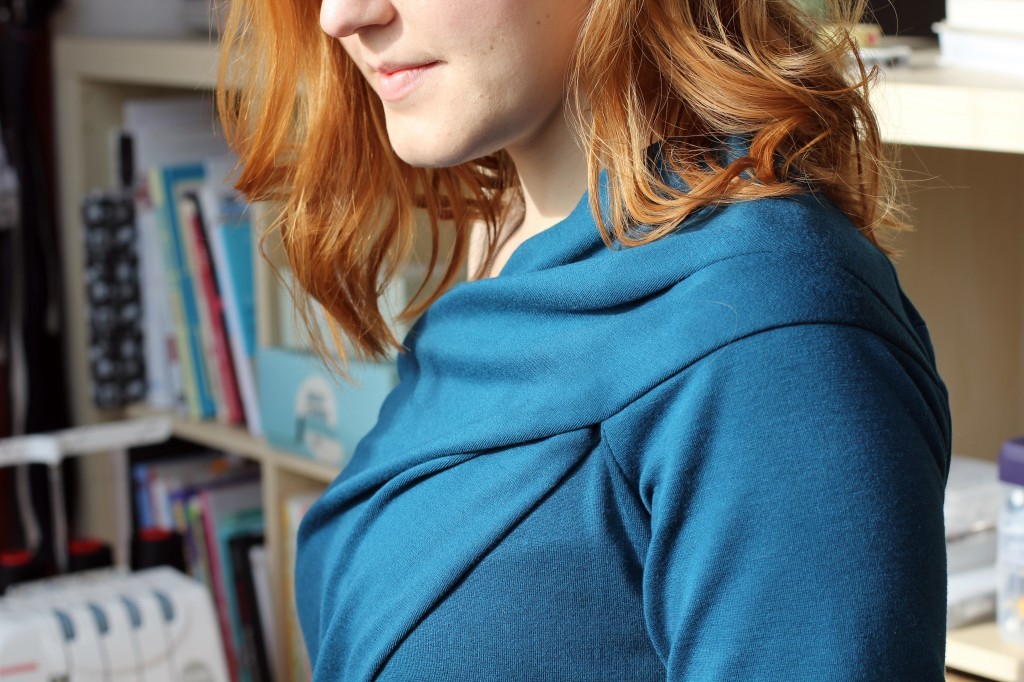
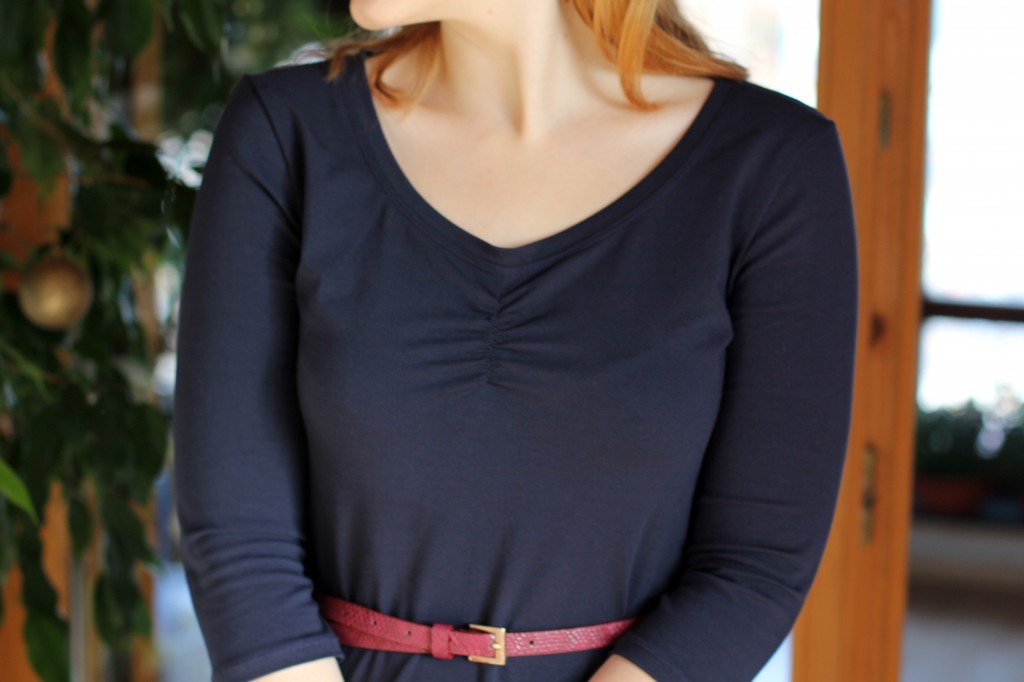
I made the view with the ruched neckline detail and short sleeves. The original length of the sleeves was a bit short for my taste, so I lengthened them by about 10cm.  I love 3/4 sleeves or sleeves that at least cover the elbow. They are easier to wear in colder and warmer seasons alike and look just so much classier.Tilly & the Buttons Agnes Dress by thisblogisnotforyou.comTilly & the Buttons Agnes Dress by thisblogisnotforyou.comTilly & the Buttons Agnes Dress by thisblogisnotforyou.comThe dress is super comfy and looks great with tights and is also great for layering with a cardi or jumper. That is something you might want to keep in mind if you are planning to make the puff sleeves. They do look quite bulky once you wear a cardigan on top.

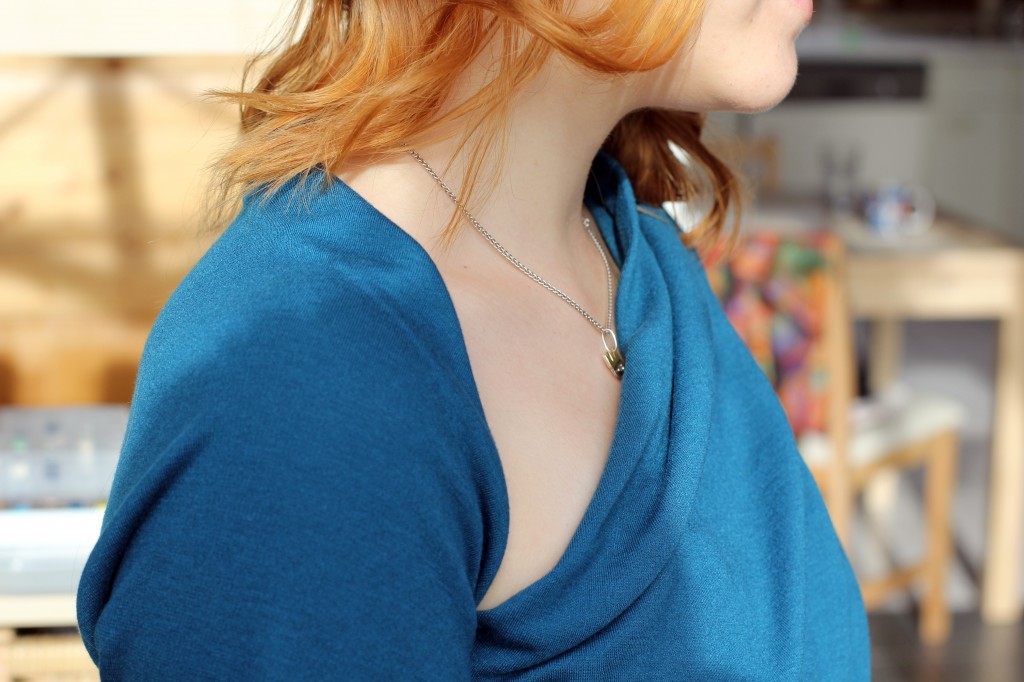
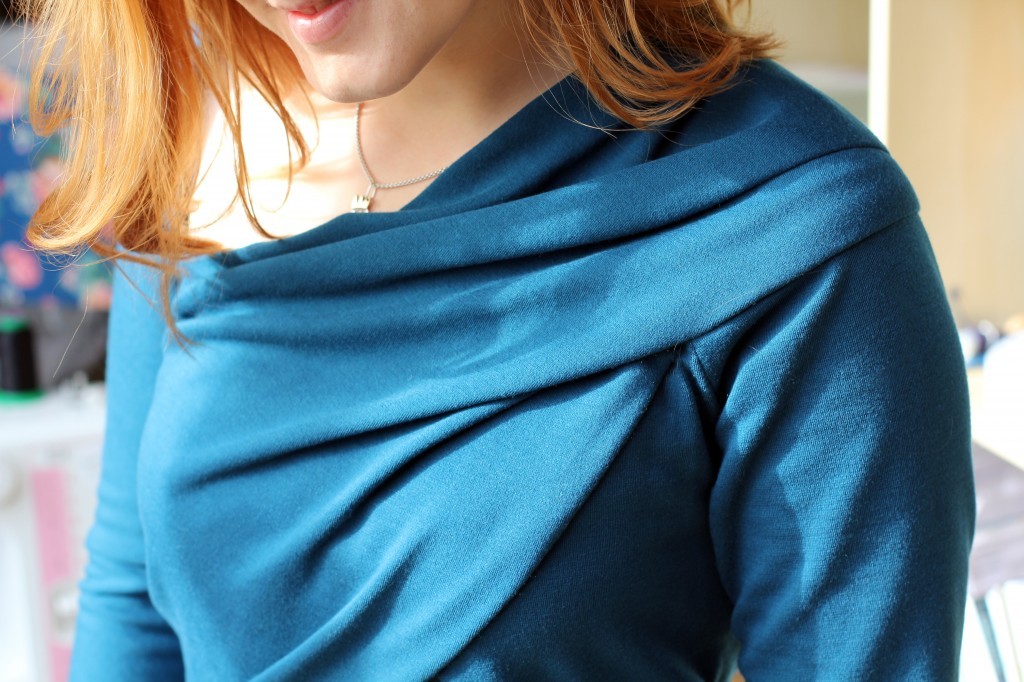
The simple silhouette makes this dress a perfect basic for different outfit combinations. The ruched detail is a pretty feature and also adds a really good shape to the bust area. I really like how the neckband is pulled slightly into a v-shape. It makes it look a bit less sporty. It’s not quite the heart-shape as shown on the pattern envelope because the neckband is a bit too bulky to be pulled down that far. But I like this look better anyway.Tilly & the Buttons Agnes Dress by thisblogisnotforyou.comTilly & the Buttons Agnes Dress by thisblogisnotforyou.comTilly & the Buttons Agnes Dress by thisblogisnotforyou.com

Will I make it again? I am really happy with this make. It came together in no time (2 hours tops) and is such a great wardrobe staple. I rediscovered jersey dresses this autumn and keep wearing them all the time until they’re all in the wash. I have to say I like the dress best of the all the Agnes’ I made so far (I made four different tops), but that’s just because I am not a jeans and t-shirt kind of type. Jersey is one of the fabrics that gets damaged through use and washing quite quickly, let’s see how this one holds up.  I definitely see myself making tons more (just in case)! 

xx

Charlie


Happy sewing!

facebook/bloglovin/pinterest
twitter/instagram

Stay in touch!
By Hand London Georgia Dress

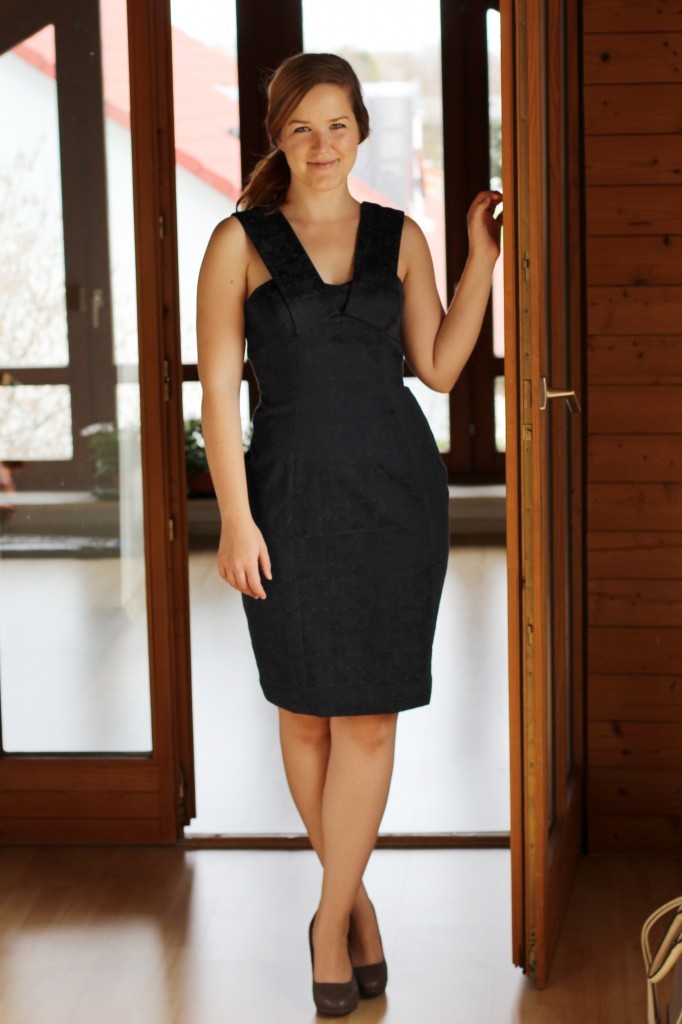
ByHandLondon Georgia Dress by thisblogisnotforyou.comByHandLondon Georgia Dress by thisblogisnotforyou.com

This post is long overdue! I made this dress in August this year. I whipped it up in just a couple of days, which is normally more than enough considering I sometimes make a dress in a day. But it was the first time sewing the By Hand London Georgia, so I had to trace the pattern, adjust the fit etc. Also, I tried out some construction techniques from my new Couture Sewing book which is probably the main reason why this kept me busy for a couple of days.

I made this dress a bit short notice, to have something nice to wear to the Mr.’s graduation ceremony at UCL. It came together without any problems and the fitting wasn’t too difficult. As it was a cold and rainy weekend I wore it with a bordeaux red blazer and felt very pretty! All in all, I’m really happy with this dress!

ByHandLondon Georgia Dress by thisblogisnotforyou.com

THE FABRIC

I bought this stretchy jaquard polyester/cotton blend at a bargain price at Karstadt, a large German department store. They always have quite good fabrics in their remnant corner. I found this at a sale price for 4€/m which is as cheap as you can get at Karstadt. Fabrics of this quality are usually much, much more there. I bought three metres and already hat the Georgia Dress in mind.

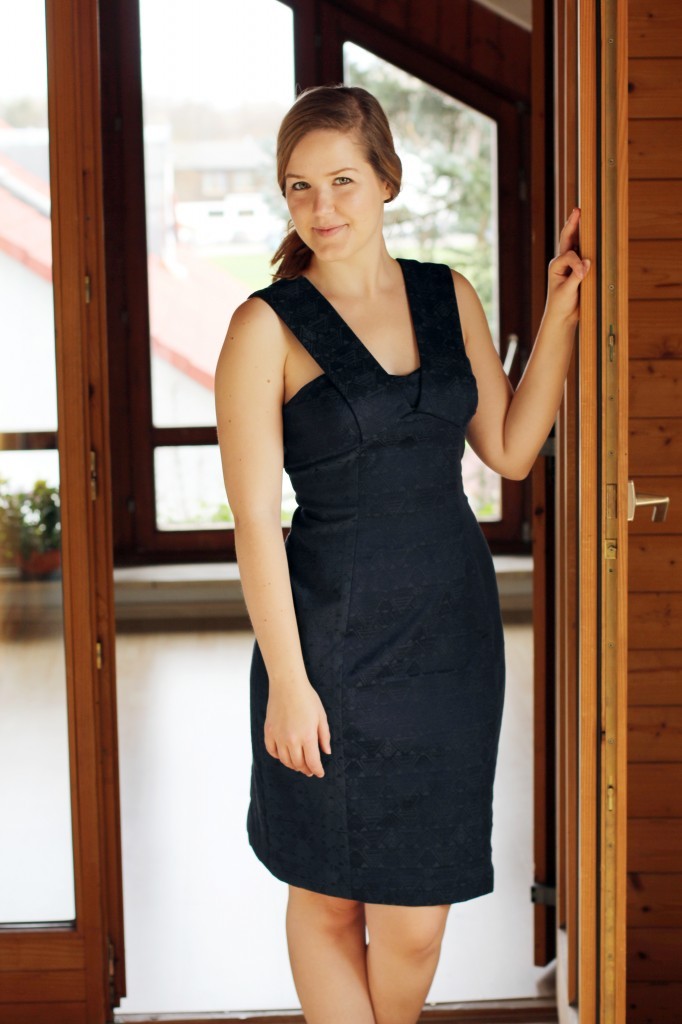
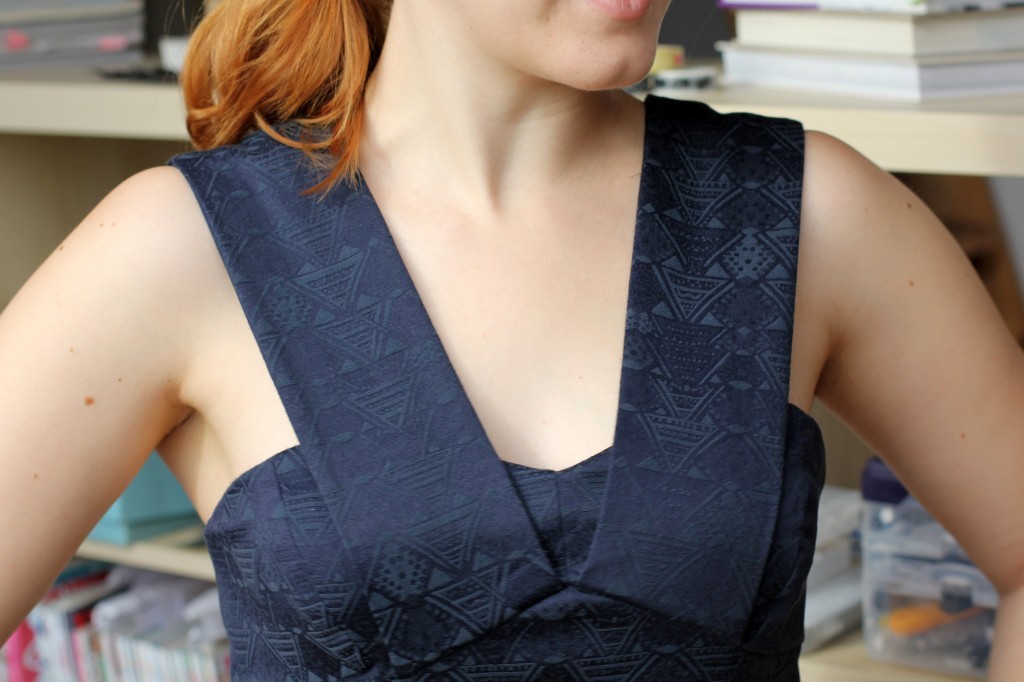
As this is jaquard, this fabric is sort of doublesided. Probably not meant to be, but the left side looked really interesting and was slightly brighter than the right side of the fabric. I decided to incorporate this detail into the dress and thought that the skirt panels would be perfect for that. On garments with princess seams I like to work with contrasting fabrics, when possible, to create a slightly more slimming silhouette. It worked beautifully with the two different sides of the jaquard, but it’s really hard to photograph. Below is the only picture where you can see the contrast a little bit.ByHandLondon Georgia Dress by thisblogisnotforyou.com

PATTERN & FIT

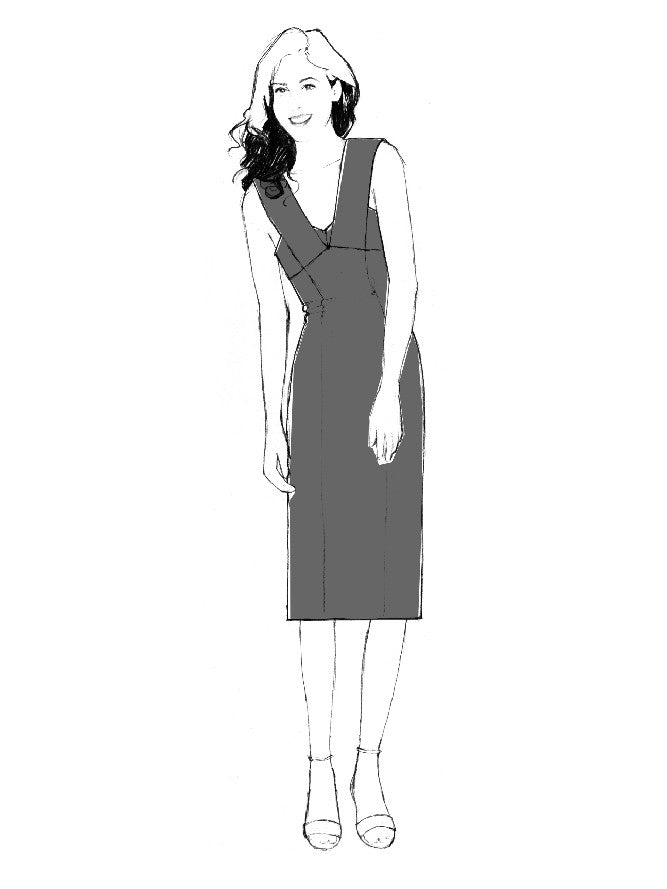
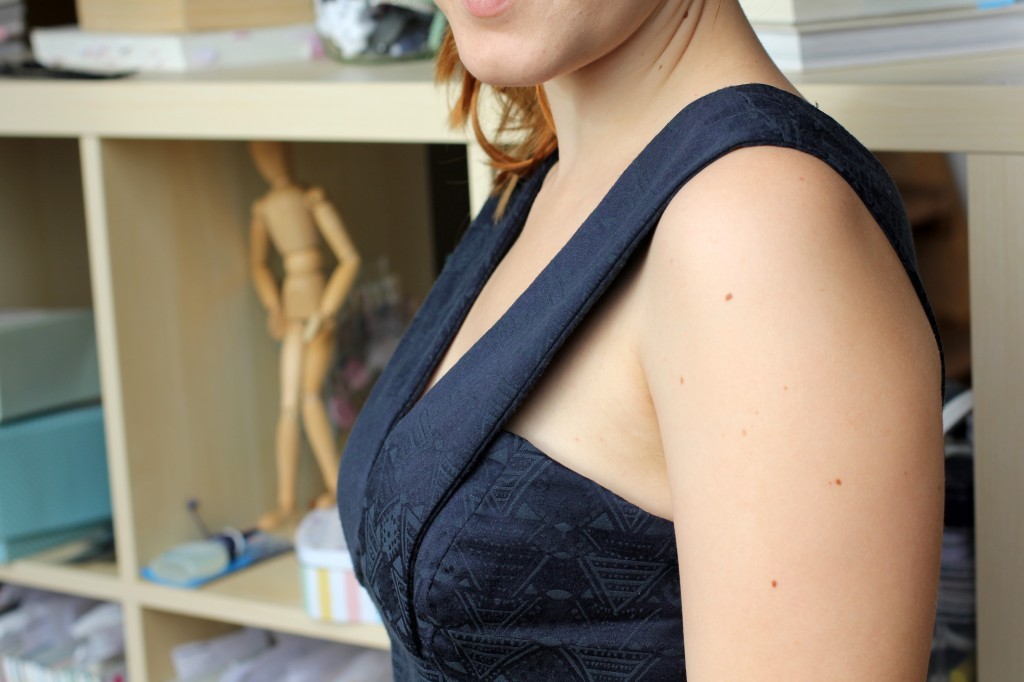
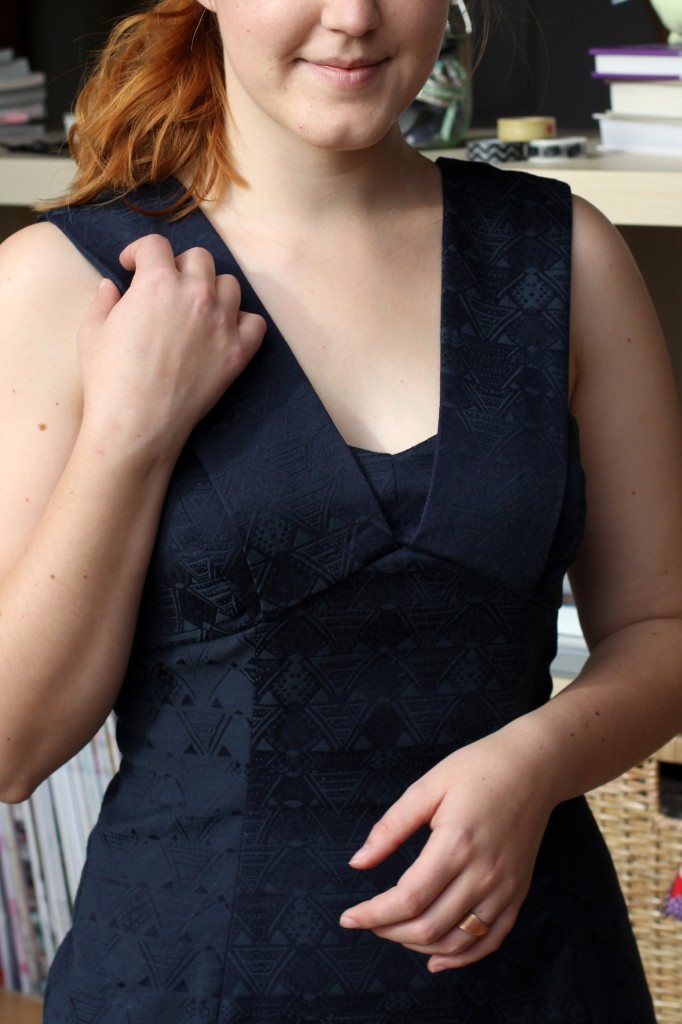
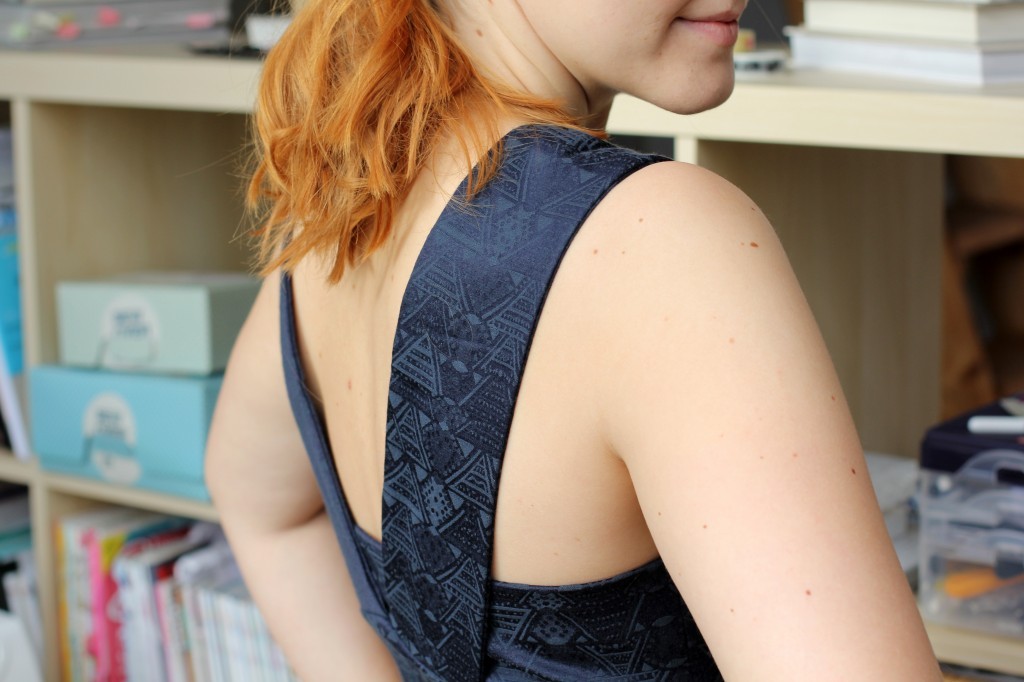
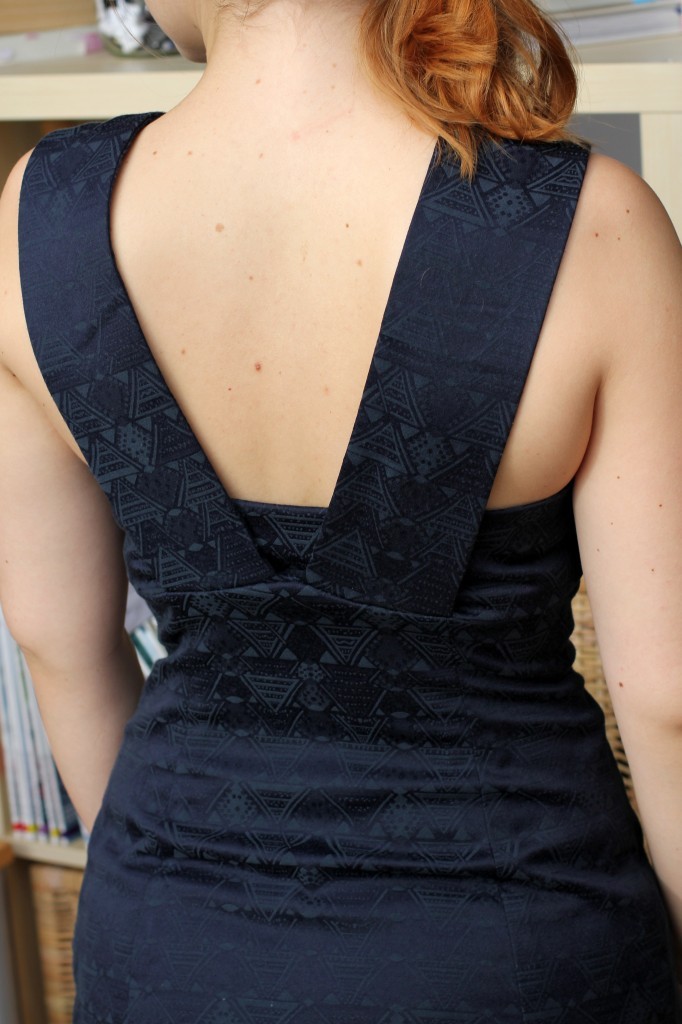
The pattern is the Georgia Dress by By Hand London. It’s a lovely, versatile dress. I’m not a big fan of strapless dresses or the view with the narrow straps, so the wide straps definitely sold the pattern for me! I love how they go across the top of the dress, a detail I haven’t really seen anywhere else.

source: http://byhandlondon.com/

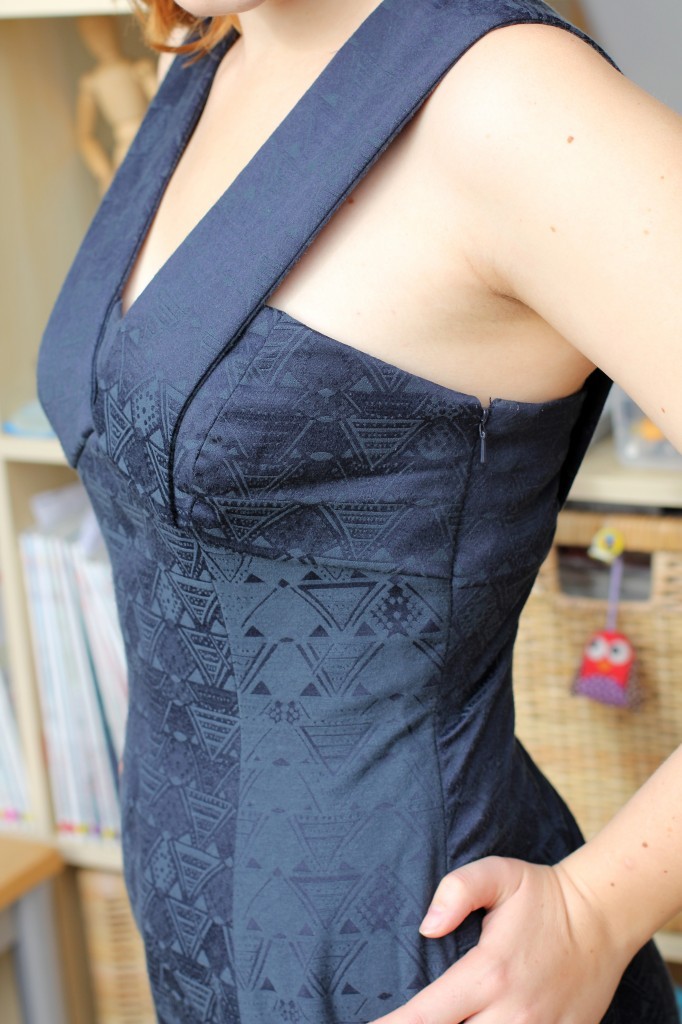
The pattern is great and came together easily. I really like the illustrated instructions, which are pretty failproof. I graded the skirt up to a larger size and the first fitting went quite well. I took the dress is here and there. The only part hard to fit was the top, as the cups consist of several pattern pieces and are lined as well. Although my measurements were the same as on the pattern for the bust, the top was quite a bit too large and gapey. I took it in at the side seams. It sort of fits ok, especially with the wide sleeves giving some more structure, but it’s still a bit too wide and will need some more fitting should I sew it again.

The waist and hip areas were easy to fit because of the different panels of the skirt that go right up to the bust line. No darts! Yay! It really fits like a glove!

ByHandLondon Georgia Dress by thisblogisnotforyou.comByHandLondon Georgia Dress by thisblogisnotforyou.com

CONSTRUCTION

While sewing this dress I tried out different couture sewing techniques from the Roberta Carr book: Couture: The Art of Fine Sewing. This is probably the main reason why sewing this dress took so long. I mainly focussed on reducing bulk at the seams, clipping and catchstitching curved seams (the dress has a lot of those!) and pressing techniques. I absolutely love the book and will have to read it over and over again to memorise all these helpful tips and tricks. I won’t lie, couture techniques take ages and will slow down your sewing process, which is what couture is about. I will definitely try to use more of these techniques in my sewing.

ByHandLondon Georgia Dress by thisblogisnotforyou.comByHandLondon Georgia Dress by thisblogisnotforyou.com

Apart from the curved seams (especially at the bust cups), there were no particularly tricky bit in constructing this dress. It’s a dress a beginner could definitely tackle, yet it’s still interesting enough for an advanced sewer.ByHandLondon Georgia Dress by thisblogisnotforyou.comByHandLondon Georgia Dress by thisblogisnotforyou.comByHandLondon Georgia Dress by thisblogisnotforyou.comI had to get out a strapless bra for this dress, otherwise the wide straps on this dress wouldn’t look half as good. They are at an angle, so bra straps would probably show, especially at the back.ByHandLondon Georgia Dress by thisblogisnotforyou.comByHandLondon Georgia Dress by thisblogisnotforyou.com

Will I make it again? I really like this dress and feel very confident wearing it. I will most likely make another one, but not this year. The straps make it hard to pull off a layered look, so it’s more of a summer dress for me.

xx

Charlie


Happy sewing!

facebook/bloglovin/pinterest
twitter/instagram

Stay in touch!
Donna Karan Dress in Teal Knit Fabric

Donna Karan dress by thisblogisnotforyou.comDonna Karan dress by thisblogisnotforyou.comDonna Karan dress by thisblogisnotforyou.com

Donna Karan dress by thisblogisnotforyou.com

If I had to describe my style, I’d struggle. There’s a certain style that I have in mind or how I dress in my head. Garments that I adore and outfits I’d love to wear. And then there’s how I actually dress, which is miles away from the vision in my head. Anyone else have that problem? The seamstress is me promises to work on that.

If I had to sum up the style I have in mind, the style that inspires me, I’d say the ladies of Suits. Anyone else who watches Suits? I’m a pretty big fan – the story is pretty good, Gabriel Macht is pretty hot and I just love the outfits of Rachel, Donna and Jessica. This is how I would dress if I had a job where dressing like this would be appropriate.

Since I got my hands on the Sew Over It pencil skirt pattern, I slowly started to sew more Suits inspired outfits. Pussy bow blouses and pencil skirts go well together. So when I found this Donna Karan pattern, which is the exact dress that Jessica wears in the series, I needed to try it.

source: cinemazzi.com/

Being part of their blogging team, all the materials needed for this projects are courtesy of the awesome people at White Tree Fabrics.

Donna Karan dress by thisblogisnotforyou.com

THE FABRIC

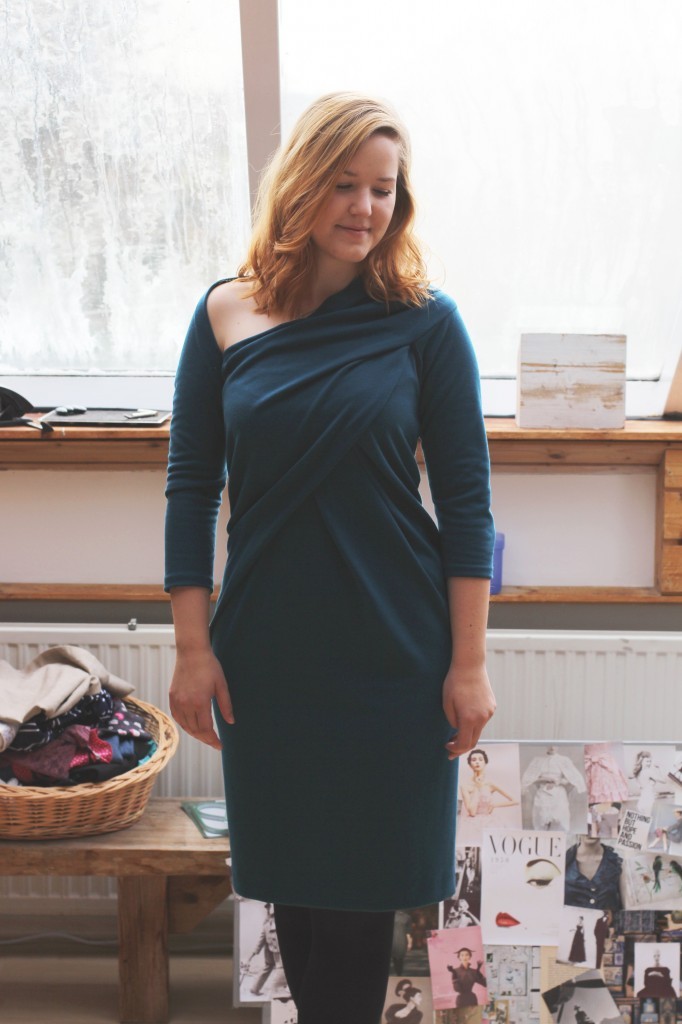
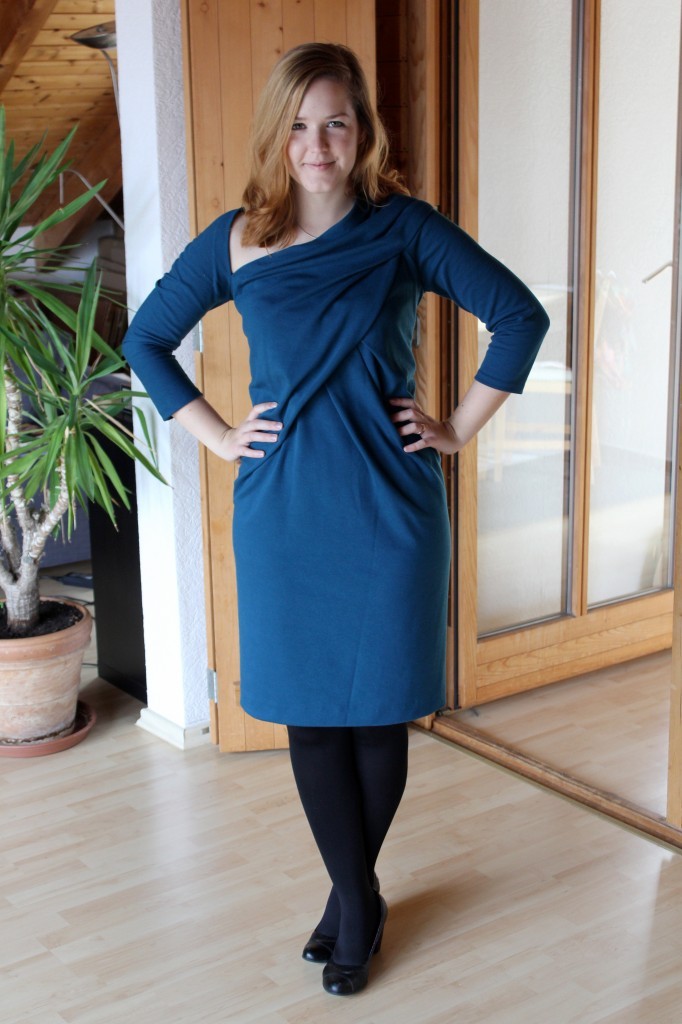
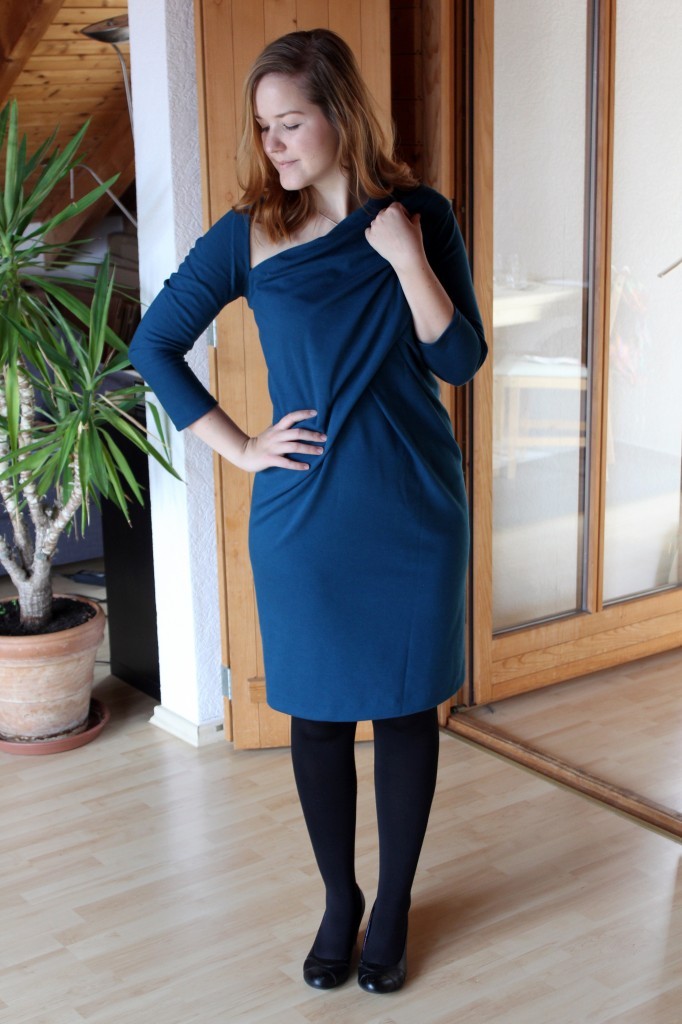
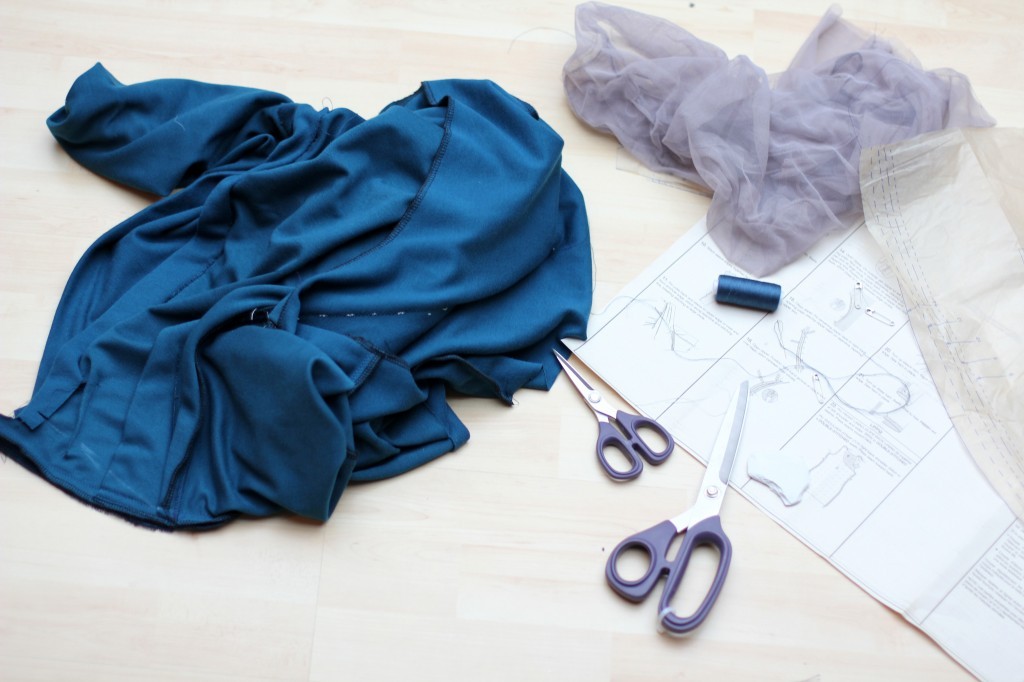
The pattern requires a two-way stretch fabric, such as double knit or wool jersey. I picked a teal ponte roma knit fabric, which has a really lovely quality. It’s looks a bit like royal blue in the pictures since teal always is quite hard to photograph. For the lining I went with the instructions on the back of the pattern and got some grey tricot/mesh fabric. I must have misunderstood the type of fabric which was required. The mesh was great, super stretchy and sewed really well, but was way too lightweight and stretchy to support the heavy knit fabric. I was a bit upset at first, but did a bit of research on tricot fabric. Apparently when I looked it up at first, I found it was similar to mesh and often used in sports wear. Recently I stumbled upon another sort which was more like a stretchy but quite stable jersey, also used to make sports wear. So when you read “tricot” being suggested for lining, go with your guts and pick something that a similar weight to your fashion fabric.

Donna Karan dress by thisblogisnotforyou.comDonna Karan dress by thisblogisnotforyou.comDonna Karan dress by thisblogisnotforyou.com

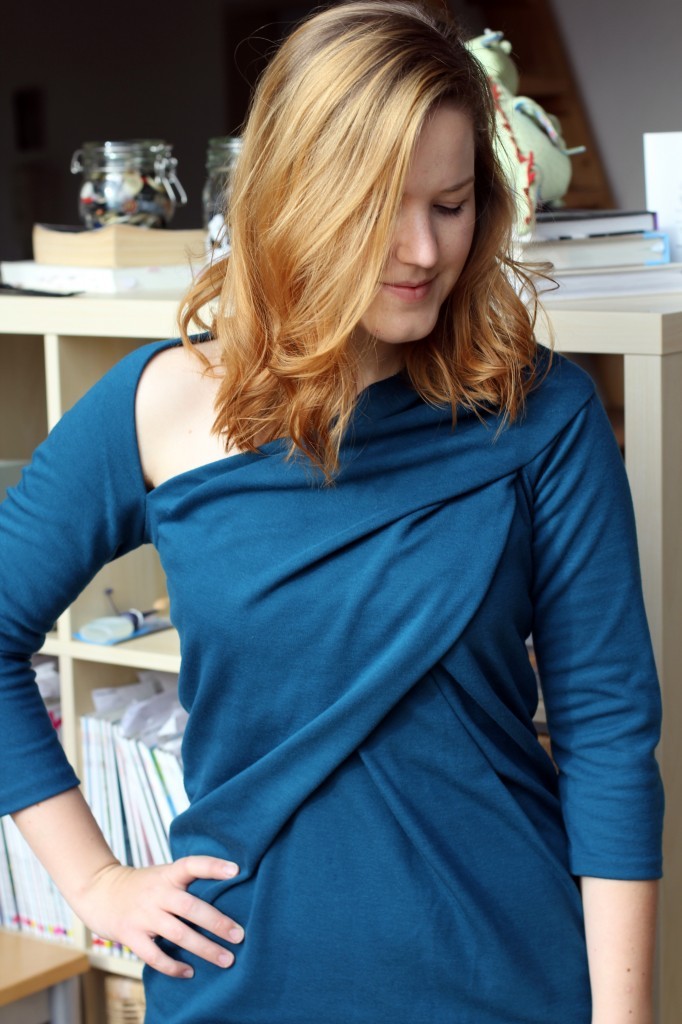
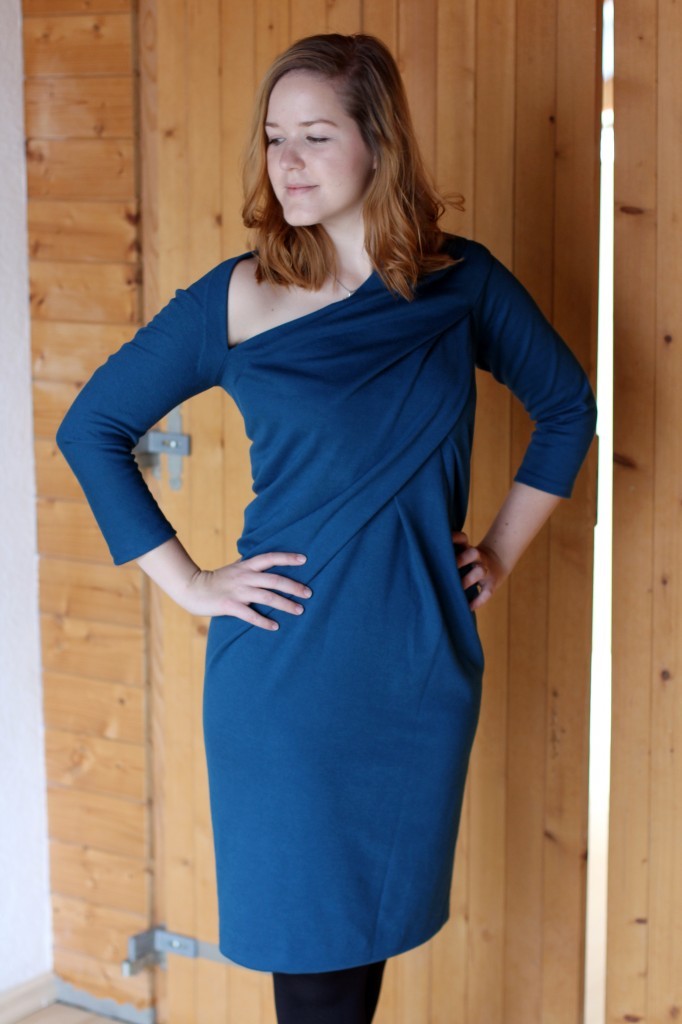
The drape of this dress depends on the lining. The big fold in the front is created by stitching the finished dress to the front lining. This obviously didn’t work with a four-way-stretch fabric, so I decided to use the very last scraps of ponte knit I had left. I only had enough to cut out the bodice, but the knit dress doesn’t really require a full lining anyway. It was Make it work time again.

It turned out alright and really made a difference to the whole fit of the garment. I really recommend sewing in the lining before tackling fit-issues around the bust and below, because you won’t know whether the fit is right before stitching both dresses together.

(I also scrapped the right shoulder strap on the lining and created a single-sleeve top, because however I tweaked it the strap would show through the cut-out.)

Donna Karan dress by thisblogisnotforyou.com

THE PATTERN & CONSTRUCTION

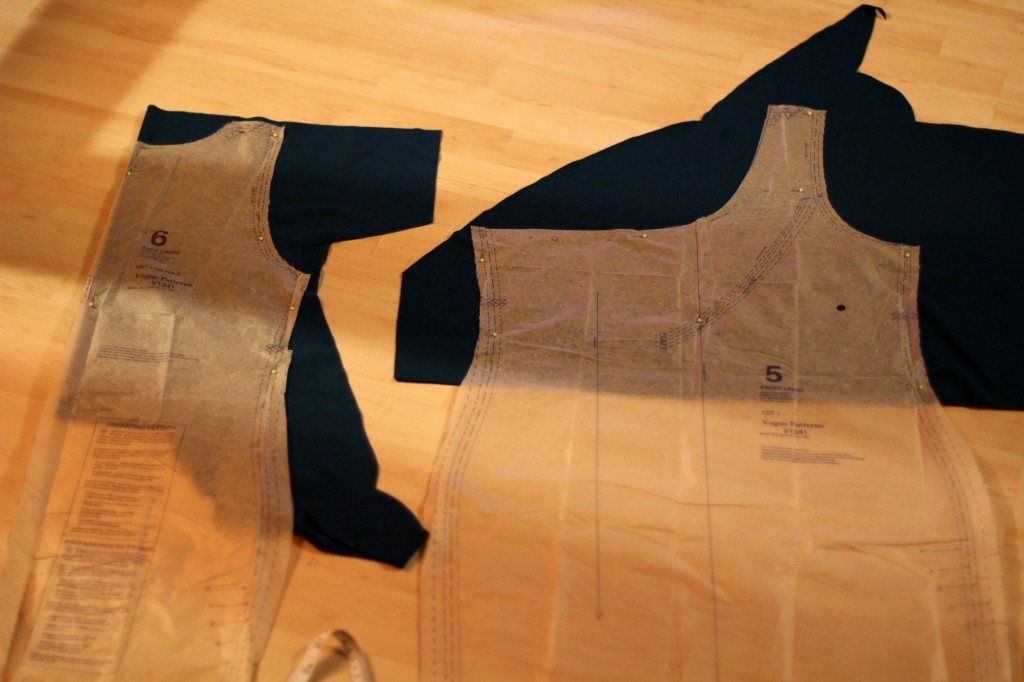
So, let’s talk about the pattern. This is a Donna Karan for Vogue designer pattern (V1341). I thought it would be quite complicated and was mostly concerned about the fit.

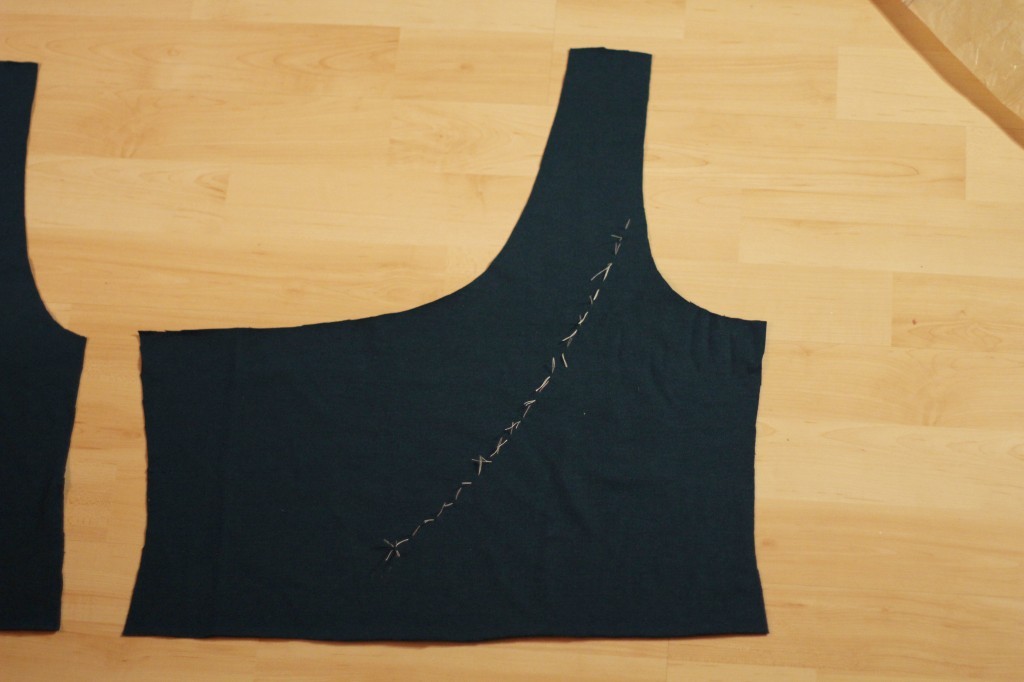
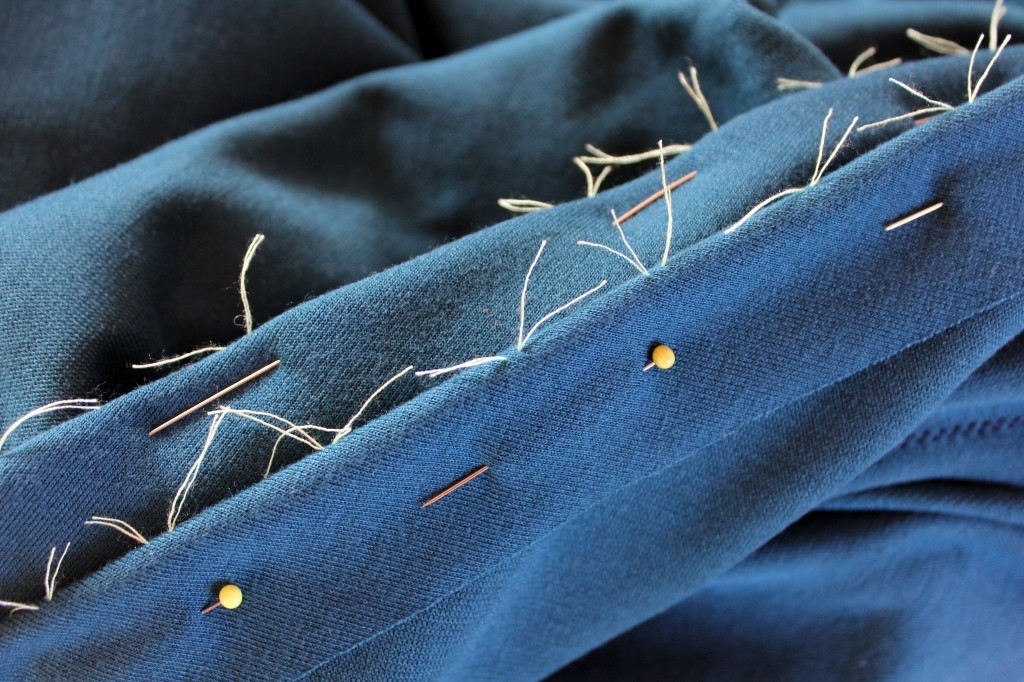
The construction was actually not that hard. Marking the fabric properly (I used tailor tacks) and following the instructions carefully is all it needs. It’s not that hard. There’s pleats, tucks, darts, we all know these. There’s just loads of them. I actually really enjoyed the construction and took time to get all the details right.

Donna Karan dress by thisblogisnotforyou.comDonna Karan dress by thisblogisnotforyou.comDonna Karan dress by thisblogisnotforyou.com

Donna Karan dress by thisblogisnotforyou.com

FITTING ISSUES

The only issue is that the flat pattern is quite hard to understand. With all the pleats and darts and folds is super difficult to see where the waist, hip or bust line run. I therefore couldn’t measure the pattern before I started and had to trust the Vogue measurement chart. Someone once told me that Vogue patterns run quite large, but I took extra care and cut out a size 12 graded to size 14 for the skirt.

Although the fabric has some stretch the dress was a tad tight around the sleeves, but was much too large in the back.

Donna Karan dress by thisblogisnotforyou.com

The back seam runs diagonally across the back, so I had to insert an invisible zip in a curved seam. It’s the prettiest, neatest invisible zip I’ve inserted so far, but in the end I cut it out again because there was so much excess fabric in the back. If you’re making this pattern with a knit fabric, try without a zip first, you probably won’t need one.

After taking in the back the fit was much better. I finished the dress and put it on. The neckline wasn’t right. It was way to large and bulking up at my neck. This Vogue model must have massive shoulders for the neckline to sit that straight! Or maybe the fit issue is concealed by the weird pose she is striking.

Anyway, I took a good 5cm out of the left shoulder seams at the neckline both in front and back and this seemed to help a lot. I could have taken it in even more, but I wanted to keep the little dart at the shoulder.

Donna Karan dress by thisblogisnotforyou.comDonna Karan dress by thisblogisnotforyou.comDonna Karan dress by thisblogisnotforyou.comDonna Karan dress by thisblogisnotforyou.com

Although this dress was a bit of a nightmare to fit, I am quite happy with the end result. It was challenging but taught me a lot about tackling fit issues and understanding drape.

The colour of this dress is simply gorgeous and it’s so comfy! The Mr really loves it, which is a bonus.

Will I make it again? I might. It’s quite a fascinating pattern and now that I know what to look out for, it might be a bit easier to make next time. I’ll see how often I get to wear it. If I wear it frequently I might as well make another one in a different colour. Maybe bright red next time?

xx

Charlie


Happy sewing!

facebook/bloglovin/pinterest
twitter/instagram

Stay in touch!

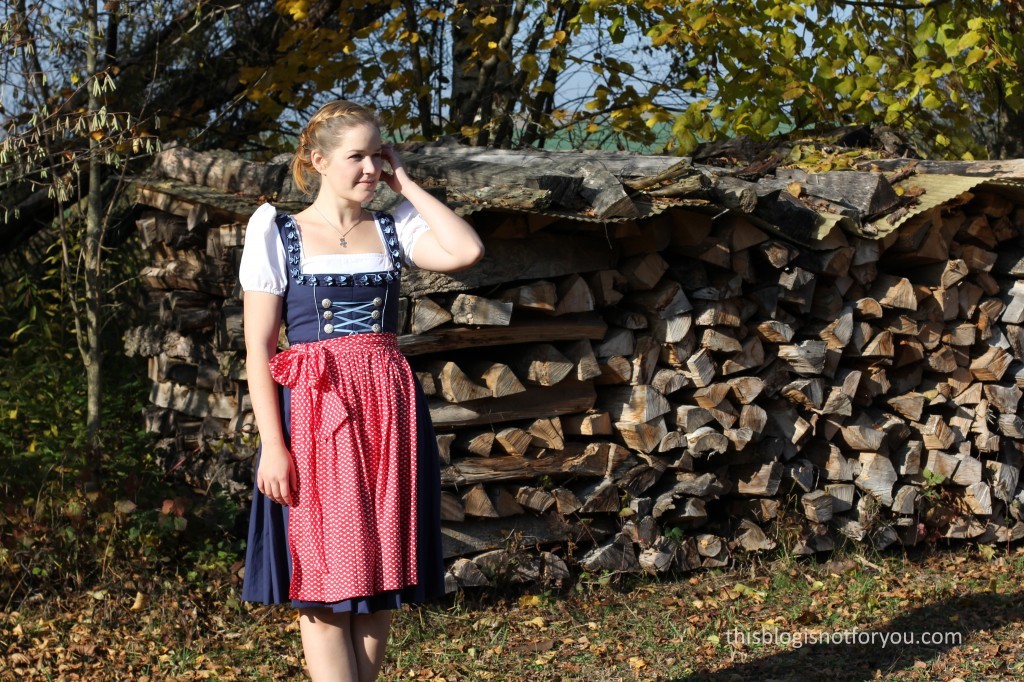
My Handmade Dirndl

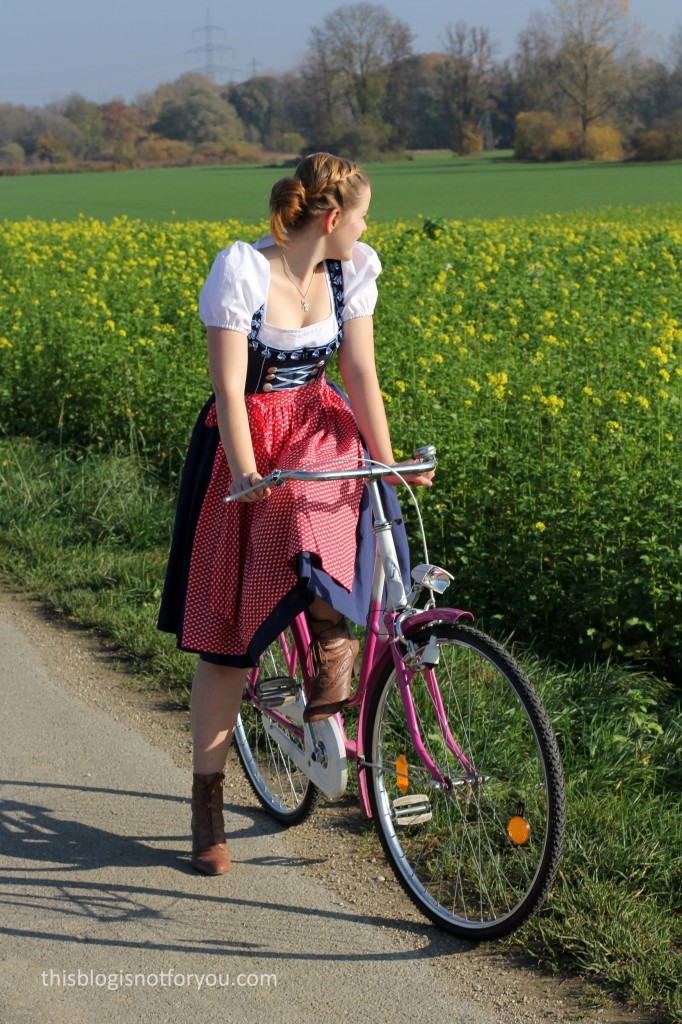
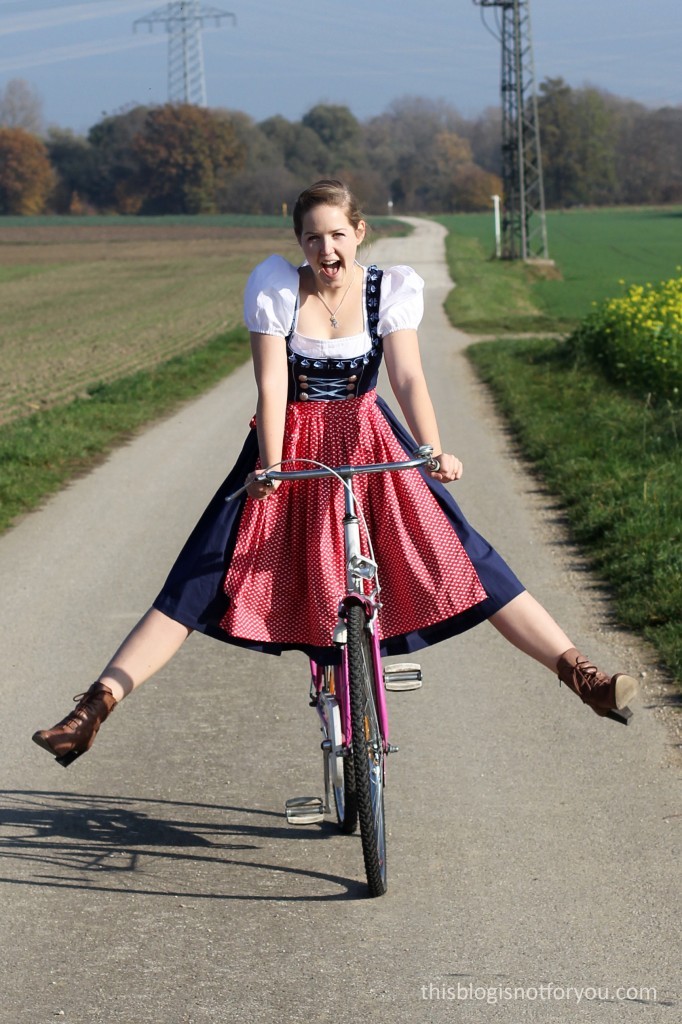
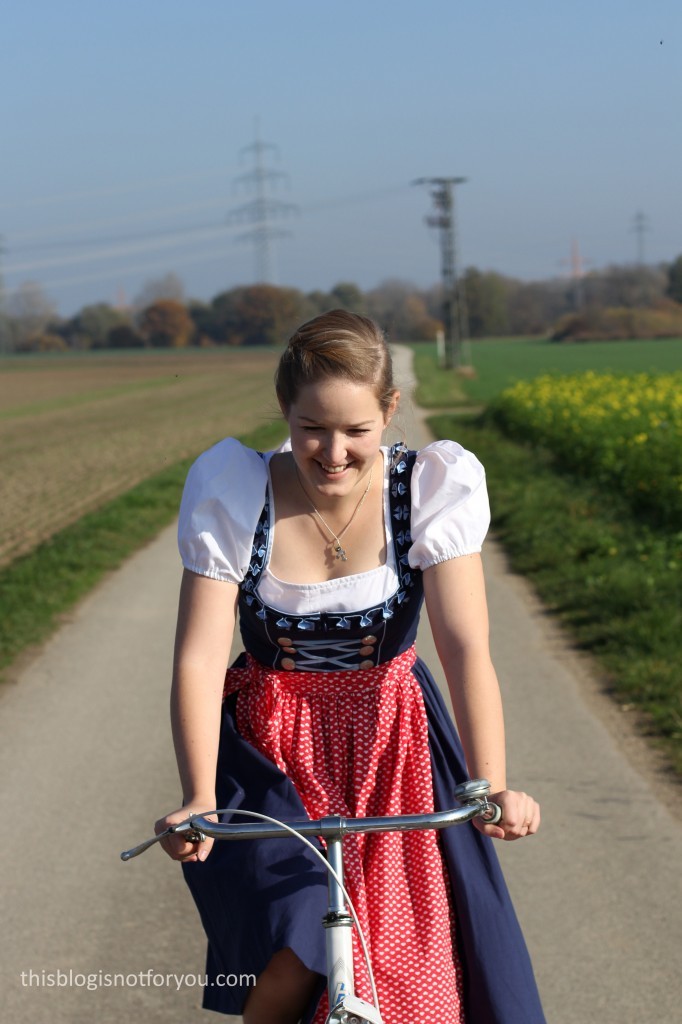
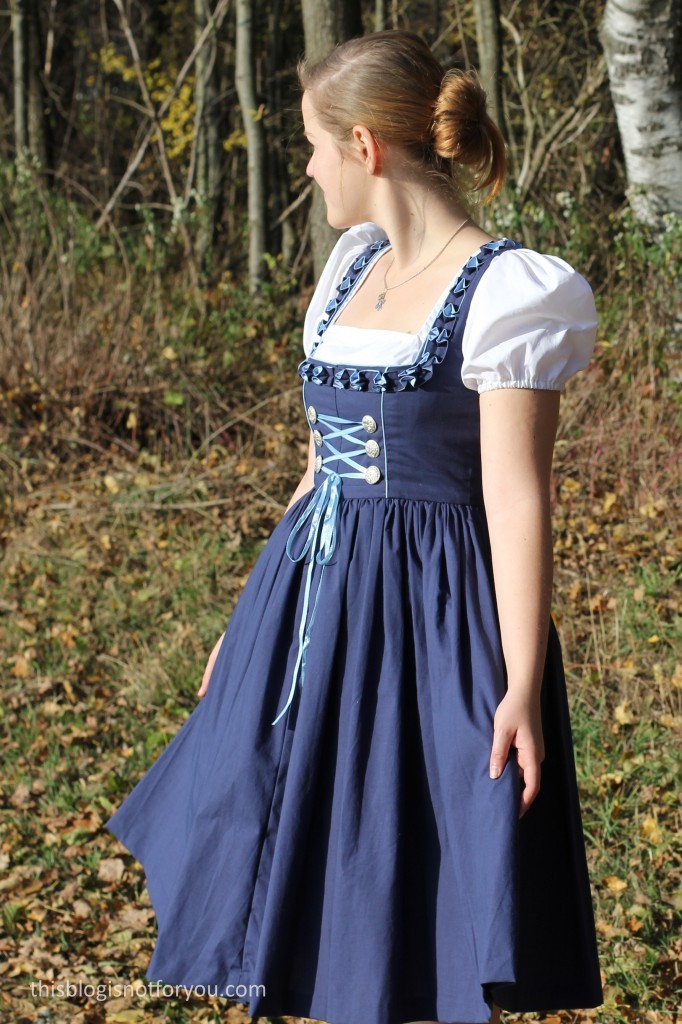
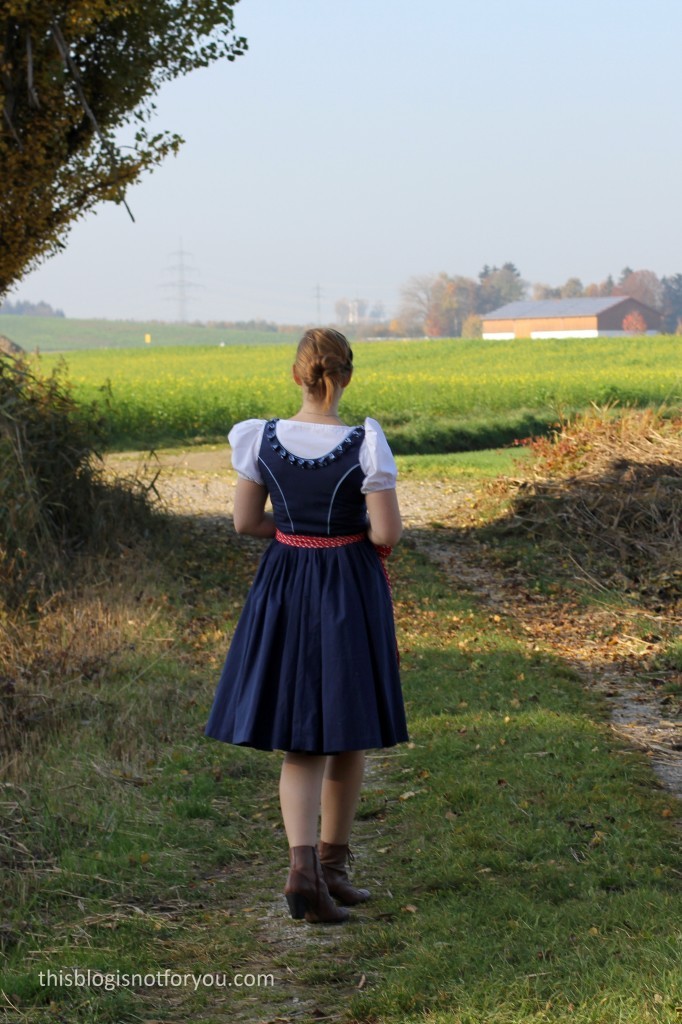
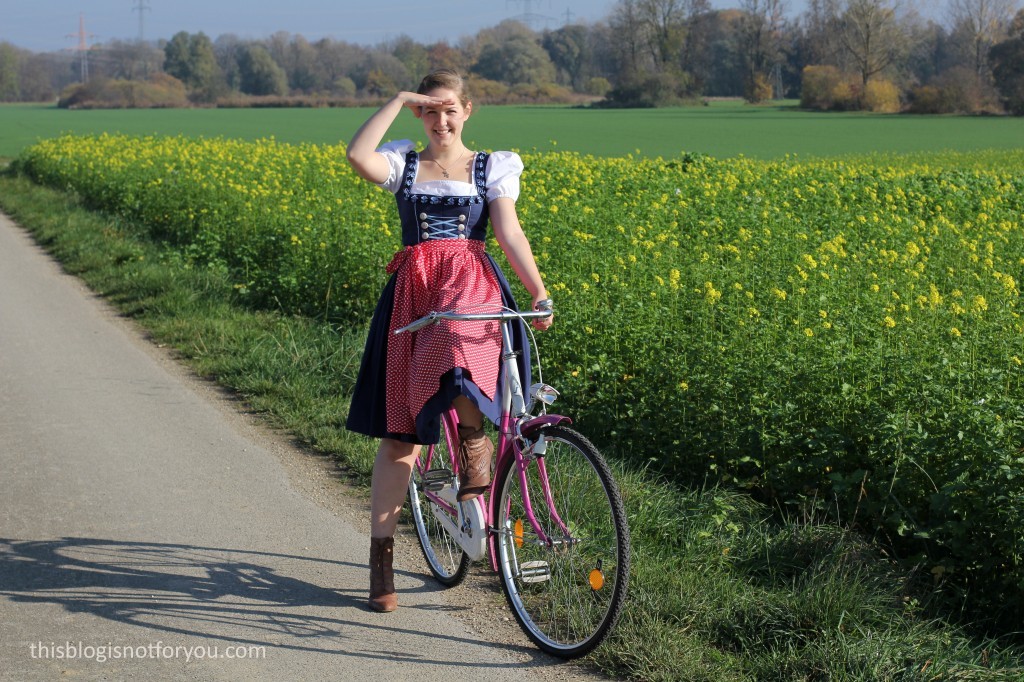
Handmade Dirndl by thisblogisnotforyou.comHandmade Dirndl by thisblogisnotforyou.com

Handmade Dirndl by thisblogisnotforyou.com

Handmade Dirndl by thisblogisnotforyou.com

Hi my lovelies! Guess what?
I’m finally sharing my handmade Dirndl with you!

Man, this is long overdue! I made it in May 2015, which feels like ages ago now. So why would I make a Dirndl if it wasn’t made for Halloween or Oktoberfest?

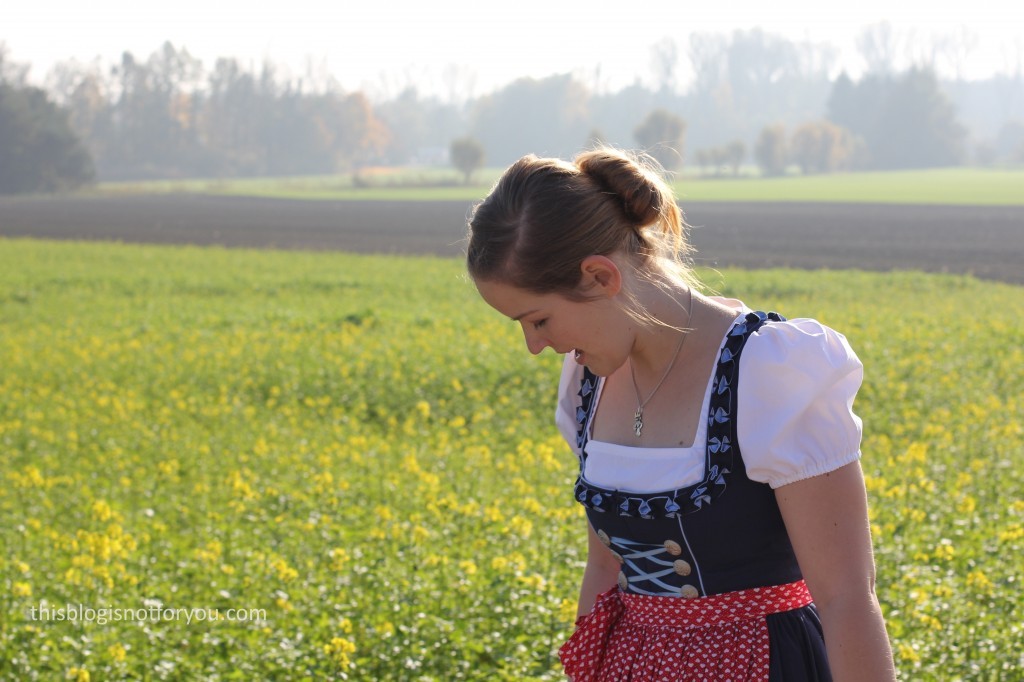
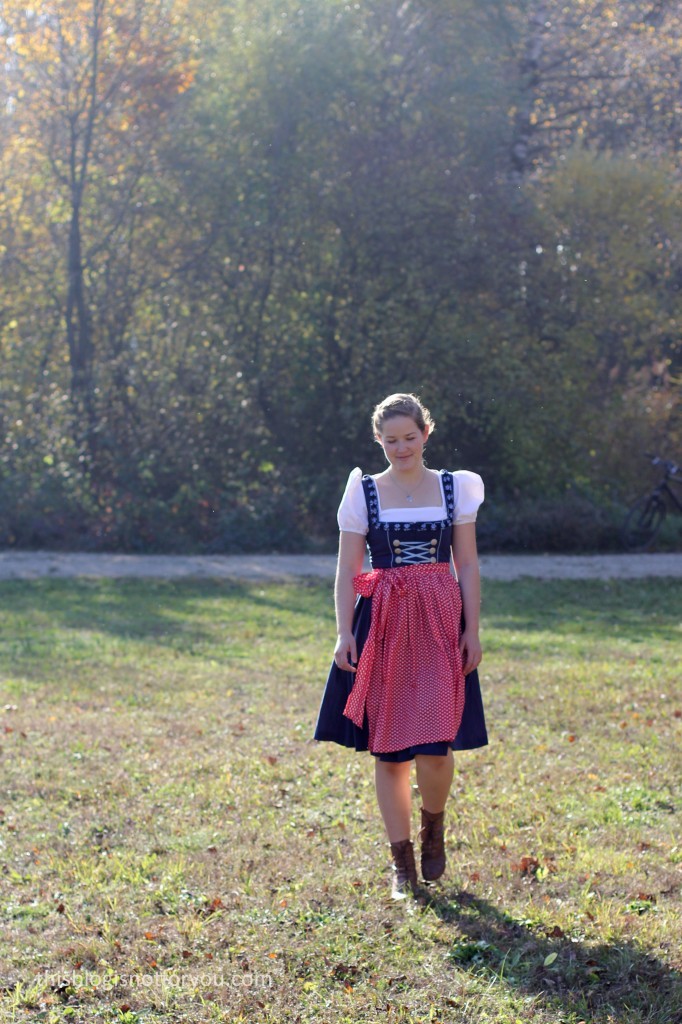
I don’t want to get into the whole Dirndl discussion, but since I’m German, I might say a word or two. Although many people love to think this is what Germans like to wear, wearing Dirndl or Lederhosen is pretty much like wearing kilts in Scotland. The average German will probably never wear or even own one, except for maybe visiting Oktoberfest. The traditional long Dirndls are sometimes worn in some more rural areas in southern Germany, but you see that very rarely and it’s definitely not considered as fashionable in the rest of the country. Having worn one now, I have to say you actually feel very pretty and femine in it. I’d still not wear one in the streets though. Puff sleeves and all, you feel like a freakin’ Disney princess. Which is not the look you’re going for when you’re older than 12, I guess.

I made my Dirndl for a fancy dress party at work which funnily enough was on my last day at work. Since I was working in a hospital back then I didn’t want to go over the top with my costume (I also had to attend my exit interview that day). As I was the German girl on the ward anyway, I decided to dress up as one. Pretty imaginative, eh?Handmade Dirndl by thisblogisnotforyou.com
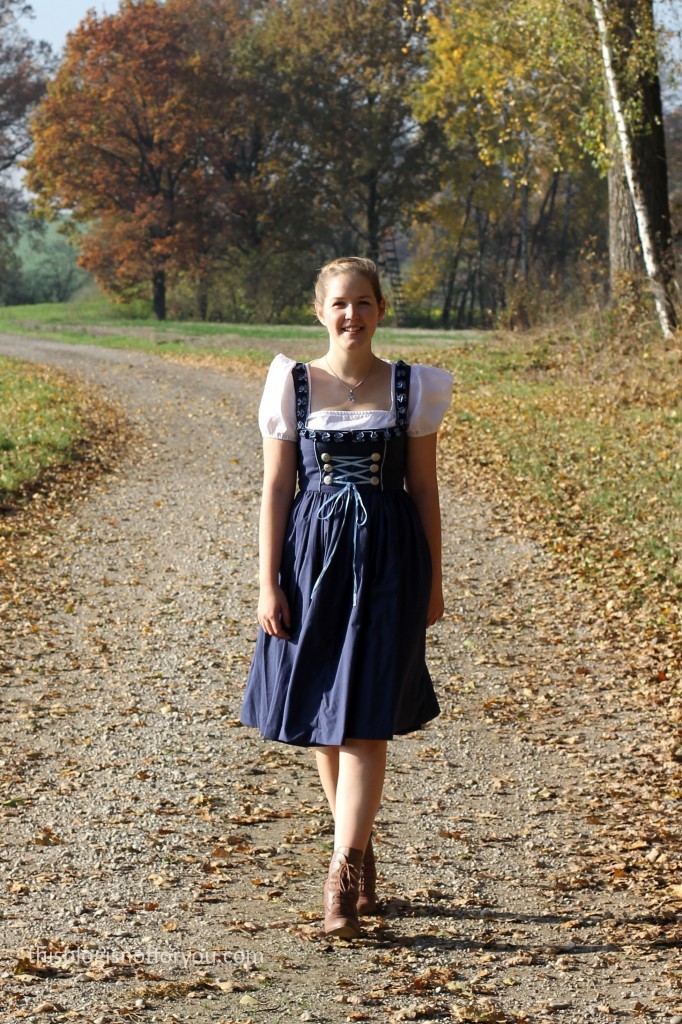
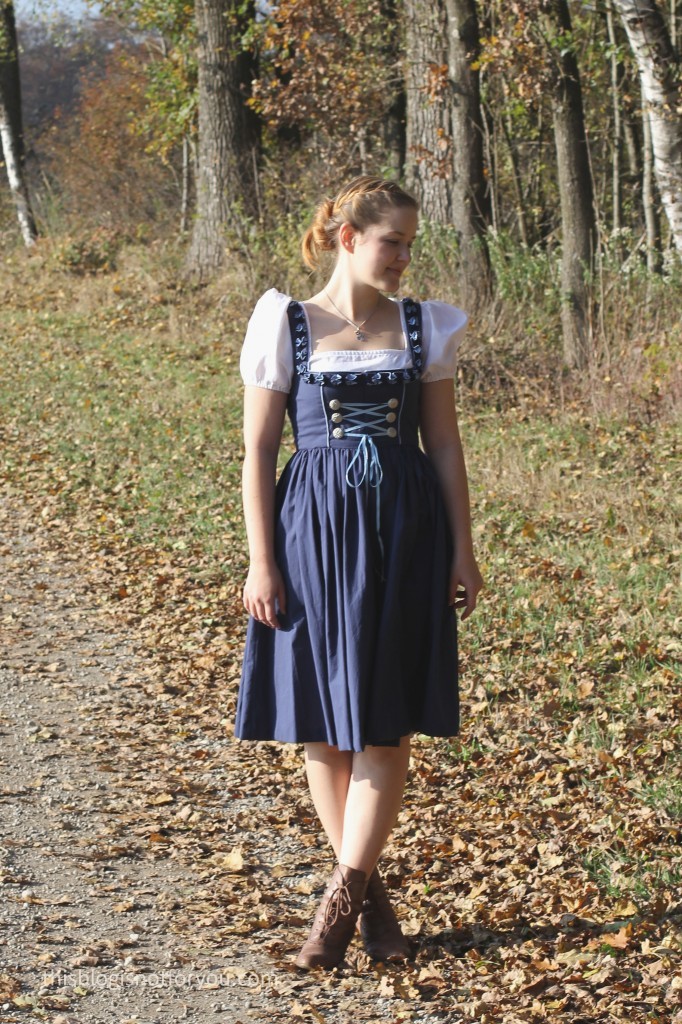
So that’s the story. I haven’t worn it since and wasn’t to keen on going outside dressed like this to take picture for the blog!

Now, five months later, we actually live in Bavaria (who would’ve known!) and it’s not that weird to wear one here.

THE PATTERN

From having the costume idea to the actual fancy dress party I had exactly three days. At first I thought about drafting a Dirndl based on my By Hand London Elisalex pattern, but then I thought What the heck, if you’re actually making a Dirndl, do it properly.

You can find a whole bunch of Dirndl dress patterns on the German Burdastyle website. Which is where I found a really nice burda young pattern, which looked a bit prettier than the common Dirndl patterns. Burdastyle has added more Dirndl patterns since, so whoever is interested, this is Dirndl paradise now.

source: burdastyle.de

Handmade Dirndl by thisblogisnotforyou.comHandmade Dirndl by thisblogisnotforyou.comHandmade Dirndl by thisblogisnotforyou.comHandmade Dirndl by thisblogisnotforyou.com

THE FABRIC & MATERIALS

Originally, I wanted to use some light blue cotton and add a white apron (to get more of an Alice in Wonderland look), but as it turns out, Dirndls are fabric eaters and I didn’t have enough.

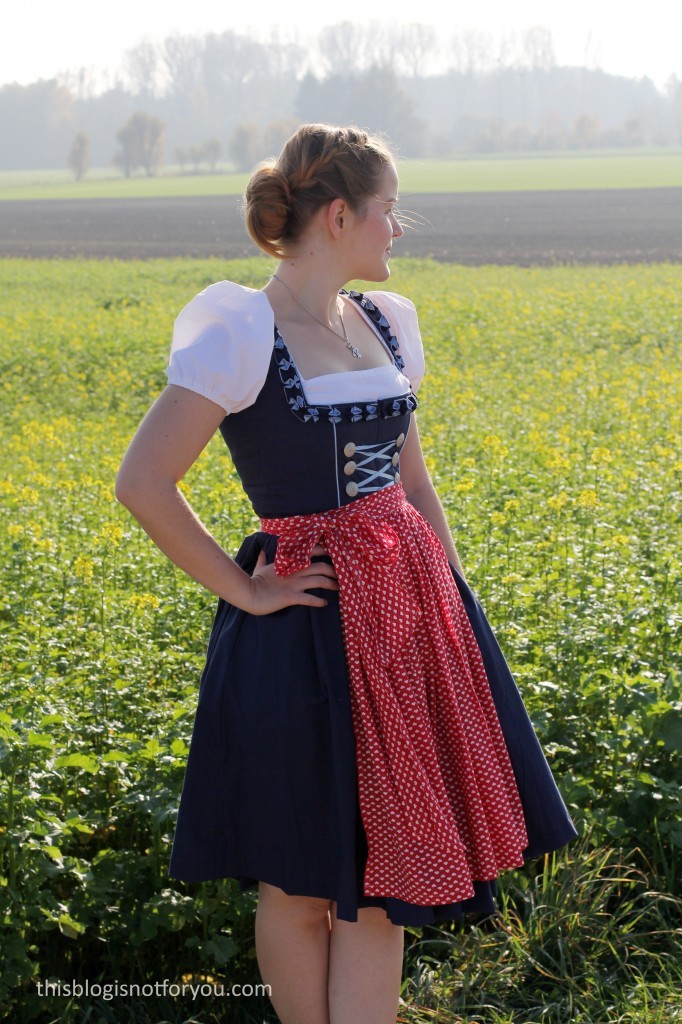
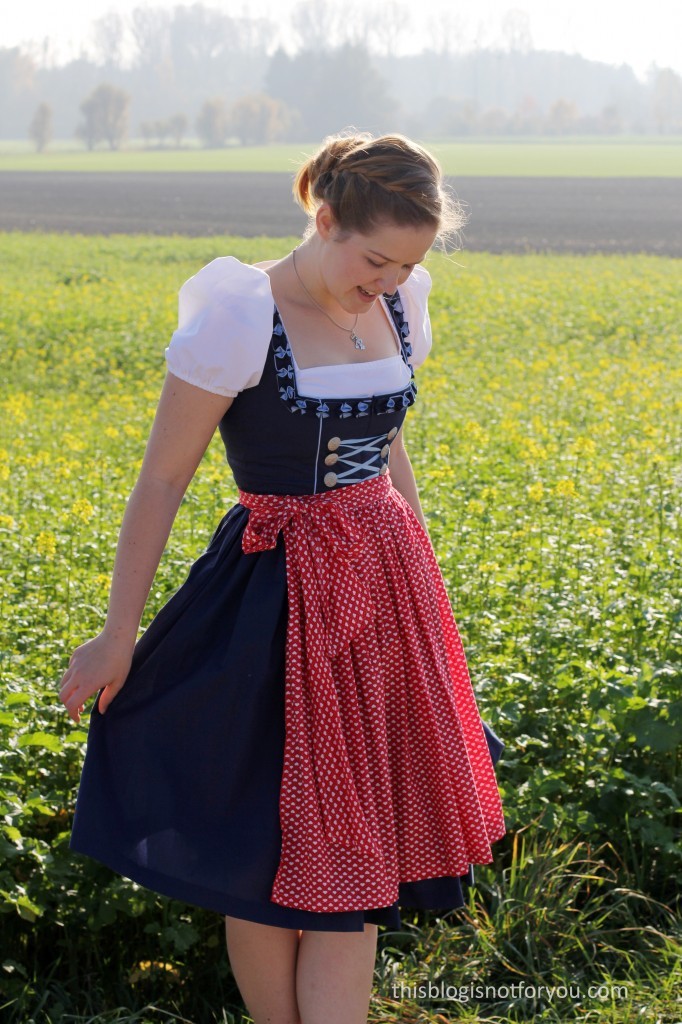
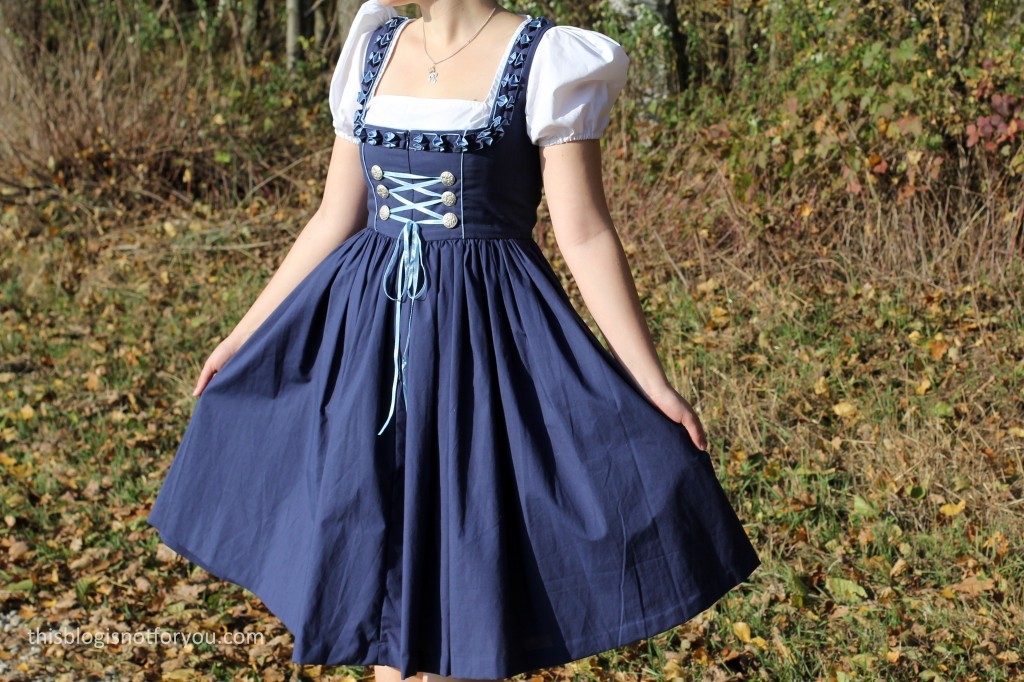
For the actual dress, I used a navy blue 100% cotton, which originally was a John Lewis duvet cover I got at Oxfam for £4. It was a massive piece and the only fabric I had enough  of to cut the skirt from. The skirt consists of 4 pattern pieces and has approx. an 8 metre long hem. I still had enough left to cut the bodice and lining from it two.

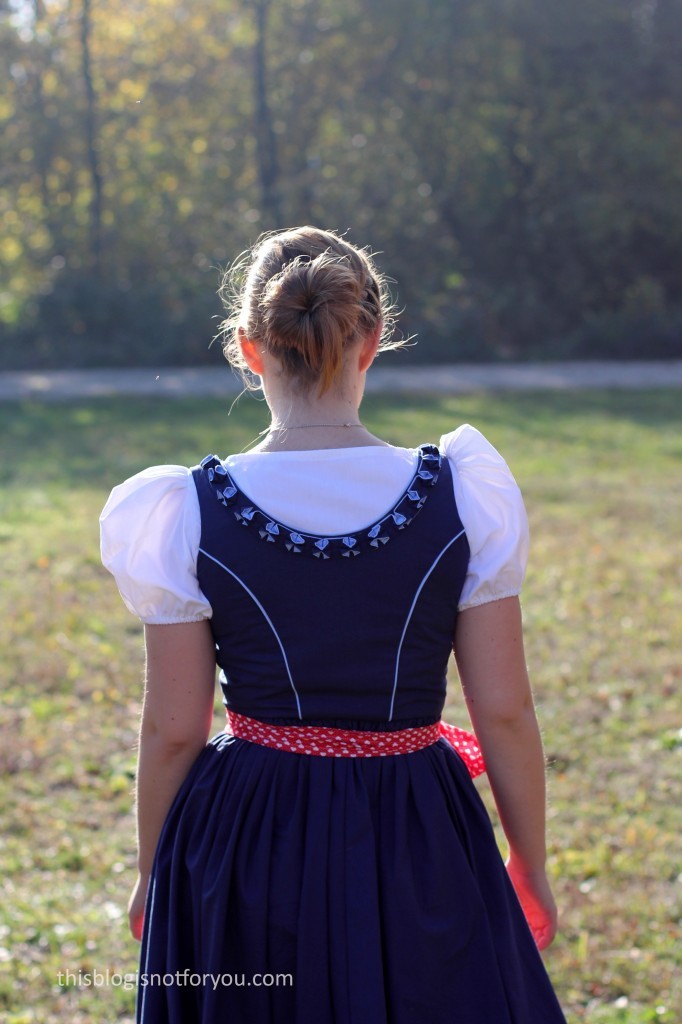
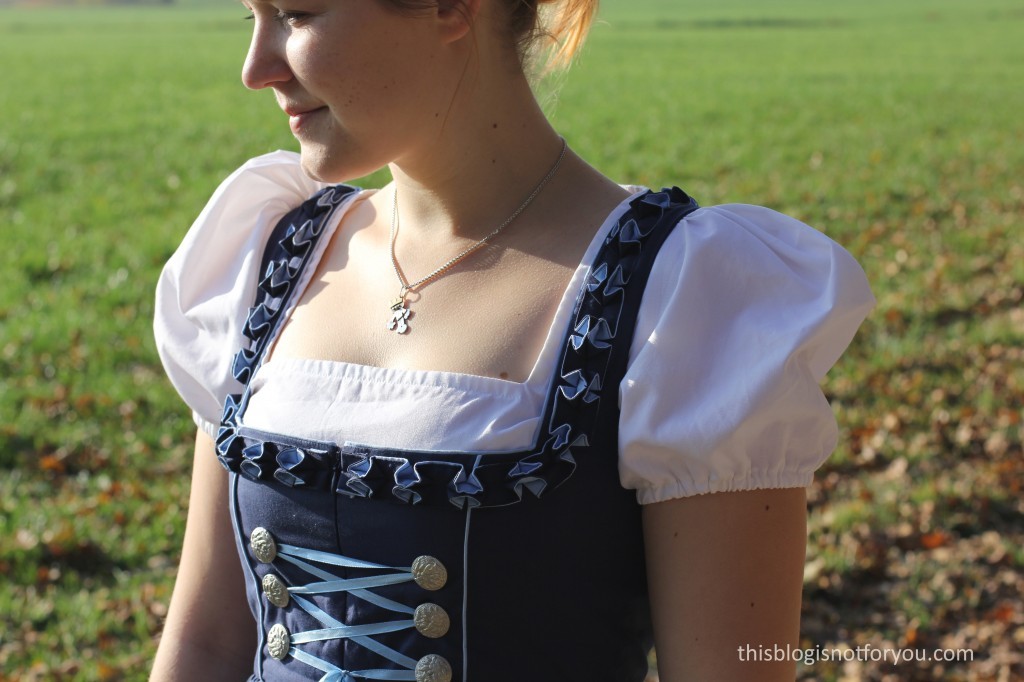
I used the light blue fabric for the piping in the front and back (which isn’t included in the pattern!) and to make the Froschgoscherl trim. The trim took ages to make, but was the most fun part in the construction. Instead of using readymade trim, I made the ‘ribbon’ myself by sewing two massive strips of dark and light blue cotton together and turning it inside out. I pressed it and topstitched close to the edges with contrasting thread. The ribbon is then folded and stitched in an origami-esque way to create the Froschgoscherl.

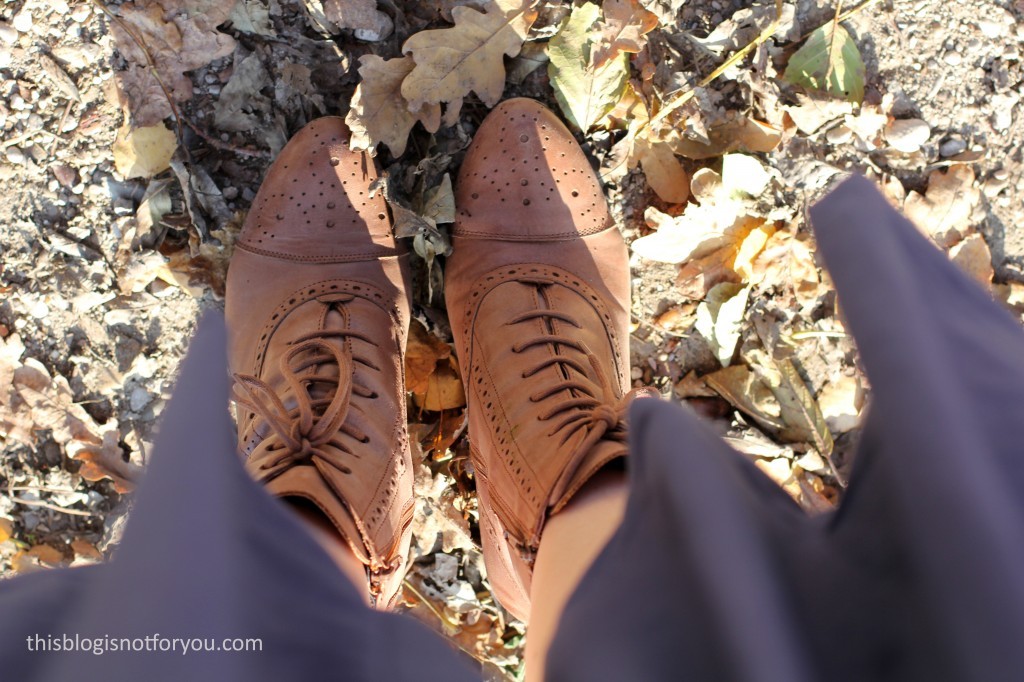
Handmade Dirndl by thisblogisnotforyou.com

Handmade Dirndl by thisblogisnotforyou.com

Handmade Dirndl by thisblogisnotforyou.comHandmade Dirndl by thisblogisnotforyou.com

Handmade Dirndl by thisblogisnotforyou.com

Handmade Dirndl by thisblogisnotforyou.com

The dress has an ivisible zip in the front, which is a bit unusual normally but actually quite common for a Dirndl dress. The lacing is just decorative. I used six folklore buttons and some satin ribbon.

The blouse is part of the Burda pattern and the pattern also includes different sleeve and neckline options. I went for full on puff sleeves.

The blouse is made from white 100% cotton fabric. As is common for Dirndl blouses, it end just below the bust, so as not to add any bulk around your waist area. This is actually pretty genius, although a bit uncomfortable at first.

The apron is made from some quilting cotton I bought years ago. It’s red with tiny white hearts on it.

I really prefer the Dirndl without the apron, it’s much prettier and less costumy, right?Handmade Dirndl by thisblogisnotforyou.comHandmade Dirndl by thisblogisnotforyou.comHandmade Dirndl by thisblogisnotforyou.com

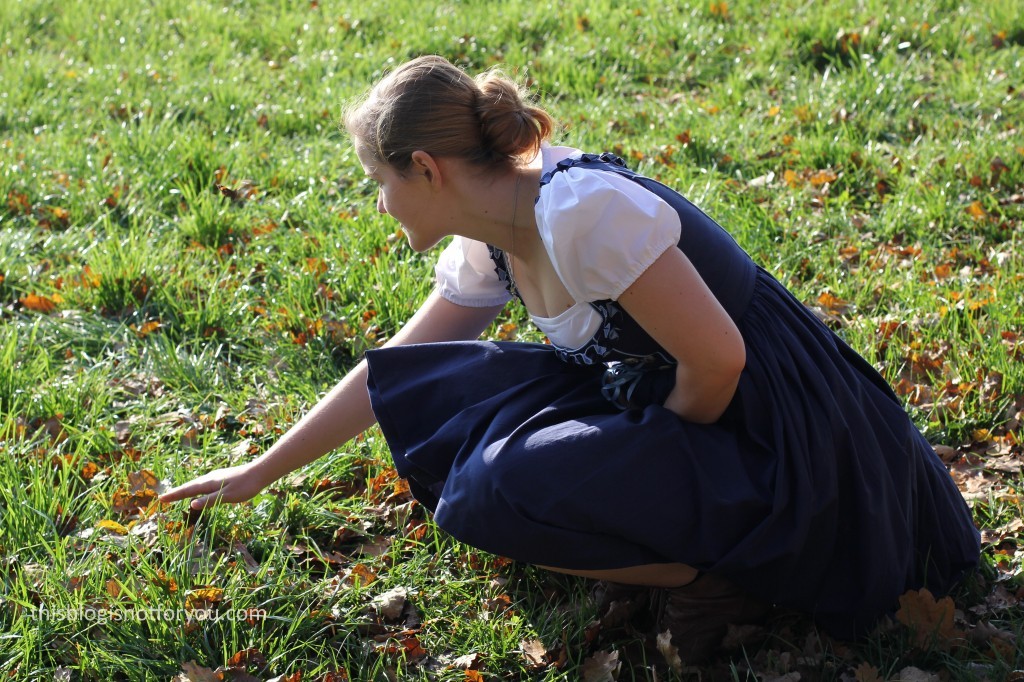
White puff sleeves attract lady bugs and butterflies…what does it remind me of again…? Umm…Handmade Dirndl by thisblogisnotforyou.com

Handmade Dirndl by thisblogisnotforyou.comHandmade Dirndl by thisblogisnotforyou.com

Will I make it again? Umm, no. It was super fun and a lot of work and I could use loads of old cottons from my stash. But since I hardly wear it at all, I don’t think I’ll make another one.

Hope you all have a Happy Halloween! It’s the perfect excuse to buy all the kids candy in the supermarket! I’m hoping the kids in our street won’t ring at our door, so that I can have all the chocolates myself. Ha!

xx

Charlie


Happy sewing!

facebook/bloglovin/pinterest
twitter/instagram

Stay in touch!