Lottie Blouse hacked into a Dress with a Doggie Print
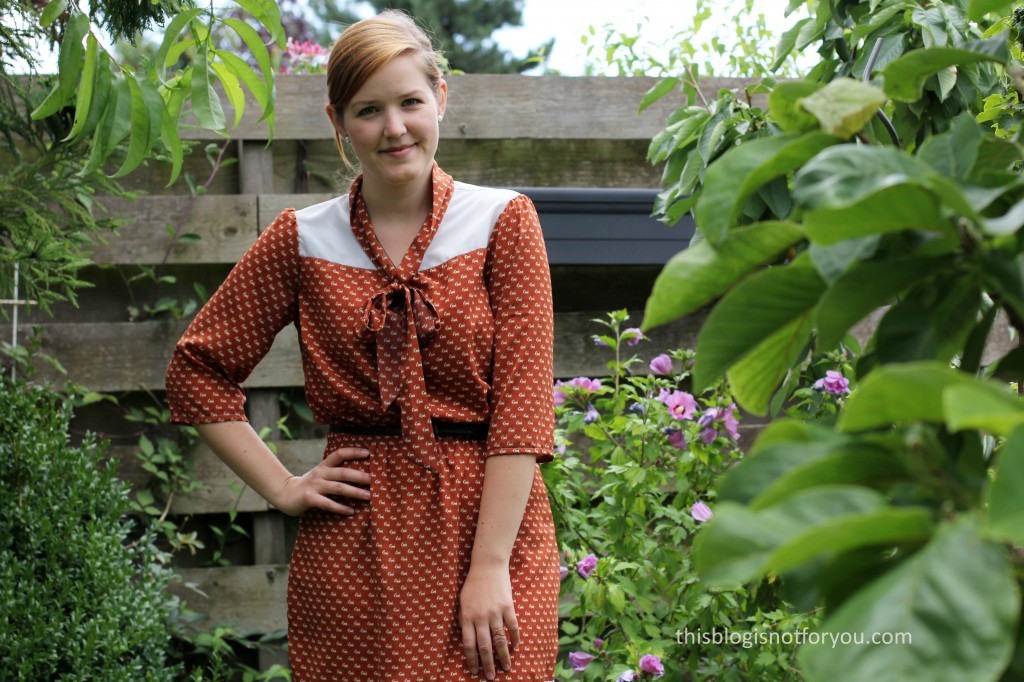
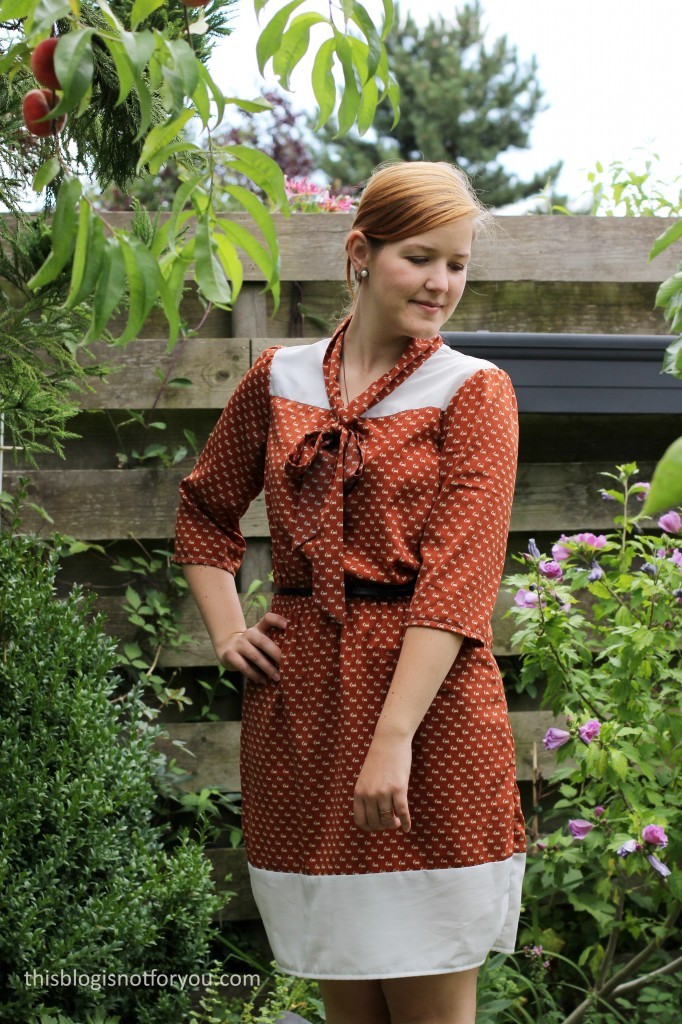
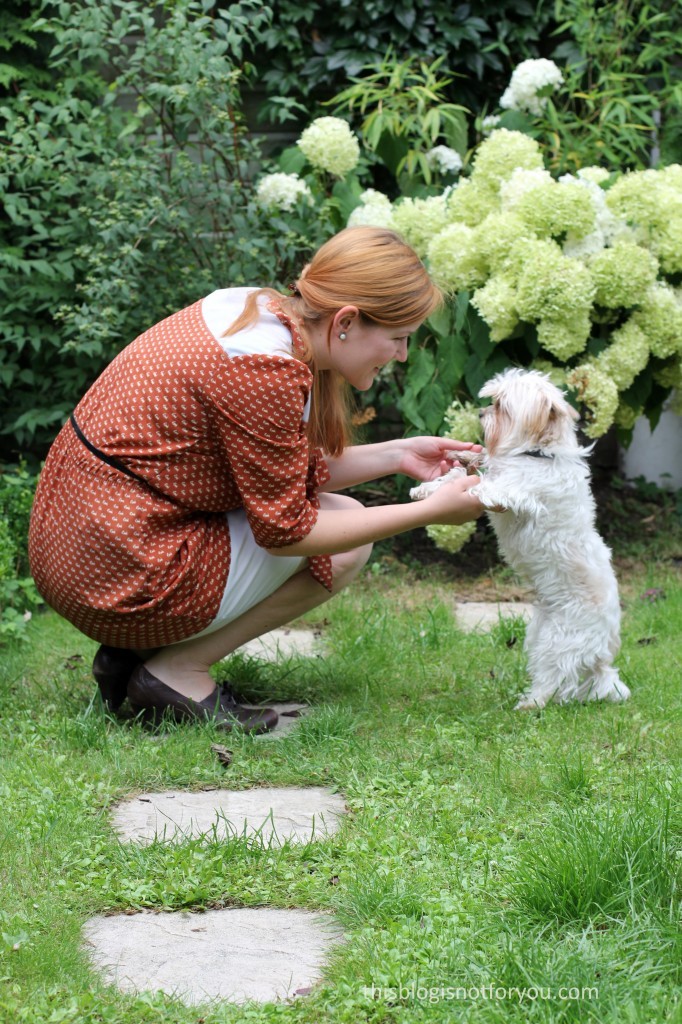
A DRESS & A DOG
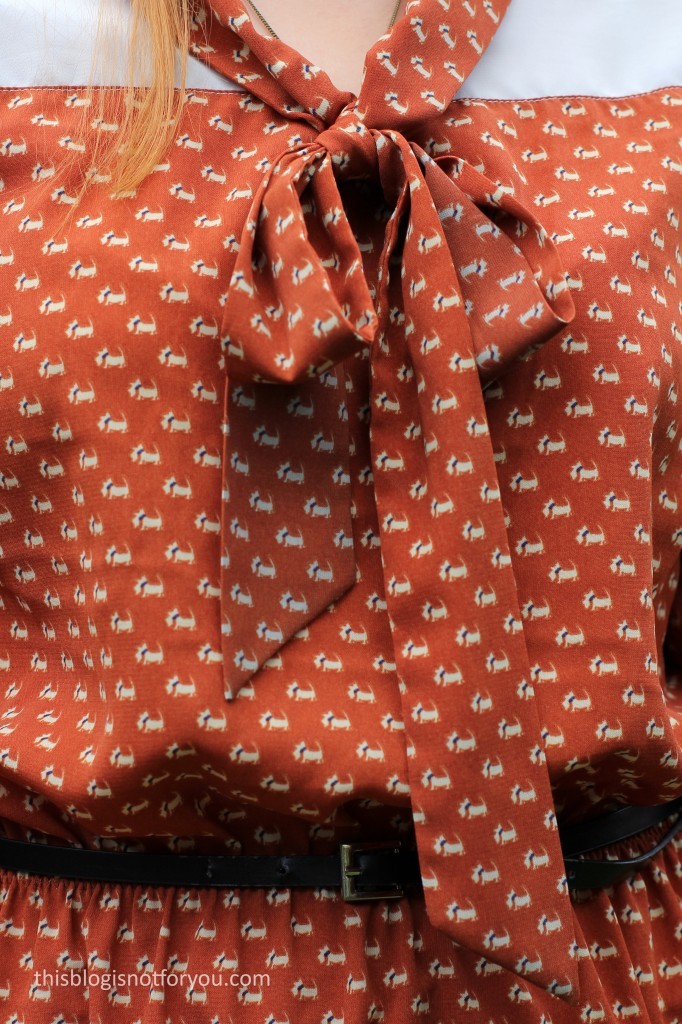
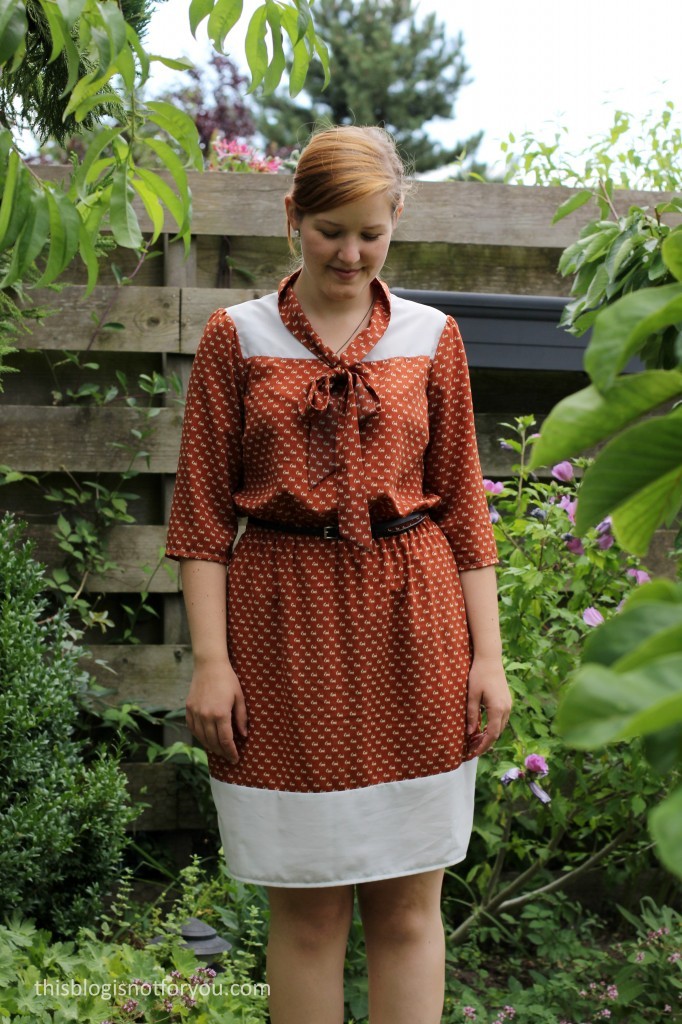
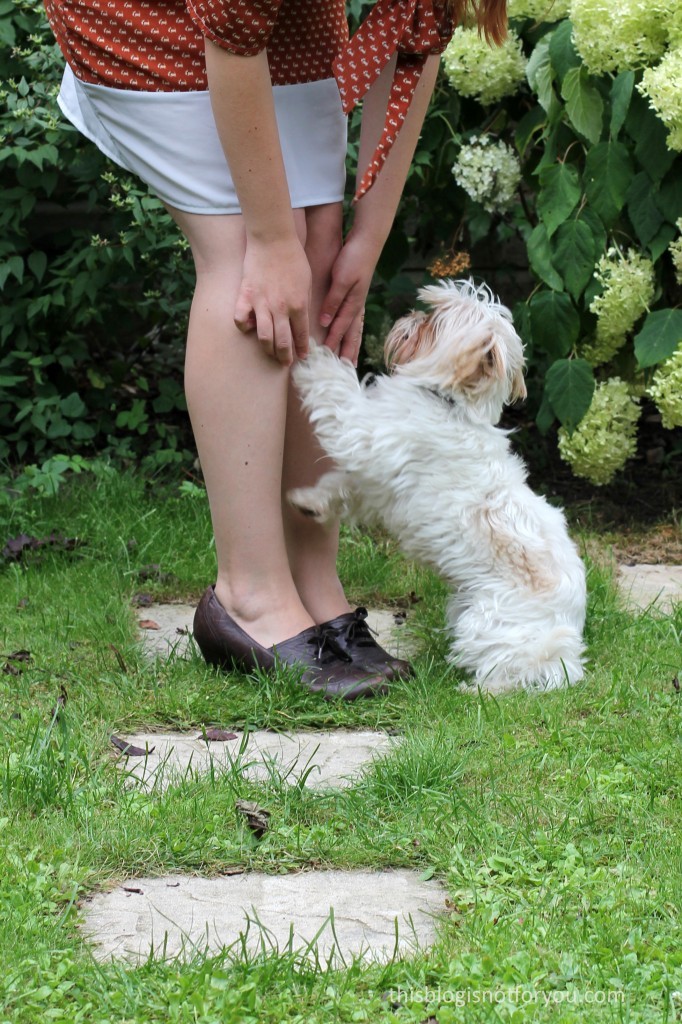
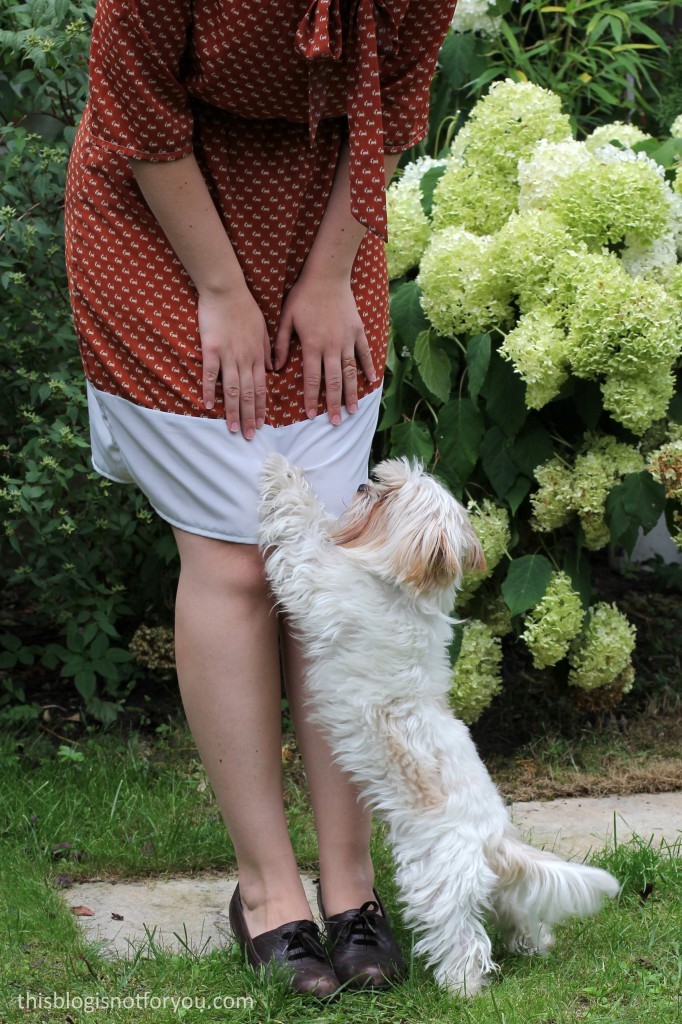
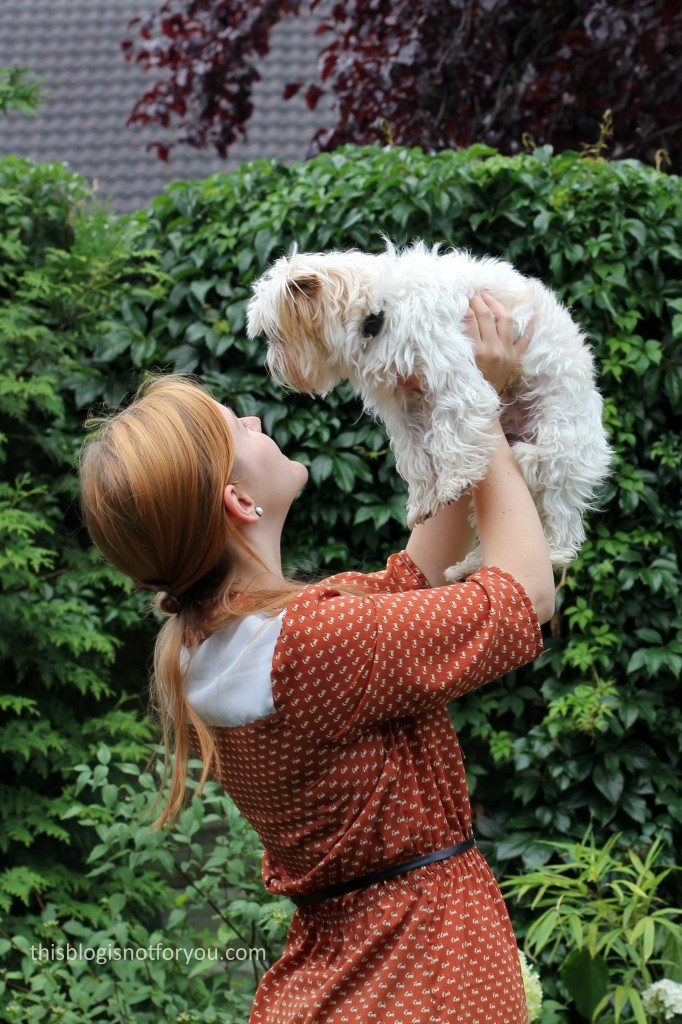
Apparently, it was National Dog Day yesterday. Perfect timing to show off the Scottie Dog Dress I made a little while ago. Our little doggie was kind enough to star as my fashionable accessory. He actually looks a bit like the dogs on the fabric’s print. A cute dress paired with a cute dog – could I wish for more?
The Fabric:
I bought the fabric ages ago in Walthamstow, London. For those of you who know the area, it’s the last fabric shop on the left side of the road, when you walk down the market coming from Walthamstow Station. I don’t remember the name of the shop, but it’s near Saeed’s Fabrics. It’s a tiny shop with loads of cheap polyester, chiffon and jersey fabrics. It’s perfect if you’re looking for fun prints but don’t want to spend a lot of money.
I usually use these kinds of fabric for wearable muslins and experimental projects, where everything can go wrong (but it doesn’t have to!) and you want to use fabric you won’t cry for later. And it’s acutally cheaper than proper cotton muslin fabric!
The doggie print is a £1/m polyester fabric. It’s easy to cut and sew, but you have to be careful when pressing it. It melts (and darkens) easily. Press on a low temperature using a pressing cloth! It has quite a bit of stand and doesn’t drape too well as you can see around the waist line. It adds quite a bit of volume! I also bought the same fabric in black with tiny elephants, which I used for my first Lottie Blouse.
The white, slightly sheer fabric is also a polyester which I bought on Goldhawk Road, London. I used this fabric before, for my first Lottie hack.
 The Pattern:
The pattern is – what a surprise – the Lottie Blouse pattern from Love Sewing Magazine which I have hacked into a dress with a contrasting yoke. I’ve made the blouse loads of times using different hacks and fabrics each time (here, here, here & here). I won’t say much about the pattern, as I have reviewed it before. Check out the other posts if you want to know more about it!
Construction & Alterations:
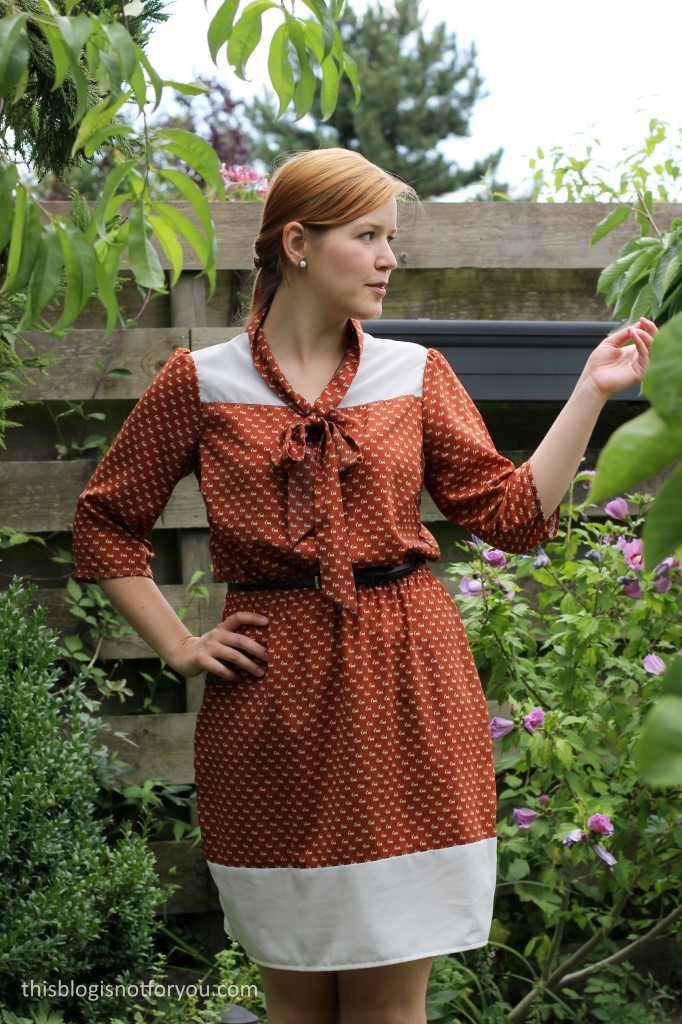
I more or less kept the blouse except for slashing the front and back bodice pattern to add a seamline for the contrasting yoke. This is pretty simple: you slash the pattern where you want the new seamline to be and add seam allowance to the new edges. I pressed the seam allowance downwards so you can’t see it throught the sheer white fabric. It’s topstitched into place with white contrasting thread.
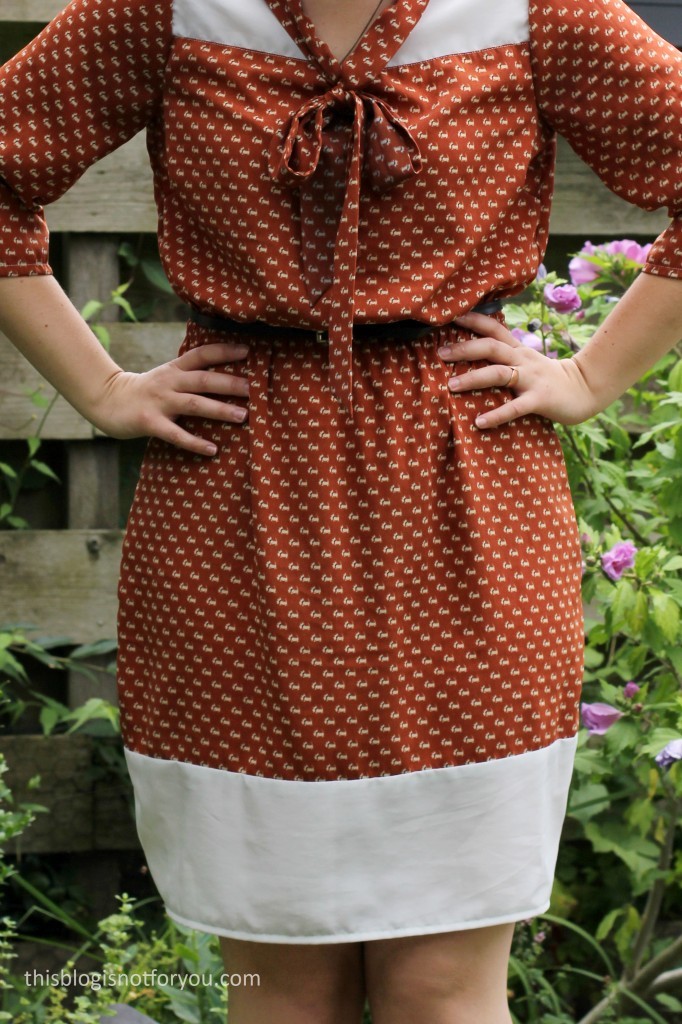
I lengthened the blouse to knee-length, keeping the waist fairly straight and curving out and in a bit at the hips and knees. Again, I slashed the pattern to add the contrast panel at the hem.
To add some shape and get the cinched waist look I wanted, I added some elastic which I sewed directly onto the fabric (no casing!) using a large zigzag stitch. The elastic was sewn on slightly below the natural waist so that it pulls the skirt up and adds some more volume to the bodice. This look is super comfortable and perfect if you’re having a large meal out! 🙂
I’ve kept the bodice and skirt slightly larger than my usual size. The polyester fabric is very lightweight and nice for warmer days, but it’s not as comfy as cotton on hot summer days, so it’s better to leave a lot of ease.
I’m not sure why I keep using this pattern again and again. It’s quite versatile and comes together super quickly (which is probably why). Who doesn’t love quick projects for when you have too little time to sew?
What’s the pattern you have used most often?
xx
Charlie
Happy sewing!
♥
facebook/bloglovin/pinterest
twitter/instagram
Stay in touch!
 Helloooo my lovelies!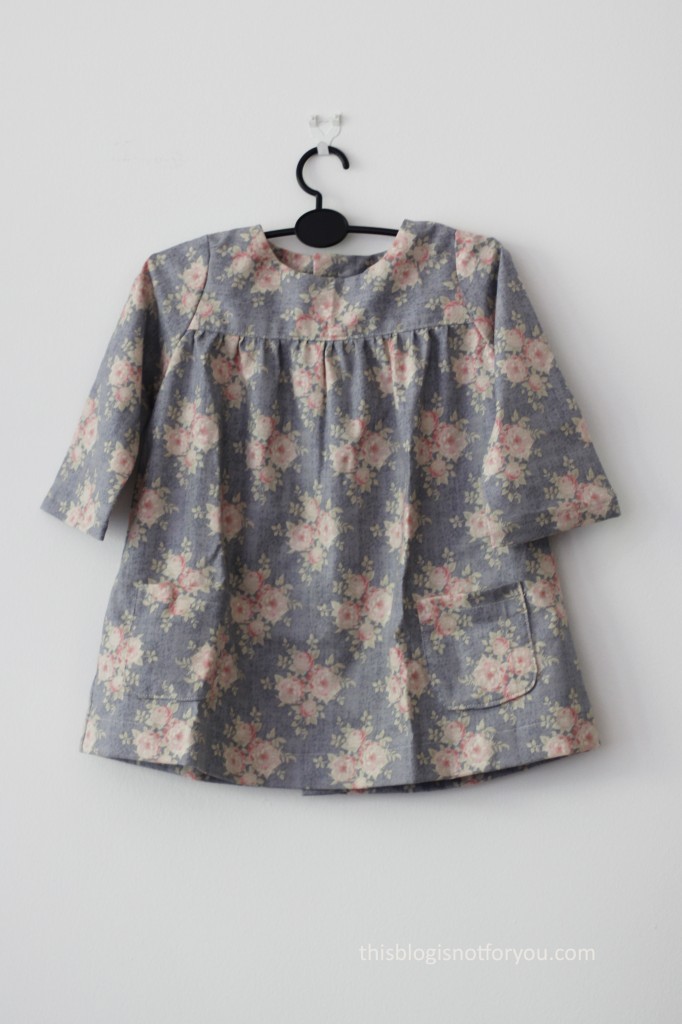
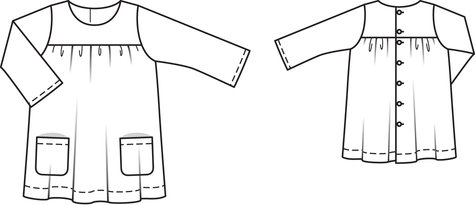
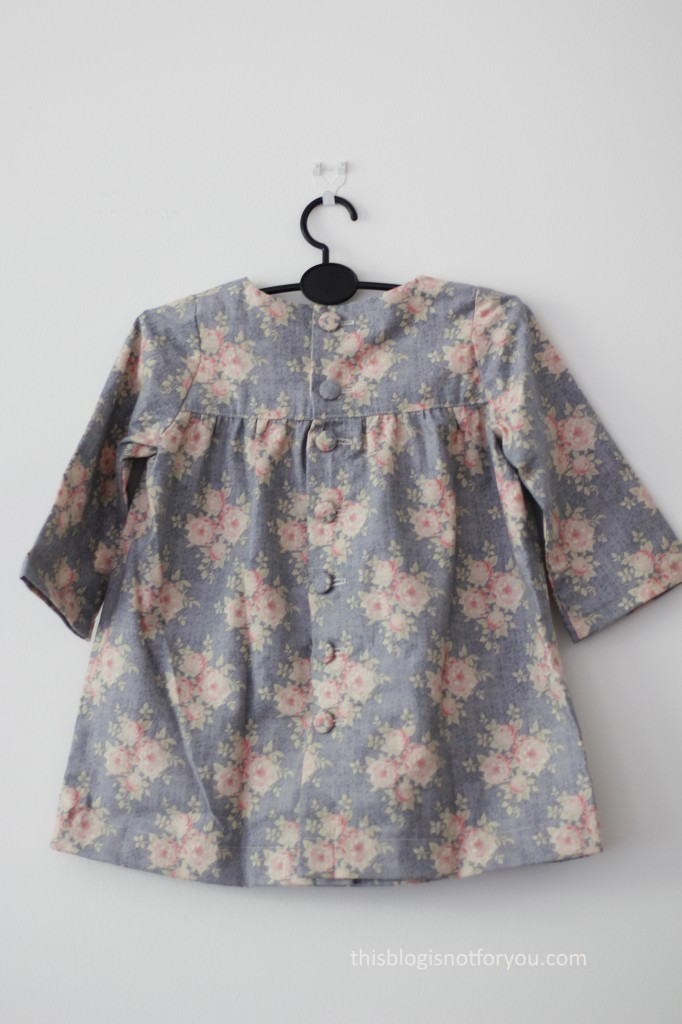
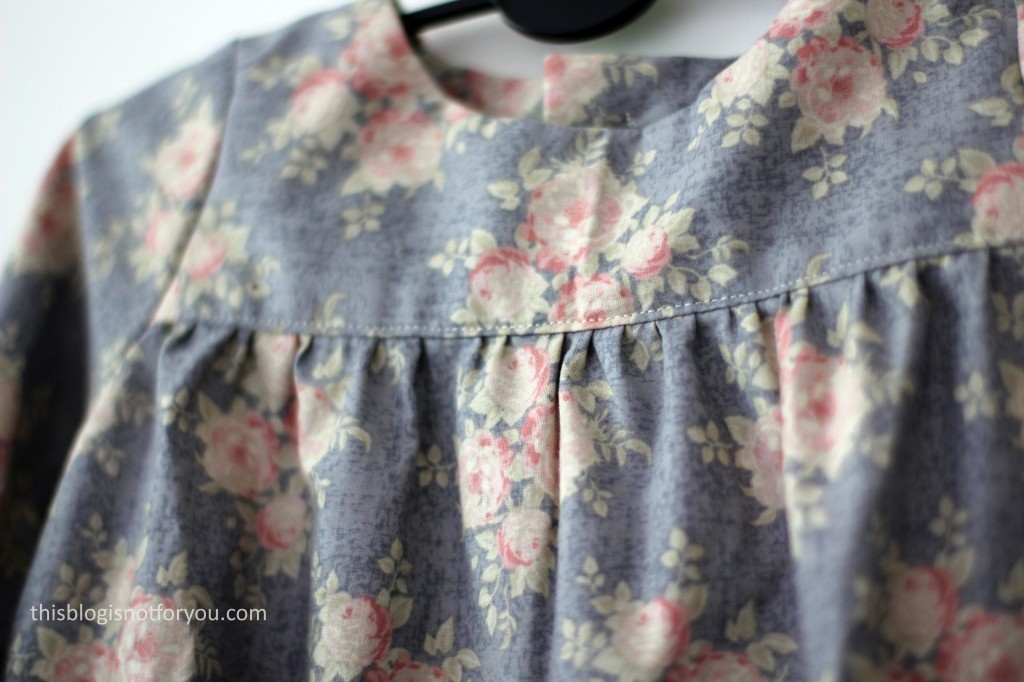 And here’s the even cuter back! I made self-covered buttons (12mm) and sew all the buttonholes with my buttonhole foot and my 4-step-sewing machine setting (15mm wide buttonholes). These buttons make me smile!
 The dress fits beautifully and the little munchkin looks absolutely stunning in it (you can tell that she knows that, too!)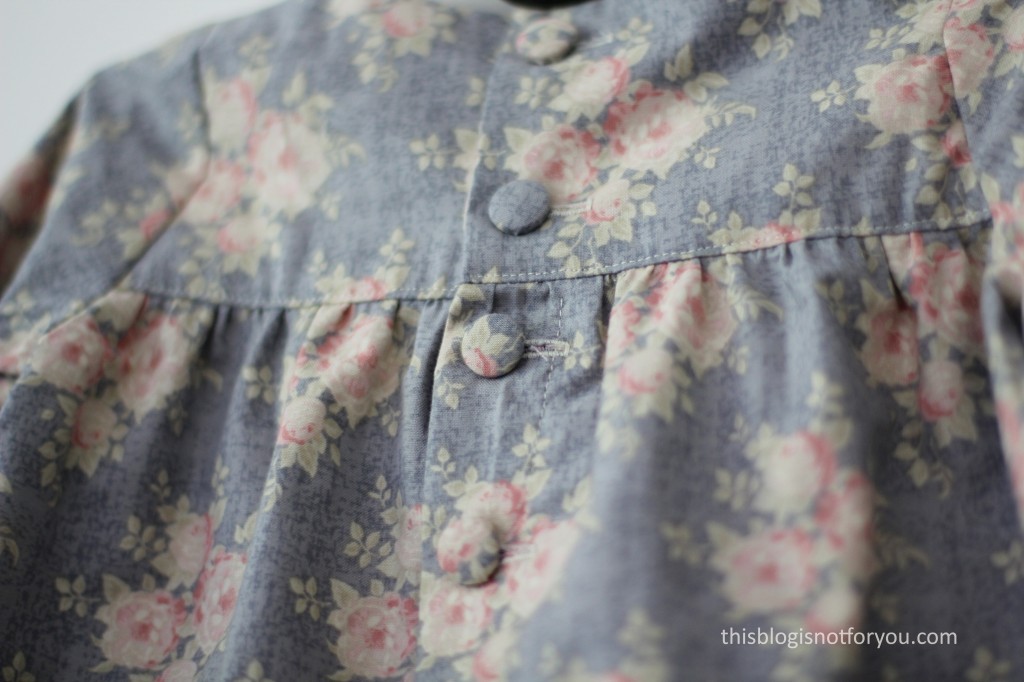
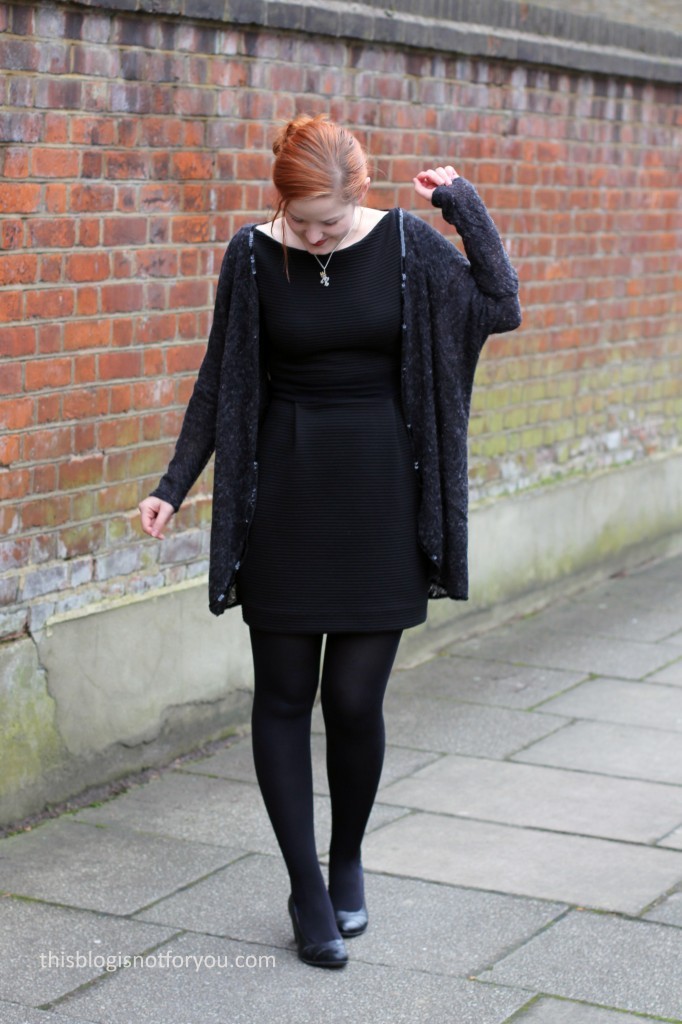
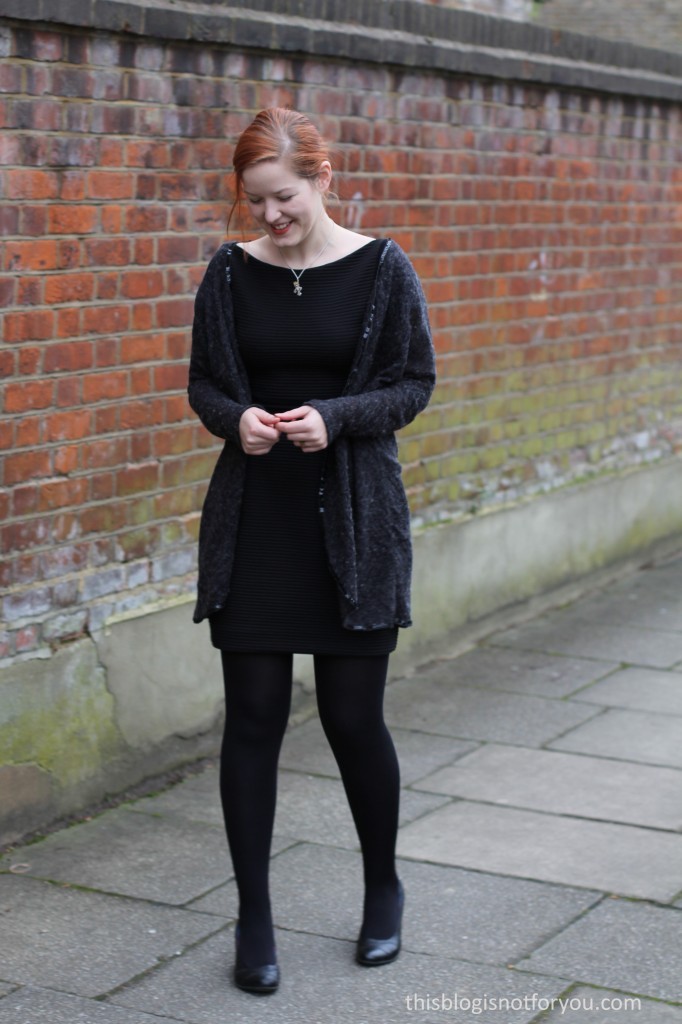 Hello lovelies! Guess what? I’ve got a new favourite outfit (again).
 THE CARDIGAN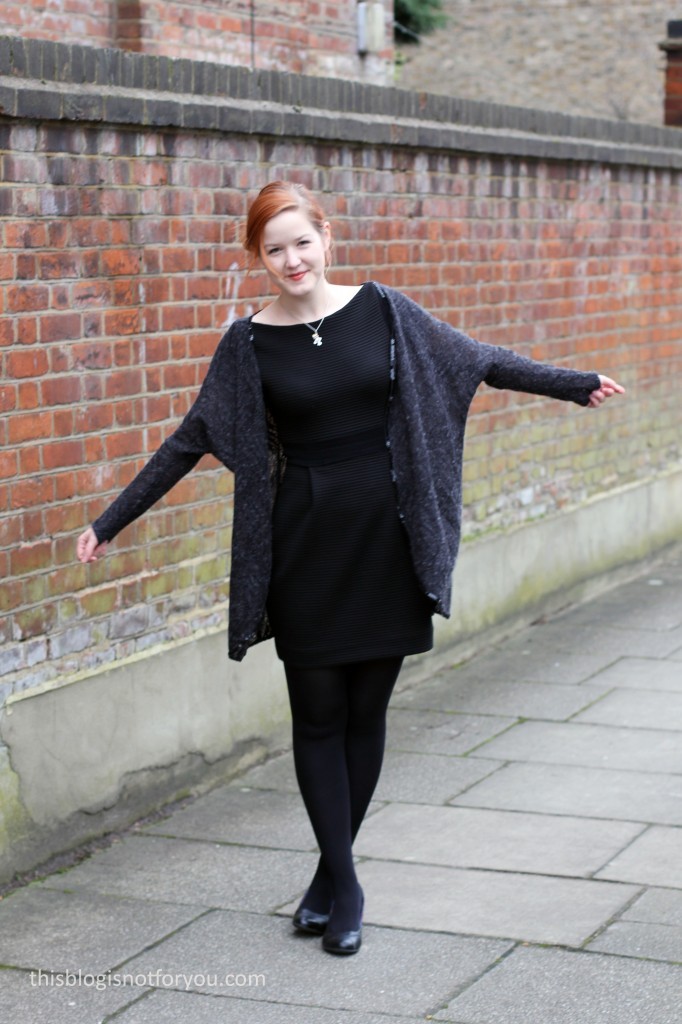
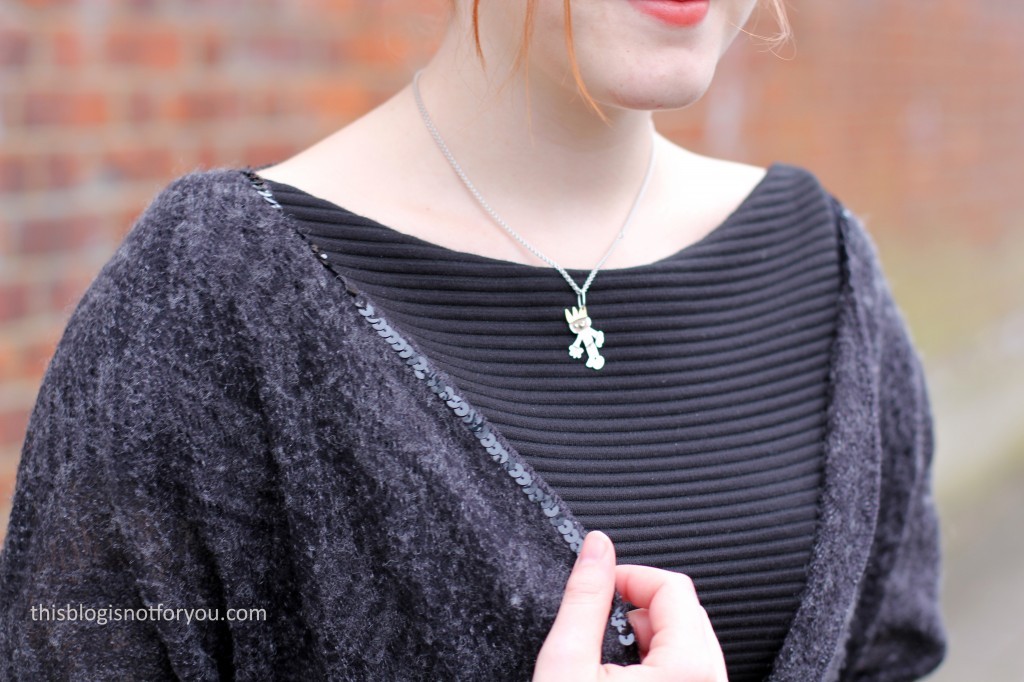
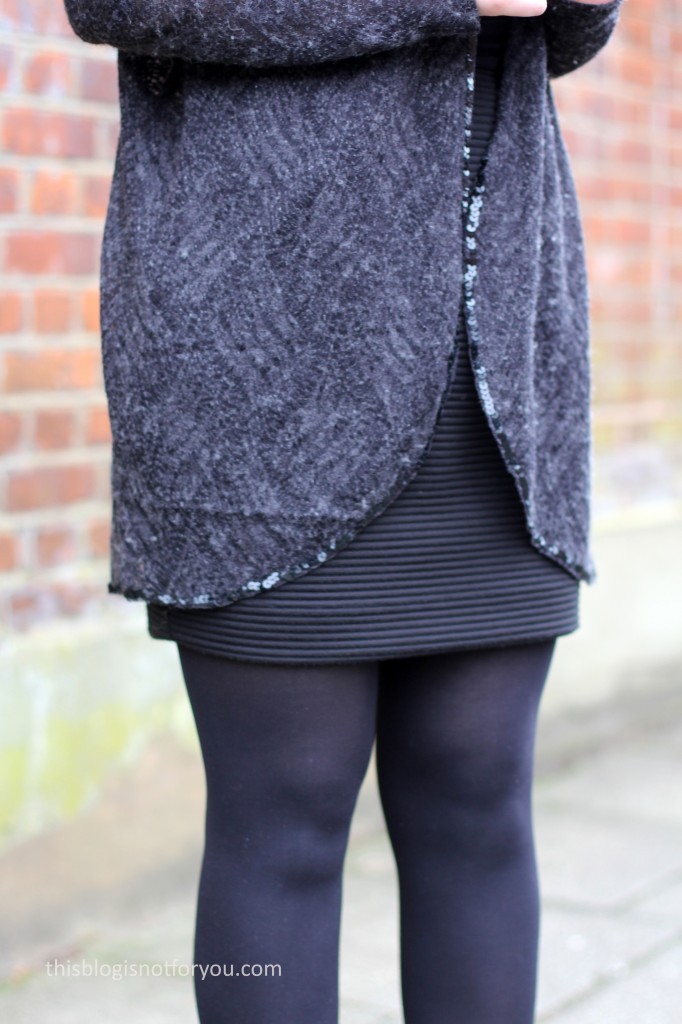
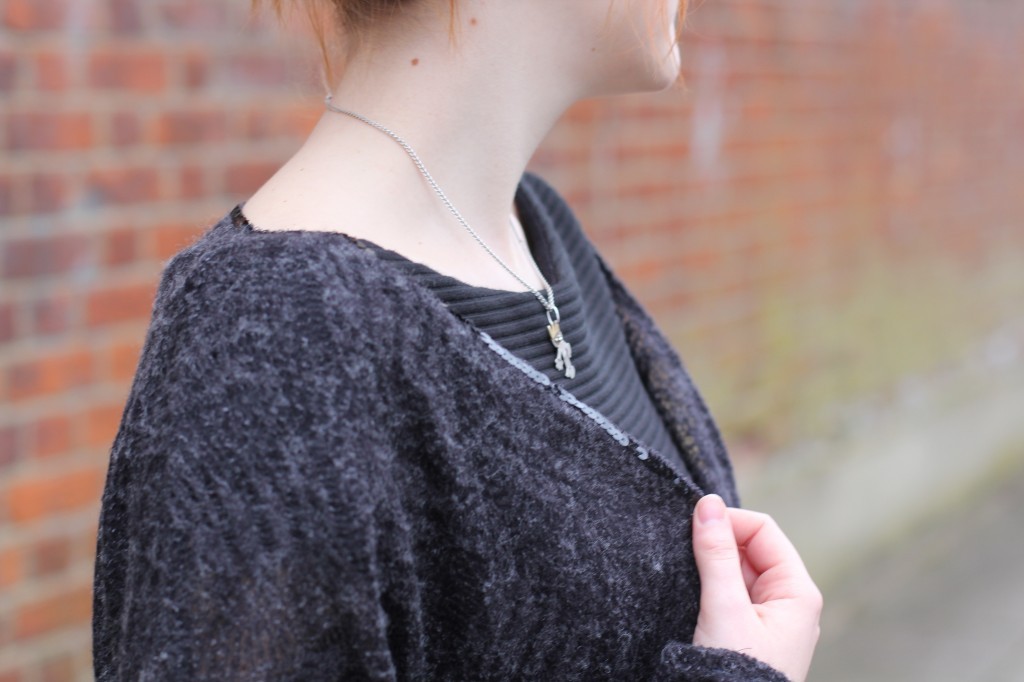 I hemmed the sleeve by simply overlocking the raw edge, turning it in and top-stitching it in place with a narrow zig-zag stitch. All the other edges – bottom hem, neckline and front – are one continuous line I wanted to bias bind initially. Mid-way through the project I remembered that I had bought lots of stringed sequins a while ago. So instead of bias binding, I finished the edge with my overlocker, not turning it in. I sewed the sequins in place along the stitching of the overlocker.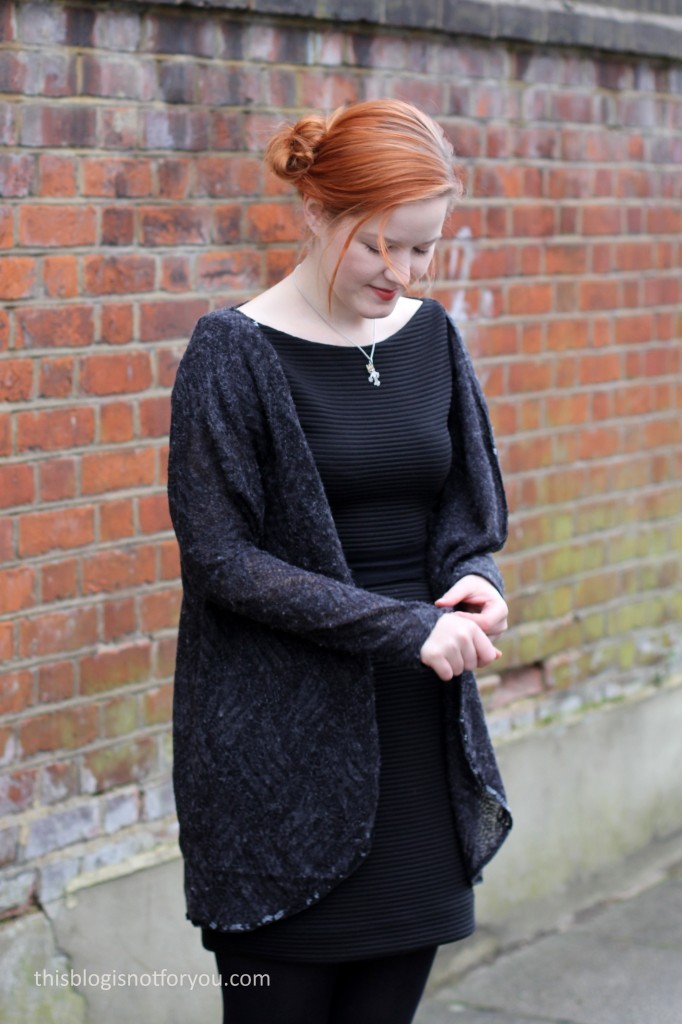
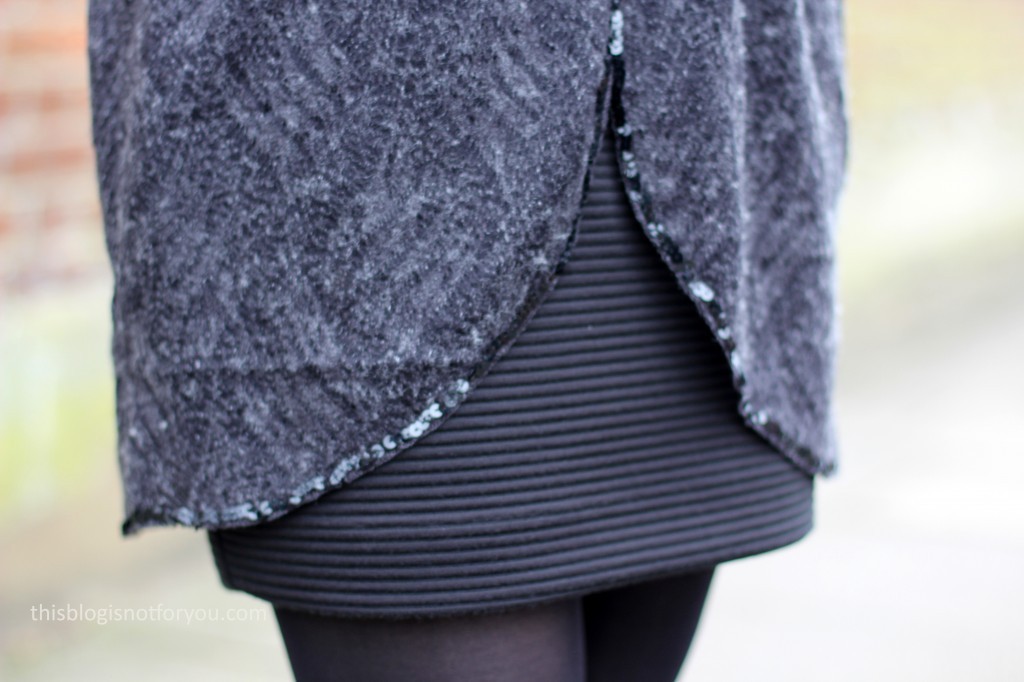 The Pattern: The cardi pattern is completely self-drafted – with a cardigan in mind that my sister bought when she last visited me in London (I think she got it from Primark). I took some rough measurements in order to recreate it at some point. I found the sketch a little while ago and thought of it when I was looking for a quick and easy project last week. The drafting didn’t take too long. With the very loose fit I was going for the measurements didn’t have to be exact. The fabric was cut out quickly and the actual sewing did not take much longer. Applying the sequins probably took as long as the whole drafting and sewing process together. I didn’t mind – given that I have the time for it, I find hand-sewing so relaxing!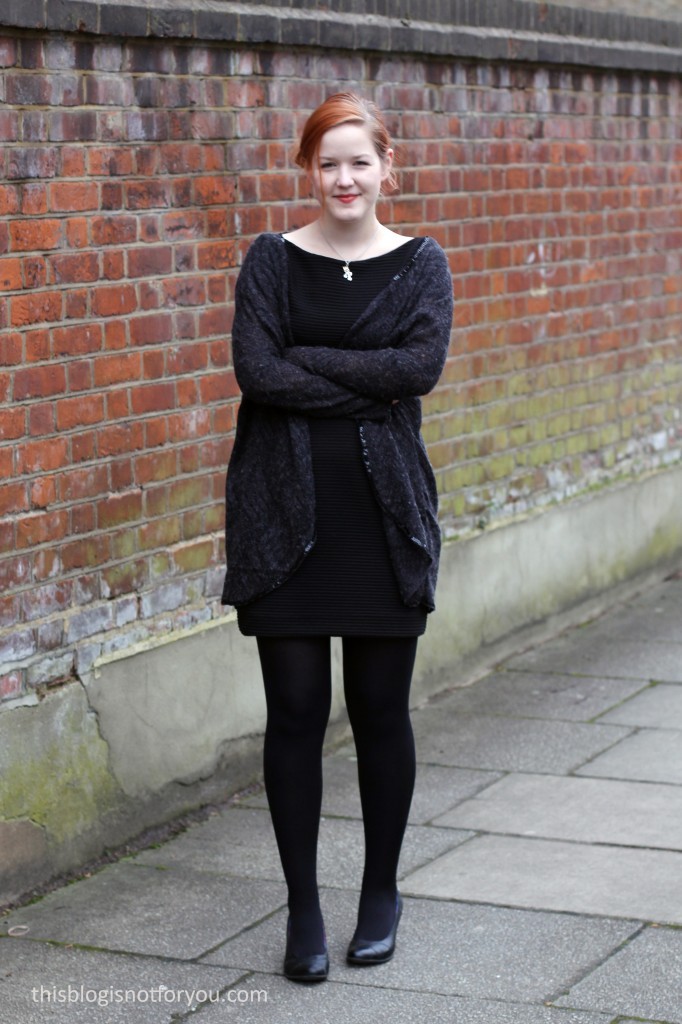
 THE DRESS
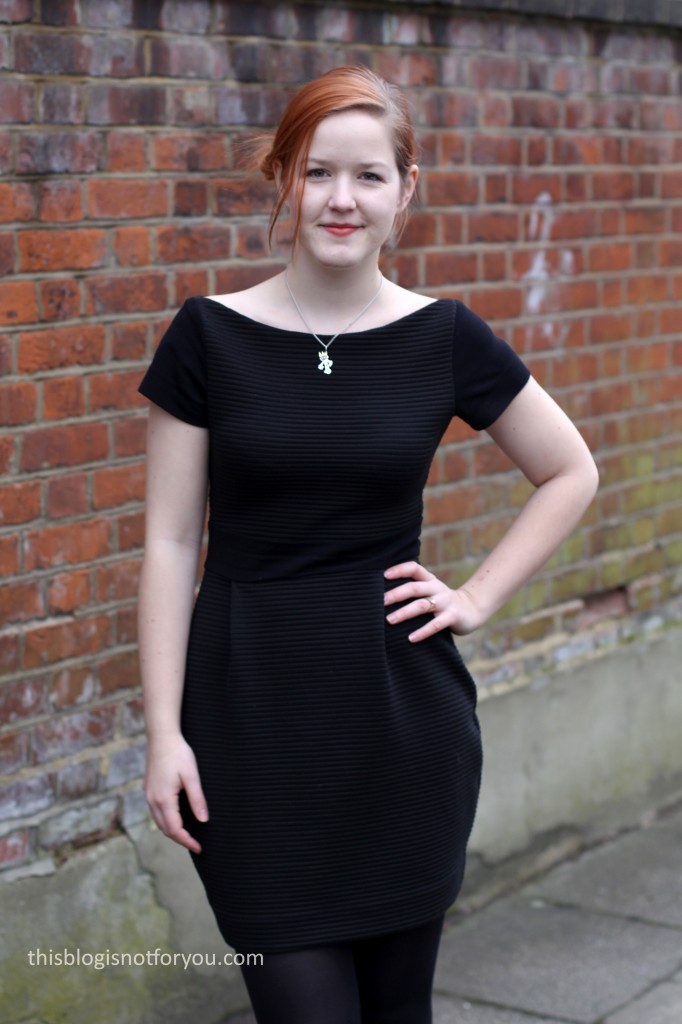 The Pattern: It’s a proper Franken-Dress – the pattern is part Lady Skater (Kitschy Coo), part Ultimate Pencil Skirt (Sew Over It) and part self-drafted.
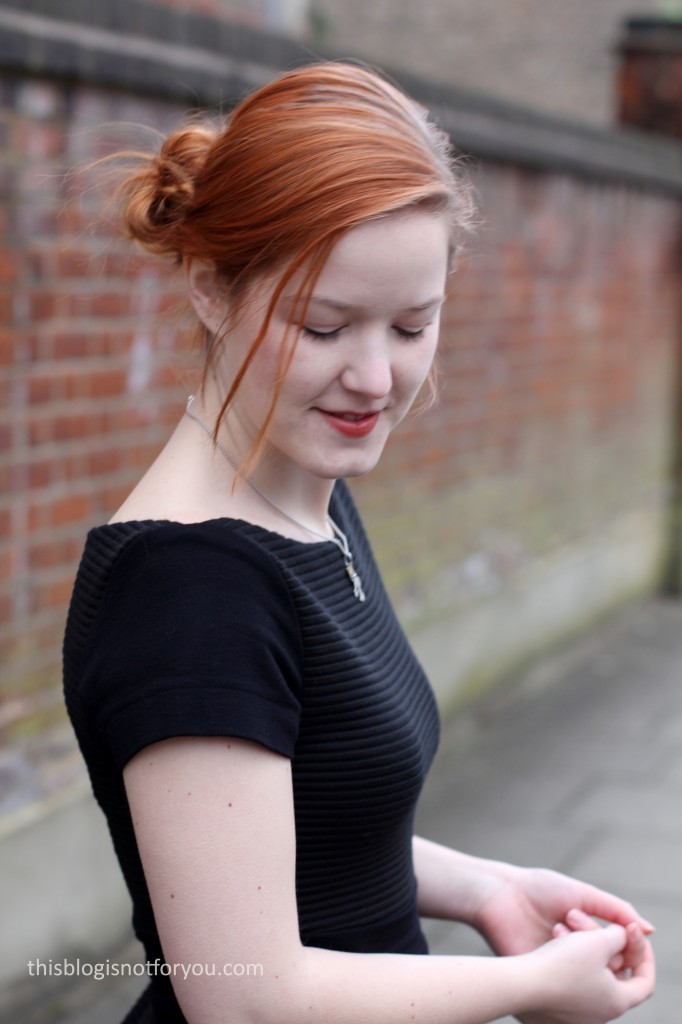 The skirt pattern is based on my beloved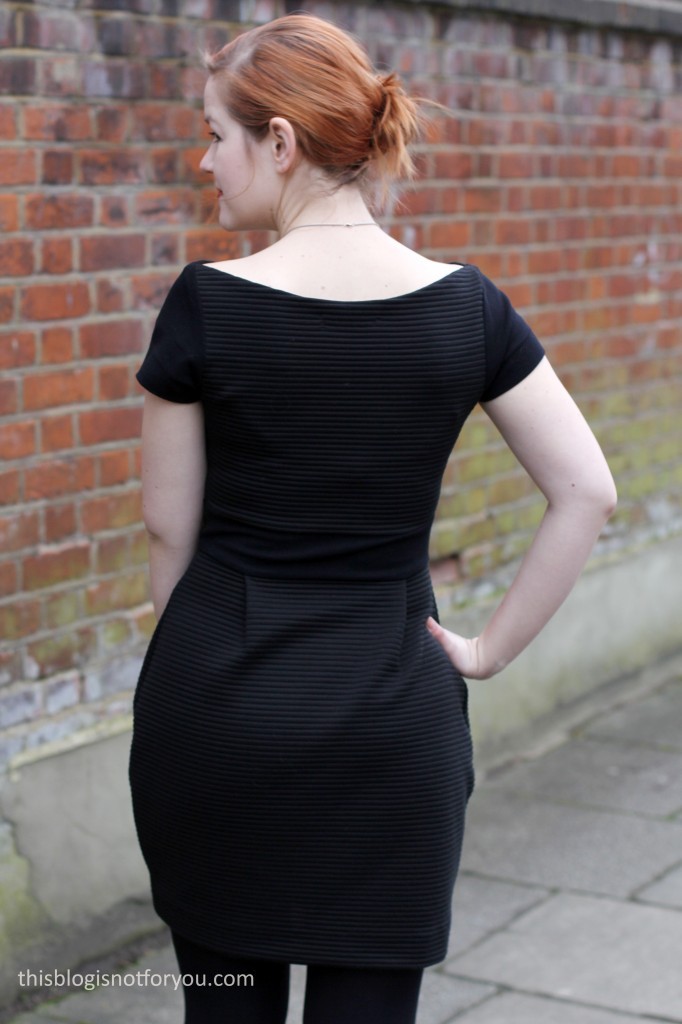
 All raw edges were finished using my overlocker. When using Jersey I sometimes sew all seams with the overlocker straight away because it is so much faster than my old little sewing machine. Because the dress’ fit is quite snug I thought some extra strong seams were quite a good idea and sewed all seams using a narrow zig-zag stitch before running the raw edges through the overlocker. Also, I needed to do quite a bit of matching with the sleeves and also with the pleats, which is so much easier on my regular machine.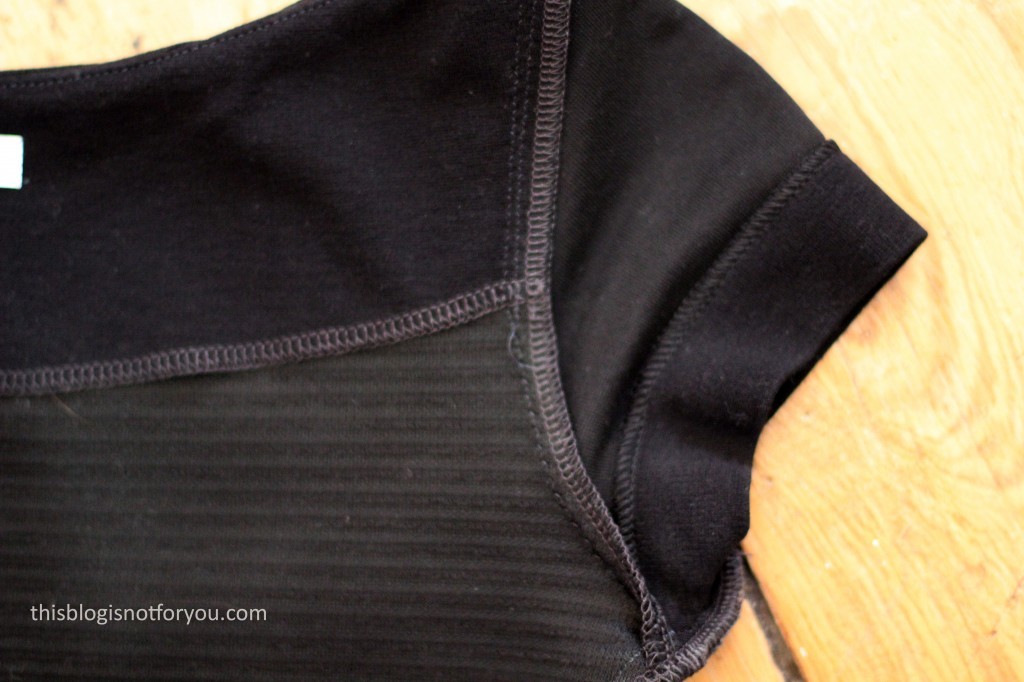
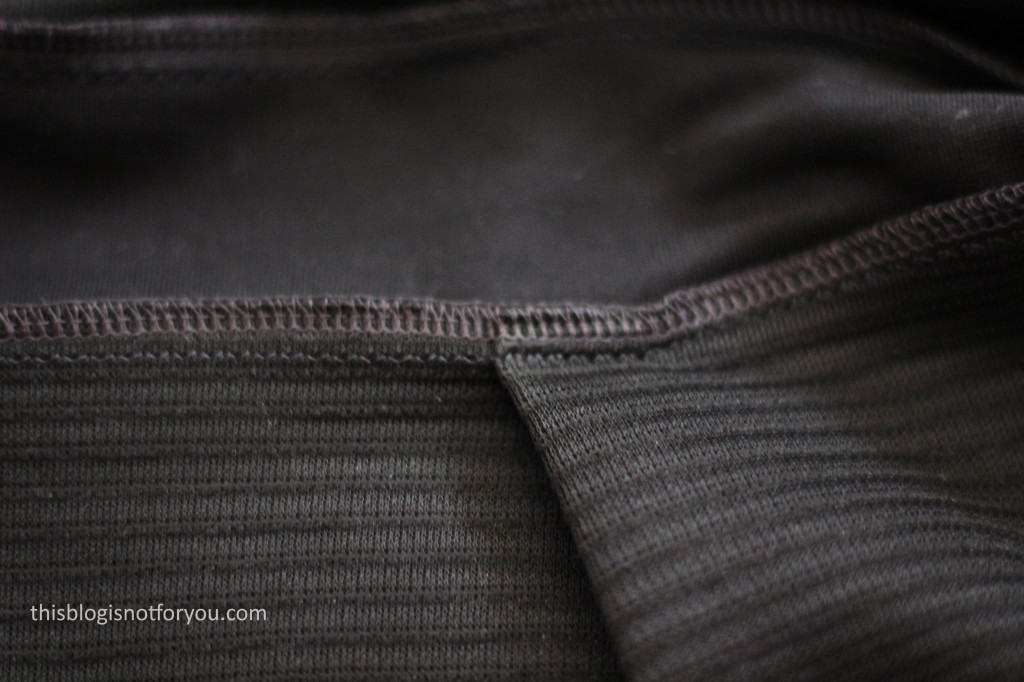
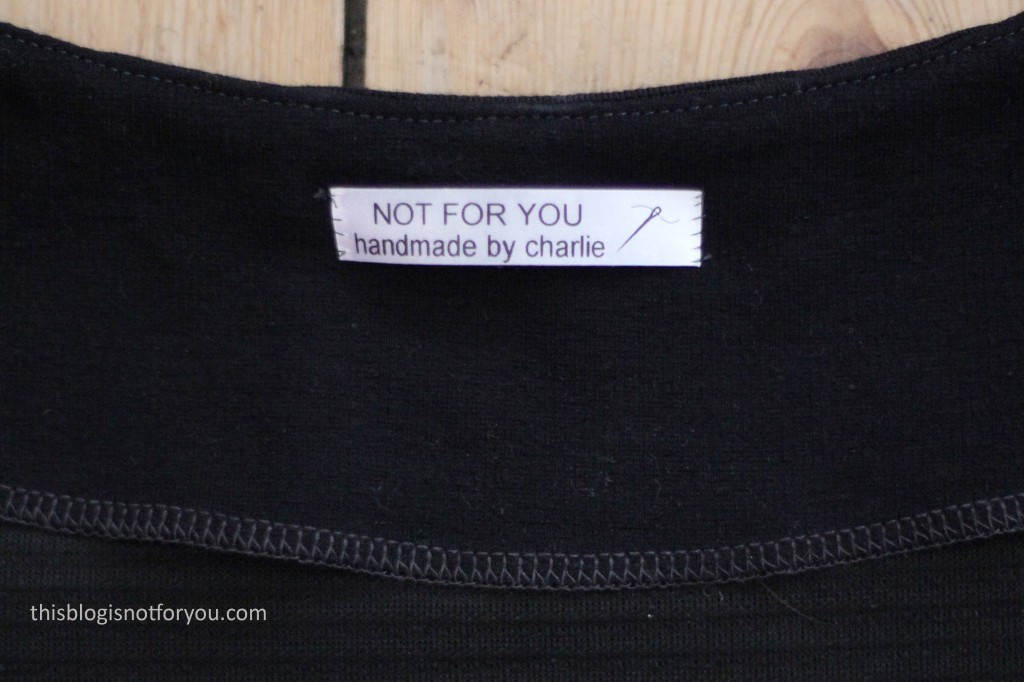 The facing is also cut out from the recycled cardi and interfaced with black iron-on interfacing.The facing is quite wide and attached to neckline and armhole seams, so the bodice is almost half-lined. It makes the facing lie really flat so that it’s practically invisible.