
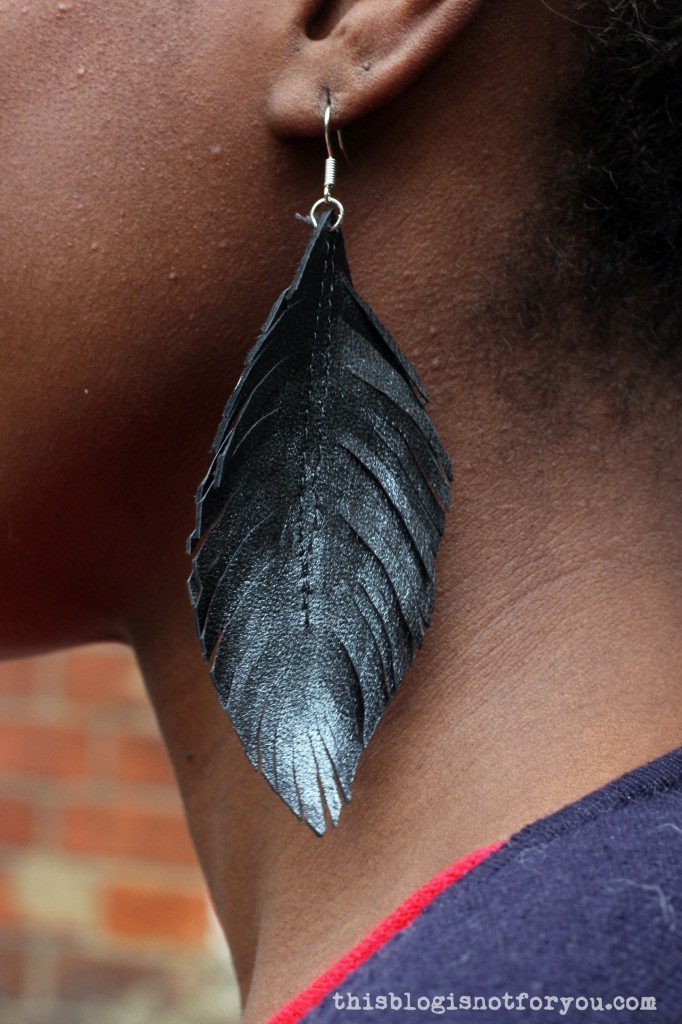
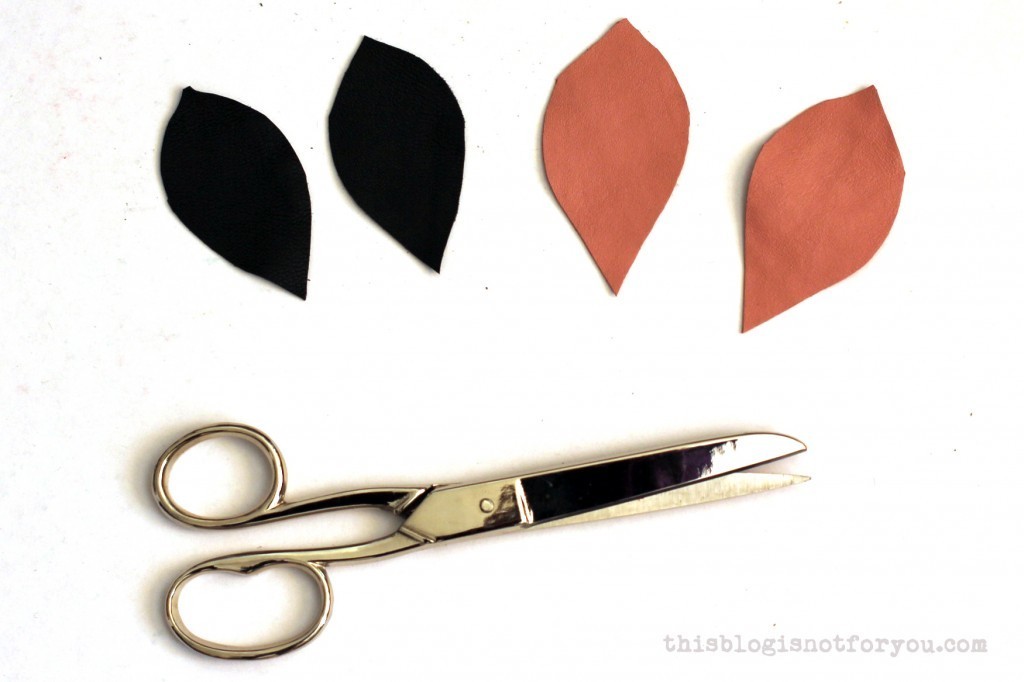
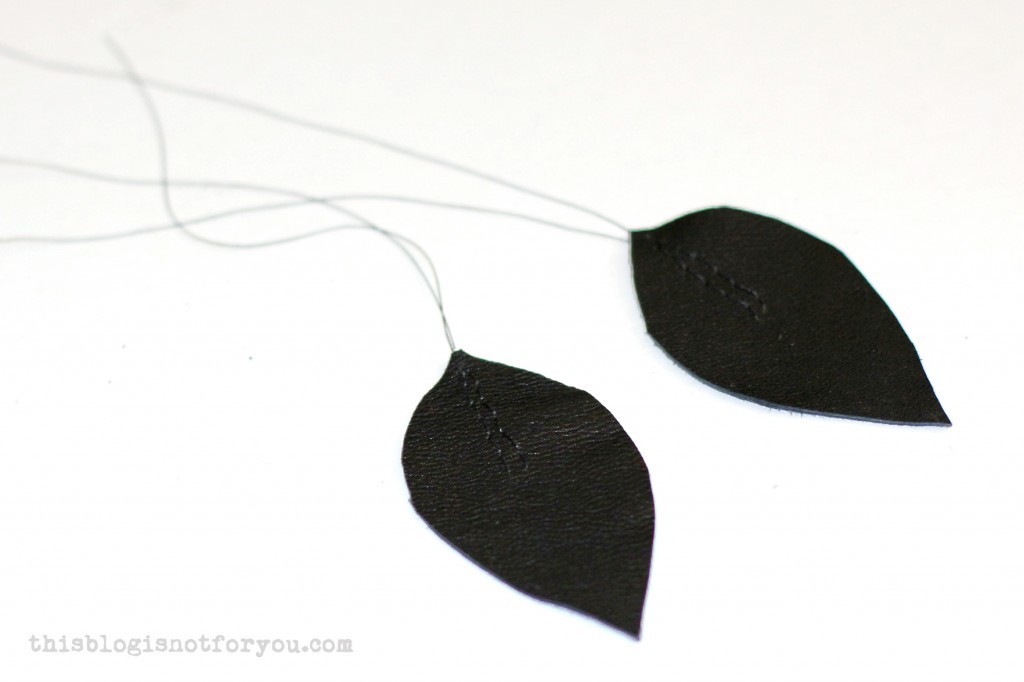
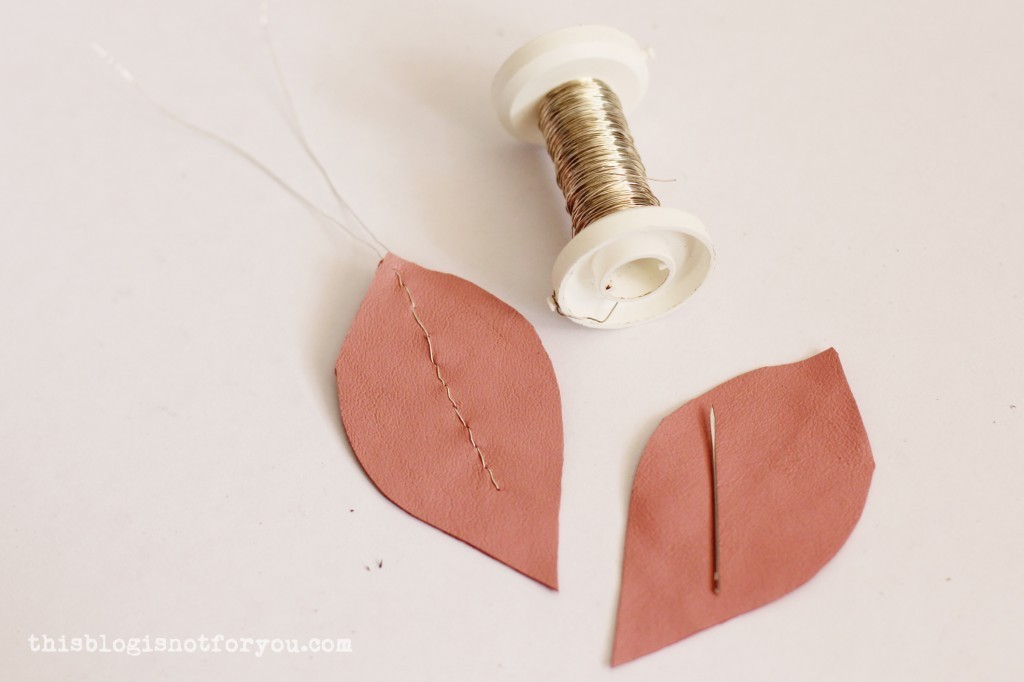
DIY Bridesmaids Gift: Bridal nail polish earrings
 This is a super simple but also super cute and personal DIY project for all brides-to-be!
I spend my hen do with my sisters and BFF at a spa hotel and wanted to give them a little something to say thanks. I also wanted the gift to be a little personal, something that would remind them of the fun weekend we had just before the big day.
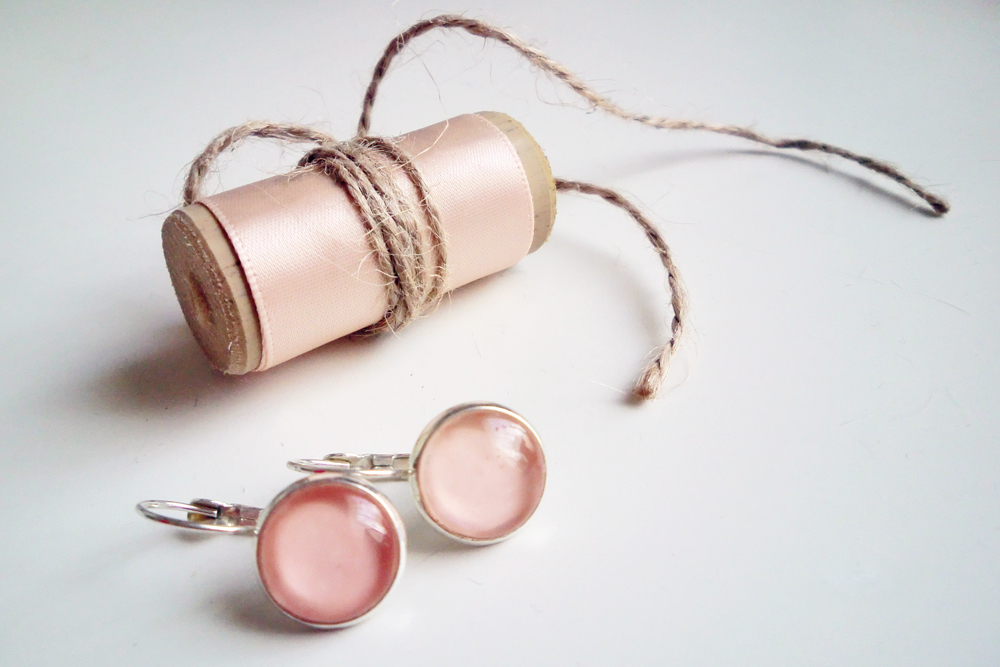
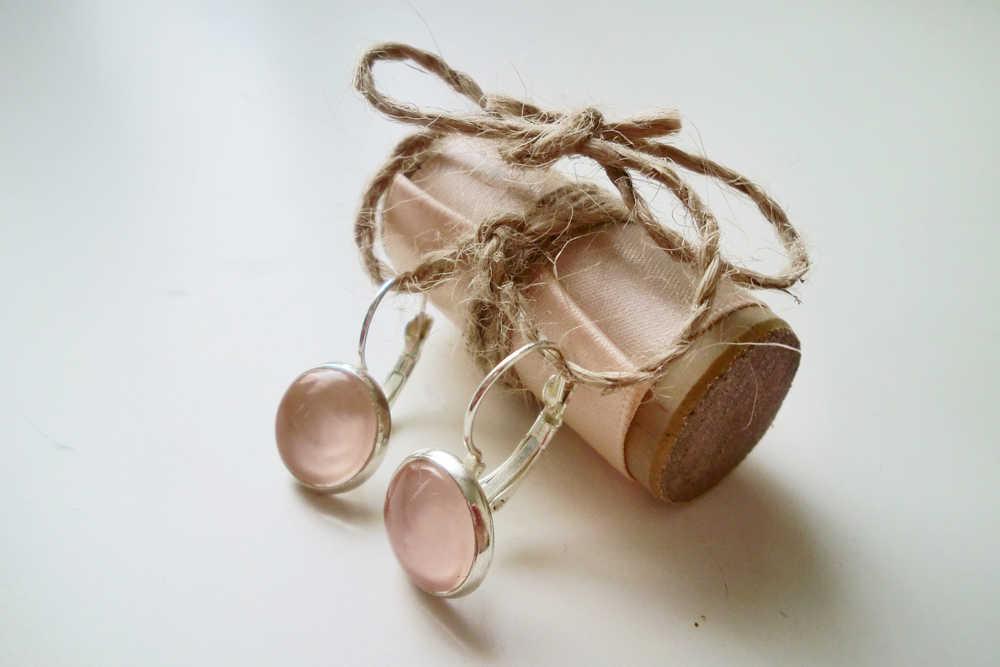
Jewellery is always a good choice, and to add a personal and wedding-related touch, I chose to make the earrings in the colour of my bridal nail polish.
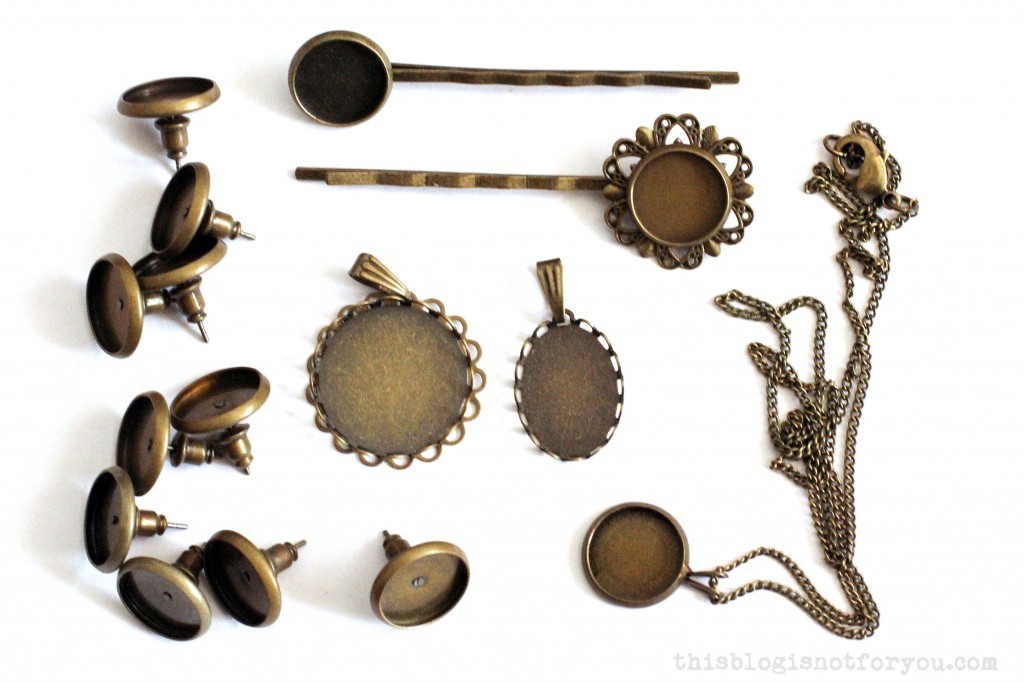
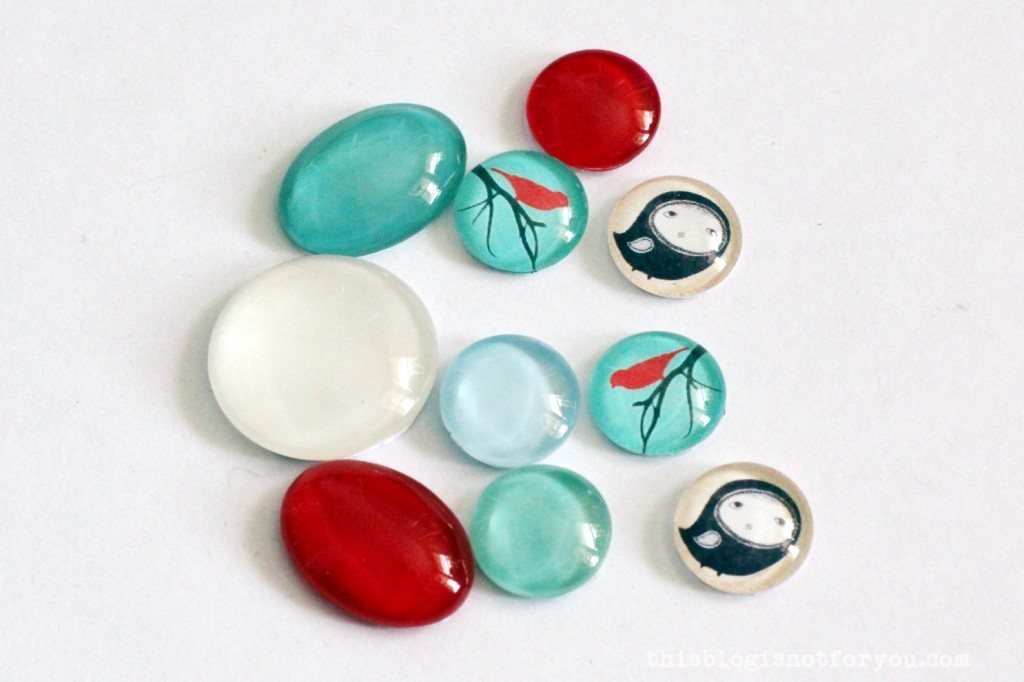
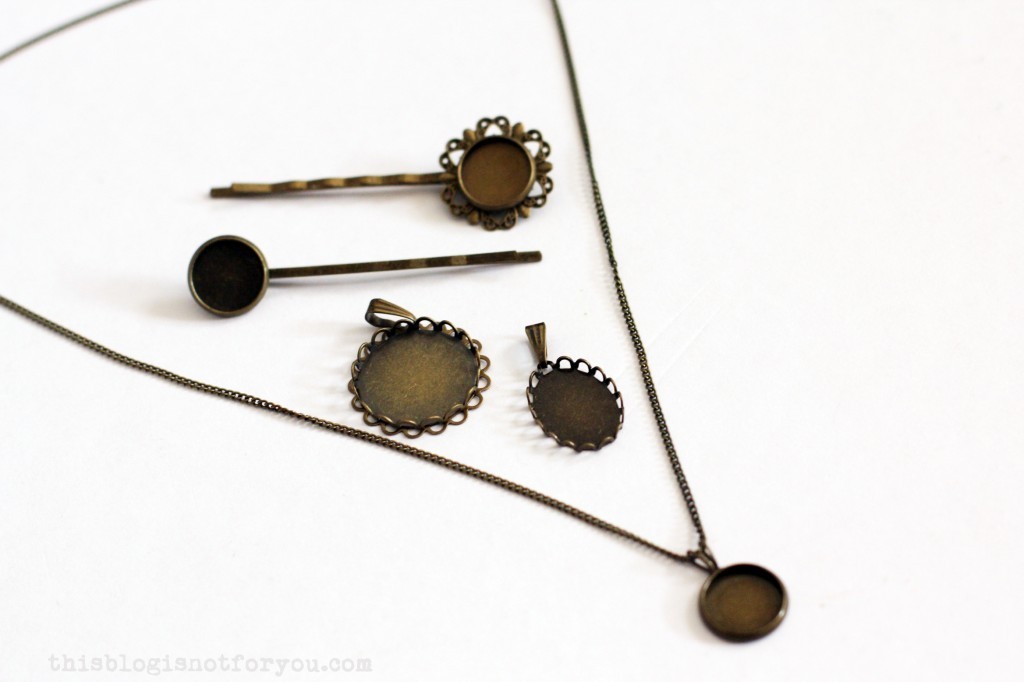
I wore “Worth The Wait” from Essie’s bridal nail polish collection, which matched my blush pink dress perfectly. 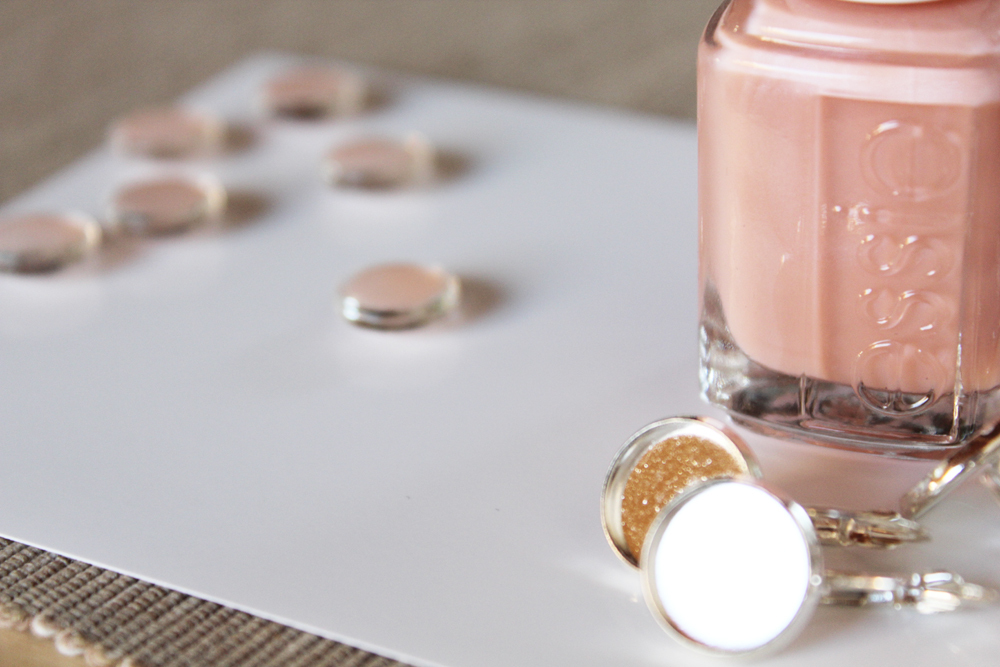 The project is super quick and easy. You’ll need earring settings (which you can order online on Etsy or Dawanda) and glas cabochons. I got mine from Average Pony and they’re really cheap.
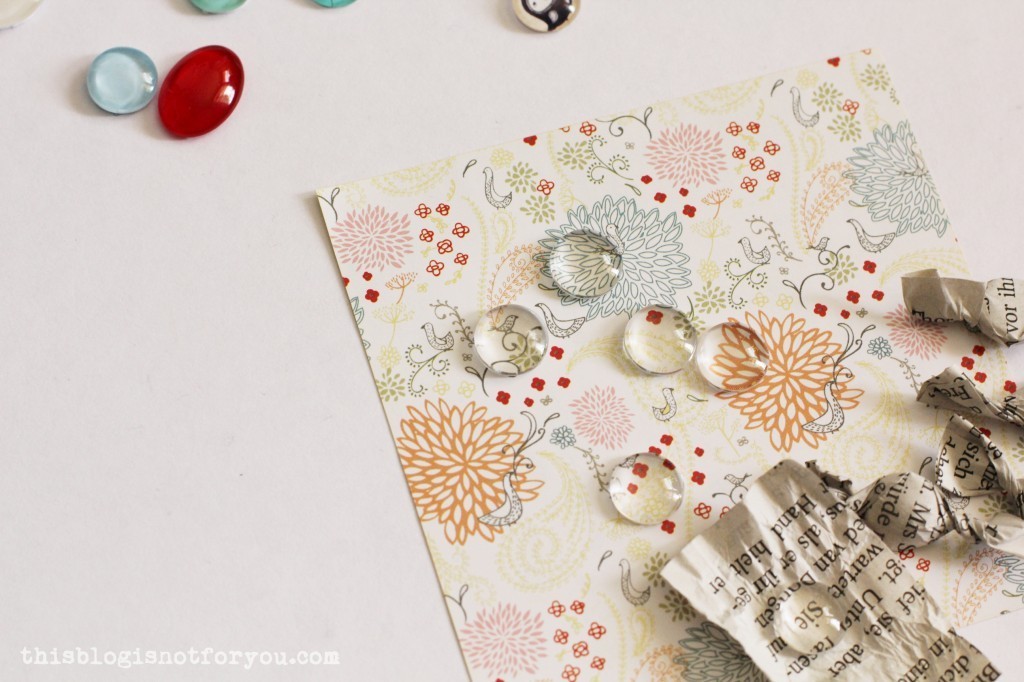
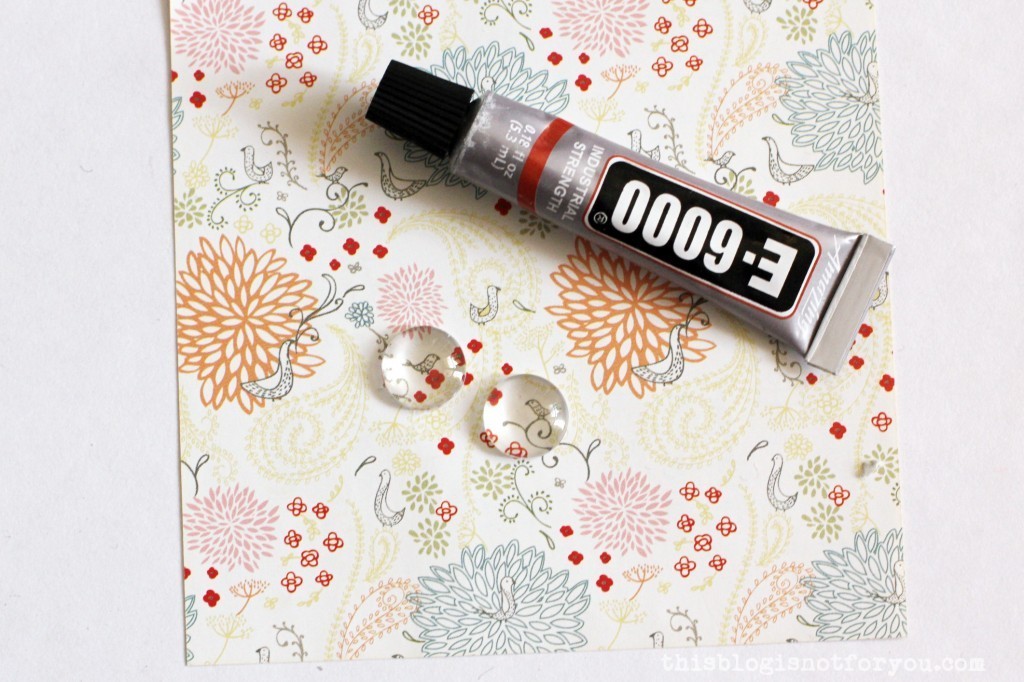
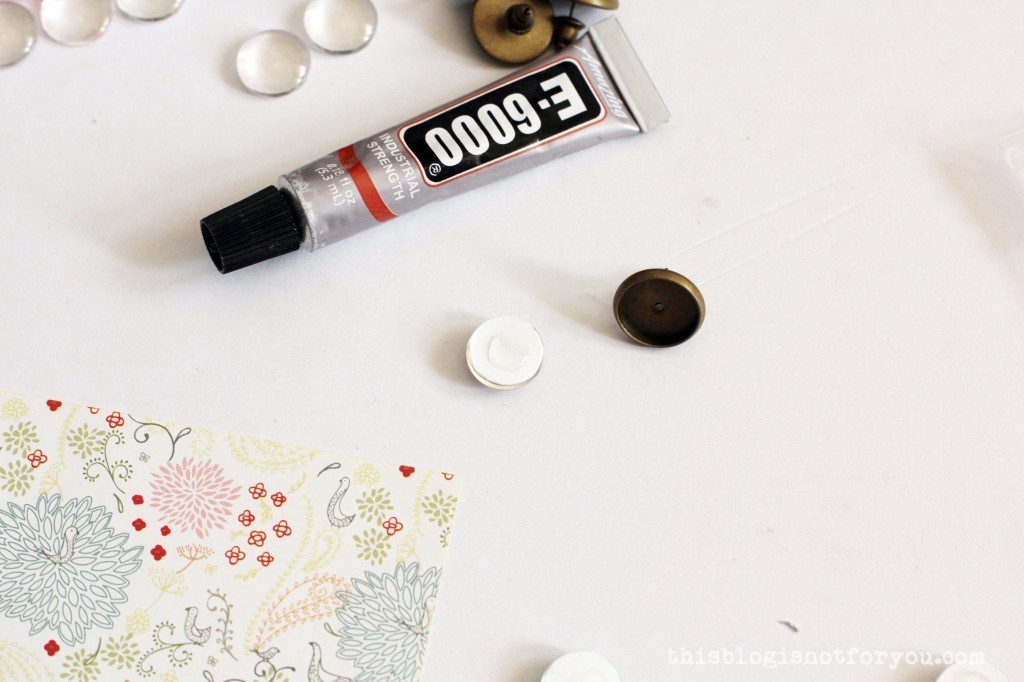
I painted the back of my glas cabochons with two coats of nail polish and left them to dry. Once the colour was set, I used E-6000 glue to glue the glas stones into the settings. You really only need a tiny drop of glue. The glue dries within a few seconds. It’s very strong, so make sure you’re careful with the positioning.
Eh, voila! Done! It’s that simple.

I used some wine corks and satin ribbon to have something to attach the jewellery to and it looked super cute! The ladies loved their gifts, and lucky me, all had matching dresses to wear that night.
So if you’re looking to make something personal for your bridesmaids or friends, this is the perfect project to try!
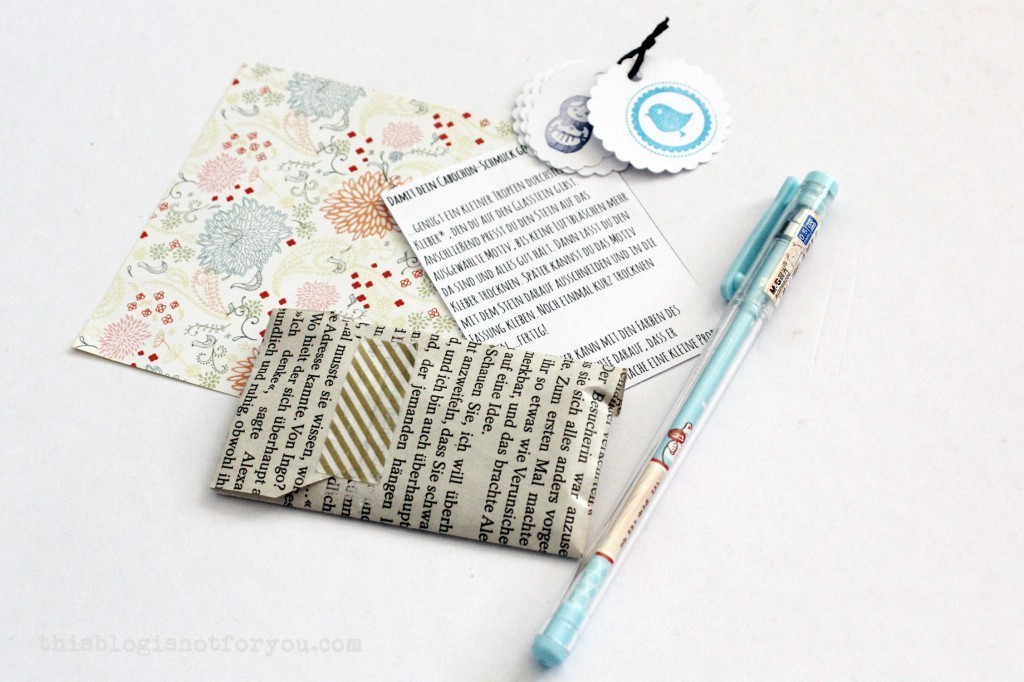
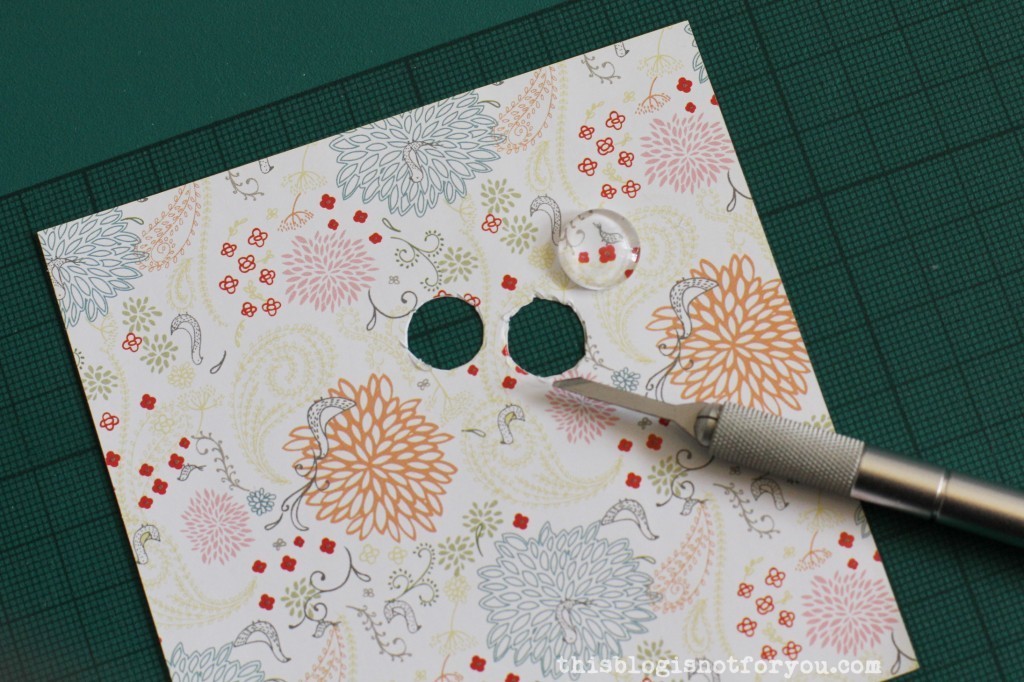
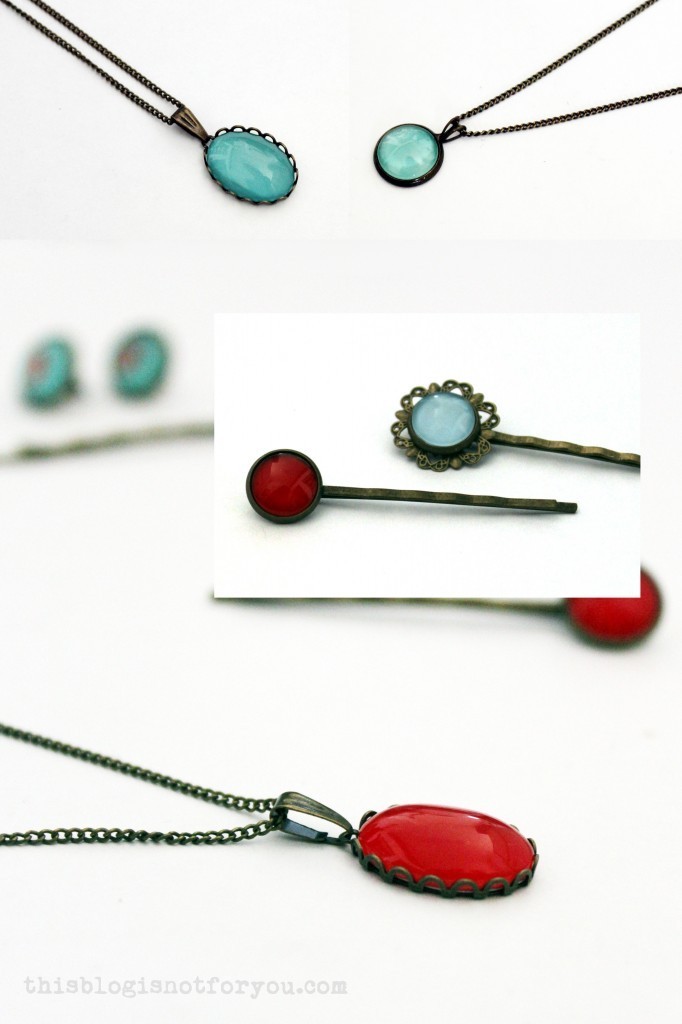
I’ve made other jewellery using glas cabochons before. For more ideas check out this post about how to use paper and prints to back the glas stones.
xx Charlie
Happy jewellery making!
♥
facebook/bloglovin/pinterest
twitter/instagram
Stay in touch!


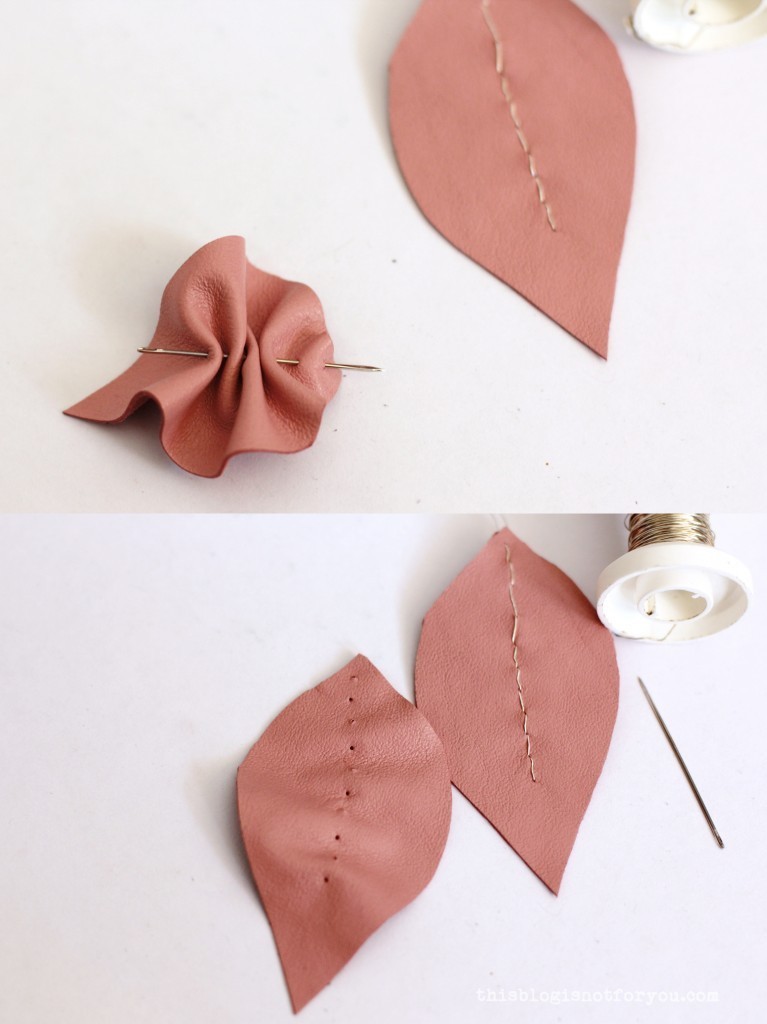
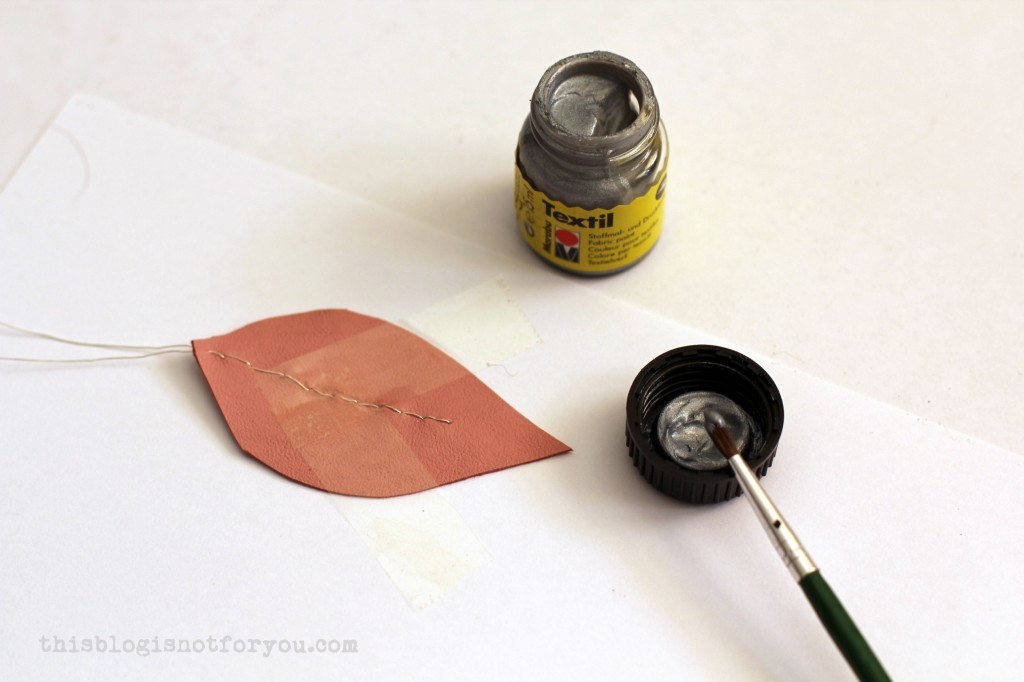 3. Now it’s time to apply any textil paint. To create chevrons or other shapes with clear lines, you can mask the leather with tape. Wait until the paint is completely dry before you remove the paint.
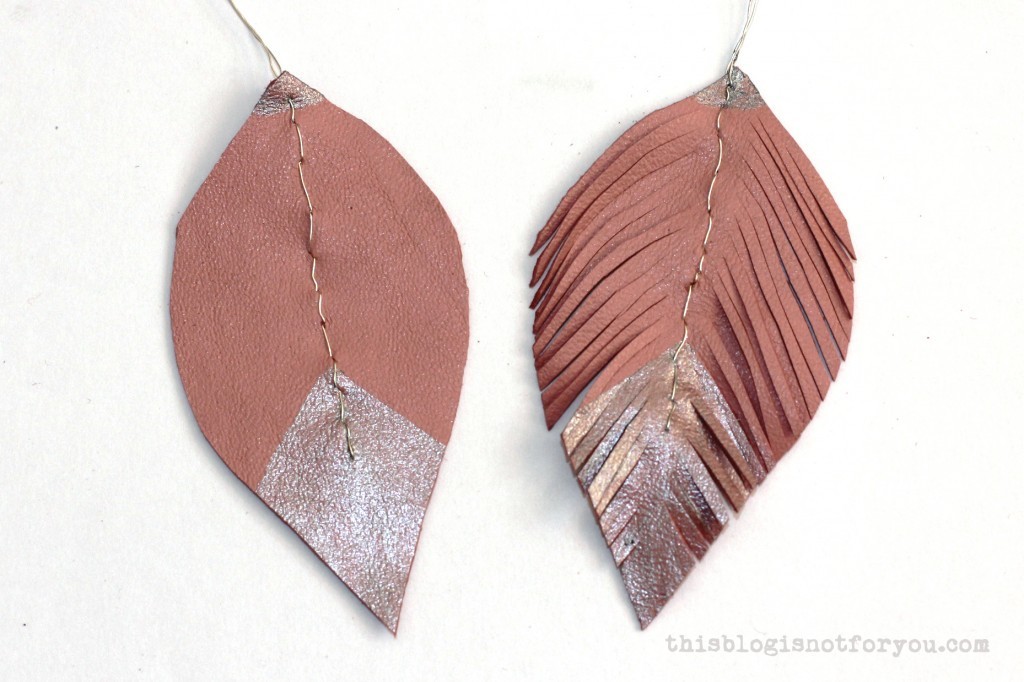


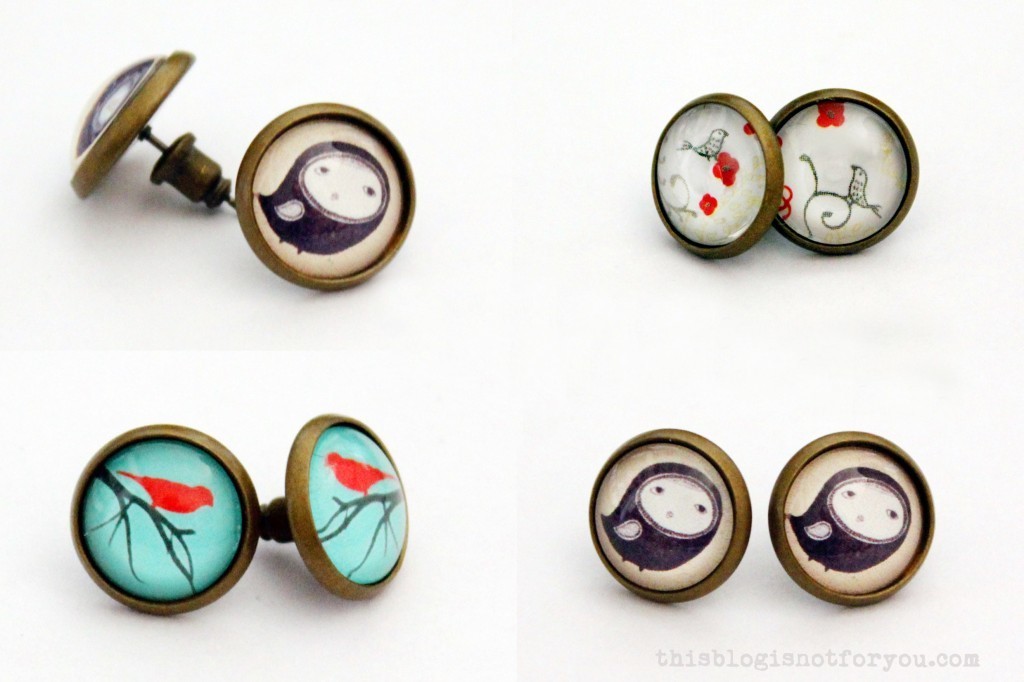
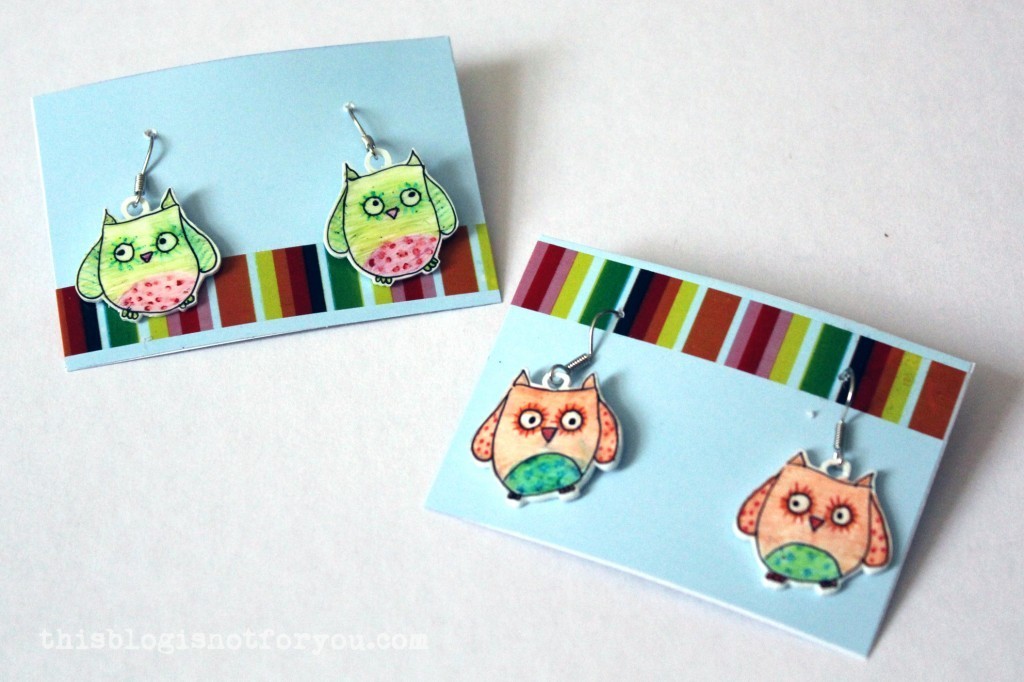 I made these cute little earrings and necklace charms for my friend’s birthday. She loves owls and books, so these were the obvious choice!
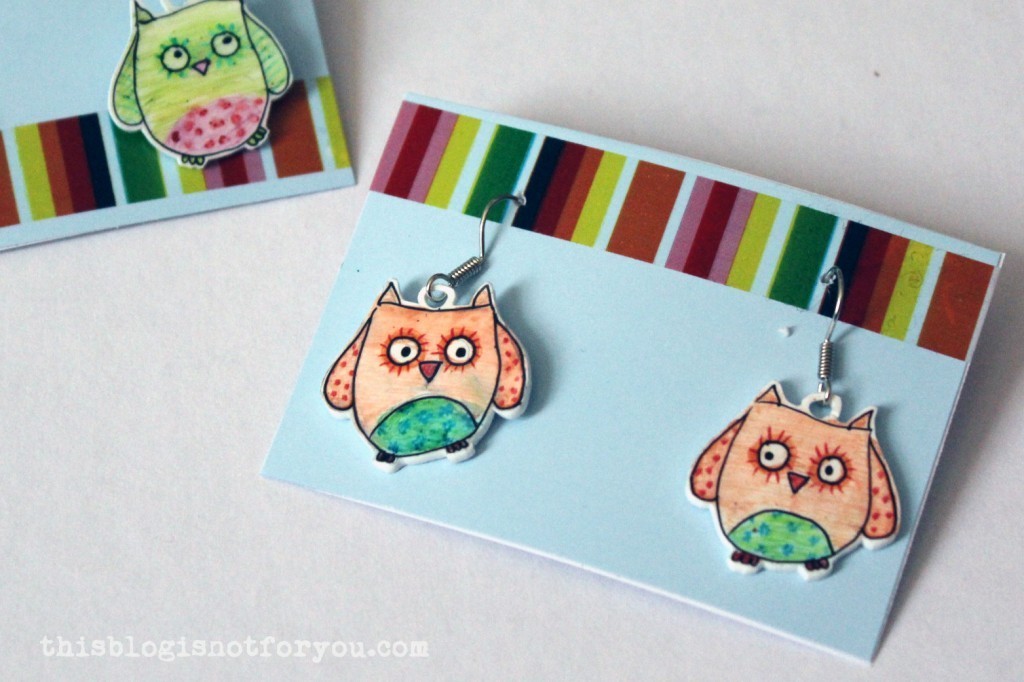
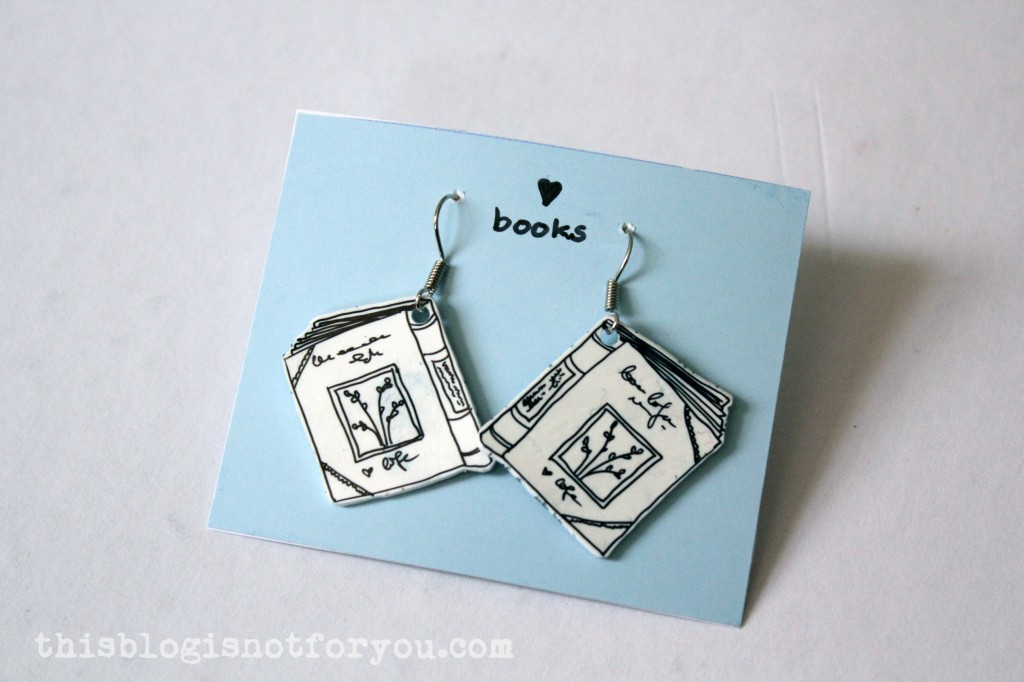 The shrinkage is about 50%, which you have to consider when you choose the size of your image. You can draw directly on the plastic using a permanent marker. If you want to add colour, you can sandpaper the shrink plastic with very fine (!) sandpaper and then simply use crayons, acrylic paint or water colour. I recommend to keep the finished make from getting wet, as non-water-resistant colours might blur (even after baking the plastic).
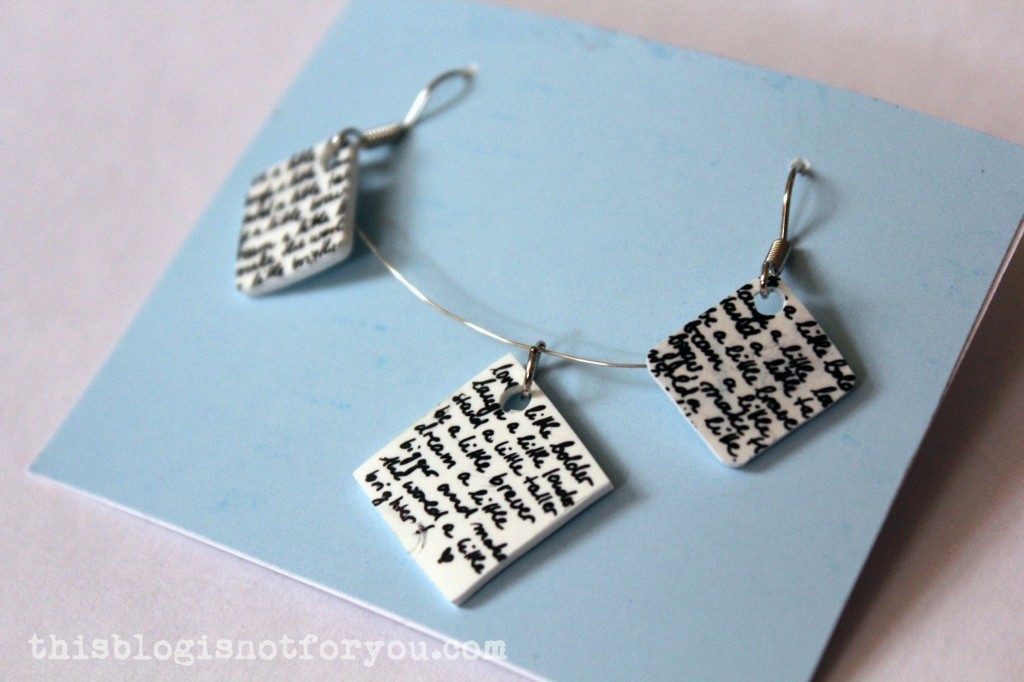
 I made these chevron earrings for myself (I got my friend to wear them for the pic 😉 ).
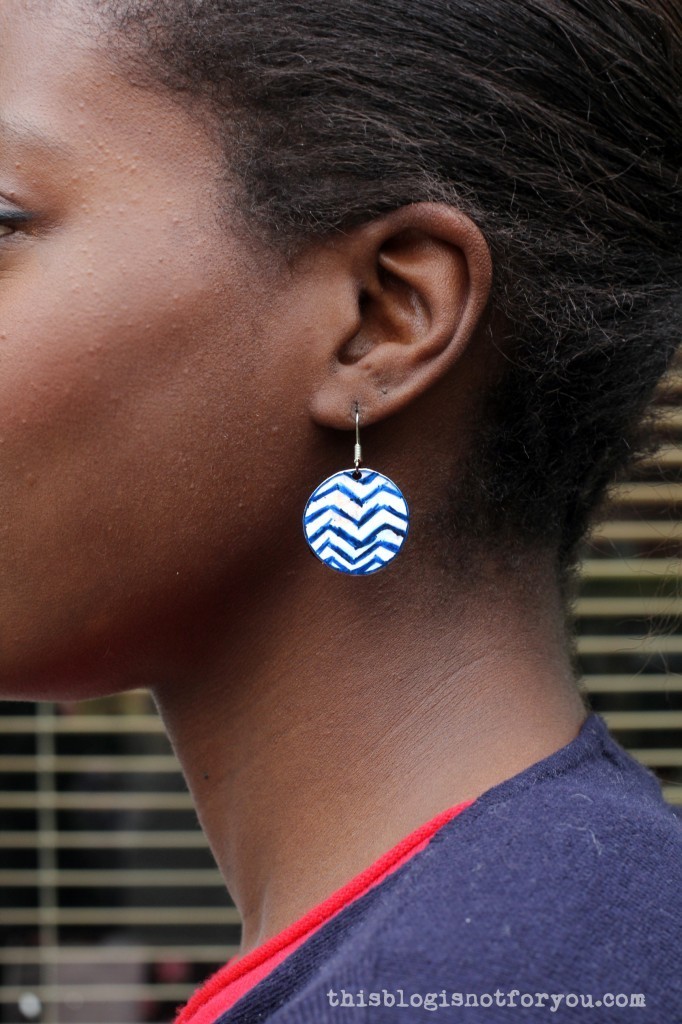 If you like my shrink plastic DIYs, you might want to check these out, too!
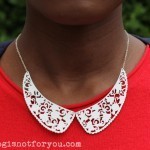
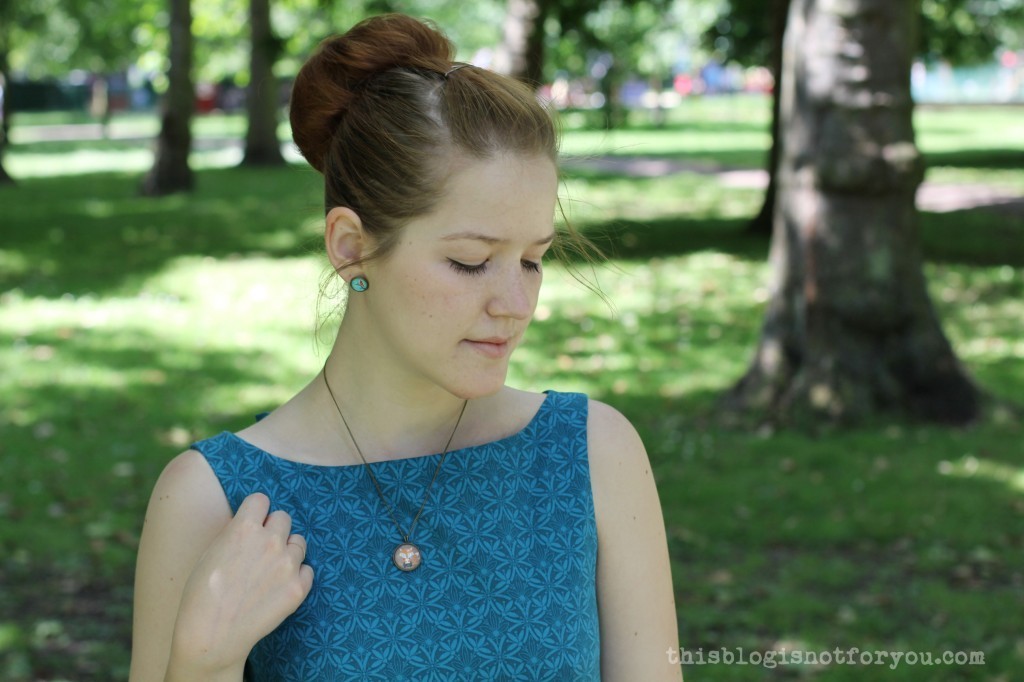
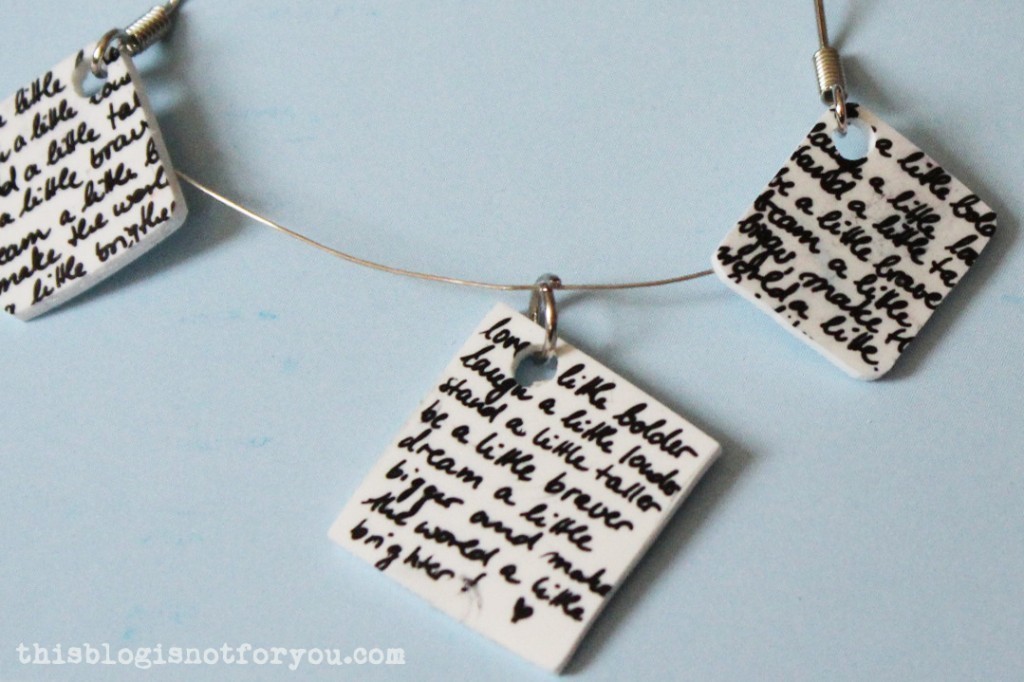
 Heeeelllo! Hope you all had happy Easter holidays! Mine were awesome and I think I cannot eat any more chocolate for the next few years (I might change my mind by the end of the week). Before travelling to Germany for the holidays, I went konditorn [German for ‘going out to eat confectionary like old ladies do’] with a friend (modelling the necklace above) and when we went shopping afterwards, she dragged me into an Oliver Bonas store. Man, I wanted to buy everything in there, but luckily I was out of money.
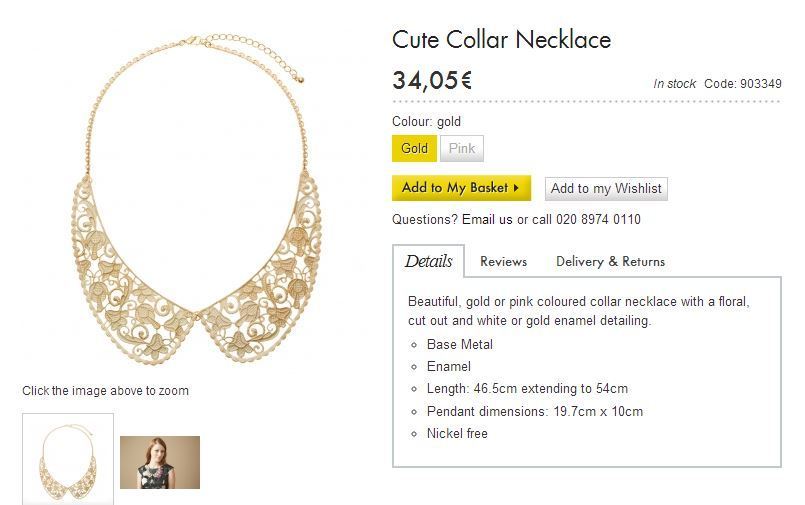 I loved this necklace so much, so I looked it up online and printed it off the same night.
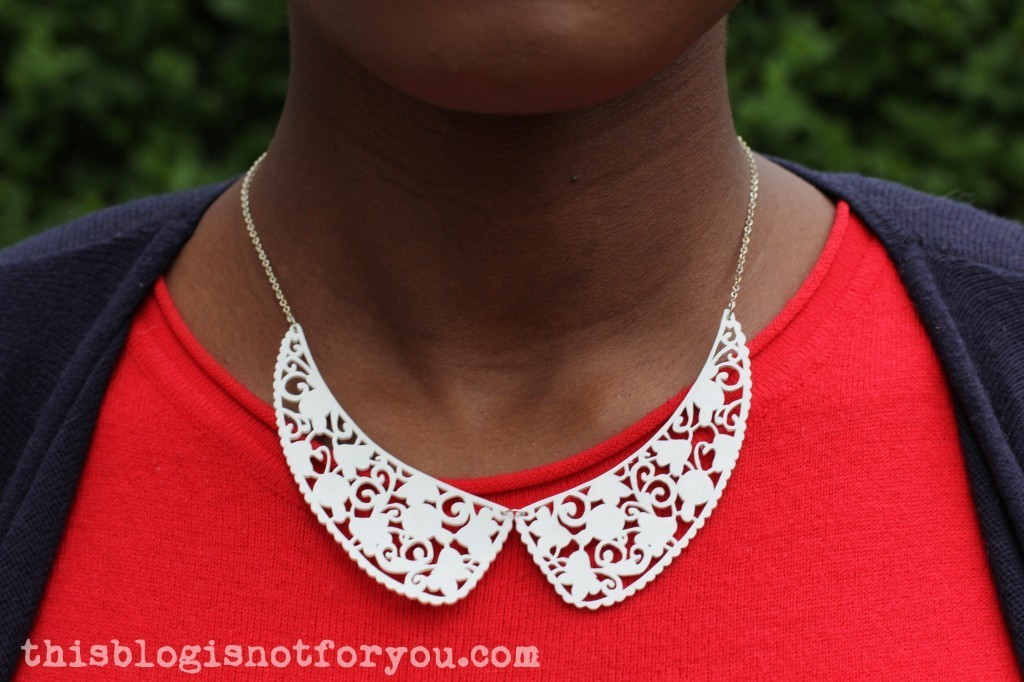
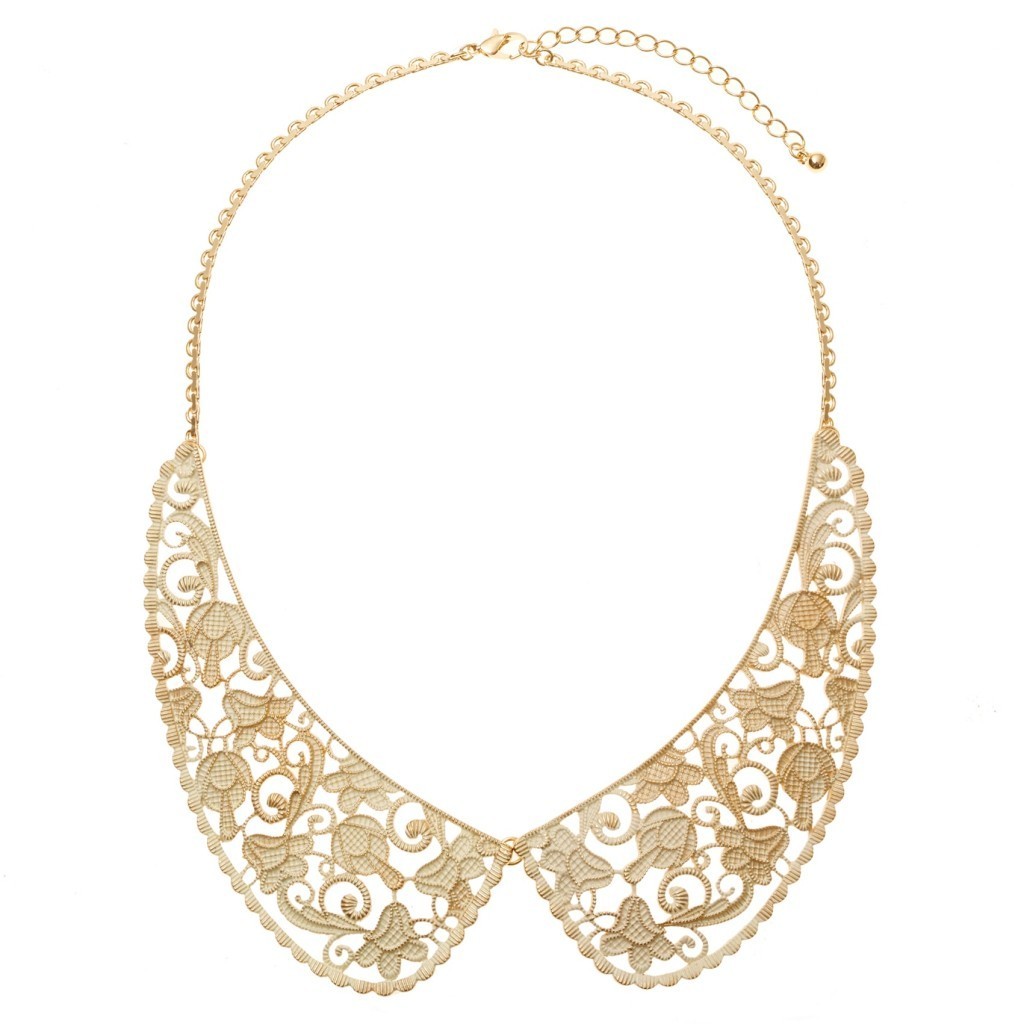 Using the printed copy as a template I transferred the shapes (roughly) onto shrink plastic with a pencil (for reference, the picture was printed on A4 paper, the unshrinked plastic is approx. 20cm high).
 After shrinking the collar pieces are now approx. 11cm. Using pliers I attached the necklace. I joined the collar pieces with a small silver ring.
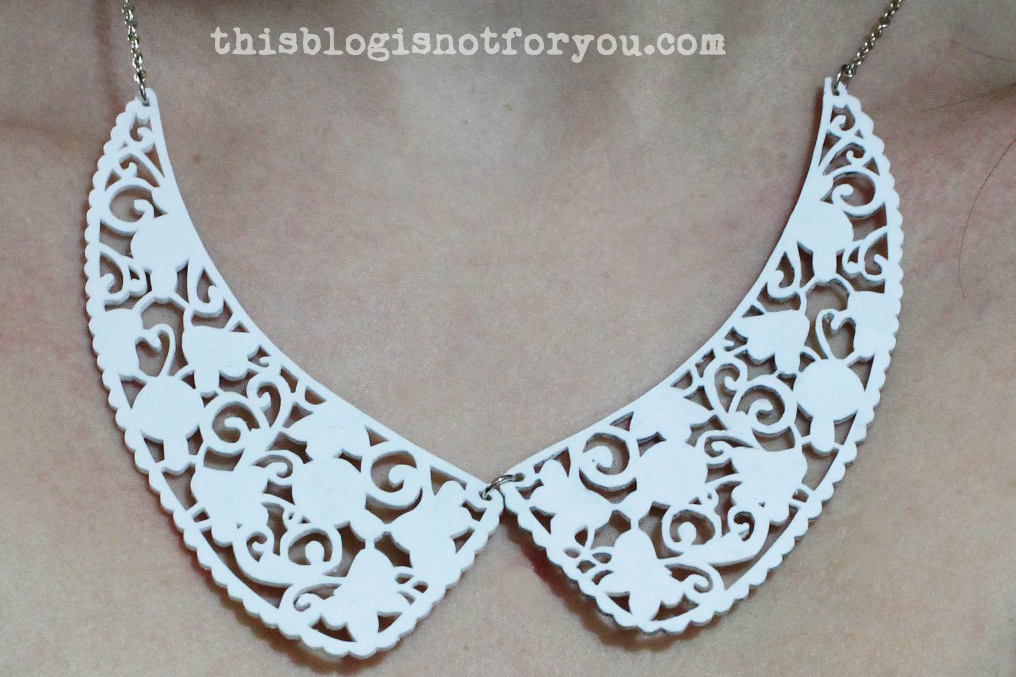 I love this necklace so much, but it was a whole lot of work. Cutting out the collar pieces was the hardest part and my fingers hurt so much, but it was totally worth it (and I saved 34 €).