Lottie Blouse for Grandma
I’ve done it again! I thought I wouldn’t but then it happened. I made another Lottie Blouse. Gosh, you must think I’m super boring. To my defense, it’s just such a simple and quick sewing project. And, this time it wasn’t for me. I made this blouse for my grandmother.
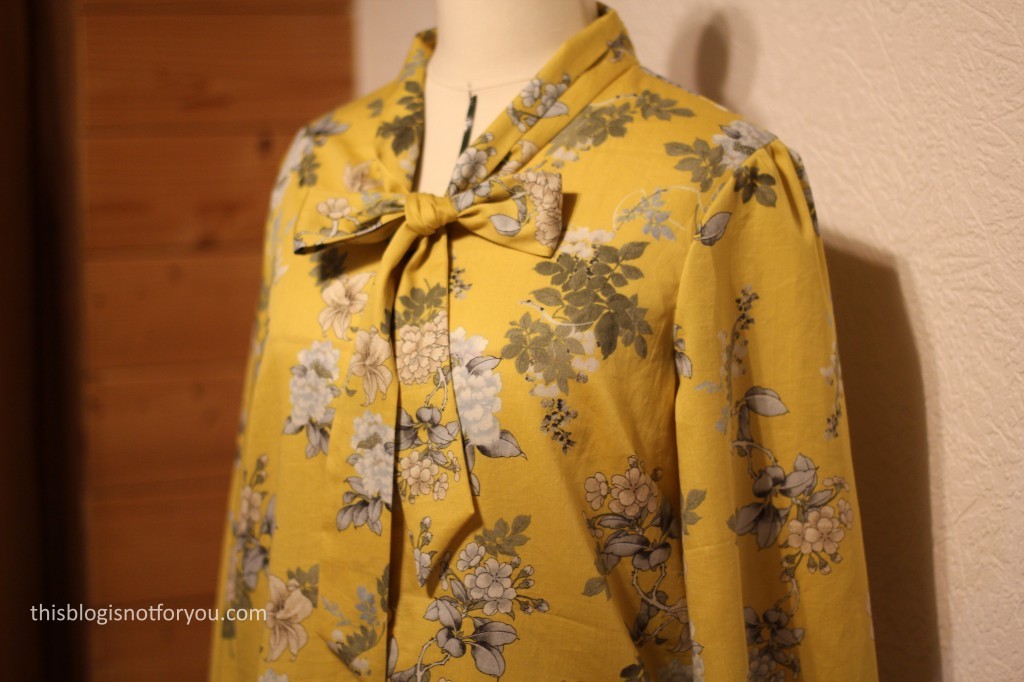
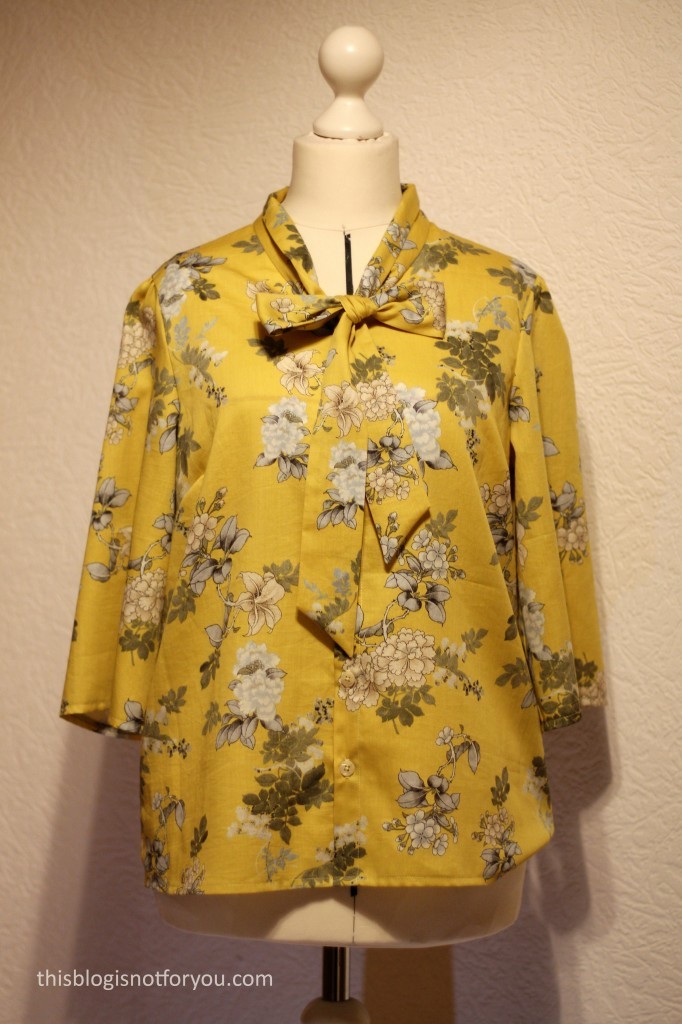
I never made her anything before (makes for family and friends happen, but very rarely) and I think she likes it! I made another version of the button up, which is the hack I created for Love Sewing Magazine. 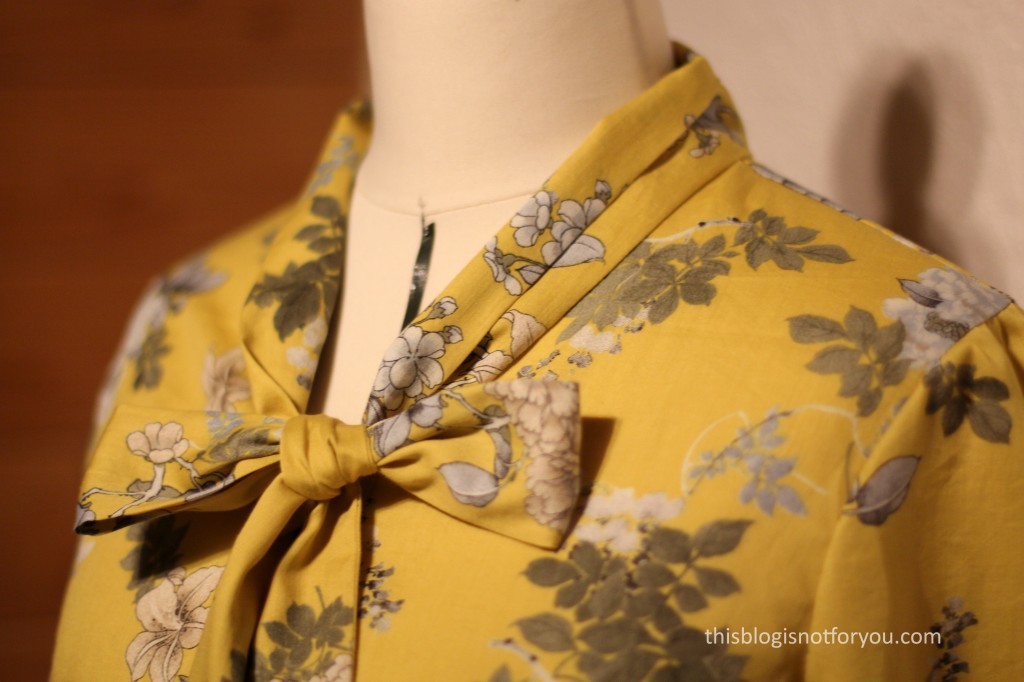
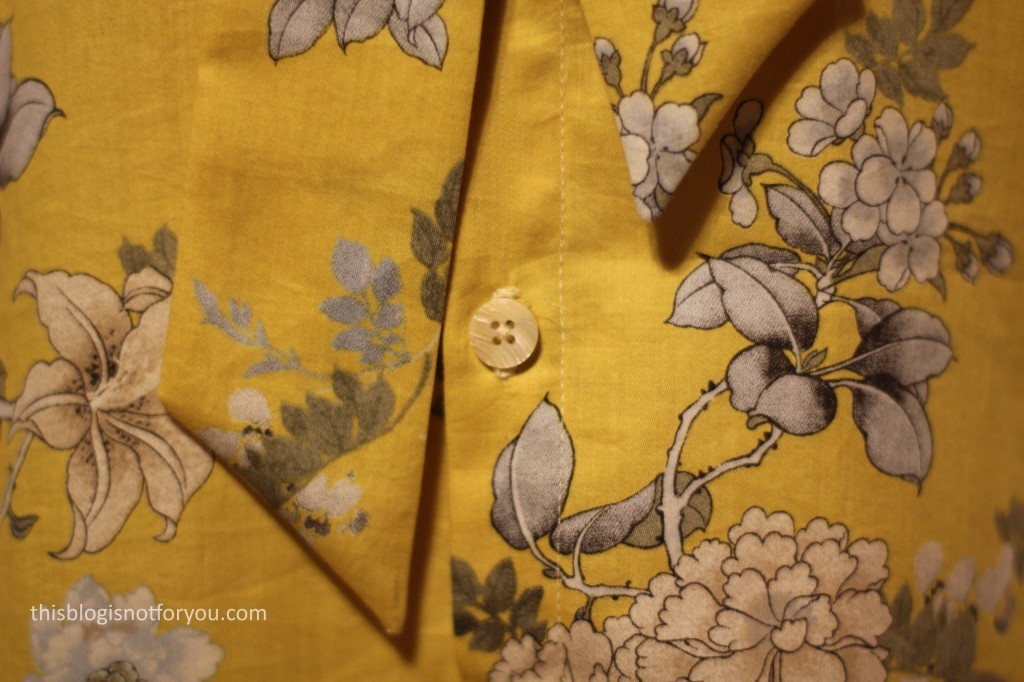
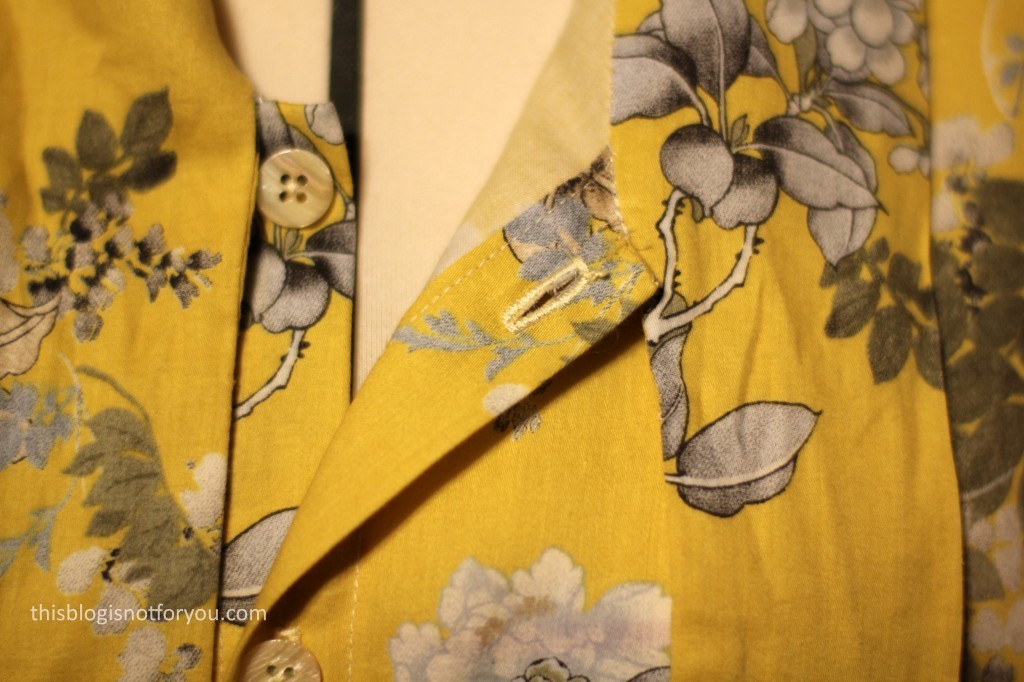
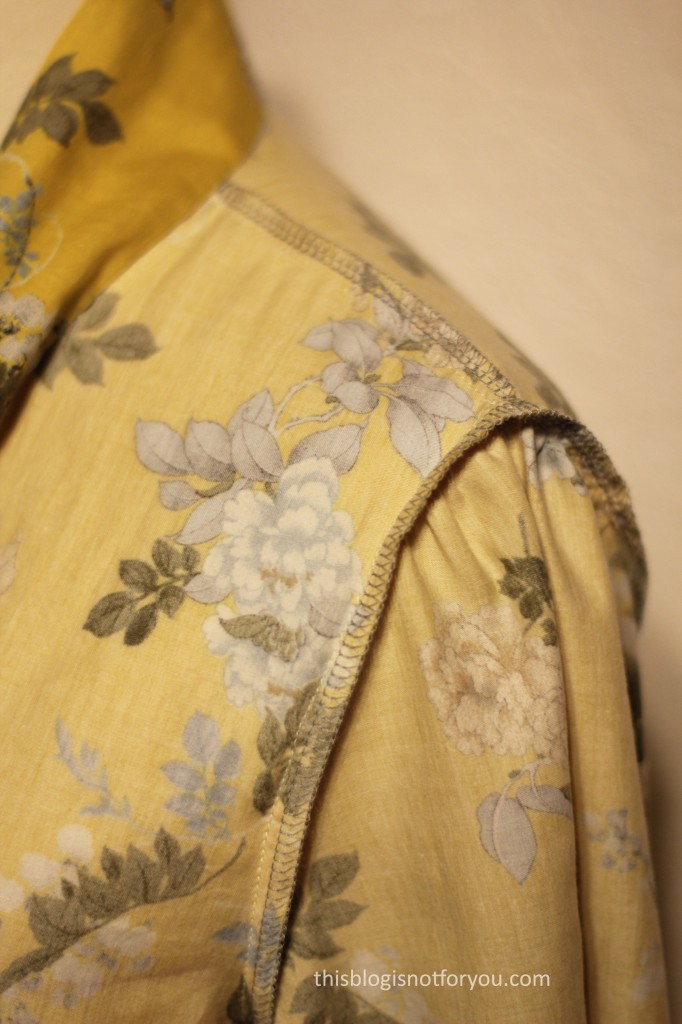
Because the pattern is so simple and easy to fit, I really enjoy taking time to get the details right. The construction involves a tiny bit of handsewing and also the button placket needs a bit of attention if you want it to look flawless.
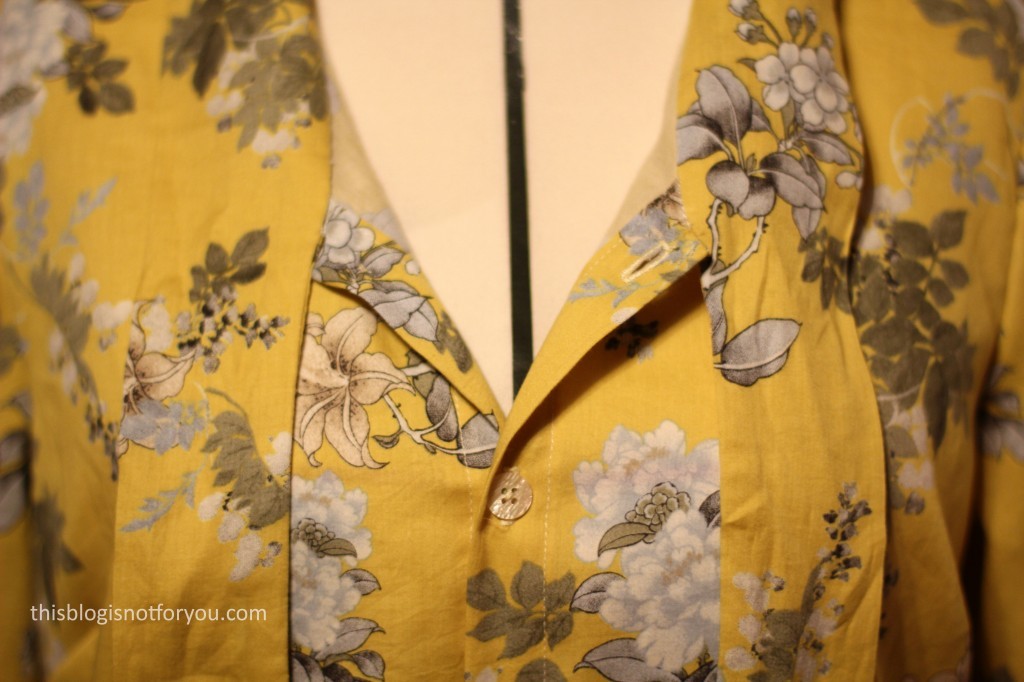
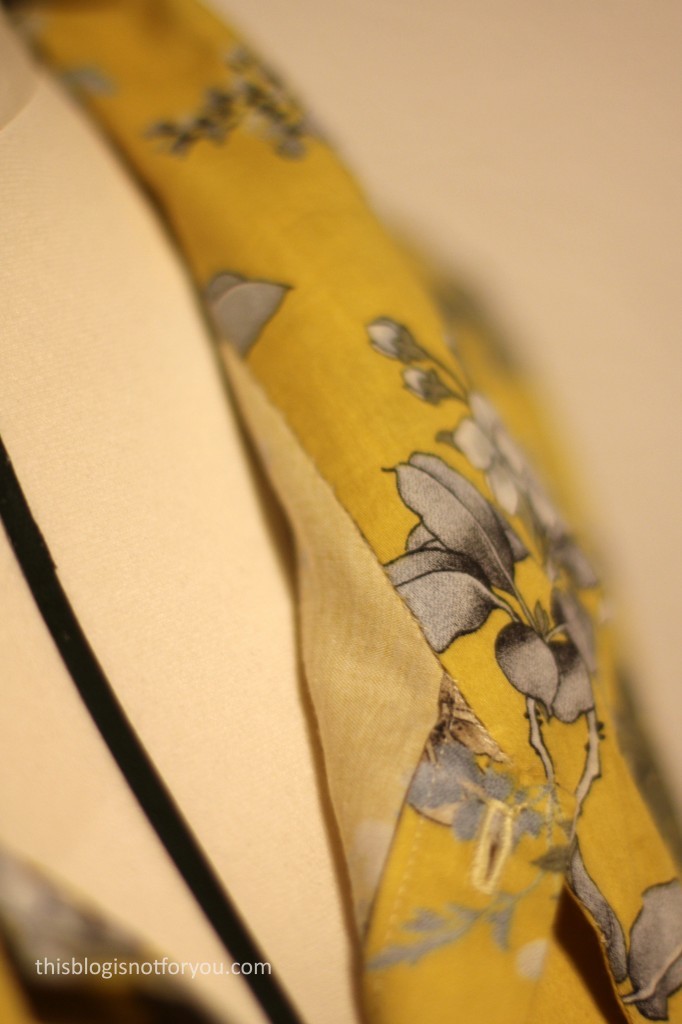
The fabric is a gorgeous cotton lawn, gifted to me by Daniela. I really love it, although I usually don’t wear a lot of yellow. I also would’ve loved to keep this fabric to myself for an Anderson Blouse, but this was the fabric most fitting for my grandma, as she likes flowers and a warm yellow. I’m happy I sacrificed it, the blouse looks fab and I can’t wait to see her wear it. Although I don’t sew a lot for others, it’s always super satisfying to see someone else wear something you made, right?
The buttons are vintage, funnily enough I got them from my grandma a little while ago. So I’ve given them back to her with a blouse attached. Payback time!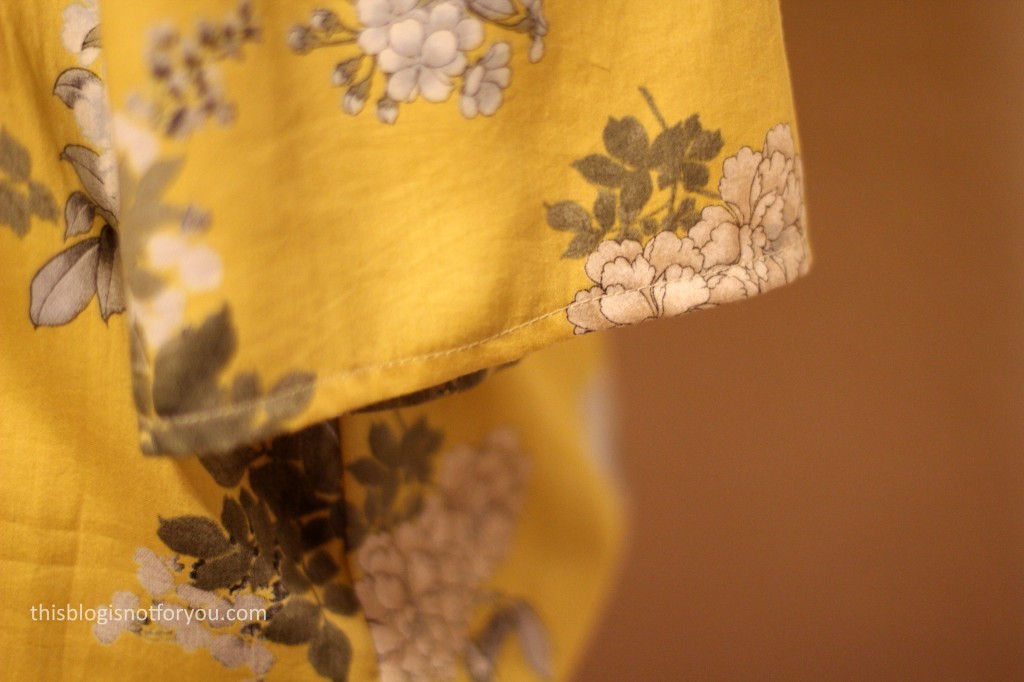

I won’t answer the “Will I make it again?” question, because I can’t promise I won’t. I have plenty of Lotties for now, but who knows. I think this might be the 8th Lottie I made. Wow.
Do you have a sewing pattern which you use all the time?
xx
Charlie
Happy sewing!
♥
facebook/bloglovin/pinterest
twitter/instagram
Stay in touch!
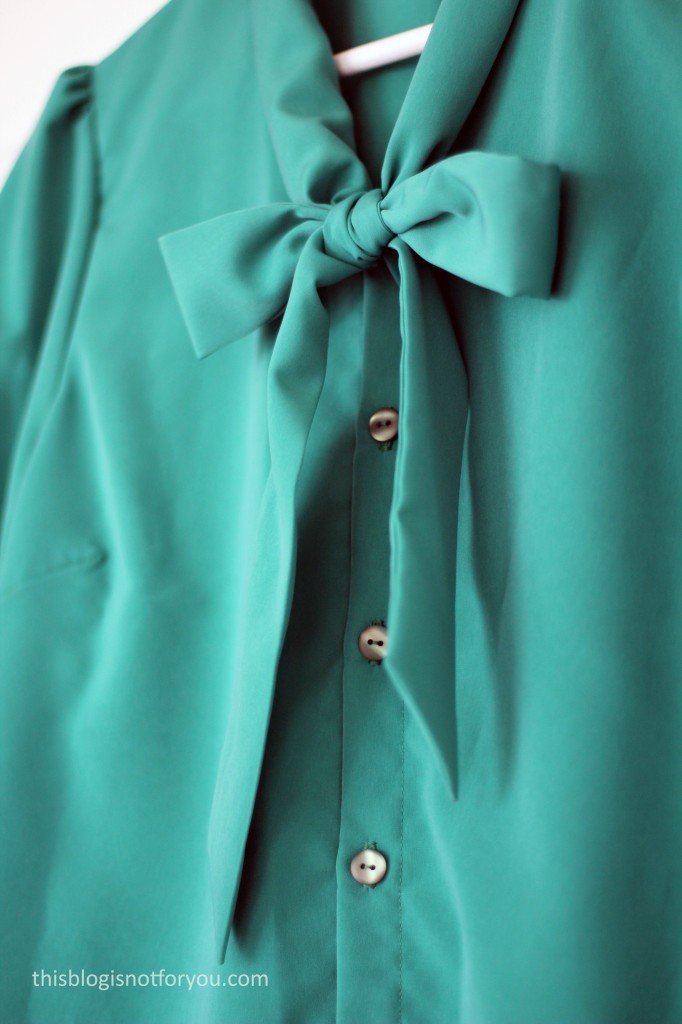
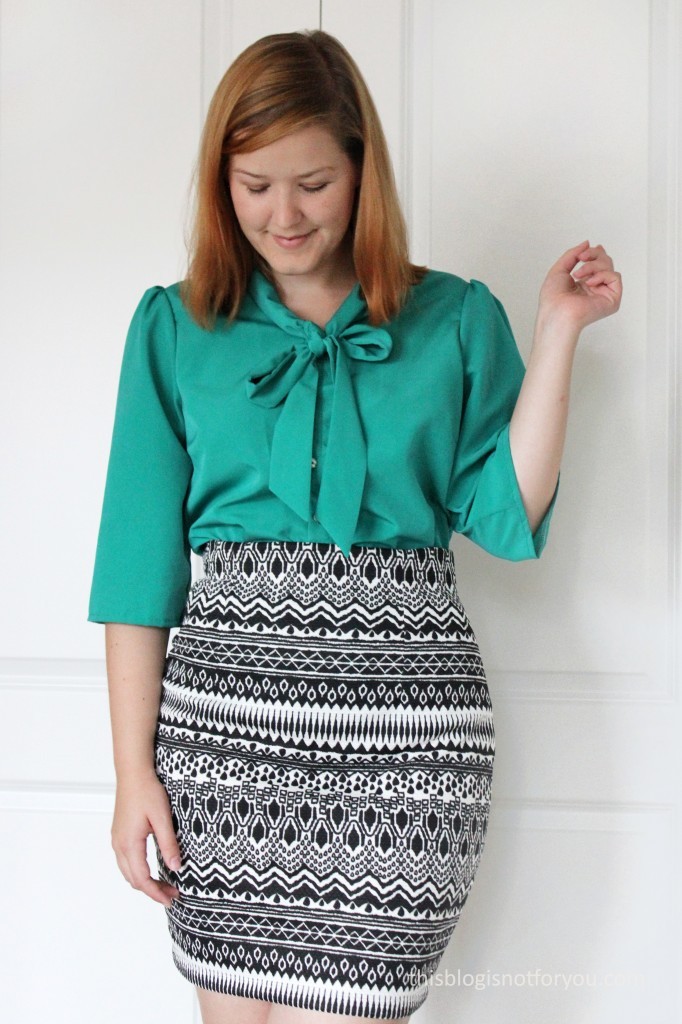


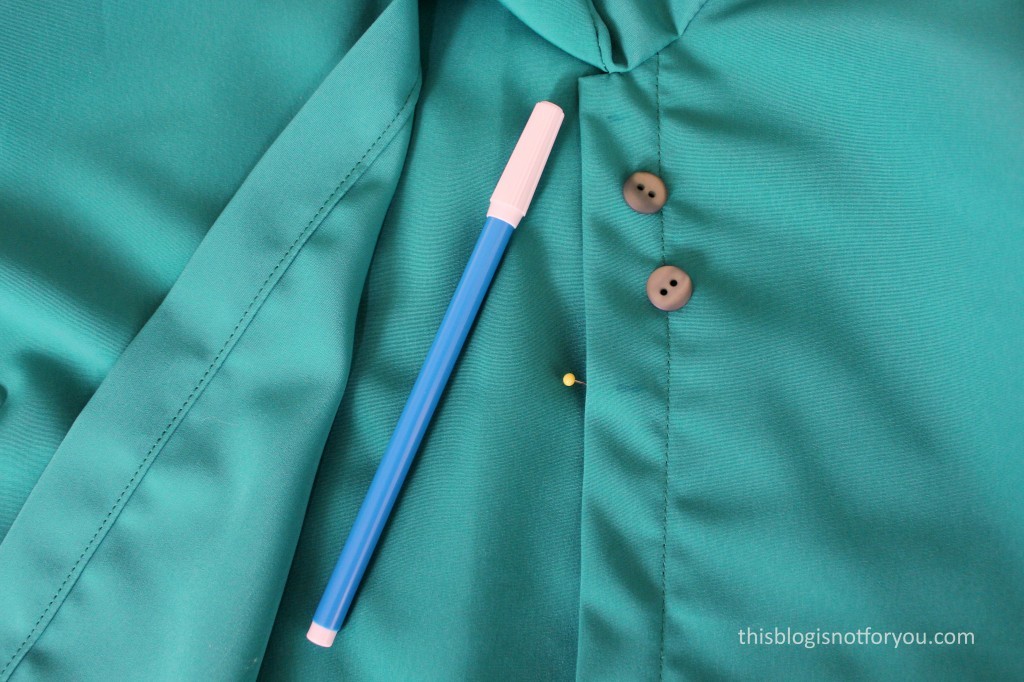
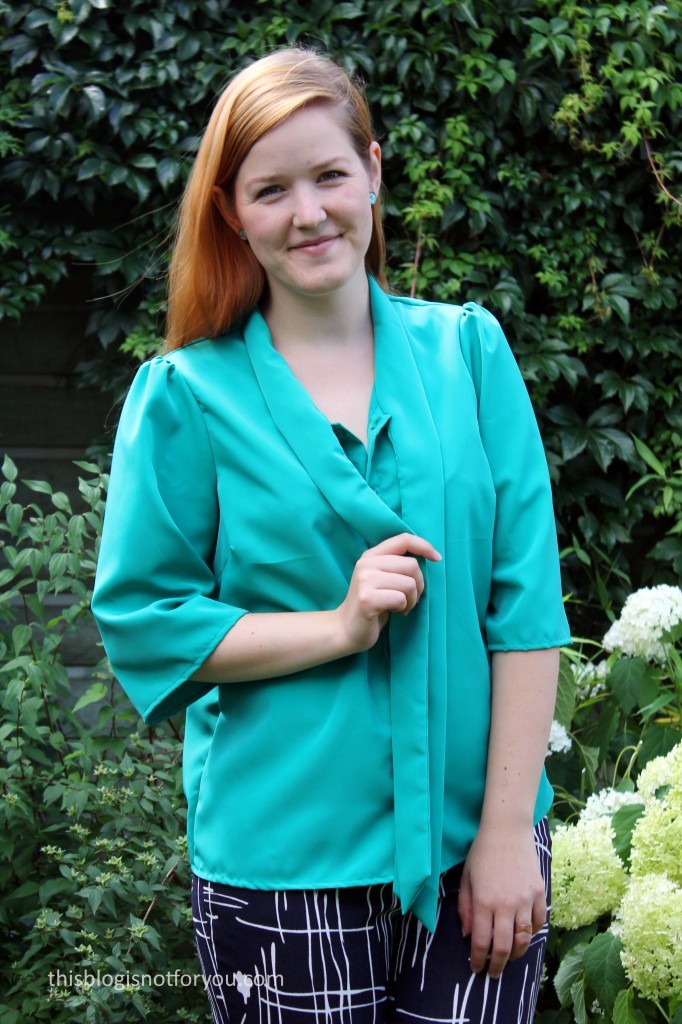
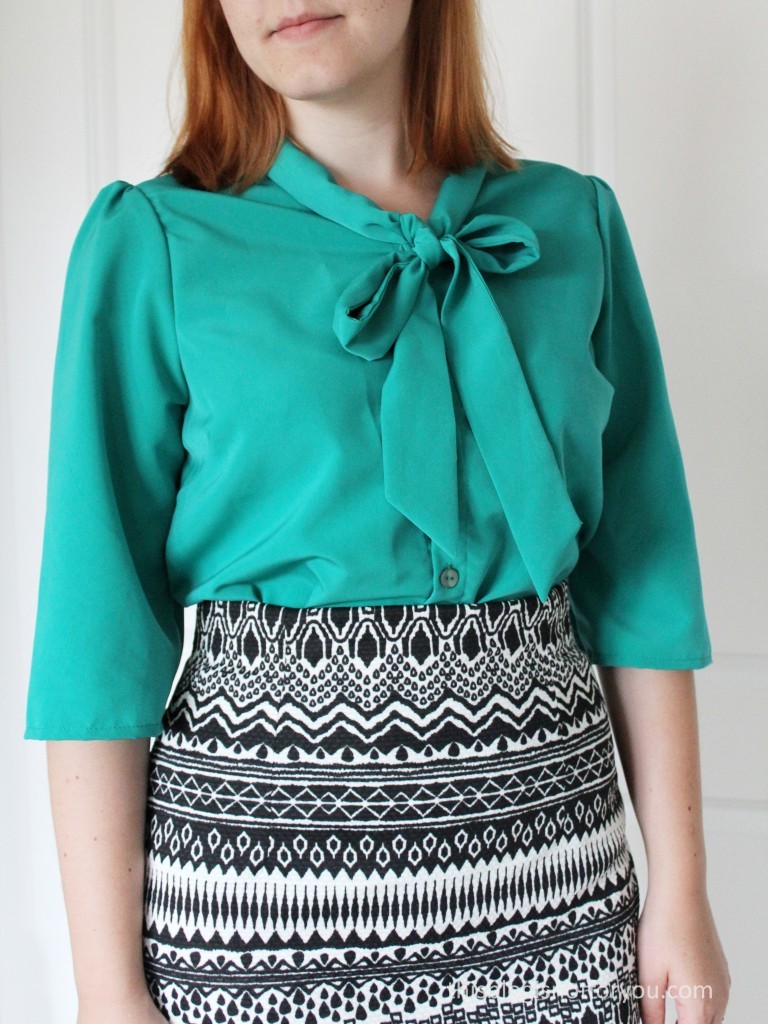


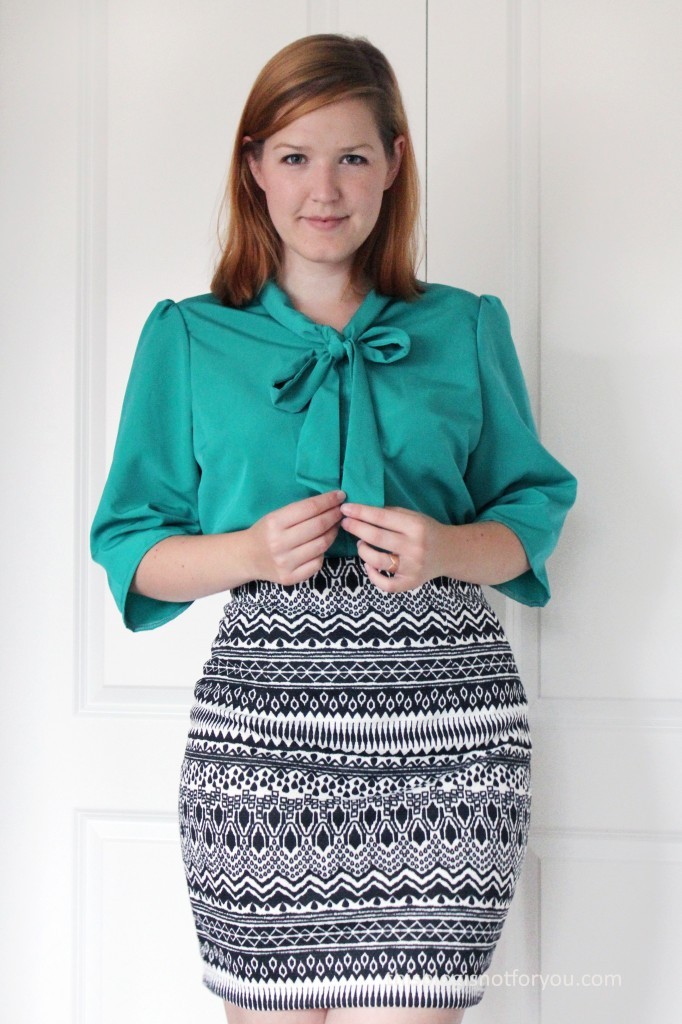
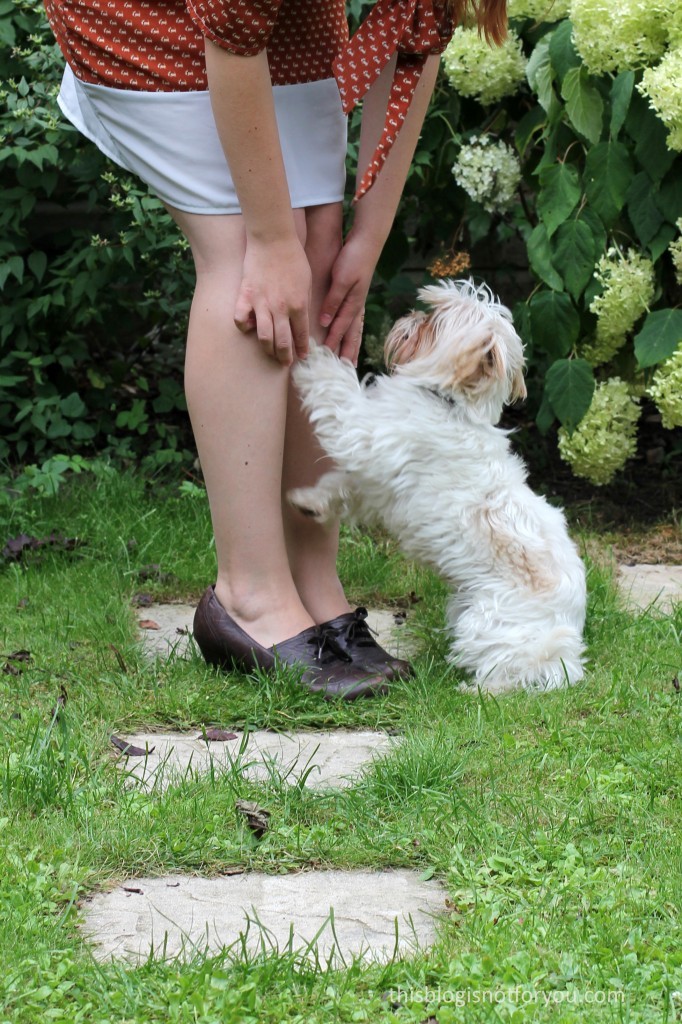
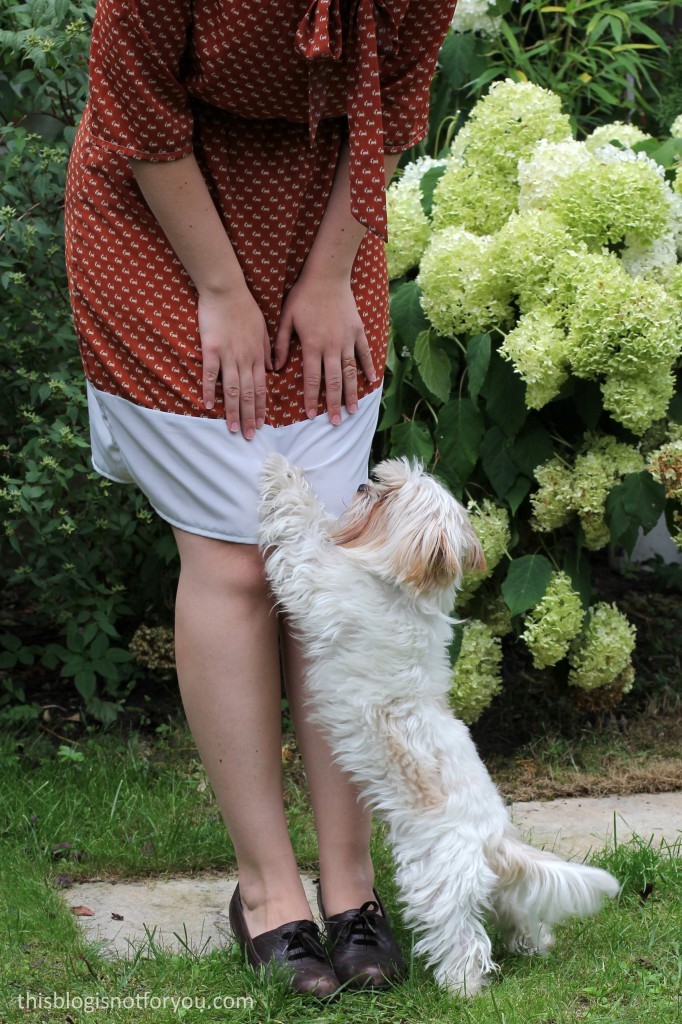
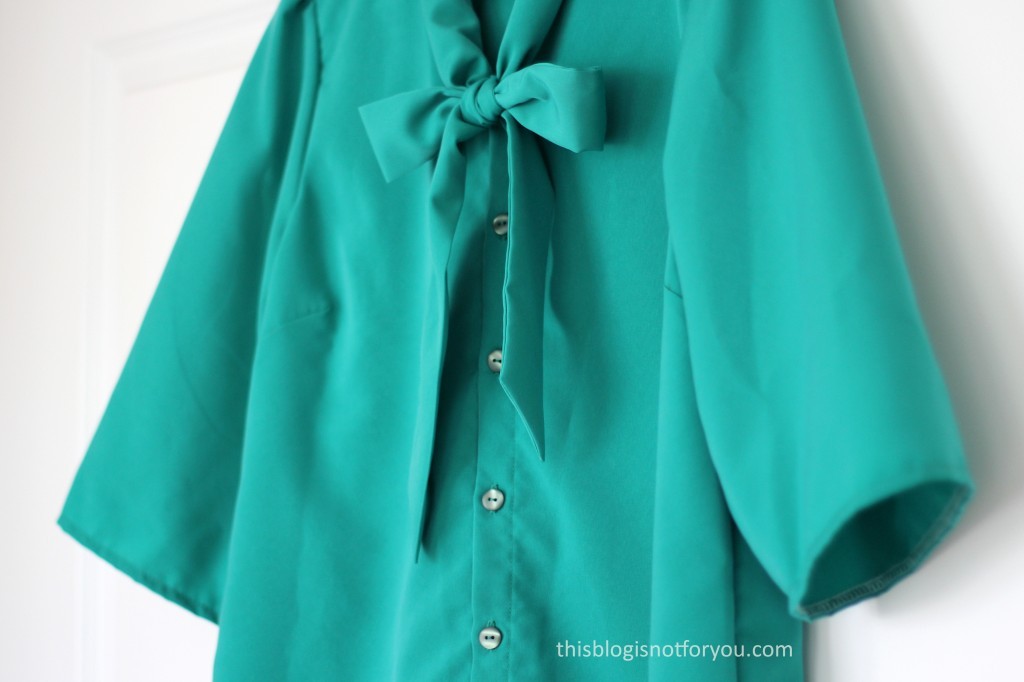 Photo-bombing dog!


 The Pattern:
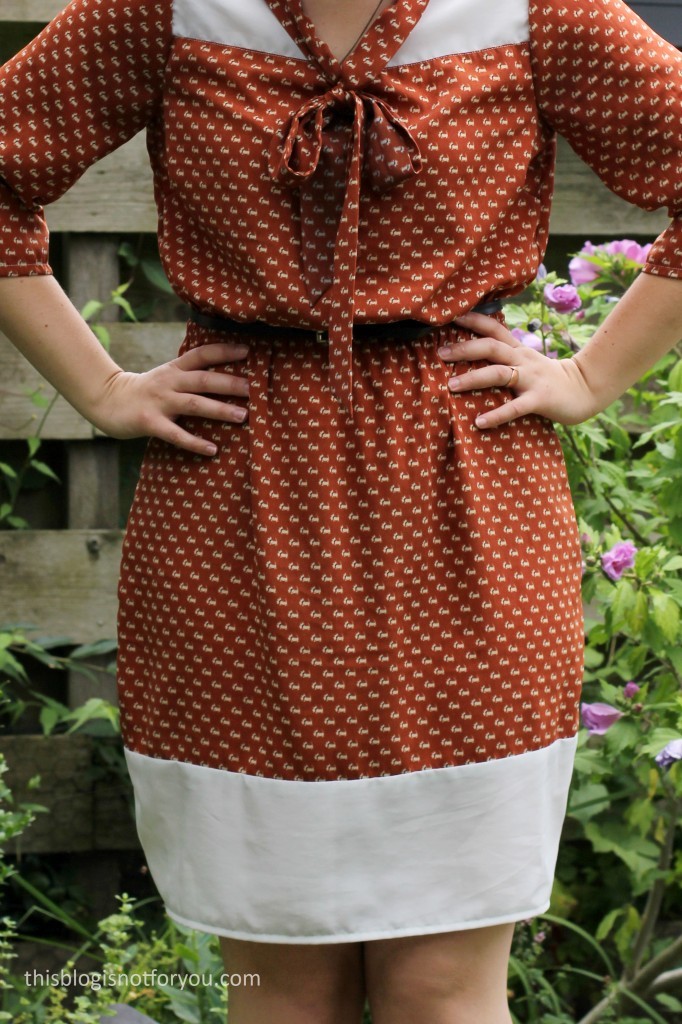

 Hello dear sewing-lovers! Today I’m sharing

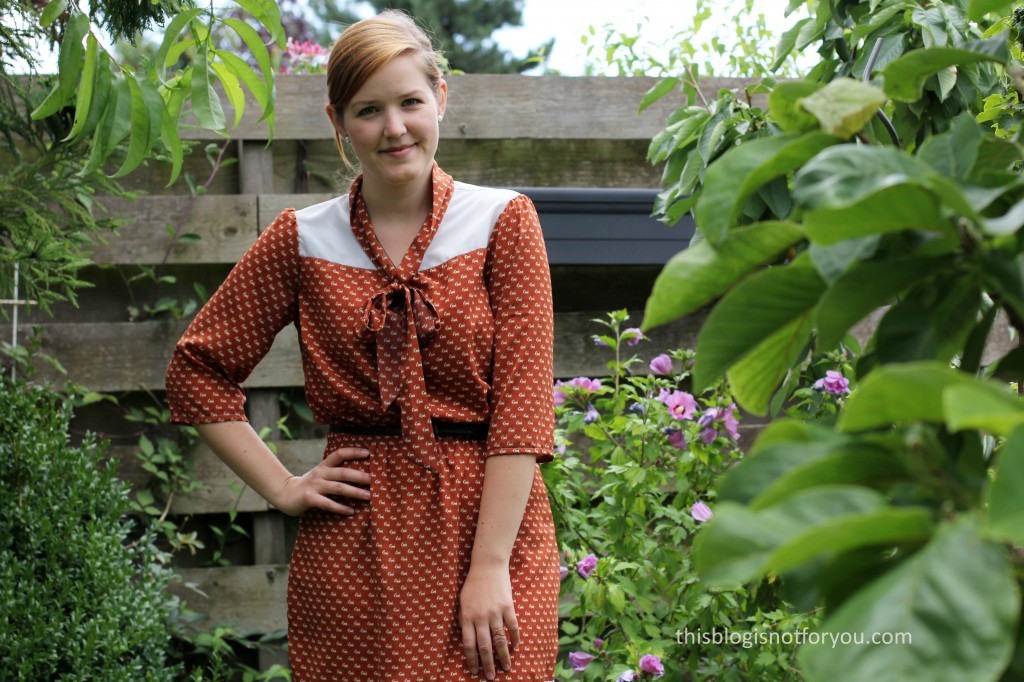
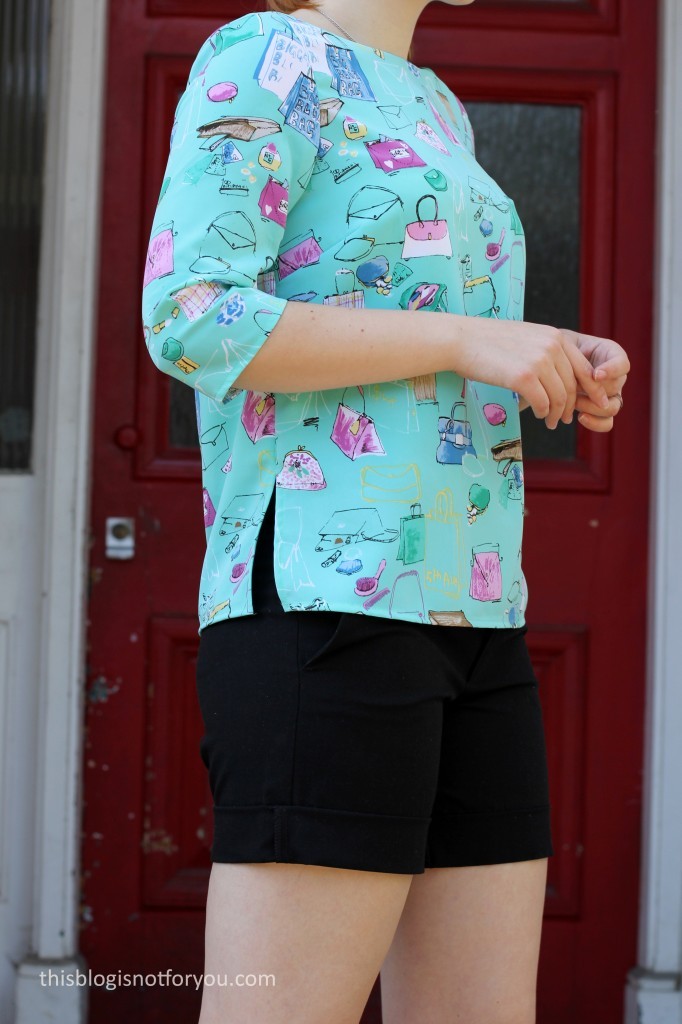
 I stitched the side seams up to approx. 15cm from the hem. I then pressed the seams open. The seam allowance is kept in place by topstitching 5mm from the edge, starting at the hem. I stitched up to the point where the side seam stitching starts, then stitching at an 45° angle, first up, then down again, forming a little triangle shape at the top of the slit.
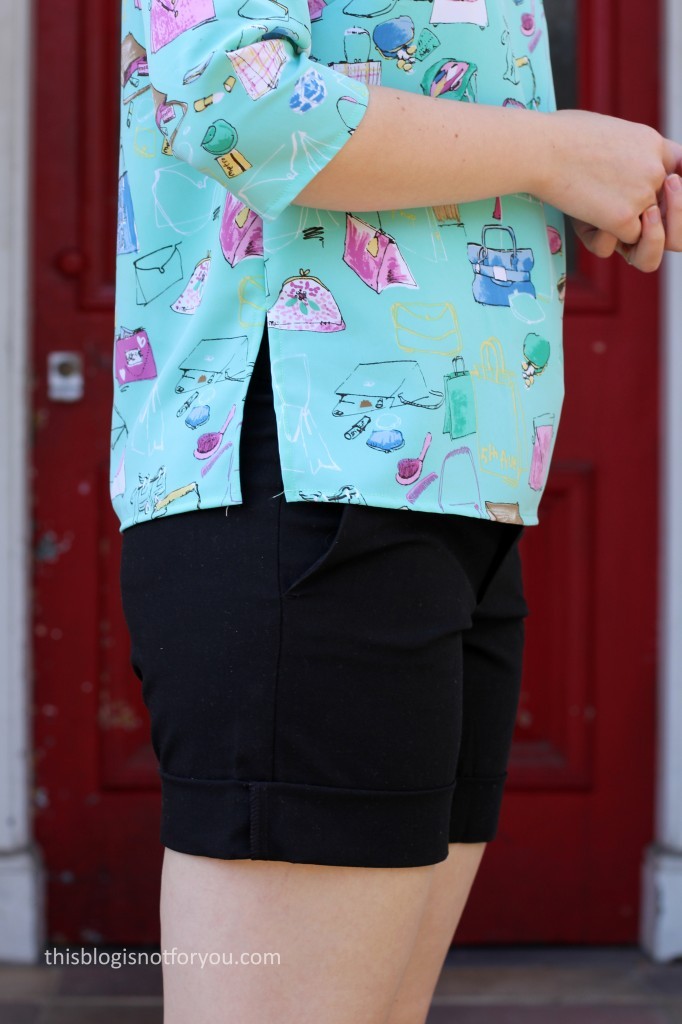
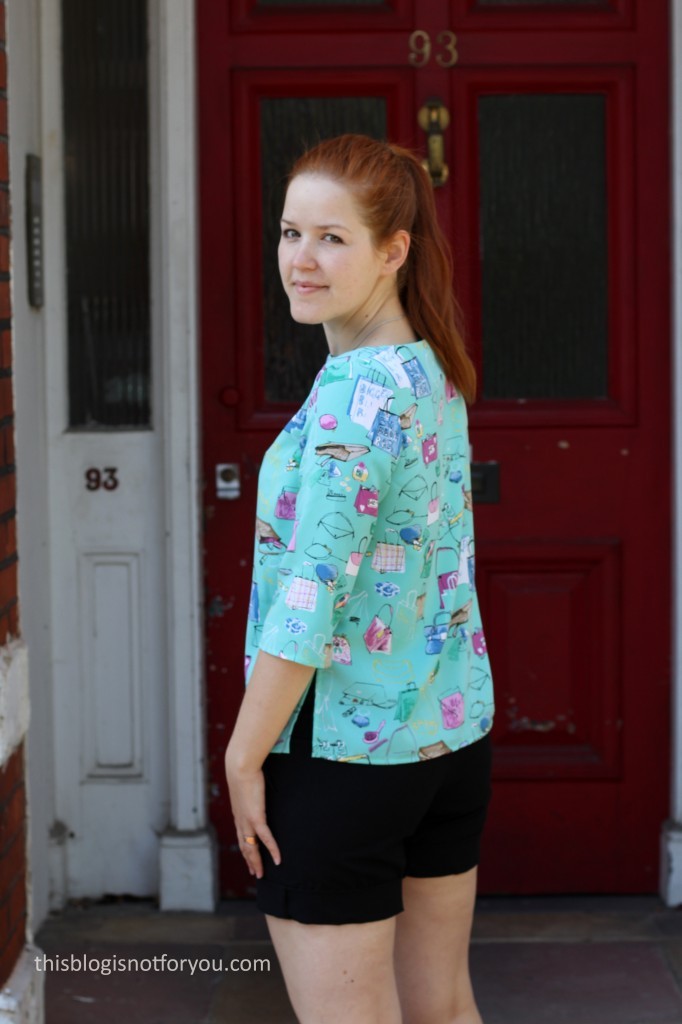
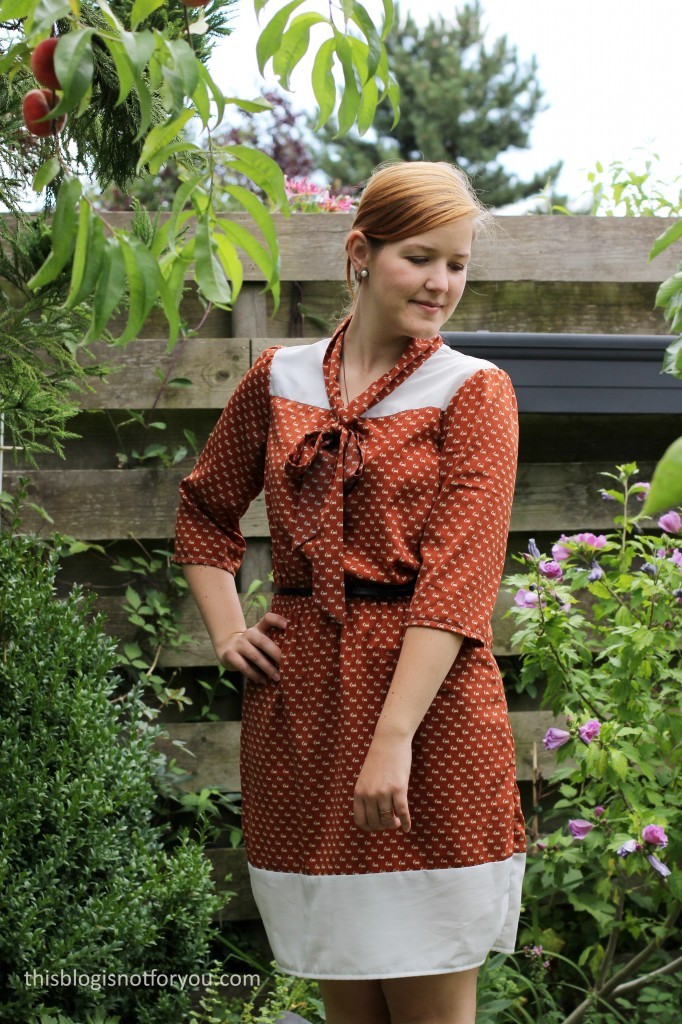
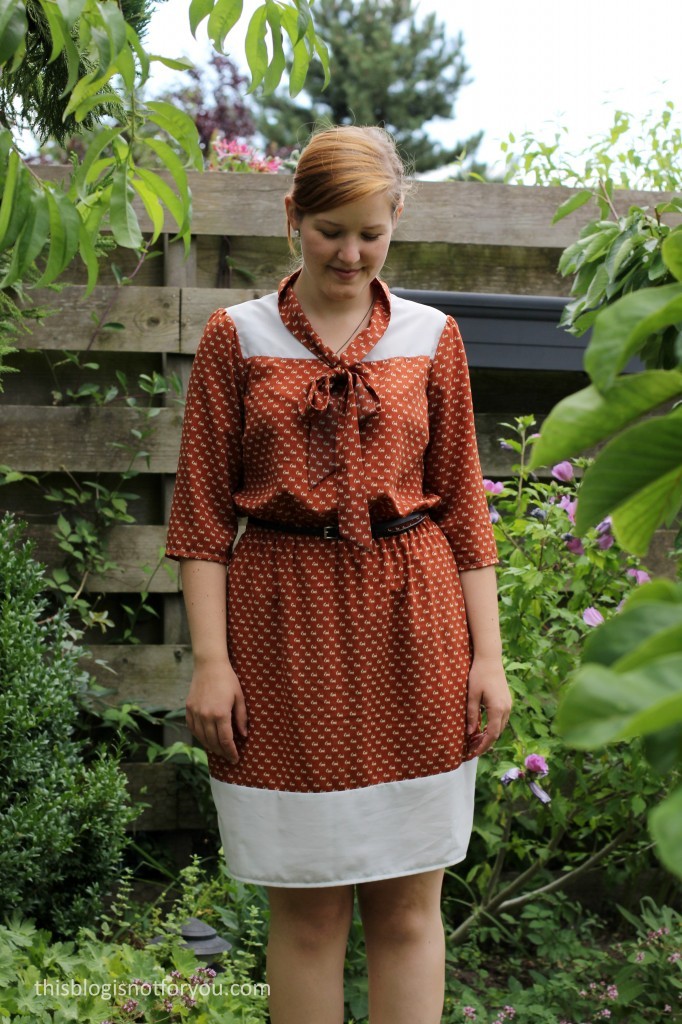
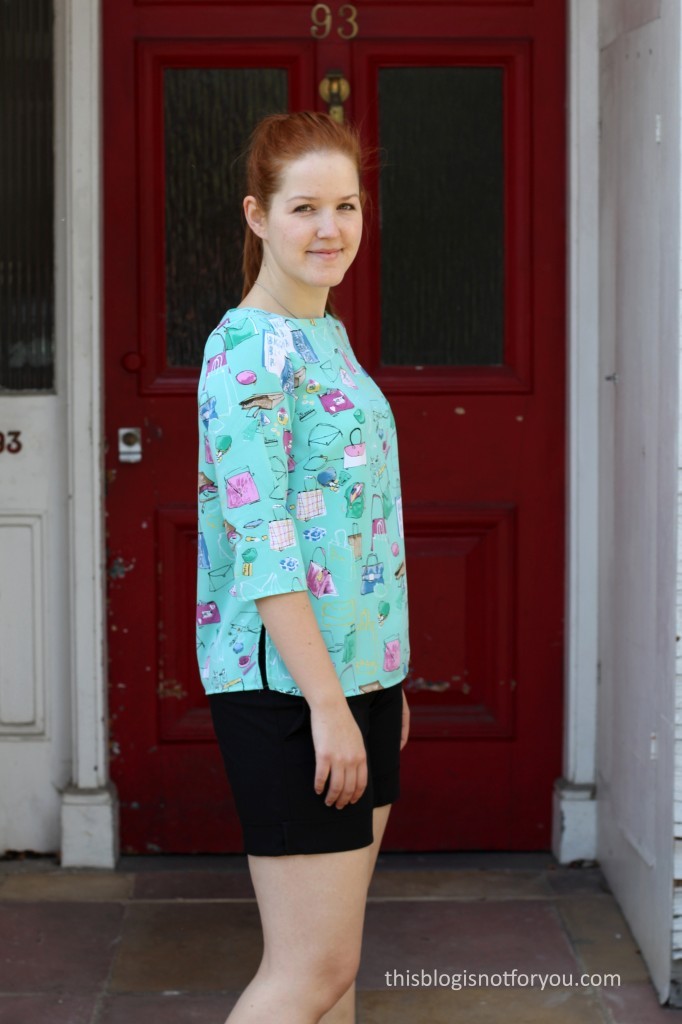
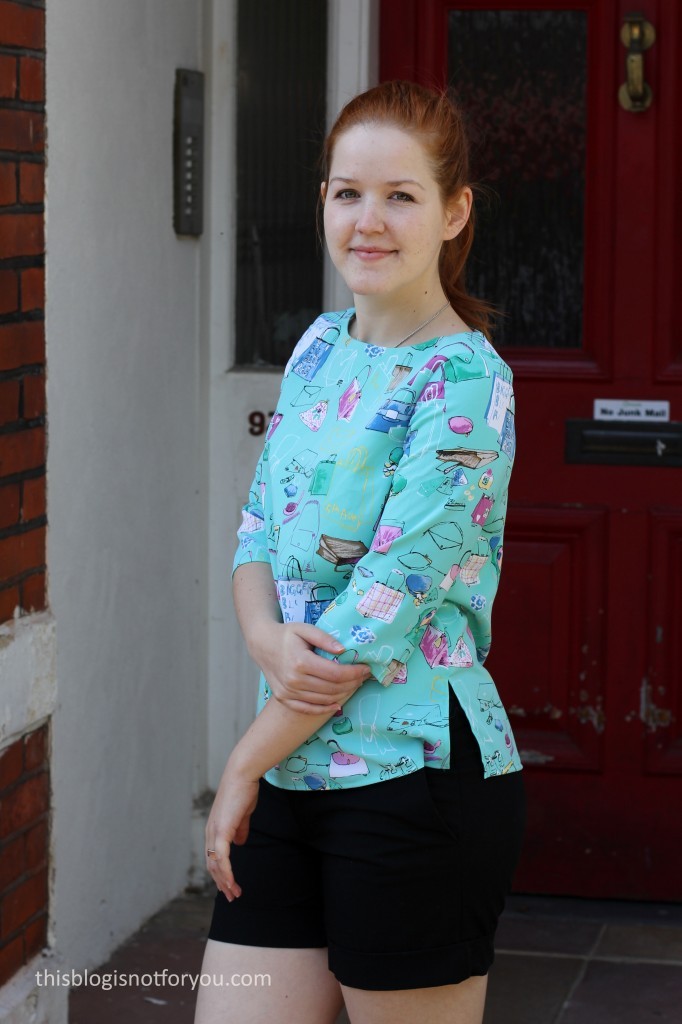
 To be honest, I’m not quite as happy with this make as I hoped to be. First, the fabric. I have 3m of this polyester blend, which I got for almost nothing at a charity shop. The quality is really nice and I saved it up for ages. I finally decided that I had enough to make a top and still have enough left for a dress. Looking at the top now, the fabric choice wasn’t the best. I just really don’t like the print on it. It would’ve looked better on a dress I guess. I might use the rest of this fabric for the
  Well, it’s good enough to wear at home in the garden and I have learned my lesson!