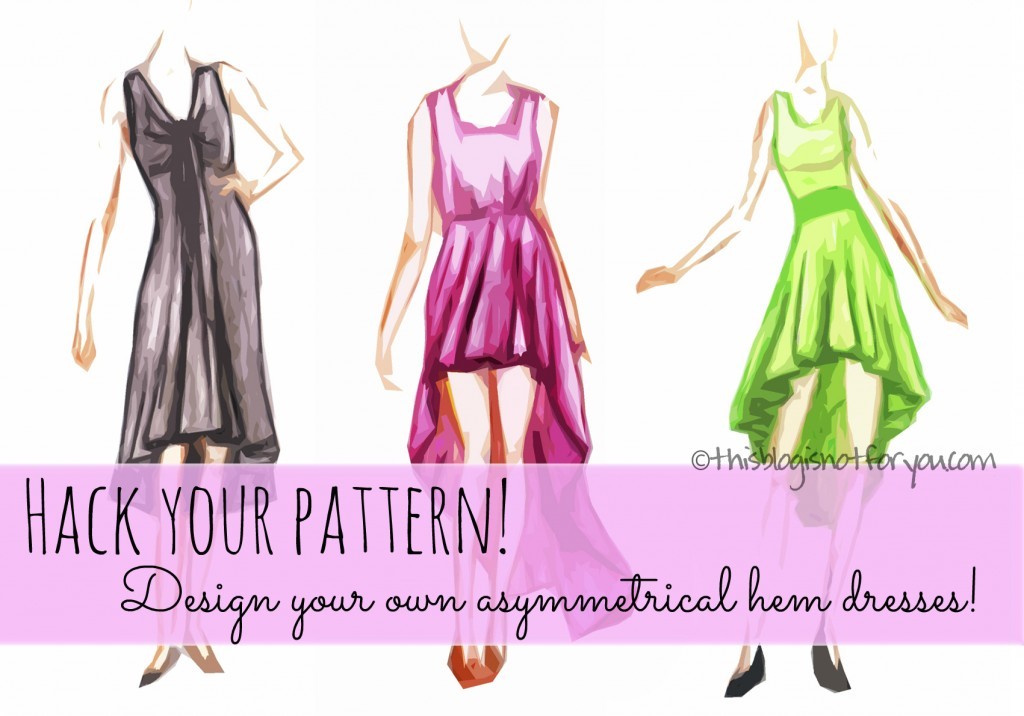
Another Lottie Blouse Hack – A simple 3/4 sleeve top!
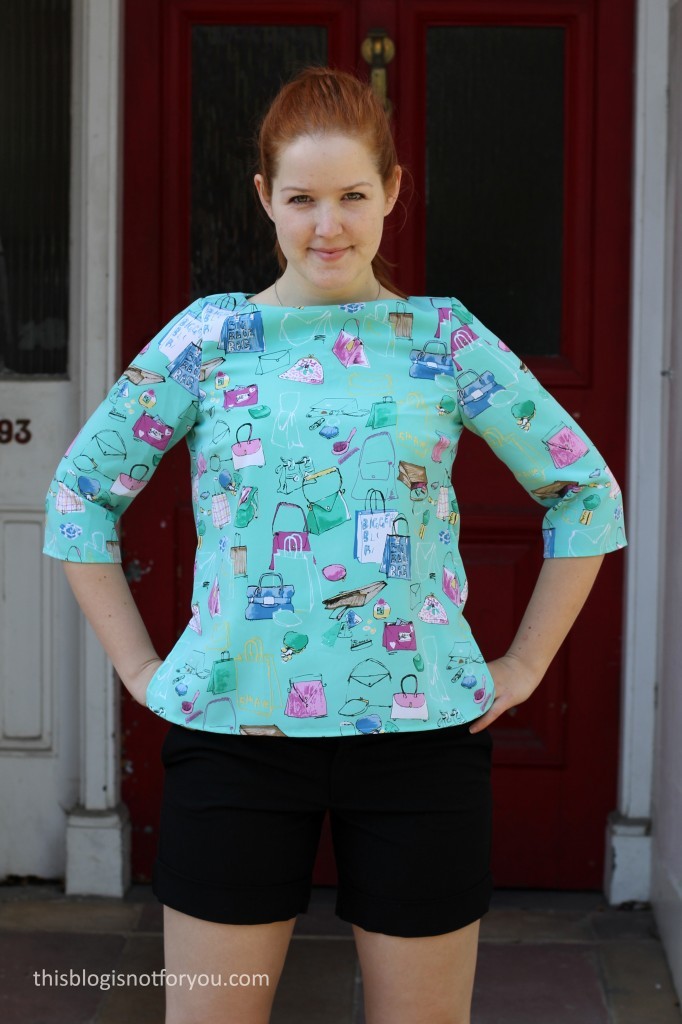
 Hello dear sewing-lovers! Today I’m sharing another Lottie Blouse hack. The original Lottie Blouse pattern comes with puff sleeves and a pussy bow & keyhole neckline.
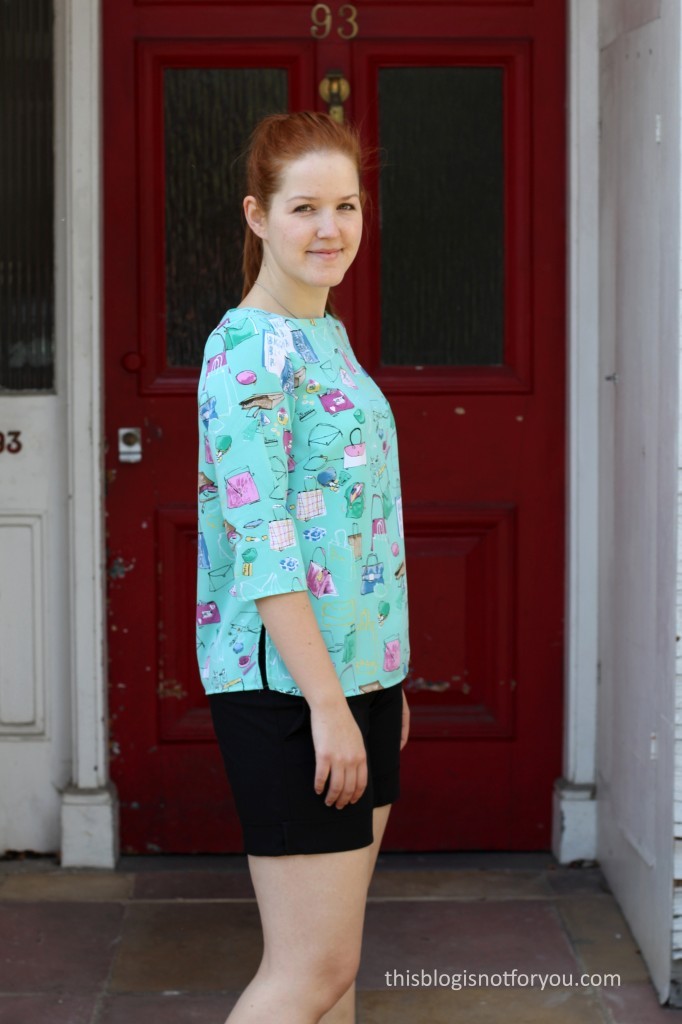
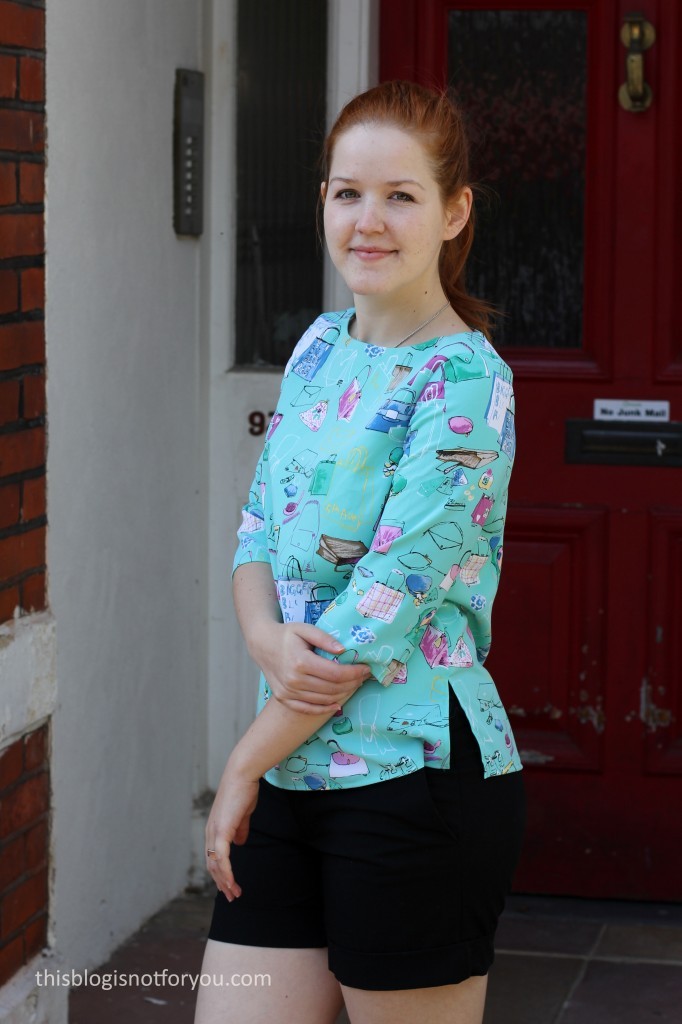
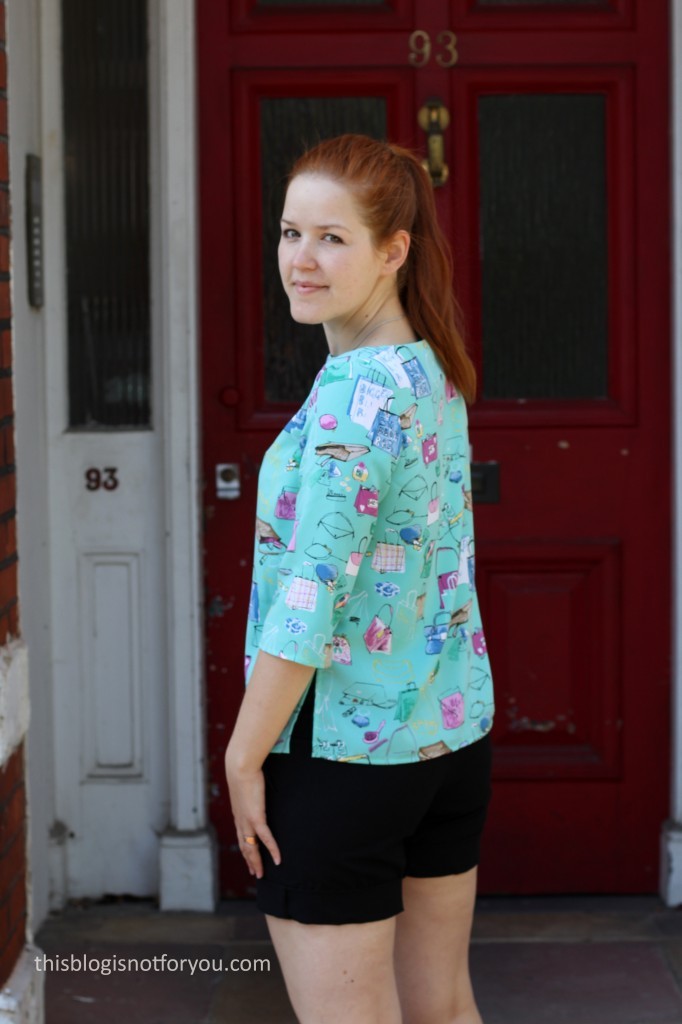
I wanted to make a simple 3/4-sleeve top to show off the busy print of this very girly bag fabric. I like the Lottie Blouse pattern (Simple Sews) and have made 3 variations already. The pattern was included in Love Sewing magazine last year.
Pattern alterations:
– slimming down the sleeves by removing the gathering at the top
– removing the keyhole and bow
– raising the neckline and adding a facing
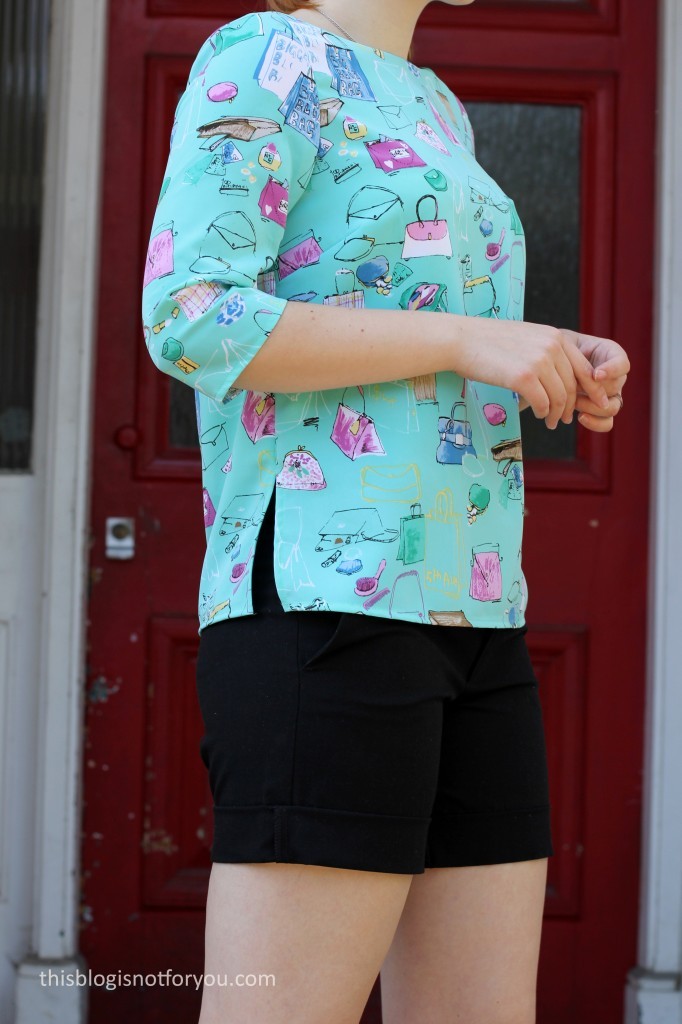
– adding 15cm slits at the lower side seam (inspired by a Boden top)

I didn’t follow the original instructions. The Lottie Blouse doesn’t use the set-in-sleeve technique and the sleeves are sewn in flat. This makes the gathering at the puff sleeves quite easy and generally I like using this technique for knit fabrics. As I changed the sleeves, I used the standard set-in-sleeve method to get the ease right at the sleeve cap.
The neckline facing is understitched and attached to the shoulder seam allowance with a couple of hand stitches.
I finished all seams with my overlocker. The sleeves and hem edges are all machine stitched – overlocked and turned in once and kept in place with topstitching approx. 5mm from the edge. This gives a nice neat finish and the machine stitching is barely visible.
 I stitched the side seams up to approx. 15cm from the hem. I then pressed the seams open. The seam allowance is kept in place by topstitching 5mm from the edge, starting at the hem. I stitched up to the point where the side seam stitching starts, then stitching at an 45° angle, first up, then down again, forming a little triangle shape at the top of the slit.
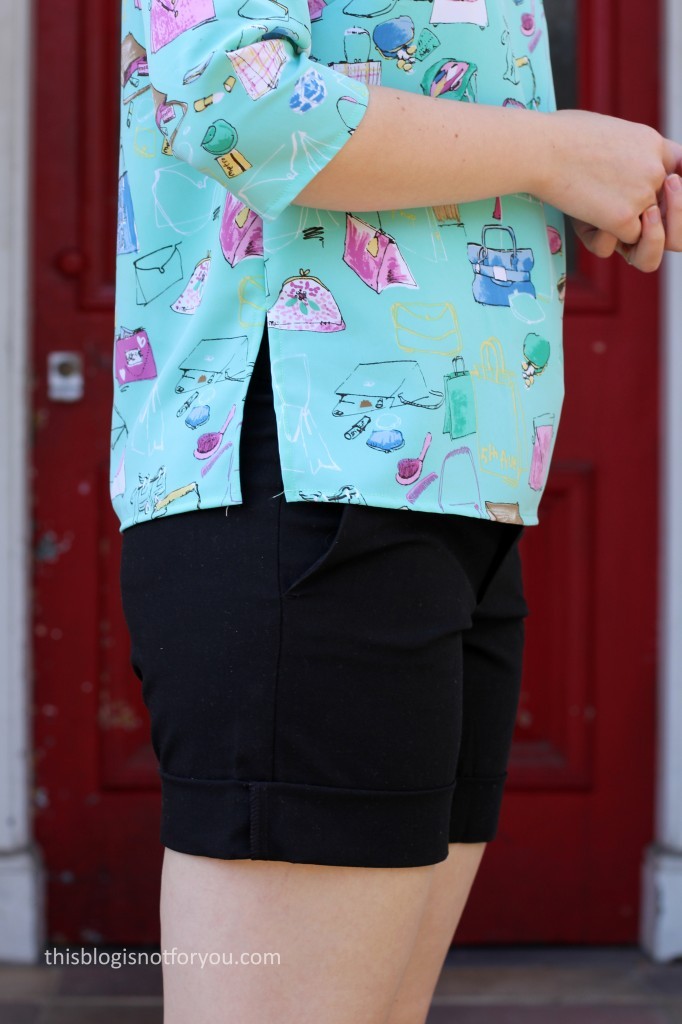
 To be honest, I’m not quite as happy with this make as I hoped to be. First, the fabric. I have 3m of this polyester blend, which I got for almost nothing at a charity shop. The quality is really nice and I saved it up for ages. I finally decided that I had enough to make a top and still have enough left for a dress. Looking at the top now, the fabric choice wasn’t the best. I just really don’t like the print on it. It would’ve looked better on a dress I guess. I might use the rest of this fabric for the Sew Over It Vintage Shirt Dress.
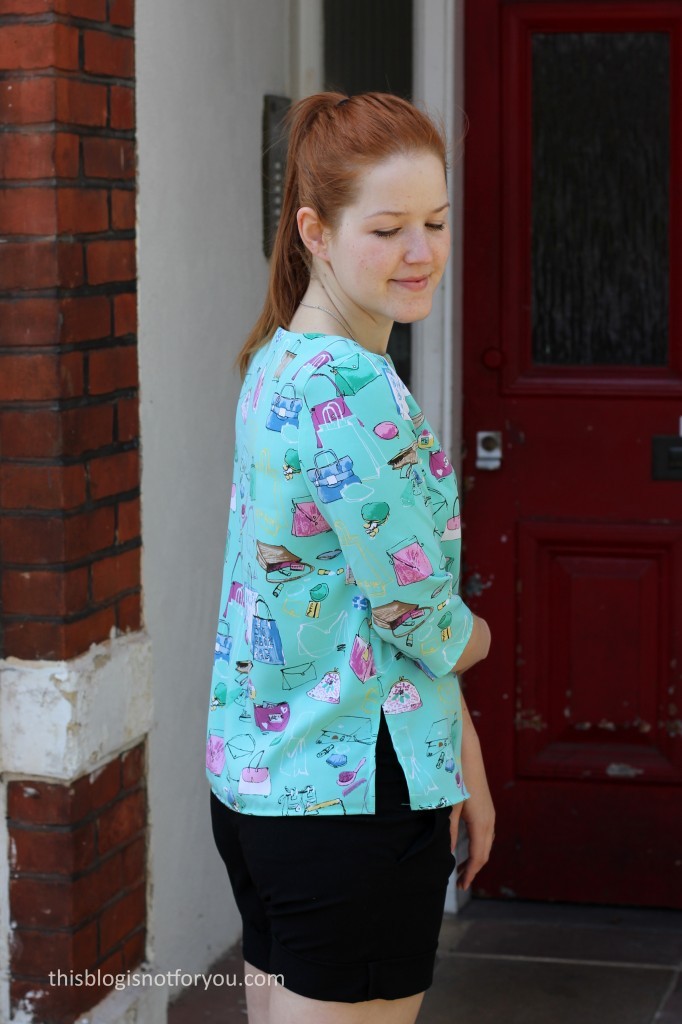
Second, the fit isn’t the best. The Lottie Blouse fits me quite well, but I never realised that it is quite tight across the bust. It now makes sense, because the keyhole always gaped a bit, but this wasn’t much of a problem as it is covered by the pussy bow.
Now that I removed the keyhole and raised the neckline, the top is a bit tight. Furthermore, removing the fullness of the sleeves doesn’t help either. As you can see in the picture below, the top rides up and distorts the neckline when I lift my arms a bit. Meh!
 Well, it’s good enough to wear at home in the garden and I have learned my lesson!
I recently made yet another Lottie hack and hacked the blouse into a dress (pictures coming soon!). Again I removed the keyhole (but kept the bow), but this time I added an extra 3cms across the bust. The fit is so much better now!
What’s your favourite pattern hack? Have you ever been really disappointed after trying something new?
Happy sewing!
♥
facebook/bloglovin/pinterest
twitter/instagram
Stay in touch!
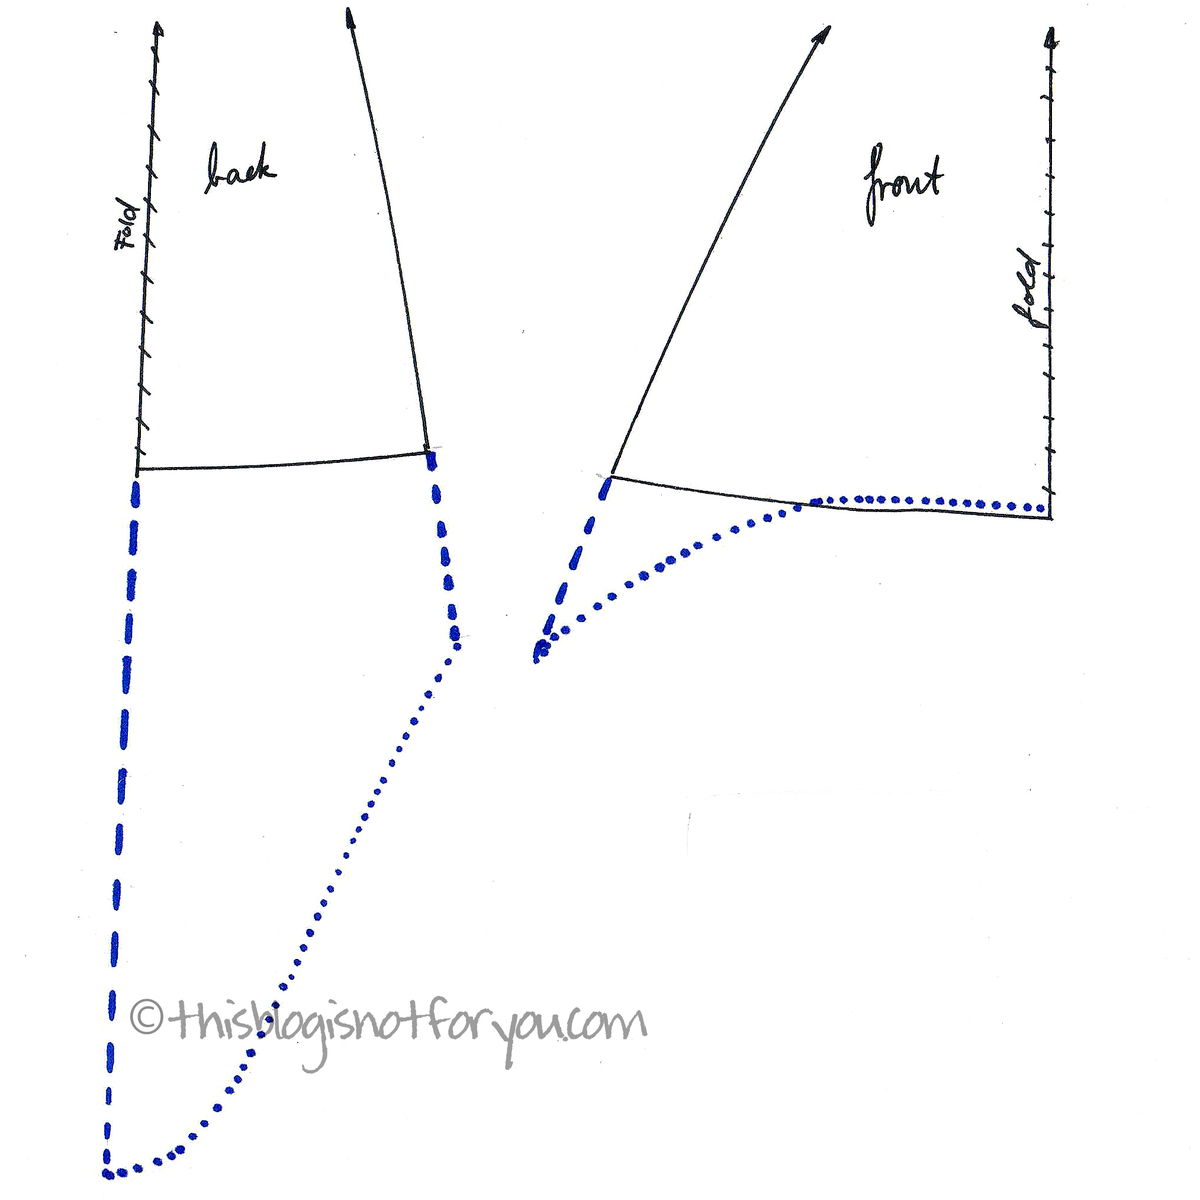
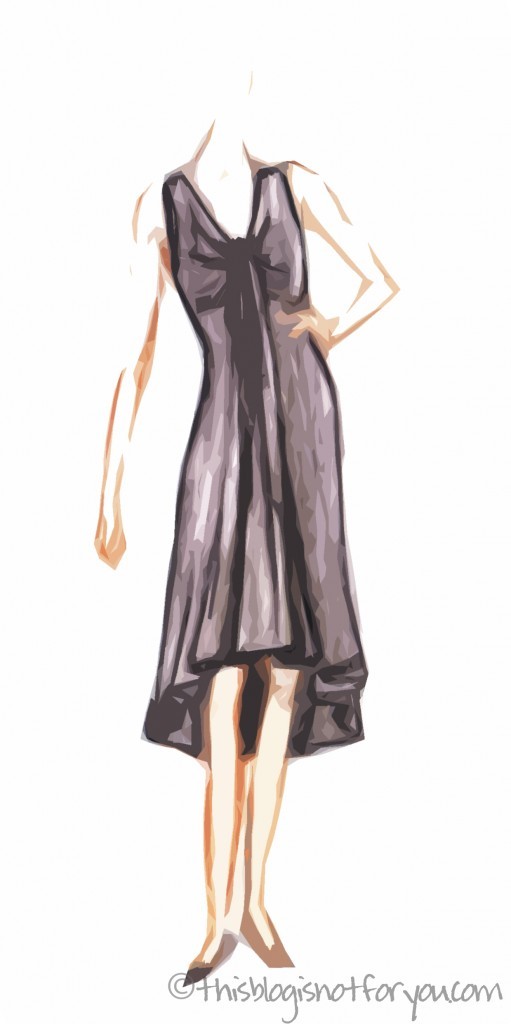 This is a draft of an asymmetrical hem that just about the same as the one of my
 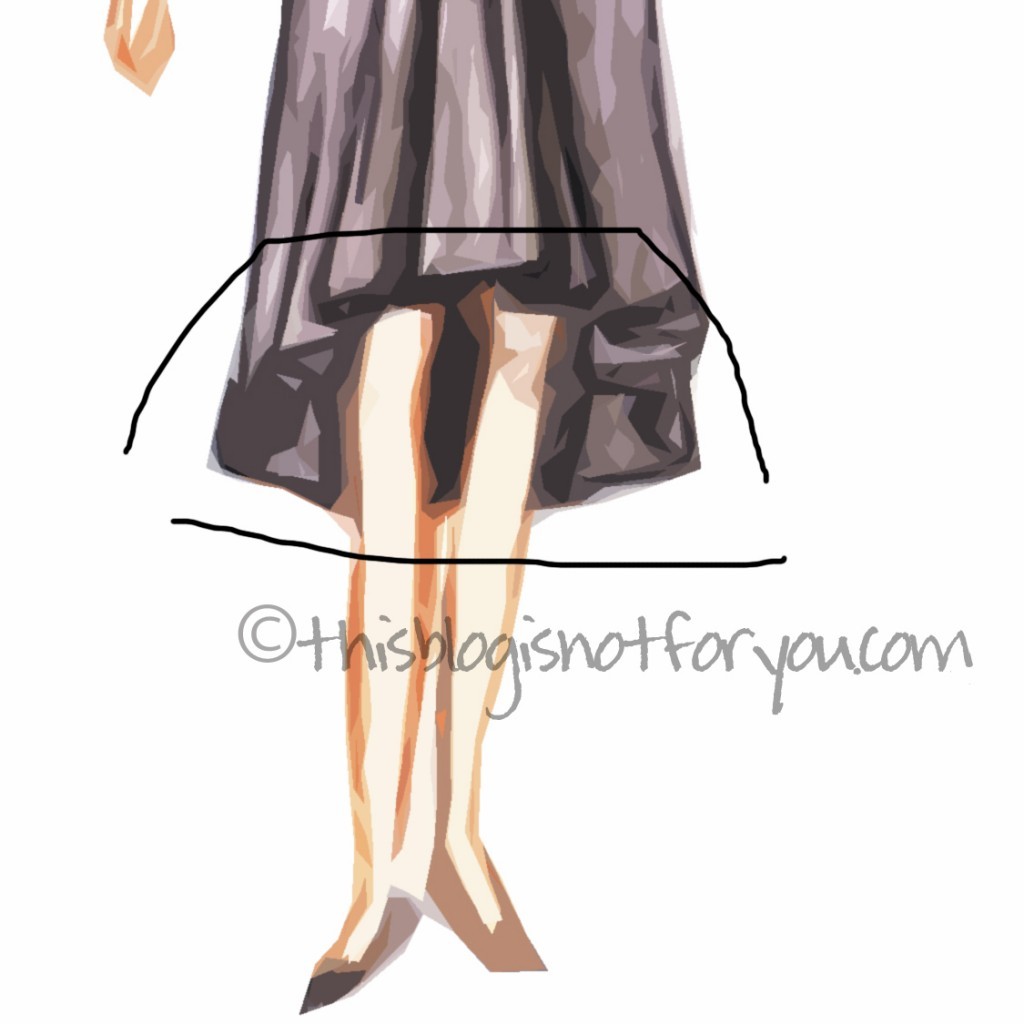 What you need to do is either shorten your pattern in the front or lengthen it in the back. Since I made the hem shorter anyway, I made the changes in the front. To get a more softer edge instead of a very triangular shape, you can’t just draw an asymmetrical staight line. The slightly s-shaped curve creates a smooth transition between front and back. You also see the line sloping down more steeply only after it reaches the middle of the front pattern piece. There are only small changes to the back pattern, to make the changes look less abrupt and to avoid having it look like you combined two different pattern pieces.
 Here are some pictures from the modified
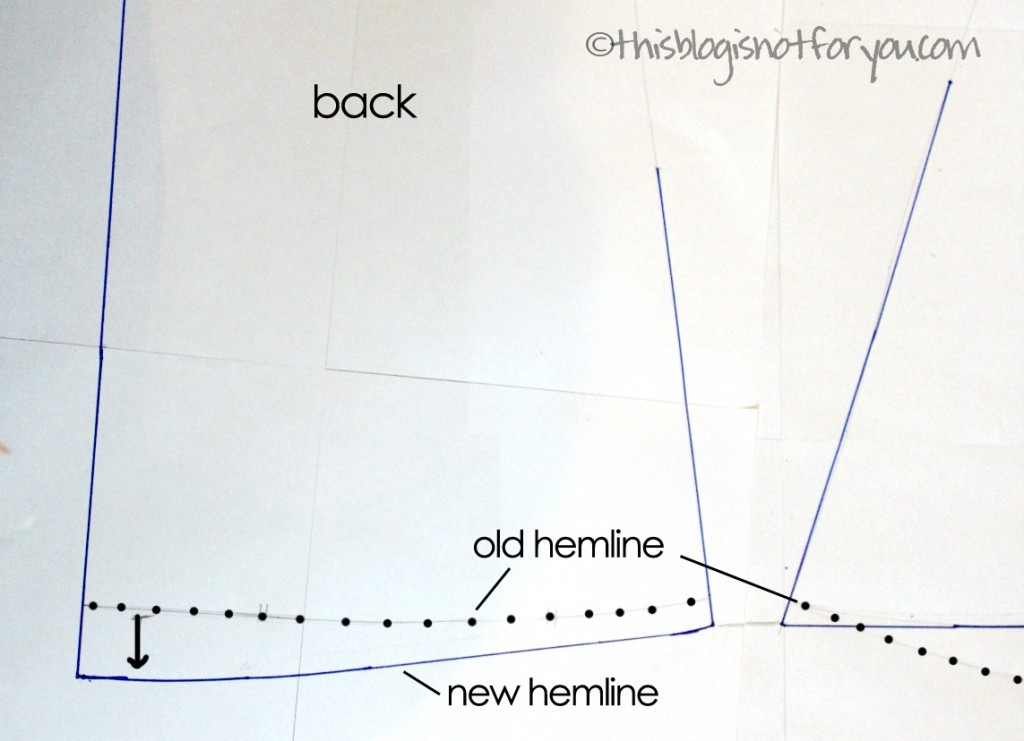

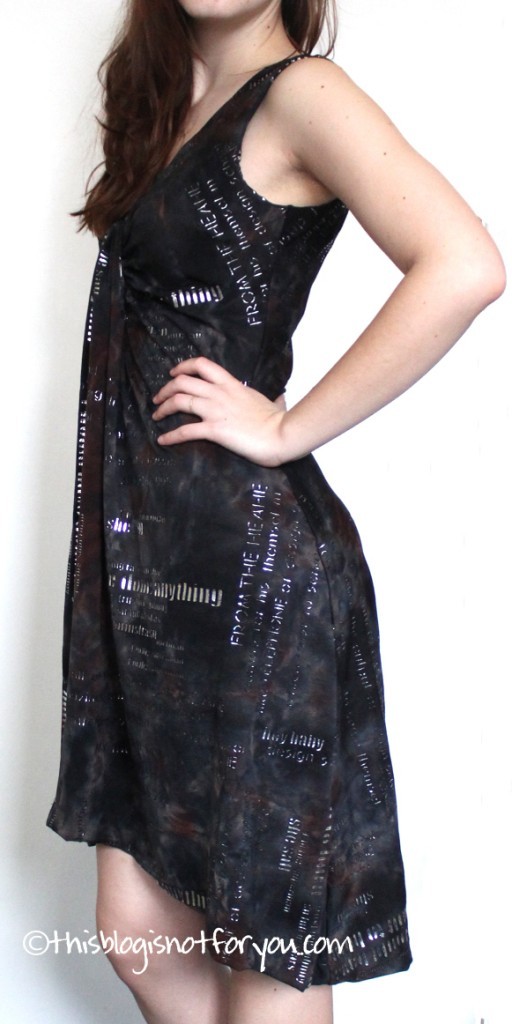
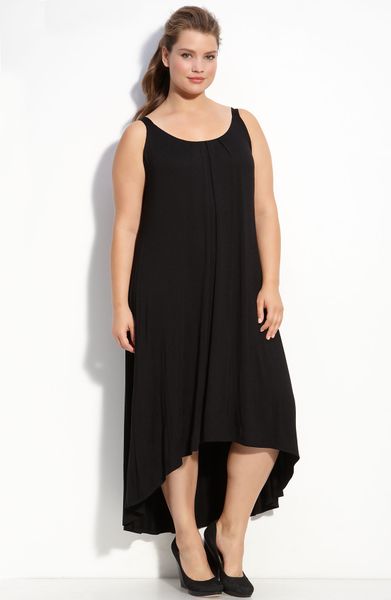
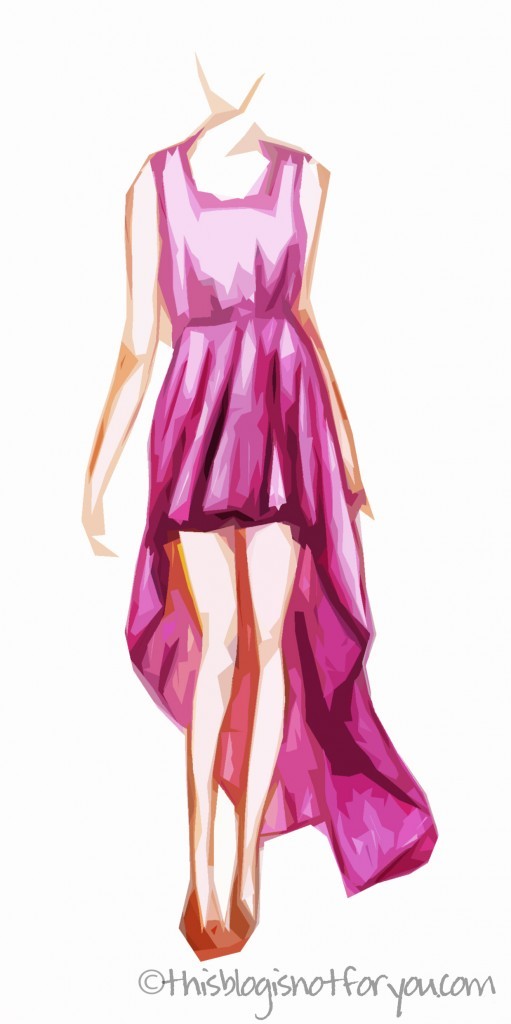
 I very much love this look, because it looks quite romantic. Here the shape in the front is almost like the one in the first look, but the back is much longer and the transition from front to back is very smooth and it’s much more asymmetrical.
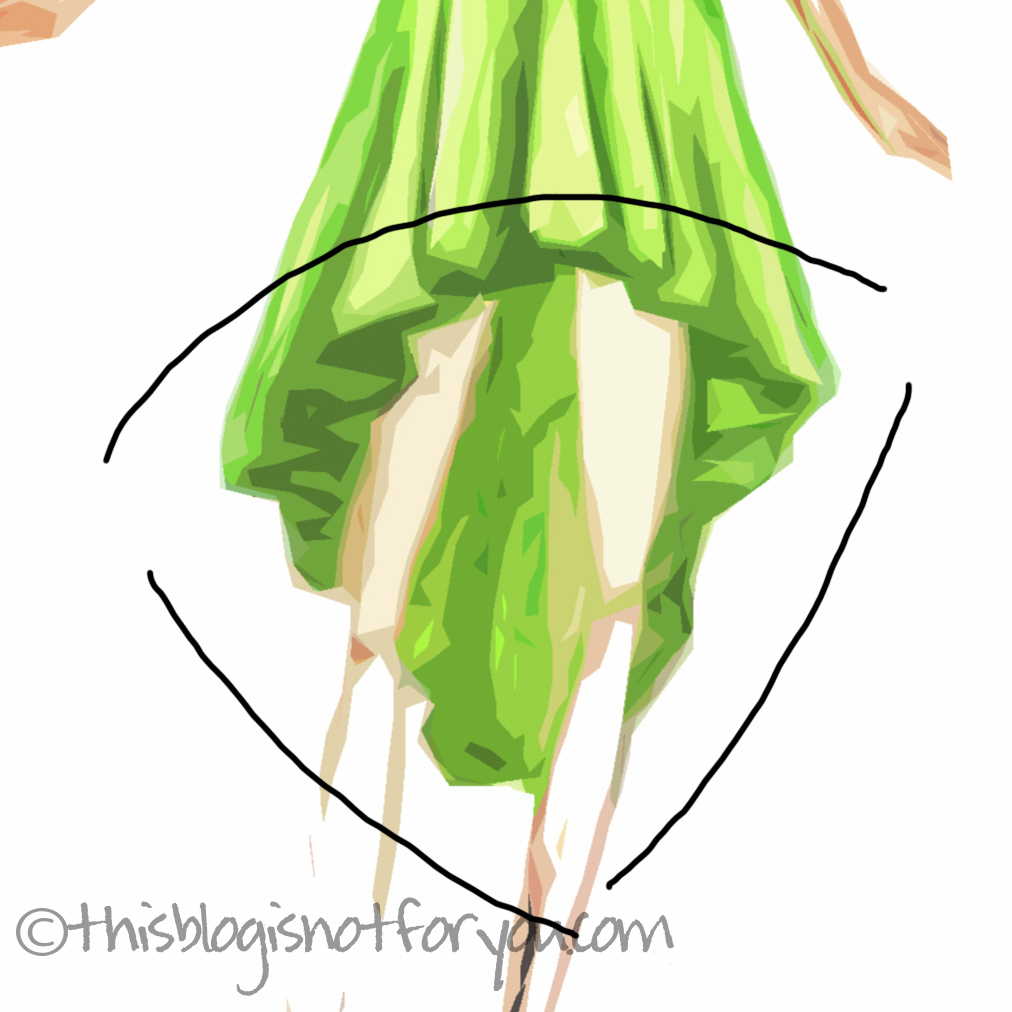 To get this look you have to shorten the front and lenghten the back quite a bit. If it’s a knee-length dress, I’d suggest shortening the front by at least 20cm/8” and lengthing the back by about 20-25cm/8-10” or more. Give the line a smooth curved shape in the centre front and back to avoid awkward triangular edges.
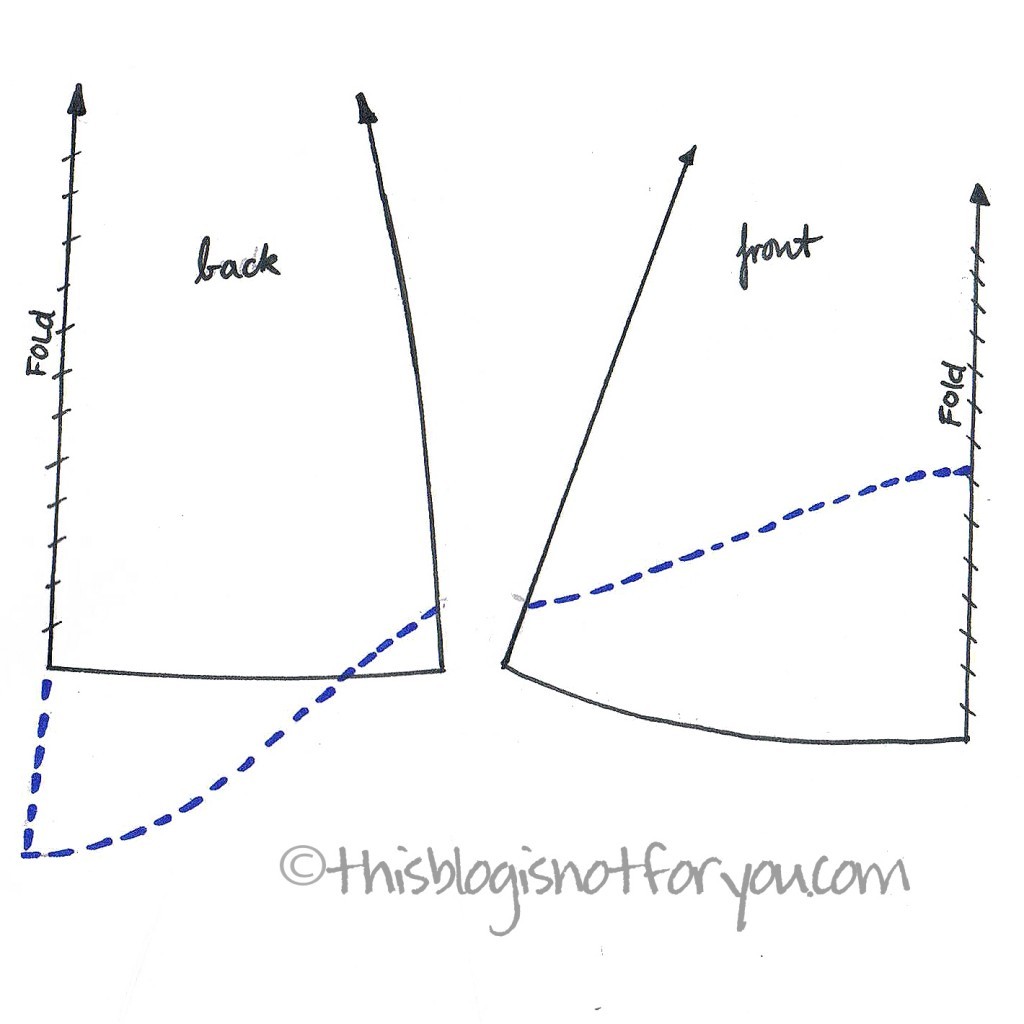
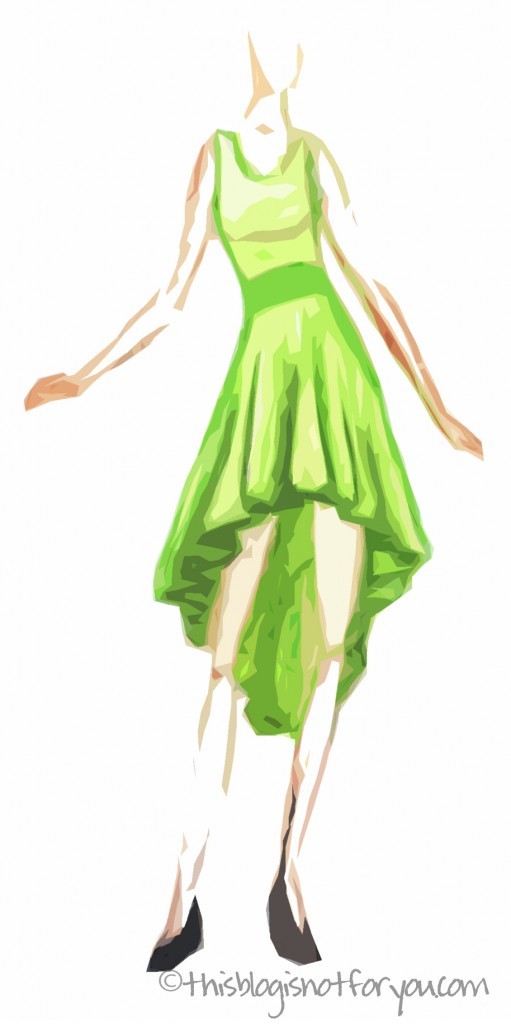
 This is my favorite look and I’m de-fi-nite-ly making a dress like this for summer. It’s such an awesome femine look. Here, the front is straight almost until it reaches the side seams and then steeply slopes down to that long flowing train.
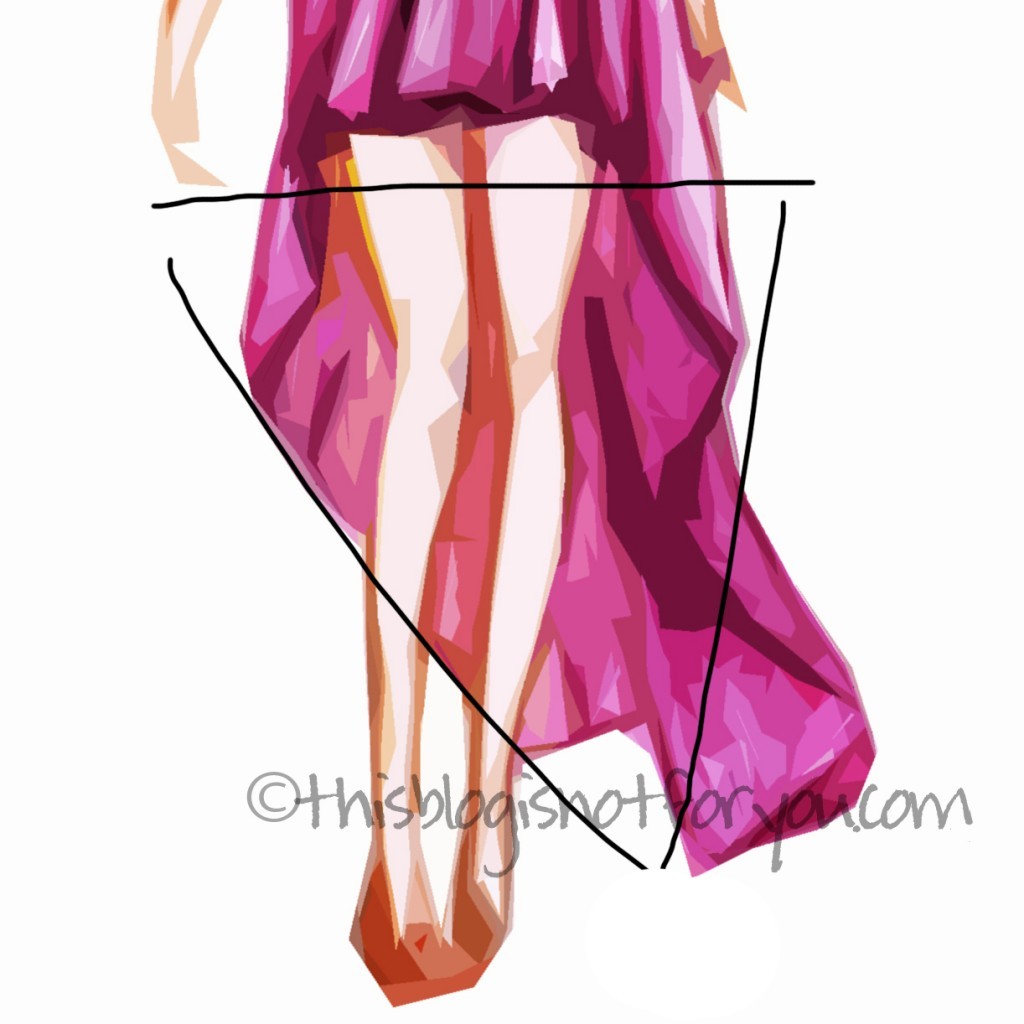 The front will be almost miniskirt-length, the back about ankle-length. (Take your measurements, waistline to ankle, to get the right length)