Make It Your Own: Updating a T-Shirt with Stencils
Hello there! Today I want to share a really fun & quick project to personalise or update your t-shirts! This is really easy to do and the perfect project if you feel like a creative project but don’t have a lot of time on your hands. It only took me a couple of minutes plus the time it needs to dry. I love those little projects that you can squeeze in after work.
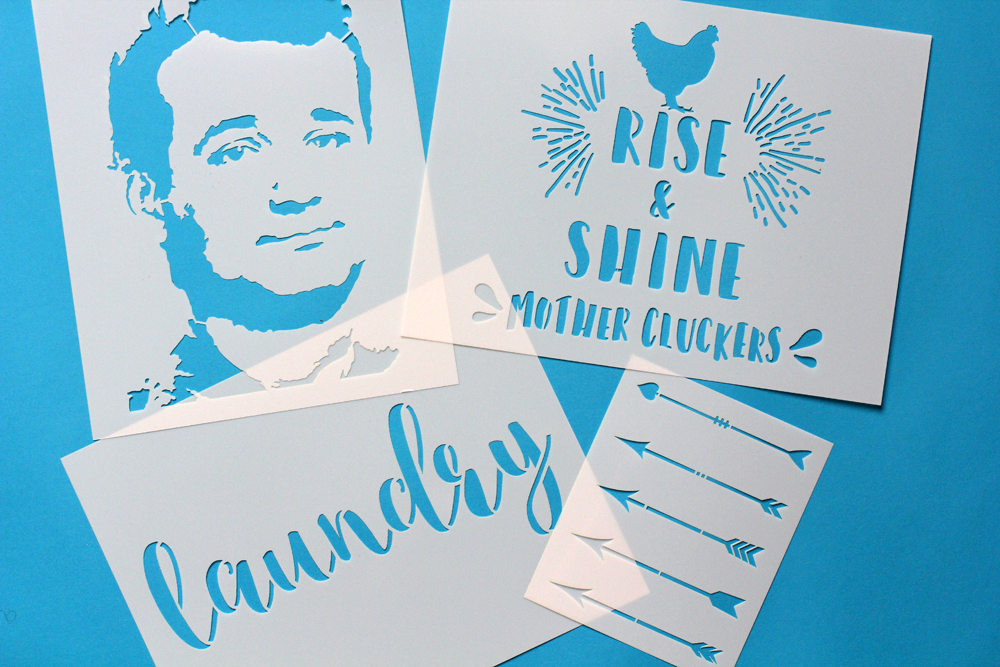
The lovely folks over at Stencil Revolution offered to send some stencils for me to try. What I love about their company is that it’s a small, family-owned operation that developed out of what originally was a street art forum. I love supporting upcoming creative businesses and I really had a great experience with them. They offer a large variety of designs and sizes (for decorating walls etc), I stuck to smaller sizes as they seemed a better fit for decorating shirts, fabrics and tote bags.
These stencils are not very expensive but are very long lasting. It’s a hard plastic sheet that you can wipe and wash and reuse many times. I had specific project ideas in mind when ordering the three larger stencils. But I picked the arrow stencils knowing this would be a motif I will probably use over and over again! Obviously, you can use these for walls, furniture, bags etc., too. I just love a t-shirt refashion and I buy plain white & black t-shirts every once in a while for exactly these kind of projects.

So, how does it work?
First of all, here’s what you need:
– stencil templates
– fabric paint (I used black and light blue/turquoise)
– small dry sponge
– old plate or plastic container to pour the paint in
– masking tape
– a piece of cardboard (big enough to place under the area you are using colour on)
– iron & iron board
- Prepare the shirt/fabric and template.
If necessary, you might want to iron the shirt to make sure there are no creases. Clean the template if you used it before, to make sure it’s dry and there no residue colour. Use some masking tape to tape the template into place. It’s very important that it doesn’t move once you start with the colour.
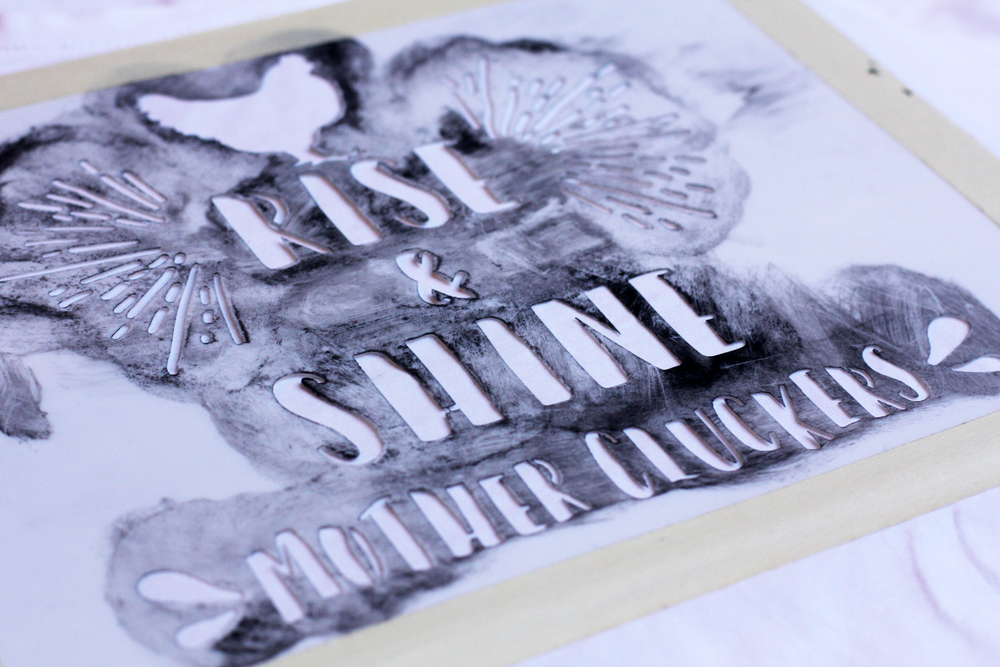
If using this on a shirt, place a piece of cardboard between both fabric layers. Otherwise, the colour might come through and leave stains on the back. A hard, smooth surface also makes it easier to get a neat result. - Pour fabric paint onto your dish and dab your dry sponge in it. Dab it a couple times more onto the plate to have some of the paint come off. Using too much paint might need to colour bleeding. If you want to get crisp edges, make sure you use less paint and apply it in several layers.
- Dab the paint onto the fabric. Try not to use stroking motions as this might lead to blotches and colour bleeding as it gets under the template. This will also give the paint more of a sprayed “graffiti” look.
If you want an ombre effect as I did with my project, start with the lighter colour. I used the light blue for the first layer, let it dry a bit and then dabbed over it with black again. For the colours to blend softly you really want to use as little paint on the sponge as possible. Work in layers until you get the opacity that you like. - Let it dry. I usually remove the template afterwards. If you remove it while the paint is still wet it might smudge and blur.
- Once it’s dry remove the template and iron your fabric from the wrong side to set the colour.
That’s it, you’re done!


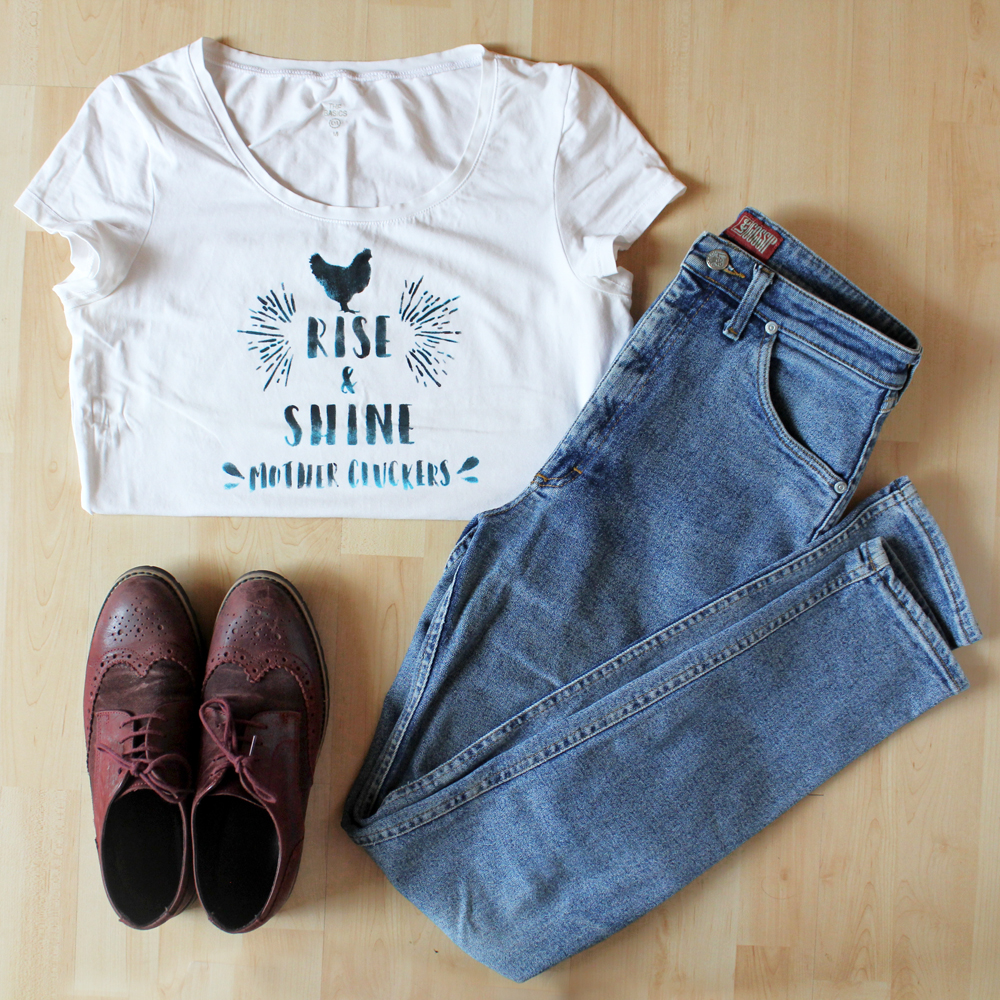
I’m planning more projects with these stencils. They would also make a great project to do with kids. That Bill Murray will go on a tote bag for sure!
I’m looking for some nice gold or rose gold textile paint. Do you have any recommendations?
xx
Charlie
Please note: As always, all opinions are my own. All my product reviews are completely honest. I was gifted this product, but not asked to review it or given compensation for doing it.
Happy crafting!
♥
facebook/bloglovin/pinterest
twitter/instagram
Stay in touch!
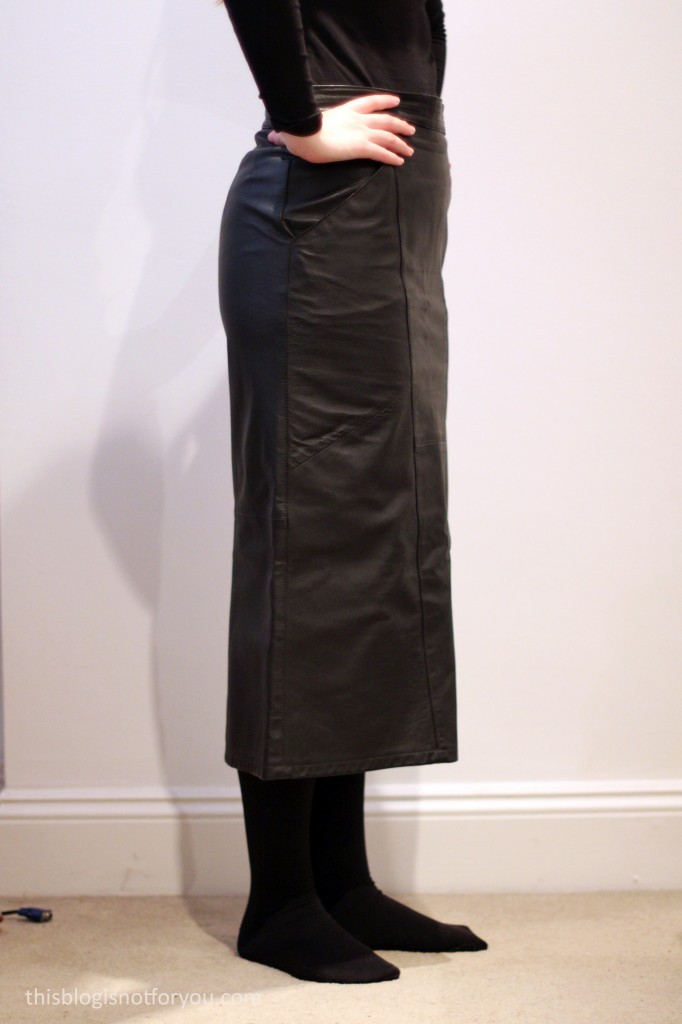
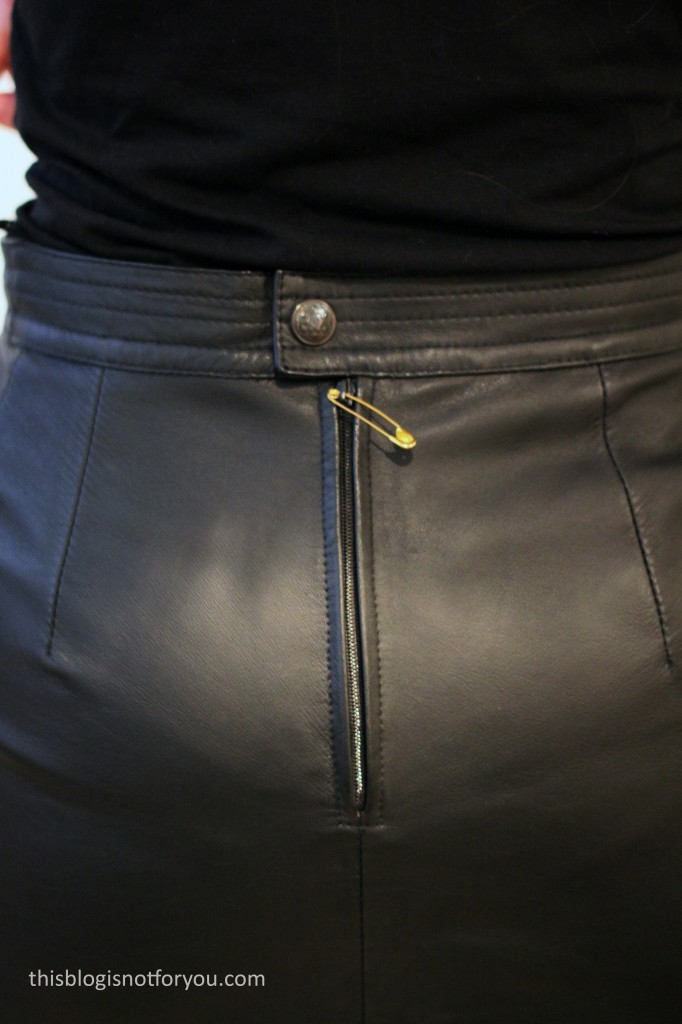
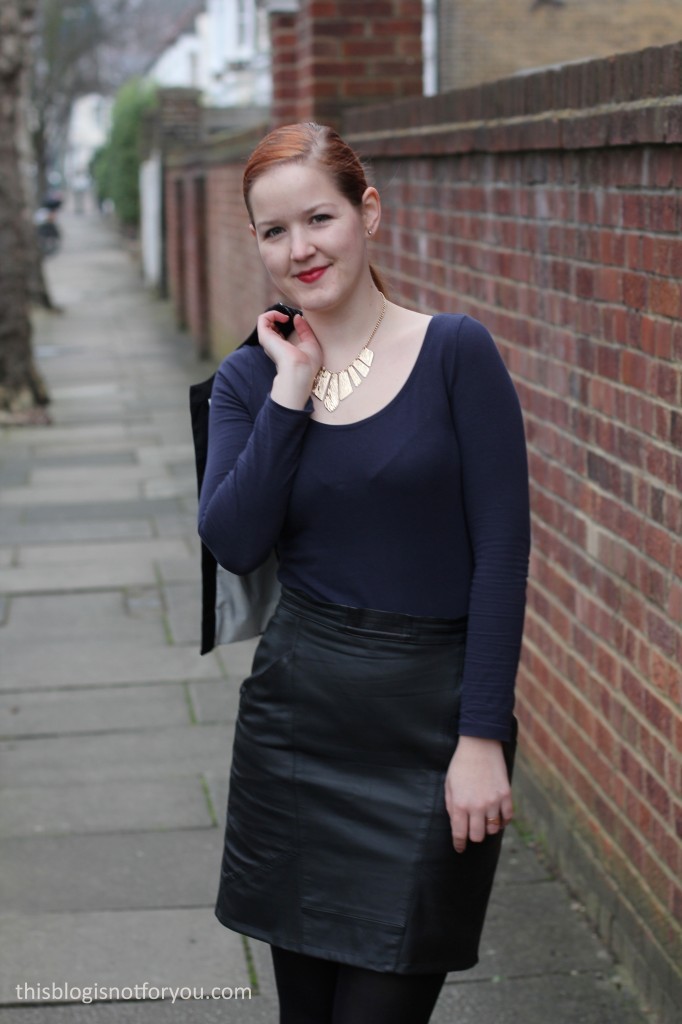
 It was basically a rectangular, light-weight long dress that looked suspiciously handmade, but had some sort of label in it, so I’m not too sure about that fact. The dress itself had no shape whatsoever, the hem going way below knee-length. At first I thought it might be edgy and cool but when I put it on it simply looked horrible and I felt like wearing a potato sack.
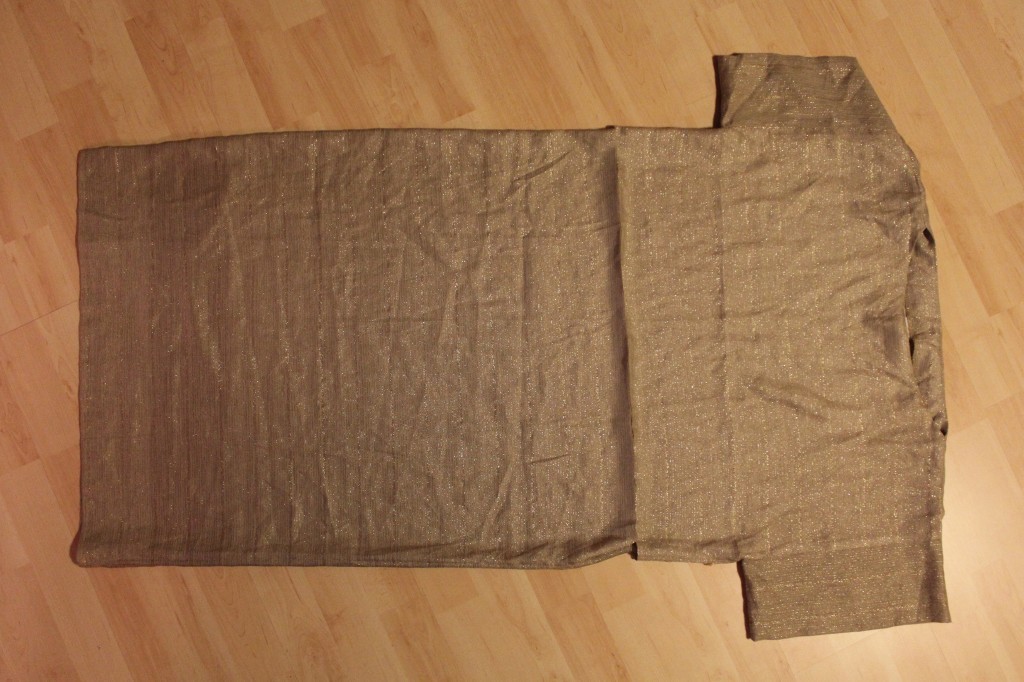 The dress was too narrow to give me enough fabric for cutting out a whole new garment, so I decided to take the easy way out and cut the bottom off. Chop, chop!
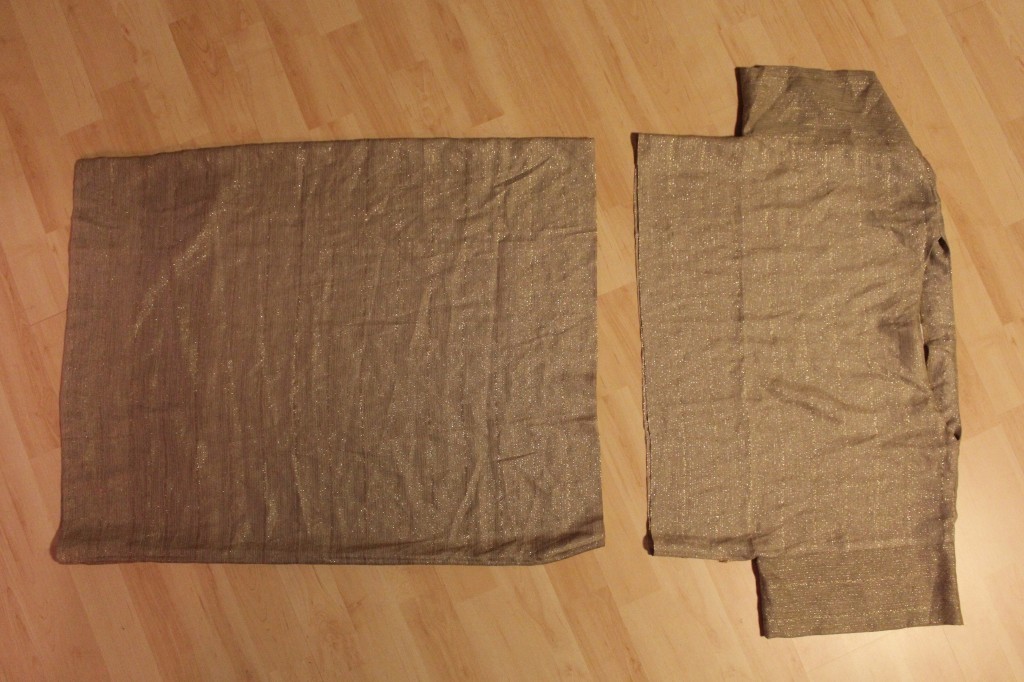 I overlocked the raw seam and hemmed it by hand using matching gold thread.
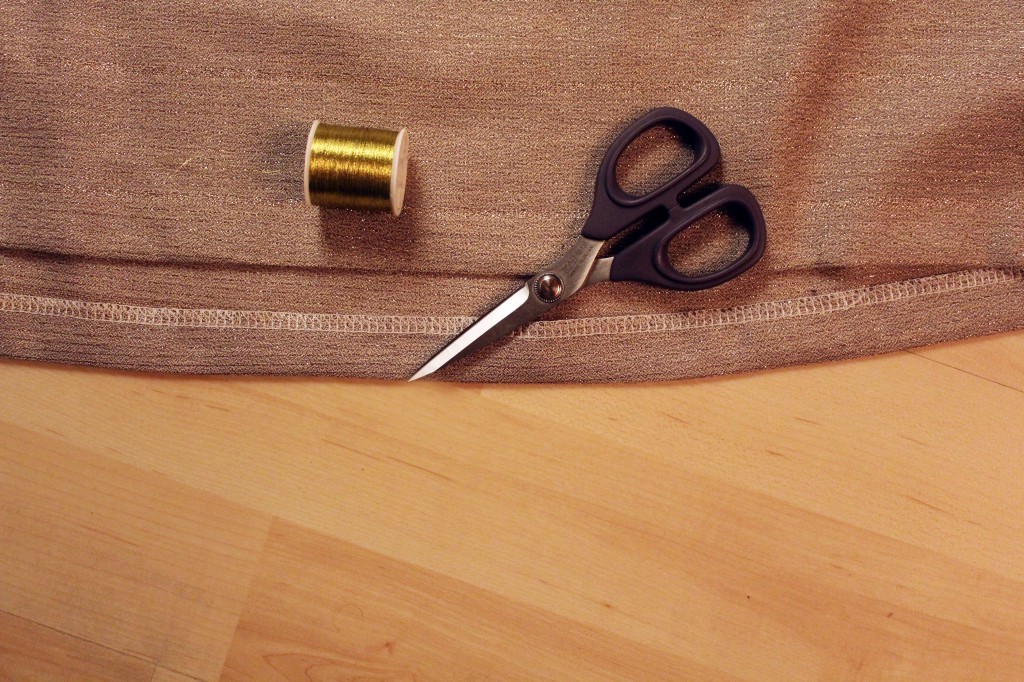


 Happy Holidays everyone!


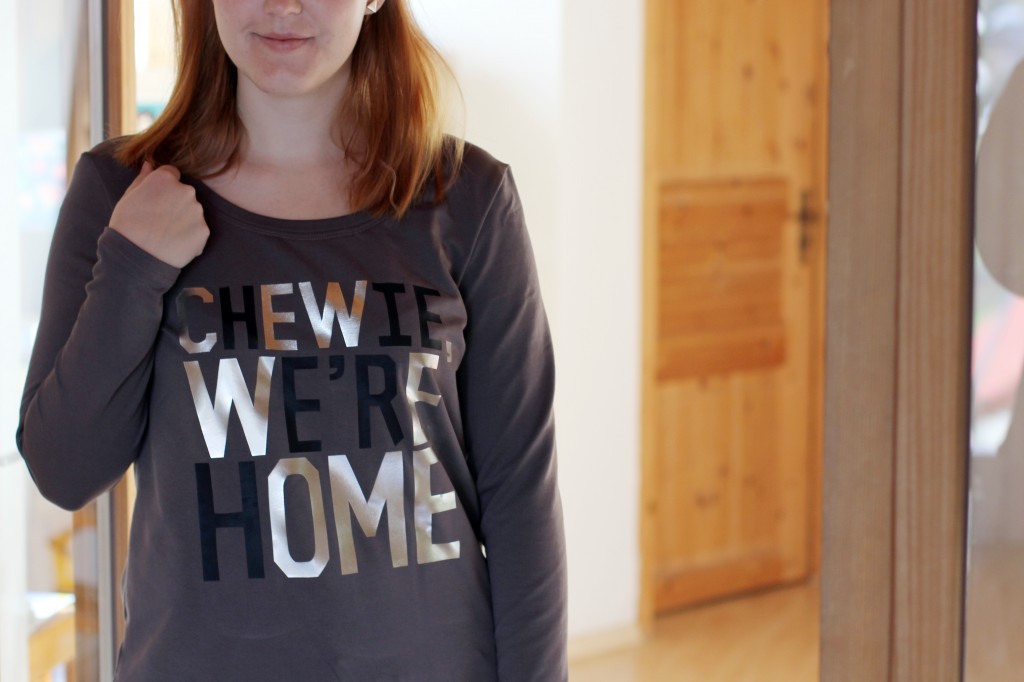
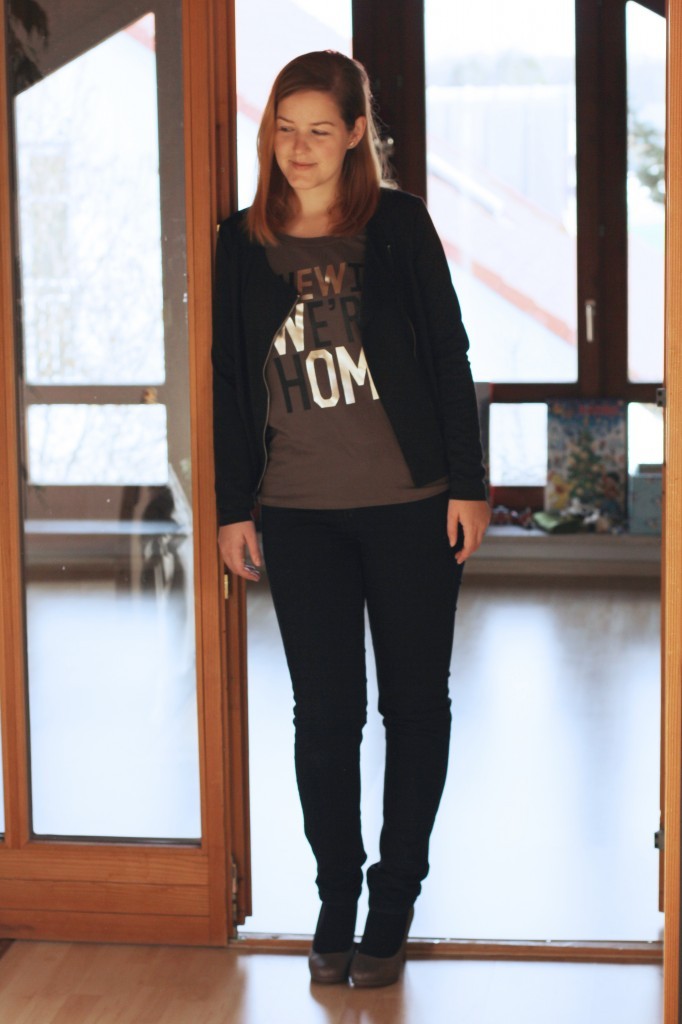
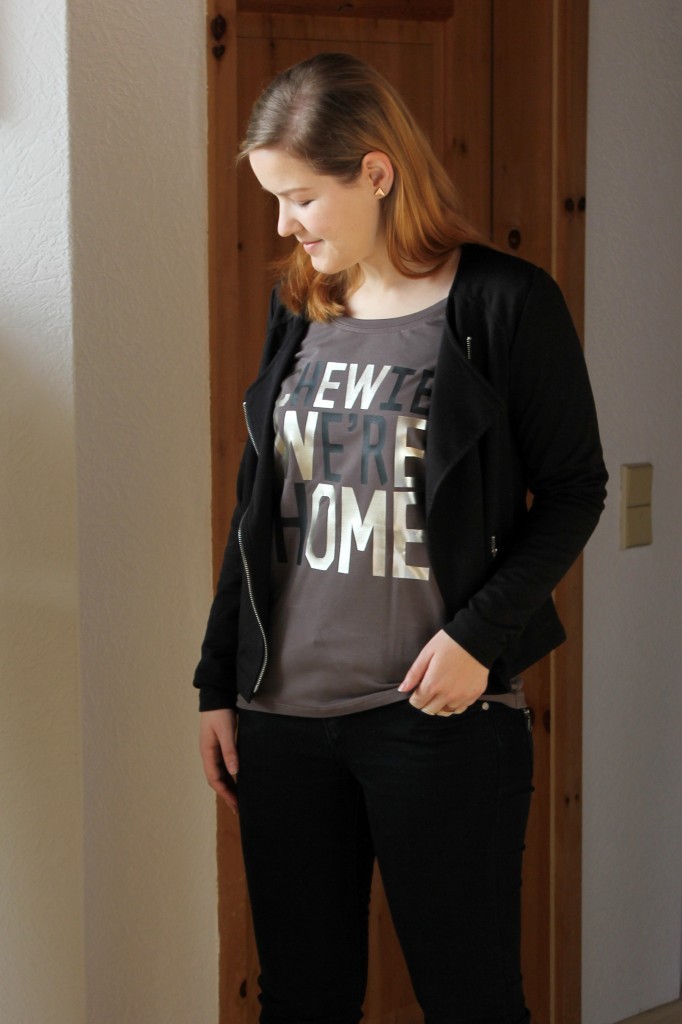
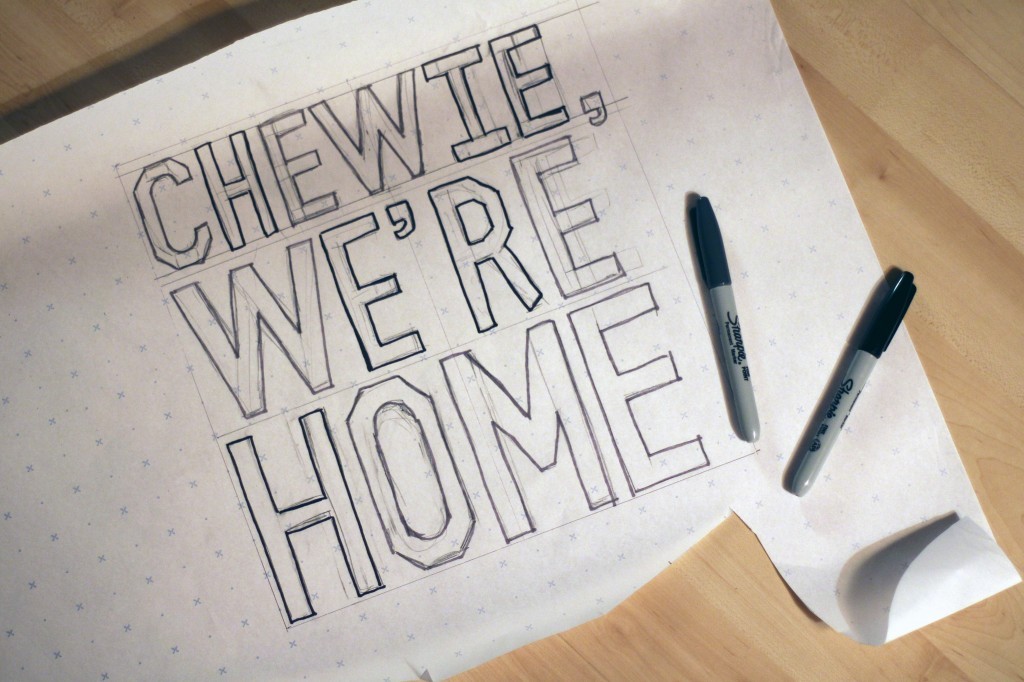 Start of by sketching out the shape or letters you want to create. Alternatively, you can use Word or Photoshop to create a layout you can print off and cut out.
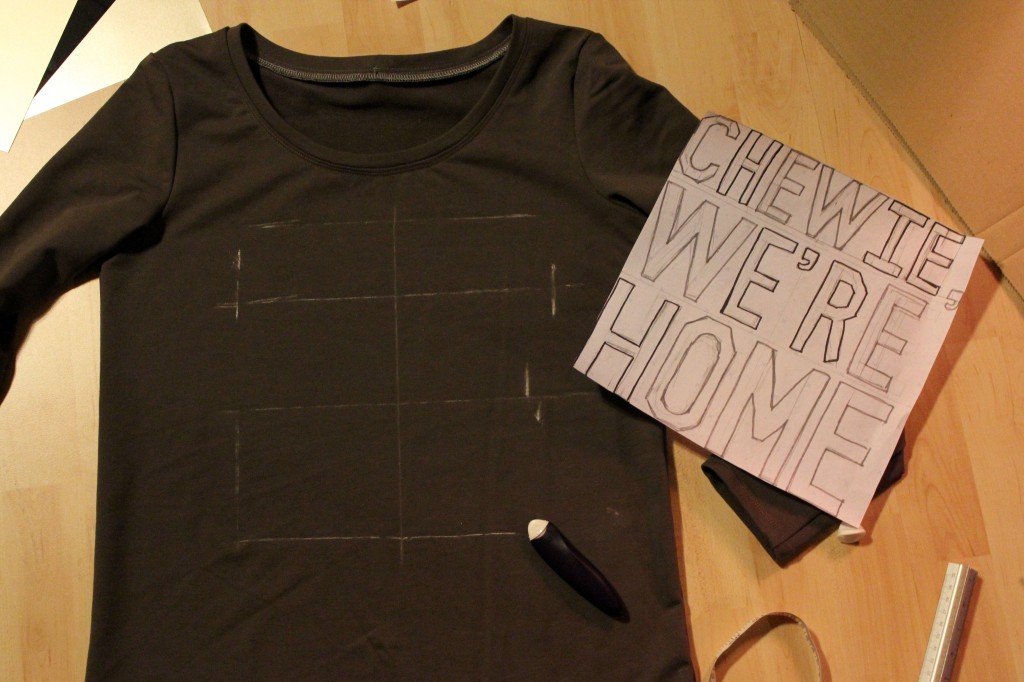 I used the sketch to check if the size was right and to mark the position on the shirt.
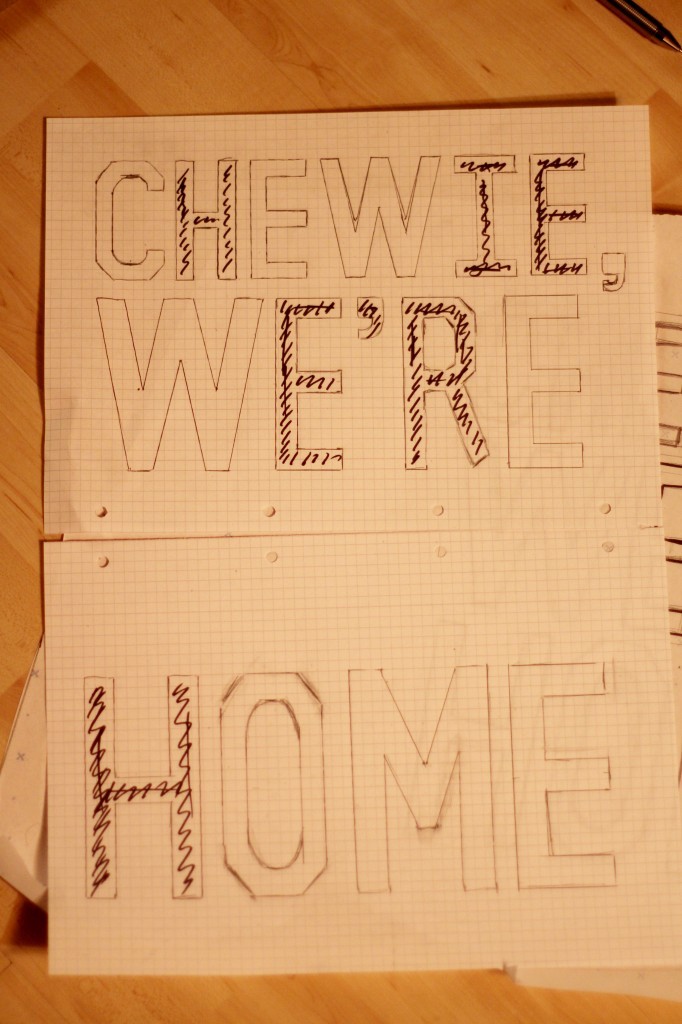 Because I couldn’t find a good font and sketched my own, I copied them onto squared paper to make sure they were even and all the exact same size. I positioned them on the shirt and used chalk for markings.
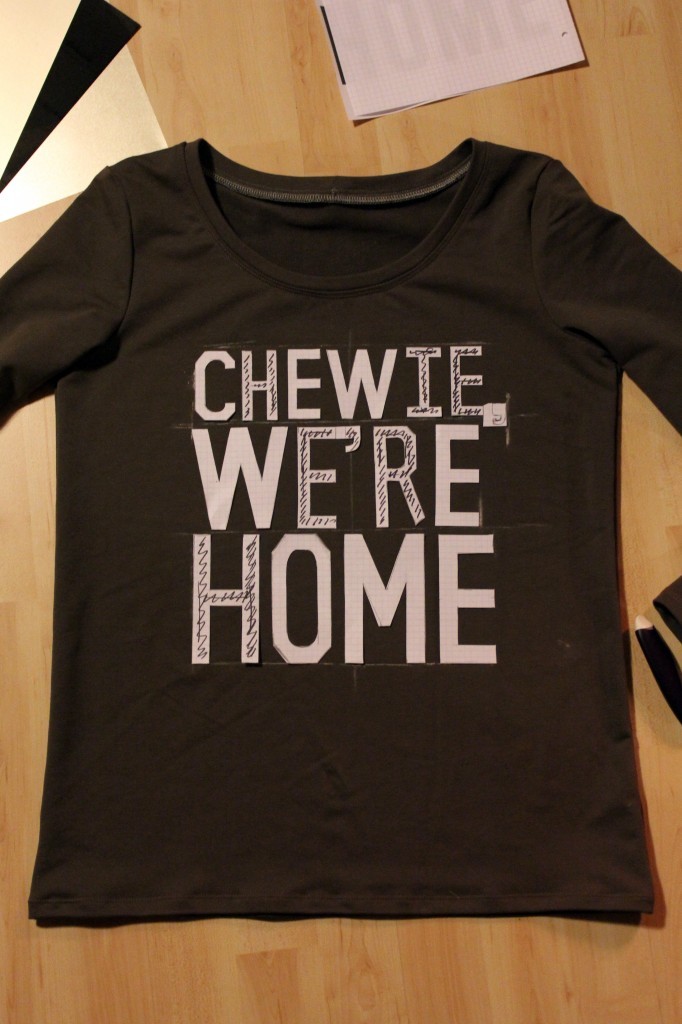 When transferring the template onto the foil, make sure everything is mirrored. Draw the shape onto the matt side of the foil, you can use pen or pencil. If you don’t want to mirror your letters, you can try to draw them onto the “right” side, but since it has a protective film it might be a bit tricky and the ink of your pen might come off and ruin your iron.
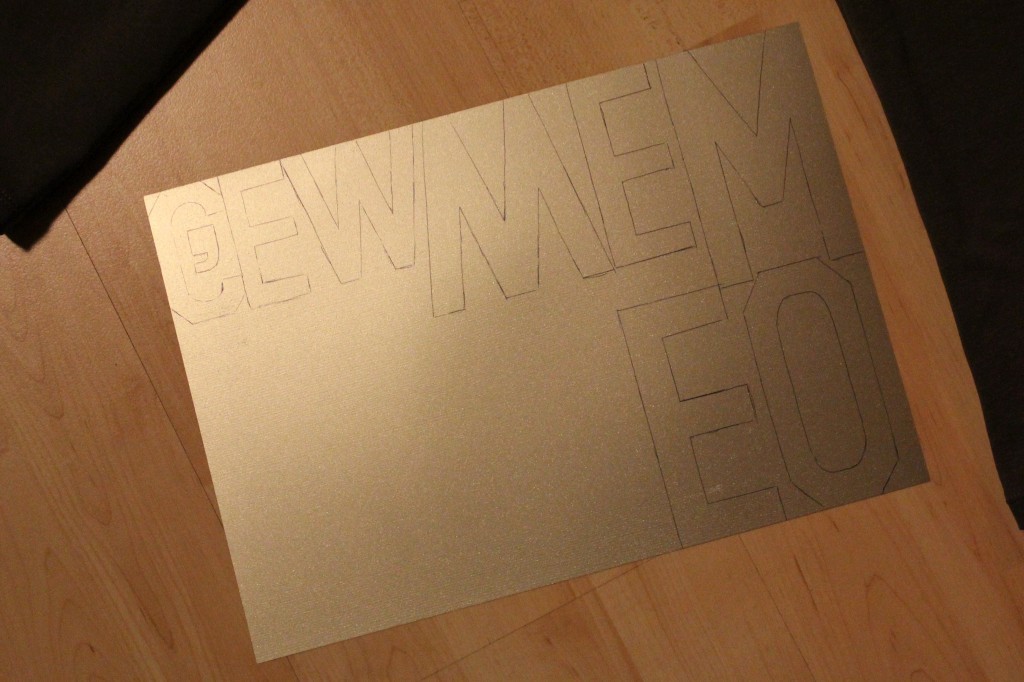 Cut out the letters, place the onto your shirt and press the iron onto them one by one to prevent them from slipping out of positon. Don’t remove the protective film until all the letters are firmly applied and have cooled off.
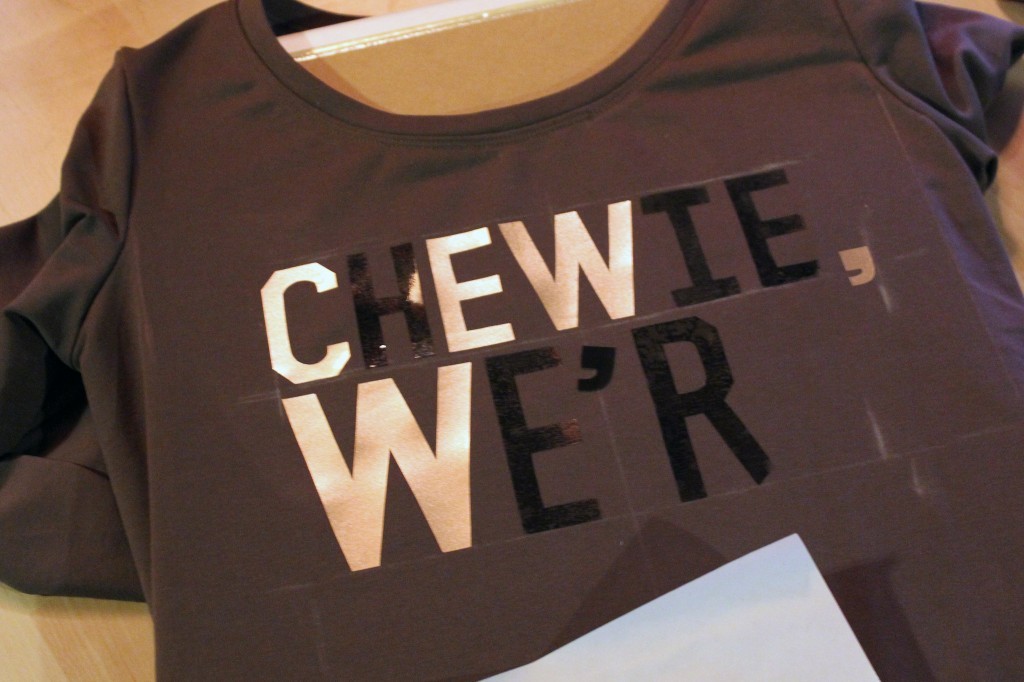
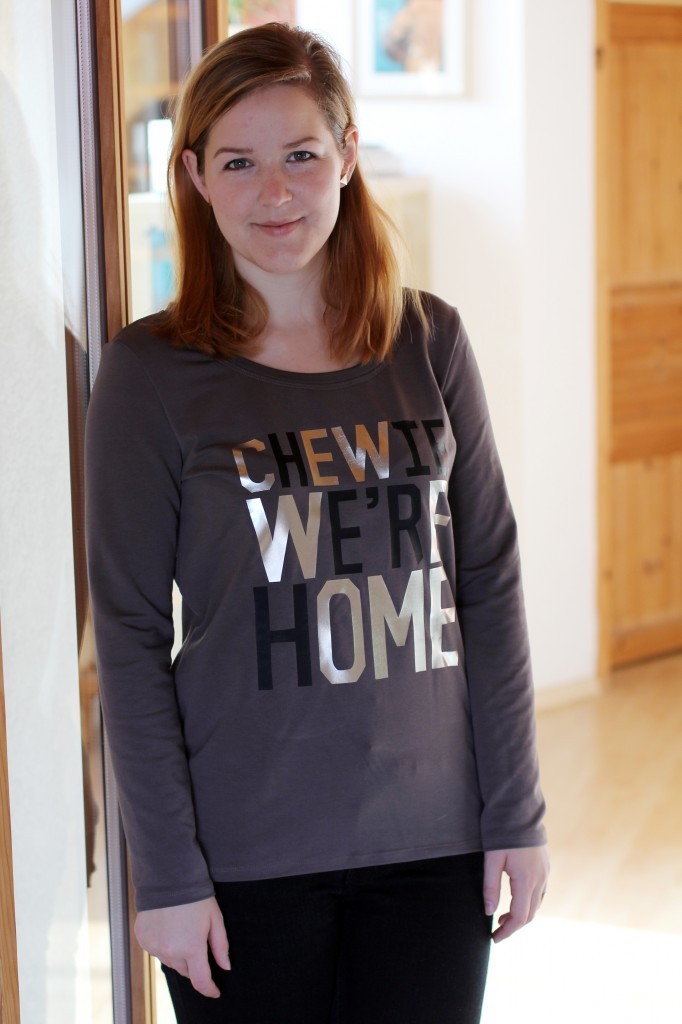
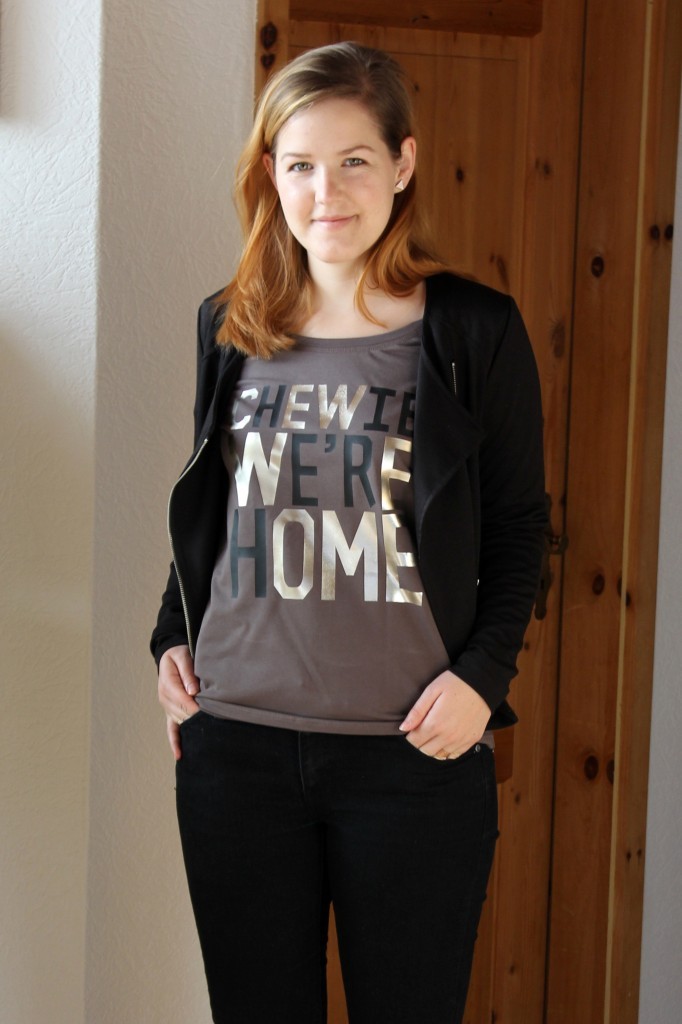
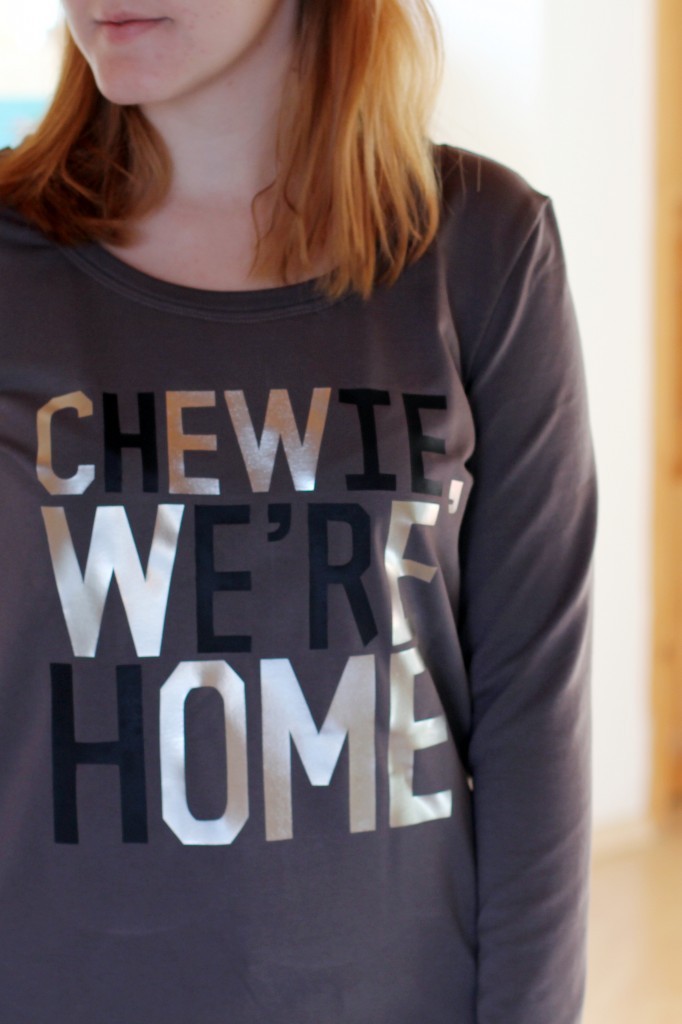
 You can now remove the plastic film and use the extra sheet of protective paper that comes with the foil to set the glue a second time. Never iron without the paper after that otherwise the foils sticks to your iron and the whole this is ruined. You can wash the shirt at 60° and iron it from the wrong side if necessary.
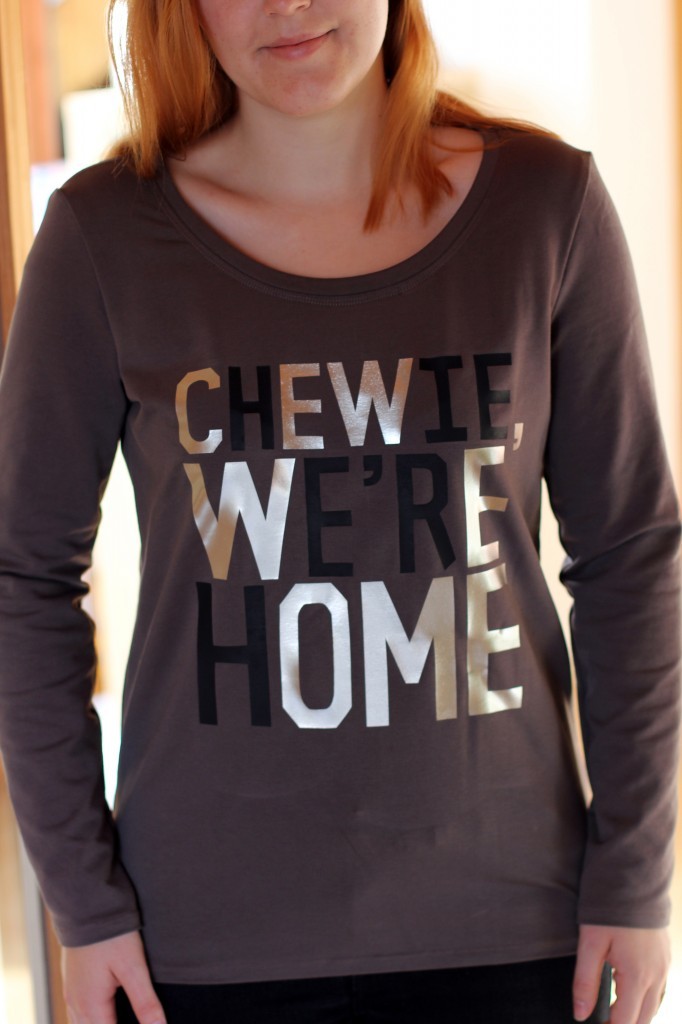


 Here’s a view before photos:


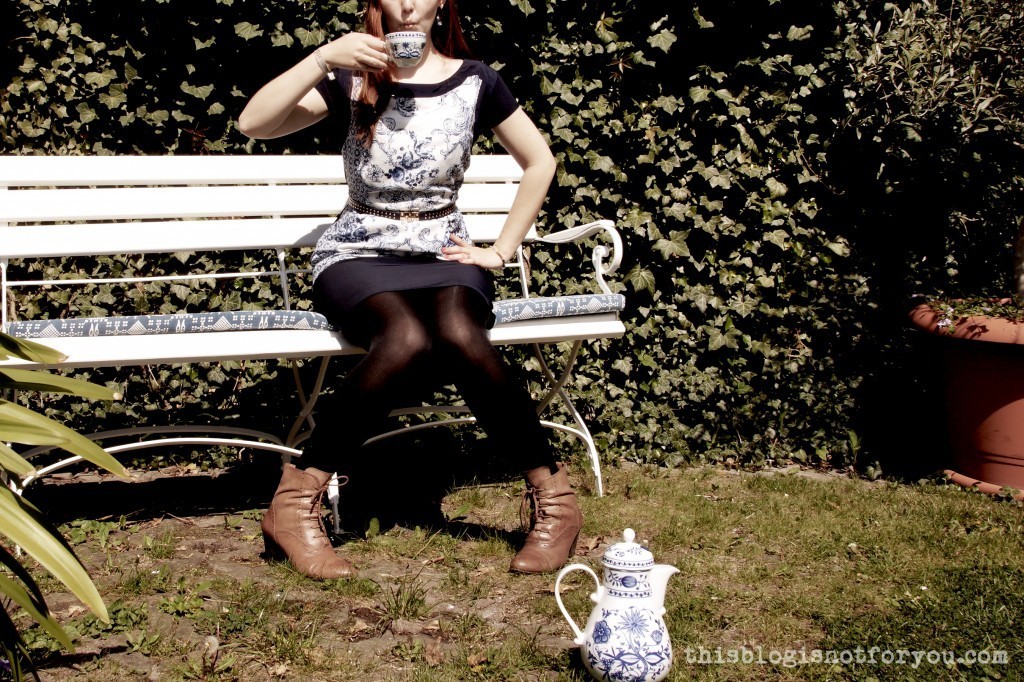
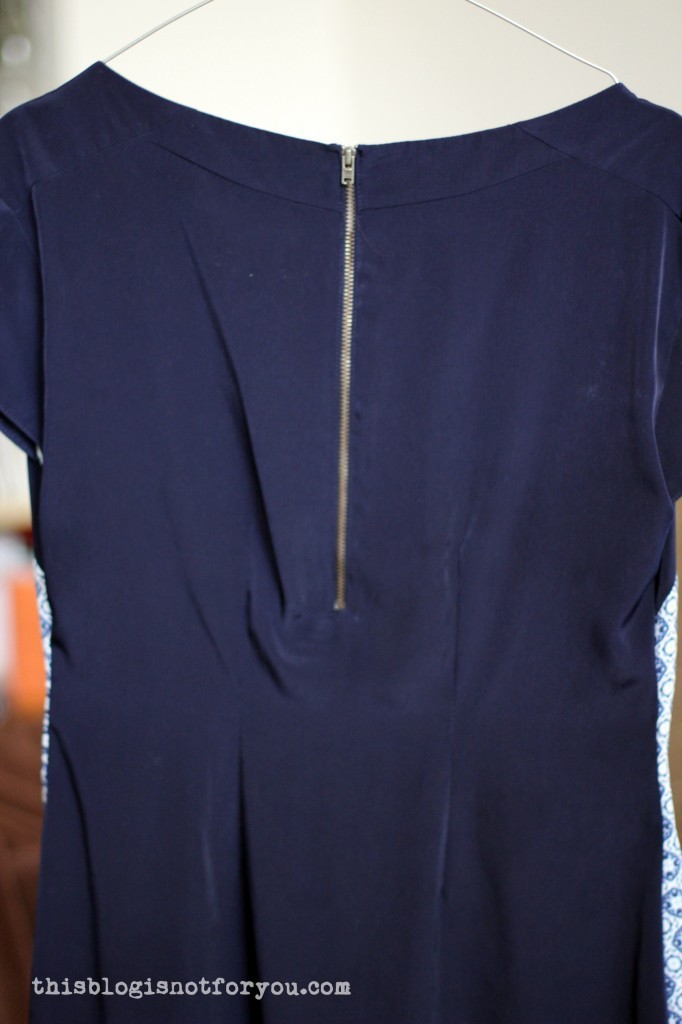
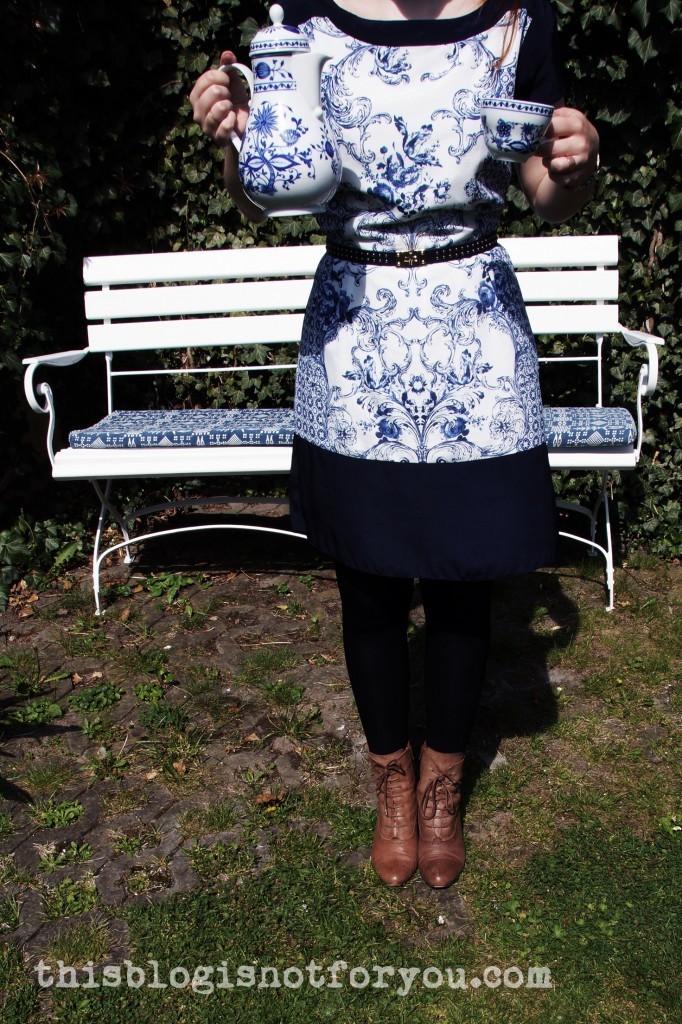 I’m all ready for the tea party, just couldn’t find the rabbit-hole yet. In the meantime I had many cups of pretend-tea while my sister was snapping pictures of me and my newly refashioned porcelain dress.

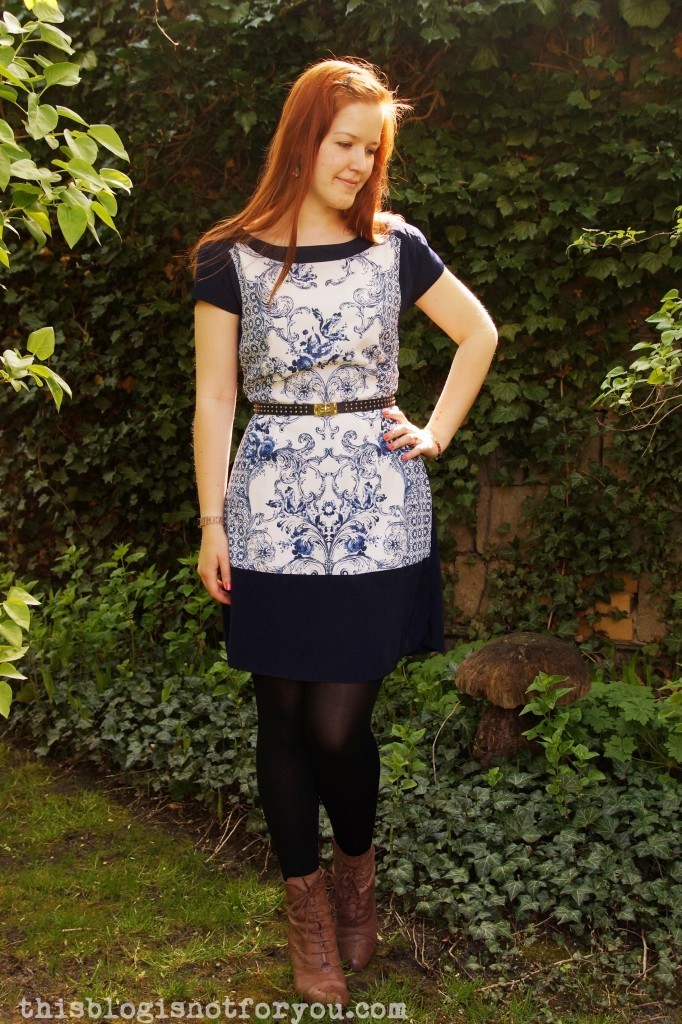

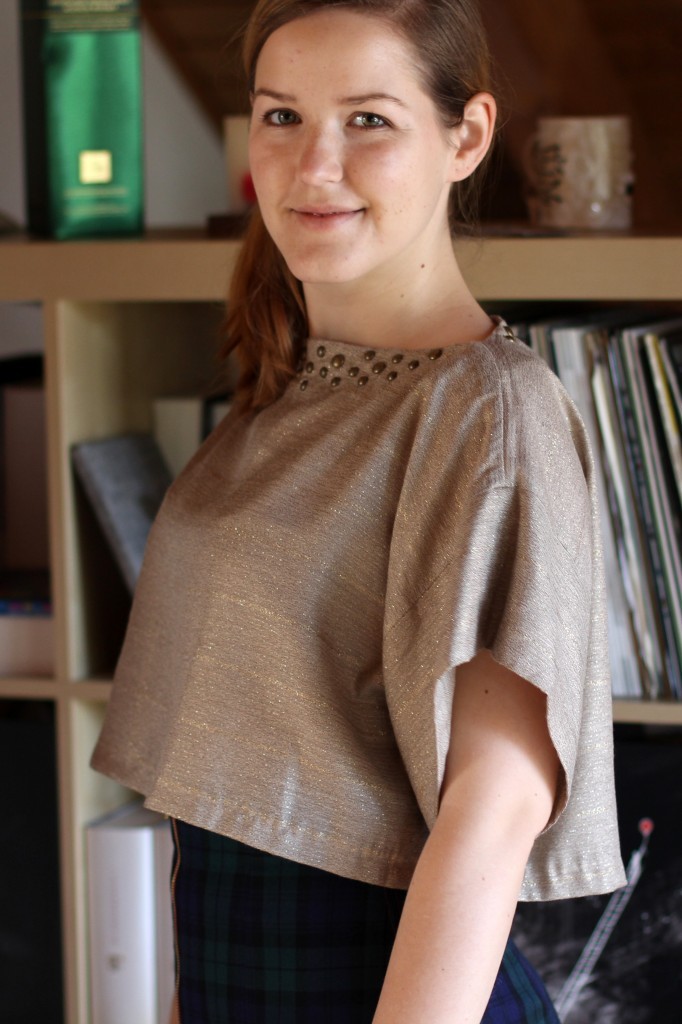
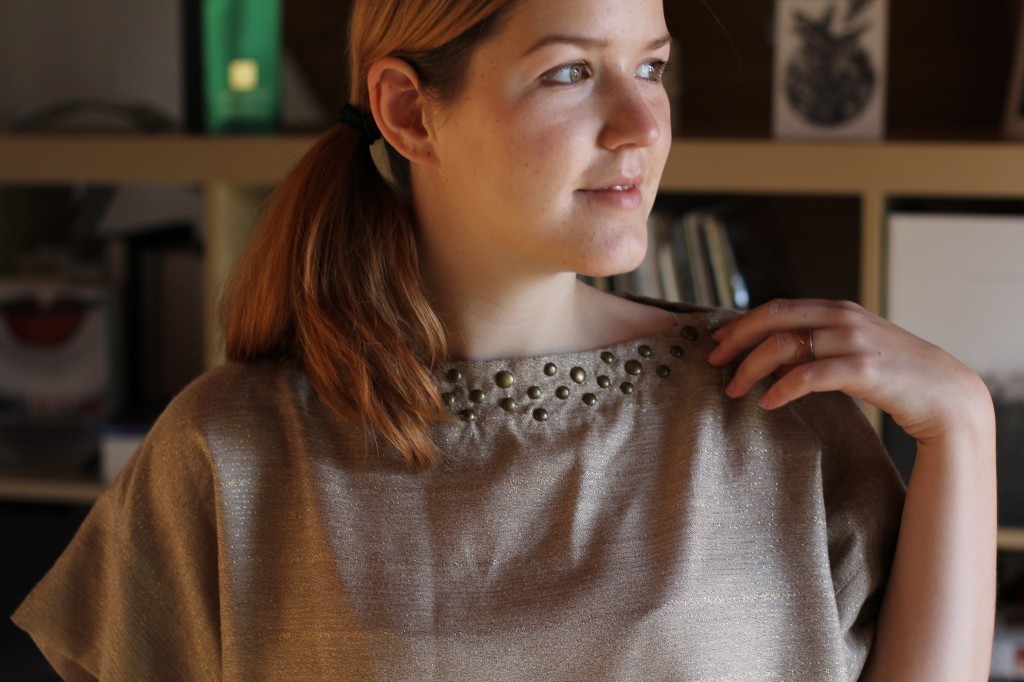
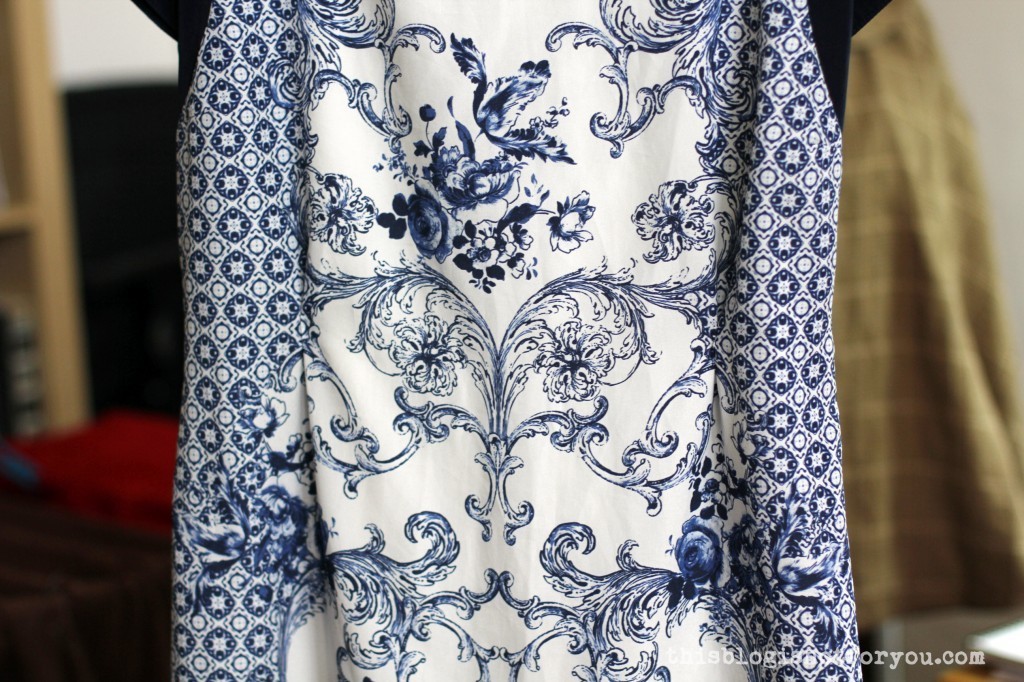
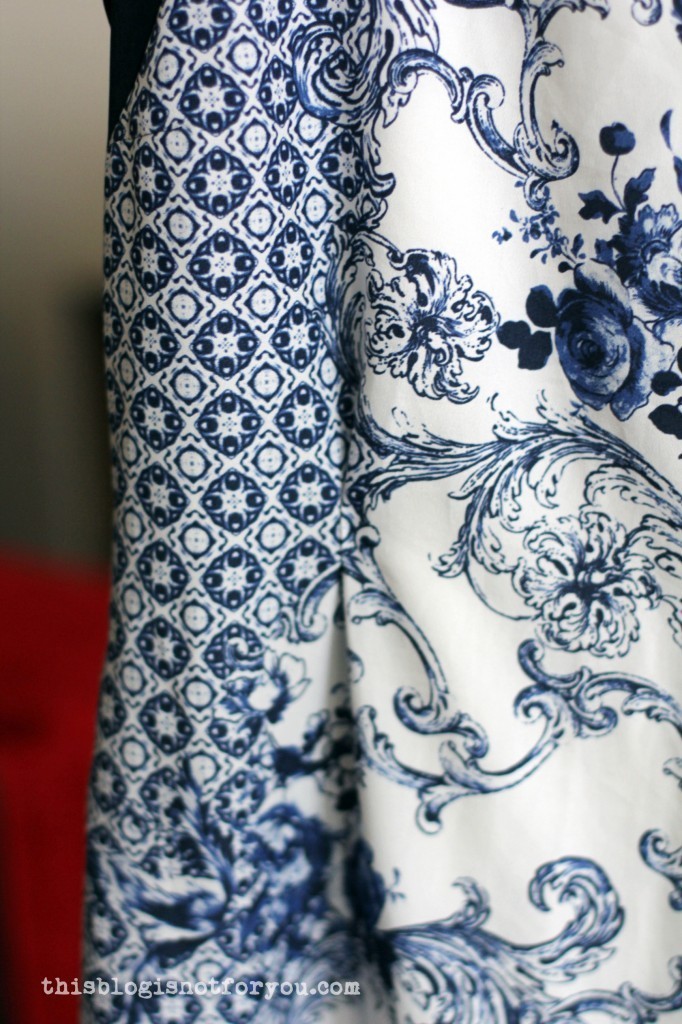
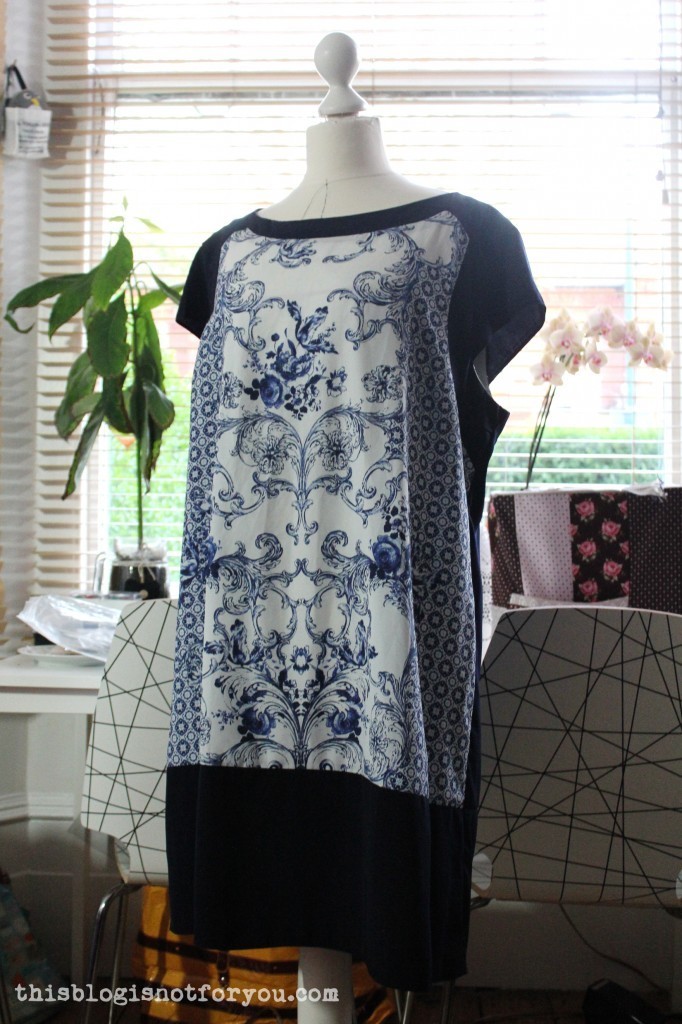 It was a size 20 Dorothy Perkins dress I absolutely fell in love with because of the fabric. Although it’s polyester is has a very soft and silky feel to it and the print is just fabulous. I don’t know if you guys know onion pattern porcelain, this is basically what I grew up with.
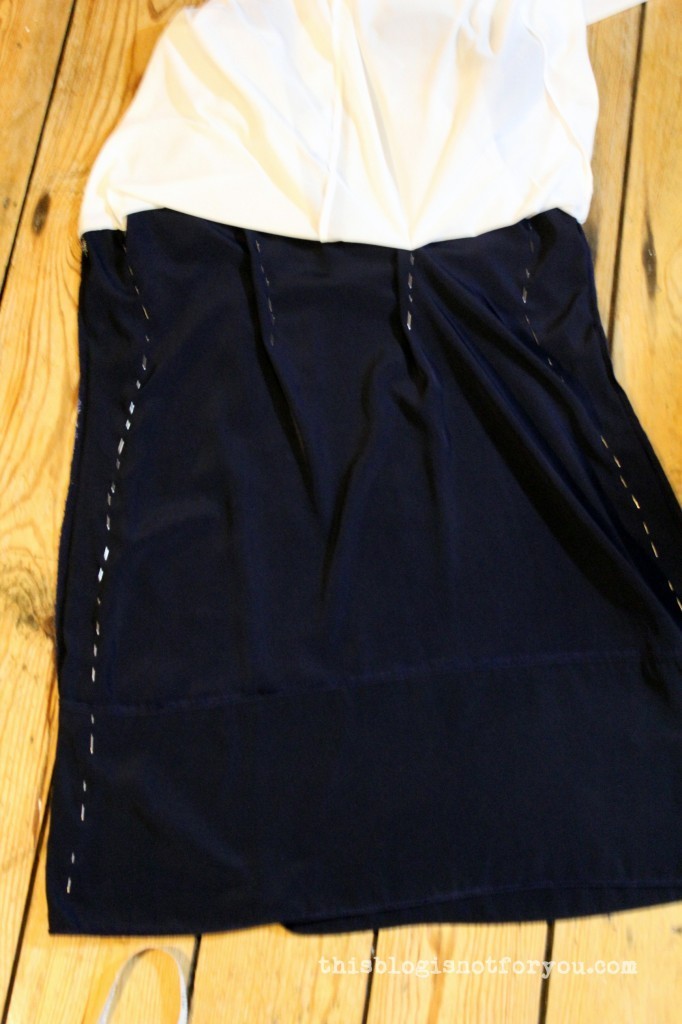
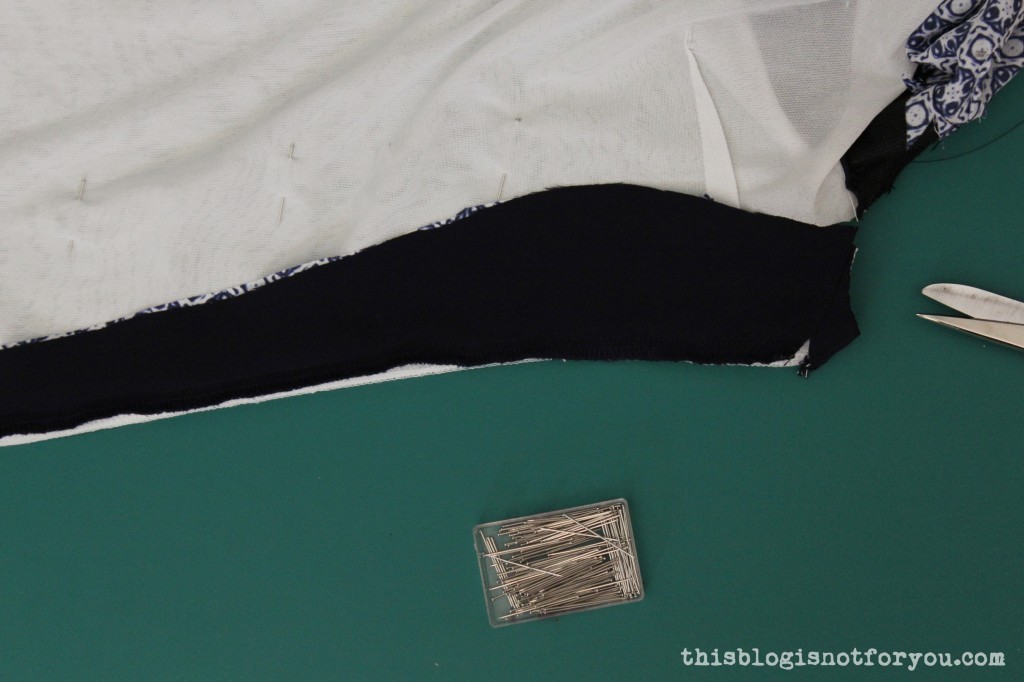
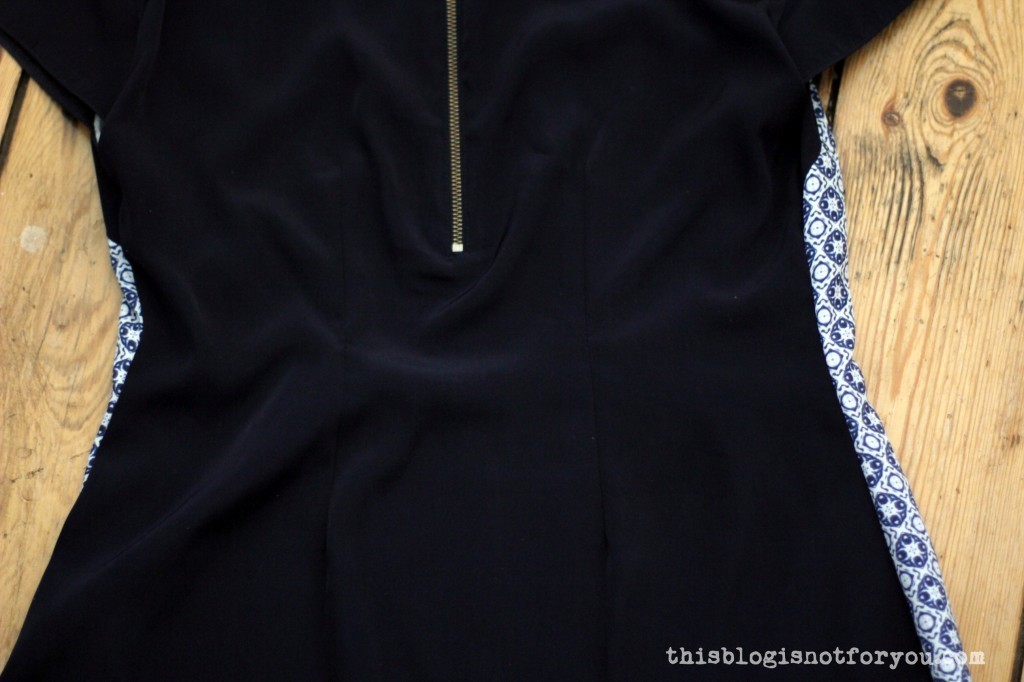
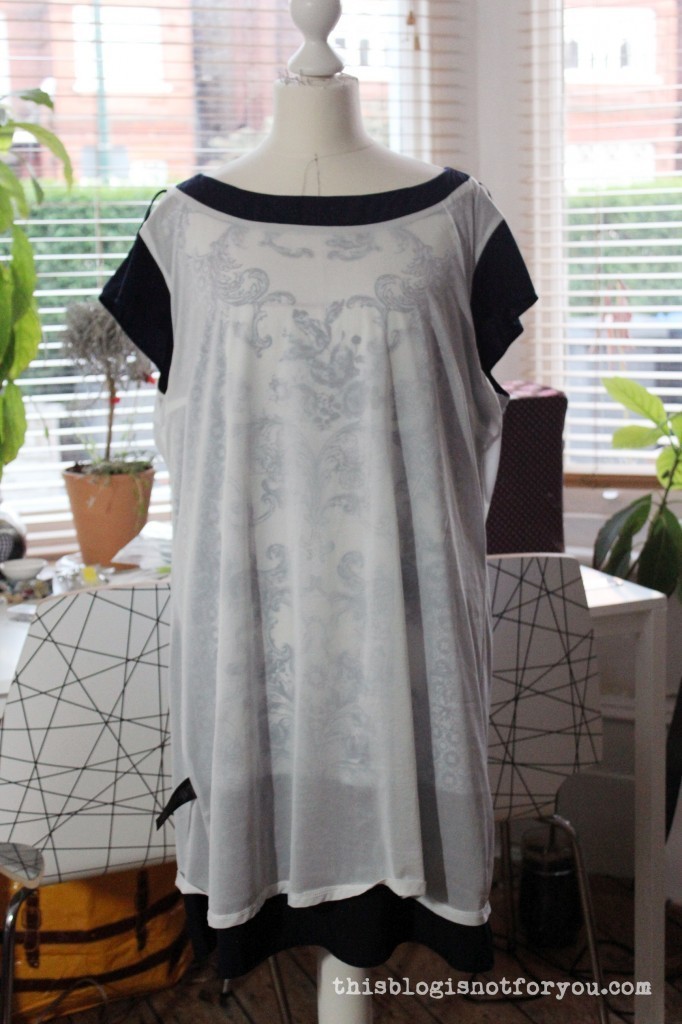 I threw the dress on my dressform, inside out. Pinning the lining out of the way I took in the sides of the dress, which actually took a bit longer than it sounds. Pinning, trying it on, repeat. Until I was satisfied with the fit. The tricky bit was the fact that there is just a very short zip in the back. I couldn’t take it in too much at the waist as it still had to fit over my shoulders and bust.

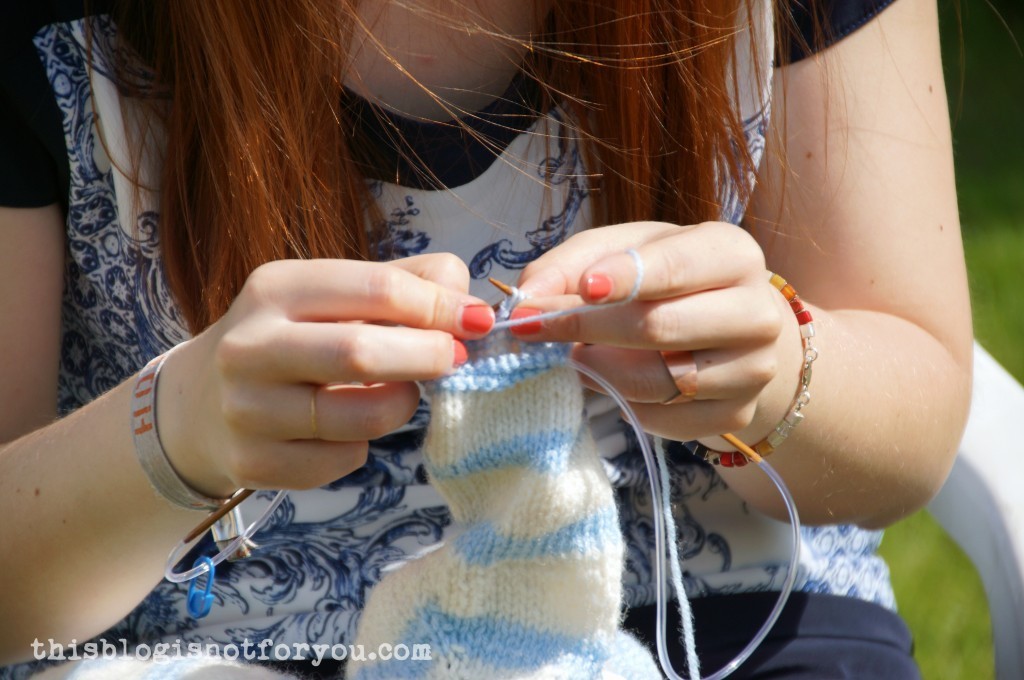
 As a soon-to-be-auntie I will have loads of excuses to sew tiny clothes and practise pretend-tea drinking. Ha!