SEW OVER IT Ella Blouse & Burda Culottes

SOI Ella Blouse and Burda Culottes by thisblogisnotforyou.com

SOI Ella Blouse and Burda Culottes by thisblogisnotforyou.com

SOI Ella Blouse and Burda Culottes by thisblogisnotforyou.com

SOI Ella Blouse and Burda Culottes by thisblogisnotforyou.com

Hi there! It’s been a while. We’re back from our summer vacation and the weather is finally cooling down enough for me to be able to use my sewing room again. (The drawbacks of having a very light space…) I did get some sewing done, though!

Today I’m sharing one of my most recent makes plus one make that was finished two years ago but never got any blog time.

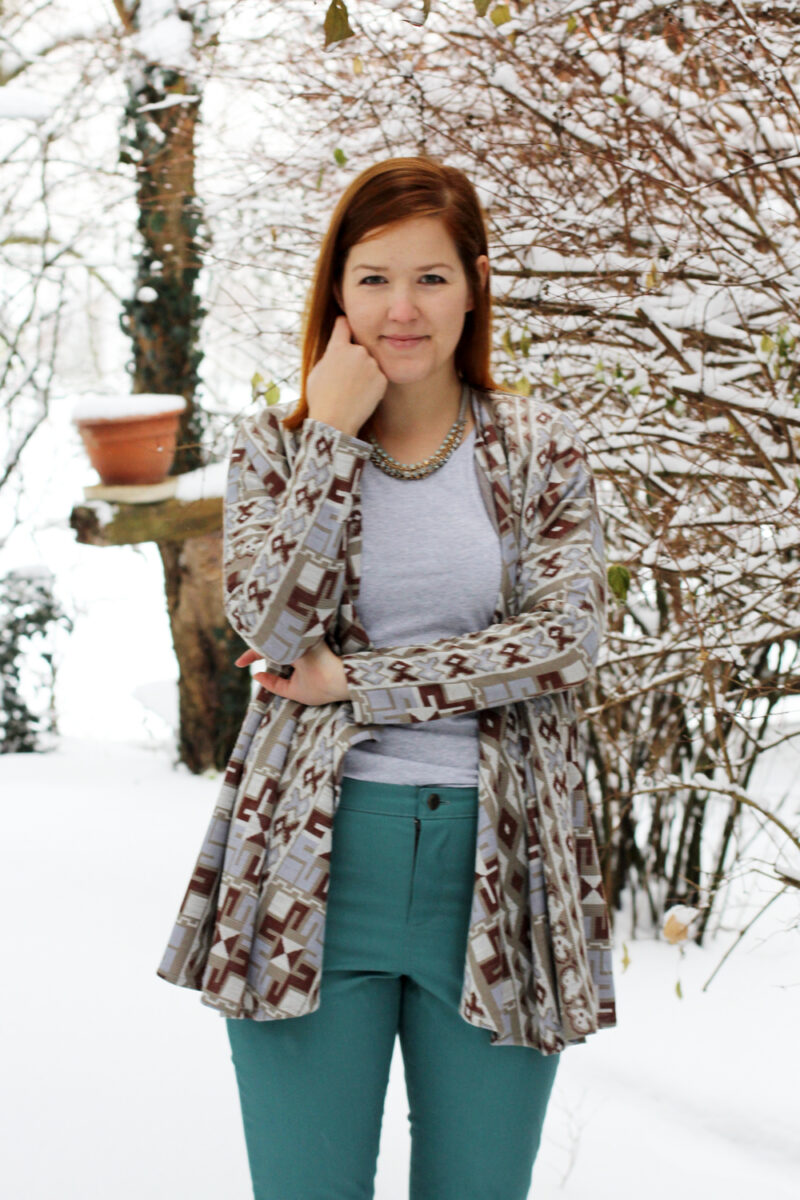
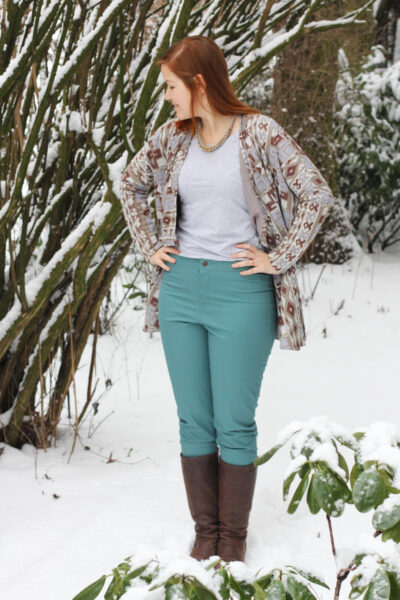
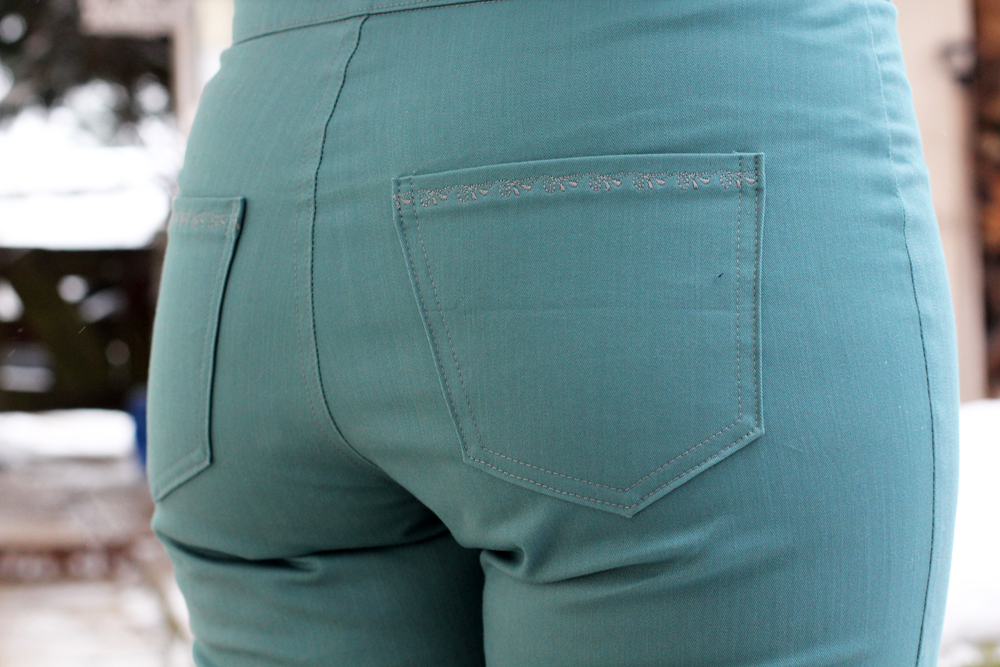
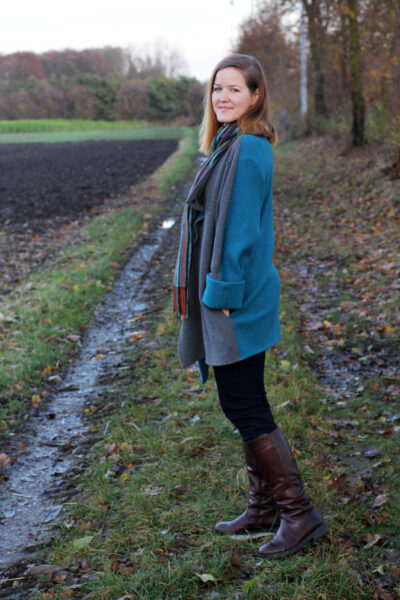
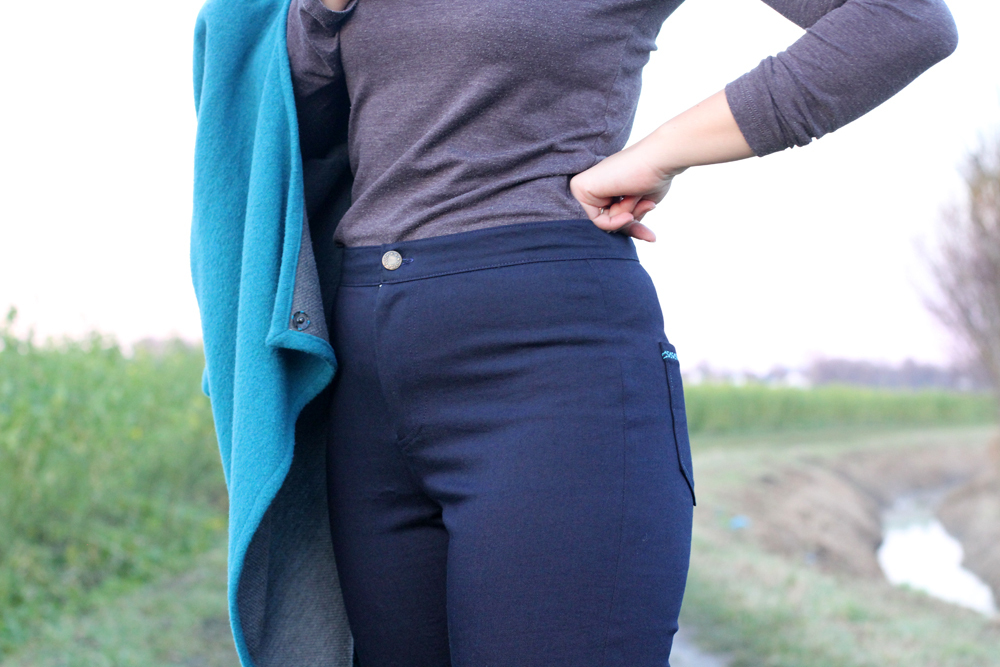
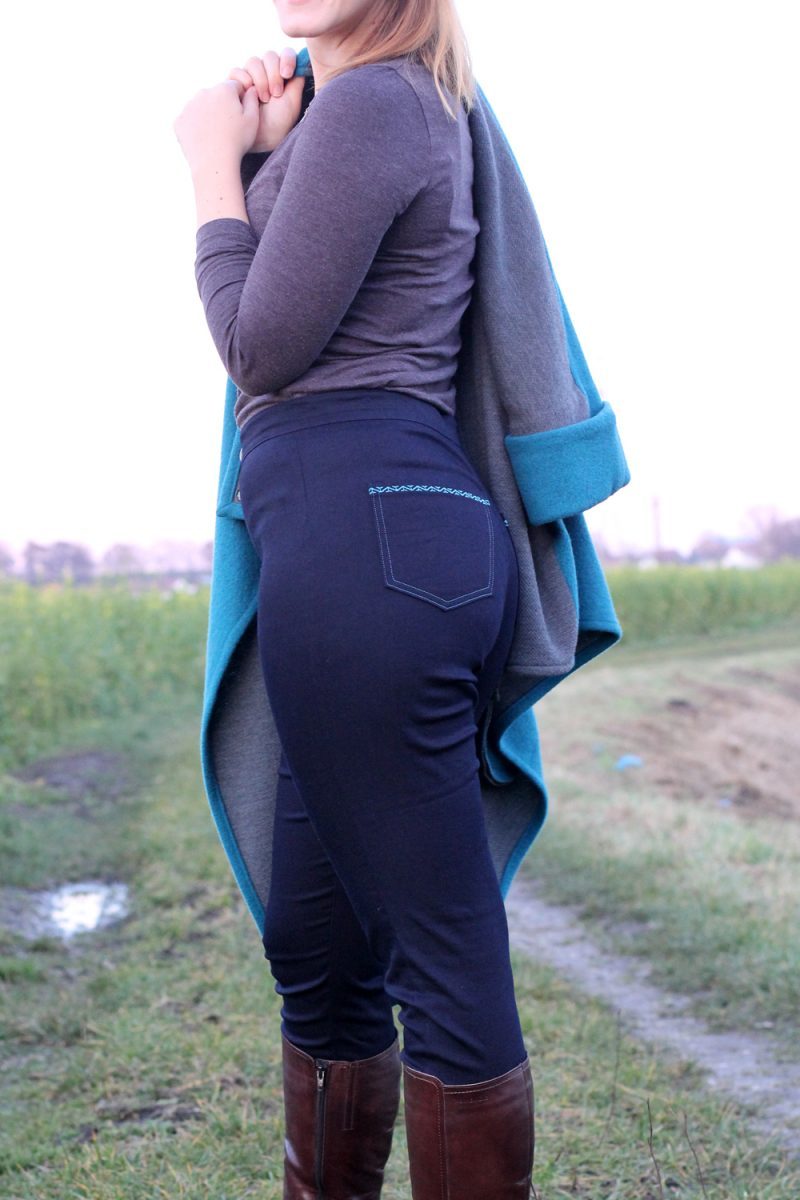
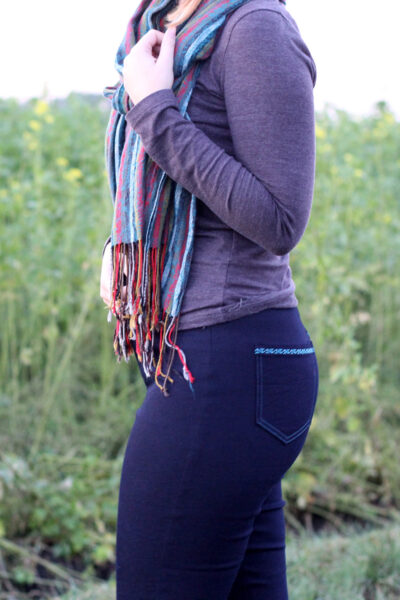
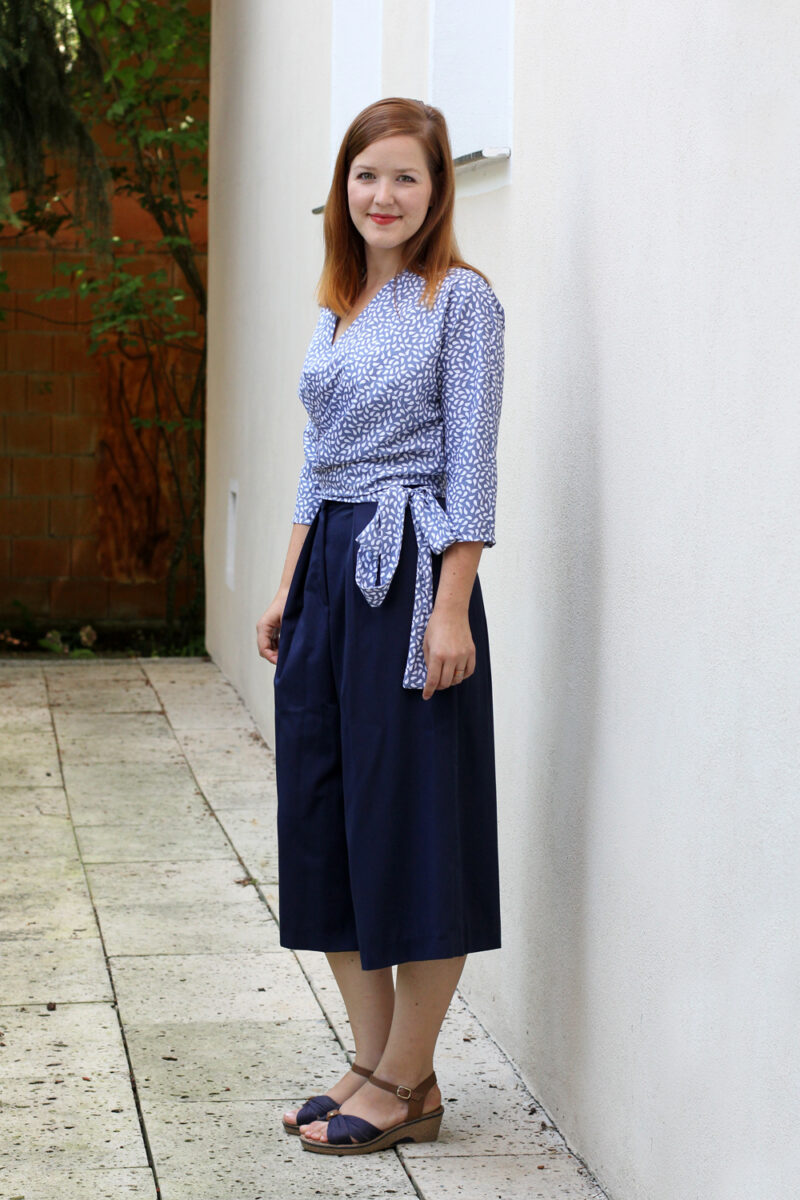
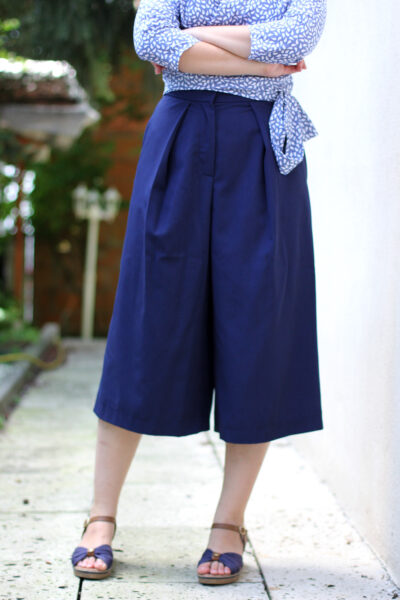
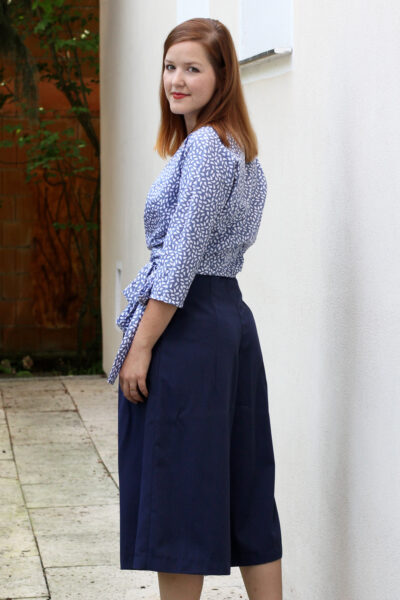
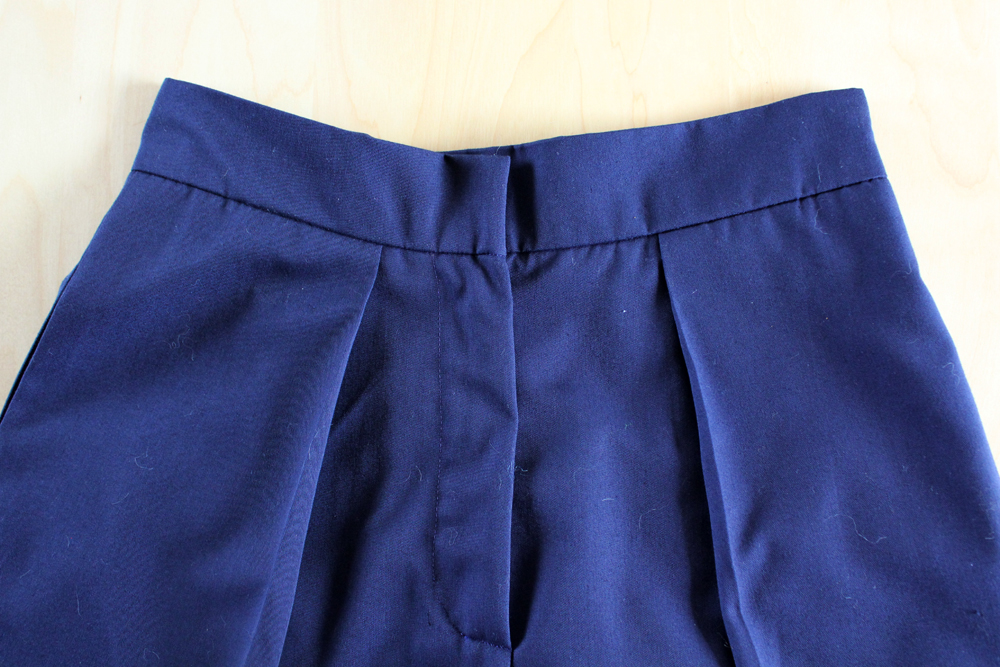
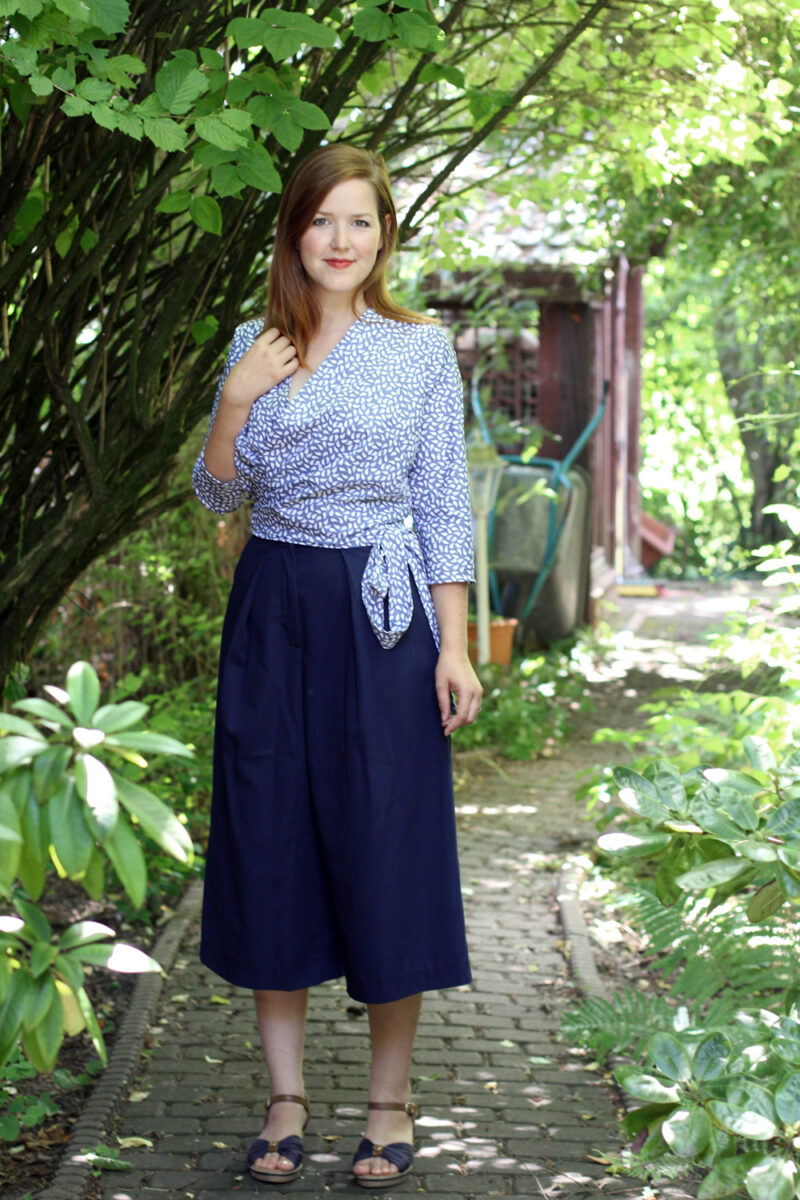
I made these fabulous Burdastyle culottes a while ago. They turned out really neat, but were way too tight at the waist, although I had made a muslin before I started. So I had these really neat culottes that I couldn’t wear. Two years later they fit me well enough to be put on and photographed, but the fit is far from perfect. I won’t be wearing them any time soon.

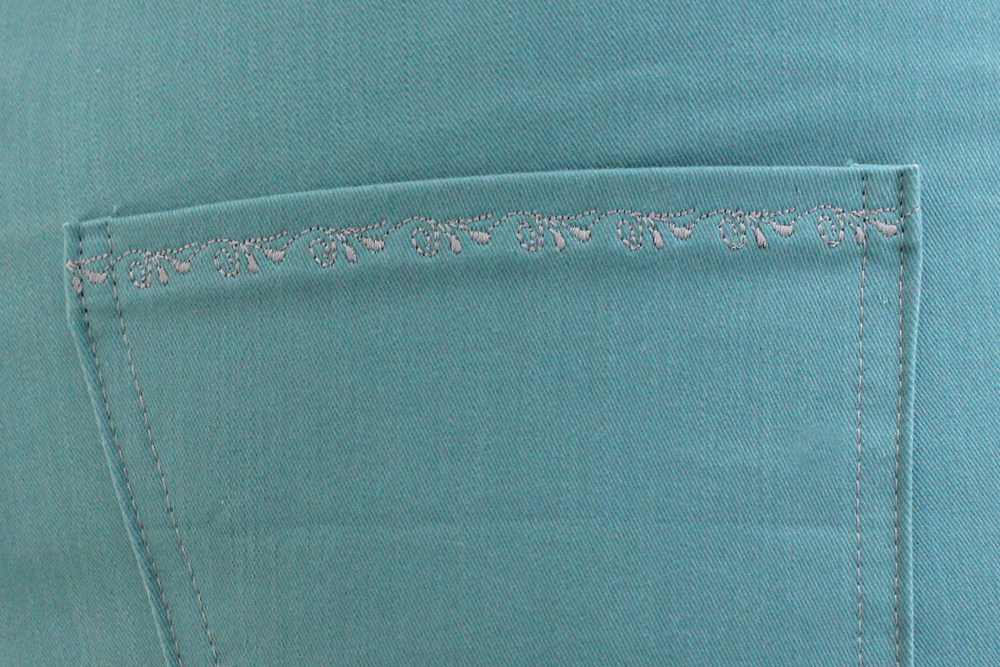
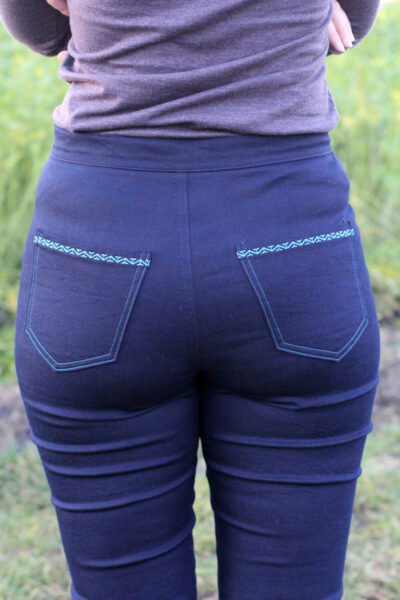
The pattern is Burda Style Midi Culottes 04/2015 #113A.  If you’re interested in a more detailed review of the pattern, check out the wearable muslin I made. I used a medium-weight midnight-blue cotton, that was a breeze to sew with. I overlocked all the raw edges and used some purple satin bias binding to encase the edge of the seam at the waistband.

SOI Ella Blouse and Burda Culottes by thisblogisnotforyou.comSOI Ella Blouse and Burda Culottes by thisblogisnotforyou.comSOI Ella Blouse and Burda Culottes by thisblogisnotforyou.com
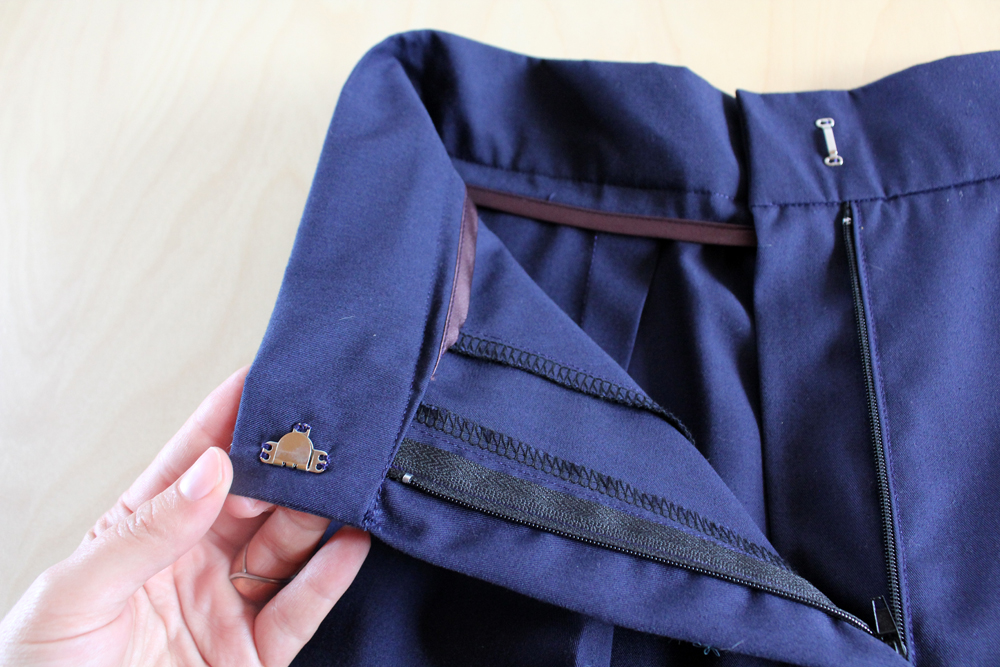
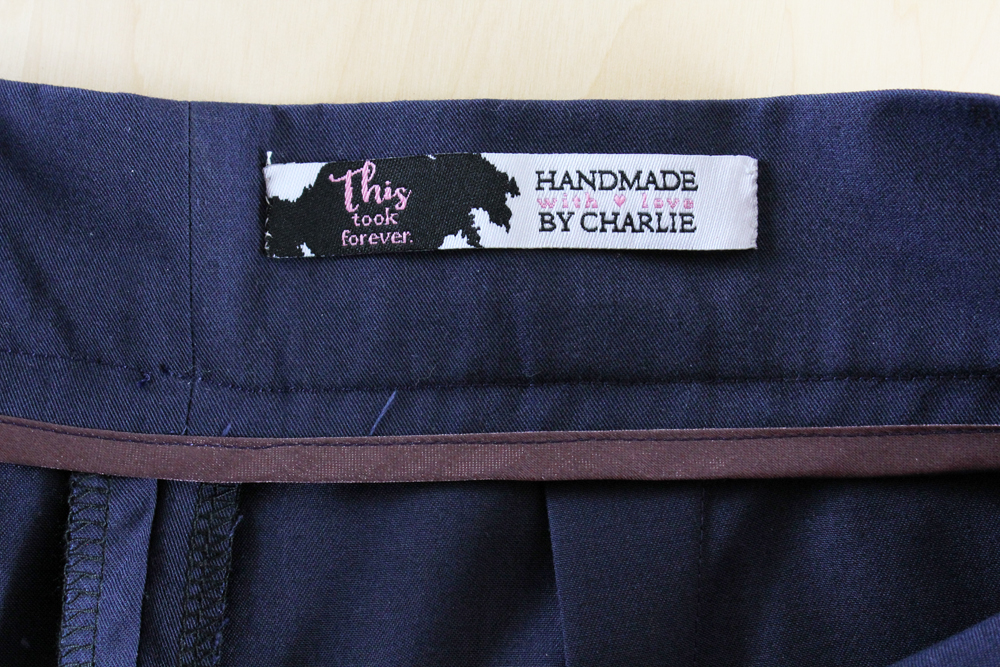
Oh, and check out my new amazing labels! (Courtesy of The Dutch Label Shop – there’ll be another post giving more details soon!) I had them match my blog layout, which I’m super happy about. I’ve got so many of them, I seriously need to up my sewing game now! But winter’s coming, so there’ll be plenty of time spent in doors way too soon!

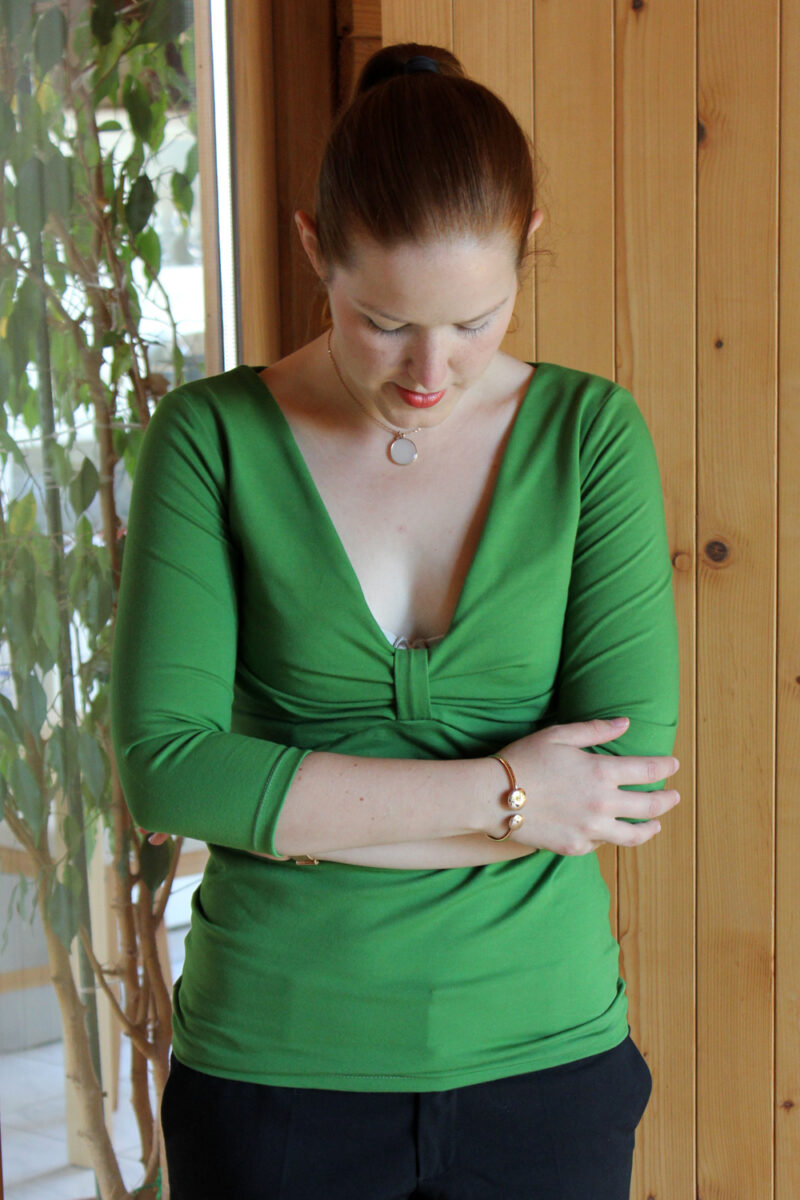
But now on to the blouse!
SOI Ella Blouse and Burda Culottes by thisblogisnotforyou.com

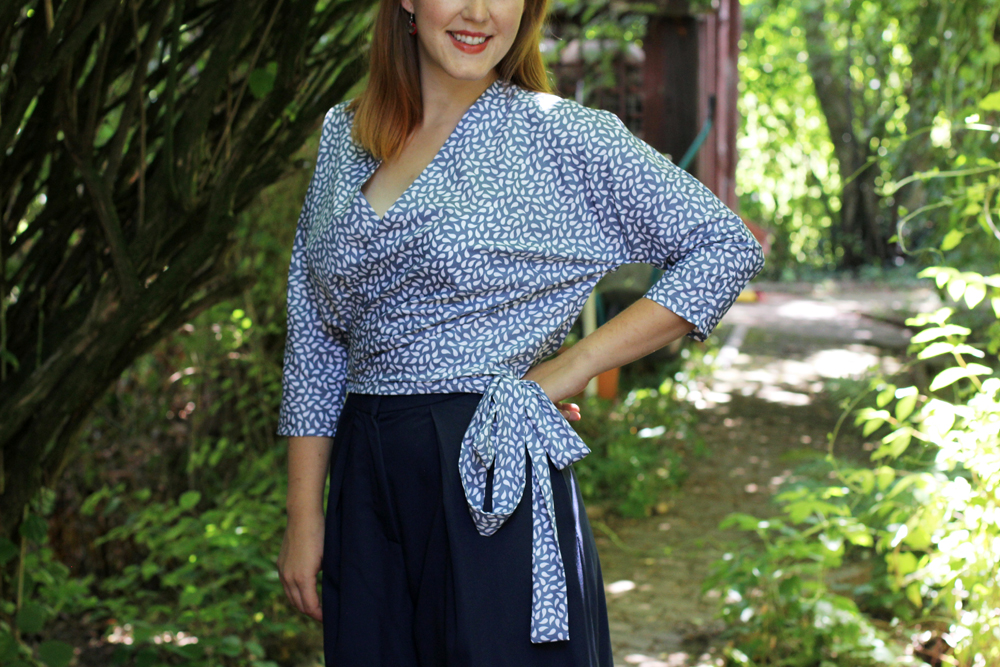
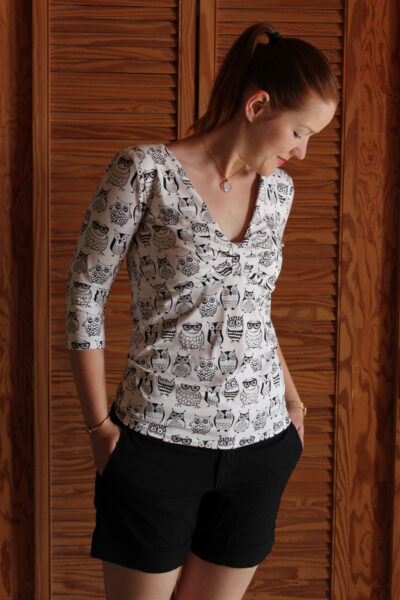
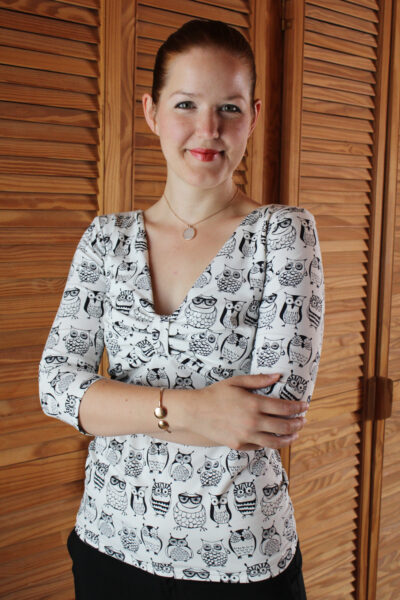
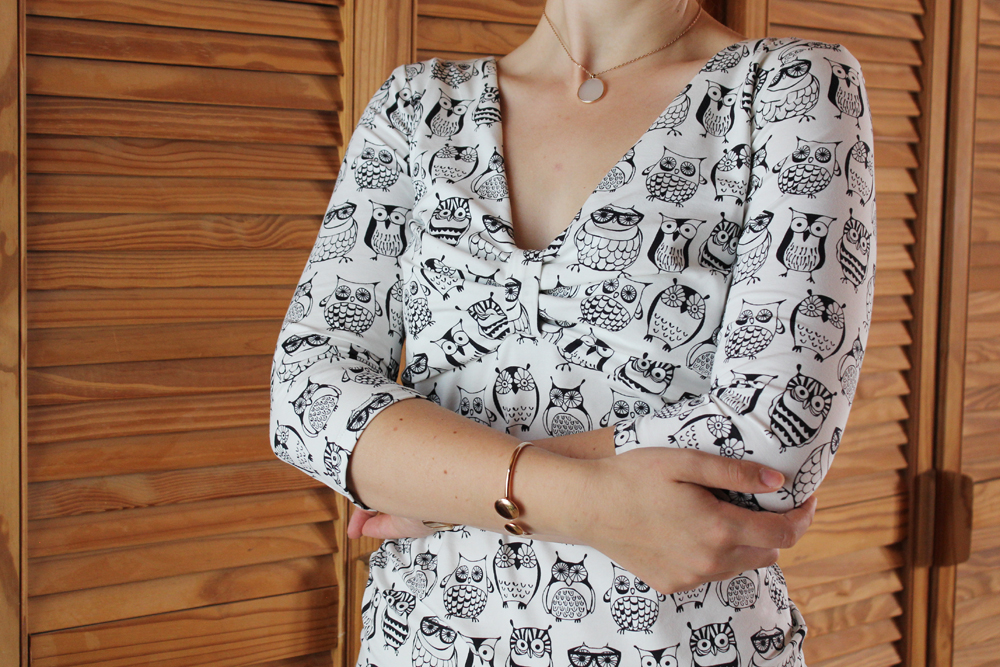
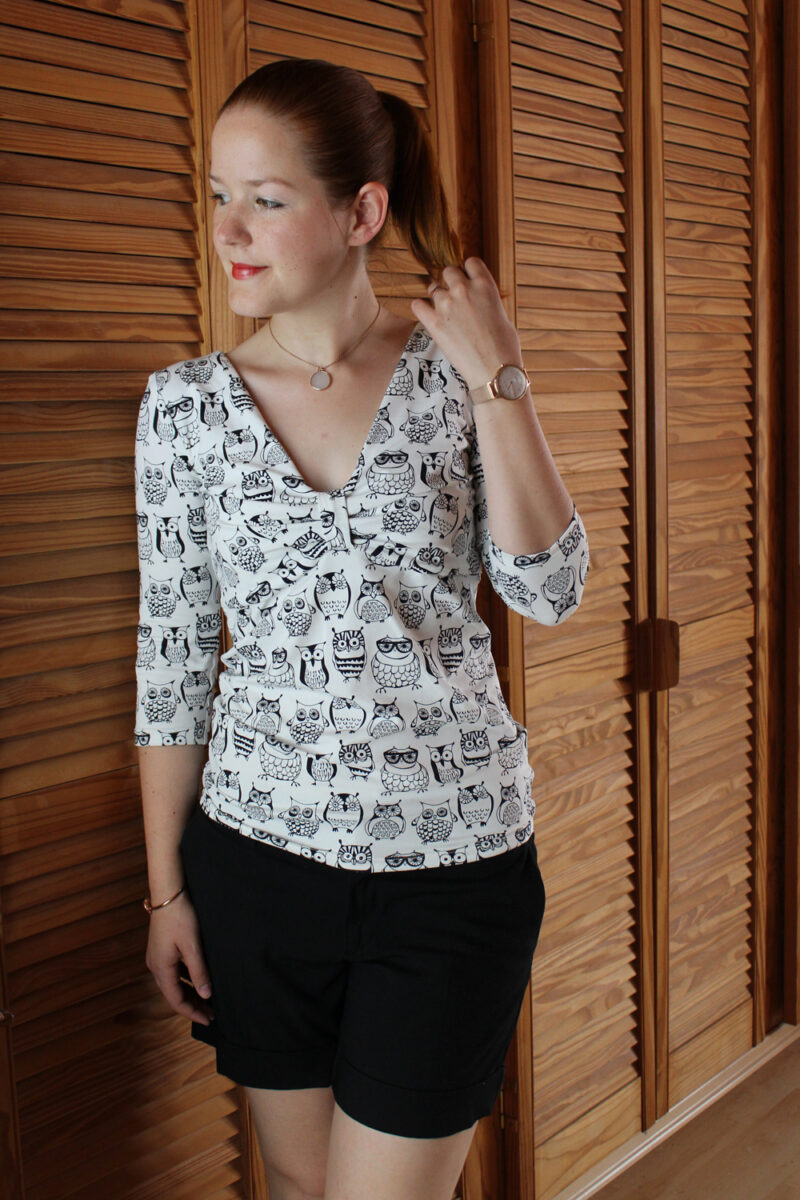
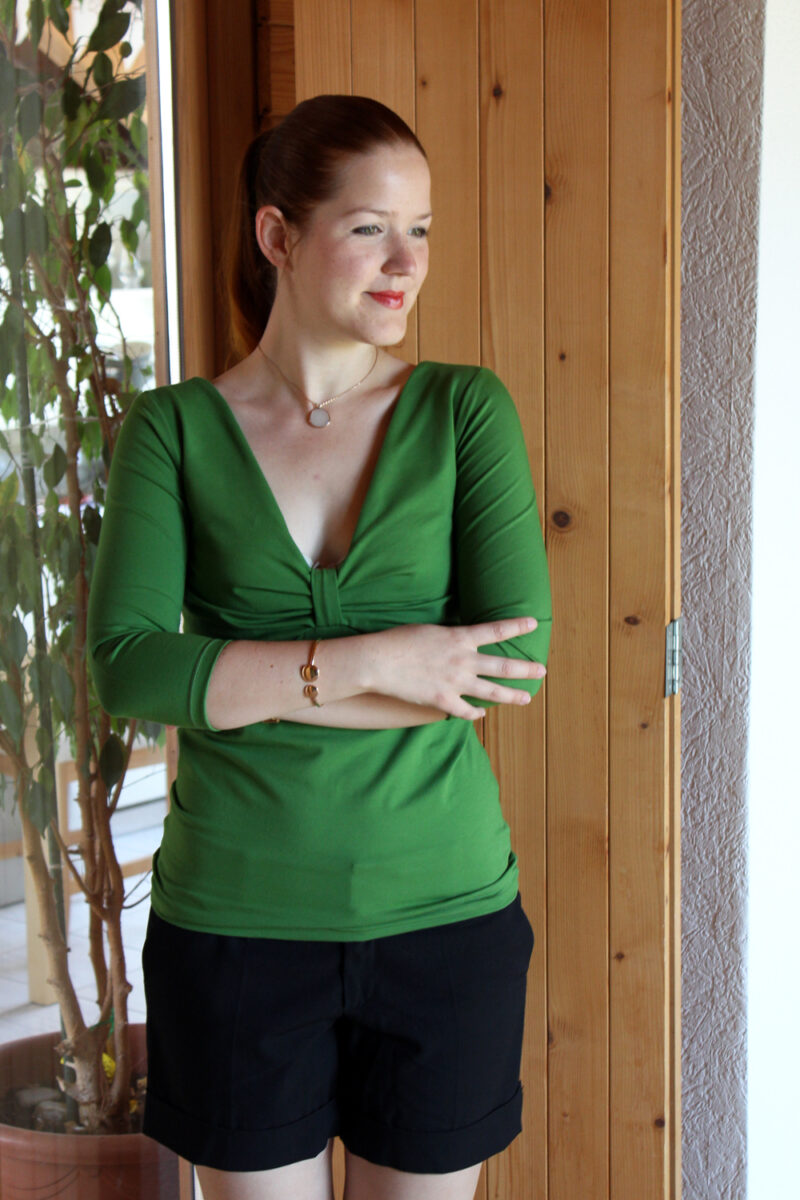
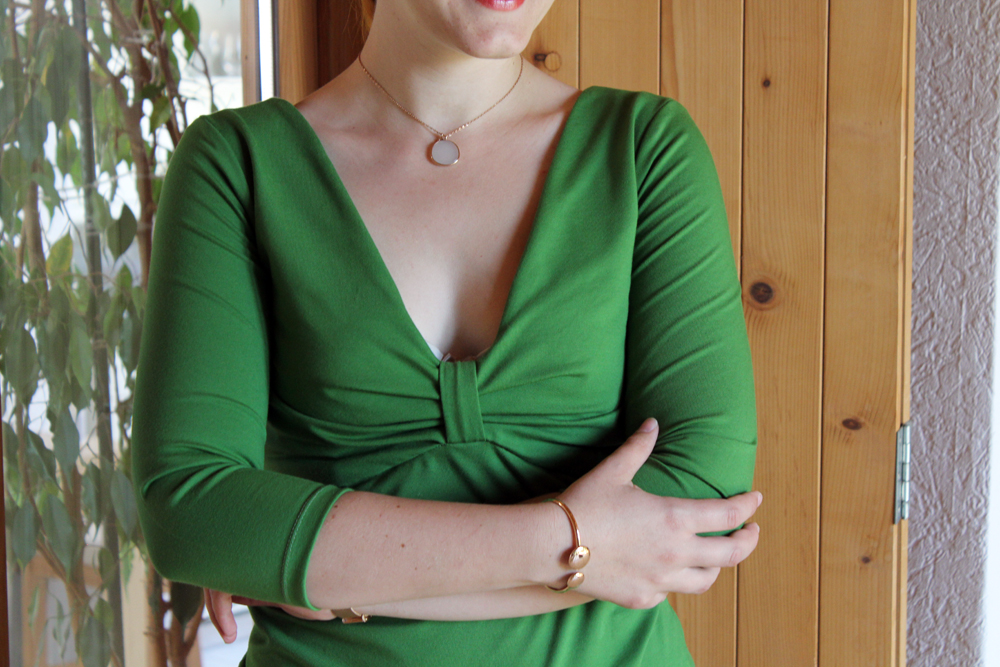
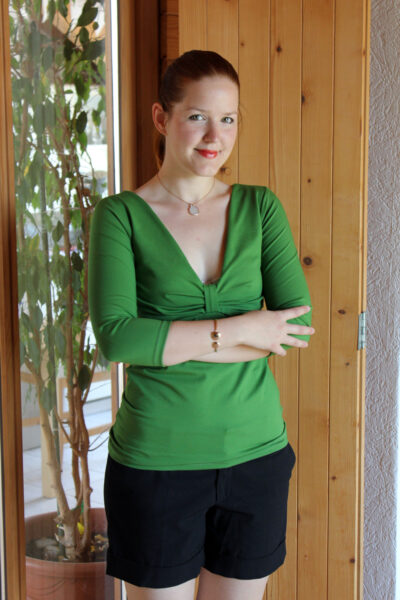
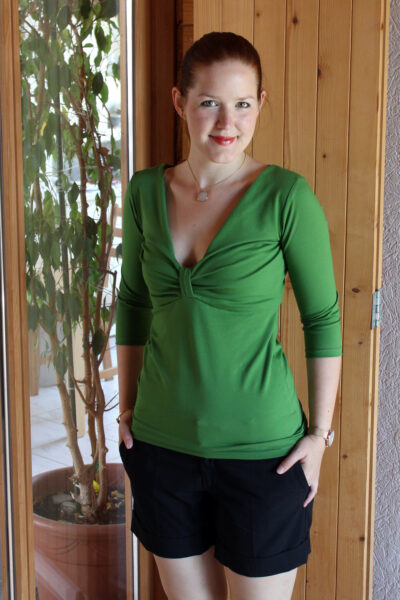
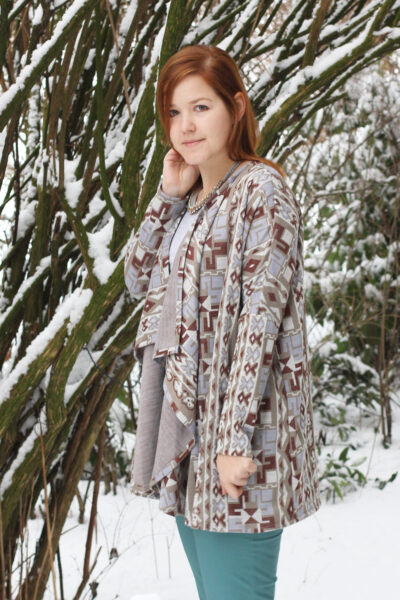
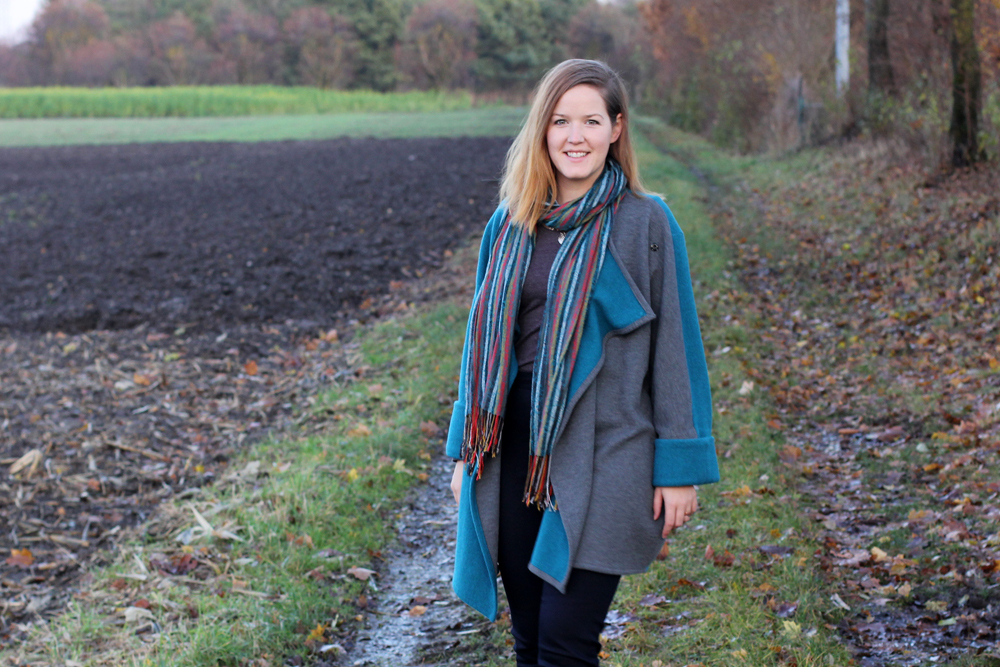
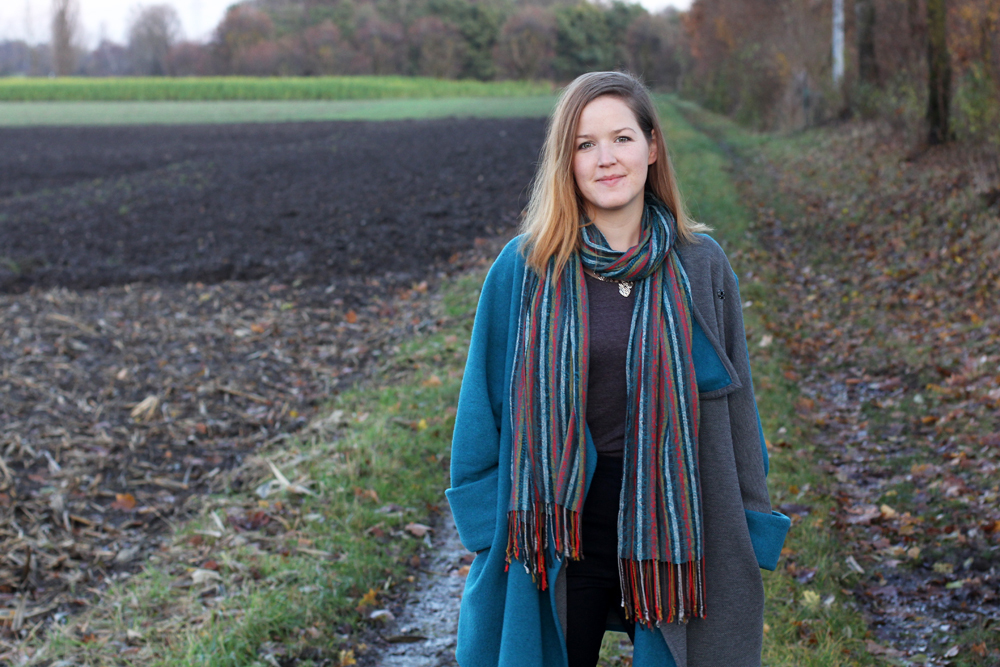
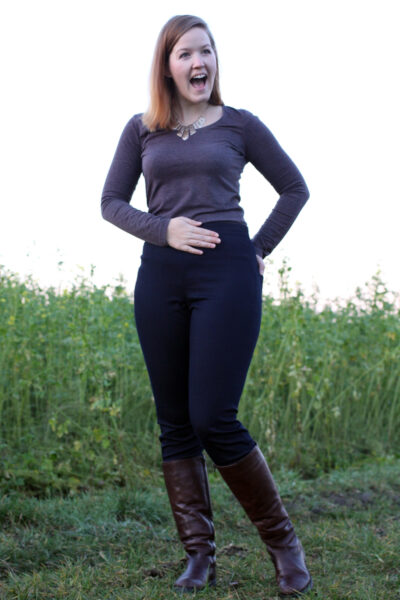
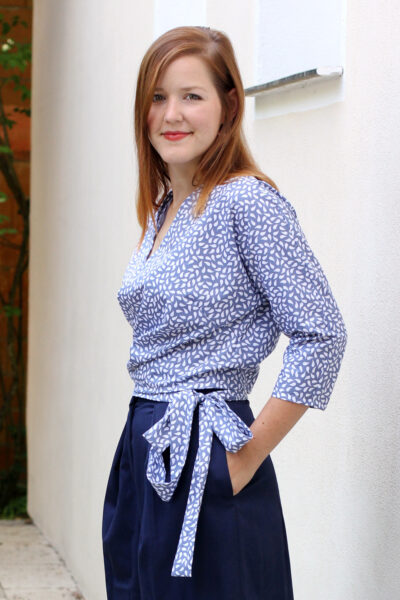
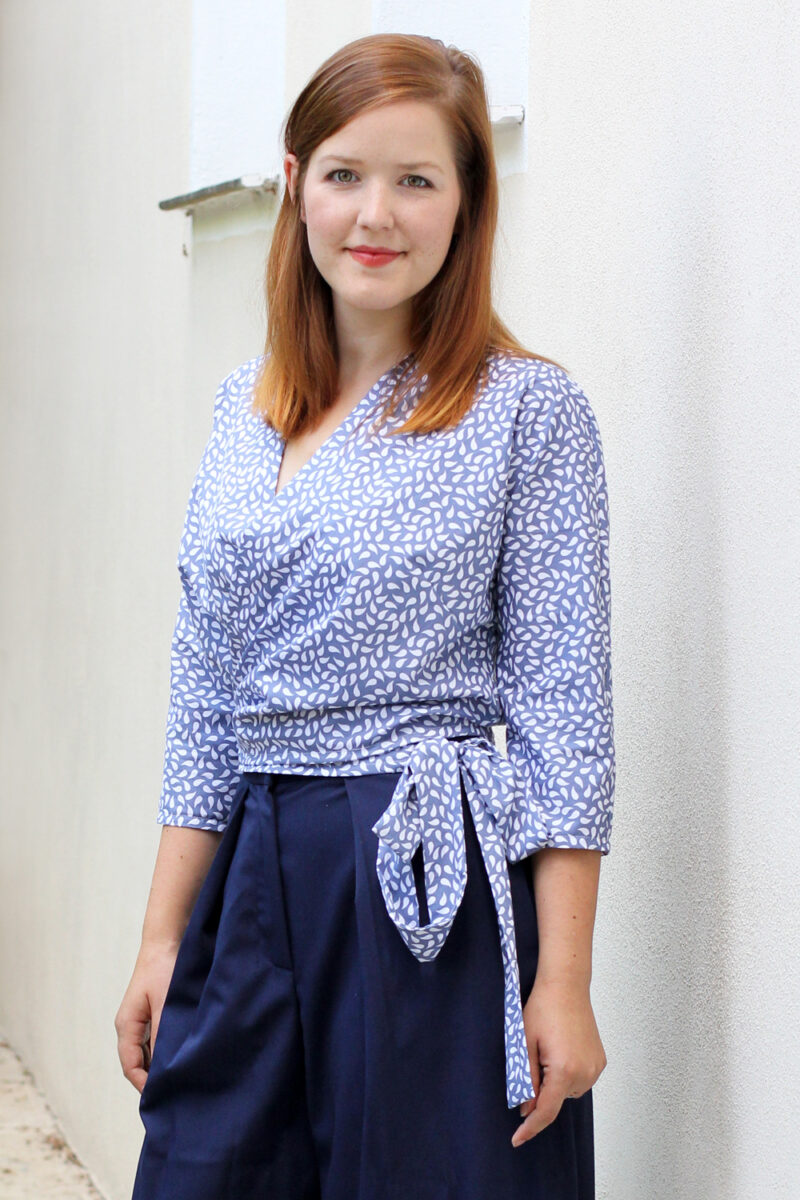
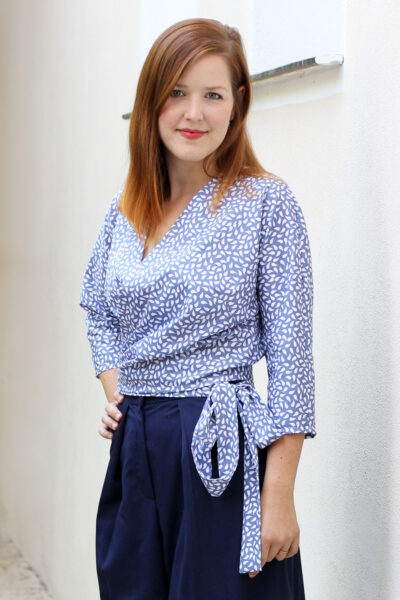
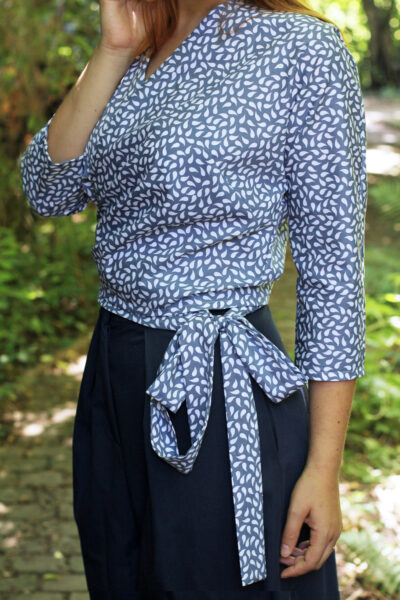
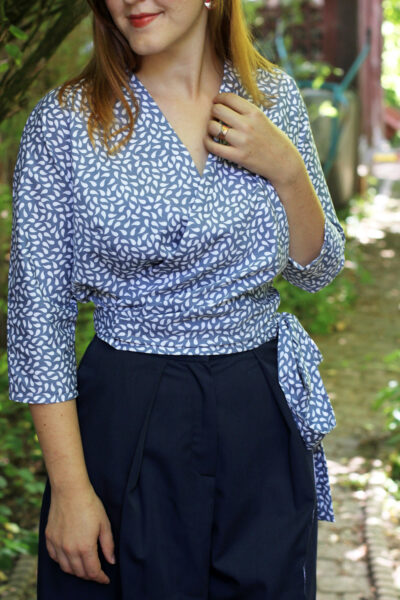
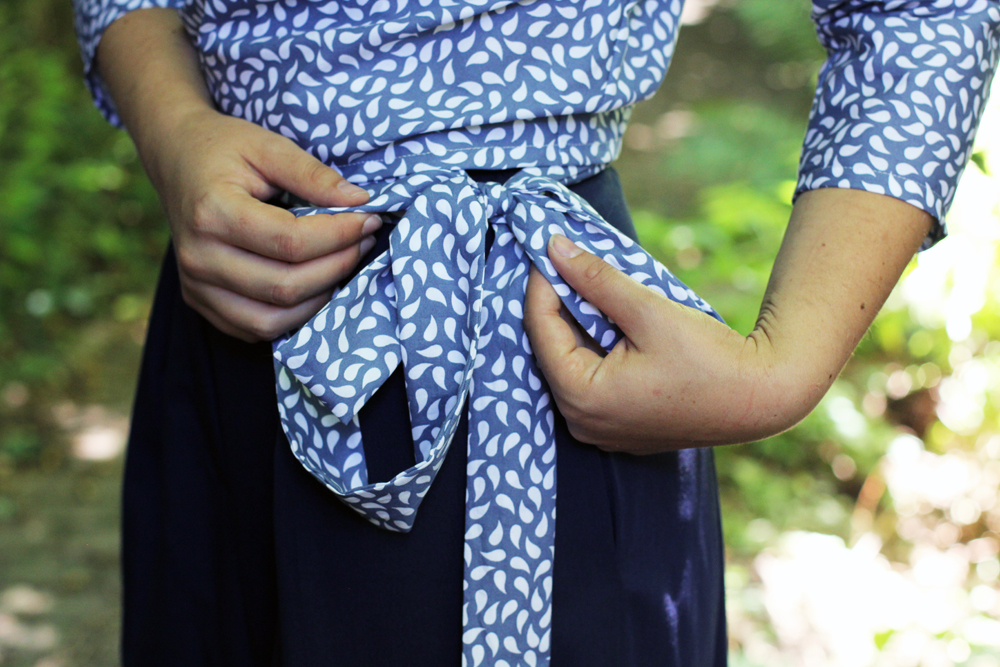
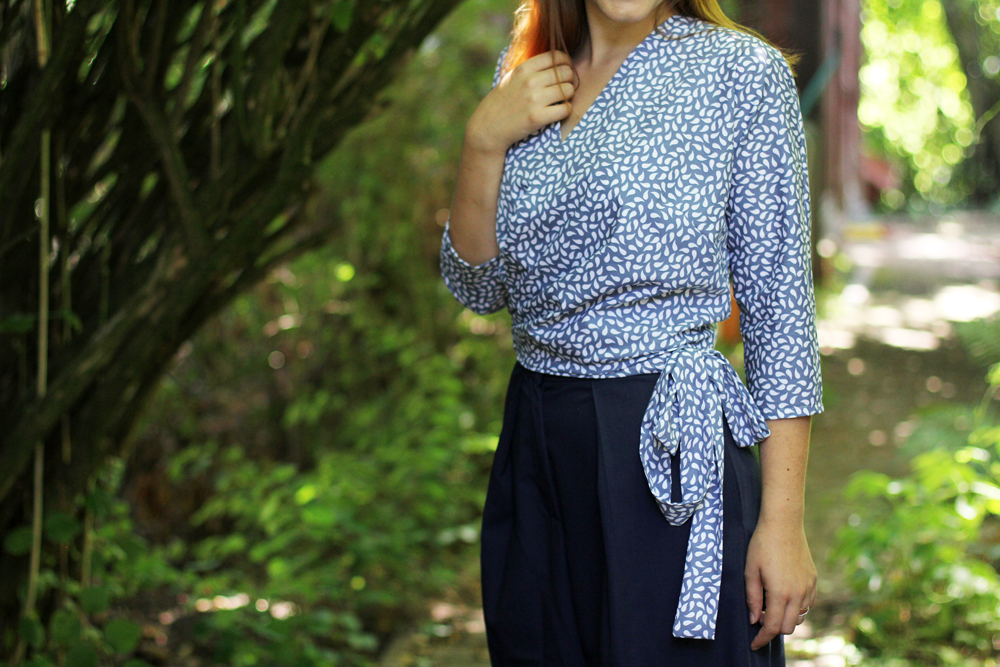
That second little pattern is the wonderful Ella Blouse by Sew Over It. It’s a pattern they’ve released quite recently. It’s a fairly simple and super quick little project I cannot recommend enough.  It doesn’t use up much fabric and a nice cotton or rayon fabric will do the job just fine. Another plus, no inserted sleeves, no zips or buttonholes! Which makes this project extra quick and pretty much fail proof.

I’m really happy with the fit. I was a bit concerned about gaping in the front, but there’s been no nipplegate yet. The only drawback I find is that you need some super high-waisted trousers or skirts to match with it, otherwise it’s not appropriate for work. Unfortunately, most of my high-waisted skirts are patterned, so I will have to make more plain skirts or more plain Ella blouses. I guess, I’ll end up making both!

SOI Ella Blouse and Burda Culottes by thisblogisnotforyou.com

SOI Ella Blouse and Burda Culottes by thisblogisnotforyou.com

SOI Ella Blouse and Burda Culottes by thisblogisnotforyou.comSOI Ella Blouse and Burda Culottes by thisblogisnotforyou.com

So…what’s next on my sewing list?
I’ll certainly make a few more Ella blouses, just because they are so easy to make, but as I said, I need more matching skirts! Also, there’s a Sew Over It Juliette Blouse already cut out waiting to be sewn and a few more Silk Camis planned. So quite a few SOI patterns! When I’m done with those, I have some really great autumn patterns lined most which are mostly going to be from Burdastyle magazine. (And there’s knitting to be done!) I definitely won’t be bored!

What are you sewing at the moment?


xx

Charlie


Happy sewing!

facebook/bloglovin/pinterest
twitter/instagram

Stay in touch!

A second, fitted Alice Top!

Sew Over It Alice Top by thisblgoisnotforyou,com

Sew Over It Alice Top by thisblgoisnotforyou,com

Sew Over It Alice Top by thisblgoisnotforyou,com

Hello there!

As mentioned in the previous post, here’s another version of the Alice Top from SEW OVER IT’s new online class.

This time I used a lightweight jersey with a black and white owl print. Adorable, right? I’ve talked a bit about the online class and the construction of the pattern in the previous post. So if you want to know more about the pattern and the class, you can read about it here.

These are all the adjustments I made:

  • The front neckline was gaping ever so slightly. I took out 2 cm on length from the front neckline at the shoulders.
  • The sleeves were rather tight. I added 1 cm width at the sleeve seams.
  • The fit at the waist was quite loose. I took out about 2 cm of width on each side an around the waist and about 1 cm around the bust.

The fit is much better now and the top more comfortable to wear, although the changes are probably hardly noticeable. I’m really pleased with this top and can’t wait to wear it more often! We’re having a heat wave at the moment, so anything with sleeves is out of the question.

Wanna hear a fun story?

I wore this top when I went out to a restaurant with my family. When I wanted to put it in the wash a few days later, I only then noticed that there were still pins in there! The little bust tab at the front was only secured by two pins on the inside. This was one of the times I was glad I’m quite flat-chested. Otherwise, eating out might’ve become quite uncomfortable…
Sew Over It Alice Top by thisblgoisnotforyou,com

Have you left the house pins still sticking in your clothes?

xx

Charlie


Happy sewing!

facebook/bloglovin/pinterest
twitter/instagram

Stay in touch!

Green Jersey Alice Top (SEW OVER IT online class)

Sew Over It Alice Top by thisblgoisnotforyou,comSew Over It Alice Top by thisblgoisnotforyou,com

Sew Over It Alice Top by thisblgoisnotforyou,com

Hi everyone!

A few weeks ago, I got to try out the new SEW OVER IT online class ‘Intro to Sewing with Knit Fabrics’. (As always, all opinions are my own!) I’ve never really made use of online courses before. I bought a couple on Craftsy ages ago but never actually made anything from it.

When the lovely ladies over at SEW OVER IT approached me, I immediately wanted to try after getting a glimpse at the patterns included in the class. I love their work and most of my favourite patterns are from SEW OVER IT. The Alice Top, with a faux bow front, was incredibly tempting! (There’s another pattern included, the Emma dress, which looks lovely, but I haven’t tried it yet.)

About the class:

It was pure joy to follow this online course. It’s always great to see lovely Lisa in action and she perfectly explains all the steps involved in making this cute top. The construction is not too tricky, but a bit unconventional and seeing it being put together on camera helps a lot. There’s a lot of useful information about sewing with knits included. As a more experienced sewer, I really enjoyed this class, none-the-less. It’s delightfully relaxing, as you really get immersed in the project.

My first Alice Top:

I used a green lightweight jersey, as was recommended in the class. (The fabric was gifted to me by my mother-in-law, so I’m afraid I cannot tell you where to buy it!)

For this first version of the Alice Top I went through the class step-by-step, pretty much cutting a straight size 10 without making any fit adjustments. It turned out really well! There were a couple of minor fit issues, I could easily fix before cutting another version of this pattern:
(Remember, these have nothing to do with the pattern itself, but are specific to my body measurements and posture)

  • The front neckline is gaping ever so slightly
  • The sleeve were rather tight
  • The fit at the waist was quite loose

The only thing I adjusted on the green top was taking in the waist by approximately 2 cm on each side. I’ll show you the fitted version of this top in the next post!

But perfect fit or not, this trial round went really well, don’t you think? The top is perfectly wearable and I’m really happy with it.

A few words about the construction: The Alice Top is fully faced, front and back, to create a perfect, close-fitting V-neckline and stabilise the gathers at the front. With the very detailed video instructions, this rather unconventional pattern isn’t very hard to construct. Once I finished the first top, I hardly had to revisit the course to make the second one.
The construction takes a bit longer than the average jersey top, as you have to stabilise the neckline and sew a couple more seams because of the facing. But the finishes look incredibly neat and professional.

No overlocker needed!

For this first top, I only used my sewing machine. So if you do not have access to an overlocker, this is the perfect project for you. Because of the specific construction techniques used in this course, you’ll get very neat finishes without having to use any professional equipment.

Sew Over It Alice Top by thisblgoisnotforyou,com

This was also the first project Aslan very helpfully assisted with modelling. I didn’t realise he might be a bit too big to use as accessory until after seeing these photos! Man, he’s grown so much in the past two months!

As I don’t want to post too many sewing-unrelated pics on my blog’s social media accounts, Aslan now has got his very own…For those of you, who want to see more of this cute little face, you can FOLLOW ON INSTAGRAM to watch him grow up!

Sew Over It Alice Top by thisblgoisnotforyou,com

What are your thoughts about online classes? Are you a fan?

xx

Charlie


Happy sewing!

facebook/bloglovin/pinterest
twitter/instagram

Stay in touch!


Another Pair of Mia Jeans

Mia Jeans by thisblogisnotofryou.com

Mia Jeans by thisblogisnotofryou.com

Mia Jeans by thisblogisnotofryou.com

Hello! Here’s a quick share of another pair of Mia Jeans by SEW OVER IT that I made a couple of weeks ago. As you can see, the weather wasn’t too great when taking these pictures. If you need more details on this pattern, check out my first Mia Jeans post.

I’ve worn them pretty frequently and they’re holding up great. So far, they haven’t stretched out at all and the waistband kept its shape nicely. The fabric of the first pair of Mias I made was softer and stretchier, and the waistband creases quite a bit.

Again, as last time, I used the back pockets construction to try out some more embroidery stitches on my new sewing machine. I’m not a big fan of contrasting stitching on jeans, and this tiny added detail suits my taste perfectly. This time I interfaced the pocket pieces before adding the embroidery stitches, so the fabric didn’t stretch. Mia Jeans by thisblogisnotofryou.comMia Jeans by thisblogisnotofryou.comMia Jeans by thisblogisnotofryou.com

I’m really happy with this pattern. The fit is great and it’s a perfect base for future hacks. I like the extra large seam allowance – it really helps with the fitting process. The stretch fabrics make it easy enough, but as the amount of stretch in fabrics differs quite often, it’s necessary to do at least one fitting (or more if necessary), before finishing the outer side seams.

And yay! This time I got the front fly right from the beginning! I’ve got three more fabrics waiting to become some sort of Mia hack, so keep your eyes peeled!

Have a great week everyone,

xx

Charlie


Happy sewing!

facebook/bloglovin/pinterest
twitter/instagram

Stay in touch!

Burda Wool Coat & Mia Jeans

Burda 09/2015 #117 and Mia Jeans by thisblogisnotforyou.comBurda 09/2015 #117 and Mia Jeans by thisblogisnotforyou.com

Burda 09/2015 #117 and Mia Jeans by thisblogisnotforyou.com

Burda 09/2015 #117 and Mia Jeans by thisblogisnotforyou.com

Today I’m sharing two pretty amazing projects with you. One is an oversized coat I made last Winter and didn’t get around to blog until now and the other one is hot off the sewing machine: my first pair of skinny jeans!

Coat pattern: Let’s have a look at the coat first. For this cosy wool coat I used Burdastyle pattern 09/2015 #117A. View B is belted and slightly shorter than View A. The pattern is pretty brilliant as long as you use the right fabric. They’re asking for double-sided wool because it comes without lining. Therefore, it’s a really quick, simple sew. No interfacing, no lining, no bindings. It’s pretty much just three pattern pieces: front, back and back sleeve (plus pockets). The sleeves are two pieces. The front one is cut as a kimono sleeve and part of the front bodice pattern.


Burda 09/2015 #117 and Mia Jeans by thisblogisnotforyou.com

Burda 09/2015 #117 and Mia Jeans by thisblogisnotforyou.com

Fabric & construction: I found this amazing double-sided wool fabric at stoffkontor.eu for a very good price. Unfortunately, they’ve run out of it since. It’s a lovely teal boiled wool on one side and a grey sweater knit on the other side. The pattern really requires a fabric with “two good sides”, so this one was perfect.

You might wonder about the contrast detail I did in the front. Well, this wasn’t planned I have to admit. I made a mistake I haven’t made in a long time: I forgot to mirror the front pieces. To my defense, I had to cut the coat with the fabric laid flat in one layer, because the pattern pieces are huge. I simply forgot to flip over the front pattern piece before cutting it out a second time. As I did not have enough fabric and couldn’t be bothered to order more, I decided to run with it.

Looking at it now, I think it looks pretty neat. The Mr thinks it’s the best feature of the coat, and he’s kind of right. Still, I sometimes catch myself thinking of it as a mistake, because I know it wasn’t planned.

The construction is very easy. So this is a great project for anyone who doesn’t feel ready yet to tackle a proper coat. As for finishing the raw edges, you simply fold over the edges and stitch them in place. So the only tricky bit is getting the mitred corners right and neat.

The coat closes as a wrap with two snap fastenings at the top.

Burda 09/2015 #117 and Mia Jeans by thisblogisnotforyou.comBurda 09/2015 #117 and Mia Jeans by thisblogisnotforyou.com

Burda 09/2015 #117 and Mia Jeans by thisblogisnotforyou.com

Burda 09/2015 #117 and Mia Jeans by thisblogisnotforyou.com

Skinny jeans pattern & construction: Let’s talk about my first pair of Mia Jeans! When SEW OVER IT published their Capsule Wardrobe pattern ebook, I couldn’t wait to try the skinny jeans pattern. I love a good high-waisted, simple pair of trousers and I love skinny jeans.

I was a bit concerned that getting the fit right might be a bit of a struggle. Luckily I had some really stretchy denim fabric in my stash which I could use as a muslin. Turned out I didn’t really need a muslin, as the fit was great and I only had to make minor adjustments. The pattern comes with an extra wide seam allowance at the side seam which makes fitting very easy.

Burda 09/2015 #117 and Mia Jeans by thisblogisnotforyou.com

Burda 09/2015 #117 and Mia Jeans by thisblogisnotforyou.com

Sewing the pockets was so much fun. Next to sewing the front fly, getting the pockets right is probably taking longest. I basted them on by hand before stitching to get them perfect.

I had a lot of fun trying out decorative stitching with my new sewing machine. I did not use contrasting thread for all seams, just for the pockets. It’s a very minimalist pattern, so the pockets really are the eye-catcher.

Although I’ve sewn quite a few front flies before, I struggled a bit with this one. I accidentally sewed the front shut and overlocked the seam before realising I was missing the front fly. Stupid, I know. I had to cut off quite a bit of the seam allowance to remove the overlocked edge and there wasn’t much left to play around with. Which made constructing the front fly a bit difficult. That’s why the zip is showing a bit, which is somewhat annoying.

Lisa of SEW OVER IT made a wonderful video tutorial on sewing the front fly, which you can find on her youtube channel. There are photographed instructions in the ebook, but if you’ve never tackled a front fly before, I really recommend watching the video tutorial.
Burda 09/2015 #117 and Mia Jeans by thisblogisnotforyou.com

Burda 09/2015 #117 and Mia Jeans by thisblogisnotforyou.com

(Very casually sucking in that tummy and hiding the showing zip)Burda 09/2015 #117 and Mia Jeans by thisblogisnotforyou.com

Both jeans and coat are amazingly comfy and therefore my new work uniform. I got a lot of compliments for the coat. Nobody mentioned the jeans, which, I think, means they don’t look handmade and that is a good thing.  I made a pair of skinny jeans that looks store-bought, ha!

Will I be making more? I definitely won’t make the coat again, as you do not need an indefinite amount of coats, and I am planning on making a properly lined and interfaced one this winter. But I will be making tons of Mia Jeans! In fact, I have already made another pair and bought fabric for at least three more! It’s definitely my go-to jeans pattern now and plain enough to use as a base for some great pattern hacks.

What’s your favourite pattern at the moment?

xx

Charlie


Happy sewing!

facebook/bloglovin/pinterest
twitter/instagram

Stay in touch!