
Ultimate Pencil Skirt: Faux Wrap Hack


ANOTHER WEDDING OUTFIT
Finally I’m sharing this skirt with you! This is easily one of my favourite projects this year. Although I have to admit, that I actually finished this in 2015! I did not get around to wear or blog about it during the last winter.
Luckily, though, because when we got married in May, I needed an outfit for the registry office. I wouldn’t have wanted to wear something I wear all the time, but there wasn’t enough time to sew a whole new outfit amidst all the wedding dress making. I remembered I had this gorgeous pencil skirt number in my closet, patiently waiting for its first outing.
It’s chic but not over the top and matched our wedding colour scheme perfectly. It was only us two plus best man and maid of honor at the registry office, so a big gown would’ve been out of place.
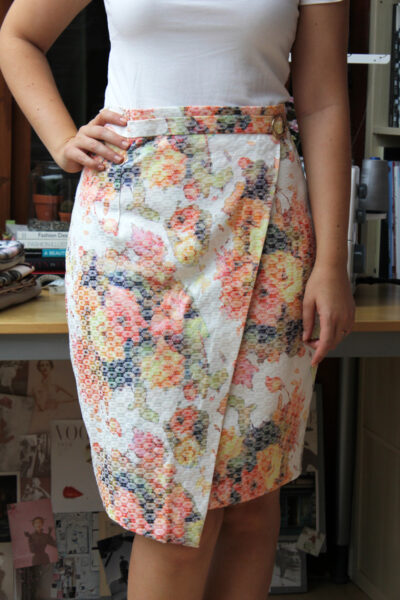
So here it is!
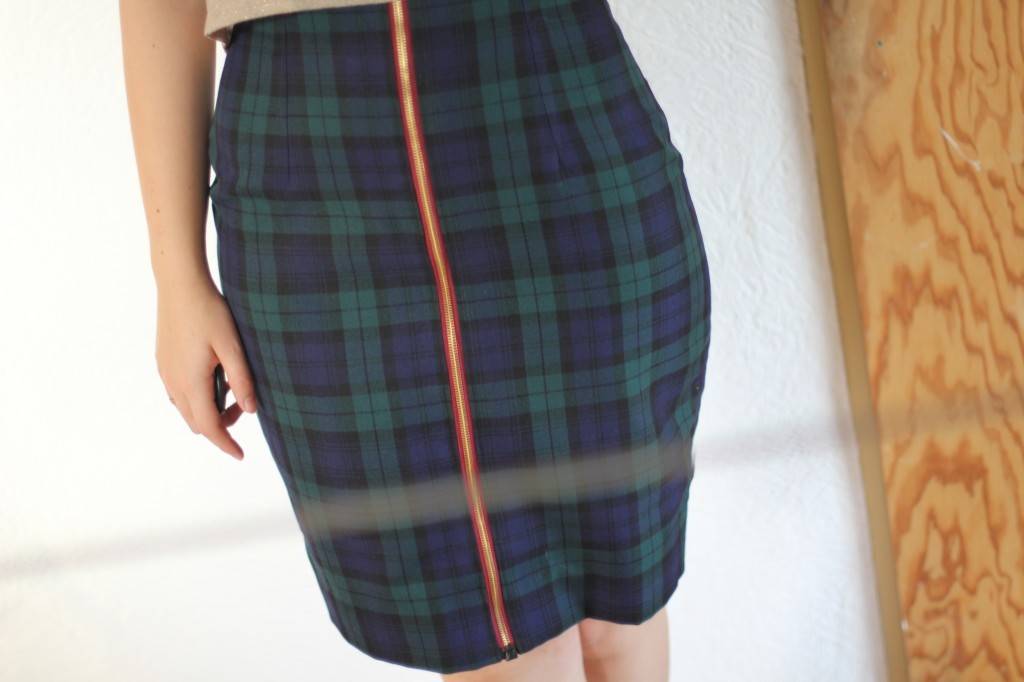
PATTERN. To make this skirt, I basically hacked the SEW OVER IT Ultimate Pencil Skirt. As you know, I have a serious love affair with this pattern, I even based the skirt of my wedding dress on it. So now that I think about it, I got married twice in one weekend, both times wearing a hacked variation of the Ultimate Pencil Skirt. By looking at the skirt, the hack might seem to be quite complicated, which it is not!
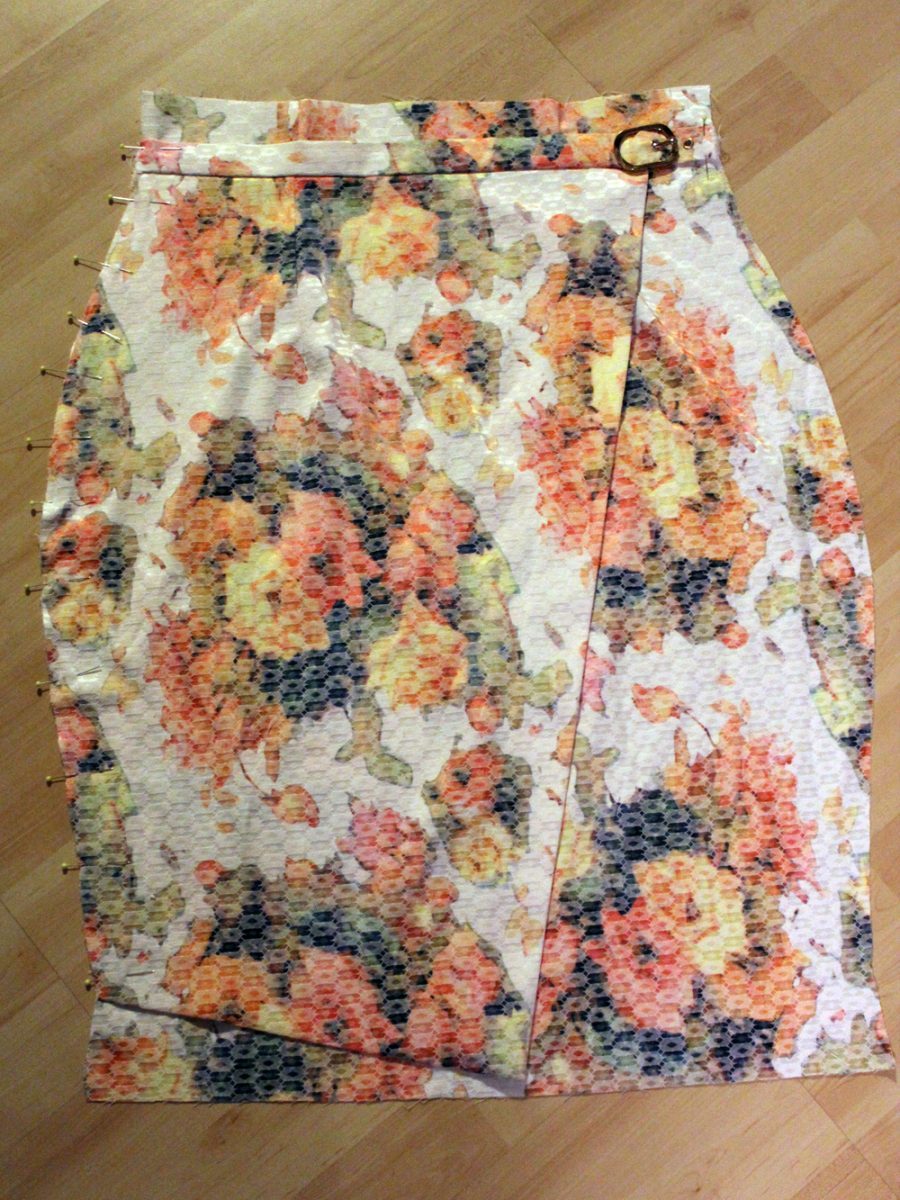
I didn’t change the actual pattern, just added to it. The picture below might explain this a bit.
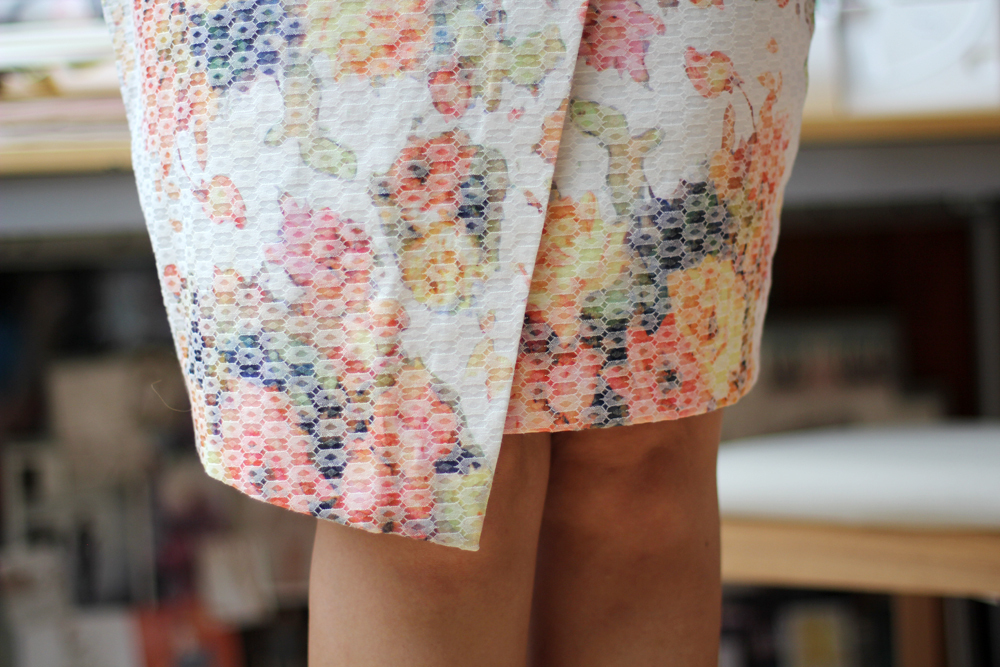
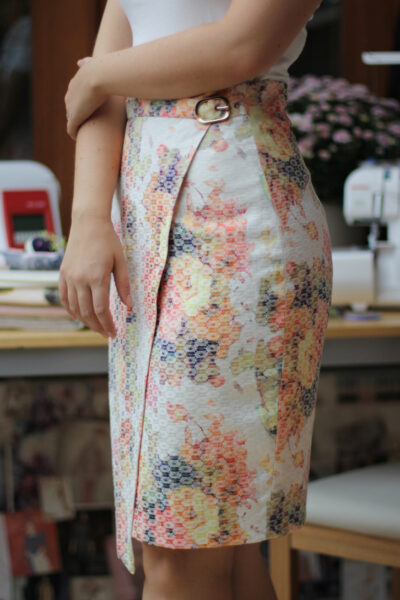
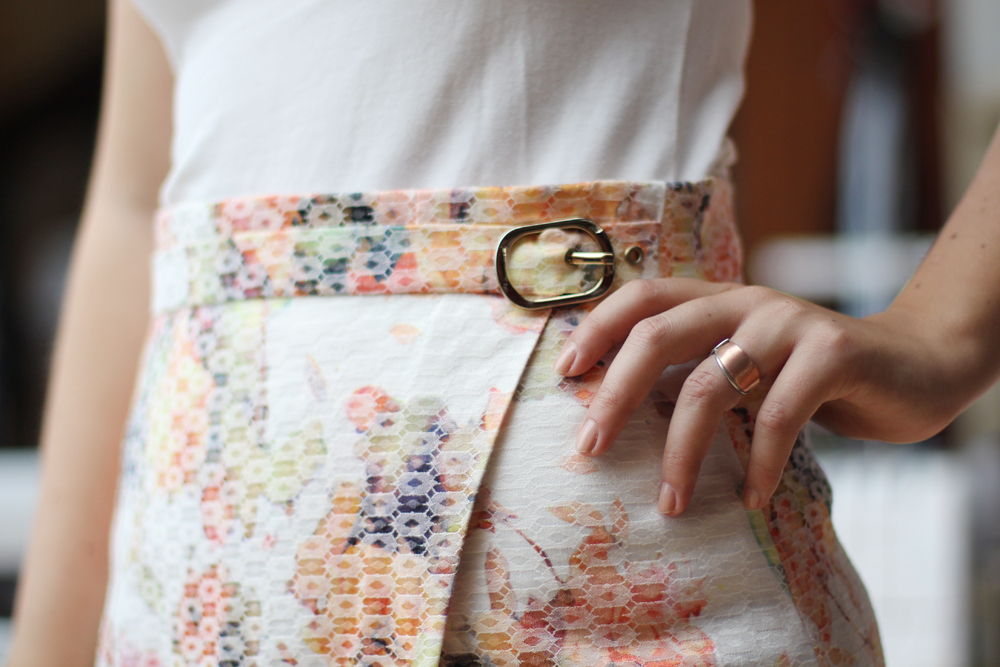
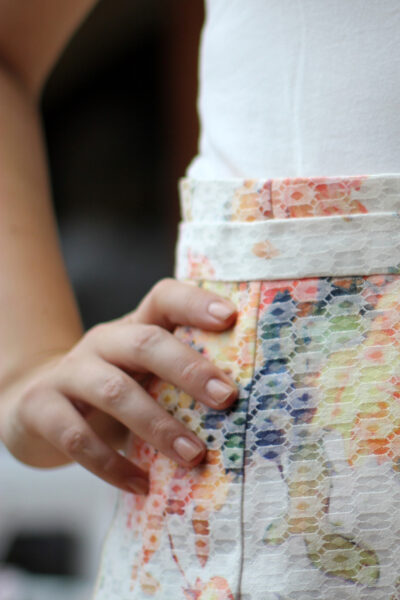
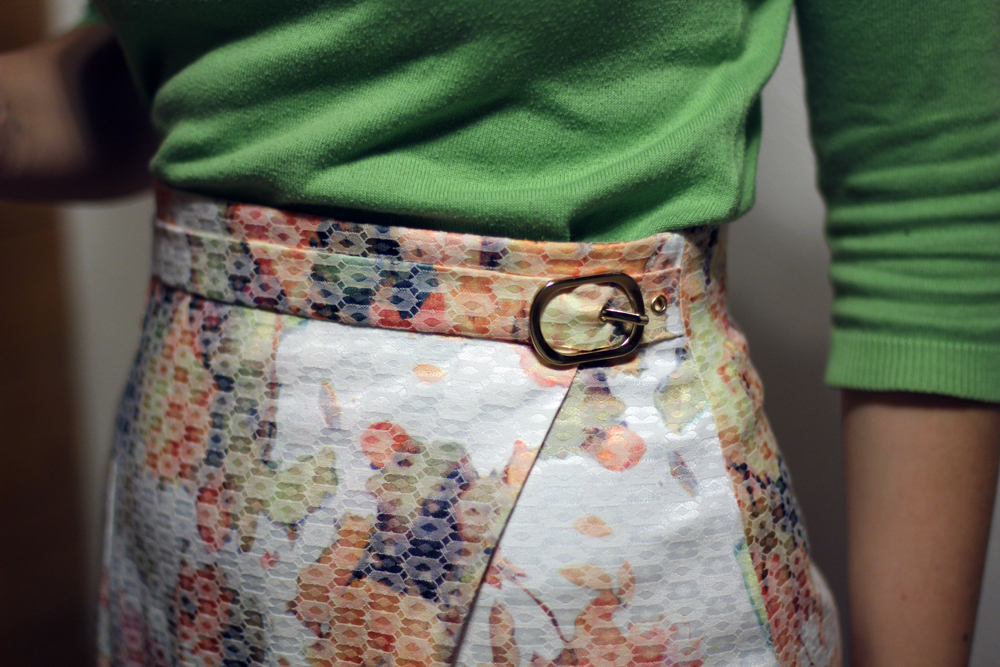
I added an extra layer to the front panel of the skirt and basted both layers together within the seam allowance before sewing front and back together as described in the pattern instructions. To create the asymmetrical faux wrap layer, I traced the front panel and marked the asymmetrical line down the front. It extends the original hem by about 5cm. At the top it sits on the natural waist, so slightly lower than the original pattern piece. I omitted the left front dart. I also added a 5cm hem allowance. Before basting both layers together, I needed to finish all edges of the faux wrap piece. I hemmed it and finished the top with a very narrow waistband. I made holes with a hole punch and eyelets, then sewed on the buckle. (Make sure the waistband is narrow enough to fit through!) After all these steps, I pinned it onto the front panel and constructed the skirt following the original pattern.

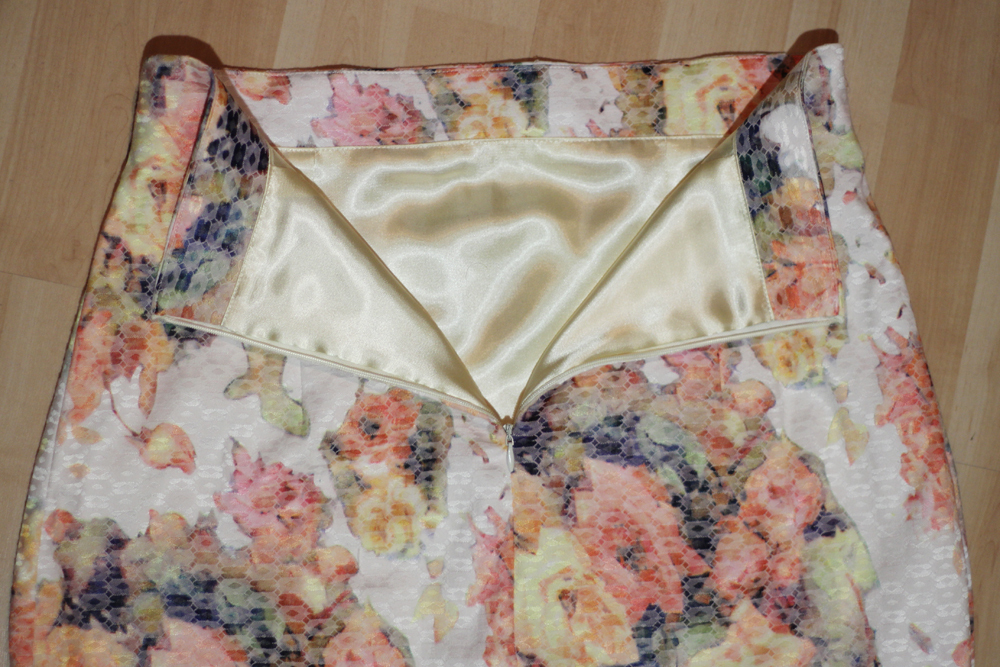
FABRIC. The fabric got a nice stretch to it, so the skirt is super comfy to wear. For those of you wondering where I got the fabric I have to admit that I’m not entirely sure! It’s a gorgeous floral jaquard which I probably bought in our local fabric store near Munich. I think I remember running home from the fabric store with this beauty and diving into the project at once. I love that skirt so much! I even added a matching lining.
I tested wearing this skirt with some of my warmer sweaters which looked great. So it’ll definitely get some more wear this season!
WILL I MAKE IT AGAIN? Oh, yes! Definitely! This was such an easy and effective hack! No fitting or muslining required, because I can make this skirt in my sleep by now. It took a bit longer, but it was fun changing up the routine a bit. It’s interesting to look at once you notice that the belt is just decorative.
I might choose a plain colour fabric next time, because I do feel a bit overdressed in this skirt for wearing it to work.
What do you think? Are you making one yourself?
xx
Charlie
Happy sewing!
♥
facebook/bloglovin/pinterest
twitter/instagram
Stay in touch!


 Oh hay!
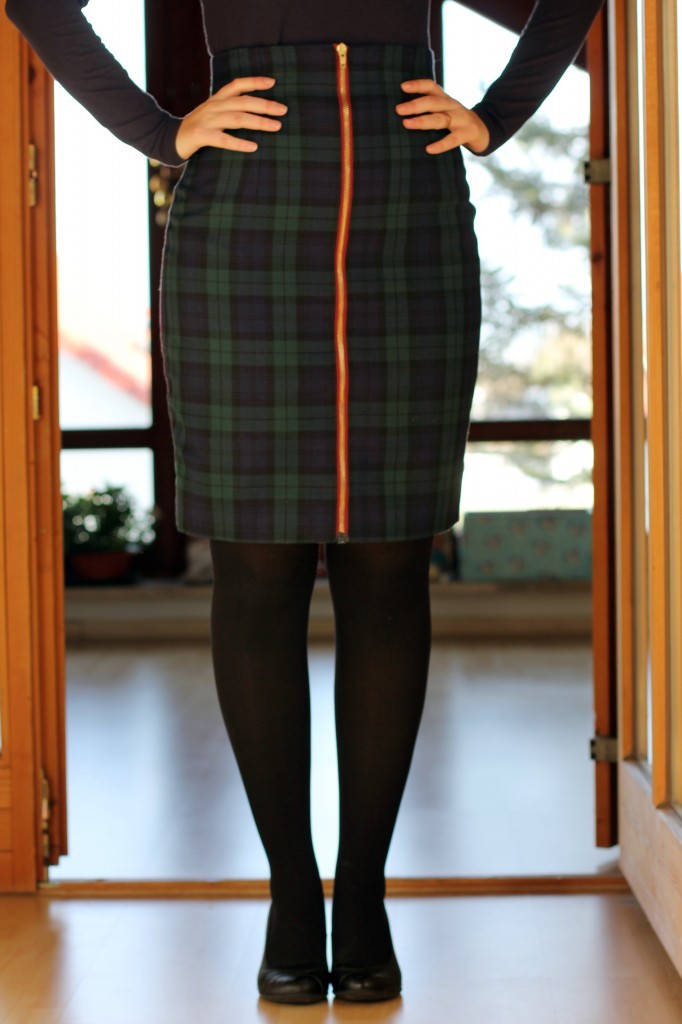
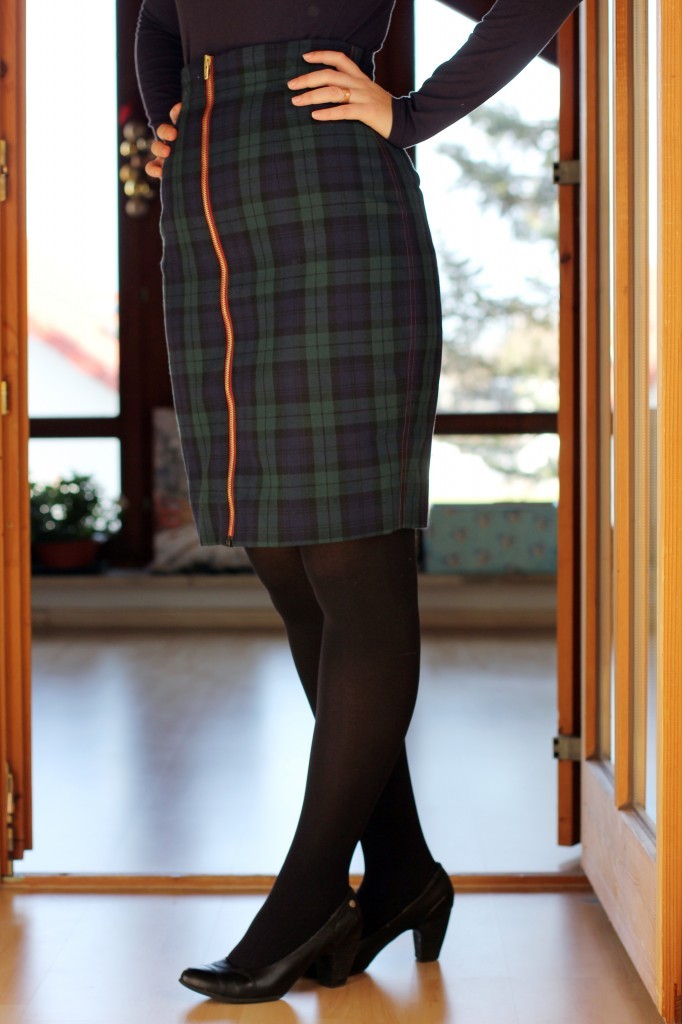

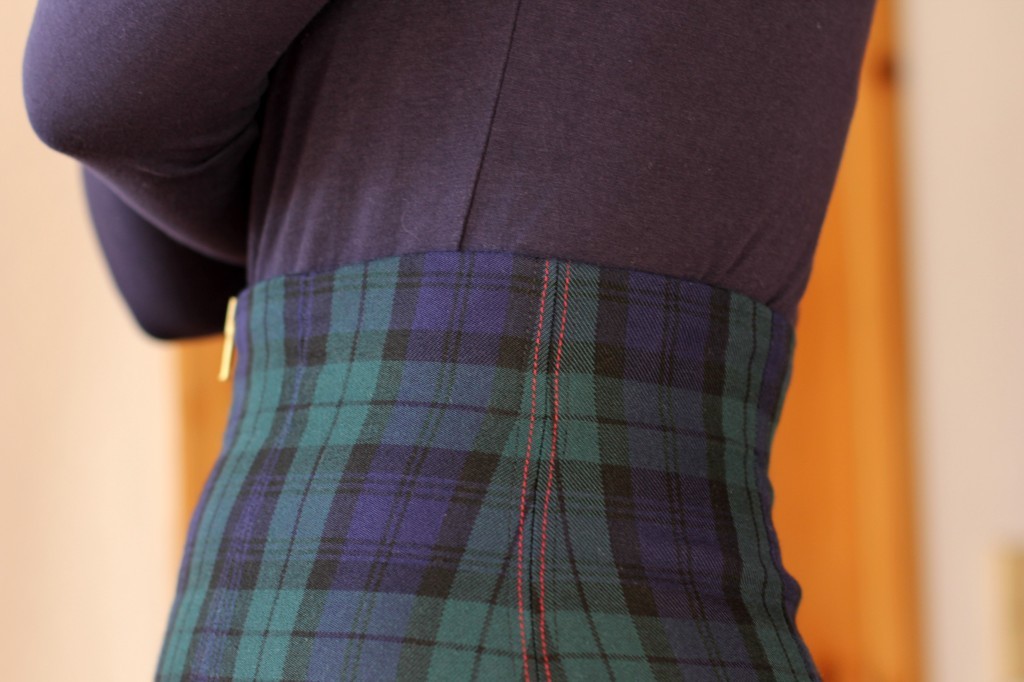
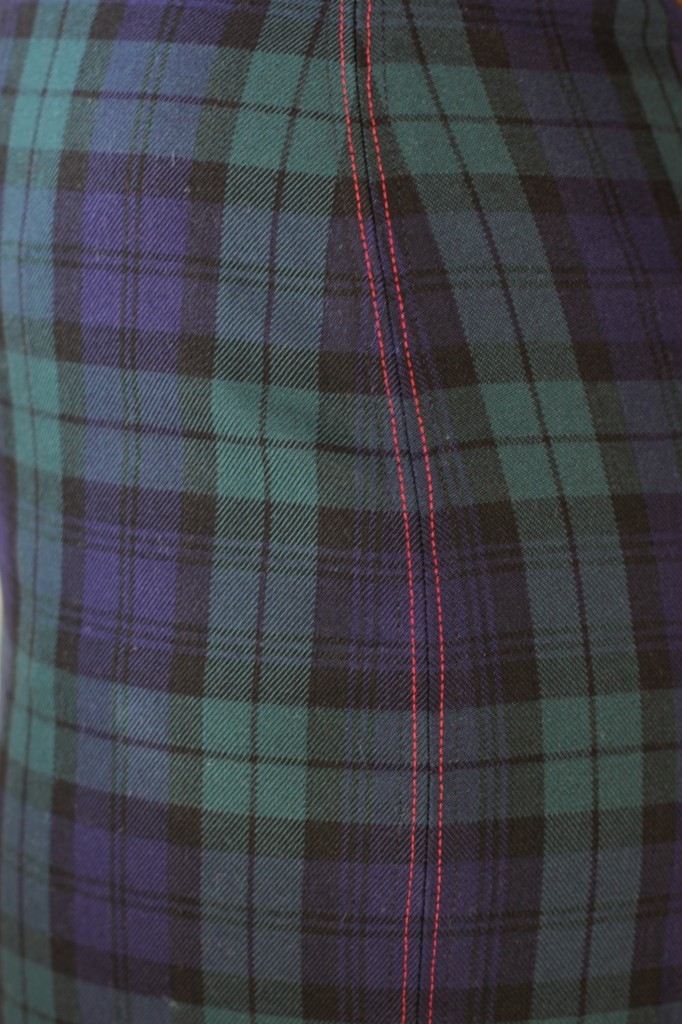

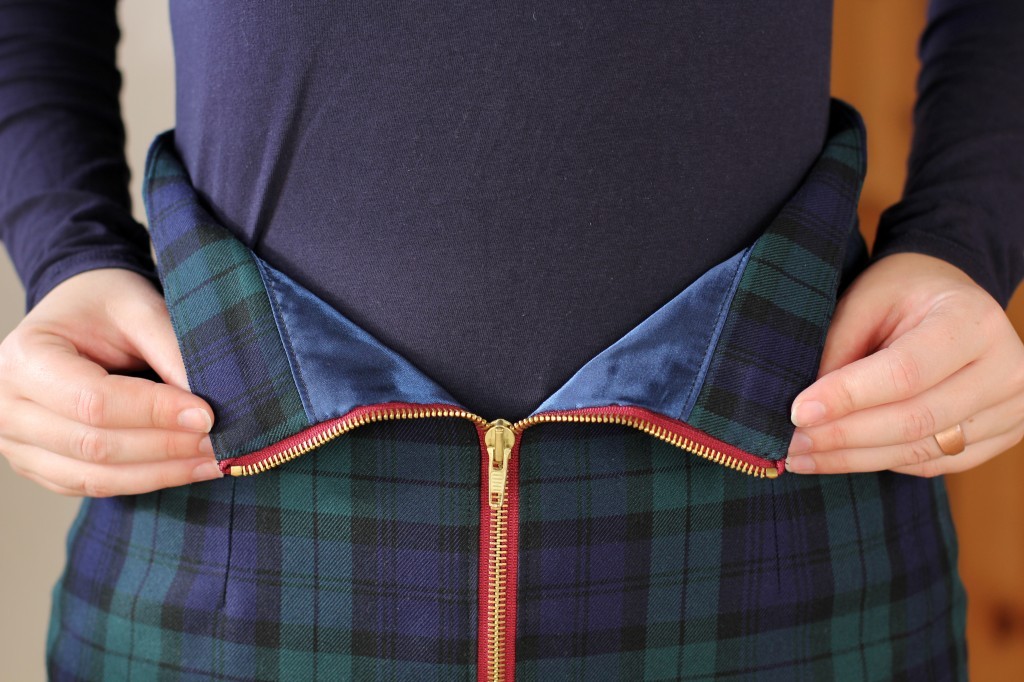

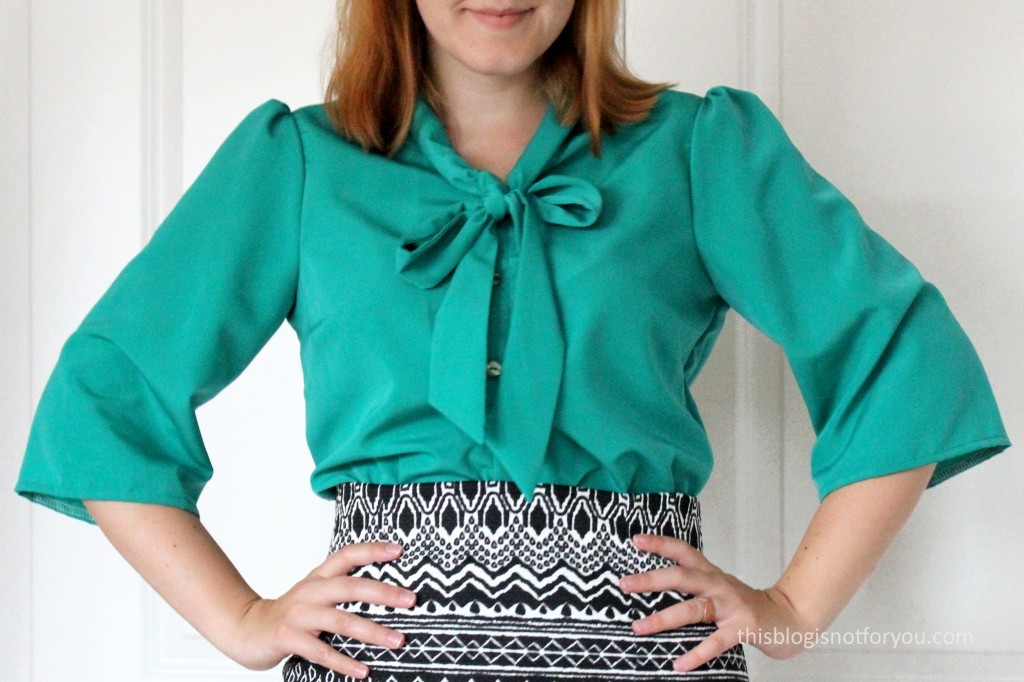


 Photo-bombing dog!