Embellished Cropped Coco-Sweater

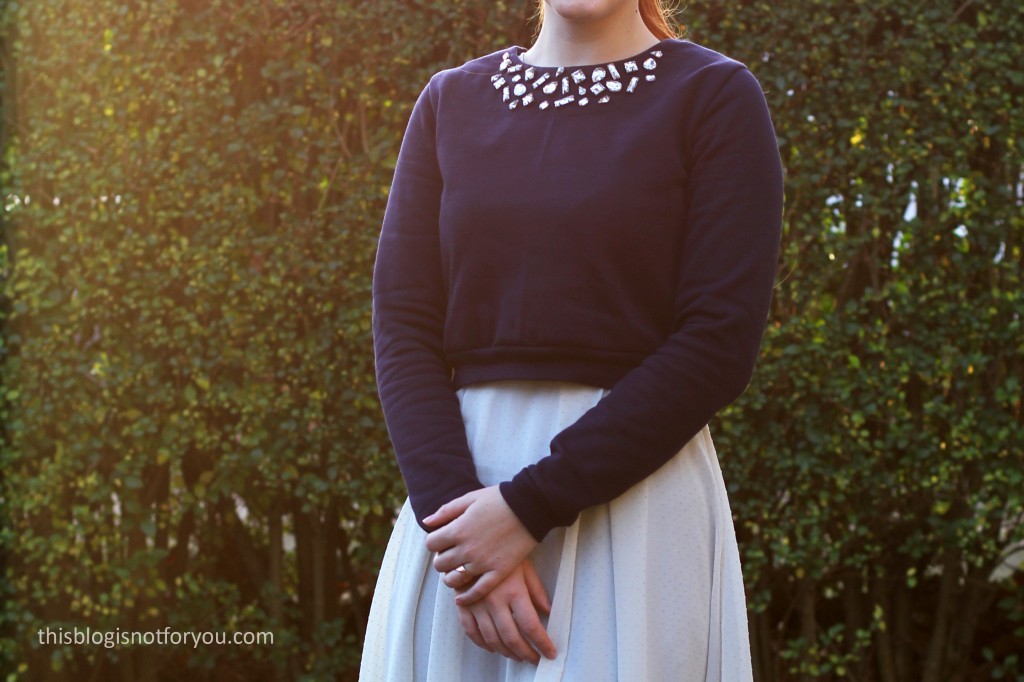
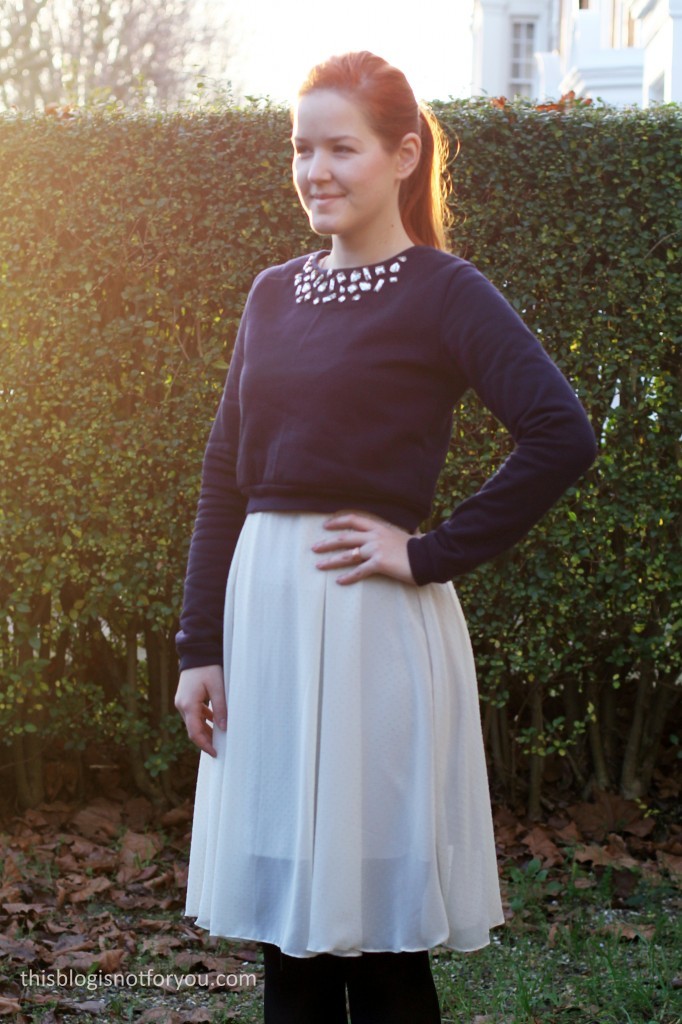
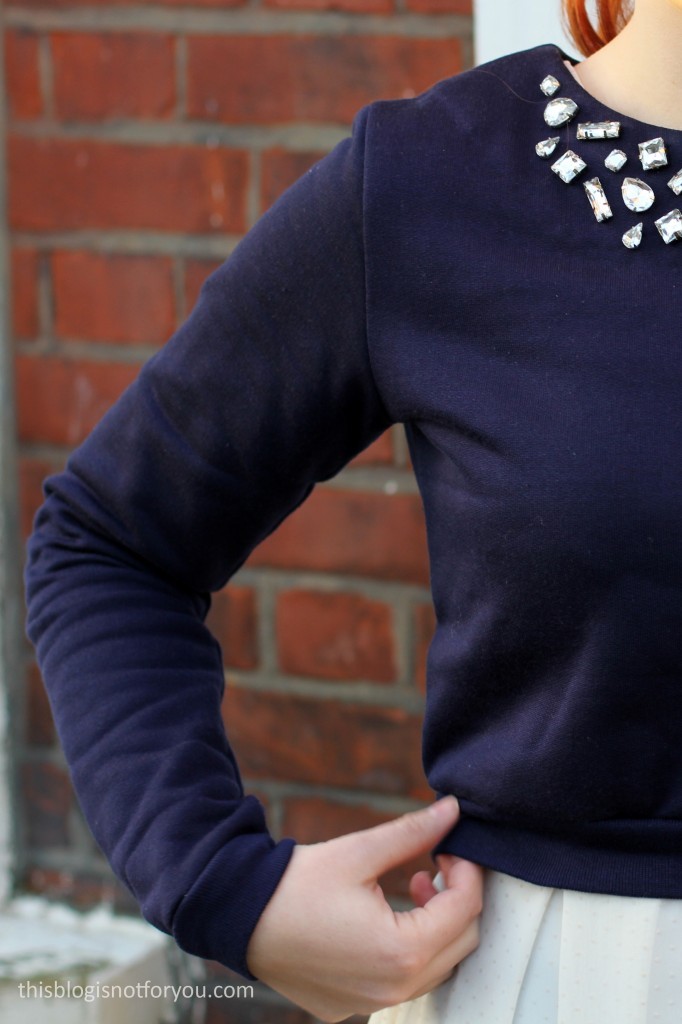
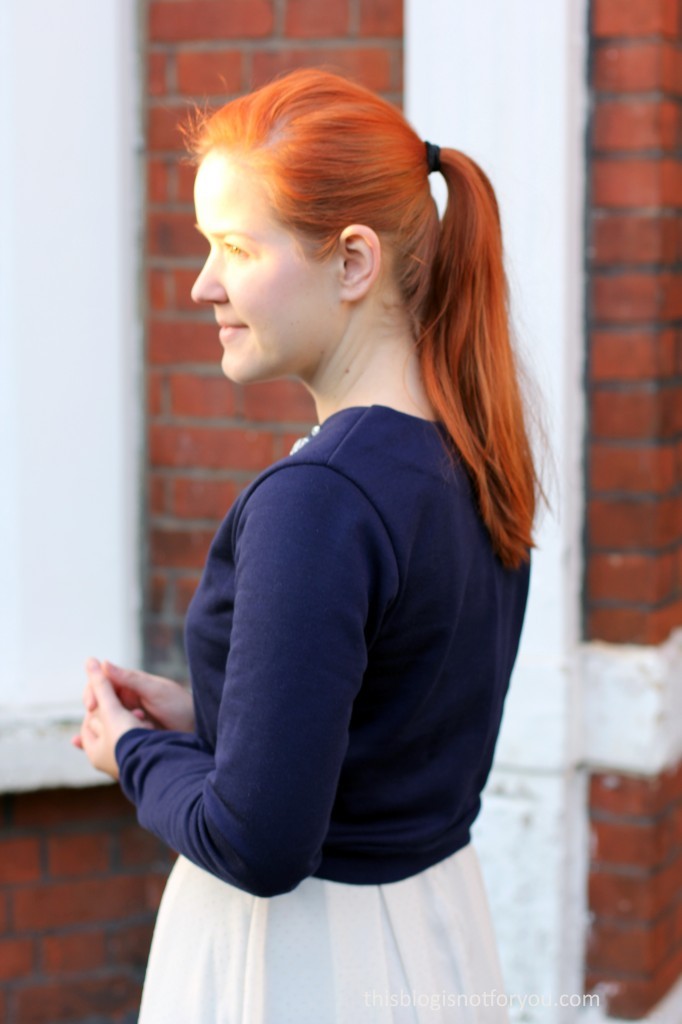
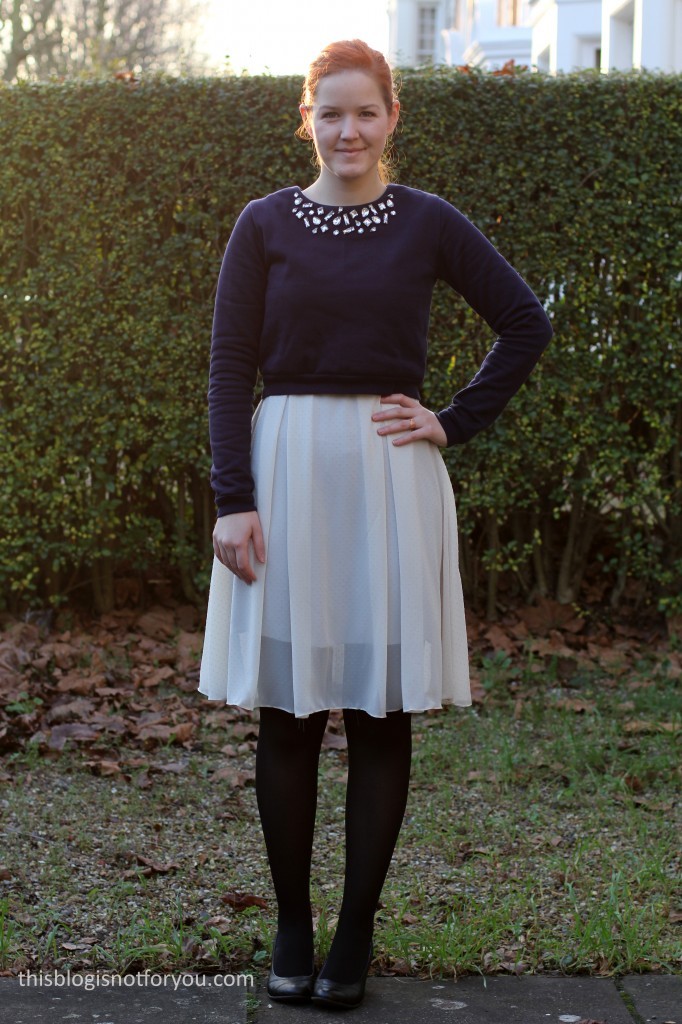
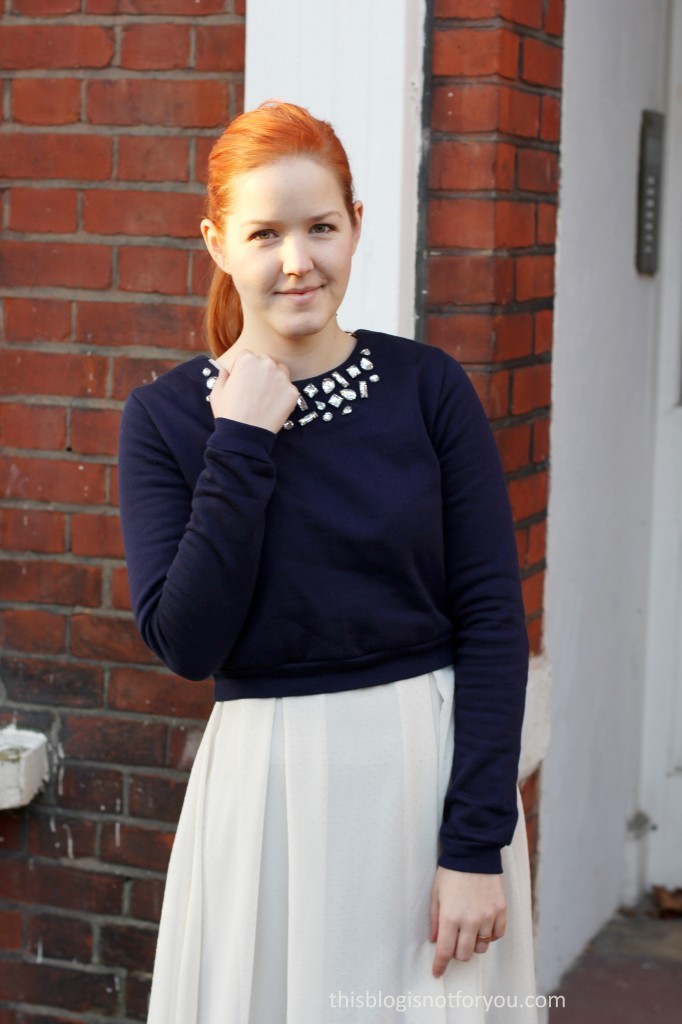
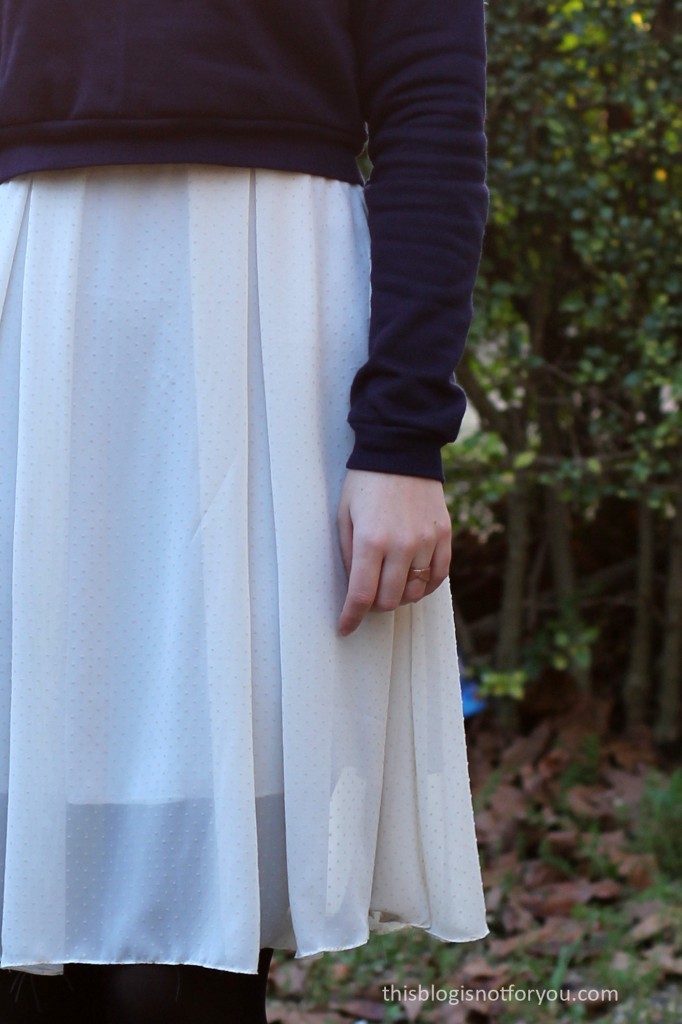
embellished cropped coco sweater by thisblogisnotforyou.comembellished cropped coco sweater by thisblogisnotforyou.comembellished cropped coco sweater by thisblogisnotforyou.comHappy New Year, folks! Hope you all had awesome holidays! It’s a bit late but I wanted to share one of my holiday makes with you: A cropped embellished sweater! It’s super cosy and the perfect thing to wear with all my sleeveless fit-and-flared dresses.

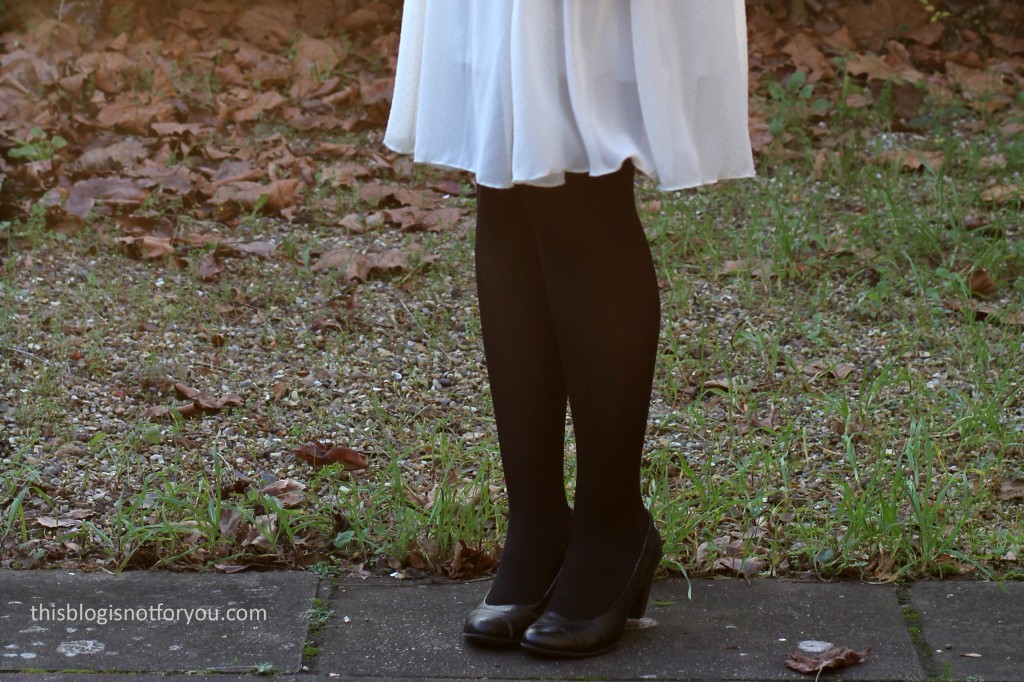
I often find it very hard to find the perfect cardigan with the perfect length. If they’re too long and paired with a flared skirt or dress they make the whole outfit look awkward and bulky. Making a sweater was on my to-do list this winter and I found some really awesome sweater fabrics lately (some of which I had ordered by accident). For the pictures I paired the sweater with one of my Hepburn dresses.

The Fabric:

I got the fabric on ebay. It was pretty much cheaper than any other tracksuit fabric I had seen in the shops, so I gave it a go (despite hating to order fabric online). I ordered it in the wrong colour by accident – I wanted school grey fabric to make a hoodie for the Mr. For some reasons I got the colours wrong and despite emailing back and forth with the seller the fabric was navy when it arrived a couple of days later. I mean, to be honest, I wasn’t disappointed or anything. Navy blue is my absolute favourite colour, the fabric was cheap and the quality very nice. And I had loads of it. So no regrets.

I bought the ribbing from the same supplier, so the colours were a perfect match. I had 1.5m of it and managed to make a Lola dress (Victory Patterns) and this sweater, the latter using up less than a metre. The Lola dress is not blogged yet, but it will be pretty soon 🙂

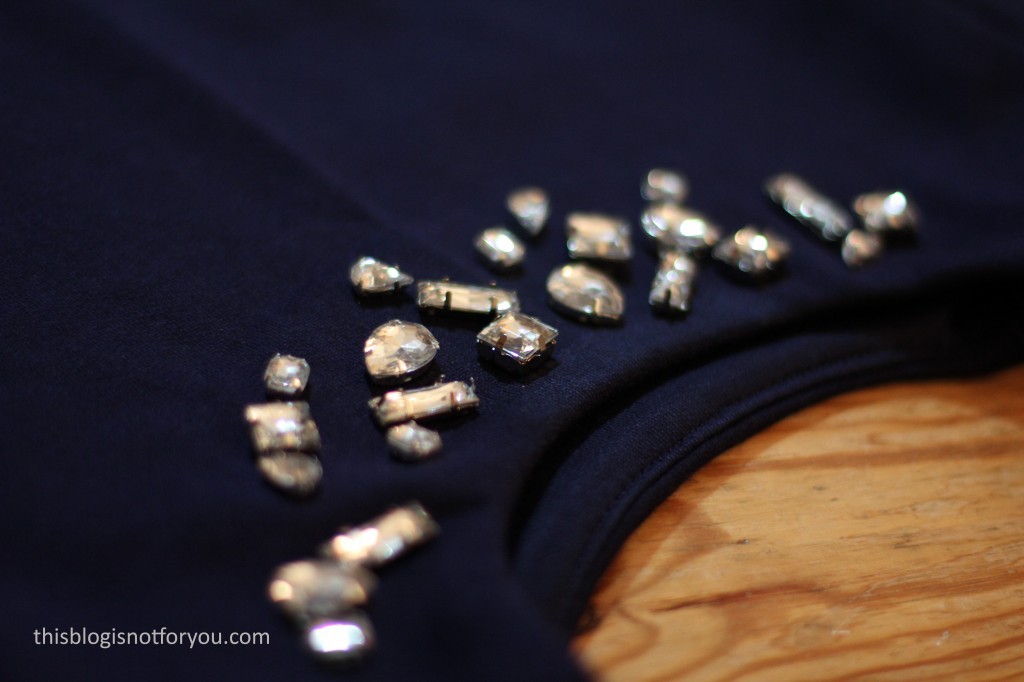
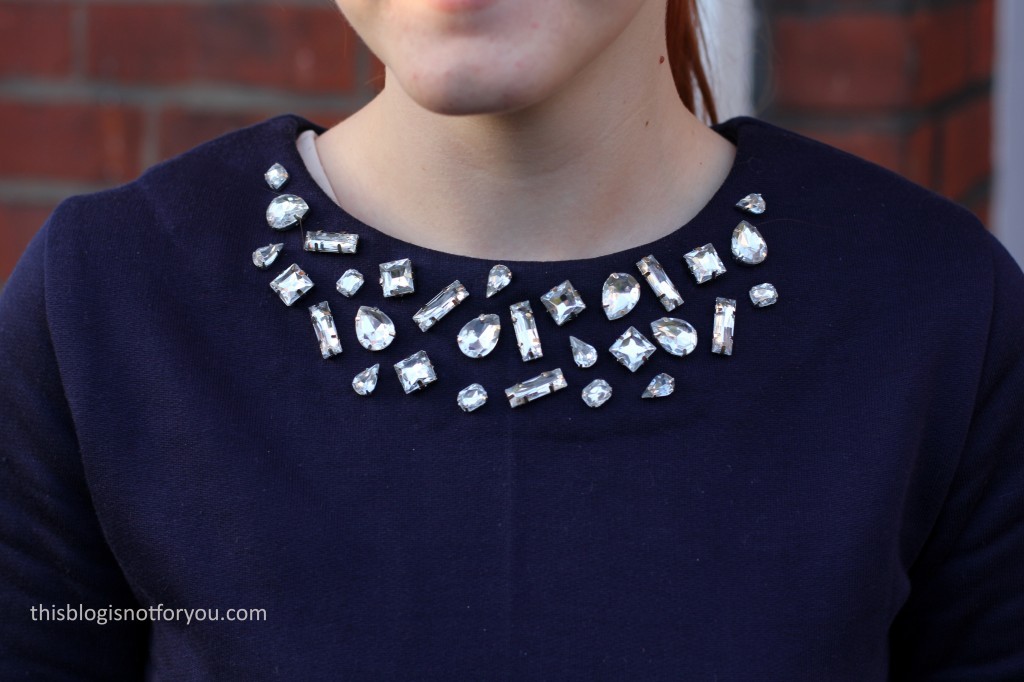
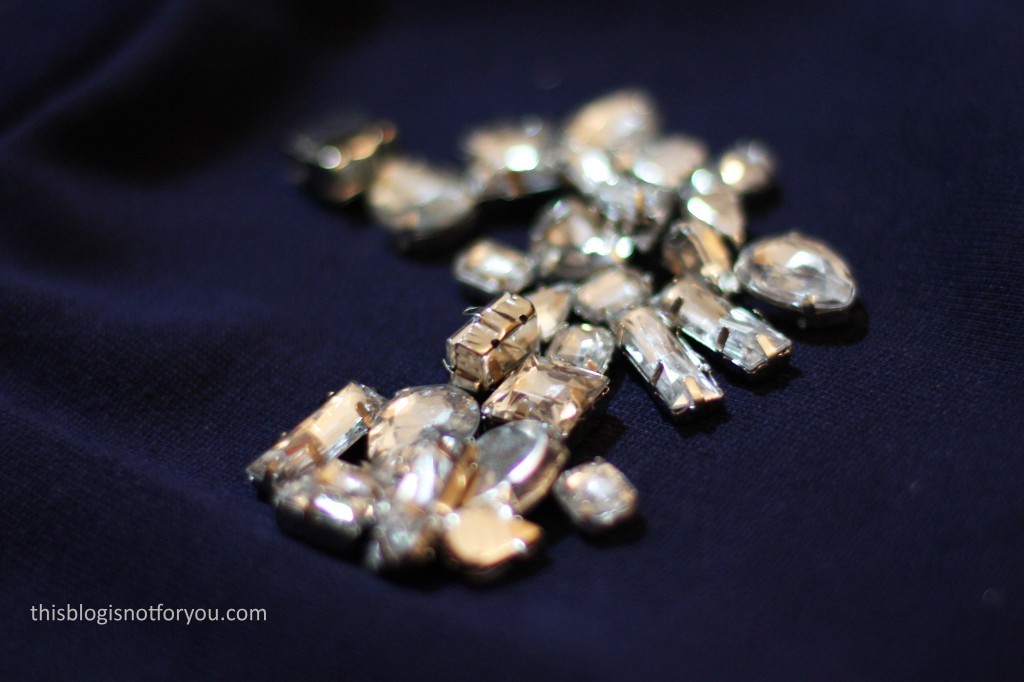
The acrylic sew-on gems are also from ebay, I bought a pack of 50 mixed shapes and have enough left for a second project.
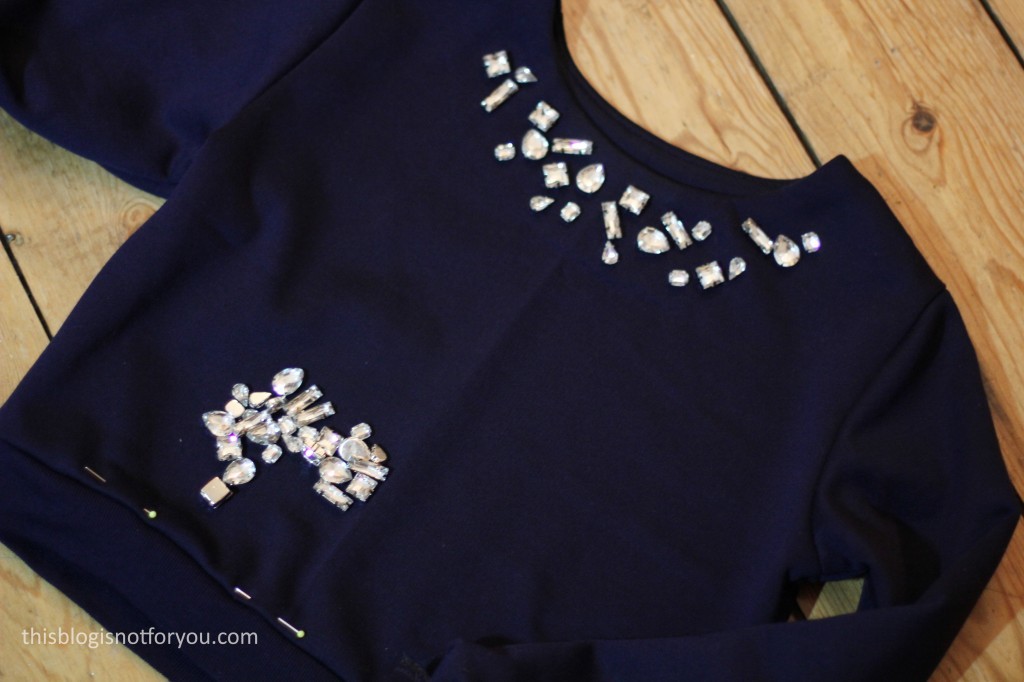
embellished cropped coco sweater by thisblogisnotforyou.comembellished cropped coco sweater by thisblogisnotforyou.comembellished cropped coco sweater by thisblogisnotforyou.comembellished cropped coco sweater by thisblogisnotforyou.comembellished cropped coco sweater by thisblogisnotforyou.comembellished cropped coco sweater by thisblogisnotforyou.comThe Pattern:

The sweater pattern is more or less self-drafted. I hacked Tilly’s Coco Dress, changing the neckline a bit and making the waist less fitted. The ribbing is cut a bit smaller than the waist and sleeves, so it cinches everything in nicely. I drafted a facing for the neckline, cut out from the same fabric and used understitching to keep it in place. I sewed the sweater mostly using my overlocker, and it only took 2 hours or so.

When I made the Coco dress a couple of months ago, I had to take it in a lot and it still was a bit on the wider side. So for the sweater I went with Tilly’s size 3. The fabric is quite heavy and has a bit of stretch, so the loose fit was perfect and it fits me nicely.
embellished cropped coco sweater by thisblogisnotforyou.comembellished cropped coco sweater by thisblogisnotforyou.comembellished cropped coco sweater by thisblogisnotforyou.comembellished cropped coco sweater by thisblogisnotforyou.com

Will I make it again? I love this sweater and you see a lot of these on the high street at the moment. I got more tracksuit/sweater fabric for Christmas in light grey and brown and am planning on making at least one more sweater and maybe a Lola-hack. Next time I want to try some other embellishments, maybe lace or zips but I have yet to figure out what I want it to look like. So keep your eyes peeled 🙂


Happy sewing!

facebook/bloglovin/pinterest
twitter/instagram

Stay in touch!
A Baby Quilt – my first and probably last one ever!

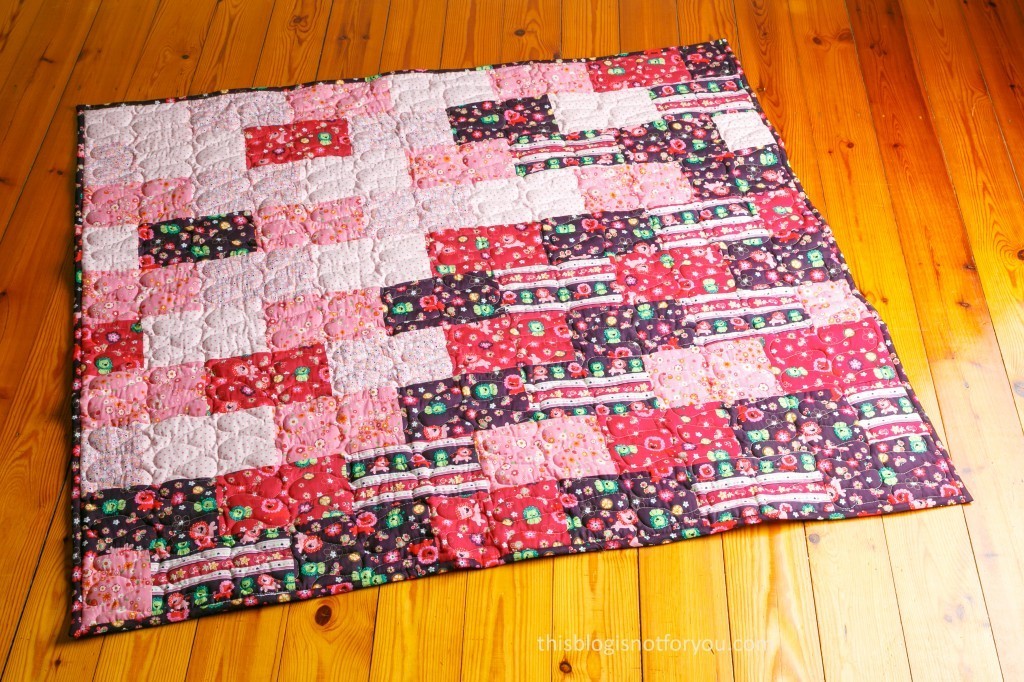
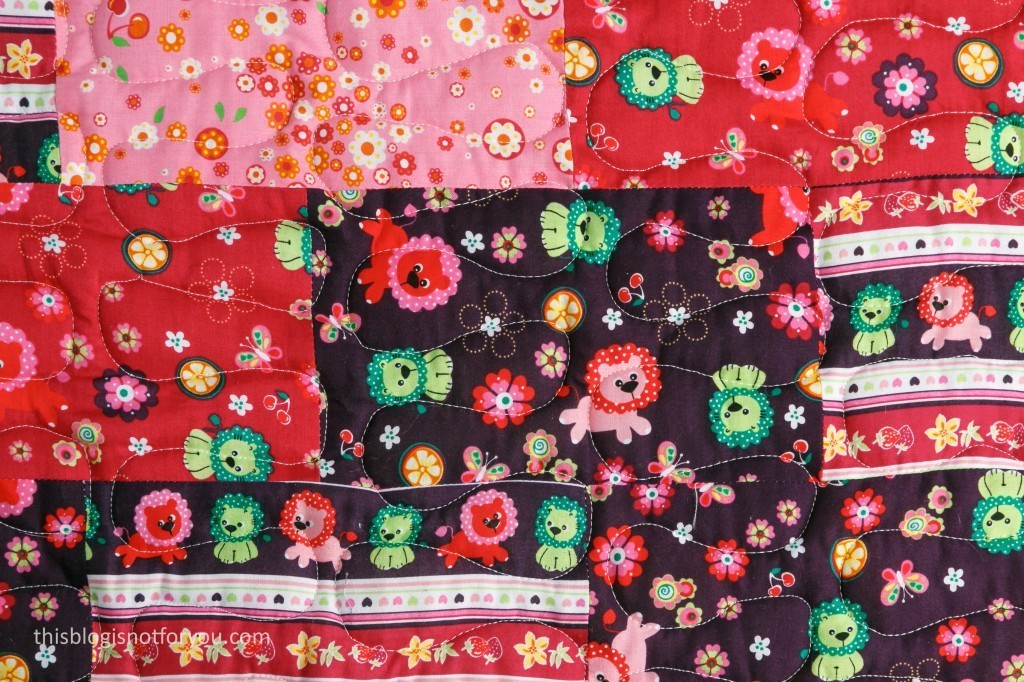
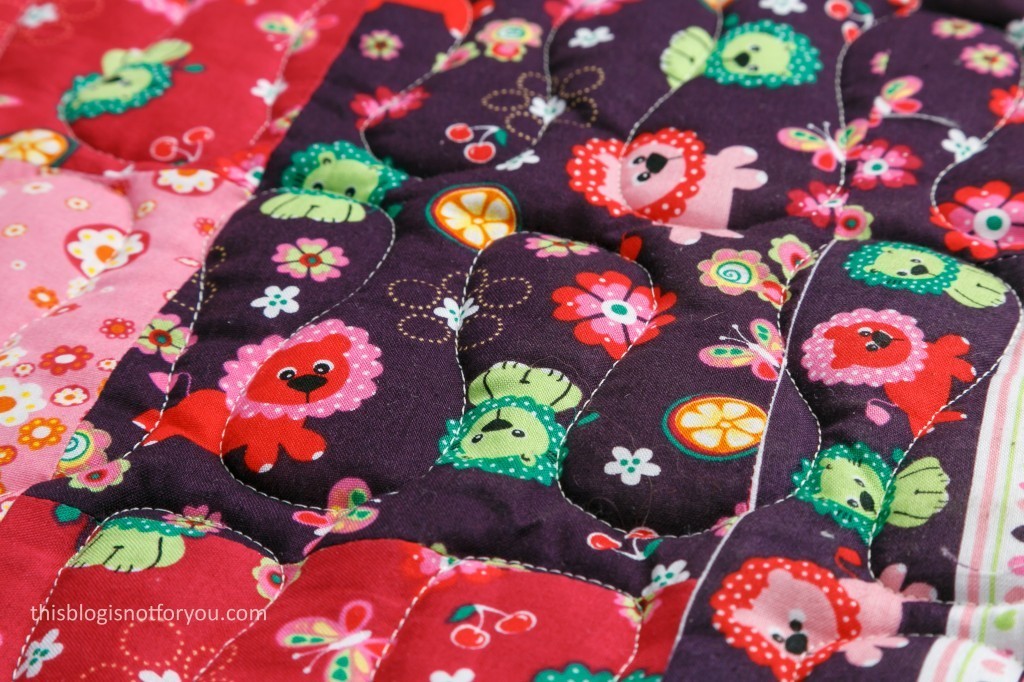
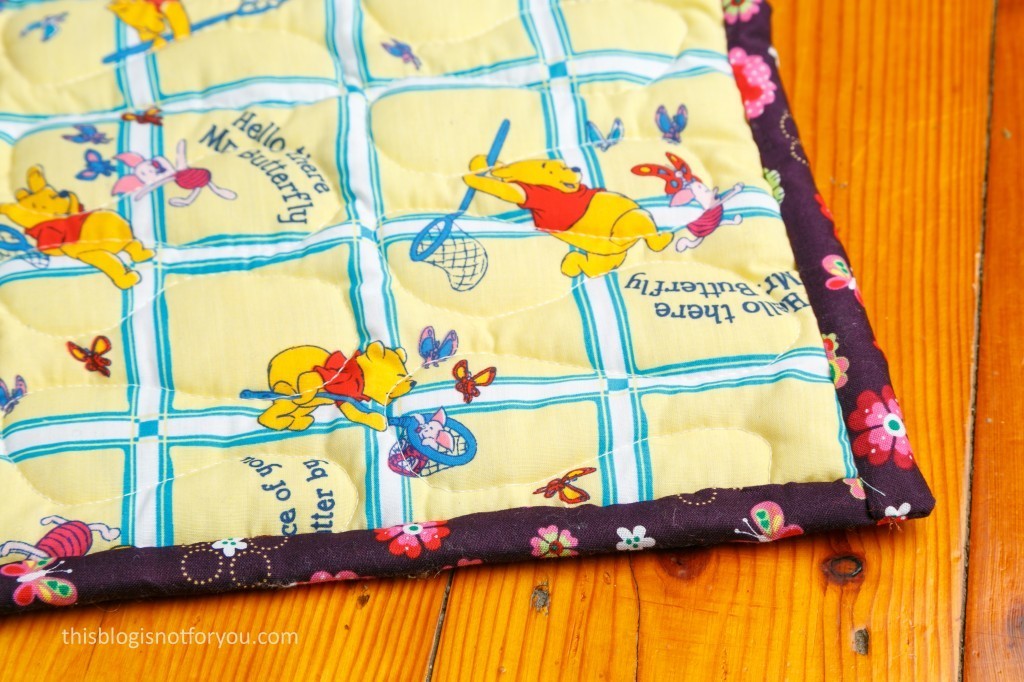
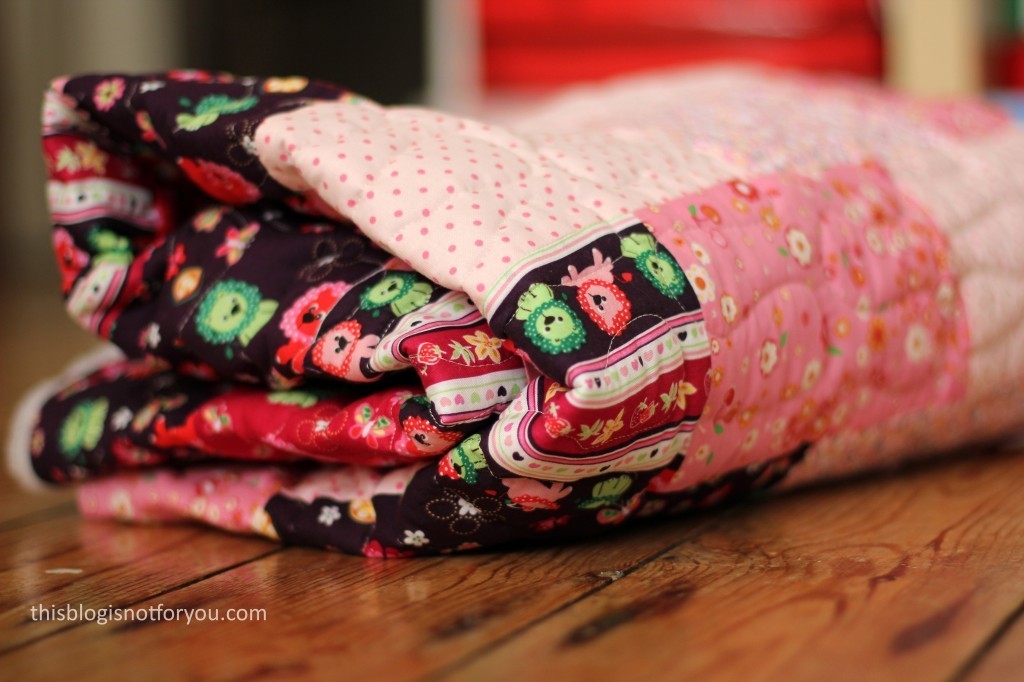
baby quilt by thisblogisnotforyou.combaby quilt by thisblogisnotforyou.comI made a quilt! It’s my very first quilt and will probably be the last for a long time. I’m quite proud of this one, but mainly proud of the fact that I actually finished it. I do love sewing, but I found out that I really hate quilting.

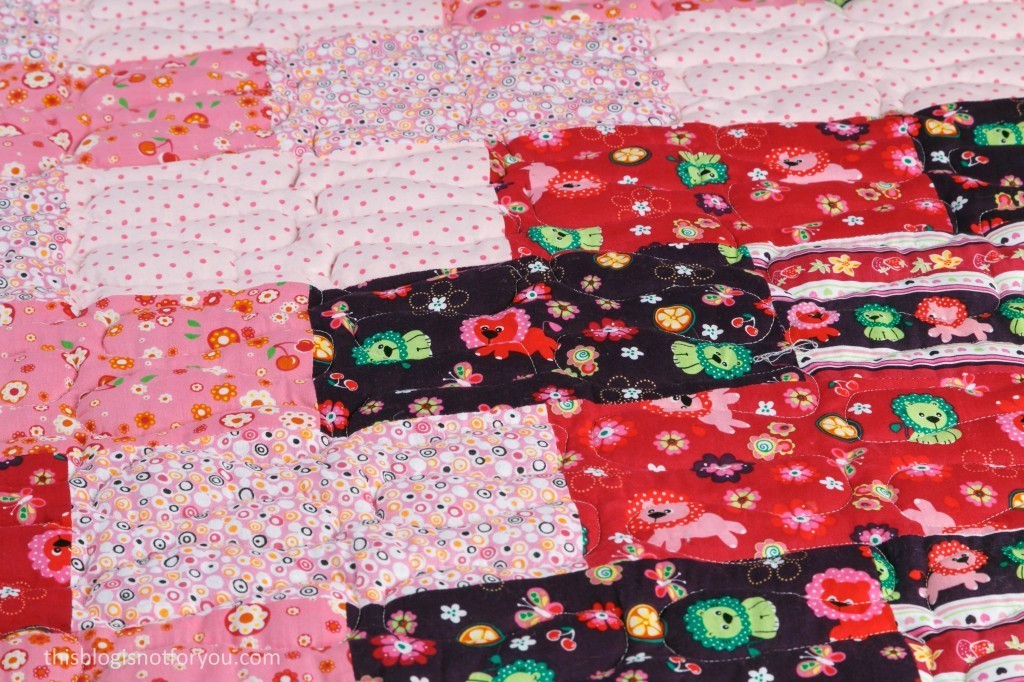
I promised to make a play mat for my niece when my sister-in-law was pregnant and I still hadn’t started it by the time the baby was born. I finally started a few months ago and with the help of Daniela, the queen of quilting, I managed to put together a really cute patchwork blanket. I basically used all sorts of fabric leftovers, all 1000% cotton, I bought years ago and had barely used. The colours were great together, so I was super happy with the first bit of the project.

I was very excited and looking forward to the quilting bit, which I imagined would be like doodling on fabric. Sounds awesome, eh? Well, turns out I’m really, really not good at quilting. It was depressing. It’s exhausting and very difficult. At least that was my experience. Also, my sewing machine was playing up a bit and made terrible loud noises every two minutes which almost gave me a heart attack. It turned out to be a problem with the needle and the way I was moving the blanket (needle caught the thread every time I went up) and I only noticed when I was halfway done (then started quilting left to right, instead of up and down – problem solved).

Also, the bias binding was hard to machine sew, so I handstitched most of it in the end.

Although I’m really glad I got this project off the table in the end, I really do like the way the blanket turned out. I’ve read so often that especially with quilting mistakes just seem to disappear and apparently it’s true. My quilting looked horribly close-up but you can barely notice when looking at the pics – It looks like an actual quilt (lucky me!).

baby quilt by thisblogisnotforyou.combaby quilt by thisblogisnotforyou.com

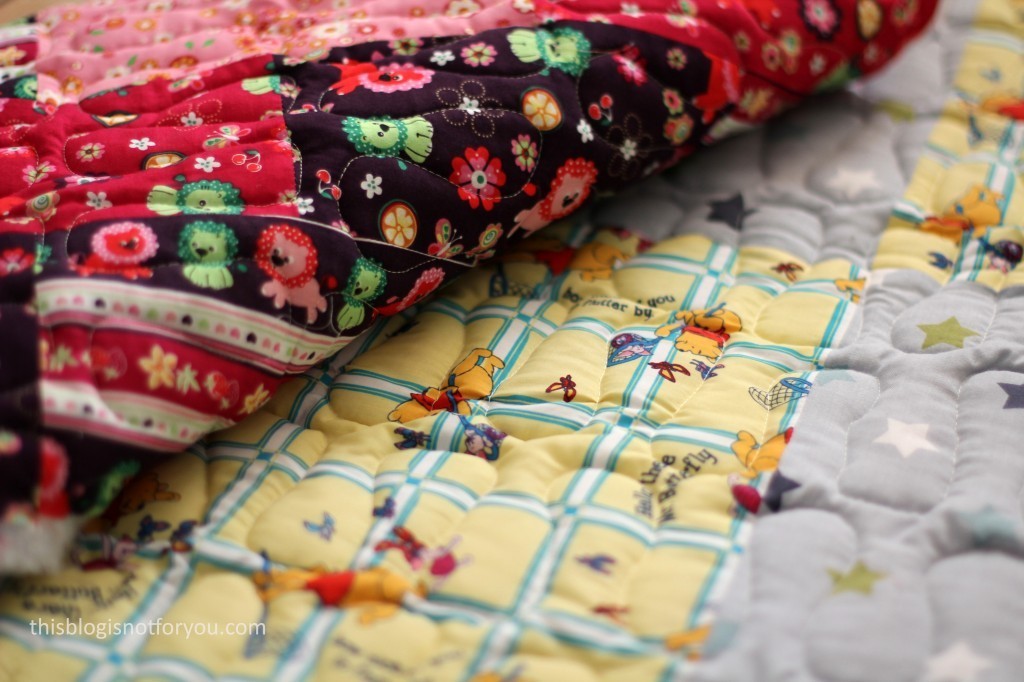
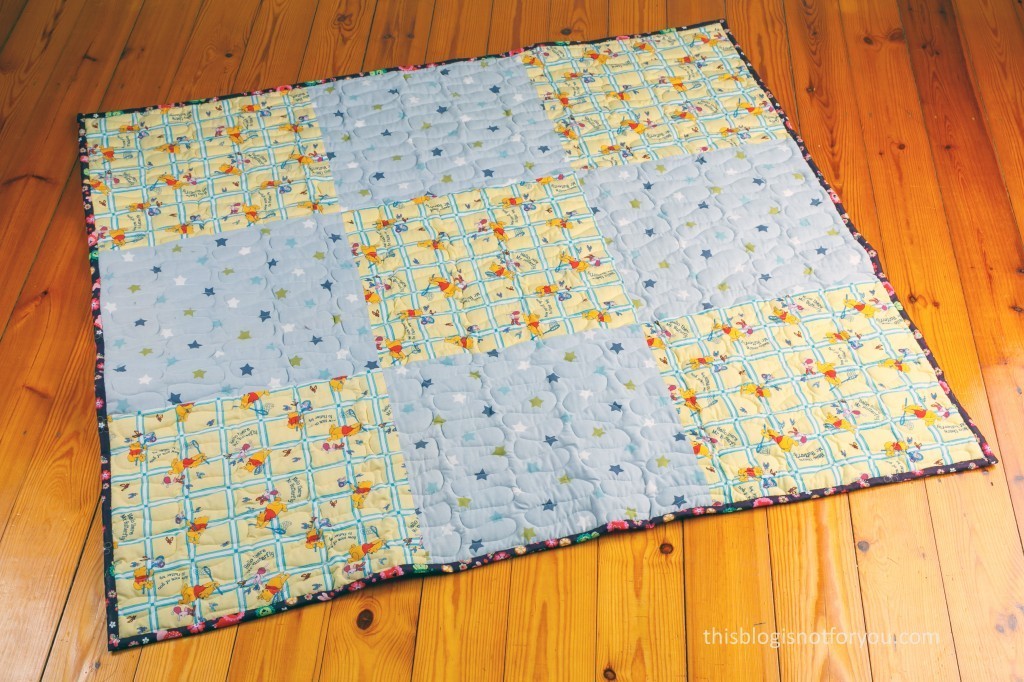
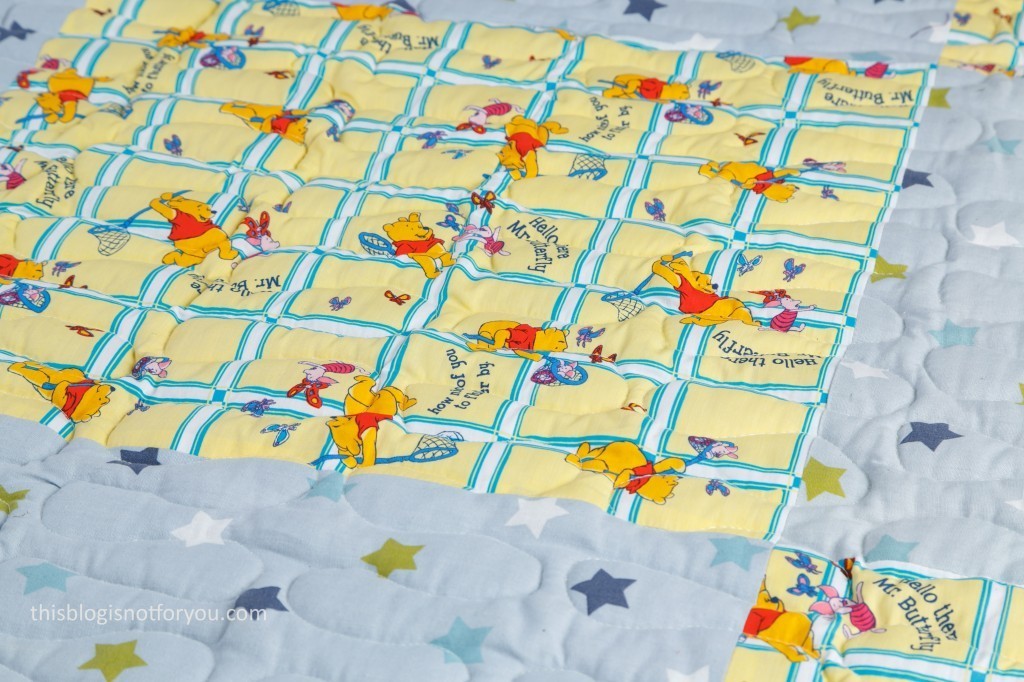
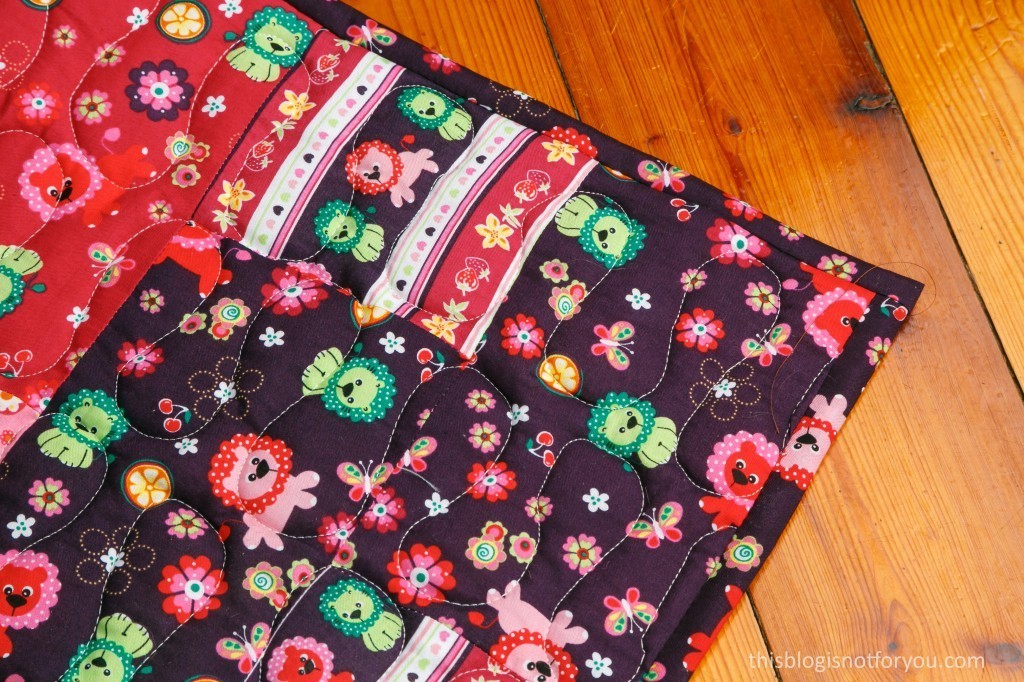
The blanket is reversible, firstly because my niece might decide not to like pink after all and secondly, because it was more fun than just a plain colour underside. I recycled some children’s curtains I bought to make toddler pinafores a couple of months ago. The wadding is polyester which I bought in Walthamstow (I think it was Saeeds Fabrics) last spring.

I really enjoyed the patchwork bit and I’m quite proud of my matching seams. I took a lot of time measuring and cutting and sewing very carefully so that things would line up perfectly in the end. Then it took ages to safety-pin-baste everything together (thanks for the tip, Dani!), so that layers wouldn’t slip during the quilting.

If you haven’t quilted before it’s hard to imagine how physically exhausting it is to push a blanket that size through my tiny cheapo-machine. My arms hurt so much I hard to pause after every third row for a couple of hours or days. Quilting’s like going to the gym, folks!
baby quilt by thisblogisnotforyou.combaby quilt by thisblogisnotforyou.combaby quilt by thisblogisnotforyou.combaby quilt by thisblogisnotforyou.combaby quilt by thisblogisnotforyou.combaby quilt by thisblogisnotforyou.combaby quilt by thisblogisnotforyou.com

Have you quilted anything yet? Do you love it or hate it? Any tips to make it easier?

It’s incredible how one can’t really notice just how wonky my quilting is! I was close to tears halfway through the project and now I think it looks actually fine (and baby loves it!!!) Quilting might not be so bad after all. I might give it another try one time. Maybe with a less ambitious project. Make some coasters or something. We’ll see 🙂  Any ideas? Send them my way!


Happy sewing!

facebook/bloglovin/pinterest
twitter/instagram

Stay in touch!

Jersey Shirt with Gathered Raglan Sleeves

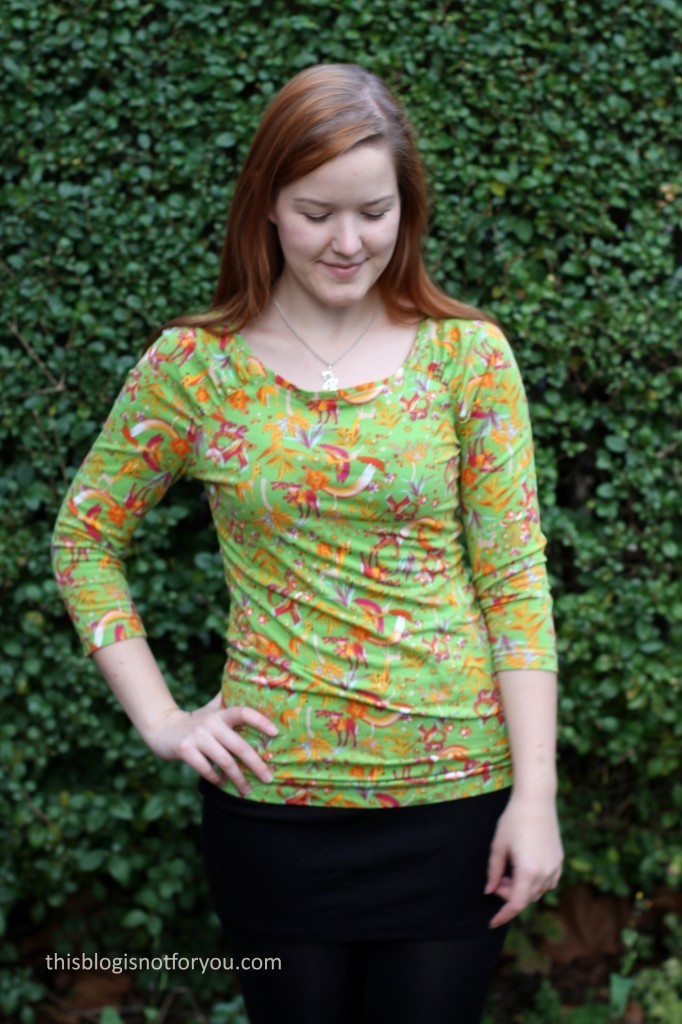
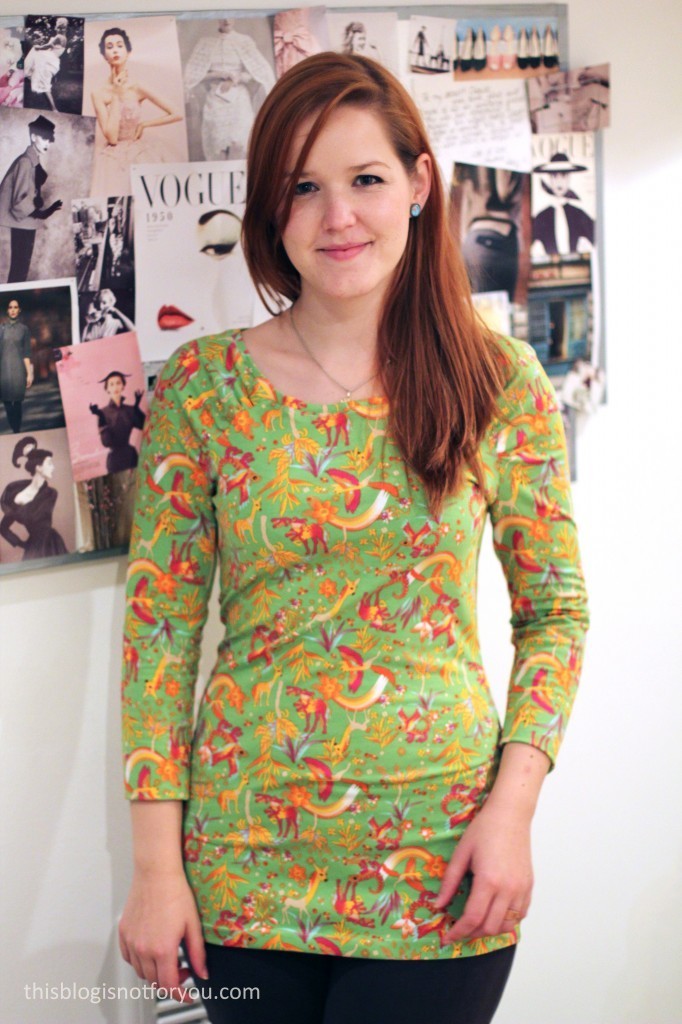
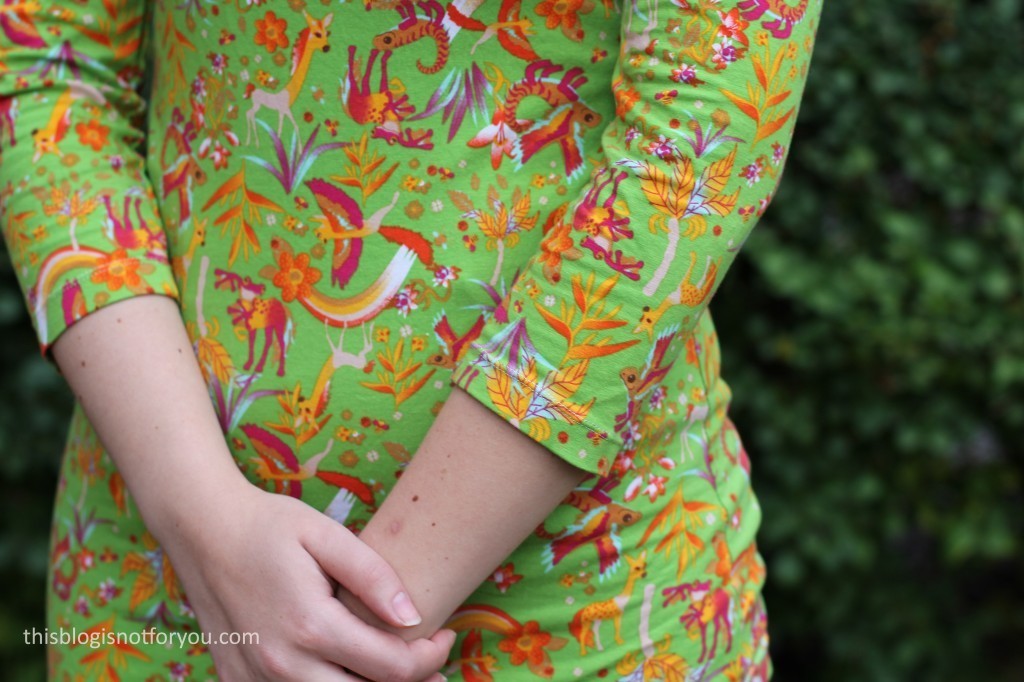
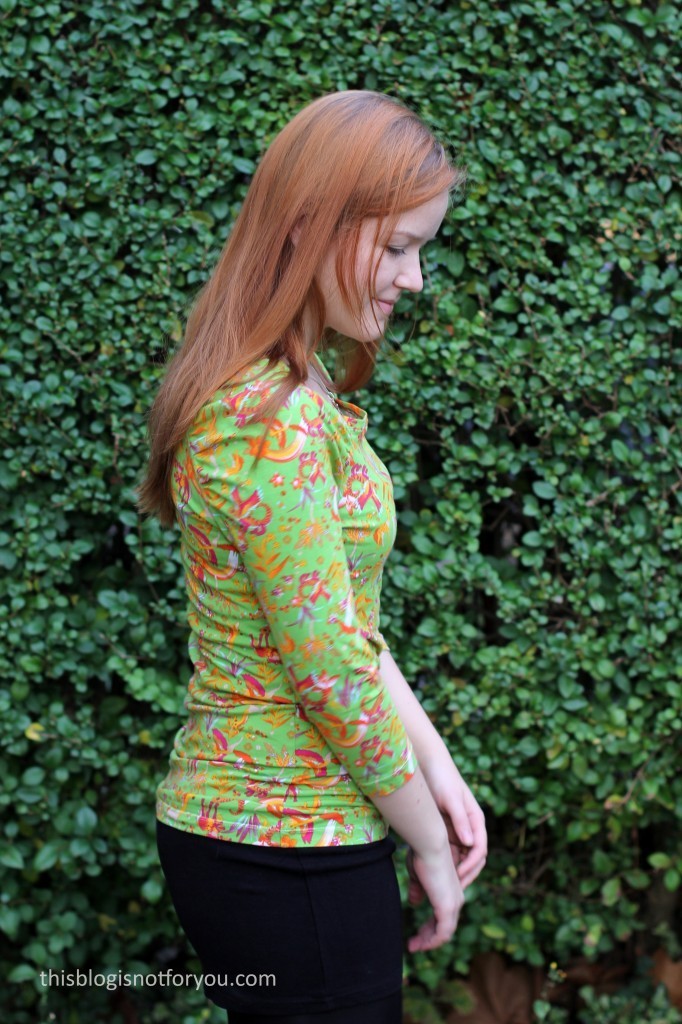
Burda Raglan Shirt 02/2013 #127 by thisblogisnotforyou.comHello gang! Life has been so busy lately that I don’t even have the time to share my makes on time anymore! I made this jersey shirt in October.
The Fabric:

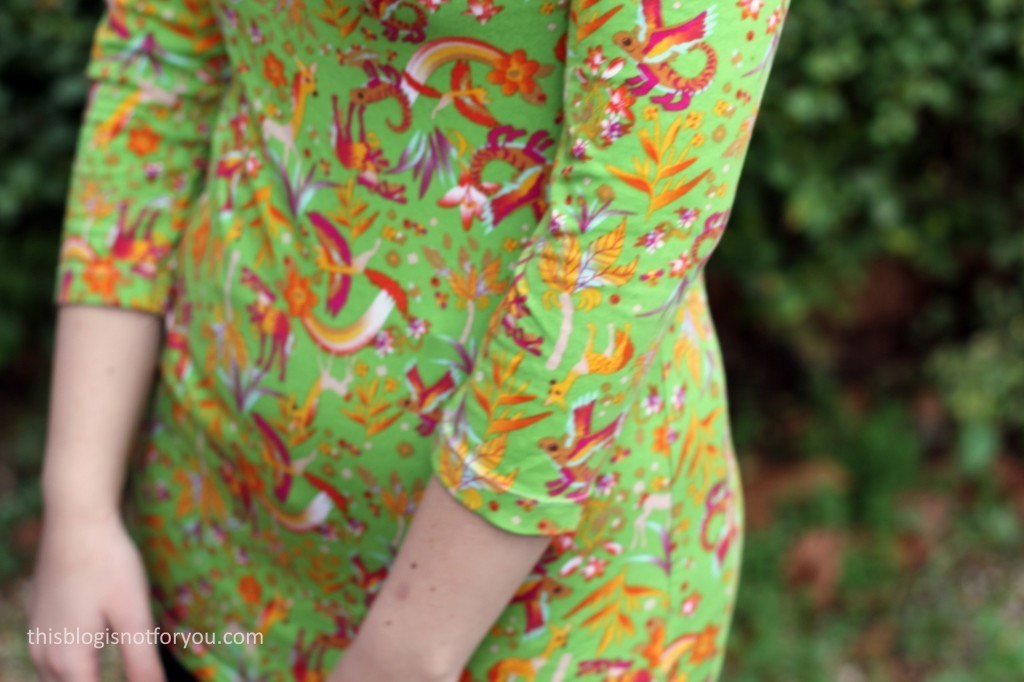
I got this cotton jersey with a super cute mythical creatures print from stoffe.de (myfabrics.co.uk here in the UK) which even was delivered in person by lovely Tine who spent a couple of days in London a little while ago. Apparantly, they don’t have this fabric in stock anymore, but they still sell three very similar prints. (Yes, I am aware that it’s a children’s fabric, but I will wear it anyway.) The fabric is of a really lovely quality and still looks great after a couple of washes.

Burda Raglan Shirt 02/2013 #127 by thisblogisnotforyou.comBurda Raglan Shirt 02/2013 #127 by thisblogisnotforyou.com

The Pattern:

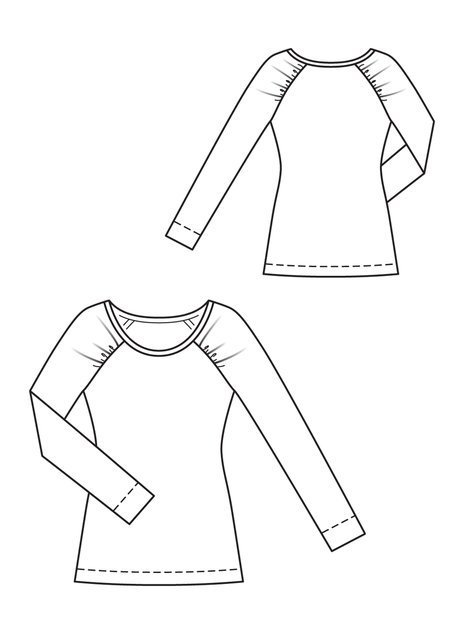
I found this simple gathered raglan sleeve shirt pattern in my Burdastyle magazine stash, hoping that I could squeeze it out of the 1m of fabric I had. The fabric requirements were 1.50 m (1 3/4 yds) for all sizes, but I know from experience that I often need much less when using Burda patterns. Since I cut out 3/4 length sleeves, 1m was more than enough and I even have a bit left for making a shirt for my little niece.

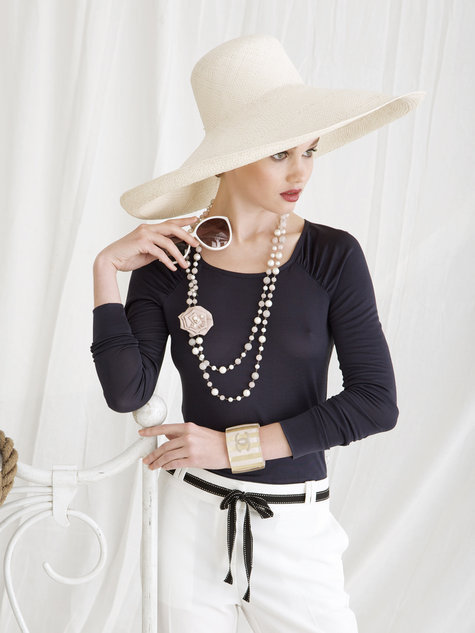
The pattern is from magazine 02/2013 #127. If you ignore the questionable Chanel-like styling, the pattern is brilliant and looks very elegant in black silk jersey. It could make a perfect shirt for work (in a less obvious print than mine).

The sleeves are gathered in the front and back. The neckline is bound off and the sleeve turned in by 7cm and hemmed with a twin needle. My shirt came together in an hour or so.

Burda Raglan Shirt 02/2013 #127
source: Burdastyle.com
Burda Raglan Shirt 02/2013 #127
source: Burdastyle.com

Burda Raglan Shirt 02/2013 #127 by thisblogisnotforyou.comThe Fit:

The shirt fits perfectly without making any alterations (except for shortening the sleeves to 3/4 length). It is super comfy and I particularly like the length. It’s a bit longer than the average shirt and perfect for the colder season or to tuck into a skirt or high-waisted trousers. The pattern could be easily transformed into a fitted dress.

Burda Raglan Shirt 02/2013 #127 by thisblogisnotforyou.com

Will I make it again? I have not definite plans to make another shirt at the moment as I am working on way too many projects already, but I really like this pattern and can see myself using it again to make some basics for work or even lengthen it into a comfy little dress.


Happy sewing!

facebook/bloglovin/pinterest
twitter/instagram

Stay in touch!


Cropped Blouse – Burda Easy Pattern

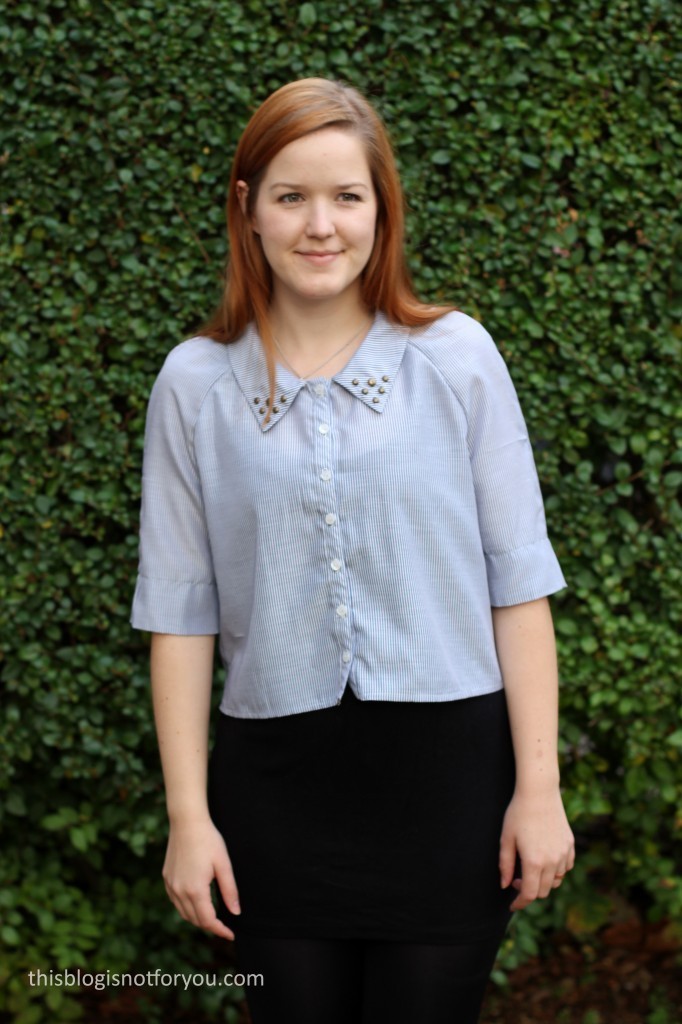
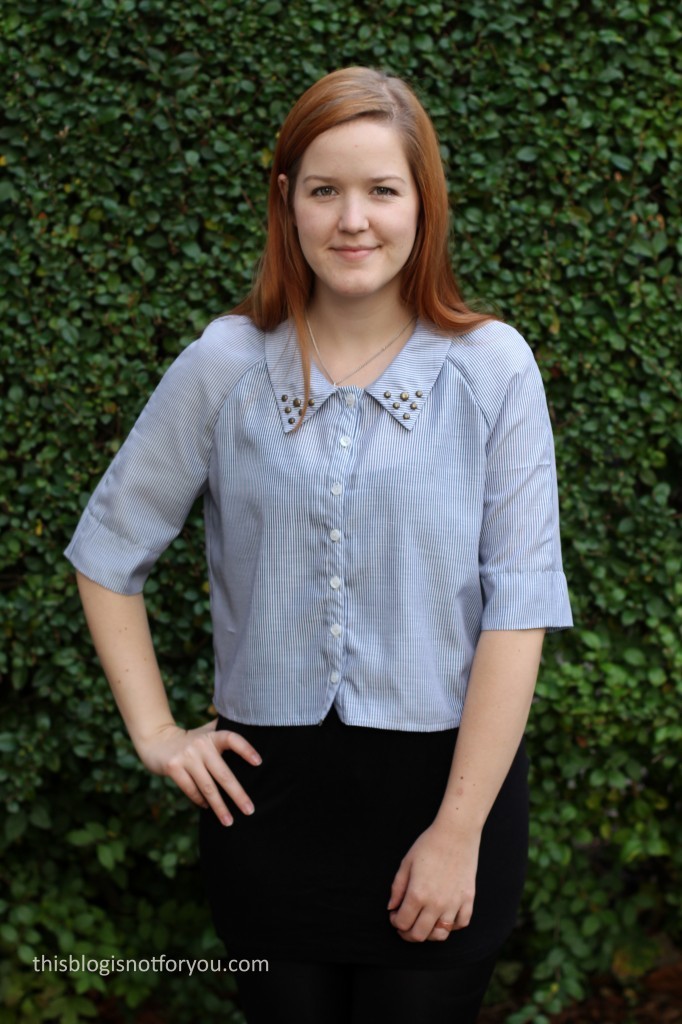
cropped blouse Burda Easy by thisblogisnotforyou.comHello gang! Today I want to share one of my latest makes, a cropped blouse with a studded collar. I hope you guys like it as much as I do! Let’s talk about the pattern first!
cropped blouse Burda Easy by thisblogisnotforyou.comcropped blouse Burda Easy by thisblogisnotforyou.com

The Pattern:

The blouse pattern is from the Spring/Summer 2014 edition of the Burdastyle Easy magazine, a special edition of the normal Burdastyle mag which comes out only a couple of times a year. Since it’s quite hard to get hold of the patterns later on (they’re not published digitally as the normal Burdastyle pattern are, as far as I know), I always make sure to get my hands on these mags. The patterns are always pretty simple, but pretty and combined they make a beautiful capsule wardrobe collection.

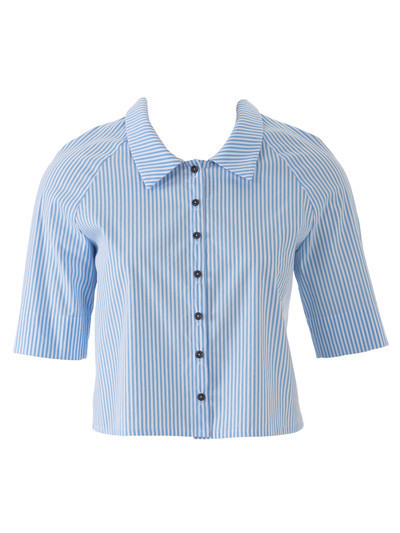
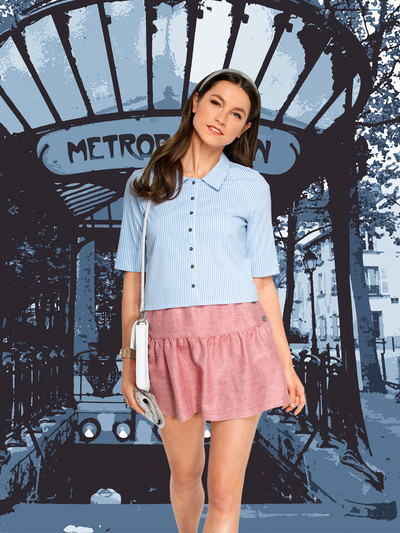
I really love the cropped blouse (pattern 1K in the summer 2014 issue) and since I have never properly tackled shirt collars before, this was the perfect project.

cropped blouse Burda Easy by thisblogisnotforyou.com
Source: www.burdastyle.de
cropped blouse Burda Easy by thisblogisnotforyou.com
Source: www.burdastyle.de

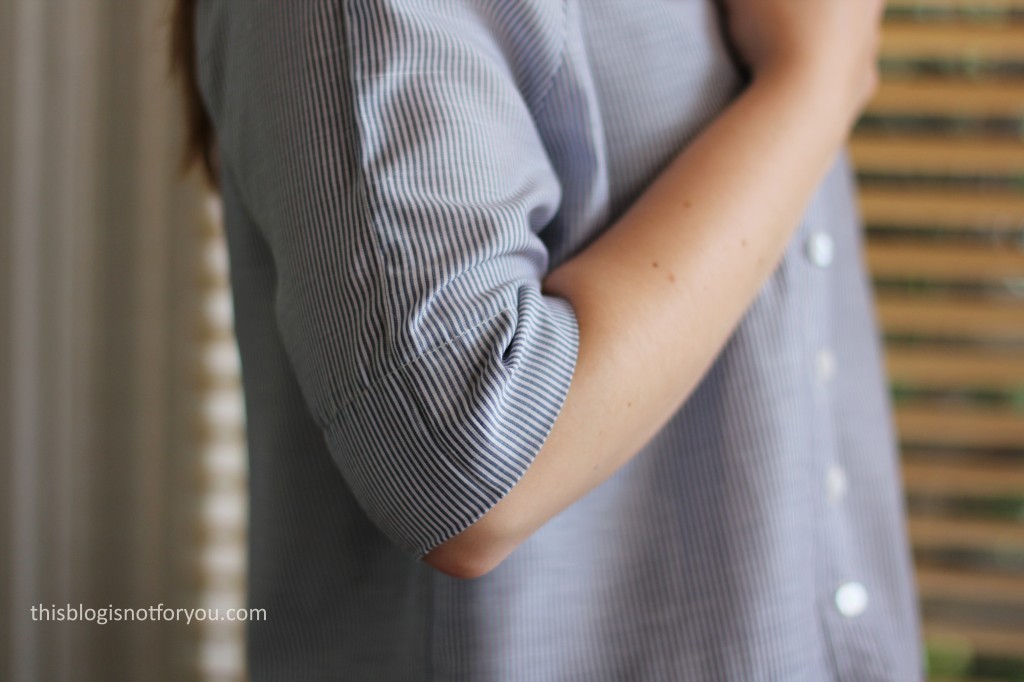
The blouse has got raglan sleeves which end at the elbow and the hem ends just below the waist.

The Fabric:

Luckily, I had pretty similar fabric in my stash. I got it from the Mr’s granny who recently moved houses and found a massive stash of vintage fabrics and patterns she gave me (yay!). I am not quite sure where it is from and when she bought it, but I will ask her next time I see her.

The fabric has very fine dark blue and white stripes and at first I thought it was linen. It was not. I didn’t notice until the blouse was all sewn together and I was working on the collar. When giving the collar a final press, it actually melted. Yeah. It waited to do that until it was completely finished and then BOO! That mean bastard. It even left an imprint on my ironing board which smiles at me now every time I use it. After that fiasko the collar was also shrunk and absolutely unusable. I cut out a new one (luckily, I had enough fabric) and started again. This time I was super careful and did everything perfectly. Well, it just wasn’t my day. When I finally wanted to attach the collar to the blouse it was about 4cm too short for the neckline. I almost had a nervous breakdown. It was past midnight and I just wanted to get this over with. But there was no way of attaching a collar that wouldn’t match up with the neckline. I went to bed knowing I would have to cut out a third collar without knowing what had gone wrong.

Guess what? Next morning I had the brilliant idea to just try it again, before cutting out a new one. I gave it another good press and started pinning. The seams matched up perfectly. I still don’t know what happened, but I was super happy, that much I can tell you! I still stick to the theory that there is a Tim Gunn living somewhere in my closet, who comes out when I sleep and secretly fixes my sewing mistakes. I so hope that this is true.

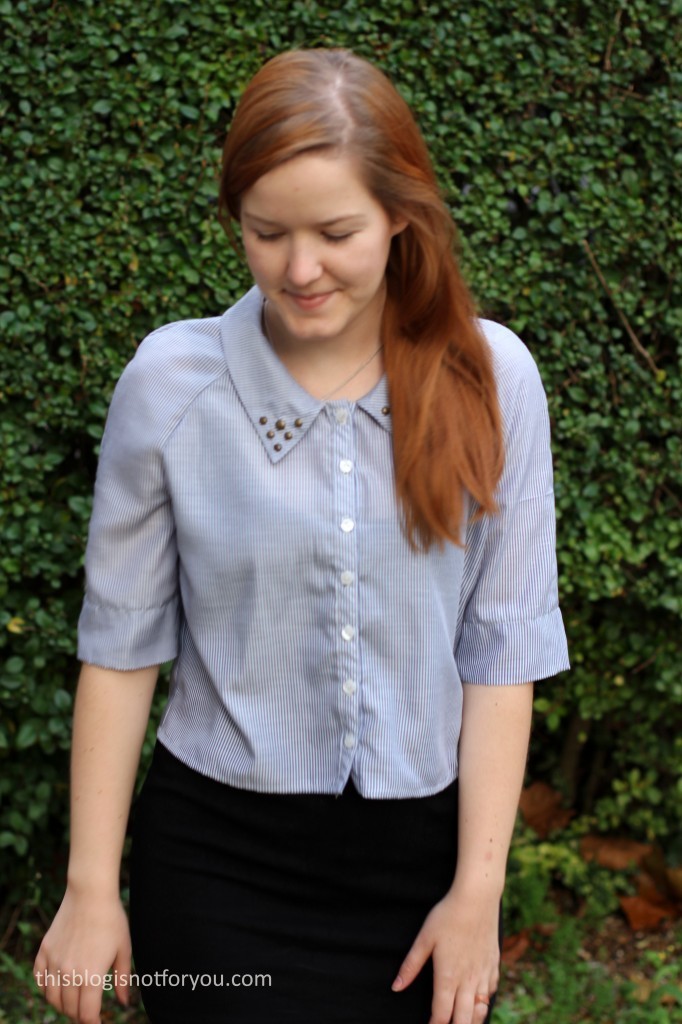
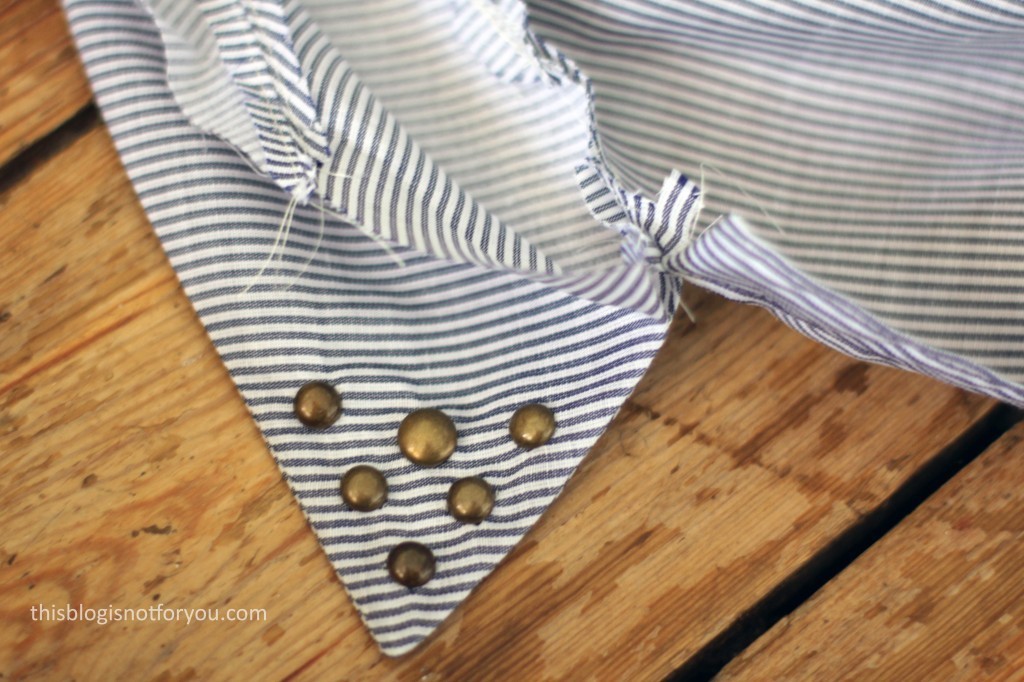
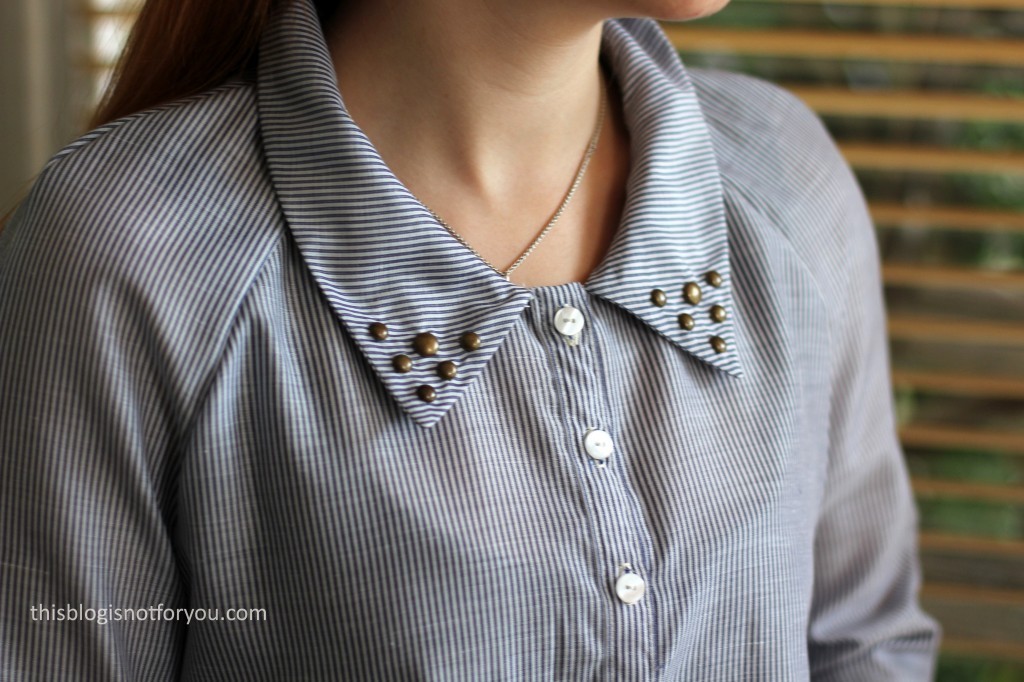
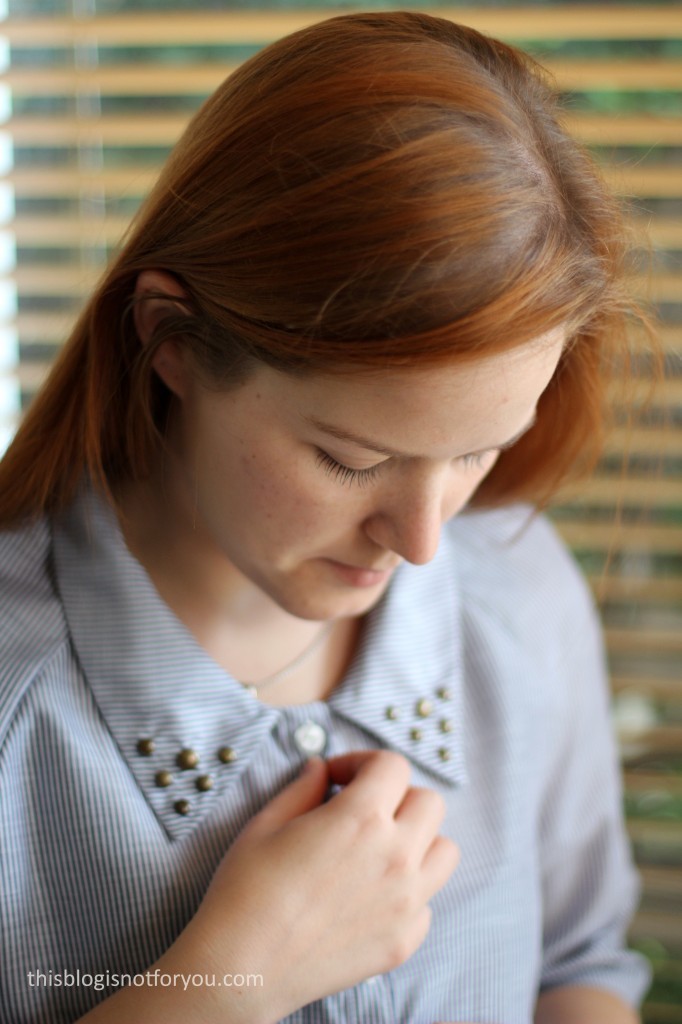
cropped blouse Burda Easy by thisblogisnotforyou.comI was so happy that before sewing the collar closed, I had the idea of adding some embellishment. I remembered that I had some studs lying around somewhere and then just gave it a go. cropped blouse Burda Easy by thisblogisnotforyou.com

I interfaced the corners of the collar before adding the studs. Not my best work, as the fabrics wobbles a bit where the studs are, but I am quite happy with the result.cropped blouse Burda Easy by thisblogisnotforyou.comcropped blouse Burda Easy by thisblogisnotforyou.comI am still ot sure whether I like the studs and white buttons together, but darker buttons looked even worse and I had none that would match the studs. Should I ever find some that are the perfect match, I can simply change them.cropped blouse Burda Easy by thisblogisnotforyou.comThe Fit:
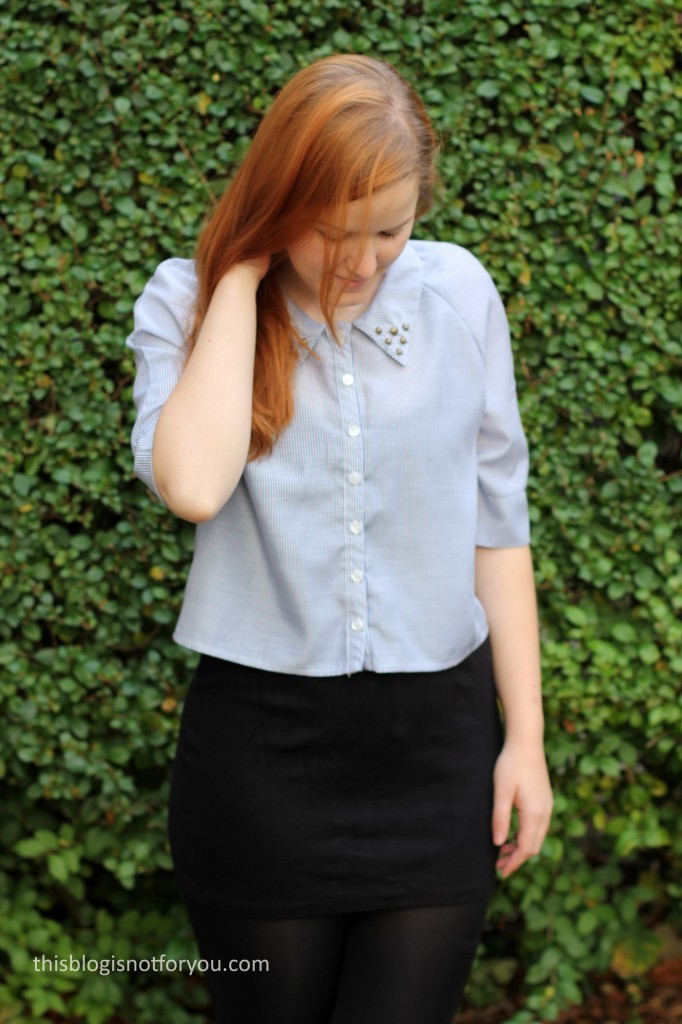
I absolutely love the fit of the blouse. I did not make any alterations this time and the pattern came together easily. The blouse is super comfy and quite flattering when you wear it with a tight skirt. I might have to make some pencil skirts now in some plan colours, so I can wear this baby to work.

cropped blouse Burda Easy by thisblogisnotforyou.com

Will I make it again? Yes, I think so. I already have fabric and plans for another one. But first I want to make some more fitted, high-waisted skirts to wear with the blouse. I am really really happy with the result. It’s a fantastic pattern and the collar is perfect for embellishing. I’m thinking about contrast-colour, sequing or beads next time!


Happy sewing!

facebook/bloglovin/pinterest
twitter/instagram

Stay in touch!

Burda Wrap Blouse

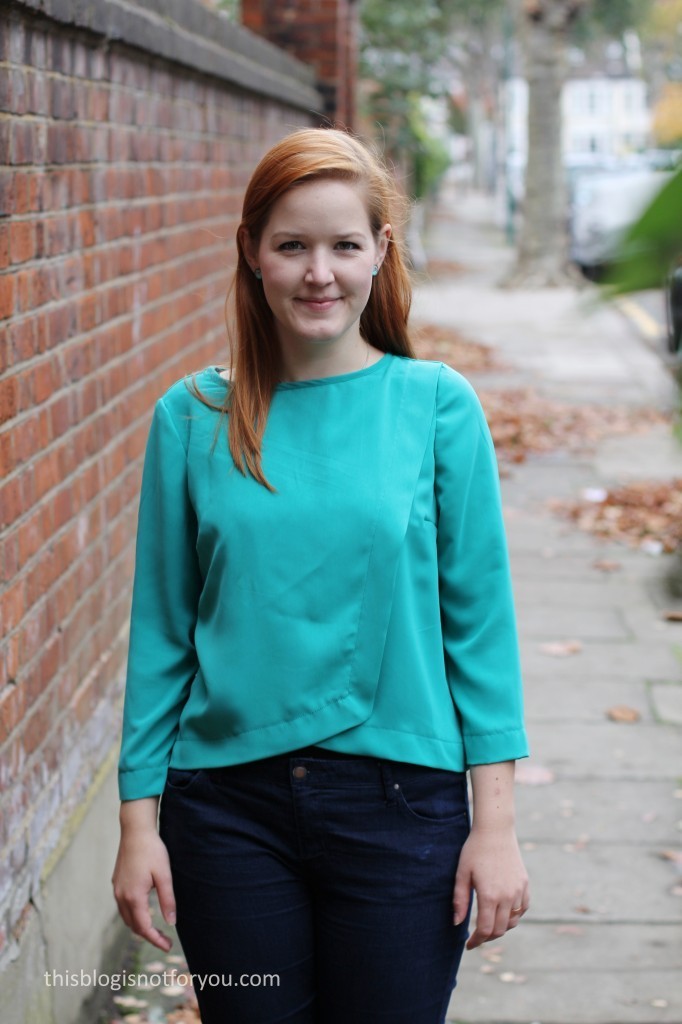
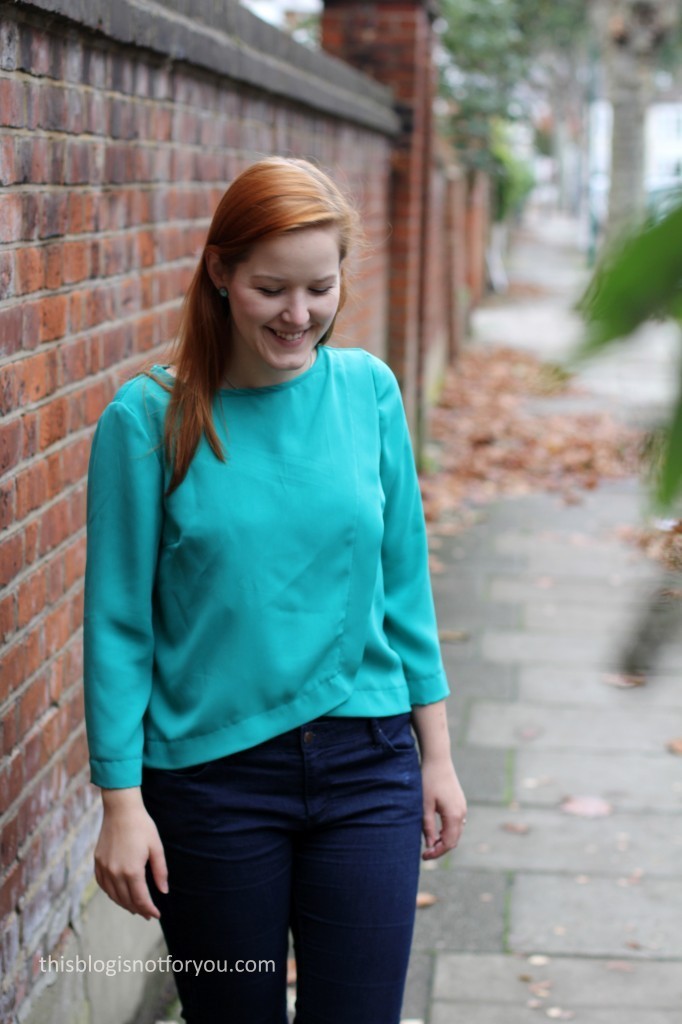
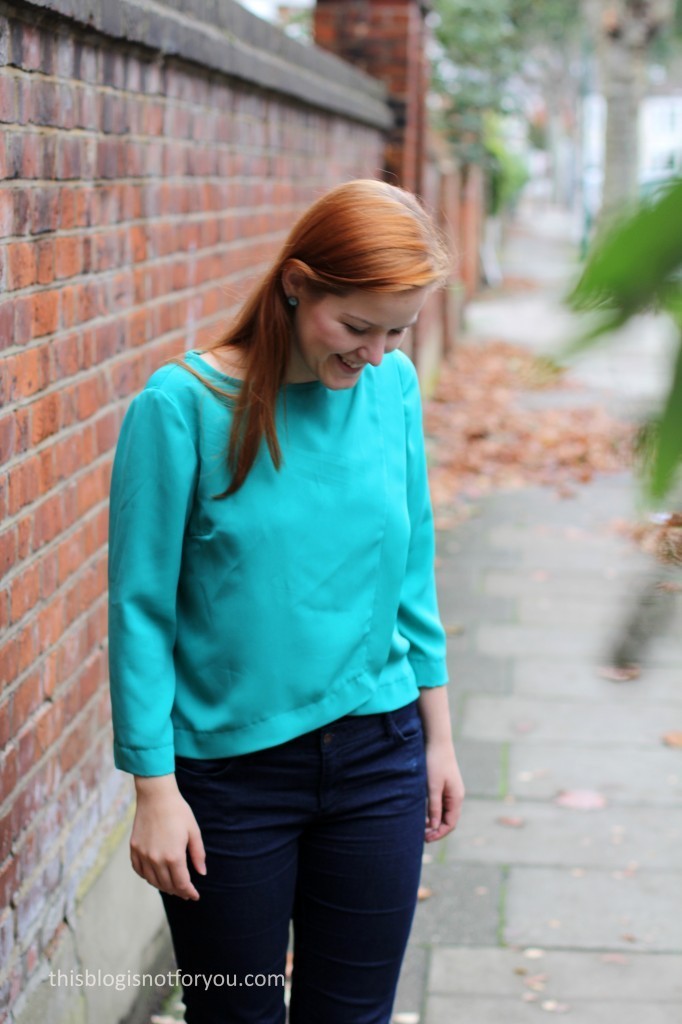
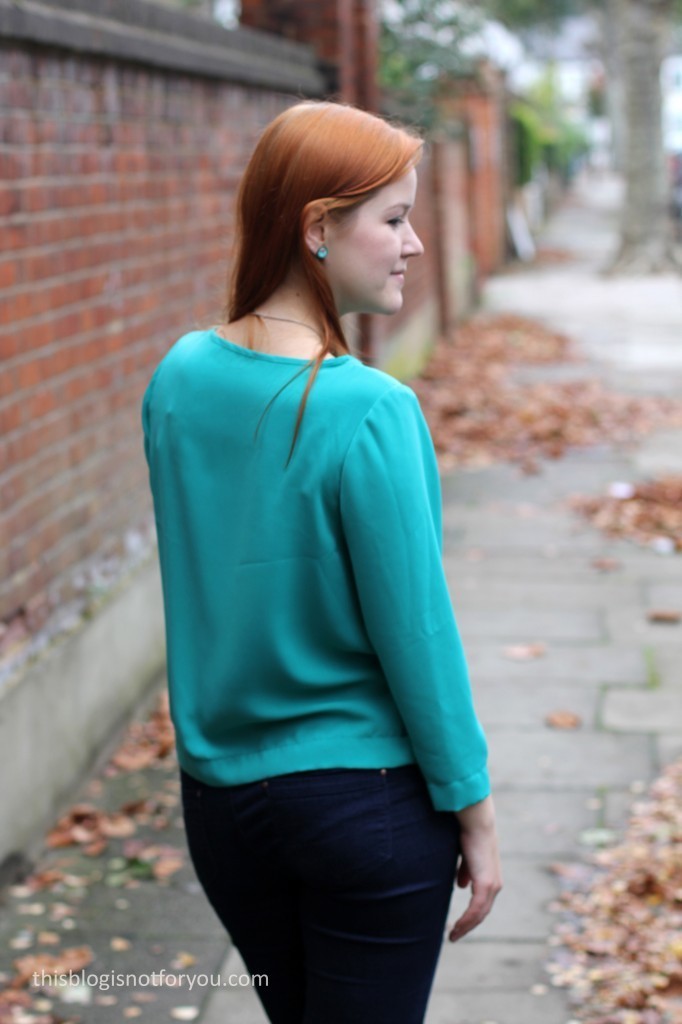
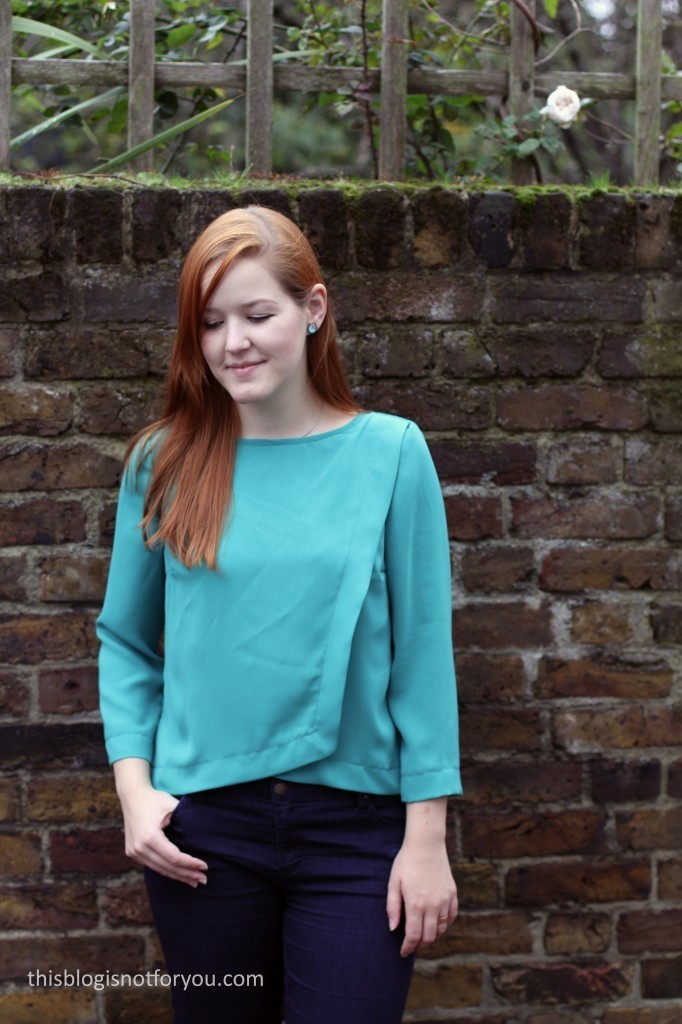
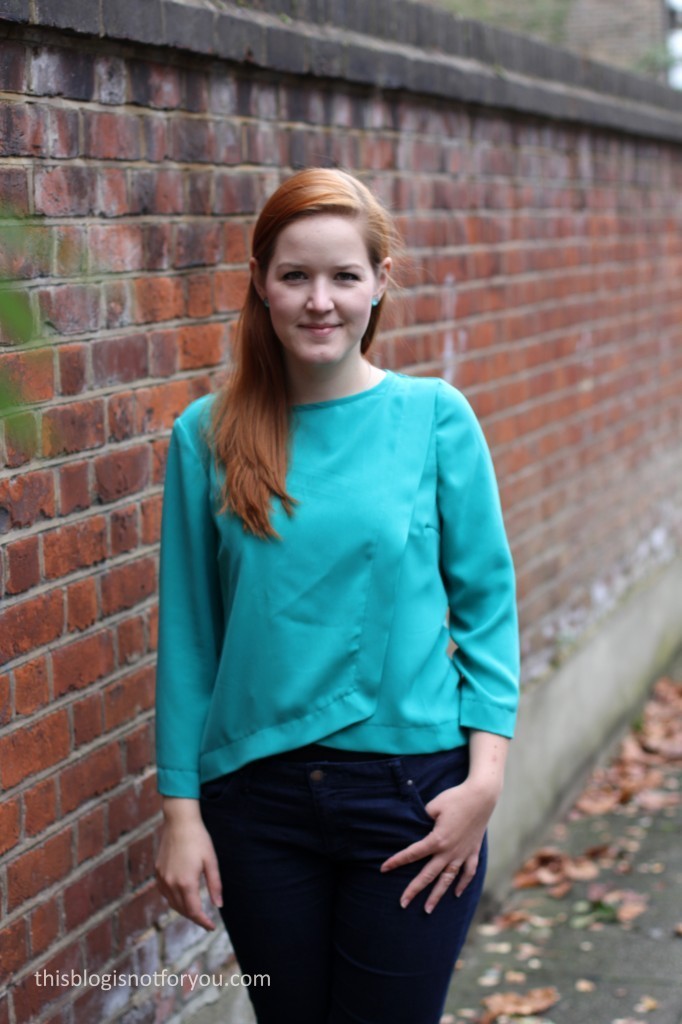
Burda Wrap Blouse 04/2014 #115 by thisblogisnotforyou.com

Hey folks! I’m back after a short blogging break during which, of course, some sewing was done. The weather is quite dreadful in London at the moment, so I couldn’t photograph everything I made yet.

I made this blouse two weeks ago before I went back home. It was a quick afternoon sew and the fabric didn’t even cost me a penny.

The Fabric:

I scored it at the last fabric swap at SewBrum. At fabric swaps I am one of the ‘polite’ ones – (Is it possible to be impolite at fabric swaps? I mean, there’s fabric involved, so I guess everything’s allowed) – which basically means when I spot something that I like I don’t immediately grab it, but wait and see if someone else might be interested as well. If no one wants it after a while, I take it home. This actually works quite well, and some of the ‘leftovers’ are some really gorgeous fabrics, you wouldn’t believe it. For some reason no one wanted this beautiful baby. This colour seems to be my new favourite and two other fabrics I got in the swap are of the same colour, but knits (yay!) It is polyester Crêpe (I think) and very soft and drapey. It was very easy to sew with and only needs a bit of ironing after the wash. Thanks to whoever brought it to SewBrum!
Burda Wrap Blouse 04/2014 #115 by thisblogisnotforyou.comBurda Wrap Blouse 04/2014 #115 by thisblogisnotforyou.com

The Pattern:

Yes! I’m back to sewing with Burdastyle patterns. For some reason I neglected all my Burdastyle magazines for months and only used indie patterns. I recently went through all my magazines and found some awesome stuff. Since then I’ve made quite a few Burdastyle makes and am planning more!

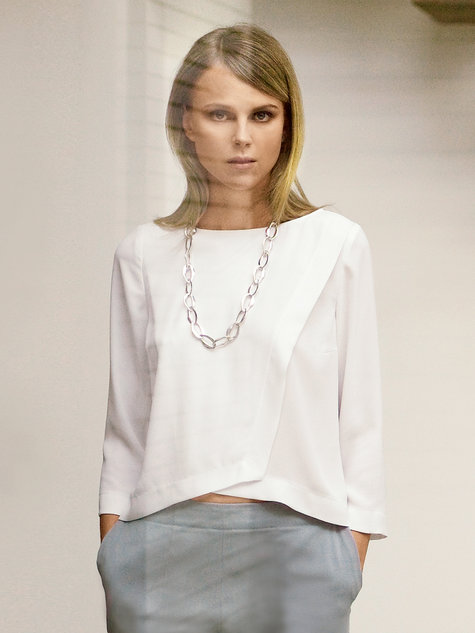
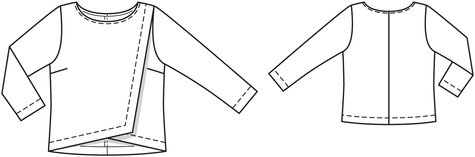
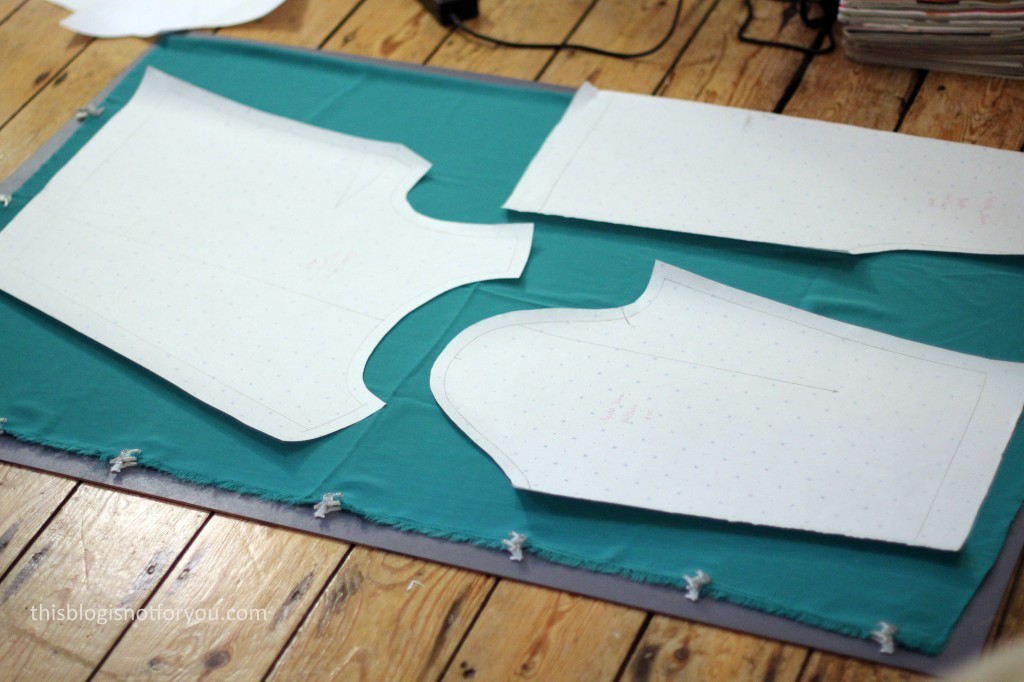
For this blouse I used the Wrap Blouse 04/2014 #115 pattern. There are only three pattern pieces, so it was super quick to trace, cut out and sew.

source: burdastyle.com

I did not make any major changes to the pattern except for omitting the center back seam. I have no idea why it’s there and what it’s for, so I simply cut the back pattern piece on fold. Maybe it was intended as a funky design feature, but unless you want to insert a zip, I don’t think center back seams are the greatest design detail.

Burda Wrap Blouse 04/2014 #115 by thisblogisnotforyou.com

The pattern suggests using a 110 cm (44 ins) wide Crêpe, length 1.85m (2 1/8 yds) for a size 10/36. My fabric was 150cm wide and I had barely a metre of it, but I managed to fit all pattern pieces on there. I often find that Burda’s fabric requirements are quite generous, so if you think you don’t have enough fabric, it’s still worth a try!

Burda Wrap Blouse 04/2014 #115 by thisblogisnotforyou.com

Burda Wrap Blouse 04/2014 #115 by thisblogisnotforyou.comBurda Wrap Blouse 04/2014 #115 by thisblogisnotforyou.comThe Fit:

I really love the fit of the blouse. I did not make a muslin (for some reason I never do with Burdastyle patterns. They usually fit me pretty well and tracing the patterns is such a nuisance already, so I can’t be bothered.)

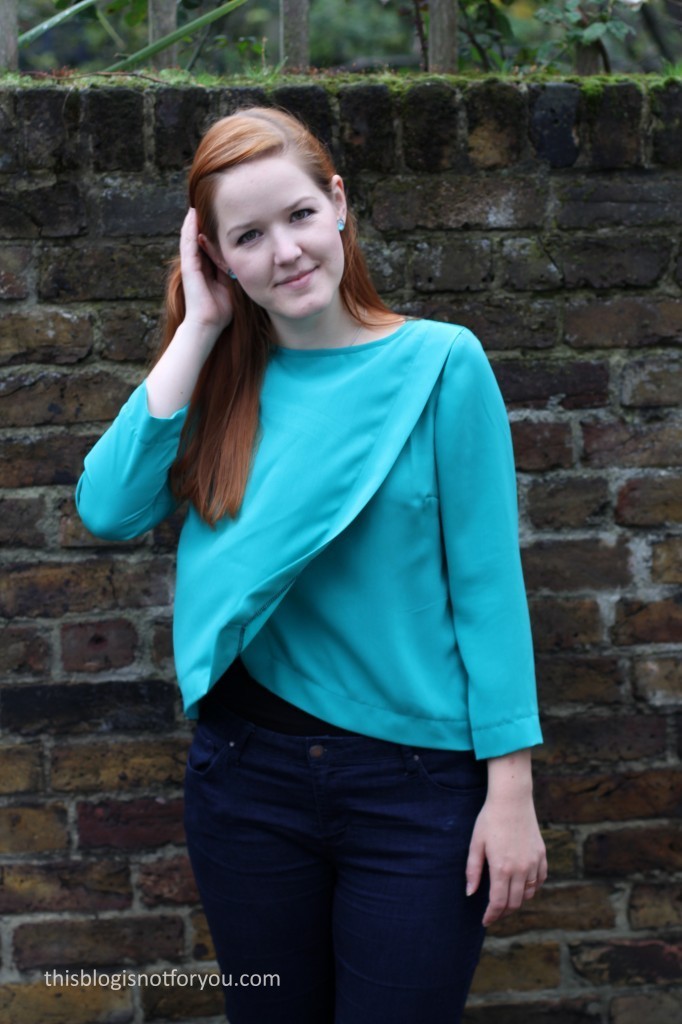
I love the length of the 3/4 length sleeves. They align perfectly with the top’s hem. The top is intended to be quite boxy, but the soft fabric makes it look very elegant. I am a big fan of a wide boatneck, so this pattern was really perfect for me. For some reason I have to think of a kimono, though. Maybe it’s the wide sleeves or the wrapped bit. But kimonos are cool anyway, aren’t they?

The front panels’ overlap is pretty safe. The front panels are basically stitched together at the neckline and the bound off by bias binding. If it’s really windy (as in the picture below), the worst case scenario would be showing a bit of tummy. So for work I wear a little black vest underneath (makes it also a bit warmer).

Burda Wrap Blouse 04/2014 #115 by thisblogisnotforyou.comBurda Wrap Blouse 04/2014 #115 by thisblogisnotforyou.comBurda Wrap Blouse 04/2014 #115 by thisblogisnotforyou.com

Will I be making it again? Definitely. Especially since it’s such a quick project which doesn’t use up much fabric. I was pretty happy with the fit, so no reason why I shouldn’t make another one!


Happy sewing!

facebook/bloglovin/pinterest
twitter/instagram

Stay in touch!