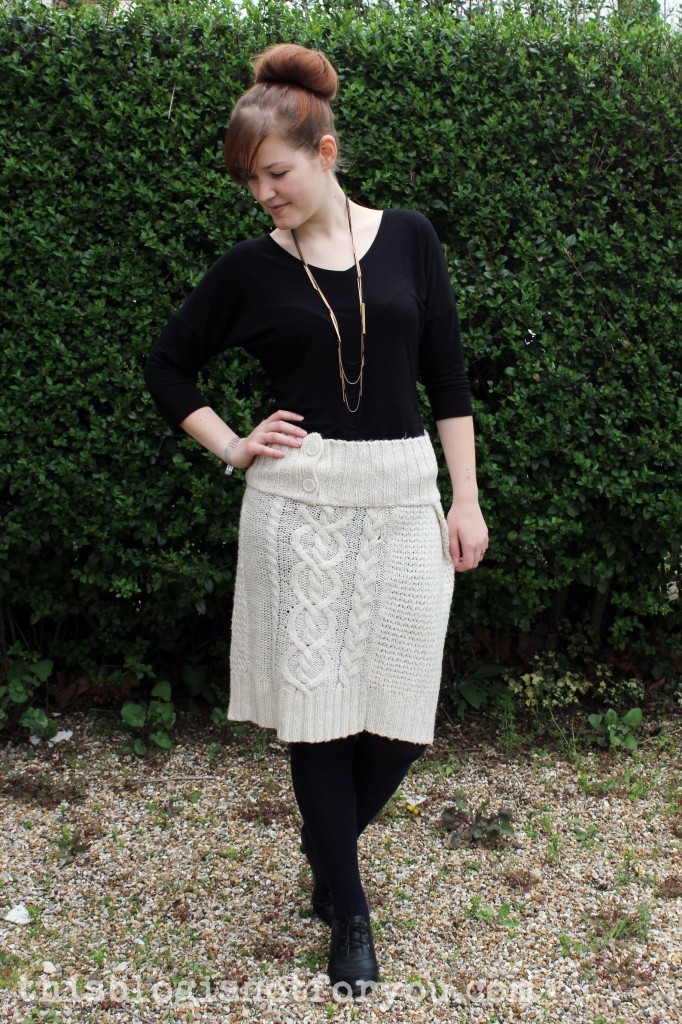
 It’s spring and time to get rid of all these sweaters you haven’t worn in years! Before you throw them away, why not try a quick refashion? This way having lived a long boring life in your closet your sweater might at least have a chance to lead a short exciting life as a skirt before it gets replaced by all the lovely summer dresses we can’t wait for.
I actually did this project weeks (months?) ago, when the weather was much colder, but somehow it took me ages to take some pictures of the finished skirt.
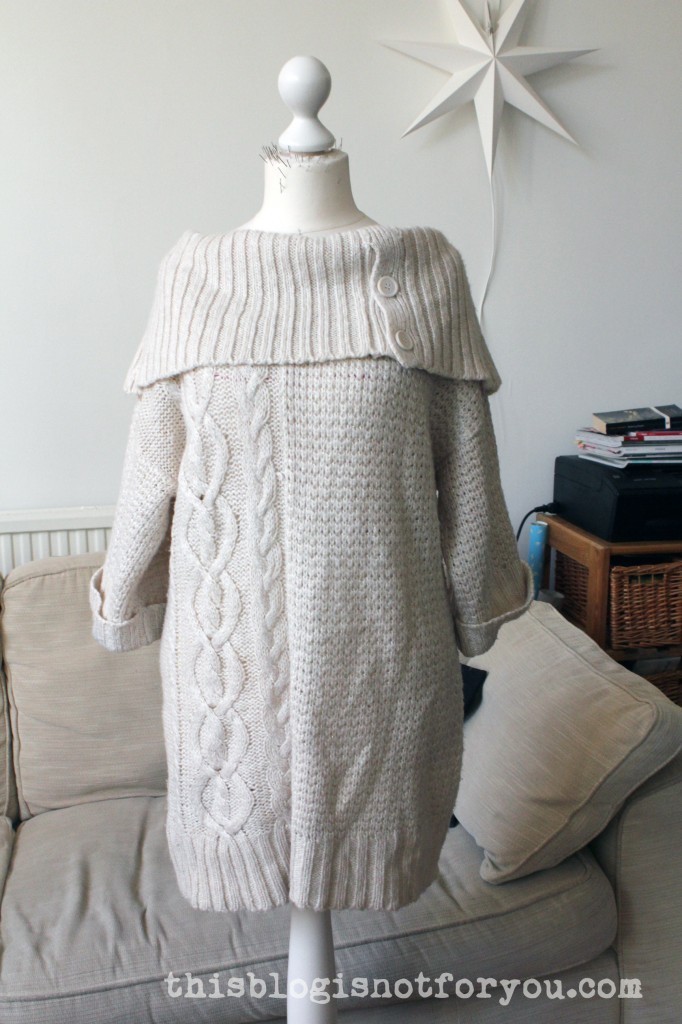 I got this sweater in a charity shop for 2 pounds. It’s 100% acrylic and not too comfy on the skin so I decided to make a skirt out of it.
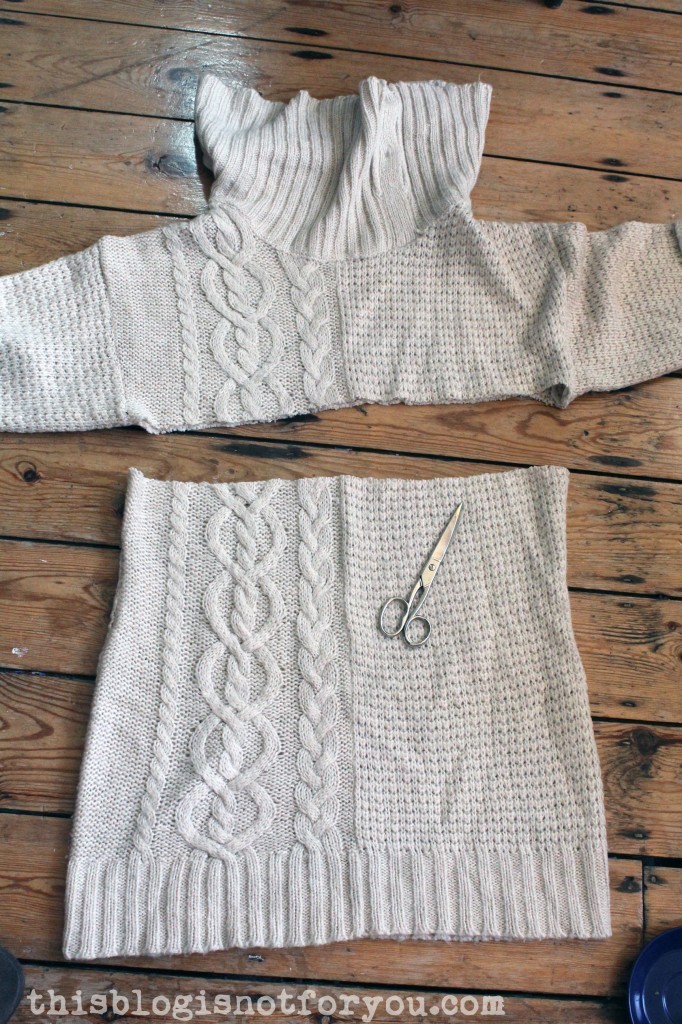 First, I got out my scissors and chop, chop! This is absolutely my favourite part! After this there’s no way back. In the beginning cutting garments apart was absolutely terrifying, now I thoroughly enjoy it. Hmm. What does this say about me?
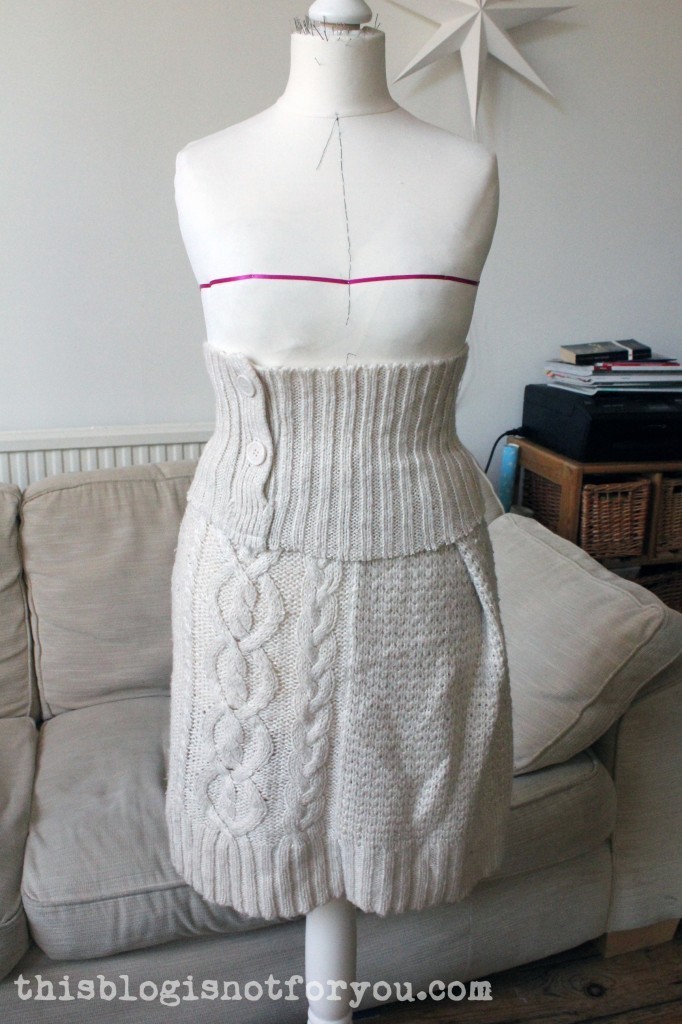
Anyway, I cut off the top of the sweater (right under the sleeves as seen in the pic above) and experimented with the fabric on the dressform. I sort of had an idea in mind, but a great part of this project is improvised, really. Some things you have in mind might not work out, time to get creative!
Here’s the front in progress…
 …and here the back:
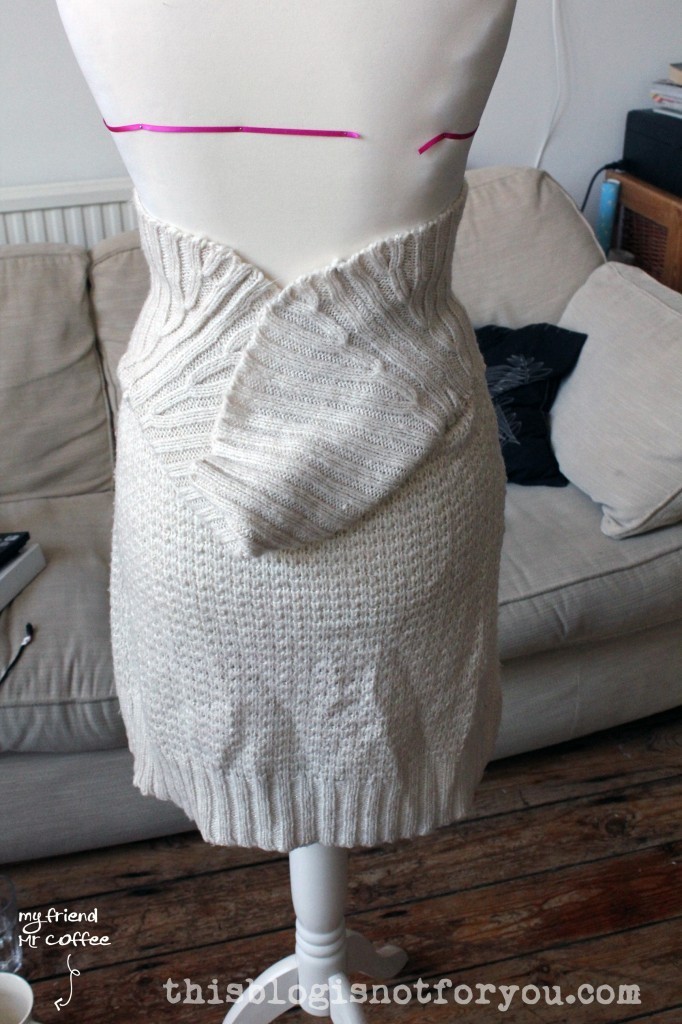 I used the collar to create a waistband. After everything was tucked and pinned into place, I used thick embroidery thread to baste all the layers together.
 I cut off the excess fabric, neatened the edges with a zigzag stitch and sewed everything together.
 Done! (Wowsa, that was quick!)
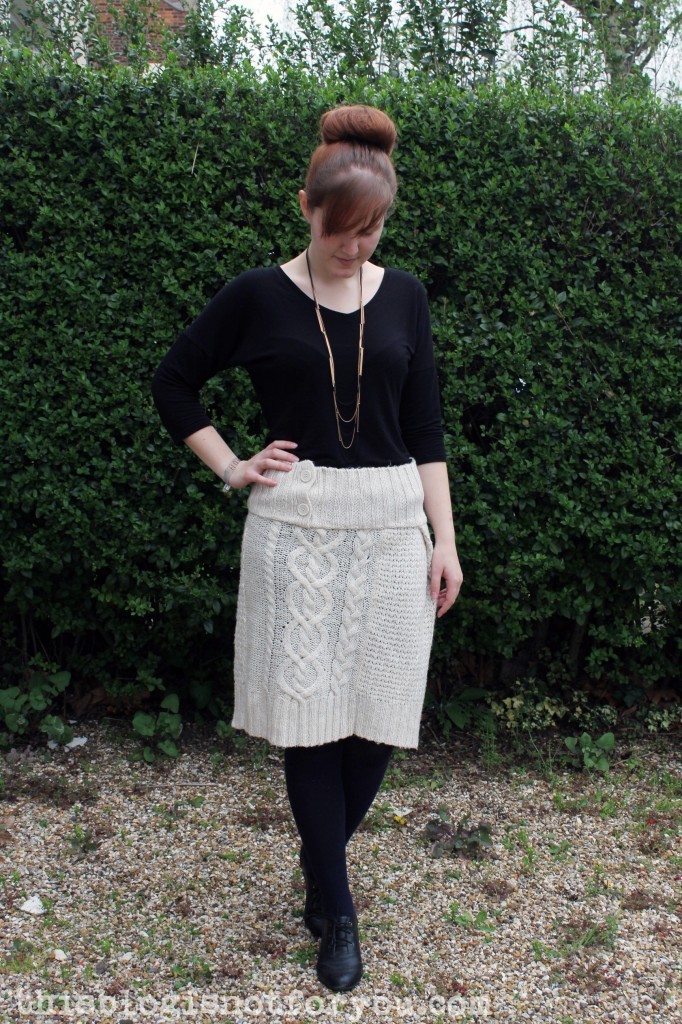
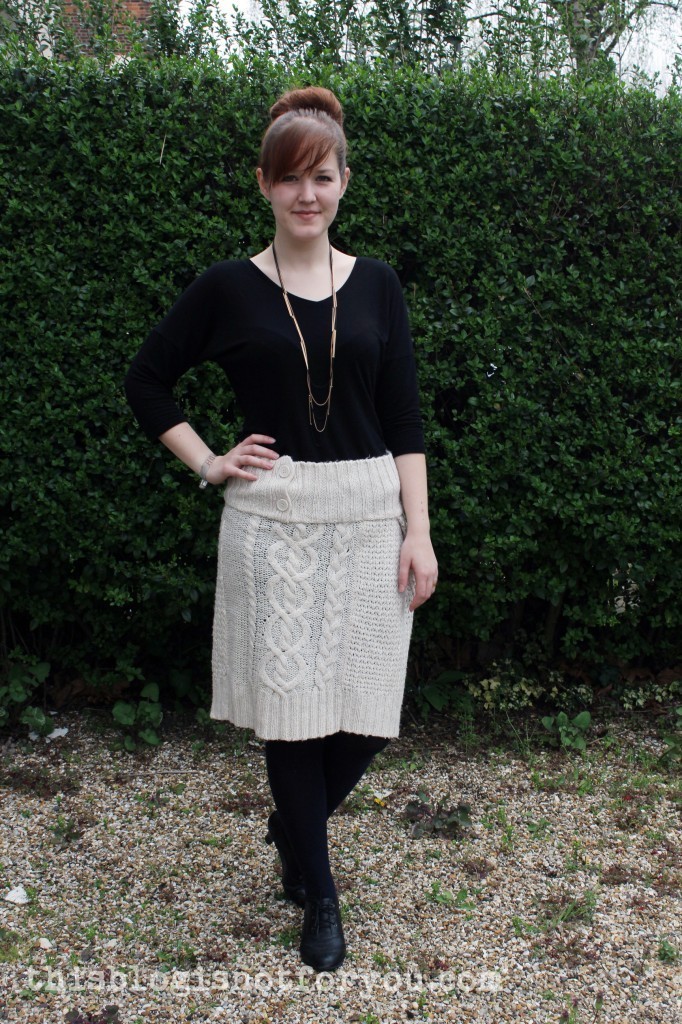 I might add some elastic to the waistband as it easily stretches out of shape and widens a bit when I wear it (so it sits much lower than intended). I bit of elastic will hopefully fix this.
Happy sewing!
♥
facebook/bloglovin/pinterest
Stay in touch!

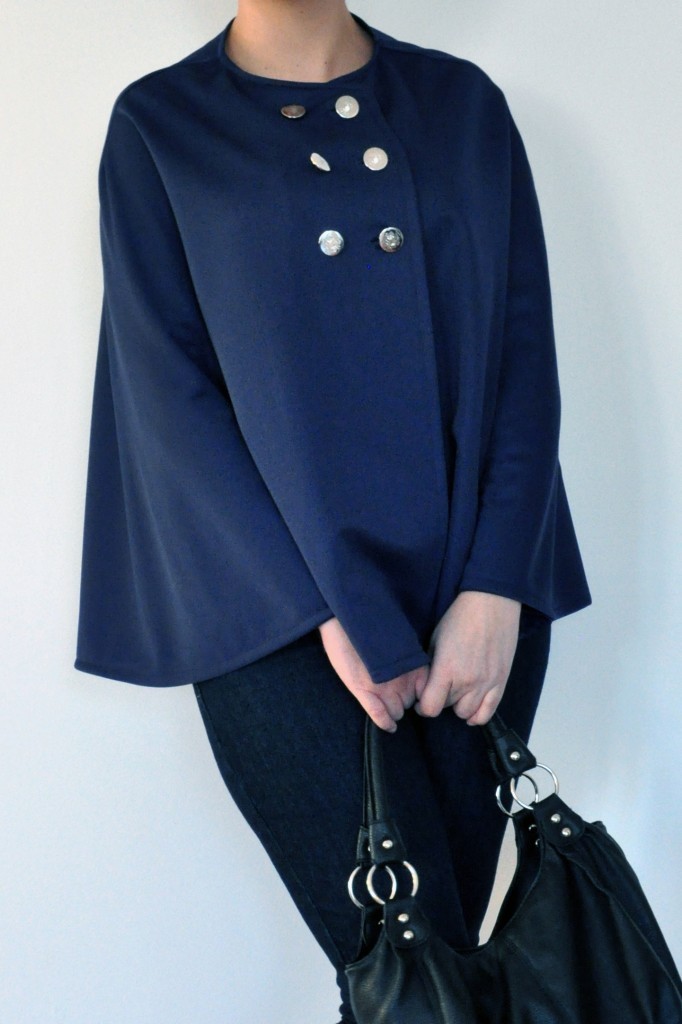 Today I’m featuring this wonderful navy blue Fairy Tale Cape made by Paméla, one of the lovely ladies who tested the pattern for me.
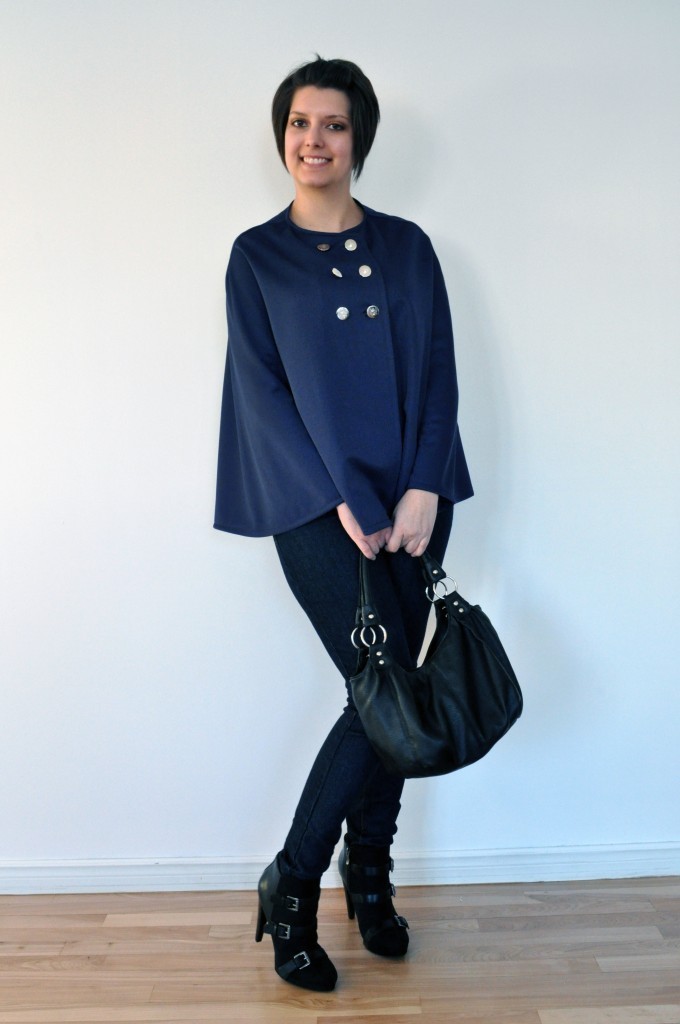
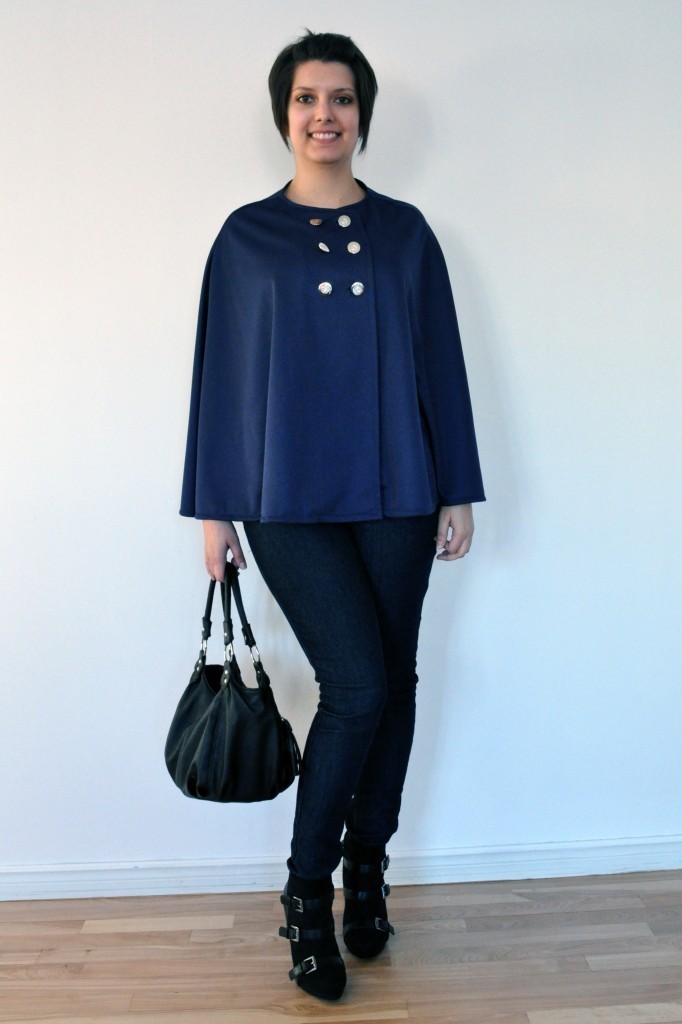 She decided to make the cape without the hood and combined a navy knit fabric with 6 silver buttons.
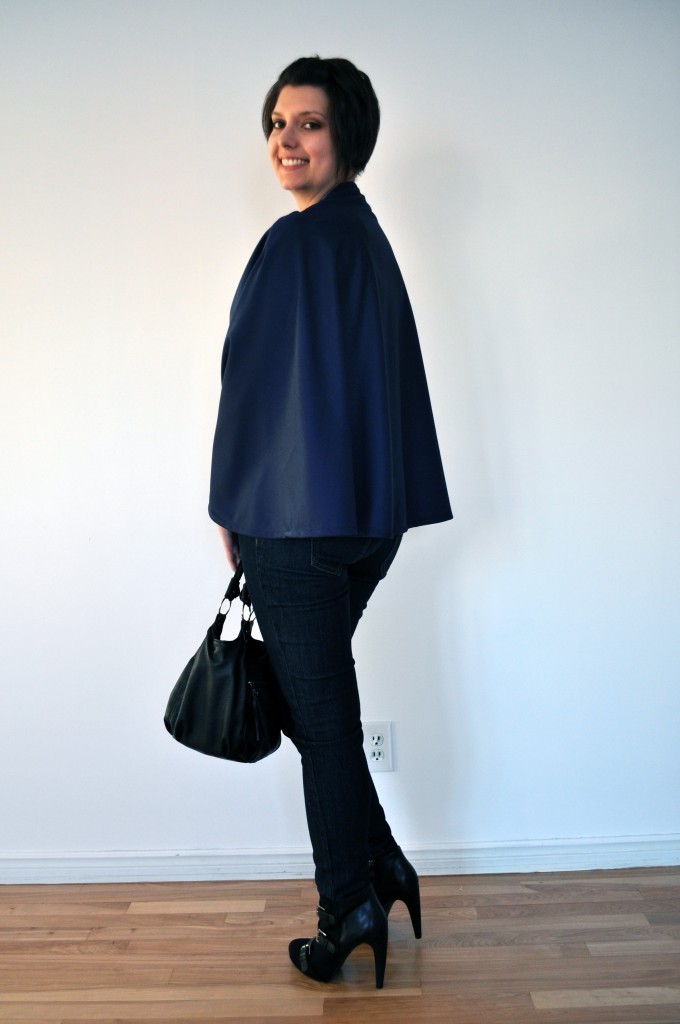 I’m in love with this version of the Fairy Tale Cape! It is super elegant and navy blue is my favourite colour! Now I feel the need to make a copy of this version for myself!
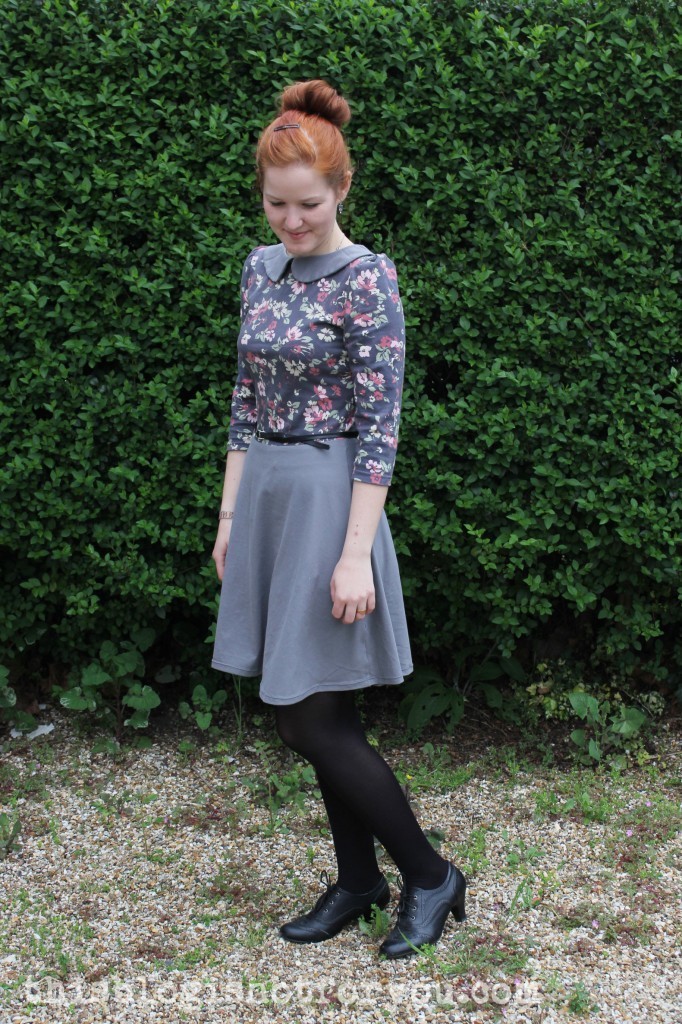
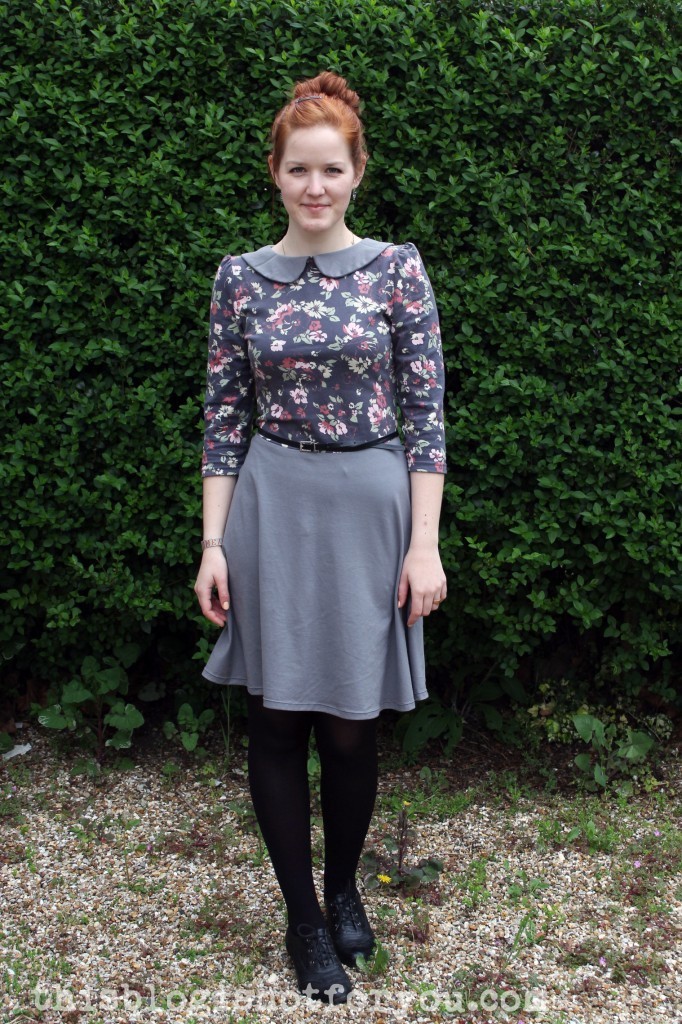 I did it again! I made another version of Kitschy Coo’s Lady Skater Dress! Of course, I couldn’t just stick with the original pattern, but had to make some alterations. I re-used my altered puff-sleeve pattern from my previous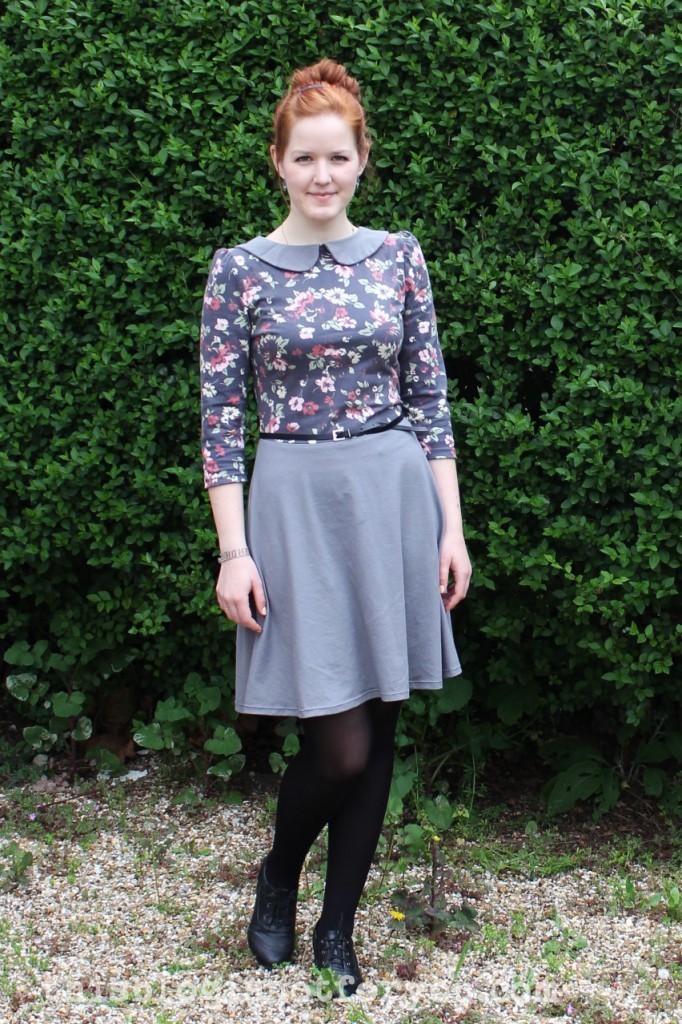
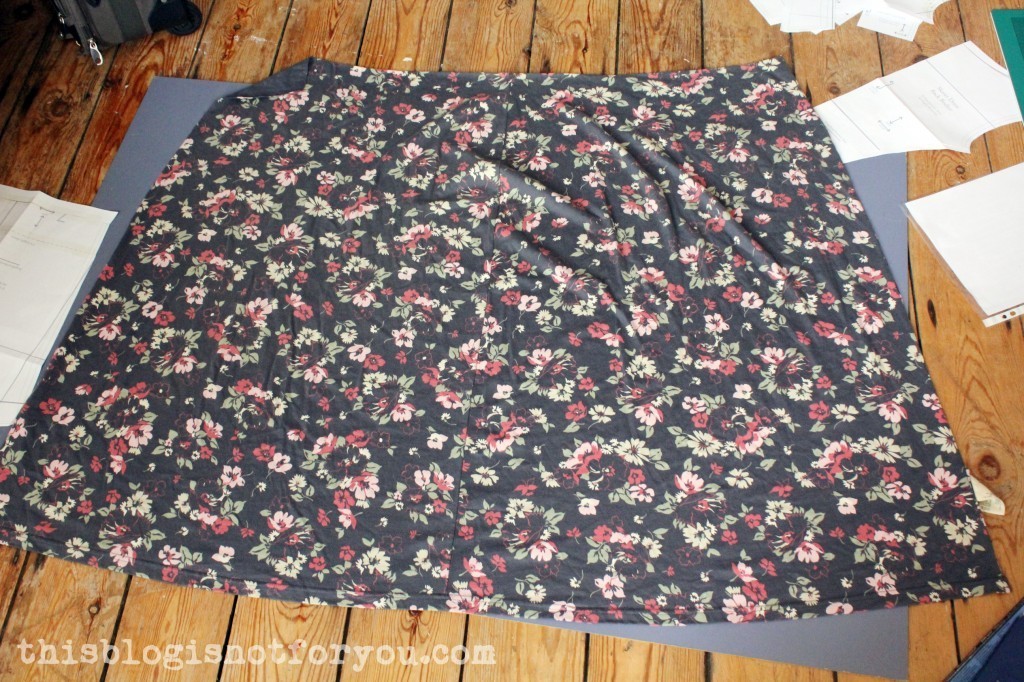
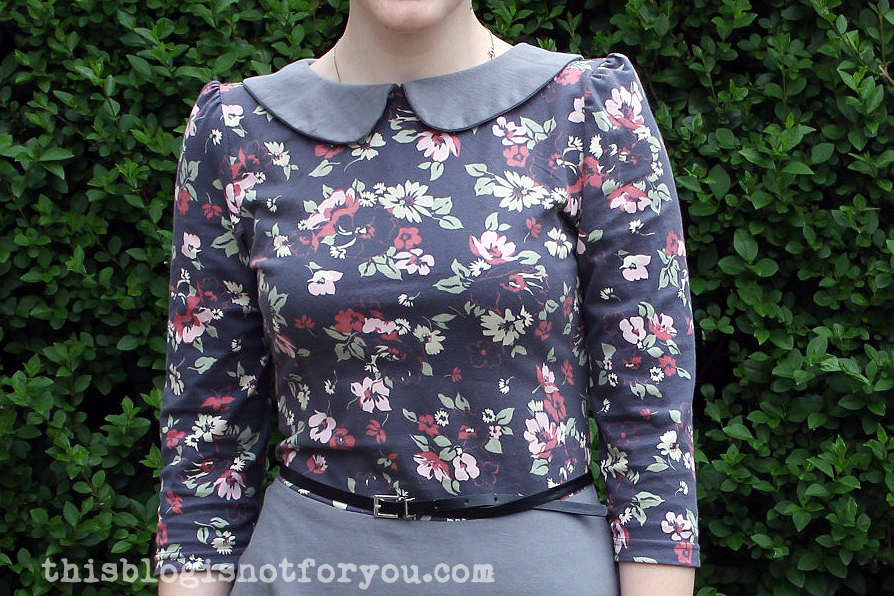 For the skirt and collar I used a light grey jersey I bought on sale half a year ago. The bodice was made out of a thrifted Laury Ashley jersey skirt. Normally, I’m absolutely not into floral fabrics, but I somehow fell in love with this one: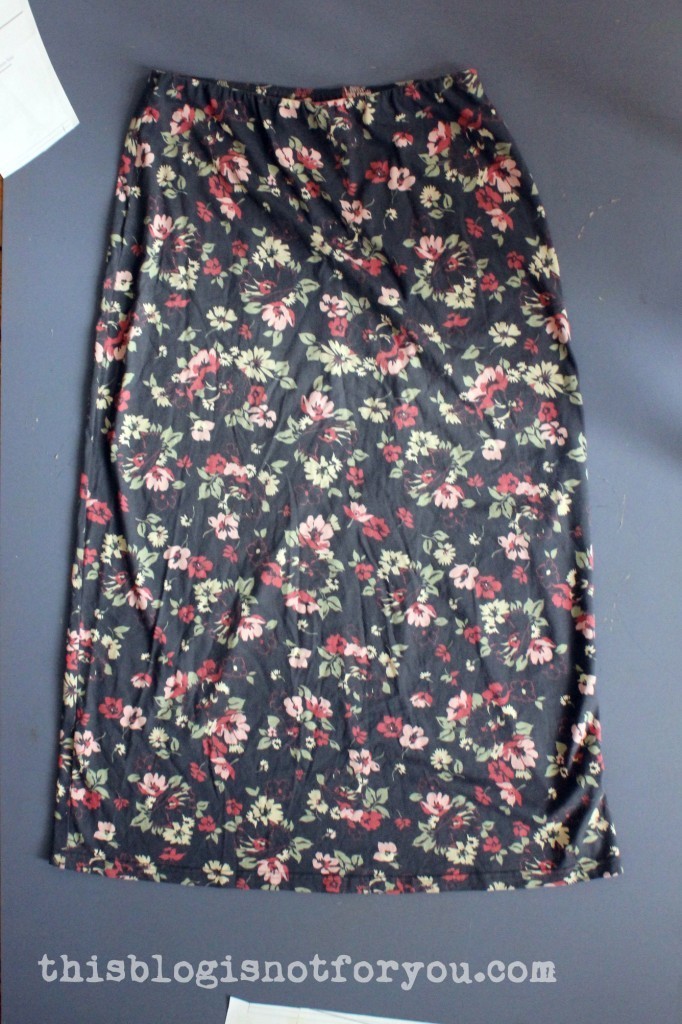
 Here you can see that I had to shorten to sleeves a bit, but I could also re-use the hem of the skirt for the sleeve hems. Pretty convenient :)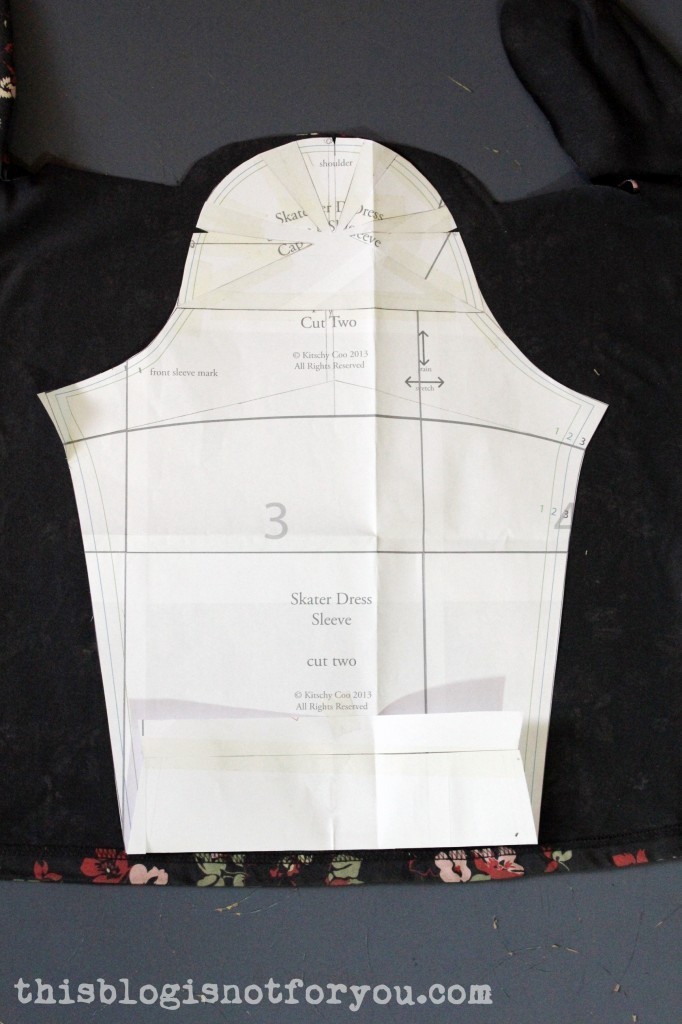
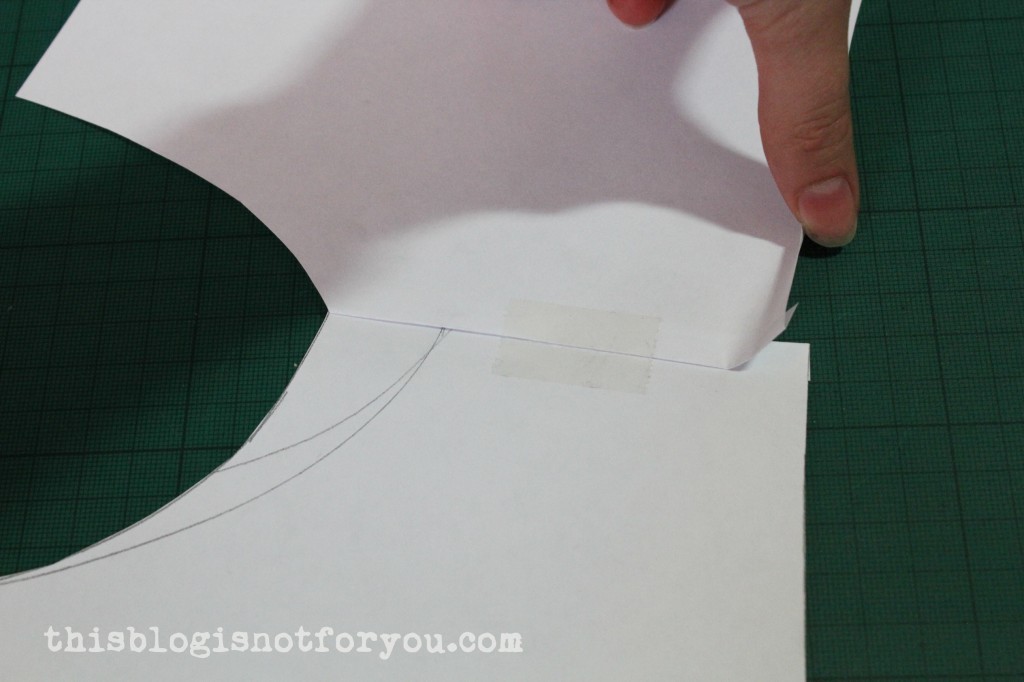
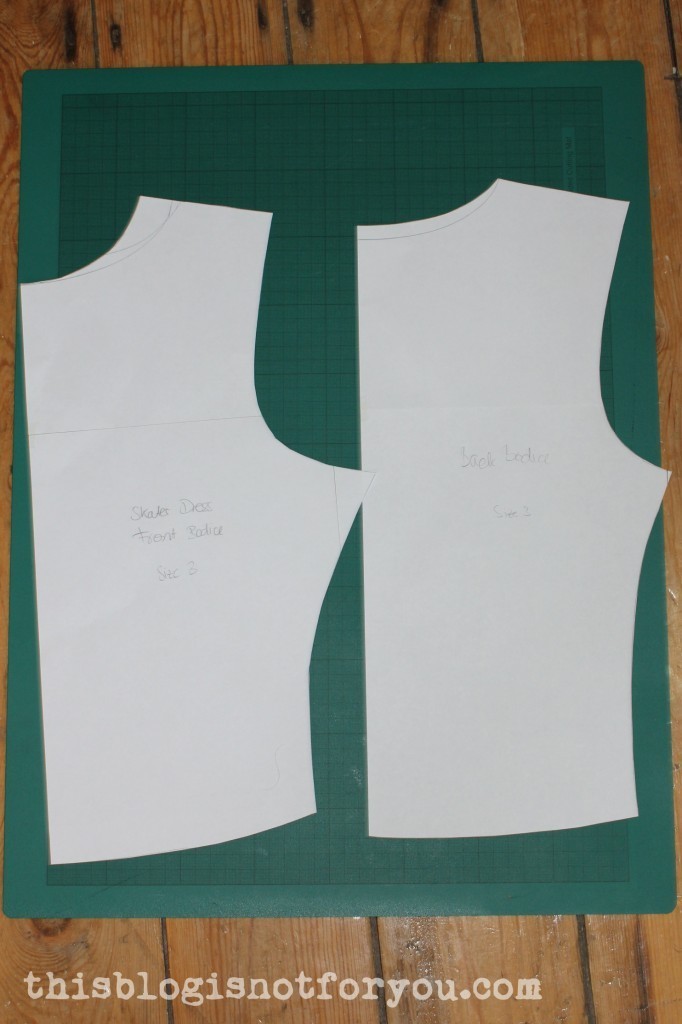 I taped front and back of the bodice pattern together (folding away the seam allowance) so that they were overlapping a bit on the armhole edge (see below). This way the collar lies flatter.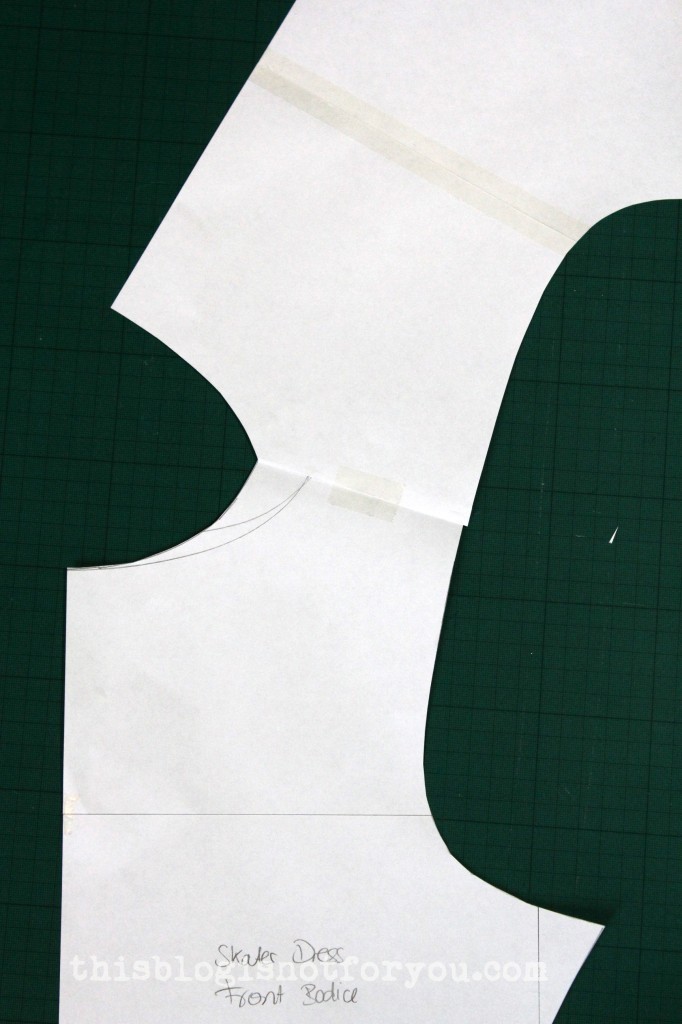
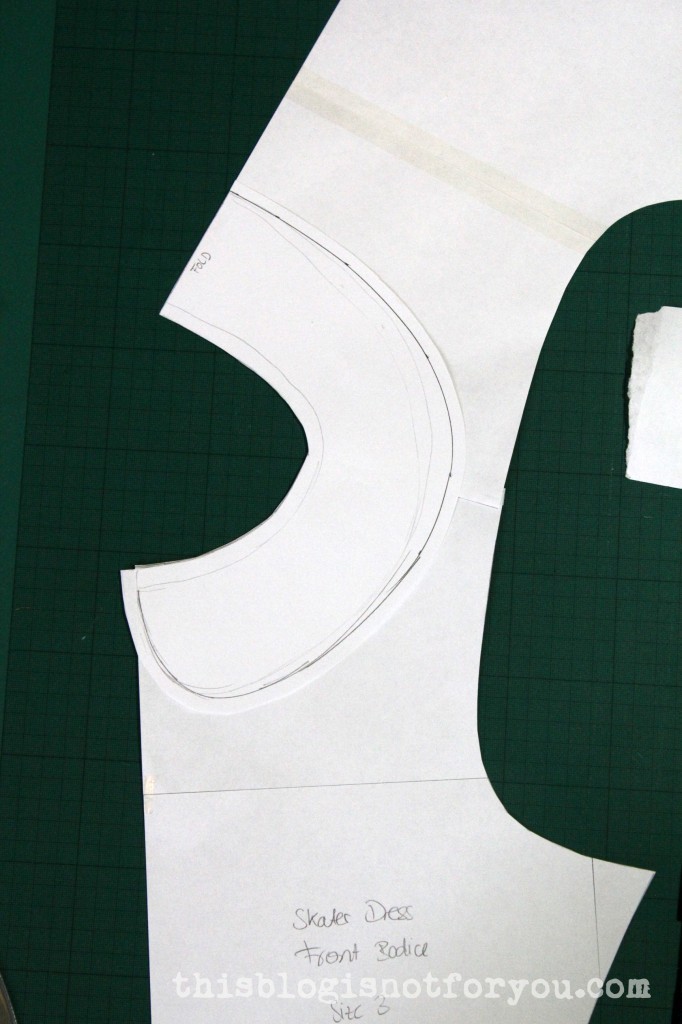
 Drafting the actual collar (don’t forget to add seam allowance!):
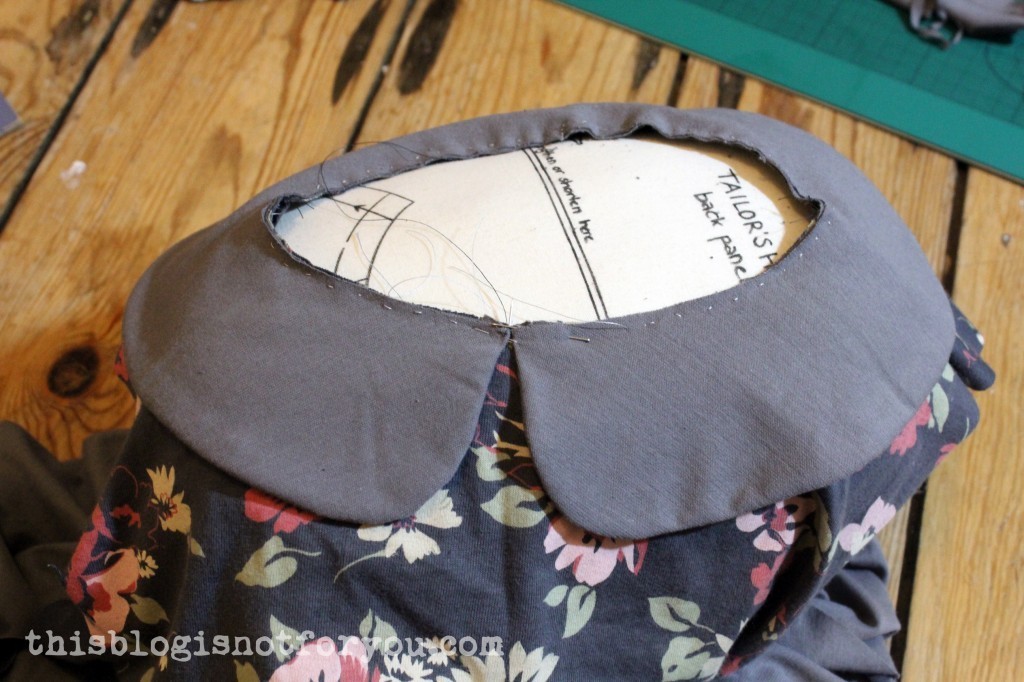
 I handbasted most of the seams of the collar before machine sewing them. Parts of the collar are cut on the bias and might stretch and shift, so handbasting seemed like a good idea. I also basted the collar to the dress, turned the raw edges over inside and stitched the raw edges to the dress with a zig zag (which you cannot see from the outside as the seams are covered by the collar).
  I love my second Lady Skater Dress as much as I love the first one! I wore it already (way too often) over the holidays and in my head I’m already making more!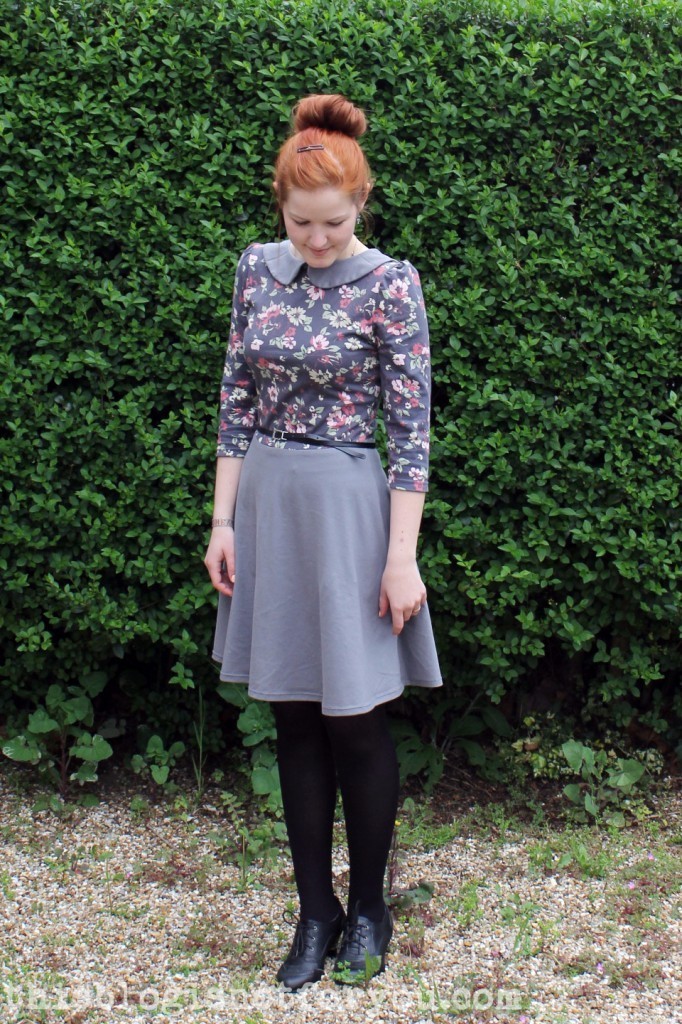
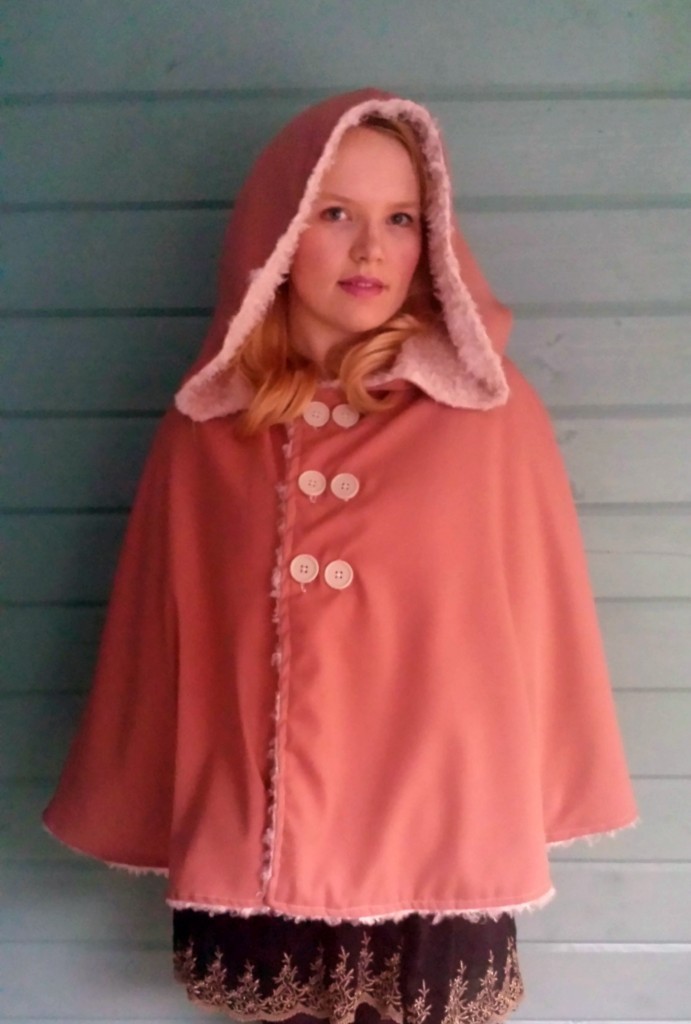 May I present – Hannah and her gorgeous
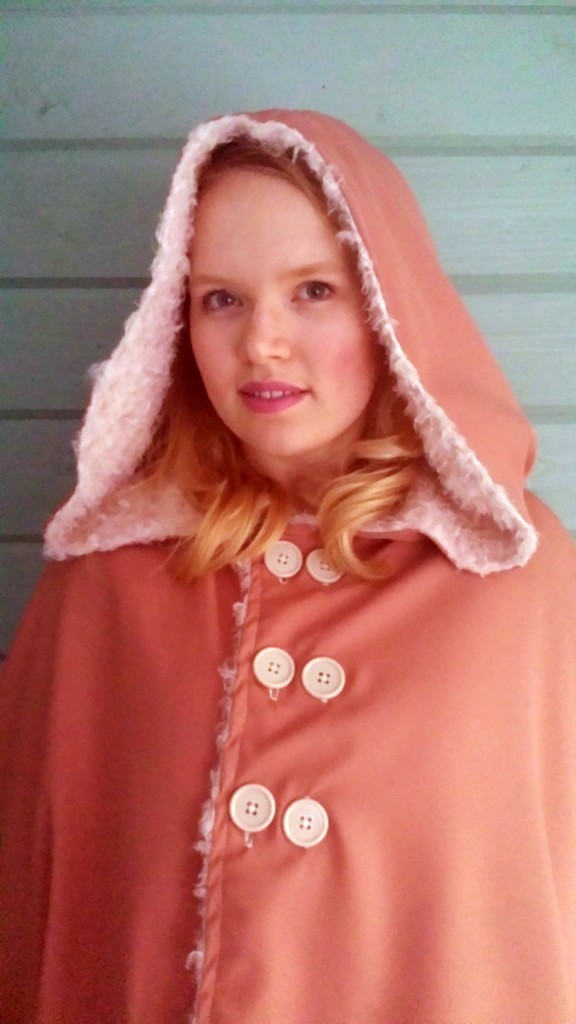 Hannah used a dusty pink suiting style fabric for her cape and chose to line it with the “softest, fluffiest fabric you have ever felt”. It really does look very soft, fluffy and comfy, I have to say! And it goes so well with the dusty pink colour of the cape. I love how you can see the little fluffy furry bits at the hem and front of the cape. It makes it look so cosy!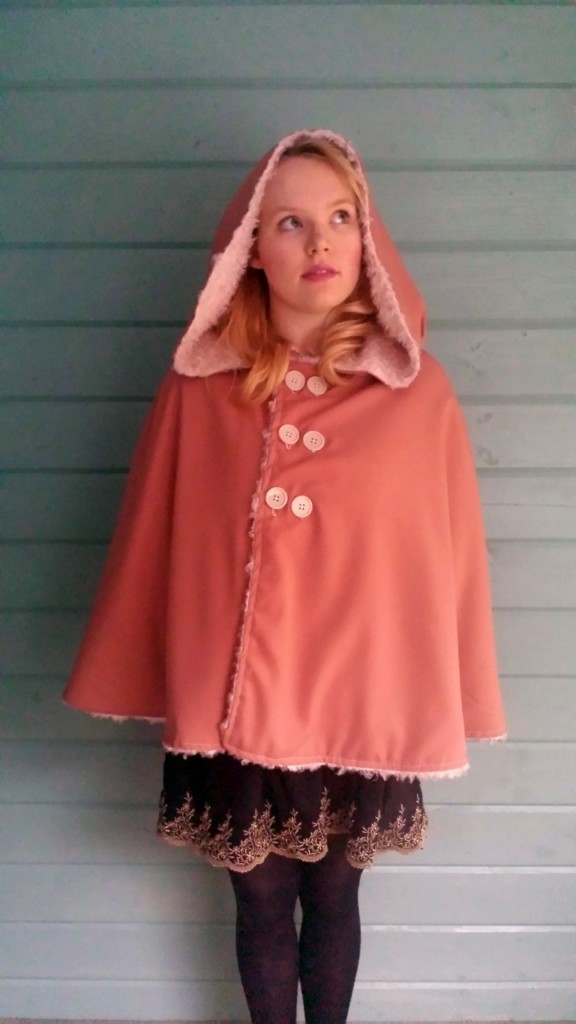
 Berry made her beautiful
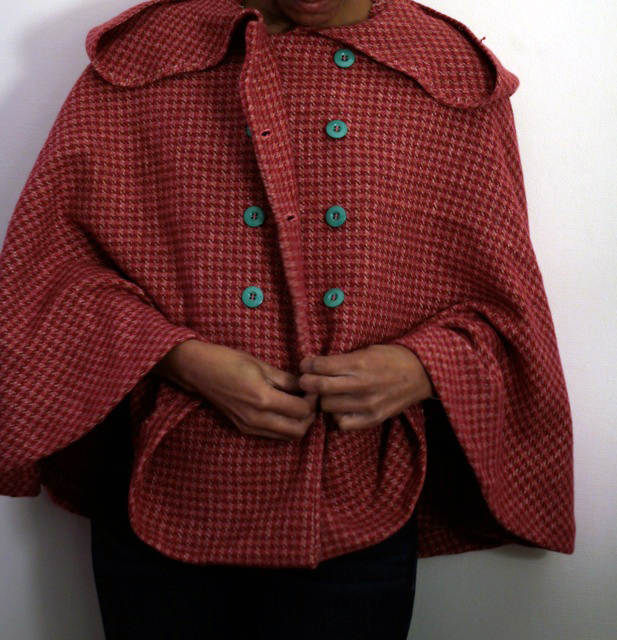
 I love the colour of the wool and the large hood drapes perfectly. The contrasting buttons are so cute and give the cape a slightly vintage-looking touch.