Make the Cape: Hello Sewalongers!
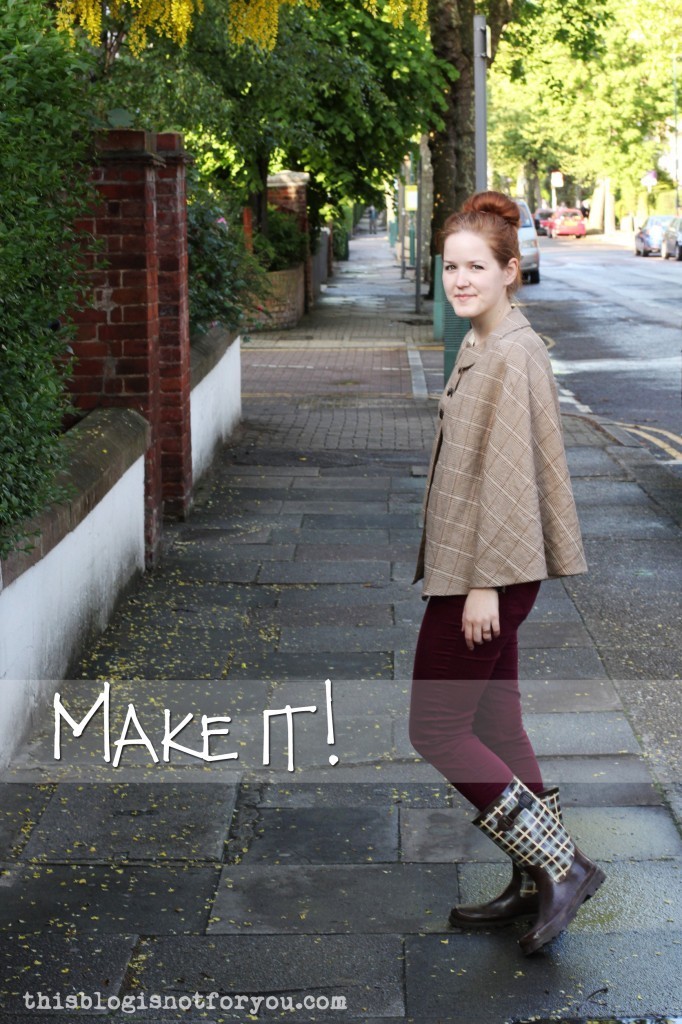 Hello my fabulous sewalongers! My Fairy Tale Cape pattern was released over a month ago and it is about time to host a sewalong! I’m absolutely over the moon about how many of you downloaded the pattern – it’s even #1 in the Top To Sew category on AllFreeSewing. Thank you guys, you are the best!
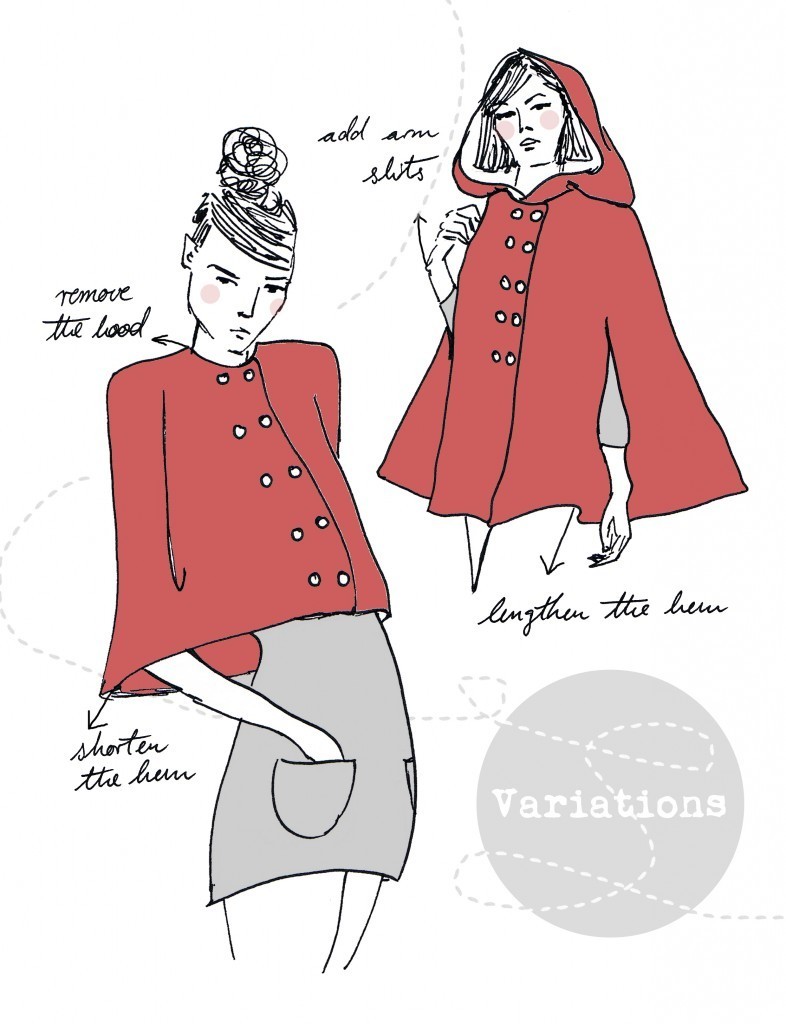
The pattern comes with detailed instructions and illustrations, so this sewalong will focus on how to make variations of the cape, such as:
- drafting and adding a Peter Pan collar
- adding armholes/armslits
- adding a full lining
…and other useful tips for designing and sewing your very own cape!
Here’s my varation of the Fairy Tale Cape: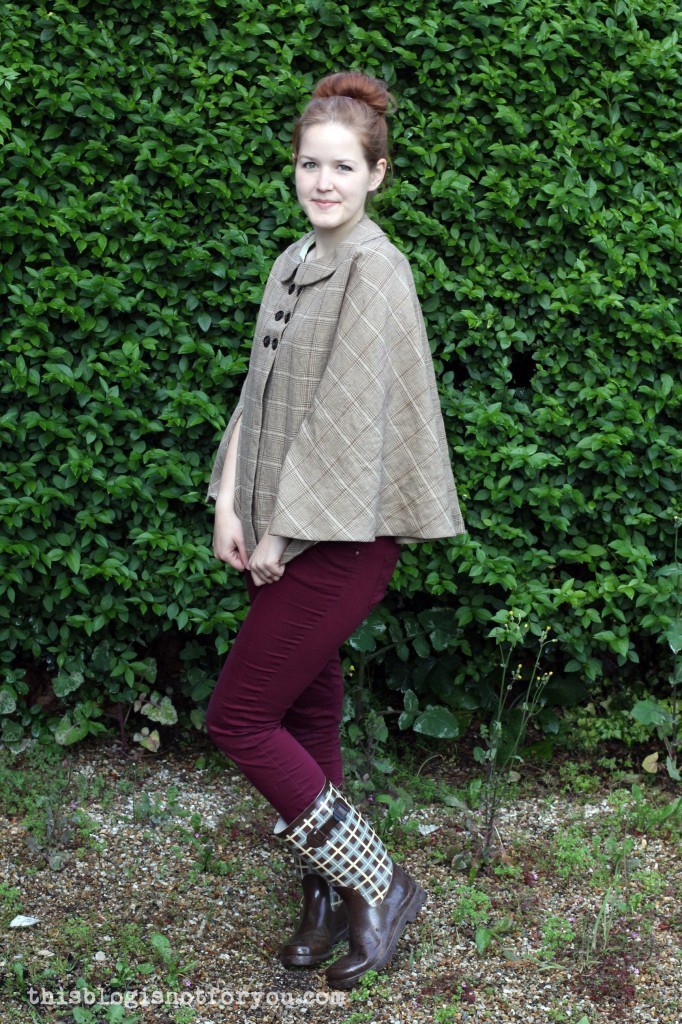 Very sherlock-y, isn’t it? And it was raining here in Londontown, that’s why I’m wearing gumboots. (That was last week – now the weather is just perfect and sunny and I could wear my Elisalex at the NYlon blogger meet up last saturday!)
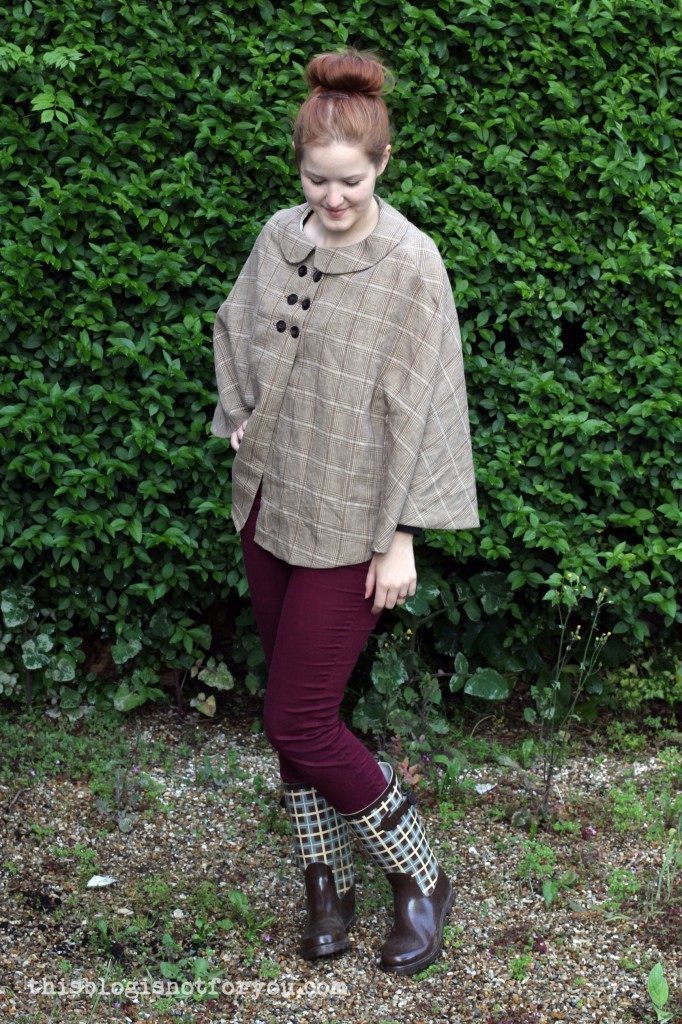 I kept the length of the cape, but decided to swap the hood for a cute Peter Pan collar! Instead of 10 buttons, I only added 6 this time plus two hidden snaps.
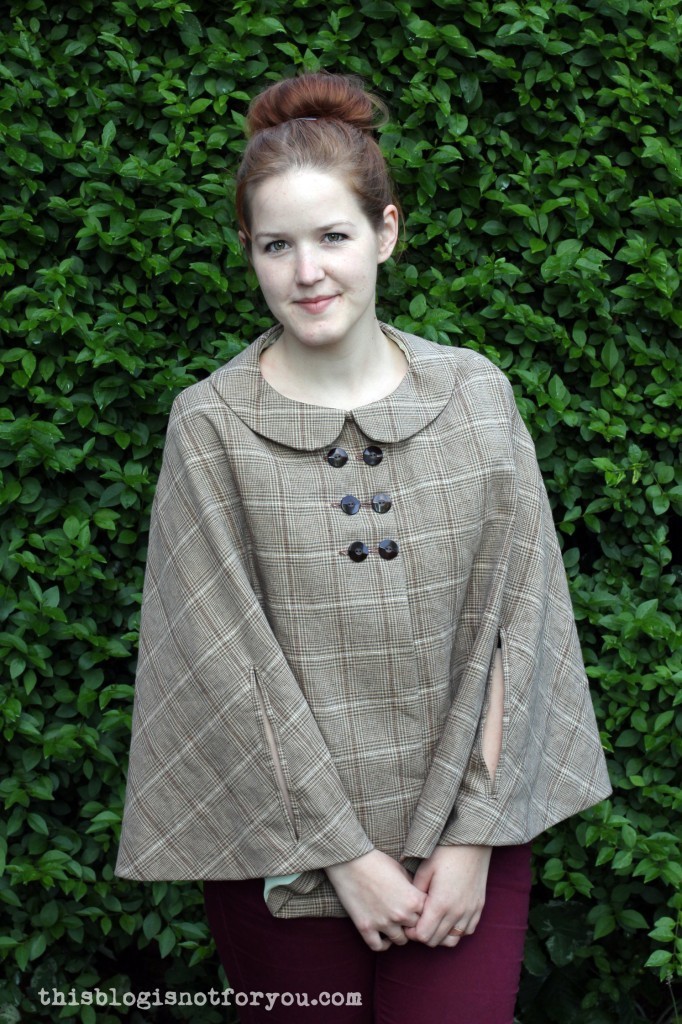 My cape has armslits and a full lining. It’s made to be worn outdoors and will come in handy now that the weather is getting warmer everyday – byebye coat!
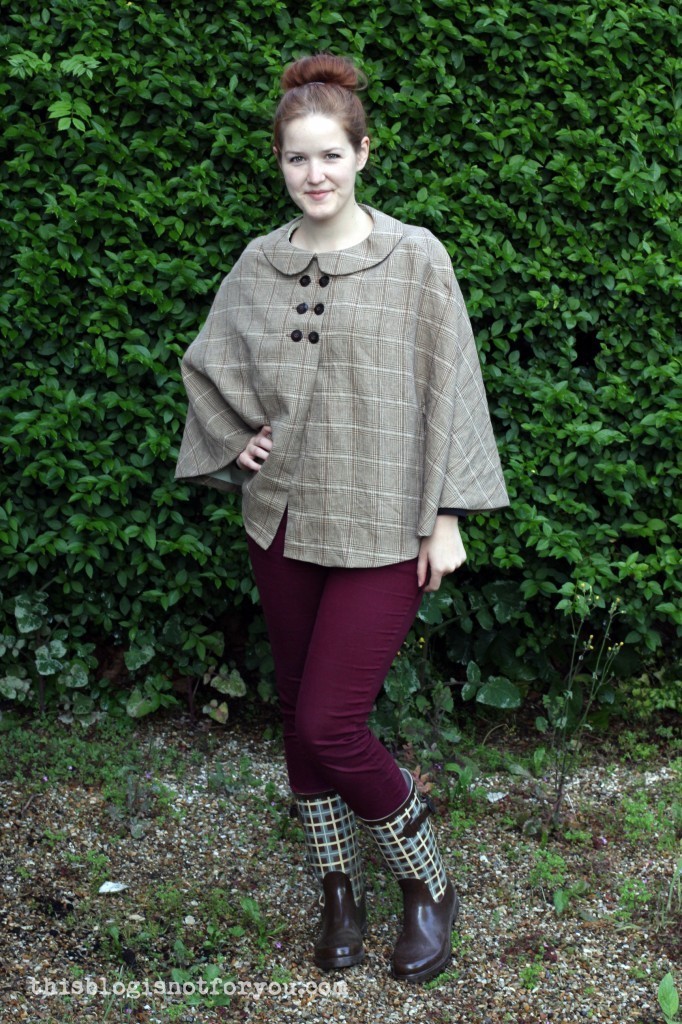 The fabric is soft, lightweight linen I bought at Saeed’s Fabrics in Walthamstow. It is lined with soft lime-coloured cotton.

Are you sewing along? If you are, let me know!
There will be a link party at the end of this sewalong were you can link up your fabulous capes!
The next part of the sewalong will be coming this week and covers:
Printing & Assembling the Pattern // Choosing Design Variations & Fabric
In the meantime, go get your pattern if you haven’t done so yet! x
Happy sewing!
♥
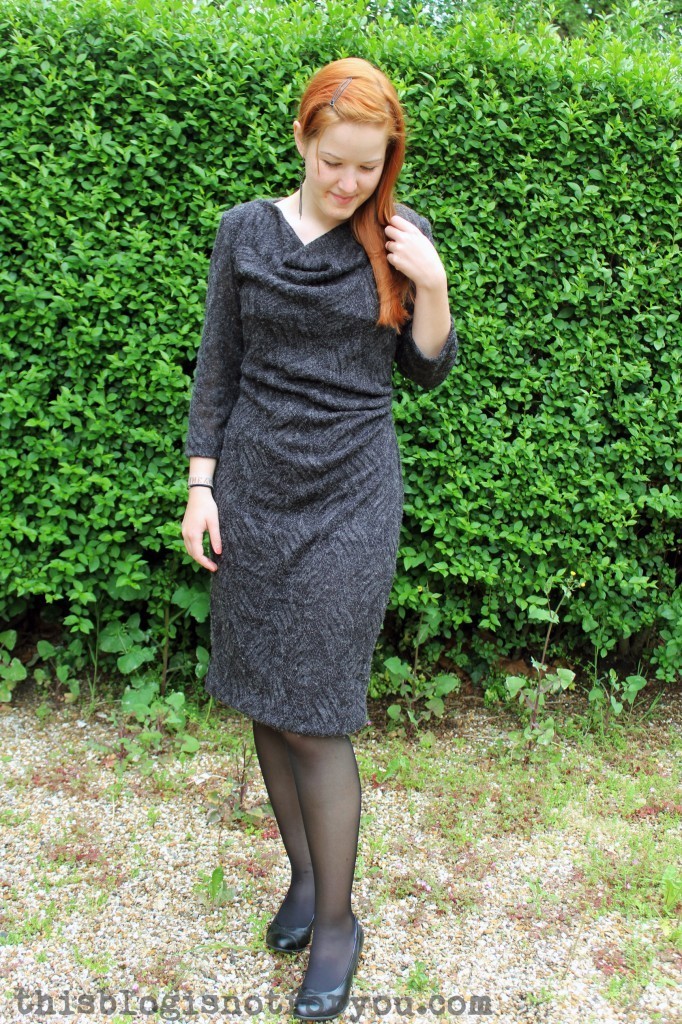
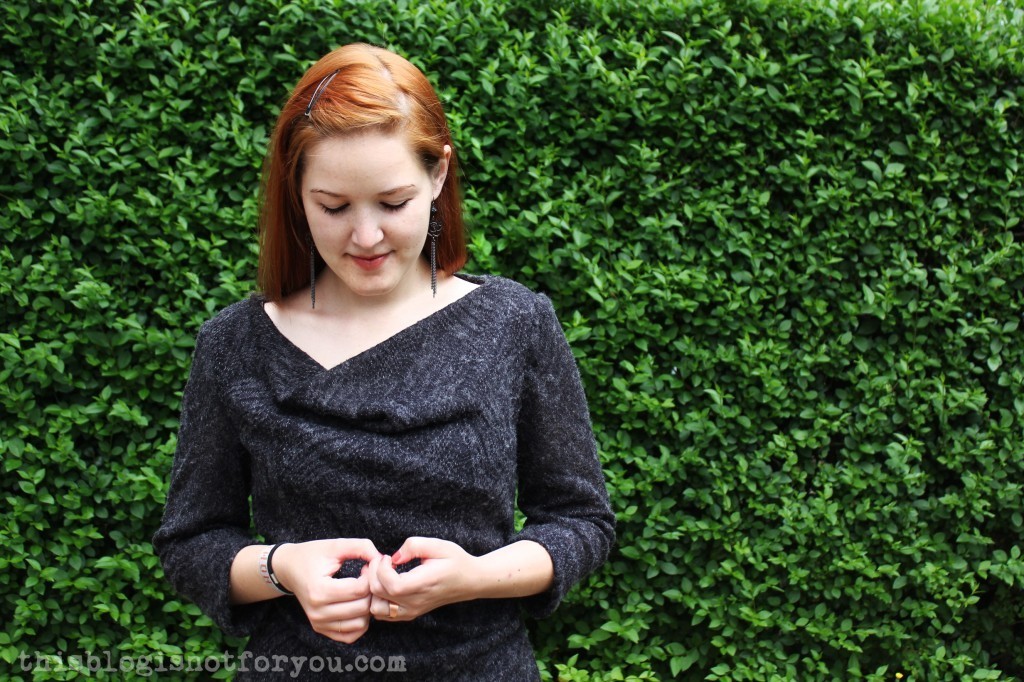
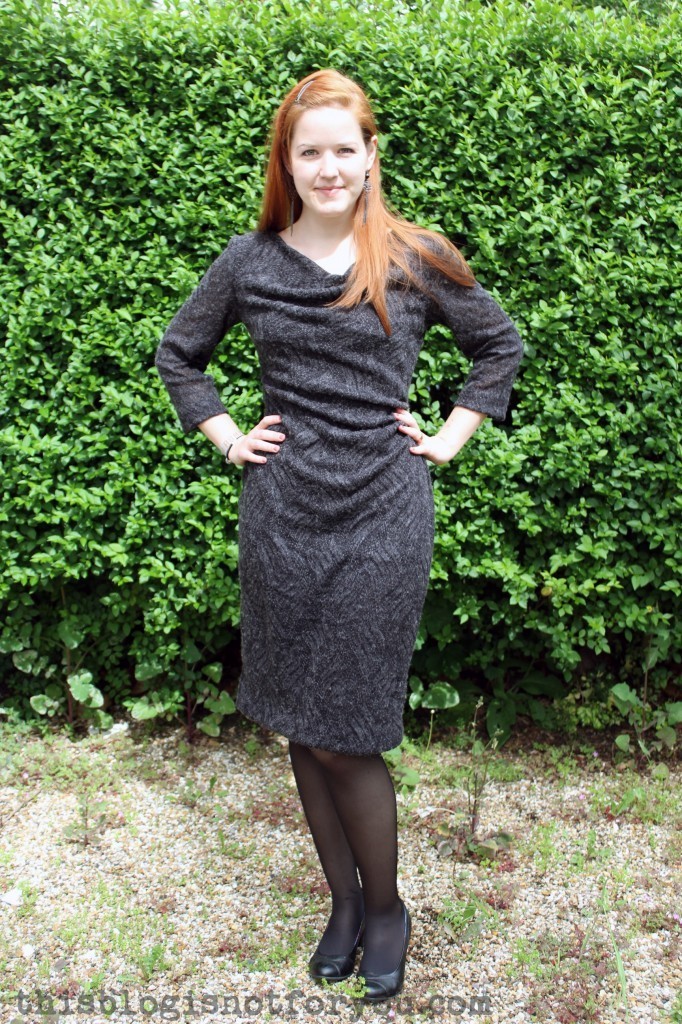
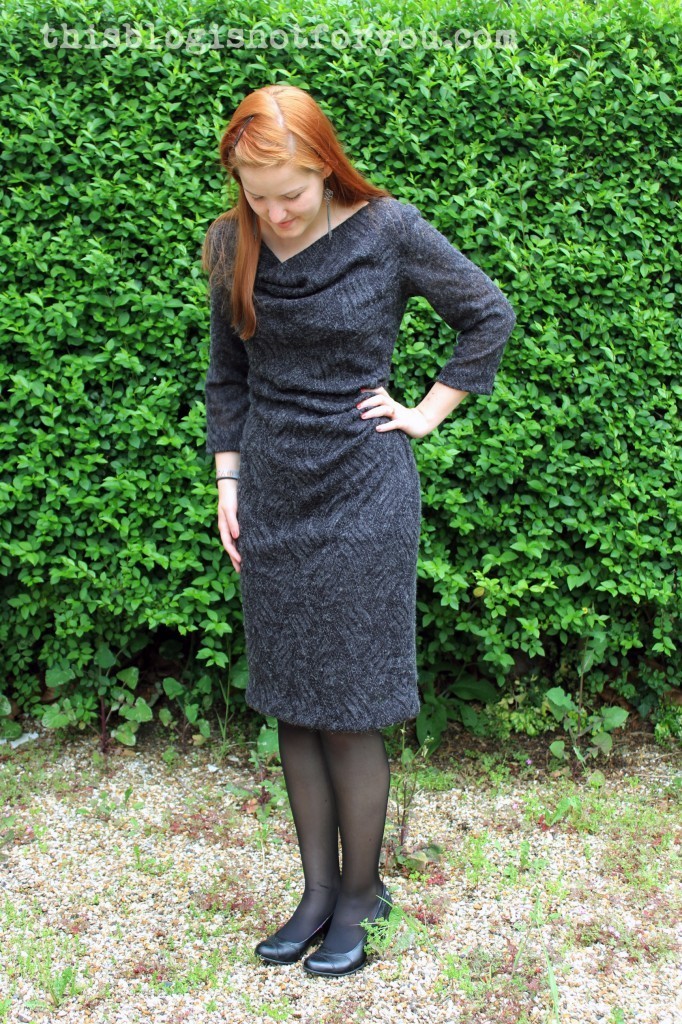
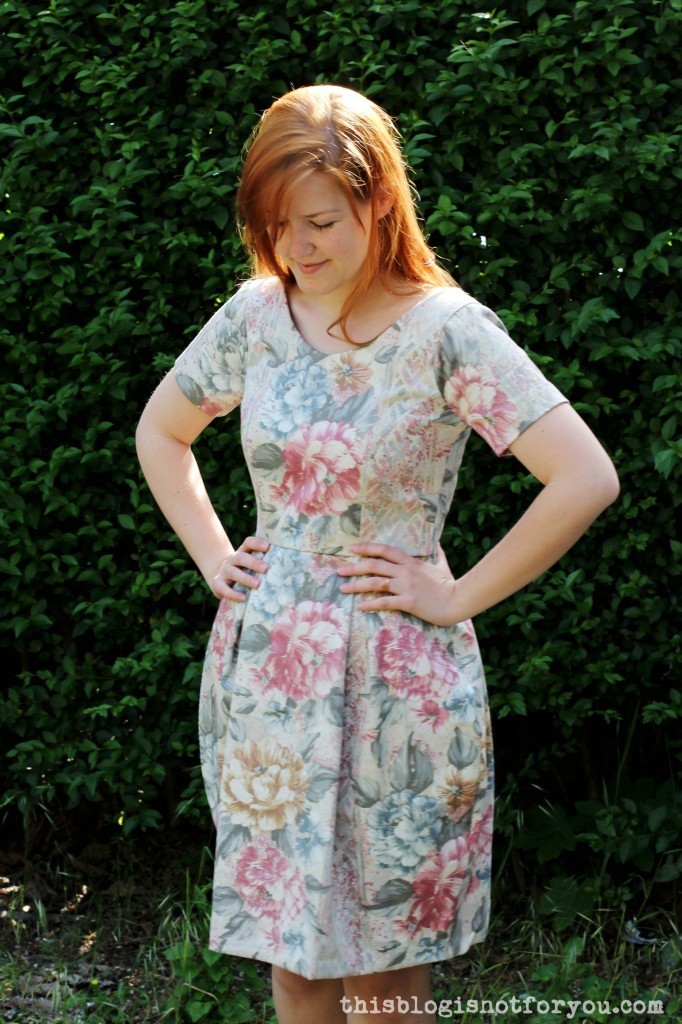 Hooray! The sun’s finally back out here in London and I bribed Mr Thisblogisnotforyou into taking some pictures of my recent makes. After almost a year I finally, finally managed to sew the Elisalex dress by
 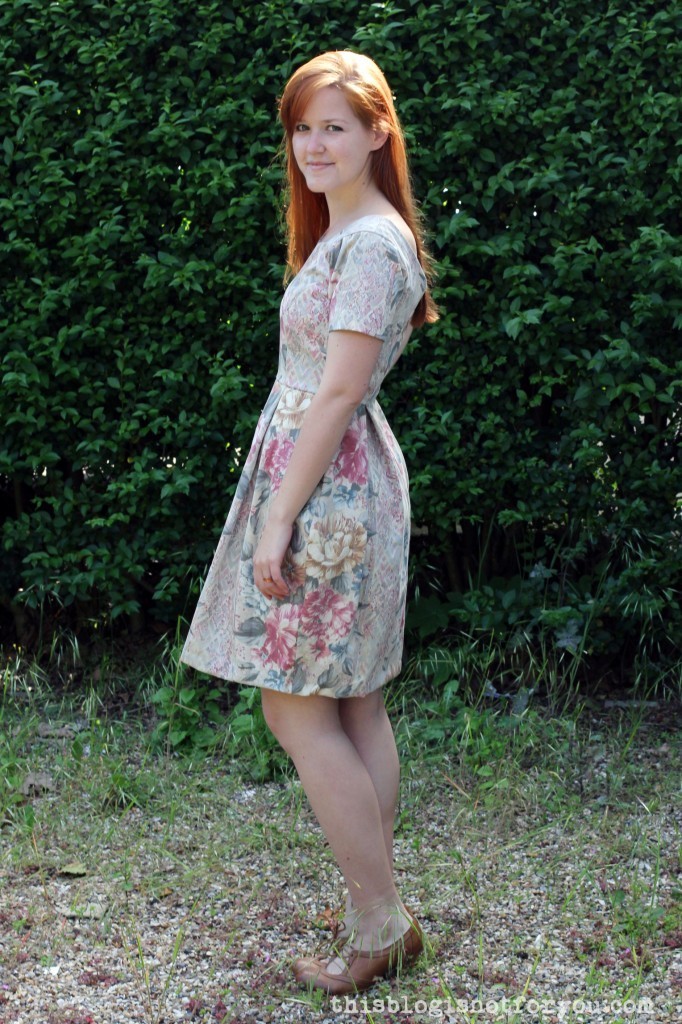 Normally I complain a lot about what went wrong during the sewing process, but this time I really can’t complain about anything – except for my inability to stand straight on gravel when wearing heels. This is why I risked showing you the ugly front of our flat..ehh our neighbours flat, of course. We surely are not the ones with the pealing paint and empty flower pots.
 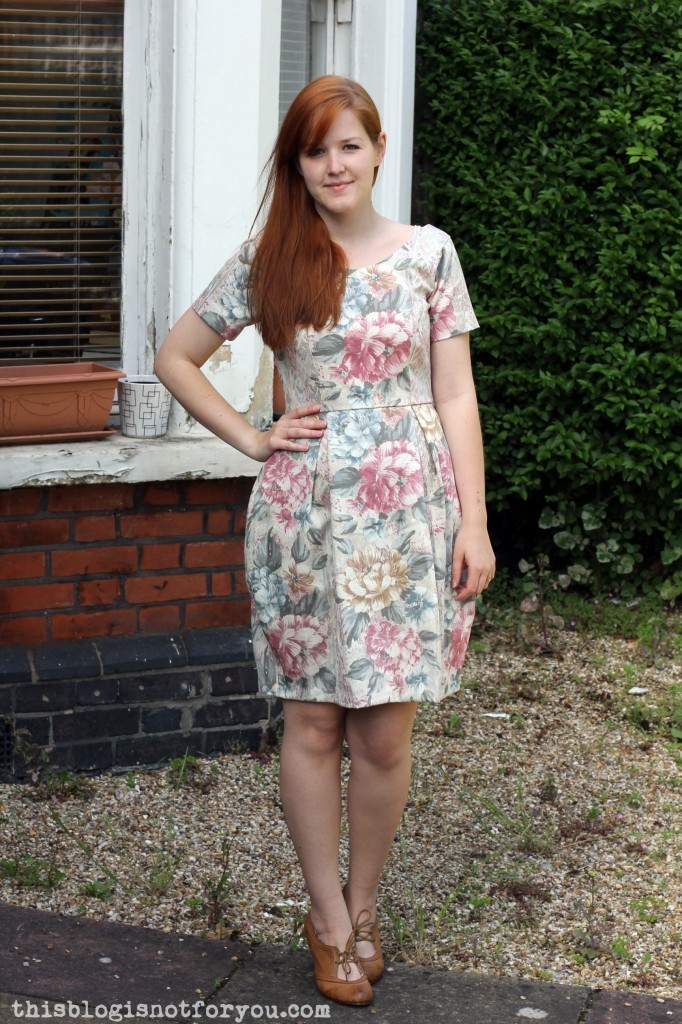 I hadn’t made something with princess seams in quite a while, so I actually made a toile, which fit so well that I ended up using it as bodice lining – win! I cut out a size 10 – according to the BHL measurements it’s exactly, EXACTLY my size. Since the skirt is super voluminous I didn’t even have to grade up the bottom part. Another win!
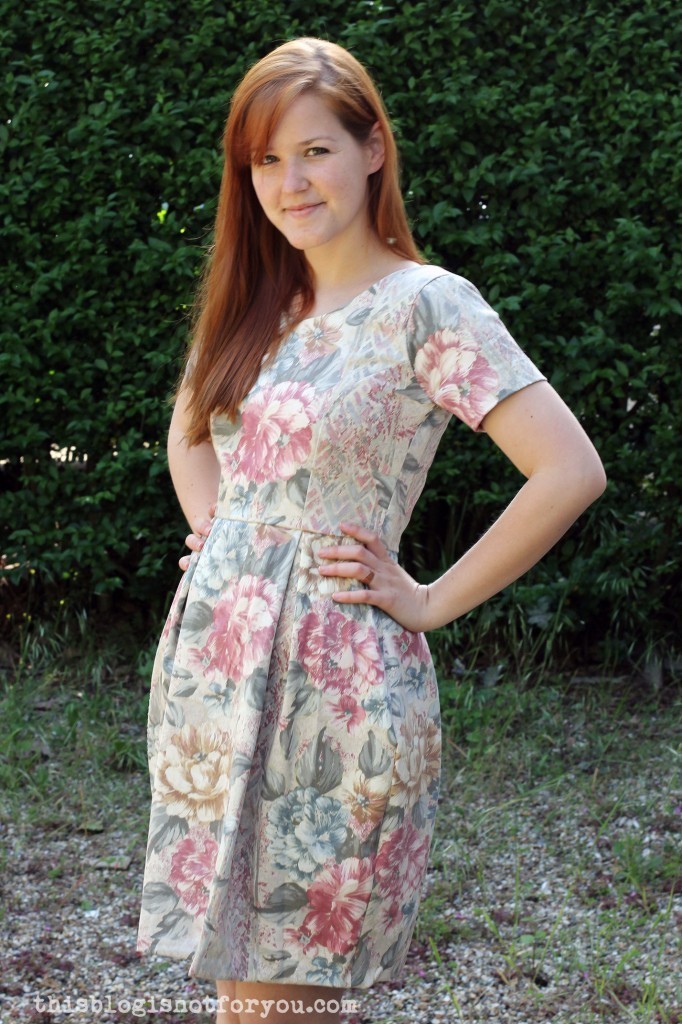 As for the fabric, well. I was inspired by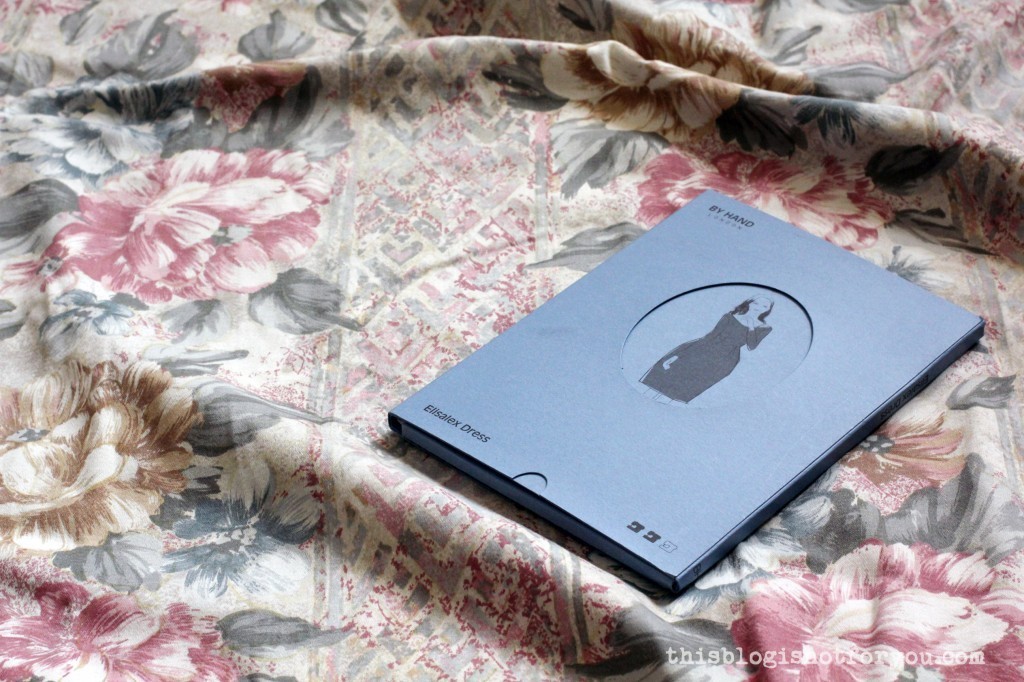
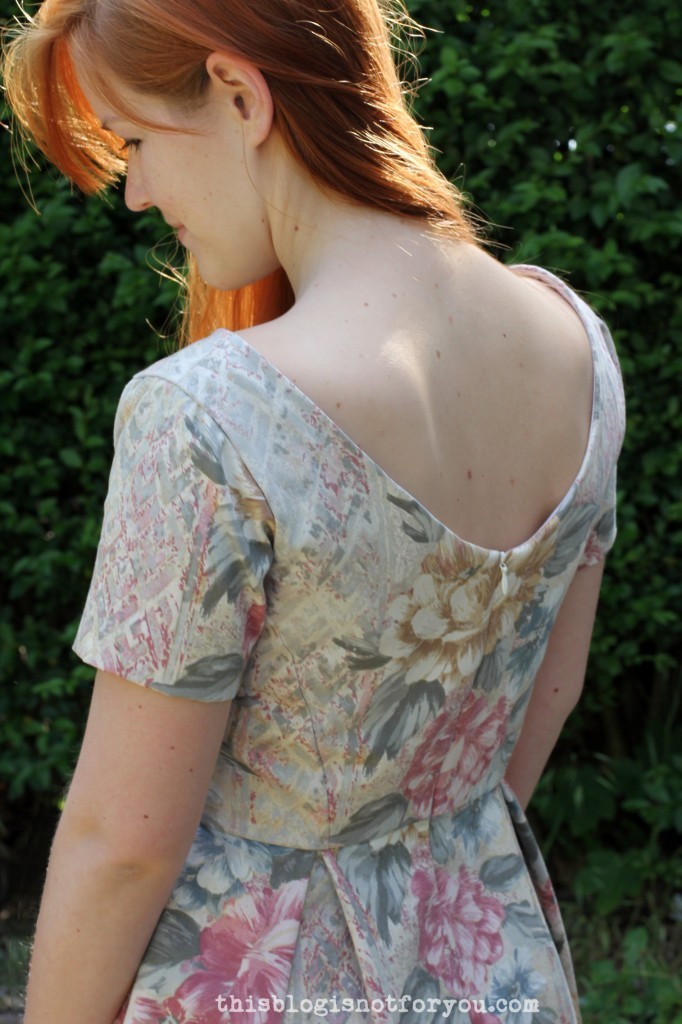
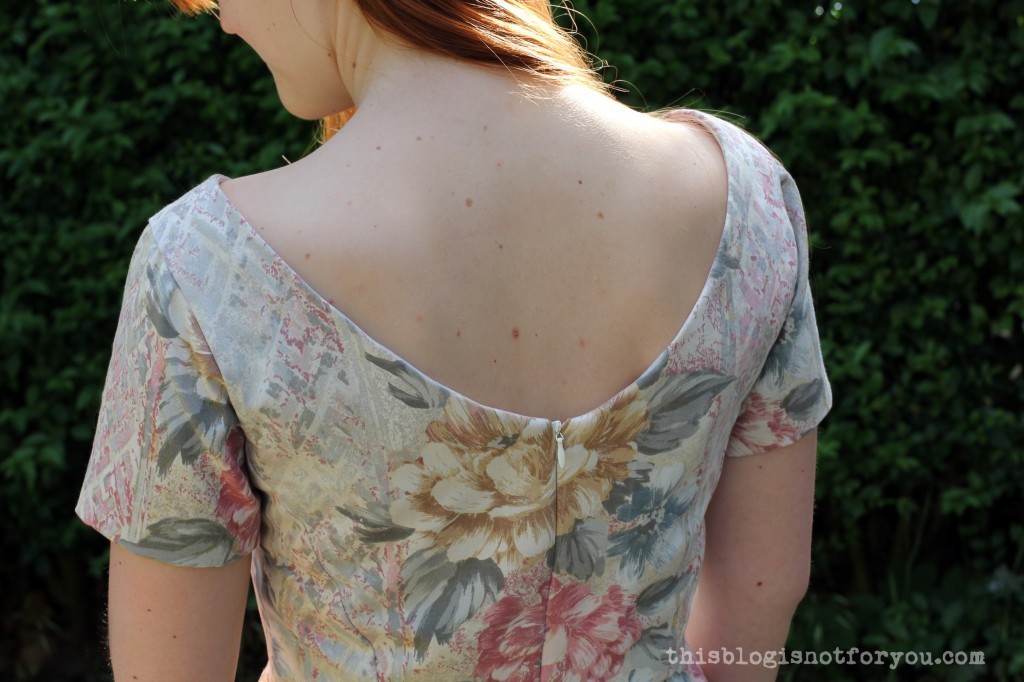
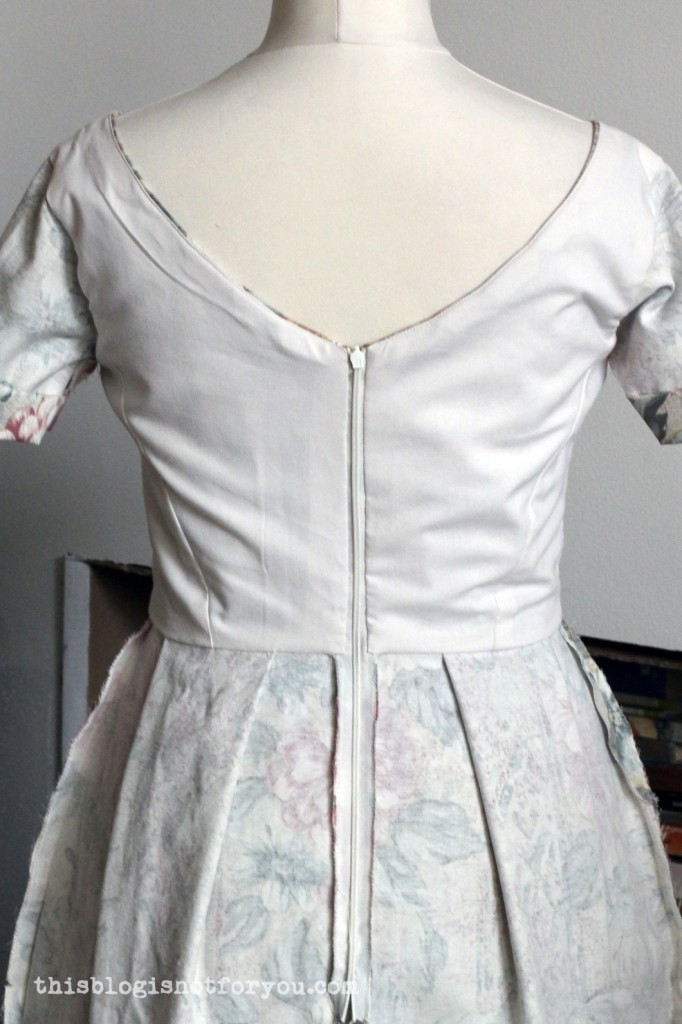 The bodice lining needs to be sewn on by hand which took quite a while, but you all know that I have a weird masochistic fondness for handsewing.
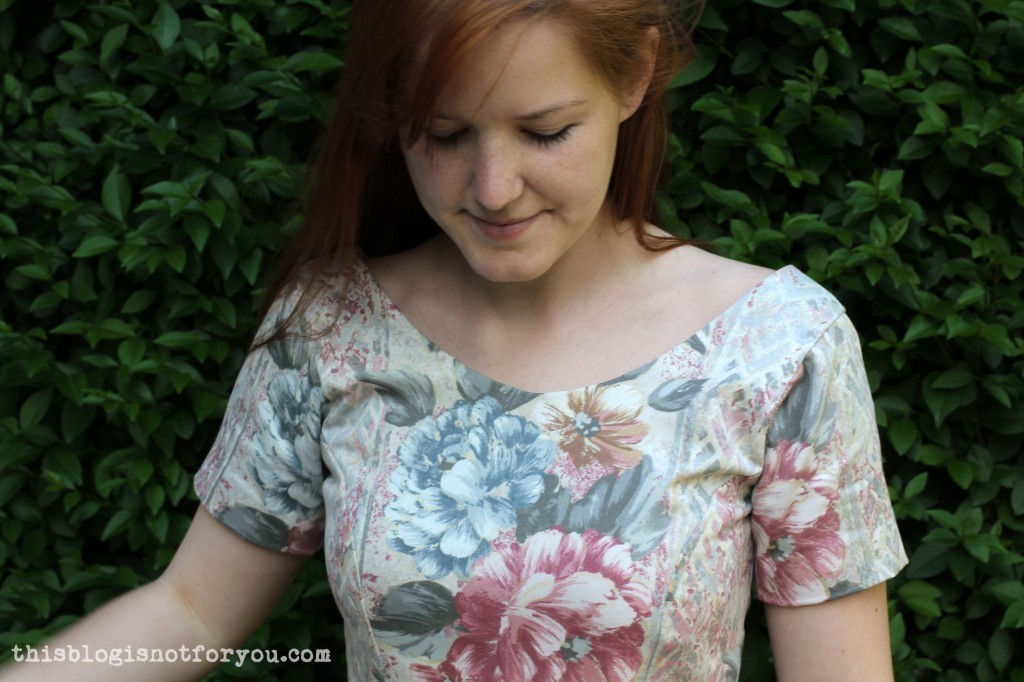 The only drawback of the pattern is that the lenth of the skirt is acutally 77cm, which I find is way too long and unflattering. It’s also a bit misleading that none of the pictures on the By Hand London website show the acutal length of the dress, but only shorter versions. The inobservant sewer might buy and cut out way too much fabric and end up chopping off half of the skirt. But that’s the only con, really.
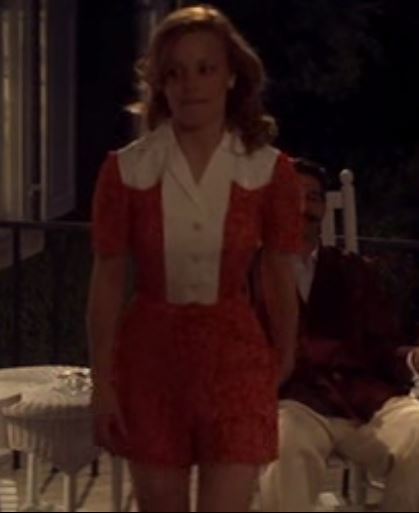
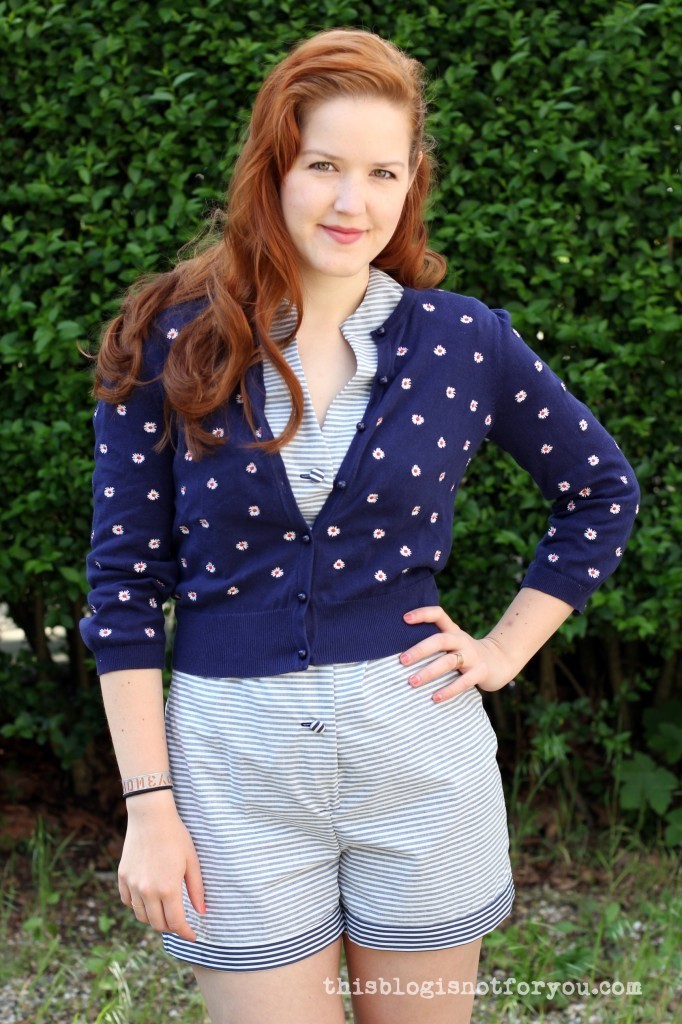
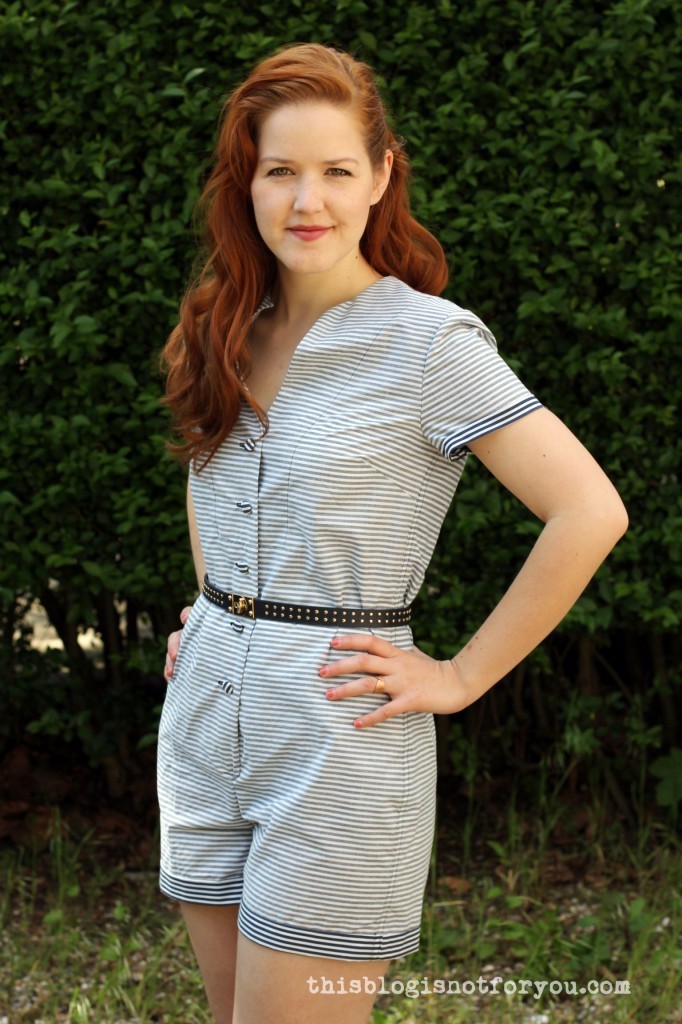
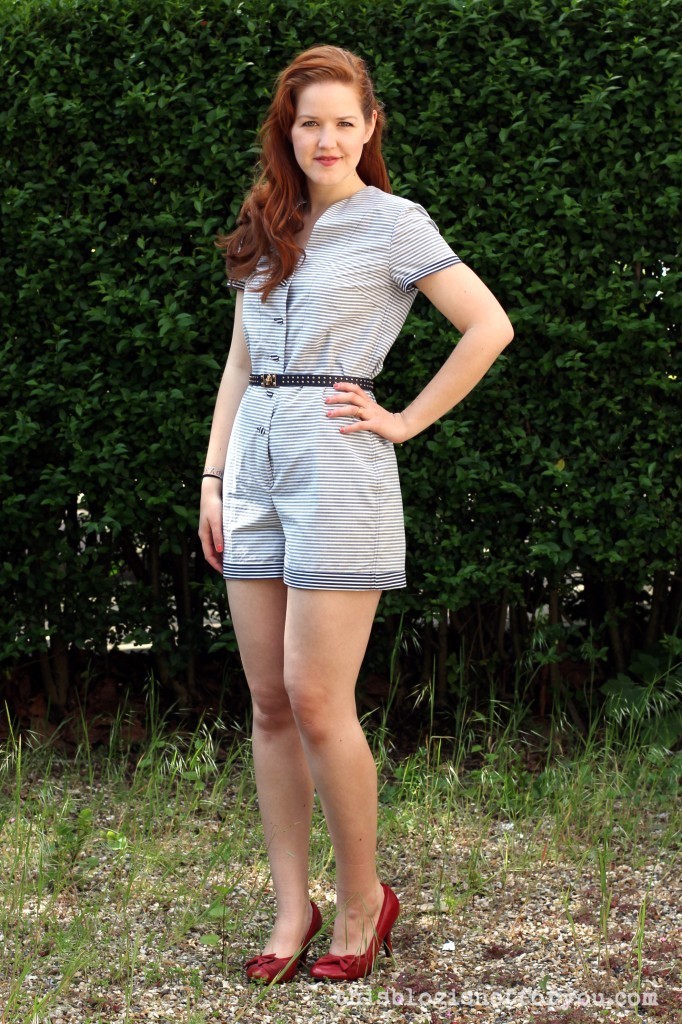
 Hurray! It’s time to reveal our final garment for the “The Notebook”-themed Hollywood-Sewalong!
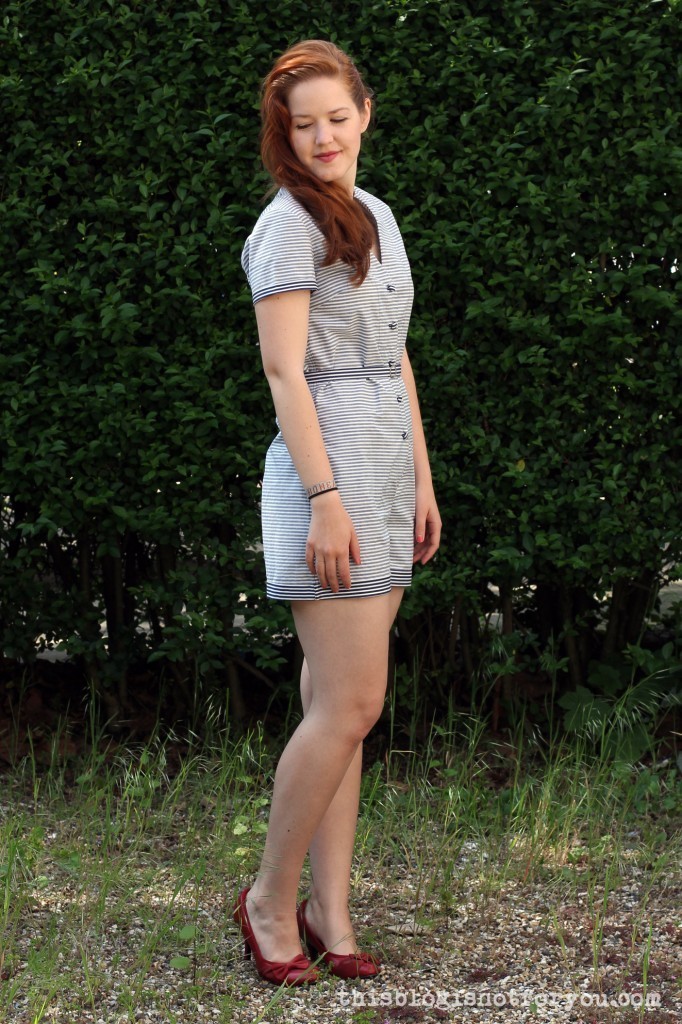
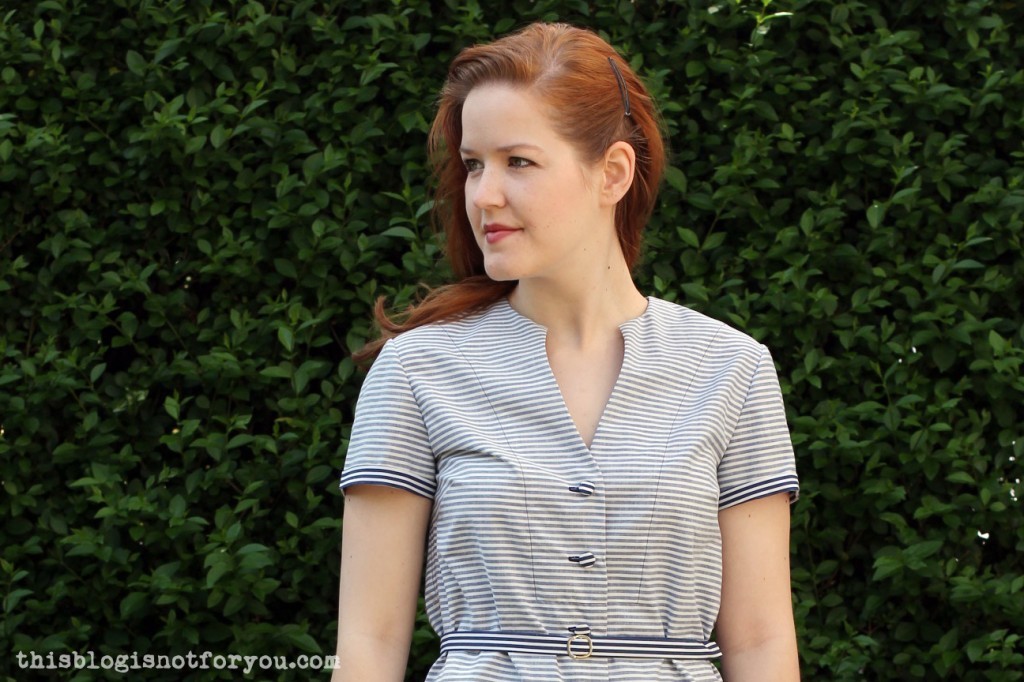
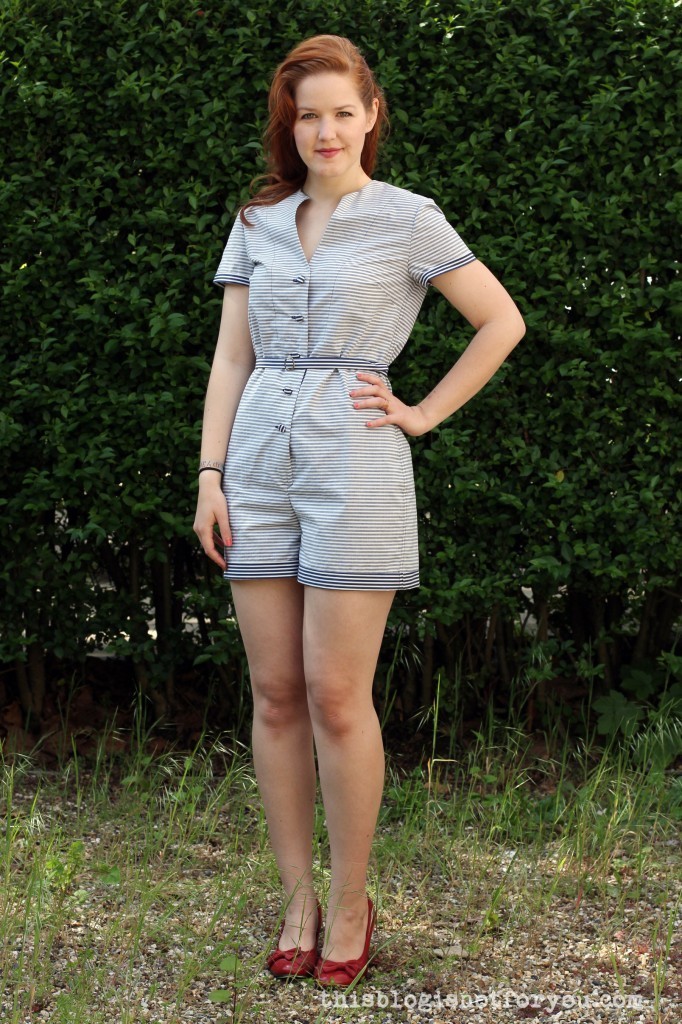


 I drafted the pattern for this playsuit myself. I based the bodice on a shirt dress and changed the skirt part to shorts. After trying on my first muslin, I had to add some extra length in the waist (I wasn’t able to sit down before, haha!). This was really the only chang I had to make to my pattern. The second muslin magically fitted perfectly and I could start cutting into my fabric.
 Cutting out the pattern pieces was just so unbearable that I thought I had to scrap the whole thing and start all over again. Well, that was a week ago and I was in no mood of going fabric shopping.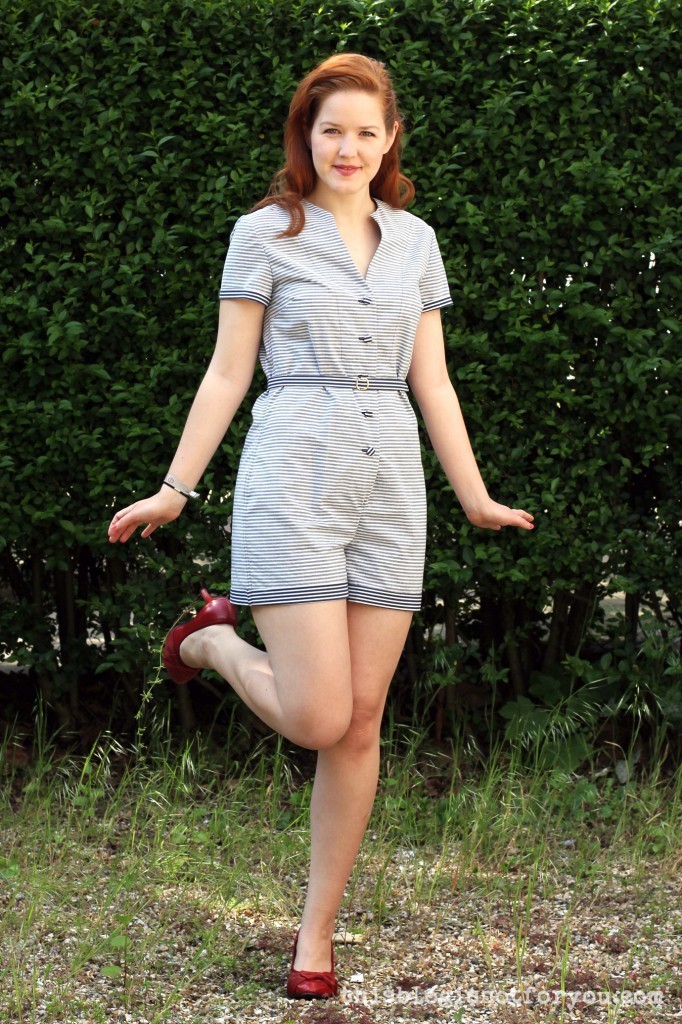

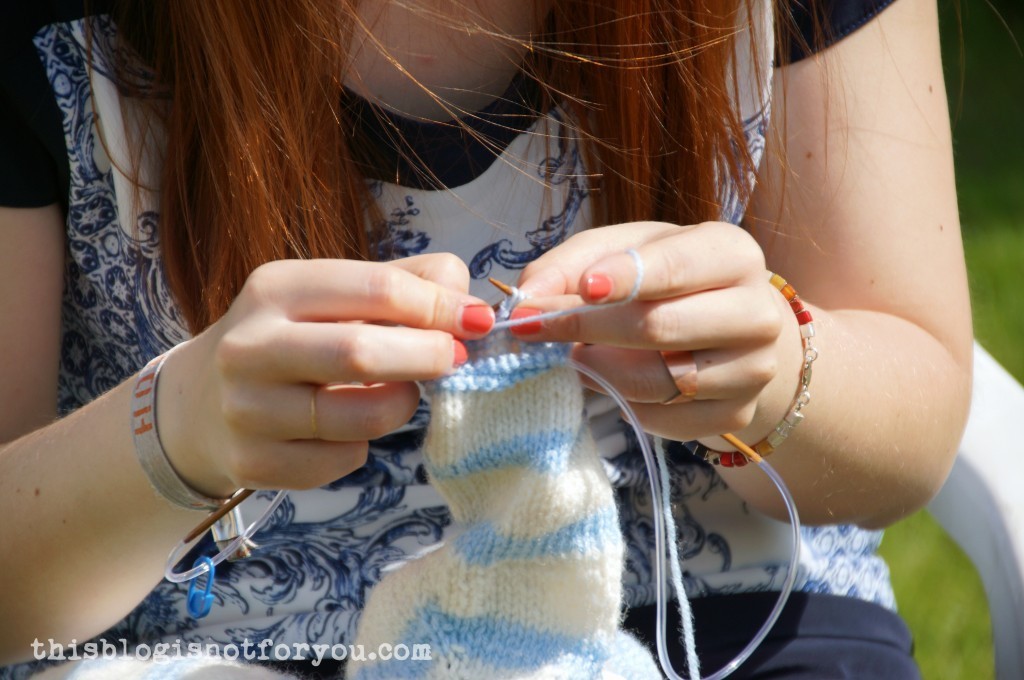
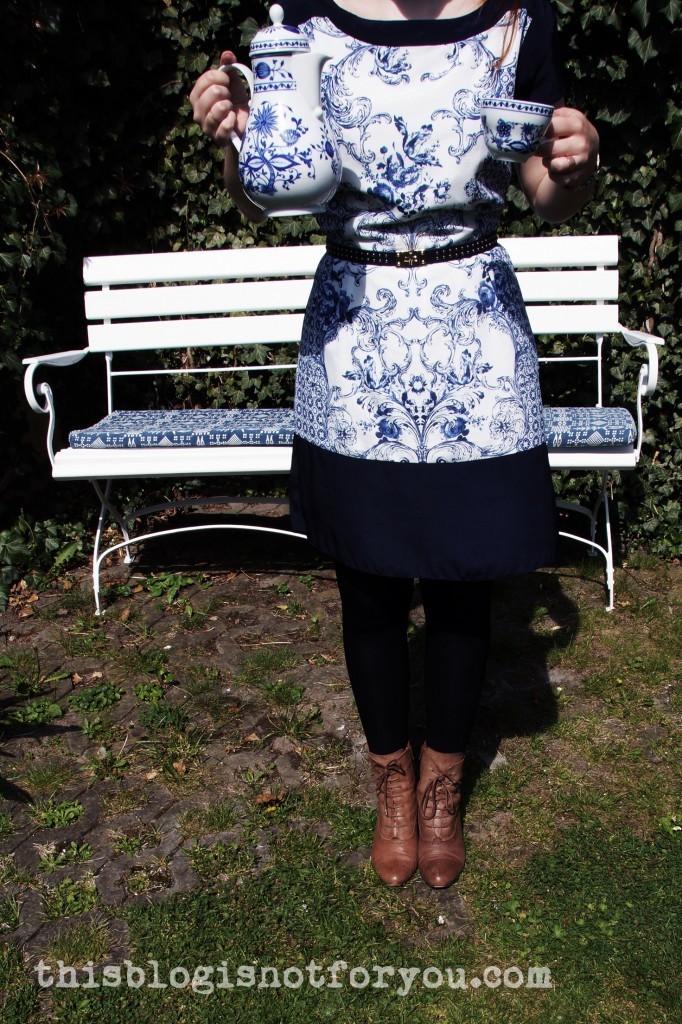 I’m all ready for the tea party, just couldn’t find the rabbit-hole yet. In the meantime I had many cups of pretend-tea while my sister was snapping pictures of me and my newly refashioned porcelain dress.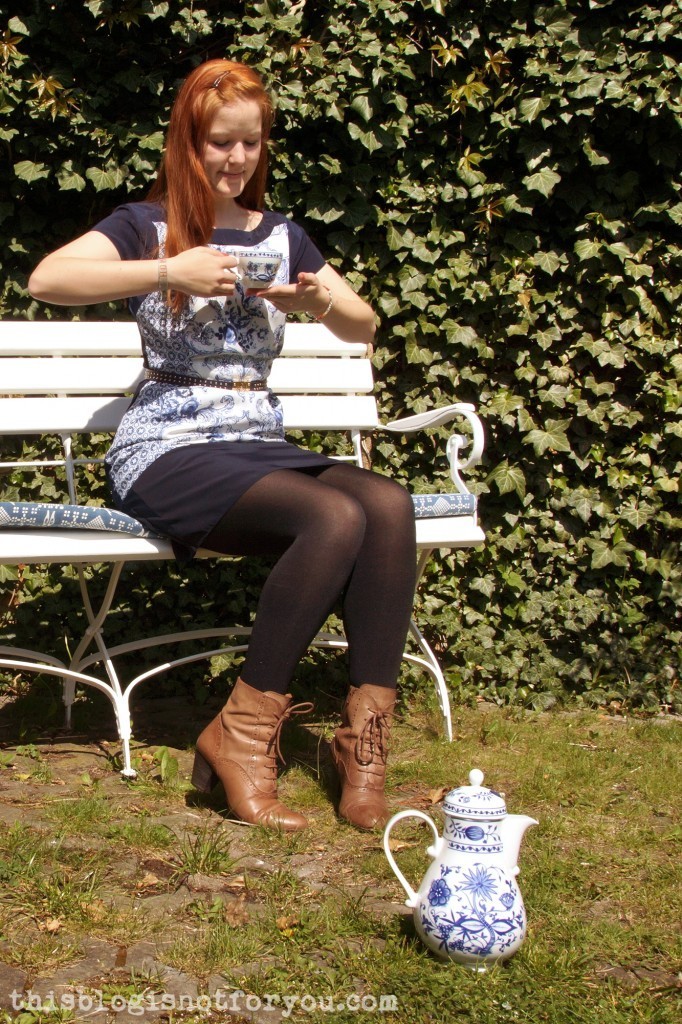
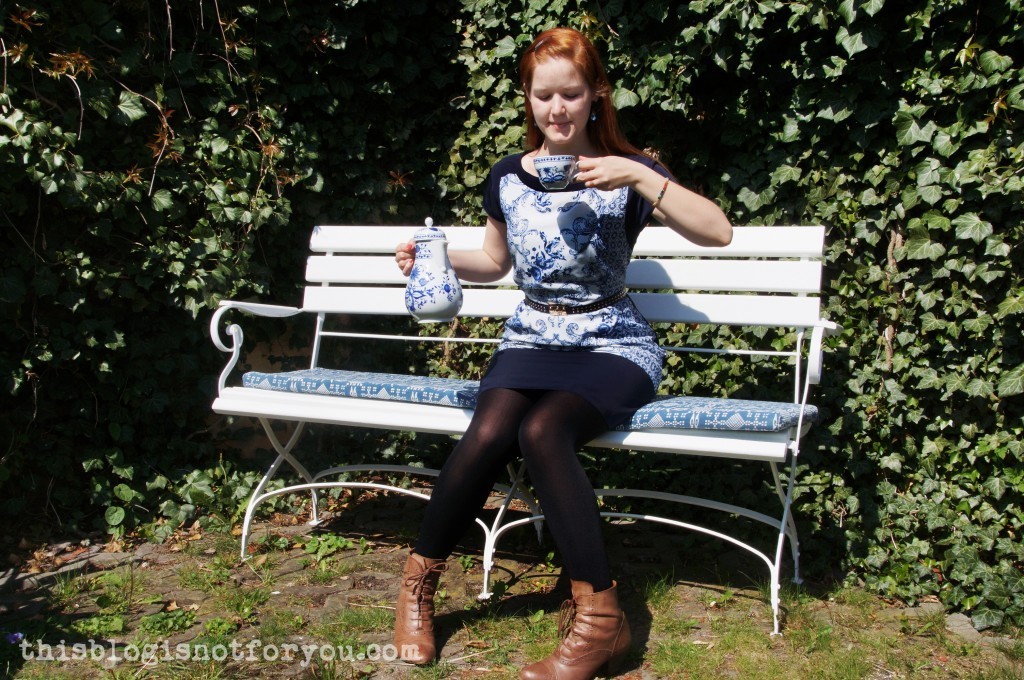
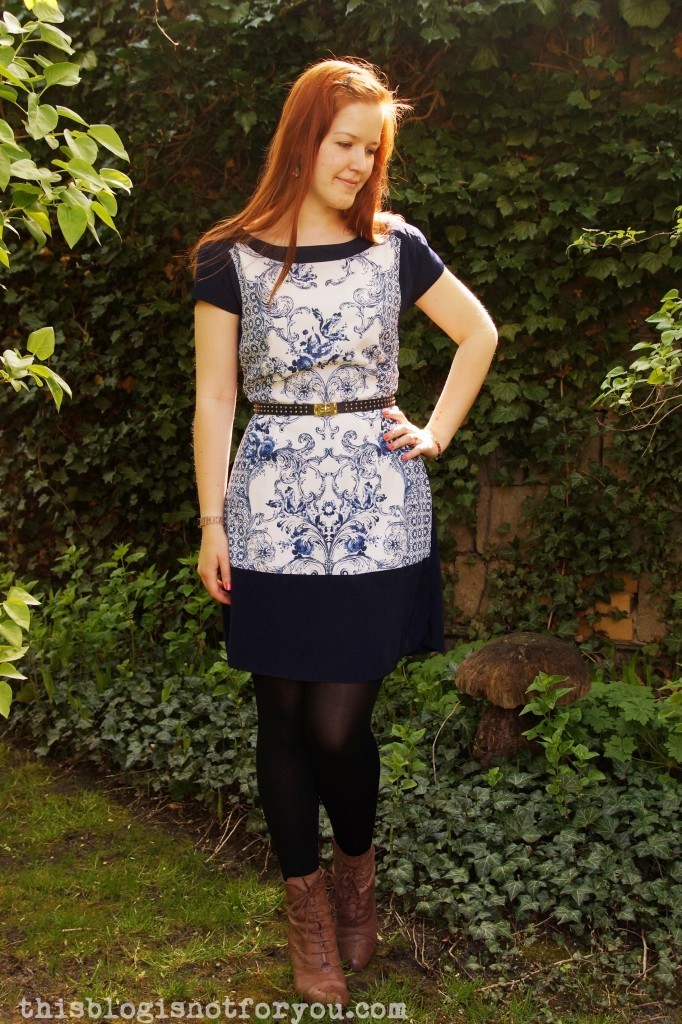

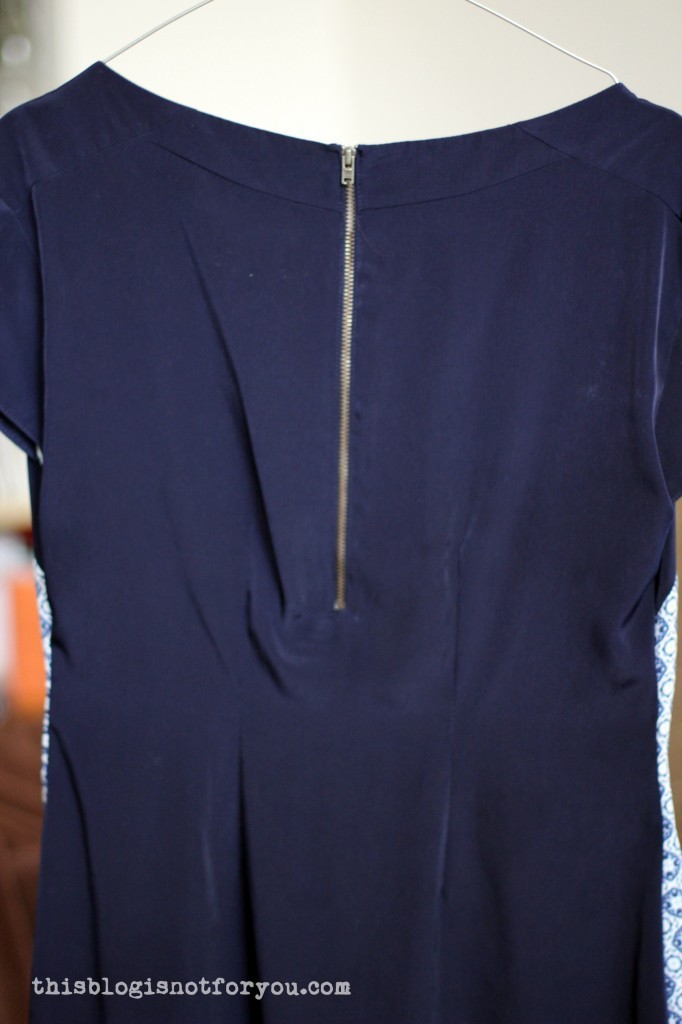
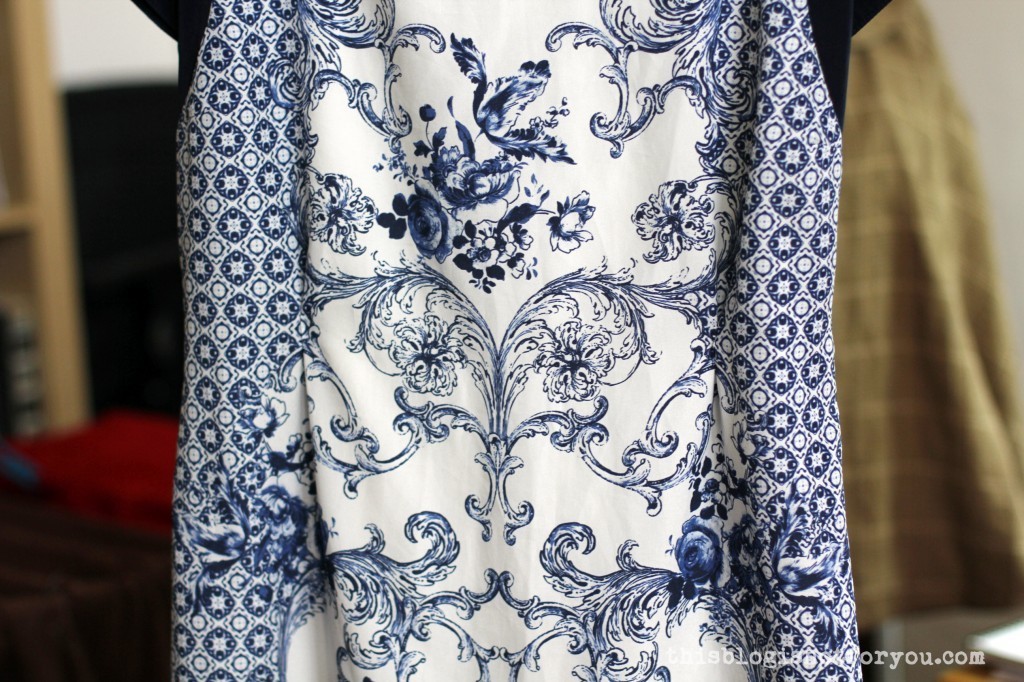
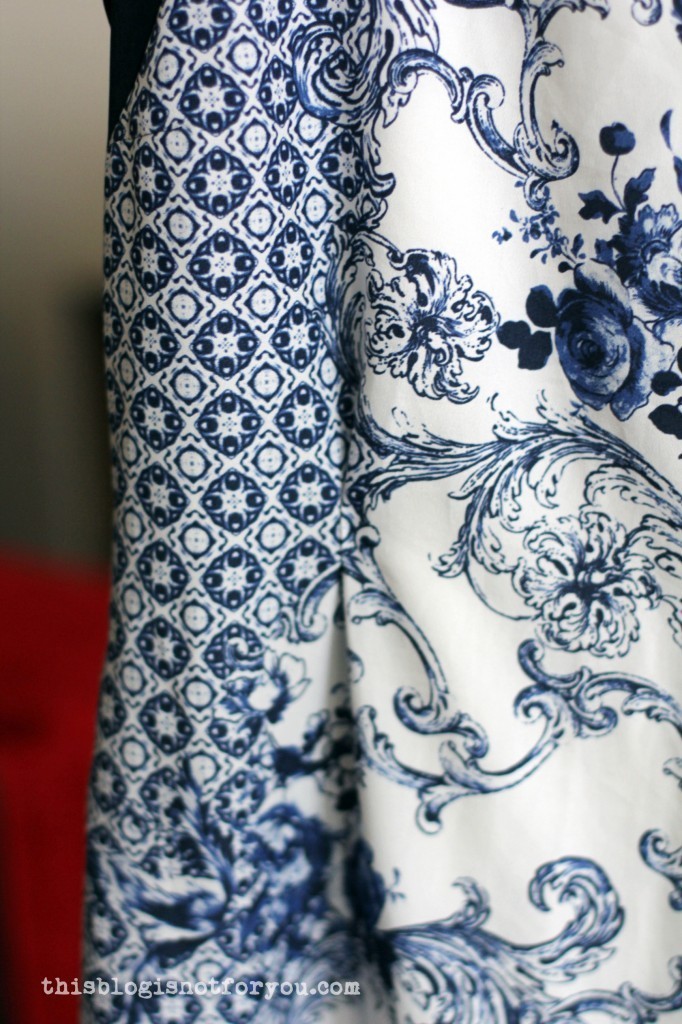
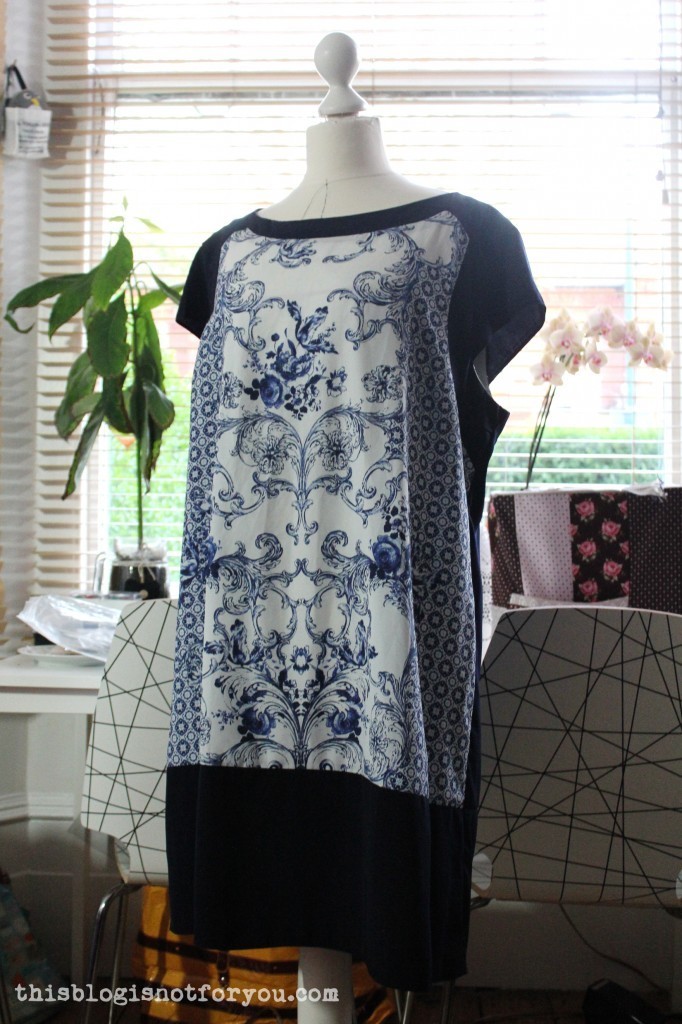 It was a size 20 Dorothy Perkins dress I absolutely fell in love with because of the fabric. Although it’s polyester is has a very soft and silky feel to it and the print is just fabulous. I don’t know if you guys know onion pattern porcelain, this is basically what I grew up with.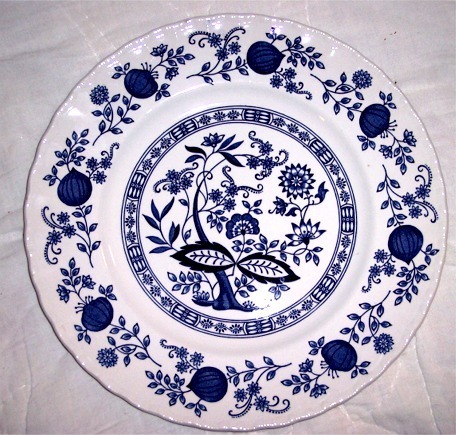
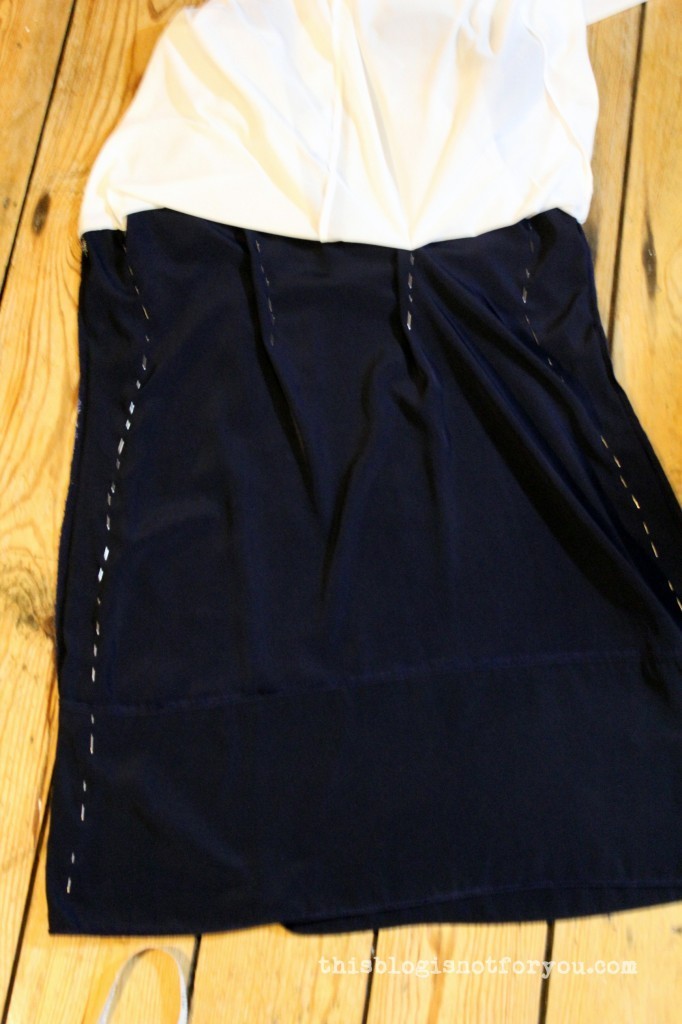
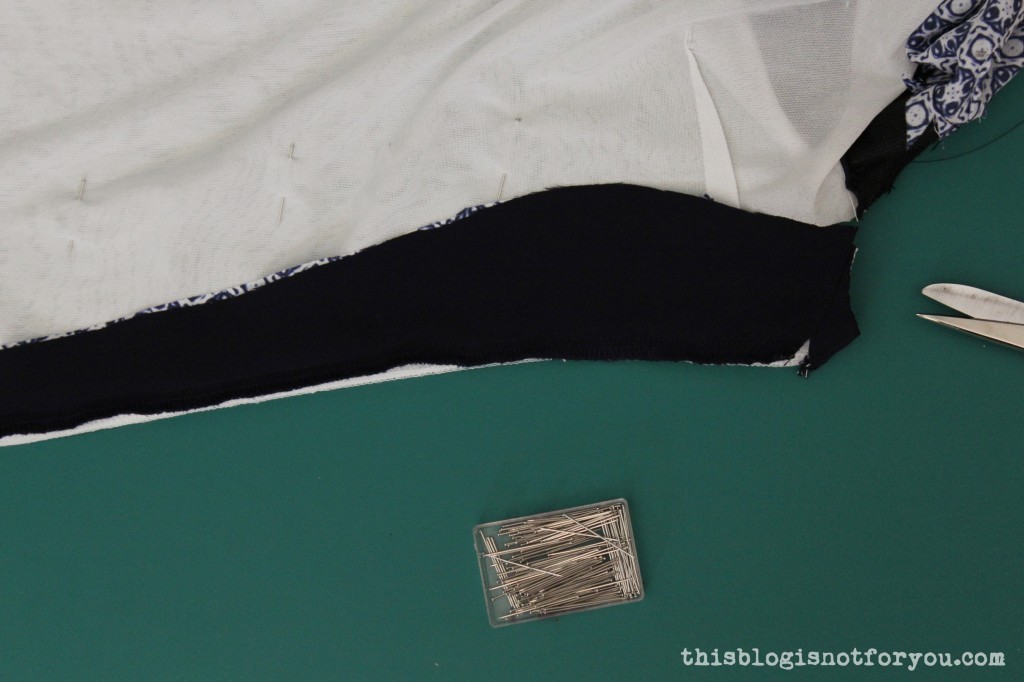
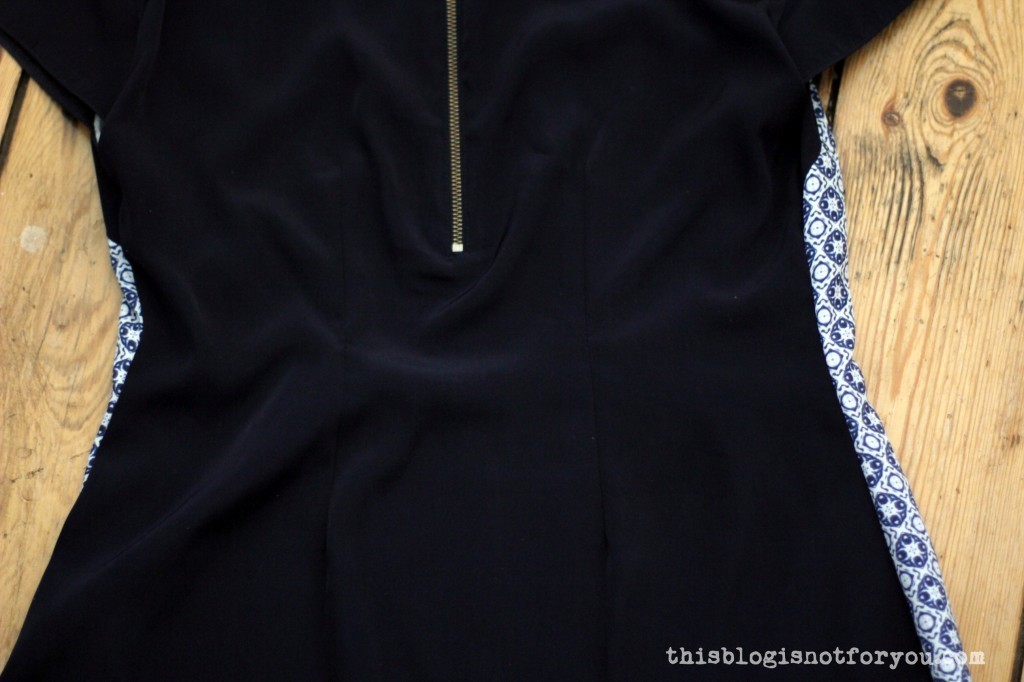
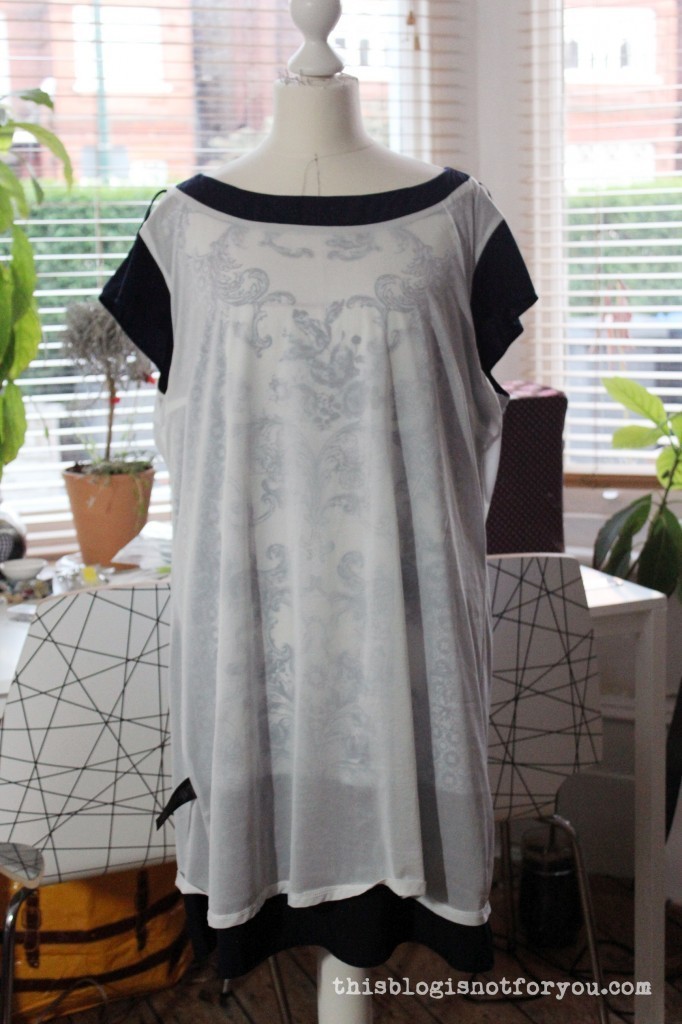 I threw the dress on my dressform, inside out. Pinning the lining out of the way I took in the sides of the dress, which actually took a bit longer than it sounds. Pinning, trying it on, repeat. Until I was satisfied with the fit. The tricky bit was the fact that there is just a very short zip in the back. I couldn’t take it in too much at the waist as it still had to fit over my shoulders and bust.

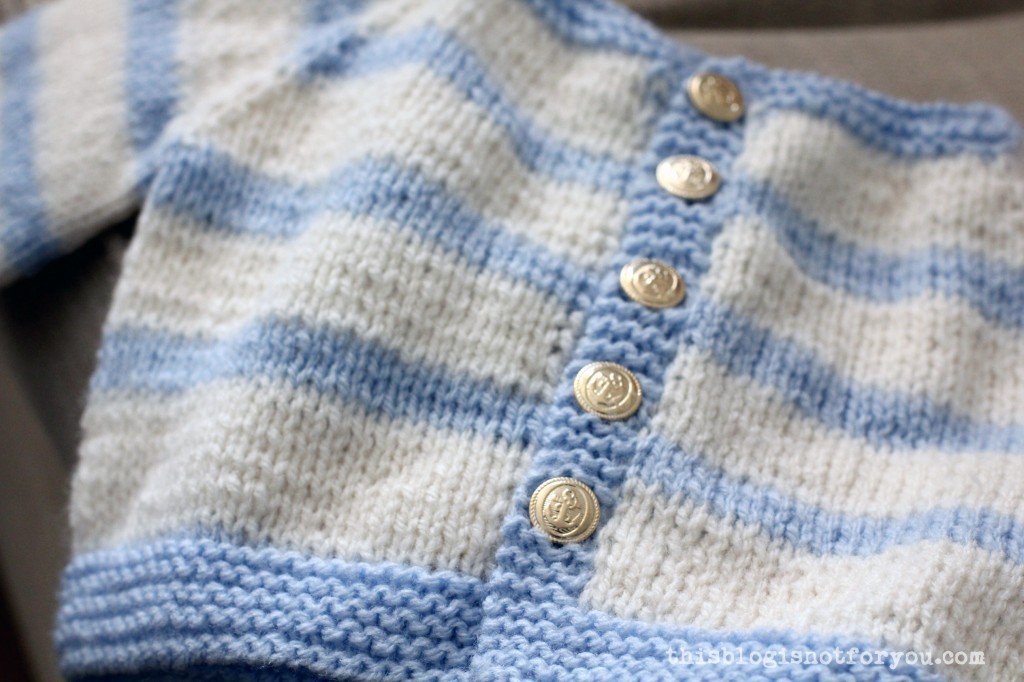 As a soon-to-be-auntie I will have loads of excuses to sew tiny clothes and practise pretend-tea drinking. Ha!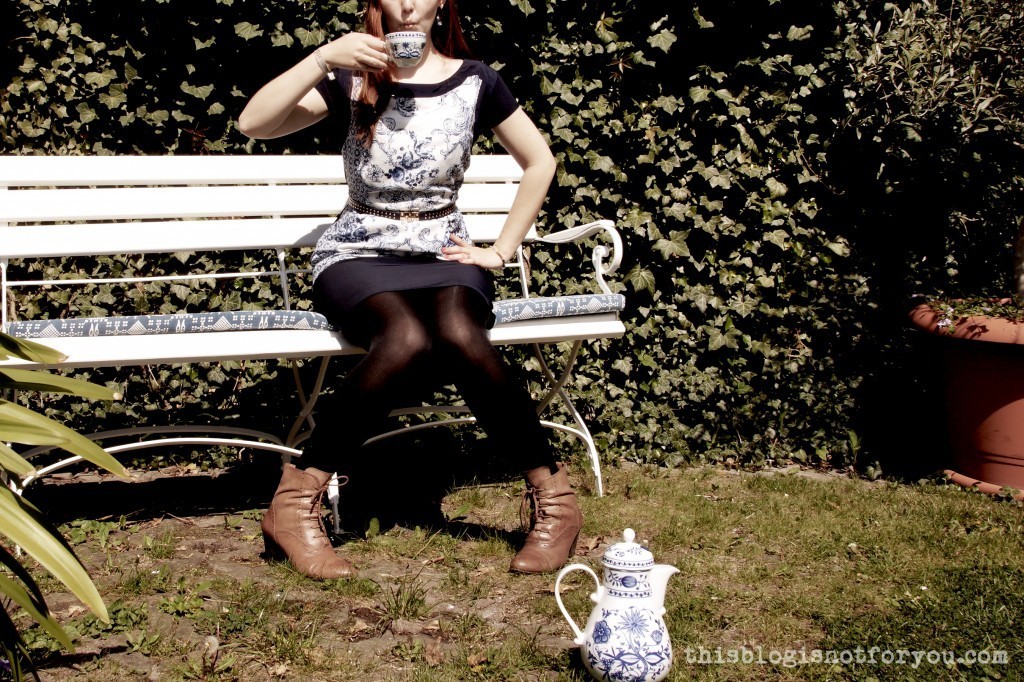
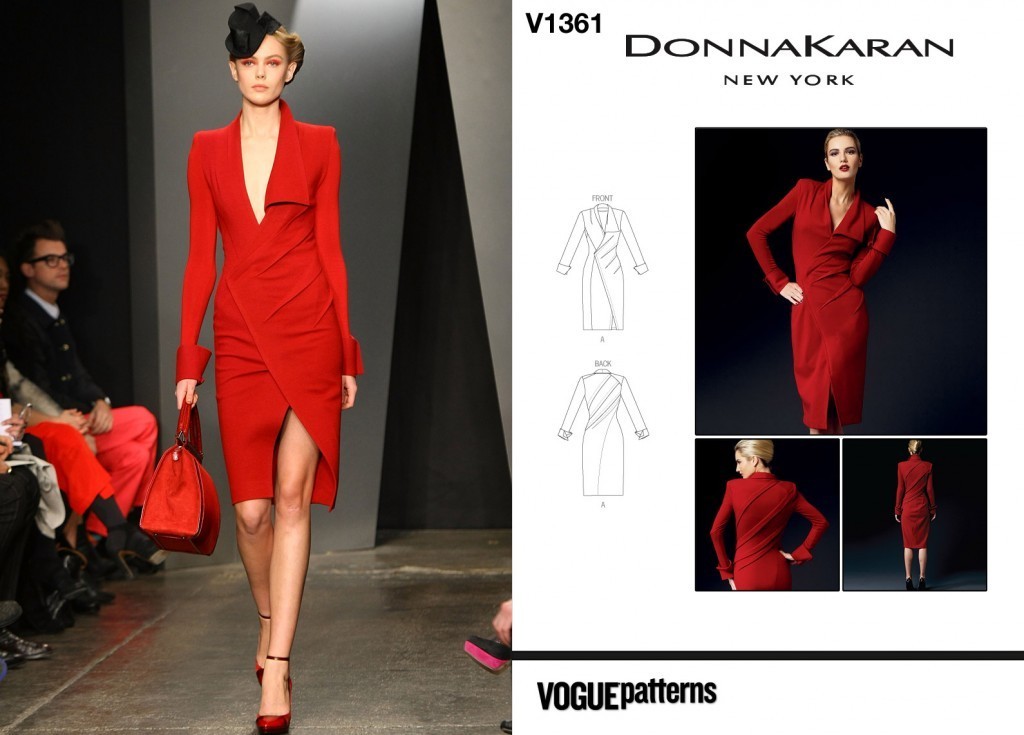
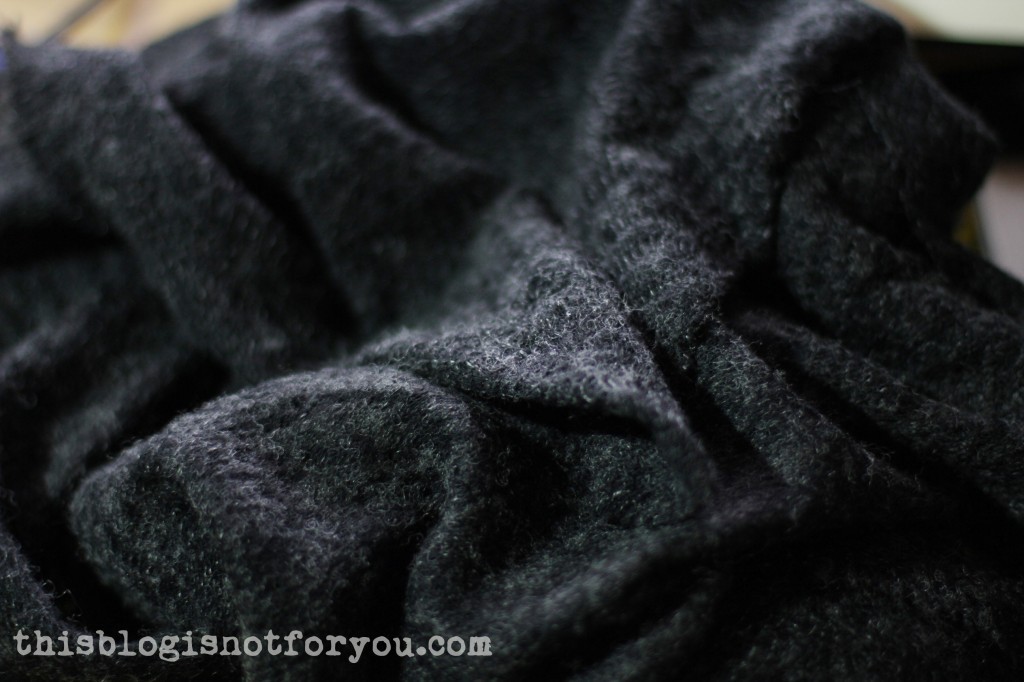
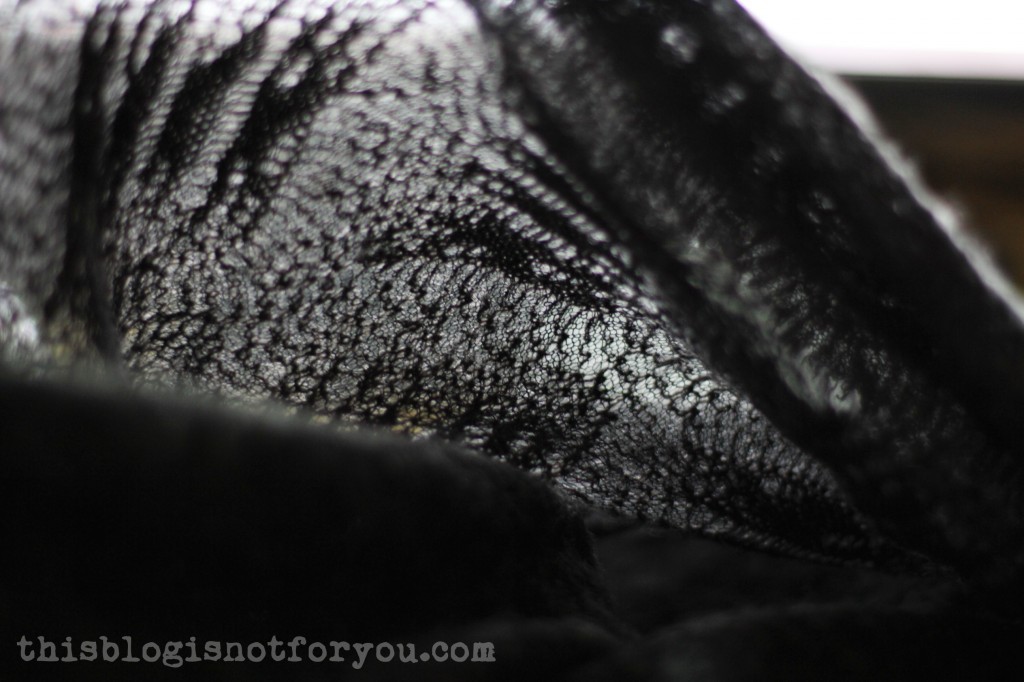
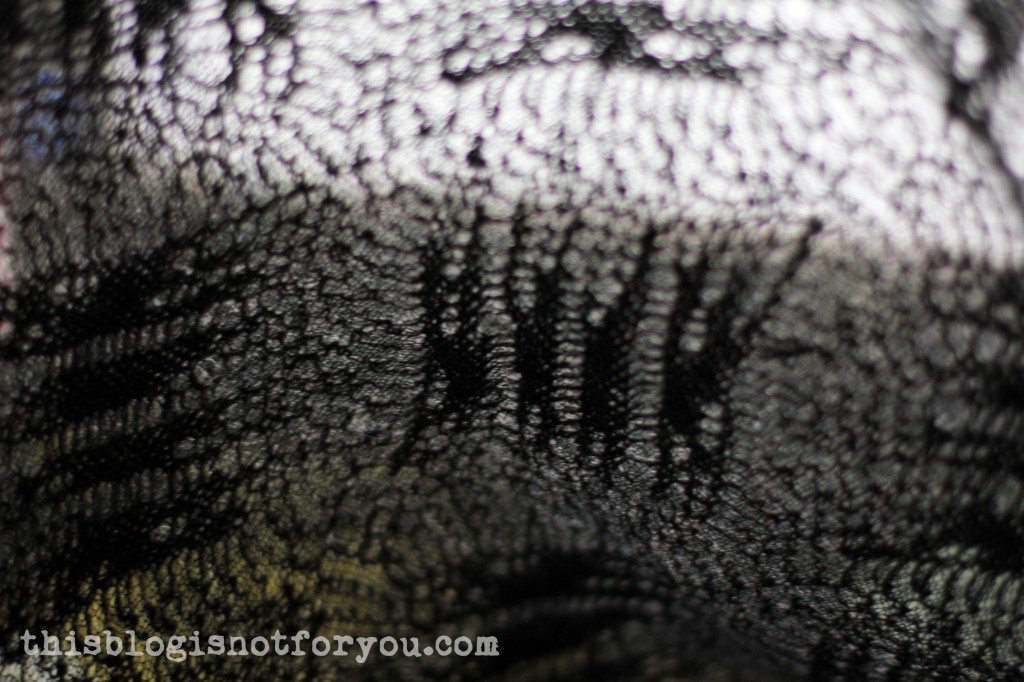
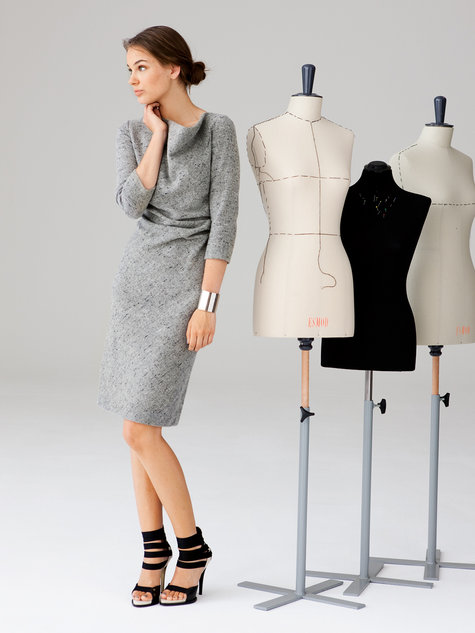
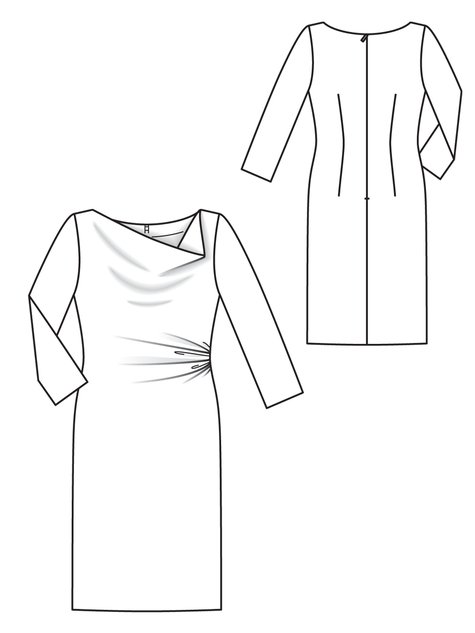
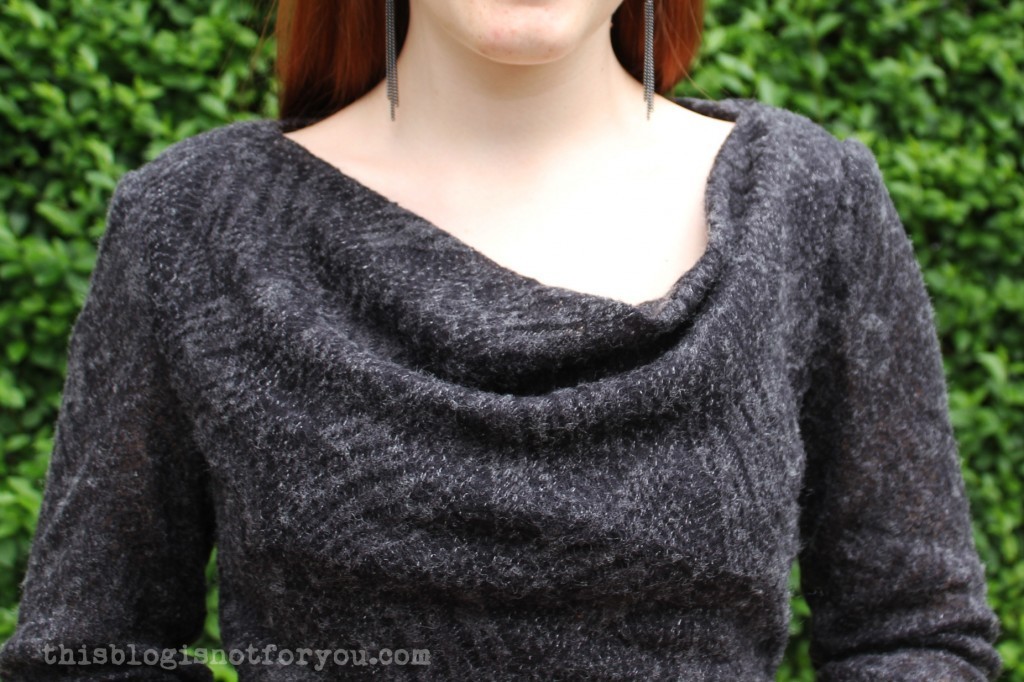
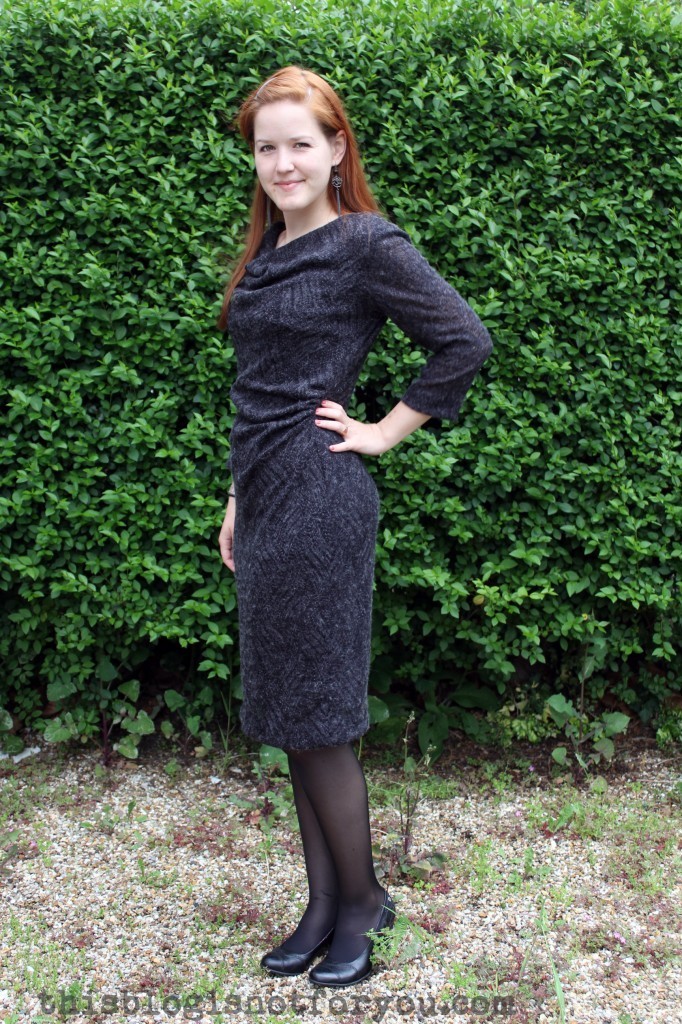 I have a bit of the fabric left which will be just enough for a little cardigan! I’m also planning on sewing a little slip dress with some black spandex fabric, I’m a bit paranoid about the see-throughness of this fabric. And btw, this is #22 (actually it’s the almost unfinished #23) of my