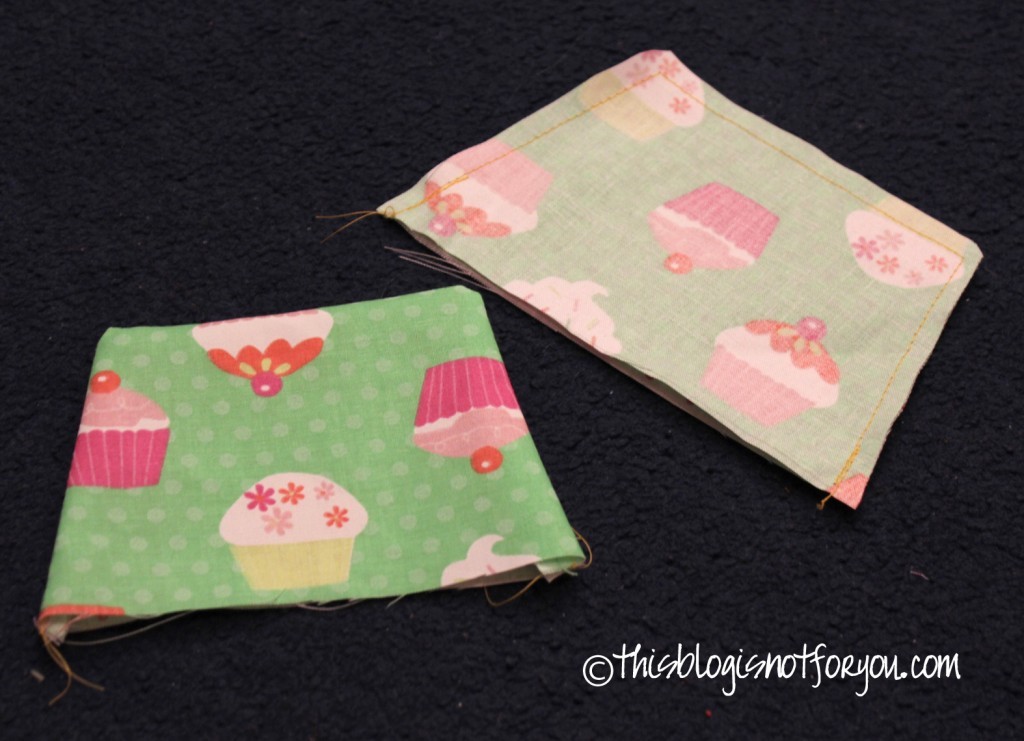
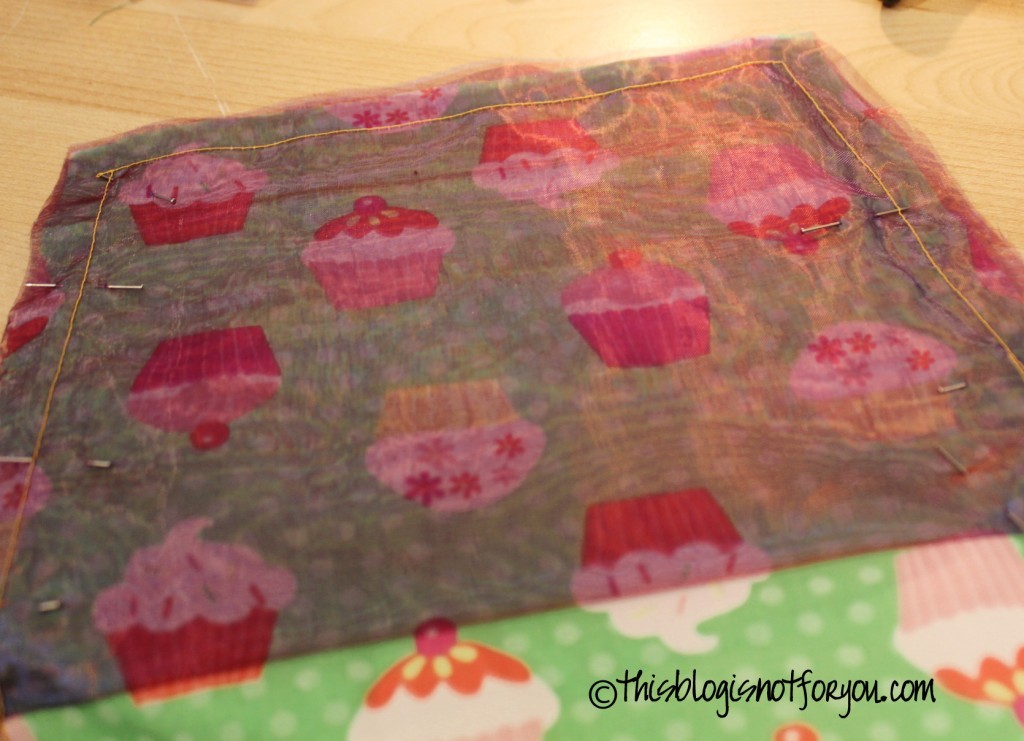
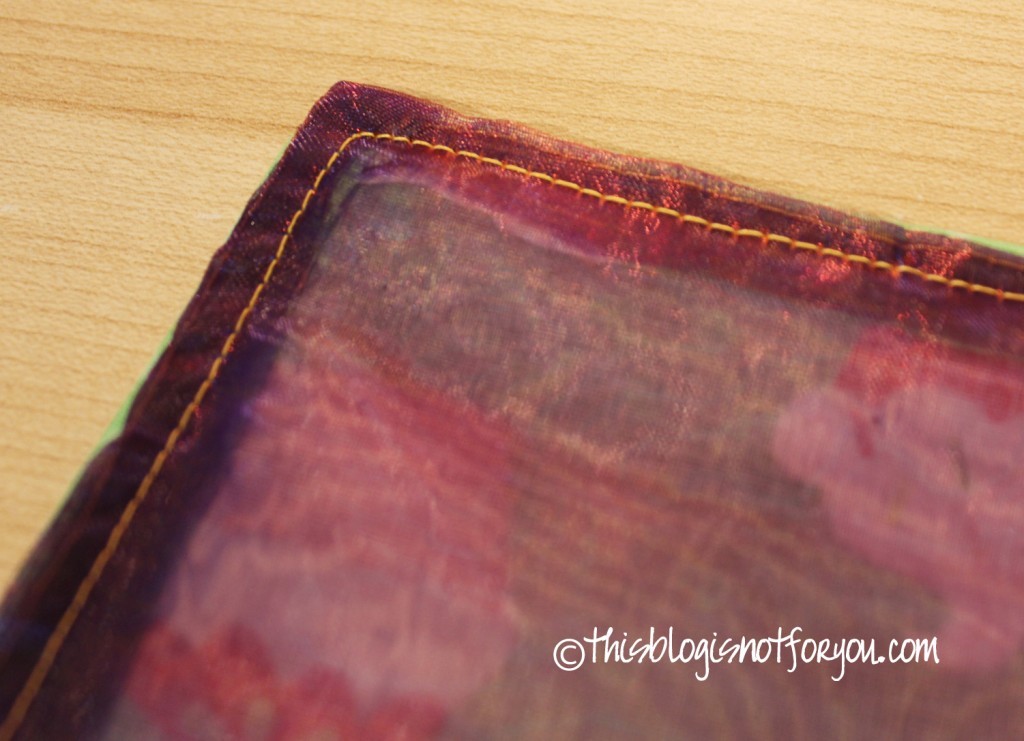
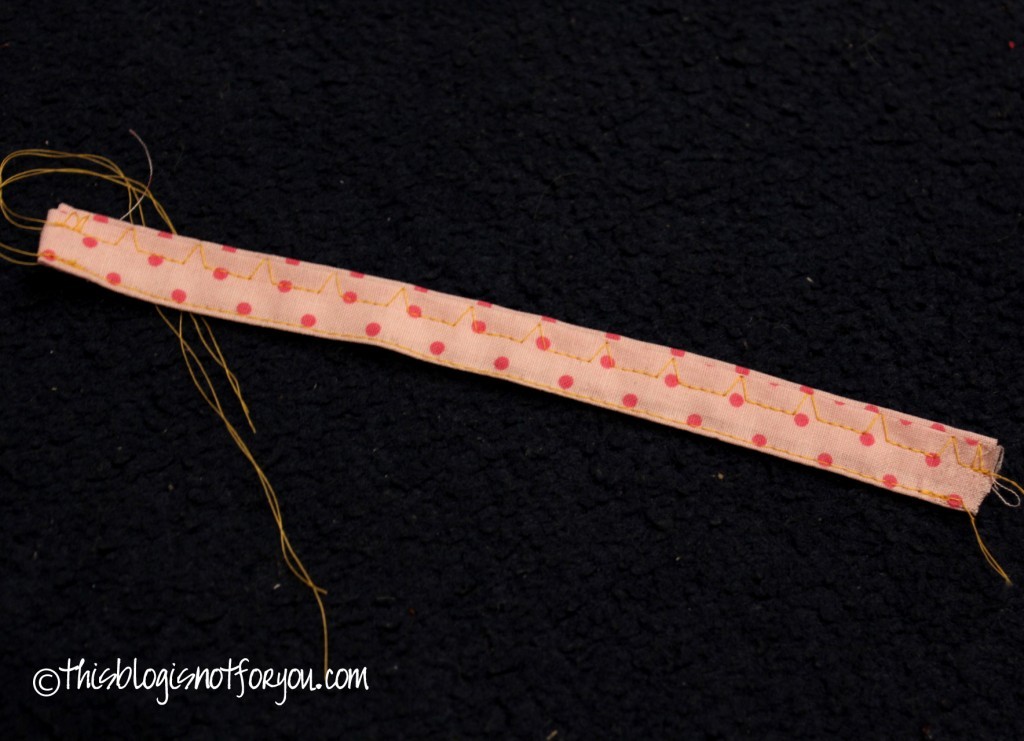
How to sew a book cover {that fits more than just one book}
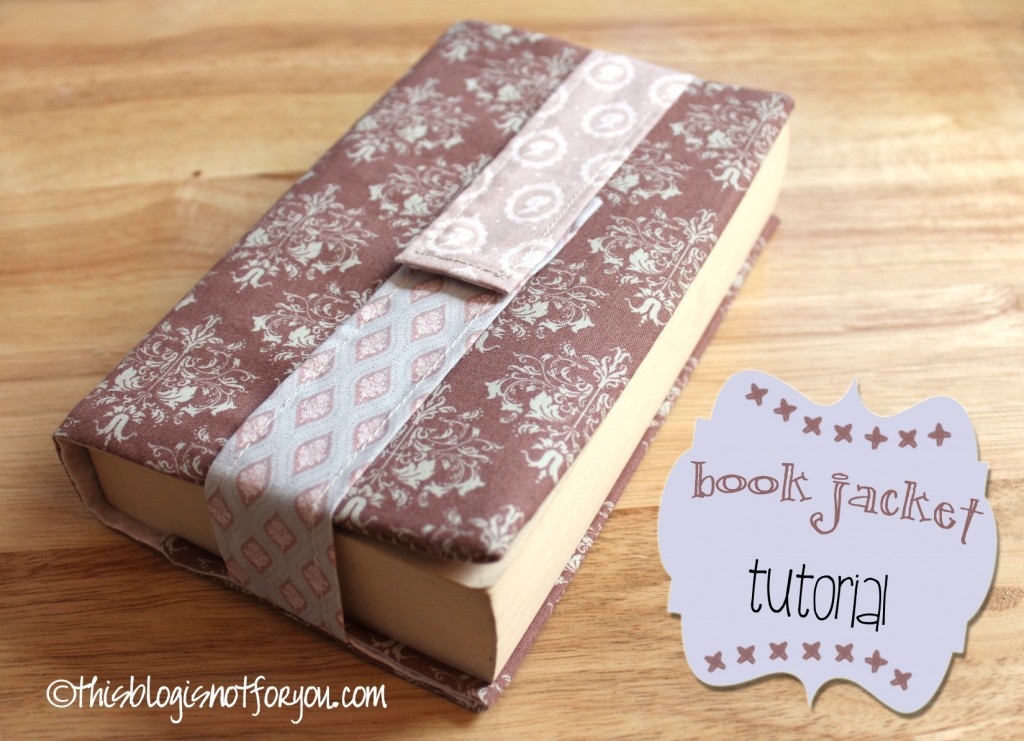
book jacket

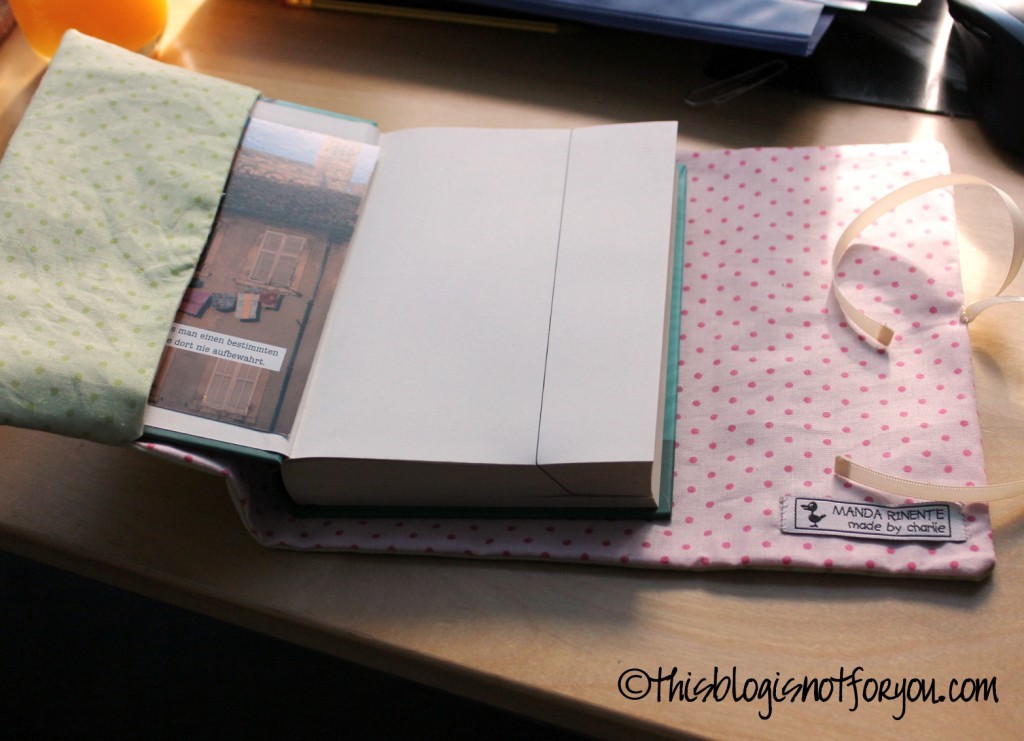
Do you carry your book around wherever you go? Well, I do.
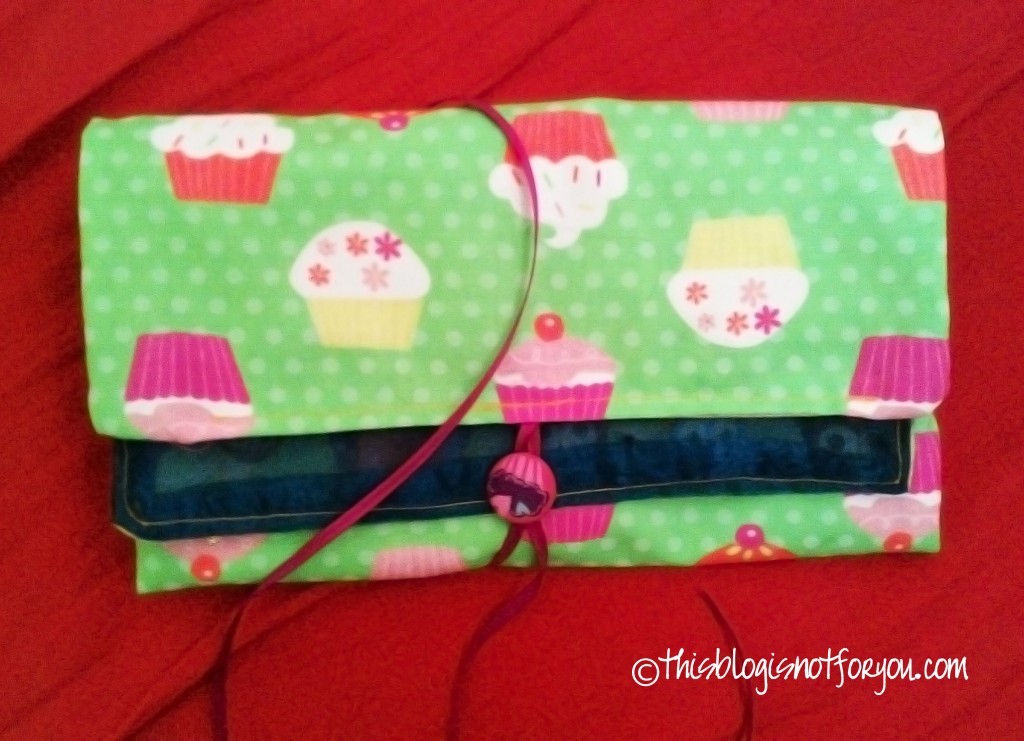
To keep them from getting damaged in my bag I use handmade book covers. No dog-ears no more!

Depending on how large you make the cover, it will fit several books that are about the same size.
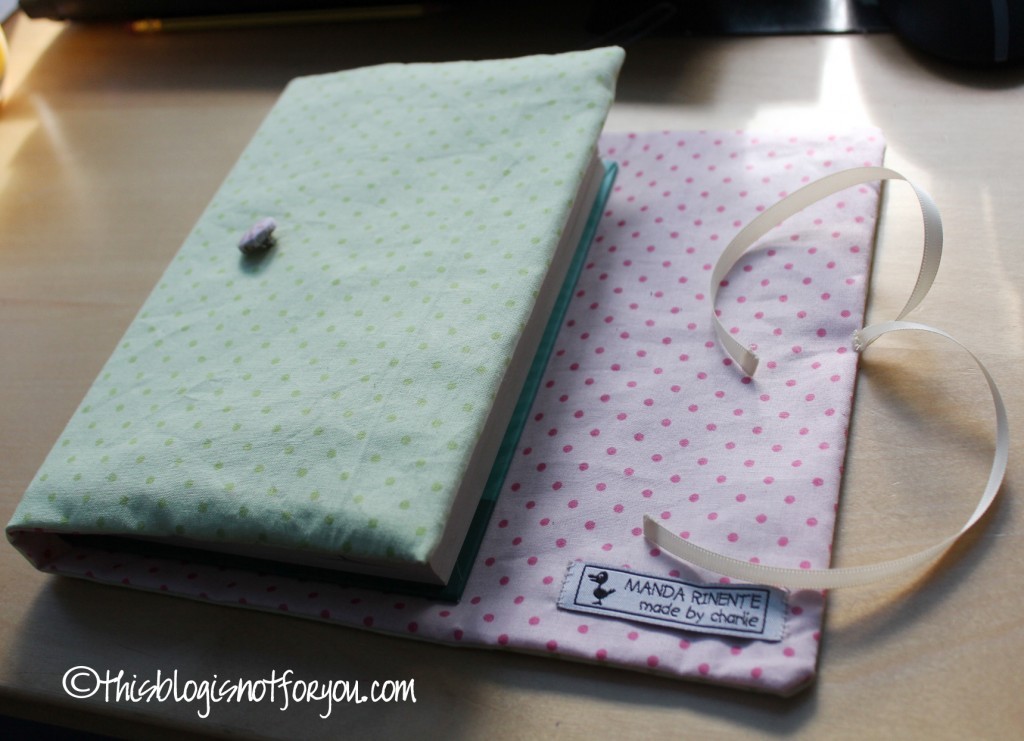
book cover tutorial

book cover tutorial 7

book cover tutorial 6

book coverFirst of all you need to make a pattern.
What you need:
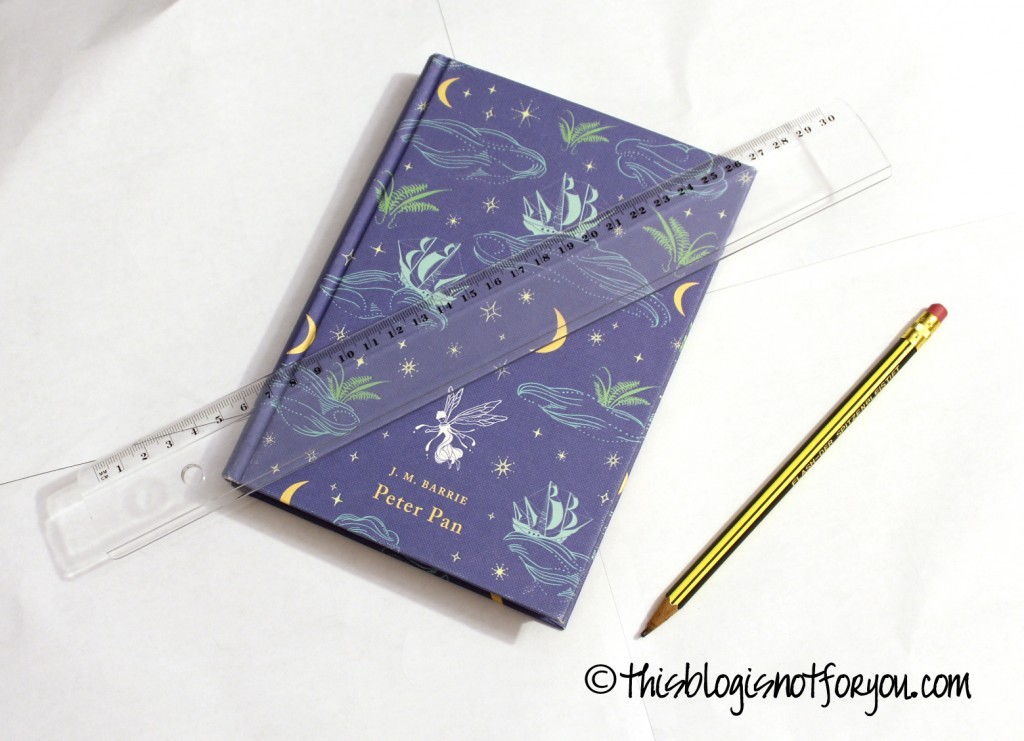
book cover pattern15

Pick a book size you like. It can be your favorite one, the one that you read at the moment or one you want to give as a present to someone.
I think a standard paperback book size works great, since you’ll probably have and find a lot of books that fit in there.
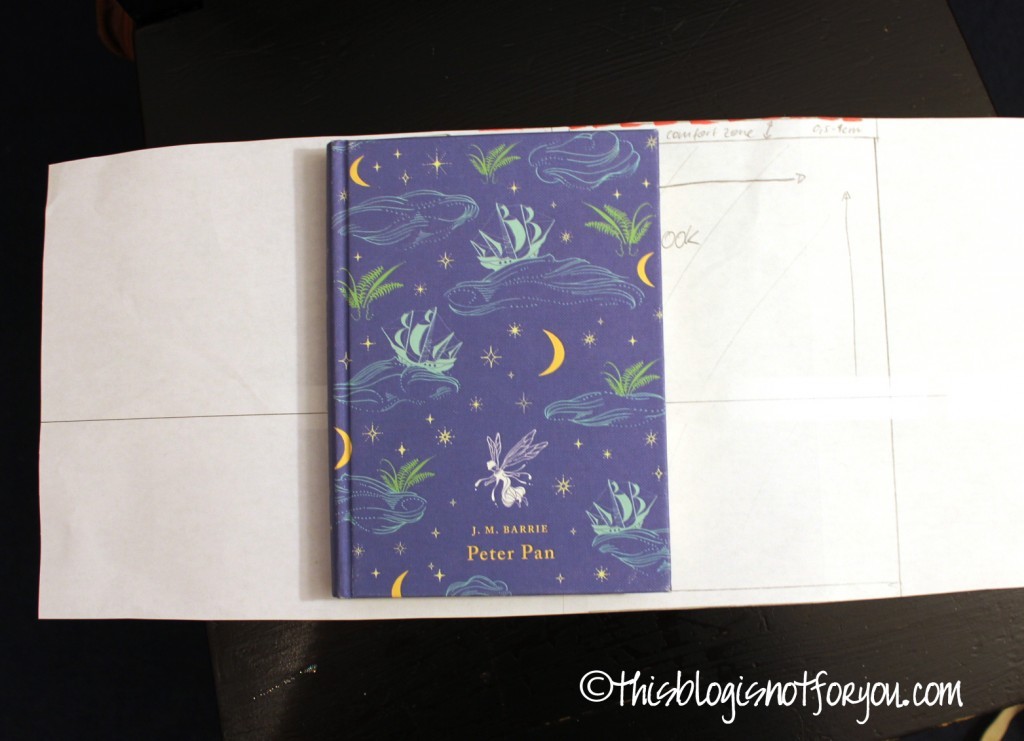
book cover pattern16


Take a large sheet of paper (or tape some sheets together). It should be more than three times as wide as your book is. The height is the height of your book plus a comfort zone of about 2-3cm/1-1,5inch.

You’ll need that so the book slips in easily and the bigger the comfort zone, the more books will fits into the cover. But don’t exaggerate, otherwise it will be too loose.

Lay the book on the paper strip, front cover facing you.
To determine the size of the flap, fold the left side of the paper over the cover until the flap has the size you want it to have.
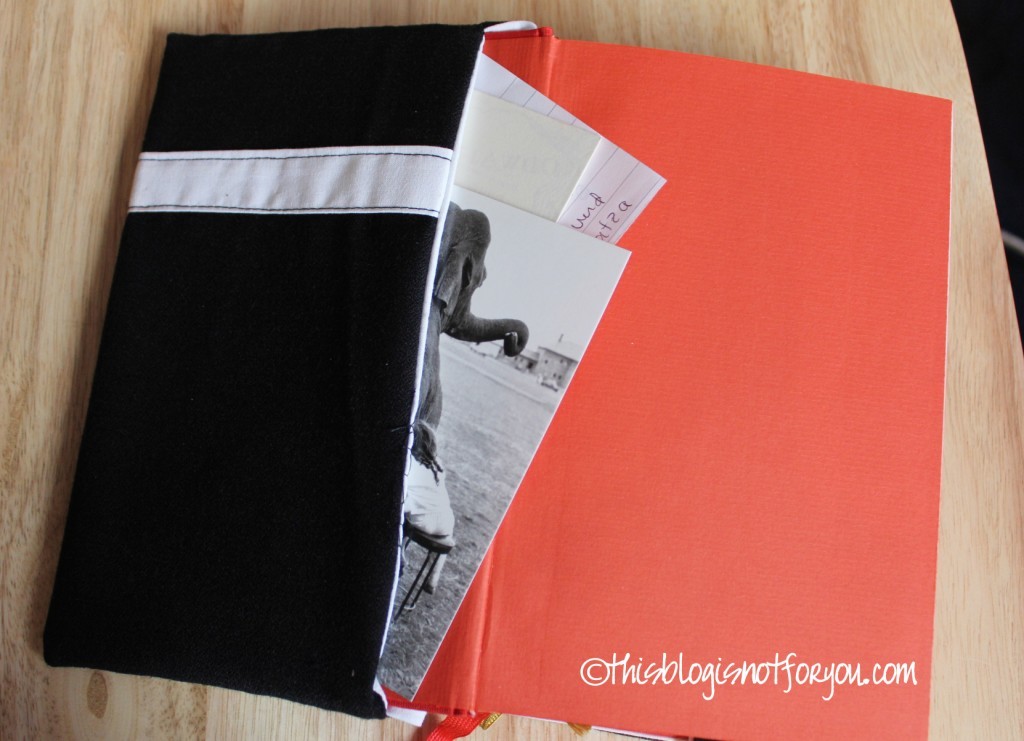
I think a large flap is good – the book cover will fit more tightly and you’ll have to space to keep some postcards, bookmarkers, etc.
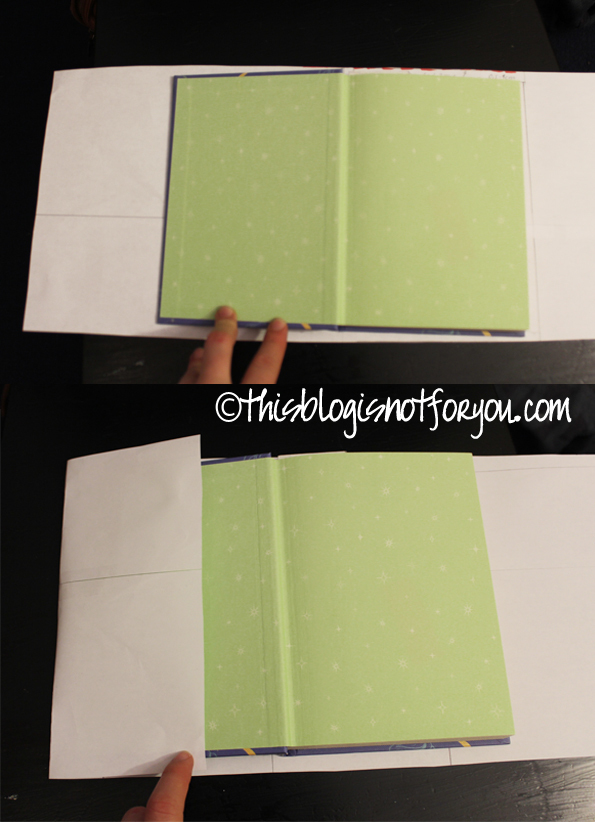
book cover pattern17


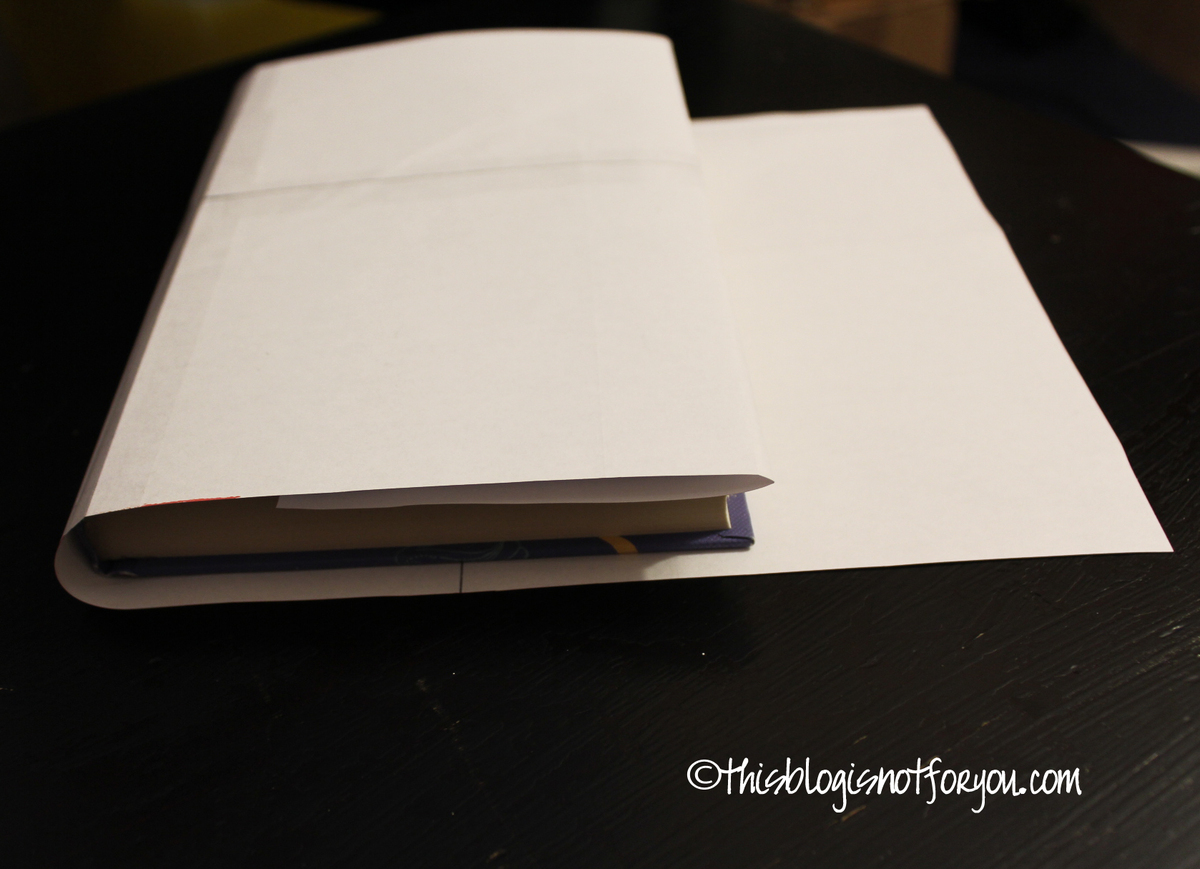
Now close the book and turn it as seen in the pictures below.
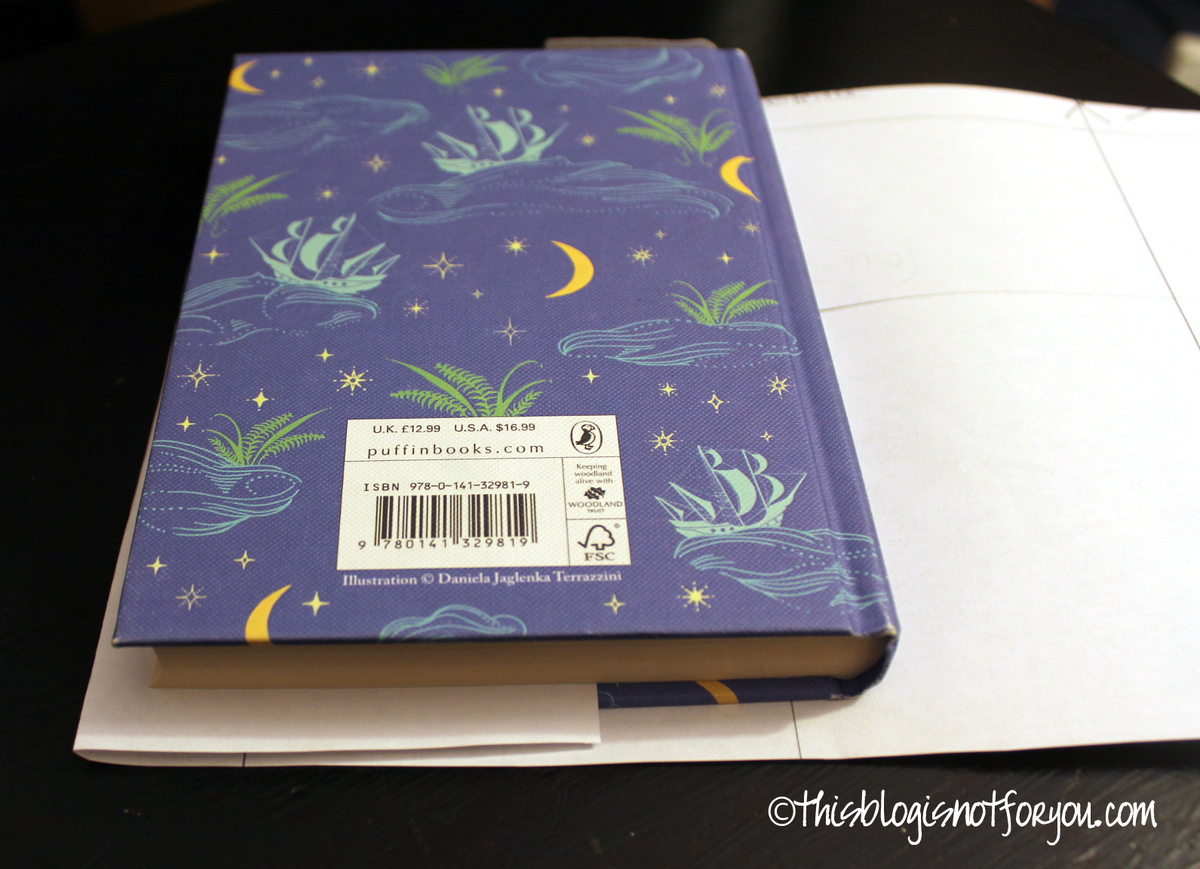
book cover pattern18book cover pattern19

To get the size of the front flap, fold the right side of the paper over your book and mark the paper where you want your front flap to end. Draw a line and cut the rest of the paper off.
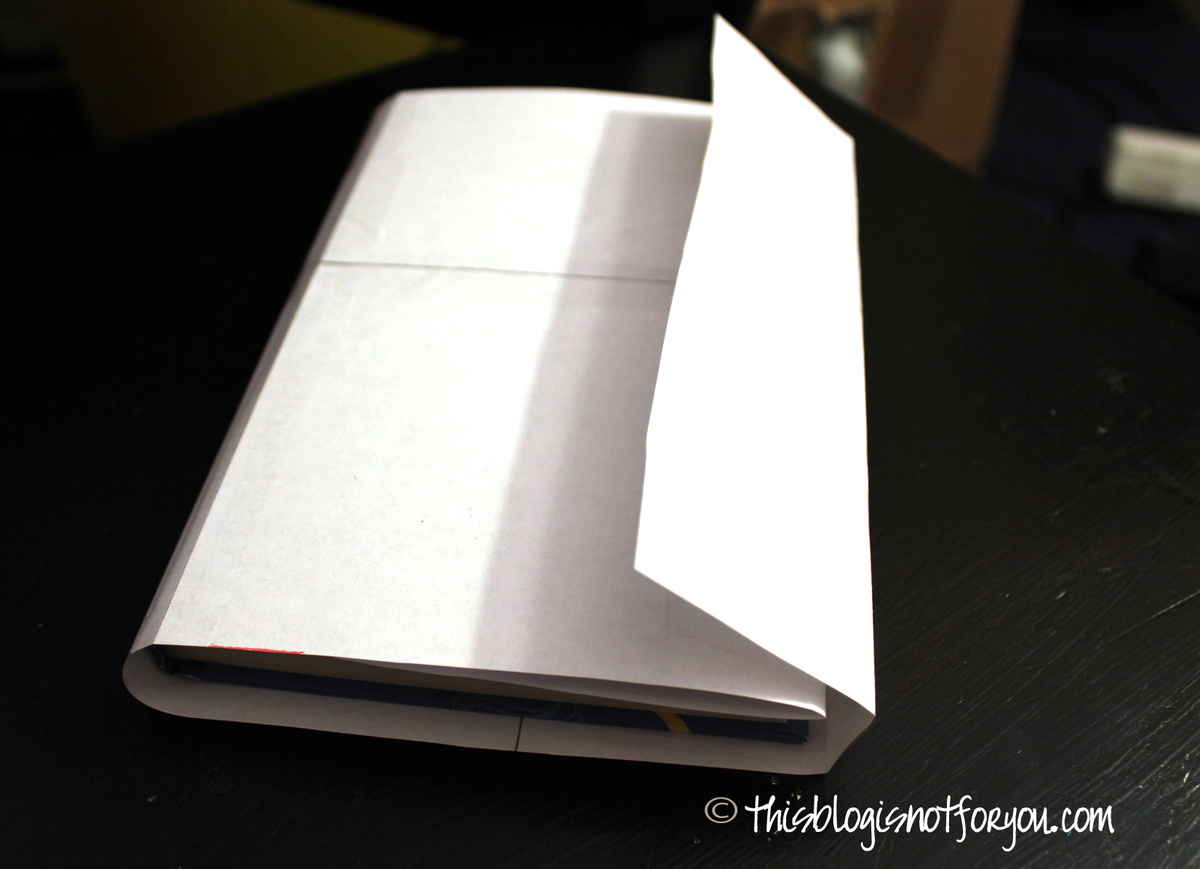
book cover pattern20

Now you’ve got the pattern for cutting out your fabric.
For a simple book cover with a button fastening you will need two pieces of fabric.
When you place your pattern on the fabric, don’t forget to add seam allowance! I used about 1cm of seam allowance for the book cover I made.

In case you want to embellish your fabric, for instance with sequins, buttons, fabric paint etc., do it after you cut out the fabric and before you start sewing.
This is especially important when you’re using fabric paint, since you have to iron it before sewing to fix it.

This is one idea of how to embellish simple fabric with fabric paint. This book cover was a gift for my best friend.
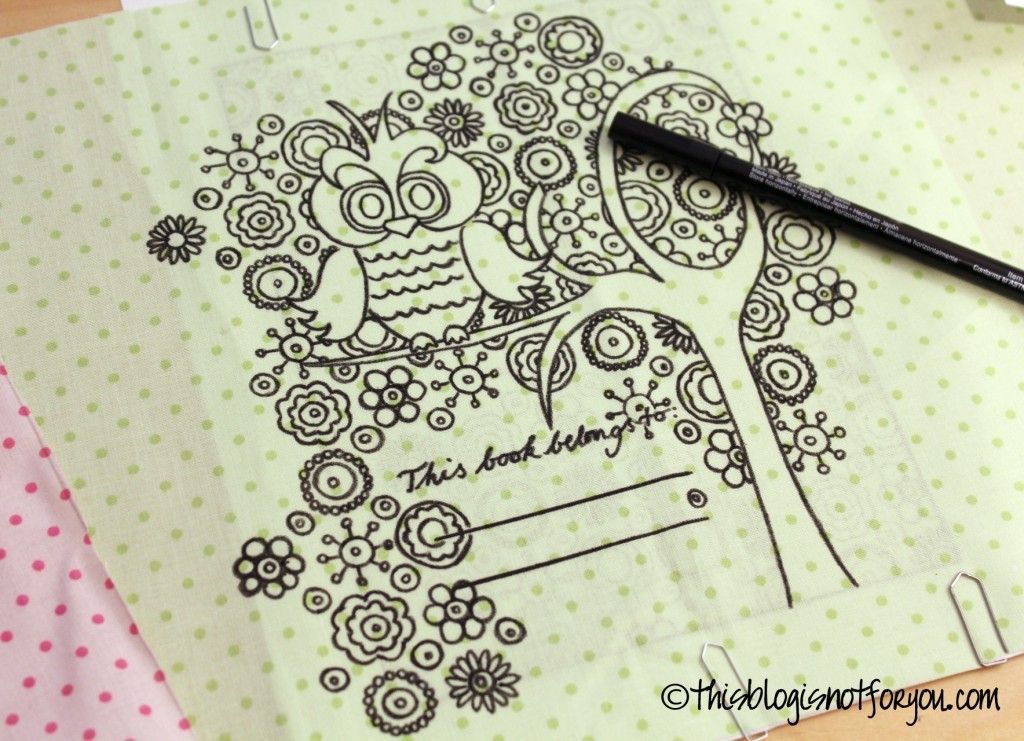
book cover tutorial


If the fabric is slightly see-through, you can just place a copy or print-out of want you want to draw underneath the fabric and trace it with a textile pen.
I found the picture with the owl here and slightly changed it.

Before pinning and sewing everything together, it’s time to add any ribbon or labels.
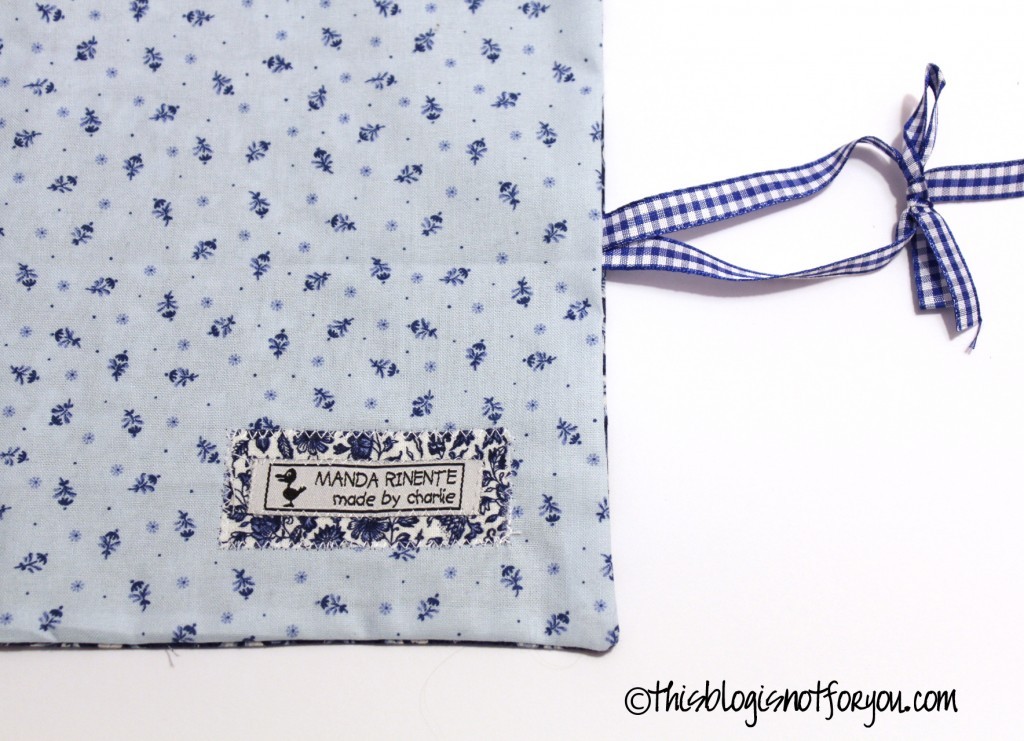
book cover tutorial 13If you want to add ribbon as in the picture above, place it in between the two fabric pieces and pin the ends of the ribbon onto the seam allowance to fixate it before sewing.

The Sewing

Pin the two fabric pieces together, right sides facing each other. Then sew along the marked seam line.
Don’t sew them together completely, but leave a gap of about 5-6cm/2-3inch, since you have to turn the whole thing inside out.
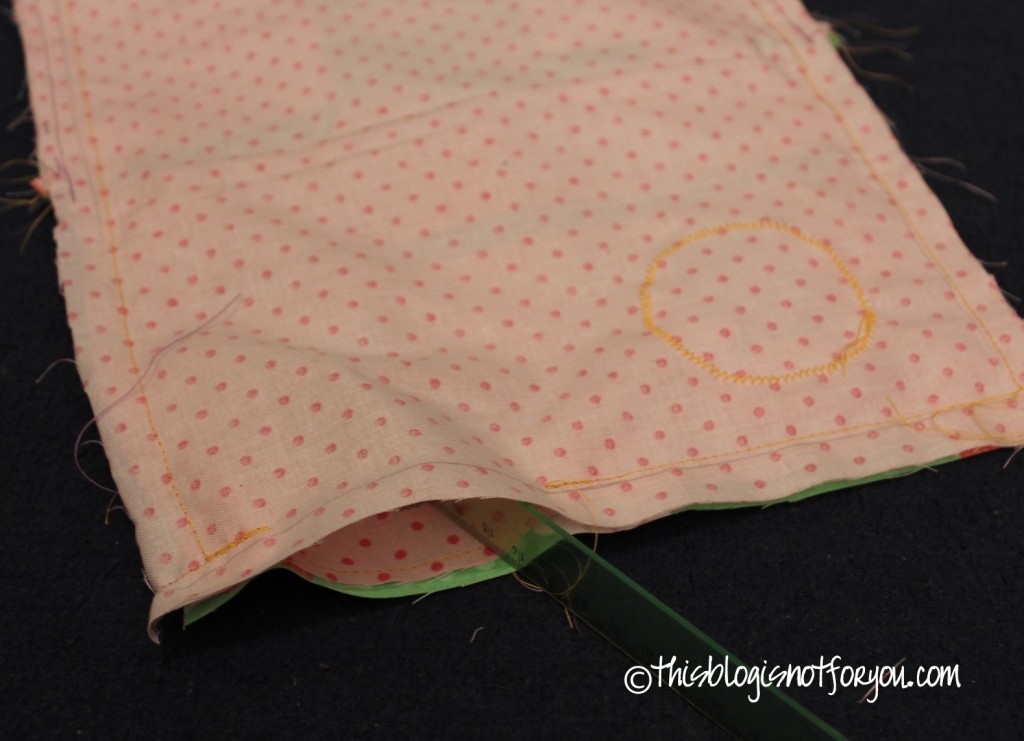
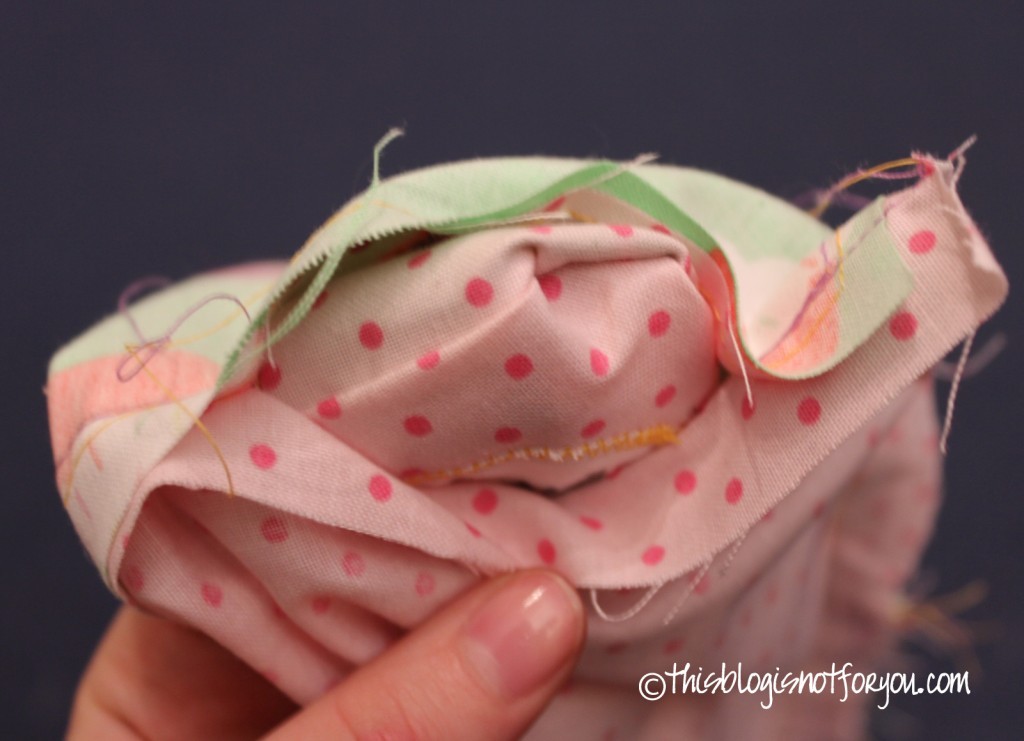
For that pull out the fabric, grabbing the right side through the gap you have left in the seam. The part will be handstitched up later on. A ruler may help you to define the edges and corners.

book cover tutorial


To get a flap like in the picture below, you need to turn your fabric right side up, so the lining is facing down.
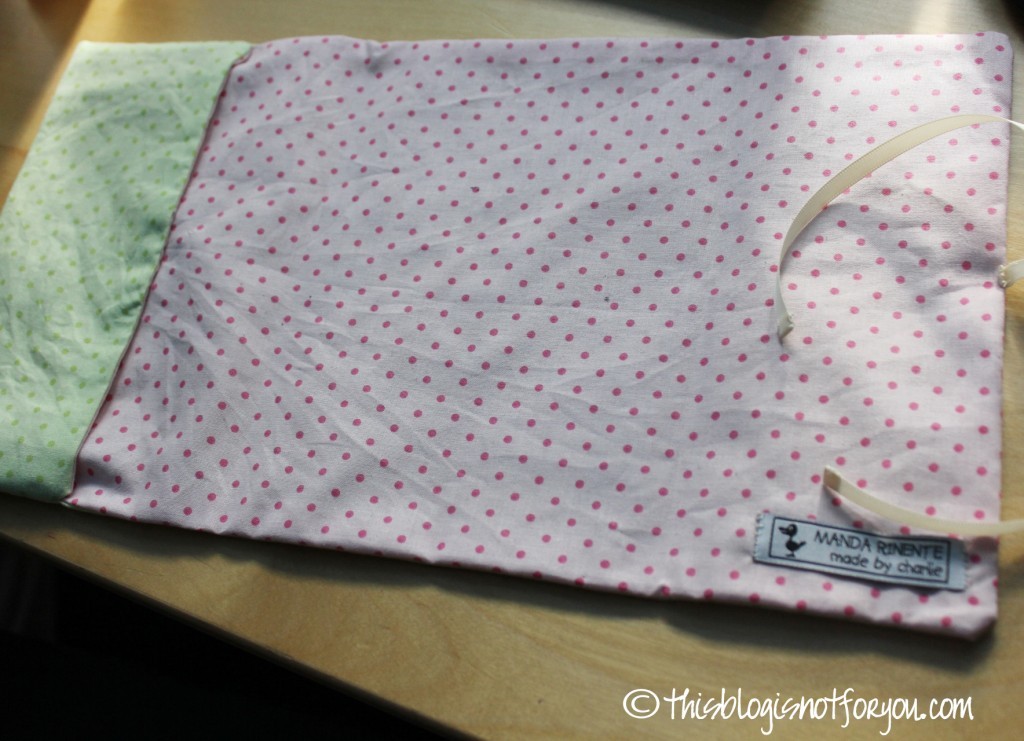
book cover tutorial 5


Now fold one side of the fabric to create the flap. Make sure you’ve got the correct side, in case you embellished the outer fabric. You don’t want everything to be upside down in the end or the have the flap on the wrong side.book cover tutorial 3
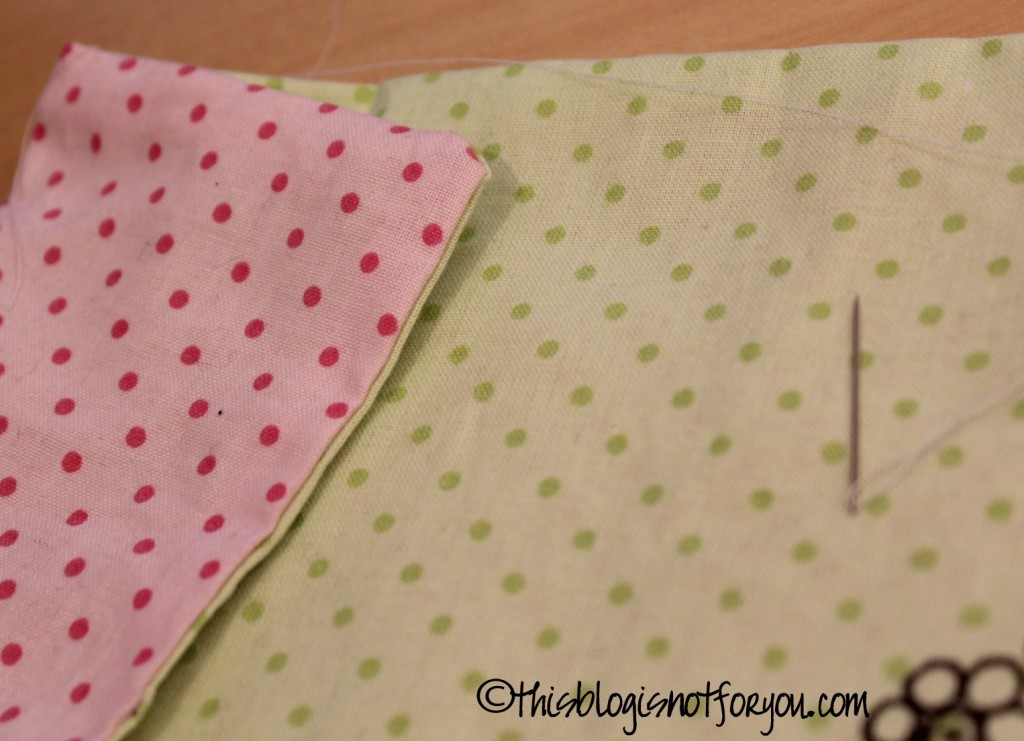
 

The seam of the flap will be handstitched.book cover tutorial 10
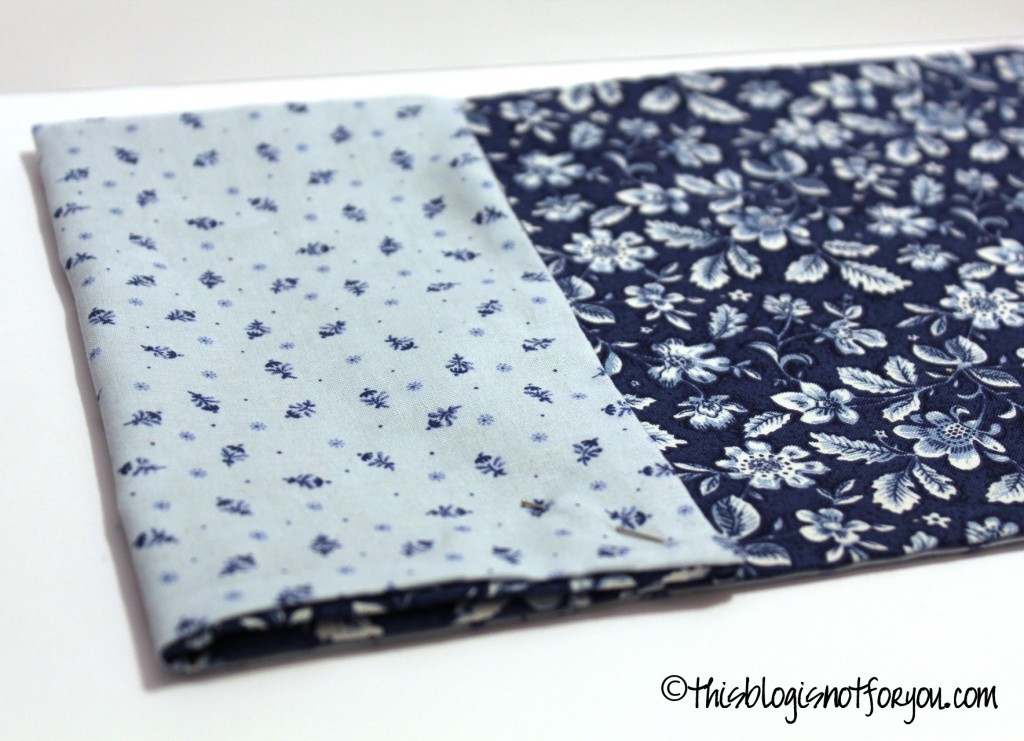
Pin the flap an shown in the picture above.
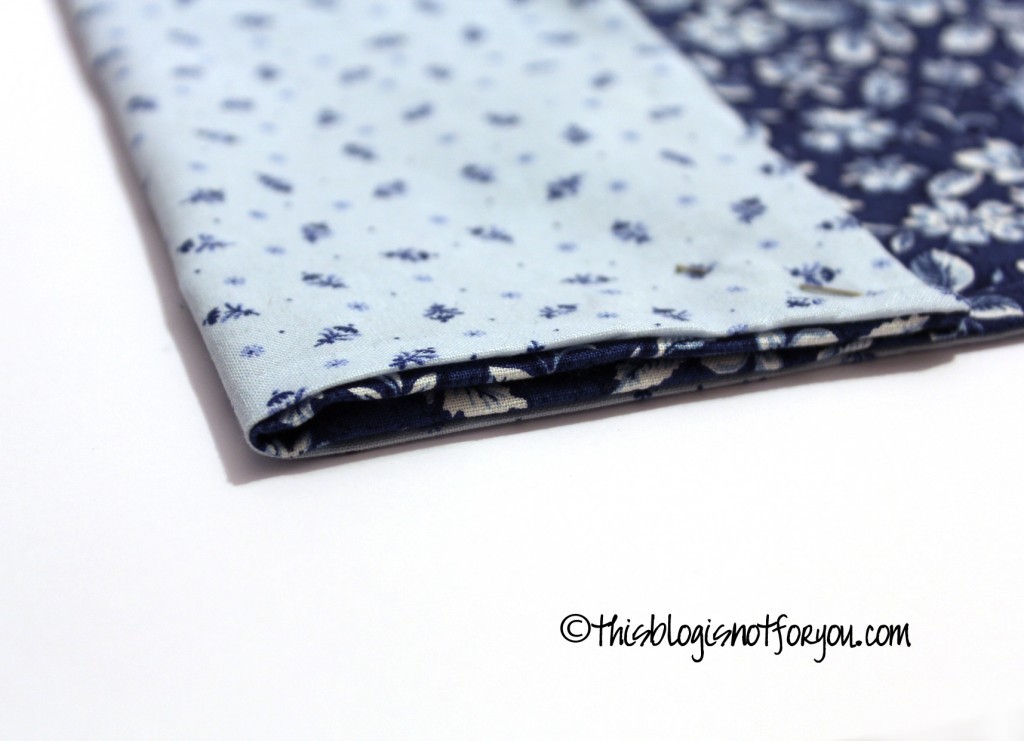
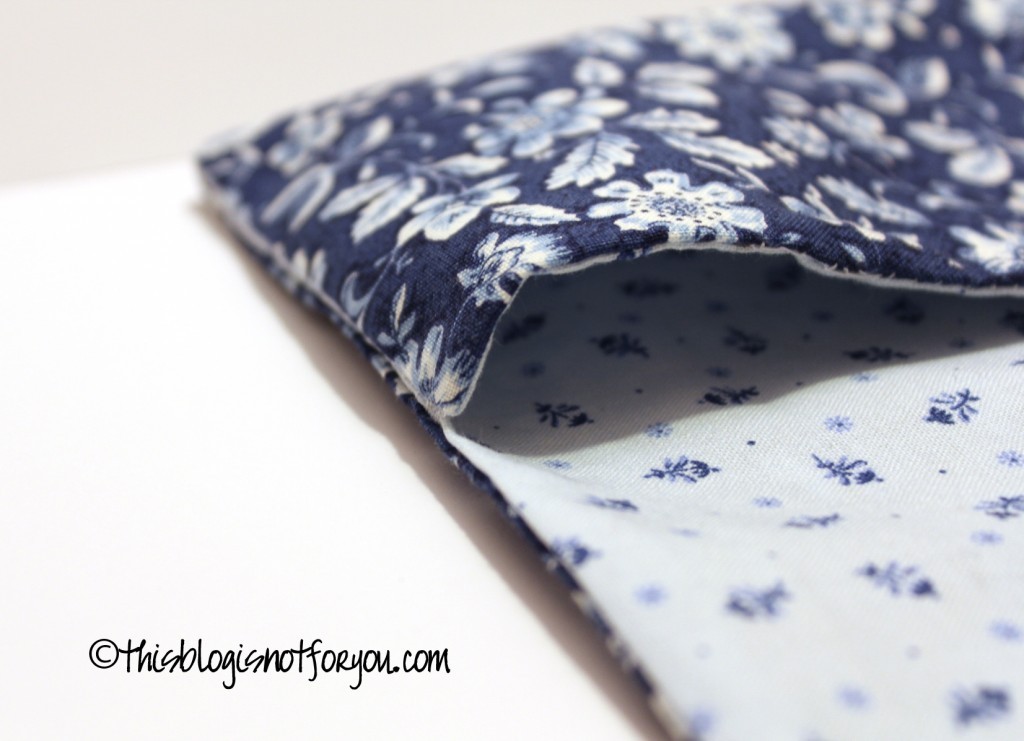
book cover tutorial 11In the picture above, the darker blue fabric is the outer fabric. We will only be stitching together the edges of the lining!.
It looks nicer in the end and you don’t want the flap to sit too tight.
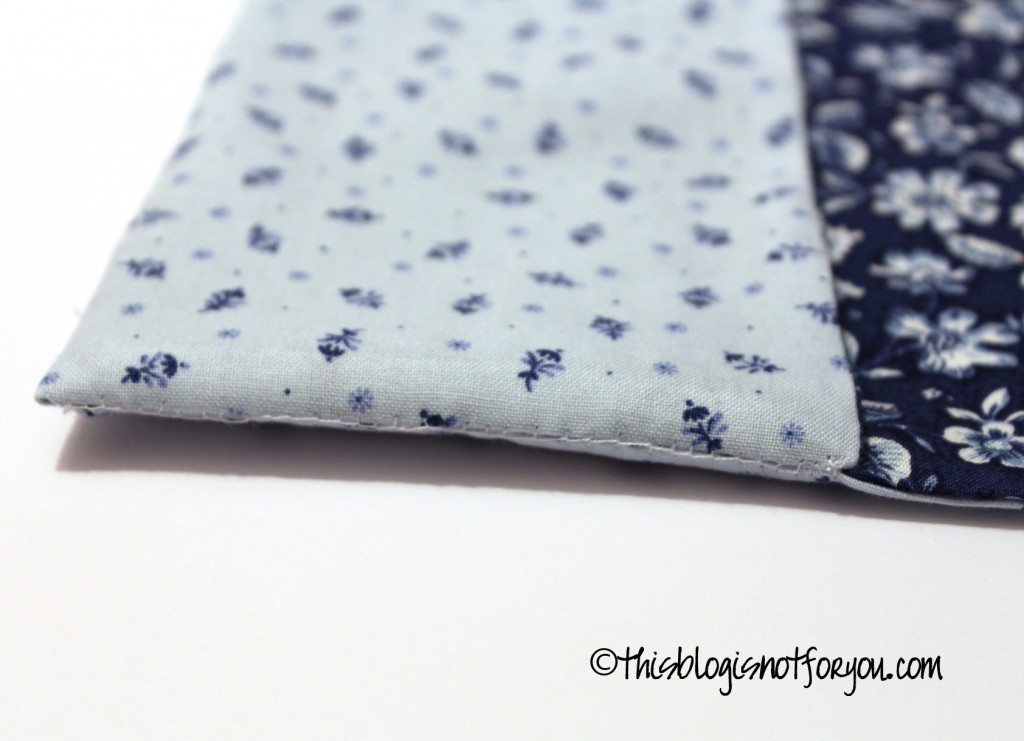
book cover tutorial


This is how it looks when everything is stitched up nicely. you can now turn it and it should look like this:book cover tutorial
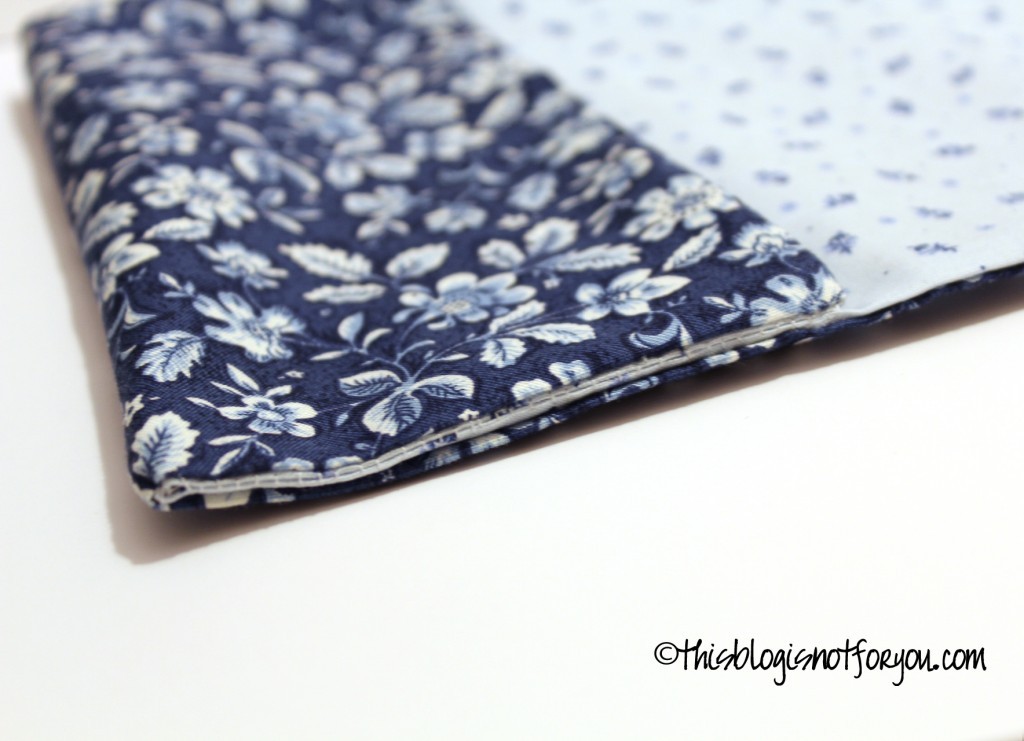
book cover tutorial 15


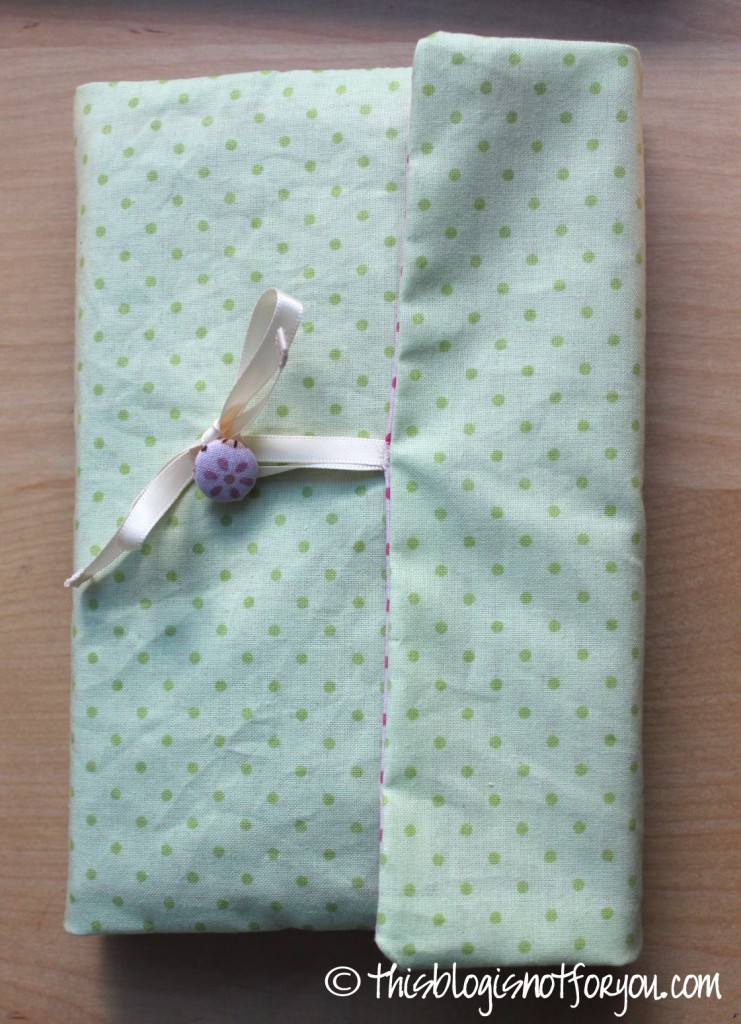
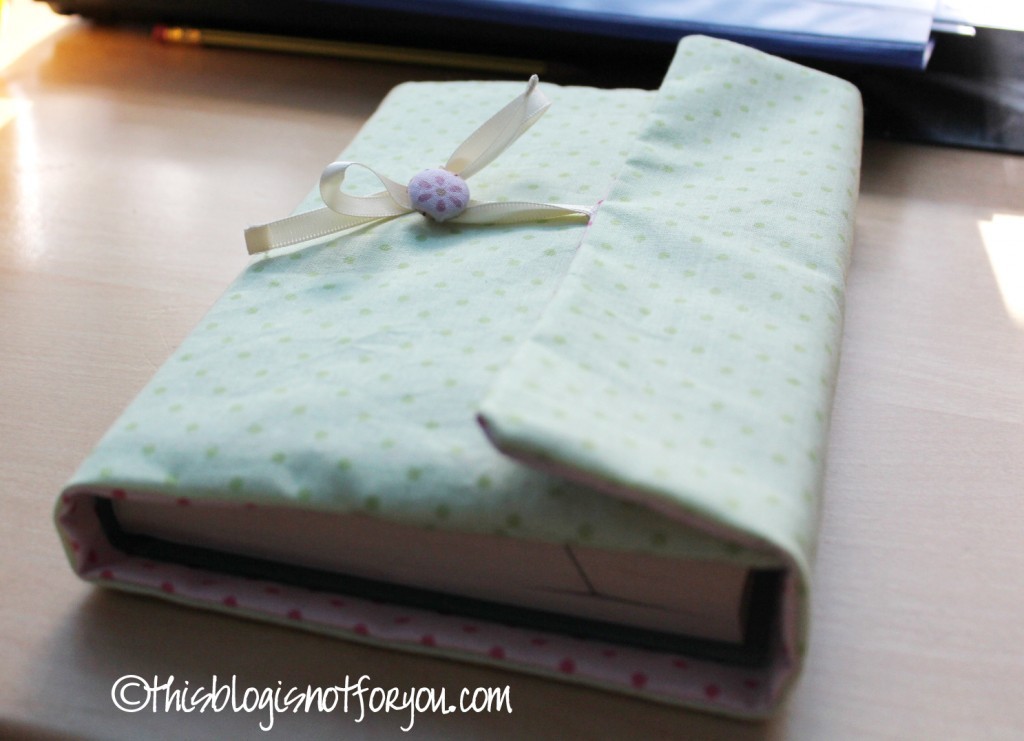
Put your book inside and close the cover to marke the point where you want to put a button. Handstitch the button onto the cover and you’re done!
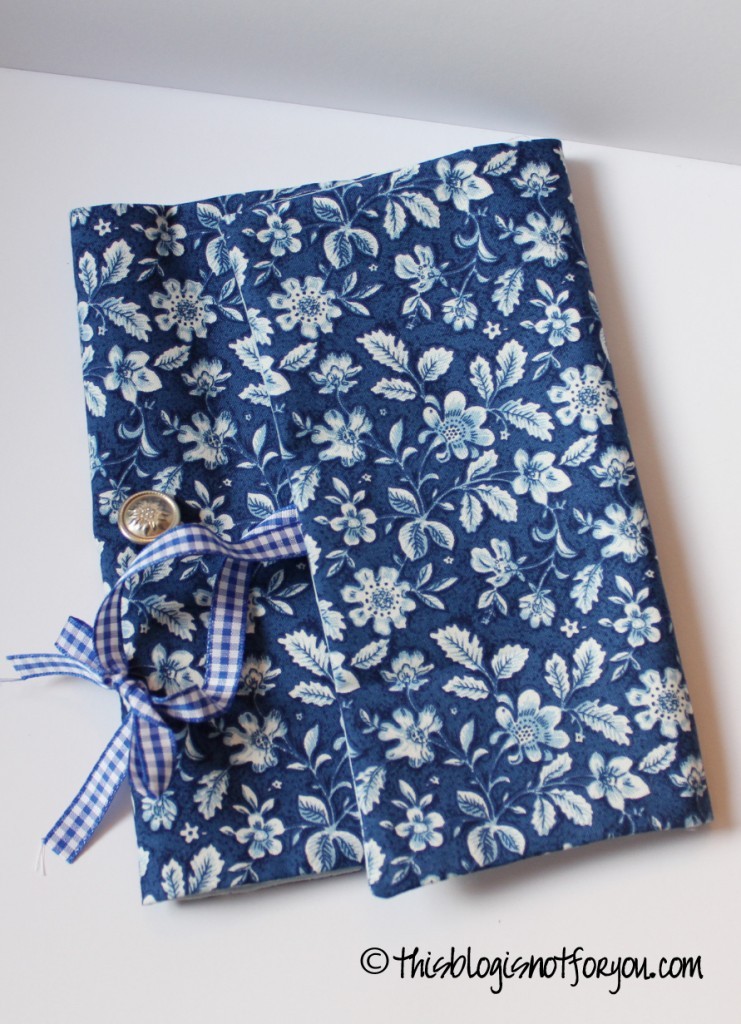
book jacket 2

Here are some ideas/book cover I made lately:

book jacket 7book jacket 8

book jacket 9

book cover tutorial 8book cover tutorial 4

book jacket 6

I was featured at:
Refasion It! The Embellished Sweater {DIY appliqué}

Last week I went bargain hunting for some easy weekend upcycling projects. (I wrote about it in my “When a Crafter goes Shopping” post and explained my “method” of selecting the clothes.)

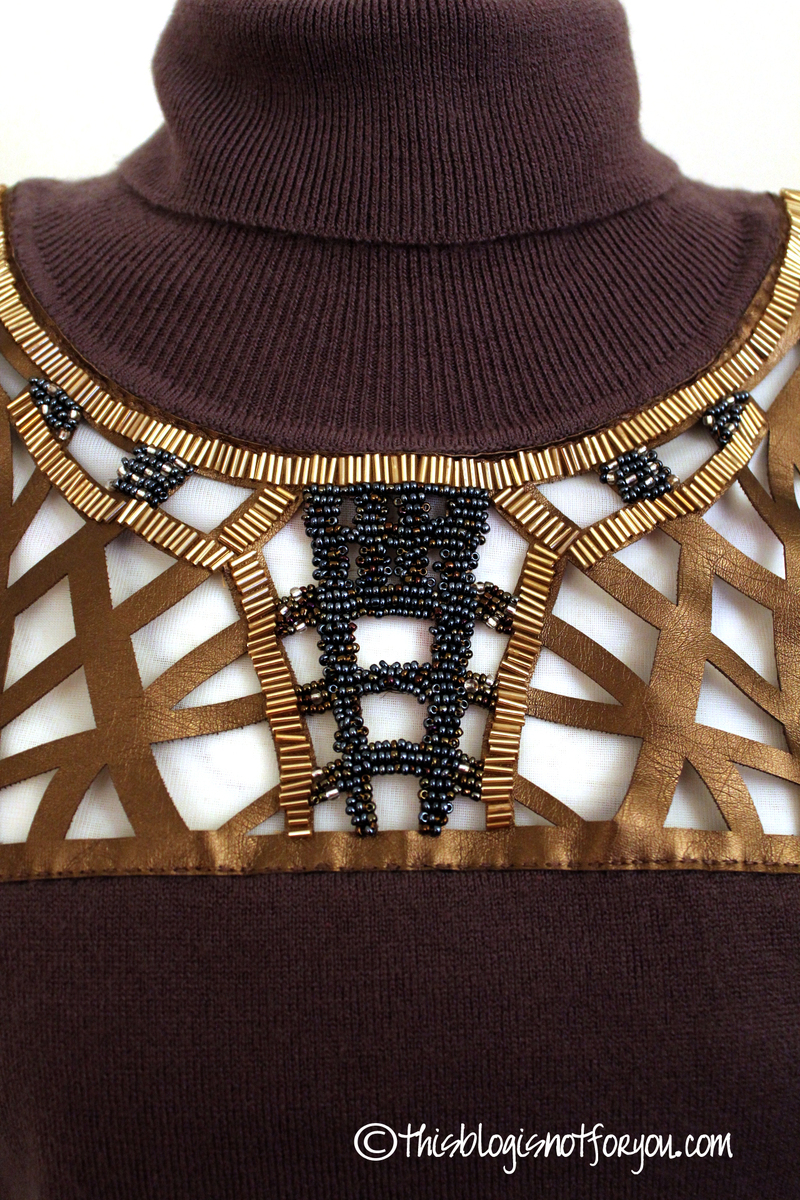
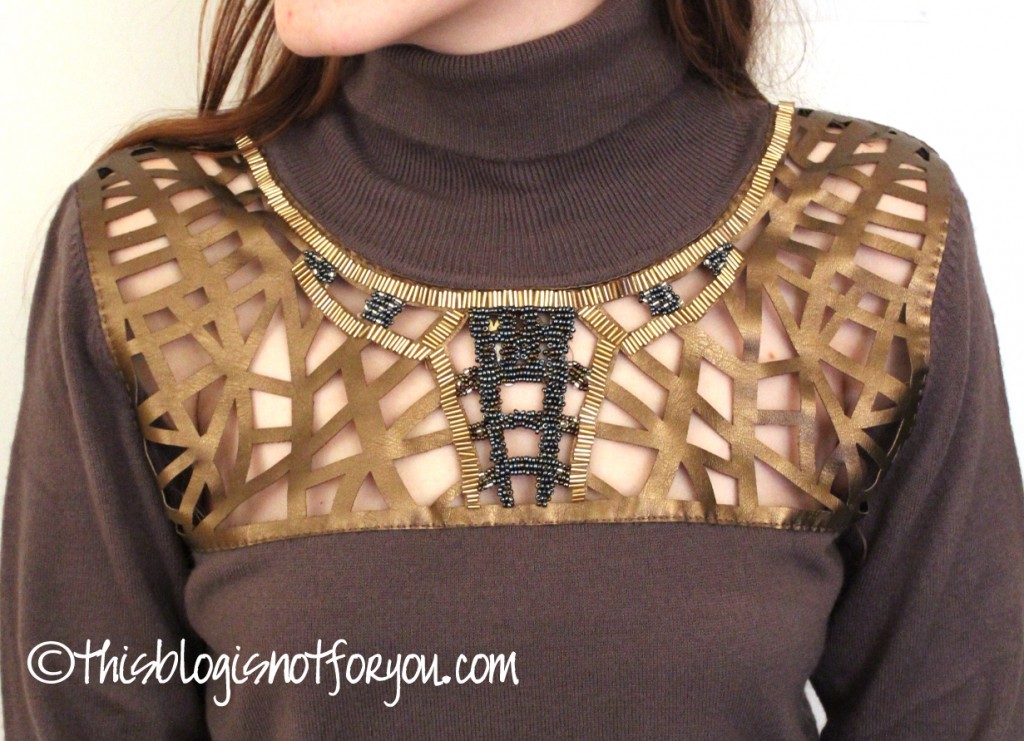
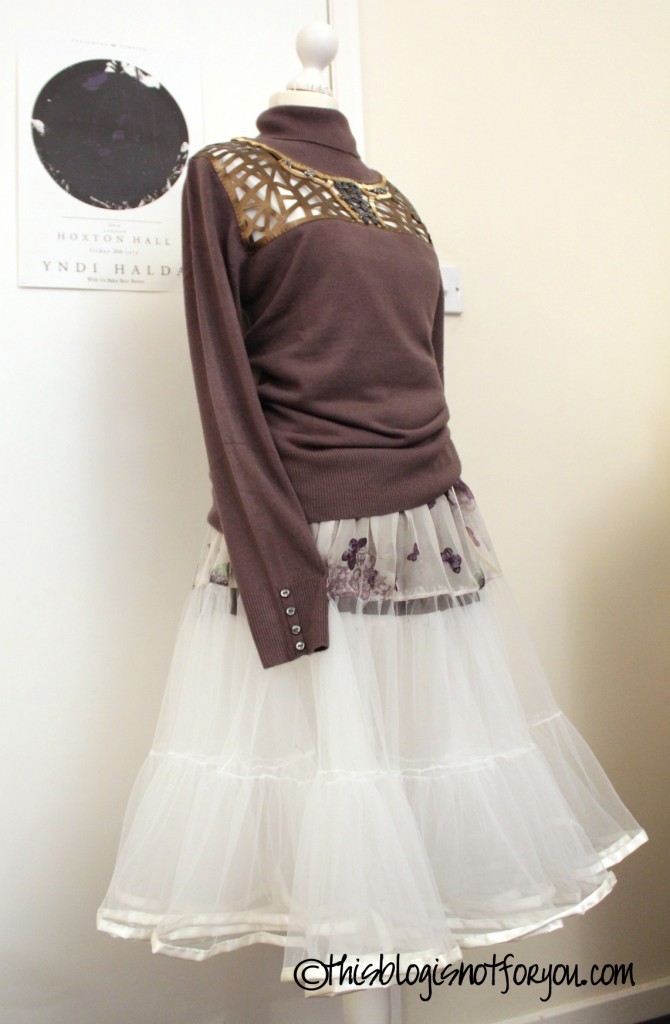
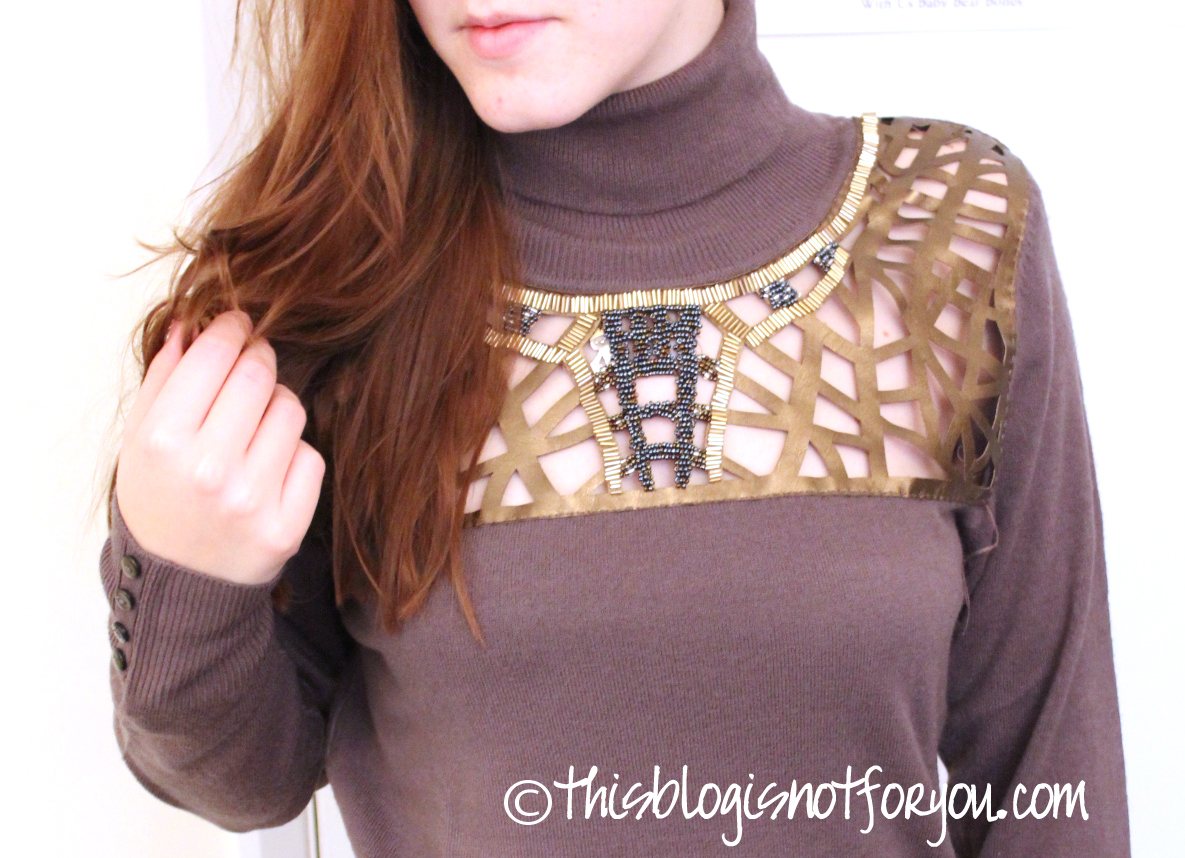
Now it’s time to share my first finished project with you: the embellished sweater.
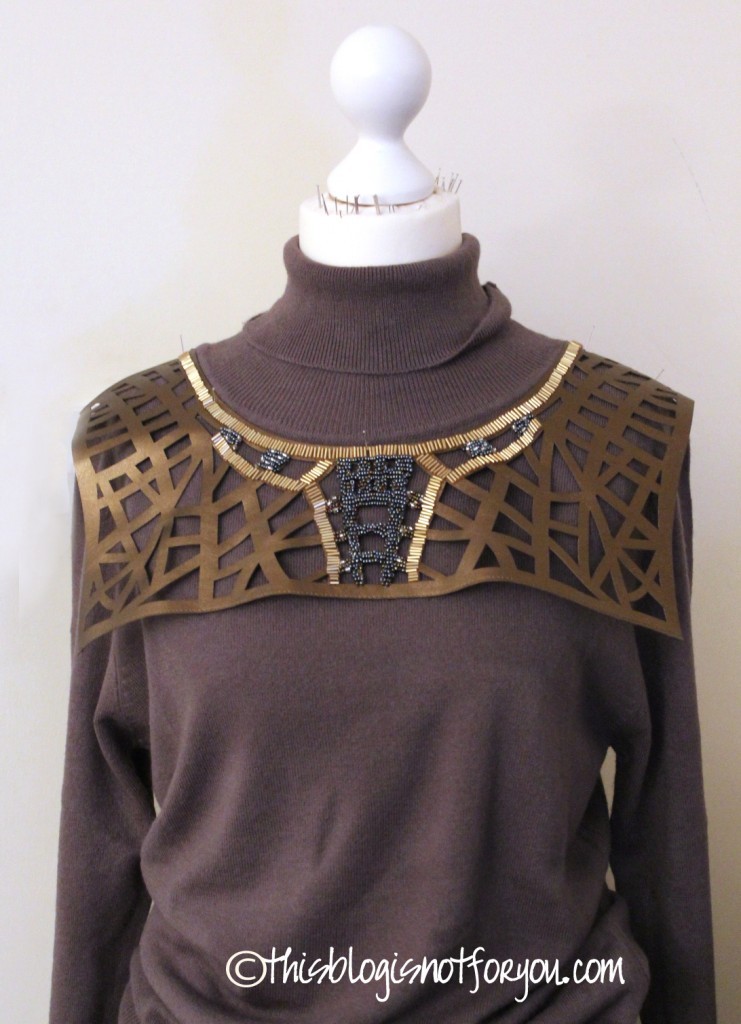
embellished sweater

embellished sweater


When I saw Trash to Couture’s post a few weeks ago, I wanted to try a knock-off project.
Unfortunately I didn’t have any nice appliqués, so I postponed the project.

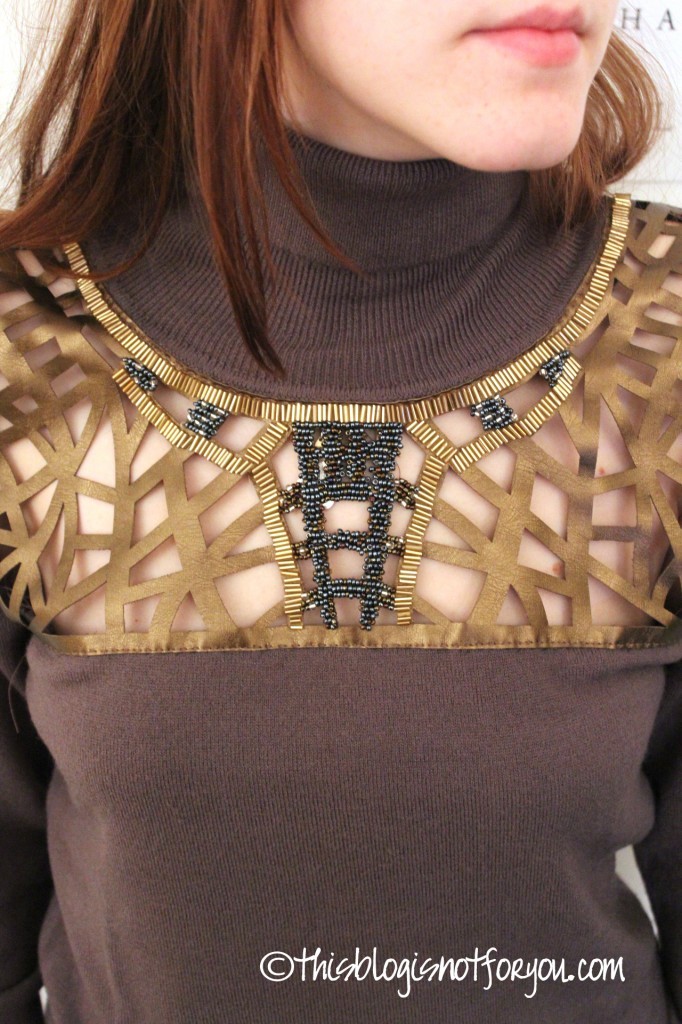
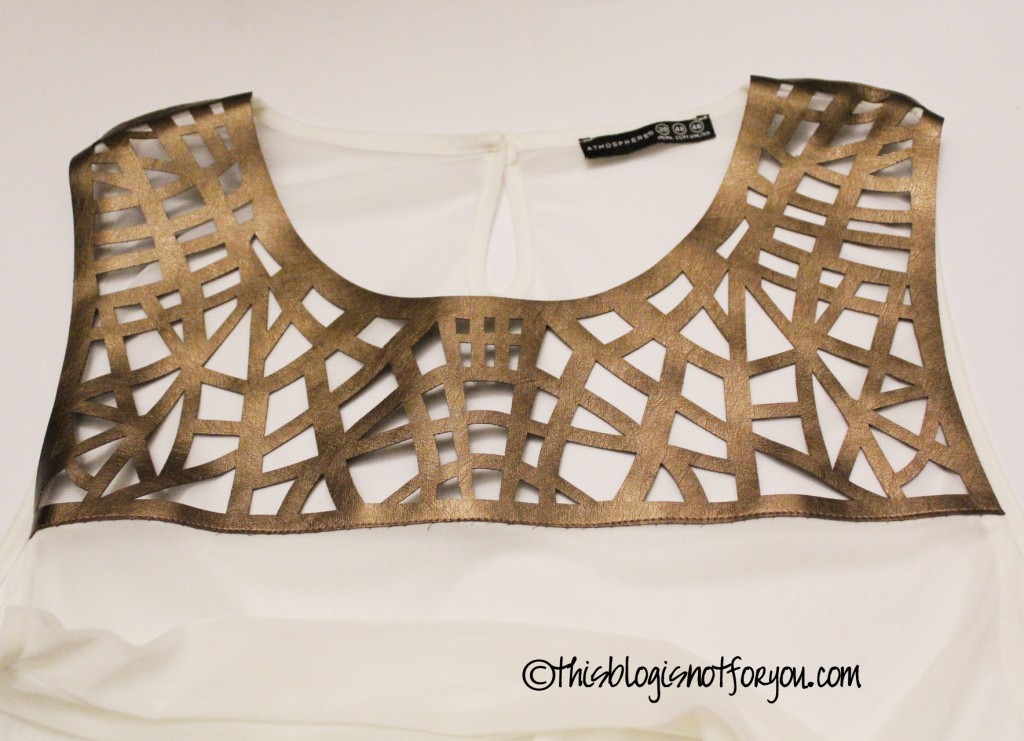
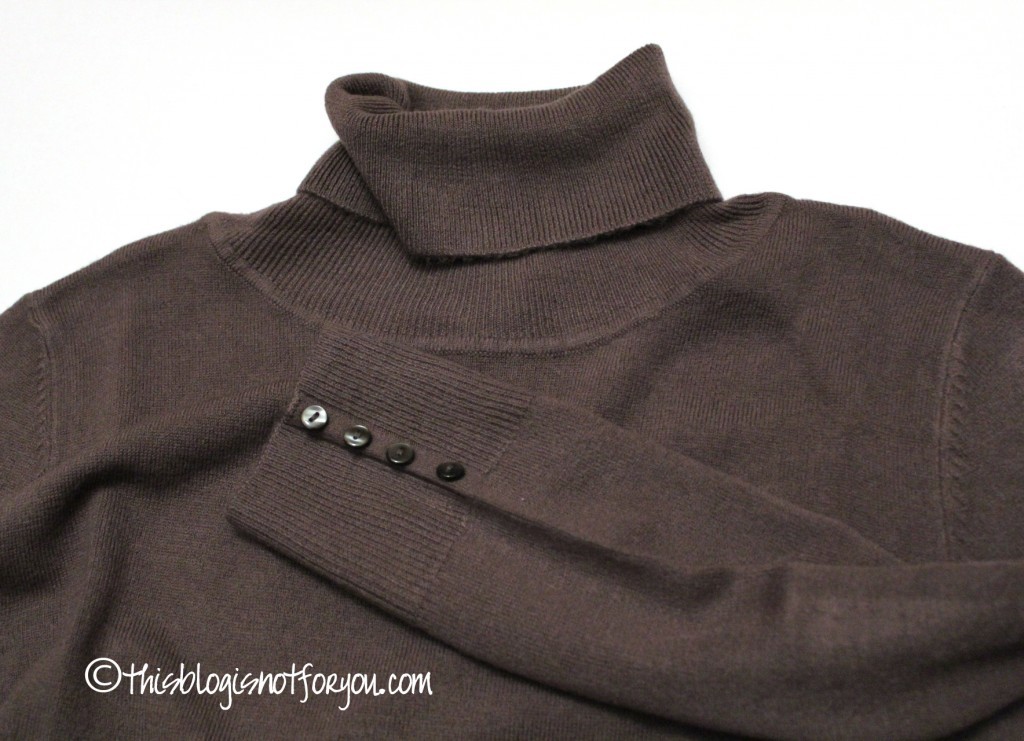
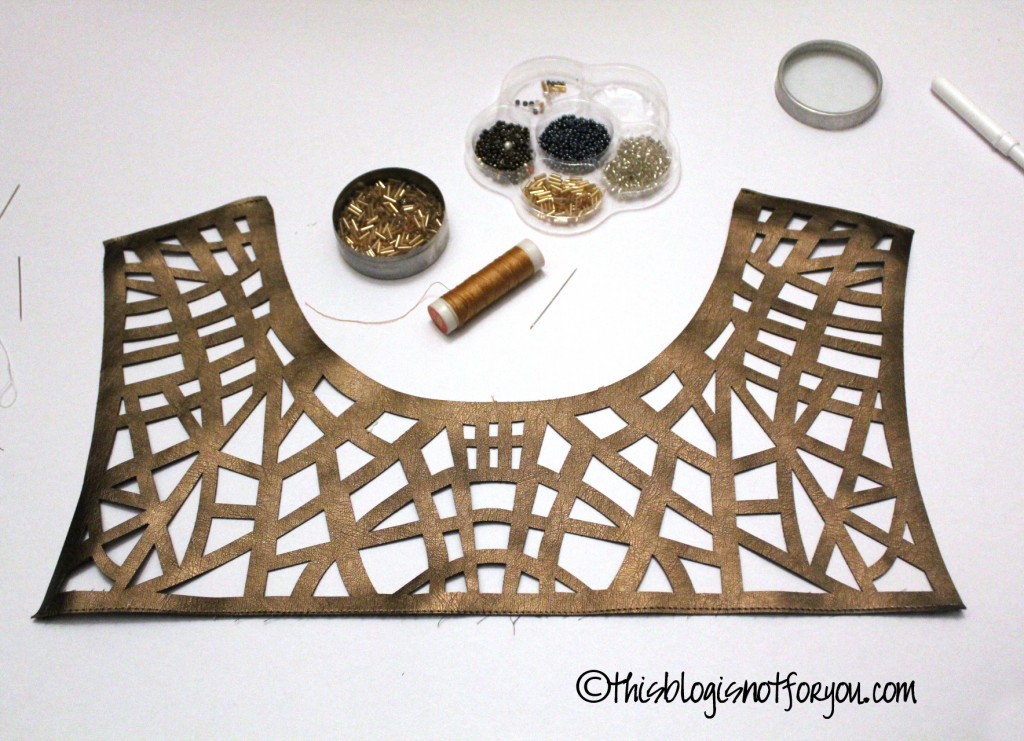
But when I went shopping last week, lucky me found a nice top with a faux leather insert. When I saw it I immediately had to think of the Trash to Couture DIY sweater, so I bought it. I also found a matching anthracite-coloured sweater that was even cheaper than the top.

embellished sweater

embellished sweater

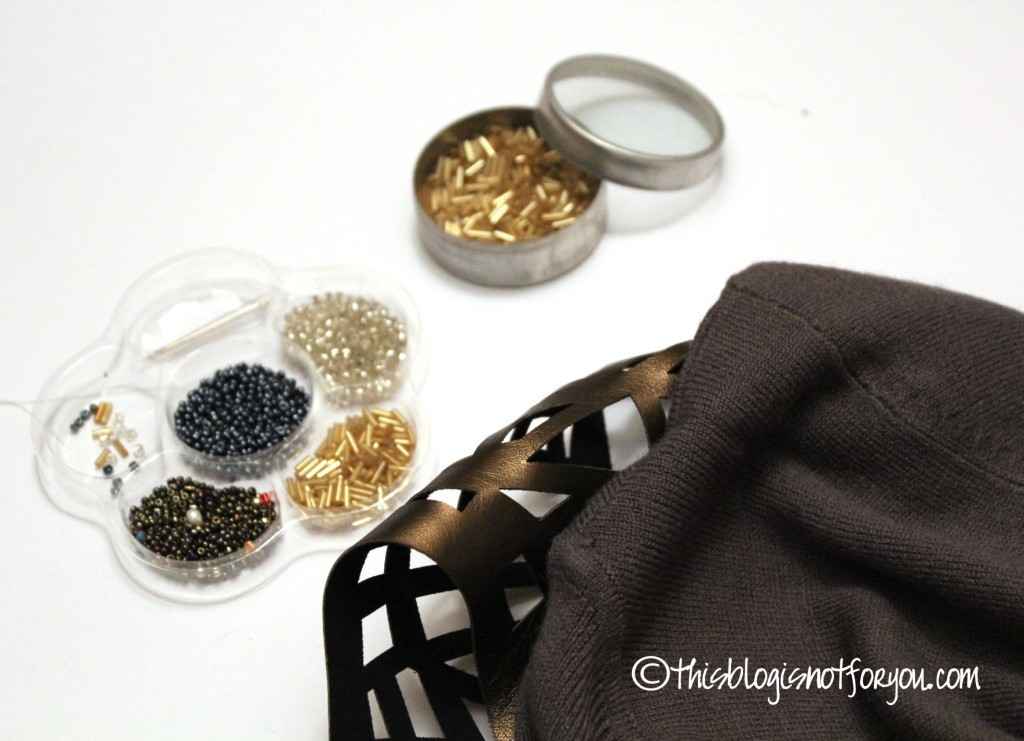
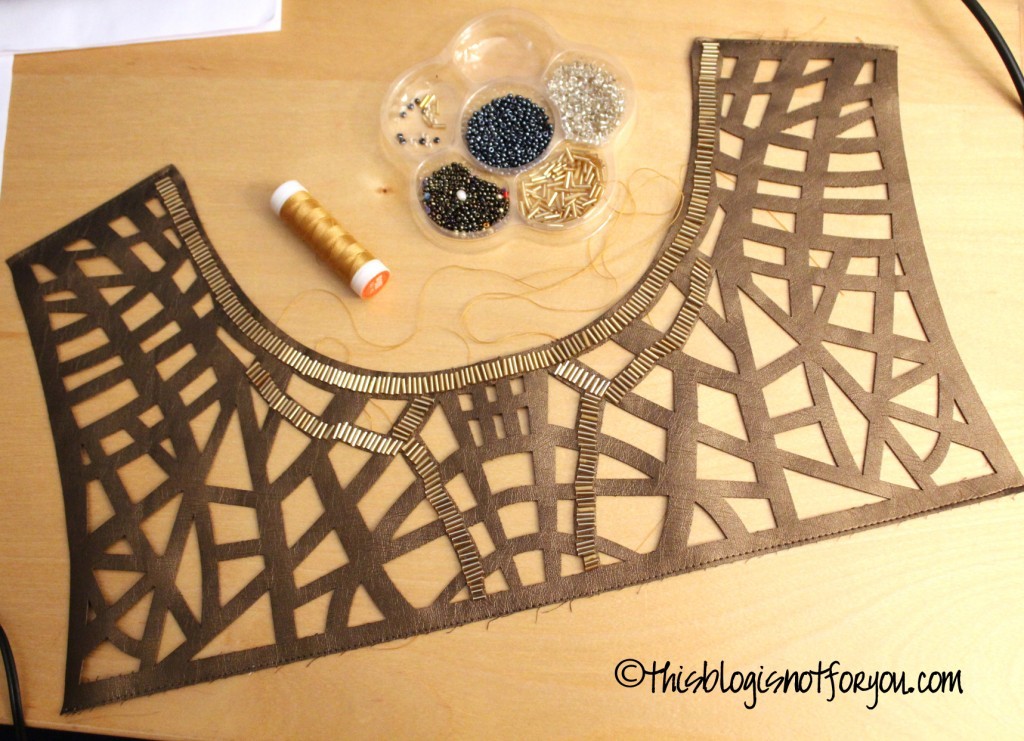
The faux leather insert wasn’t embroidered, which wasn’t that bad since I had the beads and everything to do it myself at home.

I have to admit, as easy as it was, you need to have patience. A. Lot. Of. Patience.
I am normally not very much blessed with patience, but after weeks of essay writing and other assignments it was a welcome change.

embellished sweater

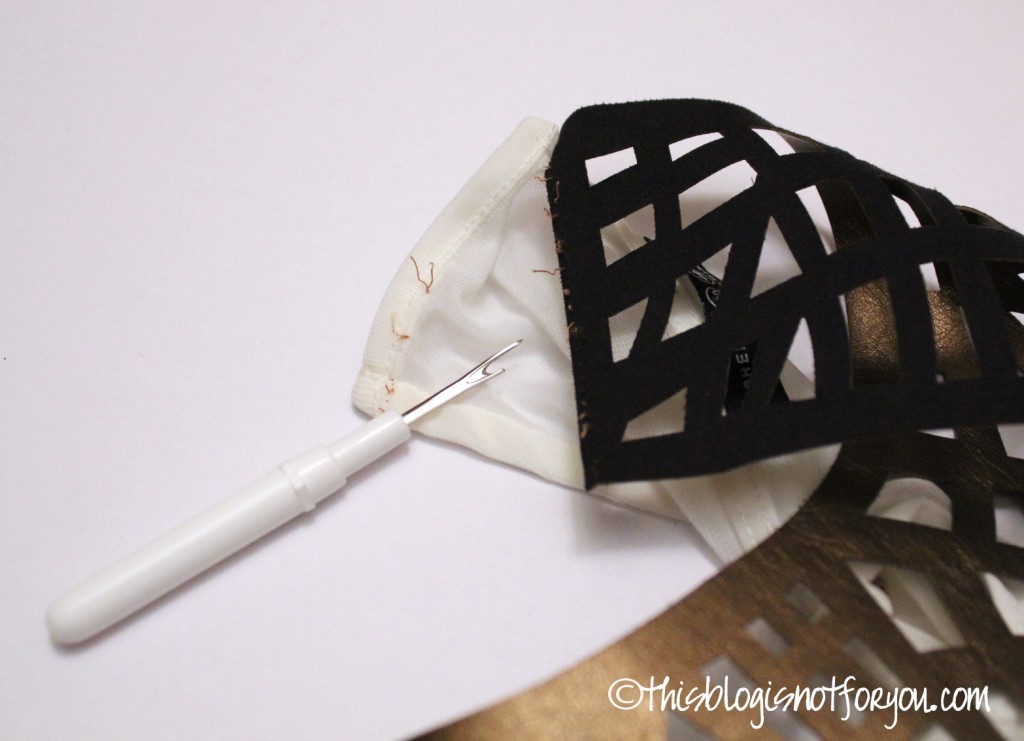
I started with simply removing the faux leather from the rest of the top. The white fabric will be used for one of the next projects.

embellished sweater

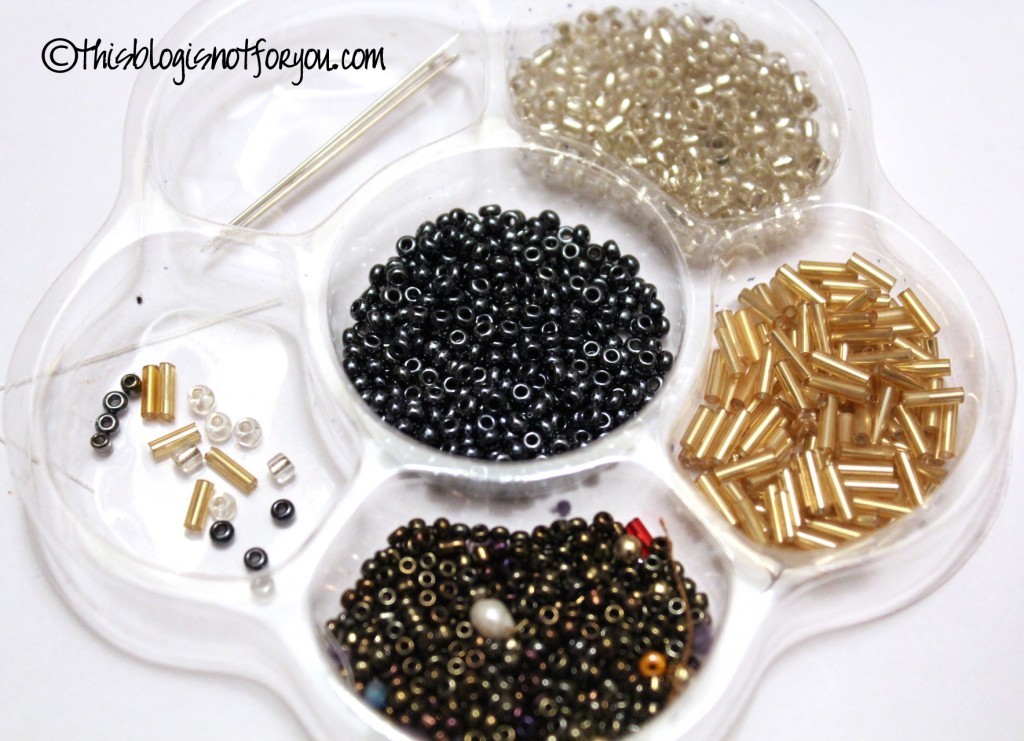
After trying different combinations, I decided to use some dark blue, brown and champagne-coloured beads that matched the sweater as well as the gold-brown faux leather.

appliqué DIY

Appliqué DIYappliqué DIY

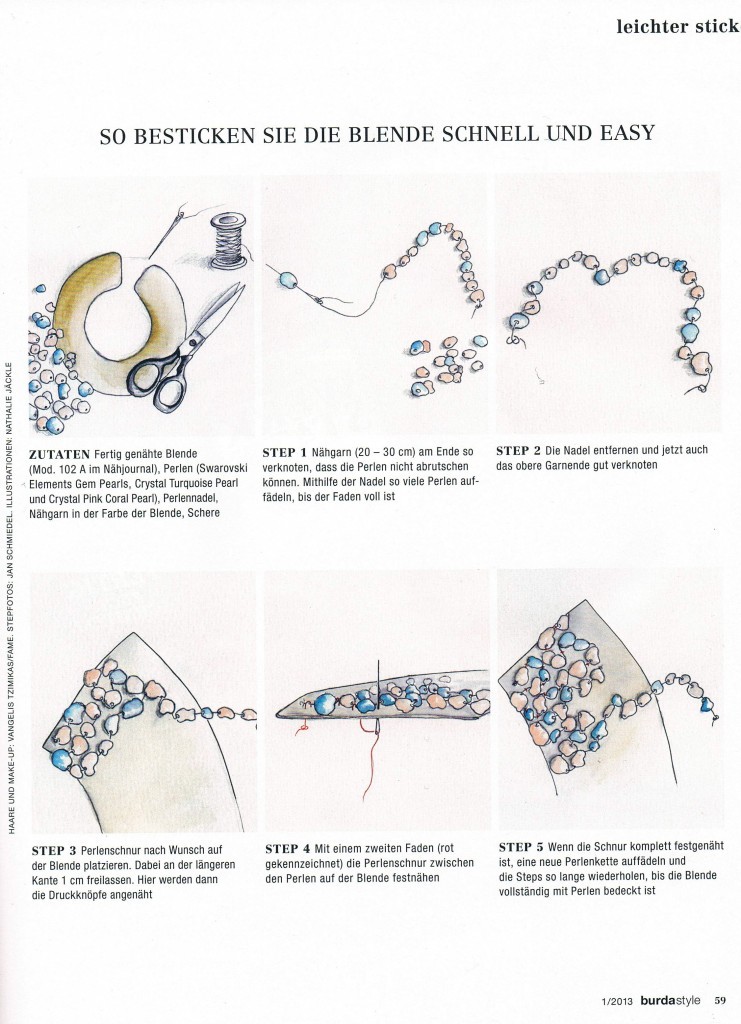
To explain the embroidering part: A picture is worth a thousand words. This is a copy of a page of Burda Magazine. I know, it’s German, but the pictures are pretty self-explanatory.burda embroidering instructions

I used the mannequin for pinning and basting the appliqué to the sweater.embellished sweater

embellished sweater

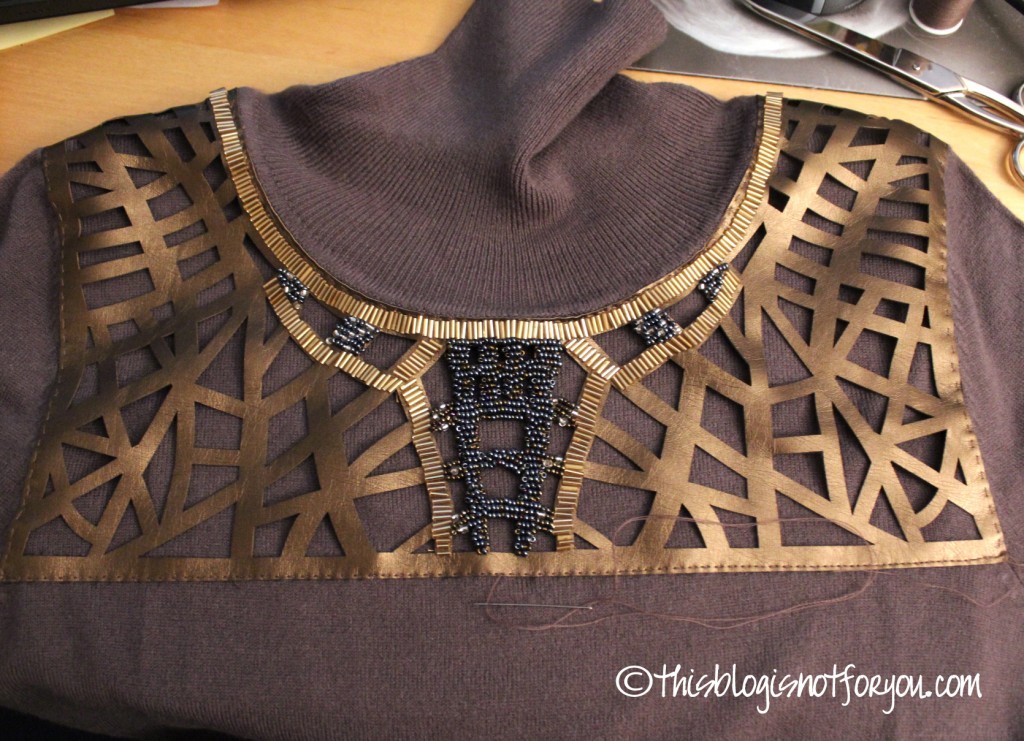
After basting I handstitched the appliqué onto the sweater. Then I cut the remainder of the sweater on the inside, leaving a small seam allowance, and finished the seam to keep the knitted fabric from fraying.embellished sweater

embellished sweater

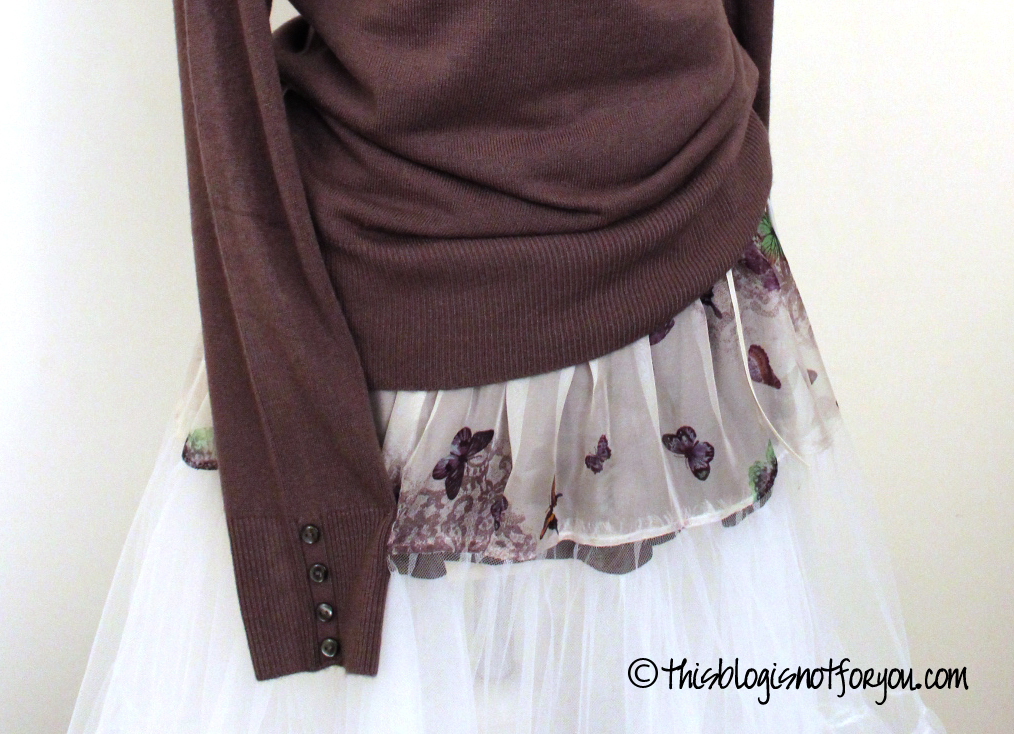
I love how the sweater matches the petticoat I made a few months ago. Fortunately I still have some of the butterfly fabric left and will definitely make a pleated skirt out of it in the future.
embellished sweater

embellished sweater


Sewing a Jewelry Travel Case


jewelry case tutorialhow to make a jewelry case

“Big girls need big diamonds.” – Elizabeth Taylor

What’s the point of owning a wide range of jewelry, when you can’t take all of it with you when travelling? Well, I probably could live with a single pair of earrings and just one necklace (sometimes that’s enough for weeks), but wouldn’t it be much better to be able to take more than that with you when you travel?

I lost a lot of jewelry by damaging and scratching it through storing it carelessly.

To keep that from happening, I had the idea of sewing a jewelry case that’s soft enough to keep my stuff from being scratched.

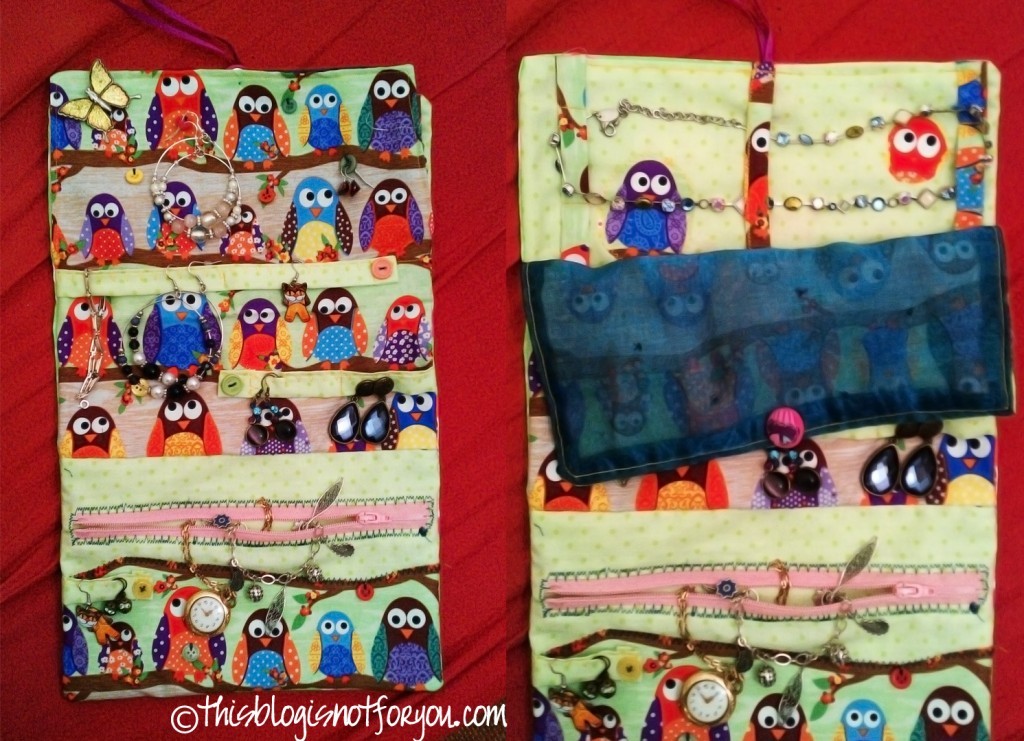
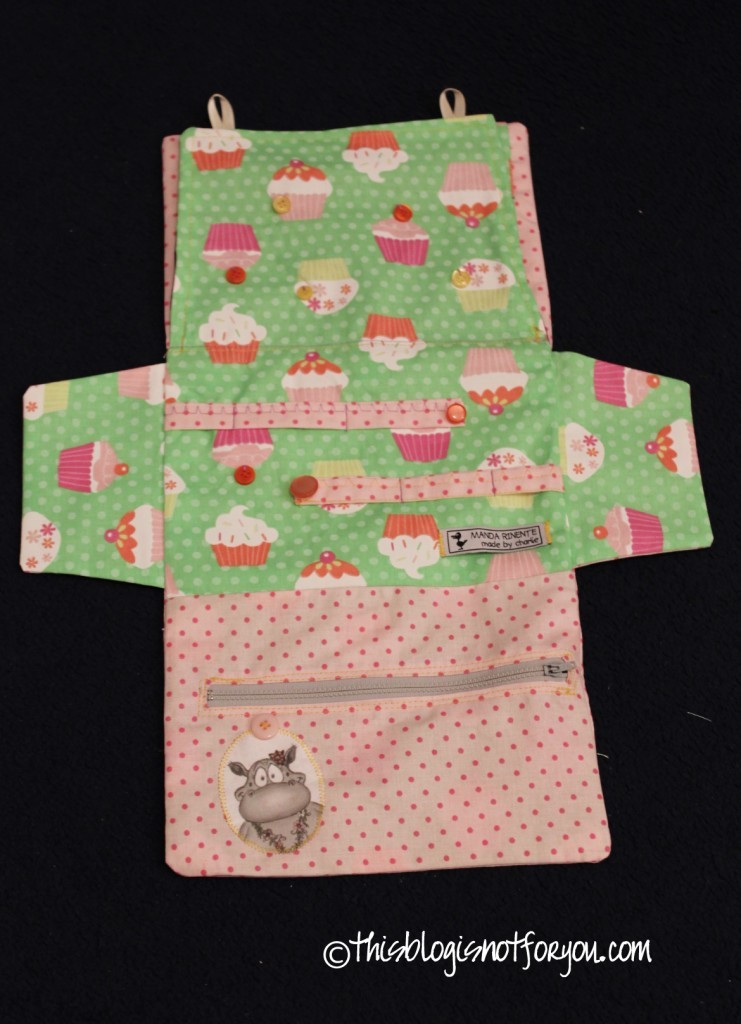
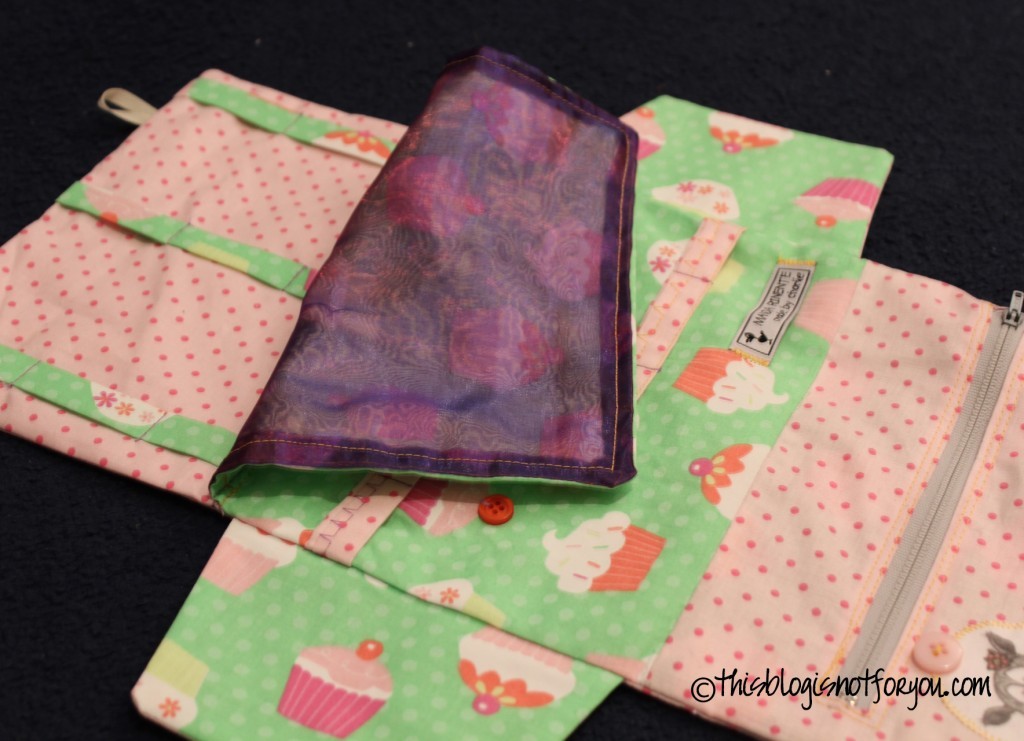
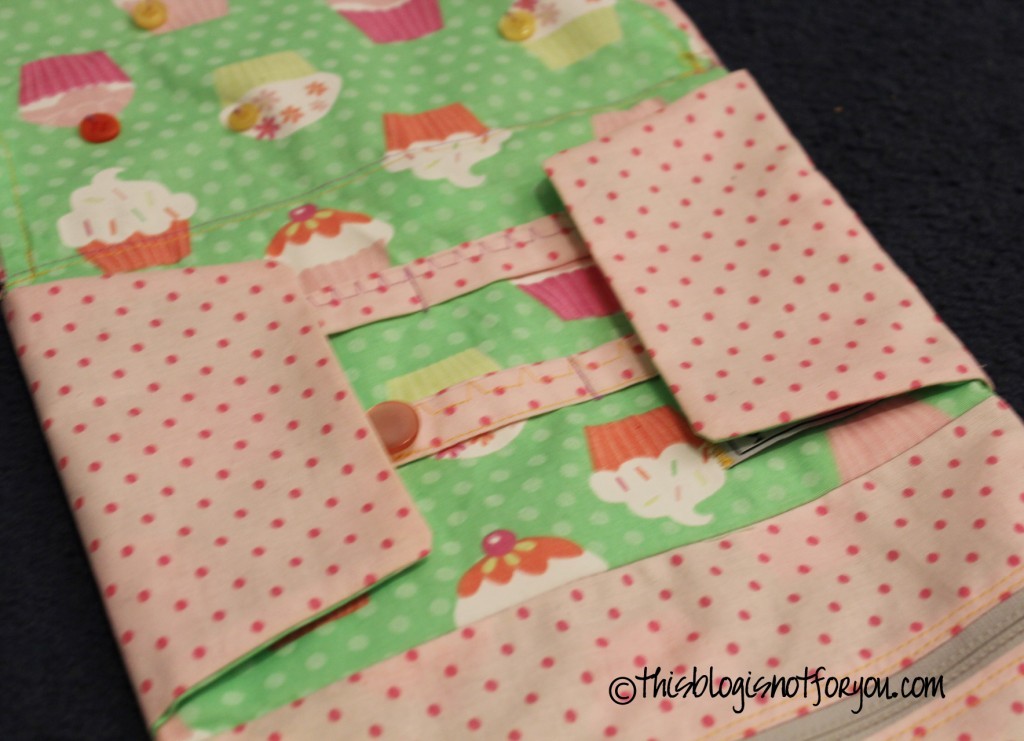
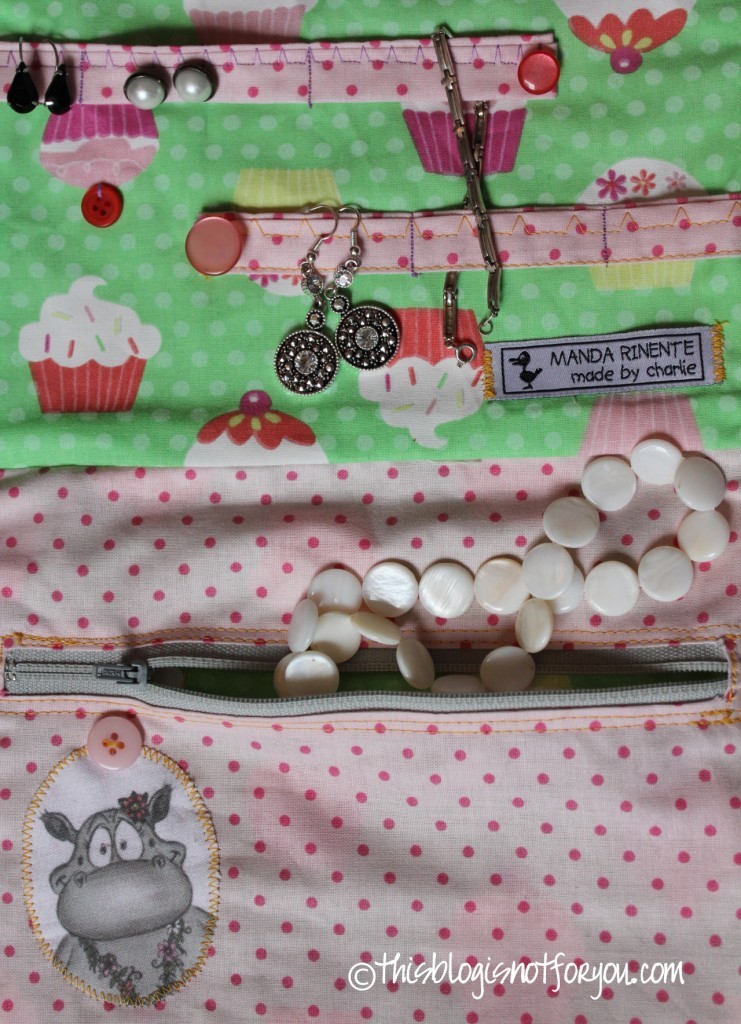
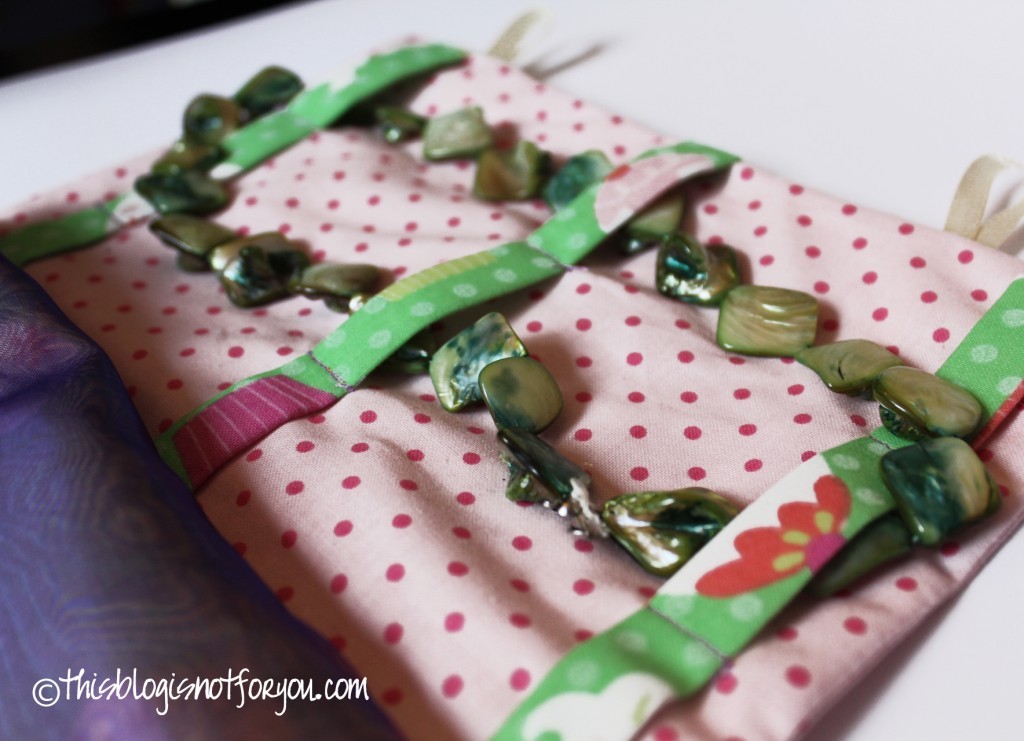
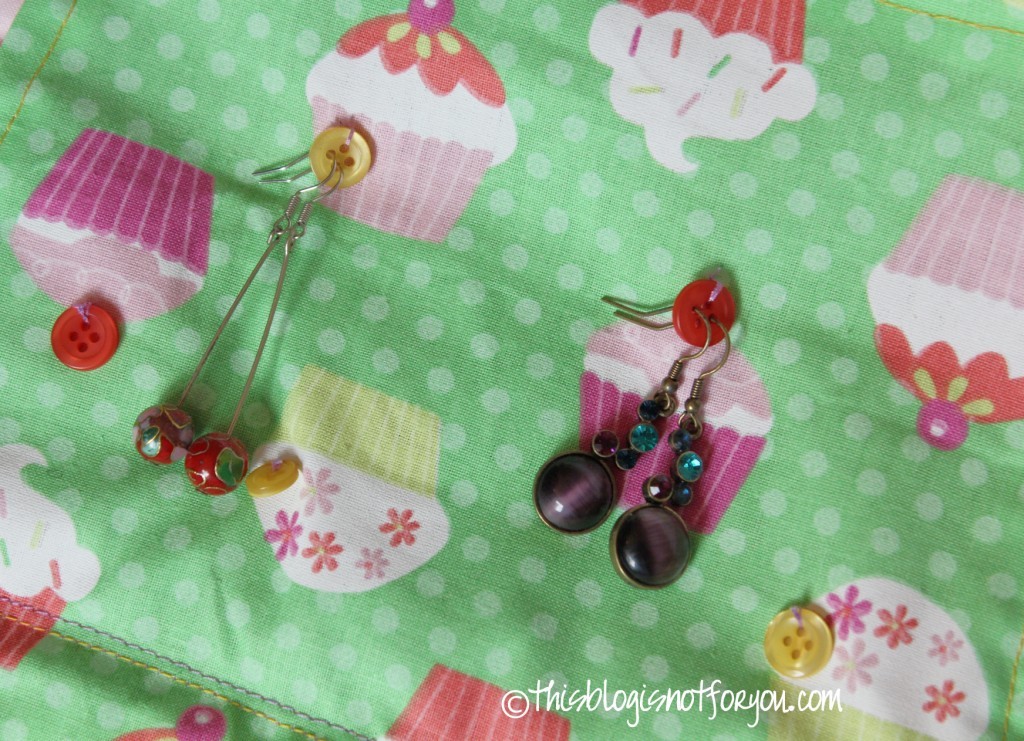
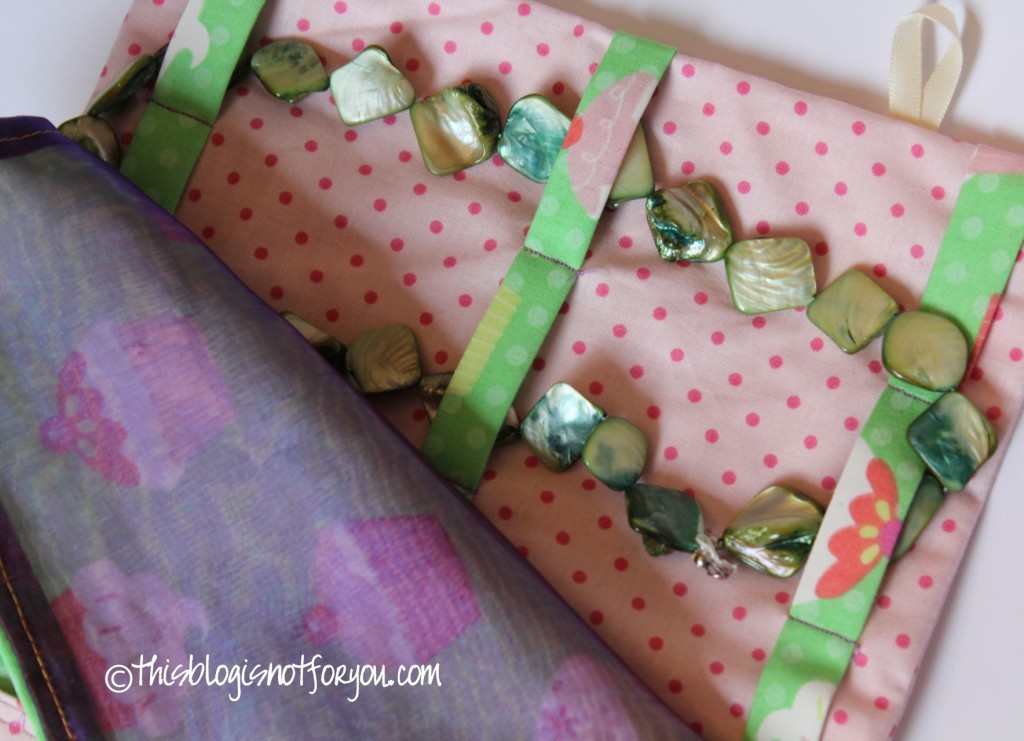
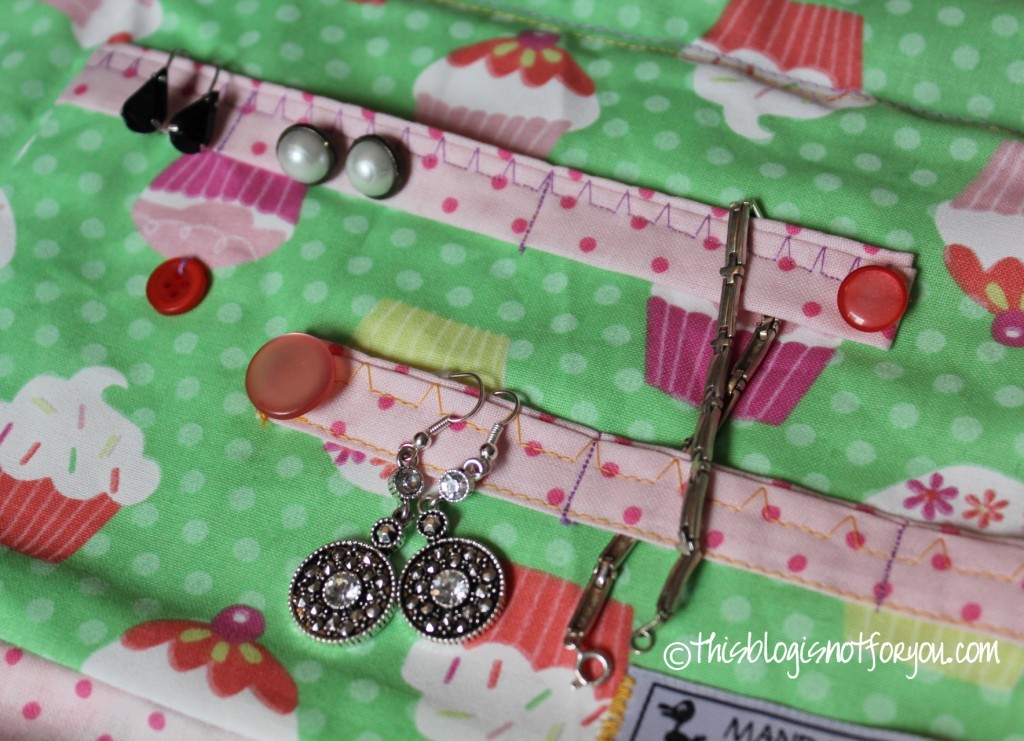
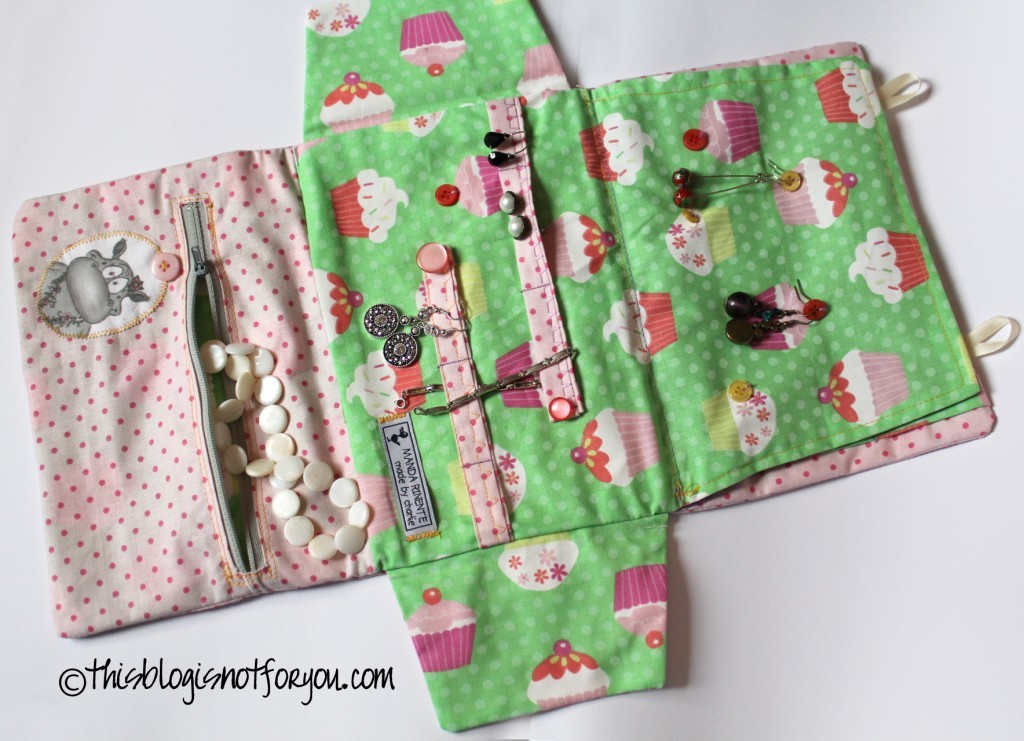
I came up with this soft jewelry roll which has different compartments for rings, ear studs, necklaces and bracelets:

jewelry roll 1 jewelry roll

I love travelling with this one, the only disadvantage is that it’s open on the sides. I haven’t lost anything yet, but I’m a little afraid stuff might fall out.

Anyway, I made another one as a gift for Christmas, considering the problem this time.

And – of course – I didn’t forget to take pictures of the process.

*drumroll* – Here comes the tutorial!

draft handwriting tutorial

#1 What you need:

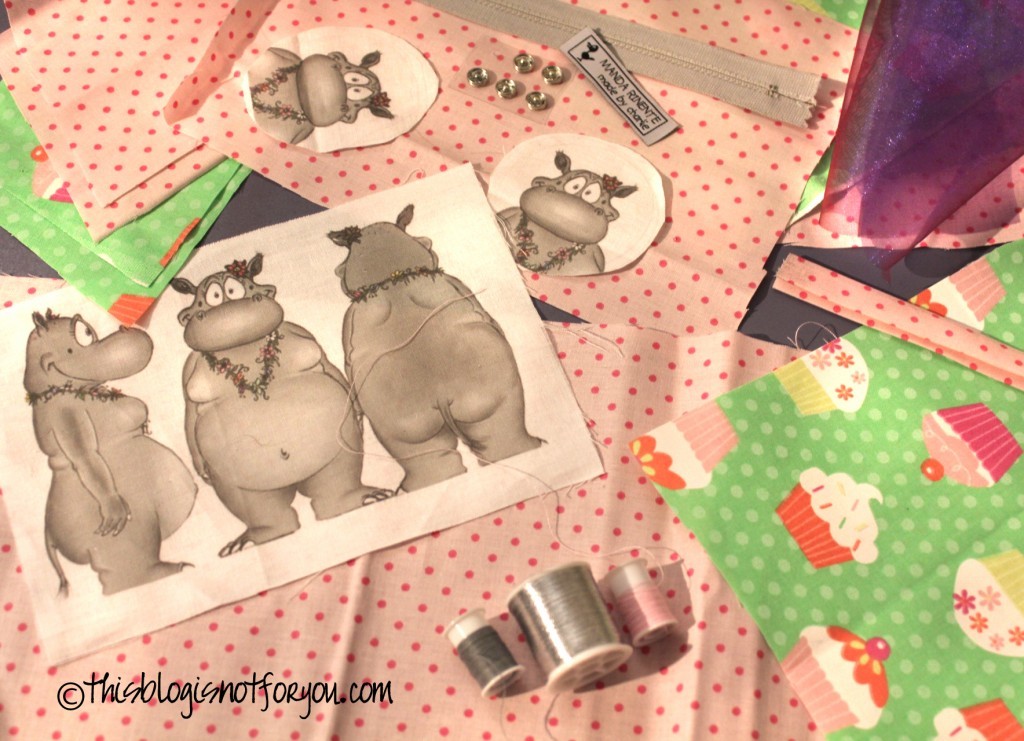
– at least two different matching kinds of fabric (depending on how large you want the jewelry case to be, about 40-50 cm/0,5 yd should be enough)
– matching thread
– a zipper (approx. 20 cm/8”)
– small decorative buttons
– two buttons and ribbon or some other kind of fastener

for embellishing:
– iron-on transfers/ fabric with a cute imprint/ beads/ sequins etc.

jewelry case tutorial

#2 The fabric cutting.

*Plan your pattern!
*Draft your pattern!
*Be accurate and check twice before cutting.

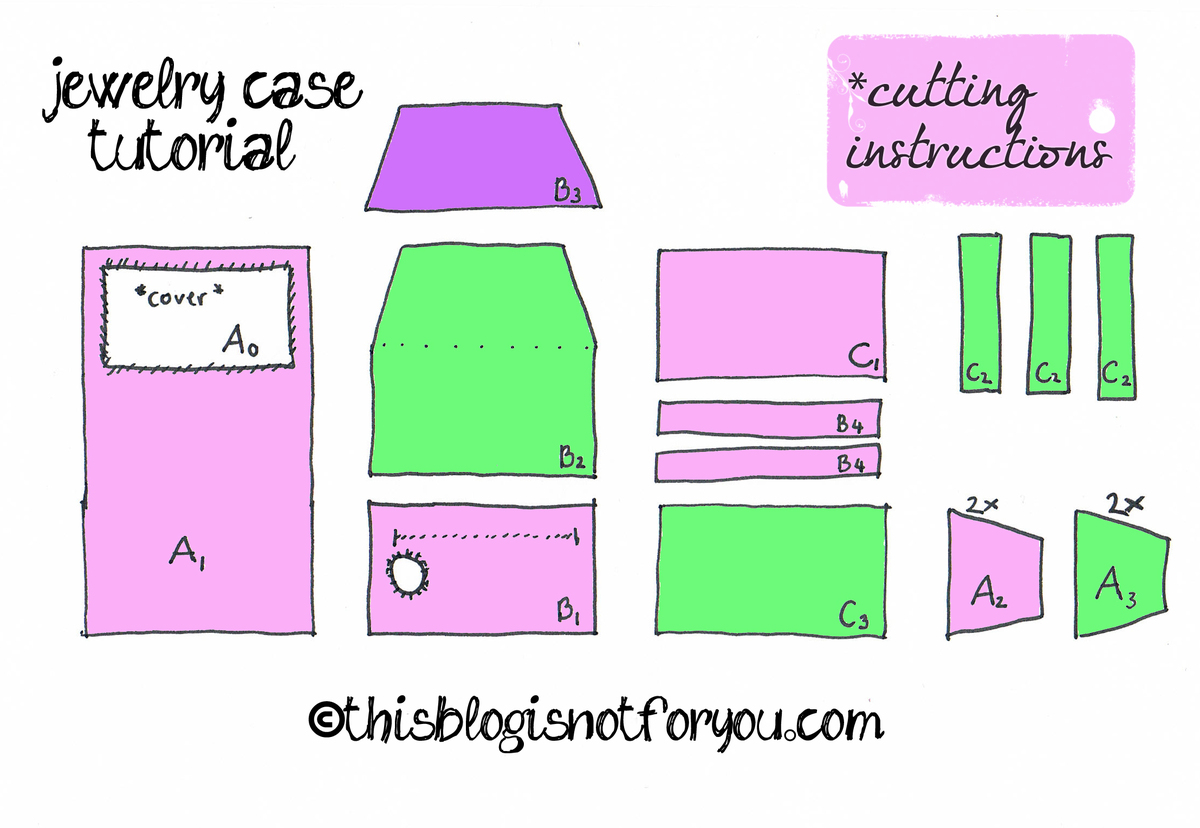
jewelry case tutorial cutting instructions

This is a draft of the “pattern” I used. (Actually, I didn’t use a pattern, I started cutting right away, but this requires you having a precise plan in your head. It’s not that hard, since the shapes are all angular).

I used 3 different kinds of fabric. This is colour-coded in the picture above.

Also:
A – outer fabric
B – parts of first layer of lining
C – parts of second layer of lining

I’ll refer to the letters in the above key in the next steps.

*Dont forget the seam allowance before cutting everything out!*

#3 The Sewing Together.

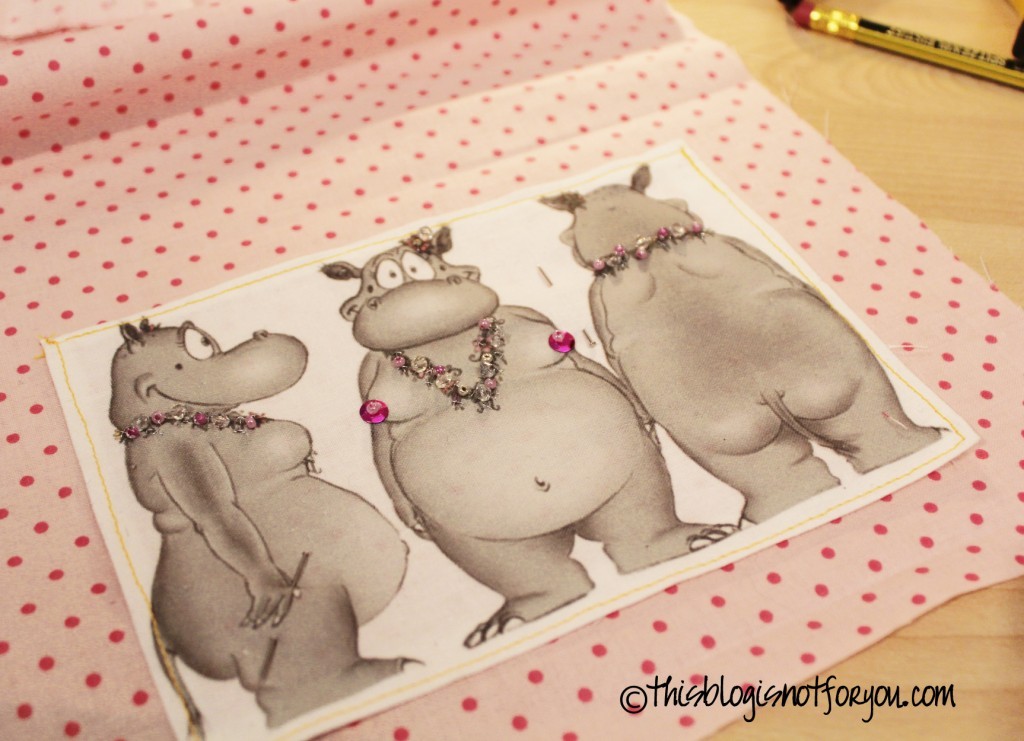
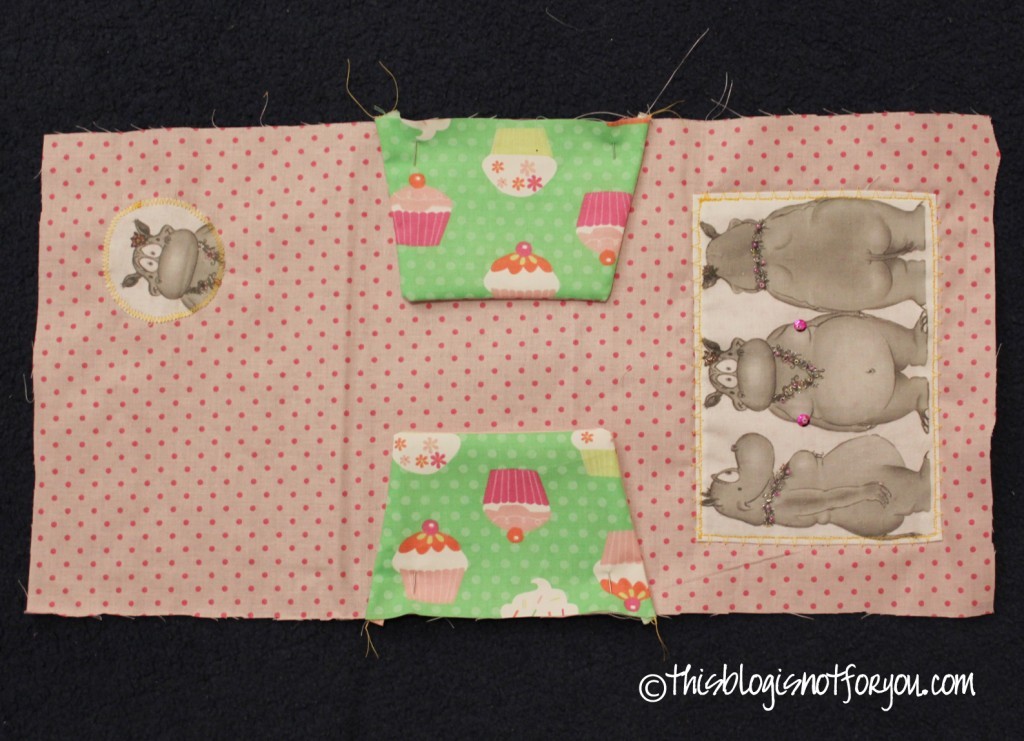
*Adding the iron-on transfers/imprints.

jewelry case tutorial

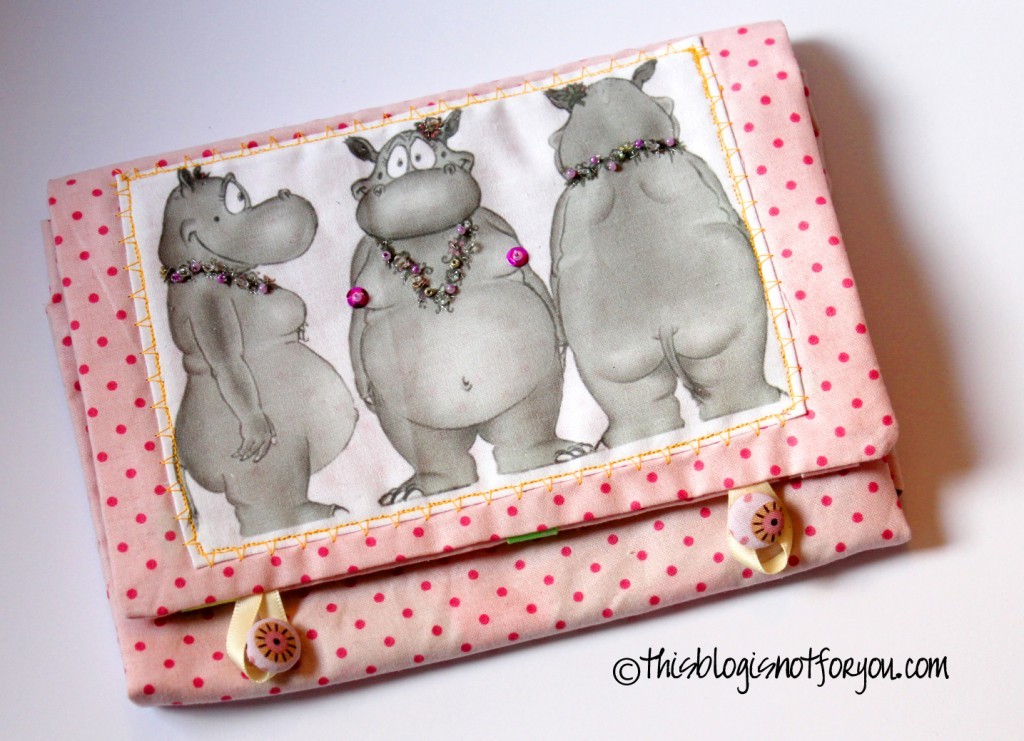
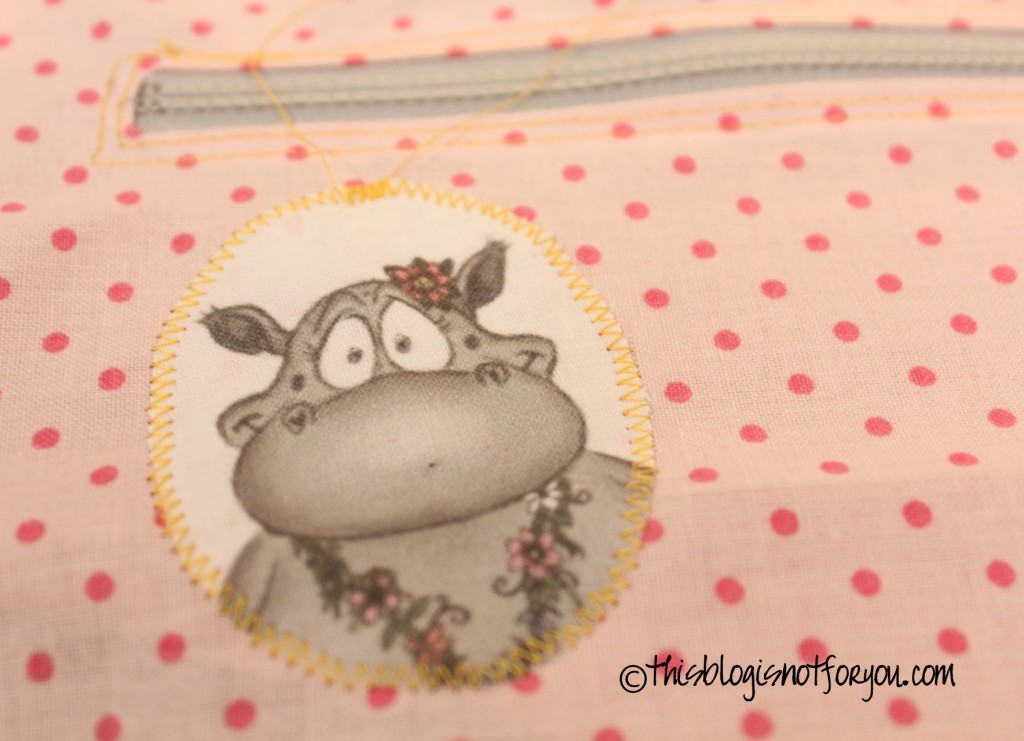
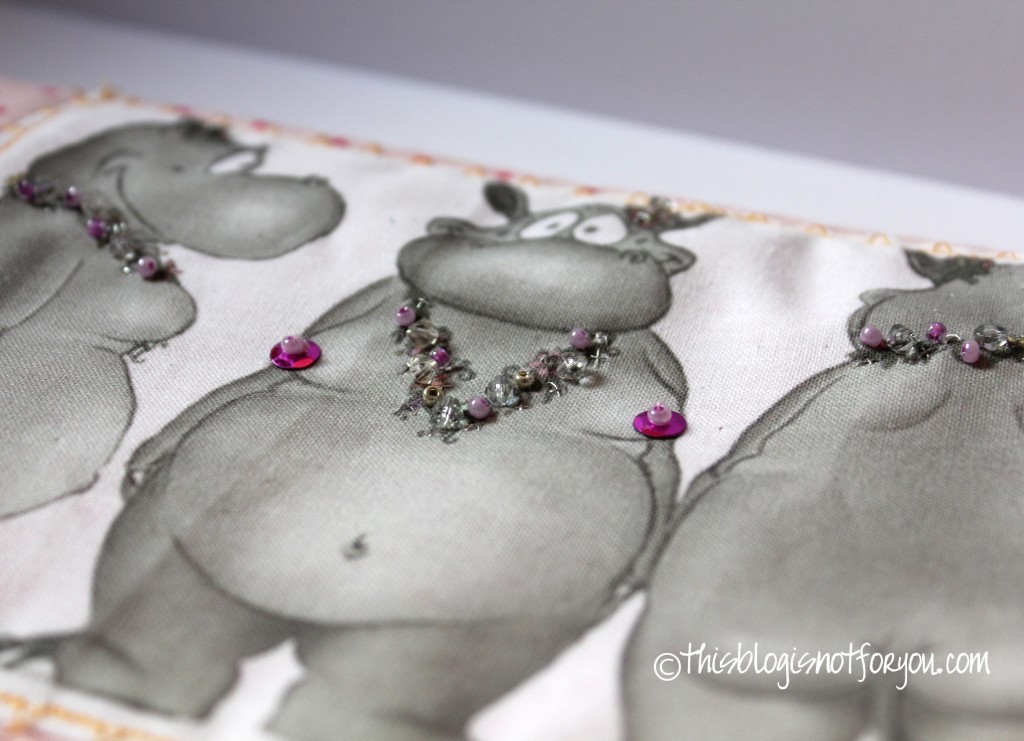
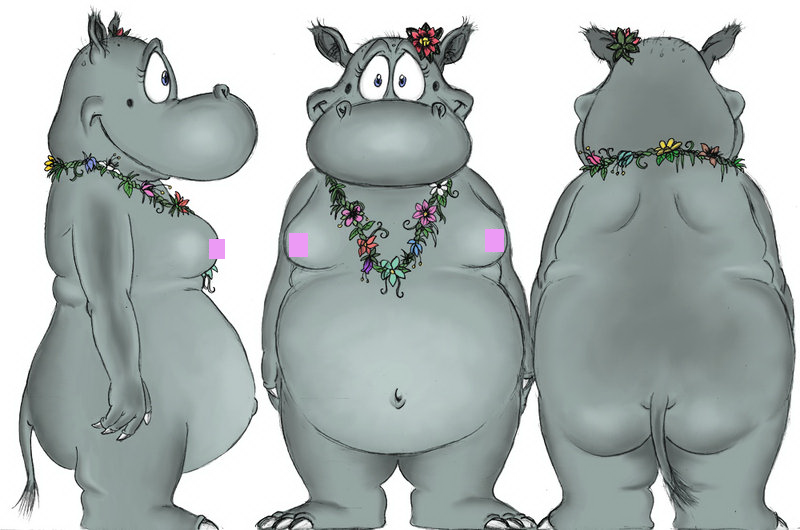
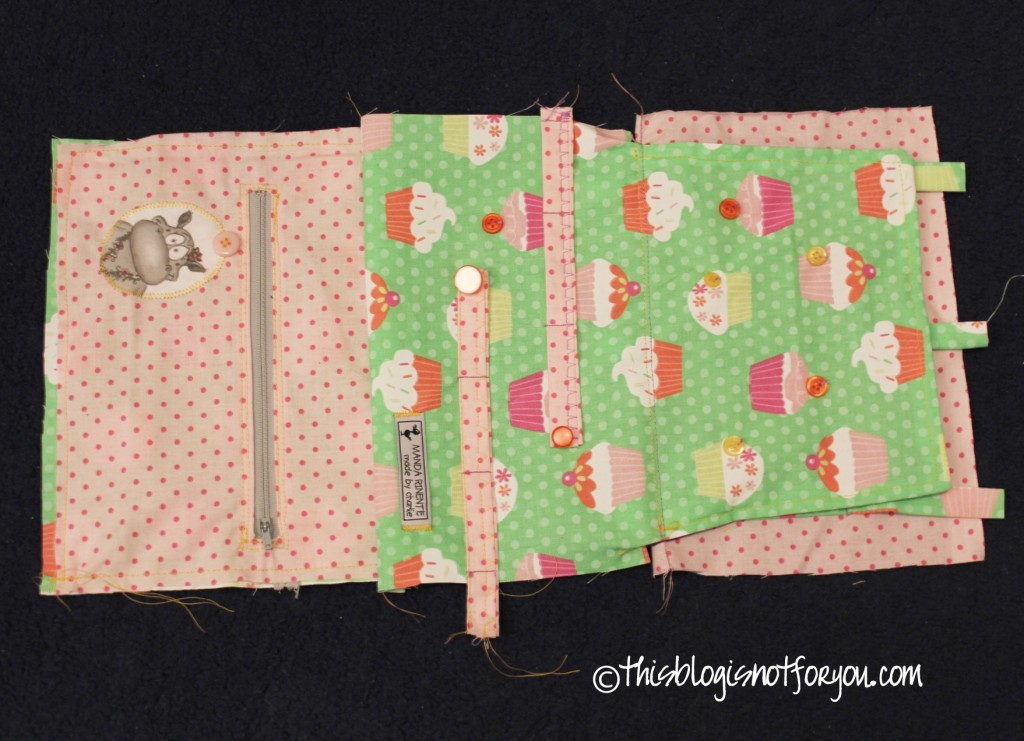
I found the cute hippo picture online (here) and just printed it with my normal printer on white cotton. I explained how I did that in the comments of this post.

Printing with normal ink means it’s not waterproof!

Tip: I’ve read that black ink can be made waterproof, when you dip it into vinegar, let it dry and then press it. I just pressed it (imprint facing down), which should be enough for normal use. It shouldn’t be machine washed though.

Add any embellishments before sewing (I added some sequins and beads).

Make sure whatever you want to add is in the right place before you sew/iron. Especially when it’s intended to be centered (consider the seam allowance etc.)

If you want to use decorative buttons as I did (e.g. for earrings) sew them onto B2 before  sewing together the other pieces.

*Adding the zipper.

jewelry case tutorial

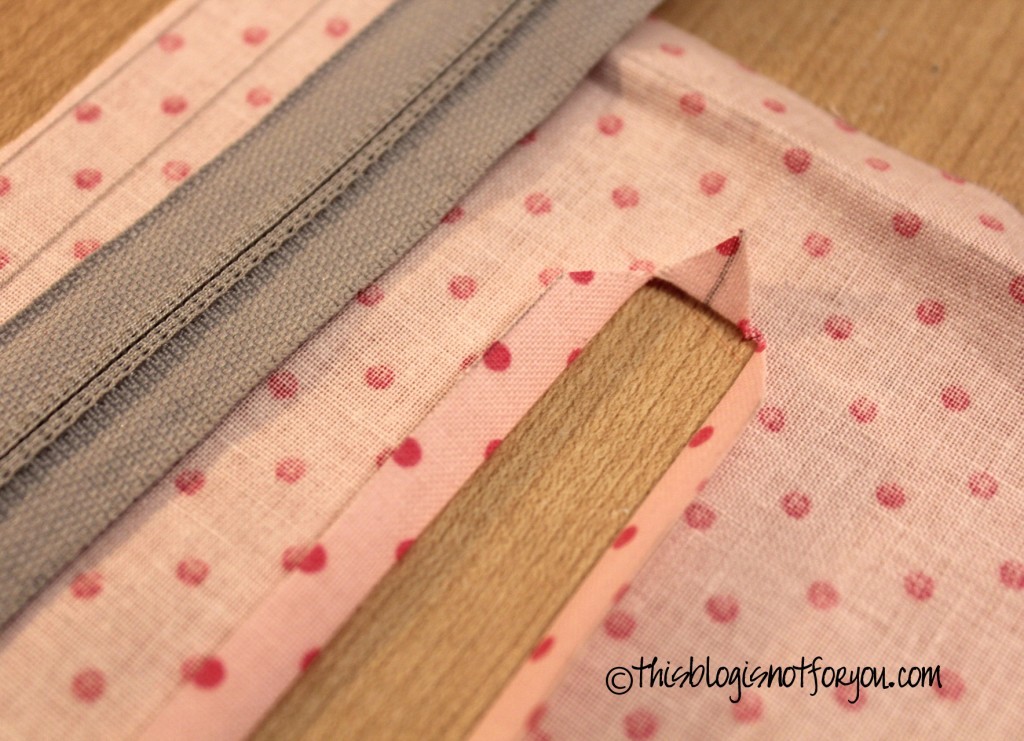
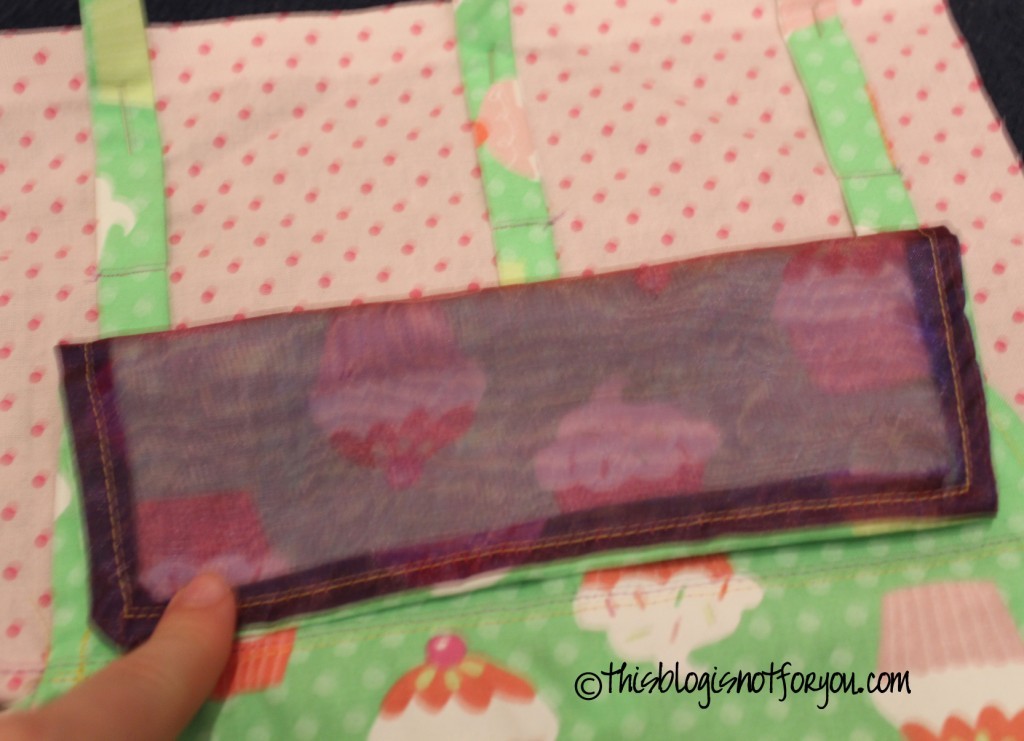
I applied a zipper to B1, which will be the front of an inside pocket in the lining.
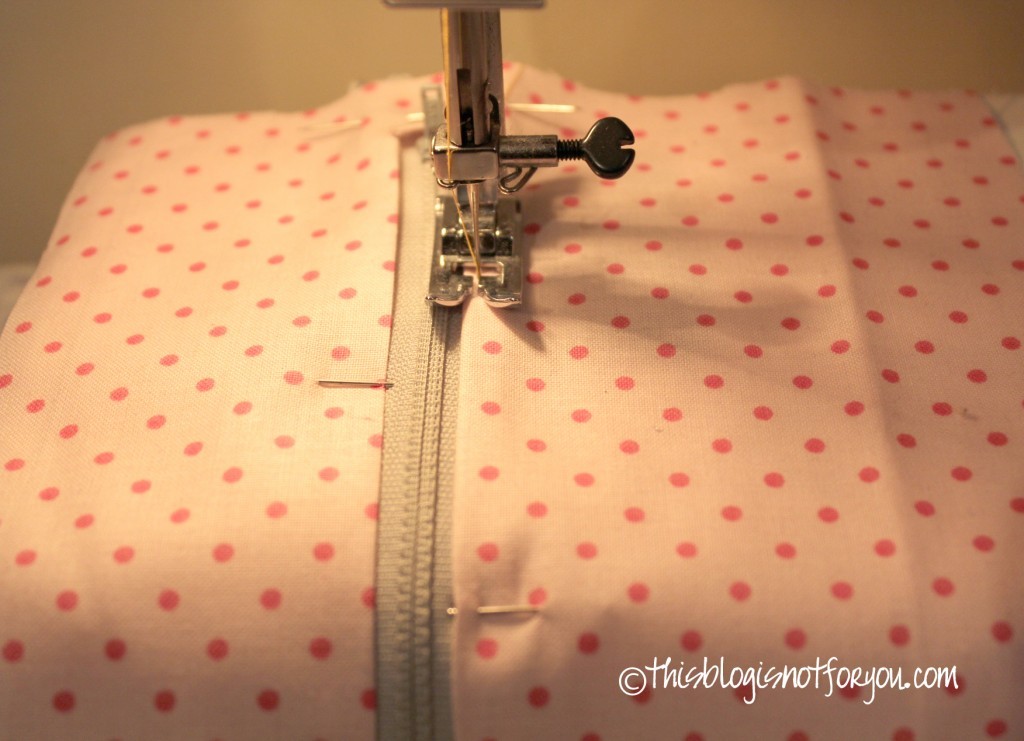
To do this, pin the zipper, mark it’s position and then cut out a slit, as seen above.

Pin the zipper in the right place and sew. I just used the normal presser foot.
jewelry case tutorial

jewelry case tutorial

jewelry case tutorial

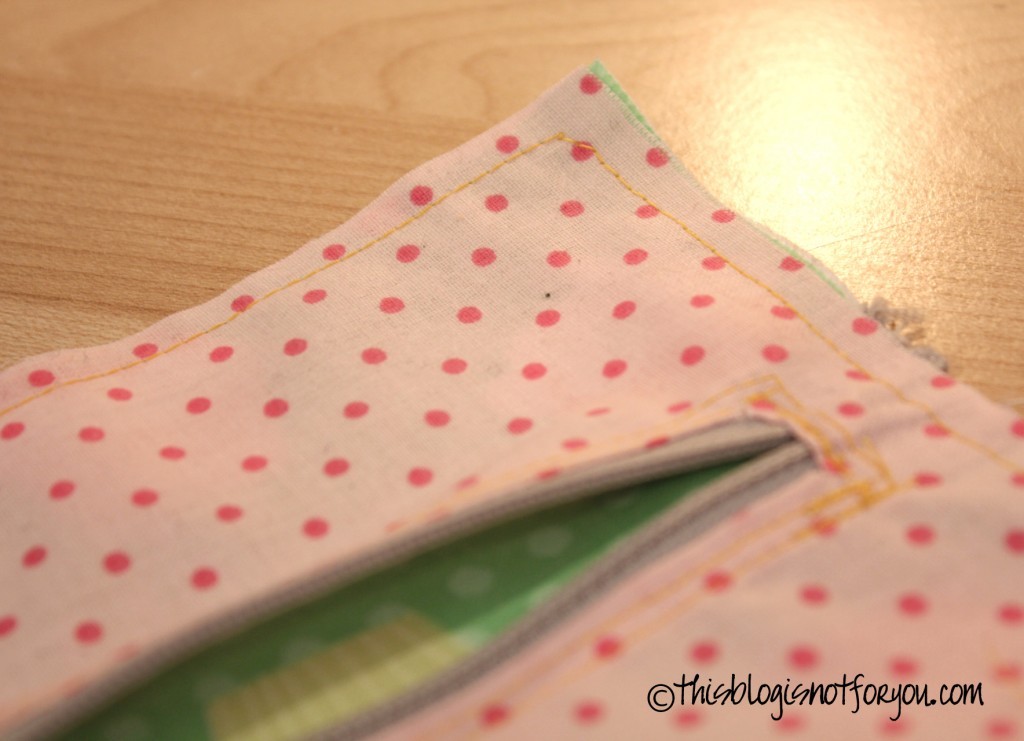
Sew together B1 and C3, both right side up. Be precise with the seam allowance. You don’t want the seam to be seen later on, it might be even better to use a slightly narrower seam allowance.

jewelry case tutorial For the flaps: Sew together A2+A3 (2x), right sides together. Turn inside out.

jewelry case tutorial

Sew B3 onto B2 (right sides together) along the outer edges (leaving out the fold line as marked in the cutting plan). Then turn inside out.

jewelry case tutorial

After turning inside out, stitch along close to the edge.

jewelry case tutorial 4

Fold the side edges of B4 to center line (2x) and stitch as seen in the picture below. jewelry case tutorial 4

Stich B4 onto B2 as shown in the picture below.jewelry case tutorial

jewelry case tutorial Do the same with C2 (3x) and C1. Here you don’t have to extra stitch the C2 pieces, if you sew them onto C1 with the open seam facing down.

jewelry case tutorial

Sew B2 onto C1 (both right side facing up), sewing along the fold line of B2.

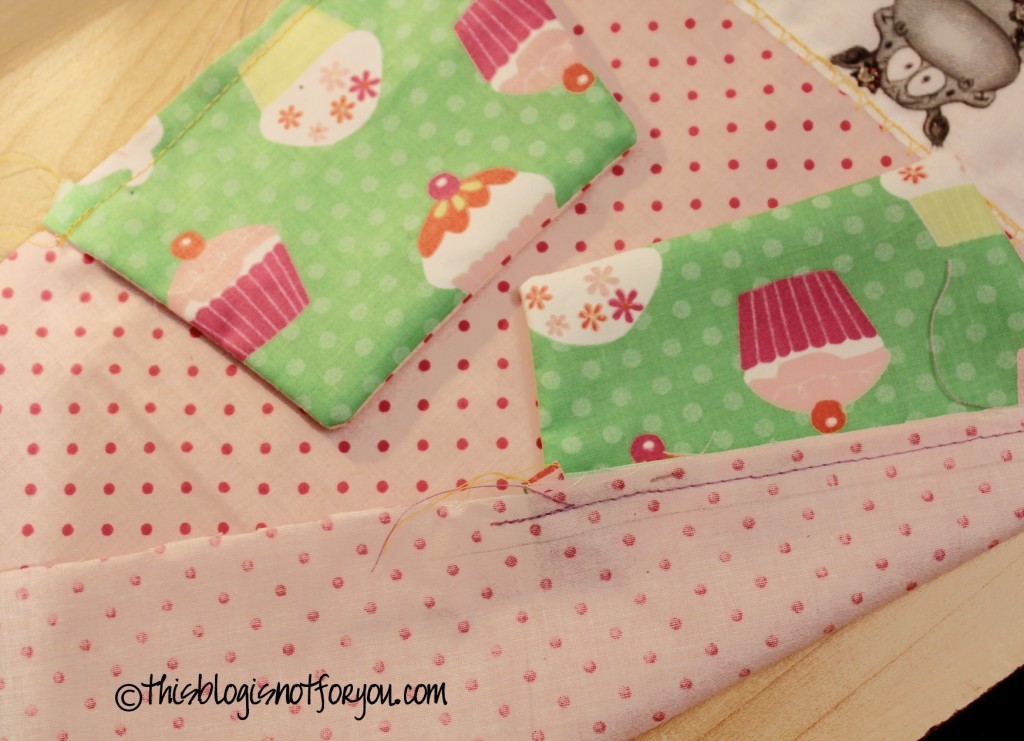
Sew B1’s upper edge onto B2’s bottom edge (right sides together). Now you’re done with the lining! It should look like this:

jewelry case tutorial Before sewing together A and the lining, don’t forget to add the flaps. Pin them (lining fabric facing up) onto the A piece (right side up). Stich close to the edge (about half of the seam allowance).
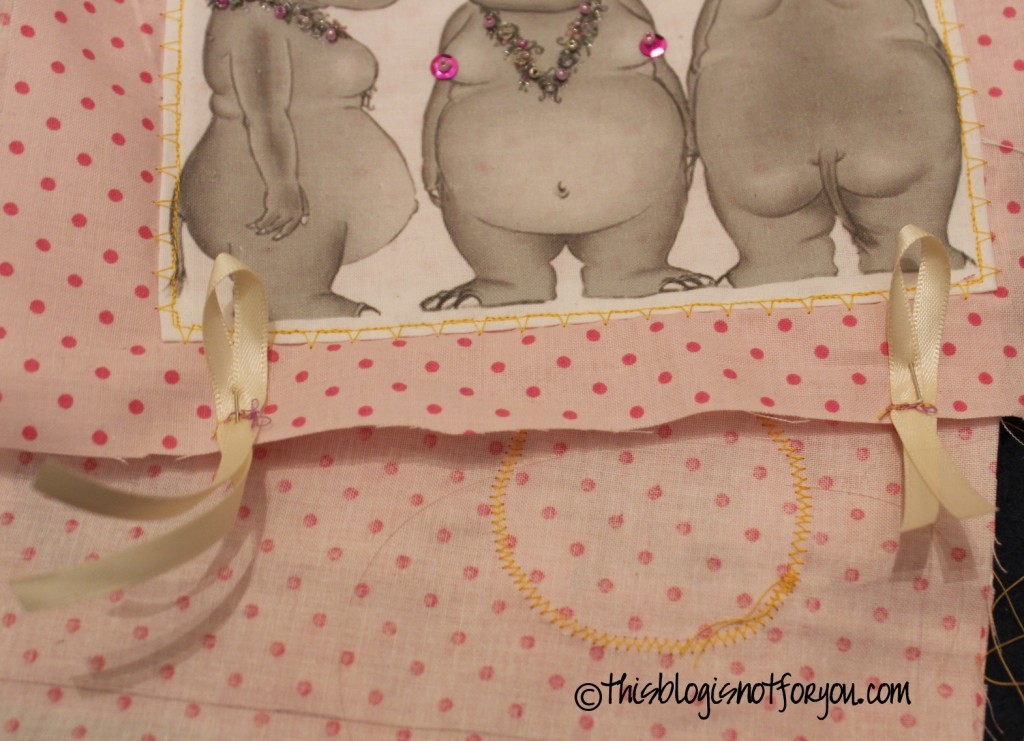
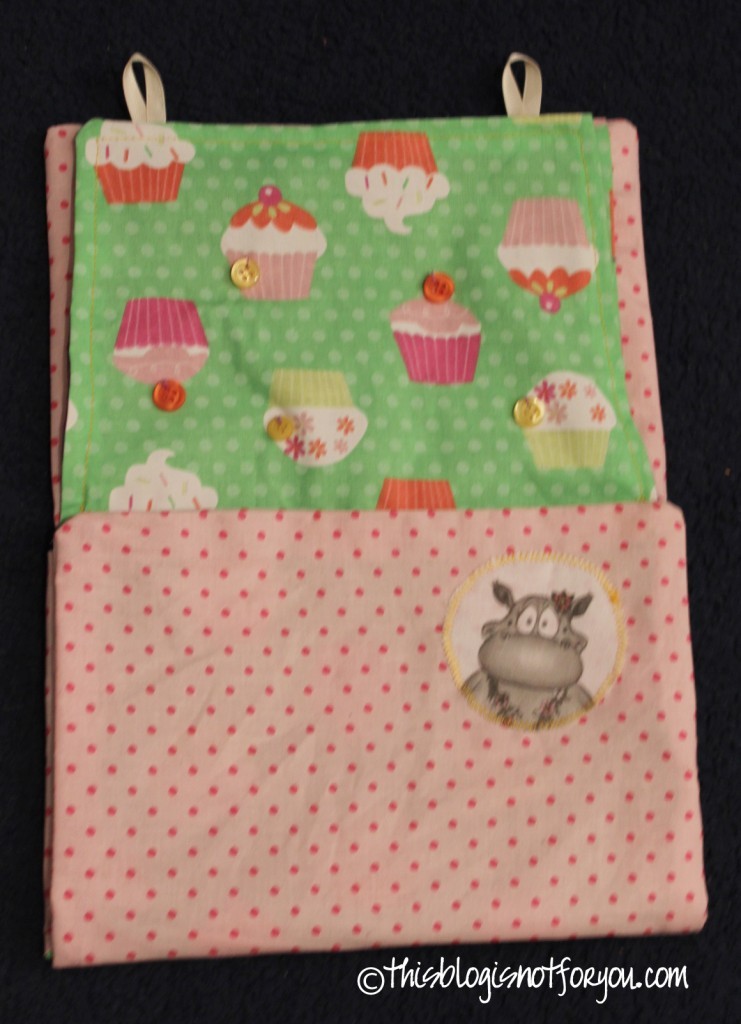
jewelry case tutorial jewelry case tutorial jewelry case tutorial Also, add the fastener. I made two small loops out of ribbon and stitched them onto A1.

Before you pin A and the lining together (right sides together), make sure you fold down the B2-B3-flap to avoid stitching it down accidentally. (Things like that always seem to happen to me…!)jewelry case tutorial Leave a big enough gap to turn the whole thing inside out (approx. 5-6 cm should do, you can handstitch that part later on). jewelry case tutorial jewelry case tutorial Press everything and apply the two buttons for the closure. Done!

jewelry case tutorial jewelry case tutorial jewelry case tutorial jewelry case tutorial

jewelry case tutorialtutorial jewelry casejewelry case tutorialjewelry case tutorial

jewelry case tutorialjewelry case tutorialjewelry case tutorial
jewelry case


This post was featured at:

Boogieboard Cottage

When a Crafter goes Shopping

Over the whole last week I was planning to do something crafty this weekend. Last night I sat down with a bunch of Burda magazines and a cardboard box full of fabric, determined to find the perfect weekend sewing project. Well, things always end up differently than you think. In the end, no fabric and no pattern was good enough and the only thing that I really liked would have been another massive project. This morning I decided to try something quick and easy – quick success can be really motivating!

I went shopping.

This sounds easy indeed (it wasn’t that quick though).
I must have looked a little weird wandering through the store, touching this garment, touching that garment, trying on nothing and in the end buying oversized clothes from the men’s department. If someone had asked me what I wanted to do with those I would have said “Cut them to pieces.”

upcycling cheap clothes 1

And this is what I will do this weekend. Making pretty garments out of cheap, too big and poorly-made clothes. This is also why I tried to buy them as large as possible – more fabric, more options.

Why I bought men’s clothes? Well, for some projects I have on my mind, I’ll need shirting fabric and it’s really hard to find other than white one in the women’s department. And, guess what, men’s XL is bigger than a women’s XL. Plus, there are a lot of great fabric stores in London, but fabric’s rather expensive there.

I also came up with a new resolution for this year: Not to buy clothes from cheap and popular department store chains without completely altering them from scratch. For when I went shopping the last time and was really satisfied with my finding, I ended up wearing the same thing as two other people from my class. What a bummer!
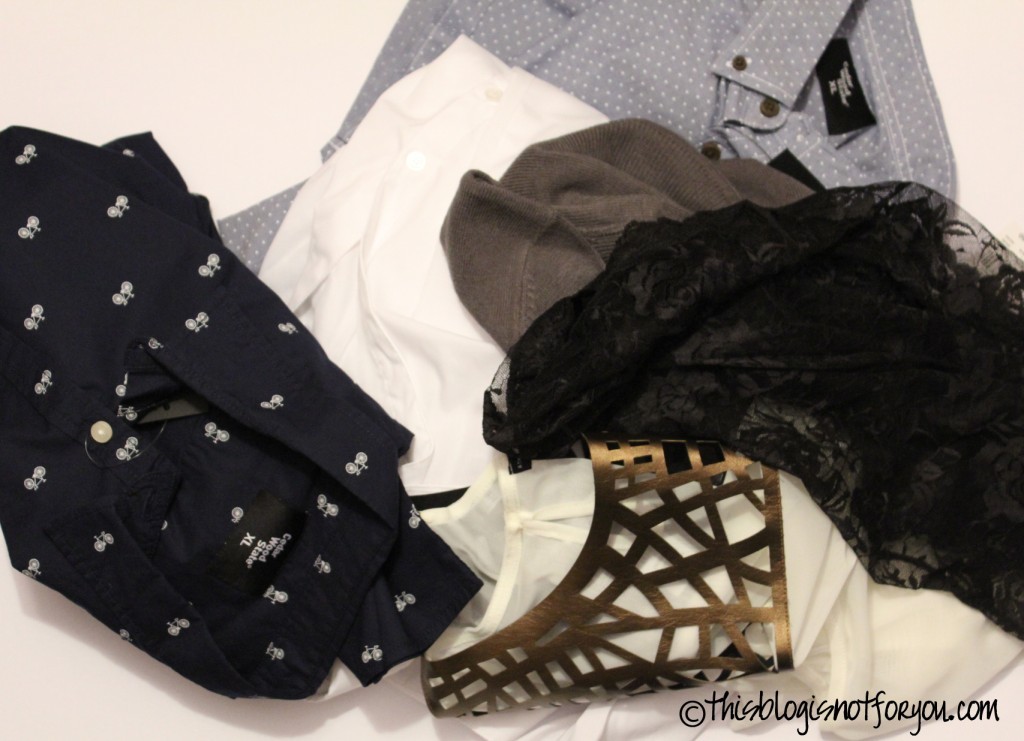
Here are the “rough diamonds” I found:

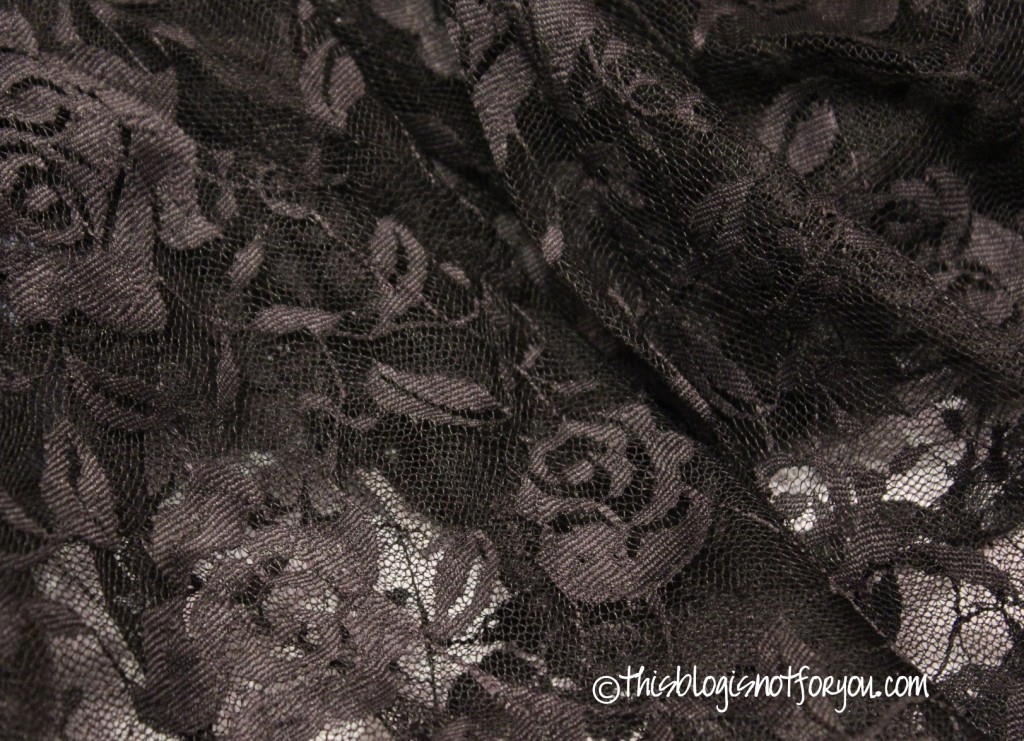
black lace

Beautiful black lace that was supposed to be some kind of ill-fitting dress.

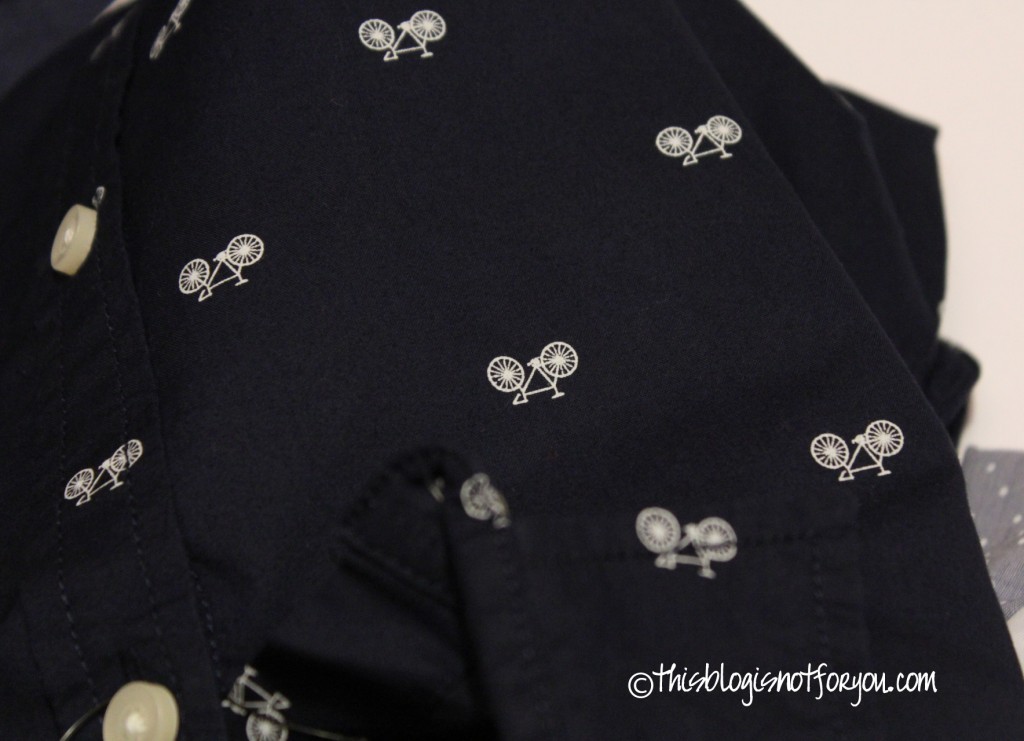
shirt fabric white bicycles

 A navy blue men’s shirt with cute little bicycles on it.

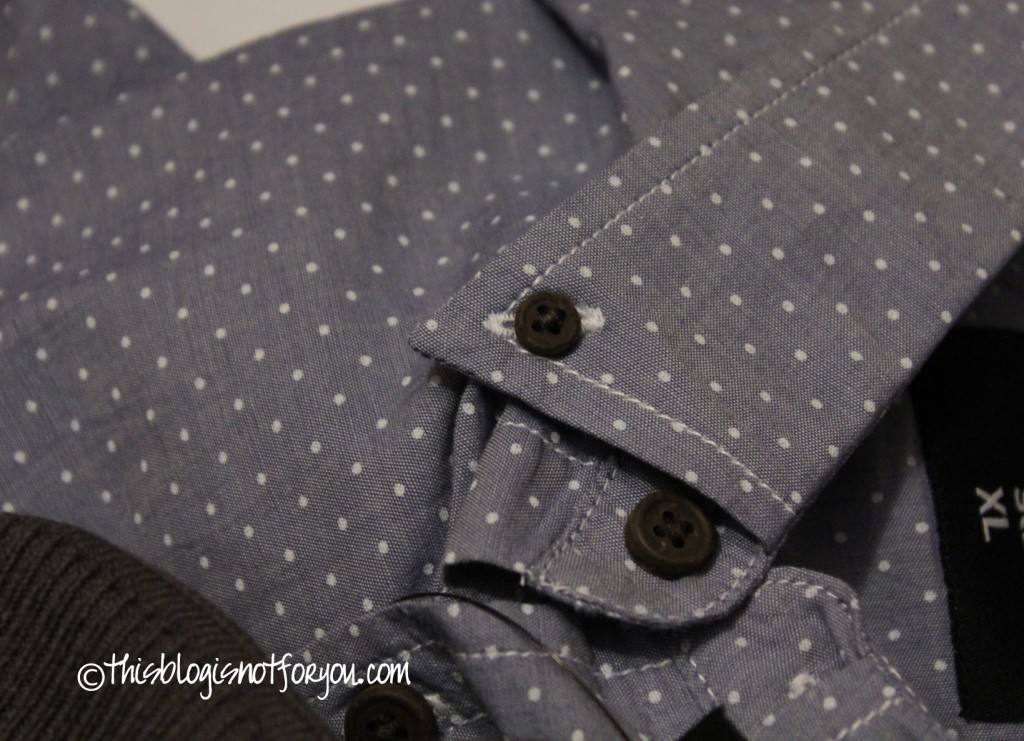
shirt fabric white dotsThis shirt is so big, it’ll make a cute little summer dress!

 upcycling cheap clothes

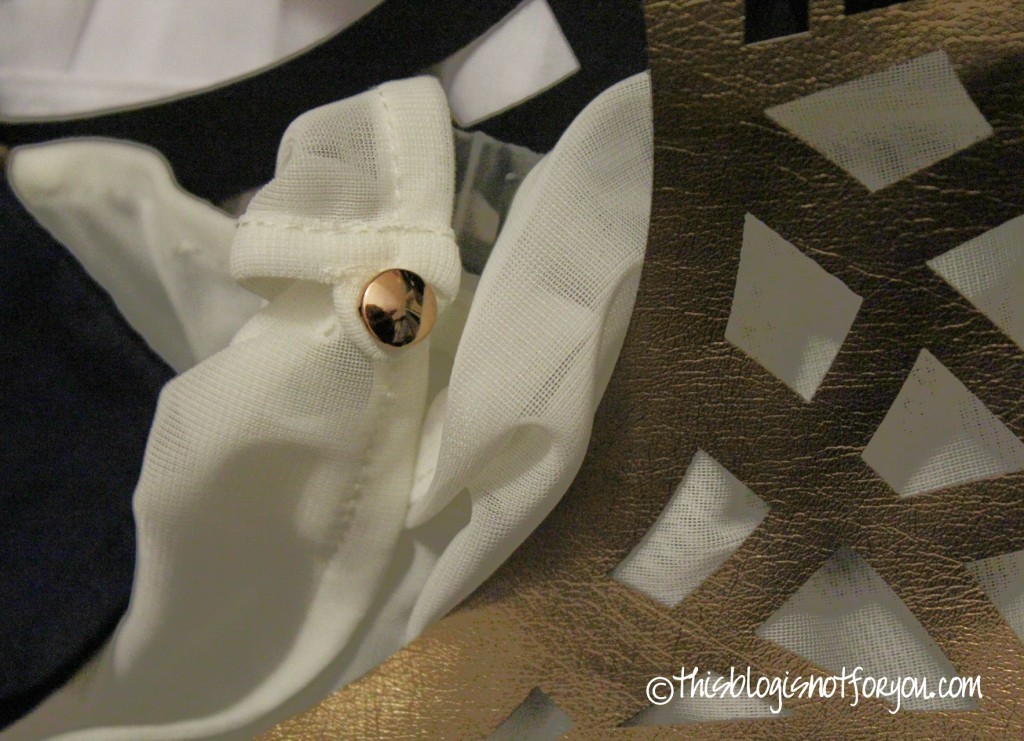
This one is my favorite! It’s exactly what I needed for a DIY project knock-off I’ve been itching to do for weeks! Be ready for suprises! I’ll keep you posted.

Allow me to introduce… {Burda 8/12 #133} – my Christmas dress!

Burda 8-2012 133

I did it!

Despite all the pre-Christmas stress and end-of-term exams, I managed to finish my Christmas dress in time. Not as easy as it sounds – I really had to hurry, since I went home for Christmas and had to leave my sewing machine in London.

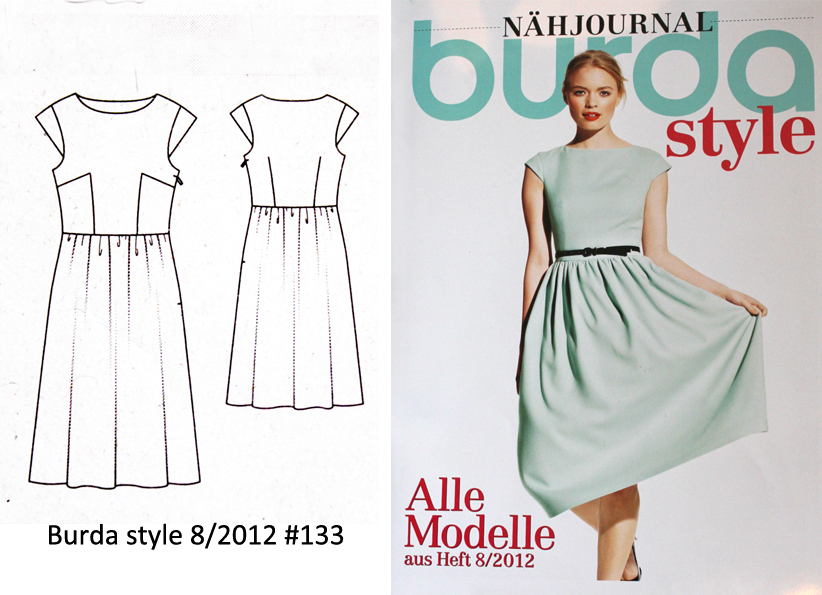
I made the dress with a beautiful 50’s style pattern which had been in Burda Magazine 8/2012.

burda

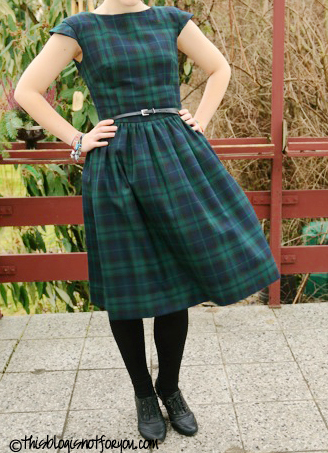
The fabric was really easy to work with. I used a green-blue checked wool fabric, I got for Christmas a year ago.

Burda 8-2012 133-1


As you can see, I shortened the skirt a little. Otherwise it would have looked a little too old-fashioned for my taste. By the way, the weather was crazy! The picture was taken Dec 25 and it was so warm and sunny I didn’t even need a jacket.

I wore the dress together with a slim leather belt which, I think, went really well with the shoes.

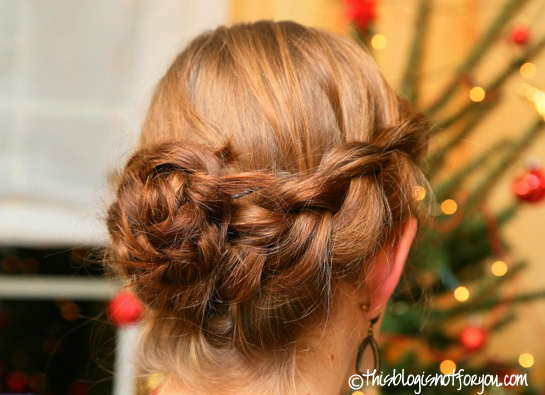
Since the whole look was rather vintage inspired I chose a braided hairdo. In case you’re interested, here’s what it looked like:

Christmas hairstyle