Wedding Dress Part III: Creating the Pattern & Muslin
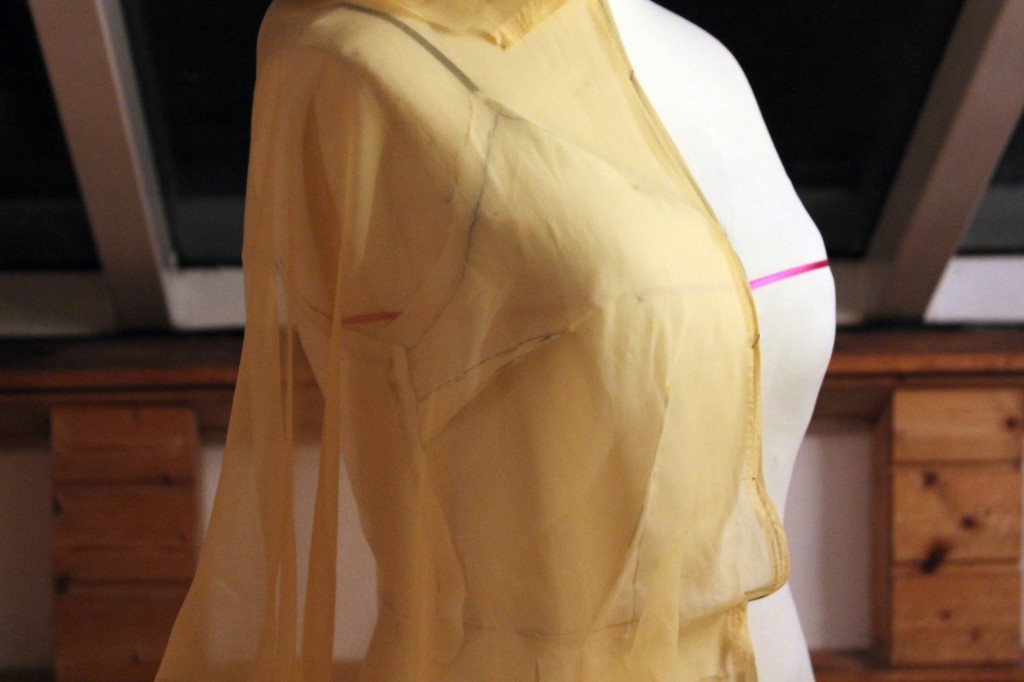 Soo, here we go with the next part of my wedding dress series!
Today it’s all about muslining and pattern making – I know some of you just want to see the final dress, but before I finished my dress I had to make a pattern and muslin. That’s just the logical order of things. Sorry, folks.
I didn’t use a ready made pattern. Instead I decided to base my dress on a Jenny Packham design and draft it myself.
I’m not a big fan of muslins, but since we’re talking wedding dresses it’s better safe than sorry. Also, as I created the pattern from scratch I had to muslin it for a good fit. Sorry for the mediocre photography, btw. This was done in a lot of late night sessions, and I was so focussed on getting the job done, I didn’t care much about the pics at that time.
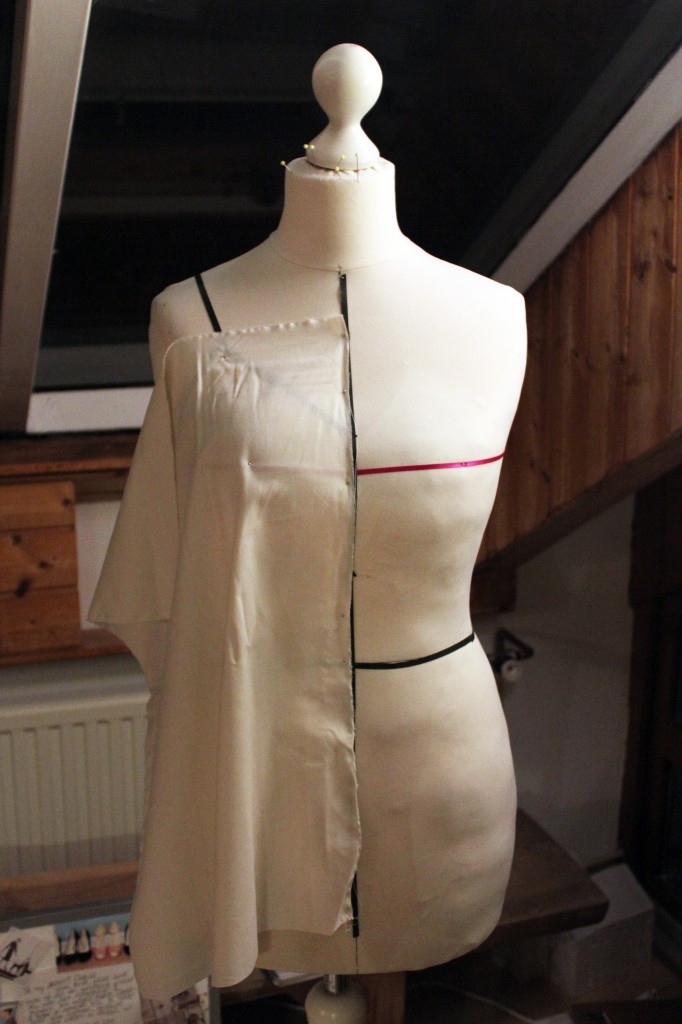
I needed to make a muslin anyway, so I decided to drape my bodice instead of flat drafting with paper and pencil. I had a very precise vision in mind and draping gave me much more control over shapes and silhouette. My dressform is padded to my size (sort of) which also was pretty convenient for the task at hand.
I started by outlining the shape of the spaghetti top on my dressform. I used sticky florist’s tape for that. You can see it through the muslin/cotton fabric which helps a lot.
I cut a rectangle and aligned it with the centre front. Starting from there I smoothed the fabric over the bust and created darts by pinning away the excess fabric: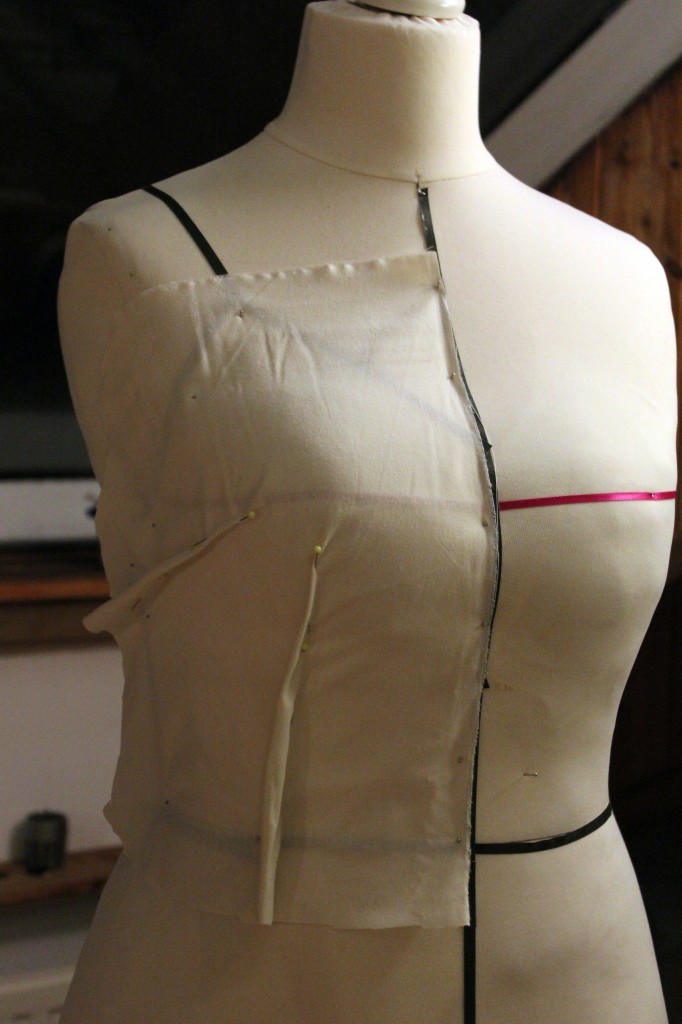 I cut off most of the excess fabric, leaving a generous seam allowance. Using a sharpie I traced the lines of the florist’s tape to transfer all the markings and seamlines. I did the same for the back.
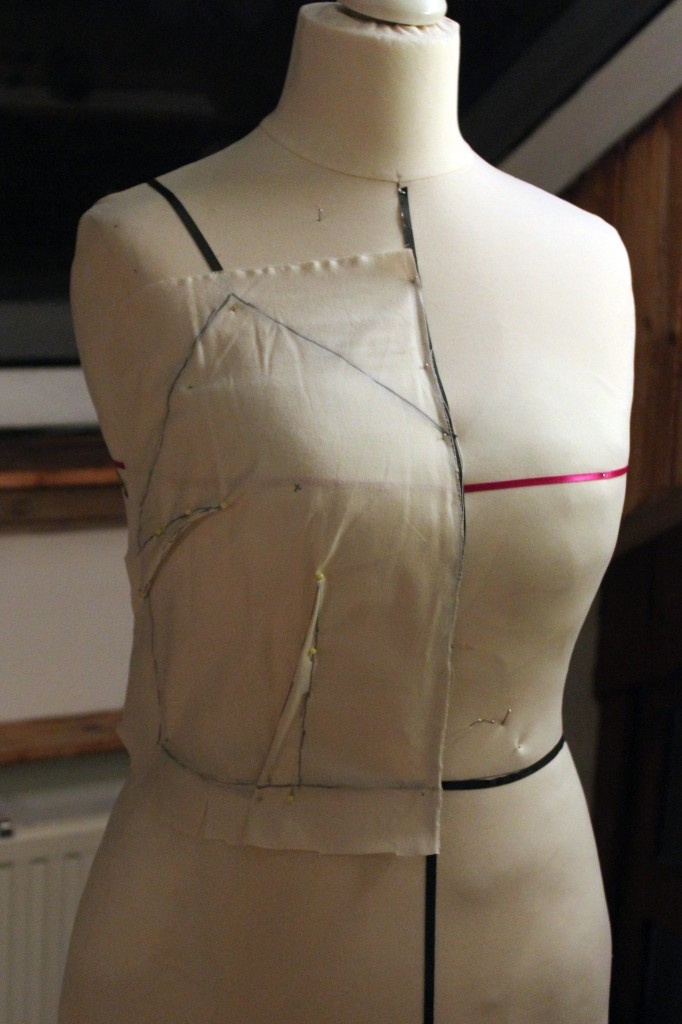
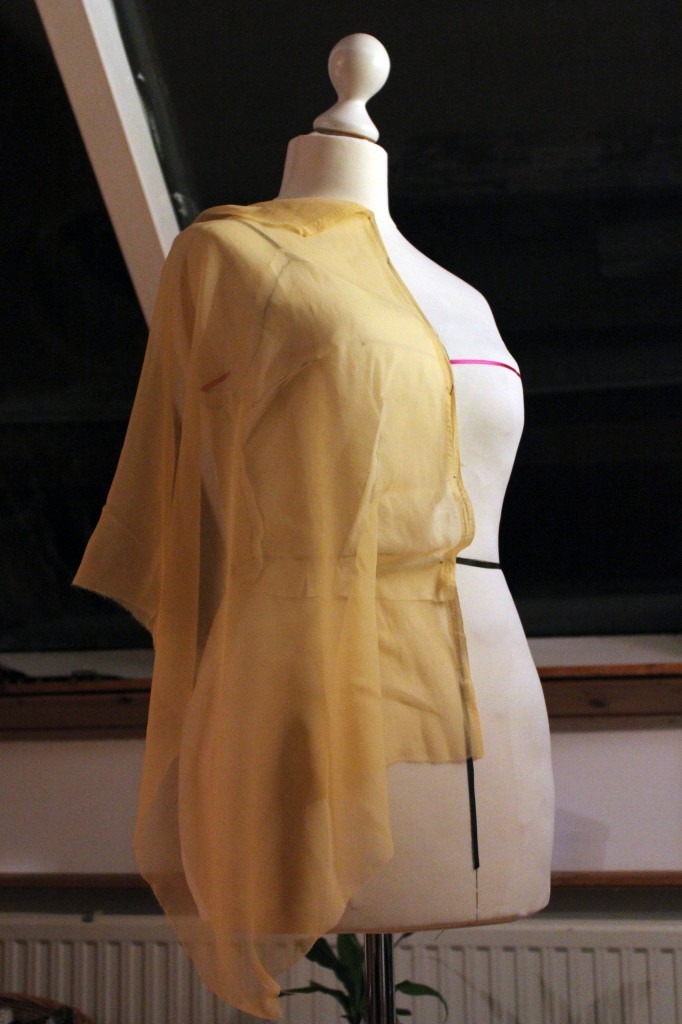 Once I was happy with the first bodice piece, I used the same technique for the sheer layer on top. This one was a lot trickier as it’s supposed to sit loosely and therefore was harder to drape on the dressform.
I used polyester chiffon of which I had bought 10m on Goldhawk Road last summer. The sheer bodice and skirt took quite a few attempts to get shape and fit right, so 10m was just enough! Keep that in mind when shopping for your wedding dress. It’s always better to have a little fabric extra, just in case. Those long skirts eat up fabric like crazy!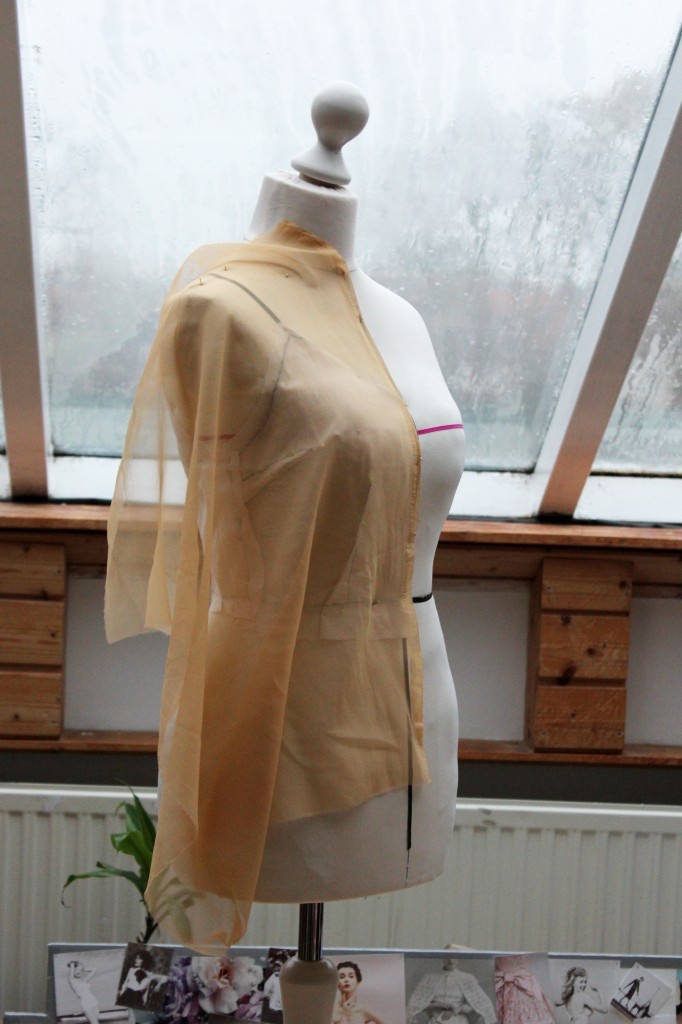
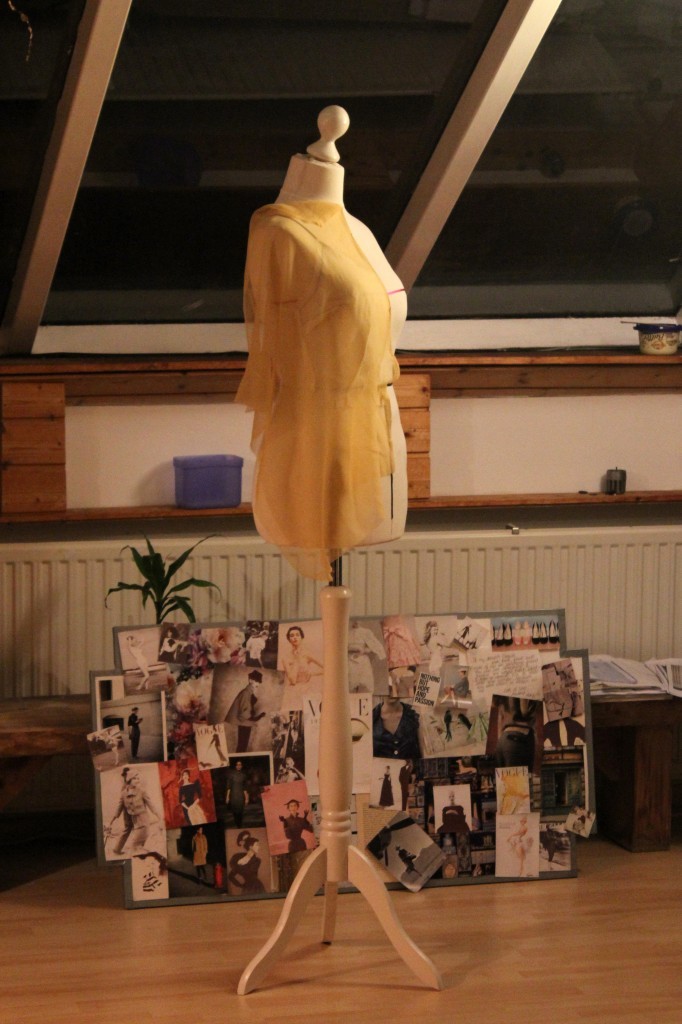
This was probably the most frustrating part of the pattern. It took a lot of muslins to get the sheer top right. I alternated between draping, copying the pattern onto paper and cutting out another muslin. In between I made loads of adjustments and kept checking measurements.
The spaghetti top was a pretty good fit from the start. I just moved the darts slightly on my paper pattern, using my bust/apex aka “nipple” measurements.
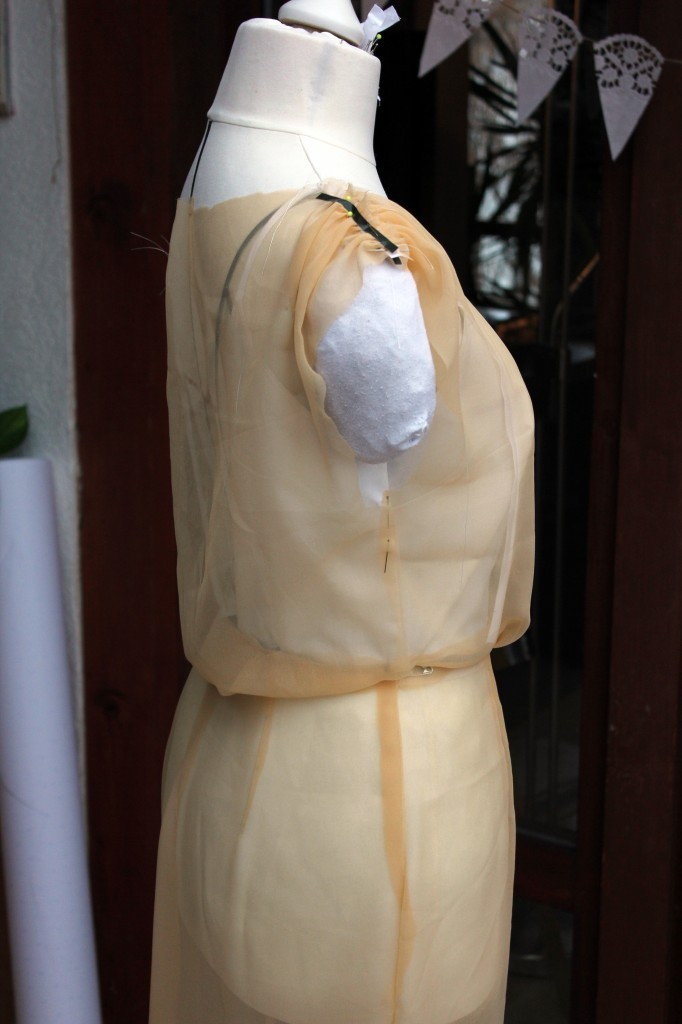 This was the last muslin before cutting out the whole dress again and sewing it together properly, finished seams and all, to get a glimpse at what it might look like.
Here’s a pic of the skirt – I changed it a bit later on to give it more fullness at the bottom and removed the train. I loved the train until I tried to walk (let alone dance) in it. Not possible! As this dress goes completely without petticoat, tulle or hoops, you really have to be careful not to get your feet tangled in all that flowy fabric. So, bye bye train it was!
(In retrospect: Best decision ever!)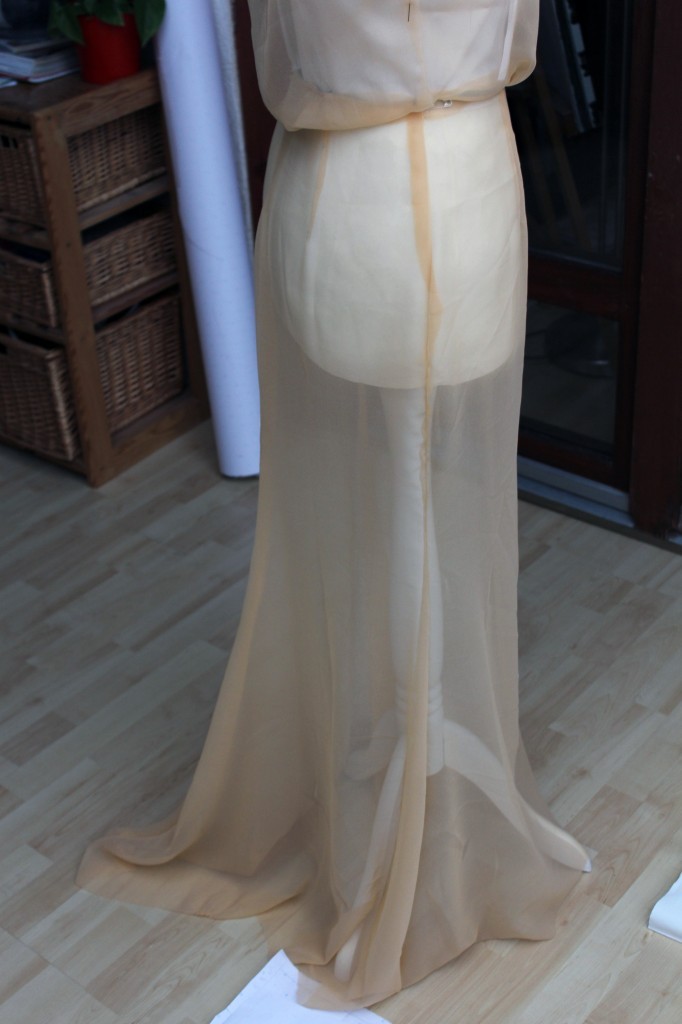
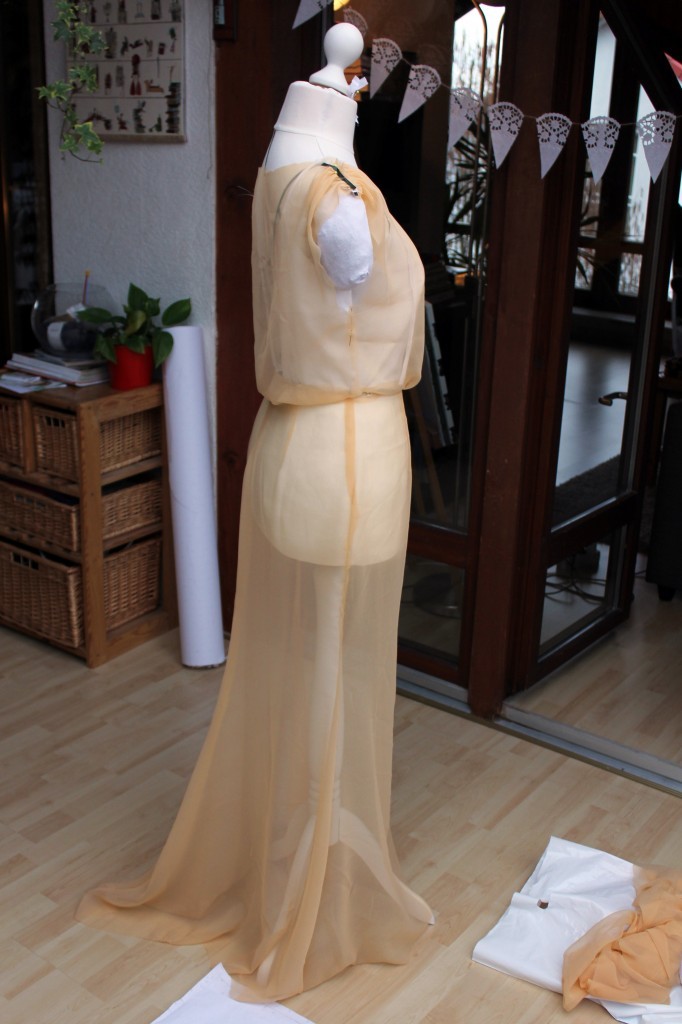 The skirt is based on the Sew Over It “Ultimate Pencil Skirt” pattern – one of my favourite patterns of all time, seriously. I have made a lot of pencil skirts from this pattern and it turned out to be a perfect base for my Jenny Packham copy.
Another advantage: I made the skirt so often, the pattern is fitted to perfection by now which saved a lot of time. I simply lenghtened the skirt pattern to floor length and added fullness to the bottom at the back and side seams. All in all I had a hem line of around 3 metres – enough to walk and dance in.
You can see the adapted skirt pattern in the background:
Once I had my muslin ready it was time for the trial dress. I used the same sheer apricot chiffon and an ivory poly satin as lining.
This is what ironing 6m of fabric looks like!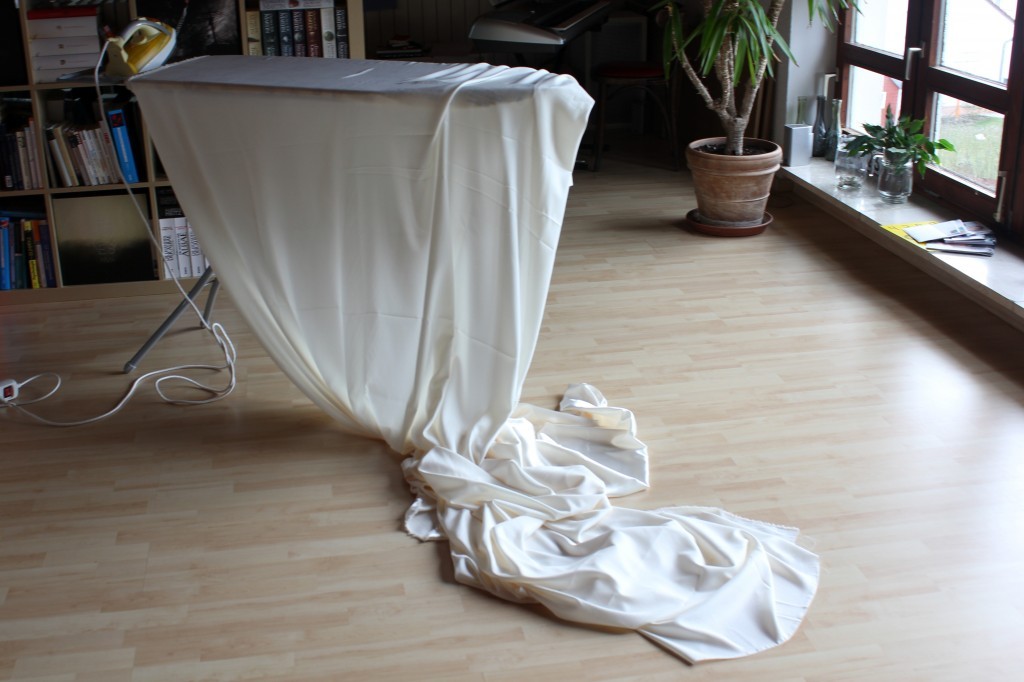

Instead of lining the spaghetti top, I tried and finished the seams with bias binding. It didn’t work very well and stretched out quite a bit. I didn’t put too much effort into the trial dress and probably could’ve made this work somehow, but I didn’t want to gamble and fully lined the bodice on my actual silk wedding dress later on.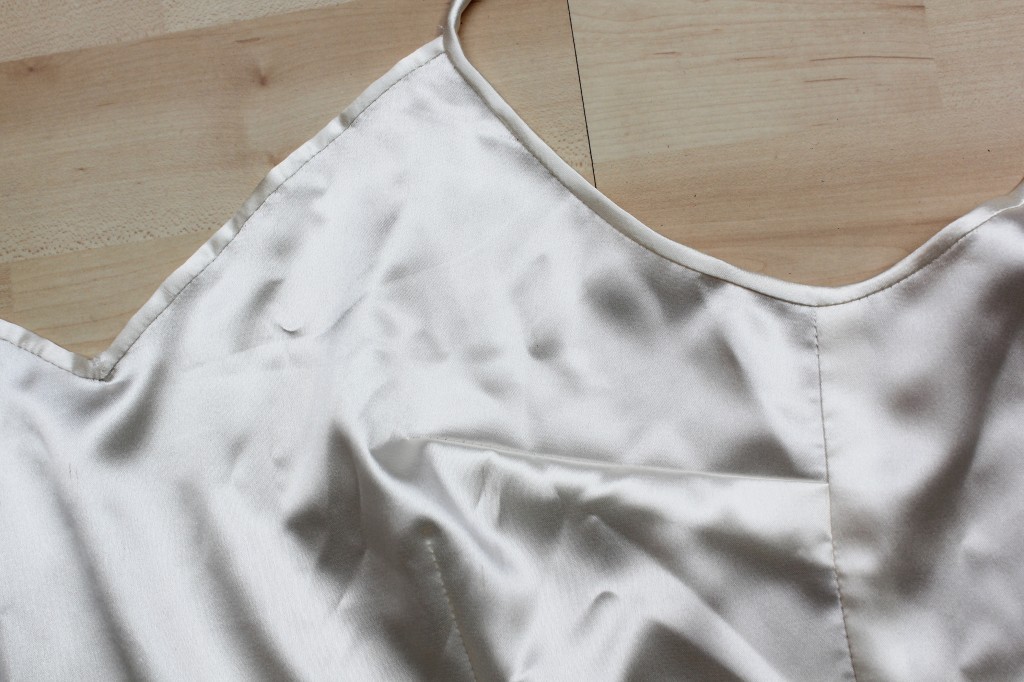
Handsewn bias binding on stay-stitched seams: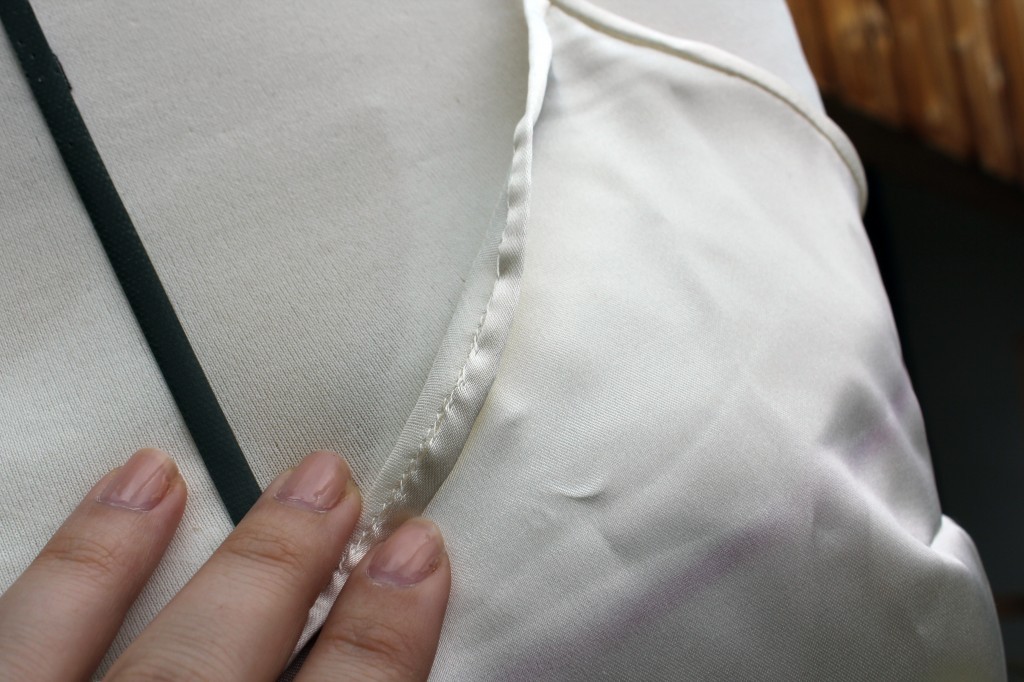
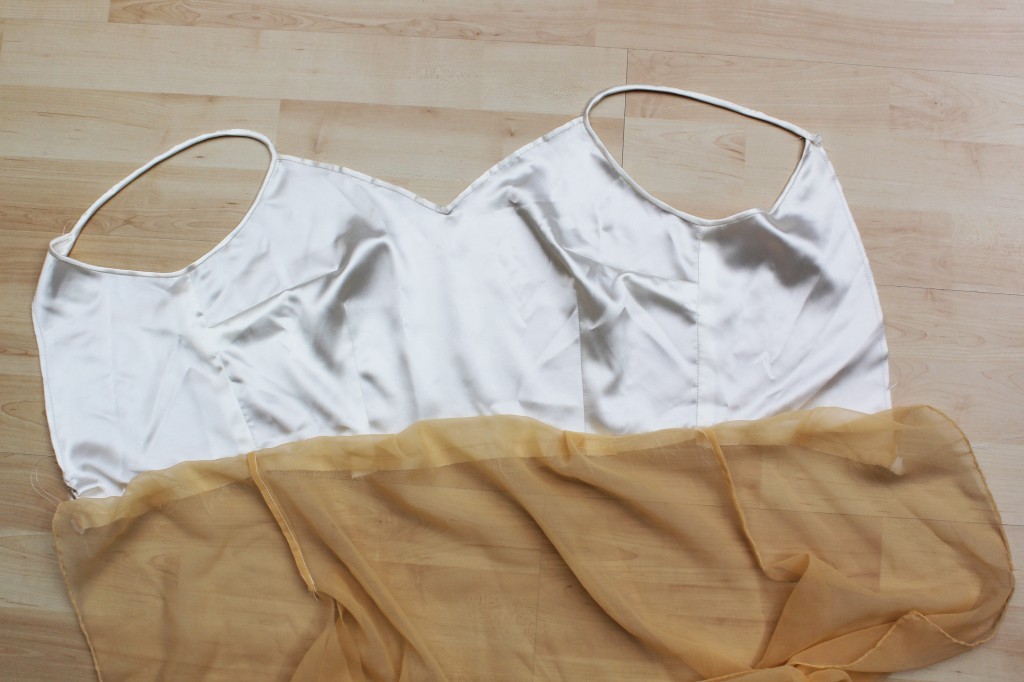
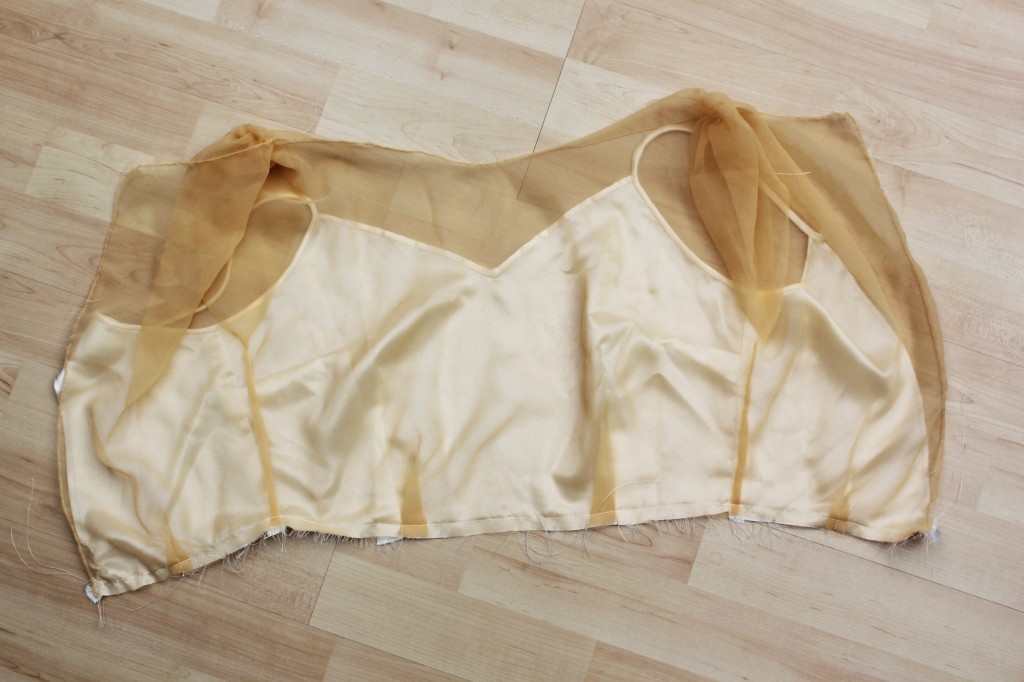
Both bodice layers attached at the waist seam.
Handrolled hem seam finish on the chiffon top: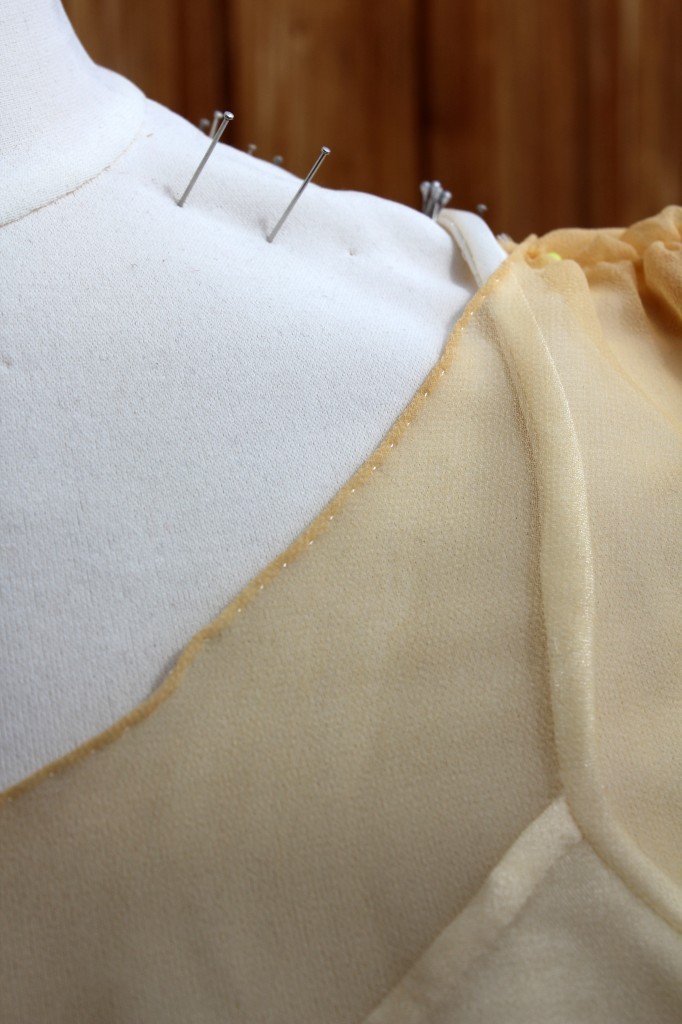
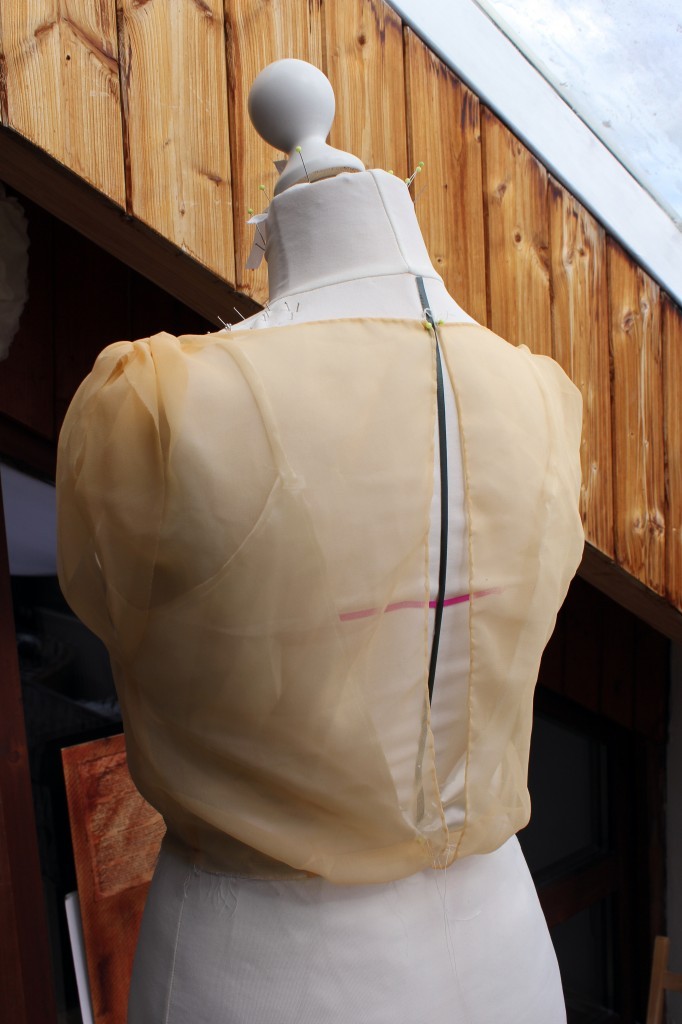
I love the shape the open back. Having an almost backless dress created some issues finding a bra/suitable understructure. But more on that in one of the next posts.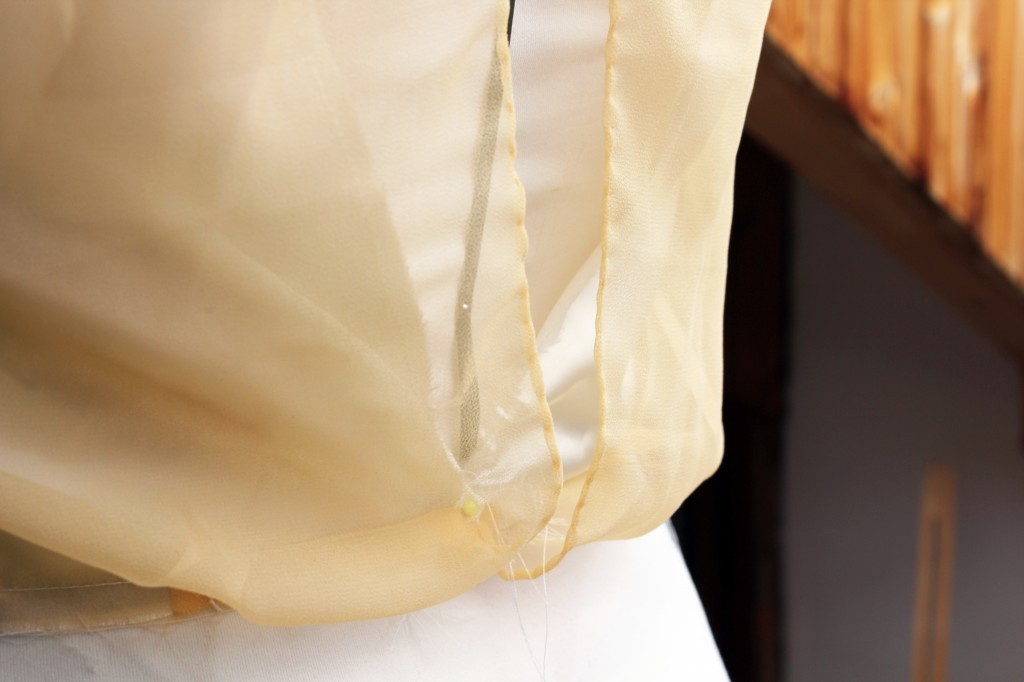
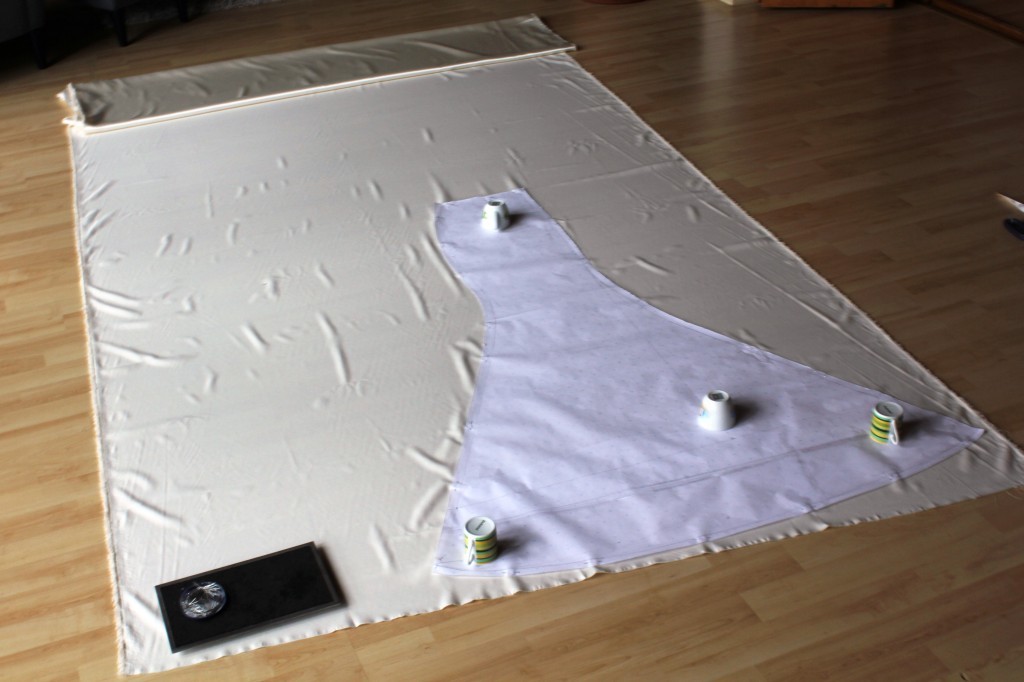
This is the finished skirt pattern, cut out from poly satin. The hem on the top layer was still a bit too short and then again too long on the lining skirt. But since hemming is the VERY last thing to do when sewing a wedding dress, please simply ignore that.

I was quite happy at that stage. Obviously, it looked nothing like a wedding dress, especially in this bright orange colour. But the silhouette and fit were pretty good so far. 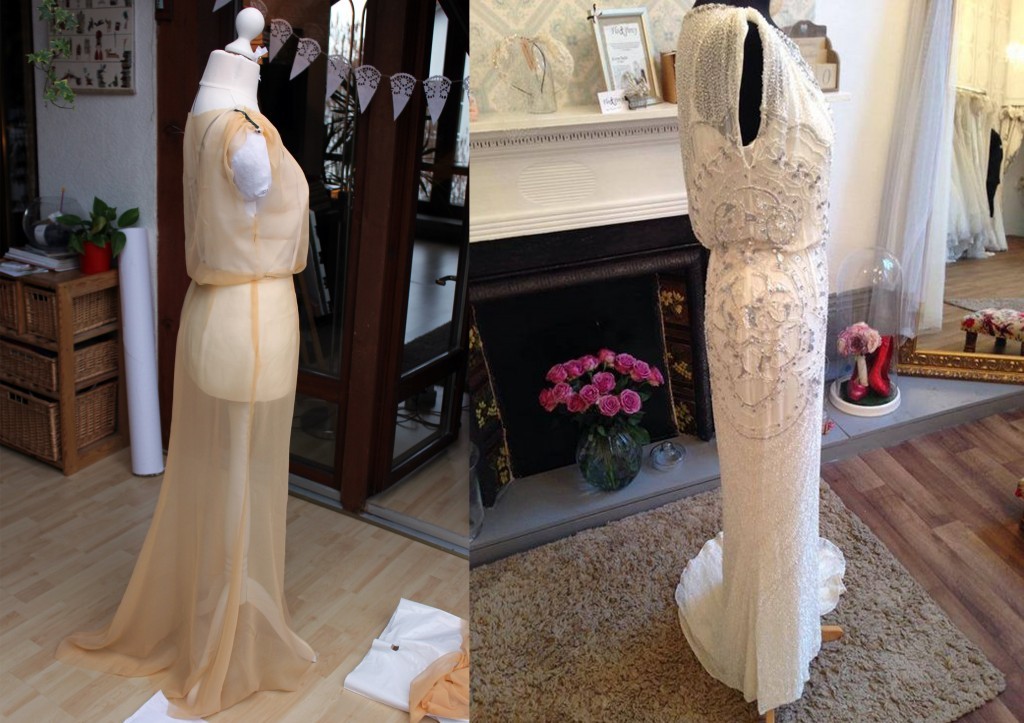
Also, you always have to keep in mind, that all dresses looks very different depending on the wearer. I am not very tall and my, plus, I have a very short torso and wider hips. So an elegant long and narrow skirt appears a bit compressed on my body. If you look closely, a lot of models are standing on stools while posing with a wedding dress on, to give them the appearance of incredibly long legs. 
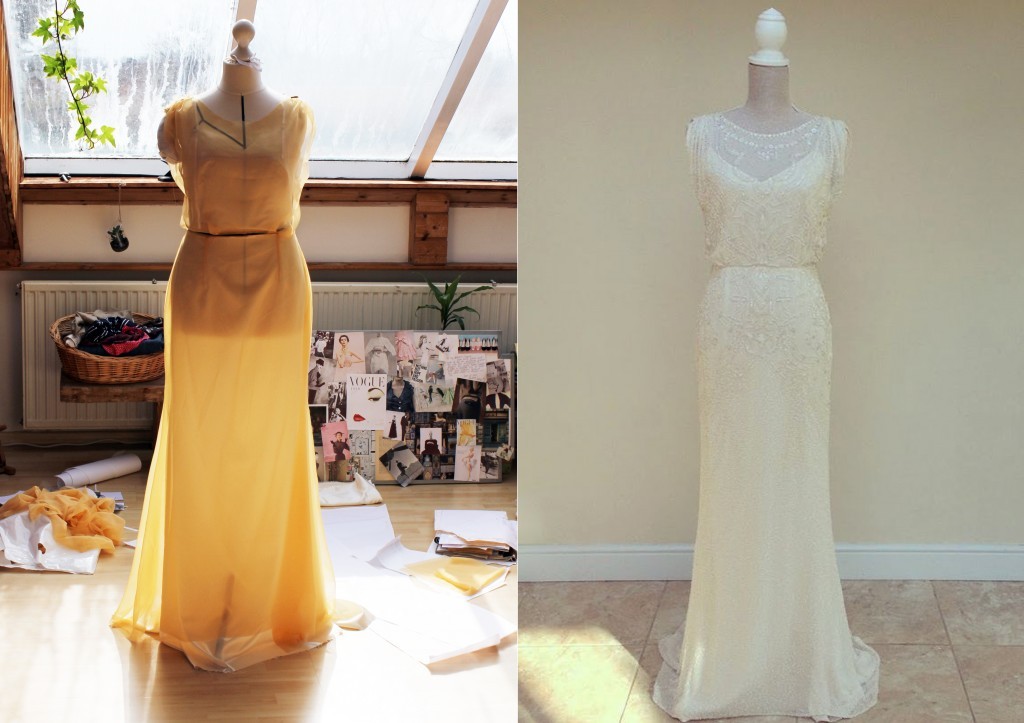
So far, so good! What do you think? Can you see a wedding dress taking shape?
Let me know what you think! Any questions? Leave a comment and I will answer as best I can 🙂
xx
Charlie
Happy sewing!
♥
facebook/bloglovin/pinterest
twitter/instagram
Stay in touch!



 A couple of months ago, when I helped my friend


