Tips on sewing your wedding dress

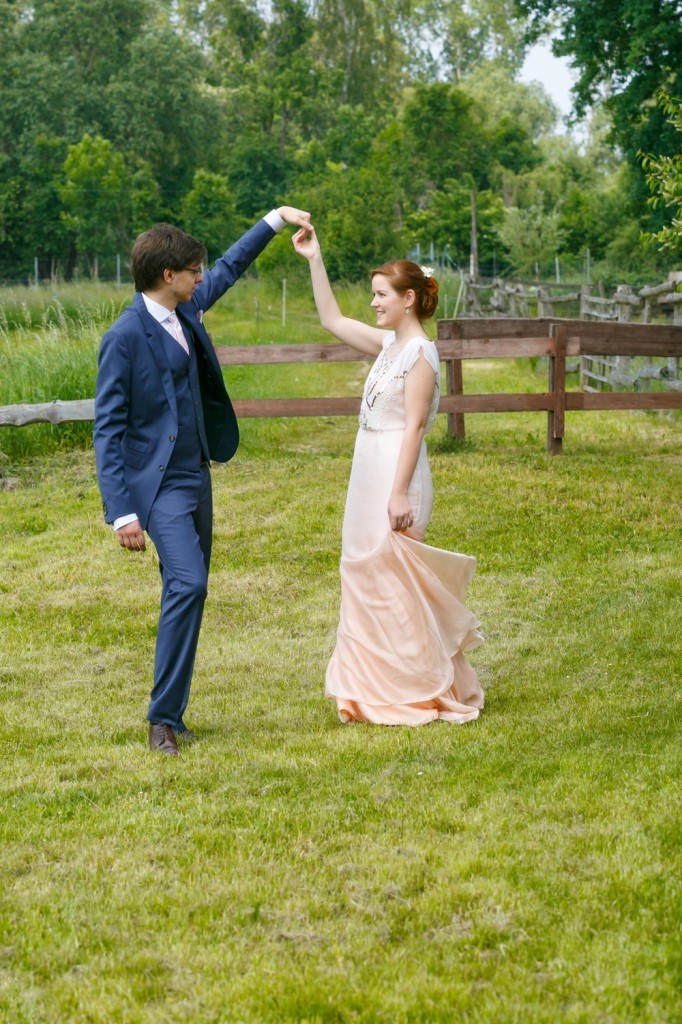
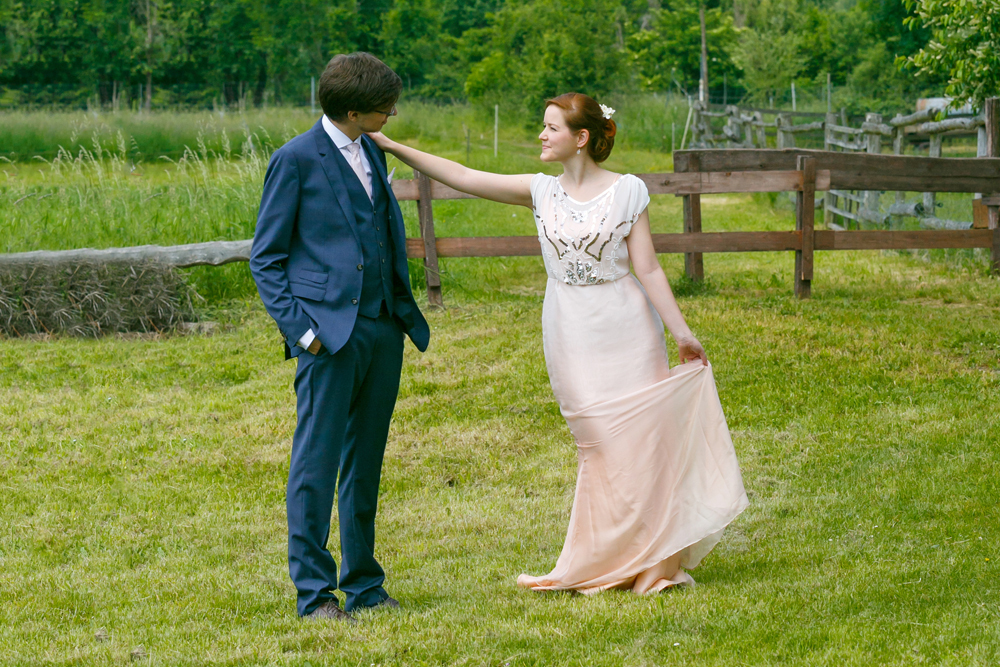
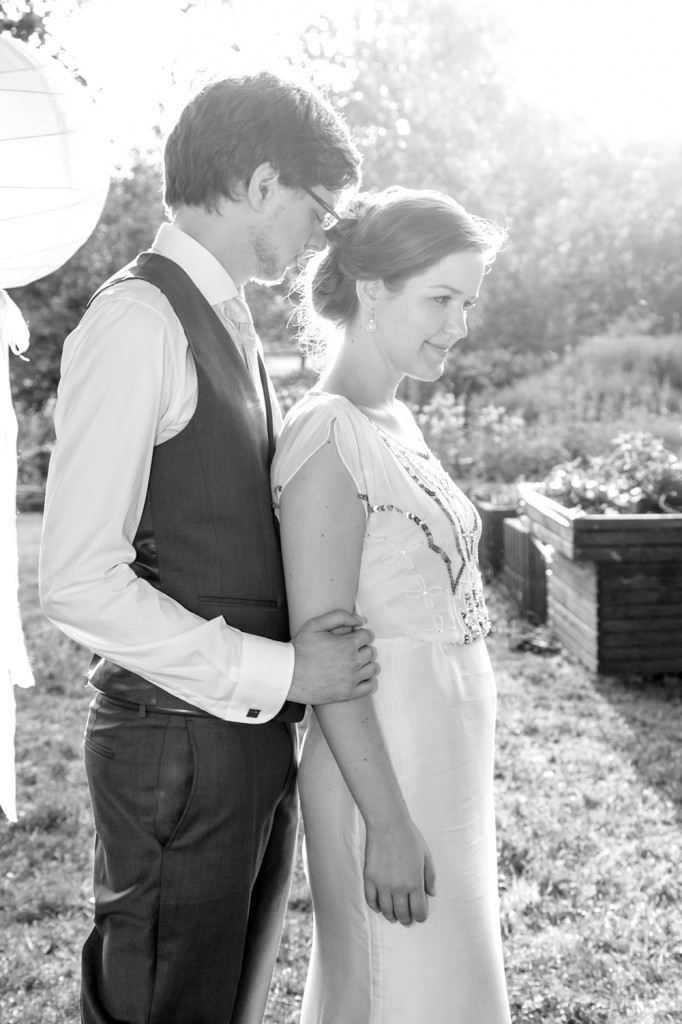
Making my own wedding dress
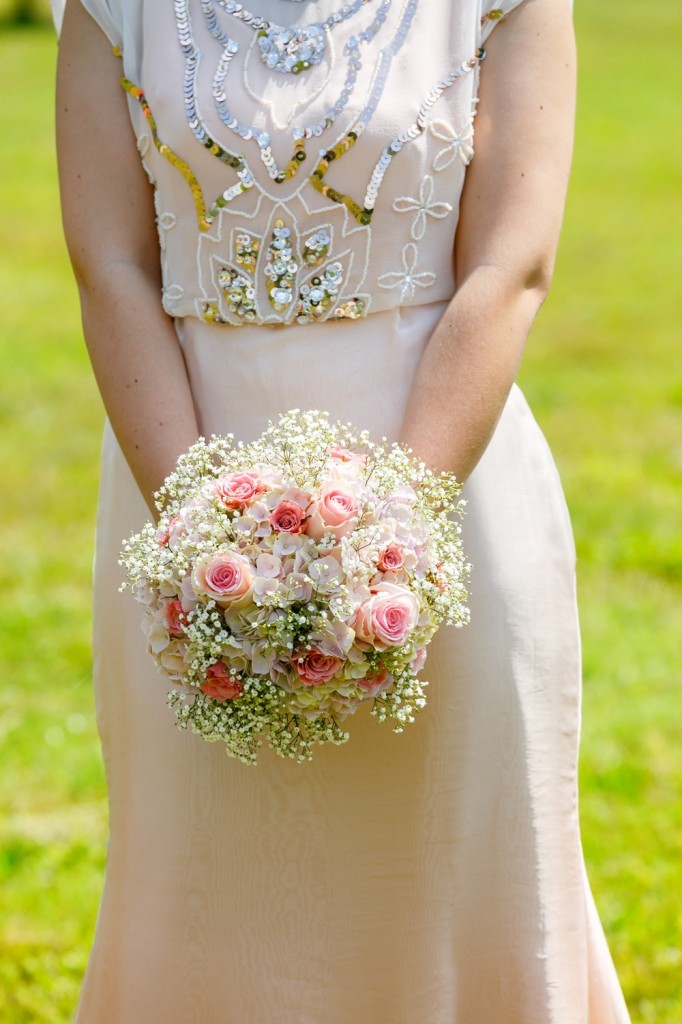
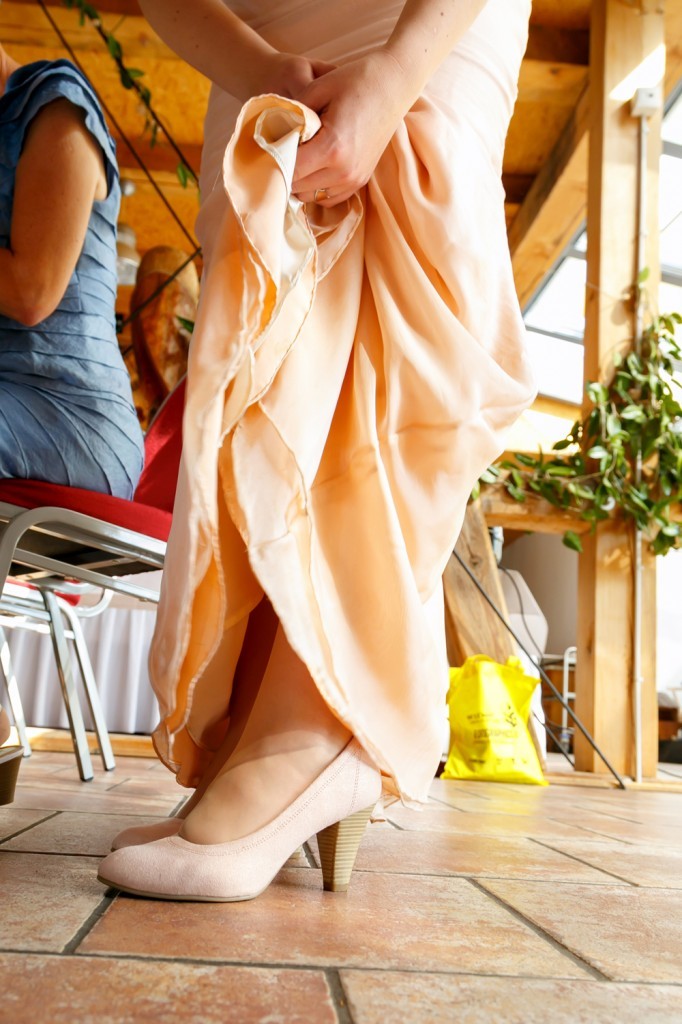
This time two years ago I was frantically working on my wedding dress. It was such a joyful but equally stressful process. As much as I am proud of the dress that came out of it, I’m glad I won’t have to do it again.
As spring/summer weddings are coming up and some of you lucky soon-to-be brides are making their own dresses, I thought I’d share some (hopefully) helpful advice.
As helpful as some couture sewing books might proof to be, they do not give much insight into the whole shebang of planning and scheduling and of course, the emotional stress that interferes with every single step on the way.
I had just under a year to prepare our wedding and create the dress. I spend the first half planning and organising before getting down to the nitty-gritty of actually making things. All romance aside, it’s quite a tedious, sometimes boring, sometimes frustrating process.


Here’s a quick overview of my rough “schedule” to illustrate this:
10 months left.
Deciding on making my own dress.
Getting inspired (Pinterest helps!)
Narrowing down the designs I liked.
9 months left.
Deciding on silhouette & colour.
Deciding on a pattern to base the dress on & sketching a rough draft.
8 month left.
Going fabric-shopping (probably the hardest part, constant panic).
Actually deciding on making my own dress as I had spend so much money on fabric already.
***Long panicky break of procrastinating with wedding decor projects ***
5 months left.
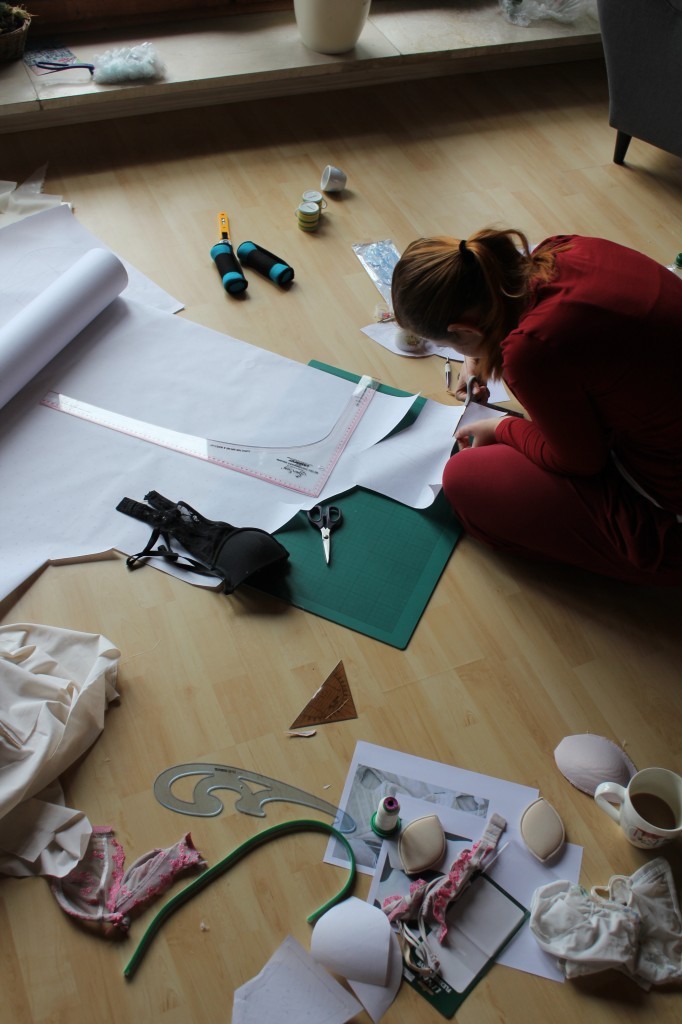
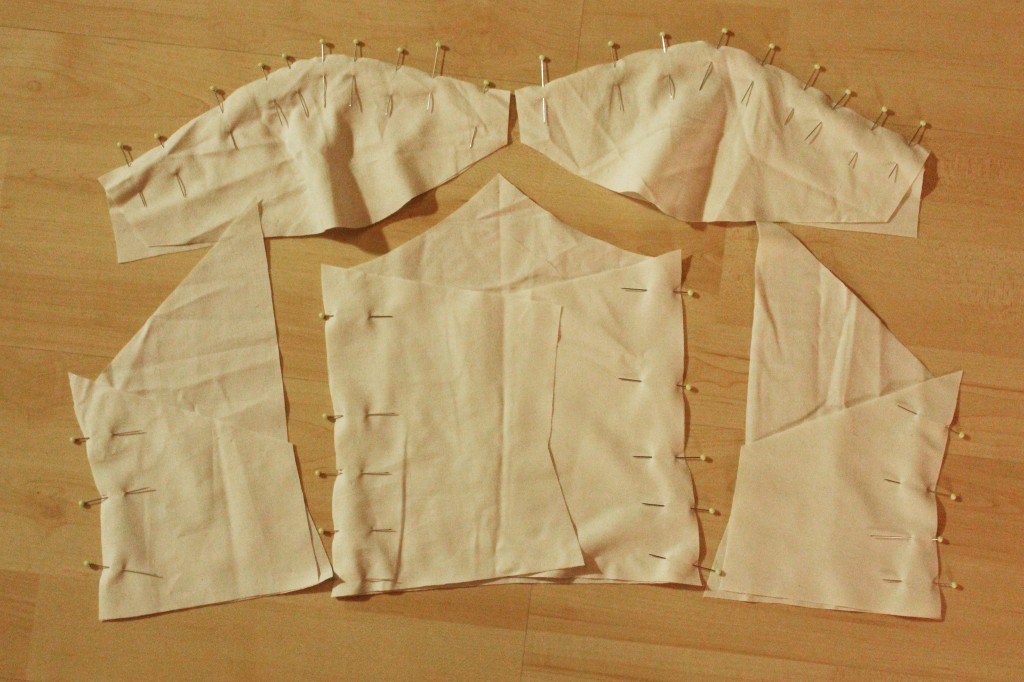
Drafting, draping, making a pattern. Spending a couple of weeks on making a corset I swapped for a cheap stick-on bra in the end.
4 months left.
Fitting to perfection.
3 months left.
The actual construction of a dress starts.
8 weeks left.
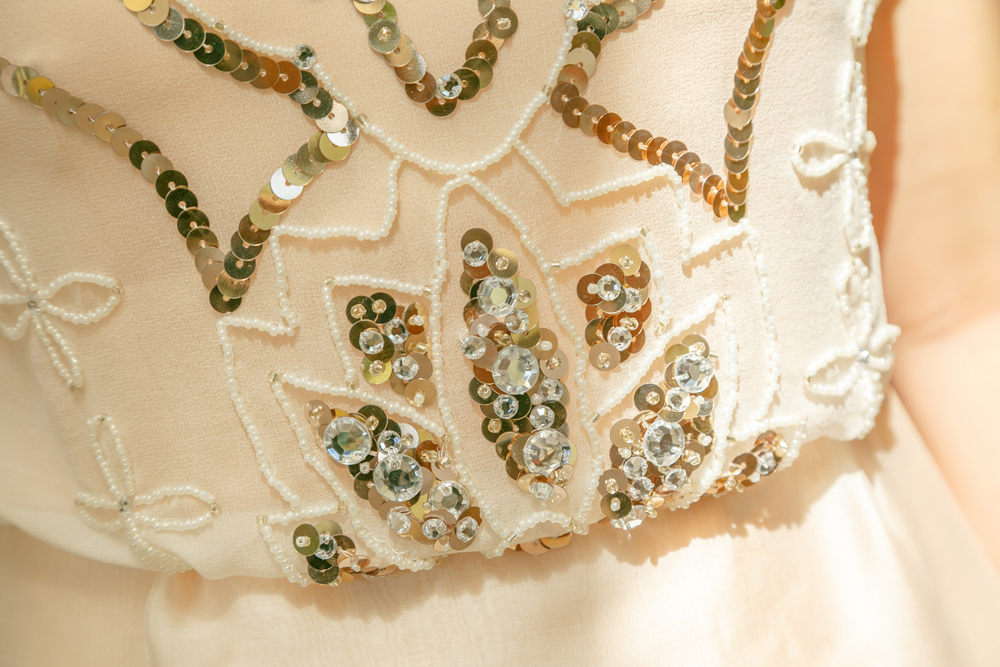
Adding embroidery details.
(Dress finished 3 weeks before the wedding. Phew.)
As you can see, the actual “fun” of sewing together the dress was not happening until 3 months before the big day. My nerves! Imagine not having seen yourself in a dress and it’s already 8 weeks before the wedding. I probably could’ve finished much earlier had I not procrastinated all these months, but don’t forget there’s life that gets in between.
So should you find yourself in a similar position, here’s some advice you might find helpful.

Advice on sewing your own wedding dress:
- Give yourself enough time. Plan for unexpected breaks or getting stuck somewhere in the process or extra trips to the fabric shop, just to name a few!
- Decide on a design early on and try not to change your mind (unless you have huge amounts of extra time, fabric, money and motivation). There will be times of doubt, but they go away again, too.
- Really think about and be reasonable about shapes and textures. Certain silhouettes require certain types of fabrics. Find out as much as you can before you start spending money.
- Stop comparing your dress to others once you start on your project. This is unhelpful, believe me.
- Buy plenty of fabric and then get some extra. This not only helps if things go wrong, but keeps the suspension of cutting into the fabric low.
- Muslin till you drop. Get the fit perfect before cutting into expensive fabric. This saves a lot of time and money.
- Don’t ask others for their opinion (unless you are willing to change your design constantly or you’re able to live with someone saying they don’t like it even before it’s finished). This is important. Trust your style and gut-feeling. You will wear this dress, so first and foremost you are the person that needs to like it.
- Take the time to practice sewing techniques. You will feel much more confident once you start constructing!
- Before you start constructing the dress, make a rough step-by-step plan – especially if you’re not following a pattern with instructions. Structure prevents panic.
- Sew as much by hand as possible. It just looks so much better and gives yourself more control (especially when working with difficult fabrics!)
- Keep your hands and floor clean at all times. No chocolate, no coffee nor red wine anywhere near your fabrics or working surfaces. RULE.
- You can skip pre-washing if you’re working with delicate fabrics you do not feel too confident about (and if you’re planning on wearing your dress only once).
- Find the perfect iron setting using small fabric scraps and mark the setting with a sharpie. Don’t use water/steam when working with silk (= water stains) and make sure the iron is clean (=limestone stains etc).
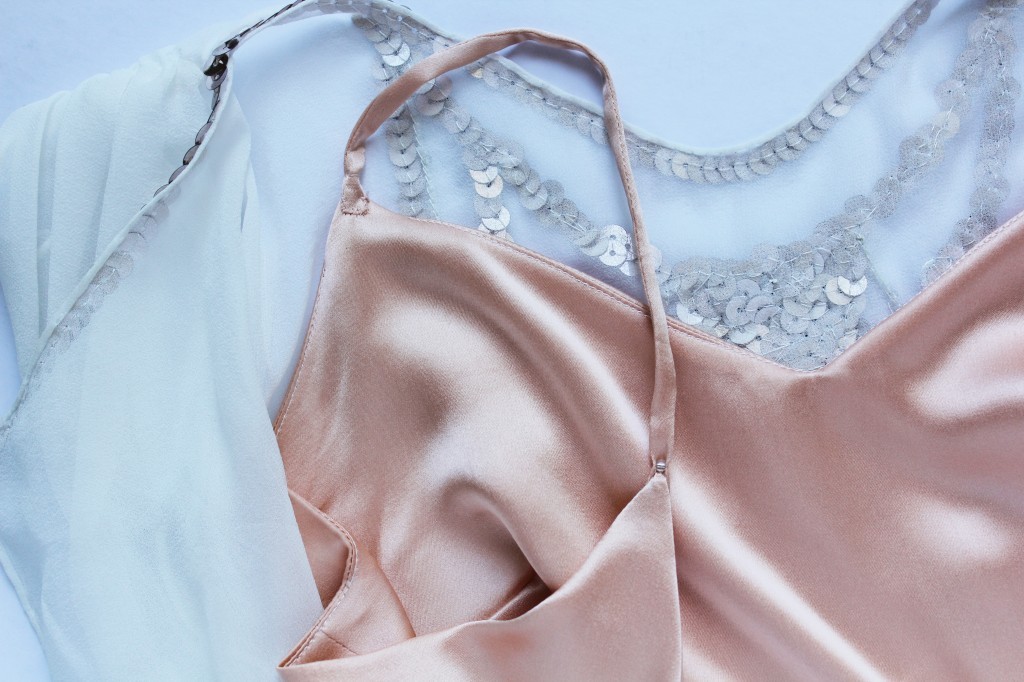
- Put some fabric scraps in your bag or wallet so you have them with you when shopping for matching shoes, accessories, ties, make-up etc. Take scraps of the lining, too an layer the pieces on top of each other, just as they will be when your dress is done. Adding lining and layers might change the appearance of the colour.
- Do not put pressure on yourself by telling everyone that you’re making your own dress. Do not eliminate the option of buying a dress, should you start to feel uncomfortable with making one. That’s fine, too. But you have to allow yourself to keep that option in mind. Just because you like to sew, doesn’t mean you have to make your dress yourself!

I hope you find this helpful! Is there some really important advice that I missed? Let me know in the comments. Also, I’d love to hear about your process of making a wedding dress.
If you want to read more about my dress and all the work that went into our DIY wedding, check out the DIY Wedding category on the right sidebar. There you’ll find a blog series about my wedding dress process.
xx
Charlie
Happy sewing!
♥
facebook/bloglovin/pinterest
twitter/instagram
Stay in touch!


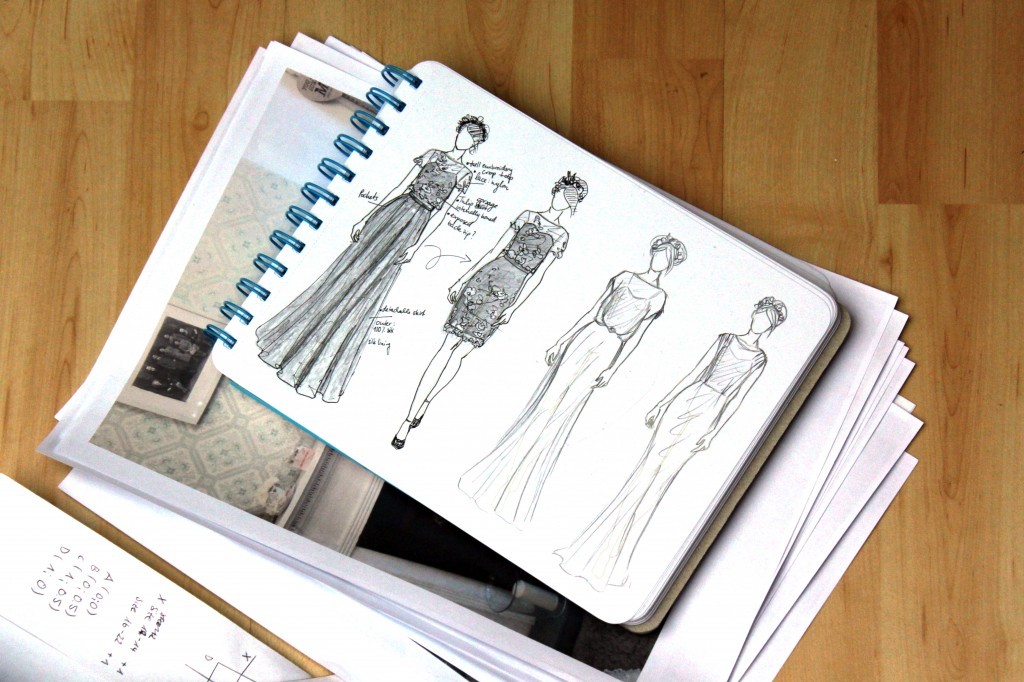
 Time for a quick recap! What have I done so far? I’ve designed, drafted, muslined, fitted my pattern. Then made a trial dress. Spend hours on making a couture corset, which I ended up not wearing, sigh. Again, spend hours on hand-embroidering my bodice. All preparations done. Check.
 (This is a sketch of when I thought I had to go without the embroidery)
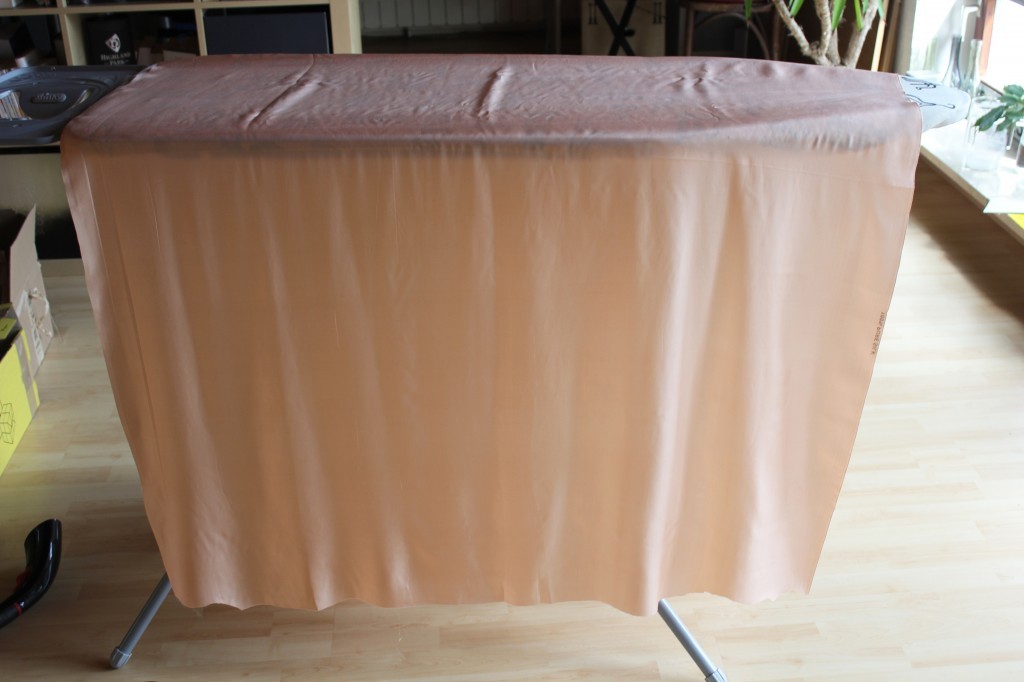
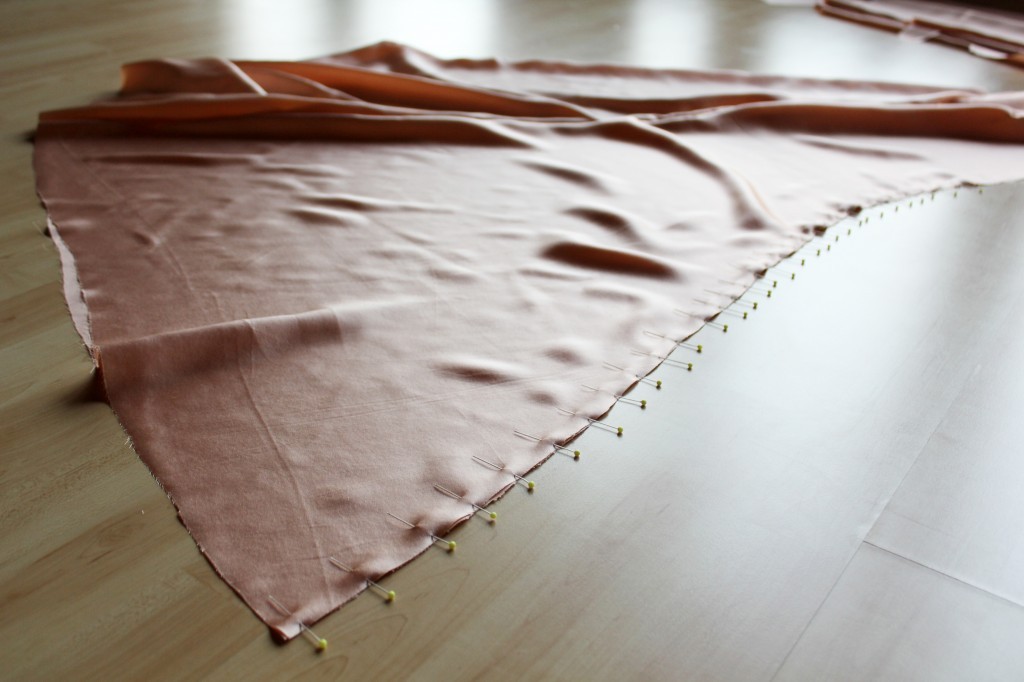
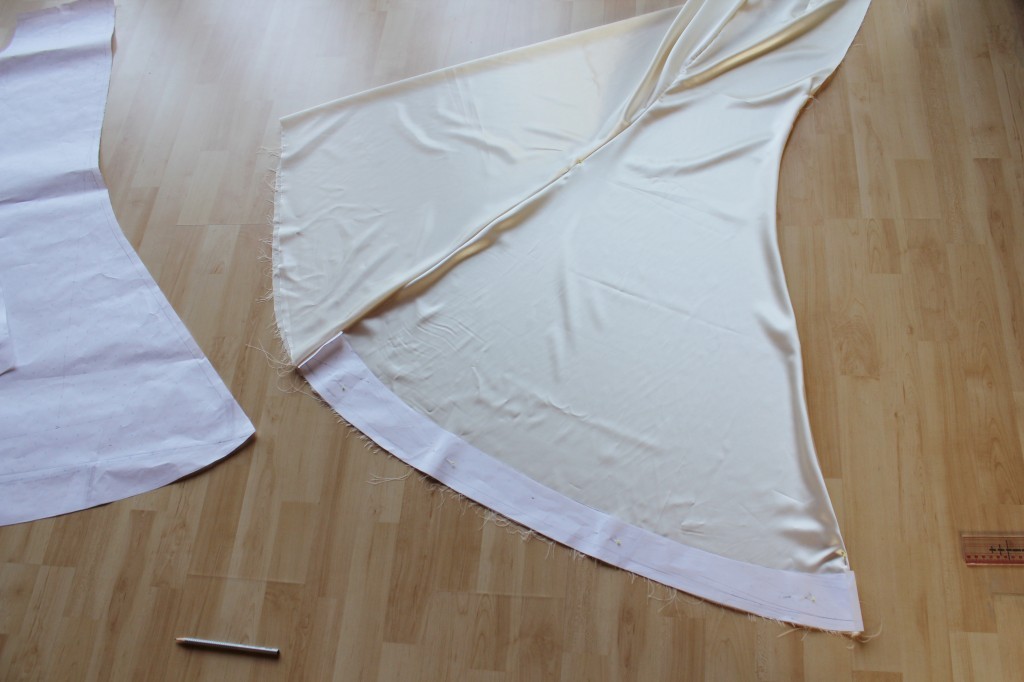
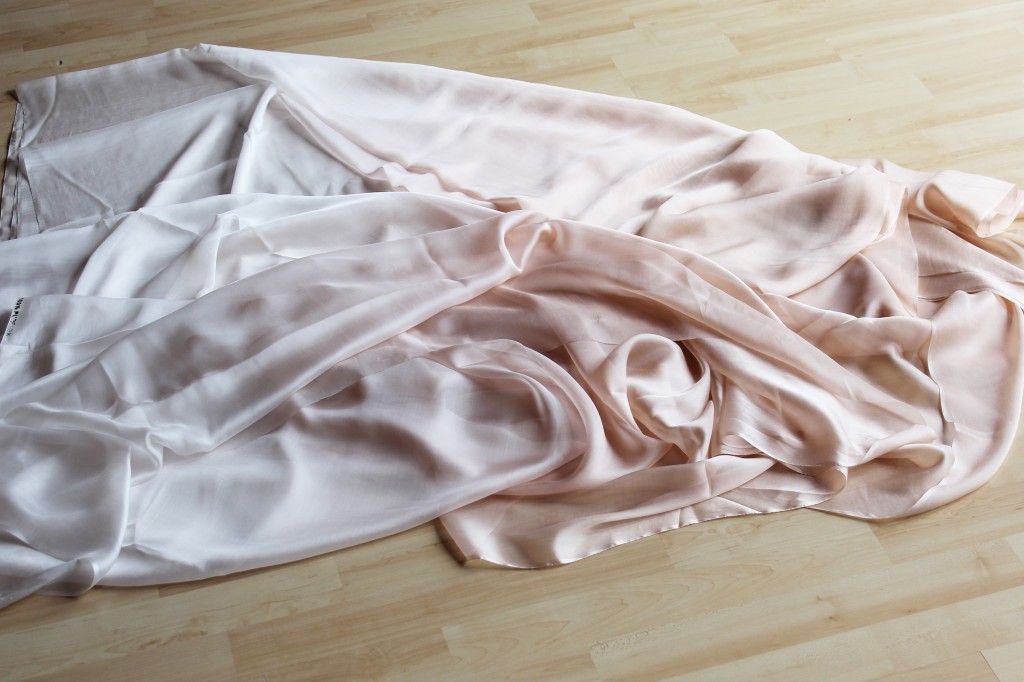
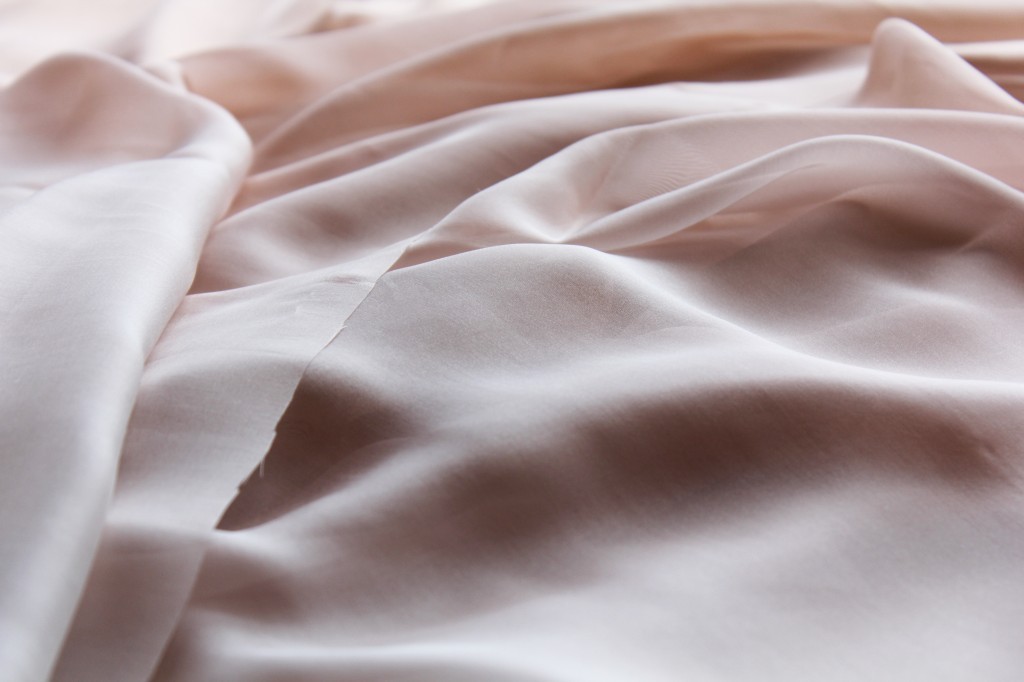
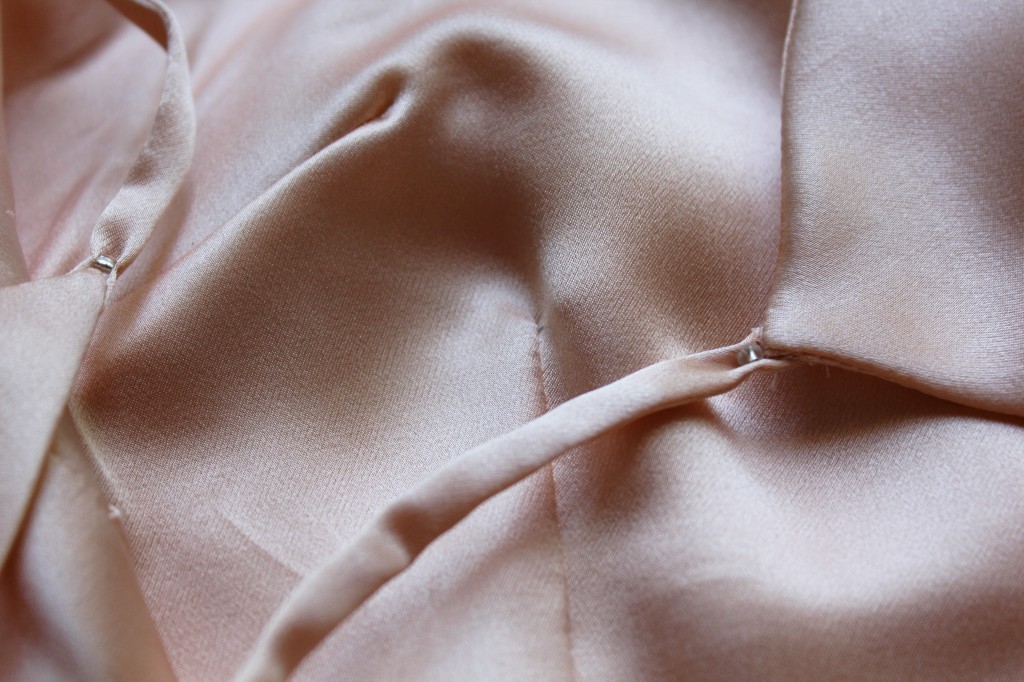
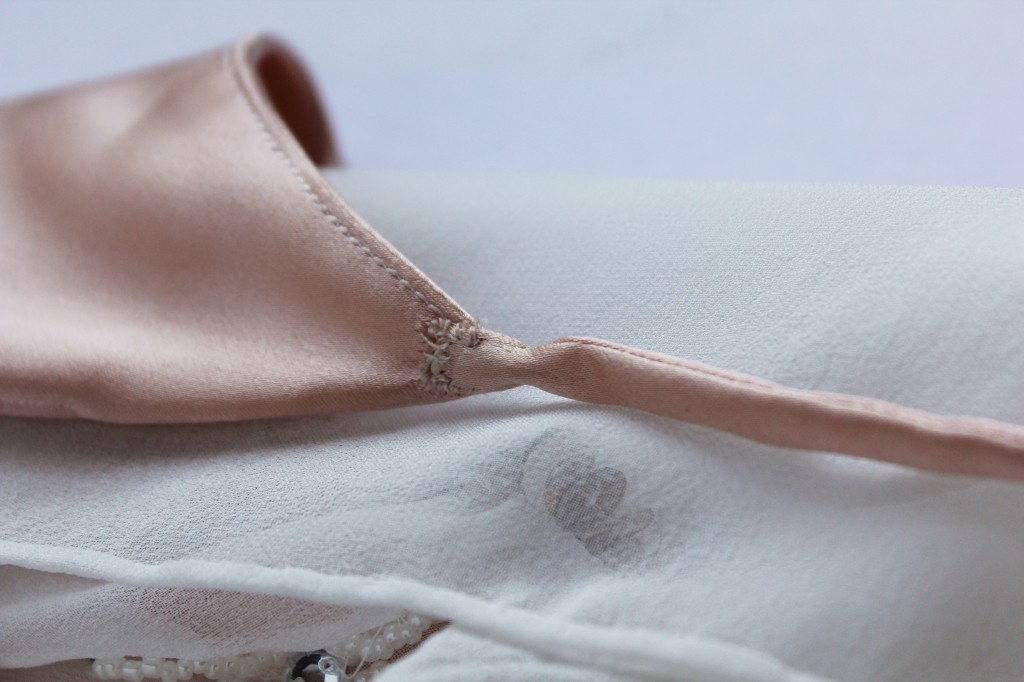
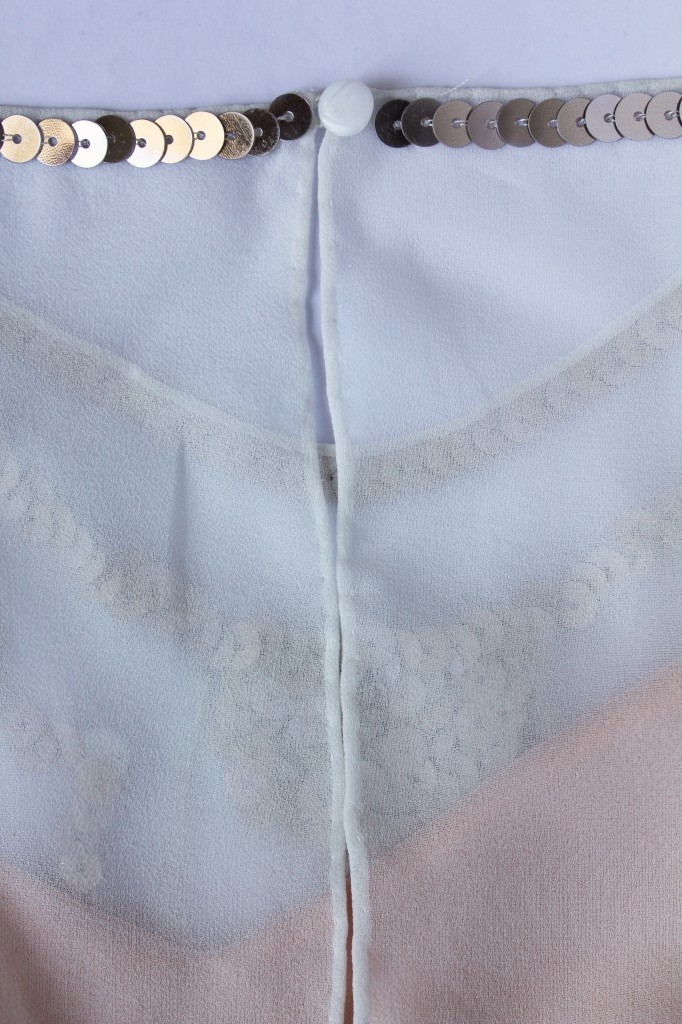
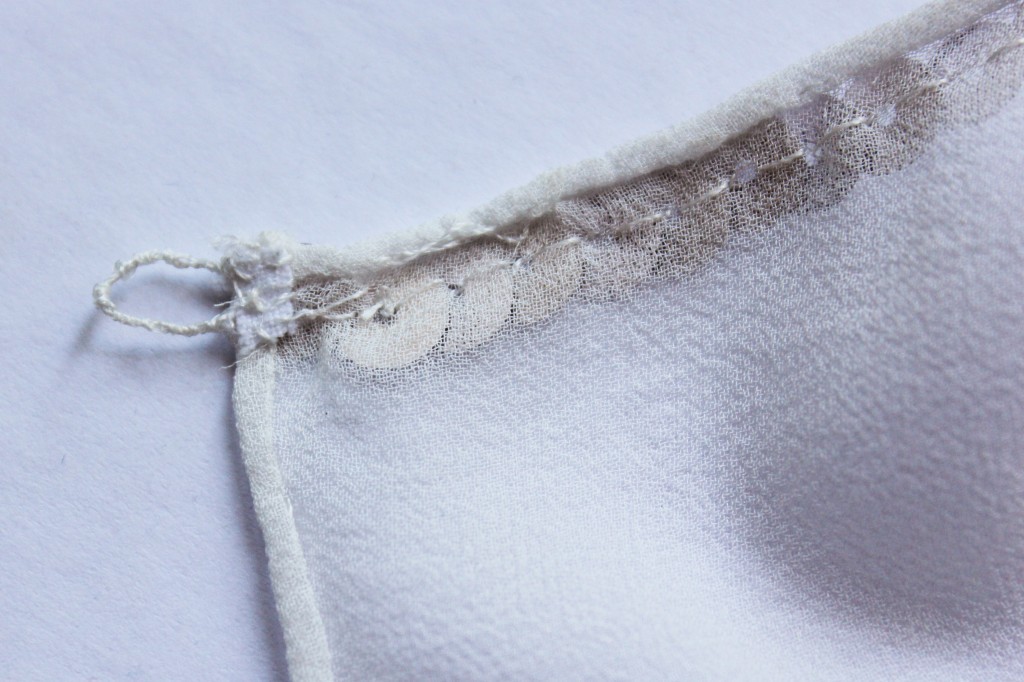
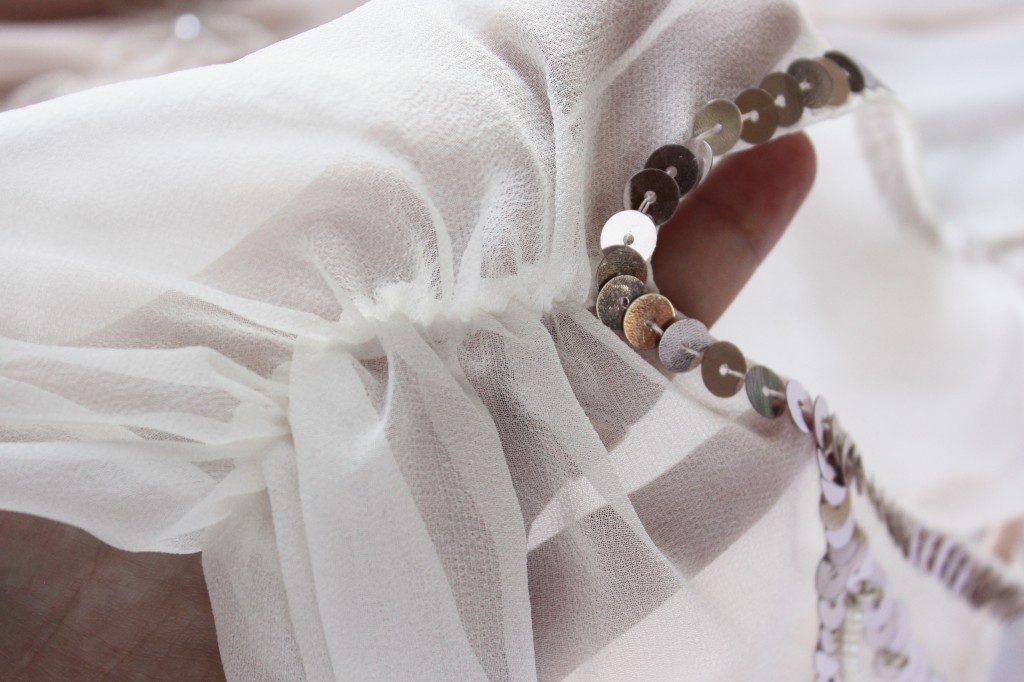
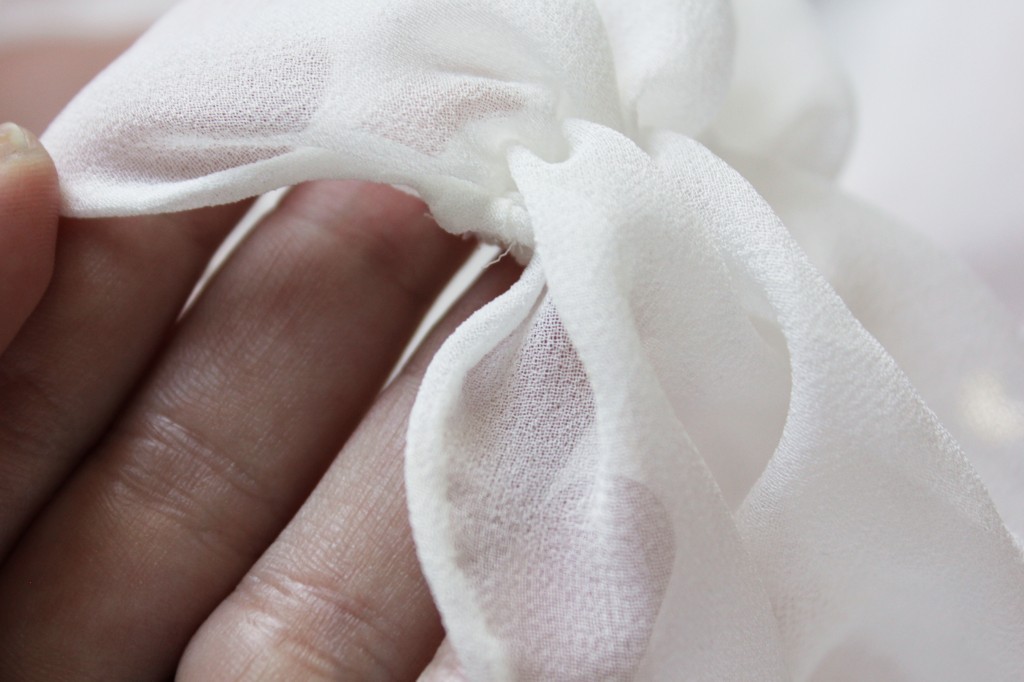
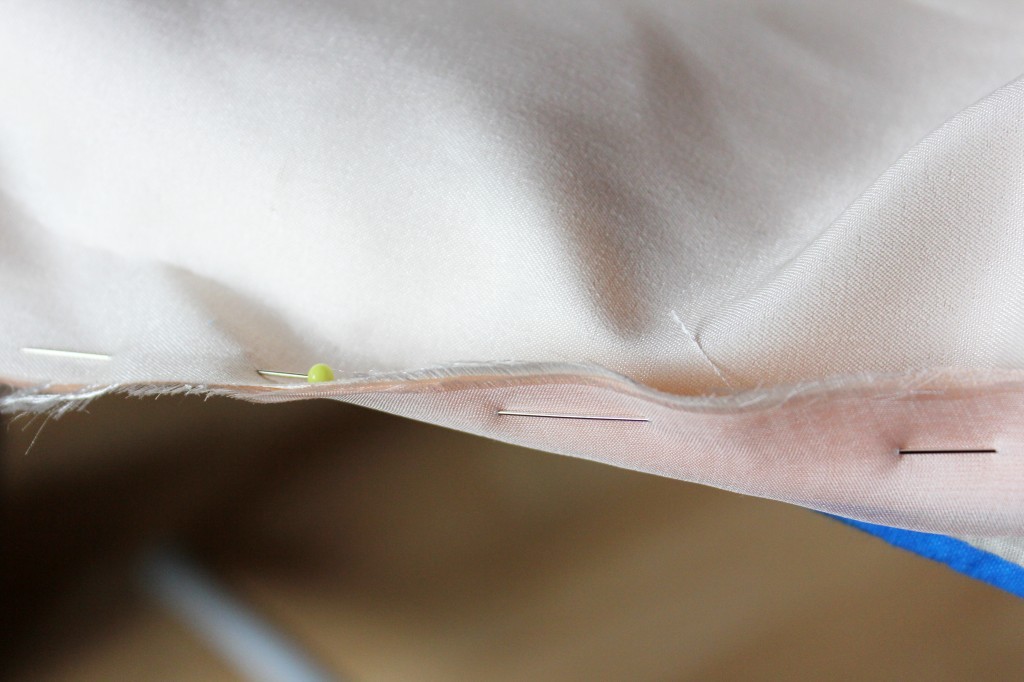
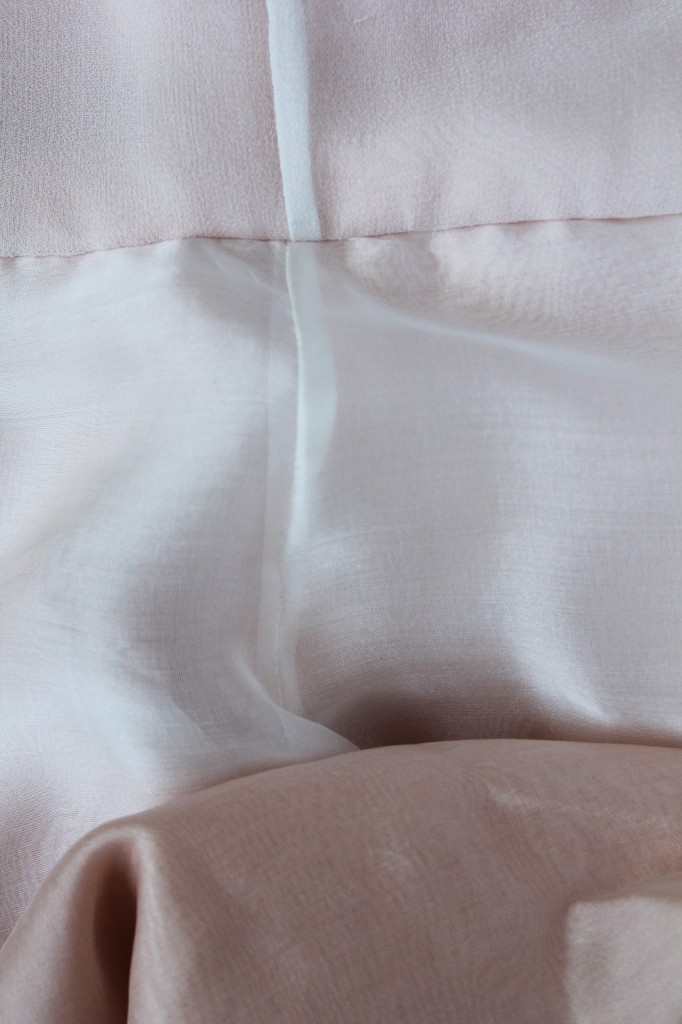
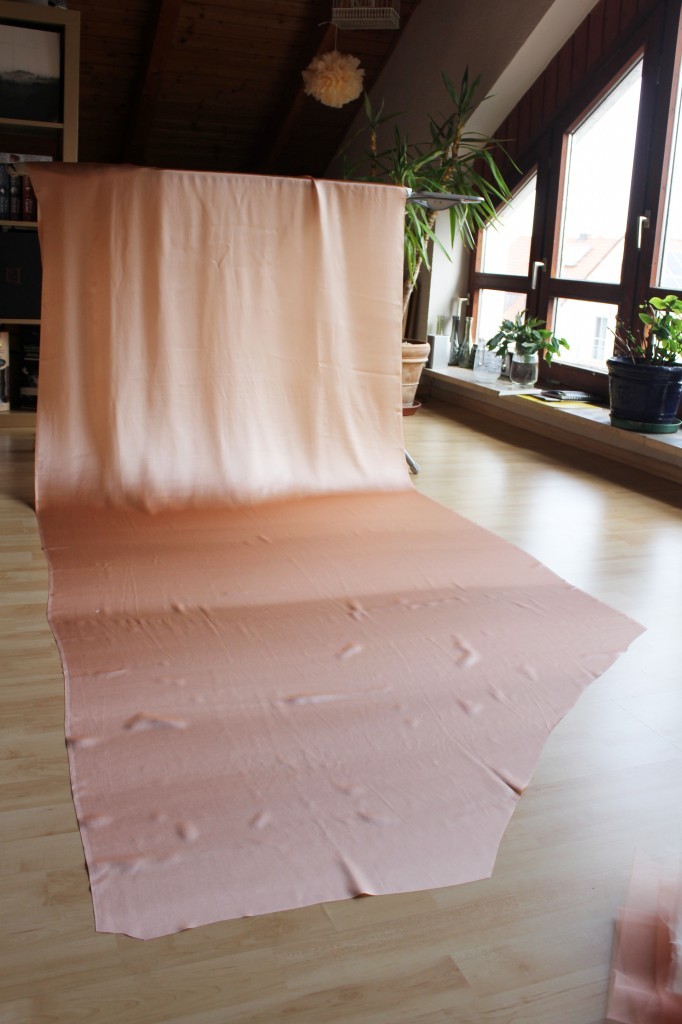 I started sewing all four (!) skirt layers first, starting with my lining. It was my first time working with silk, so I thought starting with a layer you wouldn’t see was pretty clever. And I practised on some fabric scraps as well. I noticed pretty quickly that the knack with silks is simply using millions of pins. I didn’t use any gelantine or starch to prepare my silk for sewing and it still worked pretty well. Sometimes laziness pays off.

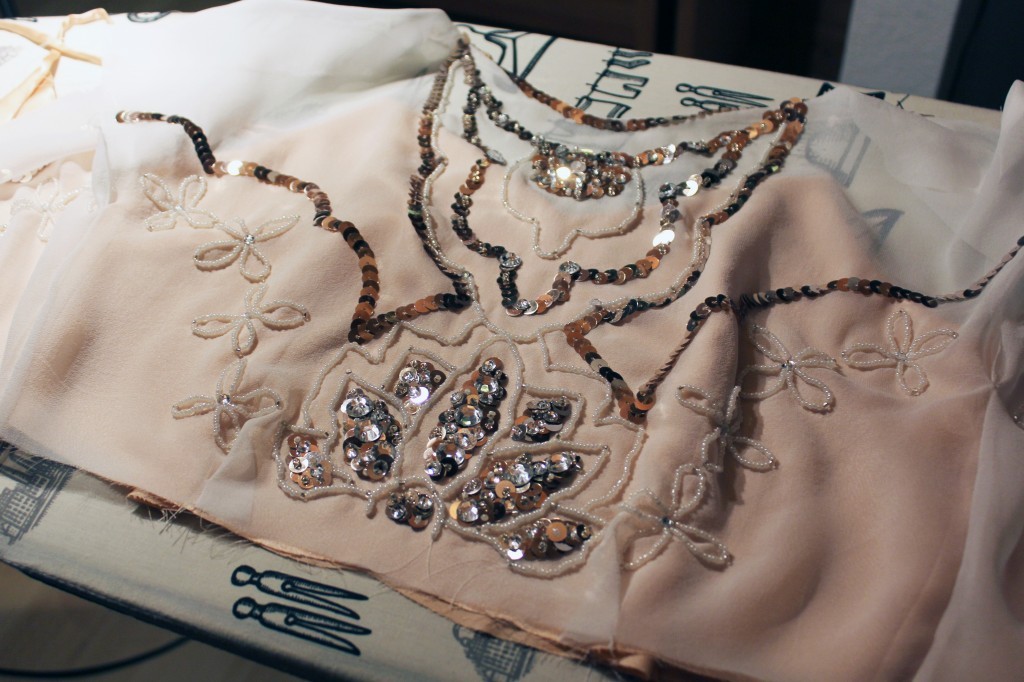


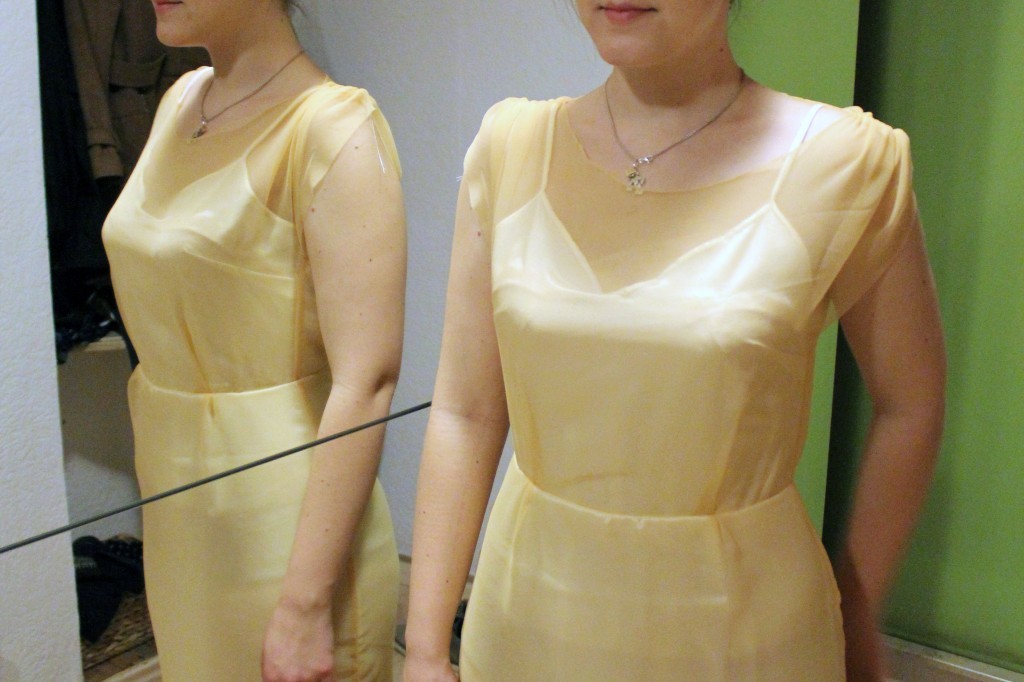
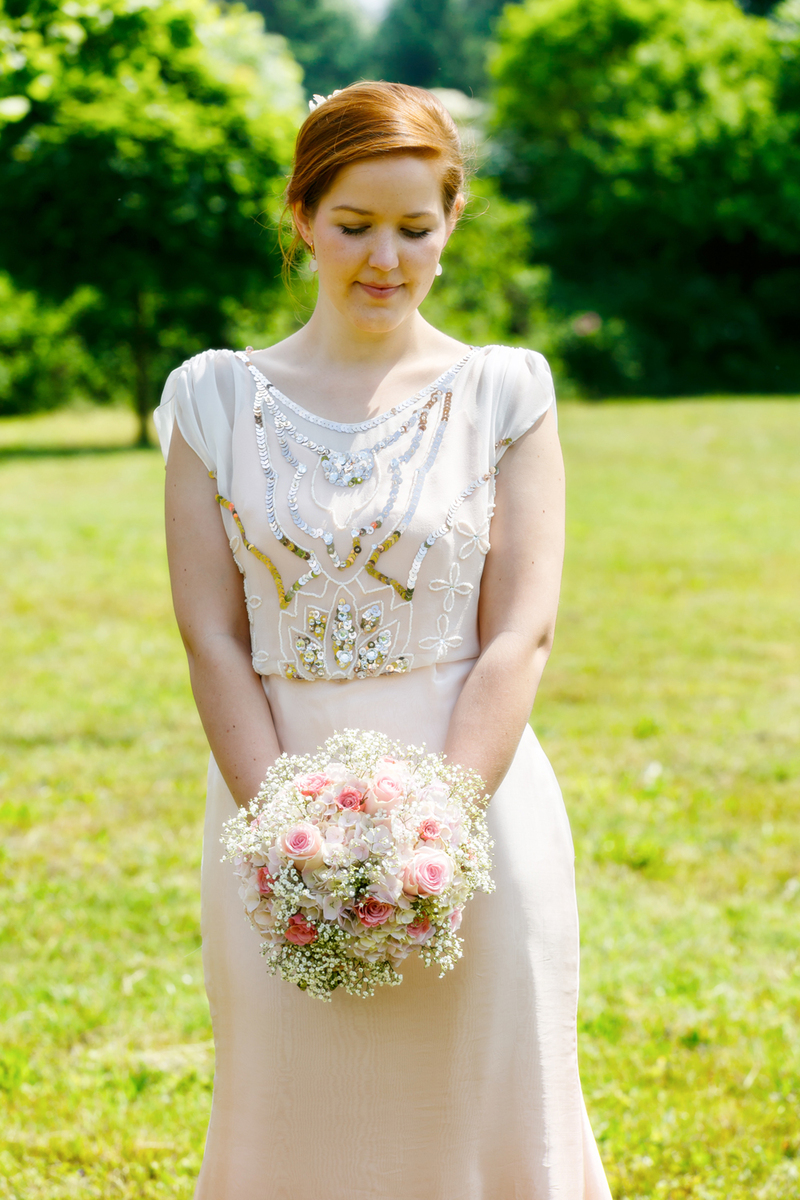
 This is probably the making of part of the wedding dress I am most excited to share with you! That’s very likely because it was the most fun part to create. Assembling a garment is fun, but it is also pretty repetitive as it is a similar process with many garments (even a wedding dress is just a dress after all). So trying something I haven’t done before was exciting and helping me loads to keep my sewing mojo up during the process.
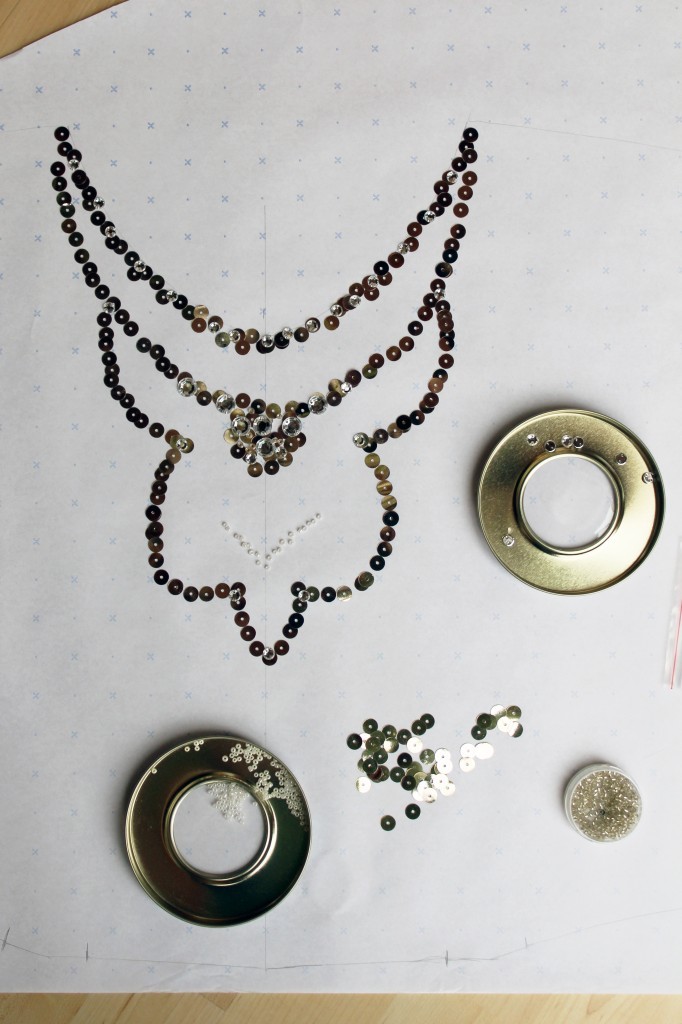
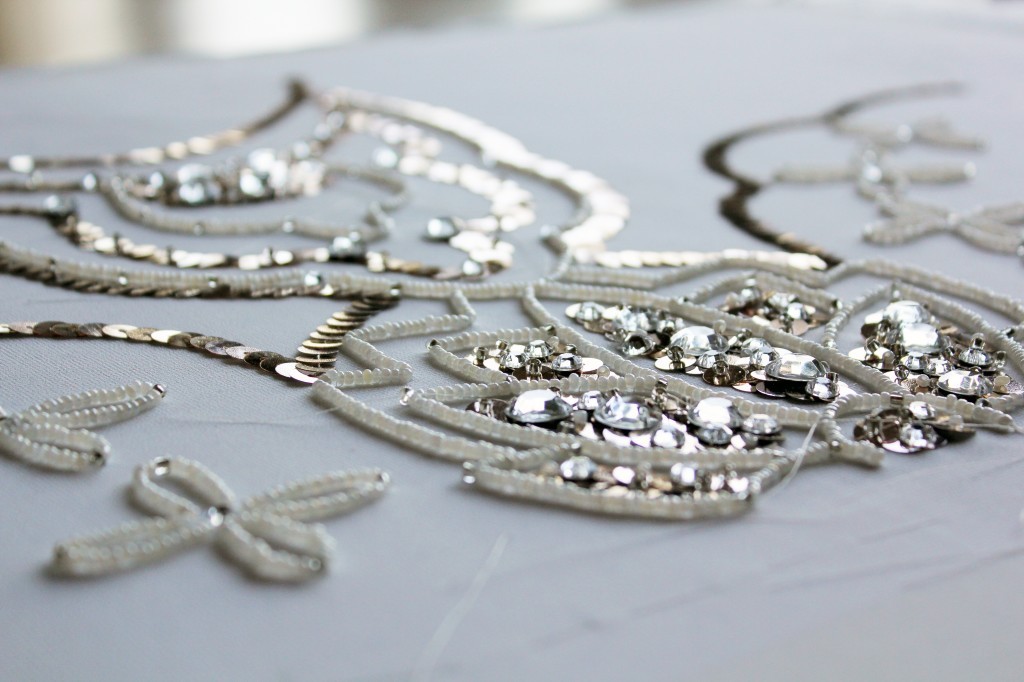
 Before testing out DIY embroidery frame solutions, I used a small embroidery hoop to check if my fabric was suitable for embroidering.
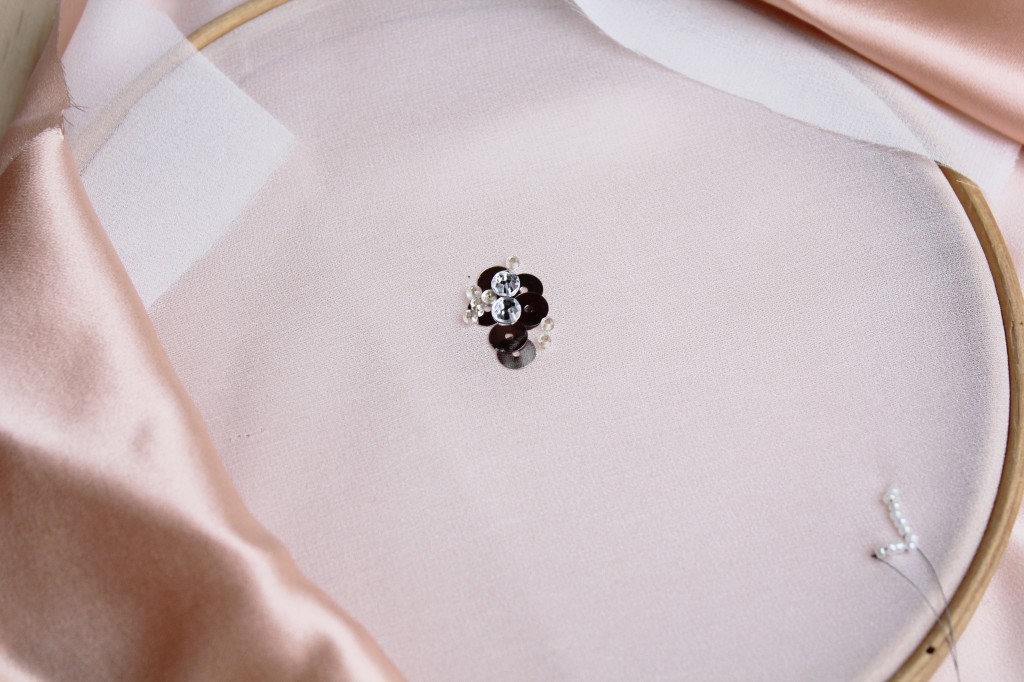 Once I got the knack of it, I had to think about creating a larger frame which would fit the whole of my bodice plus seam allowance. I used some styroform boards and pinned the fabric on it very tightly. The advantage was also that I could pin my template underneath so I didn’t have to mark the pattern on the fabric.
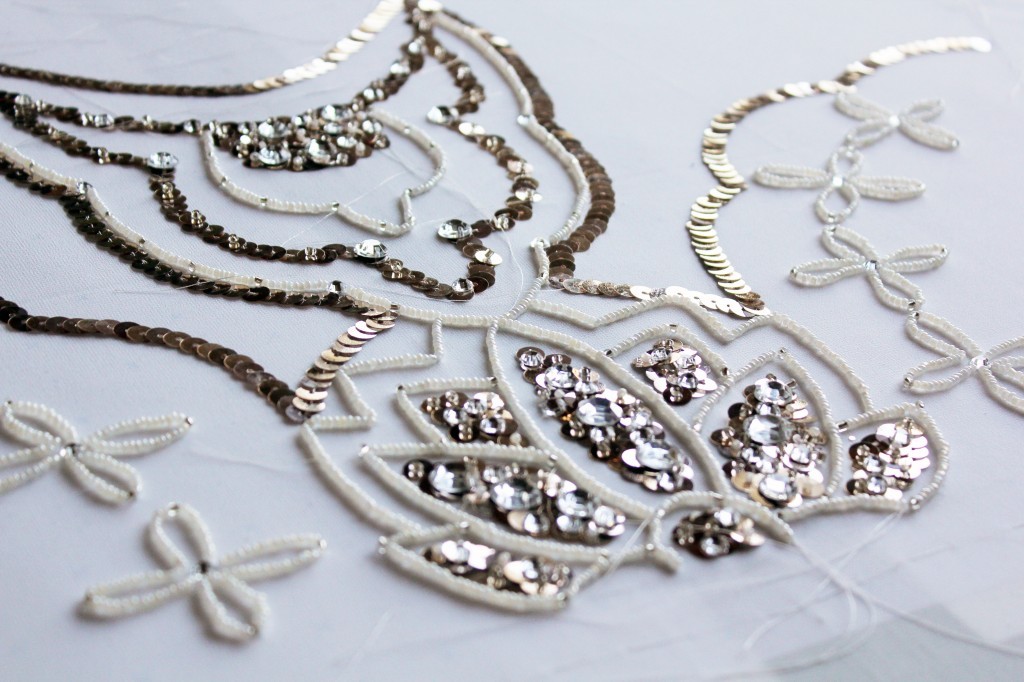
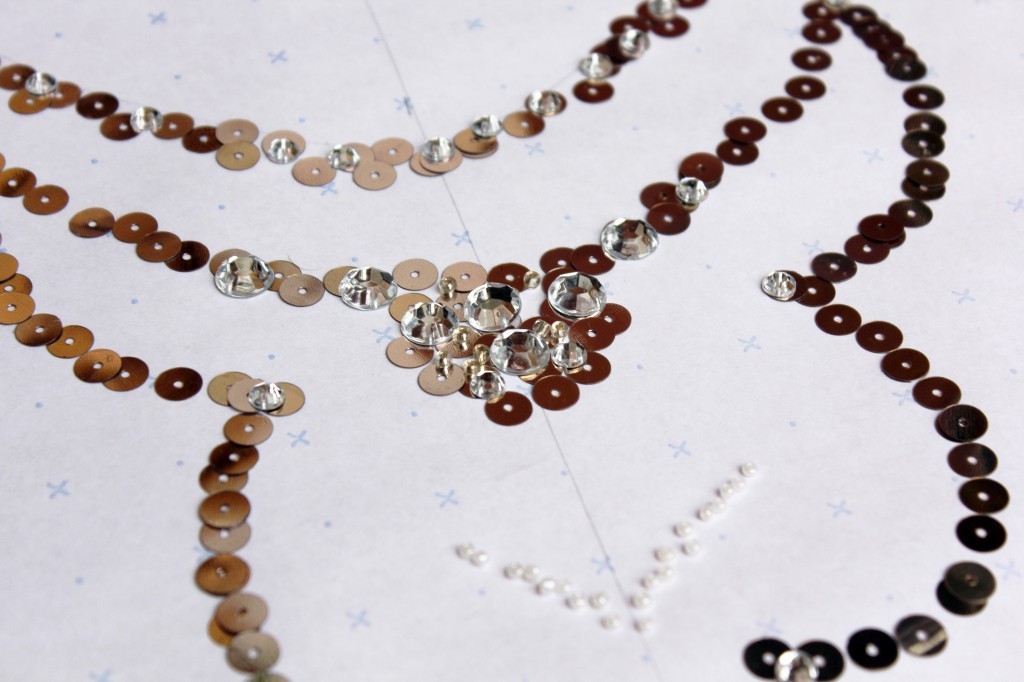
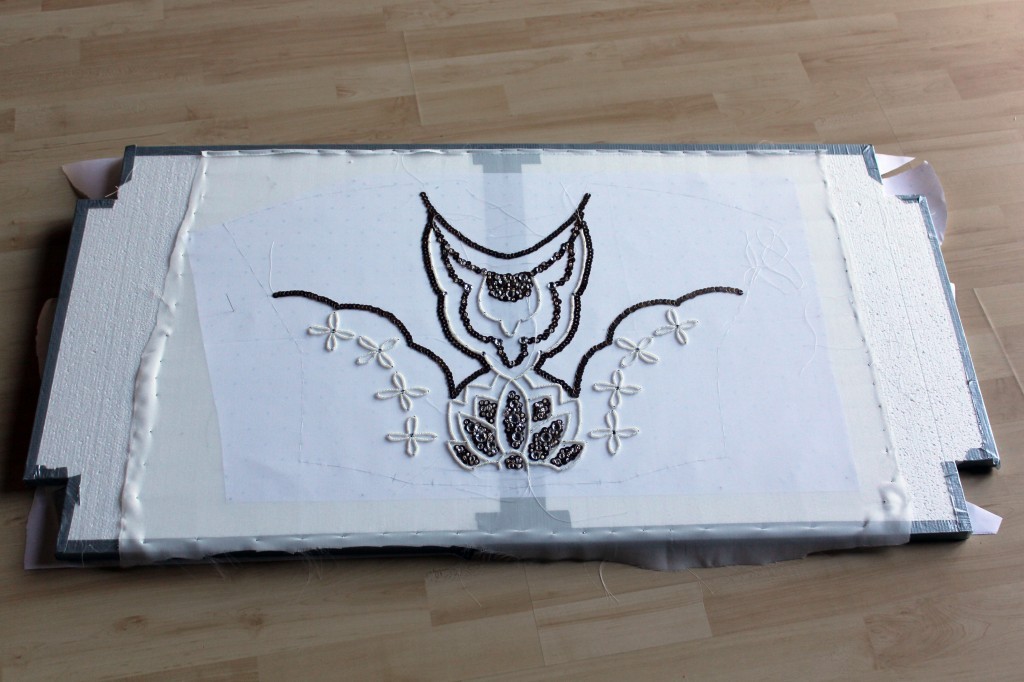
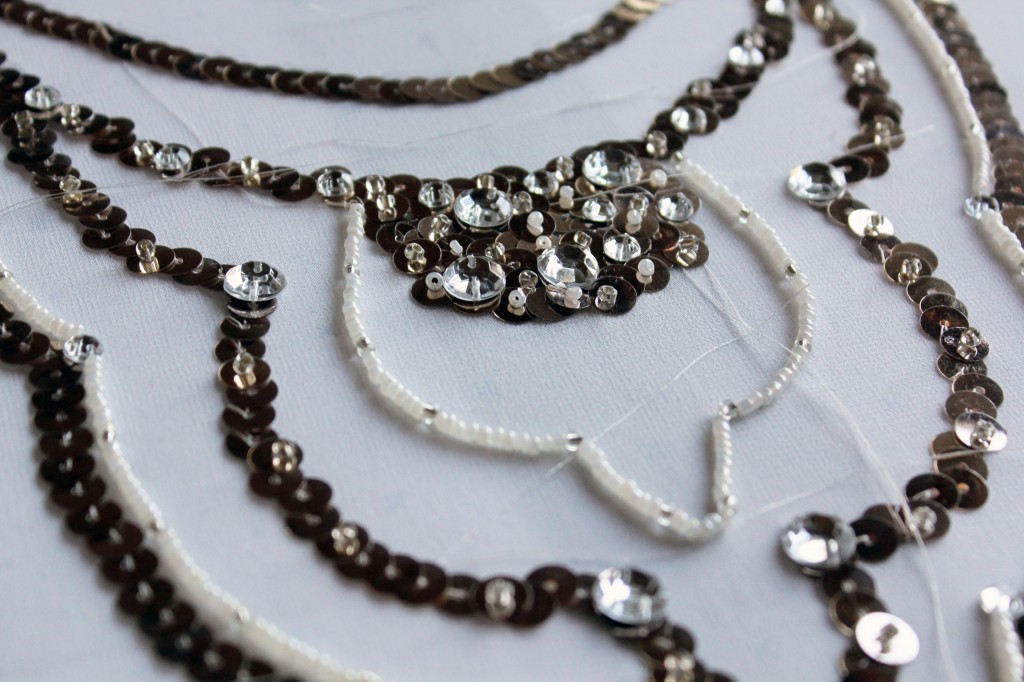
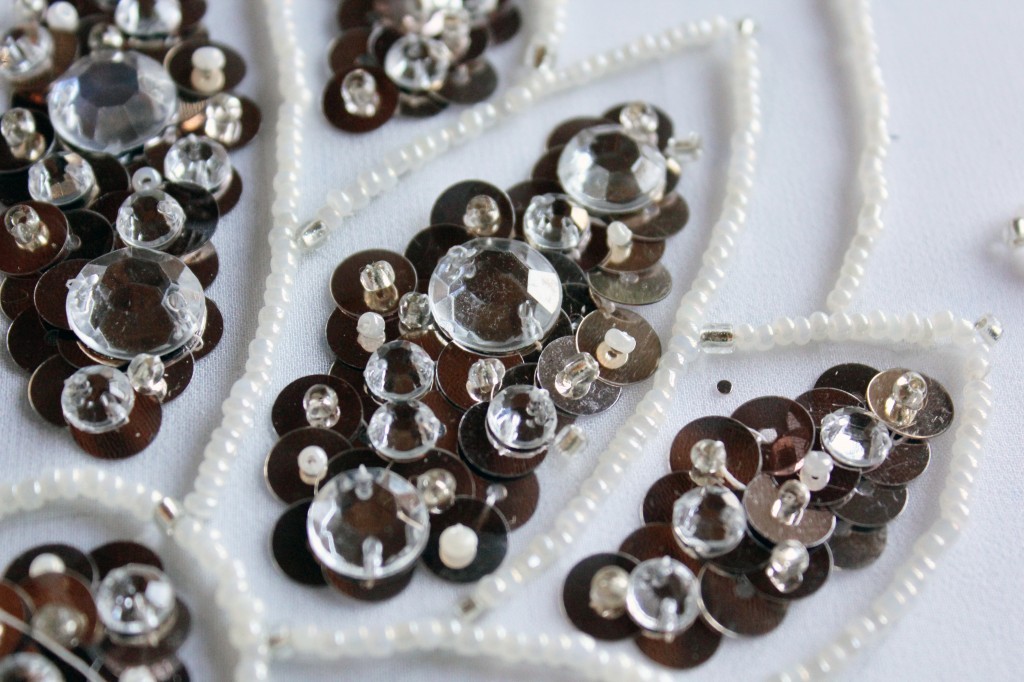
 Here you can see my template underneath the fabric, which I drew with pencil on drafting paper to make sure the pattern was neat and mirrored exactly.
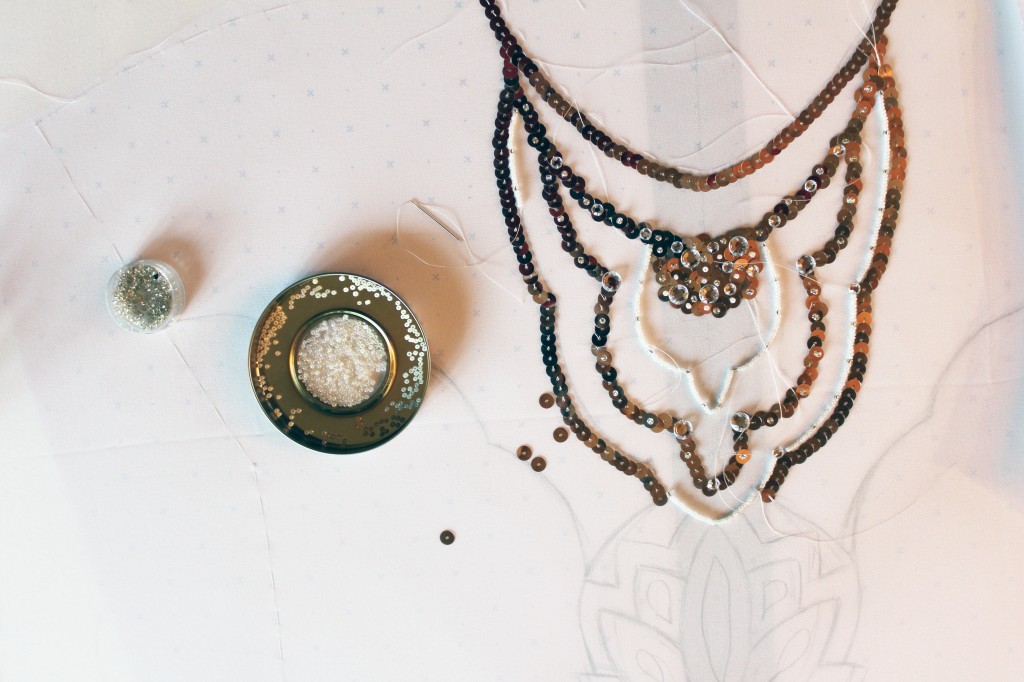
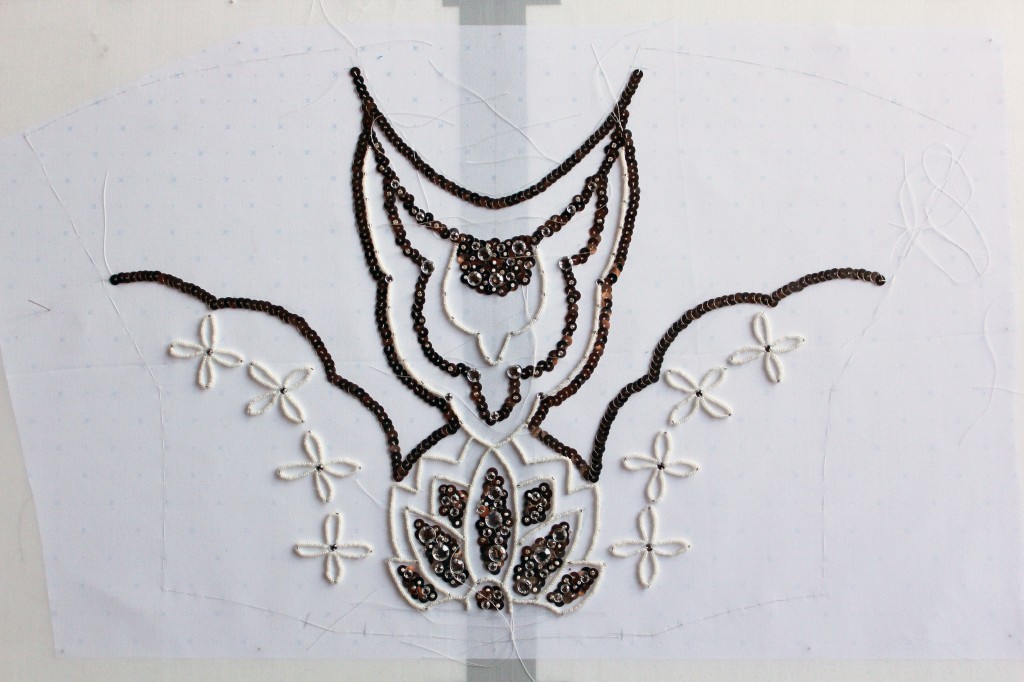
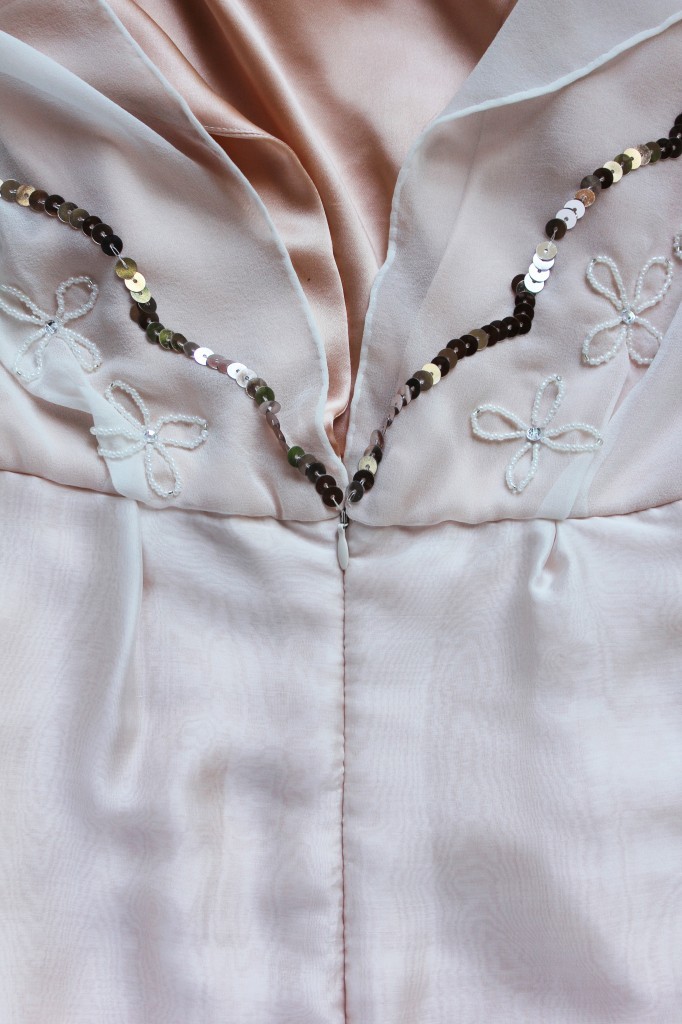
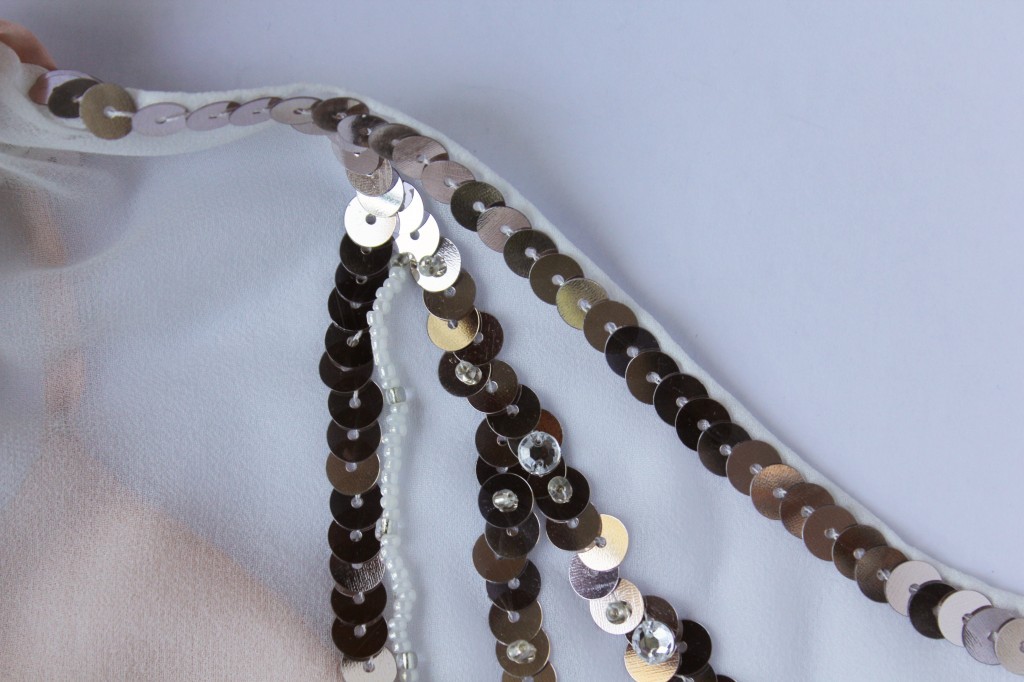
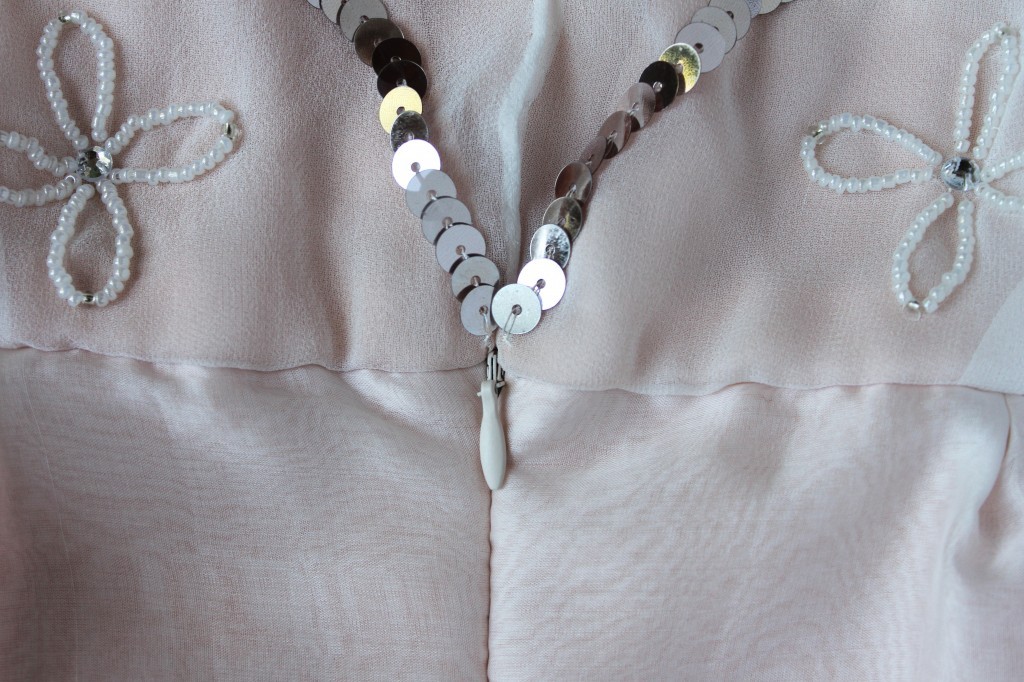
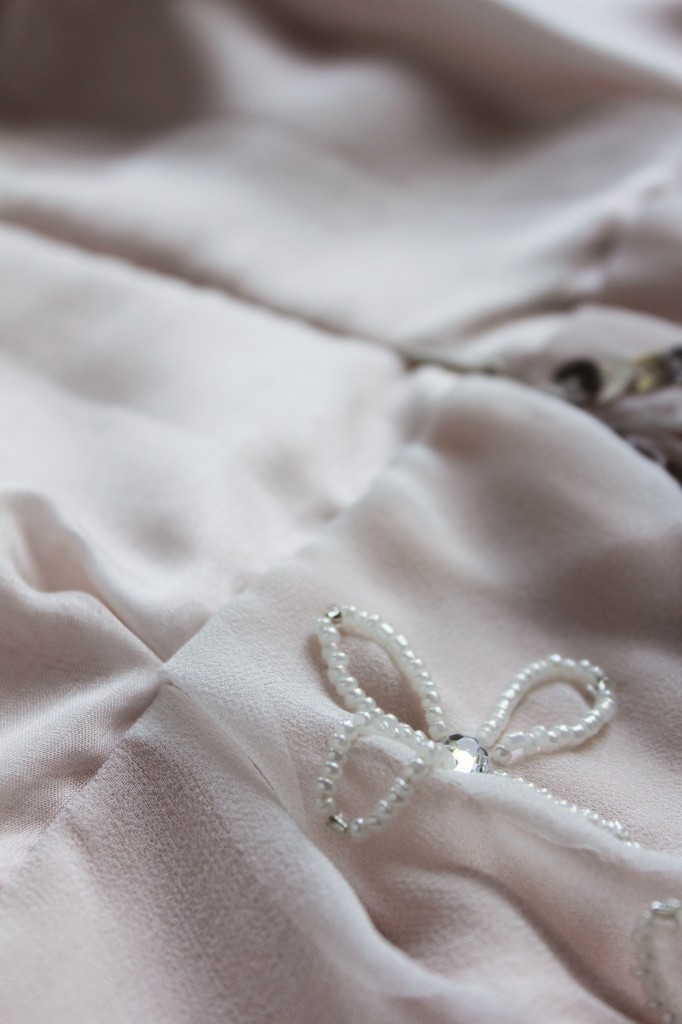
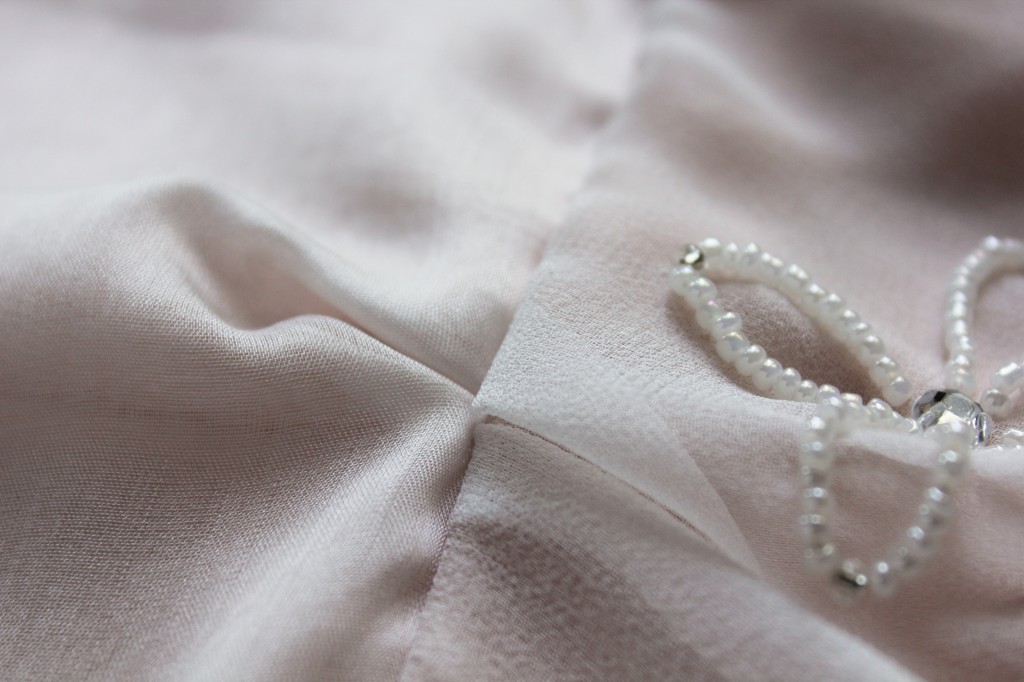
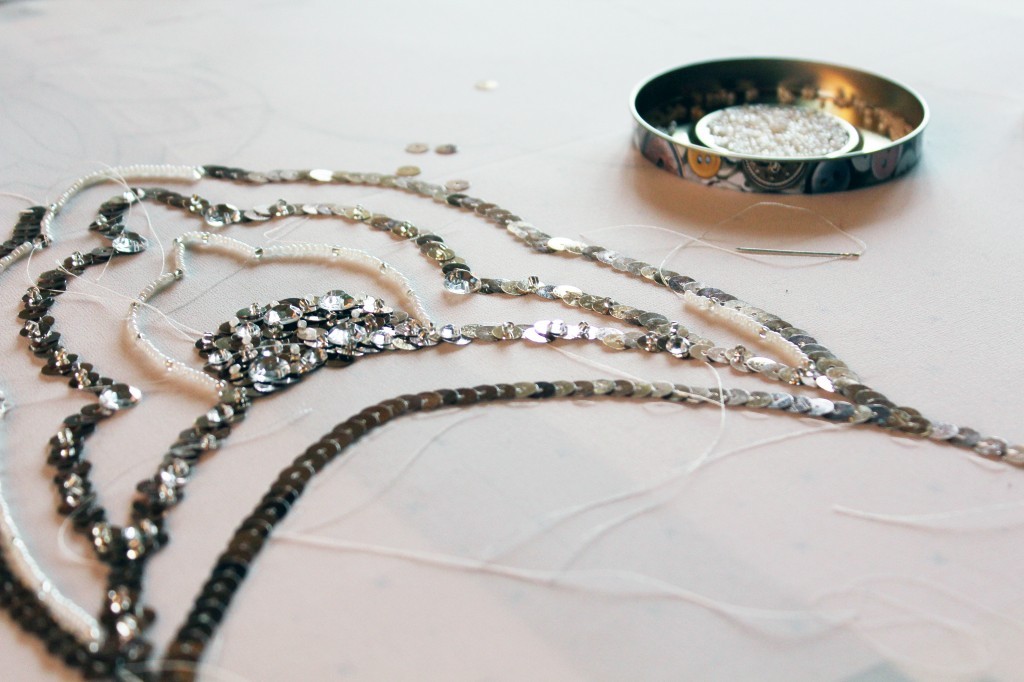
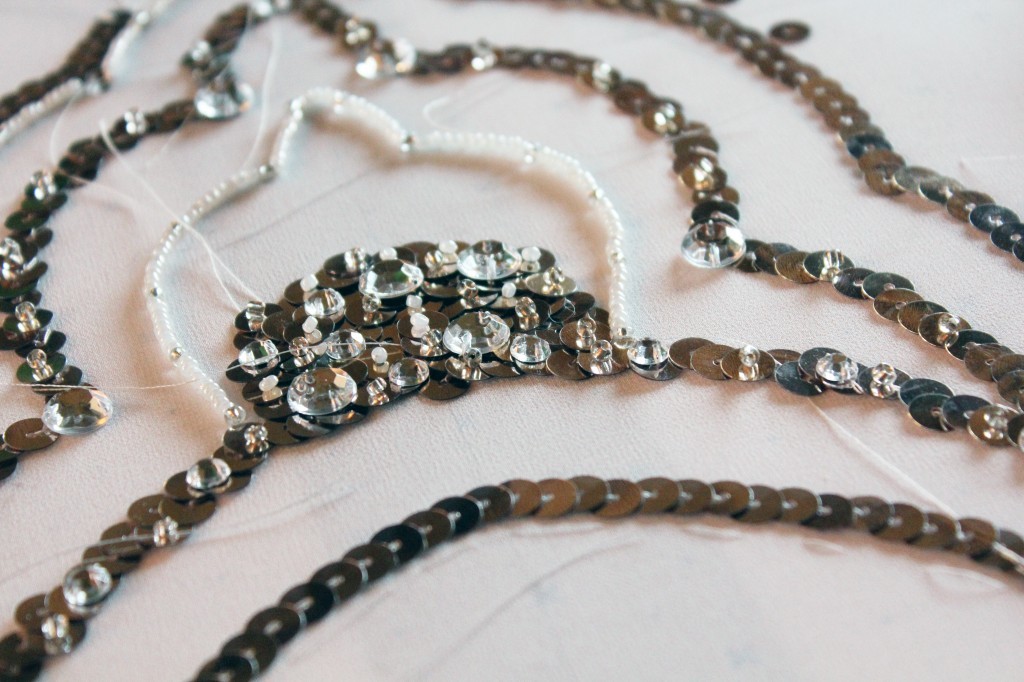 I actually didn’t use too many different kinds of beads and diamonds:
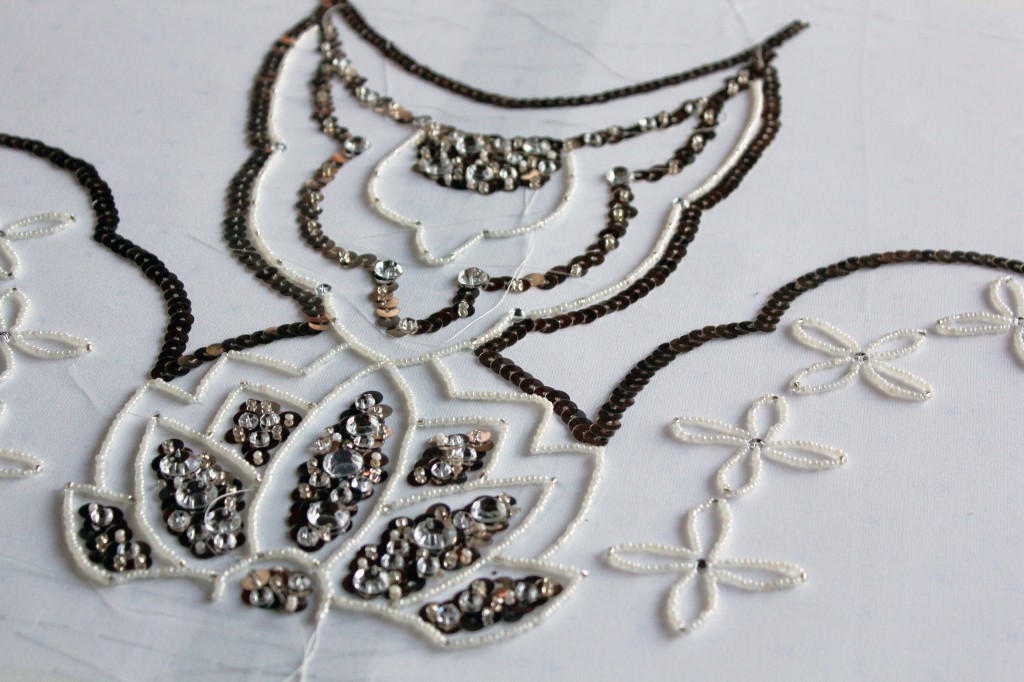 I had roughly outmapped the lines and shapes, but the exact positions and arrangement of beads and diamonds came about during the creative process.
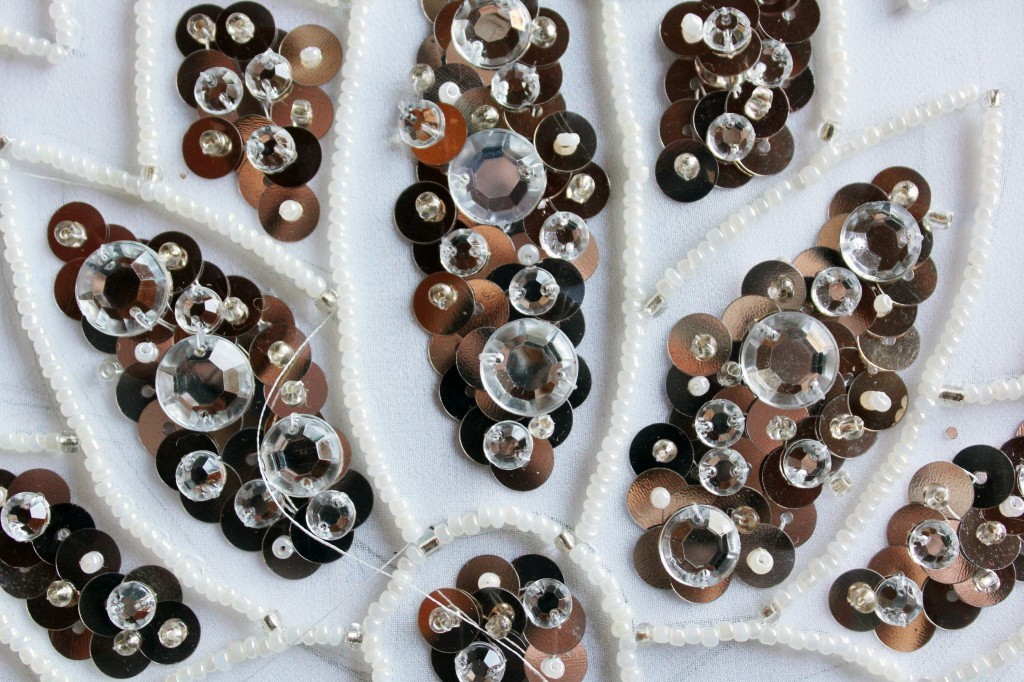
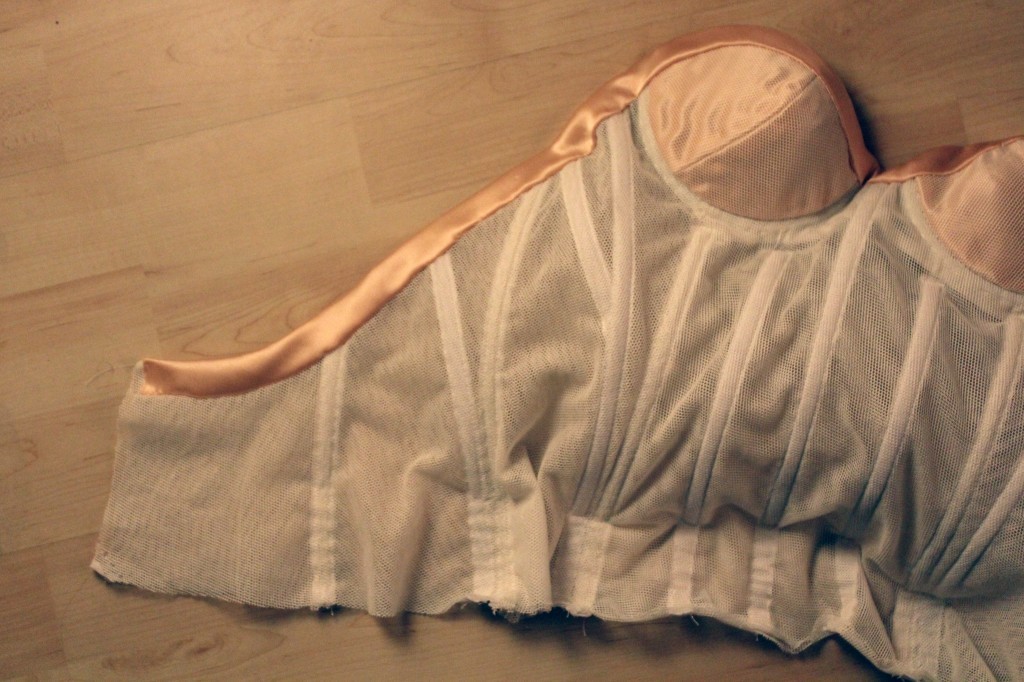
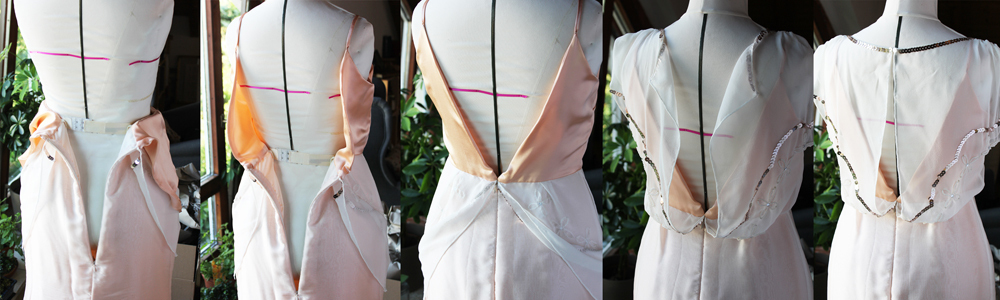
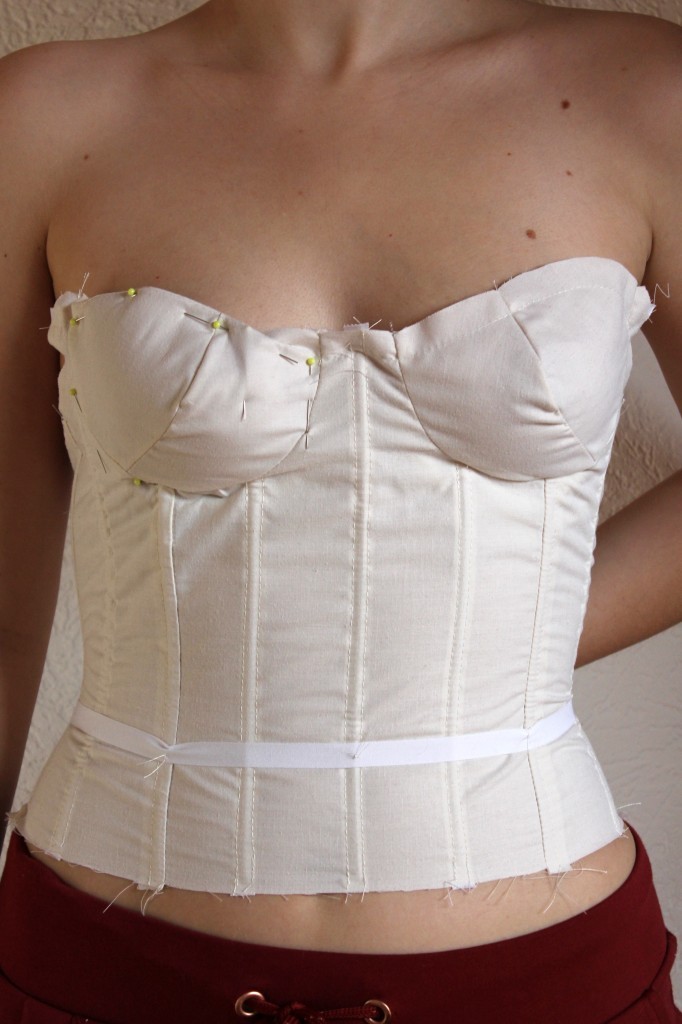
 As I mentioned in the previous posts, my backless dress required an alternative solution regarding the understructure. A normal bra wouldn’t do. I always wanted to try and use a couture understructure in a garment and what better garment than a wedding dress, right?
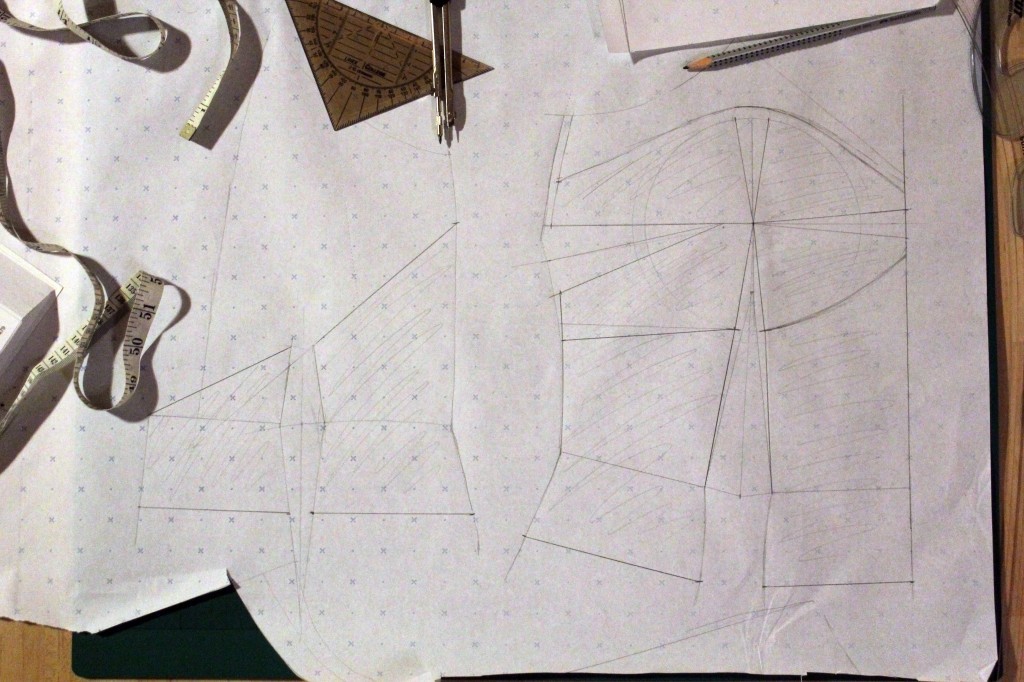
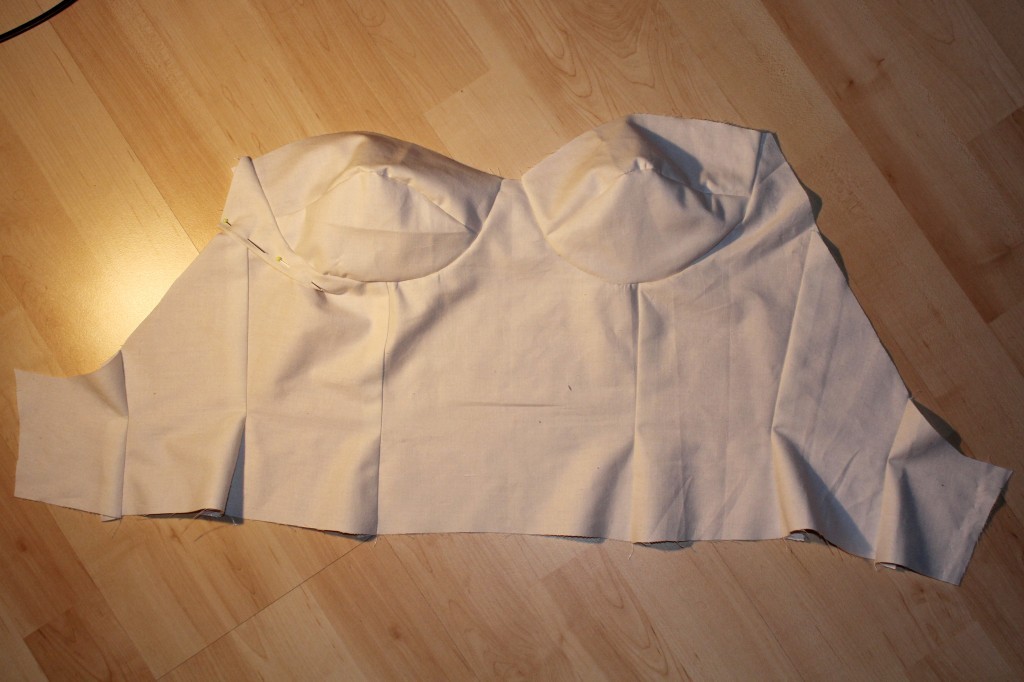
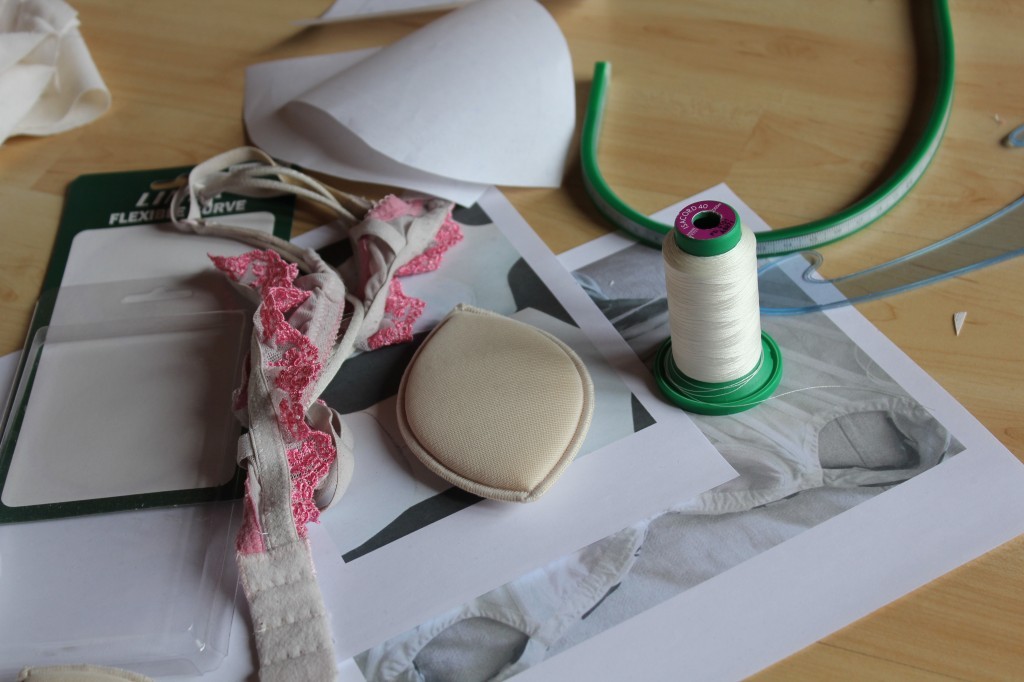
 Using the padded cup, I draped some muslin fabric over it and created a cup pattern.
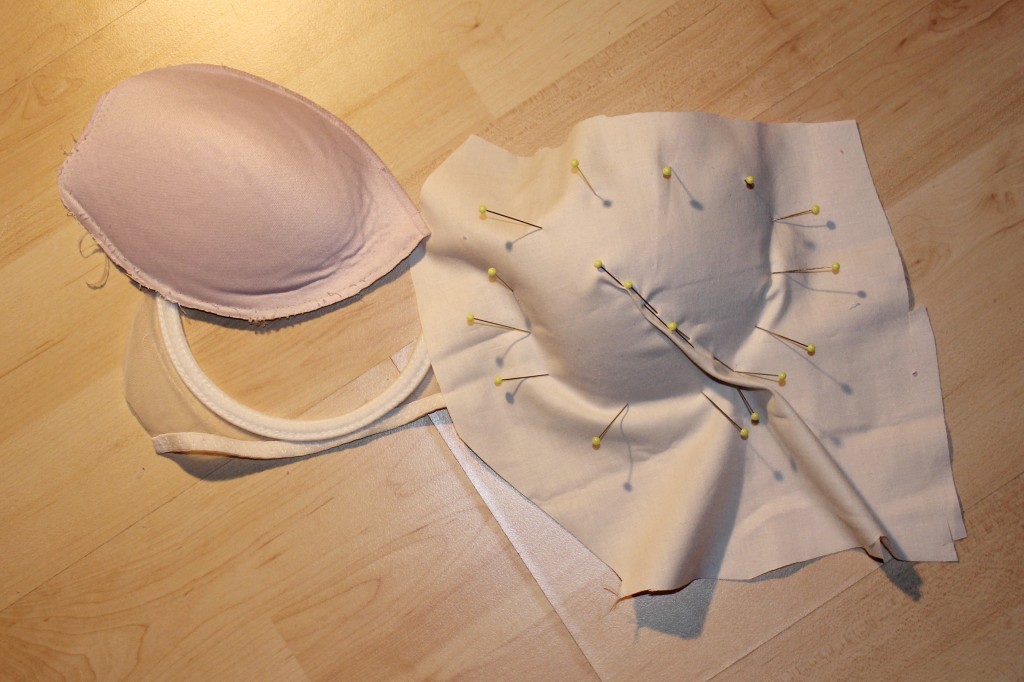
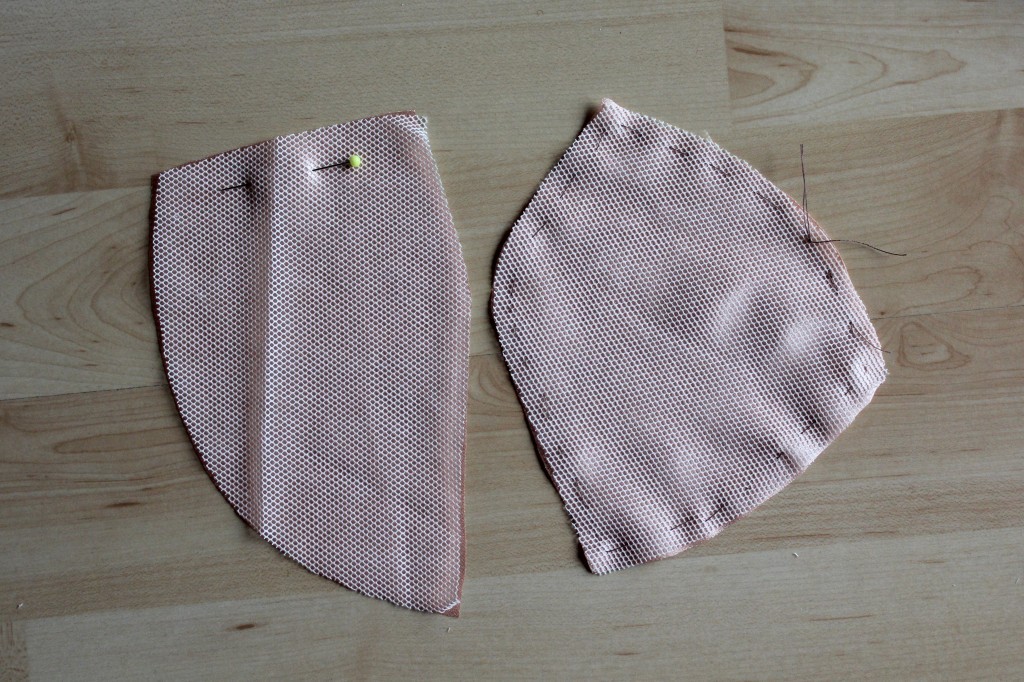
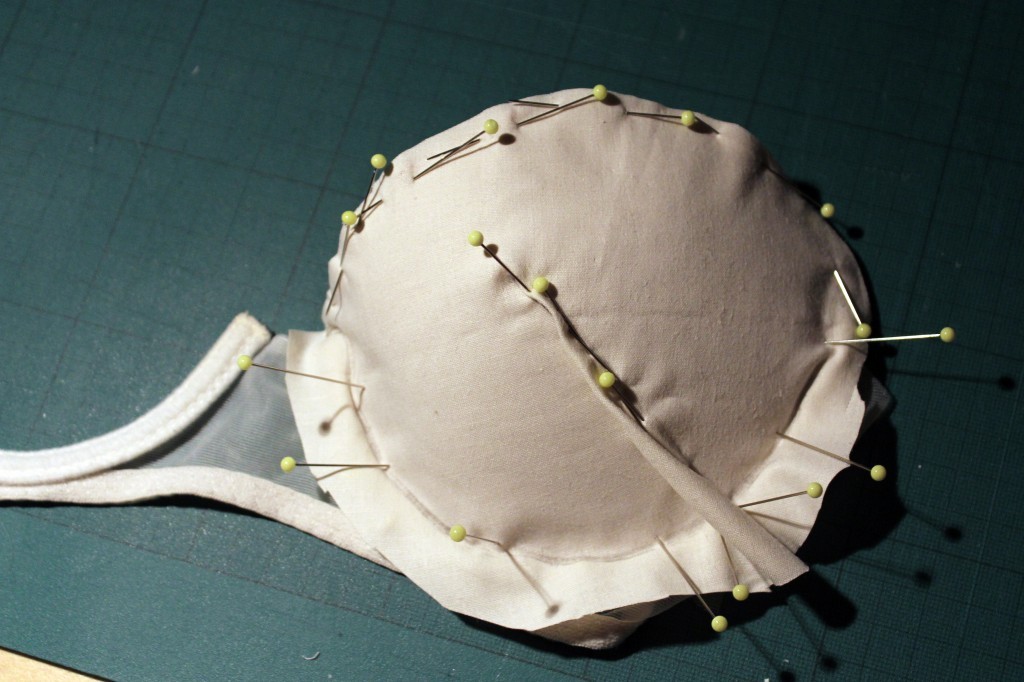 Here’s the finished cup pattern. Later on in the process, I cut up the pattern and added a seam instead on keeping the dart, for a better fit (see next pic).
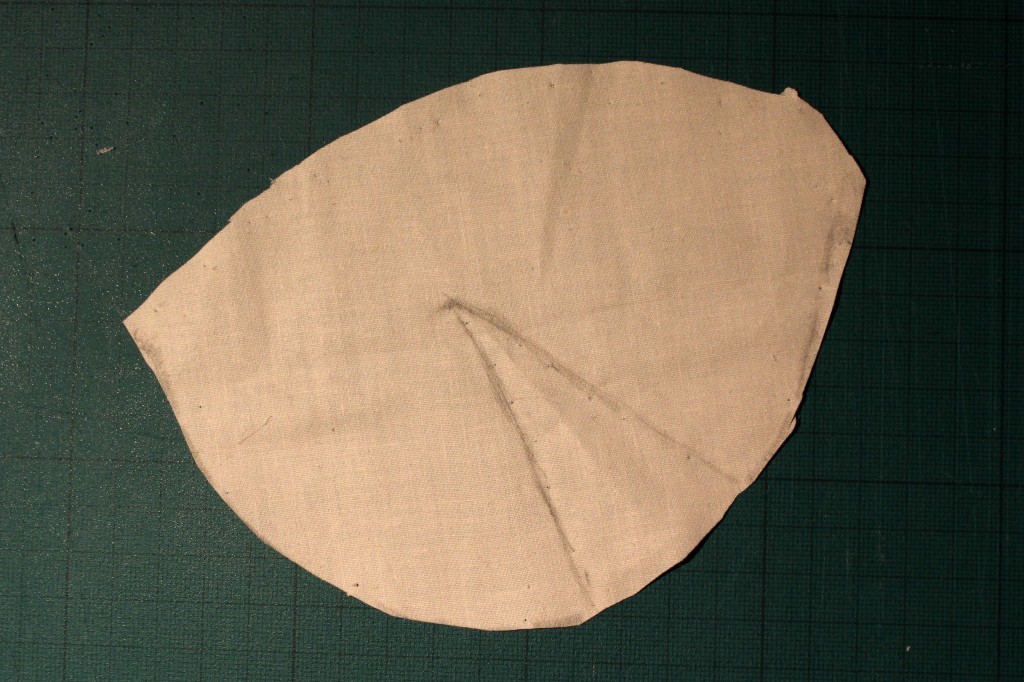
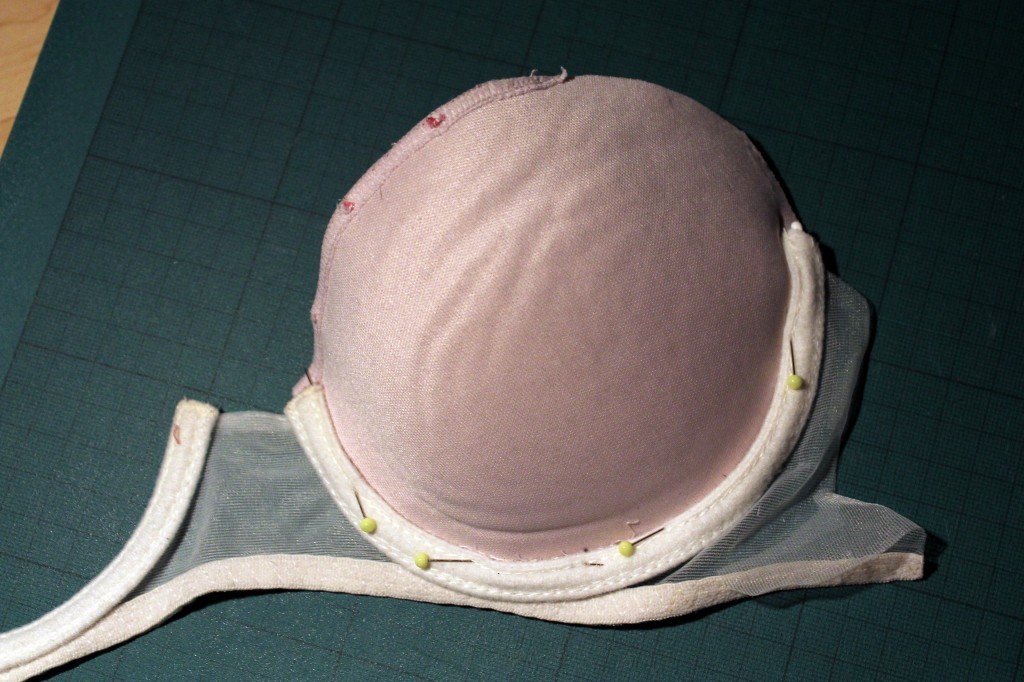
 I was happy with the fit so far and only slightly changed the shape of the padded bra cups by adding a dart:
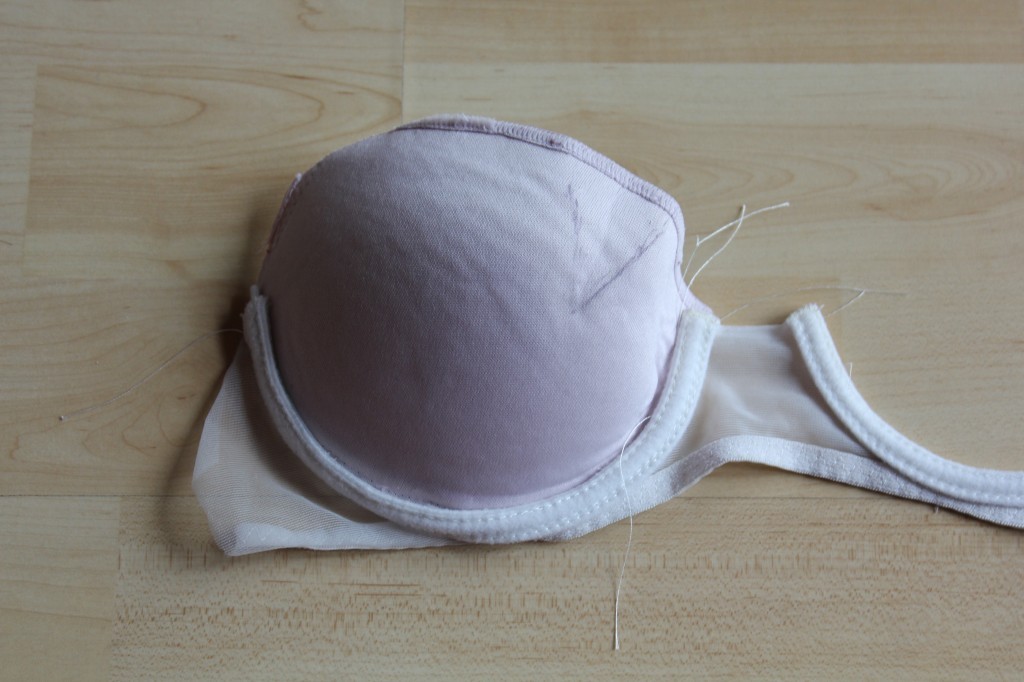 To reduce bulk, I cut out the dart and sewed the edges together by hand.
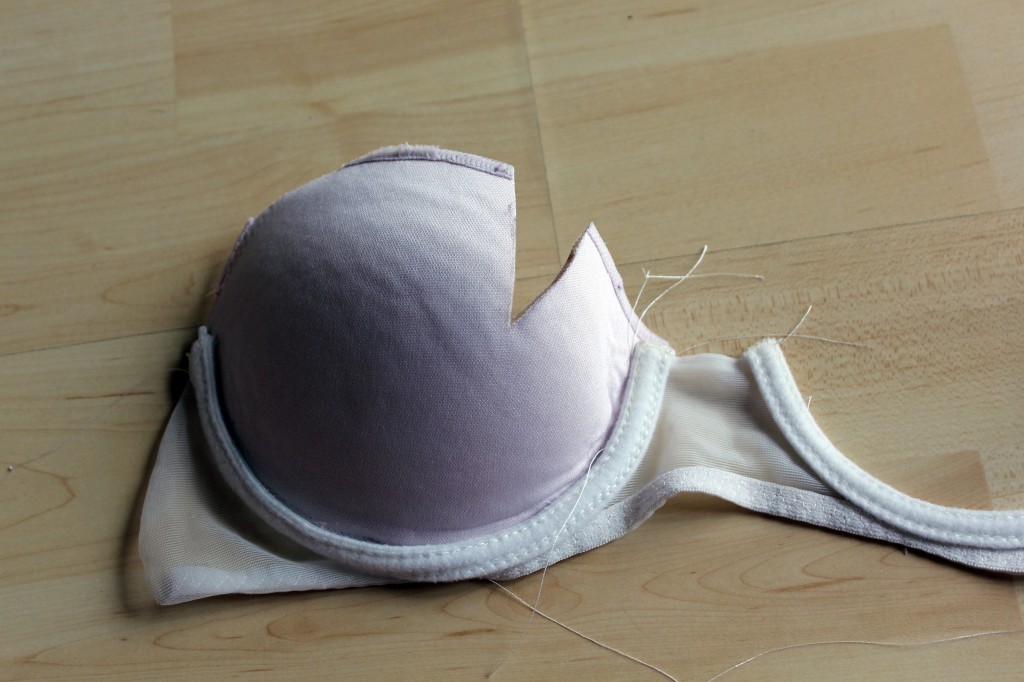

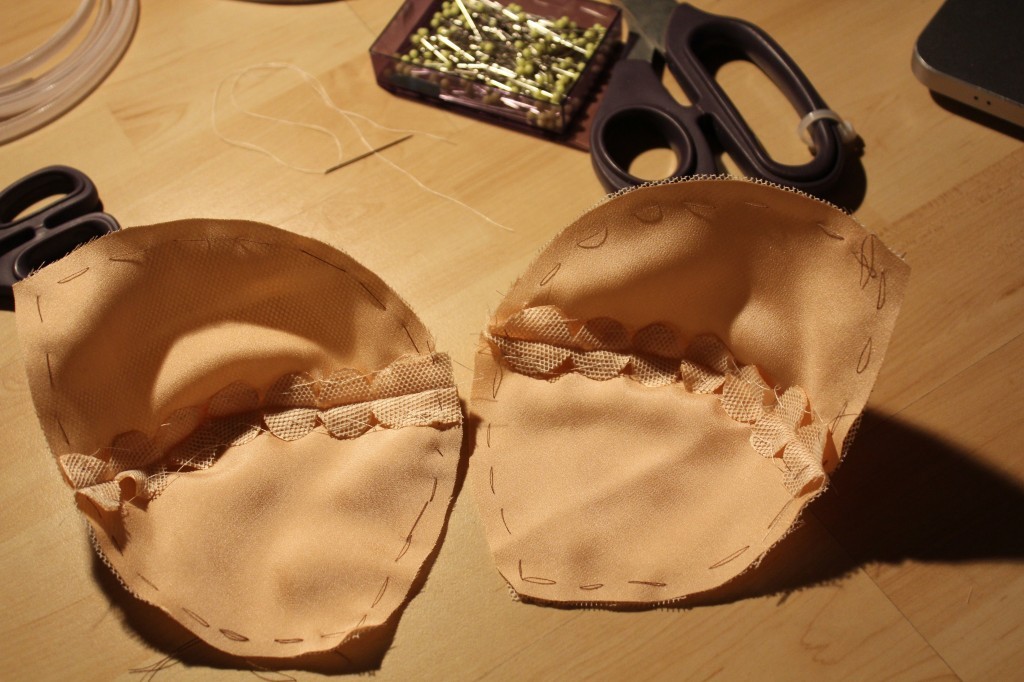
 For extra strength and to prevent stretching, I cut out too layers, one on the bias and one on grain. You can see the difference in the picture below:
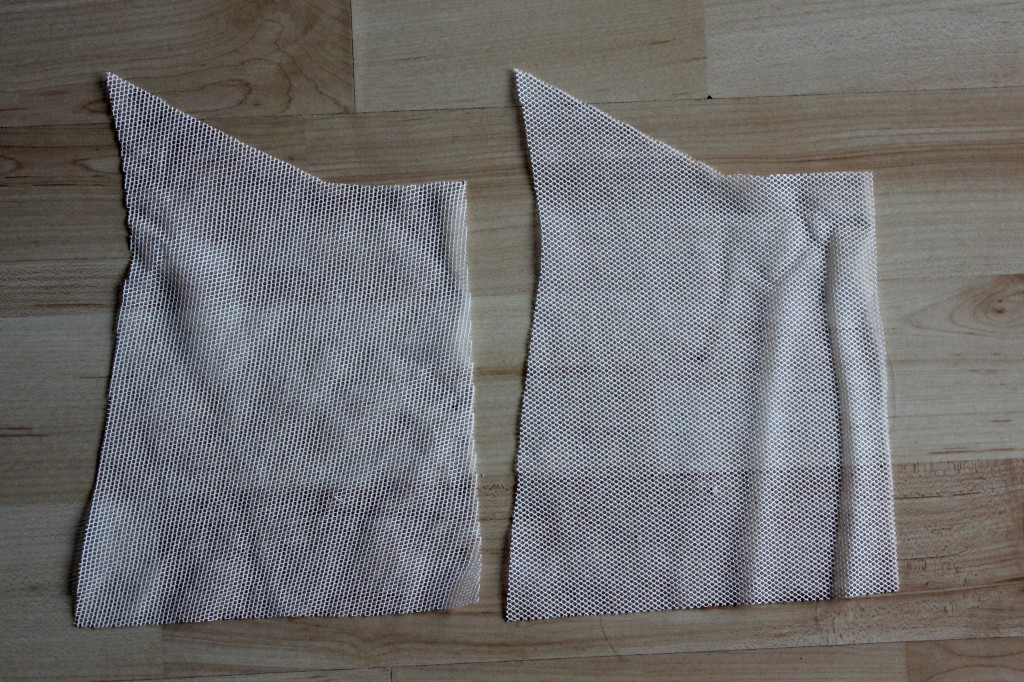
 For the cups I decided to use some of my lining silk fabric to underline the bra cups (just for prettyness nothing else). As the silk was very delicate and slippery I handbasted the two fabric together before sewing.
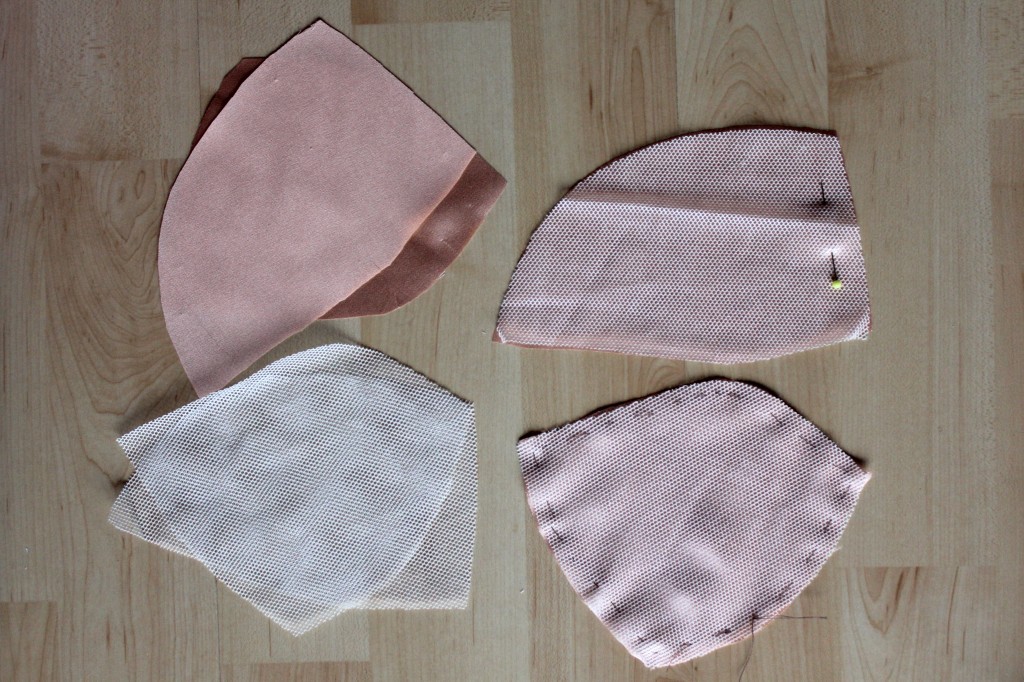
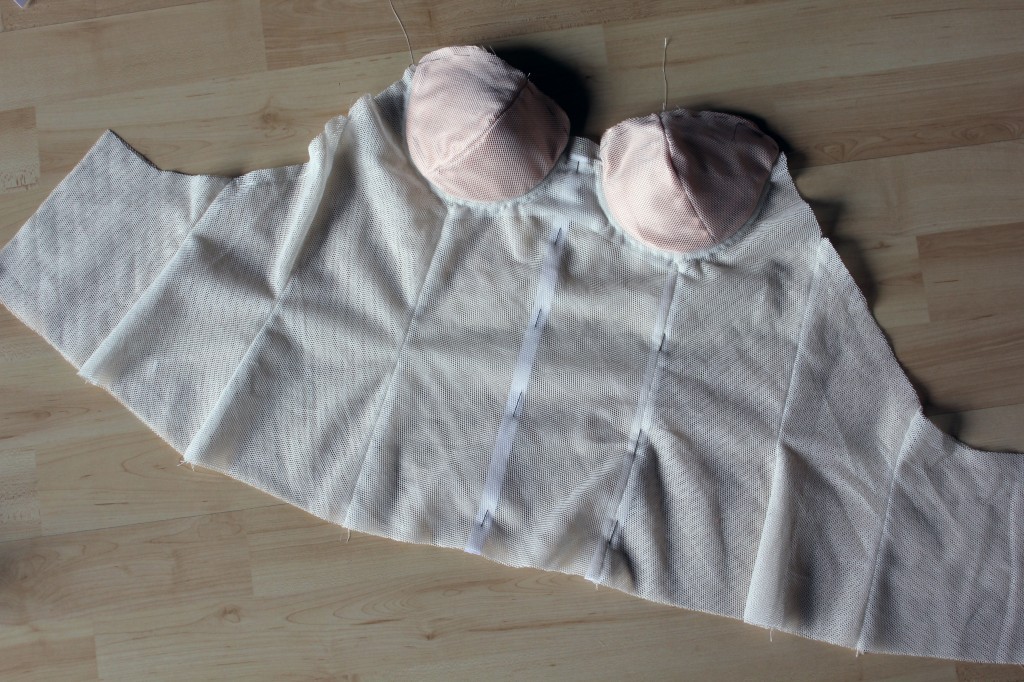
 I then added the underwire which was also handsewn into the corset.
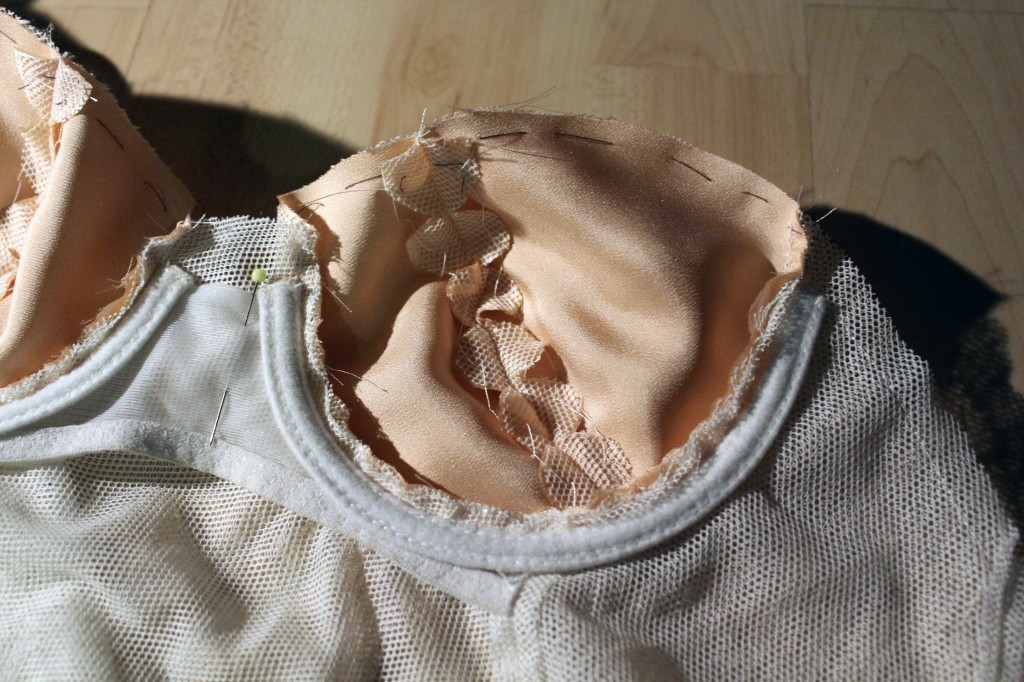
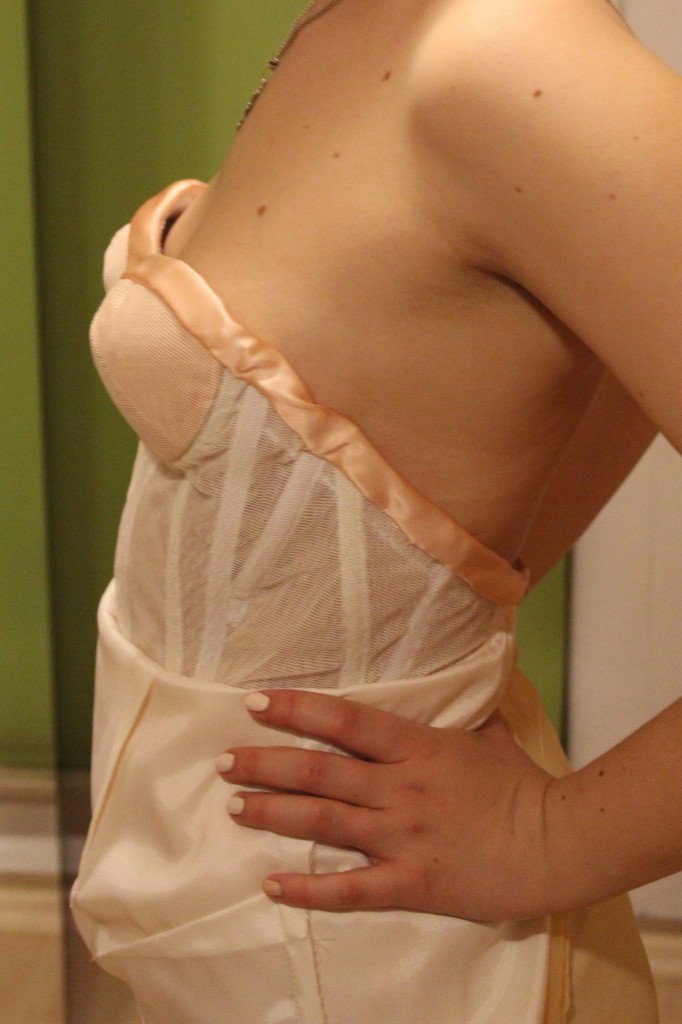
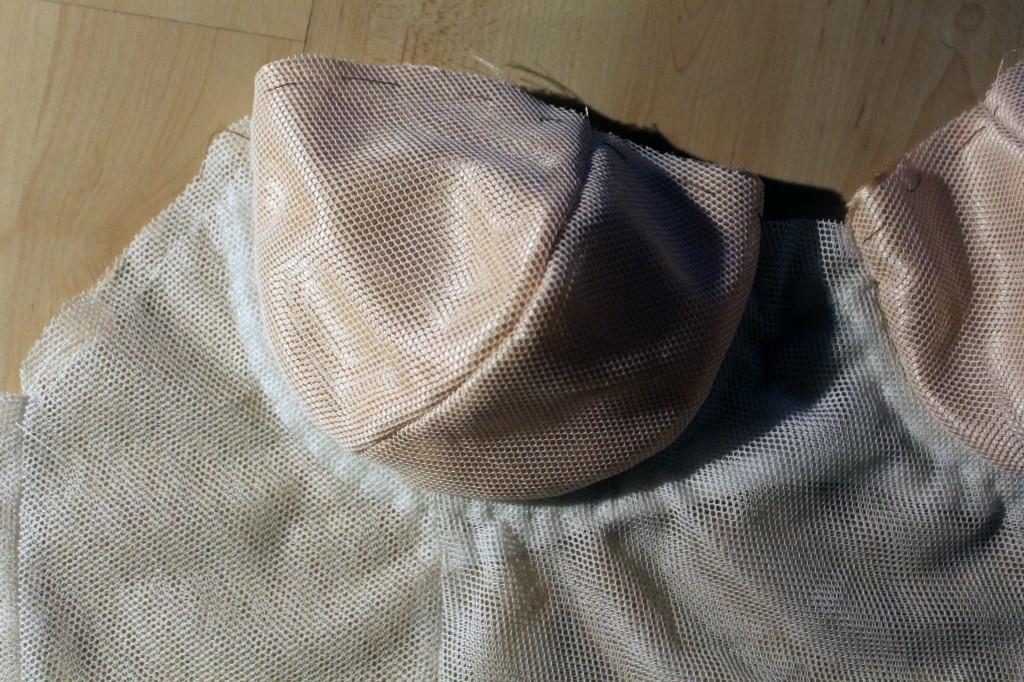 And in go the padded cups! (More handsewing!)
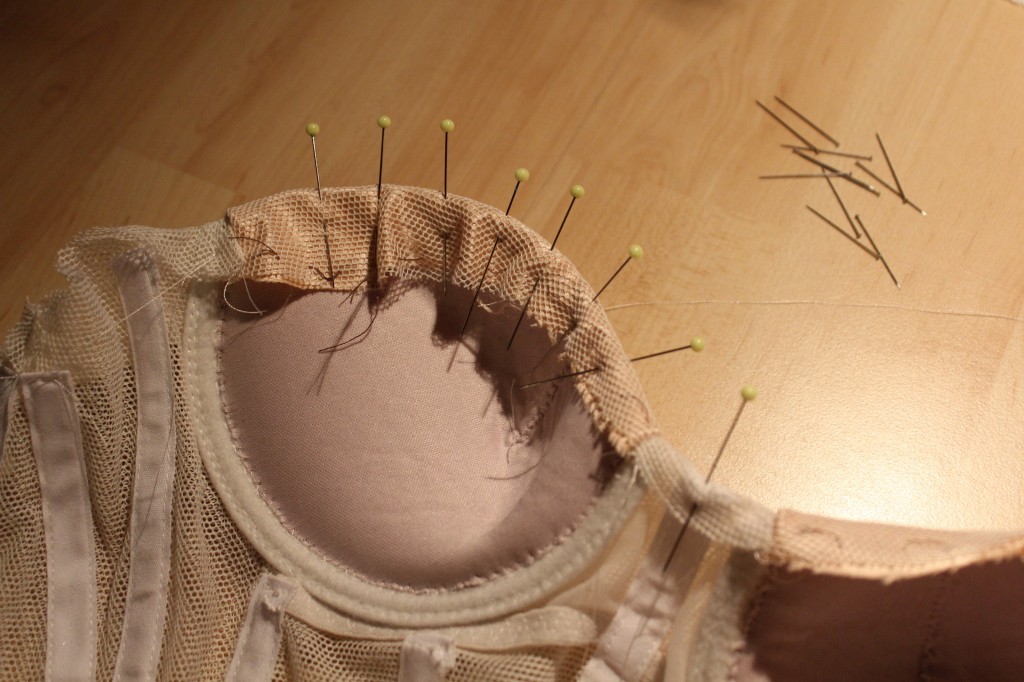
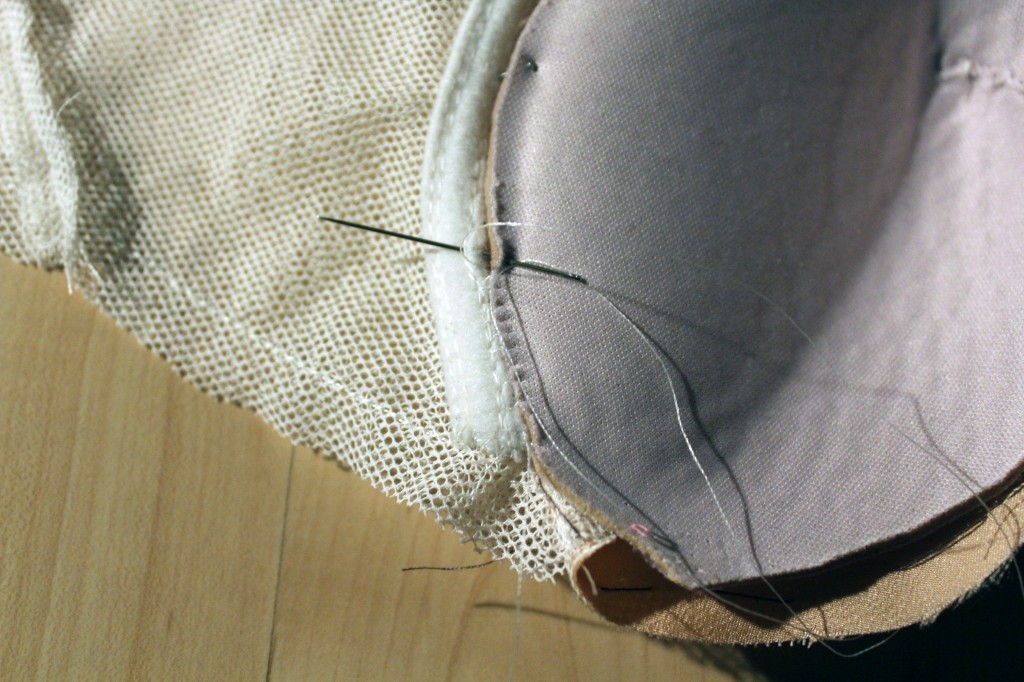 Just as a side note: I stay-stitched the curved seams to prevent stretching out. Here you can also see my cotton ribbon pinned on to repare the boning channels.
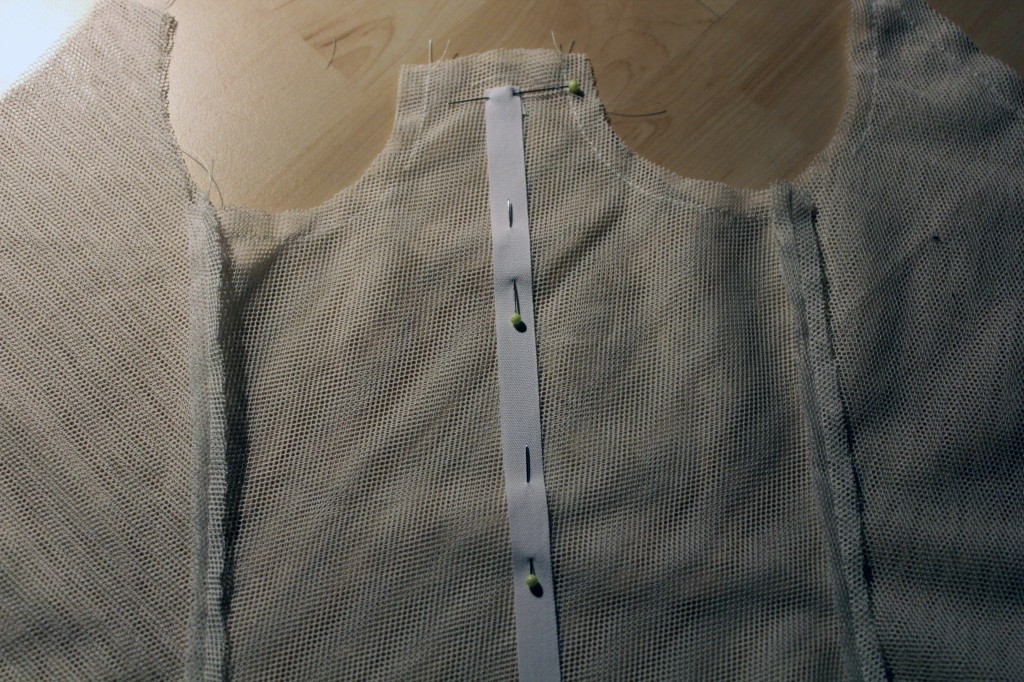
 The channels for the boning are sewn onto the corset.
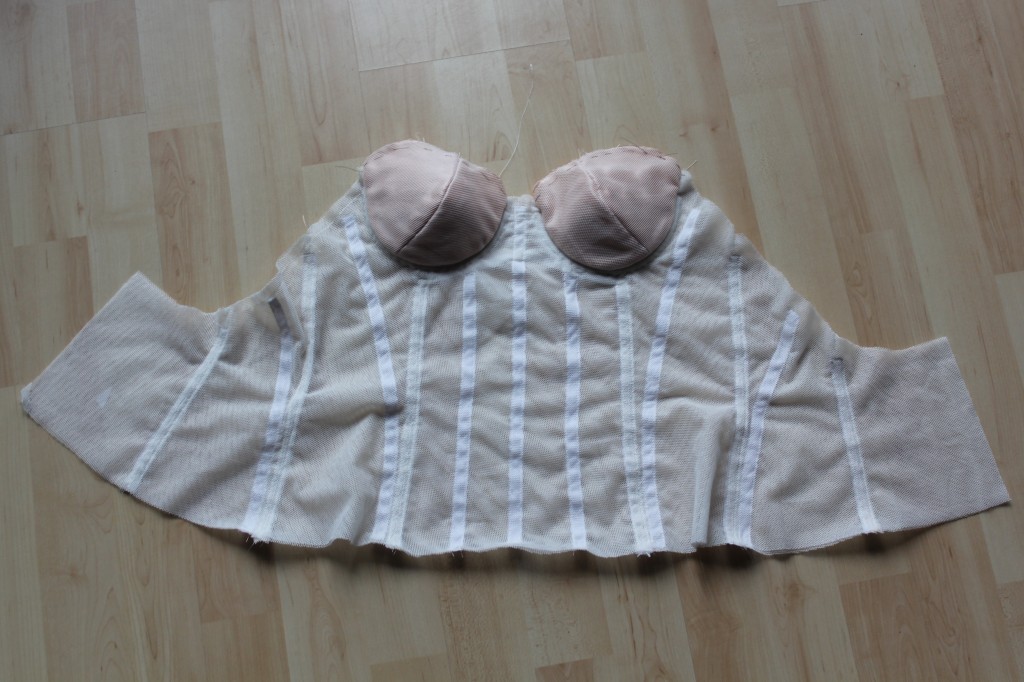
 I used two different width of polyester boning (courtesy of
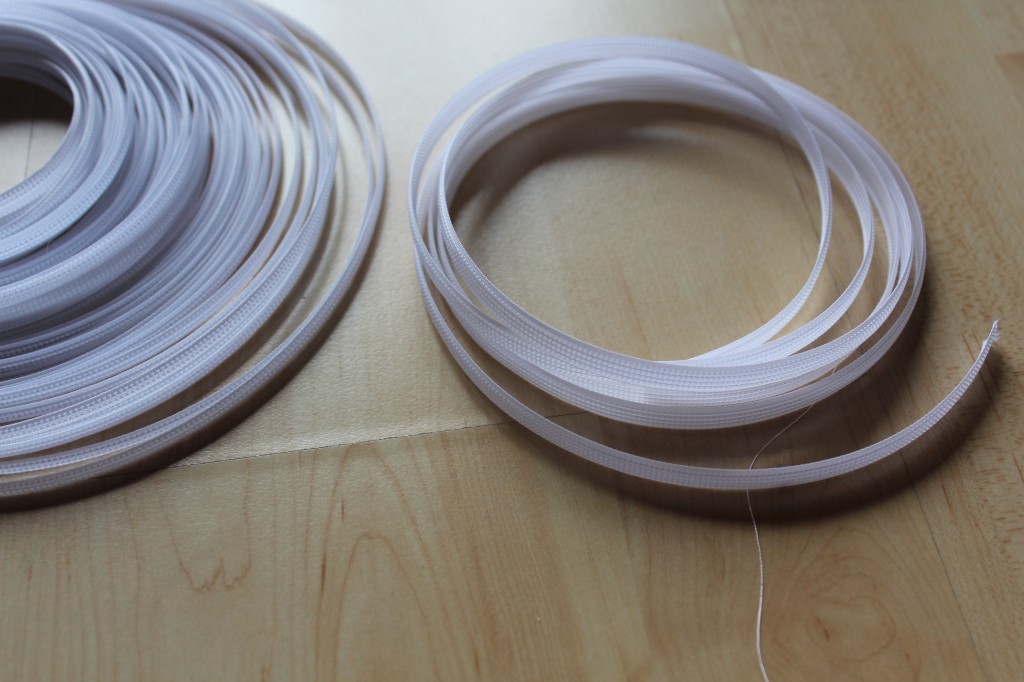

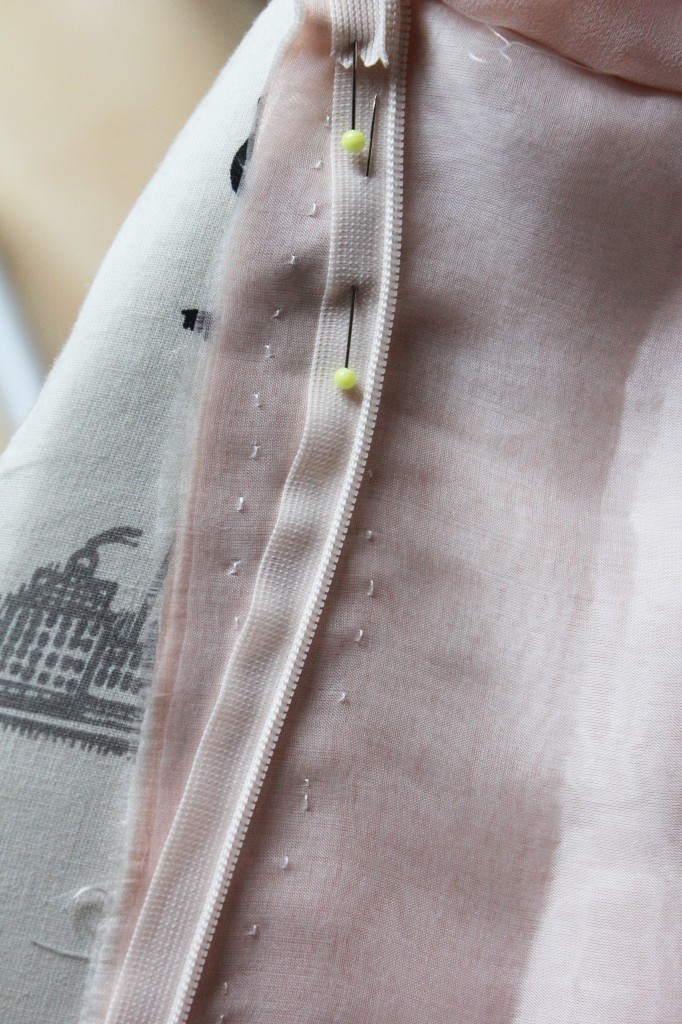
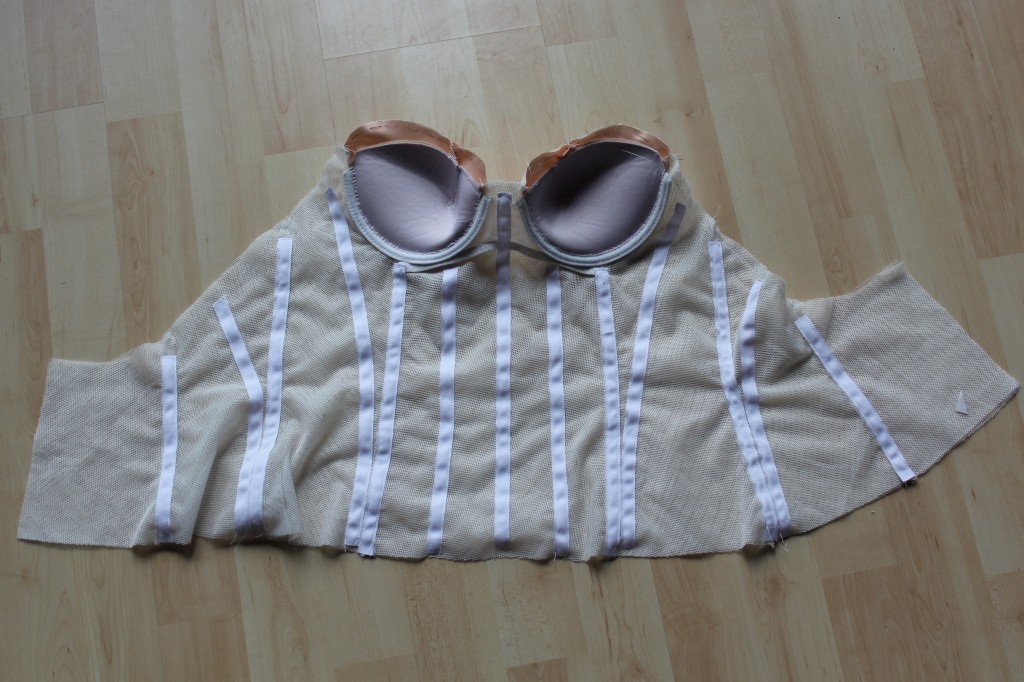
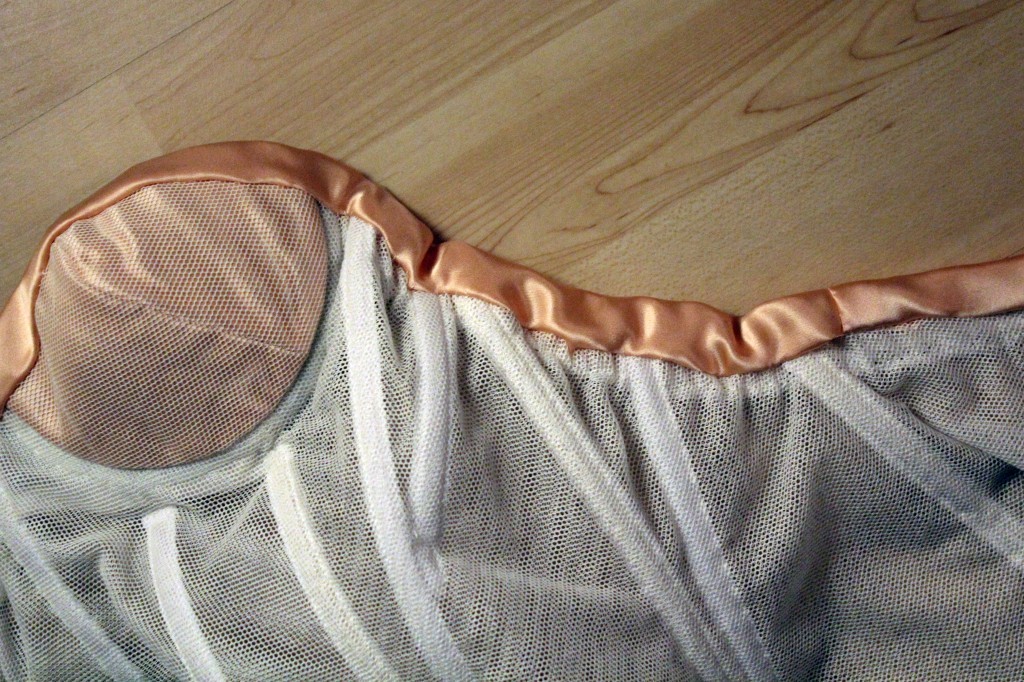
 Neatening the neckline before attaching the silk bias binding strip with handstitches:
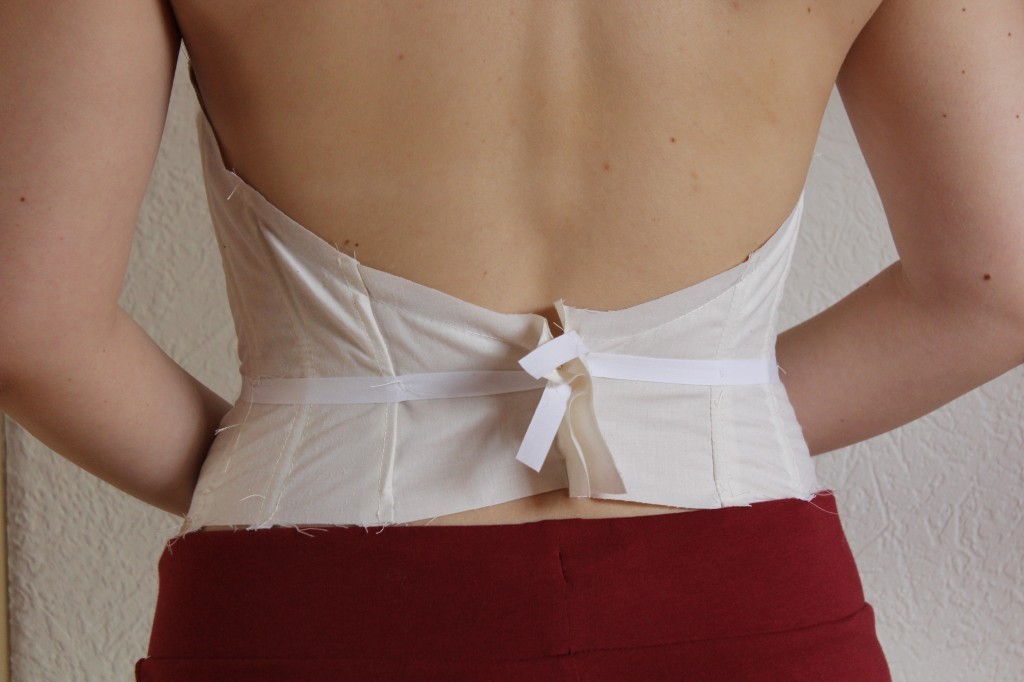
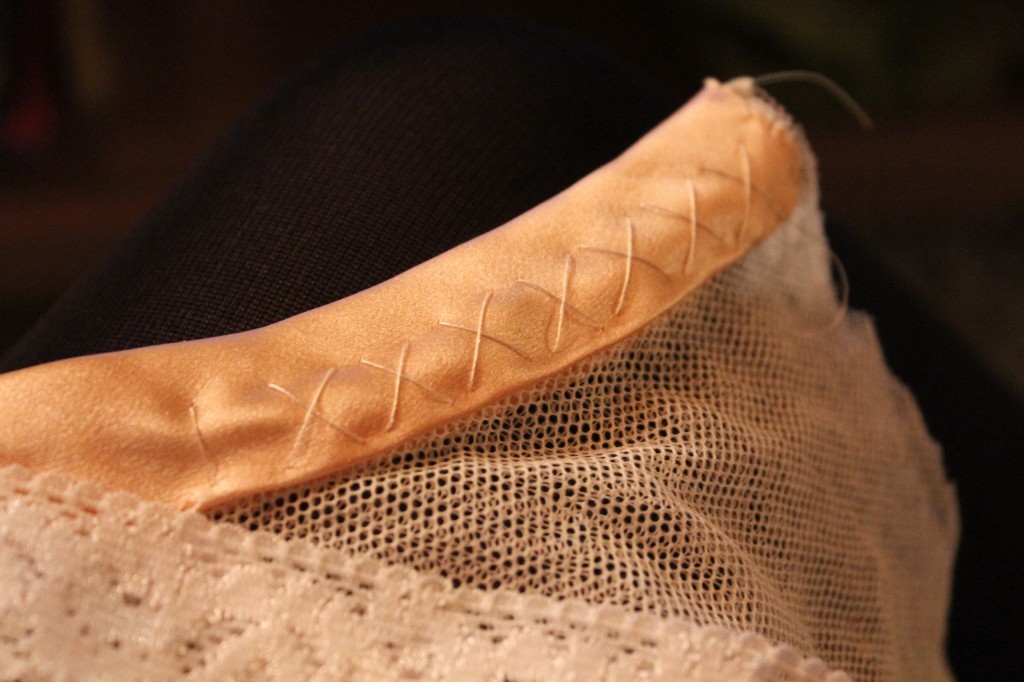 There was the issue of preventing the corset from collapsing forward as I had no straps and hardly any structure to balance it out in the back. I used some pretty lace elastic to build enough tension to keep everything in place.
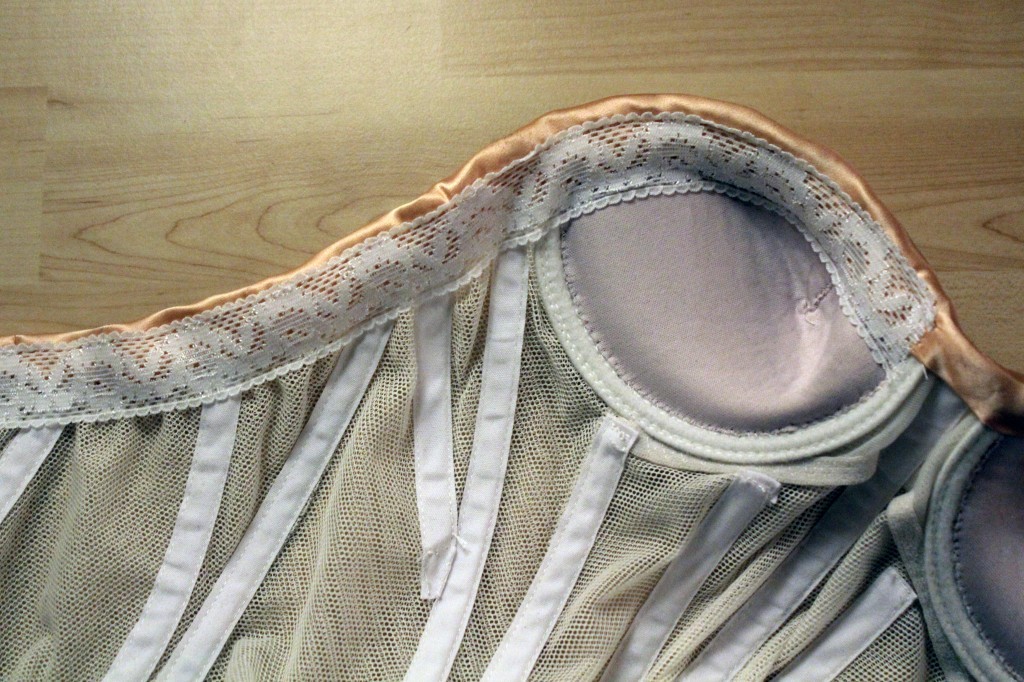
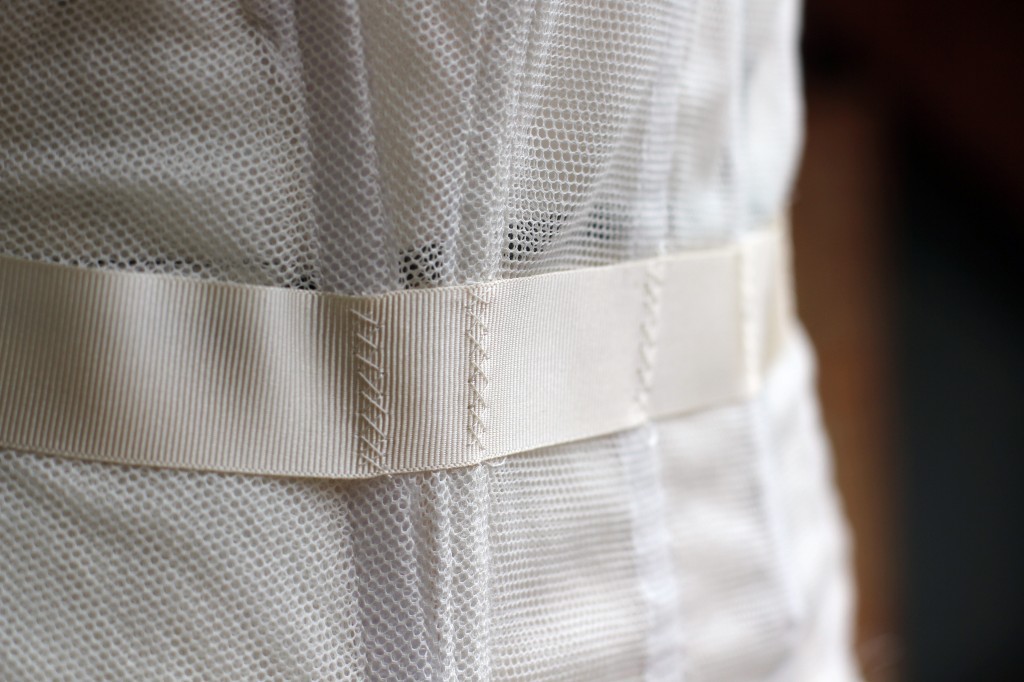
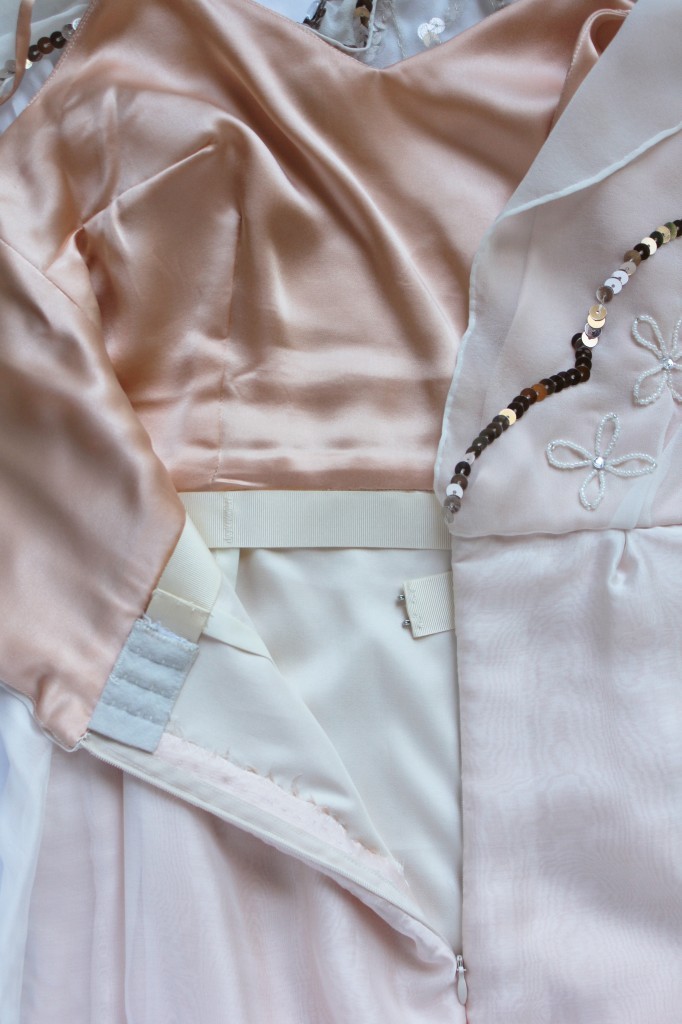
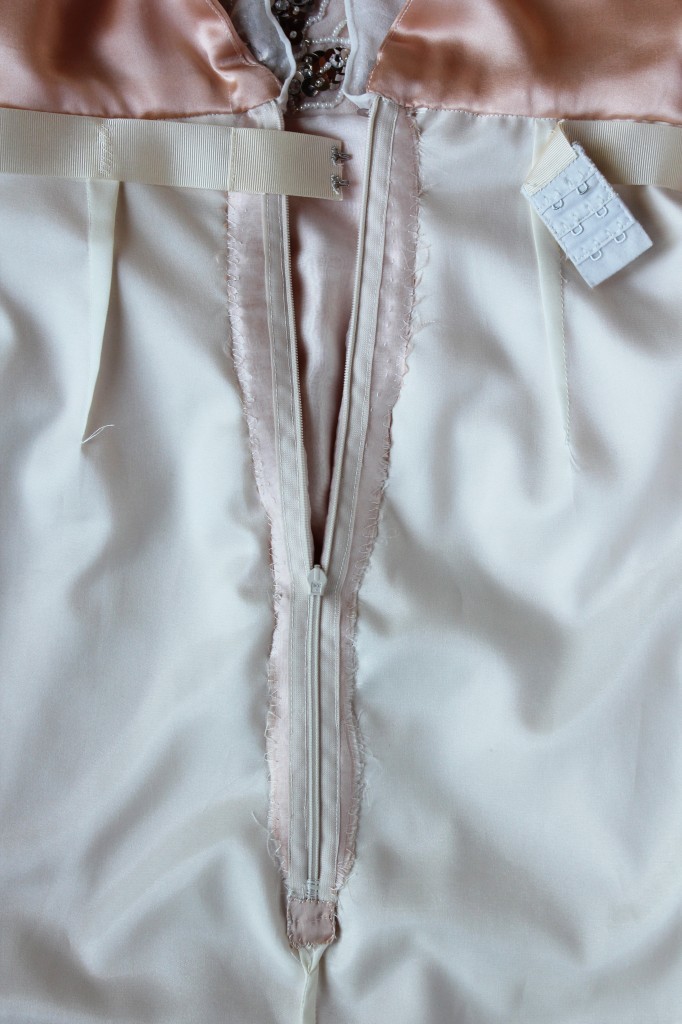
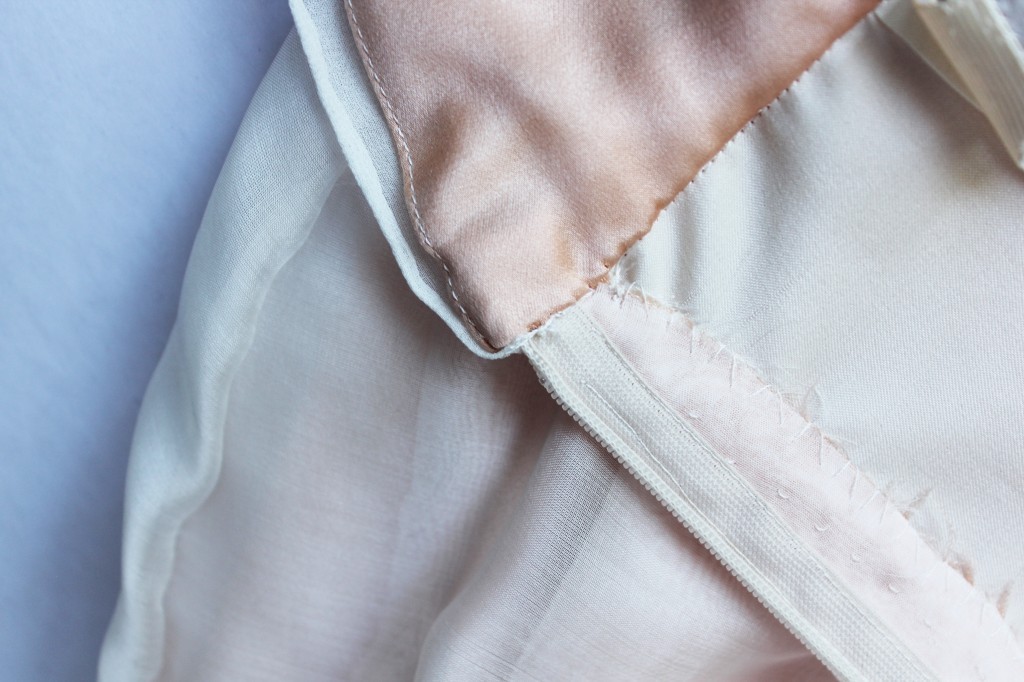
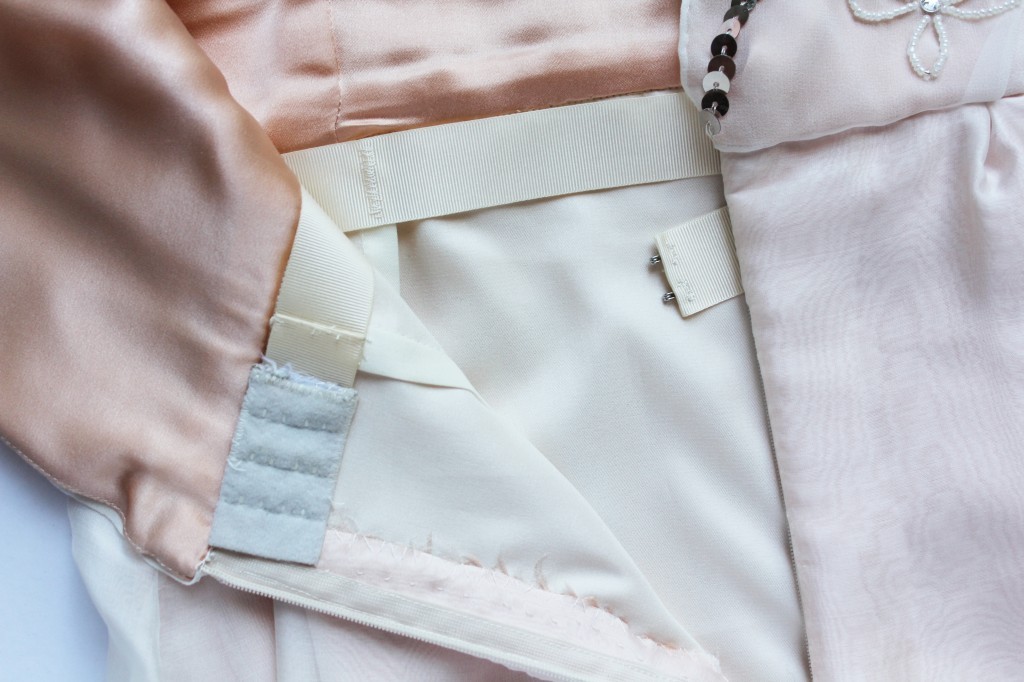
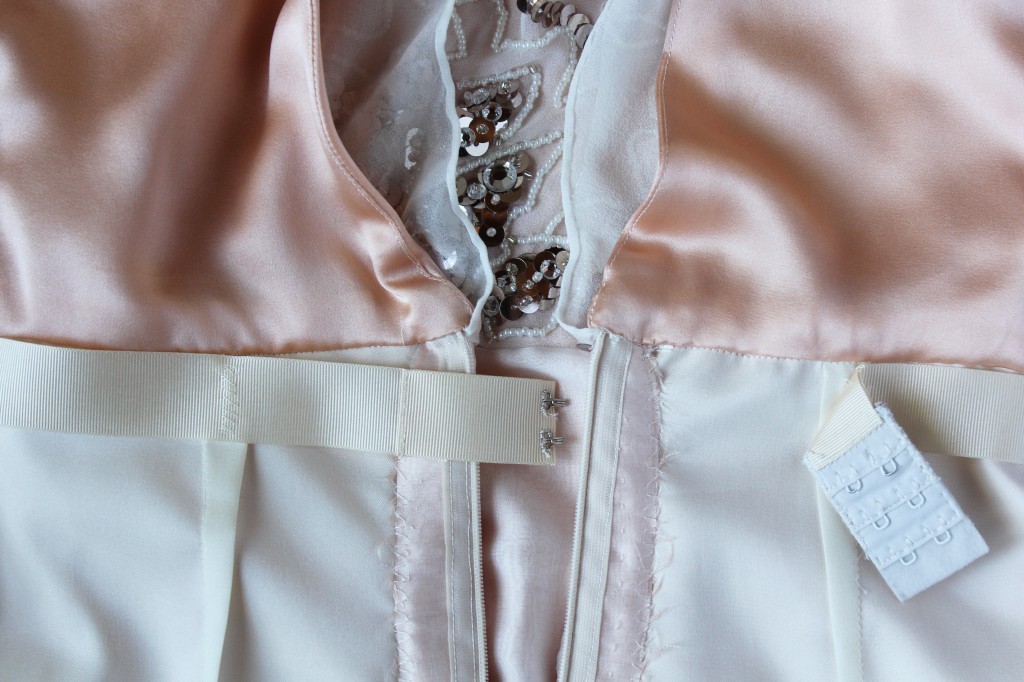
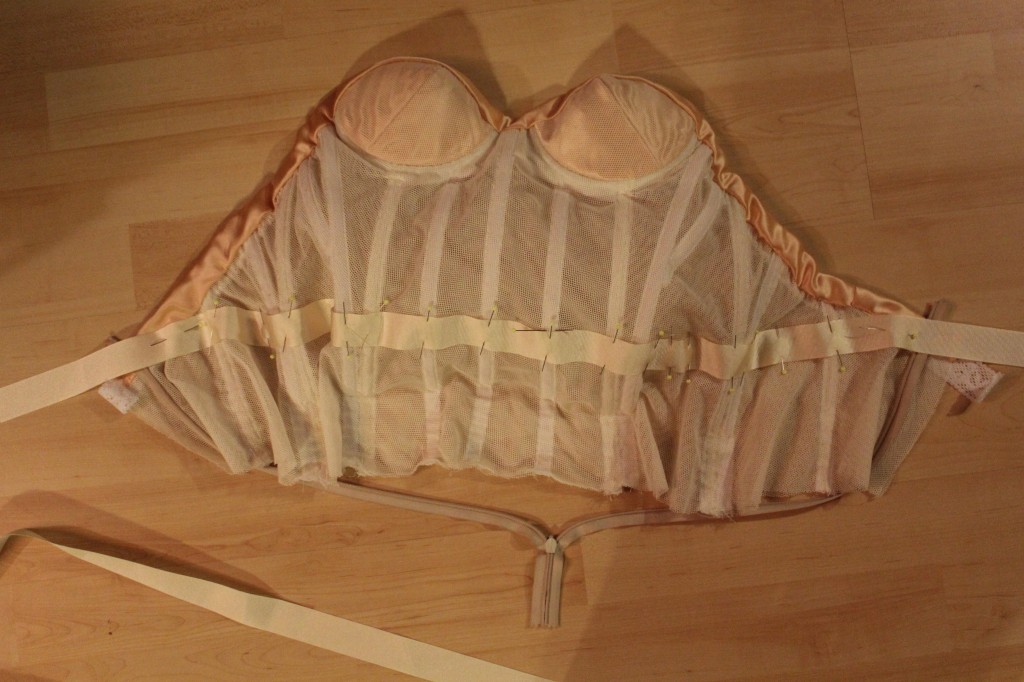 Last but not least, I added the waist stay. It’s a 2,5cm wide grosgrain ribbon that I sewed onto the boning channels.
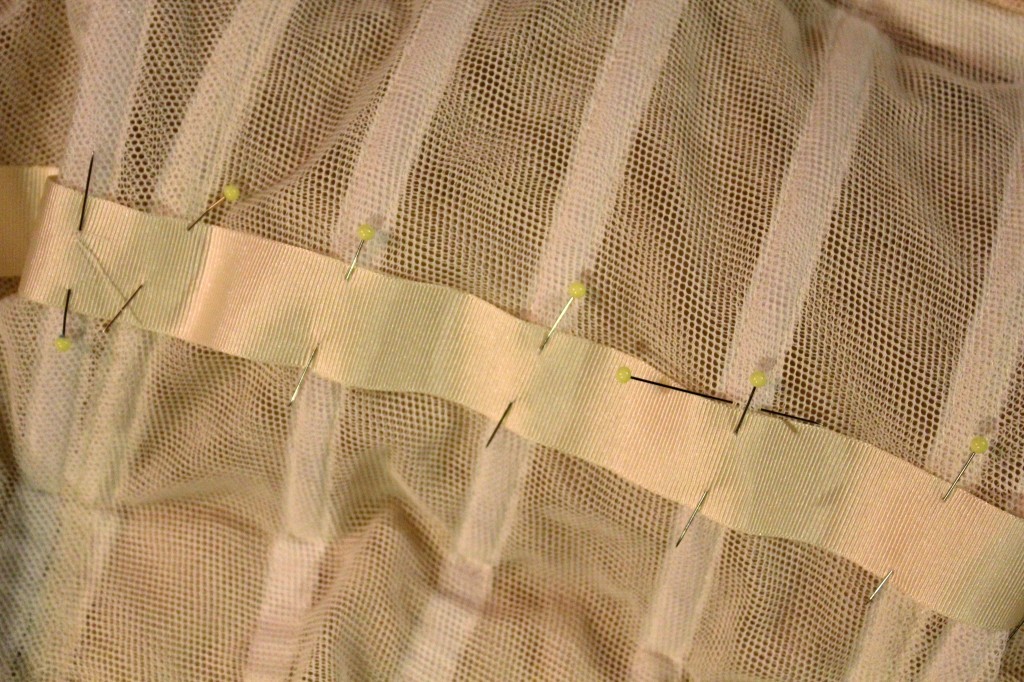 It not only helps to keep everything in place but is also super pretty: