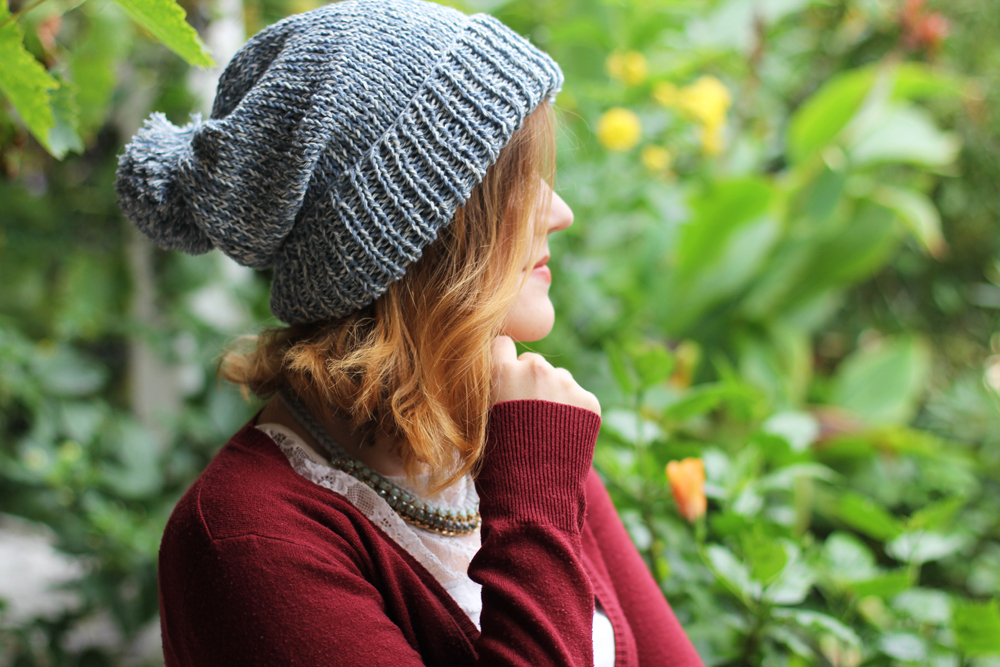
Recycled Denim Beanie (Free Pattern + Wool And the Gang Giveaway!)

HELLO AUTUMN
It was the first day of autumn this week and although I wish for summer to last just a little bit longer, the colder season has undeniably arrived. I found myself wearing woollen socks, comfy cardigans and sipping hot chocolate on the sofa the last couple of days. With the beginning of autumn the weather changed here in Germany. The air is crisper and the mornings are really foggy now. So I try my best to adapt to the changing seasons and find some joy in thinking up my autumn/winter wardrobe and digging out some of my warmer handmade clothes.
I finished my first knitting project last weekend! It was a super easy and simple project to dive back into my knitting, which is a hobby I only keep up during the colder seasons.
The lovely folks over at WOOL AND THE GANG sent me some of their very popular Billie Jean Yarn, which is now back in stock. They’re giving away two balls of Billie Jean Yarn for one of you lucky ones and I’ll share the knitting instructions in case you want to make a hat like mine. (All opinions are my own. Giveaway at the end of the post!)
Those of you following my blog know that I’m a big fan of recyling and upcycling, well, generally using secondhand products to create unique things while being a friend to nature. The Billie Jean Yarn is made using upcycled pre-consumer denim waste. This waste is ground back into fibre and then woven into beautiful yarn. The process does not make use of chemicals and dyes and therefore is super eco-friendly. That’s pretty amazing, right?
But not only that, just look at how preeeeetty it is:
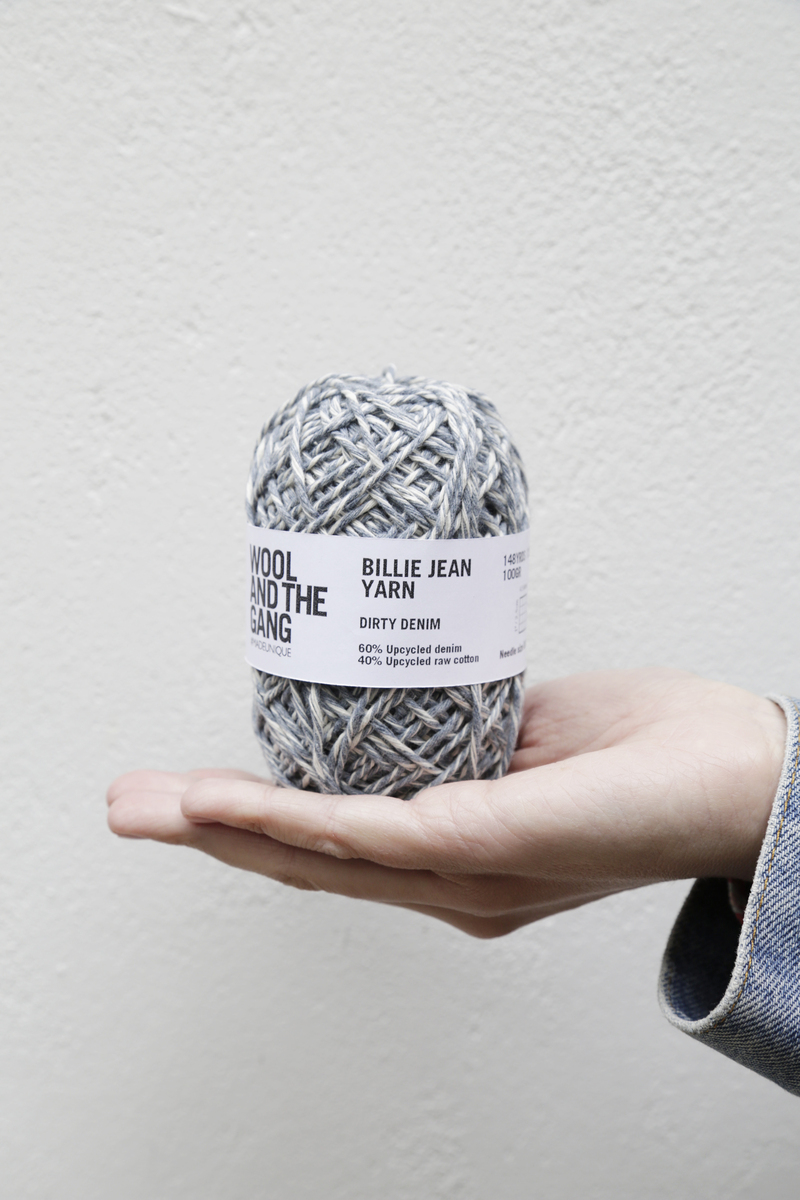
photo credit: Wool And The Gang
photo credit: Wool And The Gang
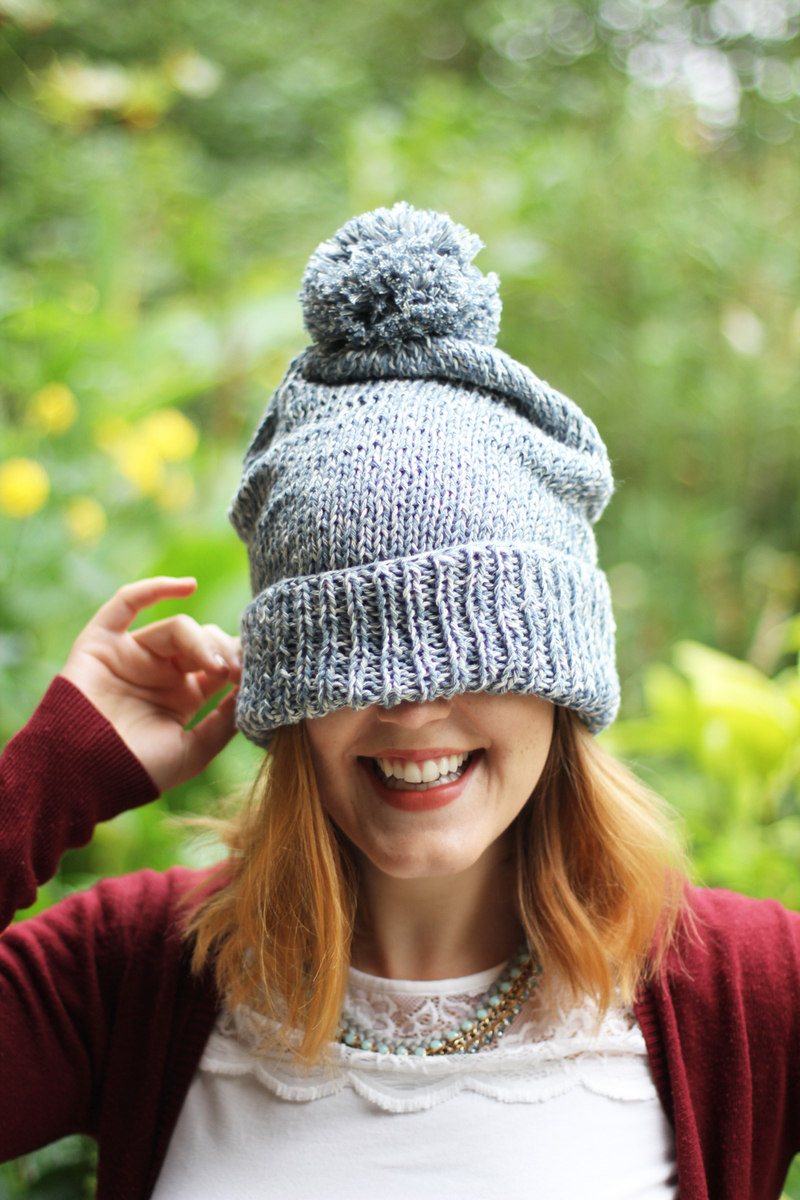
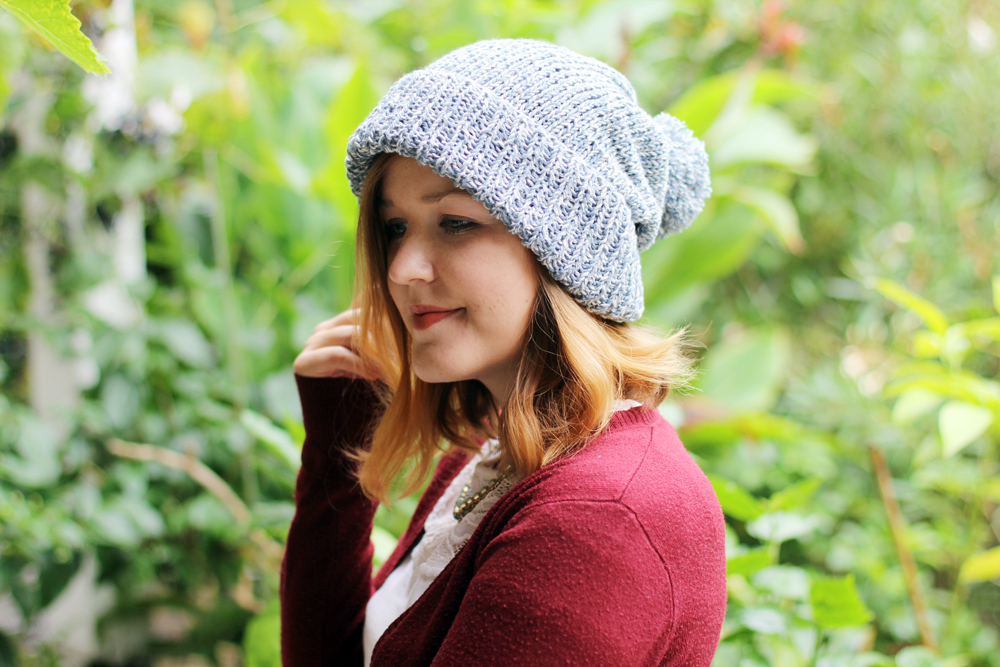
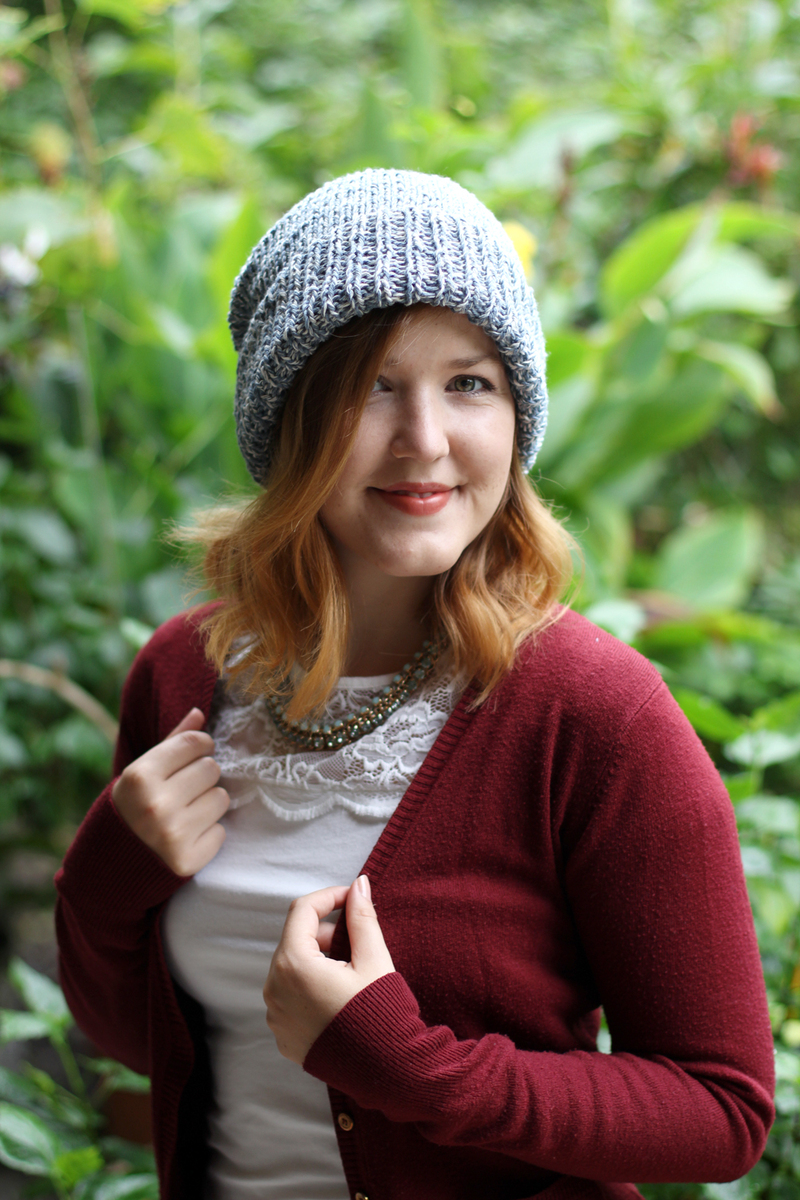
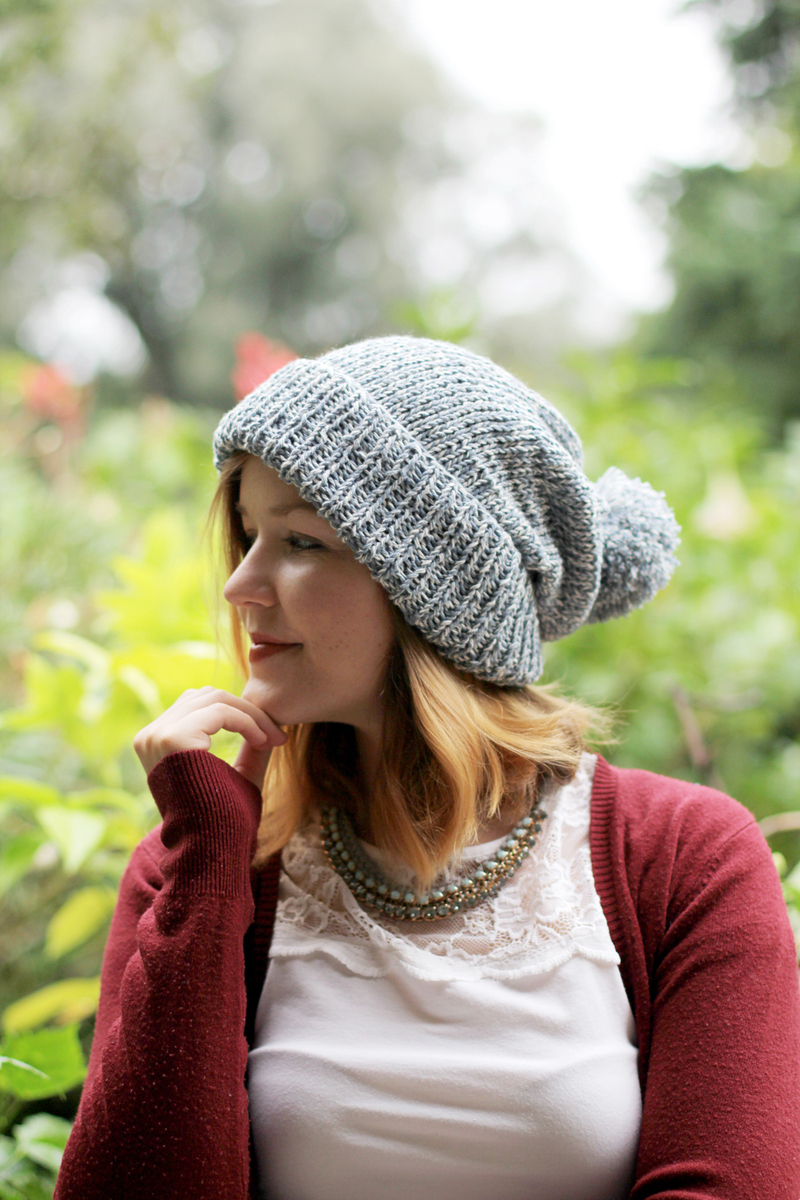
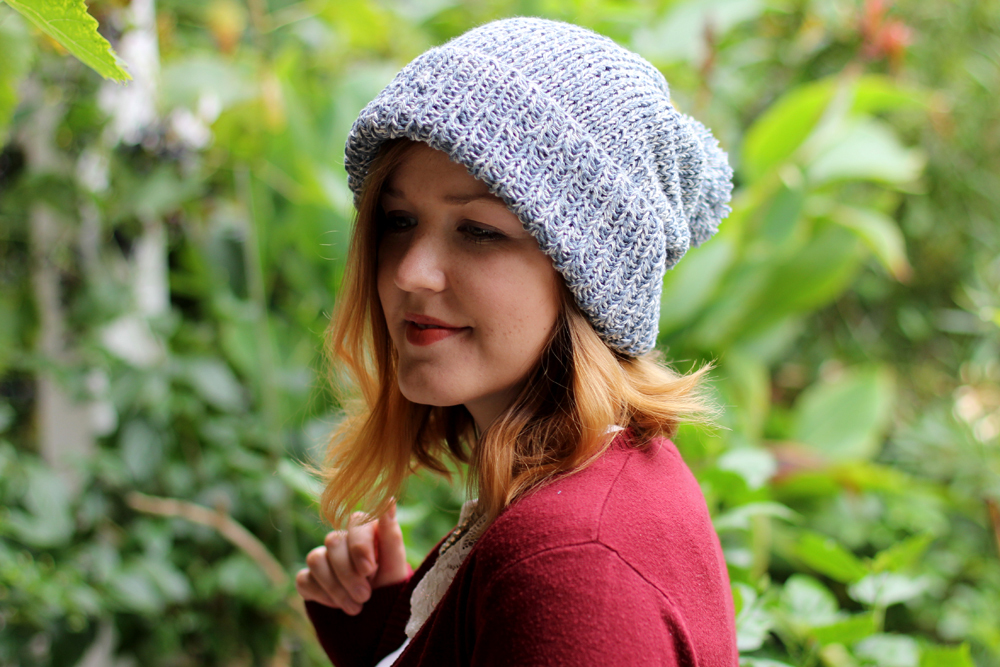
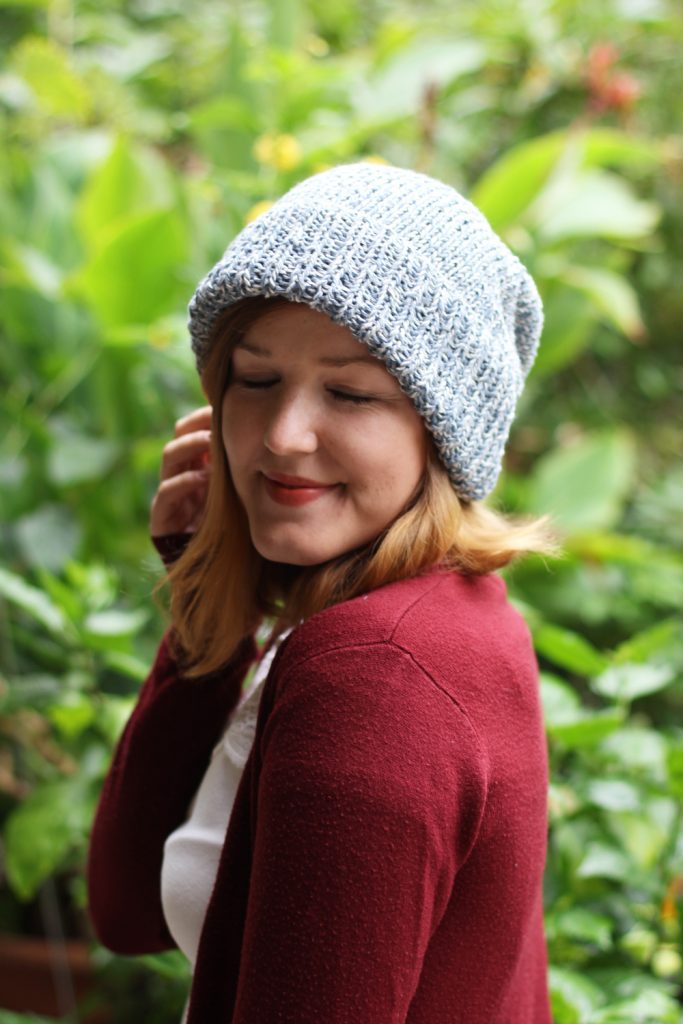
Well, long story short – I’m very much in love with Billie Jean! I chose the “Dirty Denim” which is one of three different colour options on offer. The Dirty Denim is 60% Upcycled Denim and 40% Upcycled Raw Cotton and super soft on the skin. No fear – it does not smell like jeans at all!
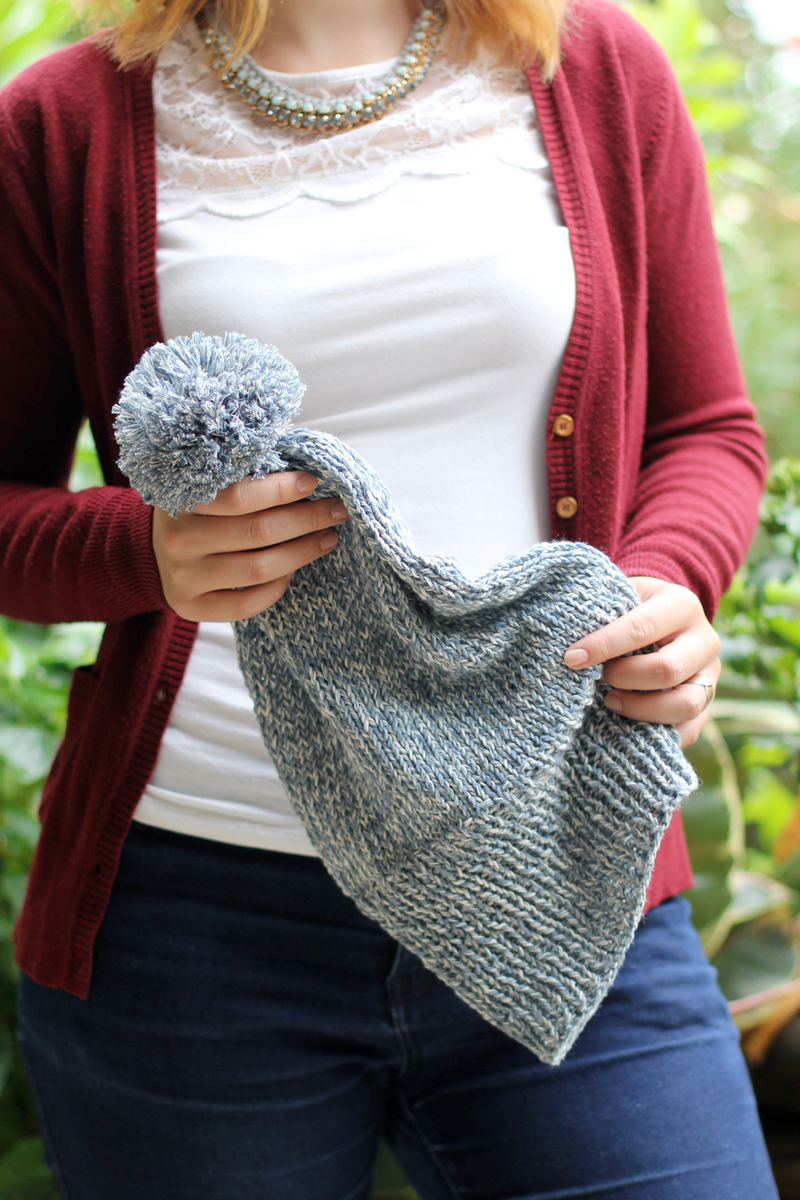
It gives your knitting project a unique look with its edgy and effortless cool look. For a hat or cardi it’s perfect to wear with actual jeans or a white shirt. The Dirty Denim really gives the effect of a lot of texture, so I didn’t use a special pattern – it would’ve been hard to see. I knitted with metallic knitting needles as the yarn is easily separable which was a bit tricky with my bamboo needles.
Now onto making your own cosy & warm Billie Jean hat!
KNITTING INSTRUCTIONS
You’ll need two balls of Billie Jean Yarn. I used roughly 150-180g to finish my beanie including the pompom. So two balls á 100g should be enough even for larger sizes. The recommended needle size is US 8 / 5mm, but I found that smaller needles worked better for me. So I’ll stick with that in the instructions.
Size:
54cm head circumference. Adapt to your size and tension if necessary.
Beanie Pattern:
With 3.5mm cast on 80 sts.
Row 1 (right side): K1, *p1, k1, repeat from* to last stitch. So you’re basically just alternating between a knit and a purl stitch.
Now work in rows (knit the knits and purl the purls), repating row 1 another 29 times. (Or less if you want the brim to be narrower!)
Change to 4.5mm needles.
Row 31 – 75: Knit all stitches. Keep working in rows in a simple stockinette stitch for another 45 rows.
Row 76: *k2tog, repeat from* to last stitch (40sts).
Row 77-78: Knit all stitches.
Row 79: *k2tog, repeat from* to last stitch (20sts).
Row 80: Row 77-78: Knit all stitches.
Row 81: *k2tog, repeat from* to last stitch (10sts).
Cut yarn, leaving a long tail, and thread tail through remaining 10 stitches.
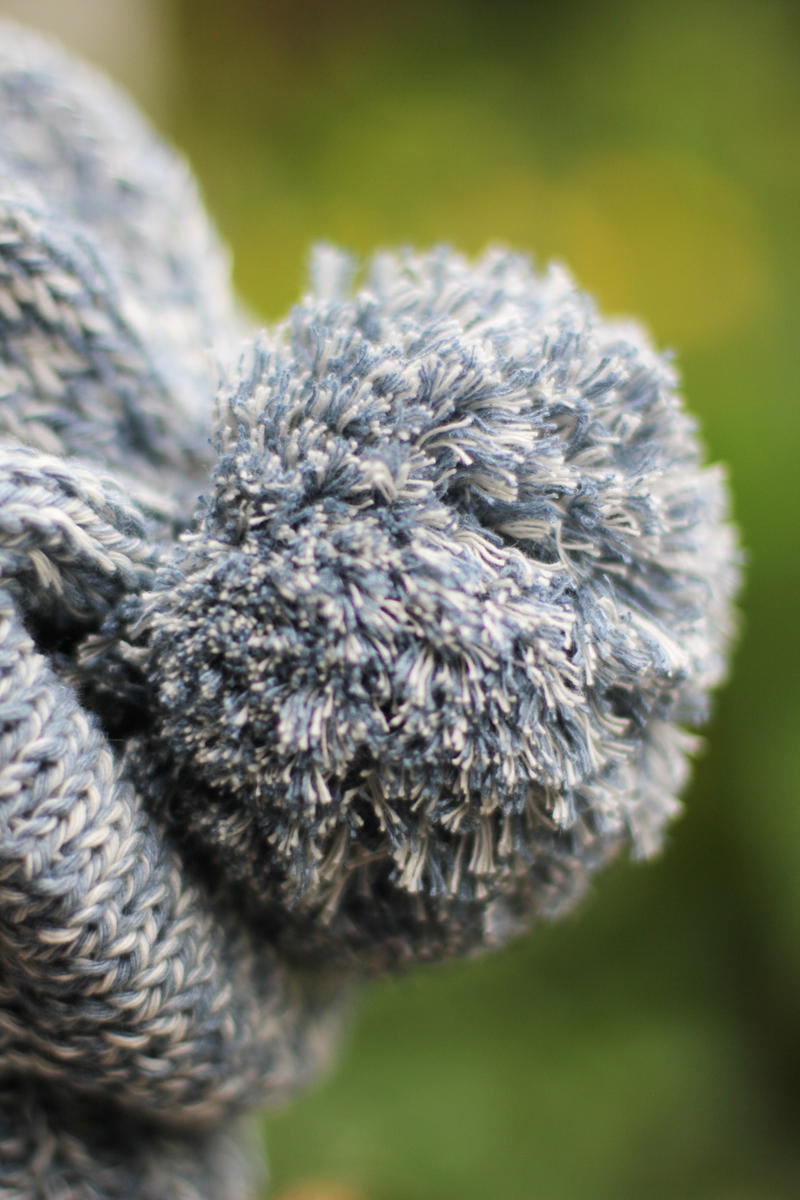
Pompom:
Cut two cardboard circles, 11cm in diameter. (Cardboard from a pizza box will do!)
Cut a 4 cm hole in the centre of each to create two rings.
Hold the two rings together and wind yarn evenly through the centre hole and around the edge until the centre hole is full with the wraps. Slip the blade of your scissors between the two pieces of cardboard and carefully snip through all the loops of the wound yarn. I used to IKEA cork coasters hold it up with one hand while cutting with the other. It makes it a bit easier.
Thread a long length of yarn between the two card rings and around the centre of the pompom, then tie tightly in a firm knot to secure. Remove the cardboard and fluff up the pompom. You can then trim the pompom with scissors, if necessaryto get a more even shape.
Use a darning needle to sew the pompom onto your beanie and to hide any loose threads.
And you’re done!


To have a chance at winning two balls of Billie Jean Yarn in your colour of choice, just head over to Woolandthegang.com, check out the color options and leave a comment below, letting me know which one you like best!
The giveaway closes on Friday 7 October 2016 at midnight (UTC) and I’ll annouce the winner shortly after on the blog.
GOOD LUCK!
xx
Charlie
Please note: A winner will be selected at random from all entries entered before midnight on 7 October 2016 and the winner will receive the prize described above. There is no cash alternative, and your prize is non-negotiable, and not refundable. If the prize isn’t claimed, another winner will be selected at random.
Happy knitting!
♥
facebook/bloglovin/pinterest
twitter/instagram
Stay in touch!
 Oh hay!
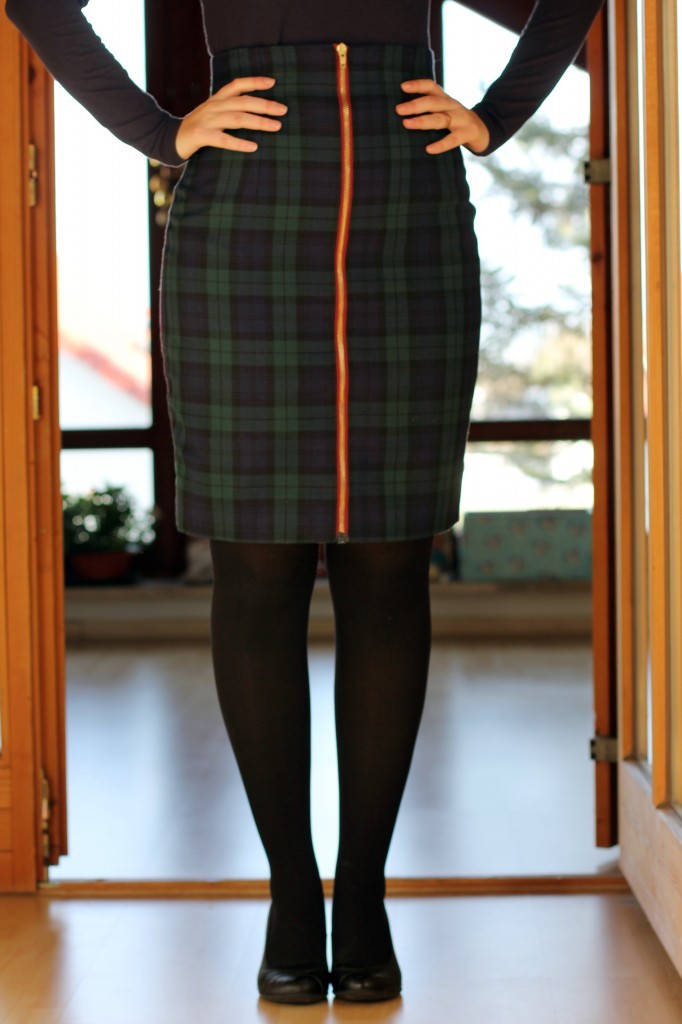
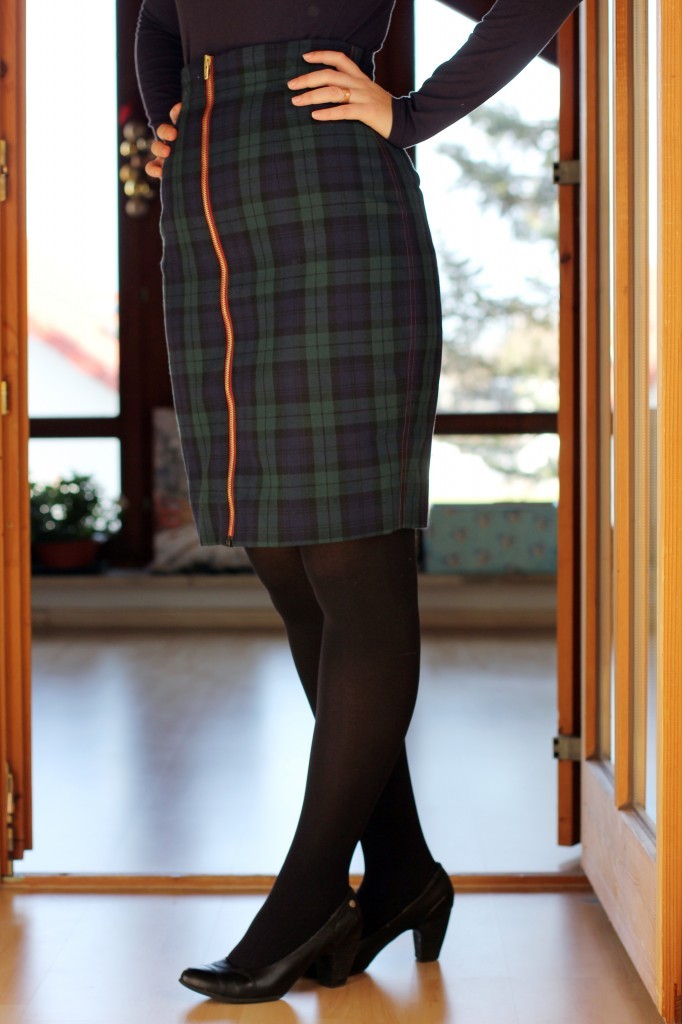


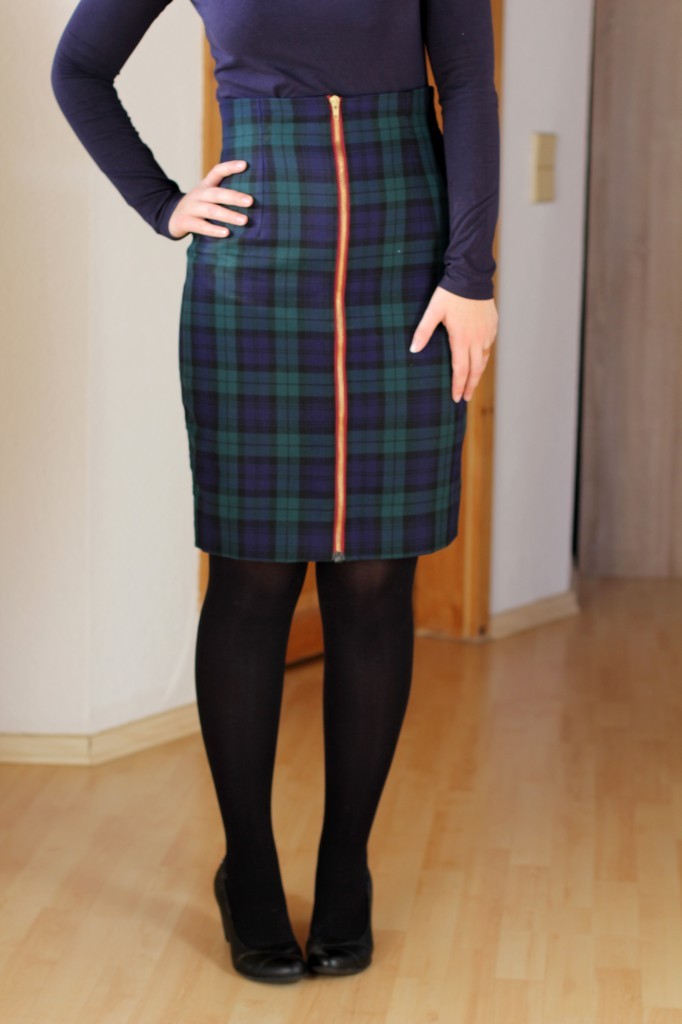
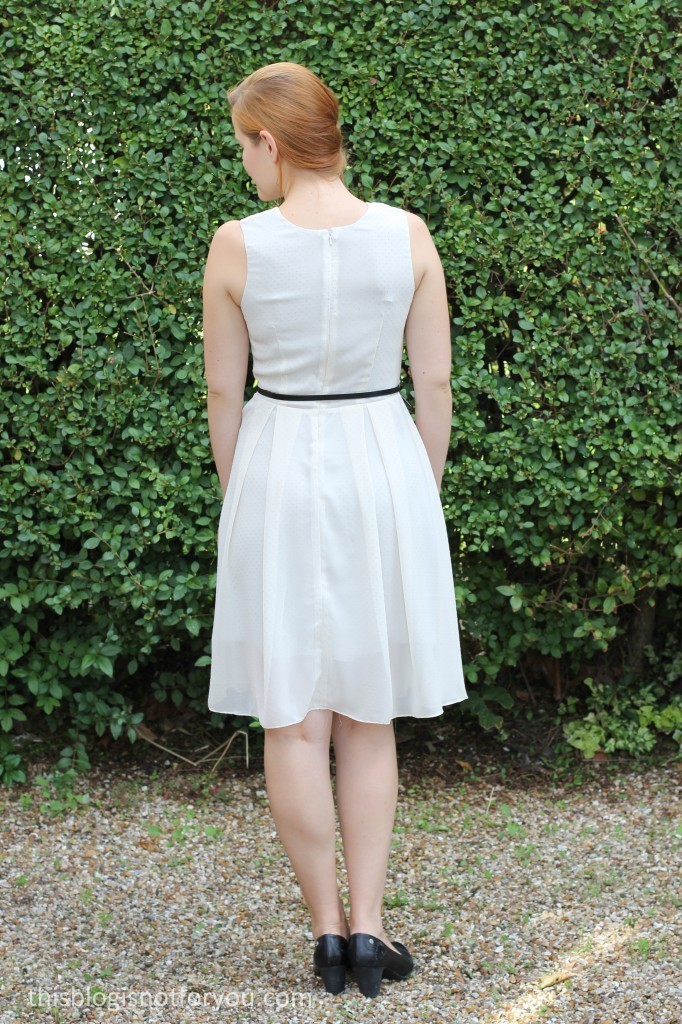
 Pattern & fit:
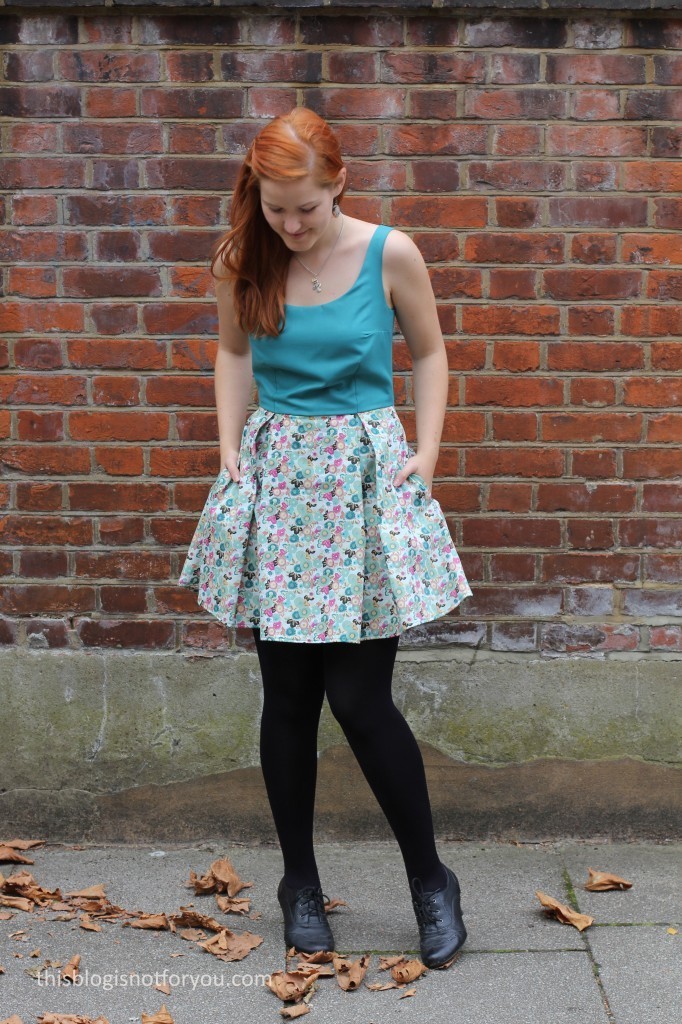
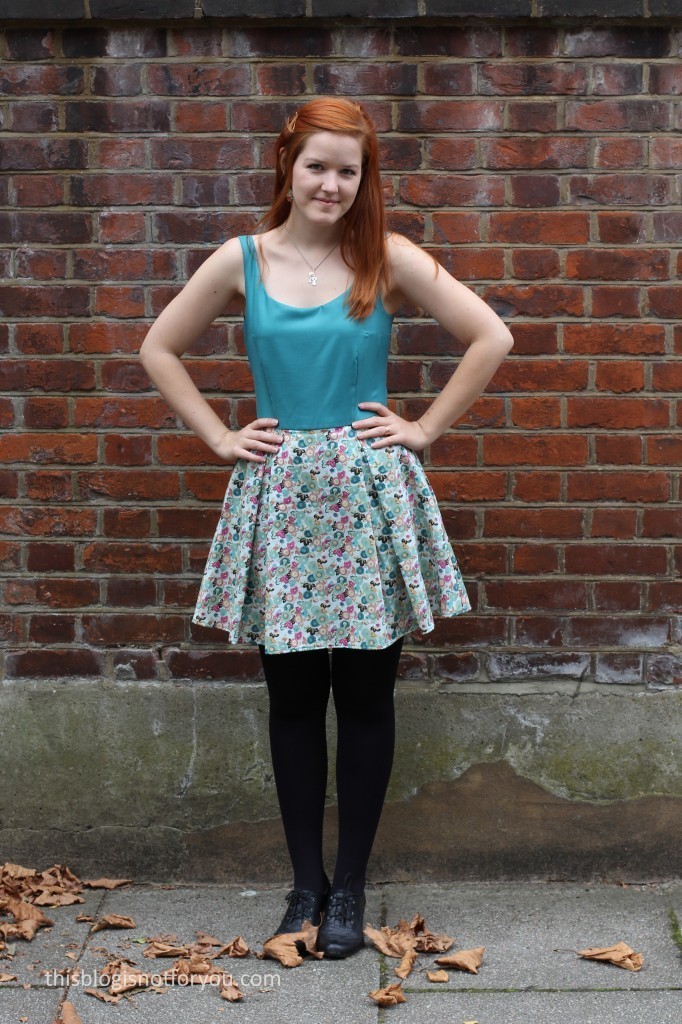
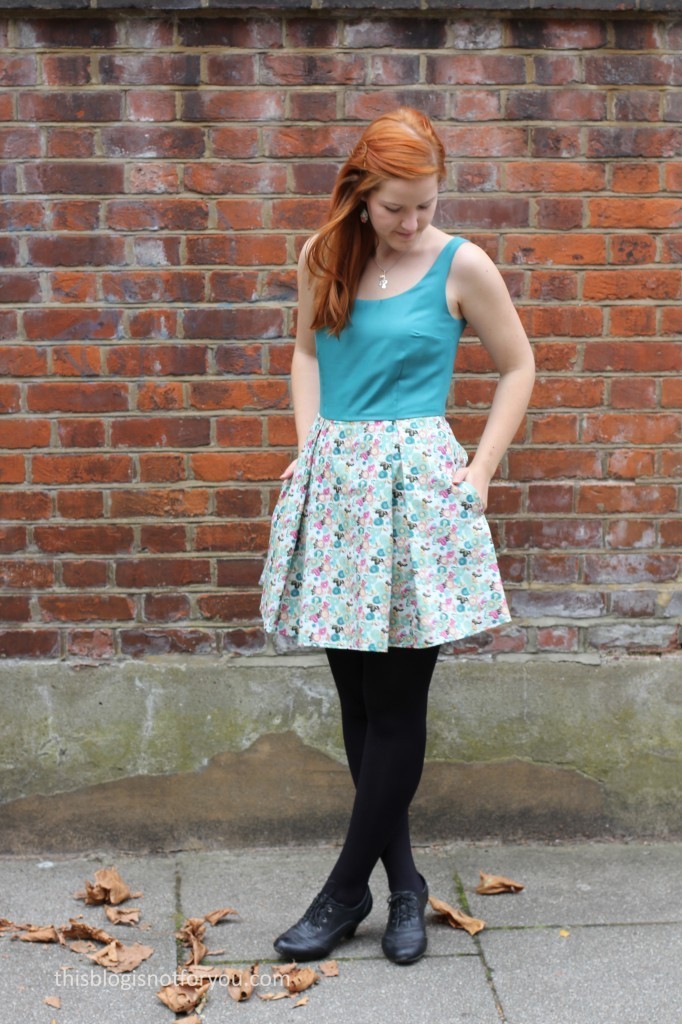
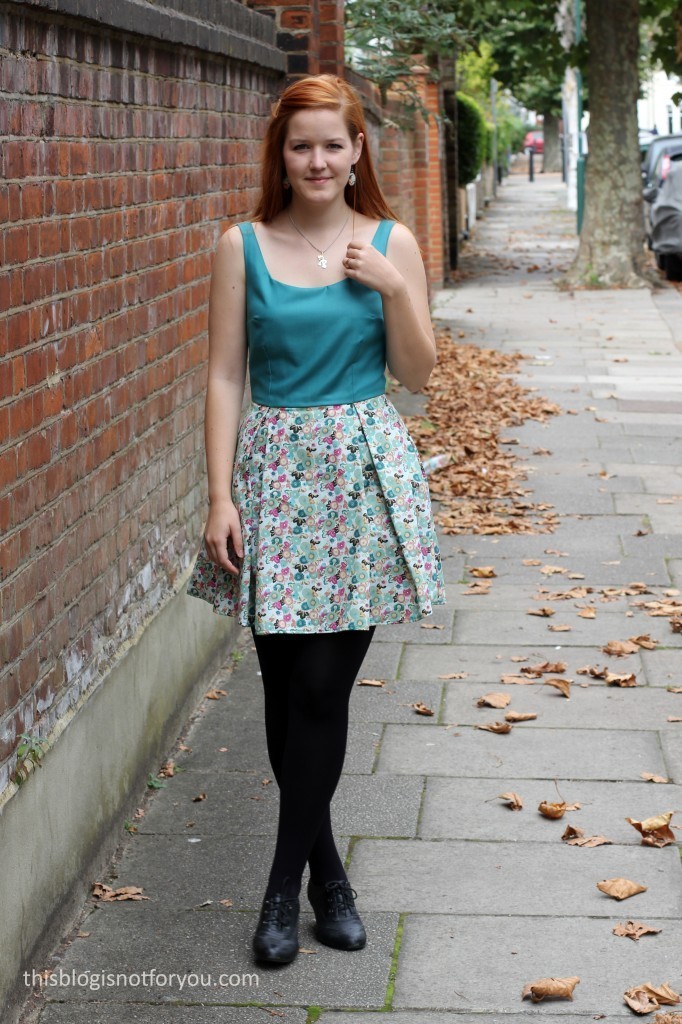
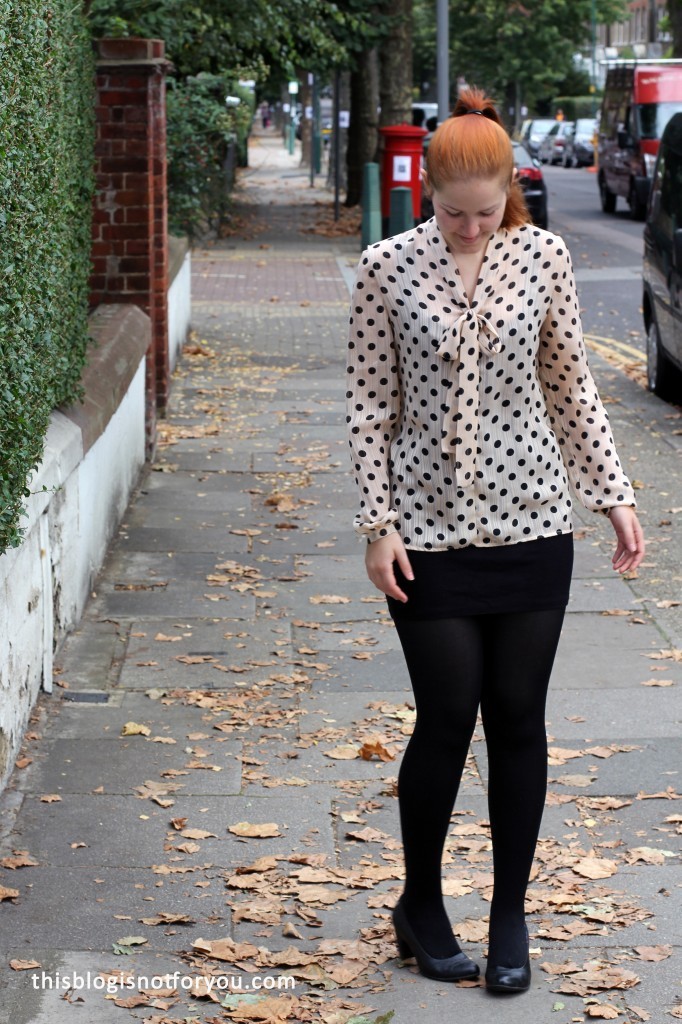
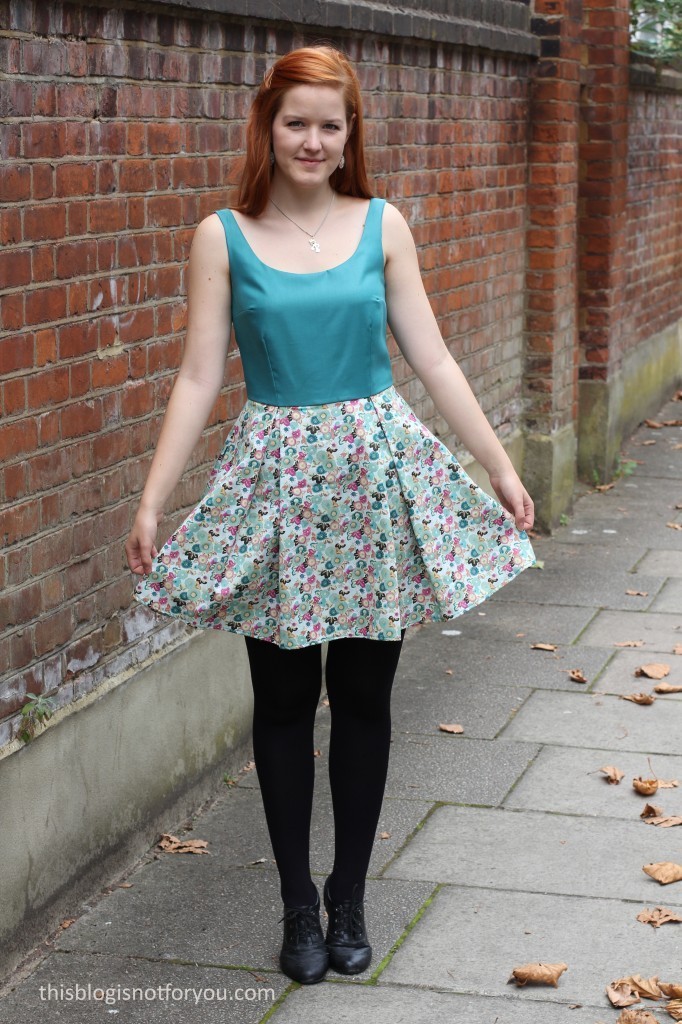 What do you think about the proportions? The original Hepburn skirt is much longer and I think this one got a bit too short for my taste. It’s sort of a babydoll dress length and I’m not sure, but I might be too old for that. I normally like my skirts to end at or just above the knee if they’re fuller (fitted ones are allowed to be thigh high).
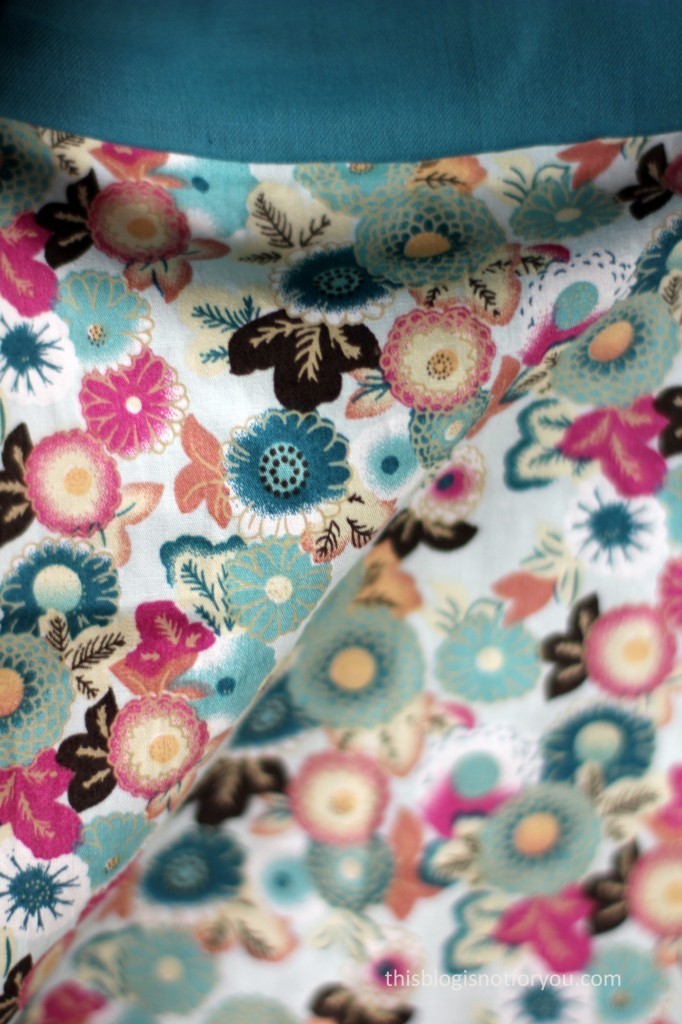
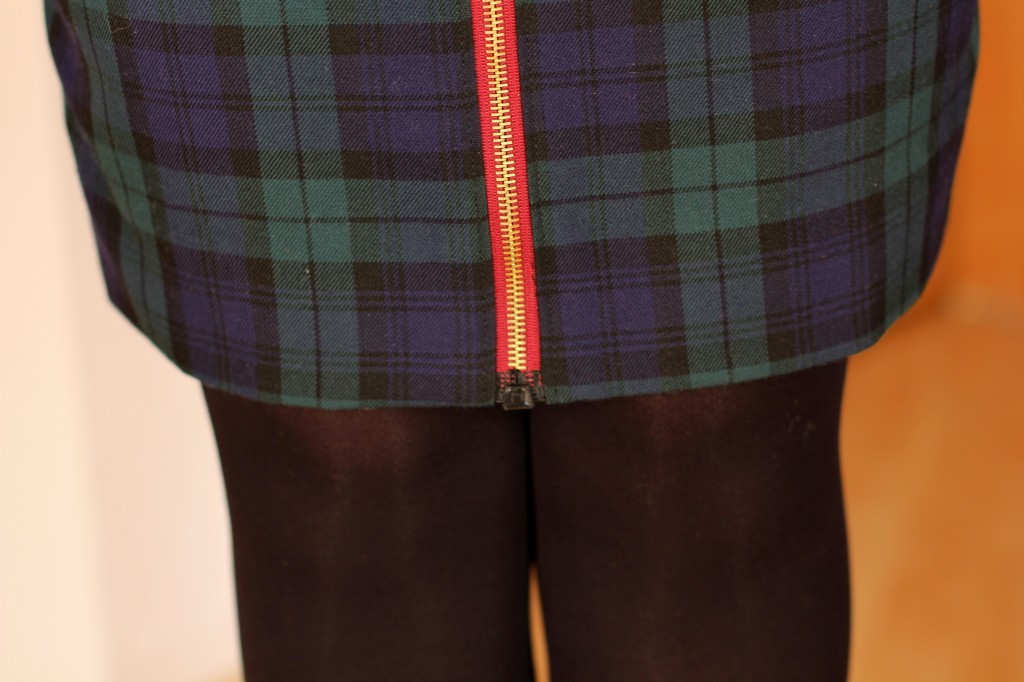
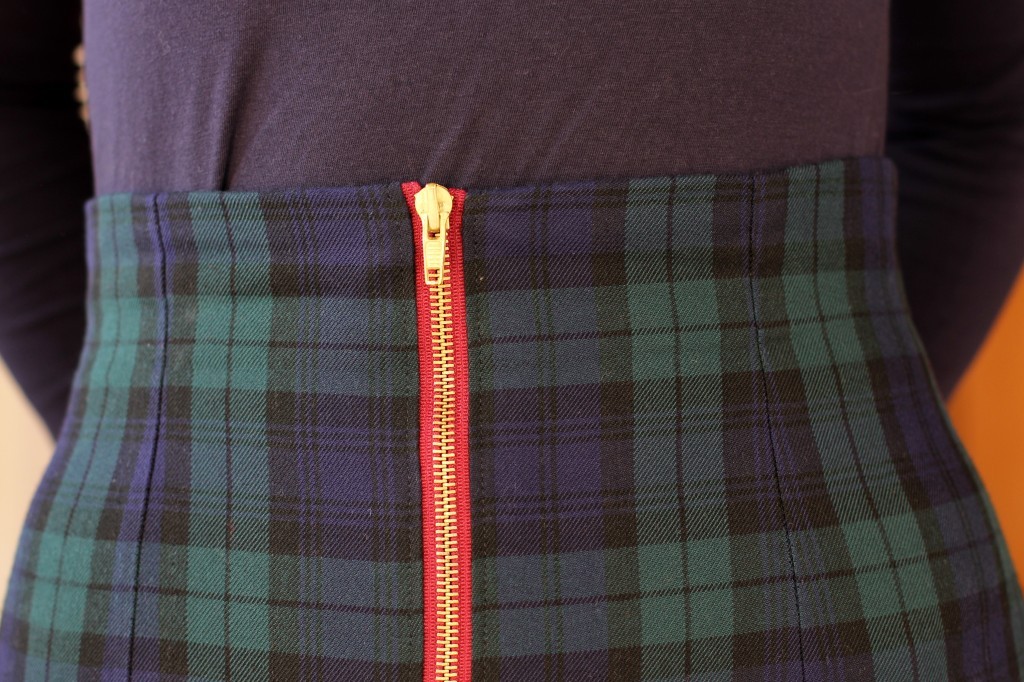
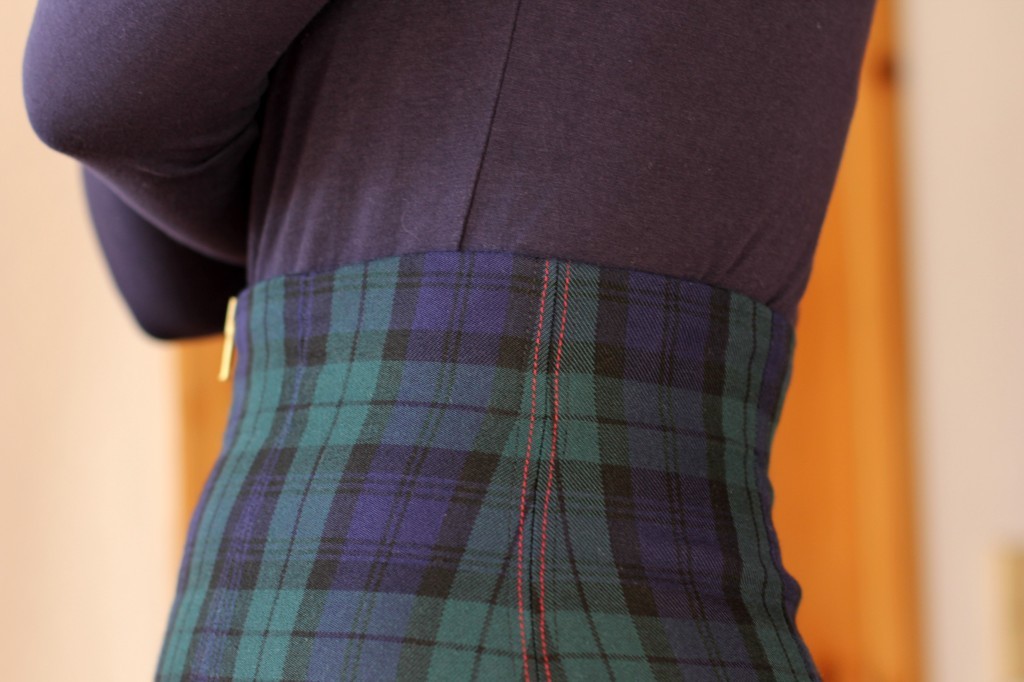
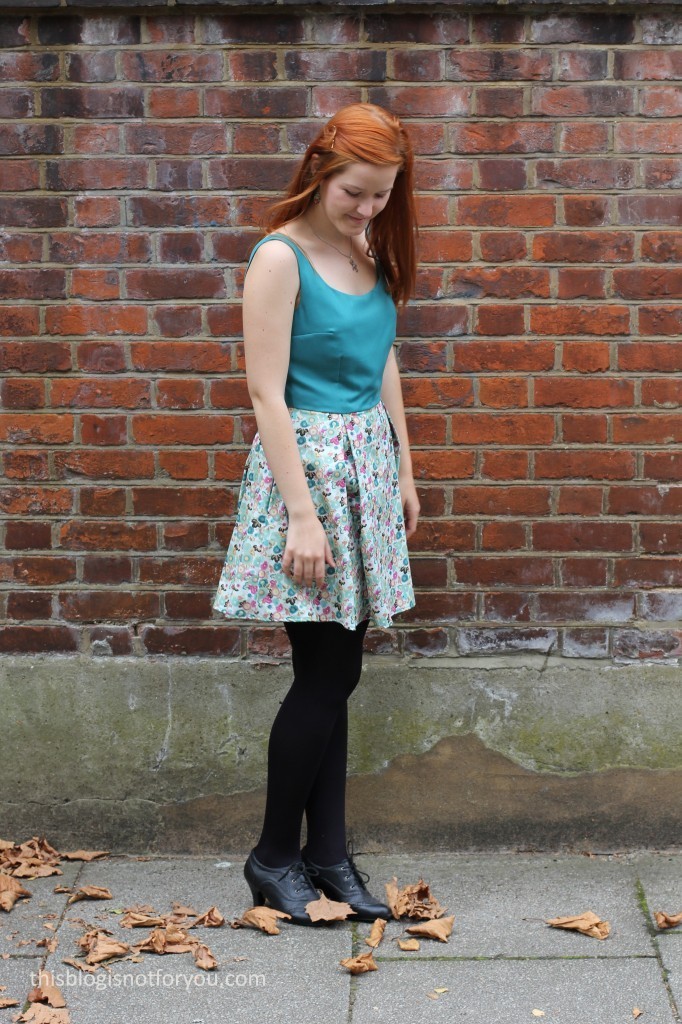
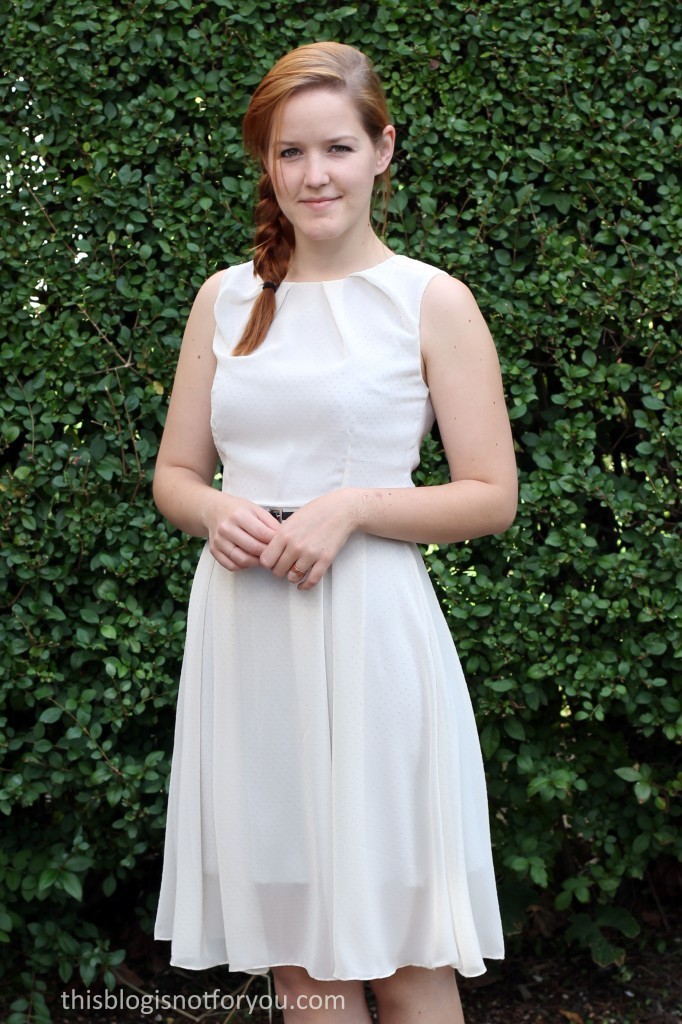
 Due to the softness of the bodice fabric the top bit of the zip is also a bit wonky. It’s probably just too heavy for the lightweight cotton and it stretched out a bit even though I understitched the whole neckline.
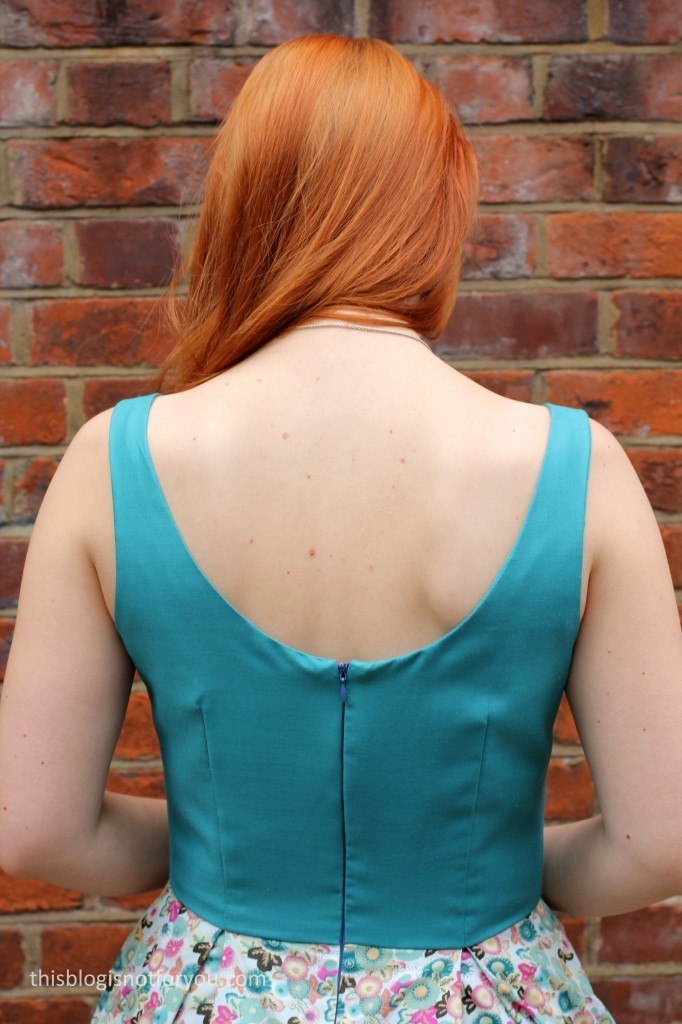
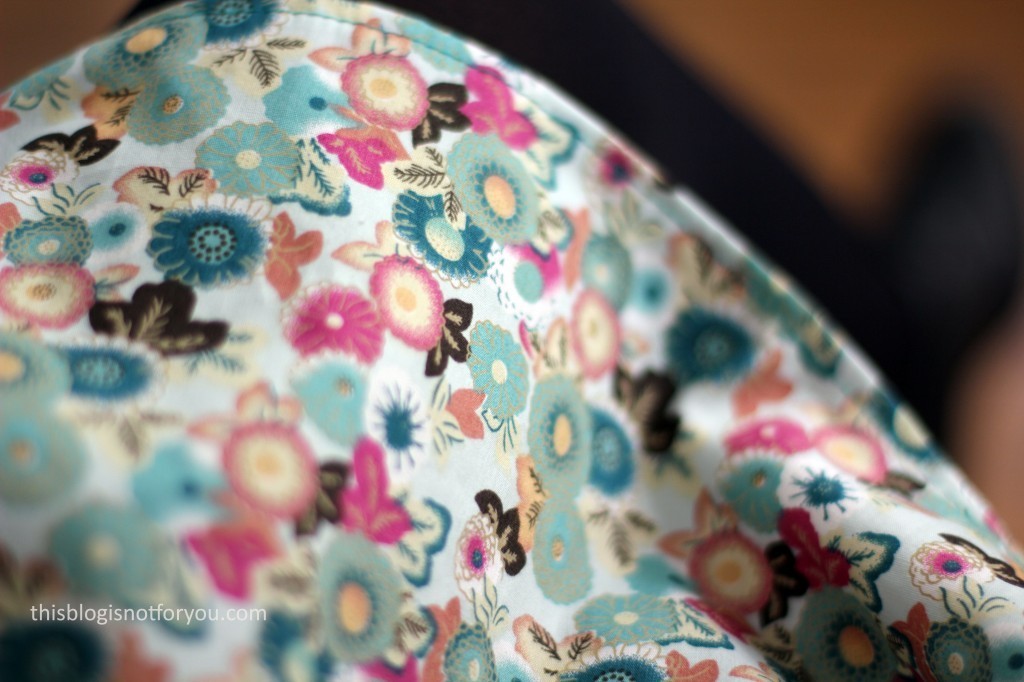
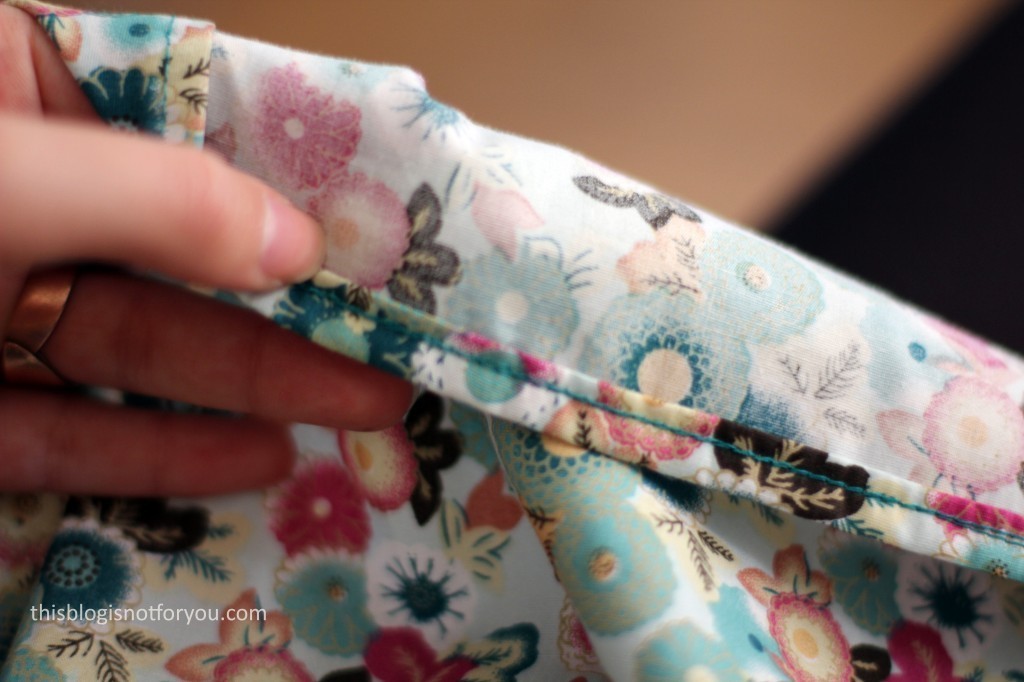
 Did I mention this dress has pockets? I love me some pockets, I think every dress should have them! I will add a tutorial on how to add pockets to your Hepburn Dress soon!
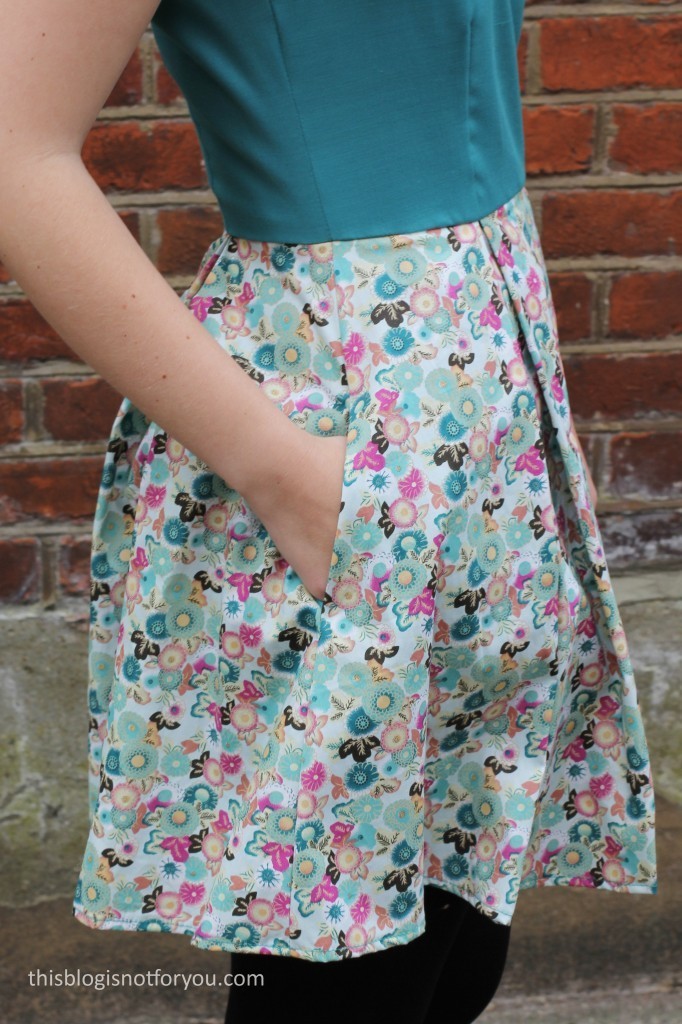
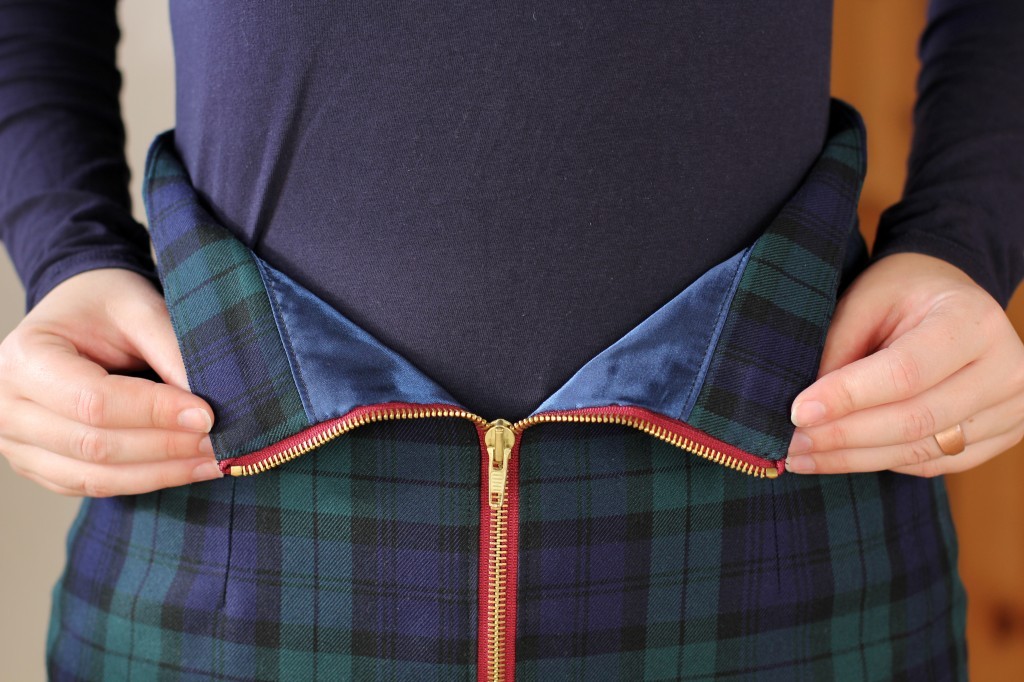
 I lined the pockets with my bodice fabric for an extra pop of colour.
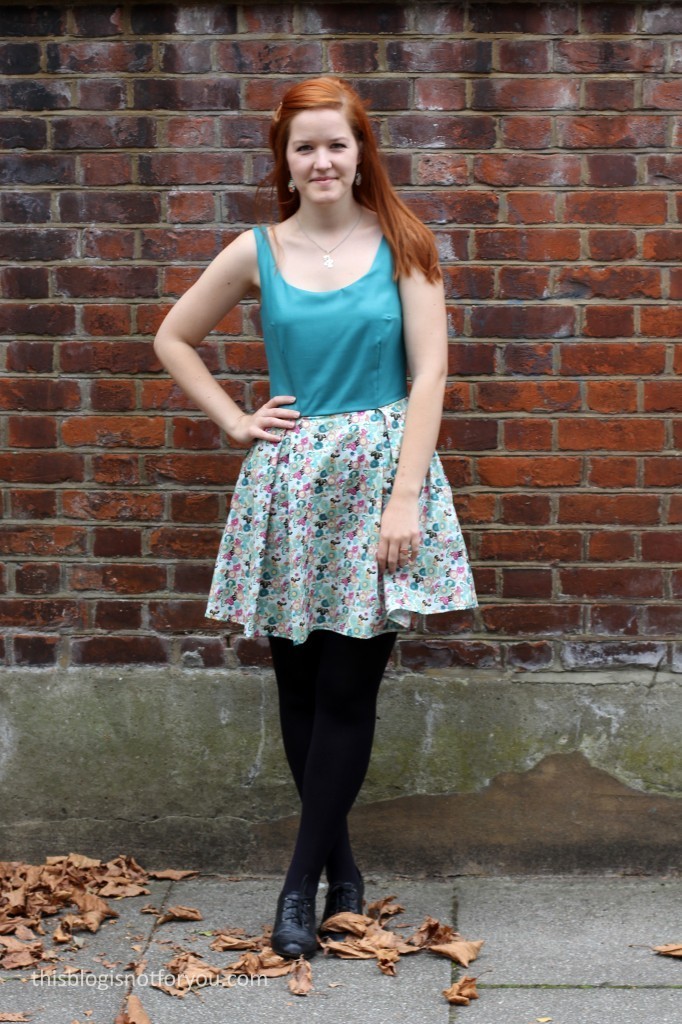
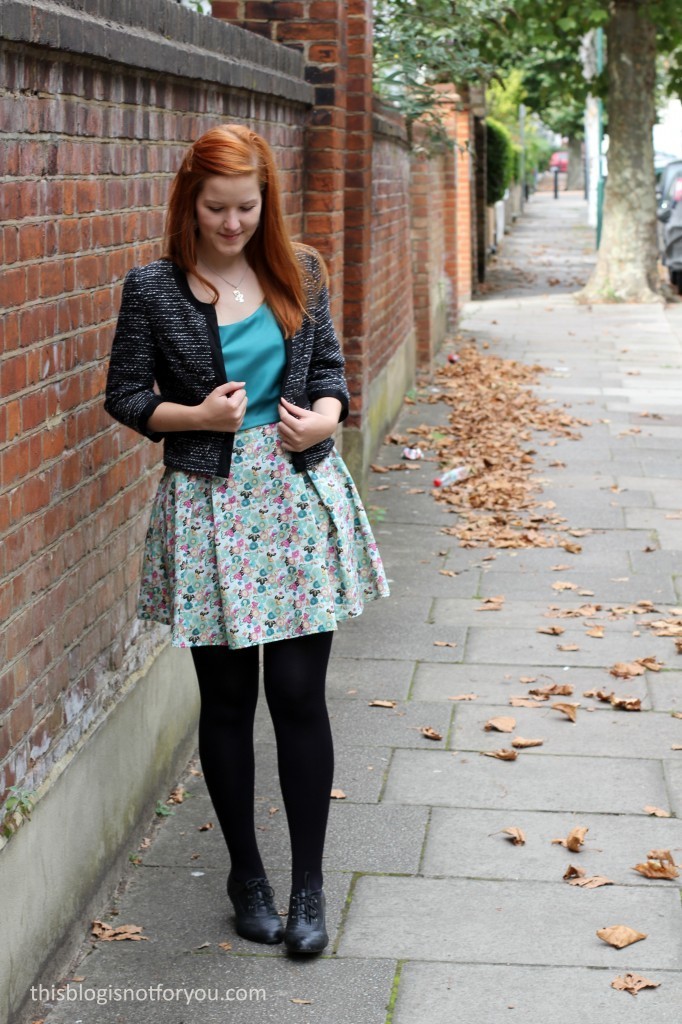
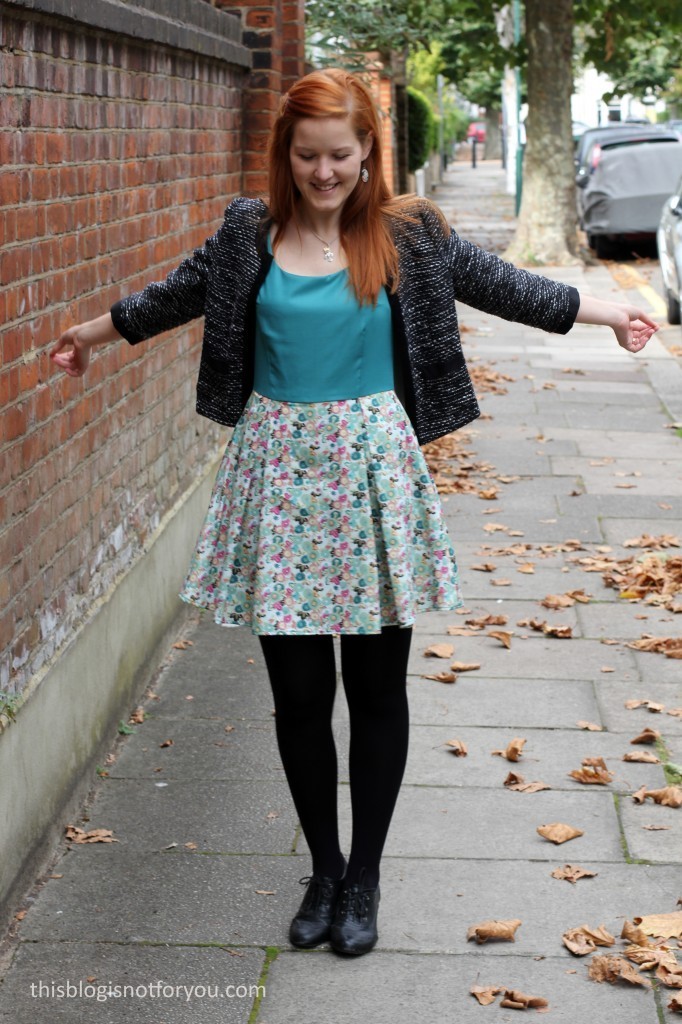
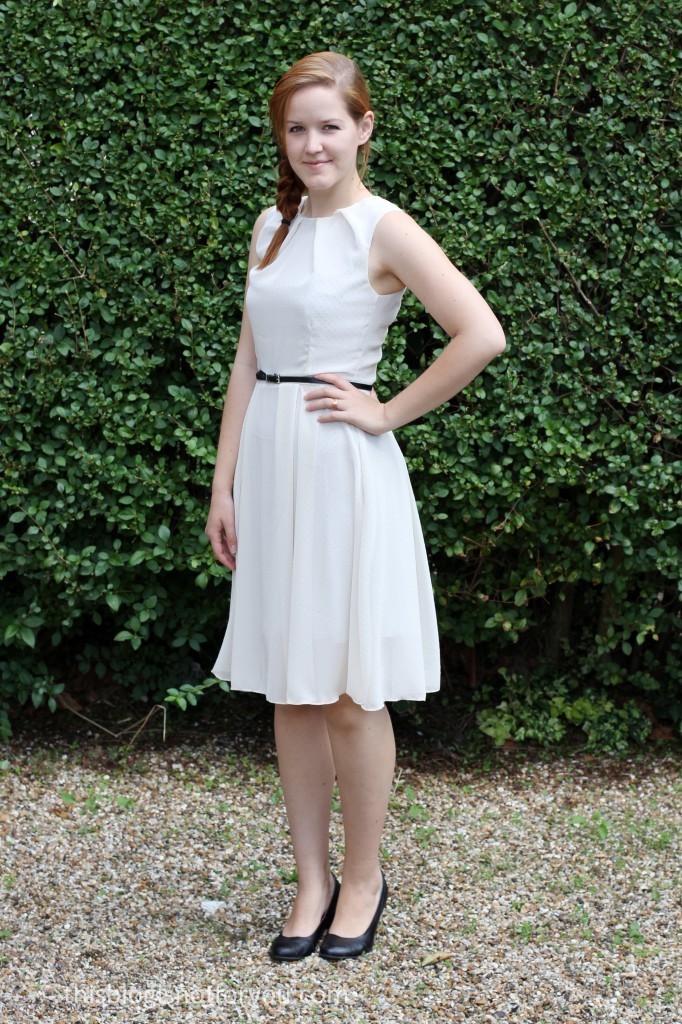
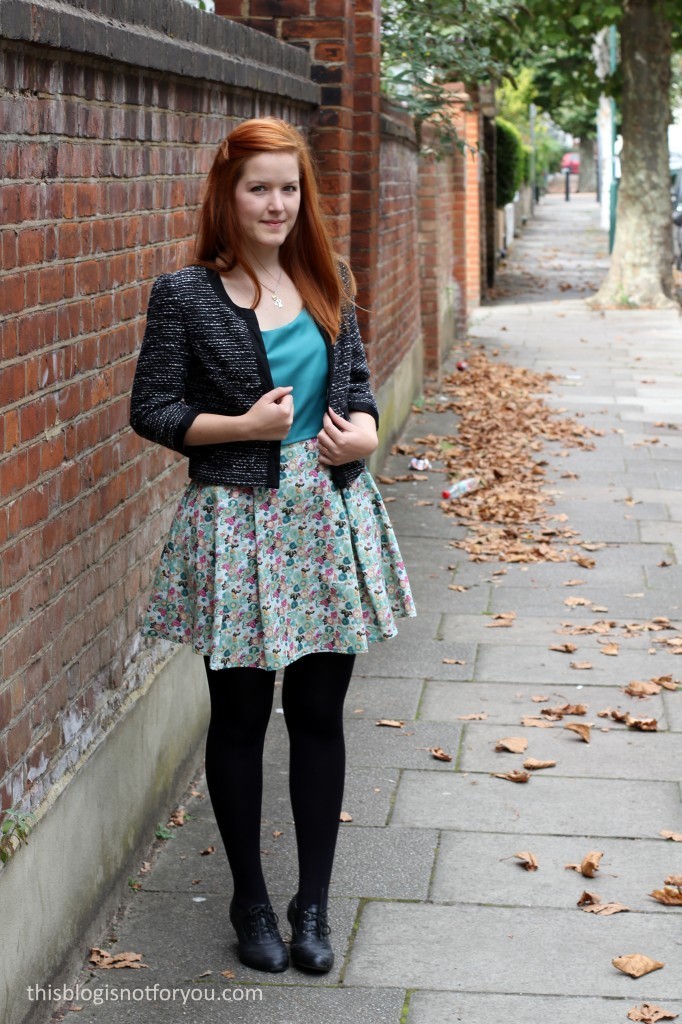 At the moment I still wear the dress with a little Chanel-style jacket. I need to find a high-waisted cardigan! All the ones I have are too long and look silly with my dresses.


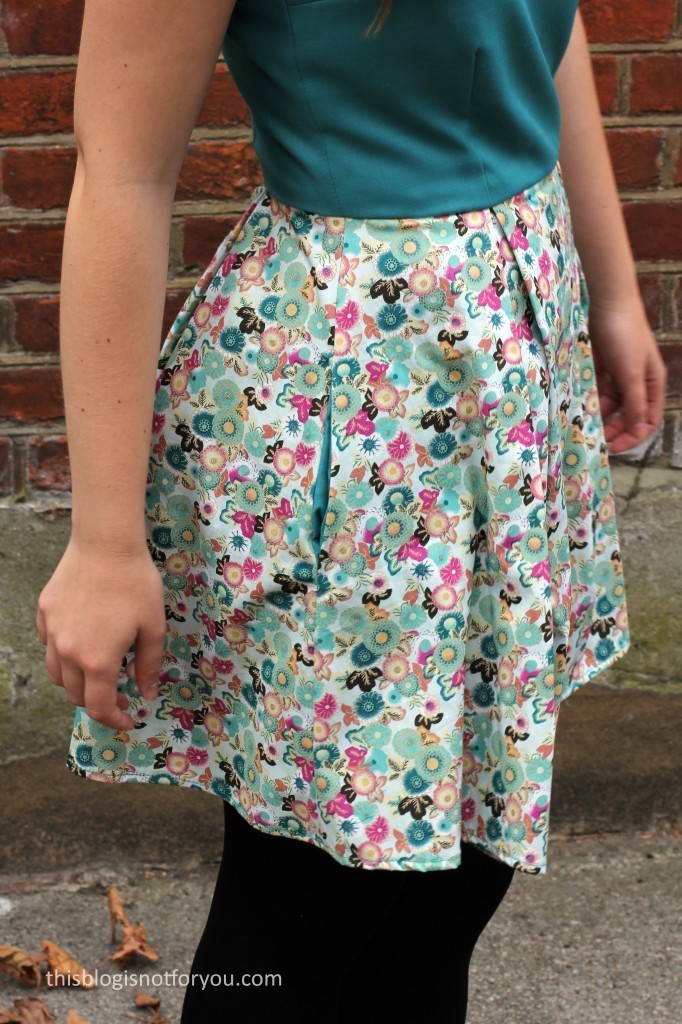
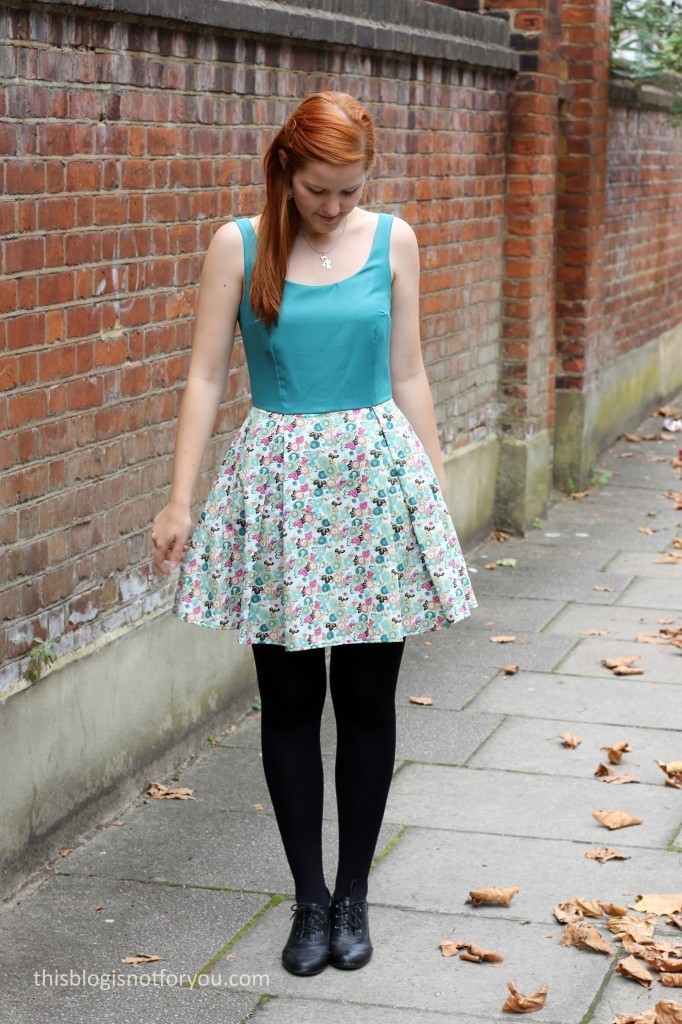
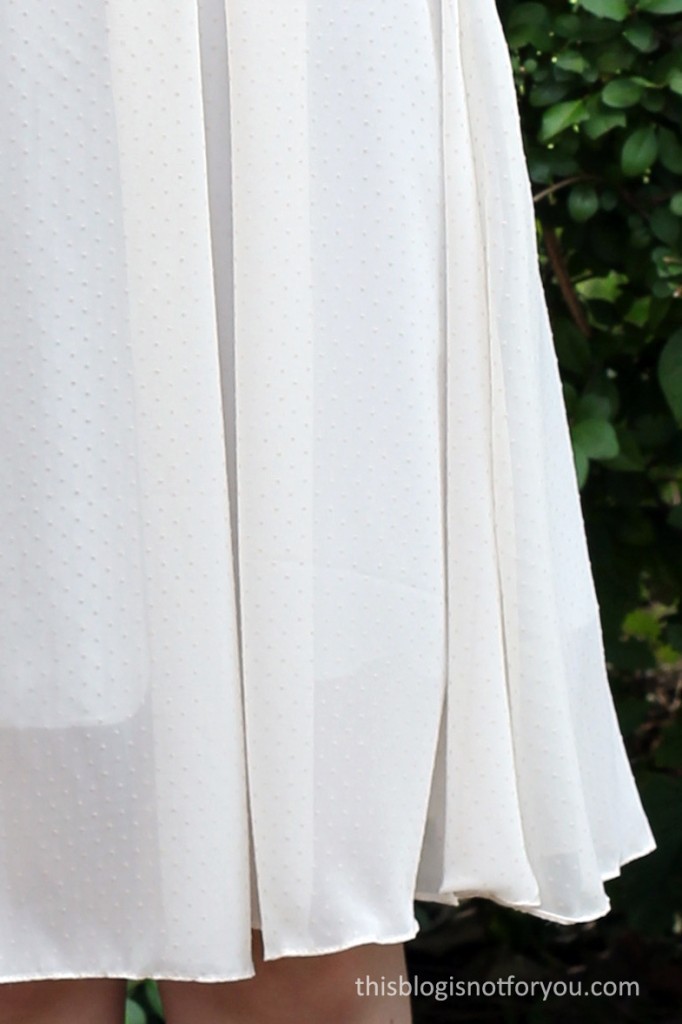 I only had a metre of the lining fabric, so I cut out the skirt without the box pleats and also cut out the variation with a shorter hem. I kept skirt made from the georgette fabric long and since I sewed a narrow hem instead of the wider hand-stitched one, this added another 3cm to the length.
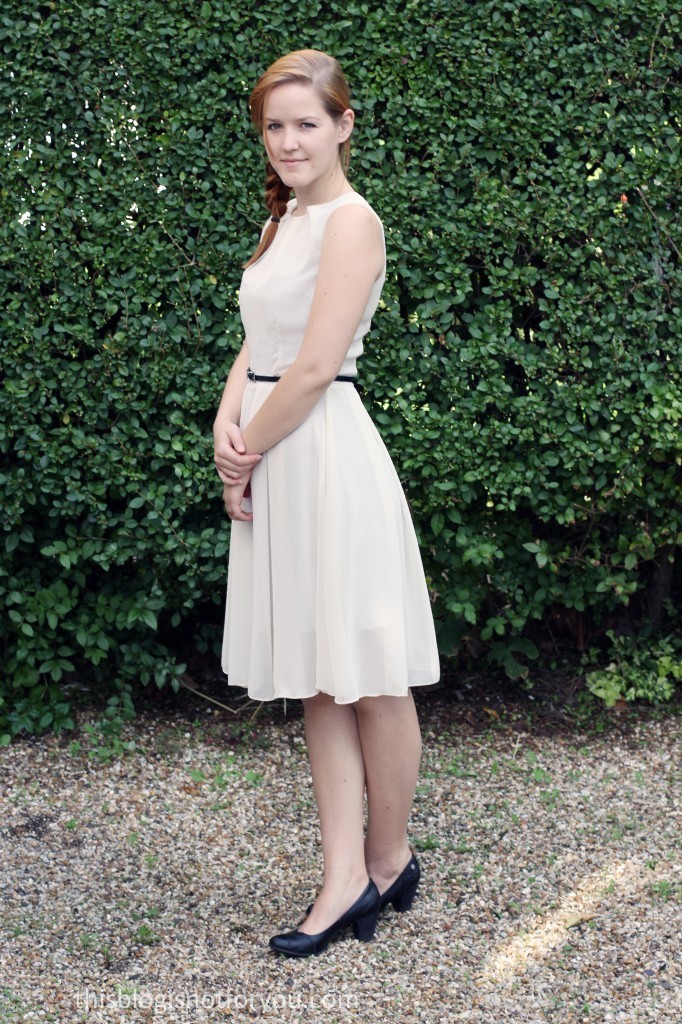
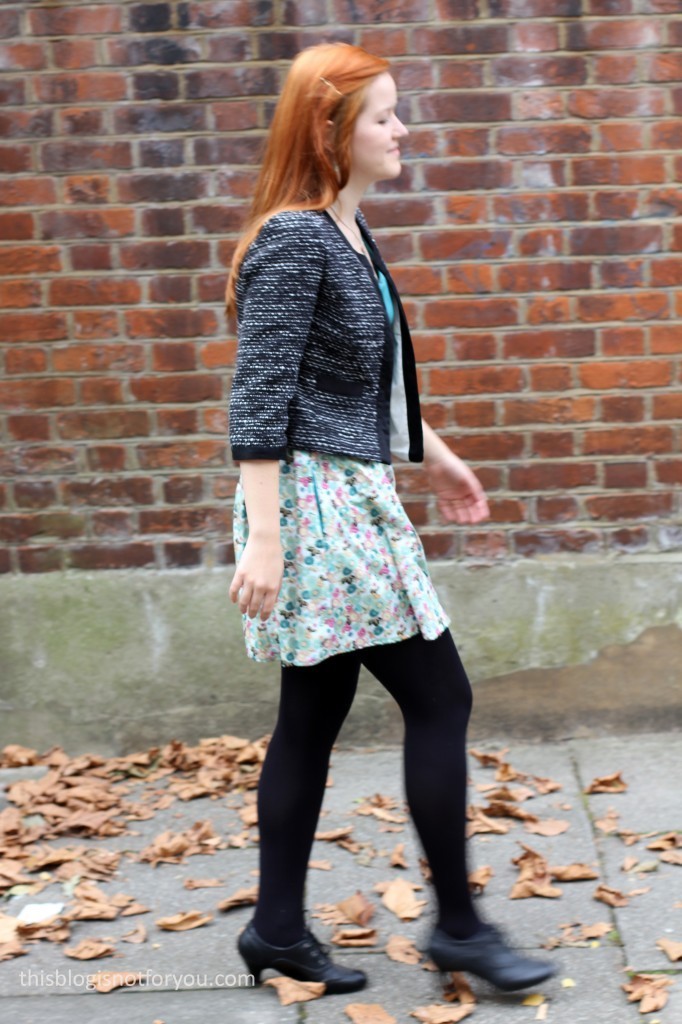
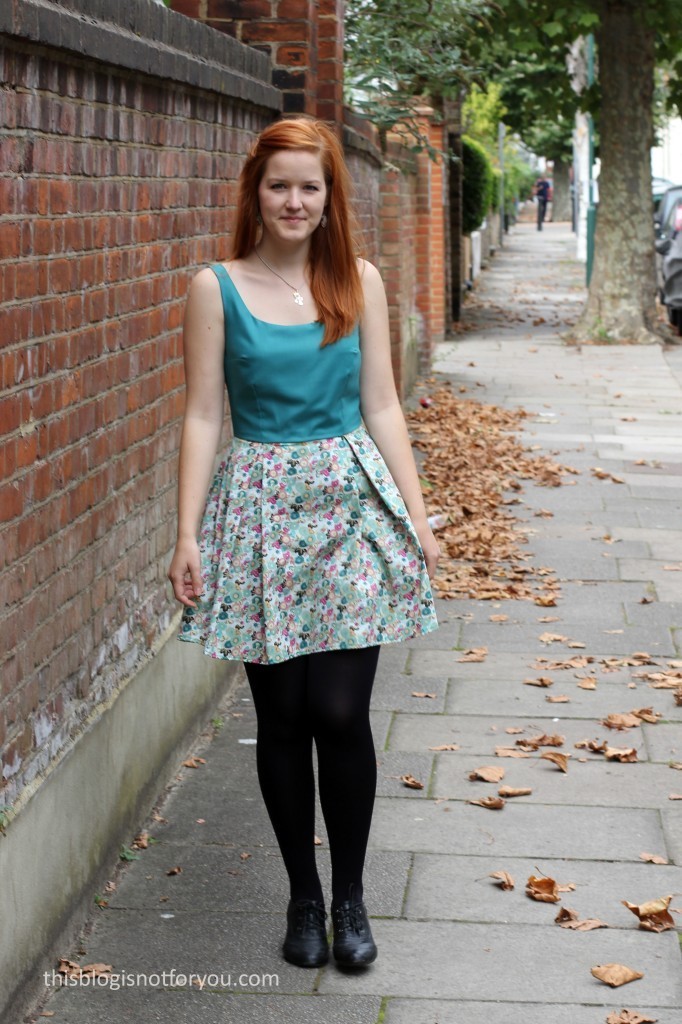
 I love how this dress is playful and smart at the same time and can’t wait to wear it more often. It’s a bit too chic to wear at work, but it will be perfect for going out with friends.