Leather Bag Making-Of

making-of a leather bag by thisblogisnotforyou.comHey ho!

Let me warn you – this post contains a LOT of pictures.

I always love to see what other creative people make, but what I love even more is seeing how they actually did it. Making-of posts are probably my favourites.Projecting the same onto you and assuming you like to see lots of bad pictures of unfinished stuff, I wrote up this post about how I made the leather bag from two thrifted leather coats.

Since we can’t get enough of her, here’s another before pic of this creepy beauty:Leather Coat Refashioned into Leather Bag by thisblogisnotforyou.com
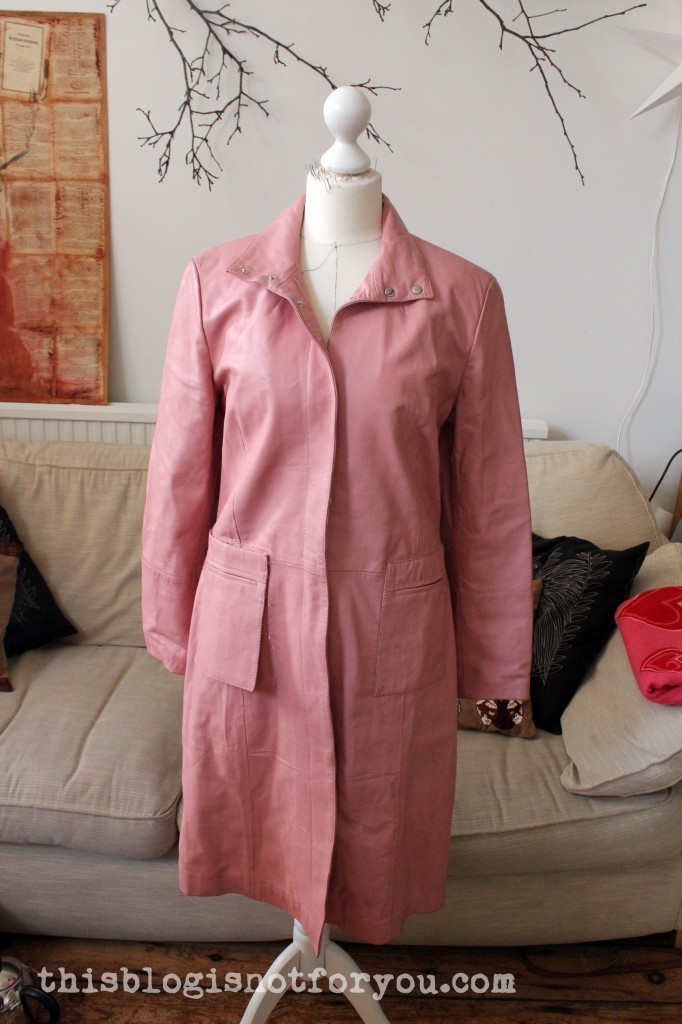
Before I started, I cleaned the leather. Generally, it was in quite a good condition, but there was a bit of build up of dust and dirt in the seams and on the patch pockets.

I simply cleaned the soiled areas with a damp, soapy cloth (not rubbing too hard). Make sure you don’t use any aggressive soaps when treating leather. This really worked well and I got rid off all stains.

making-of a leather bag by thisblogisnotforyou.com

I cut out the two front and back panels first (two rectangles) which I then quilted. I should have used some backing, but somehow I didn’t think of that. It worked anyway, but I guess the quilting would’ve looked a bit more ‘three-dimnesional’.

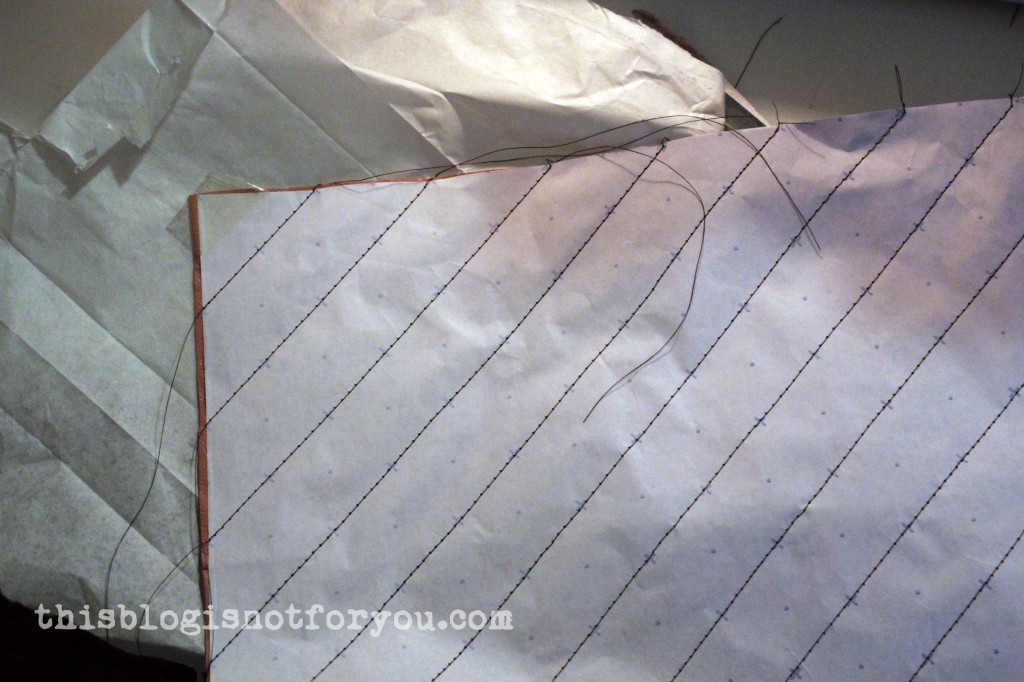
Anyhow, I used my dot and cross paper to get perfectly parallel lines. The paper is great since the dots/crosses are exactly 2cm/4cm apart. The paper was also really helpful dealing with the sticky leather. Sewing over the paper solved the problem of not having a teflon presser foot. The paper could be easily removed after sewing since it is really thin.making-of a leather bag by thisblogisnotforyou.comAfter I quilted the front and back panels, I cut out the bottom panel and sewed it all together. I glued the seam allowance to the bottom panel and then topstitched along the seams with my edge stitch foot.making-of a leather bag by thisblogisnotforyou.com
You can see that I recycled the leather by some weird seamlines which I couldn’t avoid to include when I cut out the panels. But you barely can notice it on the fnished bag.

I cut out a big rectangle from some old curtain fabric and glued it onto the bag panel to give it a bit of support.
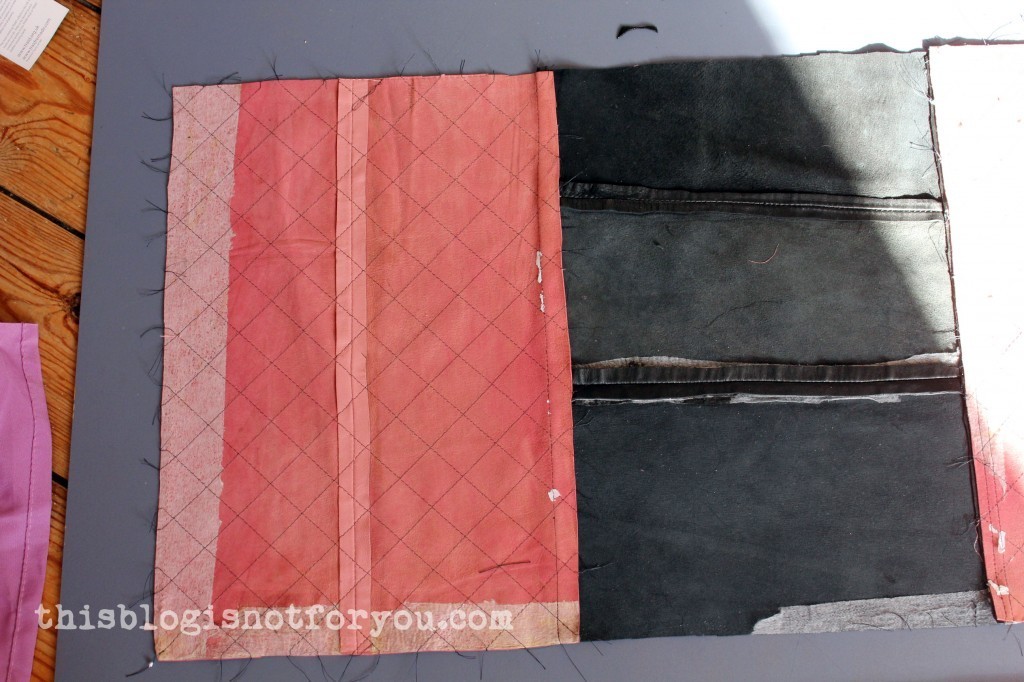
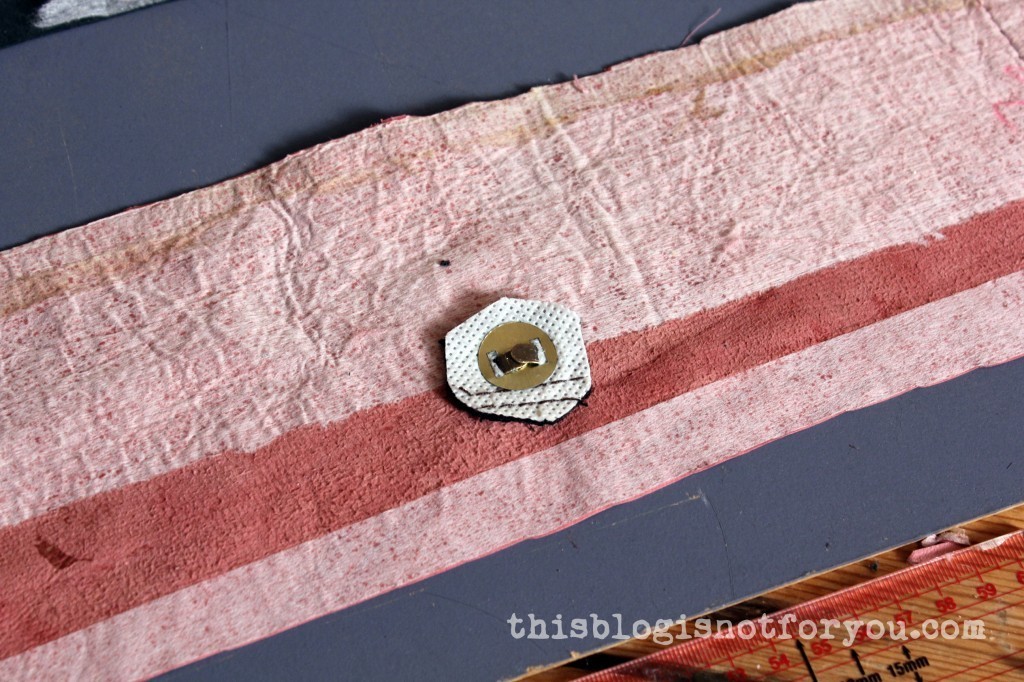
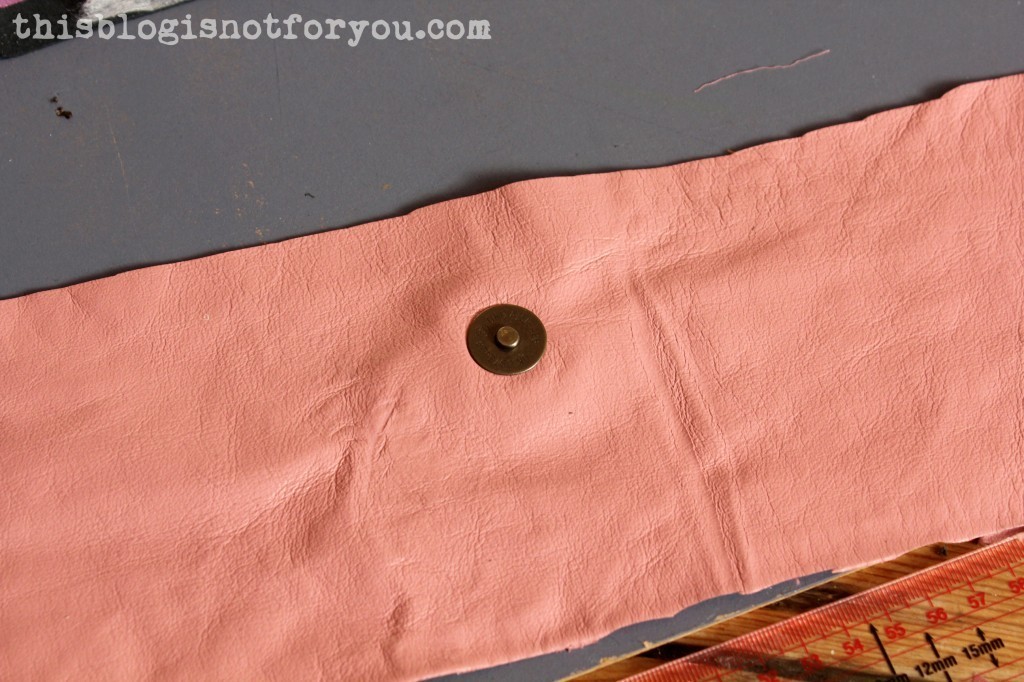
making-of a leather bag by thisblogisnotforyou.comI cut out the upper facing and inserted the magnetic bag clasp. You can order these online, they’re quite inexpensive.making-of a leather bag by thisblogisnotforyou.commaking-of a leather bag by thisblogisnotforyou.commaking-of a leather bag by thisblogisnotforyou.com
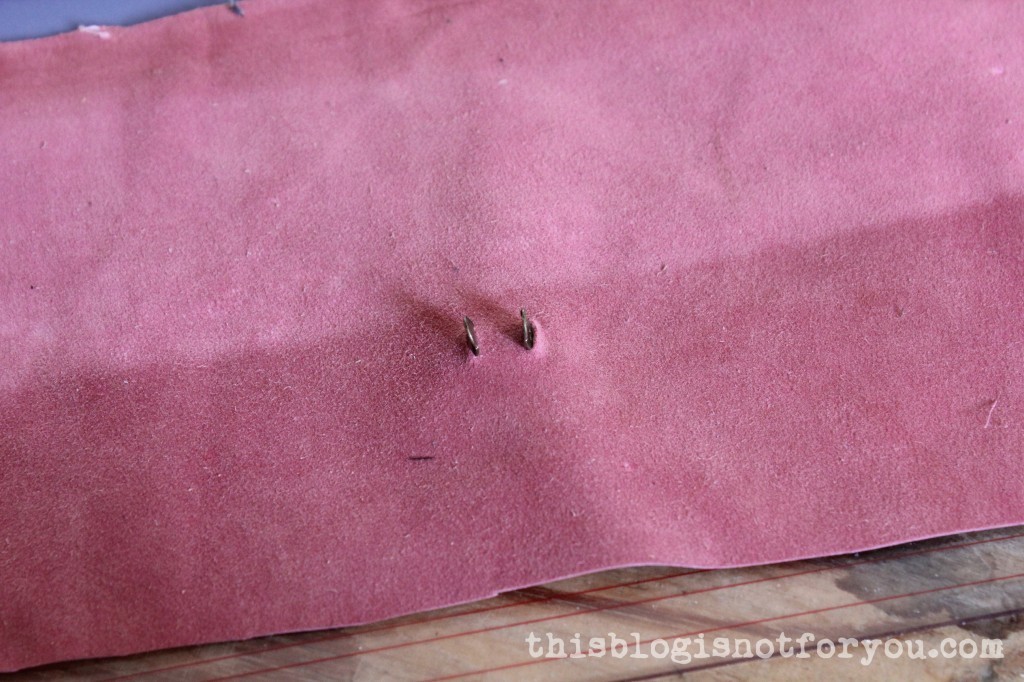
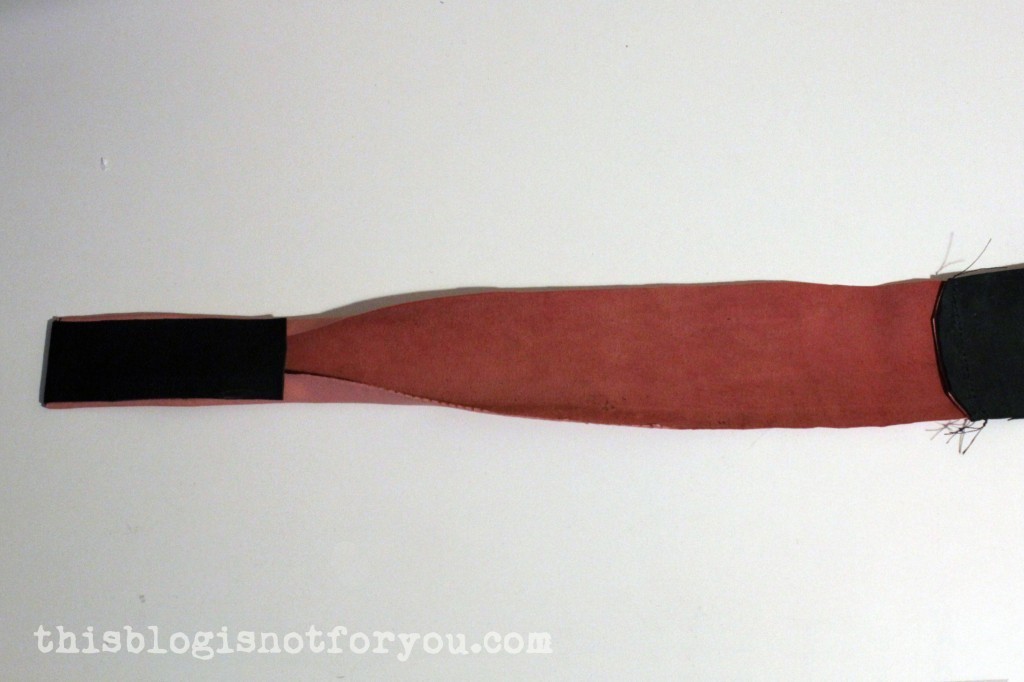
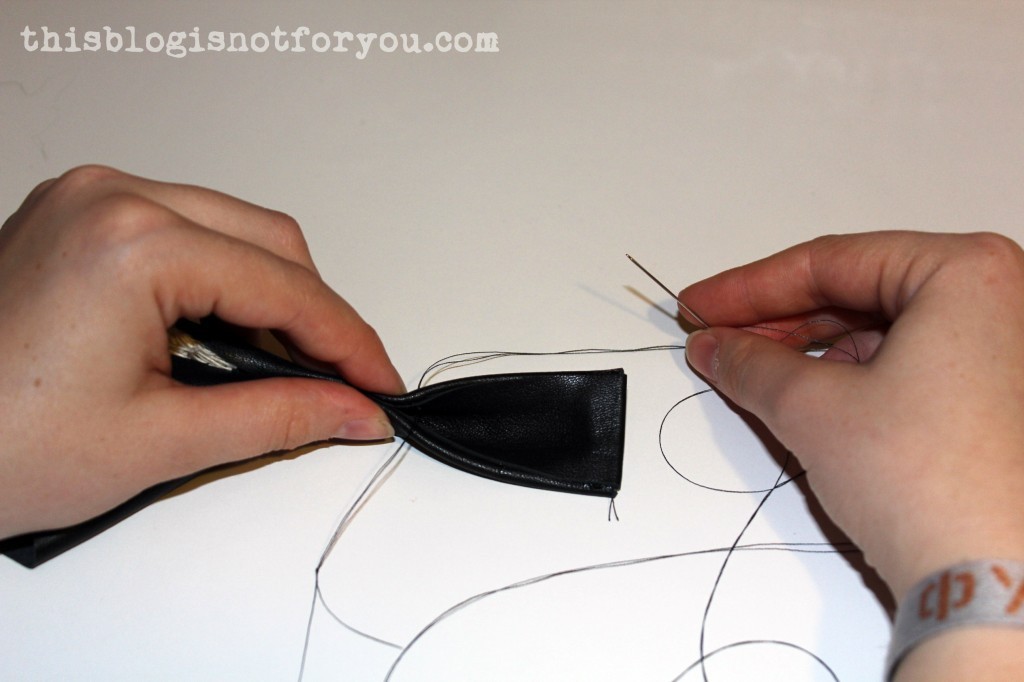
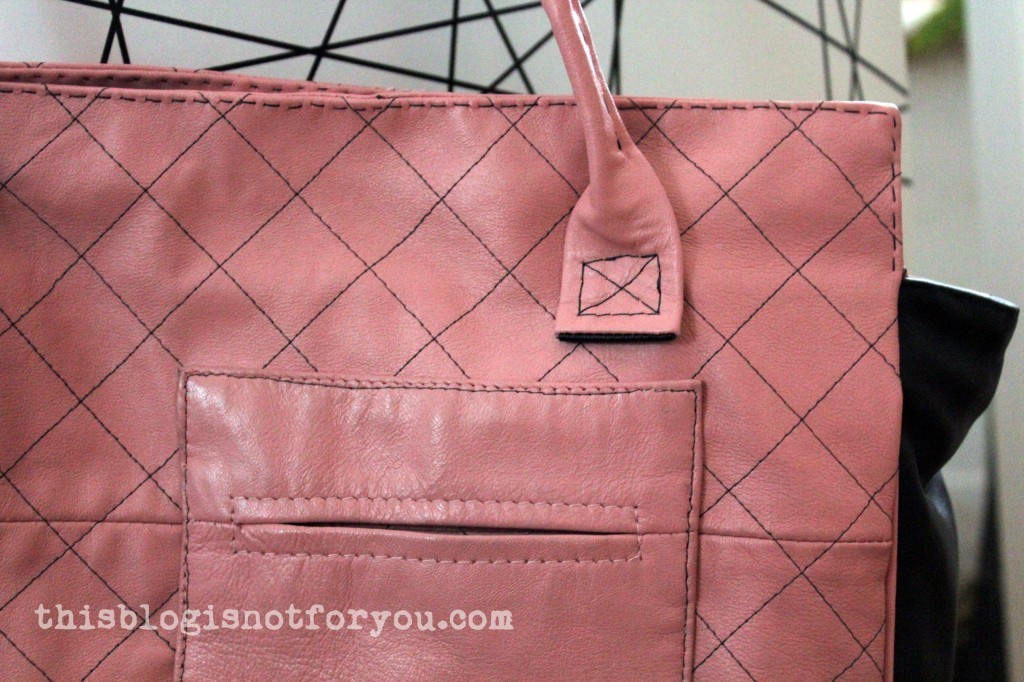
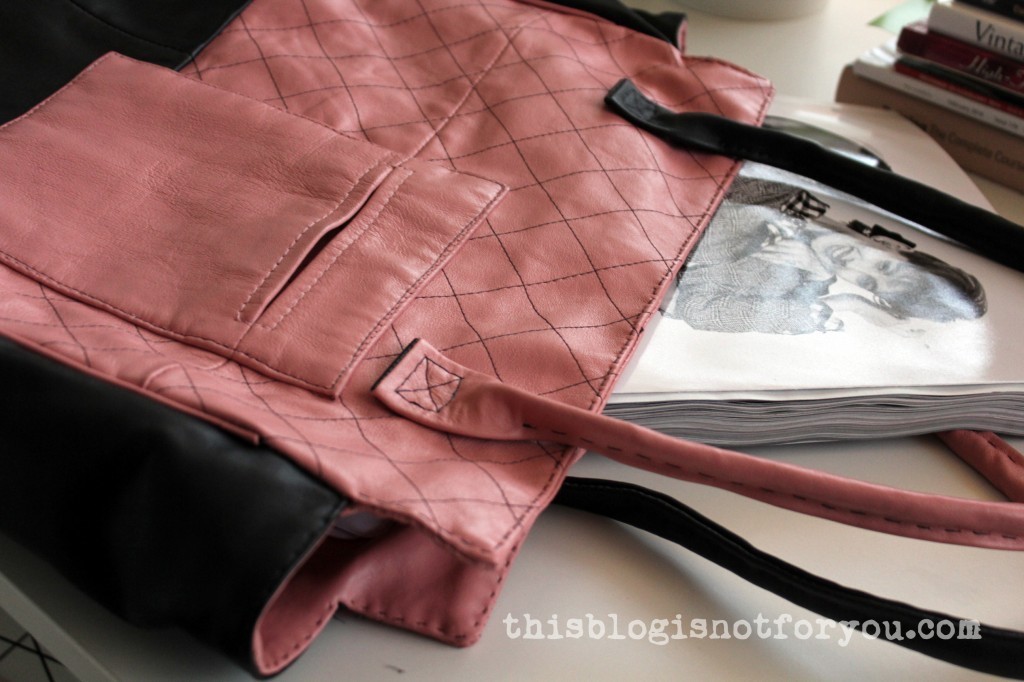
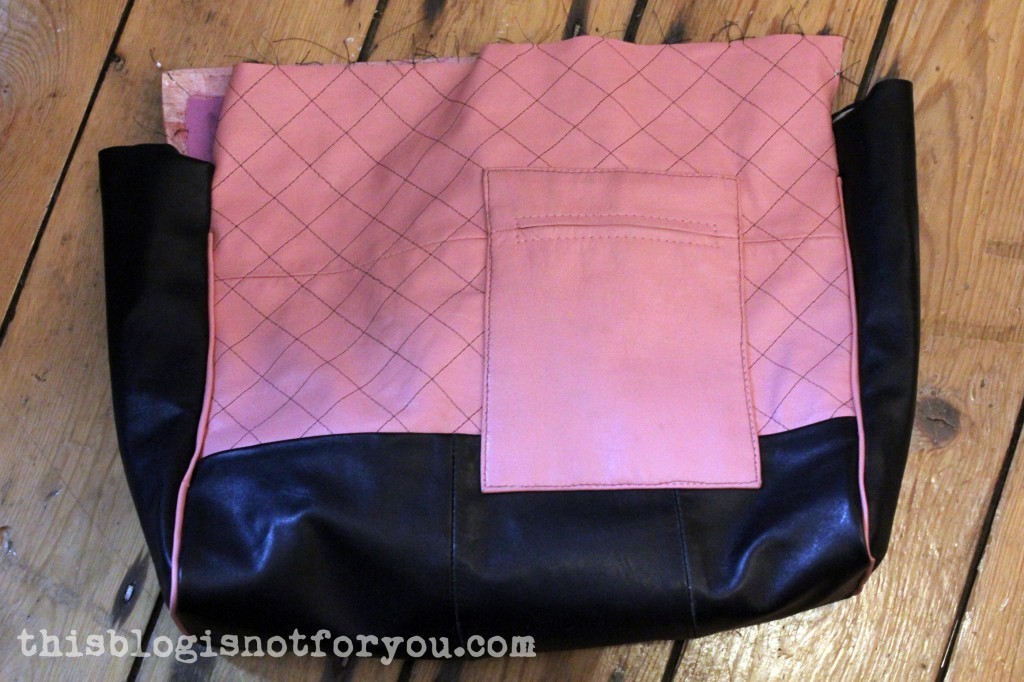
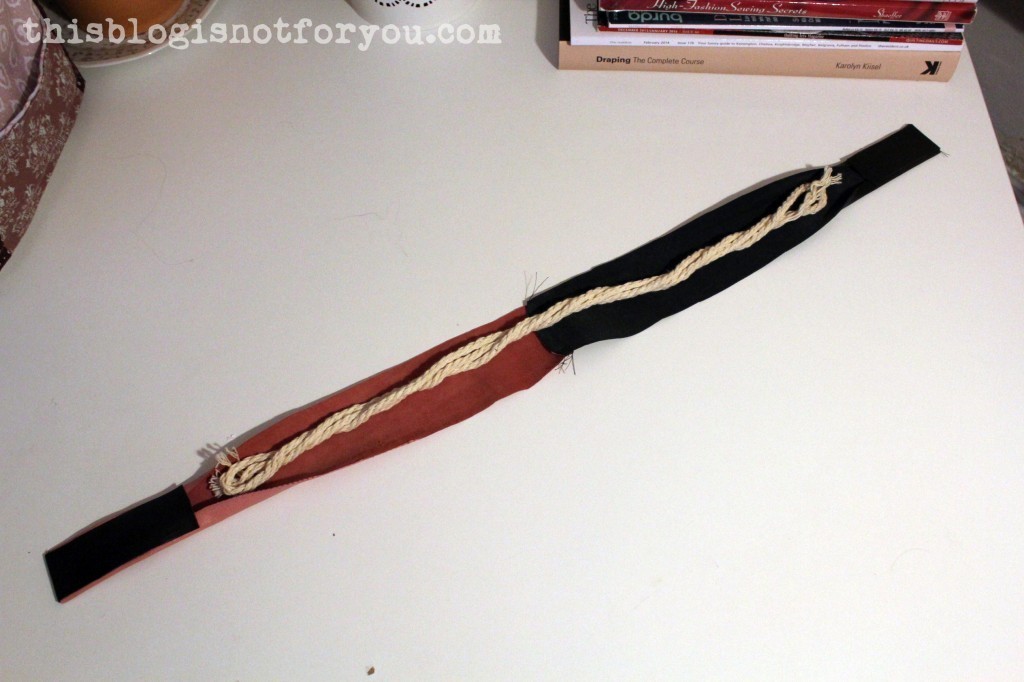
I applied piping to the panels before sewing in the side panels. I sewed one of the patch pockets onto the front panel with my sewing machine. I should’ve topstitched by hand since it looked a bit messy.making-of a leather bag by thisblogisnotforyou.comNext, I made the straps. making-of a leather bag by thisblogisnotforyou.comThe drawstring wasn’t quite thick enough, that’s why the straps are quite soft.making-of a leather bag by thisblogisnotforyou.comAll these layers of leather plus the cord did not fit under my machine (although I used the zipper foot), so I decided I had to sew it by hand.
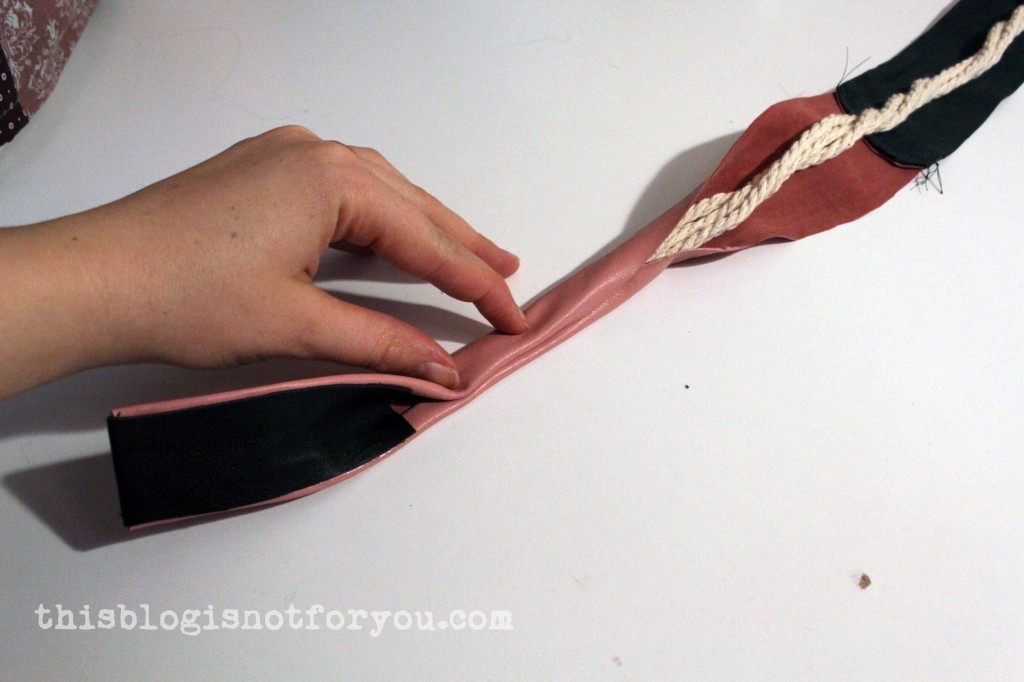
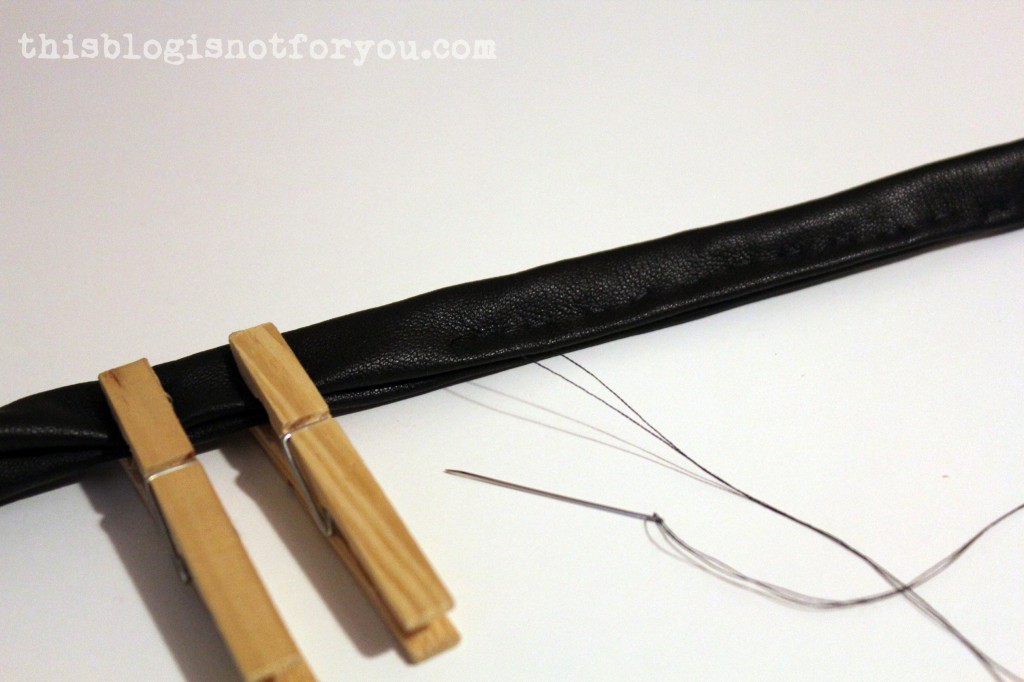
making-of a leather bag by thisblogisnotforyou.commaking-of a leather bag by thisblogisnotforyou.comI used some pegs to hold the leather in place, since you can’t use pins – they leave small holes in the leather.making-of a leather bag by thisblogisnotforyou.comAlrighty, still with me?
Now, the lining.

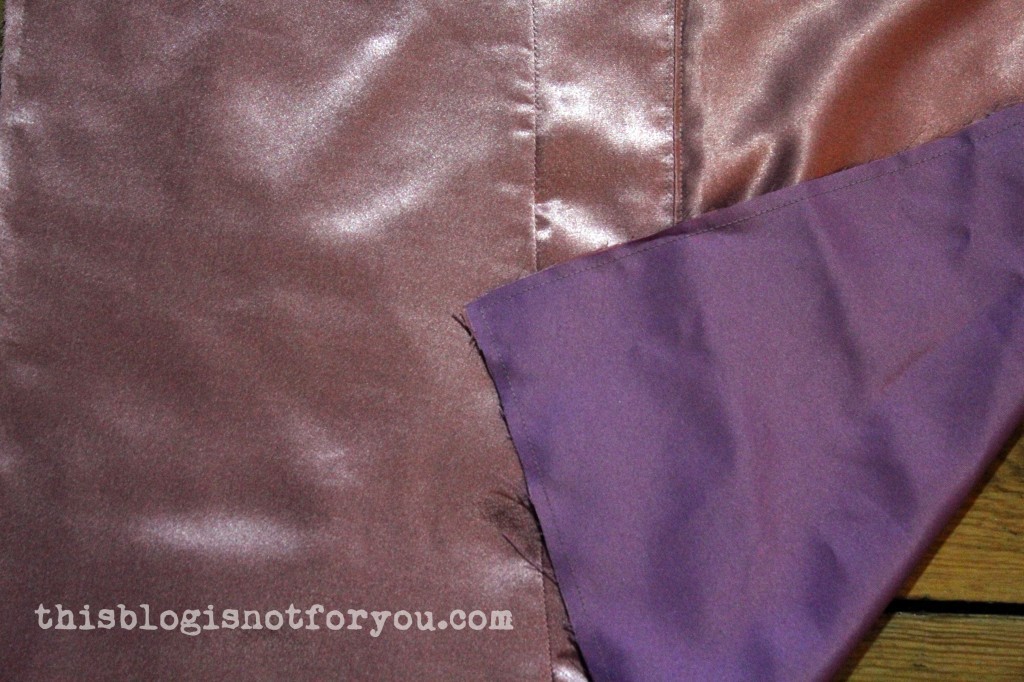
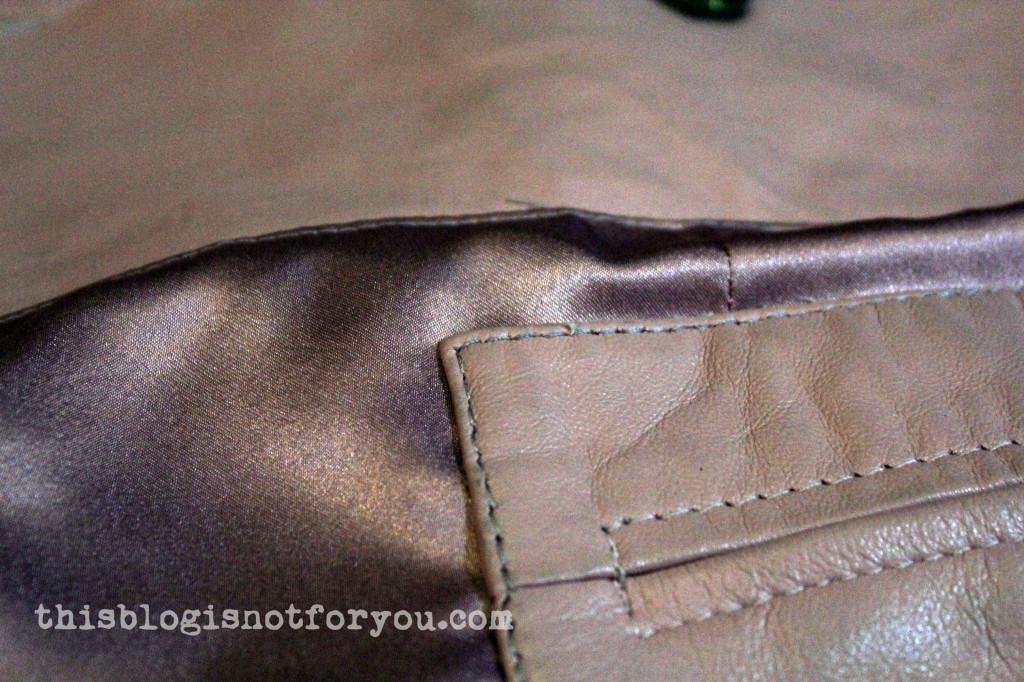
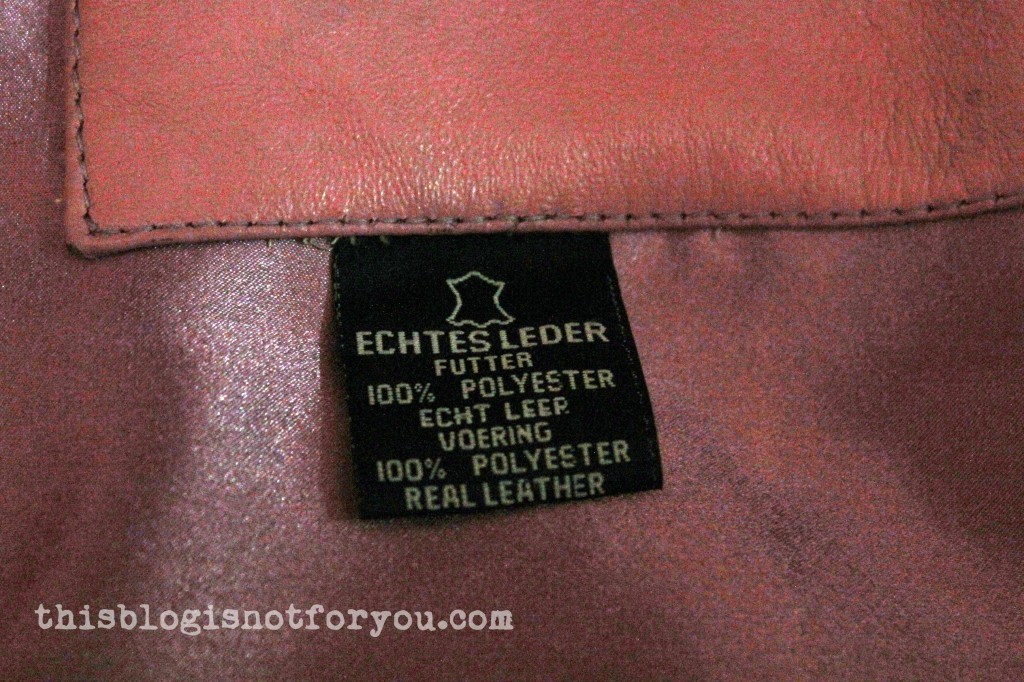
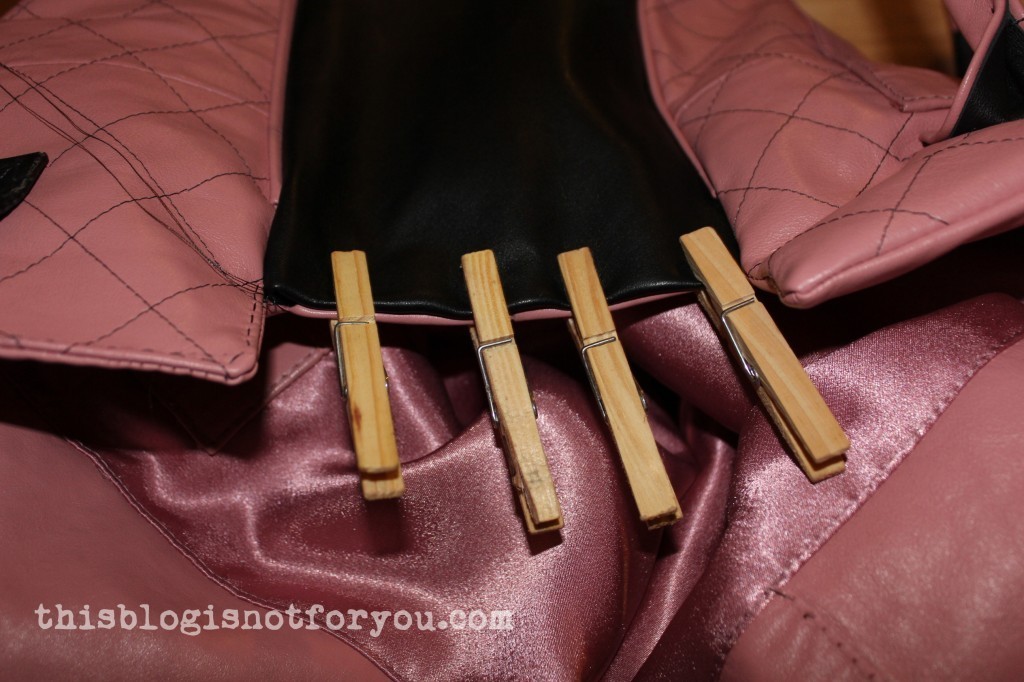
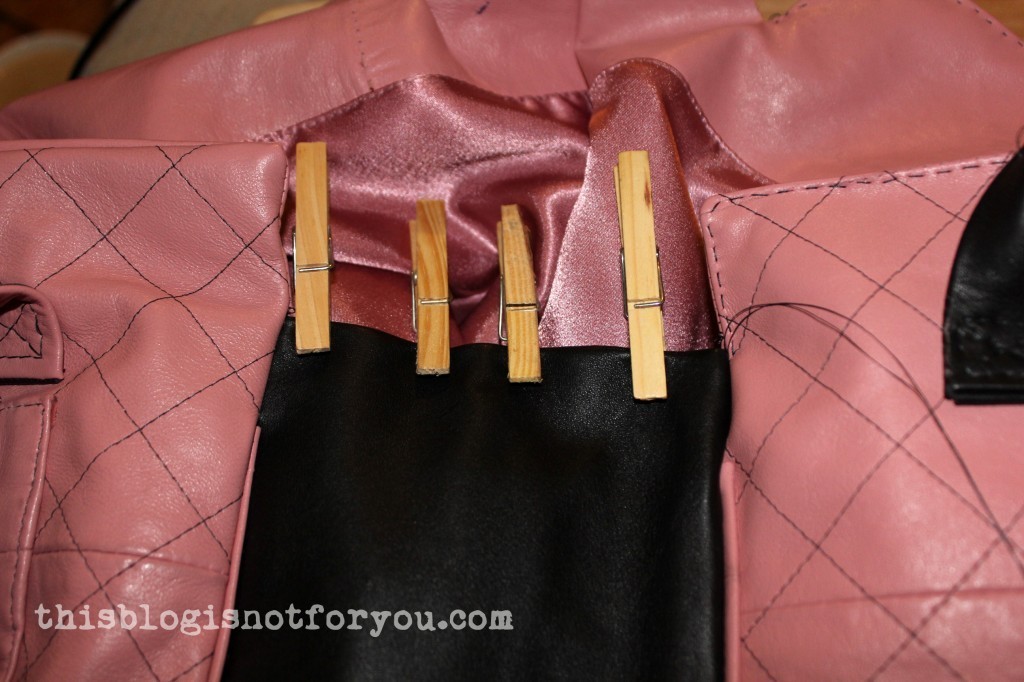
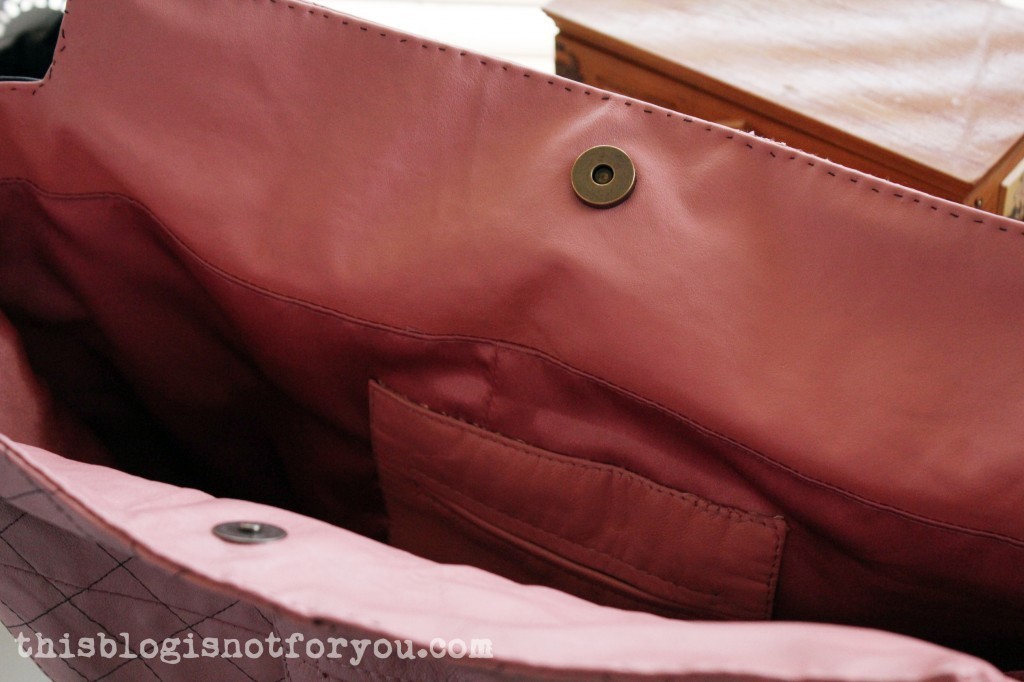
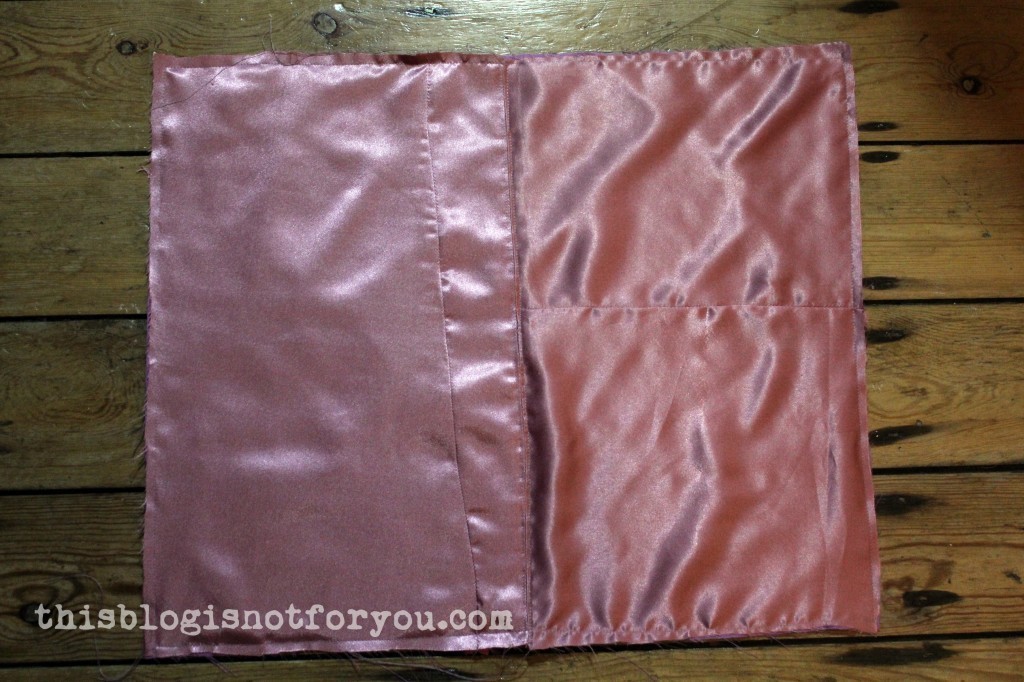
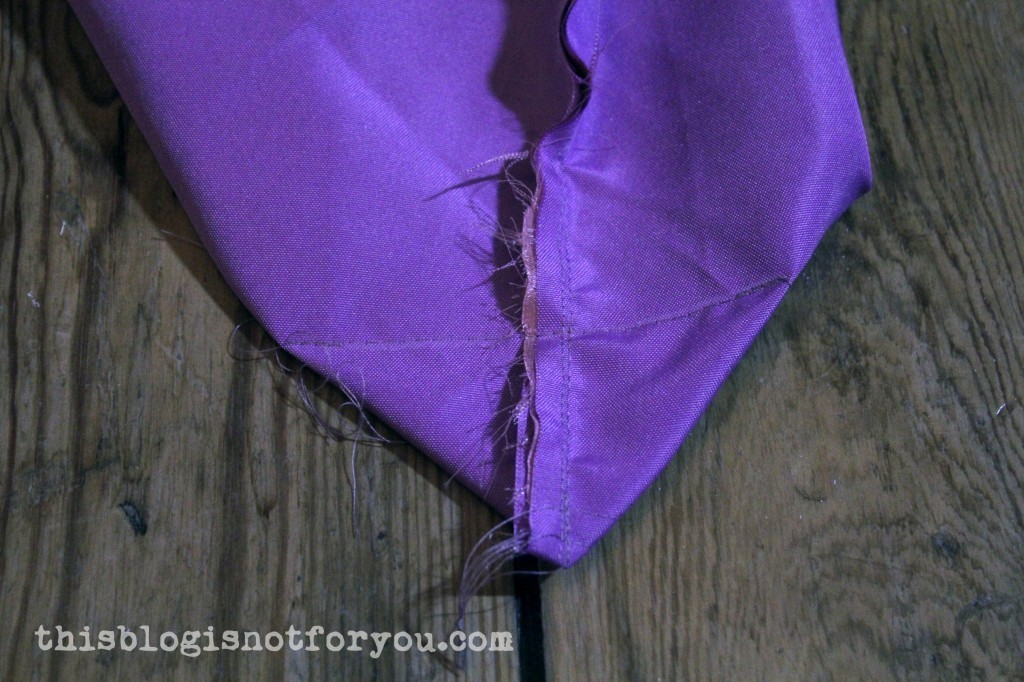
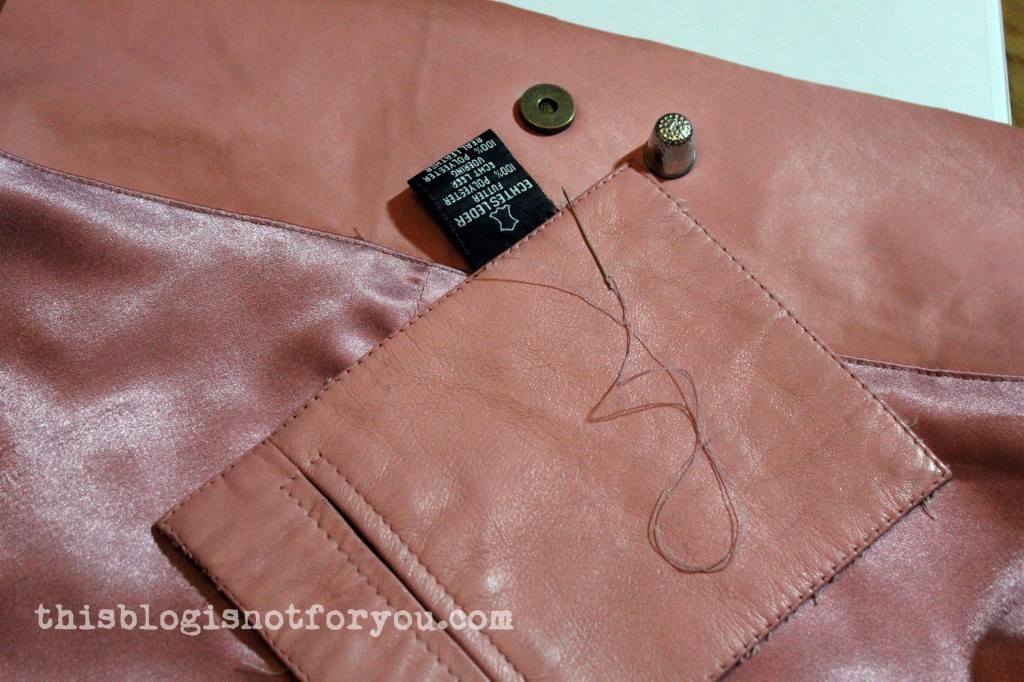
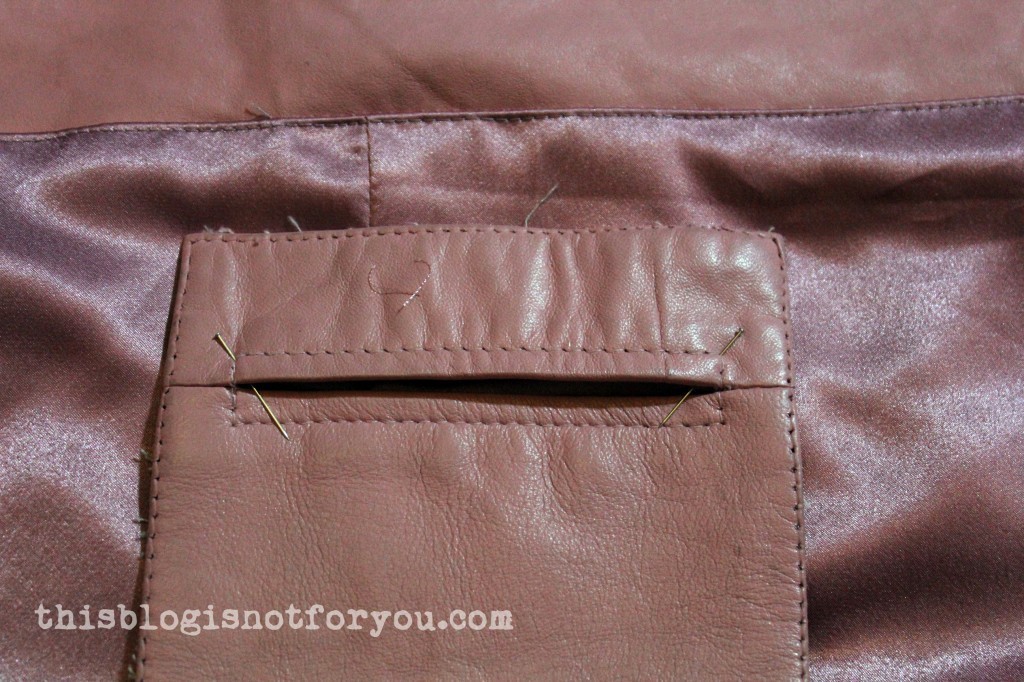
I recycled the lining of the pink coat, chopping off the bottom part, cutting out two rectangles. I sewed them together and underlined them with purple curtain fabric I had lying around. The satin lining otherwise would’ve been not stable enough and might’ve easily ripped (my sister carries a lot of stuff around!).making-of a leather bag by thisblogisnotforyou.com(You can see the weird seamlines again)making-of a leather bag by thisblogisnotforyou.comI sewed the leather facing to the lining and topstitched close to the seam.making-of a leather bag by thisblogisnotforyou.comI sewed the side seams of the lining. This is how it looks “right side” out.making-of a leather bag by thisblogisnotforyou.comTo make the lining fit the shape of the bag, I boxed the corners:making-of a leather bag by thisblogisnotforyou.comInstead of chopping them off, I handstitched the corner to the bottom seam.making-of a leather bag by thisblogisnotforyou.comTo avoid another messy patch pocket, I topstitched the inner pocket onto the lining by hand. Took way too much time, but was absolutely worth the trouble.making-of a leather bag by thisblogisnotforyou.comI used the small holed of the previous topstitching.making-of a leather bag by thisblogisnotforyou.commaking-of a leather bag by thisblogisnotforyou.commaking-of a leather bag by thisblogisnotforyou.comTime to sew bag and lining together!!
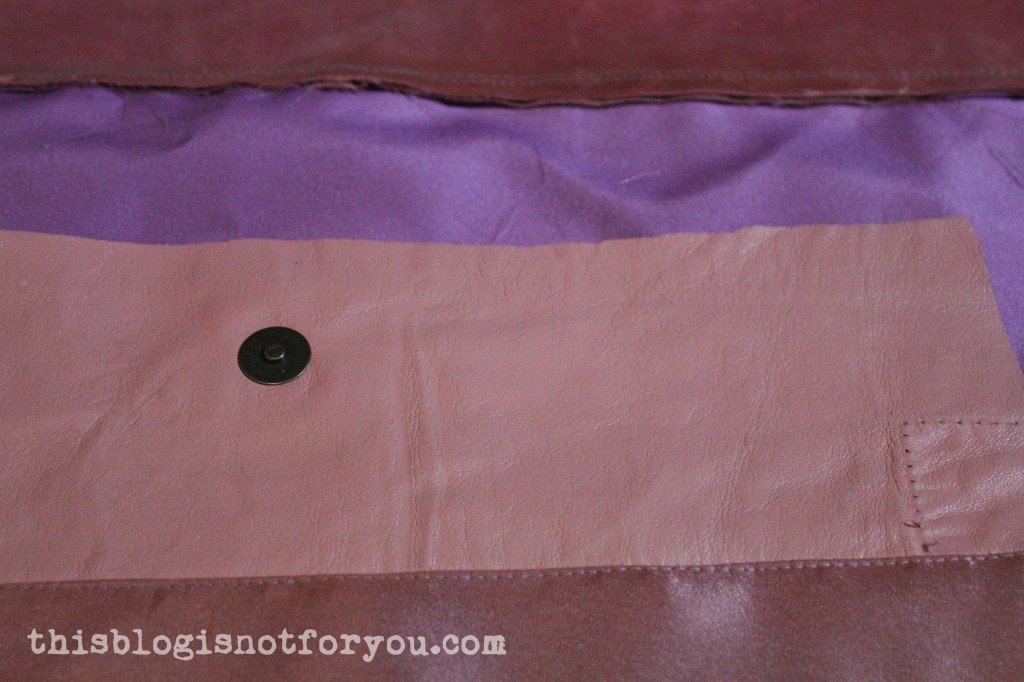
making-of a leather bag by thisblogisnotforyou.com

Bag placed in lining, right sides together, I sewed up the seams of front/back panel. I left the seams of the side panels open, so I could turn the bag inside out.
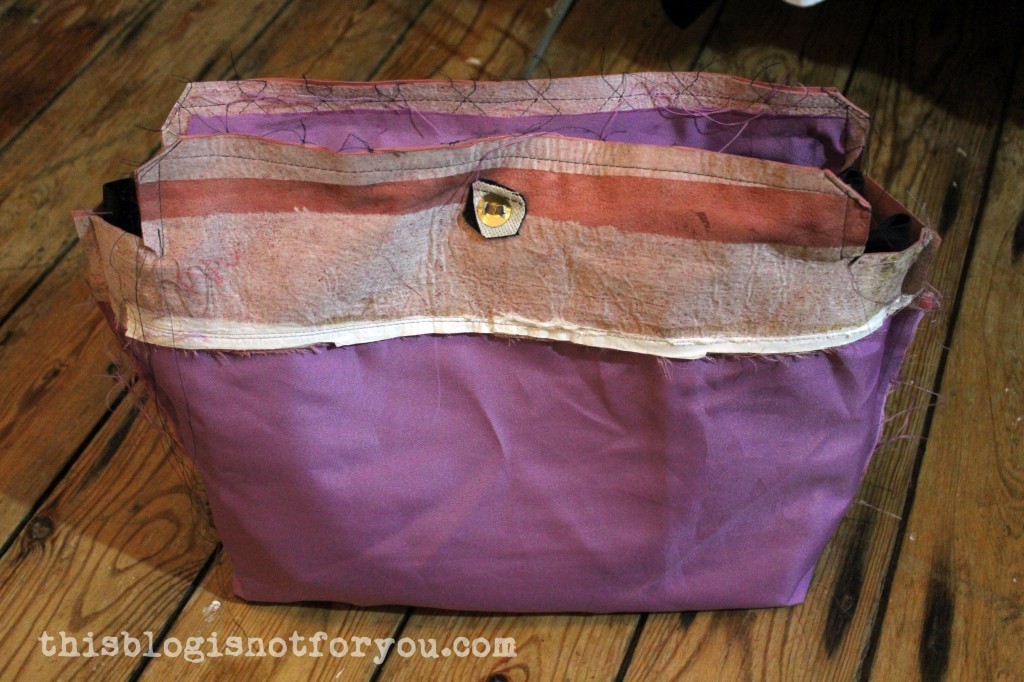
making-of a leather bag by thisblogisnotforyou.comAnd yey, this is where the ripping happened.making-of a leather bag by thisblogisnotforyou.comIn the end it wasn’t such a big deal, although it was frustrating. I could fix it with some topstitching.
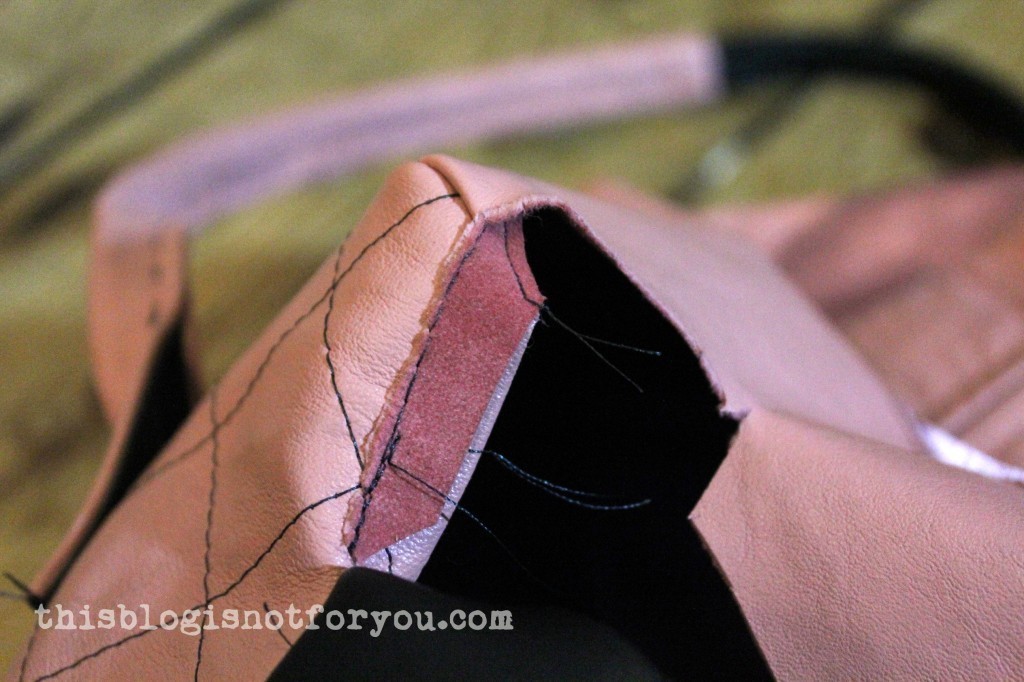
After turning the bag inside out, I started topstitching all the way around the upper edge, closing the side panel seams.making-of a leather bag by thisblogisnotforyou.commaking-of a leather bag by thisblogisnotforyou.commaking-of a leather bag by thisblogisnotforyou.comThis part was the most frustrating one, as it took ages and topstitching leather by hand is a really unrewarding job. My fingers hurt for days.making-of a leather bag by thisblogisnotforyou.com
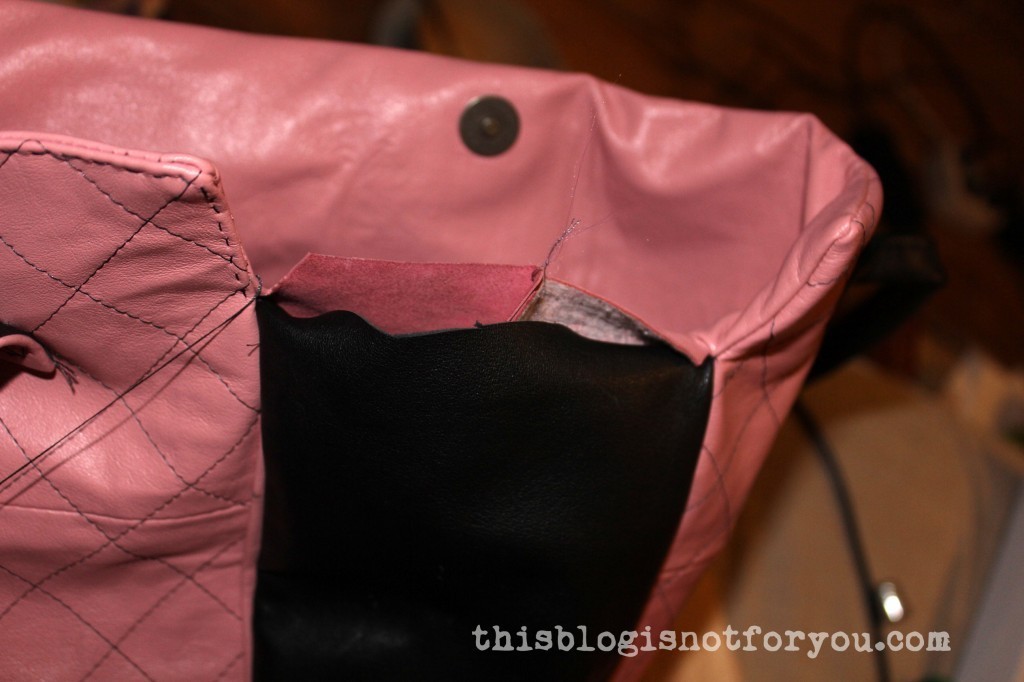
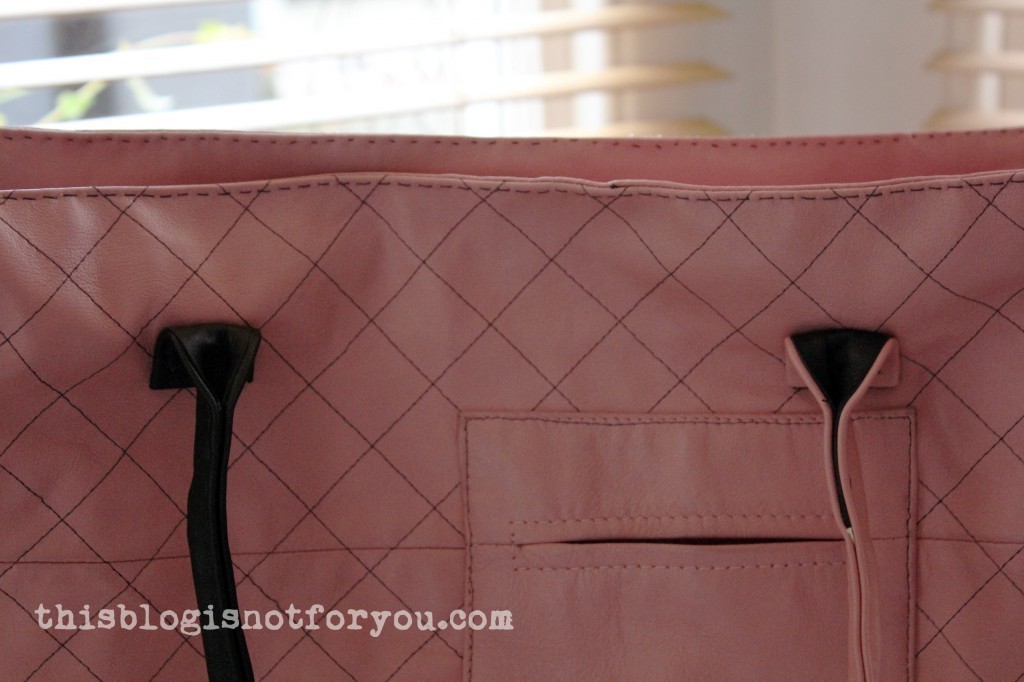
making-of a leather bag by thisblogisnotforyou.comHere a closeup on the strap (and the messed up topstitching on the front pocket).making-of a leather bag by thisblogisnotforyou.commaking-of a leather bag by thisblogisnotforyou.com
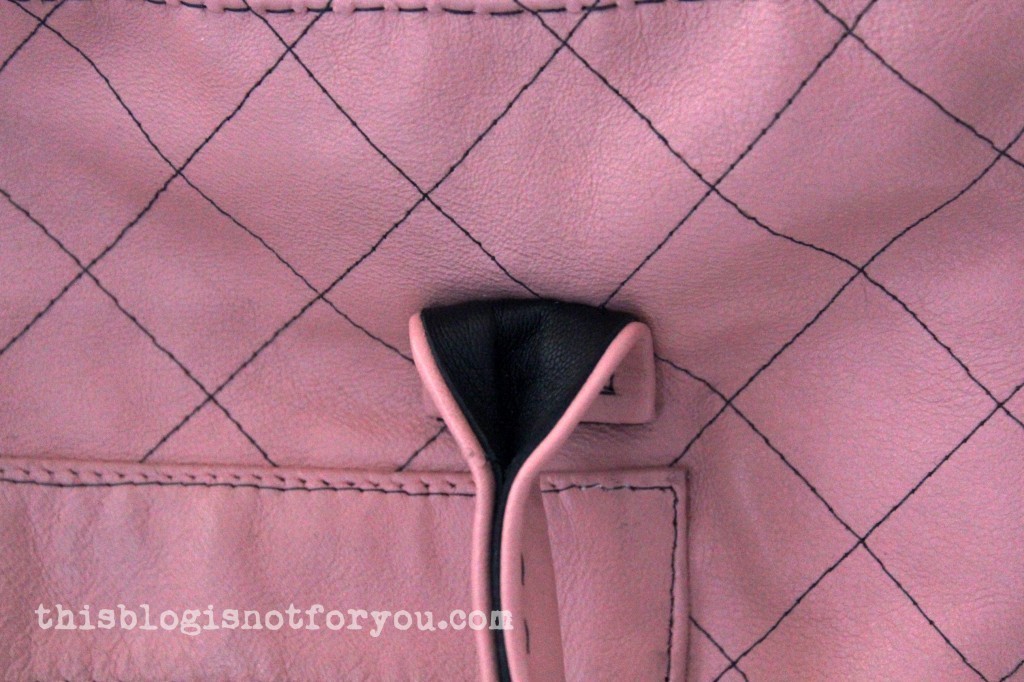
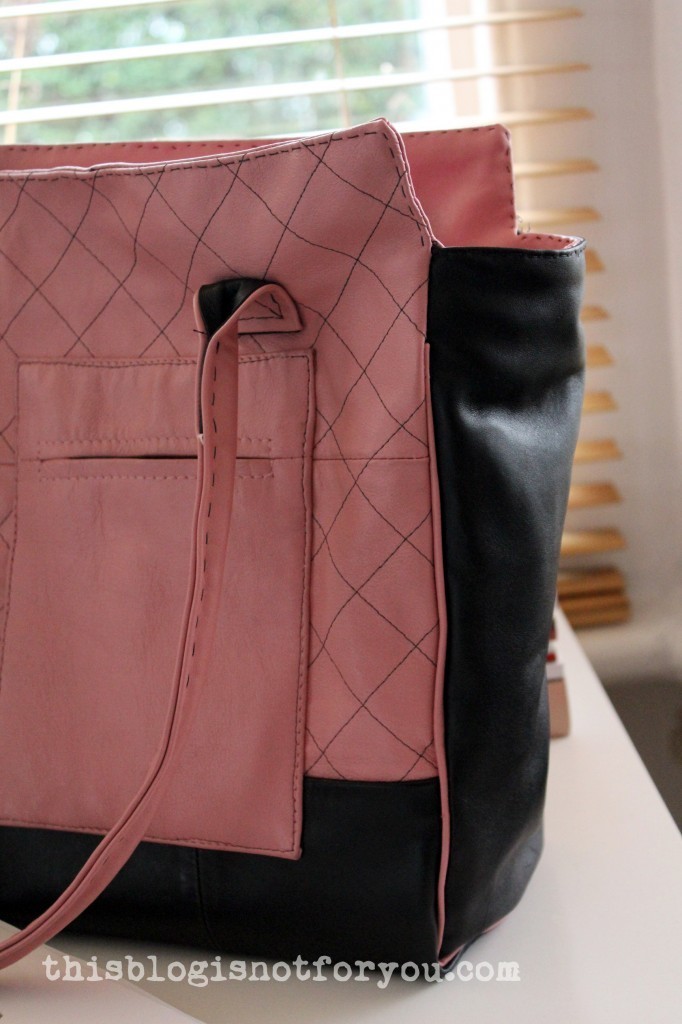
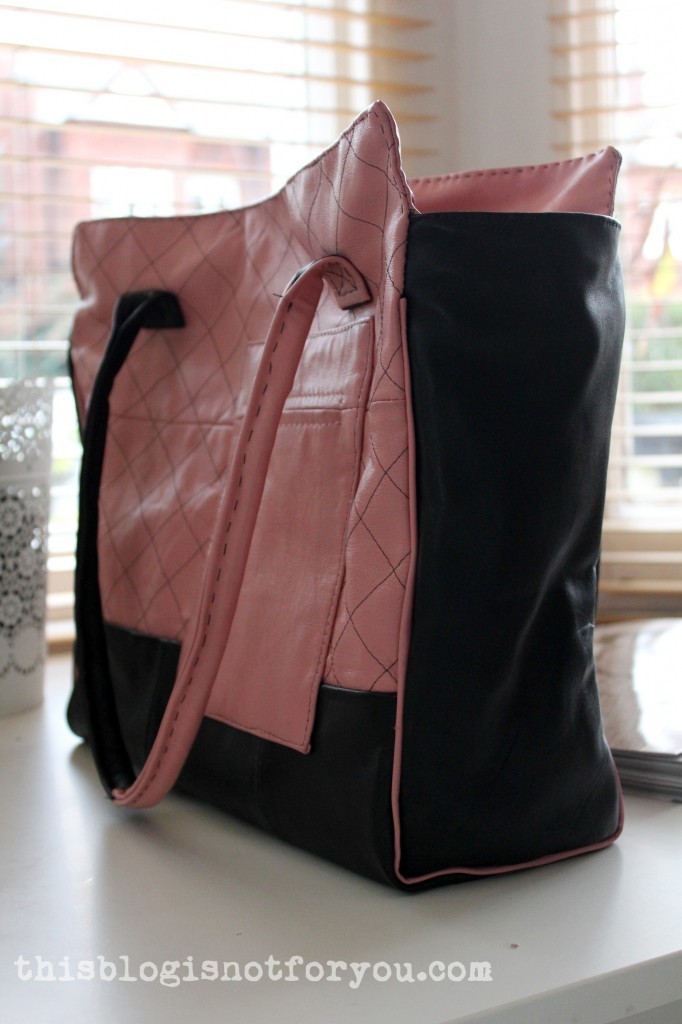
I really love the piping, it gives the bag a sporty look which was exactly the right thing for my little sis.

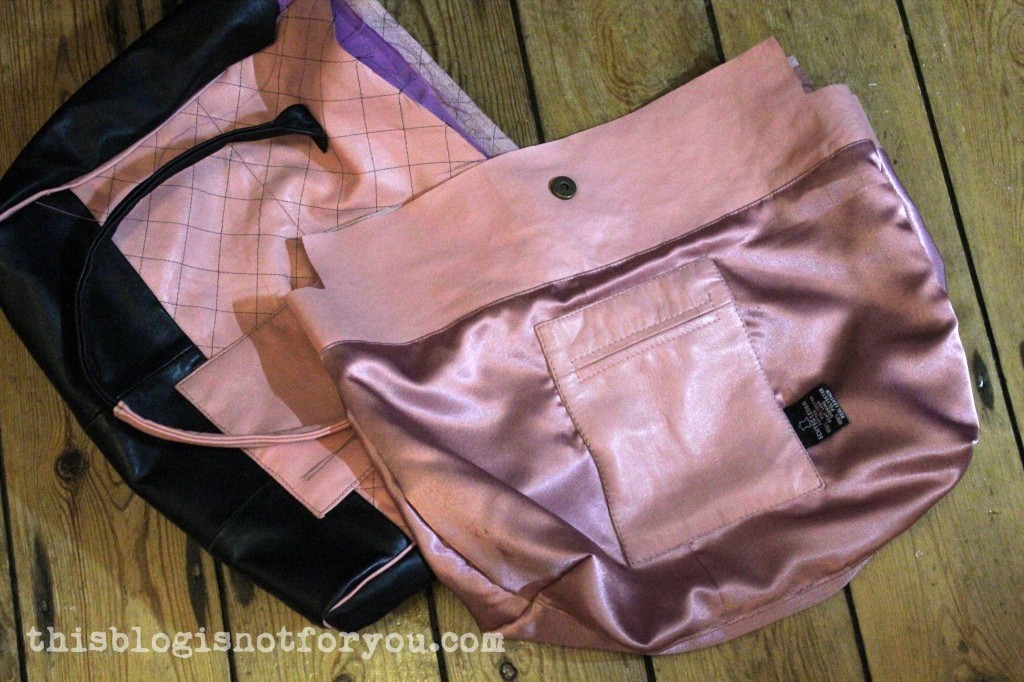
Here you can see facing and lining:
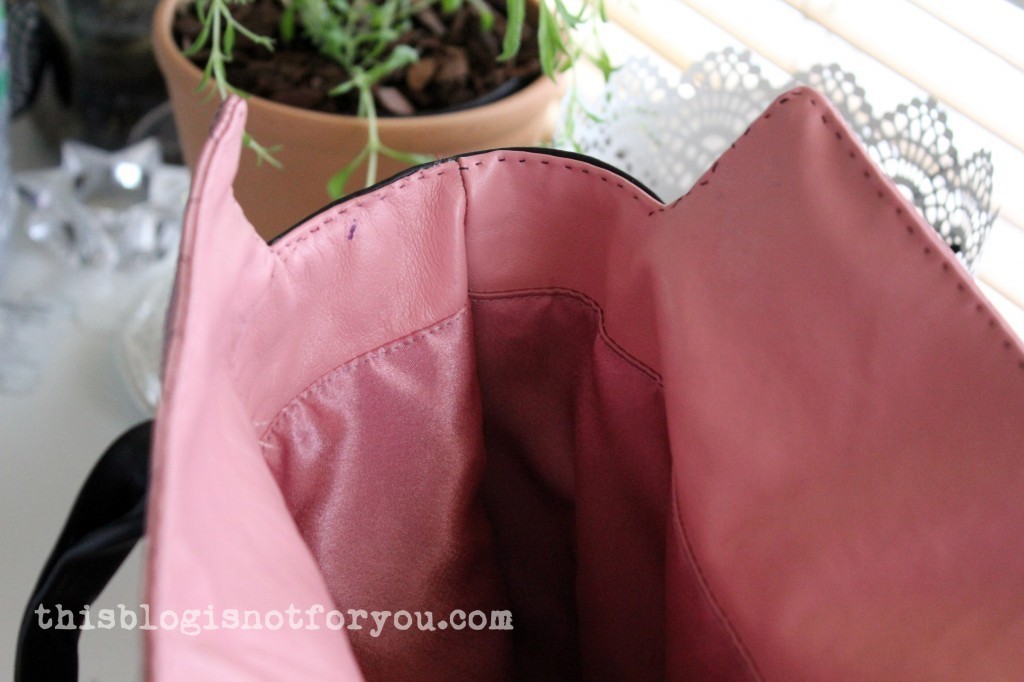
making-of a leather bag by thisblogisnotforyou.commaking-of a leather bag by thisblogisnotforyou.commaking-of a leather bag by thisblogisnotforyou.com

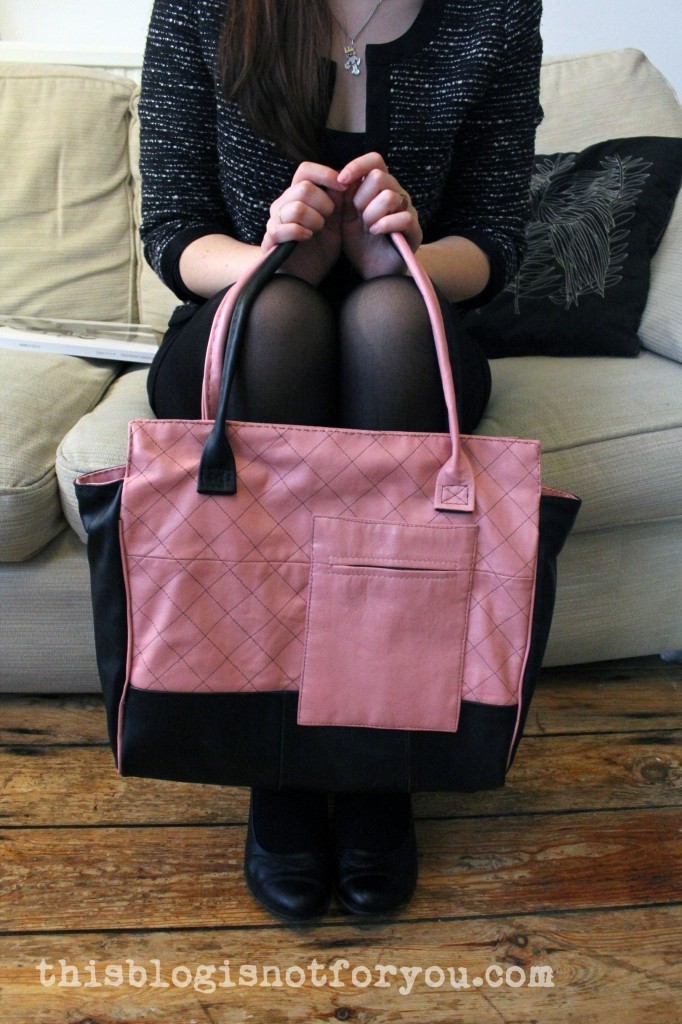
making-of a leather bag by thisblogisnotforyou.comDone!

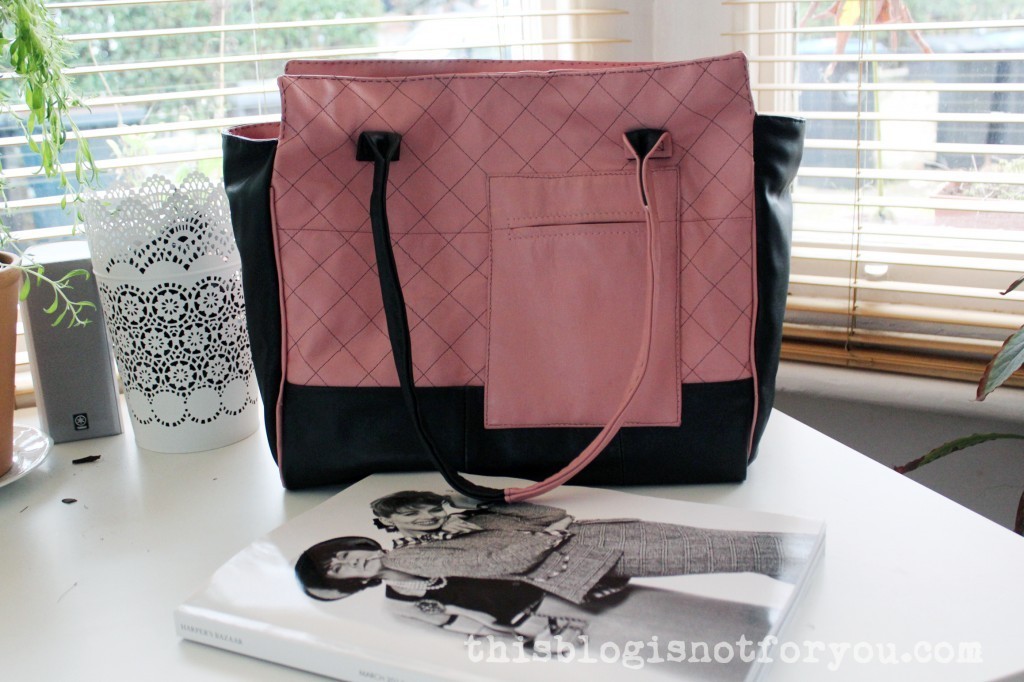
And, guess what? The bag arrived in the mail today and I got a lot of happy texts from my little sister. Glad she loves it!Leather Coat Refashioned into Leather Bag by thisblogisnotforyou.com
Have you made something from leather or are planning to do so?


Happy sewing!

facebook/bloglovin/pinterest
Stay in touch!

Refashion It! Leather Coat to Leather Bag

Leather Coat Refashioned into Leather Bag by thisblogisnotforyou.comFinally.

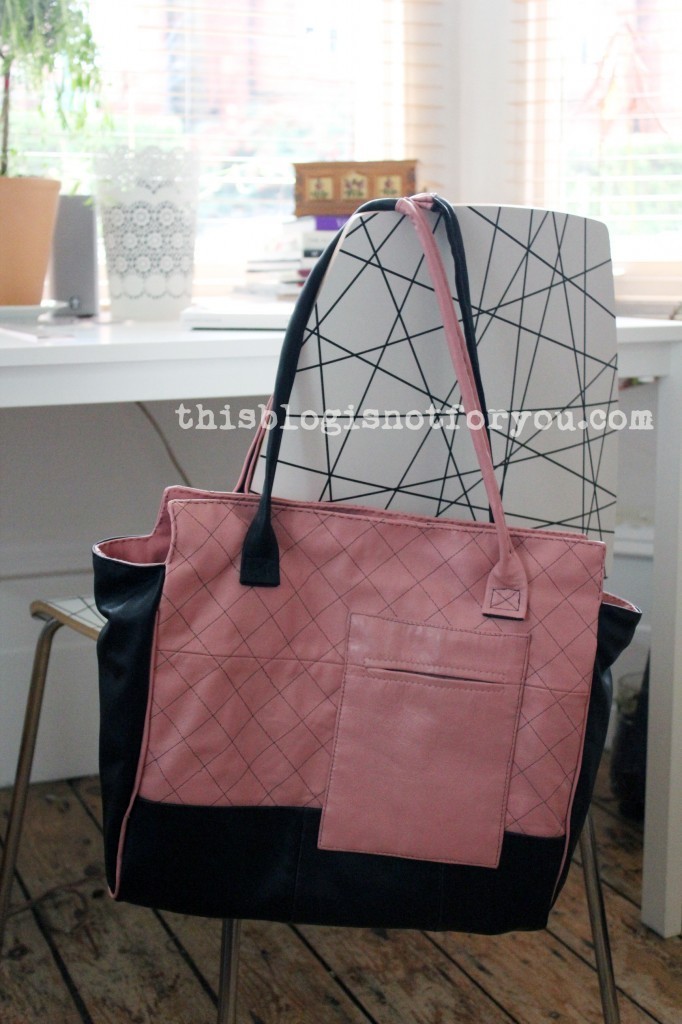
After weeks of hurting fingers, broken needles and a lot of frustration, I finished my leather coat refashion. The outcome? A leather bag!

It was certainly not an easy and quick refashion project, that much I can tell you. Especially since it was my very first time sewing with real leather (rant ends here).

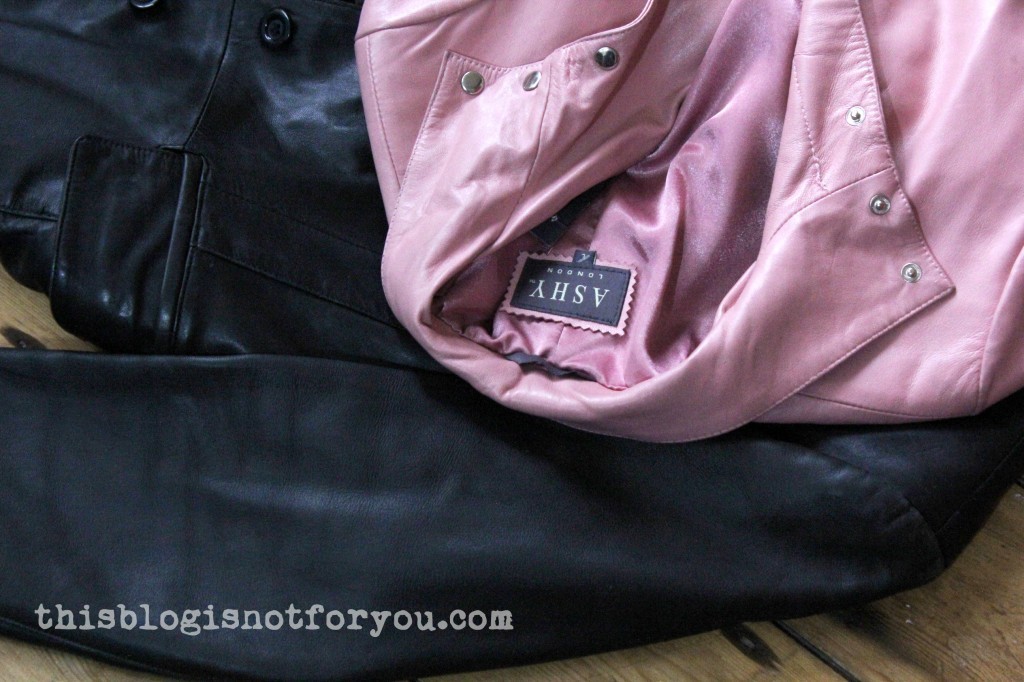
I found these two beauties in a thrift store a few weeks ago (6 pounds each!):
Leather Coat Refashioned into Leather Bag by thisblogisnotforyou.comLeather Coat Refashioned into Leather Bag by thisblogisnotforyou.com

(Is there a tree in my flat? Sort of.)

Quite a bargain! The coats are way too big for me, so there was plenty of leather and lining to use. For making the bag I only used the bottom leather panels of both coats and some of the lining from the pink coat.

I made the pattern for the bag myself and, as you can see, found a way to recycle the patch pockets of the pink coat. I love that the bag is big enough to carry a binder around (Not that I do that every day, but whenever I need to take one with me I realise that none of my bags are large enough.)
Leather Coat Refashioned into Leather Bag by thisblogisnotforyou.comThe bag unfortunately doesn’t count into my 27 Dresses Challenge (ohhhh….) and it’s also not for me to wear. SO WHAT’S THE POINT OF GOING THROUGH ALL THIS?

I made the bag for my little sis’ birthday (Yes, I must love her very much). I’m not really the pink bag type of girl, but she loves everything black and pink. Hopefully, it doesn’t fall apart, hehe. The bag was shipped off to good old Germany yesterday and hopefully won’t get lost on the way (I still don’t trust Royal Mail.)

I won’t post a tutorial on making the bag, but I have taken quite a lot of pictures during the process. So keep your eyes peeled for a making-of post in the next couple of days. I will then also post some pics of the innards and details! If anyone is interested in the pattern of the bag, leave me a comment. If there are a few of you who would like to try and make the bag without proper instructions, I might post the measurements of the pattern pieces.

FYI, my fingers stopped twitching over the weekend (Gosh! I was getting really concerned!) – I’m now fully recovered from the leather disease, yay! But I have plenty of leather left and already way too many ideas for further projects. So this definitely wasn’t the last time you see me masochistically tormenting my hands like this!

Leather Coat Refashioned into Leather Bag by thisblogisnotforyou.com

Happy week everyone!

PS: There’s still plenty of time left to join our Hollywood Sewalong!!
PPS: Who’s watching the Sewing Bee? Some seriously cool refashions this week!

facebook/bloglovin/pinterest
Stay in touch!

Hollywood Sewalong: The Notebook


Hollywood Sewalong: The Notebook by thisblogisnotforyou.com
source: http://oldmovieposter.blogspot.com

Hellooo all you sewing and vintage lovers! I’m so excited about this post!

A Sewalong! A Sewalong series! A Hollywood movie themed Sewalong series!

After some months of emailing ideas back and forth, me and some other lovely sewing friends teamed up for a Hollywood movie themed Sewalong. Our first Sewalong movie is “The Notebook”. Love it or hate it, but the outfits worn by the character Allie Hamilton (Racheal McAdams) is just too adorable.

Hollywood Sewalong: The Notebook by thisblogisnotforyou.com

Here’s our lovely team of sewing enthusiats:

Freya from The Dressmaking Diaries

Courtney from Makesphere

Amy from Sews N Bows

Hannah from Made with Hugs and Kisses

Well, and me!

We will all sew something inspired by the 1940’s fashion in the movie. With ‘inspiration’ being the operative word. That means we can recreate one of the outfits into detail or do something completely different and just using small details, fabric or colours as inspiration.

Over the next couple of months we will post our inspiration from the movie, ideas and plans about patterns or fabrics and then, of course, our final pieces.

I personally love the cut and shapes of the 1940’s, the typical ‘wartime silhouette’. Fashion seemed to be much more practical back then, compared to ten years later, in the 50’s, with all these petticoats and bell-shaped skirts. Women’s fashion also looked a bit more masculine, which you can also tell by all these shirt dresses in the movie.

Alrighty, let me show you some of my favourite outfits from the movie. I loved almost all of them, so it was really hard to narrow it down. I decided to pick the ones that inspired me to sew something the moment I saw them. As much as I love recreating something into detail, I’m pretty sure that I will try myself at a very modern take on one of these dresses:

1. The blue dress

Hollywood Sewalong: The Notebook by thisblogisnotforyou.com
source: http://oldmovieposter.blogspot.com
Hollywood Sewalong: The Notebook by thisblogisnotforyou.com
source: http://oldmovieposter.blogspot.com
Hollywood Sewalong: The Notebook by thisblogisnotforyou.com
source: http://oldmovieposter.blogspot.com

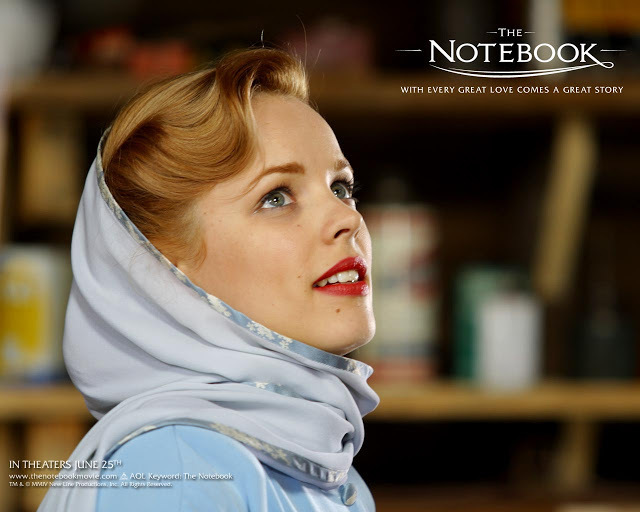
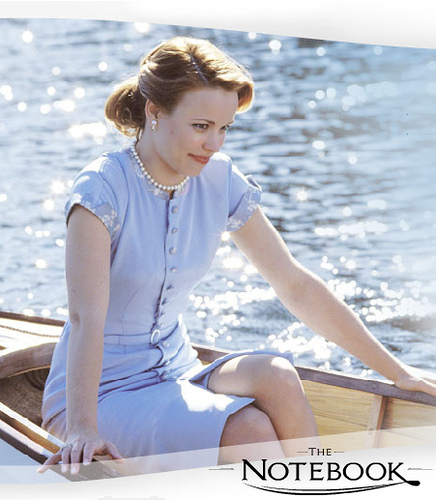
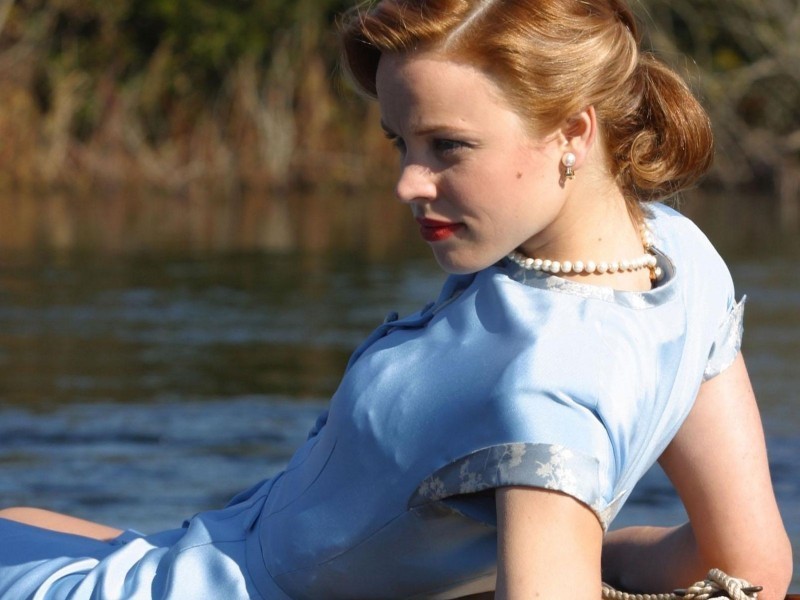
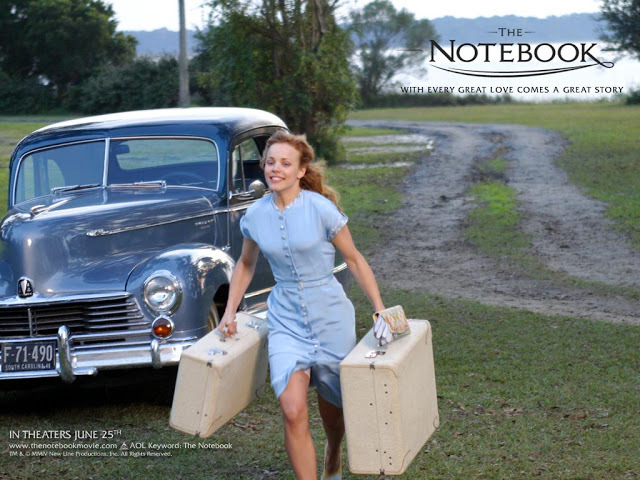
Yeeeees. Of course. The obvious dress inspiration from this movie. And no, Captn Obvious didn’t put me off. It simply is one of the most beautiful dresses from the movie and probably also the garment that gets most on-screen time, which is great for studying details. I love the button-down front, the lace details at the sleeves and the tiny matching belt. Light blue is definitely not my colour, but I think the cut and shape would look great in a more modern take of this dress.

2. Red & white shirt dress

notebook-red-white-mini-dress-500x366
source: https://dtsft.wordpress.com
Hollywood Sewalong: The Notebook by thisblogisnotforyou.com
movie screenshot

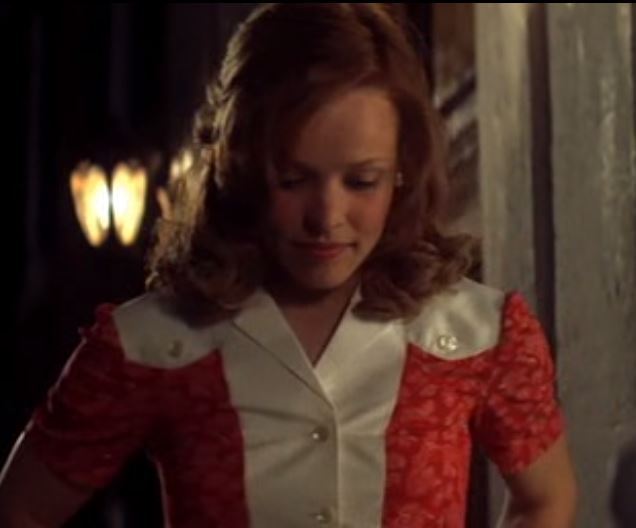
I love this mini shirt dress – or is it a jumpsuit? I’m not quite sure, but I would love it as a jumpsuit. It gives me plenty of inspiration to work with!

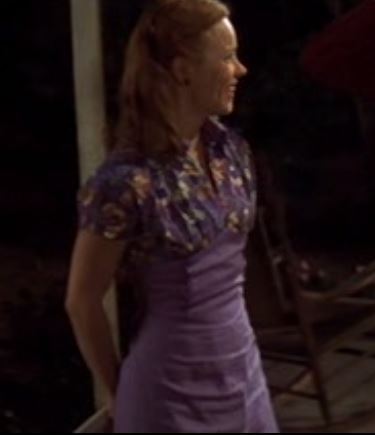
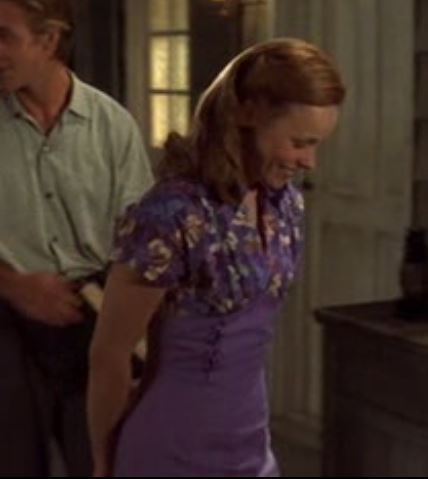
3. The purple dress

Hollywood Sewalong: The Notebook by thisblogisnotforyou.com
source: http://oldmovieposter.blogspot.com
Hollywood Sewalong: The Notebook by thisblogisnotforyou.com
screenshot


Hollywood Sewalong: The Notebook by thisblogisnotforyou.com
screenshot


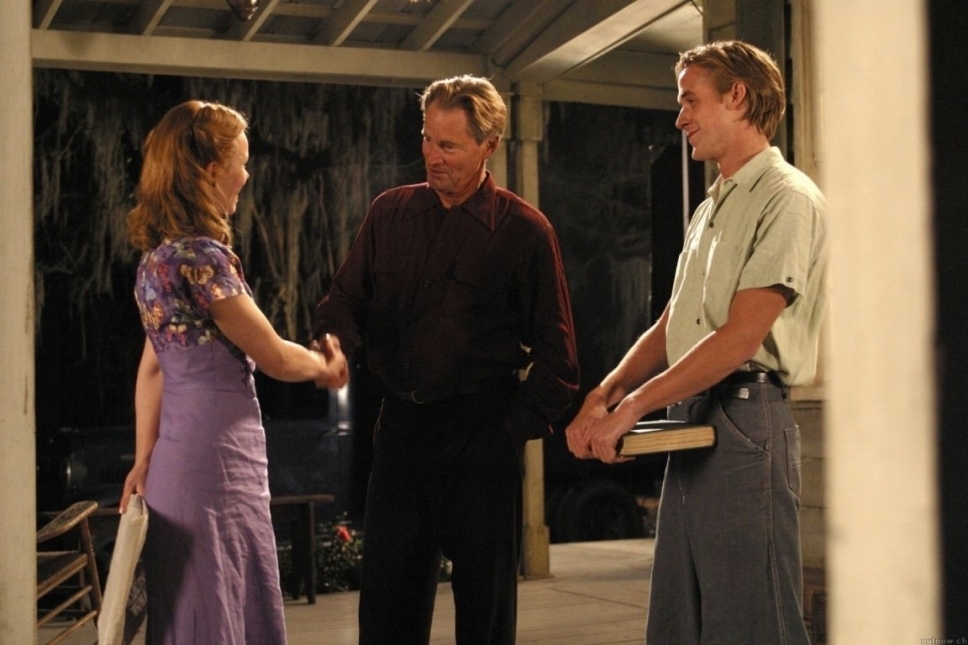
I looove this cute little number. Not because of the colour (not a big fan of purple), but the cut in the front is so adorable. Unfortunately the dress has very little on-screen time and it’s really hard to find proper pictures. I can definitely see a very modern version of this dress.

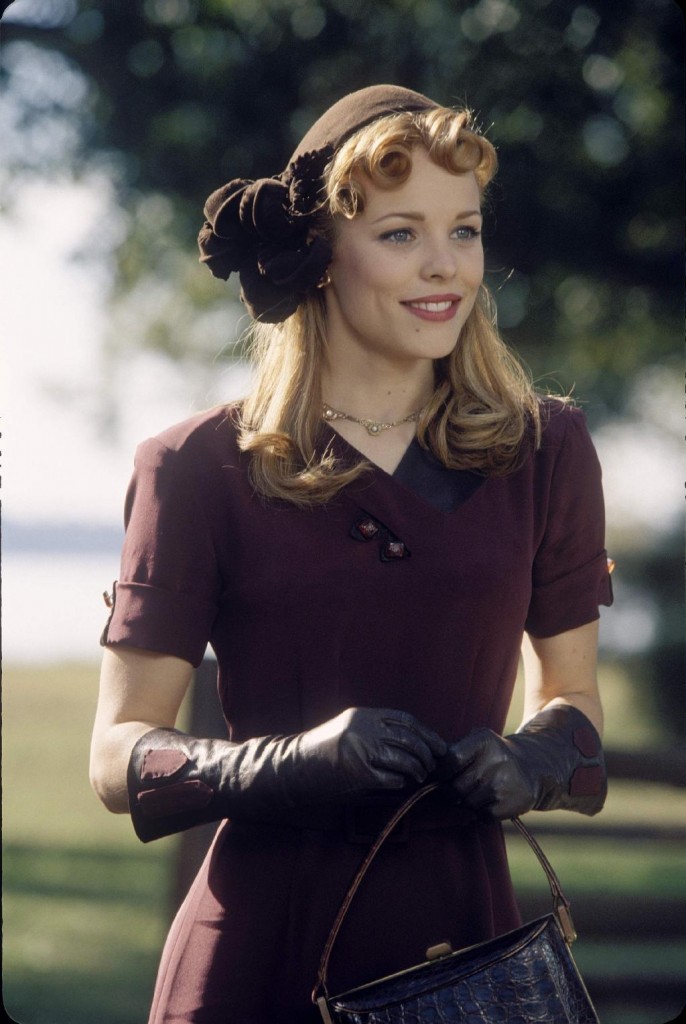
4. The lady-like dress

Hollywood Sewalong: The Notebook by thisblogisnotforyou.com
source: http://nicholassparks.com/film/stills/the-notebook/

Well, this is just Beau-Ti-Ful. Love the colour, love the neckline. And the matching gloves are amazing!

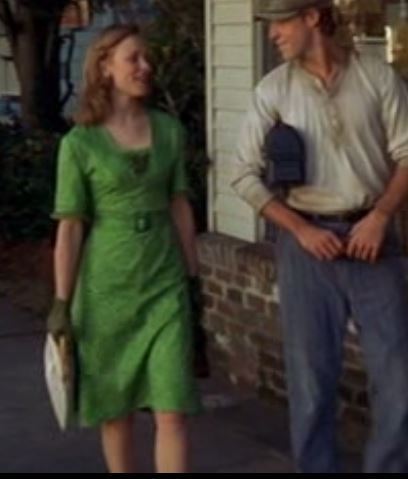
4. The green dress

Hollywood Sewalong: The Notebook by thisblogisnotforyou.com
screenshot
Hollywood Sewalong: The Notebook by thisblogisnotforyou.com
screenshot


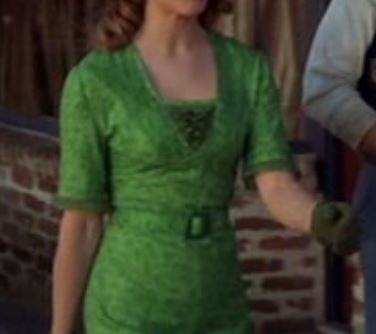
This dress is just super simple but very chic. I love the length of the skirt and sleeves and the ruffles under the v-shaped neckline are a cute detail.

So…..what will I do now?

I have no clue, but there’s plenty of inspiration to work with, that’s for sure! So stay tuned and keep our eyes peeled for the next post coming next month.

In the meantime, we would love for you to join us and take part in the Sewalong!

Part 2 will be posted on April 7th when it’s time to share the inspiration we have decided on and some behind-the-scenes pictures and information of our makes!

The final garment will be posted on May 5th!

If you want to join, grab our button (see right-hand sidebar!) and start sewing! Don’t forget to sent us links/pictures of your make as we would love to feature it as part of our Sewalong series! 

Happy Sewing!

facebook/bloglovin/pinterest
Stay in touch!

Let’s Talk About Leather!

sewing with leather by thisblogisnotforyou.comThree weeks ago I sewed with real leather for the first time. And after three weeks, that brief affair is coming to an end. Two souls alas! are dwelling in my breast.
At first I loved leather. Leather smelled good. Leather looked fancy. Leather liked me. Cutting through leather was such a joy.

And then I began sewing. Marilyn* doesn’t like leather. It’s sticky (imagine going down a slide with naked buttocks, not that I have tried this!) and it’s hard to sew through when you have more than three layers. I ended up having to sew A LOT of seams by hand. Not that I don’t like that in general. I love me some monotonous hand sewing after a stressful day! BUT. Sewing leather by hand is NOT fun. After three weeks my fingers hurt. My wrists hurt and the index finger and thumb on my right hand have been trembling and twitching uncontrollably for the last three days.

Last but not least, being almost done with the project, the leather ripped. I HATE YOU LEATHER. I thought it might be the real thing, but you do nothing but causing me pain.

Well, I have plenty of leather left and some really cool projects planned with it. But my hands need some time to recover. In the meantime, I thought I could ask you guys to flood me with tips and tricks about sewing with leather.

I use a leather needle and embroidery thread and sew the leather sandwiched between two sheets of tissue paper in order to feet it through my machine. I glue a lot of seams before I sew it, since pinning is not an option.

Are there more tricks? Are there special presser feet that are good for sewing with sticky materials? Do you have to add interfacing to all seams to prevent ripping? (I saw that was done in the coat I recycled but couldn’t be bothered to do that myself.)

I’m actually surprised that my cheapo-AEG sewing machine survived the whole thing since she can be quite a diva (I still adore you, Marilyn!).

So what are your experiences sewing with leather? Is it easier to work with faux/PVC leather?

Do you know any good blog posts or other online sources that have helpful information on sewing with that tricky bastard? Any help much appreciated.

Happy Sewing!

facebook/bloglovin/pinterest
Stay in touch!

* my sewing machine (yes, I name everything)

Refashion It! Embroidered Shirt – Super easy project for ‘refashion beginners’

embroidered shirt by thisblogisnotforyou.com

Hi there!

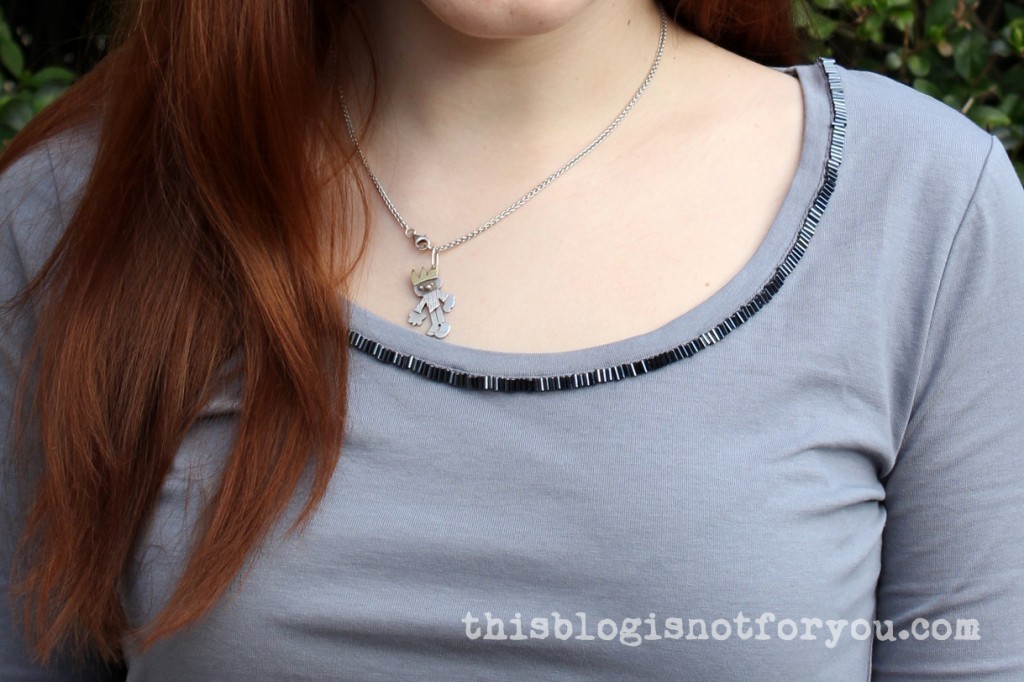
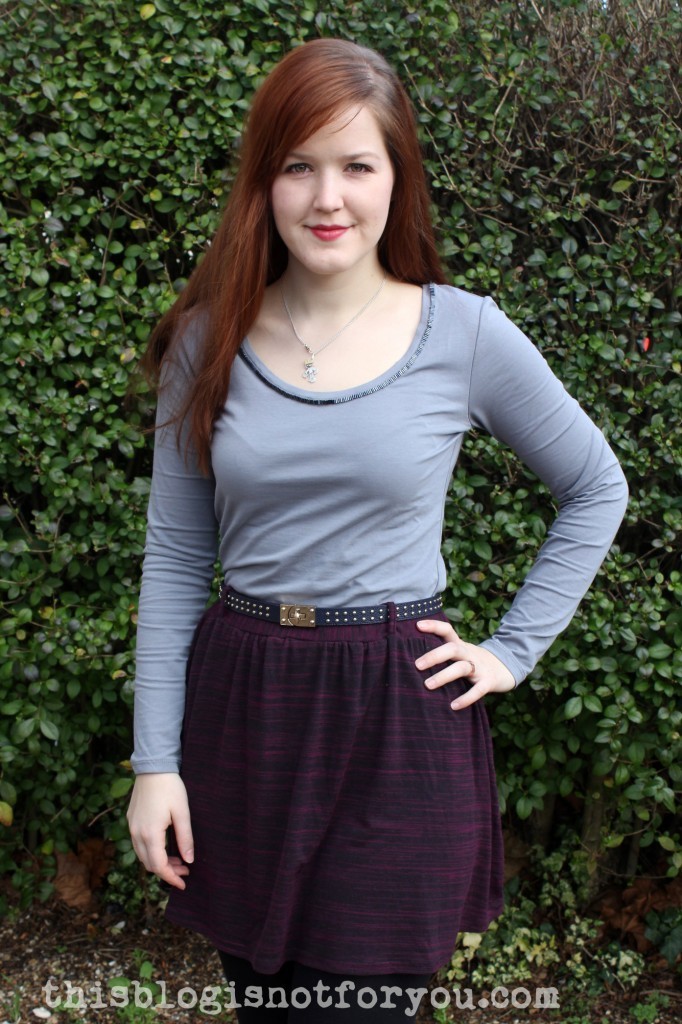
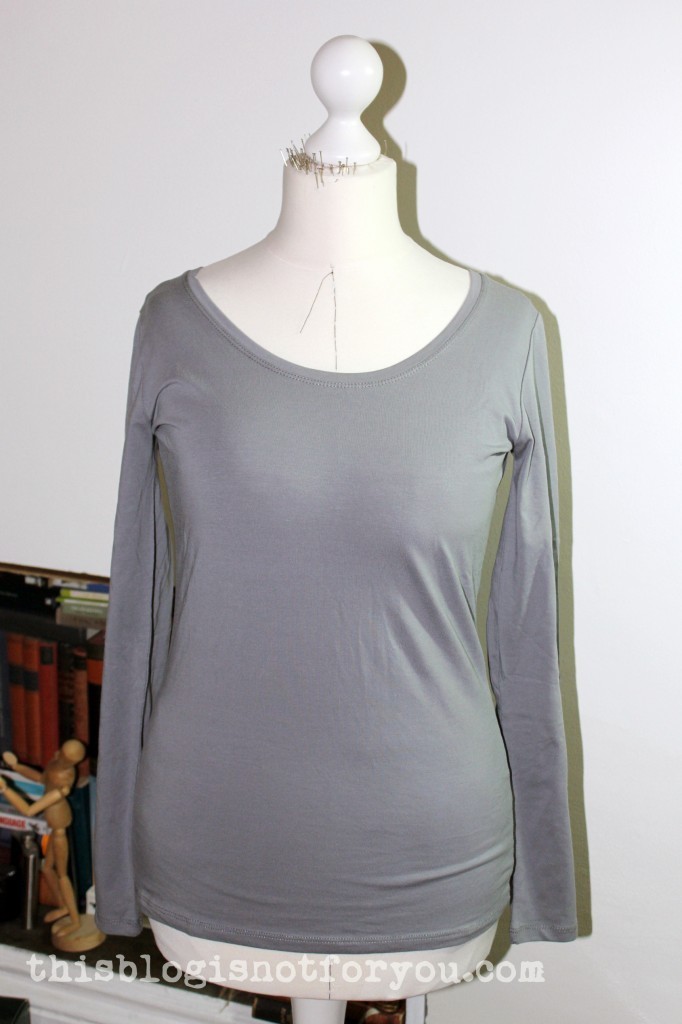
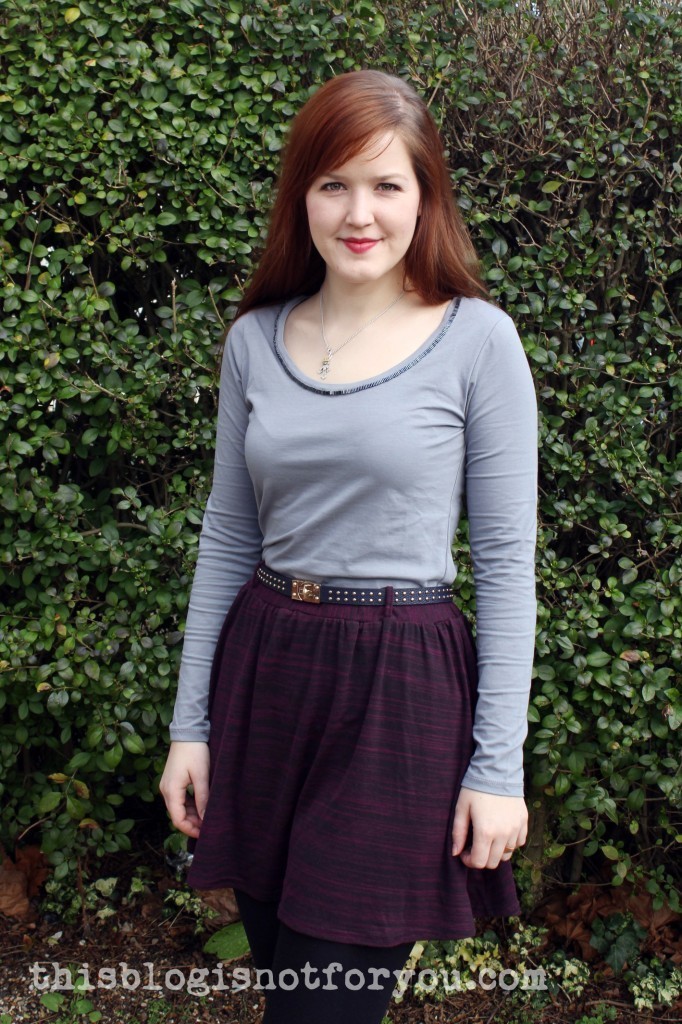
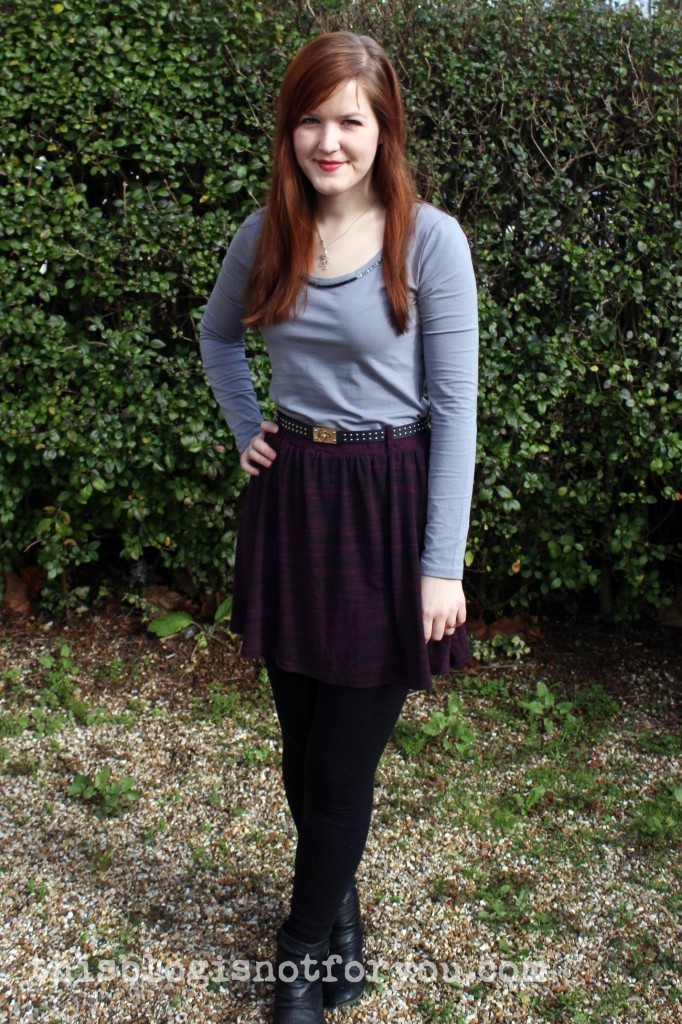
I managed to squeeze in a refashion project in my crazy busy week. While watching one of the most brainless shows on German television (it was a thursday night, guess what it was 😛 ) I embroidered the neckline of a simple grey tee I bought for £3.50 at Primark.

As you know, I don’t go clothes shopping anymore since I prefer to re-/upcycle or sew things myself. Occasionally, I go and buy a pile of basic shirts to wear under my sleeveless dresses, though. I just did this last week and bought grey, black and navy longsleeved tees.

embroidered shirt by thisblogisnotforyou.comI love wearing these and thought about how to make them look a bit more chic without overdoing it, since they will be worn underneath most of the time. Because the neckline is often still visible, I decided to use a few tube beads to embroider the neckline.embroidered shirt by thisblogisnotforyou.comembroidered shirt by thisblogisnotforyou.comembroidered shirt by thisblogisnotforyou.comI used greyish-blue tube beads and sewed them onto the topstitching of the neckline binding. I didn’t sew the beads onto the binding itself, since I thought they might be too heavy for the light stretch fabric, pulling it down with the result of the neckline gaping open.
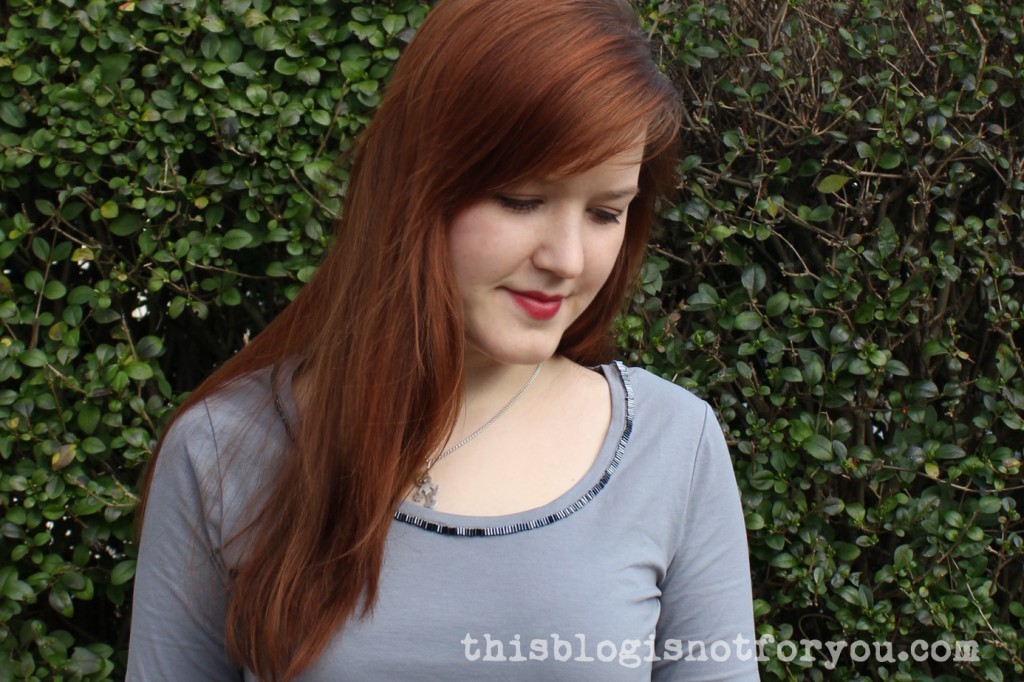
embroidered shirt by thisblogisnotforyou.comI didn’t use one continuous thread, but knotted it off after every 10cm/4” or so. In case the thread should break, I won’t have to redo the whole thing.embroidered shirt by thisblogisnotforyou.com
It took quite some time.(Cough –  three hours – cough!) Somehow everything I sew takes at least twice as long as I thought it would –  can anybody relate to that or am I the only one underestimating the time factor?

I love my new shirt. It definitely doesn’t look like it was just £3.50, so the time was absolutely worth it. Sometimes it’s really some small touches that make a garment work.

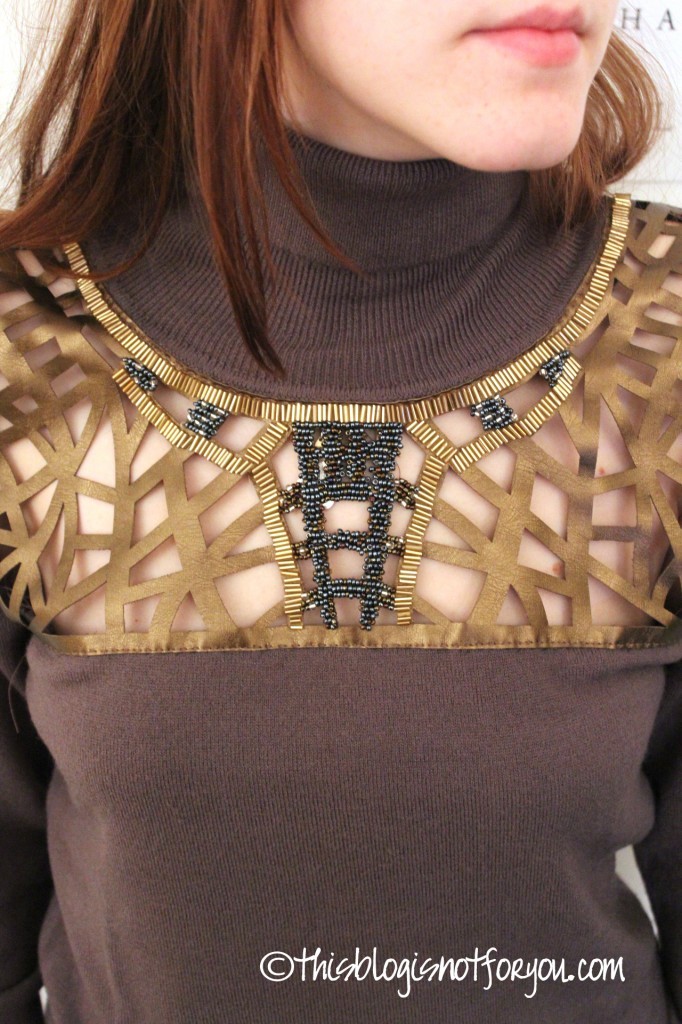
If you are into embroidery – here are some of my other projects you might like:

embellished sweater           blazer refashion by thisblogisnotforyou.com

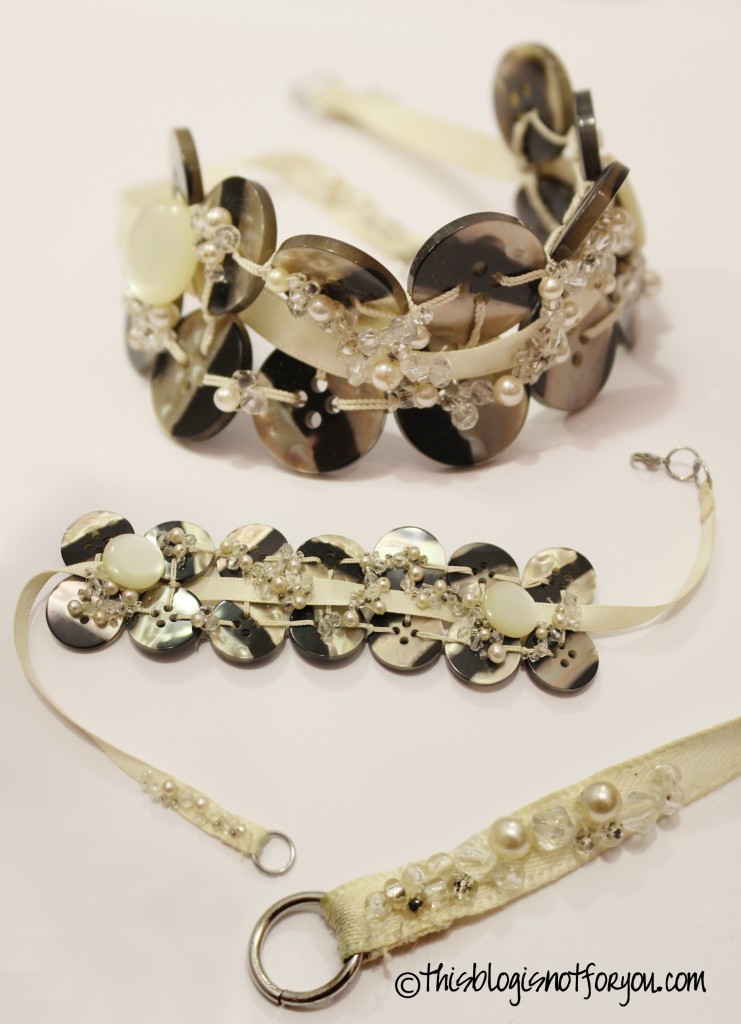
Button and Beads Bracelet           tutorial jewelry case

Happy weekend everyone!

facebook/bloglovin/pinterest
Stay in touch!