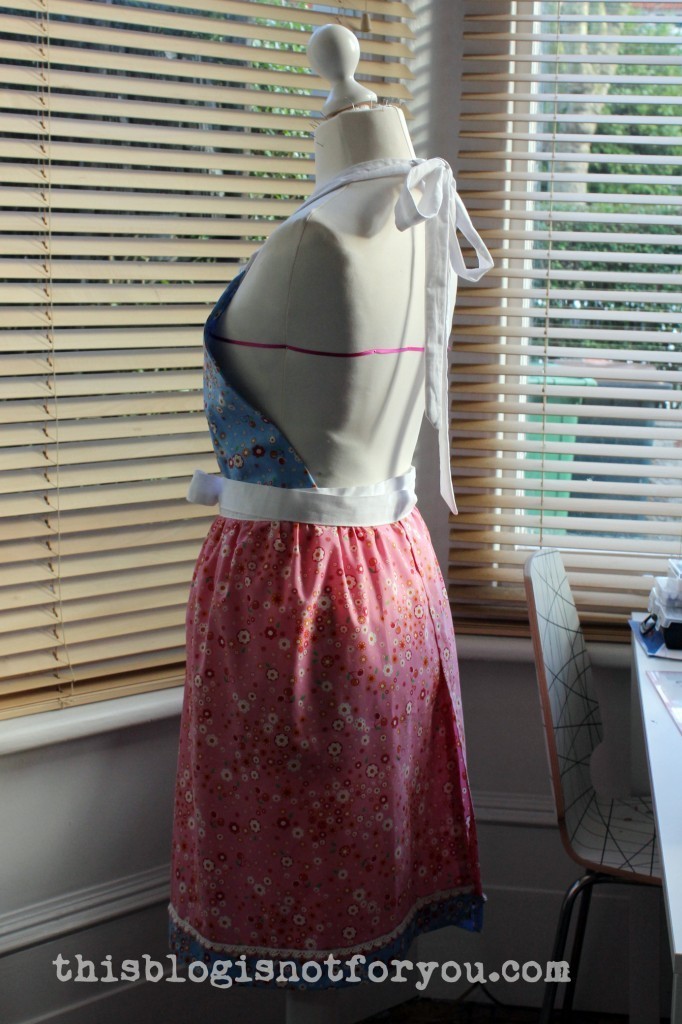
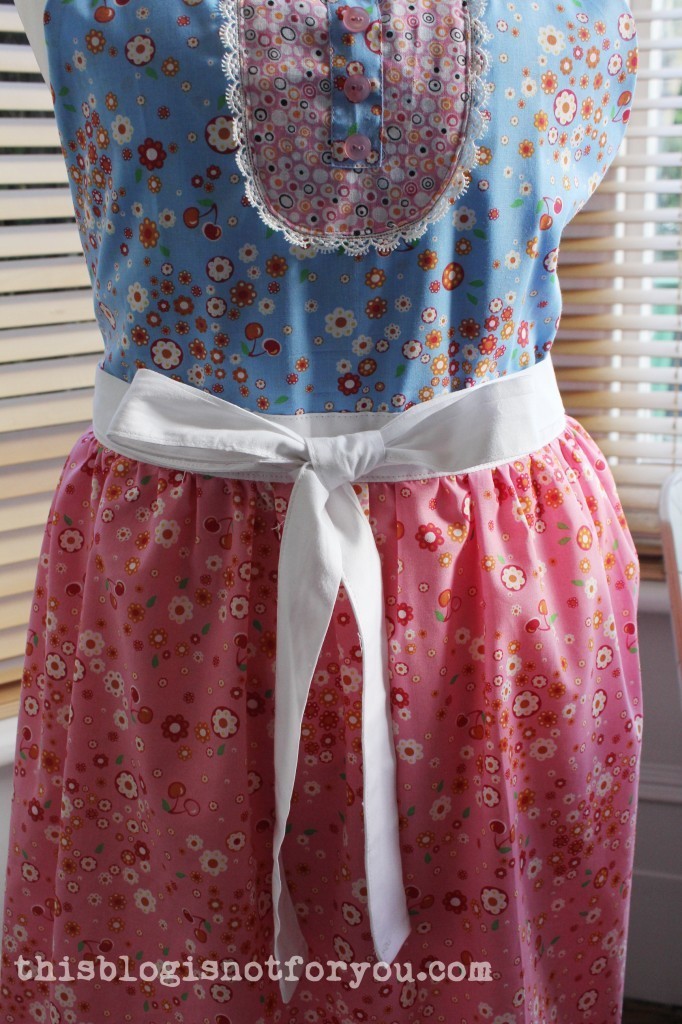
Anthro-inspired Apron: Making-of/Tutorial
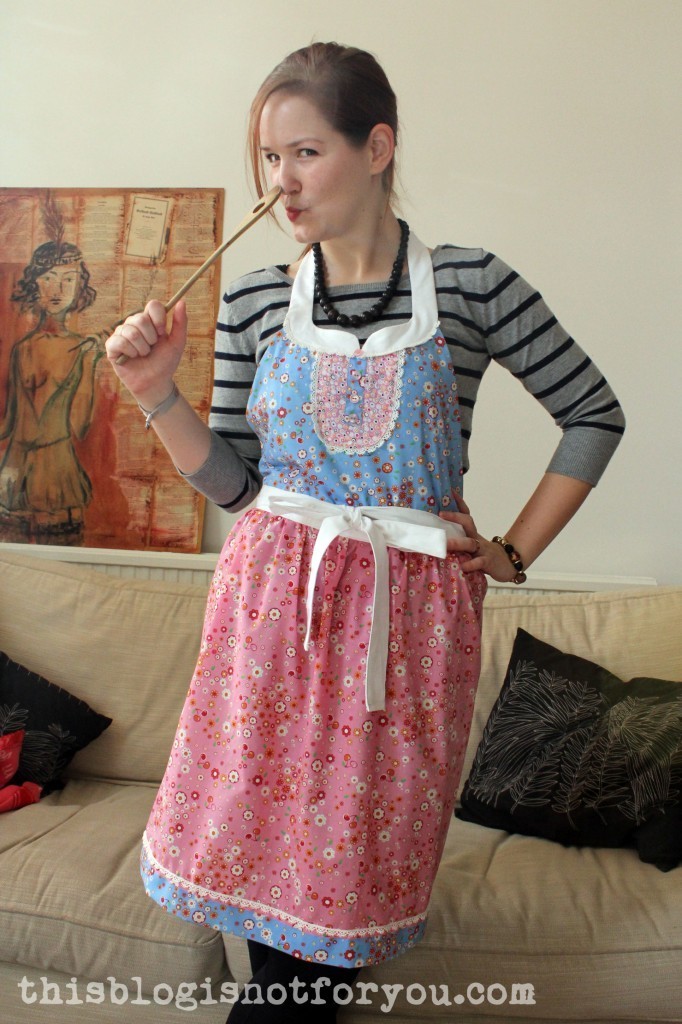
tutorial: anthro-inspired kitchen apron by thisblogisnotforyou.comHeeeeeeeeeeello!

After being a bit ill (and lethargic, blogging-wise) I finally managed to write up the ‘tutorial’ for my Anthro-inspired apron. I use quotation marks because I realised that I actually didn’t take quite as many pictures of the process as my busy brain had imagined. Oooppsi.

Well, think of it as an entertaining collection of commented making-of pictures. You will surely unterstand the process, since it’s really not that complicated. Think as if you had to sew with Burdastyle pattern instructions – at least I have pictures 🙂
tutorial: anthro-inspired kitchen apron by thisblogisnotforyou.com

First of all, I chose suitable fabric. (Obviously.)
It wasn’t quite as easy as it sounds, since I have many leftover fabric pieces in different sizes, colours, styles. When using fabric scraps you should map out what goes where before you start cutting to make sure you have enough fabric. (Ask me how I know this!)

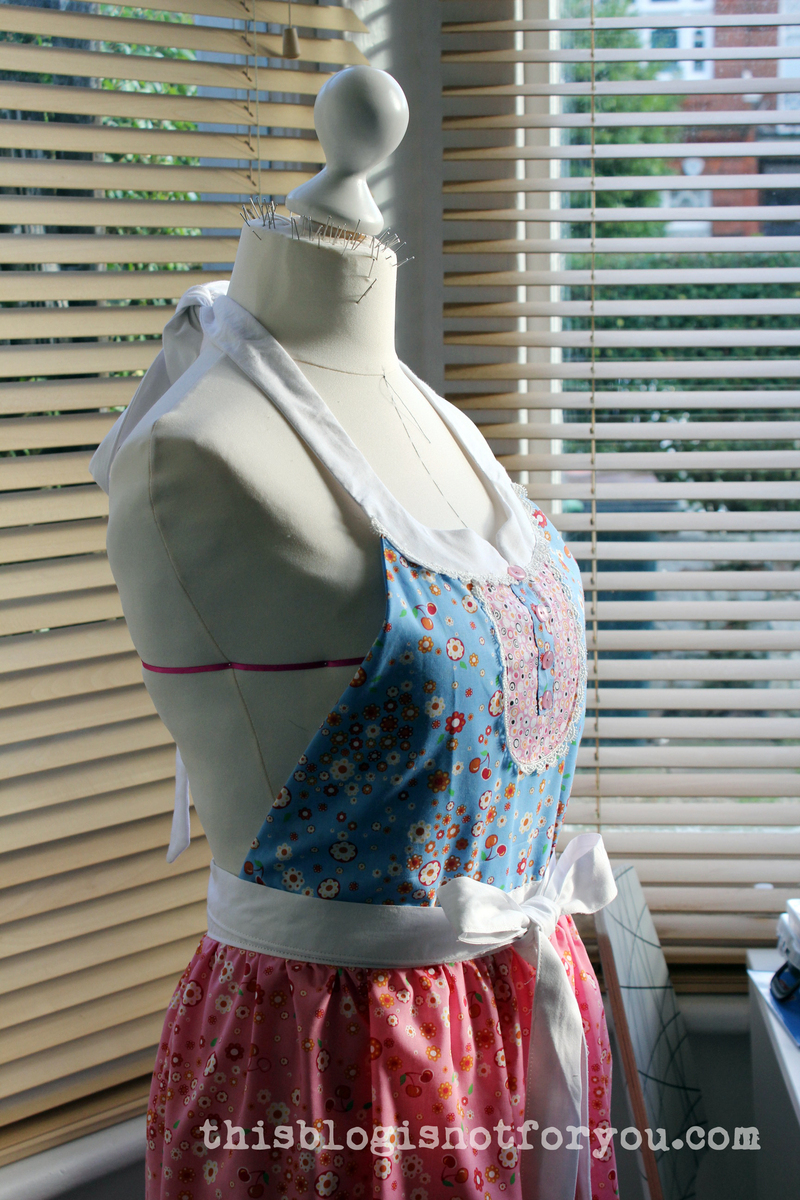
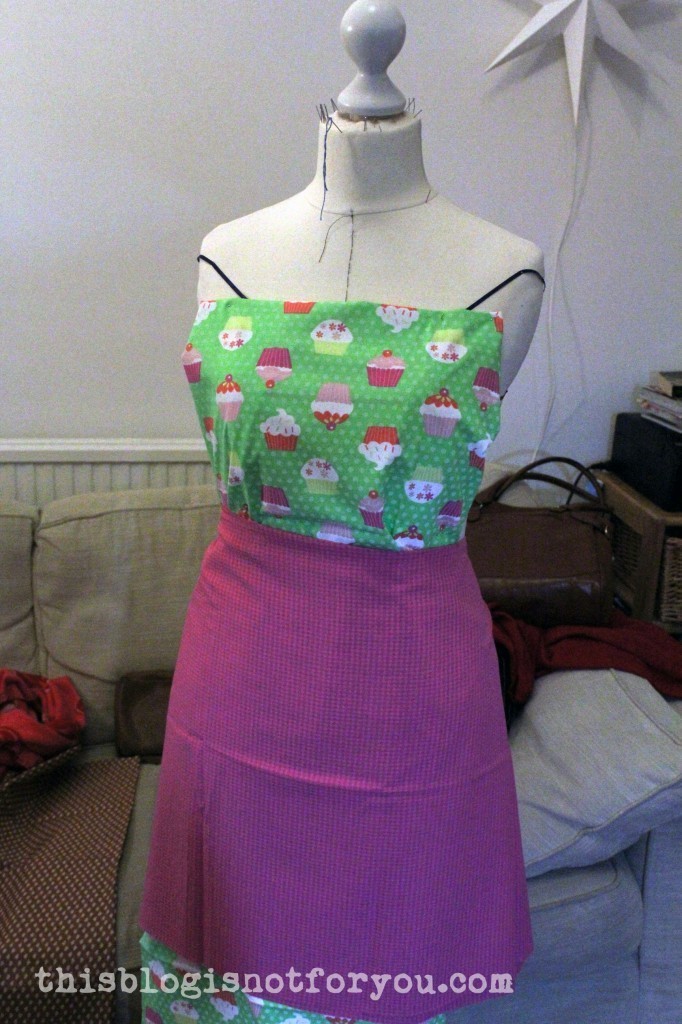
I pinned different fabric combinations on my dressform, which helped a lot with figuring out the ‘design’. (And no, I didn’t like the neon-cupcake version.)
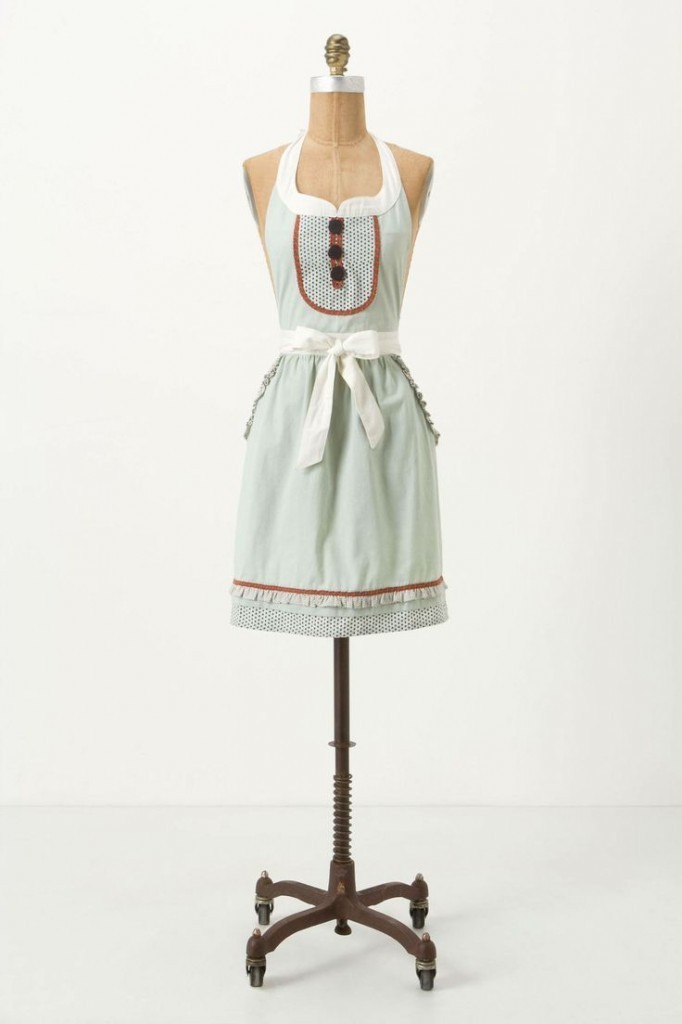
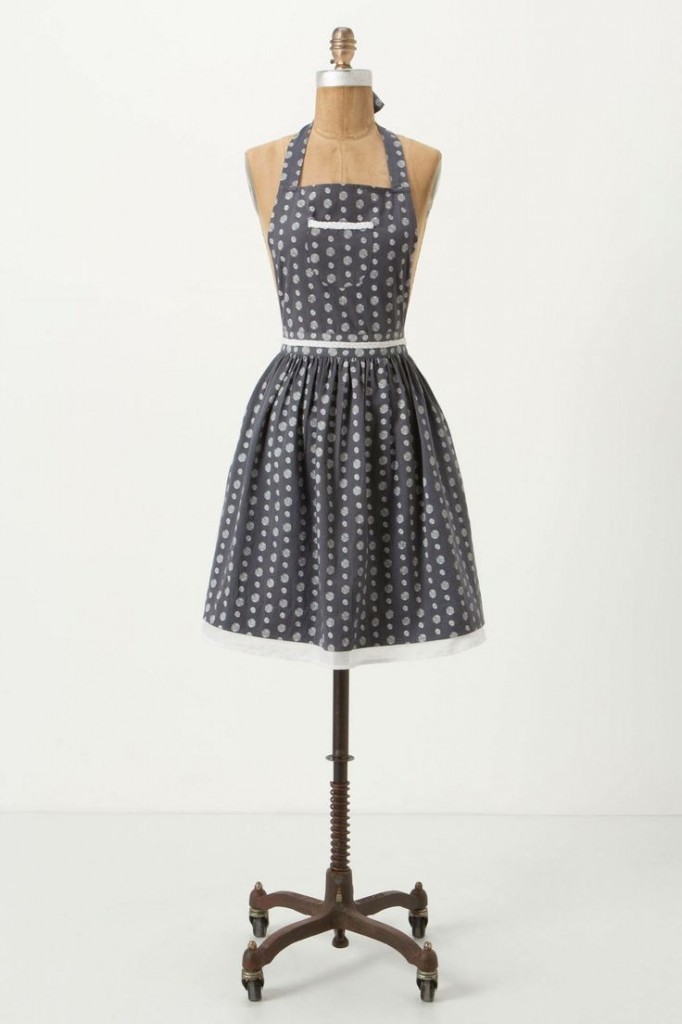
Anthropologie apron
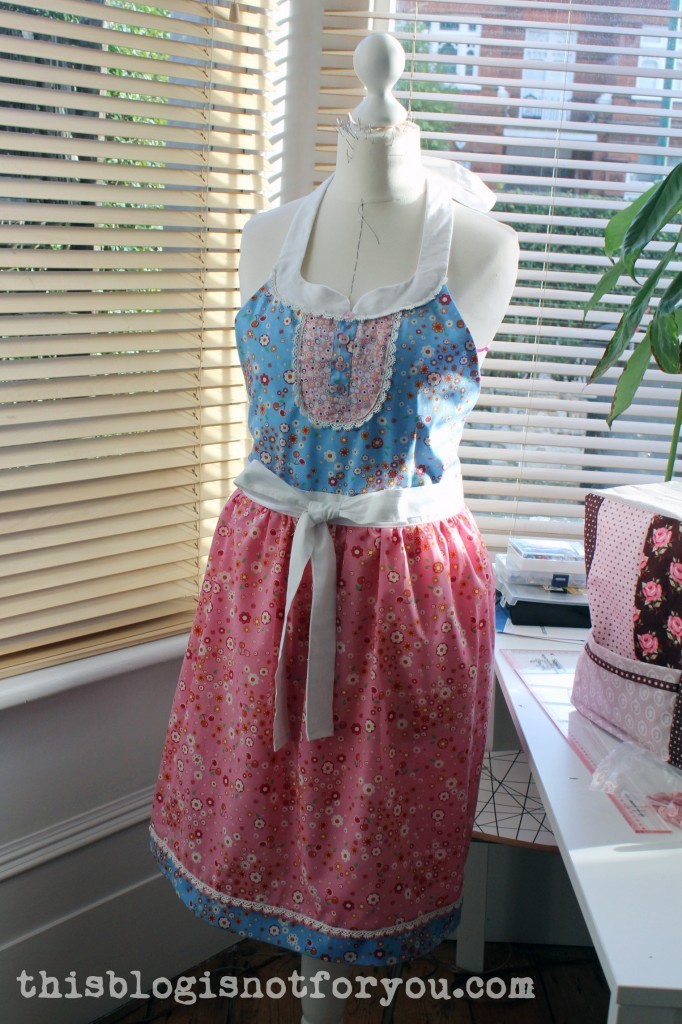
Anthro-version

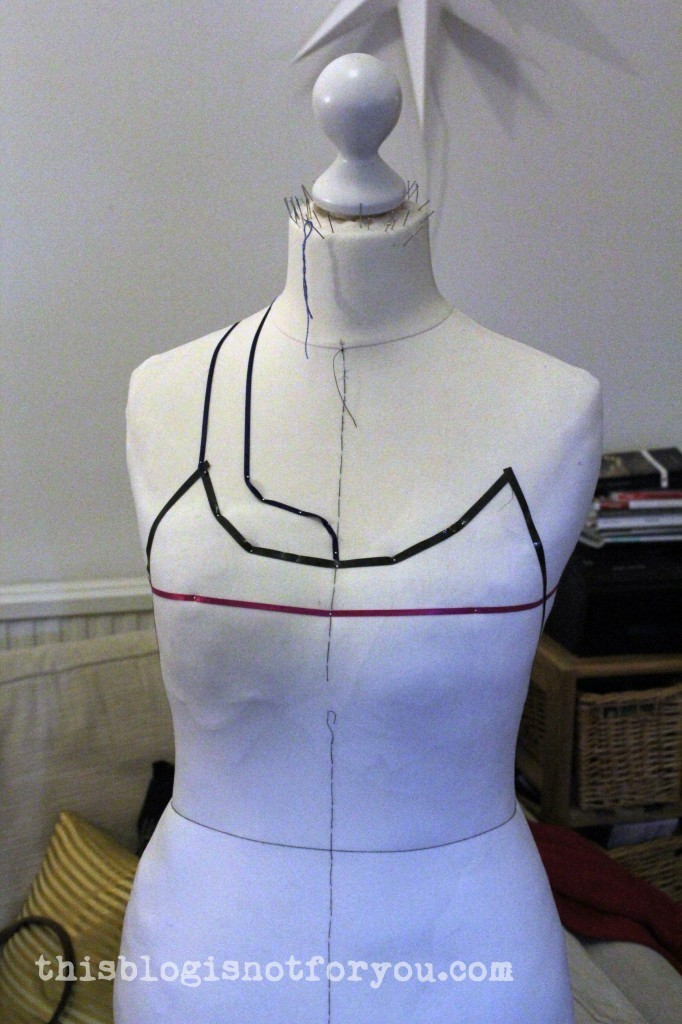
tutorial: anthro-inspired kitchen apron by thisblogisnotforyou.comAfter choosing my fabrics, I used some black tape (you can also use ribbon and pin it) to mark the lines of the apron on my dressform. Alternatively, if you do not have a dressform, just draw it on paper and use it as a pattern piece. (It’s a kitchen apron, so don’t worry about the perfect fit too much.) I tried to make it very similar to the Anthro-version, as I really loved the shape of the neckline.tutorial: anthro-inspired kitchen apron by thisblogisnotforyou.comPinning my fabric (wrong side up) on my dressform, I traced the marked neckline with tailor’s chalk.tutorial: anthro-inspired kitchen apron by thisblogisnotforyou.com
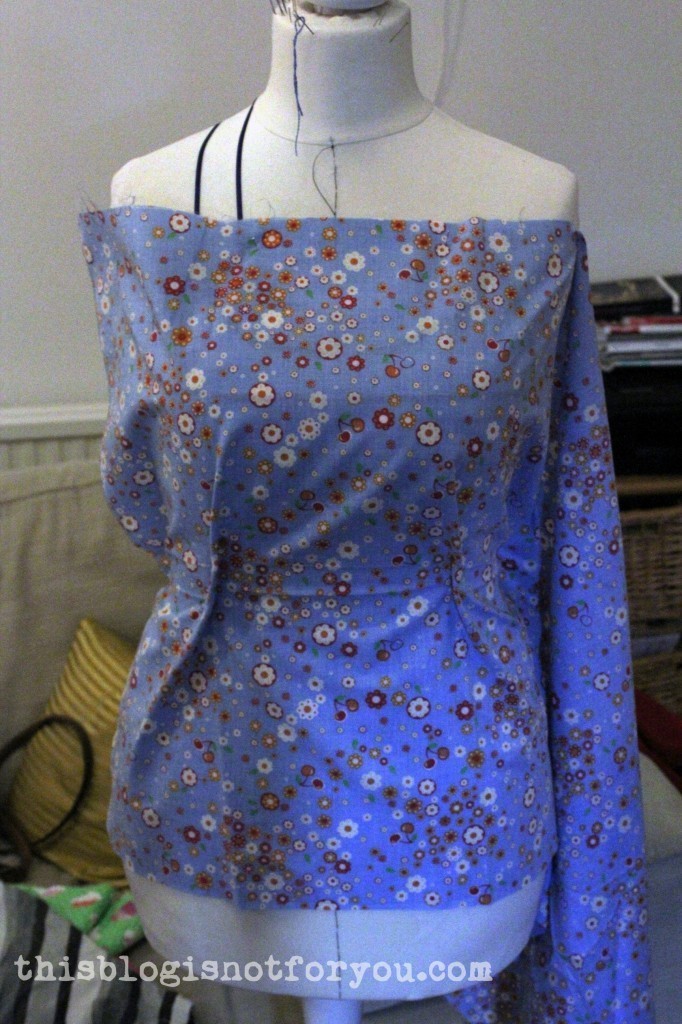
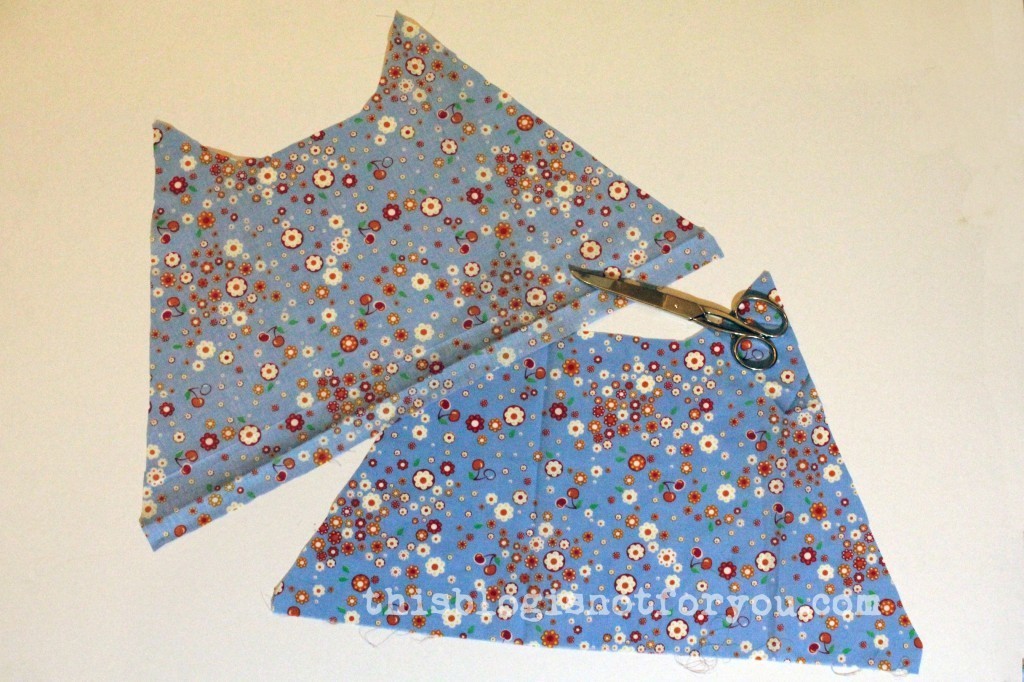
I cut out two pieces, one for lining the bodice (yes, even a kitchen apron appreciates lining). FYI, the side seams of my bodice meet the waistband about 1inch/2.5cm behind where your side seams normally would be (hope that makes sense). So the bodice part of the apron hugs the body and fits more snugly.

Before sewing together the two bodice pieces, all embellishments need to be applied first to get a neat finish.
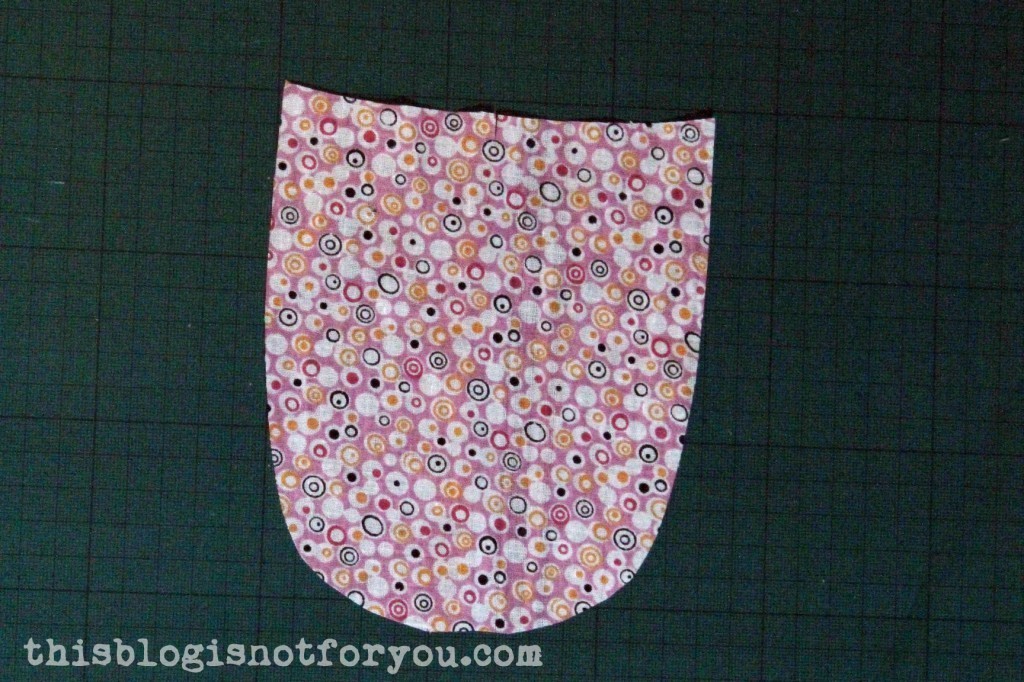
tutorial: anthro-inspired kitchen apron by thisblogisnotforyou.comI cut out a bib (don’t forget the seam allowance!).tutorial: anthro-inspired kitchen apron by thisblogisnotforyou.comI marked the center on the bib (and also on my bodice piece) with a small notch.tutorial: anthro-inspired kitchen apron by thisblogisnotforyou.com
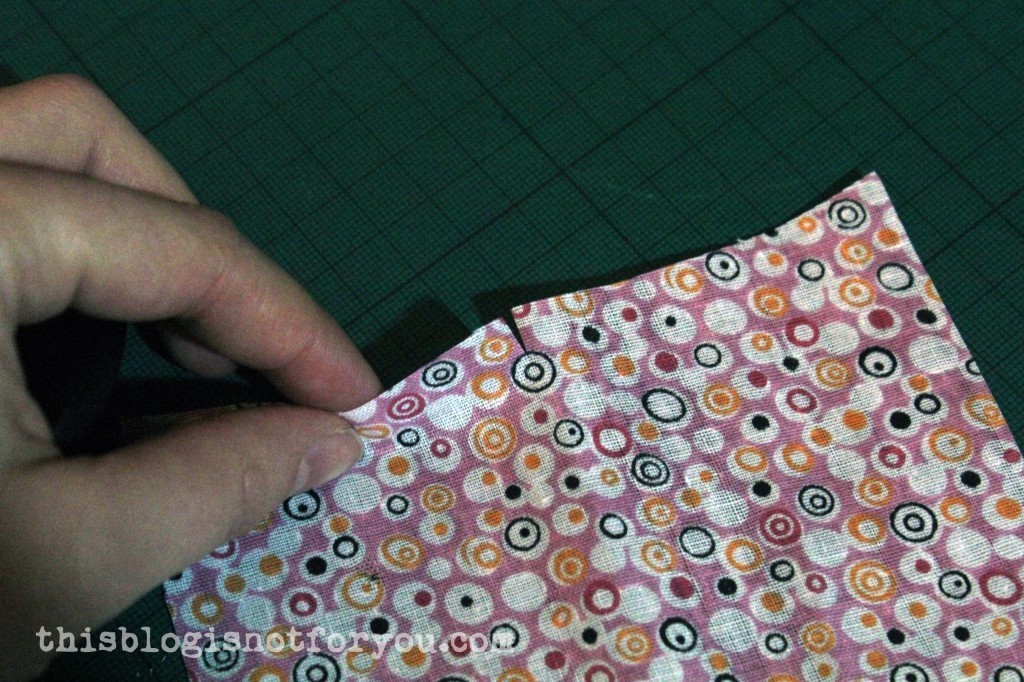
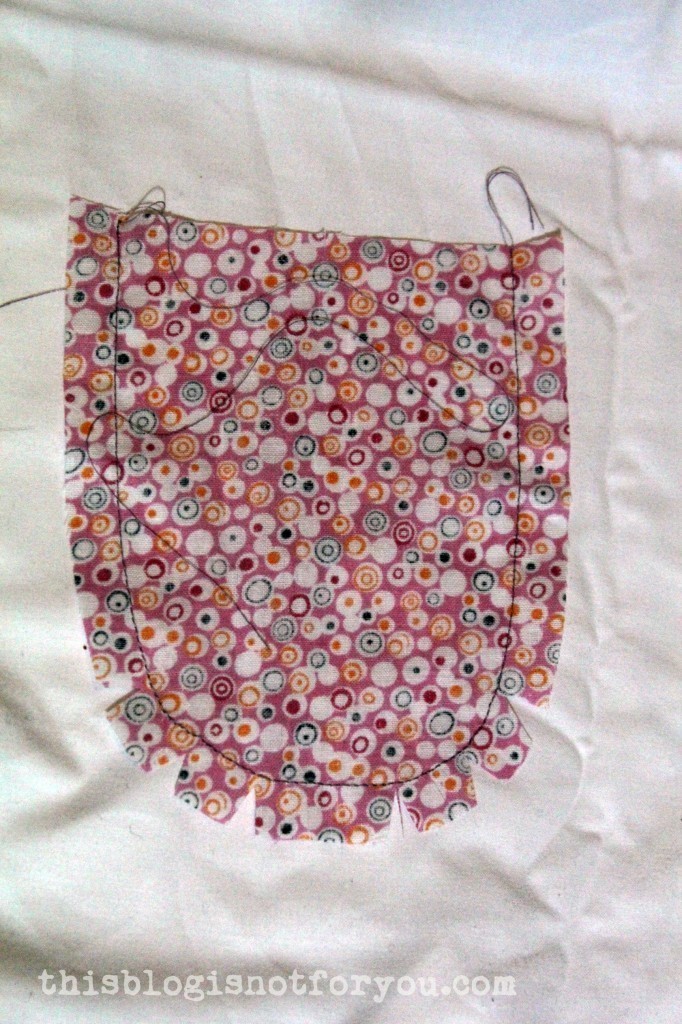
I stitched around the bib and clipped the seam allowance. This step helps you to keep the exact shape of the bib when pressing and topstitching.

Still with me?

Grab a cup of coffee before we go on – now comes the exciting part. Topstitching (YAY!).
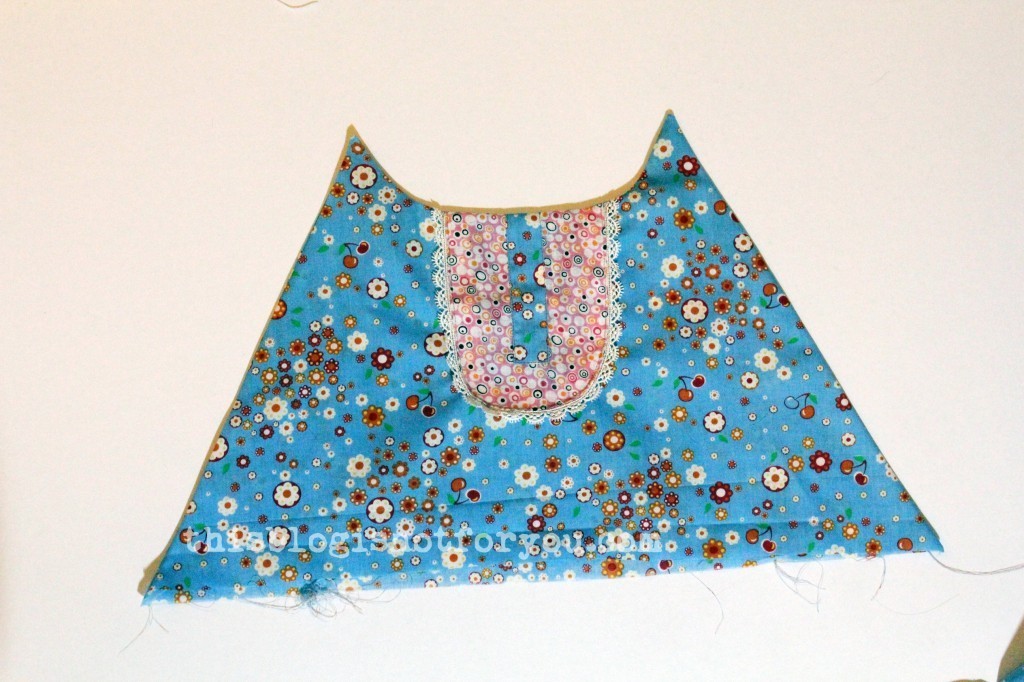
tutorial: anthro-inspired kitchen apron by thisblogisnotforyou.com

Tada!

Yeahh, I sort of got so excited about the whole topstitching part that I forgot to take pictures of the steps in between.

Just a few tips:
Fold and press the seam allowance of the appliqués first. Align them with the center (important!) and pin/baste them in place. I would recommend handbasting in place, especially when sewing the bib onto the bodice. Round shapes are tricky enough to topstitch. Pins can cause the fabric to be a bit uneven or stretch out of shape. When you baste, the fabric lies completely flat.

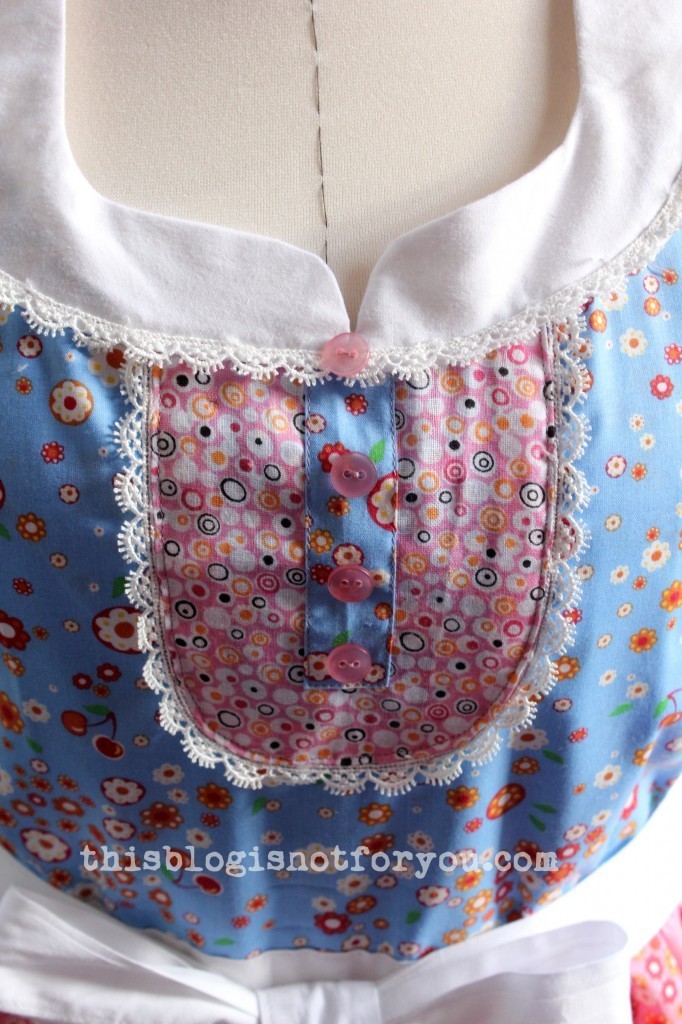
I stitched the faux placket onto the bib first, then topstitched the bib onto the bodice. In a separate step I added some lace trim, stitching very close to my topstitching (I actually used contrasting thread for that).

Now it’s time to sew the bodice parts together, stitching around the side seams and neckline.
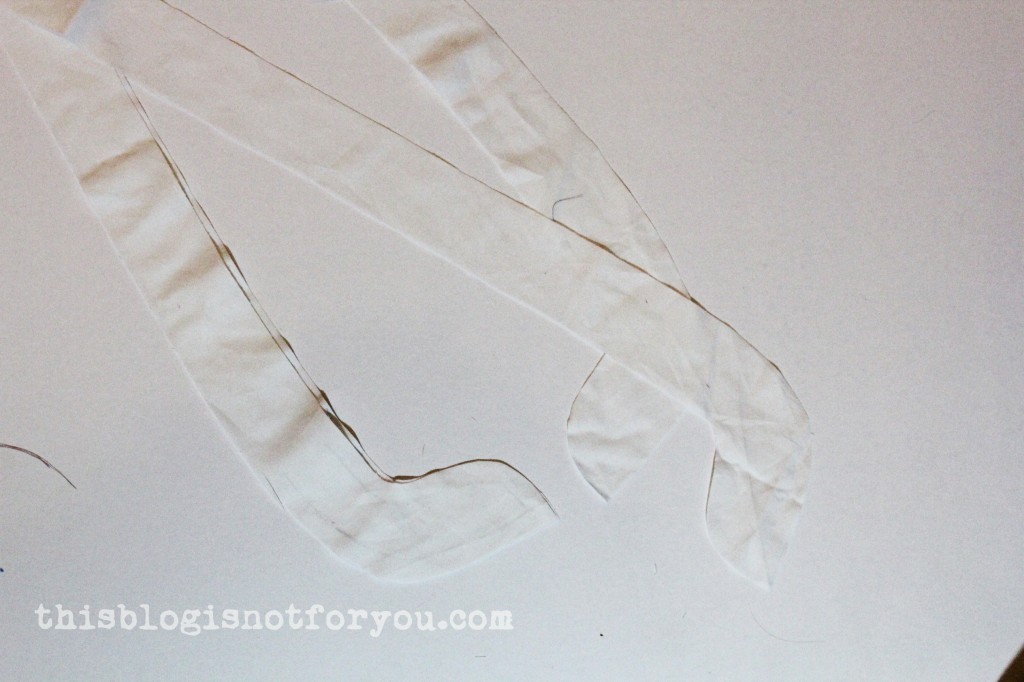
tutorial: anthro-inspired kitchen apron by thisblogisnotforyou.comUsing the same marking and tracing technique on my dressform, I cut out the straps. I stitched around the edges like so:
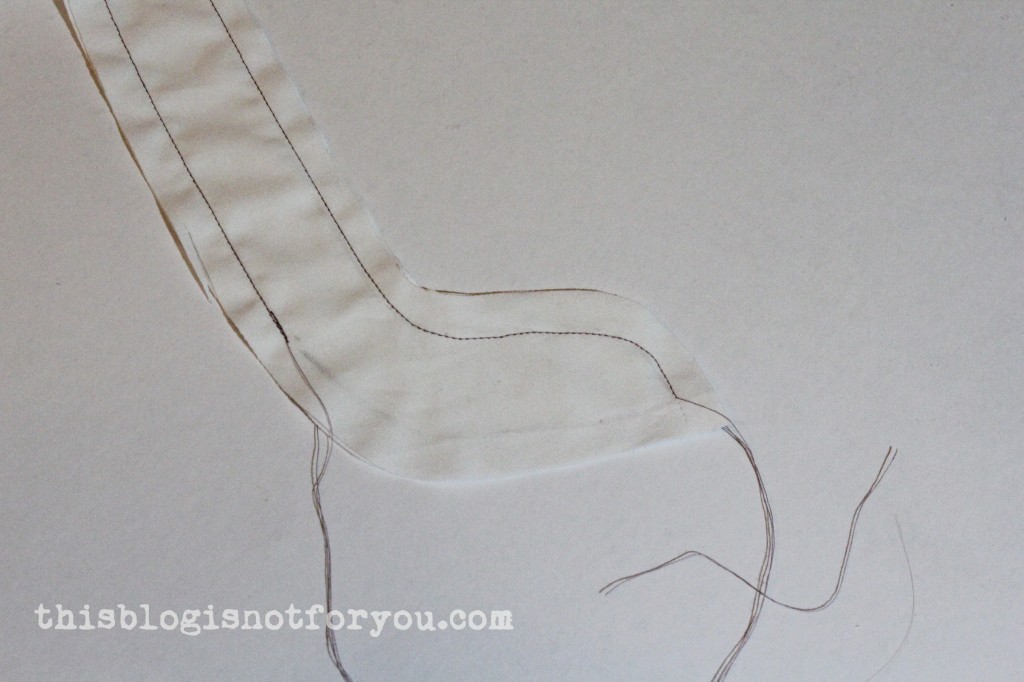
tutorial: anthro-inspired kitchen apron by thisblogisnotforyou.com

I left the bottom part (where the straps are attached to the bodice) open. This way you can easily turn the tube inside out and you can use the opening to slip in the top edge of the bodice, then topstitch around the neckline and all the raw edges are neatly hidden.
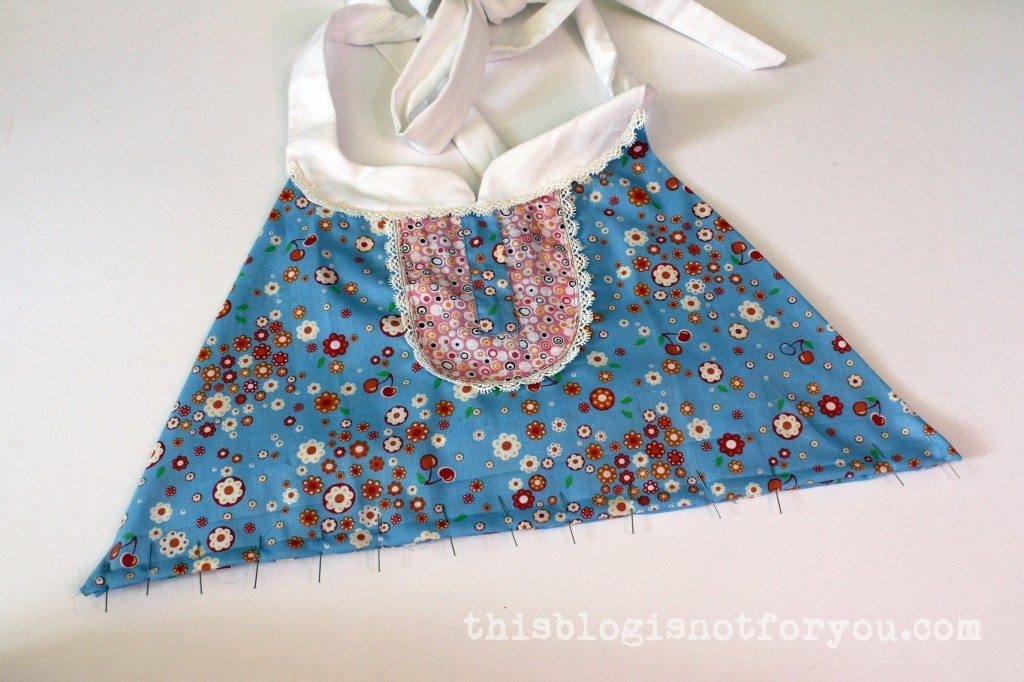
tutorial: anthro-inspired kitchen apron by thisblogisnotforyou.com

I messed up my topstitching here (probably too much coffee?) and had to unpick twice. In the end that wasn’t even necessary. After adding the trim to the neckline, the topstitching was hidden anyway. Sewing is about the things you don’t see, I know.tutorial: anthro-inspired kitchen apron by thisblogisnotforyou.com
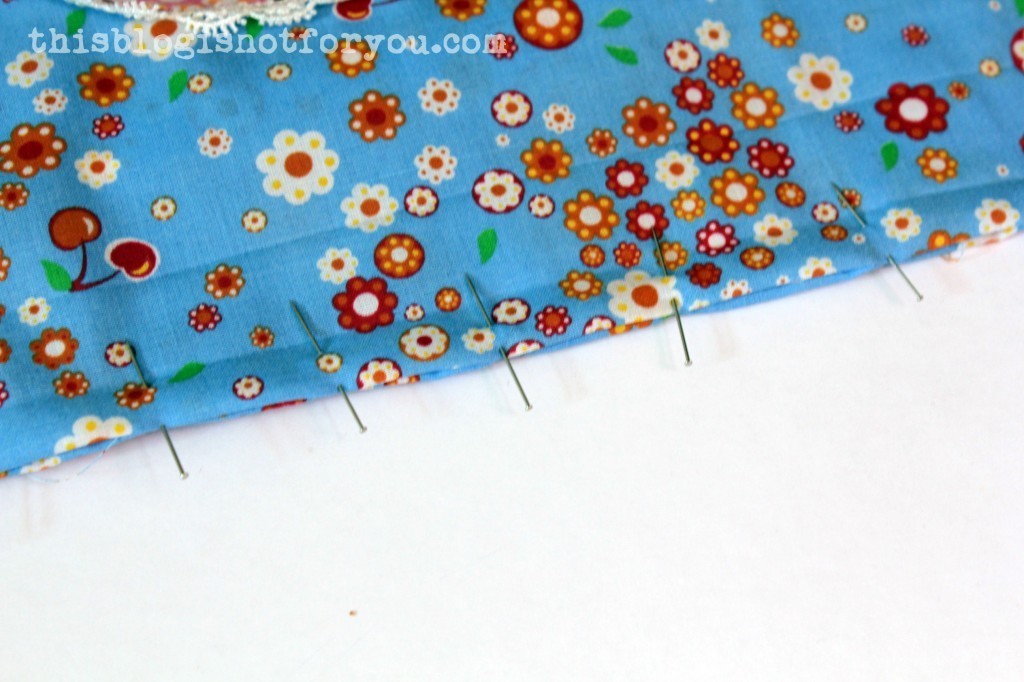
Fold and press the seam allowance of the bottom edge of the bodice. Pin both bodice pieces together (left sides facing) and stitch together close to the edge.
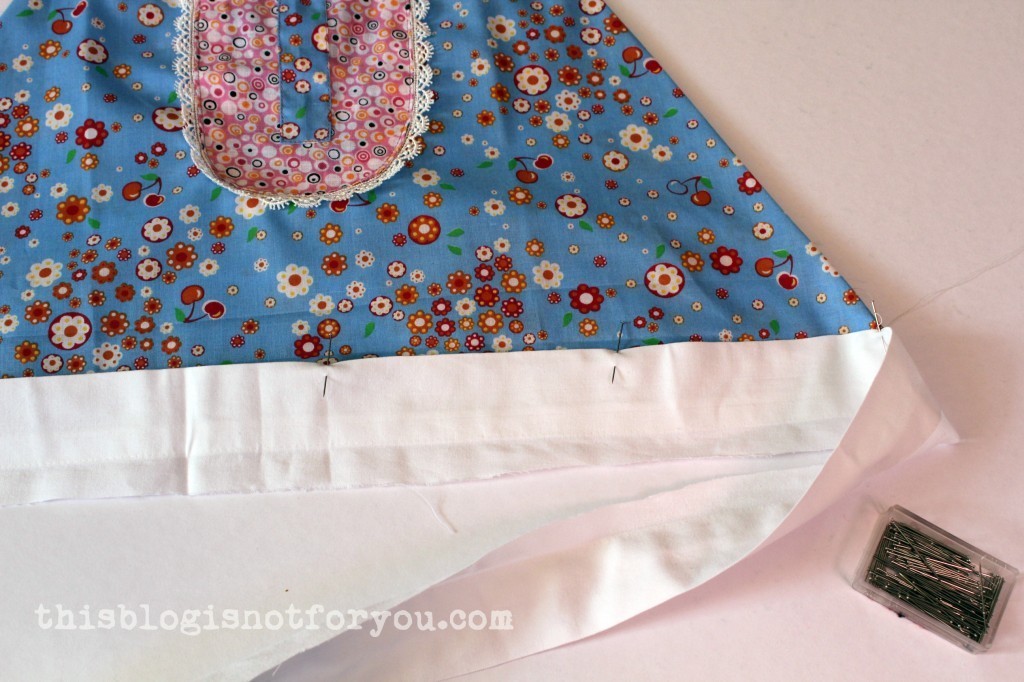
tutorial: anthro-inspired kitchen apron by thisblogisnotforyou.com
I then attached the waistband to the bodice. When cutting out the strap/straps for the waistband, make sure it’s long enough to tie it in the front.

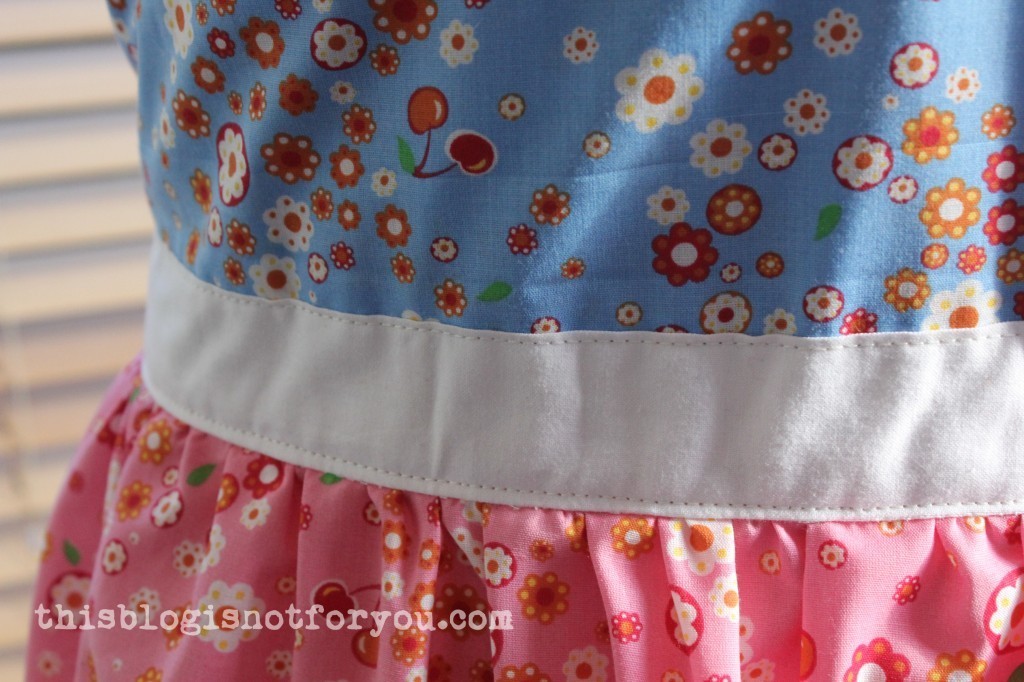
I basically cut out two waistbands, topstitched together, enclosing the bodice and skirt. This way the apron also looks nicely finished on the wrong side.tutorial: anthro-inspired kitchen apron by thisblogisnotforyou.comBefore gathering and attaching the skirt panel, I hemmed it and added trim. It’s easier to do that when the fabric lies flat. tutorial: anthro-inspired kitchen apron by thisblogisnotforyou.com
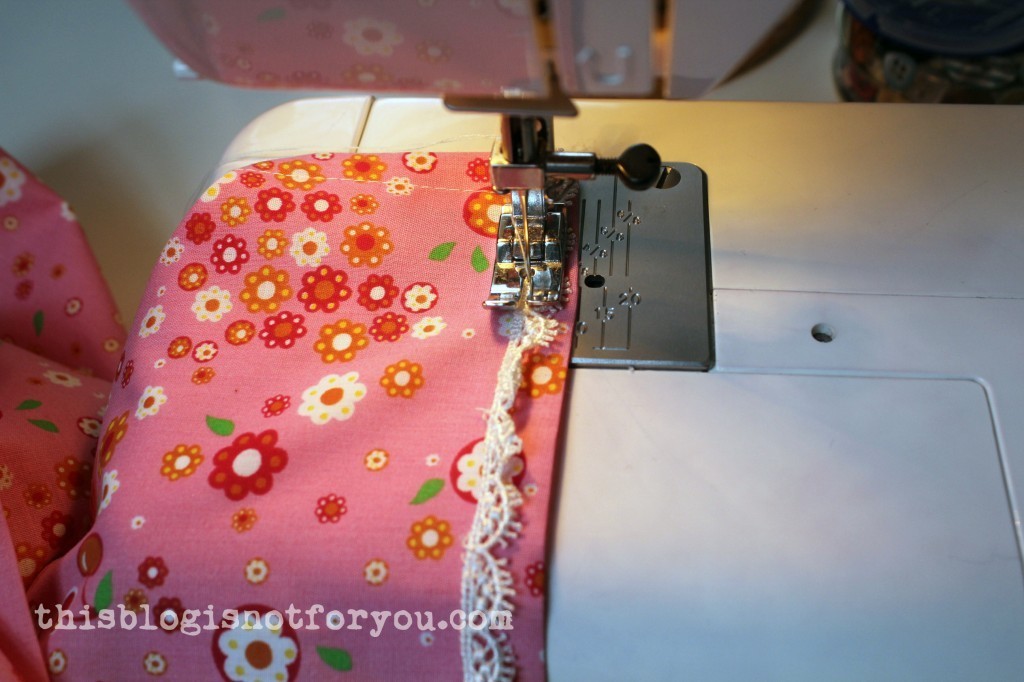
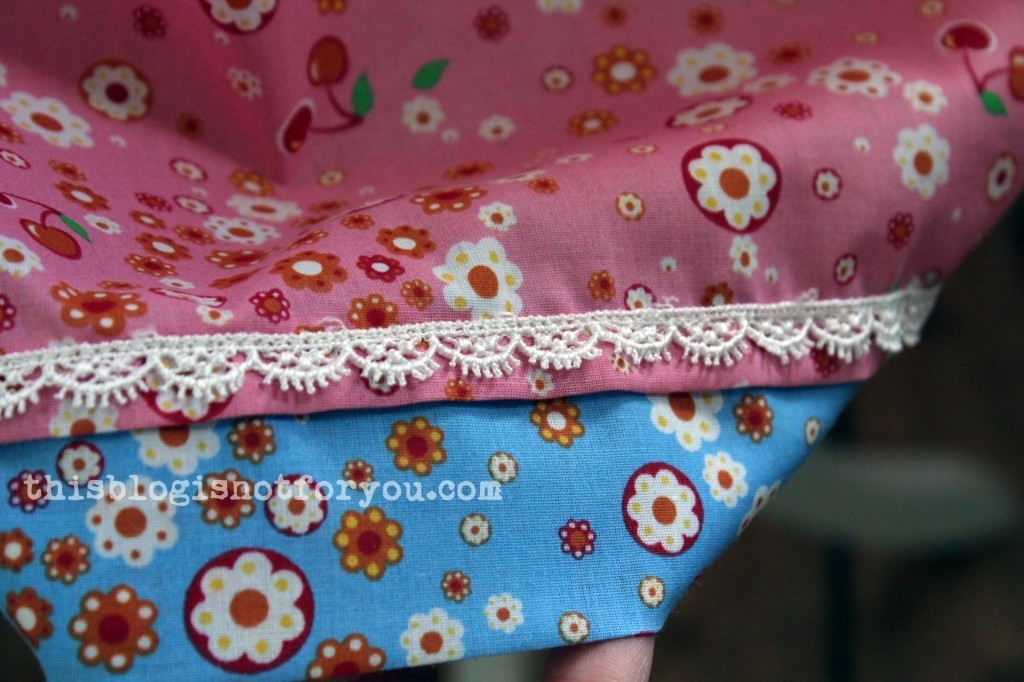
I gathered the skirt panel and sewed it onto the waistband.tutorial: anthro-inspired kitchen apron by thisblogisnotforyou.comAfter the apron was finished, I decided to add a ‘second hem’ (is there a name for that?) in a contrasting colour/the same fabric I used for the bodice. I simply cut out a strip twice as wide as I wanted the hem to be, folded it over in the middle and stitched it onto the skirt, both hems overlapping.tutorial: anthro-inspired kitchen apron by thisblogisnotforyou.com
And that’s it. I hope my instructions made sense  – sorry for the lack of pictures.anthro-inspired kitchen apron by thisblogisnotforyou.comanthro-inspired kitchen apron by thisblogisnotforyou.com
Happy Sewing!

facebook/bloglovin/pinterest
Stay in touch!

Wanted: Pattern Testers

pattern testers wanted at thisblogisnotforyou.comYes, you have read correctly: I am looking for some eager sewing nerds to test an upcoming pattern (made by moi, of course)!

***UPDATE: I have found quite a few fantastic pattern testers now. From now on I won’t be able to take on more. THANKS for the amazing feedback everyone!***

It will be the first of several PDF patterns you will be able to download from thisblogisnotforyou.com.

However, it is not yet clear whether all of these patterns will be completely free of charge. There will be freebies for sure (hiphiphurray!), but it depends a bit on how elaborate some of these patterns will be.

Either way, I want my instructions to be clear and my patterns to be as bug-free as possible. And therefore I need some of you guys to test them before I publish them here on le blog.

Sooooo….I am looking for some sewing enthusiasts would like to have a go at my first pattern – the hooded cape* I drafted a few weeks ago.

You should…

– have an eye for detail
– have some time to squeeze in one more sewing project in your busy schedule (you should be able to finish it in 3-4 weeks after receiving the pattern)
– be keen on following instructions
– have enough patience for printing, cutting and glueing a PDF pattern.


It doesn’t matter how experienced your sewing skills are as the pattern is quite easy. It also doesn’t matter whether you have worked with PDF patterns before or not.
It would be great if you have a blog where you could write about testing the pattern, but don’t worry if you don’t. Either way, I would like you to send me some pictures of your make (next to your feedback) which I will then feature on my blog.

So, if you think you would make a perfect pattern tester, please email me at hello[at]thisblogisnotforyou,com, subject ‘pattern tester’. Please include a few lines about yourself and how super cool you are and why you would love to test the pattern.

***UPDATE: I have found quite a few fantastic pattern testers now. From now on I won’t be able to take on more. THANKS for the amazing feedback everyone!***

Depending on the feedback I might have to pick a handful of testers, but there will be more than enough opportunities for testing patterns in the future.

Happy Sewing!

facebook/bloglovin/pinterest
Stay in touch!

*FYI: The pattern does not have a particular size. Since it’s a cape with a loose hood, it will fit many different sizes. I drafted it as a size 36 (Eur)/S/10 (UK), but it will also fit smaller and larger sizes to a certain degree. The only pointers are the shoulder measurements which are 11 cm/5 inches. 

Refashion It! The Stripy Sweater Dress

sweater dress refashion by thisblogisnotforyou.comsweater dress refashion by thisblogisnotforyou.com

Hellooo sewing nerds!

After a nice long weekend I have yet another refashion project for you! This thime I cut apart a sweater dress (yes, again) and at the same time recycled one of my old tops.

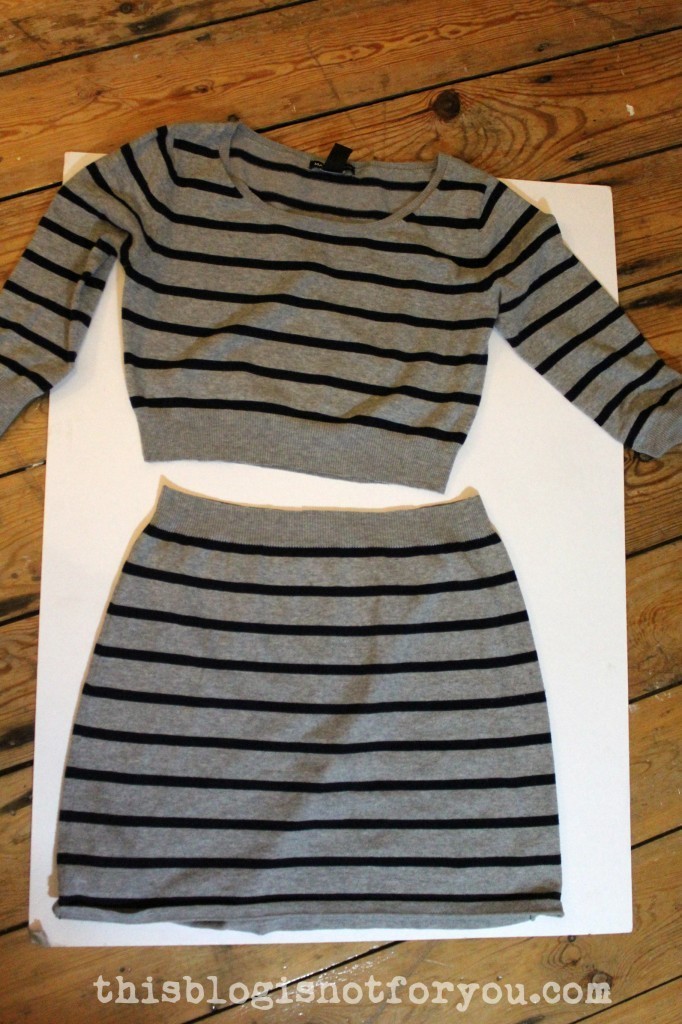
Here’s the ‘before’ pic of the dress which I recently got from a friend for refashion purposes (Yes, my friends do that now. And I love it. But I always mention that there’s no gurantee of ever getting it back in one piece. Chop, chop 🙂 )

sweater dress refashion by thisblogisnotforyou.com

Really not a ‘bad before’, but the dress was a bit too short for my liking and the waist part bothered me a bit. It just looked as if something was missing. Although I could’ve added a belt or so, I got it for refashion purposes. I had to cut it apart.

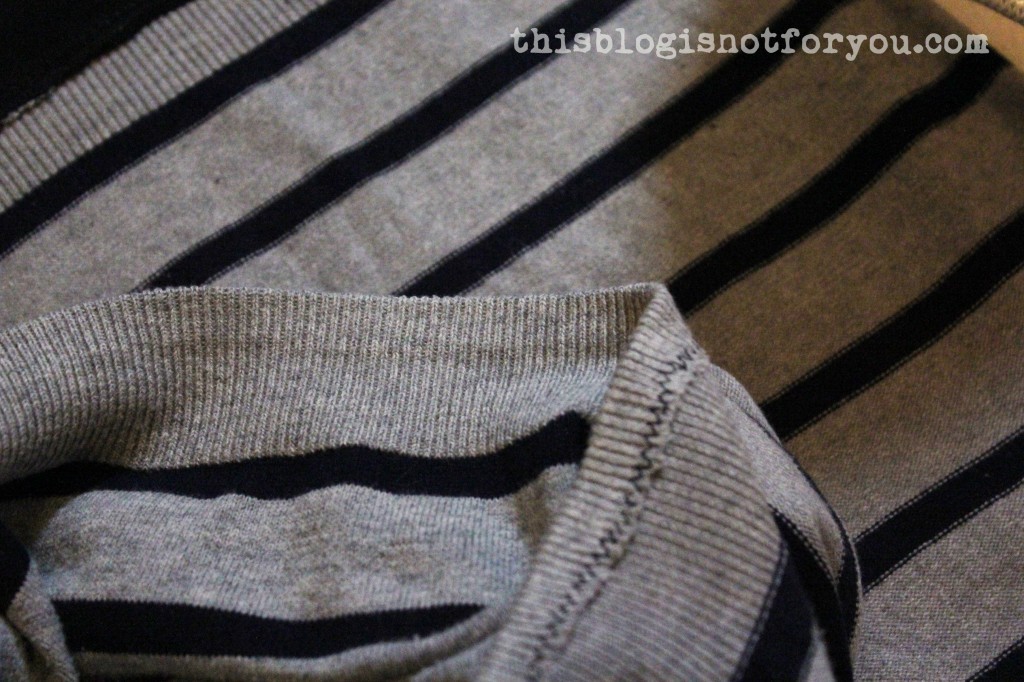
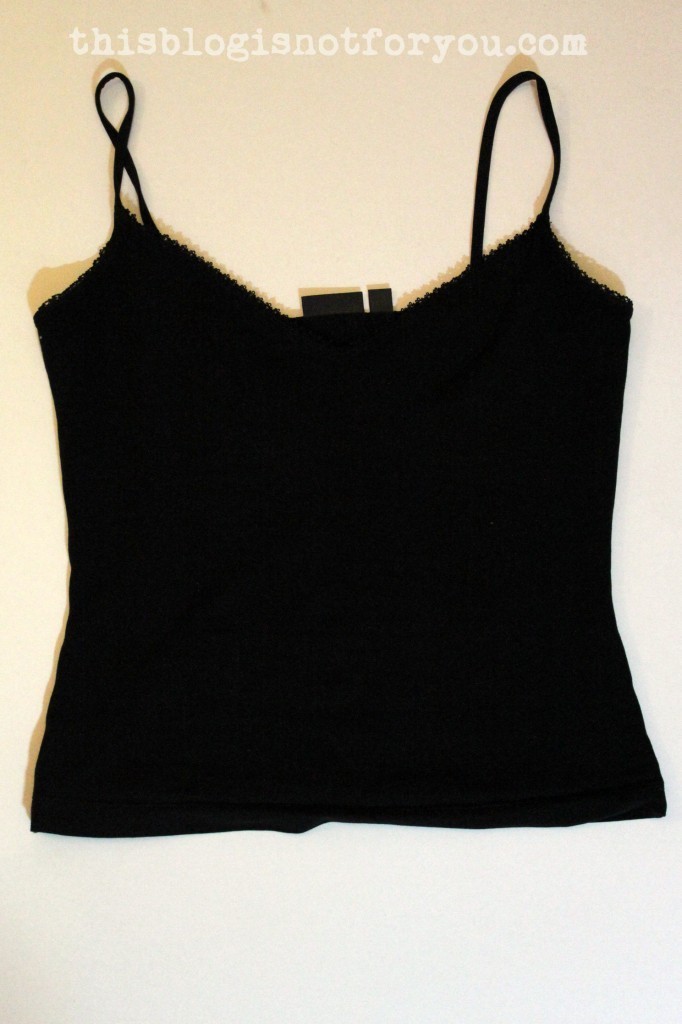
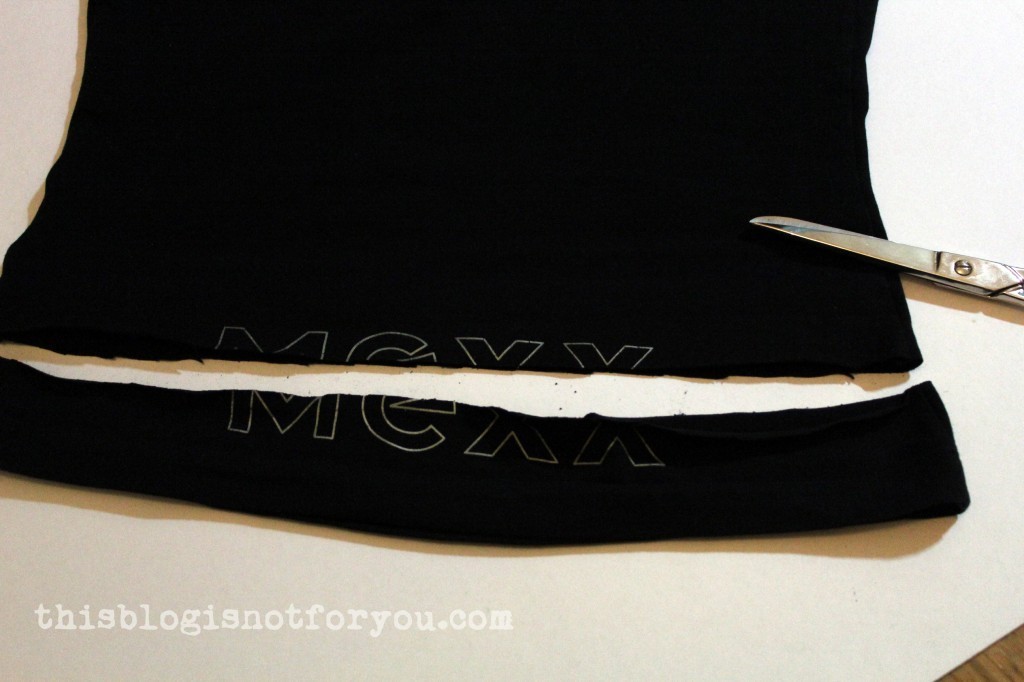
The dress looks a bit cinched at the waist, because the waist part of the knit fabric is ribbed. I thought it would make an easy waistband/hem.sweater dress refashion by thisblogisnotforyou.comI found this little black number in my refashion stash. It had grown shorter over the years  and it also had the name of the label printed on it in far too big letters (that’s because the person I got it from used to work in one of their stores).
sweater dress refashion by thisblogisnotforyou.com

sweater dress refashion by thisblogisnotforyou.com

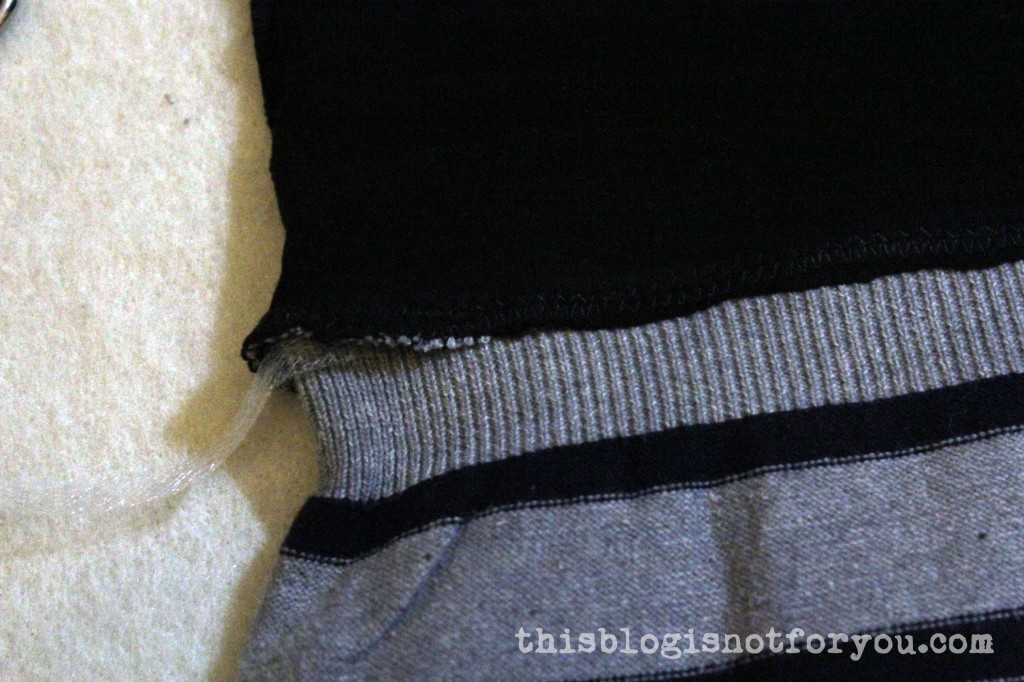
I chopped off the hem (and the print) and sewed it onto the waistband of the skirt using a ballpoint sewing machine needle and an overlocking stretch stitch.

sweater dress refashion by thisblogisnotforyou.com

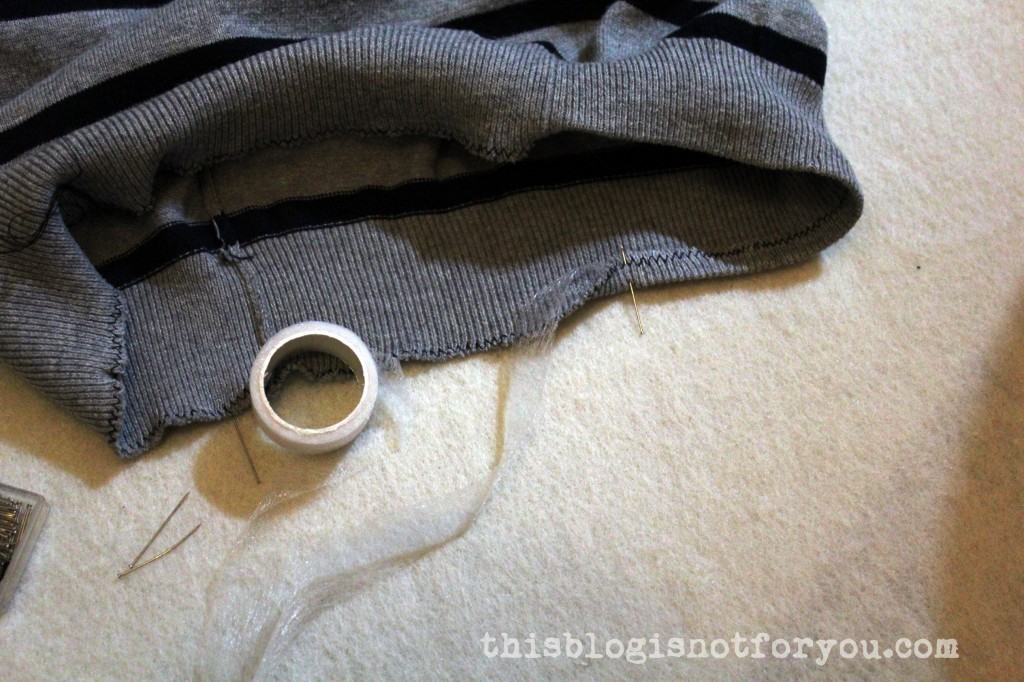
I pressed the seam allowance down and, to fix it in place, used hemming web (Thanks, Amy, for the tip!). This fusible hemming web really helps a lot when sewing with knits. It prevents the seams from stretching too much, which happens for example when you machine hem a knit fabric.

sweater dress refashion by thisblogisnotforyou.com

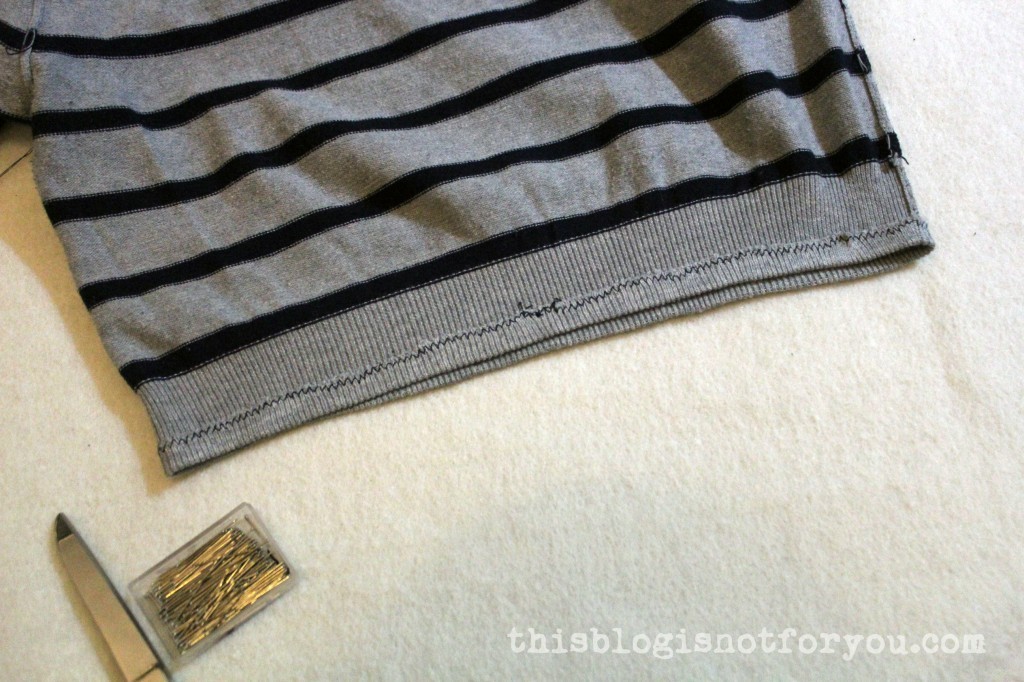
I just finished the raw edges with a zig-zag stitch to prevent the fabric from unraveling, folded the edge over and hemmed it with the fusible hemming web. To be on the safe side, I hand-basted the hem of the top, as well.

sweater dress refashion by thisblogisnotforyou.com

sweater dress refashion by thisblogisnotforyou.comsweater dress refashion by thisblogisnotforyou.com

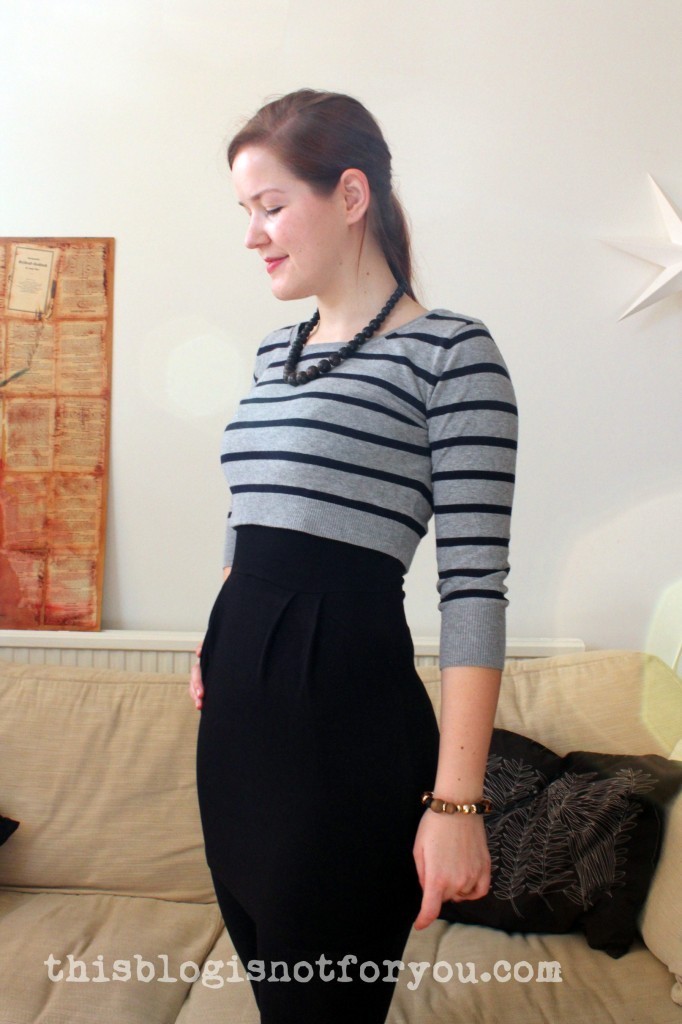
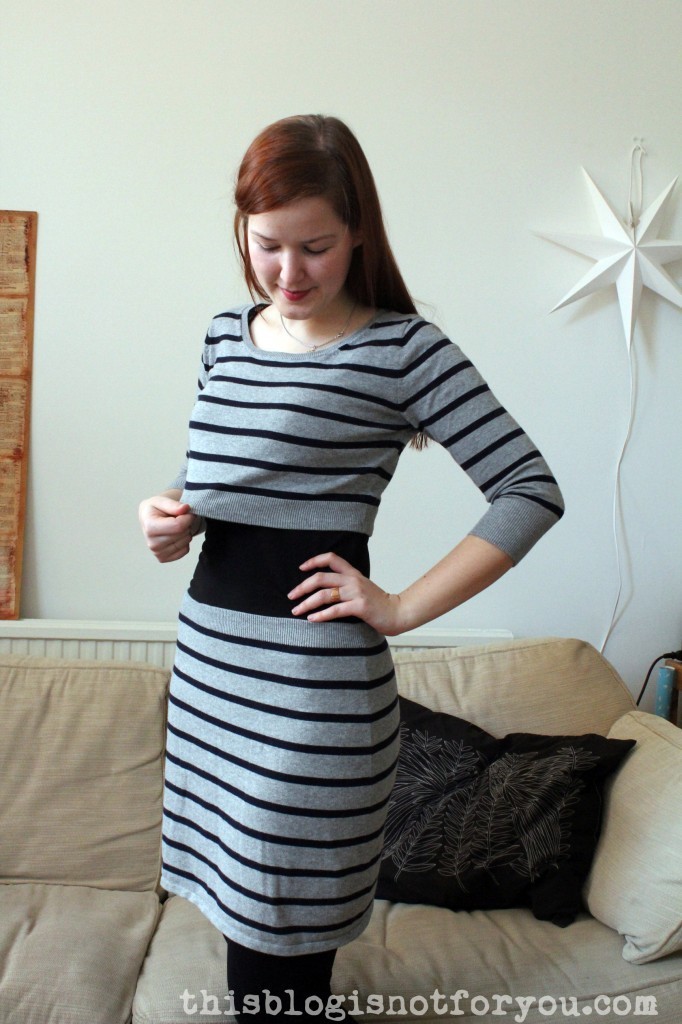
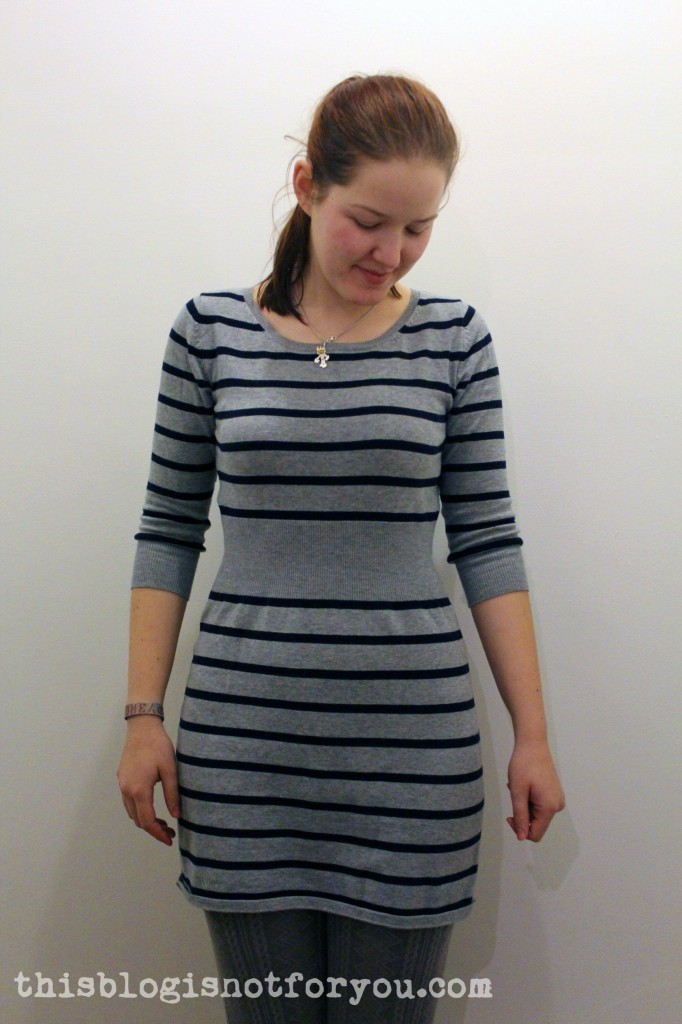
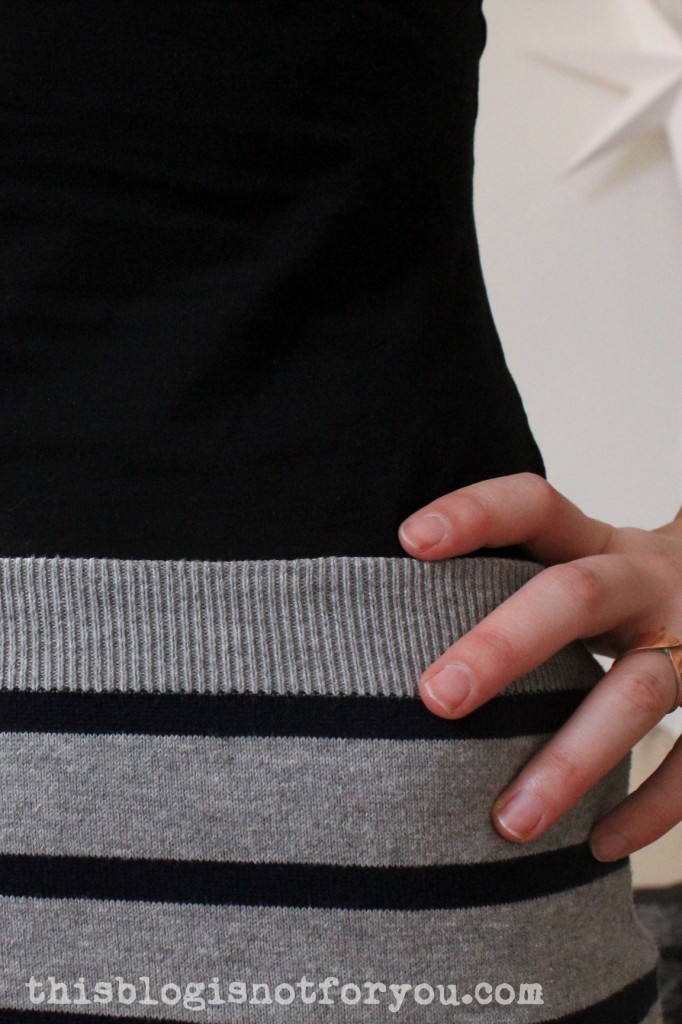
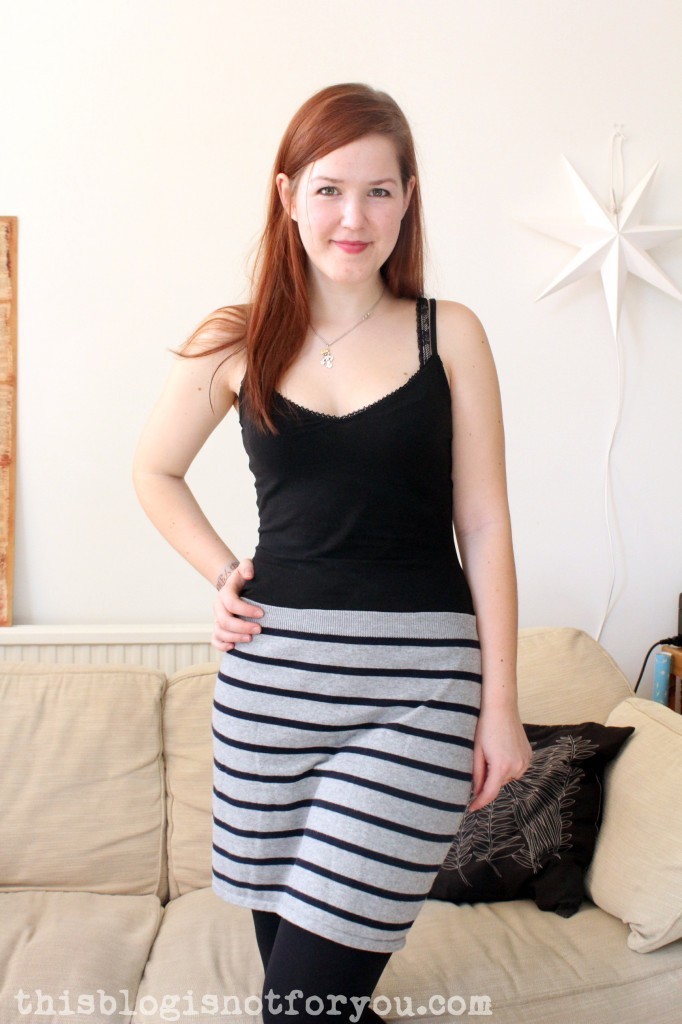
So, now I’ve got a super comfy sleeveless knit/jersey dress which can be worn with or without the top. The skirt has the perfect length now and also fits much better than before.

sweater dress refashion by thisblogisnotforyou.comsweater dress refashion by thisblogisnotforyou.comsweater dress refashion by thisblogisnotforyou.com

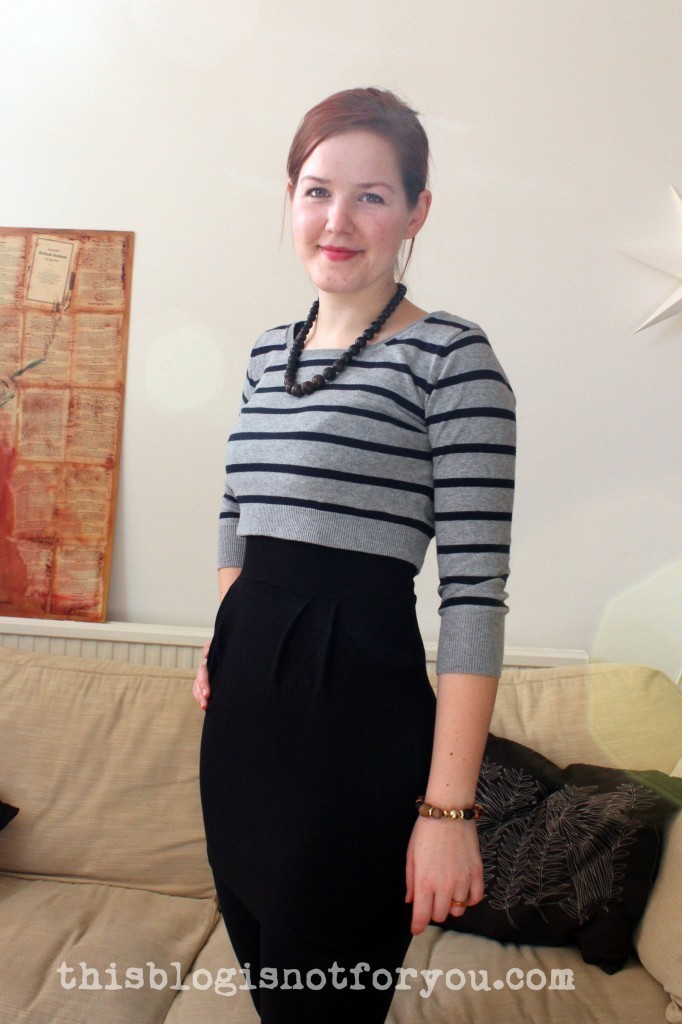
I prefer to wear both separately. The skirt together with the cropped top looks a bit 90’s, but it’s all back in style (see CHANEL’s 2014 haute couture collection!), hehe.

I loooove to combine it with other knit dresses. This is my favourite combination, also great because I can wear all these sleeveless jersey dresses in cold weather now. Sooo comfy, I’ve been wearing it all weekend.

sweater dress refashion by thisblogisnotforyou.com

Did you spend the weekend sewing?

facebook/bloglovin/pinterest
Stay in touch!


Anthropologie inspired kitchen apron

anthro-inspired kitchen apron by thisblogisnotforyou.comHello my lovelies!

As you know, I was popping into the Anthropologie store the other day (still dancing around my brandnew Elisaliex pattern). I love almost everything they have, but it’s almost all beyond my budget (Seriously, 20 pounds for a kitchen clock?). Except for the By Hand London patterns, I have never bought anything there, especially when most of times I like something, I think ‘Hey, couldn’t I make that myself? Haven’t I seen a tutorial for this?’.

Last week I saw these cuuuuute aprons (40 pounds) and looked them up online when I was back home.

 Anthropologie apron

Since stash dieting is one of my resolutions for this year, I thought it might be a cool project for using some of the craft and quilting cottons from my stash (which I almost never use).

So I made my own cute kitchen apron. Quite a quick project, especially when using crafting cottons everything (cutting, pressing, pinning…) is so much faster than sewing with other fabrics.

anthro-inspired kitchen apron by thisblogisnotforyou.com

You can see how the neckline, placket, bow and hem were inspired by the Anthro-version.

anthro-inspired kitchen apron by thisblogisnotforyou.comanthro-inspired kitchen apron by thisblogisnotforyou.comanthro-inspired kitchen apron by thisblogisnotforyou.com

Mine turned out much more cutesy than the Anthro aprons, that’s mainly due to the super kitschy fabrics I found in my stash (that’s probably the main reason why I’ve never used them!)

anthro-inspired kitchen apron by thisblogisnotforyou.com

But I really like it and will probably be making more. They also make good gifts, I think.

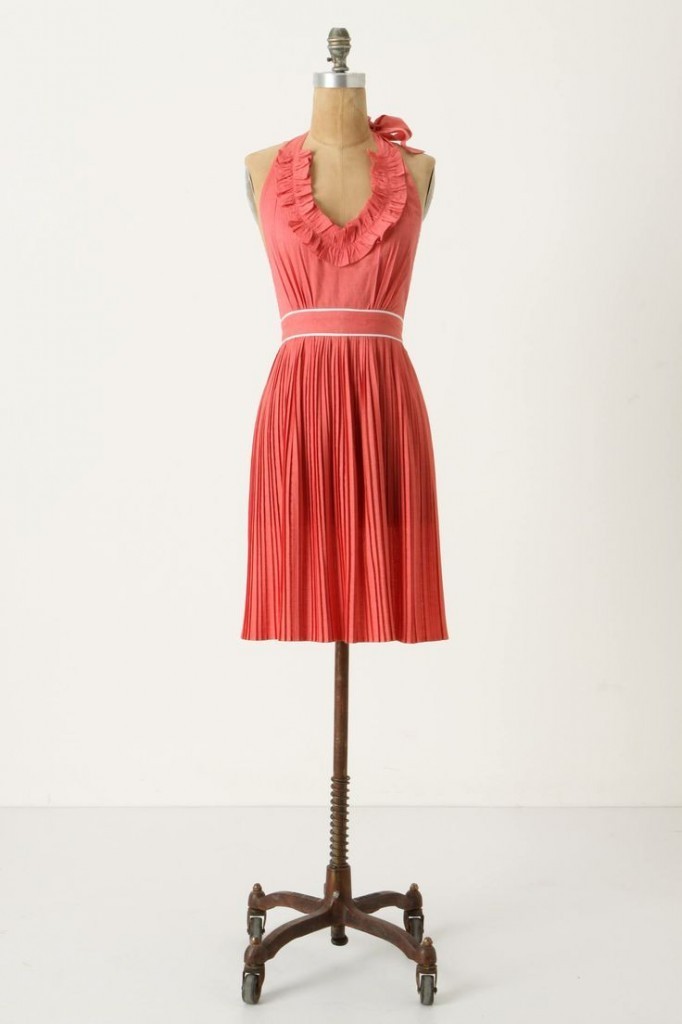
Here’s some more Anthro apron inspiration…ahhh – so gorgeous!

anthro apron
source: www.anthropologie.eu
anthro  apron
source: www.anthropologie.eu

I decided that this project wouldn’t count towards my 27 Dresses Challenge. Just like the toddler pinafores I made, it’s not quite a proper garment although I made it from scratch. Too bad (there are only 9 more to go until I can finally buy an overlocker!), but I have to be strict so it doesn’t get too easy.

There will also be a tutorial/making of post this week!

Happy Sewing!

facebook/bloglovin/pinterest
Stay in touch!

Tutorial: How to sew a cover for your sewing machine

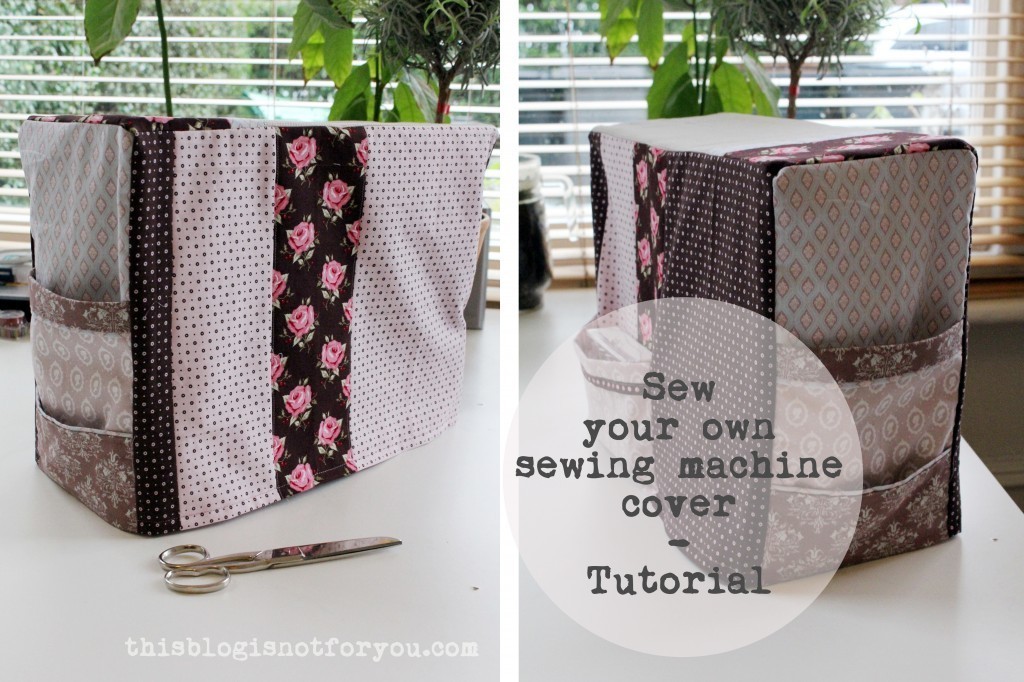
sewing machine cover by thisblogisnotforyou.com

Helloooo!

As promised, here comes the tutorial for the cute sewing machine cover I made last weekend. I looove it. My sewing space (which is basically 90% of our flat) looks so much better now (and tidier – probably the main reason why Mr Thisblogisnotforyou likes it very much).

The cover is rather simple to make, depending on how much detail you want to add. As the lining is the same shape an size as the fabric, you can also make your cover reversible (you sew the cover part twice and use one instead of the lining).

What you need:

– fabric leftovers/ fat quarters, some plain fabric for the lining (unless you want your cover to be reversible)
– thread
– scissors/or rotary cutter
– measuring tape
– a piece of cardboard

sewing machine cover tutorial by thisblogisnotforyou.com

Measurements:

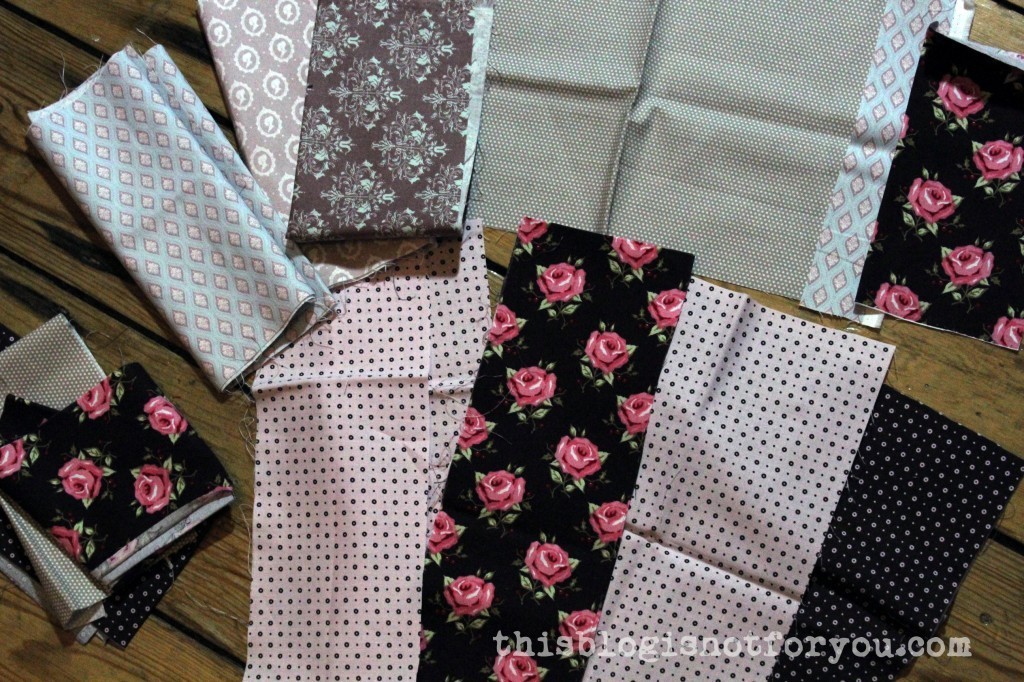
For my cover, I used different quilting cottons. I ordered so many when I started sewing and never really used them after I began making clothes.

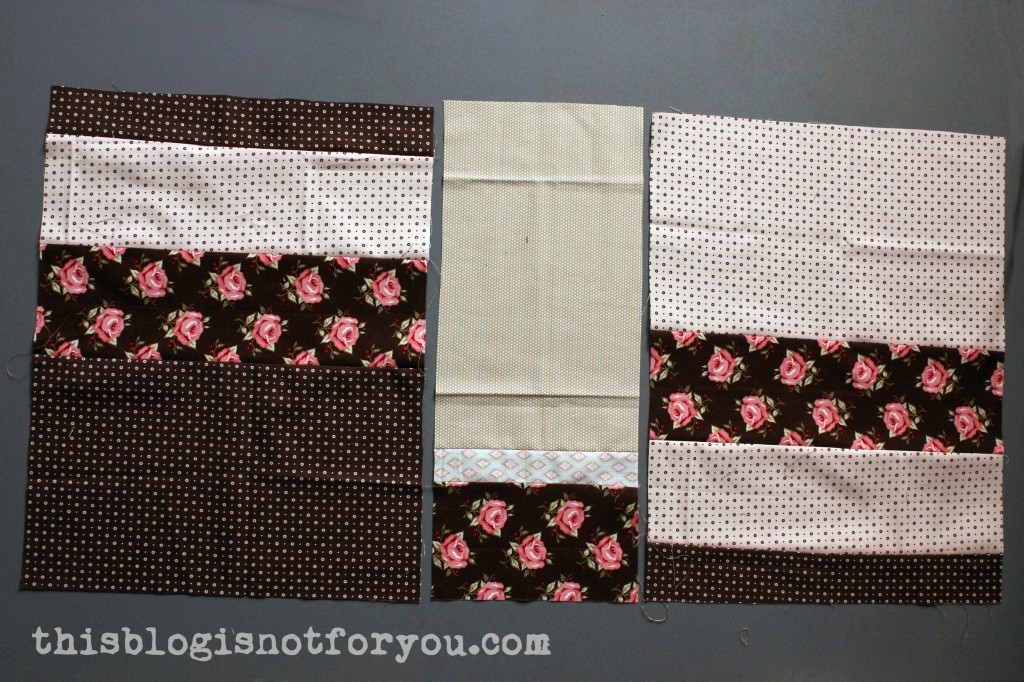
The size of the fabric pieces depends on your sewing machine and your design. When you use a lot of different fabrics like I did, the fabric pieces can be rather small – time to get out these leftovers you’ve kept all that time!

If you like to keep it simple and only want to use one fabric, the biggest piece should have the width of your sewing machine (plus seam allowance) and height as follows: 2x height + 1x depth of your sewing machine (plus seam allowance).

Now get out your tape measure and take measurement of your little darling. This of an imaginary rectangular box around your sewing machine, where everything needs to fit in. Don’t forget to include the balance wheel when measureing the width, height of spool pin etc.

My machine was 40cmx30cmx16cm. You should add about 1cm on each side.

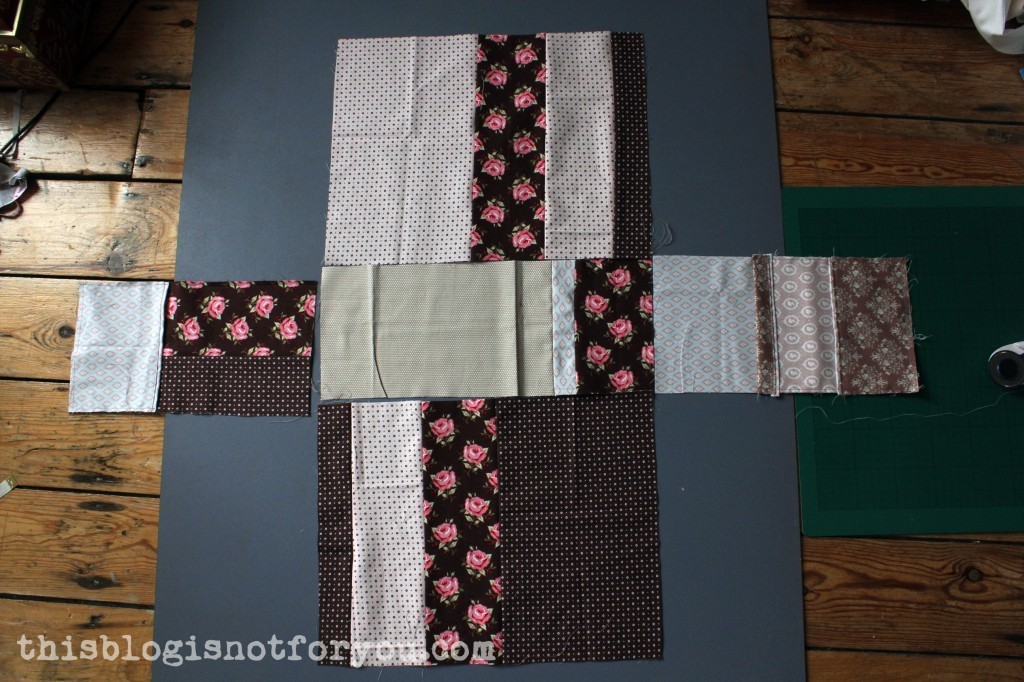
To assemble the cover, we want to cut out the following pattern pieces:
sewing machine cover tutorial by thisblogisnotforyou.com

Front & back (mine is: 42cm x 32cm incl seam allowance), top (18cm x 42cm), sides (18cm x 32cm). 

Does this make sense? Alternatively, if you’re using only one fabric, you can combine front, back and top and cut out one big piece instead.

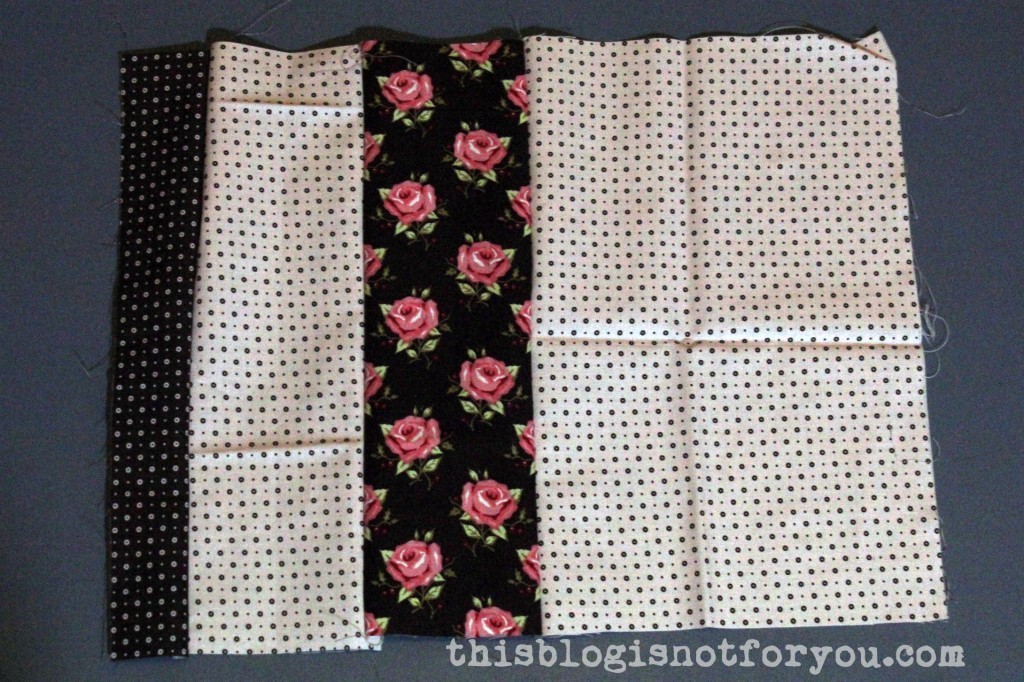
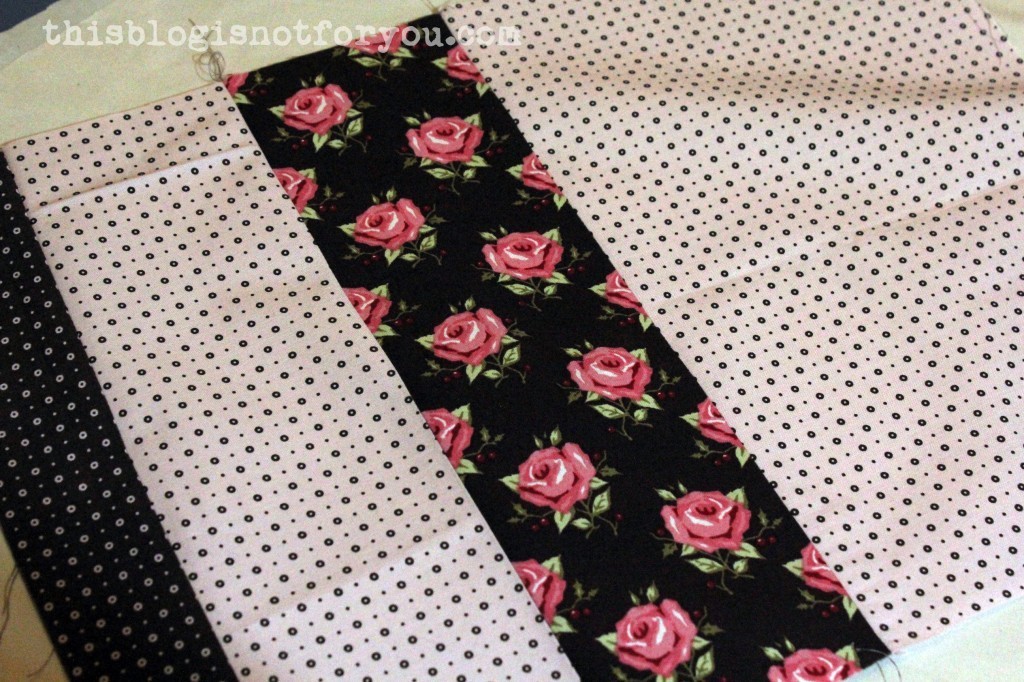
If you want to use up all your small fabric pieces, sew strips of them together creating one big piece with the right measurements.

This is my back panel.

sewing machine cover tutorial by thisblogisnotforyou.comsewing machine cover tutorial by thisblogisnotforyou.com

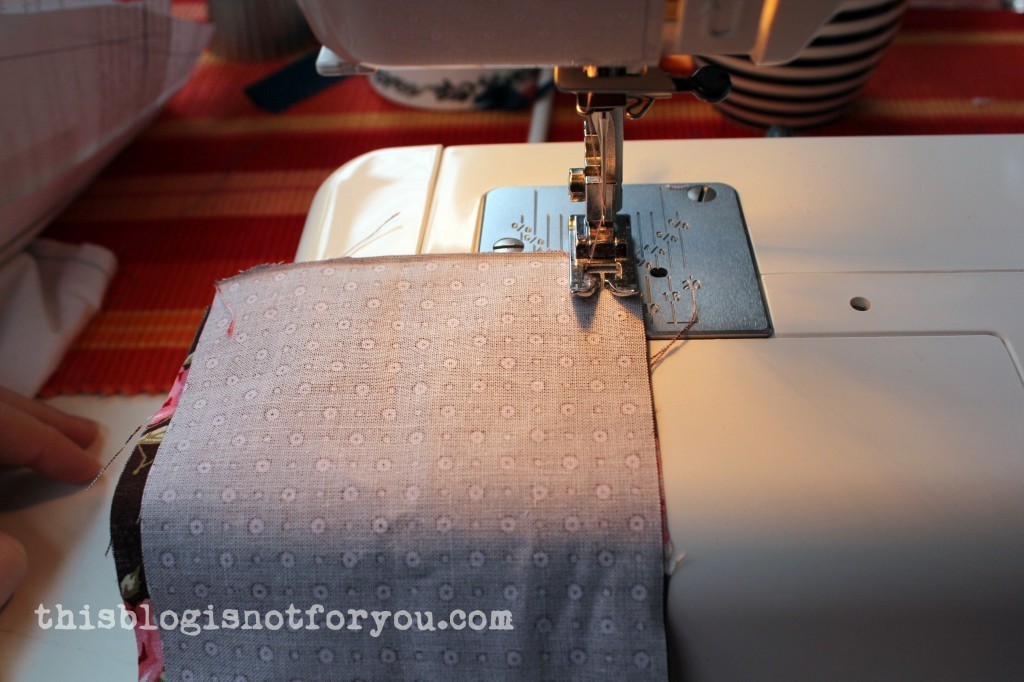
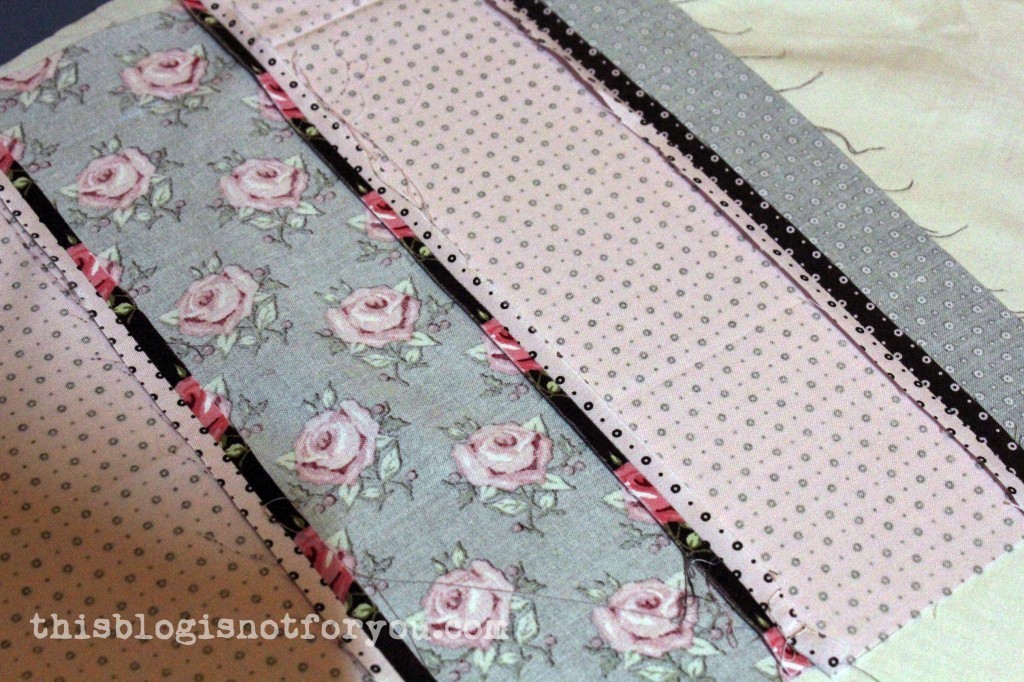
Stitch the pieces together (right sides facing) and give it a good press.

sewing machine cover tutorial by thisblogisnotforyou.com

sewing machine cover tutorial by thisblogisnotforyou.com

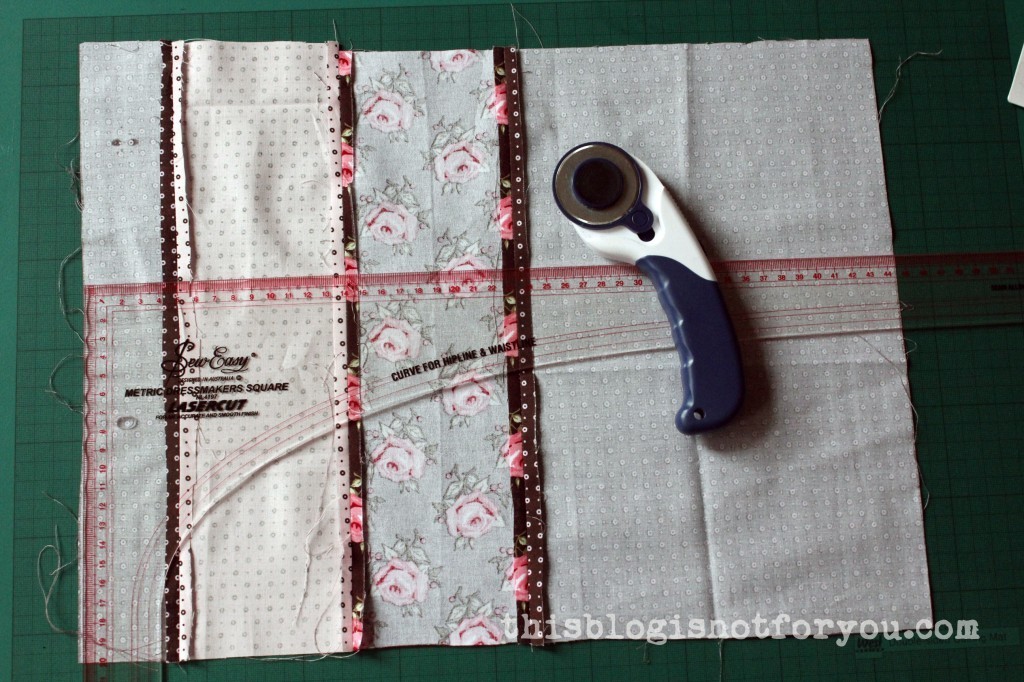
When piecing your panels together, a large square ruler helps to get perfect rectangles.

sewing machine cover tutorial by thisblogisnotforyou.com

Cutting out:

sewing machine cover tutorial by thisblogisnotforyou.com

Here we have front, back and top panel.

sewing machine cover tutorial by thisblogisnotforyou.com

Cutting out the side panel. I aligned it with the front and top panel, to check that all the measurements fitted perfectly before cutting.

Adding pockets:

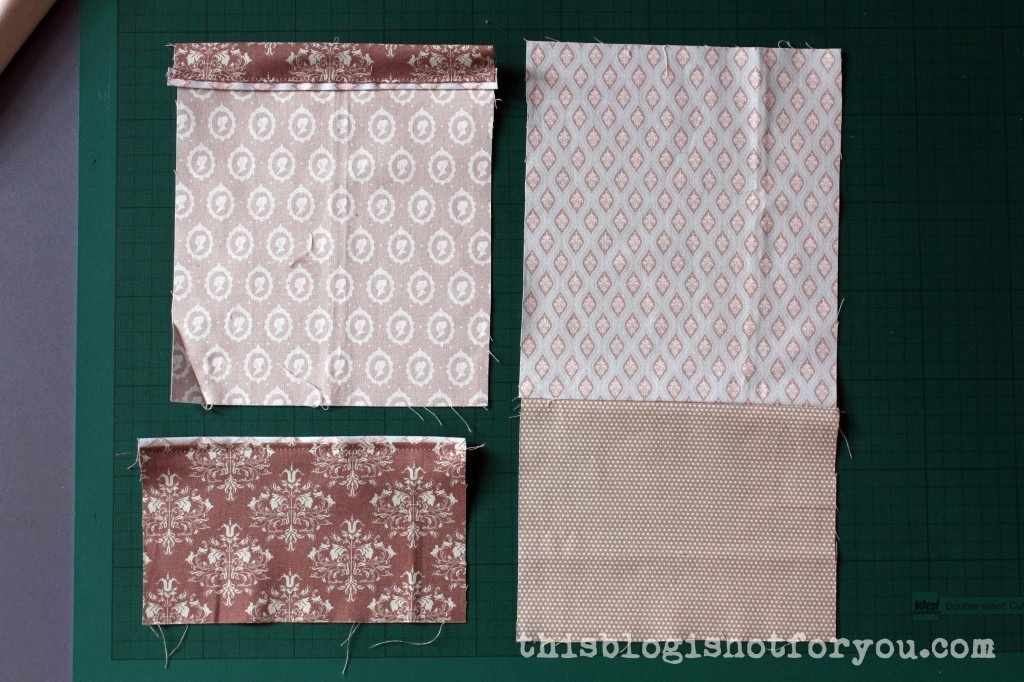
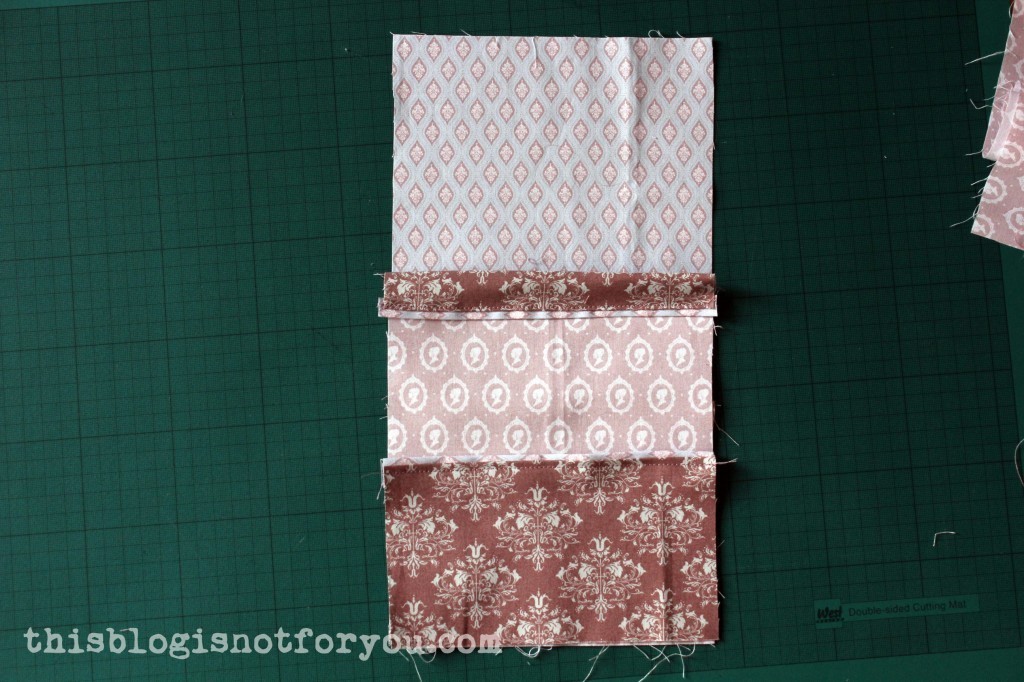
In case you want to add pockets to the side panels, cut out one or more pieces with the same width and different heights. Use bias binding to finish the top edge of the pockets,sewing machine cover tutorial by thisblogisnotforyou.com

Align all bottom edges and stitch the pockets onto the side panel with a very narrow seam allowance.sewing machine cover tutorial by thisblogisnotforyou.com

Assembling then pieces:

sewing machine cover tutorial by thisblogisnotforyou.com

Now that we have all pieces, we start sewing front and back onto the top panel like so:sewing machine cover tutorial by thisblogisnotforyou.com

Press!

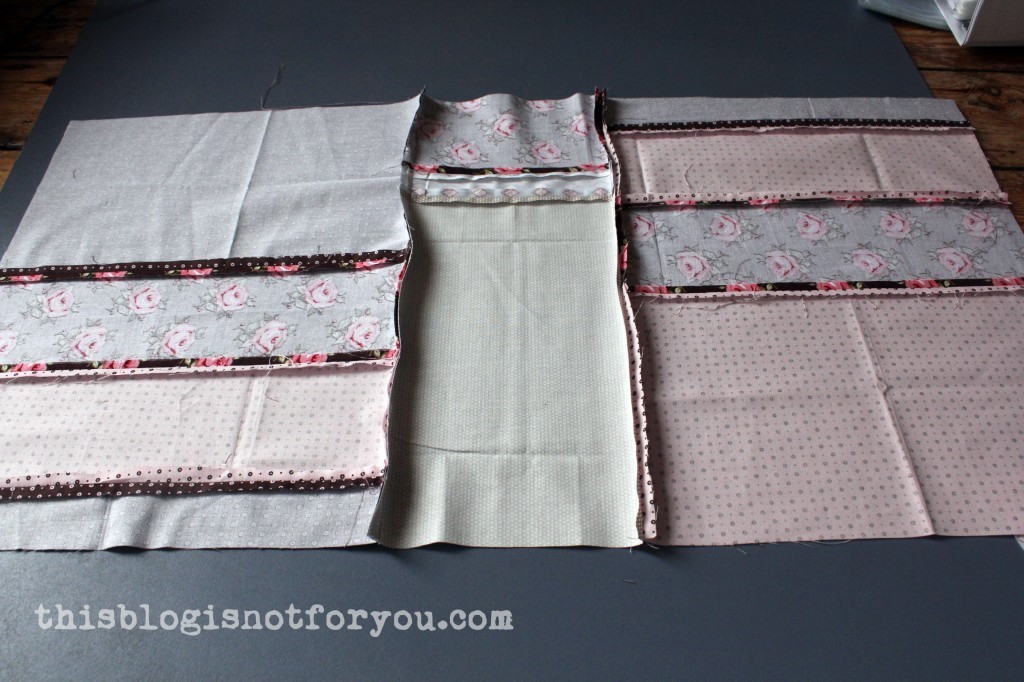
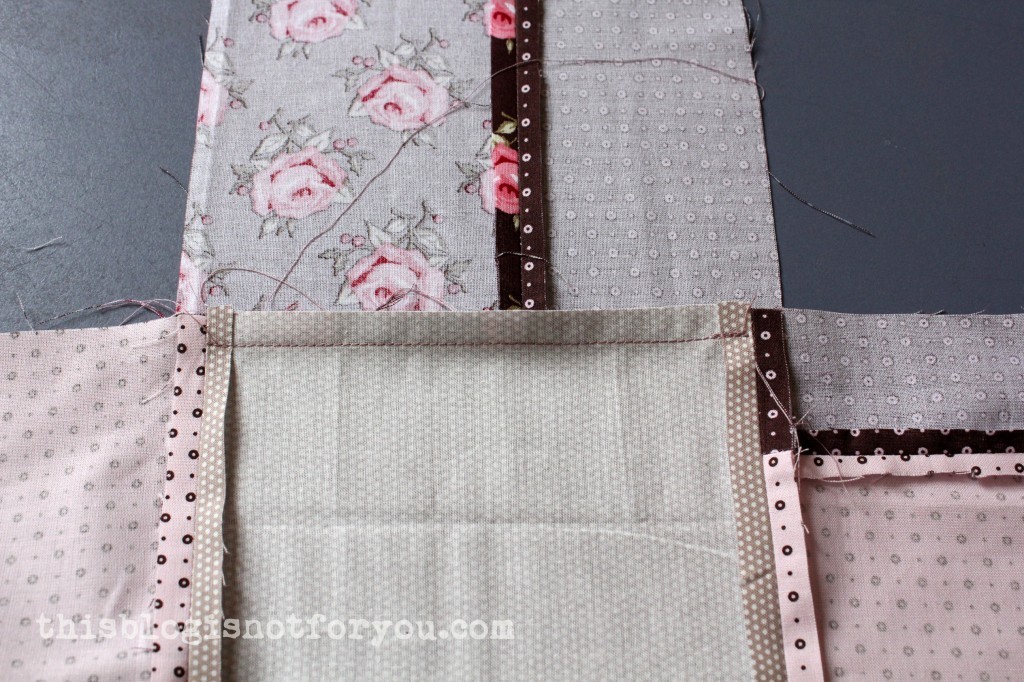
Next, the side panels. When sewing these on, make sure not to stitch over the front/back panel seam allowance like so:

sewing machine cover tutorial by thisblogisnotforyou.comThis is important in order to get nicely pointed corners in the end. You can also press the seam allowances apart. This makes is easier to sew side and front/back panel together and will help you to get that perfect corner.sewing machine cover tutorial by thisblogisnotforyou.com

Now sew side and front/back panel together. You can now check if the cover fits nicely.
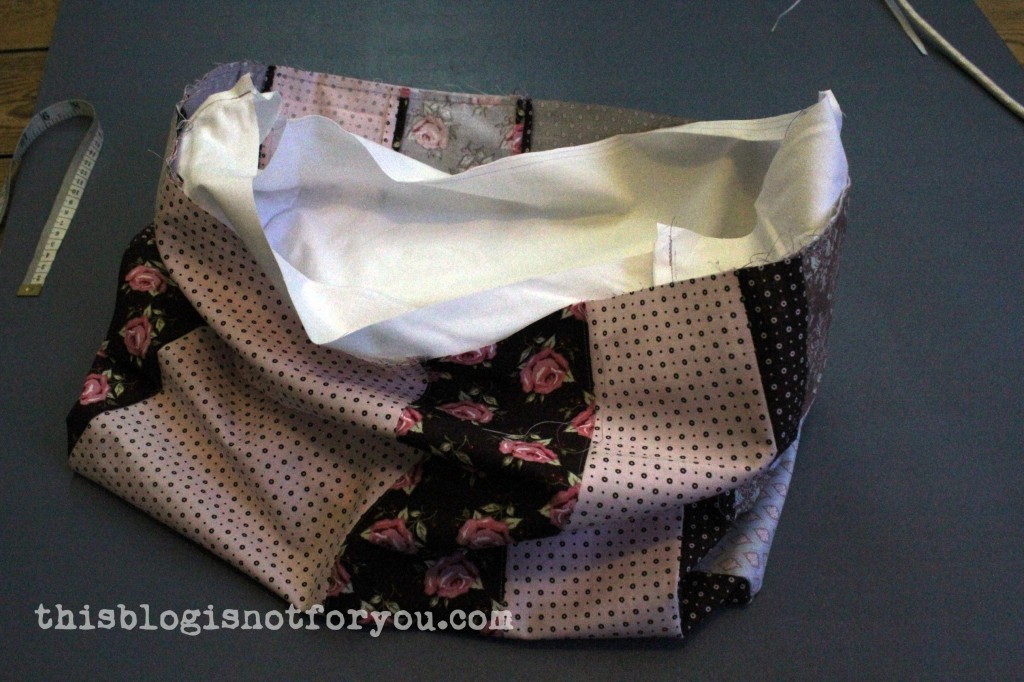
Then do the same for the lining.

The lining cover will go into the cover, left sides facing. I secured the lining by basting it to the cover in all four corners.
sewing machine cover tutorial by thisblogisnotforyou.com

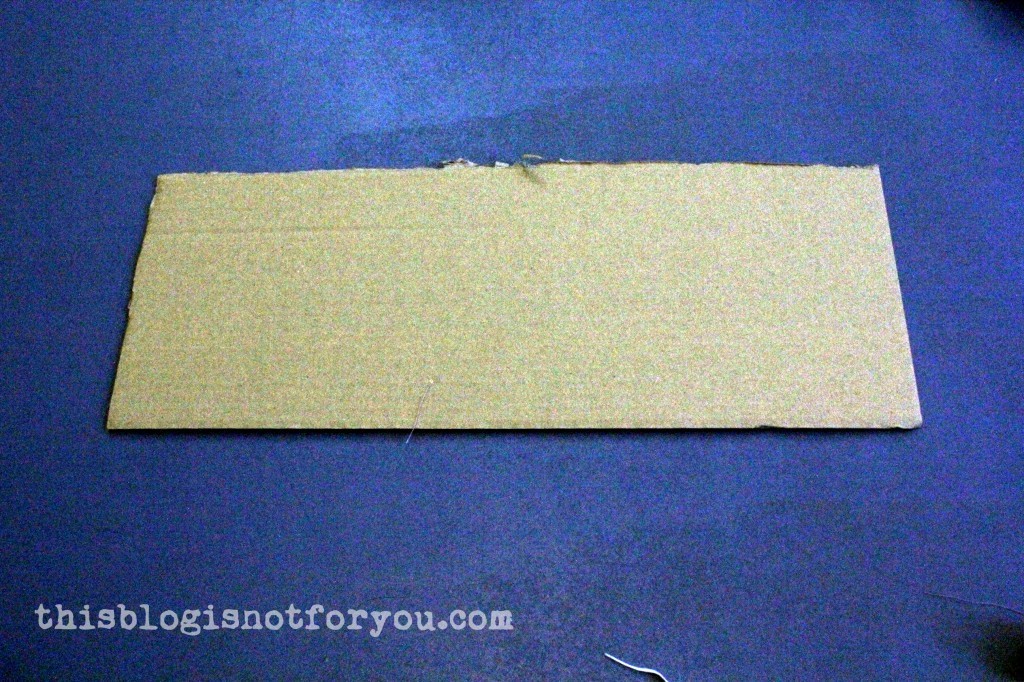
If you’d like to have a more stabil cover, you can slide a piece of cardbord (a tiny bit smaller than your top panel) between the top parts of lining and cover. You can keep it in place with double-sided tape or, as I did, handstitch it onto the lining in a few places.

sewing machine cover tutorial by thisblogisnotforyou.com

To finish the bottom edges, press both cover and lining seam allowance inwards, so that the seam allowances of both parts are facing each other. Secure with a few pins and stitch along all sides.

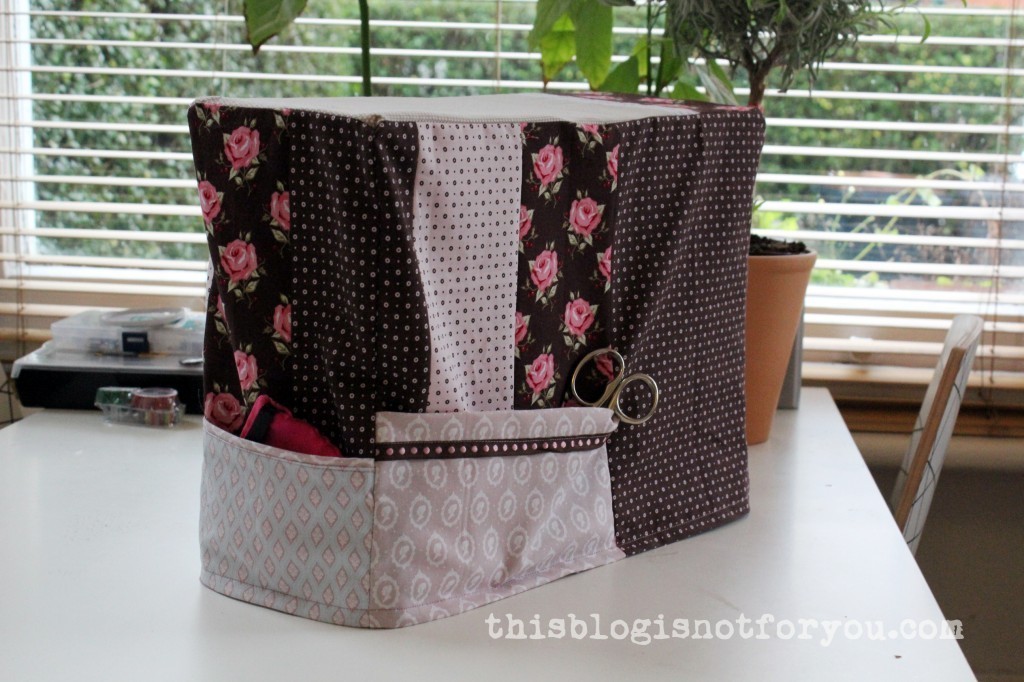
Done!

sewing machine cover by thisblogisnotforyou.com

If you have any questions, just leave me a comment below!

I’d love to see your version! Send a picture of your finished cover to hello(at)thisblogisnotforyou(dot)com!

Happy Sewing!

facebook/bloglovin/pinterest
Stay in touch!