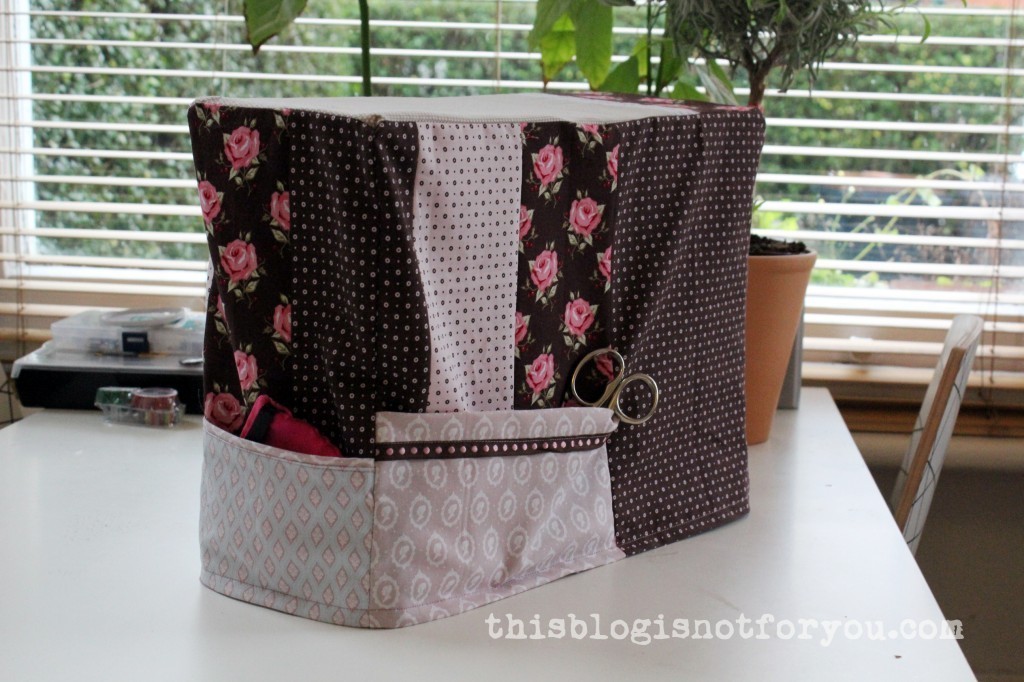
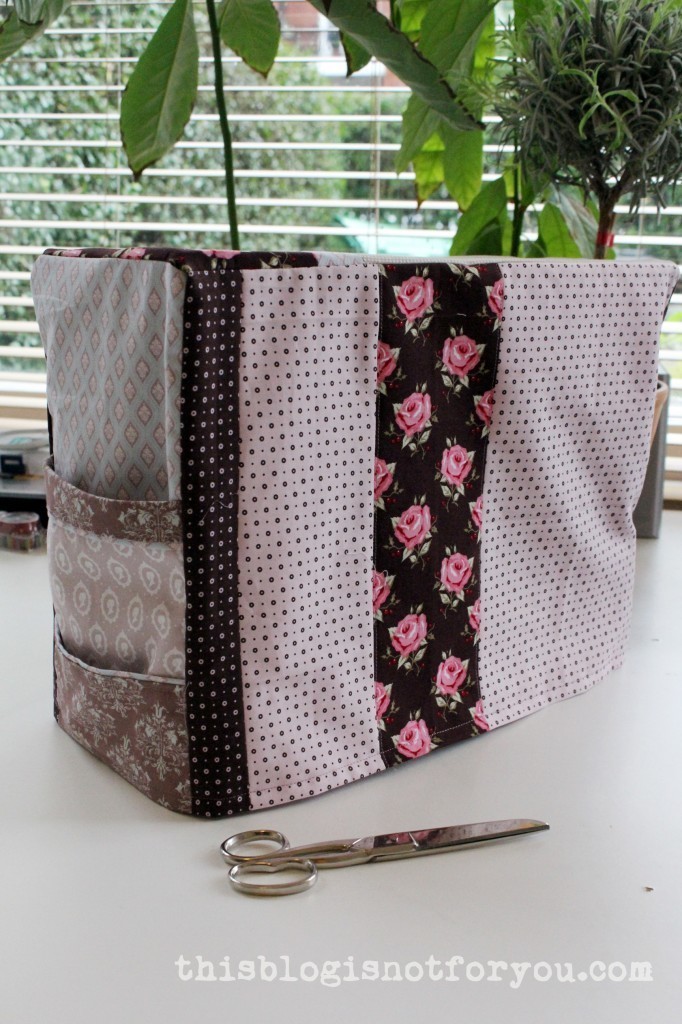
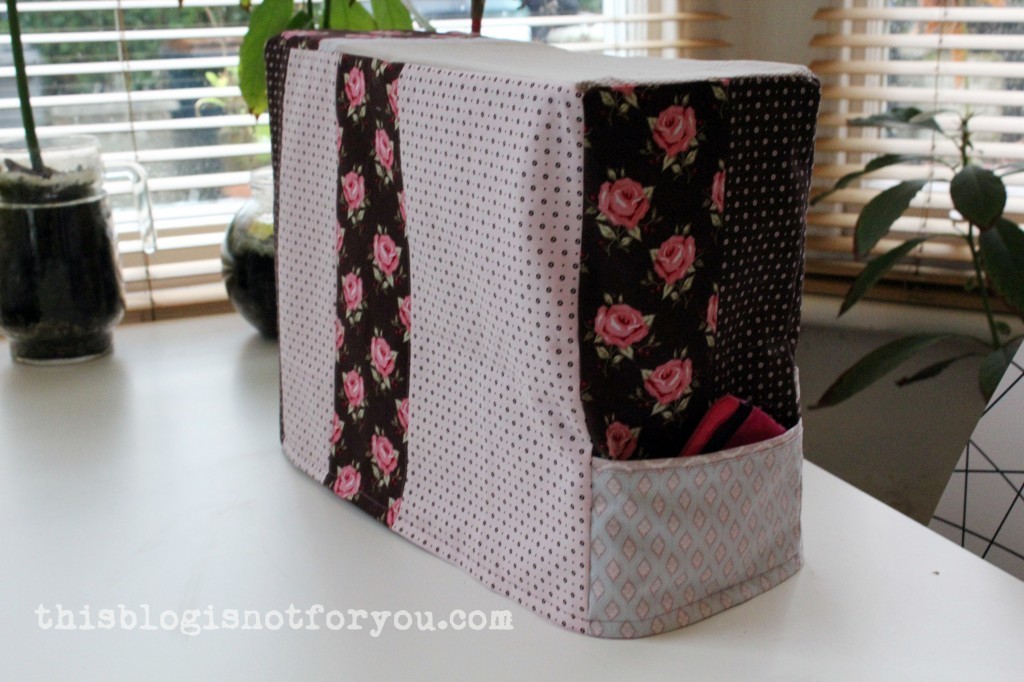
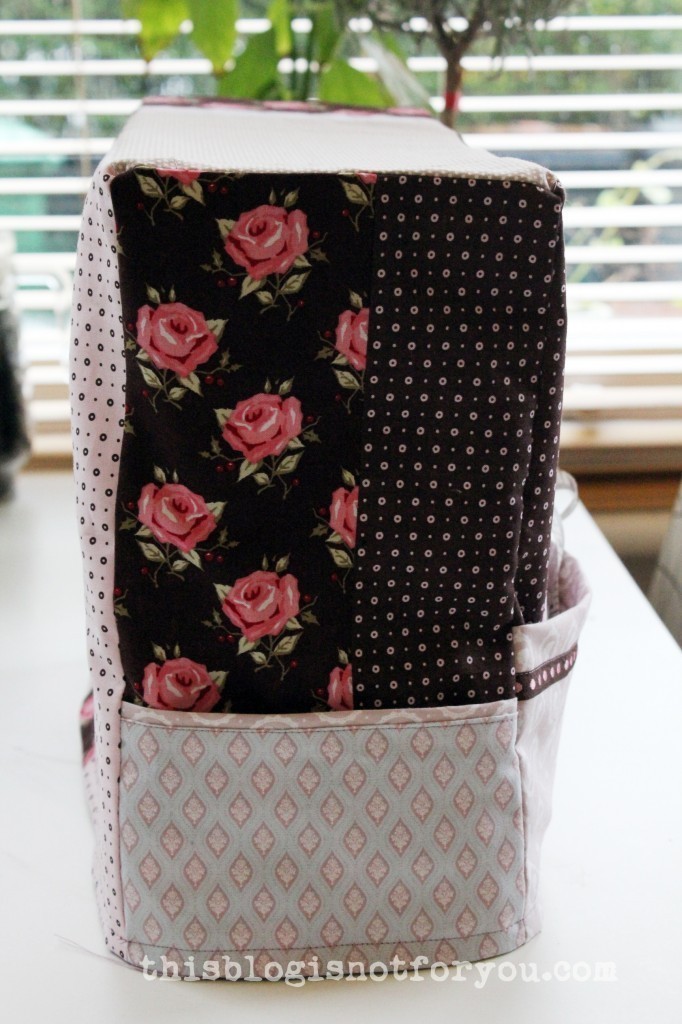
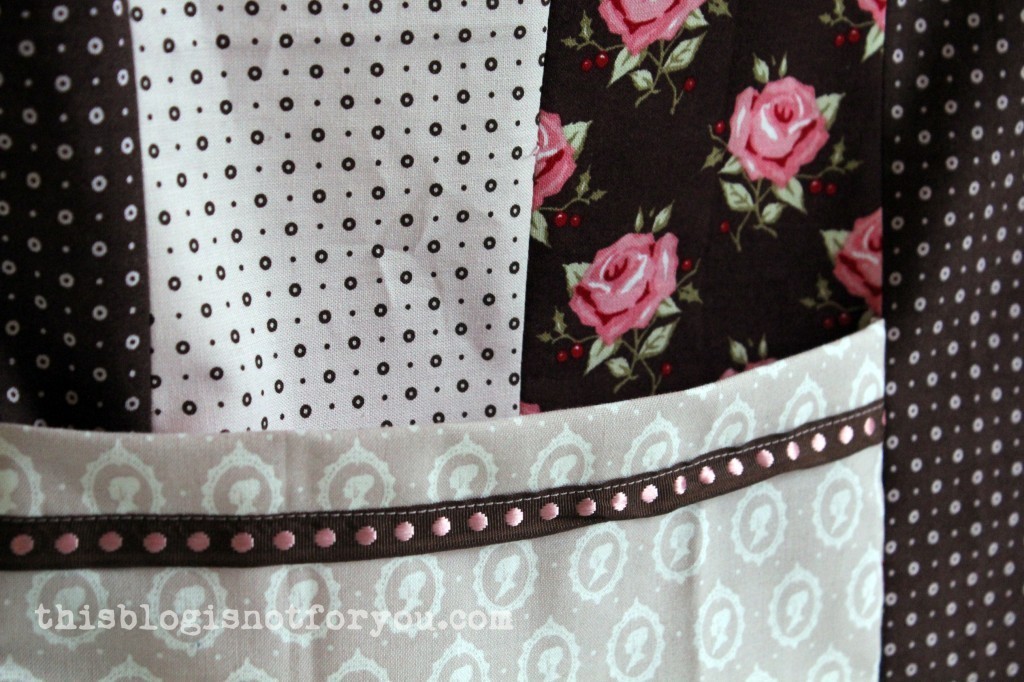
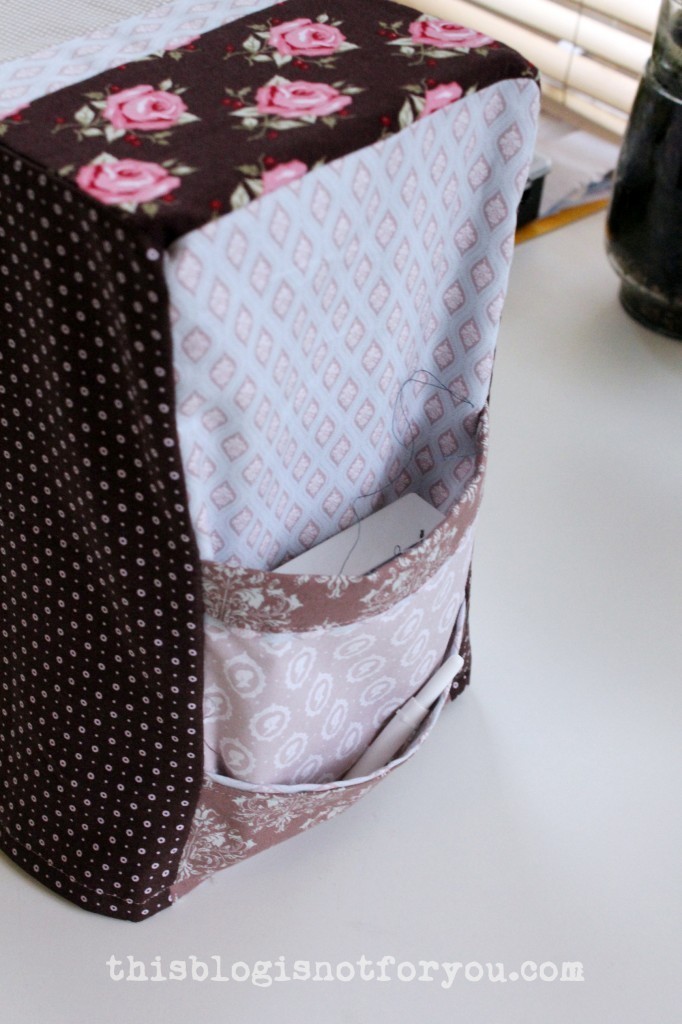
Yes. I can’t believe it myself. Seems that I’m quite successfull with ticking off things from my resolutions list (so far). The sewing machine cover wasn’t officially on the list, but on one of the projects lists I have had in my head for months.
I had last Friday off (yay!) and was looking for a project that a) was neccessary, b) would be done in less than a day (no tracing of Burda patterns!), c) I could make from fabric scraps and fabric from my stash. After the cape, this is now my second project in the new year using fabric from my way too big stash.
It’s a super easy and fun project, perfect for beginners, I think. I will upload a full tutorial on how to make your own sewing machine cover in the next days! So keep your eyes peeled!
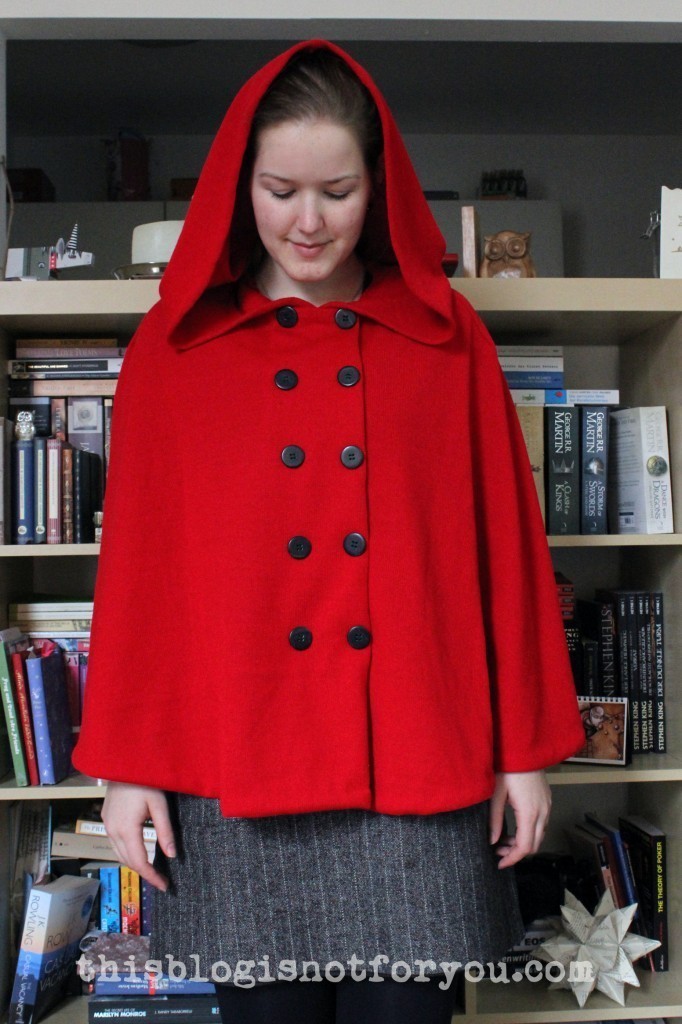
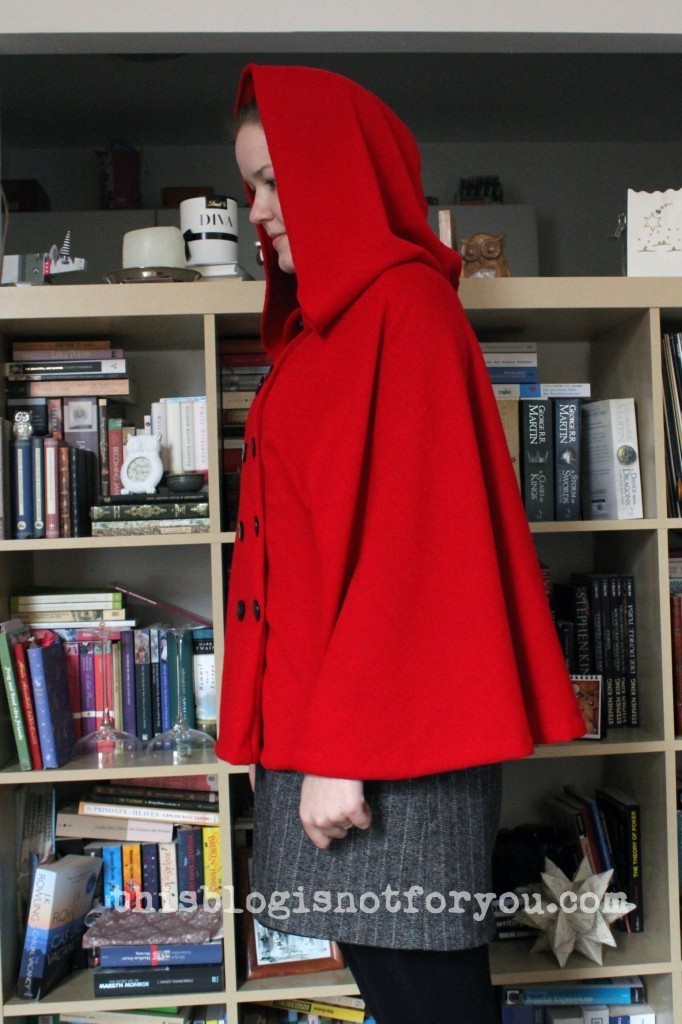
Ooops. How did that happen? Does she know this looks a bit…a lot...like a fairytale costume?
Yes, she does!
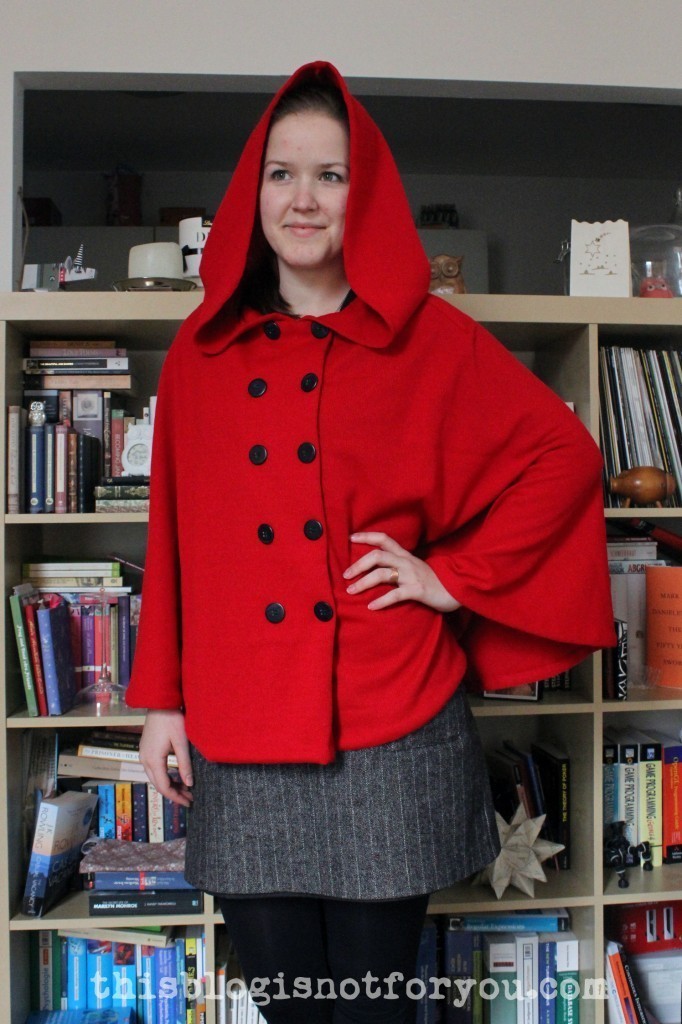
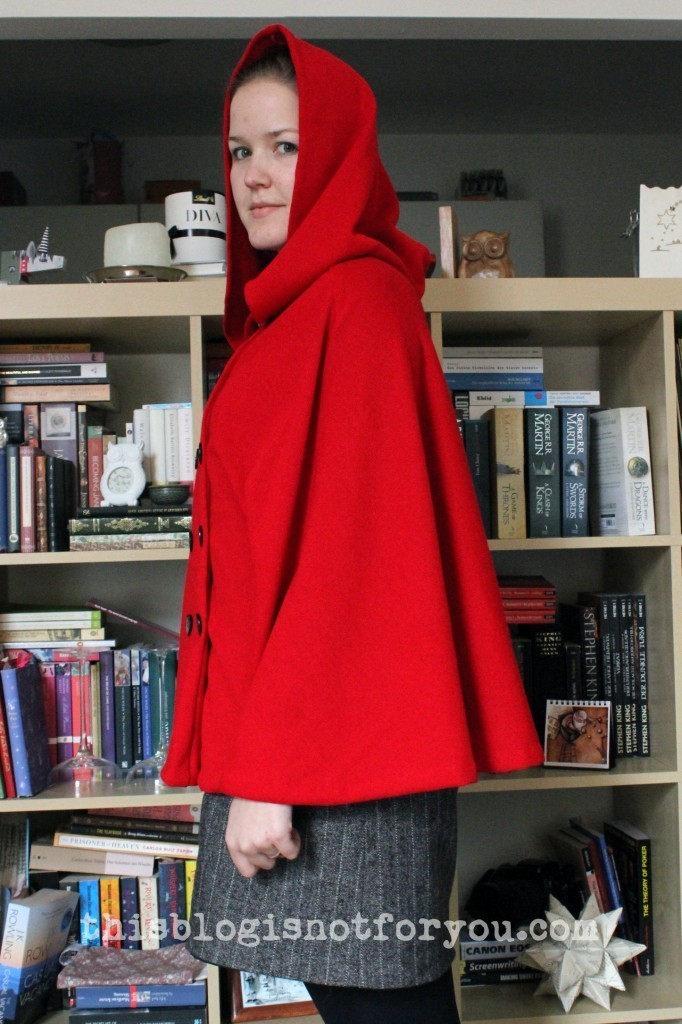
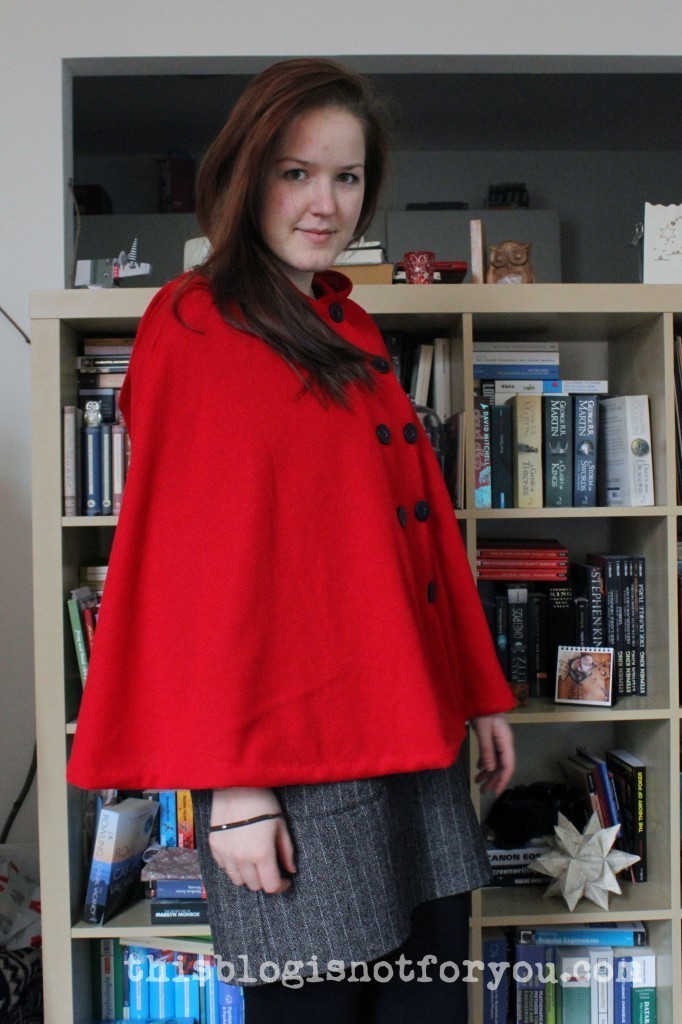
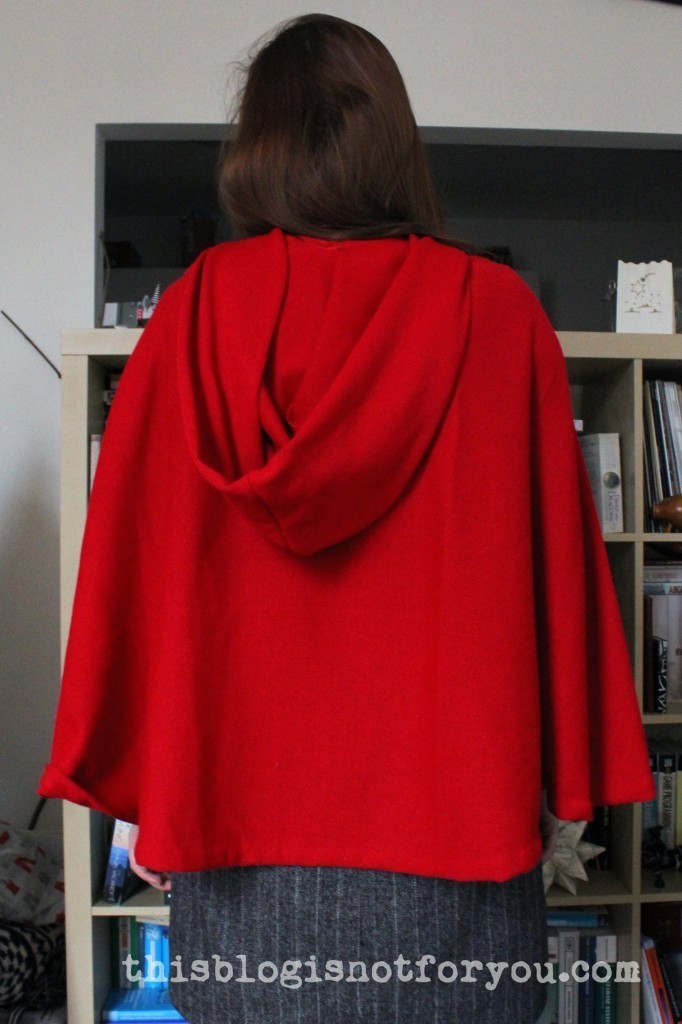
Sewing a hooded cape using a bright red knit fabric, I was aware of that. And I love it. Not only do I love fairytales, I also think that the cape looks chic enough to be actually worn, not only on costume parties. (I hate these by the way. Except for when they’re Star Wars or Burlesque themed.)
How did it happen?
Well, I’ve been wanting to sew a cape for ages (A proper cape, though. One you wear instead of a coat). But I knew I wouldn’t be able to finish it this season. And I’m Stash Dieting, as you know.
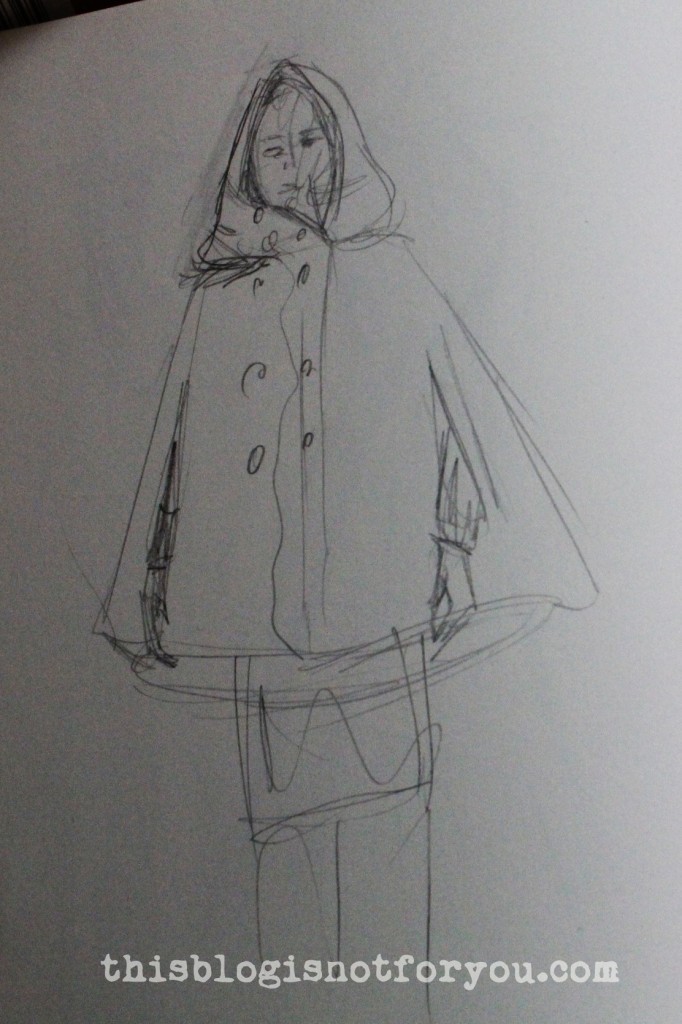
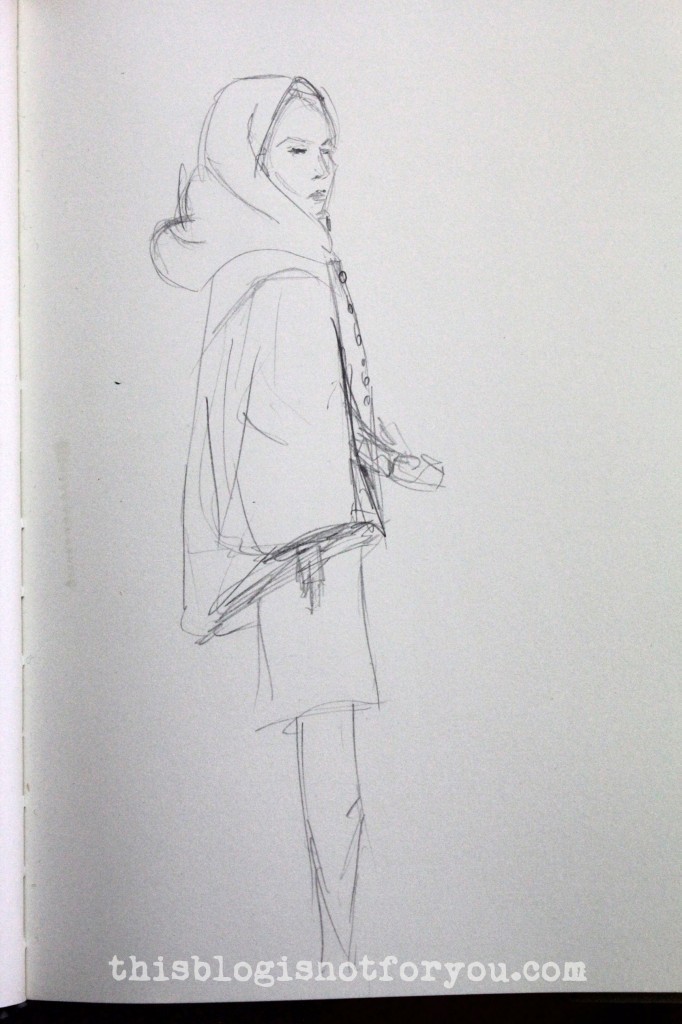
I bought this red knit fabric about a year ago (Yes, I’m a hoarder). I wanted to make a cardigan originally, but when draping the fabric over my dressform the other day, the drape looked like a hood and I immediately wanted to make a hooded cape. I started looking for inspiration and then made these sketches:
Pretty close, eh?
No, no magic happened between making these sketches and the finished garment.
What actually happend was hours of research and drafting.
If there was some magic involved, then it came from this book, which is awesome btw.
Patternmaking for Fashion Design – Helen Josph Armstrong
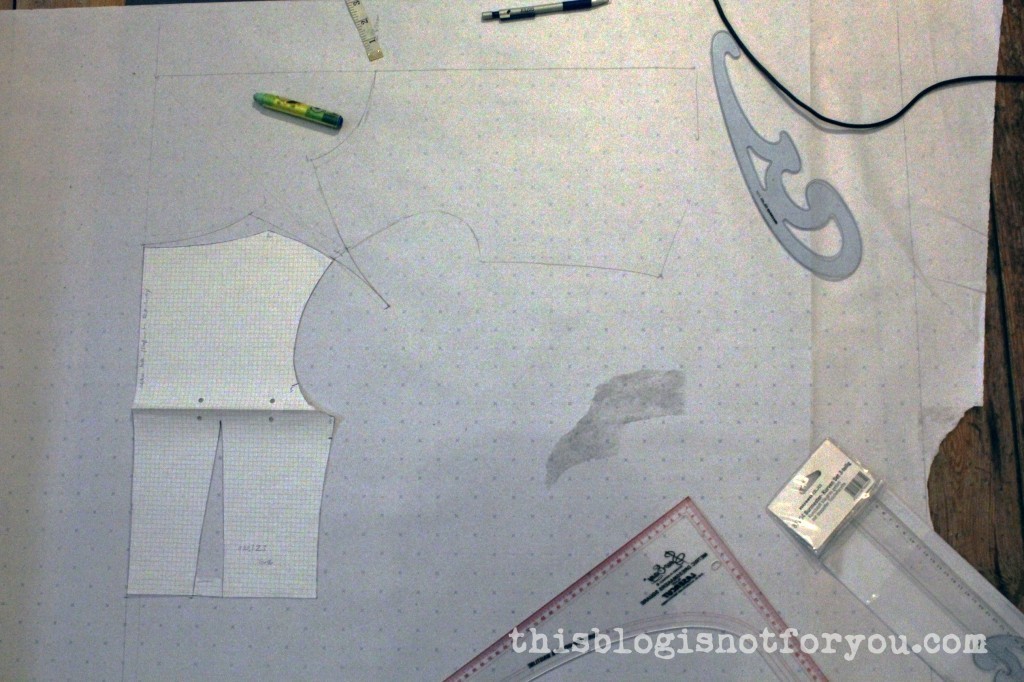
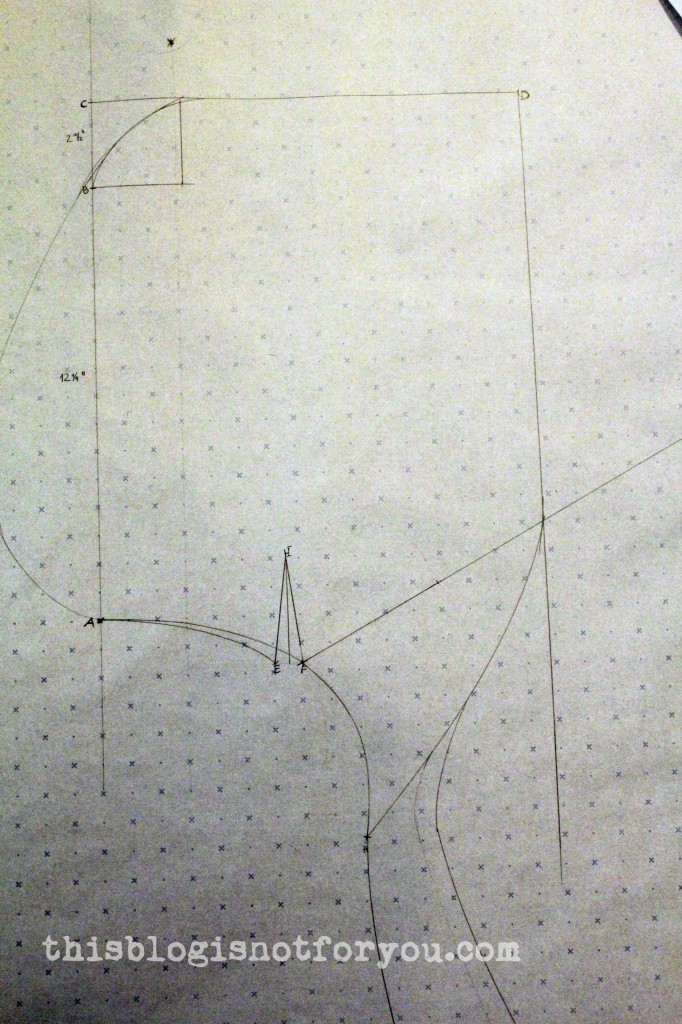
Following the step-by-step instructions, I drafted a cape pattern and a pattern for a loose hood. (This book is wonderful, but veery expensive. It’s worth it though. It also helped me immensely when drafting the bridesmaid dress.)
Drafting the cape, based on a standard Burda bodice pattern.
Drafted hood pattern – really no magic involved. Just a lot of measuring, drawing and patience.
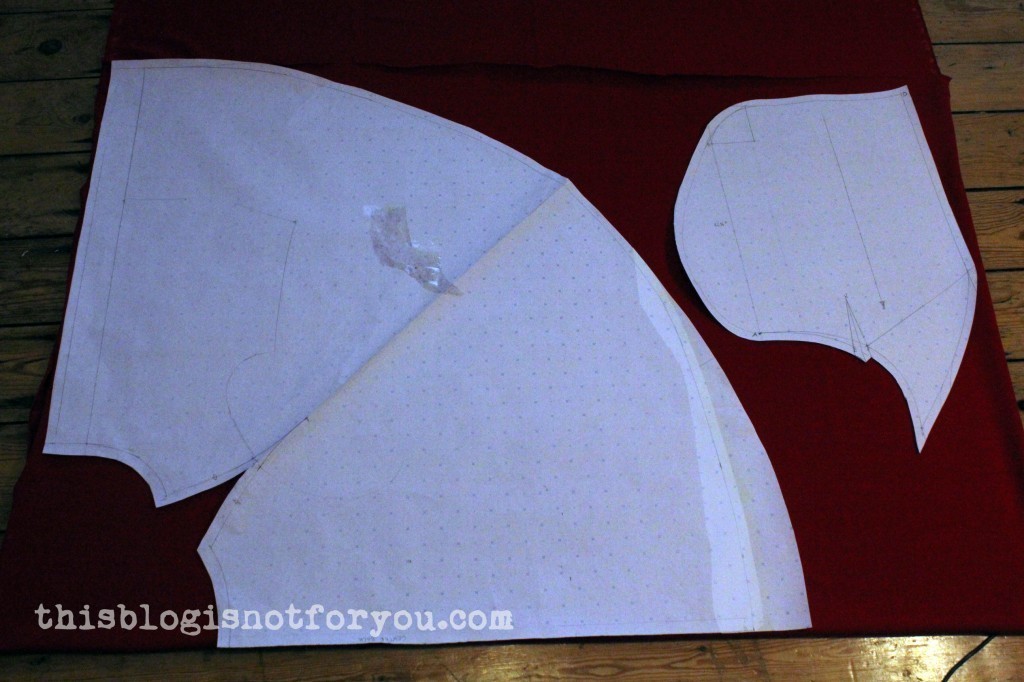
I was afraid that my 2m of knit fabric wouldn’t be enough, but in the end I even had some left. Whoop, whoop!
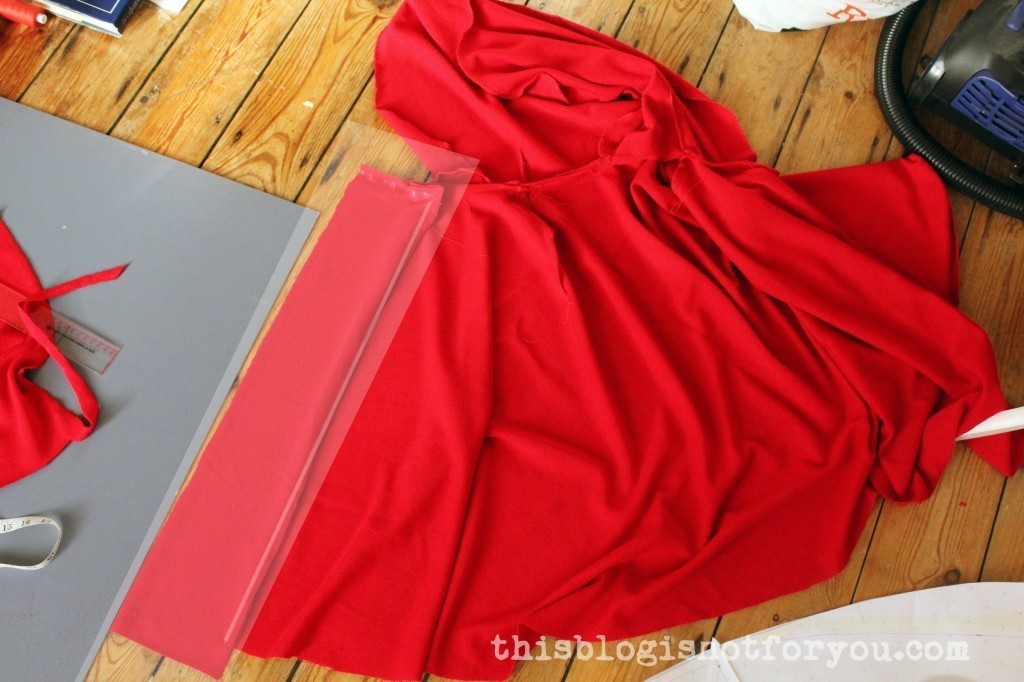
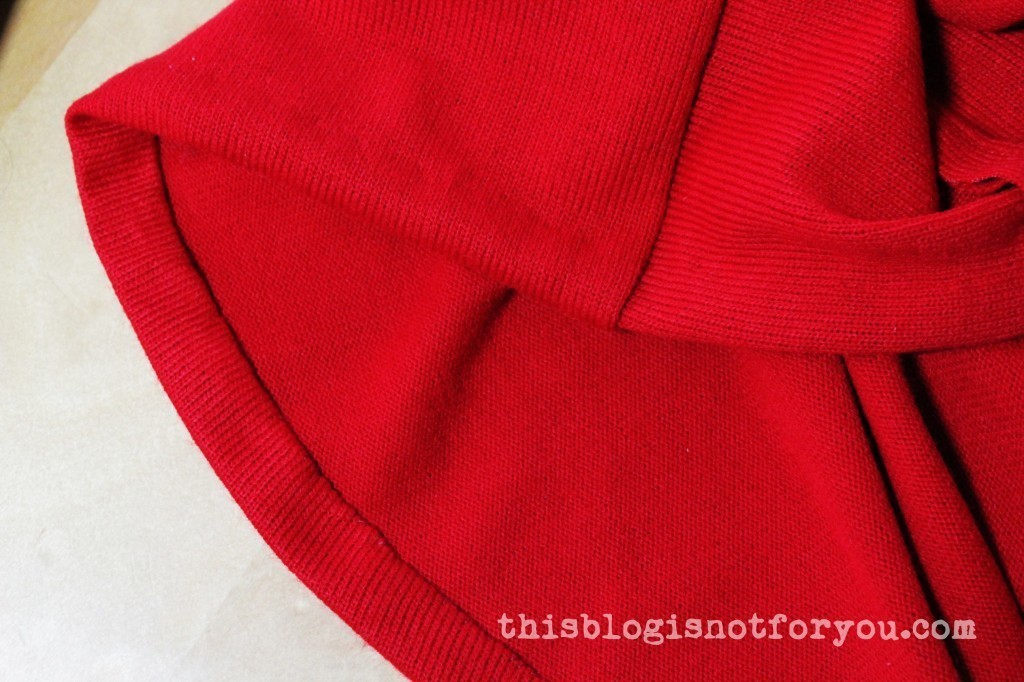
After cutting out, I sewed all the darts. Then sewed the hood and cape together. Then I cut out a 13cm wide rectangle of the leftover fabric and sewed it on the right center front (right sides together) like so:
Patience, young padawan. It will (hopefully) make sense in a minute.
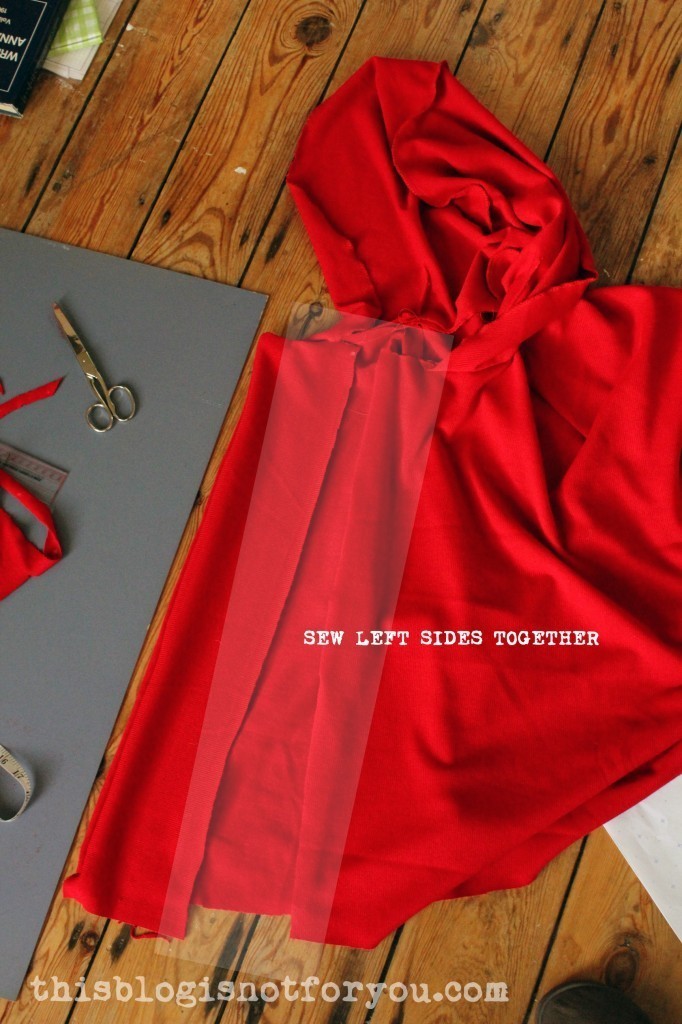
Folding this strip over, I sewed it onto the left center front of the cape (left sides together!!) like so:
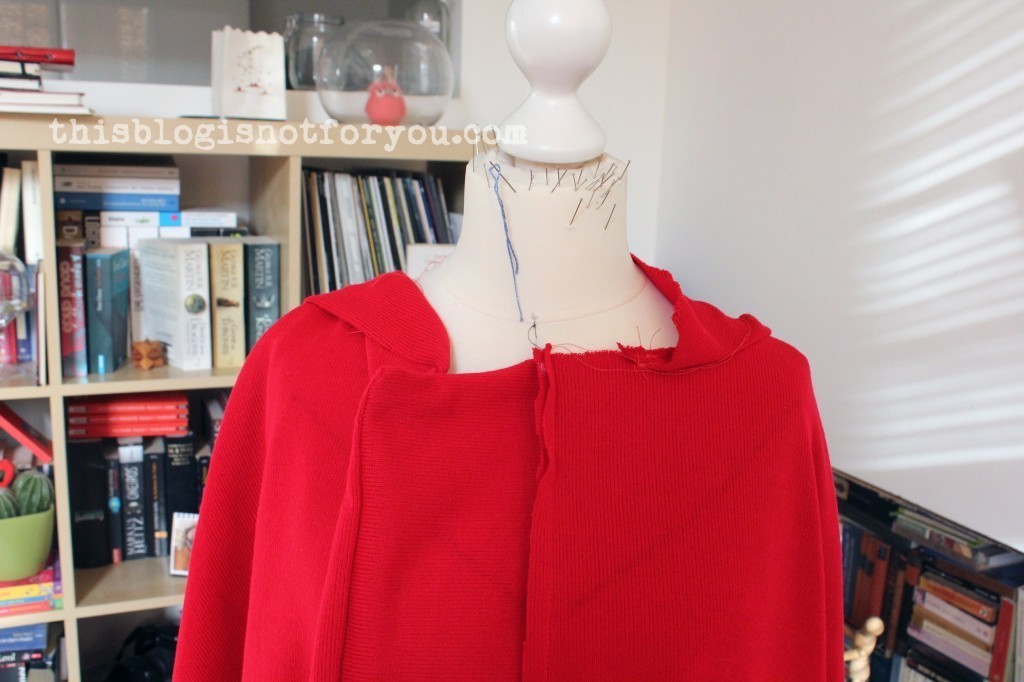
I ended up having this:
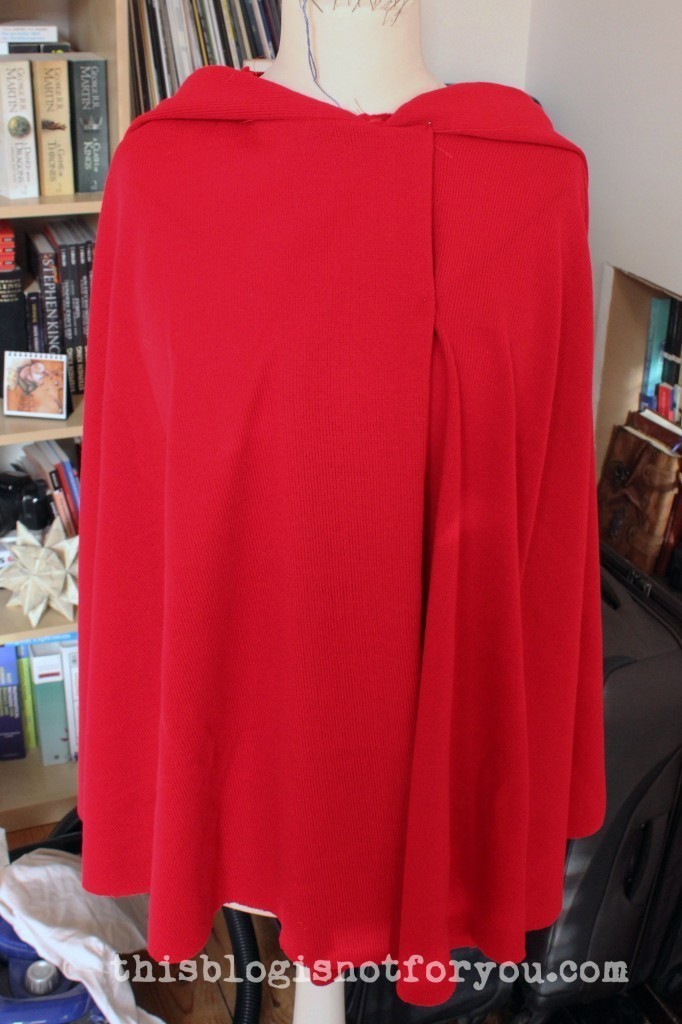
I folded it over, so both center front parts overlap and the corners of the hood meet at the center.
I decided to skip making real buttonholes (after making sure I could fit the cape over my head) and sewed on 10 buttons which also secure the flap and help it stay in place.
I spent most of my sewing-time hemming the cape and hood by hand. Yes, it’s masochistic, but it looks so much better!
And garment #18 of my challenge was done! (Less than 10 left – happy dance!)
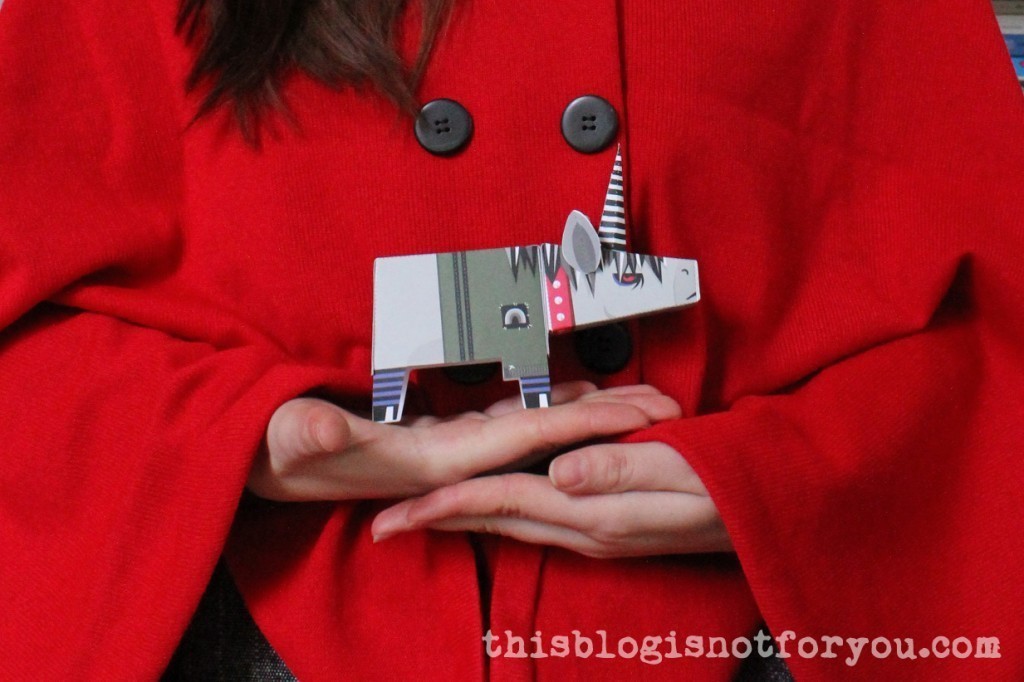
As I said, there was no magic involved but there was a unicorn. A grumpy unicorn:
I’m really happy with this make, especially since I’m quite proud that the final result looks so much like what I had in mind.
Although the drafting process was quite tricky and took most of the time, the sewing was super quick. A handful of straight seams and a few darts. Super easy! Should I ever be bored and have loads of time left (haha!), I might even manage to upload the pattern for you guys. Let me know what you think!
In the meantime, may the unicorn be with you! Peace out.
I never thought I would. I did not like the idea of buying things other potentially creepy strange people had worn before me. Until I moved to London – there are so many charity and secondhand shops here!
After strolling through some of them I soon noticed that not everything in there was smelly and old-fashioned and that you can find pretty cool things hidden between many not-so-cool things if only you look hard enough.
I also really started to love the idea of supporting charities by buying secondhand AND reusing clothes and fabrics at the same time. I don’t live on a big budget, so the price is a big factor when buying clothes and fabrics. But nothing comes without a price. Somewhere someone in that huge exploiting textile supply chain probably had to suffer, so that I can buy a skirt for 7 pounds on the high street.
Of course I still buy and hoard fabric, although it is often impossible to get information on where that fabric is from and under which circumstances it was produced. At least the whole process of picking fabric, planning out and sewing a garment together makes me appreciate all the work and time it costs to make something beautiful. And then I often hang the 7 pound skirt back on the rack and go home and make my own.
And when buying secondhand I have the feeling that I can make a difference, even if it’s just a small one. I buy most of my stuff at TRAID, a charity working against exploitative and child labour and abusive working conditions in the textile industry.
Back to the topic. Here are some helpful tips for buying secondhand clothing for refashion projects:
1. Do not only look for the pretty stuff. It doesn’t matter if the garment is your style. Refashioning means restyling. If you don’t like the cut, cut it apart and make it better. If the colour is horrible for a jumper – maybe it would look awesome when made into a skirt? Shoulder-pads, granny skirt? Chop-chop!
The best refashion project are those where you make something absolutely fabulous from something absolutely horrid.
granny skirt refashion
2. Look for quality. People often have reasons why they give away their unwanted clothing. Maybe it was ill-fitting, too boring, they had it for too long, they have too many clothes or it is simply ugly. You have to forget about these things and scan through the racks looking for quality fabrics and good brands.
You might not want to buy an oversized, floor-length pink leather coat for wearing it, but it could come in handy when you’ve always wanted to make your own leather handbag and didn’t dare spending so much money on expensive fabrics without knowing how to handle them. 2m/4yds of real leather for 5 pounds is quite a bargain. Even if you screw up, there’s enough left to try again.
That granny twin-set might actually be made from high-quality bouclé perfect for that Chanel-style jacket you’re planning to sew.
When looking at the fabric’s quality, also check labels, washing instructions and whether the fabric looks well-worn or not. Especially when buying knit fabrics, it is important that a) they’re good quality and b) they don’t look shabby. Knits are quite tricky so sew with. When they’re old and have been washed too often, the yarn might brake when you stitch over.
Good quality fabrics reused. This ugly dress became a lovely fitted summer dress.
3. Look for quantity.
When buying clothes for refashion projects, it doesn’t matter if the garment is your size. Especially when you want to unpick and re-sew the whole thing, clothes often get smaller during the process as you will mostly cut away things or cut new pattern pieces out of over-sized clothes. So the more fabric, the better! I’m a size 10, but I most often buy XXL sizes if the fabric is really good quality. (I found that plus-size brands quite often use high-quality fabrics.)
Look where the seams are. Many seams might make it difficult to cut out a new garment from your secondhand fabric.
Is the garment fully lined? Great! That will save you one more trip to your fabric store.
So a old-fashioned looking floor-length skirt might not be the obvious choice, but you will have much more options for your project. Running out of fabric is not fun. (Ask me how I know this!).
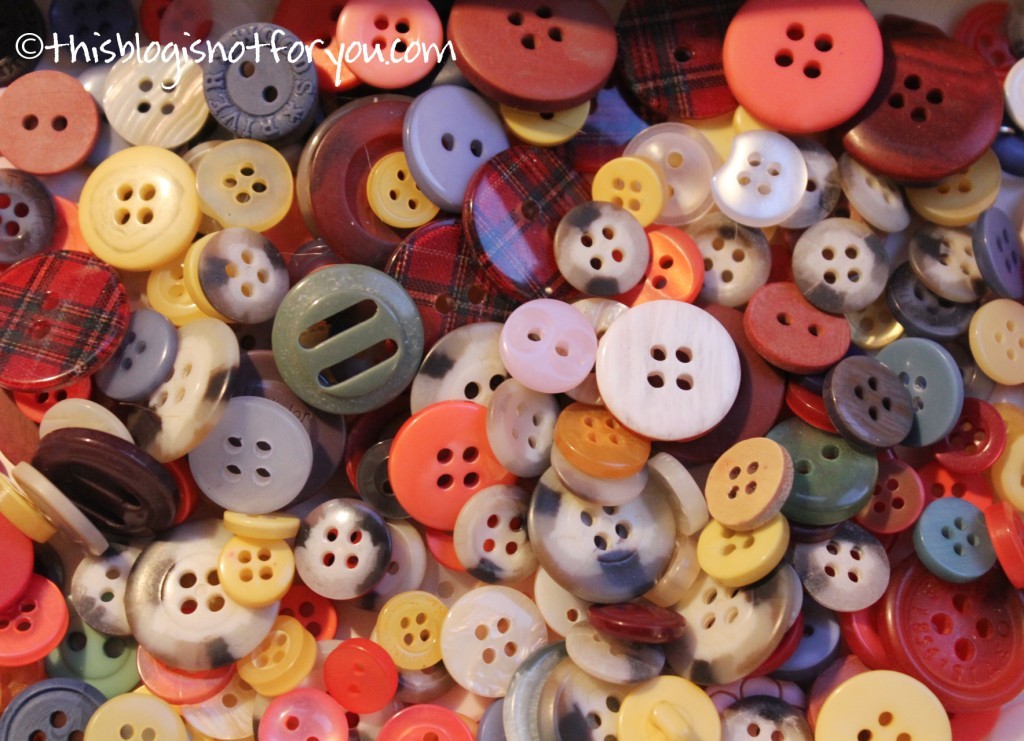
4. Look for notions. Notions are expensive. Sometimes I find myself paying more for buttons and fastenings than for the actual fabric. Even if something is so ugly you wouldn’t be able to make it something better, have a look at the fastenings, zippers, buttons, belt buckles etc. Sometimes secondhand clothing (especially the ugly stuff) can be so cheap that just reusing the buttons of a shirt, or the zipper of a skirt will make it a bargain.
Go an have a look in the 0.50p or 1 pound sections for old shirts and blouses. You might not like the fabrics, but sometimes you can find aweseome buttons etc. there. A shirt will have about 7-9 matching buttons – find some special or even vintage ones and you have found the perfect bargain. Buttons can be quite expensive in haberdashery shops these days!
The shirt’s fabric can also be cut into strips and used as bias binding for your next project!
Buttons (especially vintage buttons) can be very expensive when bought in a haberdashery shop!
5. Look for brands and fit.
When buying clothes you don’t want to alter too much and just use for simple embellishent projects, look for good brands and good fit.
If you have a really quick refashion in mind and just want to add some trim or buttons to make it an individual piece, then I’d advise you to look for good fit. If you find something that fits really well, you don’t have to trouble yourself with unpicking seams and annoying alterations.
Especially when you spend hours and hours on something, you want it to fit well in the end. Otherwise you will be disappointed with the result and won’t wear it no matter how many hours of work went into the garment.
Look for good brands – for a pretty obvious reason. When you go thrifting you probably look for bargains. Of course you can buy a Primark shirt or H&M skirt for less at a charity shop, but it is really a bargain? If it costs 4 instead of 7 pounds now, but has been worn and washed quite often, it’s not really a good bargain.
Find out what the good brands are.Well-known quality brands are often still quite expensive in secondhand shops (sometimes you’re lucky!). Often the good brands are no-name brands you have never heard of (and the shop owner might not know them, too). I always take my smartphone and google the brand’s name. This way you can find high quality or local labels for a really good price.
All that embroidery is only worth it, if the garment fits you well!
6. Look at the price tag. (Well, obviously.)
Considering the previous points, make a rough estimate of what you would get for that price at your go-to fabric store. Is it a good deal? Would you really get that fabric, lining and all these buttons and zipper for the same price or less at the fabric store?
Also, go when sales are on! Charity shops have new piles of clothes coming in regularly and have to make room for them. There are often huge end-of-season sales. At TRAID they sell everything for 1-2pounds in the end. So sometimes it is worth waiting!
Hope that helped! Have fun thrifting and feel free to leave me a link to your latest refashion projects!!
I enjoyed reading all these resolution lists last week, and since one of my sewing/blogging resolutions is “Make Lists & Plan Projects ahead”, I thought it would be a good start to begin the year with my own list of “re-sewlutions”.
Make Lists & Plan Projects Ahead
Organise Patterns & Fabrics
Take Part In The Stash Diet (instead of buying and hoarding!)
Draft More Patterns (at least one every two months!)
Publish A Pattern On The Blog
Sew A Winter Coat
Sew A Chanel-style Jacket
Sew Menswear
Learn & Improve New Skills: Practise fitting & grading patterns & making alterations
Learn more about couture sewing techniques
Actually Read All The Sewing Books You Bought
Take The Time & Dedication For A Better Outcome
My overall goal is to never stop progressing. I think one can always do better. I try this by challenging myself with every project, trying more complicated patterns and not being afraid of working with difficult fabrics. I almost never sew something twice.
The hard part really is to stop being impatient and dissatisfied with your own progress and to keep going even if you fail.
Well, let’s hope I can tick off most of these things on the list in 12 months! I’ve met up with Daniela from Ela Sews and Doesn’t Sleep last weekend and she showed me how to fit a pattern with tissue pattern. So I sort of started working on that list!
Let me know your thoughts and your own New Year’s re-sewlutions!
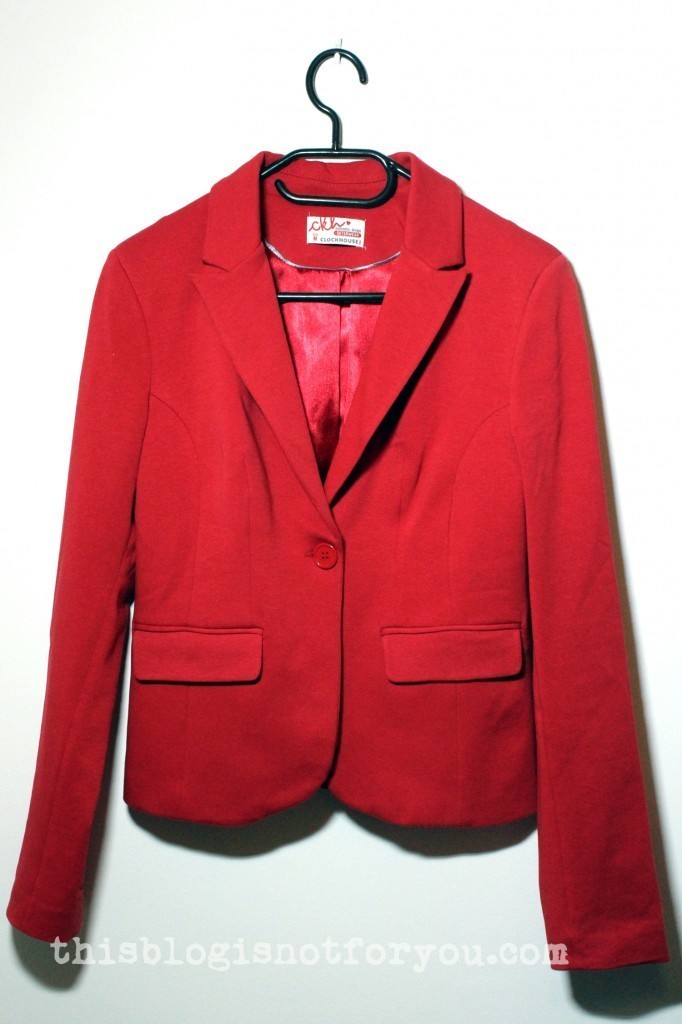
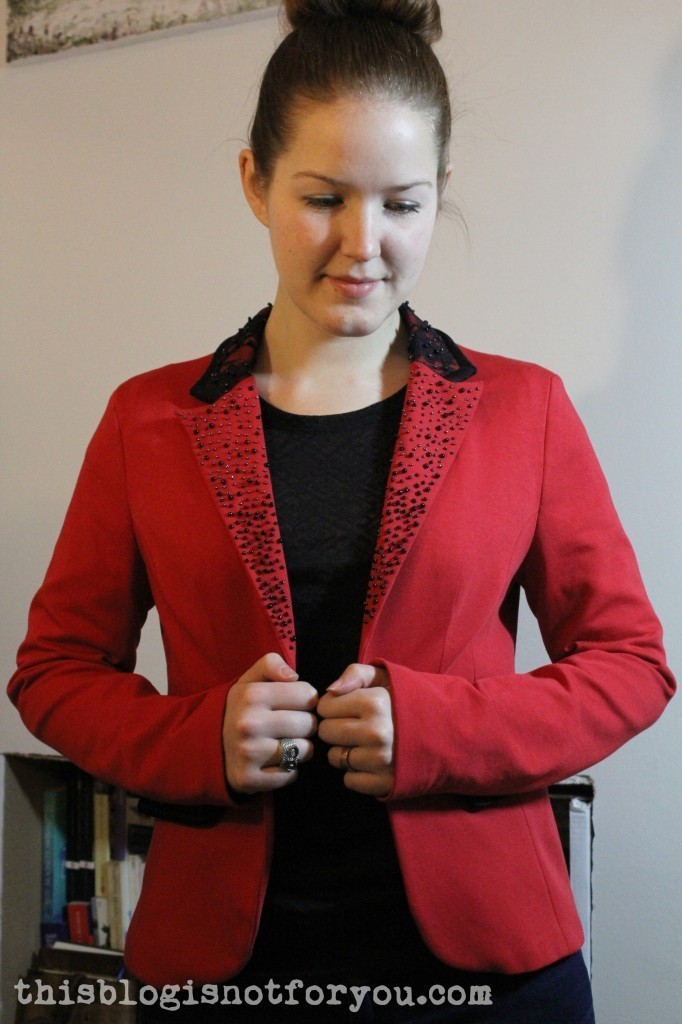
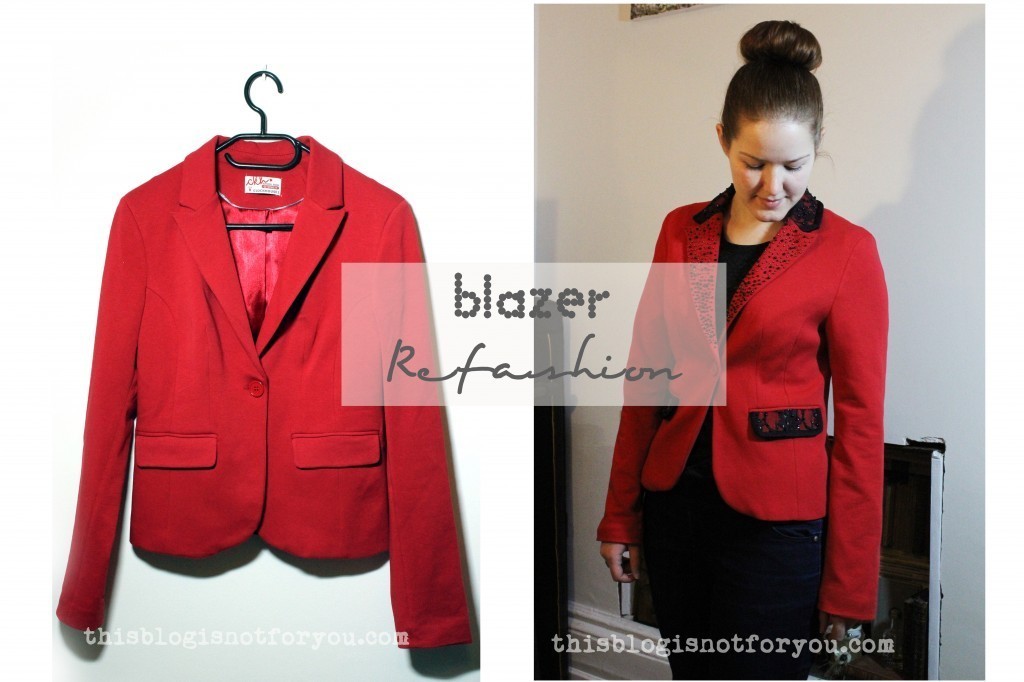
I love blazers. I love red. Bright red blazers can look really cool, but this one was a weird mixture of too bold and too boring.
I love that it’s a jersey blazer, which kind of makes it more casual (since I don’t go to fancy events too often). But I thought that some contrasting colour was missing. It was just too red.
Look at all the red. RED.
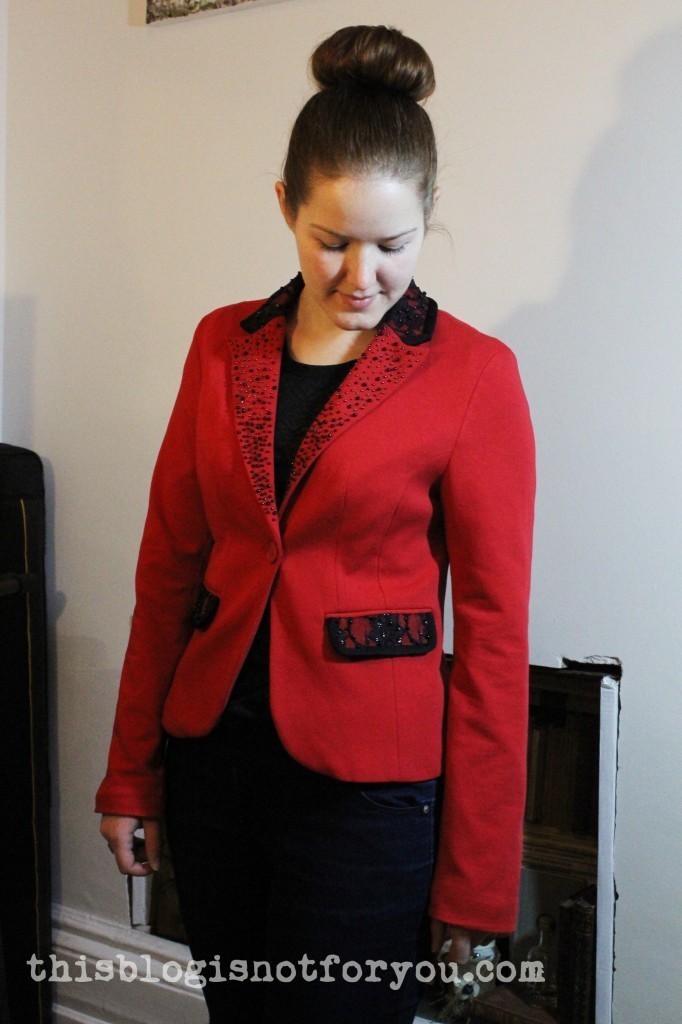
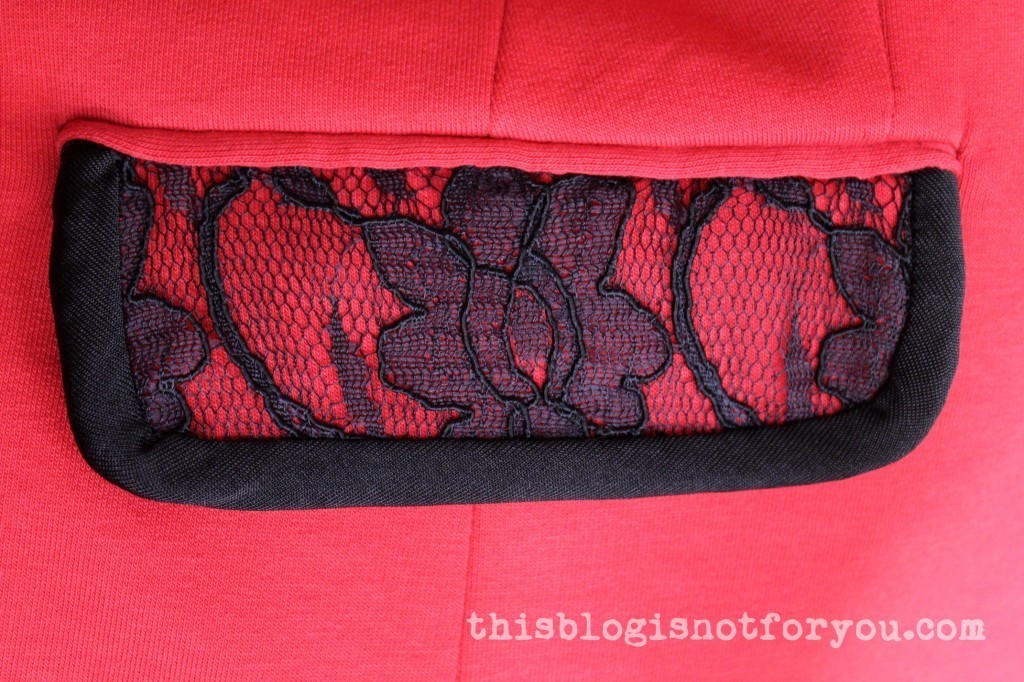
I love to combine red and black and found that beautiful black lace in my fabric stash that has been waiting its turn for quite some time.
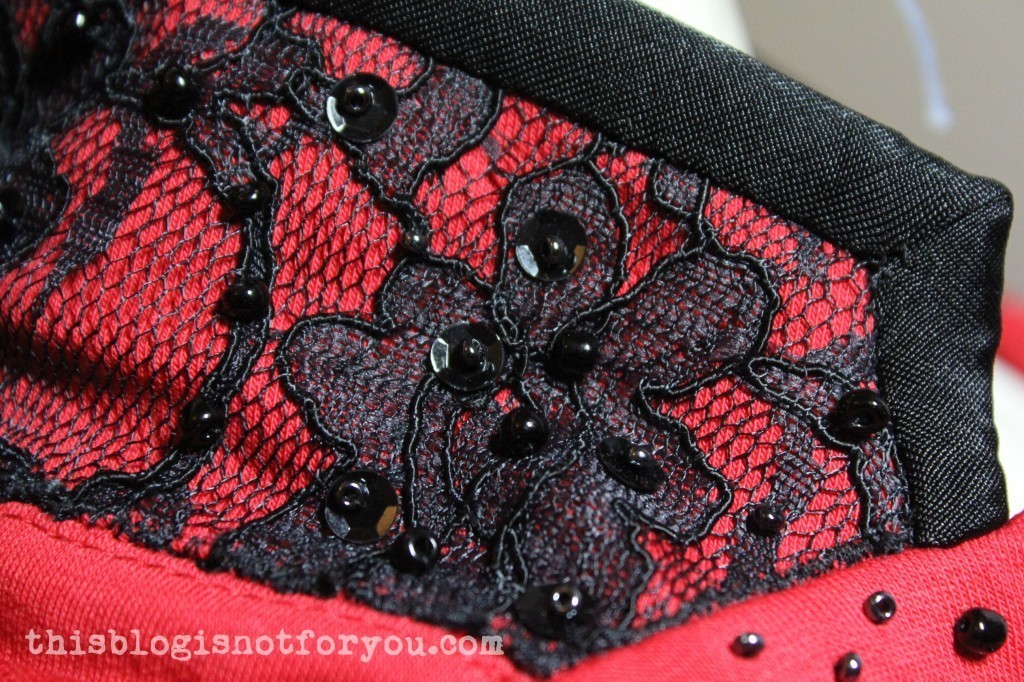
I also love to embroider fabrics with beads and sequins, I have no idea why. It takes so much time and hurts your eyes, but I guess the process is just really relaxing and meditative, like knitting for example.
After a huge amount of coffee, Star Wars Episodes IV & V and some Game of Thrones in between, I finally finished the blazer today. I only used simple handsewing techniques. (Even for the bias binding I used backstitching. The jersey fabric would’ve been too heavy for the machine and the jersey bias binding too stretchy.)
So if you don’t have access to a sewing machine, this could be a perfect project for you. You don’t need too many materials, no complicated sewing techniques, just a handful of beads, a few strips of lace and bias binding and A LOT of time and patience.
Instructions for making your own embellished blazer
If you do not have so much time, omit the beads and use some lace trim instead for the collar.
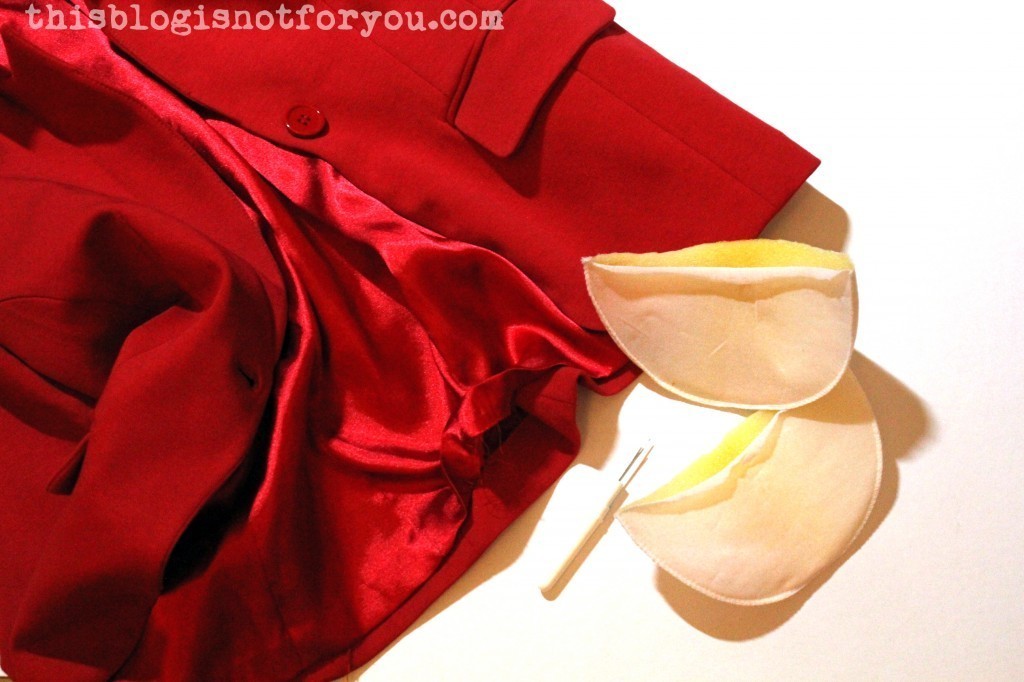
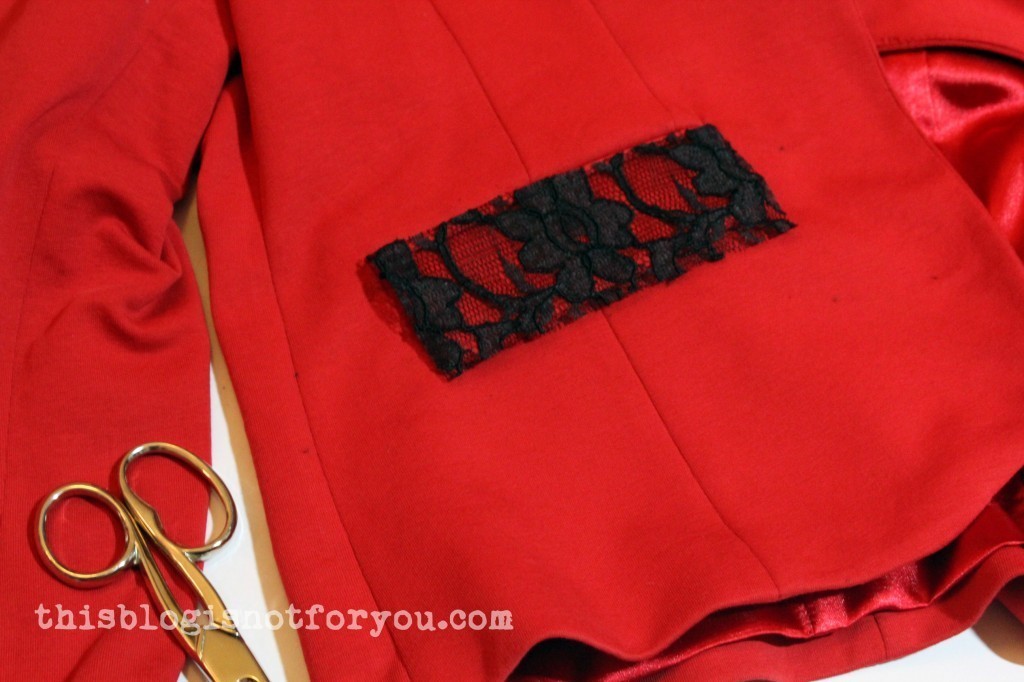
First of all, I took out these two bad guys (by opening the lining at the hem).
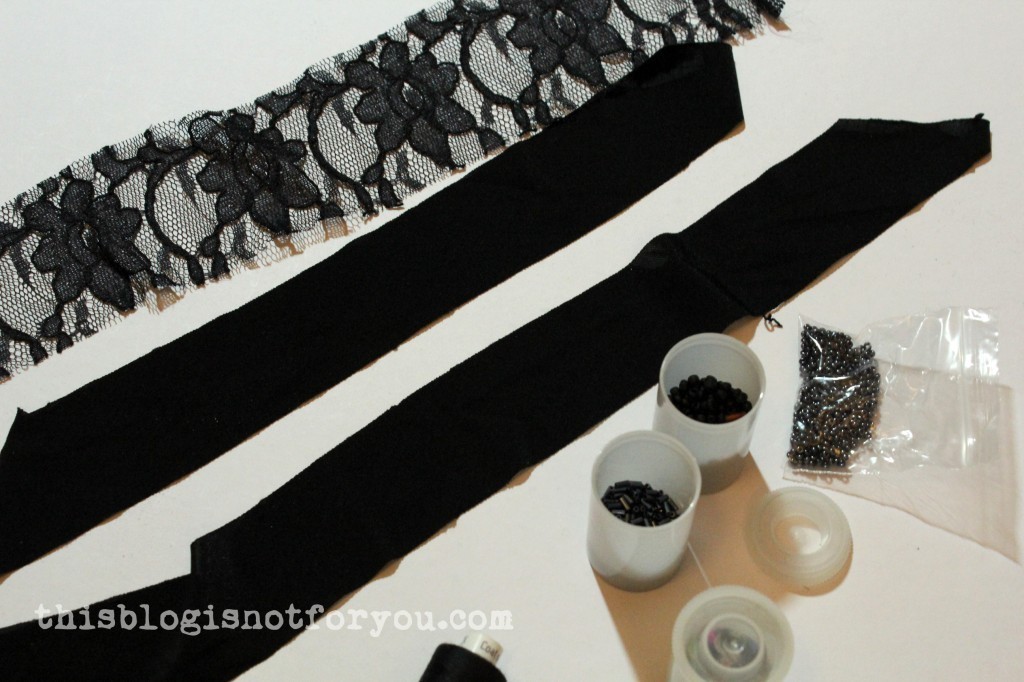
What you’ll need:
black thread
beads (different sizes and colours)
black sequins
black bias binding
lace
scissors, sewing needle
I made the bias binding from a black jersey (I guess there’s some Lycra in it, too).
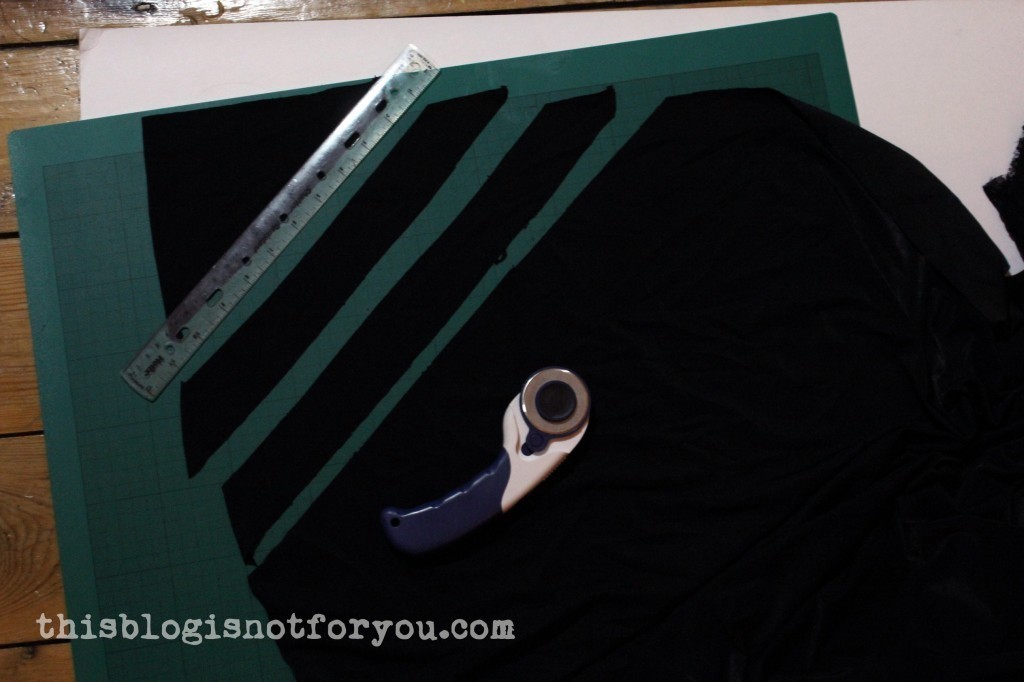
Cut out some strips of fabric (approx. 4cm wide) on the bias, enough to cover the edges of collar and pockets.
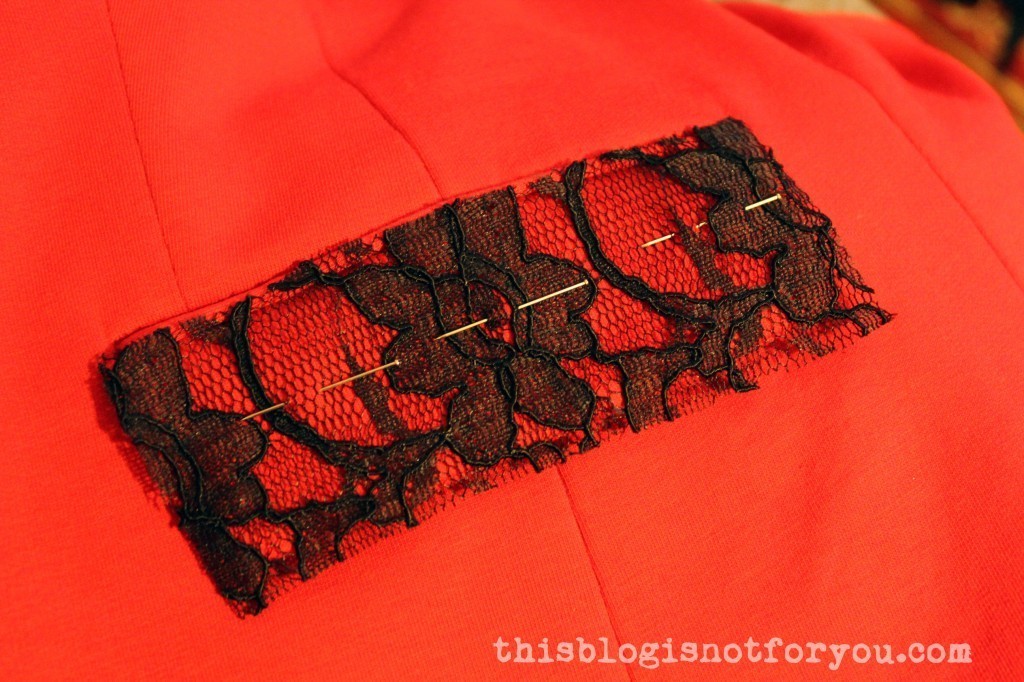
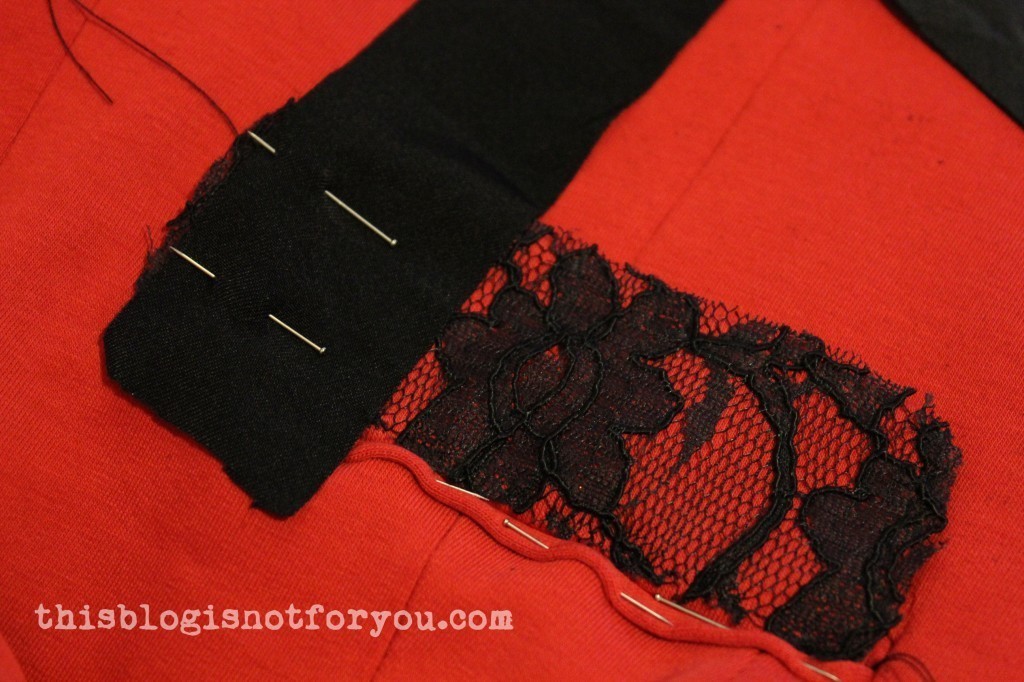
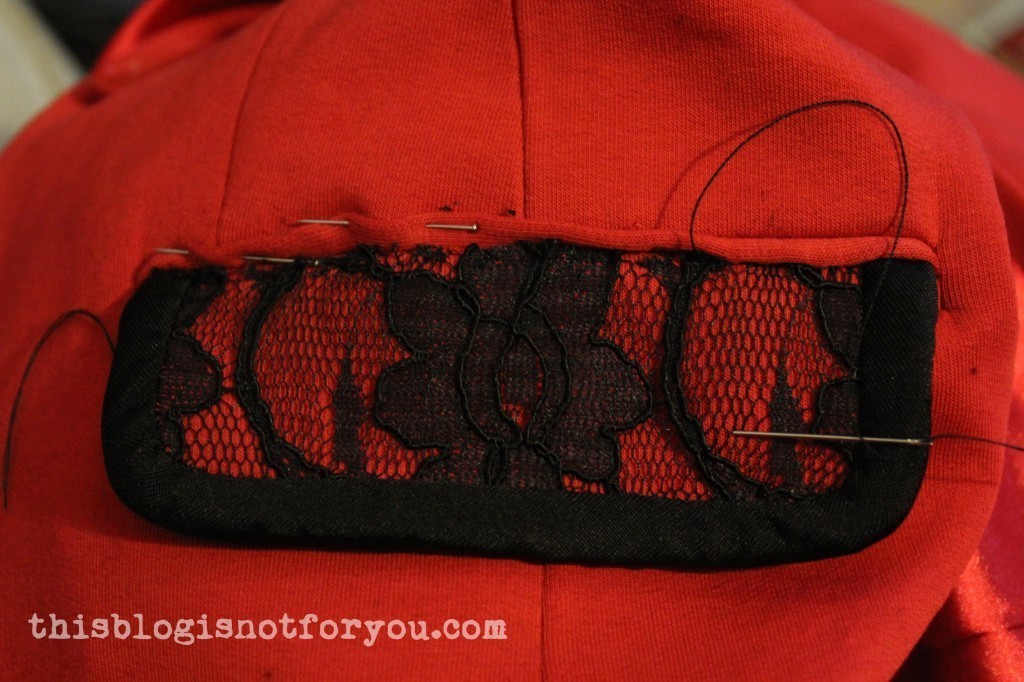
Cut out the lace, a little larger than the pocket. Pin it.
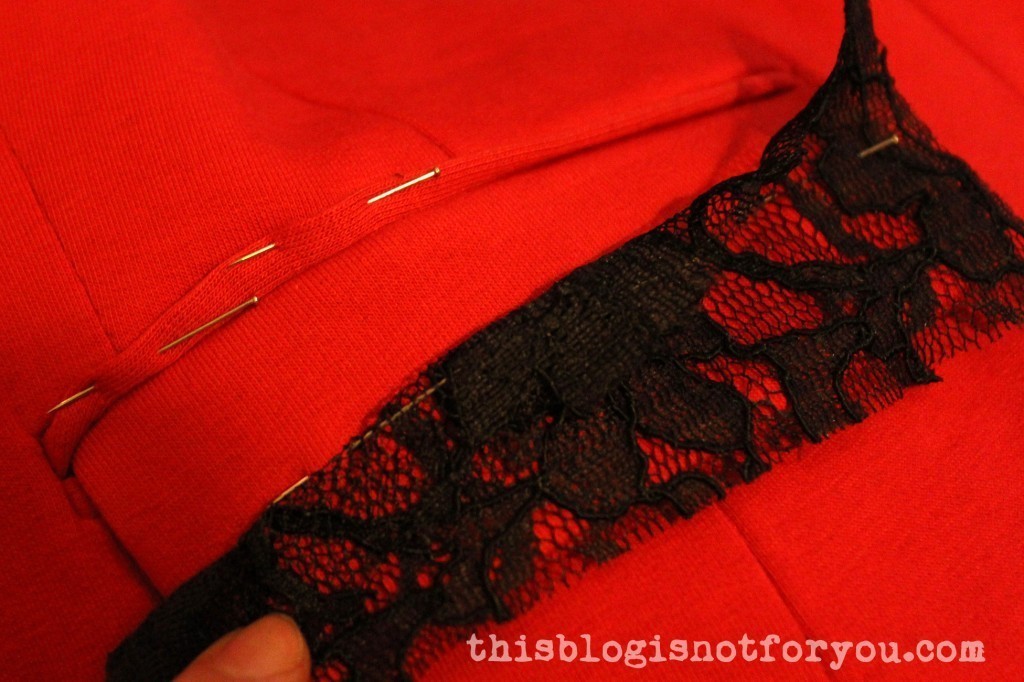
… then pin up the piping (if there’s some), so you can easily hide the lace under it.
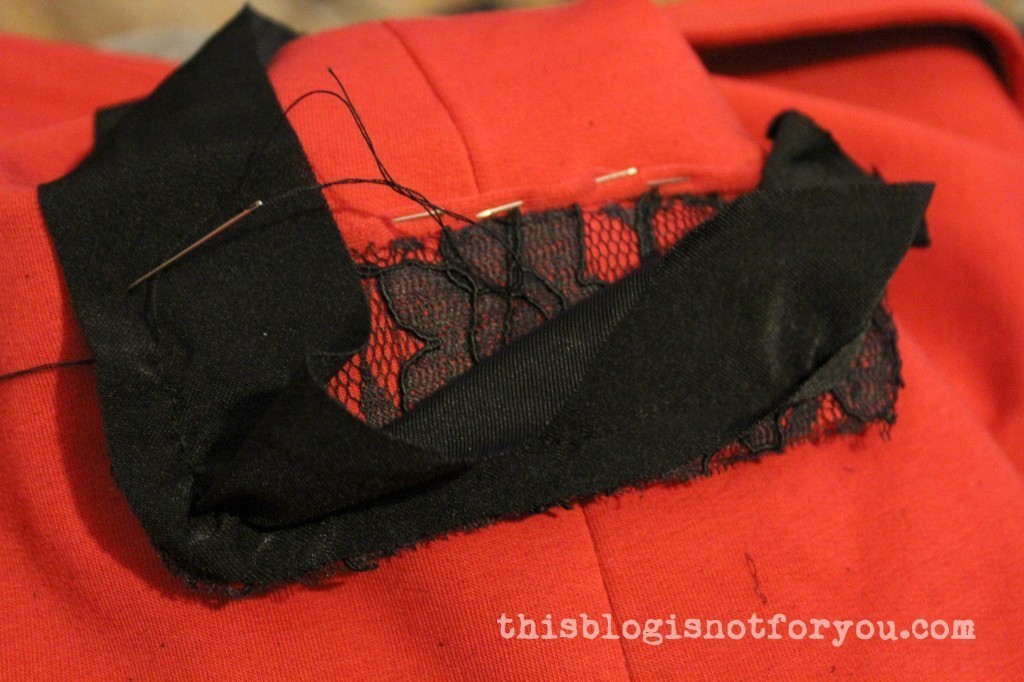
After sewing the lace on with a basting stitch all the way around (approx. 0.5-1cm from the edge), start attaching the bias binding:
Start with the side facing up. Place the bias binding on the lace, right sides together. Handstitch approx. 1cm from the edge.
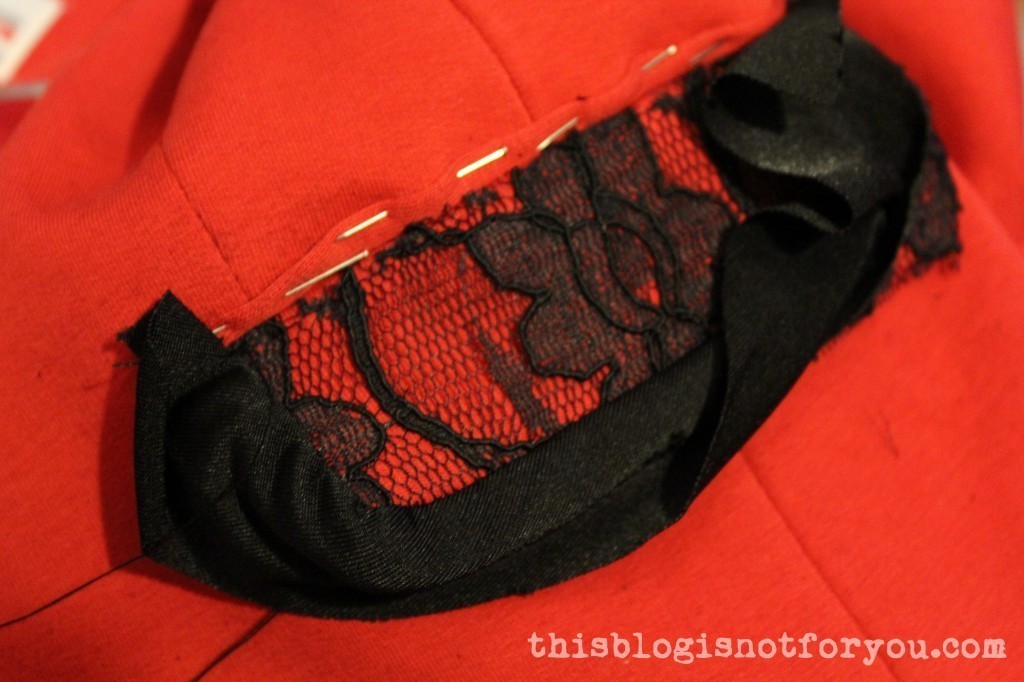
Tightly pull the binding over the edge.
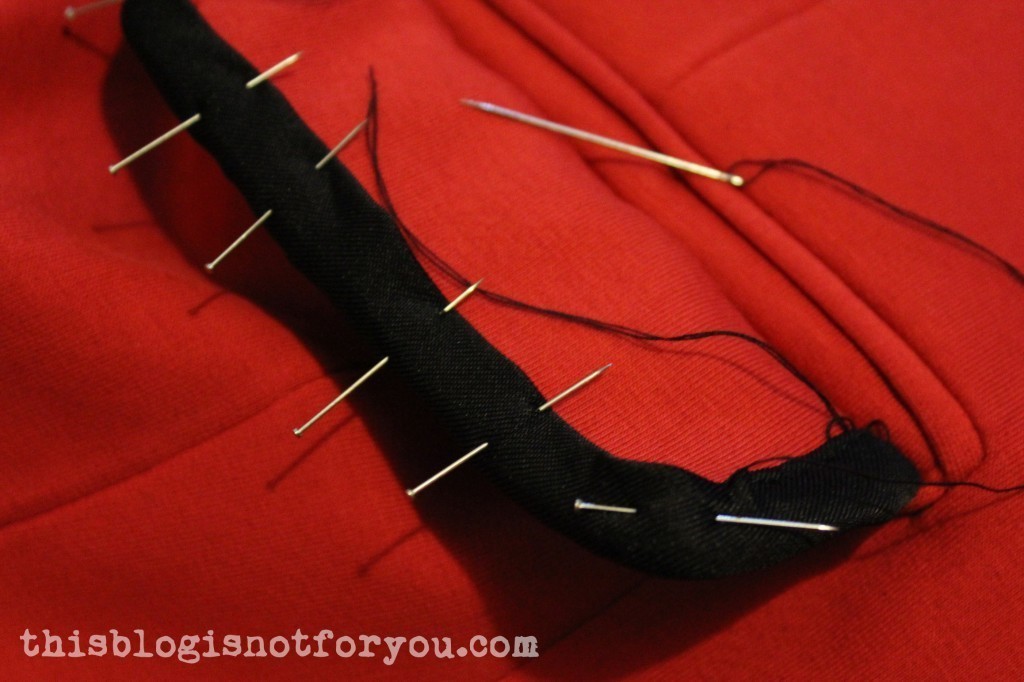
Pin the raw edge under and stitch (I used a backstitch).
To hide the raw edge of the lace, I sewed the piping onto the flap using a slipstitch.
Now it’s time to add some sparkle!
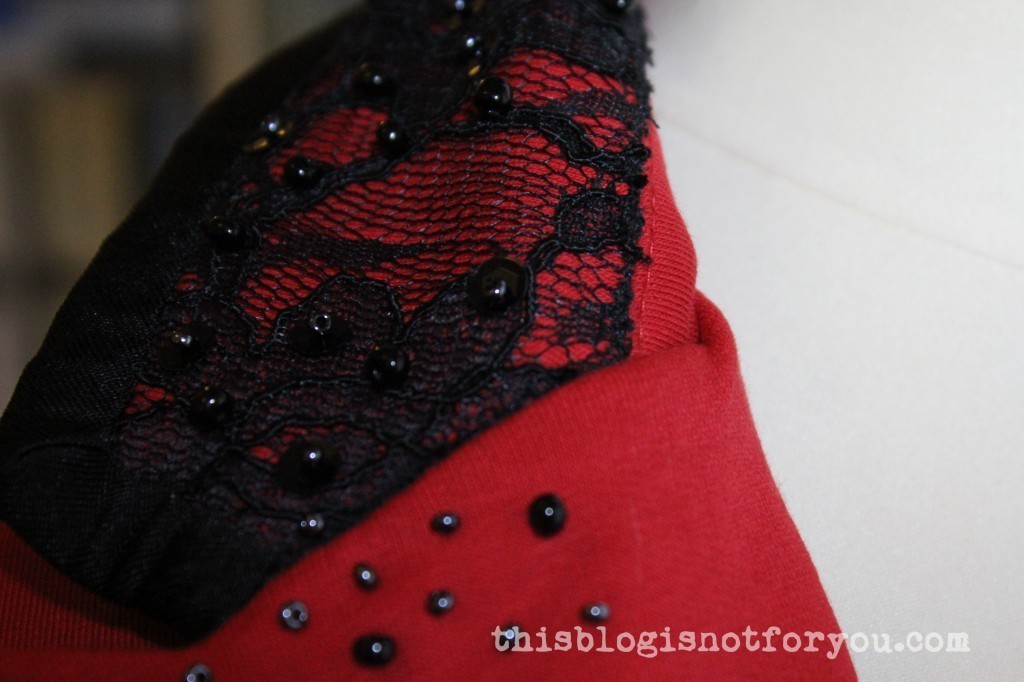
I embroidered the flap with black beads, silver-blue rocailles and black sequins.
I embroidered the collar sewing on black beads in two different sizes, starting at the bottom. Half-way up the collar I added silver-blue rocailles.
Since the collar did not have piping where I could hide the raw edge of the lace, I used a satin stitch all the way along the lower edge where I couldn’t add bias binding. This took almost as long as watching the whole Episode IV. So may the force be with you!
But it was totally worth it!
Here’s a close-up of the embroidered collar. I placed black sequins under the silver-blue rocailles. The beading also keeps the lace nicely in place.
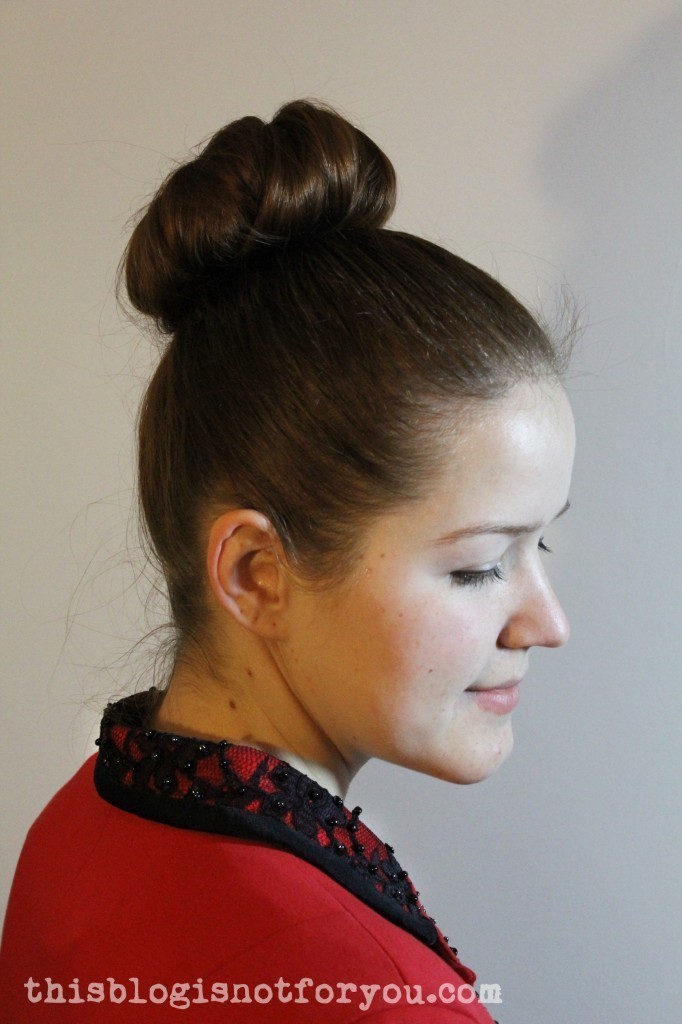
I love my old new blazer (thanks mum for clearing out your wardrobe 🙂 ). I don’t like so much that the blazer lost a bit of its casualness. It looks really good with jeans and t-shirt, but I still feel a bit overdressed wearing it at work or when having coffee with a friend.
What do you think? How would you style it? Do you also enjoy time-consuming sewing-techniques (haha)?



 And garment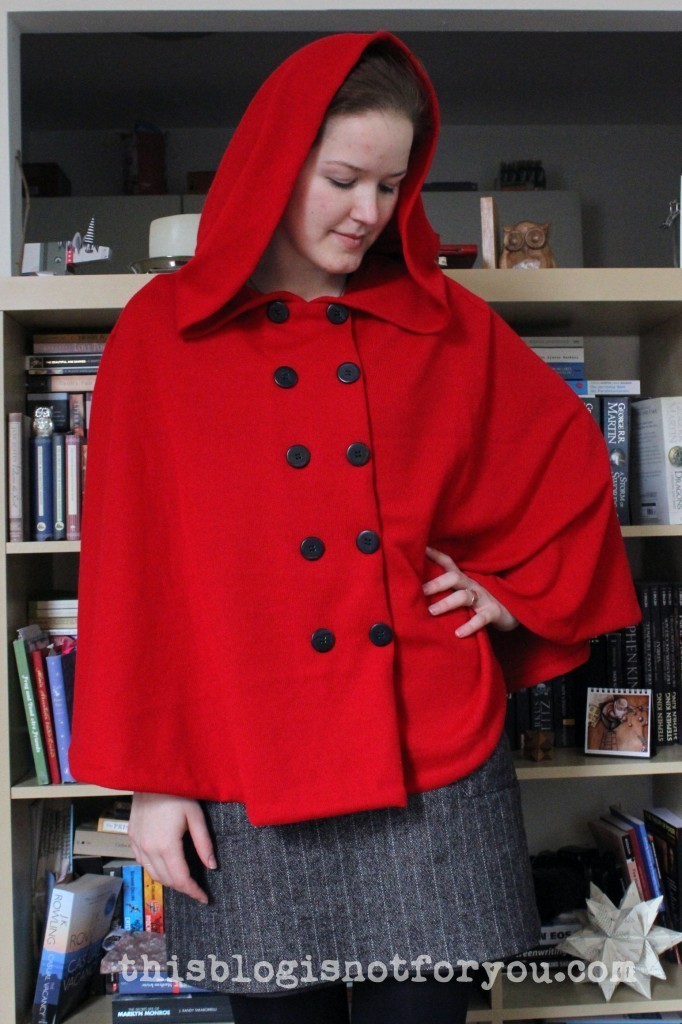
 I love thrifting.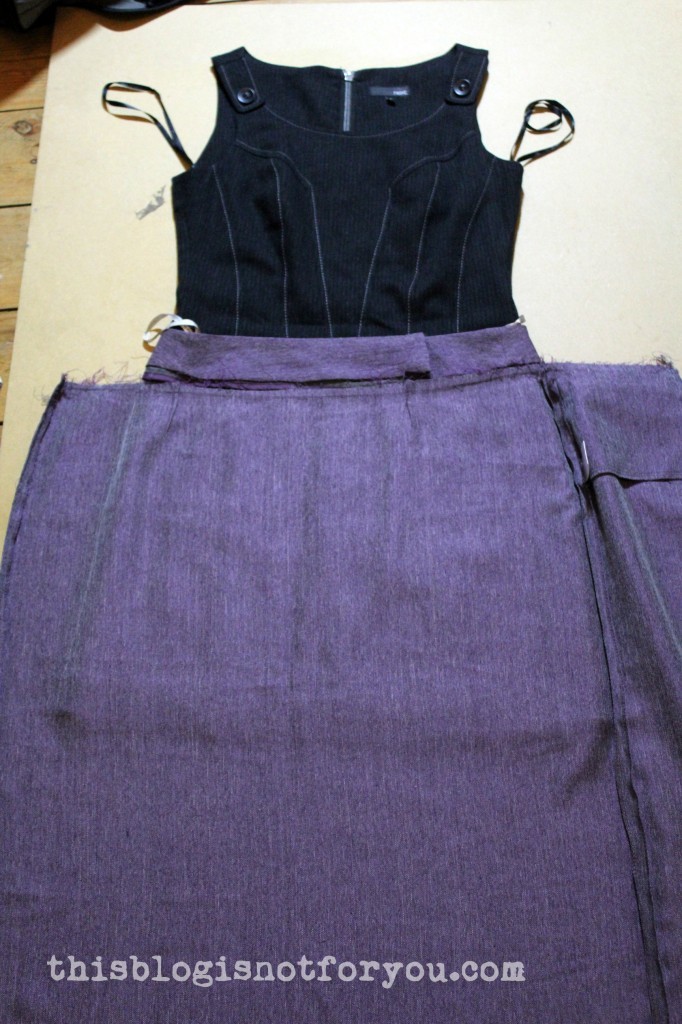

 I enjoyed reading all these resolution lists last week, and since one of my sewing/blogging resolutions is “Make Lists & Plan Projects ahead”, I thought it would be a good start to begin the year with my own list of “re-sewlutions”.