Oh lala, my dress form got bigger!

altering a dressform by thisblogisnotforyou.com

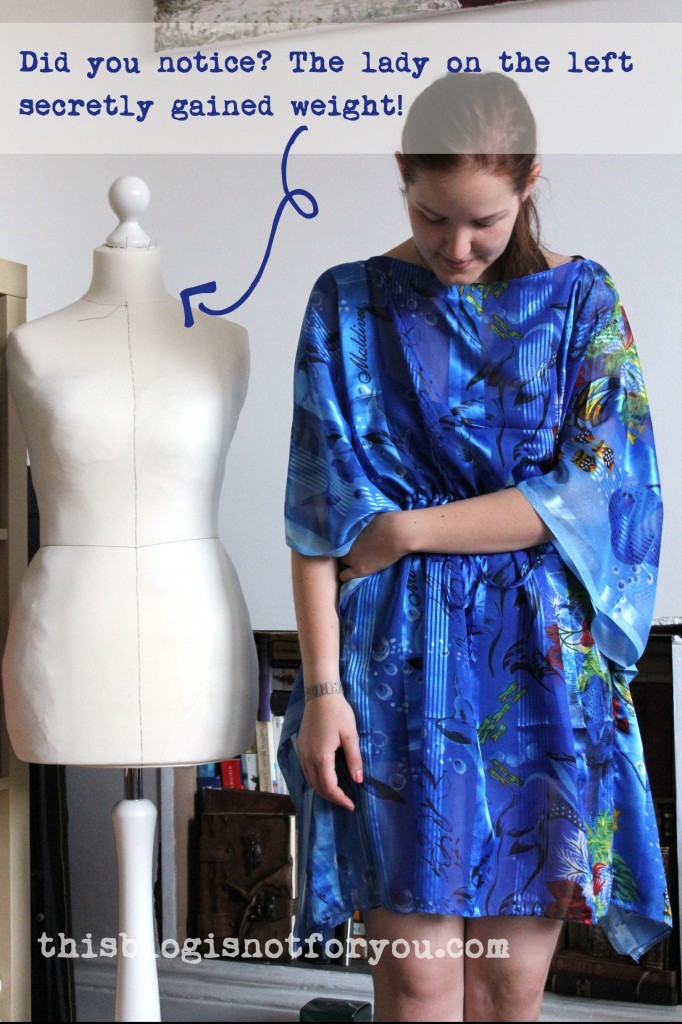
You probably haven’t noticed as you hopefully focus your attention on the dresses I make and not the dummy wearing them, but my dress form is now a curvier lady.

Actually, she’s got my curves as I customised my former dummy by padding her out, giving her exactly my measurements.
I don’t really have any ‘before’ pictures of her, since I normally photograph her wearing more or less pretty dresses, but I found a picture on Amazon (where I bought her April last year):
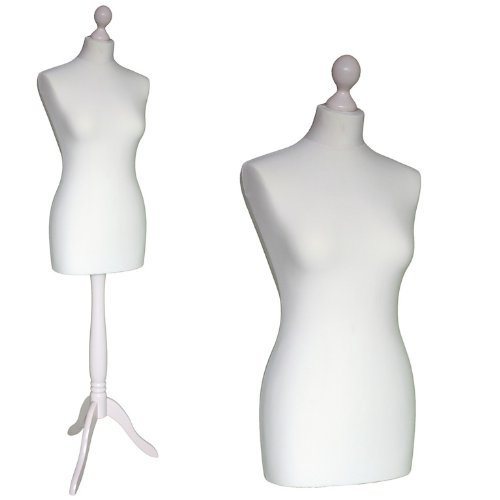
dress form size 34/36 (UK 8-10)

38 Euro  really isn’t much for a dress form and I can only recommend this one if you are approximately the size of the dress form (they sell them in different sizes). Mine is a 34/36 (UK 8/10) which is the closest to my size. However, I couldn’t really drape on the stand as she is much smaller around the hips and has a different shape. These dummys are often quite “round”, whereas a normal body (well, at least mine) is wider but also flatter at the same time. So even when the circumference measurements are the same, you might end up with a dress that doesn’t fit well (ask me how I know this!)

As many other lovely ladies out there, I’m of the pear-shaped kind and they don’t sell dress forms like that. I would probably need a size 34/36 bust and size 40 hip dress form. Luckily, I was smart enough to buy a dress form that was slightly smaller than I am, so I could alter her shape by adding wadding, pillow stuffing and muslin pieces. I sewed them onto the styrofoam with a curved upholstery needle.

Bad blogger I am I forgot to take pictures of the process. (Oh no!)  But here’s a link to a post from another blogger who basically did almost the same thing (in a more professional way hehe): Customising a tailor’s dummy

Here she is, pretty much looking like me 🙂
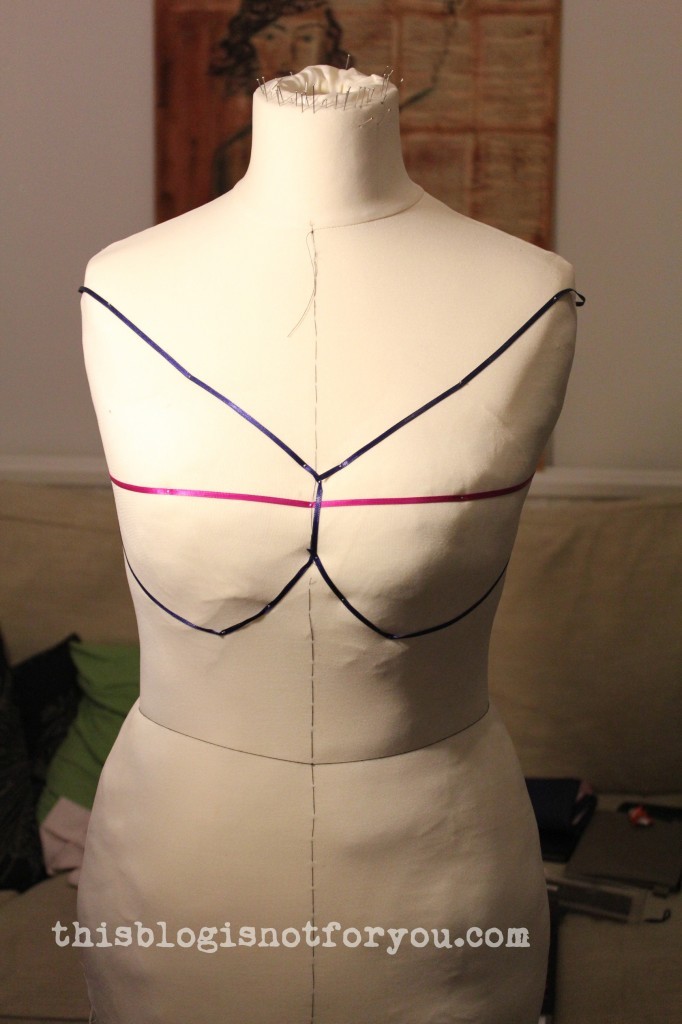
altering a dressform by thisblogisnotforyou.comDon’t look too close – she’s got a few bumps here and there, especially on her unmentionables, but I love her anyway.

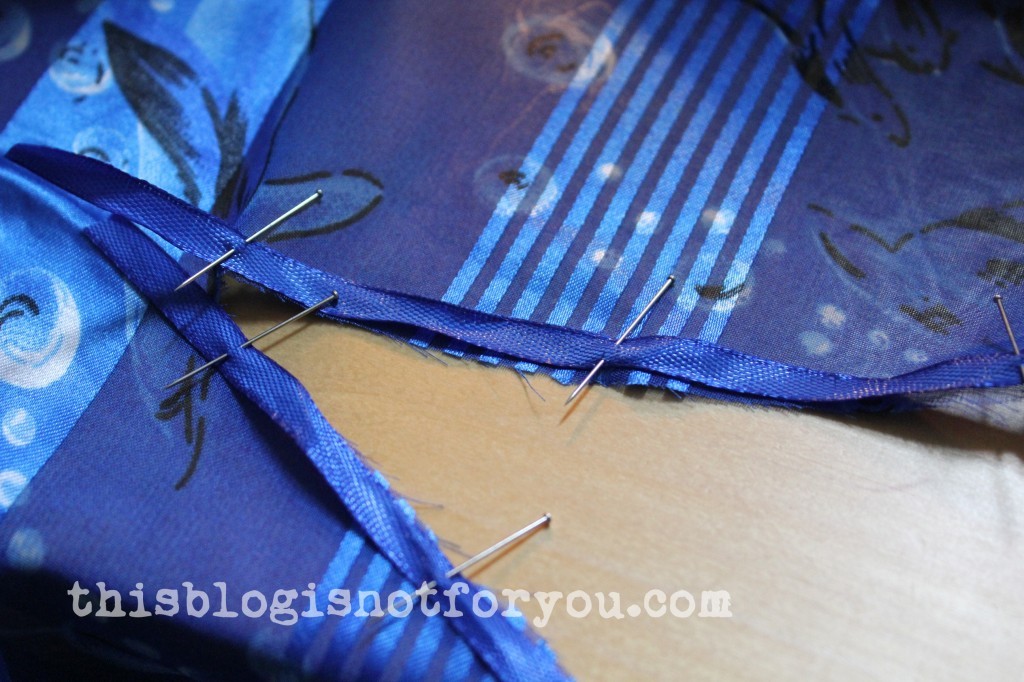
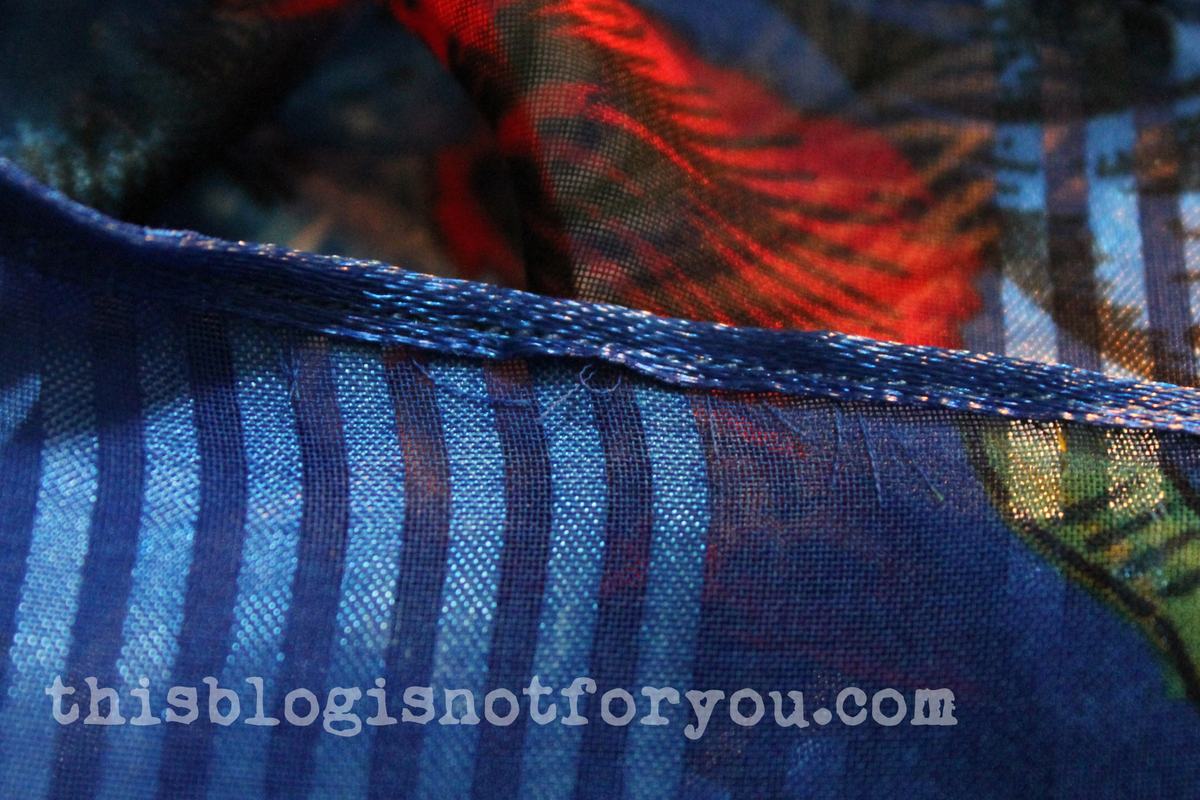
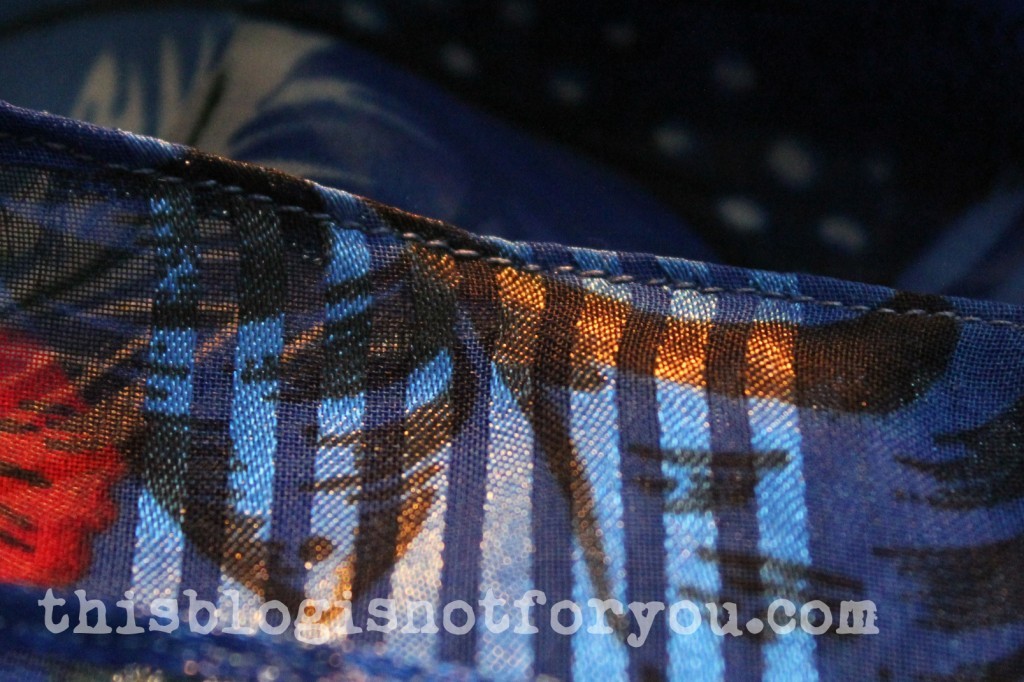
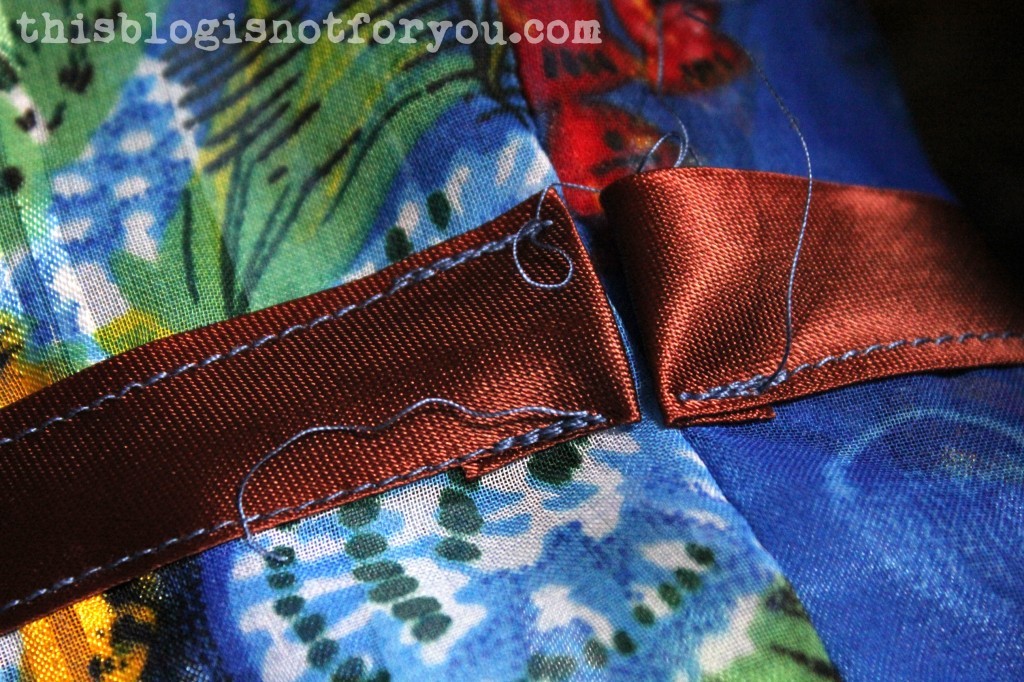
Draping and making muslins is sooo much more fun now – the first muslin I draped on her fits like a glove. The blue ribbon I used as markings for my recent project (which is still top-secret). Here’s a glance – don’t even try to figure out what it’s gonna be!
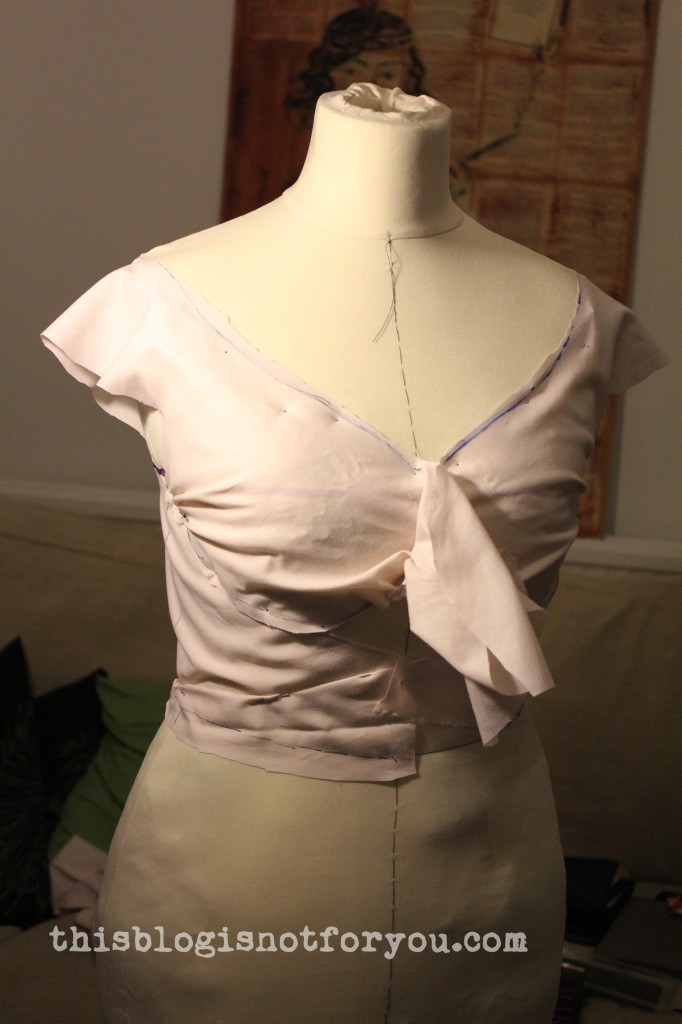
altering a dressform by thisblogisnotforyou.comIf you don’t have a dress form and want a dummy which represents your size, there are different options for making one yourself.

Tilly from Tilly and the Buttons has posted about her paper maché dummy here.
This is one of the easiest ways of making a dummy. There are also much more complicated options out there.

I tried the Tilly version just before I decided to alter my already existing dress form. Why I didn’t post about it? This is why:

making a dressform by thisblogisnotforyou.commaking a dressform by thisblogisnotforyou

This may look like a distorted version of a clone of me in a parallel universe but it’s totally unusable. I bet our neighbours almost got a heart attack when finding this headless mummy in the dustbin.

Problem with the paper tape/paper maché option:

  • If you don’t use enough tape, the whole thing will loose it’s shape when cut off your body.
  • If you use enough tape, this thing will be a lot bigger than you actually are (ask me how I know this).
  • Try not to tie up your unmentionables with the tape, otherwise your dummy end up looking like mine. Hooray!
  • And: I almost fainted since I couldn’t really breathe after adding the third layer. I started shouting at Mr Thisblogisnotforyou who had patiently wrapped me up in this %$§$% and then had to lay me down (by this time I was stiff and hard as a concrete plank not breathing and definitely not moving) and cut me out of this thing. My second near death experience (first time I choked badly while drinking water)!

Well, sometimes the easiest way is not the best way.

At least there was a happy end – now I’ve got a perfect dress form. I’m still looking for a name (I name everything. Even my bicycle and plants. I have to in order not to neglect them). My sewing machine’s already named Marilyn. So this one might become an Audrey or Coco or Dita. Ideas?


  facebook/bloglovin/pinterest
Stay in touch!

Featuring You: Freya May from the Dressmaking Diaries!

Featuring you Freya May by thisblogisnotforyou.comHello my lovely readers! Today I will be featuring Freya May, a great seamstress and all-round talent. Besides sewing, she loves all things creative: knitting, writing, drawing, baking etc. and in the meantime is working on her MA dissertation! Sounds familiar? Her blog is about everything I love doing myself. (I wish you’d live closer to London, Freya May! Hehe.) – Well, luckily, I just finished my dissertation!  I’ve been following her blog for quite a while now and hope you will, too! 
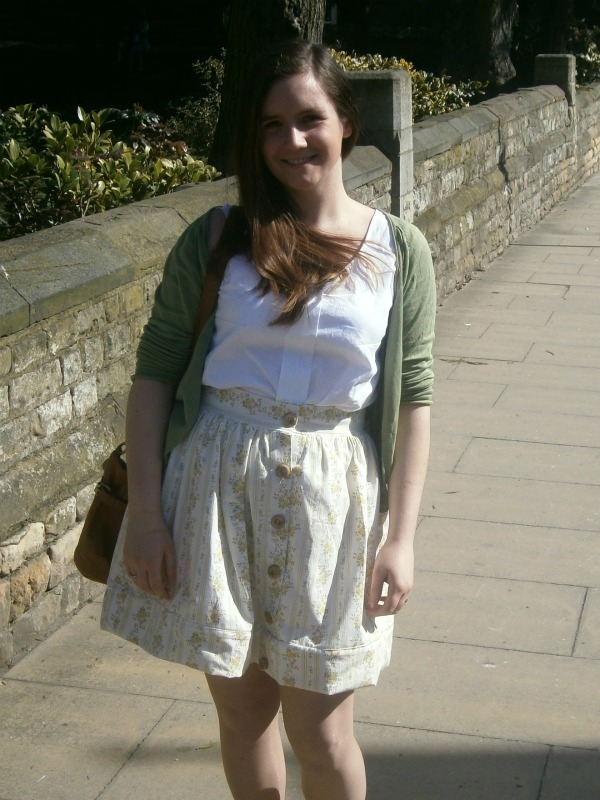
Hey guys! I’m Freya May and I blog over at The Dressmaking Diaries. My blog is my way of documenting my attempt at teaching myself to make clothes, with the odd style, DIY or food post thrown in for good measure.  I was so excited when Charlie asked me to be a part of this ‘Featuring You!’ series- I’ve been reading her blog since the start of the 27 Dresses Challenge and love her work.

Featuring you Freya May by thisblogisnotforyou.com

Q: For how long have you been blogging and why did you decide to start a blog?

I’ve been blogging on my current blog for almost a year now, but I started blogging three and a half years ago.  My old blog was more of a random/lifestyle blog and when I started really getting into dressmaking I decided that I wanted to be more focused with my blogging and started a fresh.

Q: What was your first ever blog post about? How do you feel about it now?

My first post was about the first dress I ever made with my mum when I was 14.  It was a super simple style, I’ve seen people on Pinterest refer to it as a ‘pillowcase dress’.  I never wear it anymore, but it was nice to go back and remember the start of my sewing journey and share with my readers where I came from.

Q: What was the first blog you regularly read?

It was called ‘Playing Grown Up’, and it was this super cute lifestyle blog by a young married woman in the USA.  She documented her life and as a newlywed at the time it was nice to see other people in that stage of life.  This blog inspired me to start my first blog and I totally ripped off the name! (Bad Blogger)

Featuring you Freya May by thisblogisnotforyou.com

Q: How and when did you learn how to sew?

My mum taught me the basics back in my teens but when I got my own sewing machine for Christmas three years ago was when I really started learning.  I’m self taught, but would love to do an evening class or something soon to help me improve.

Featuring you Freya May by thisblogisnotforyou.com

Q: What are you doing when you’re not sewing or writing blog posts?

I’m writing up my MA dissertation (which I’m sooo bored of) and hanging out at home with Dave (my hubby).  I like writing fiction, sketching (although I’m awful and you’ll never see anything I draw on my blog), shopping and running.  I’m doing a 5K training program and really getting into it.  I’m also learning to knit and loving it! Just finished my first jumper and have many plans for more.

Featuring you Freya May by thisblogisnotforyou.com

Q: What does a normal day in your life look like?

I wake up about 8 or 9, depending on how late I went to bed, and eat breakfast while reading blogs, facebook etc.  Then I’ll either sit at my laptop and (attempt) to get on with some dissertation work or head in to the uni library when my bike doesn’t have a flat tire (as it does now 🙁 ).  We eat dinner about 6, usually in front of the telly- we’re working through my Buffy box sets at the moment.  After tea I’ll blog/sew/bake and watch more TV before bed.  I’ve just joined the gym so need to find space to fit that in now too!

Featuring you Freya May by thisblogisnotforyou.com

Q: Do all of your friends/family know that you are a blogger?

Yeh, I probably shove it in their faces- ‘have you read my blog? I’ve a new post up! I just made this dress, check it out on my blog! Etc’

Q: What are you working on at the moment?

I’ve a few projects on the go- naturally 🙂 .  I’m making two yellow summer dresses, one white sundress, my first full sized quilt, pillow cases for our sofa and a bow tie for a friend.

Featuring you Freya May by thisblogisnotforyou.com

Featuring you Freya May by thisblogisnotforyou.com

Q: What is your go to pattern brand?/ Or if you’re not using patterns, what is your favorite tool/technique to work with?

I don’t have a particular favorite pattern brand, I use Simplicity, New Look and McCalls mostly.  I do enjoy using vintage patterns too.  I’m still working my way though different patterns, companies, designs and styles but I would say my favorite pattern so far is McCalls M5094.

Featuring you Freya May by thisblogisnotforyou.com

Q: If you had 500 dollars/euros/pound to spend on your blog/hobby, what would you buy?

Fabric and patterns, every last pound would be gone! I would like to start buying independent patterns, so I’d totally use the money on them.  Particularly I’m eyeing up the Belladona dress by deer and doe, the Mathilde blouse by Tilly and the Buttons and Colette Patterns Violet Blouse.

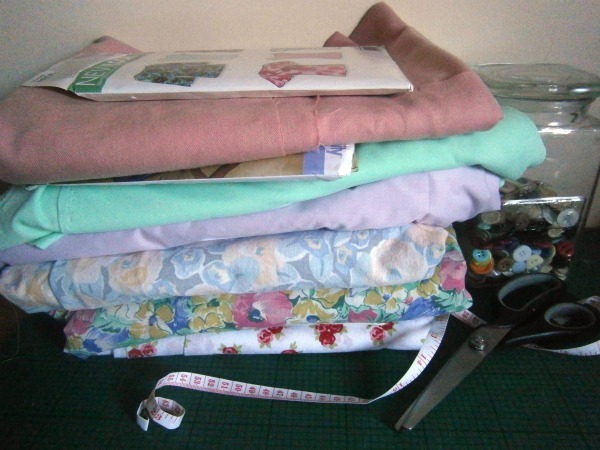
summery fabric stash the dressmaking diaries

Q: What can we look forward to seeing on your blog in the future?

I’m planning on planning my A/W sewing soon, post dissertation hand in date.  I’ve chosen 7 patterns I want to make in the next 6 months, including trousers and a jacket to really challenge myself.  Also I’m doing a house tour.  We’ve just moved in and have almost got our stuff together.  I love poking around other people’s homes, so I thought it’d be fun!  And, hopefully, I’ll share my current projects as they get done.

Featuring you Freya May by thisblogisnotforyou.com

Thanks for answering all my nosy questions, Freya May!
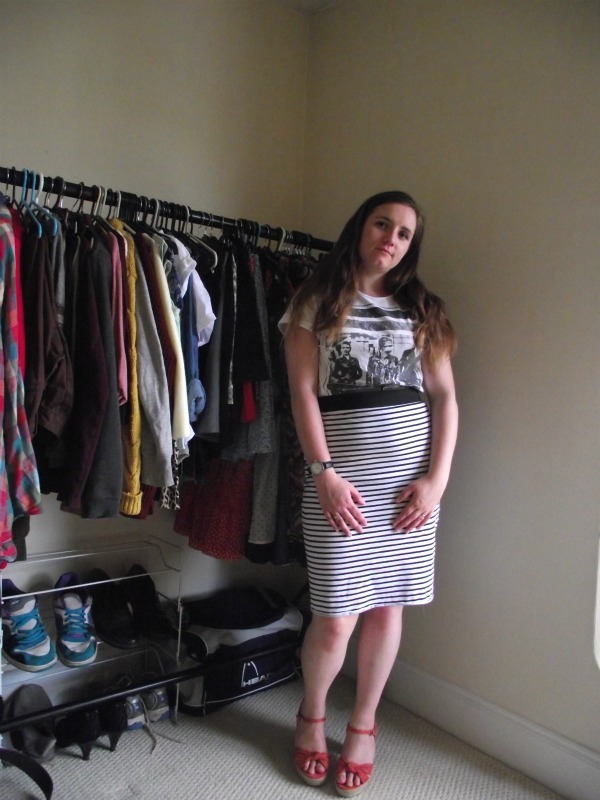
P.S.: I want to steal the shoes you’re wearing in the picture above. Awww.

Refashion It! The Summer Dress

Beach Dress tutorial and pattern by thisblogisnotforyou.comsummer dress refasion by thisblogisnotforyou.com

Hello my lovely readers!

After using this dress for making a fun and super easy Beach Dress pattern I finally got down to doing what I was supposed to do: taking off the sleeves. My mum gave it to me to alter the sleeves and make them less flutter-sleeve-like.

Since it was a rather quick and easy refashion I thought I’d share it with you.

summer dress refasion by thisblogisnotforyou.com

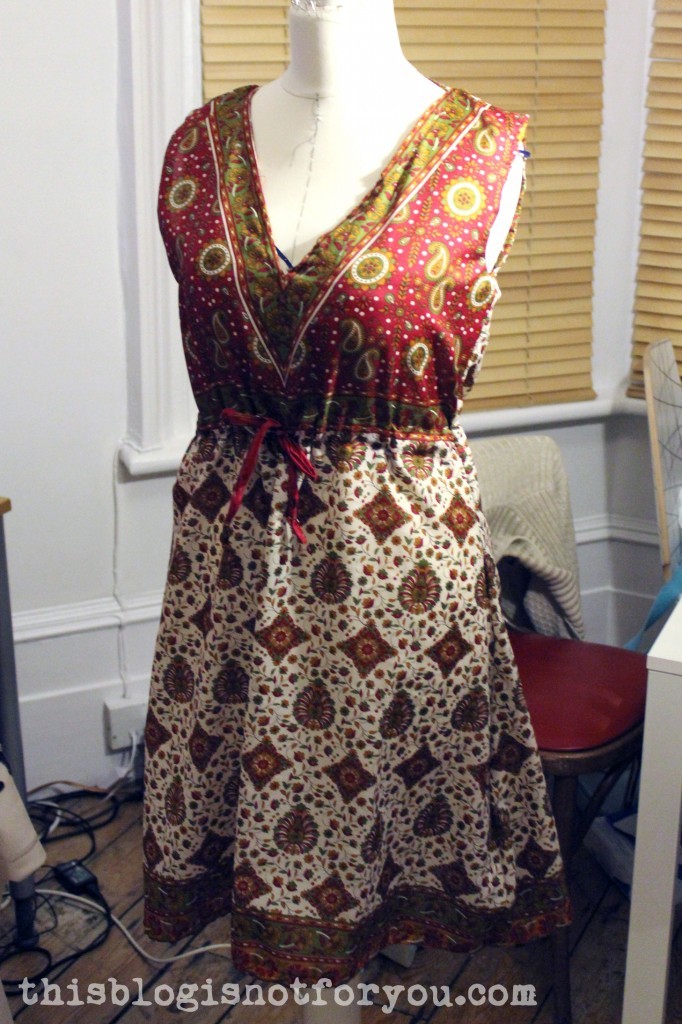
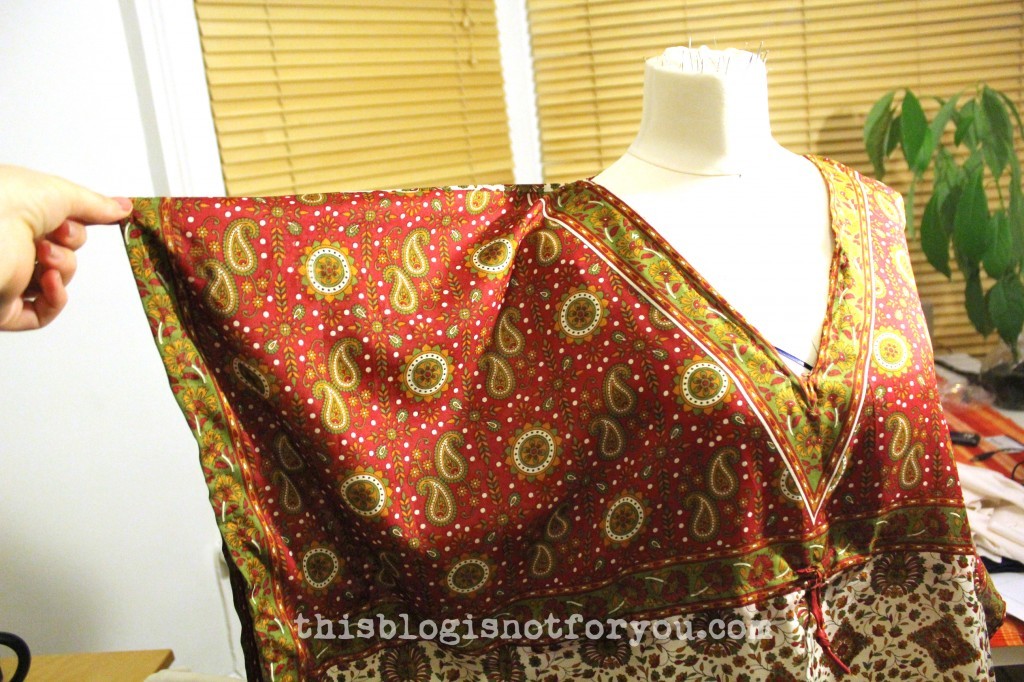
This is how the sleeves looked before the alteration. I love them because they’re super comfy. First, I thought the refashion would be quite tricky since the dress is basically a rectangle sewn together at the sides, so I had to do more than simply chop off the sleeves. I decided to make the dress a bit more fitted, but to also keep the drawstring at the waistband so it wouldn’t need a zipper.
summer dress refasion by thisblogisnotforyou.com

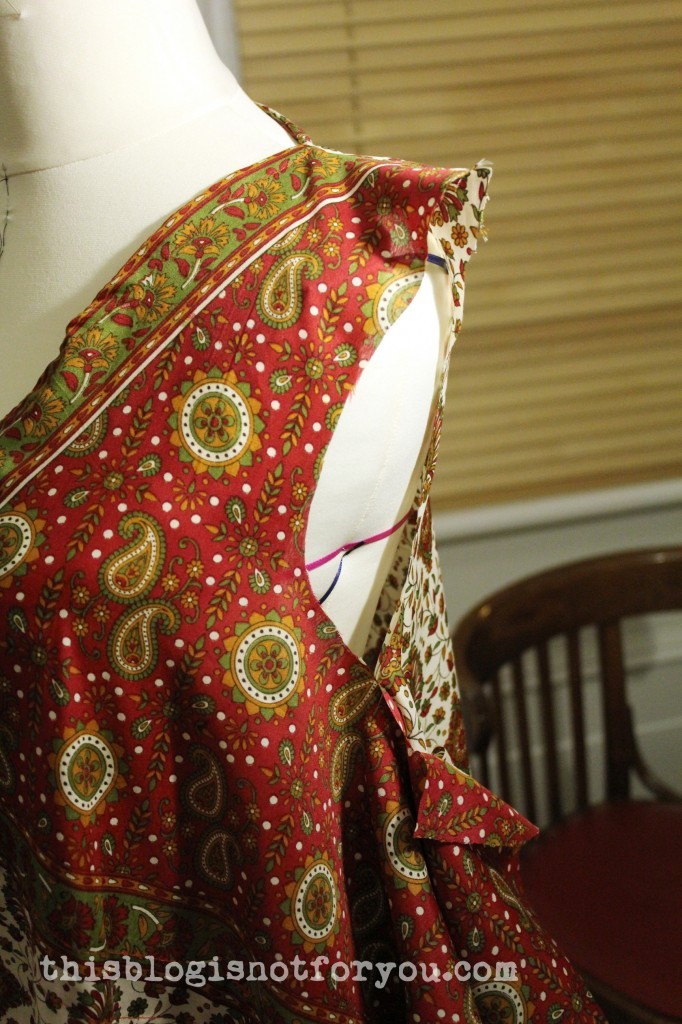
I put the dress on the dress form and cut off the sleeves at the shoulders on one side only.

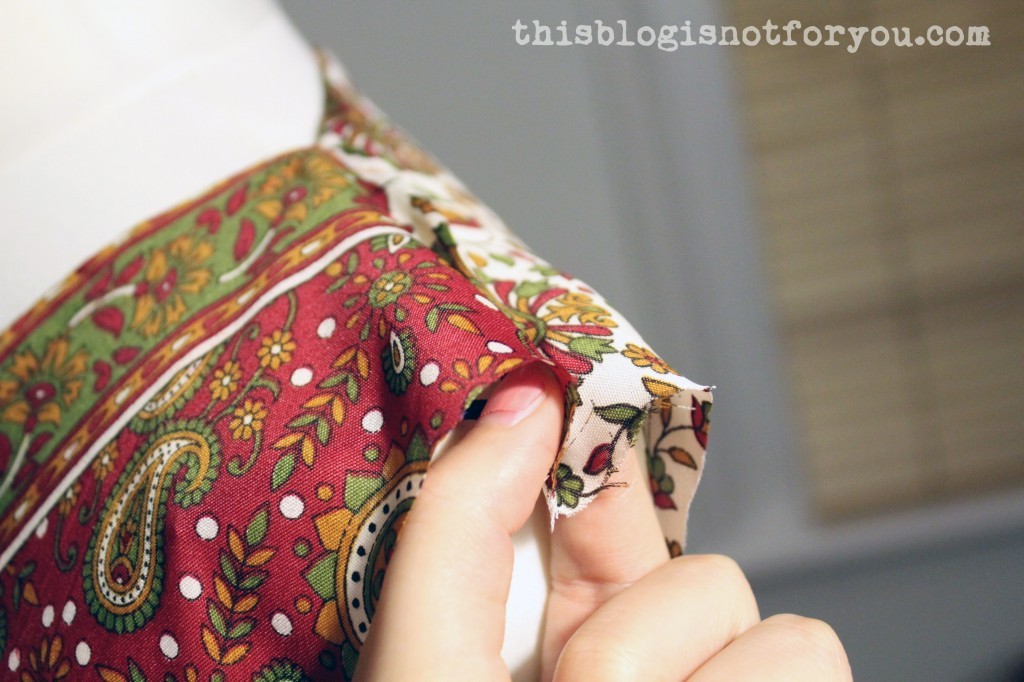
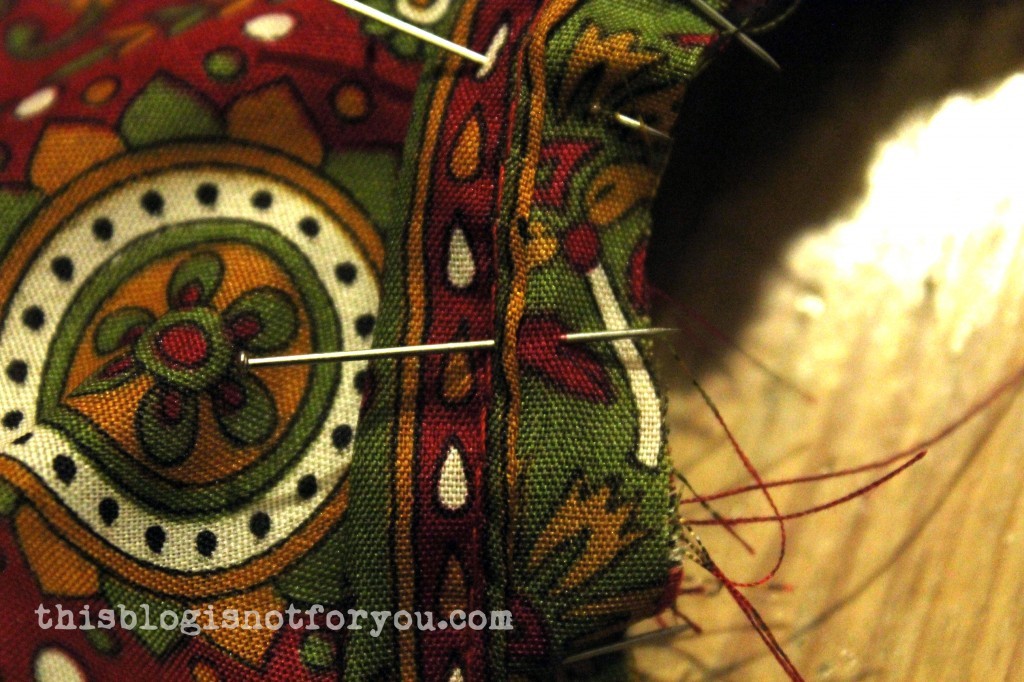
As you can see in the pic above, the shoulder part looks a bit weird and pointed. I made a simple dart to solve this problem, first just pinning the dart, and then sewing it before adding the binding to the armscye.

summer dress refasion by thisblogisnotforyou.com

Looks much better, right?summer dress refasion by thisblogisnotforyou.com

summer dress refasion by thisblogisnotforyou.com

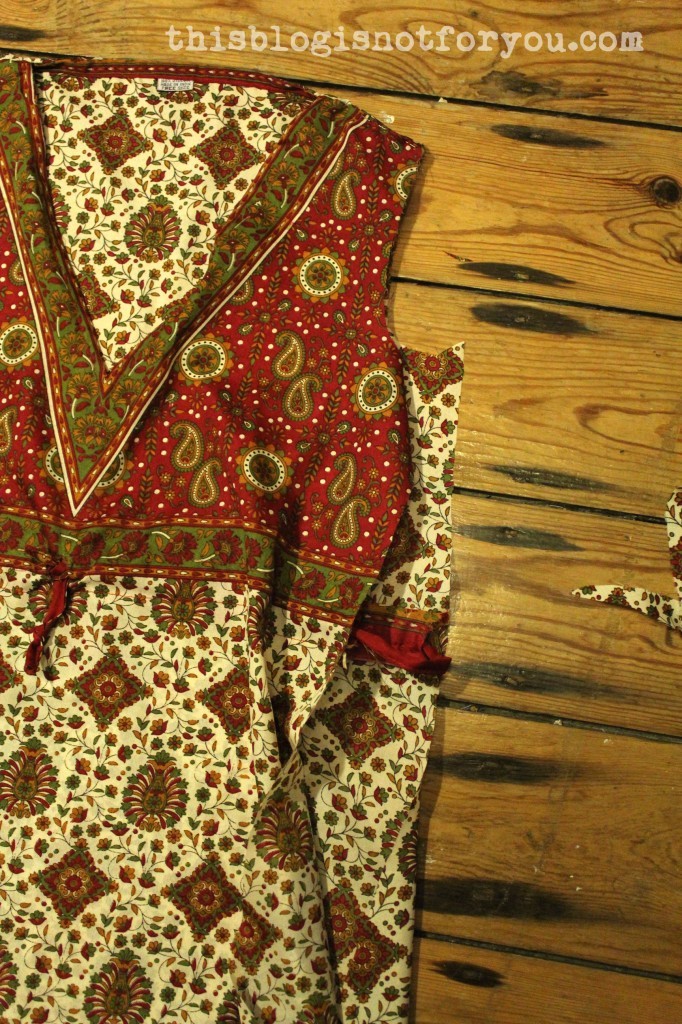
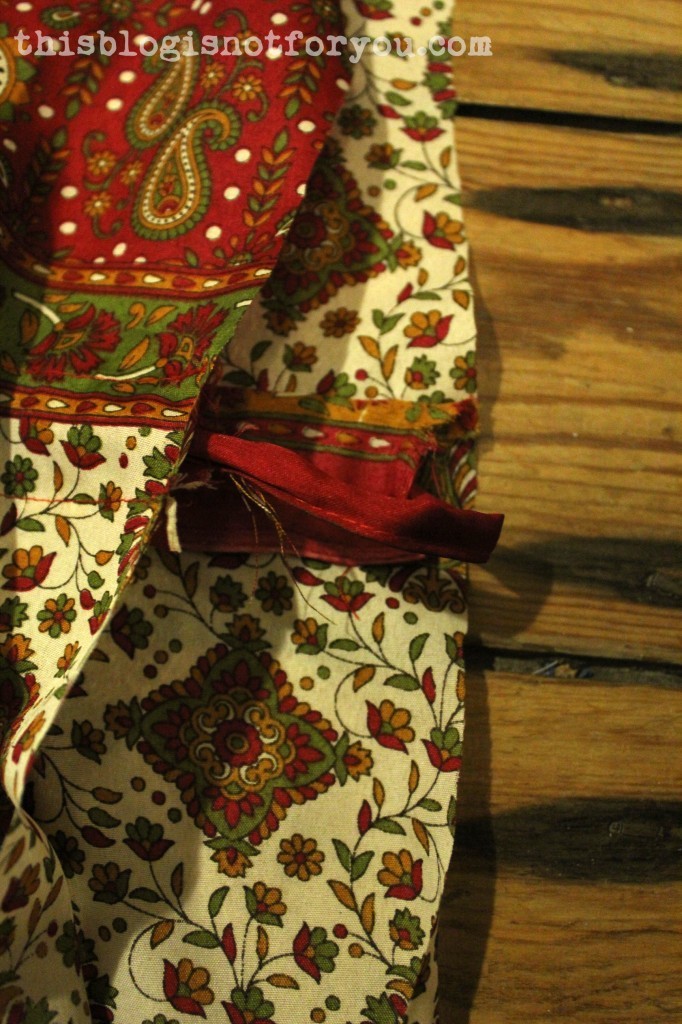
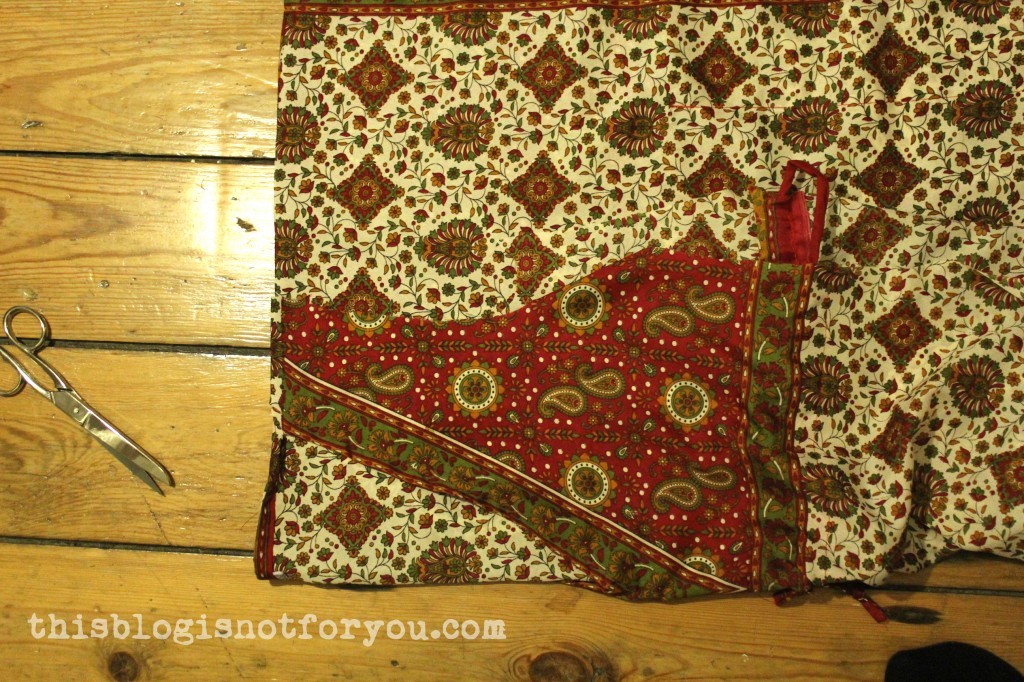
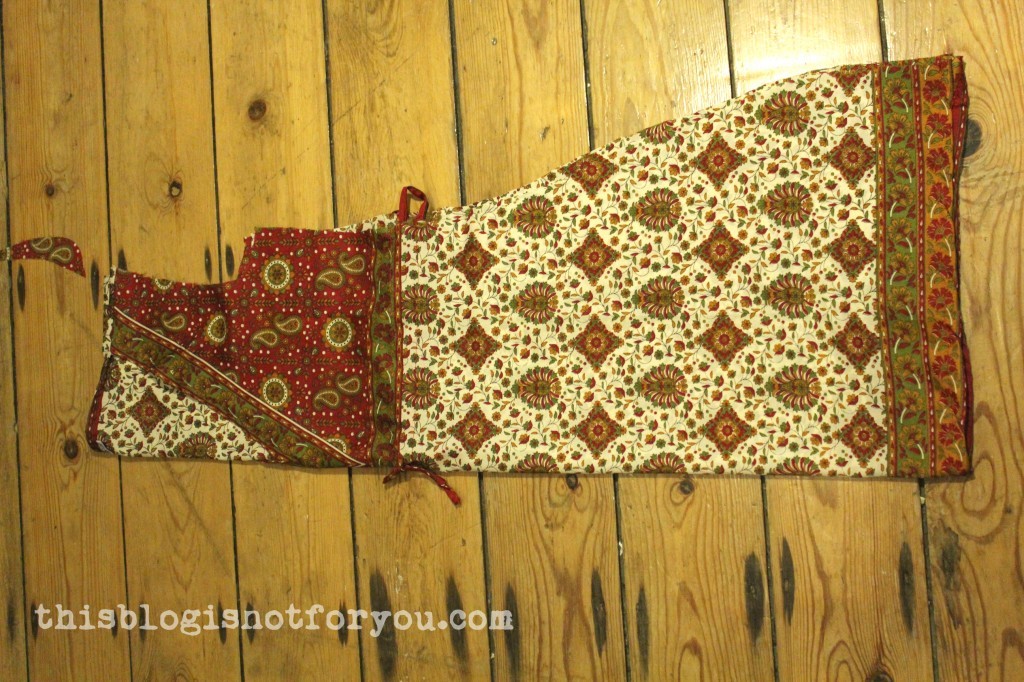
I then cut off the side seams to give the dress a more A-line-like  shape. Clever me made sure to cut them off in a way that allowed me to keep the drawstring casing (If you read the Beach Dress tutorial, you hopefully know what I mean).summer dress refasion by thisblogisnotforyou.com

The quickest way to make both sides symmetrical is to simply fold over the dress at the center line and use the altered part as template.
summer dress refasion by thisblogisnotforyou.com

Chop, chop!summer dress refasion by thisblogisnotforyou.com

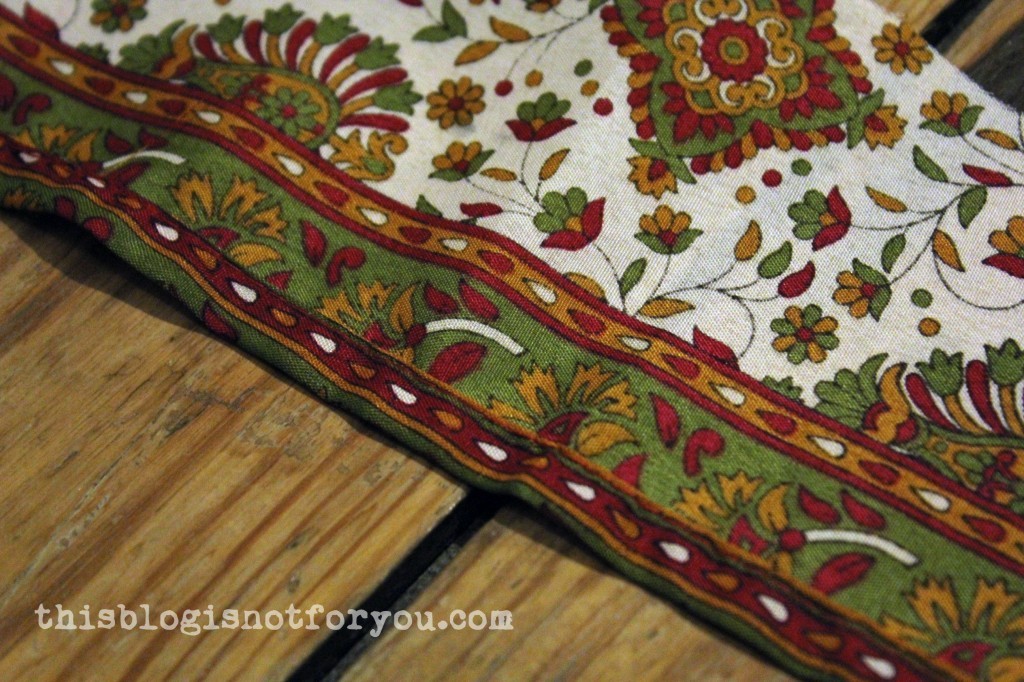
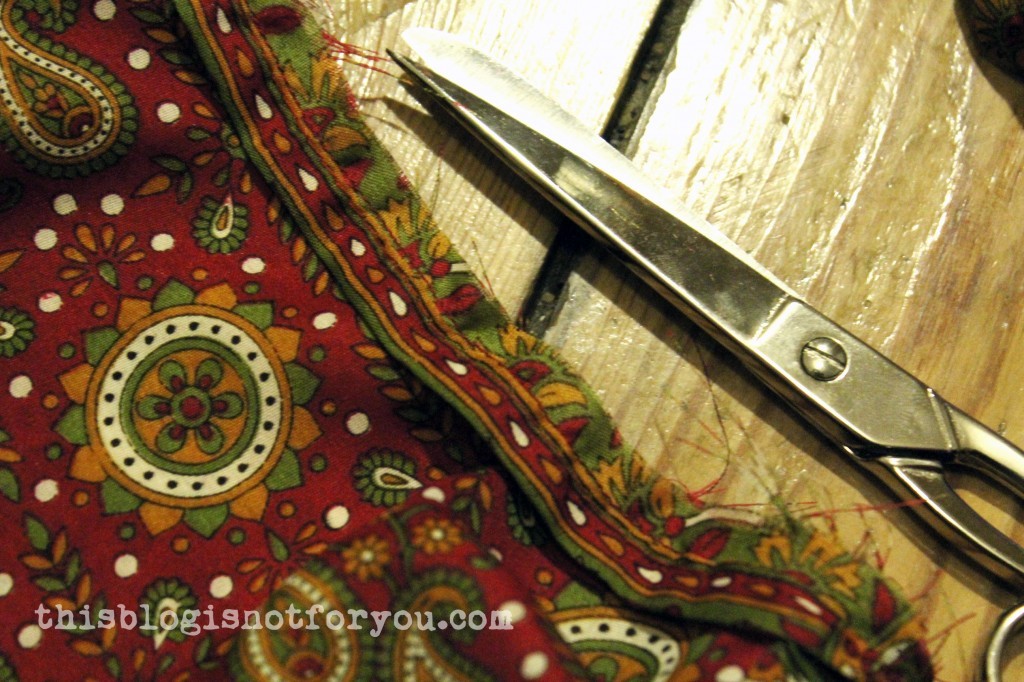
Keep the hem and remnants! I used them to make bias binding for the armscye.summer dress refasion by thisblogisnotforyou.com

I cut off approximately 2cm/1inch wide strips including the already hemmed part. For proper bias binding you usually cut the strips on the bias, but I was really lazy lazy and also wanted to make use of the already hemmed edges.summer dress refasion by thisblogisnotforyou.com

I pinned the strips onto the armscye part, right sides facing.summer dress refasion by thisblogisnotforyou.com

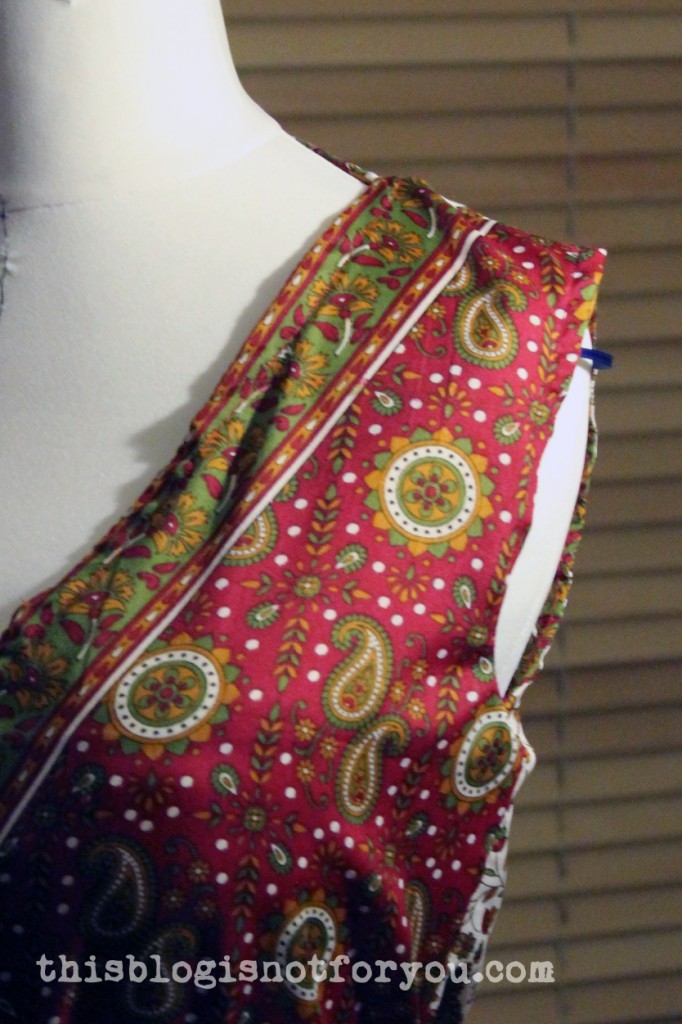
After sewing the binding onto the fabric I trimmed the raw edges and then, first folding them over and thereby enclosing the raw edge, topstitched the binding onto the right side of the dress.
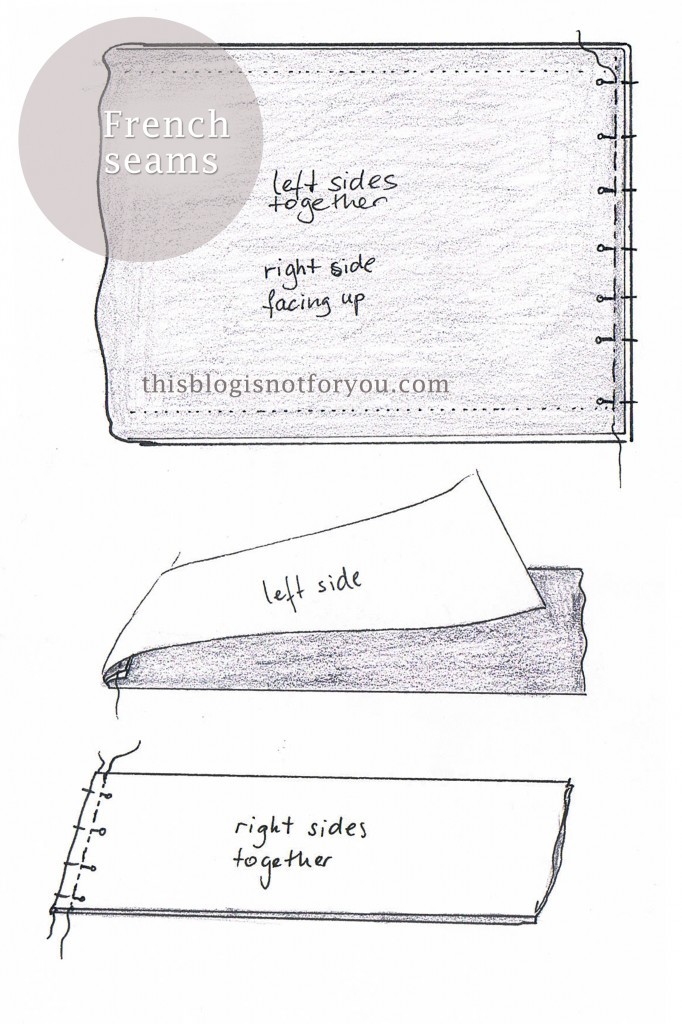
summer dress refasion by thisblogisnotforyou.comI finished the side seams using the french seam technique where you first sew left sides together with a very narrow seam allowance. After pressing, you fold the fabric over, press again and sew the seams right sides together with a wider seam allowance, thereby enclosing all the raw edges. This technique is super useful when dealing with fabric that frays like crazy (this one did). french seams tutorial for pleated skirt by thisblogisnotforyou.com
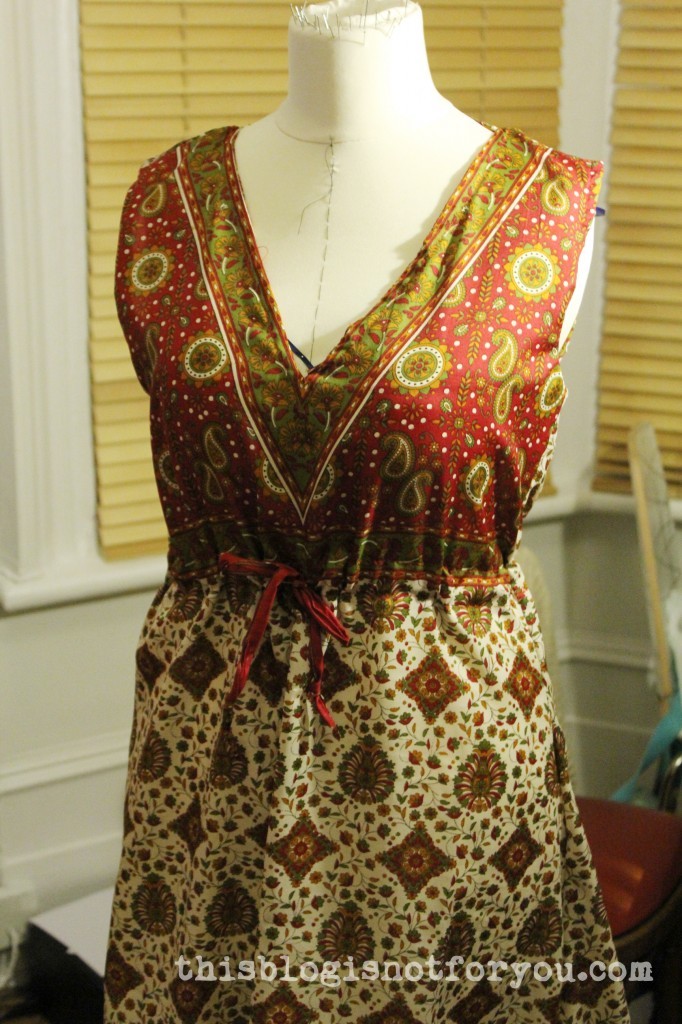
Sleeve-less dress done!
summer dress refasion by thisblogisnotforyou.comsummer dress refasion by thisblogisnotforyou.com

It’s still super comfy and mum loves it. What more could one want?

  facebook/bloglovin/pinterest
Stay in touch!

Reversible Tie-Side Pinafore #2

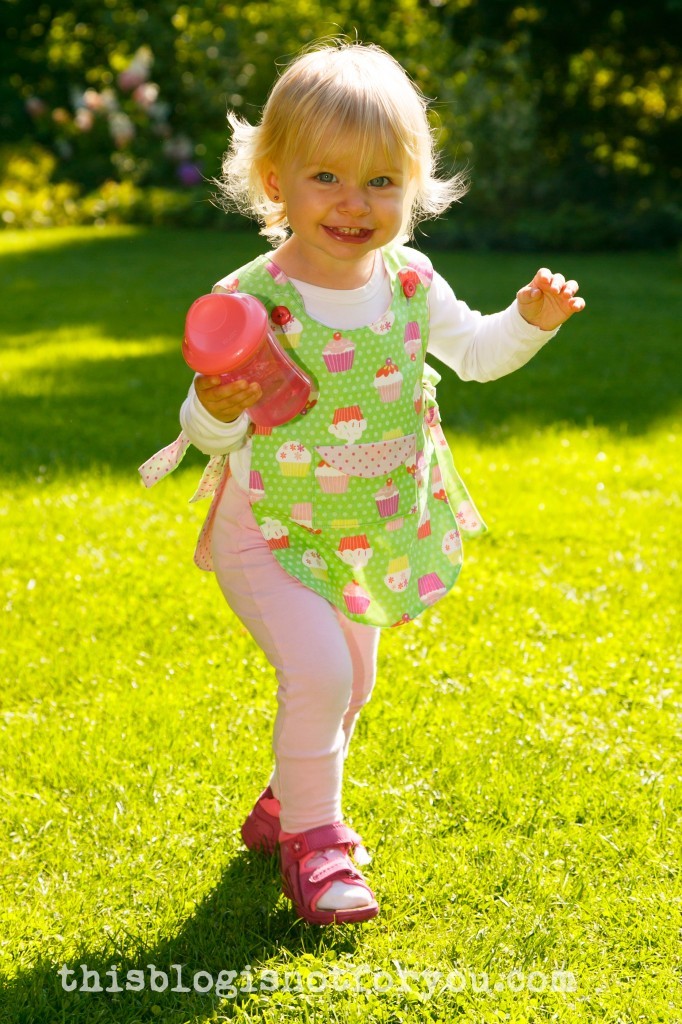
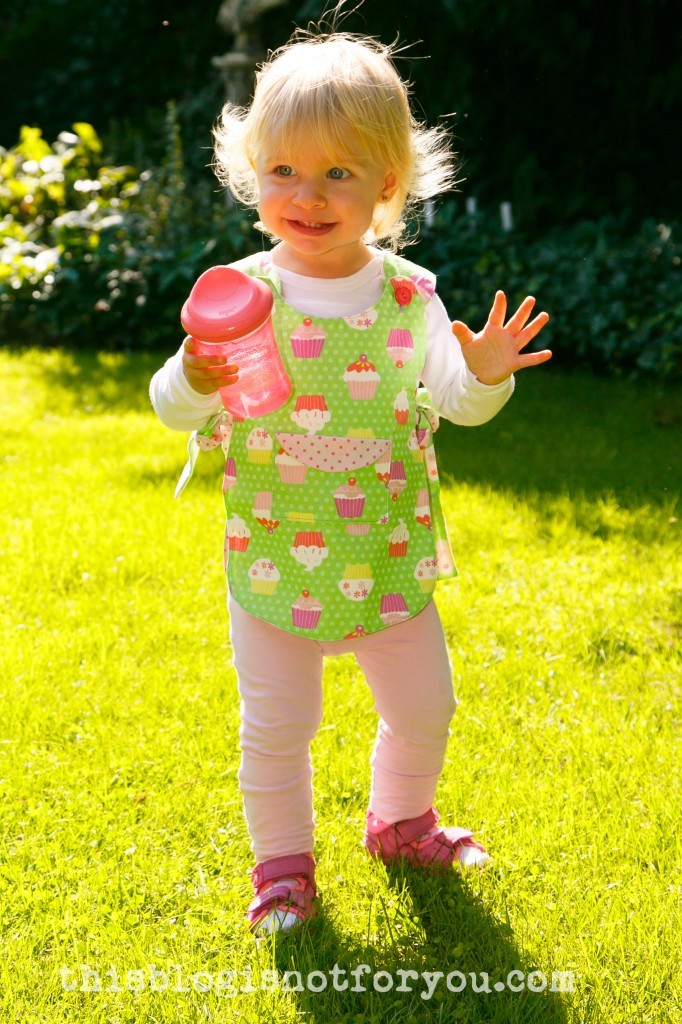
reversible pinafore cupcakes by thisblogisnotforyou.com

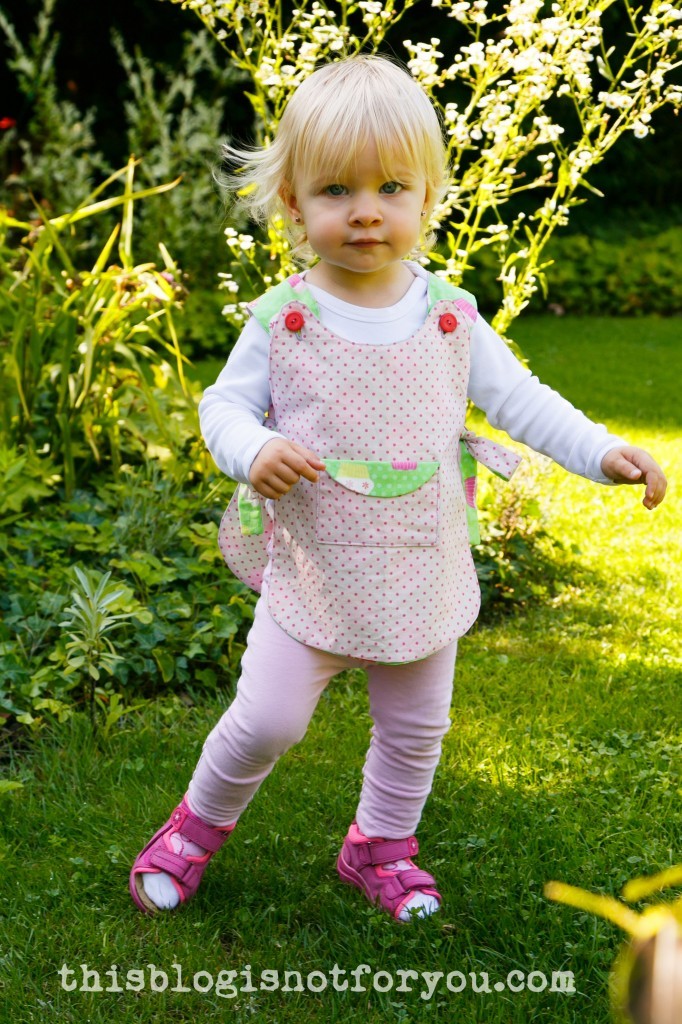
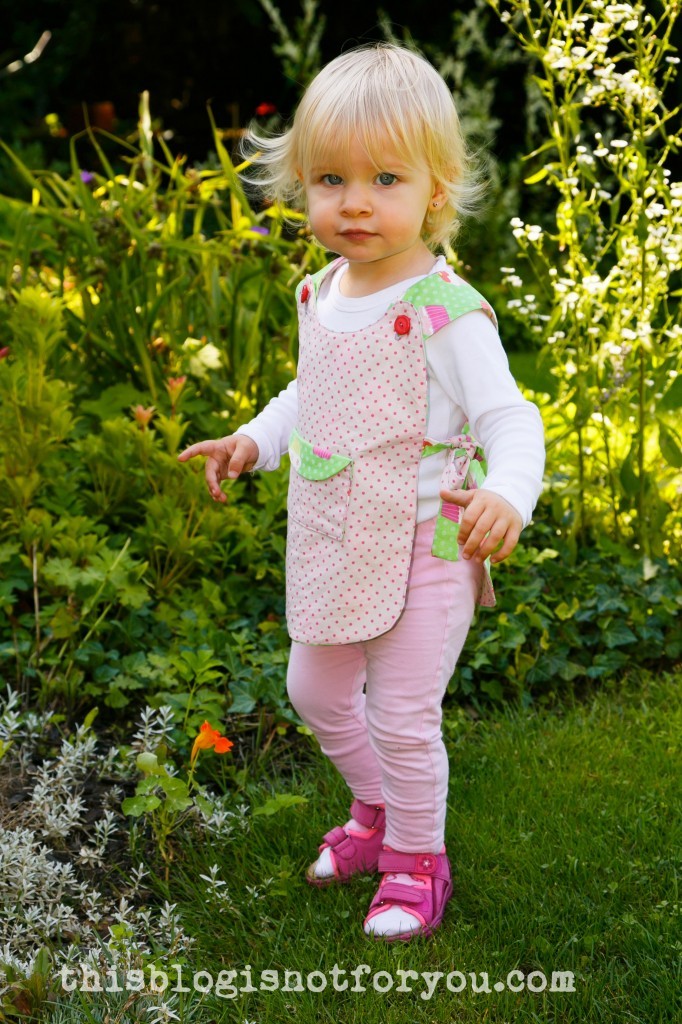
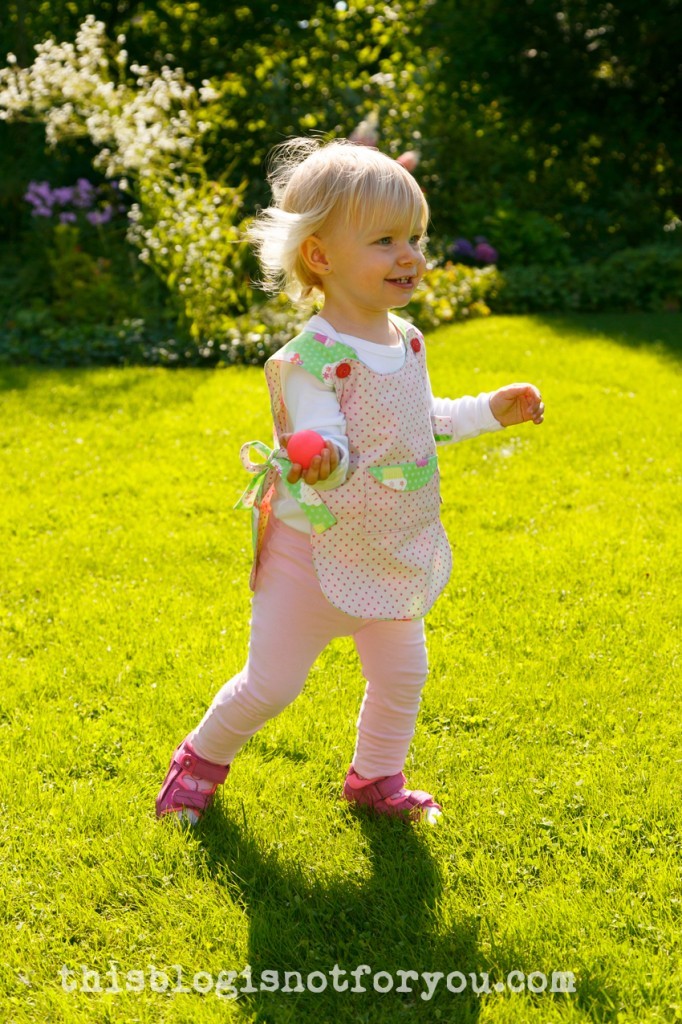
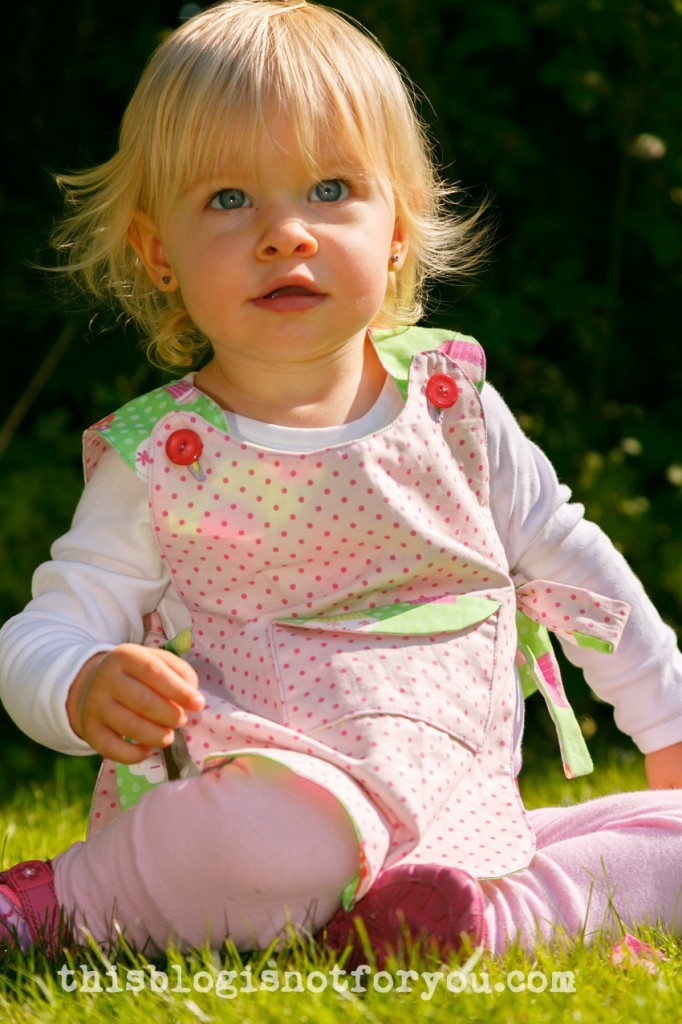
Hey everyone! I just quickly wanted to share the second reversible tie-side pinafore I made from the Little Dress Kits pattern I reviewed a few weeks ago!

I made another version, just using the pattern and my own fabric – a cute pink polkadot and a green cupcake cotton. This time I also found a cute little model (who was allowed to keep it after the photo shoot, of course 😉 ) and took these pictures – isn’t she adorable?

reversible pinafore cupcakes by thisblogisnotforyou.comreversible pinafore cupcakes by thisblogisnotforyou.comreversible pinafore cupcakes by thisblogisnotforyou.com

reversible pinafore cupcakes by thisblogisnotforyou.comreversible pinafore cupcakes by thisblogisnotforyou.comreversible pinafore cupcakes by thisblogisnotforyou.com

  facebook/bloglovin/pinterest
Stay in touch!

Make it! Beach Dress tutorial + pattern

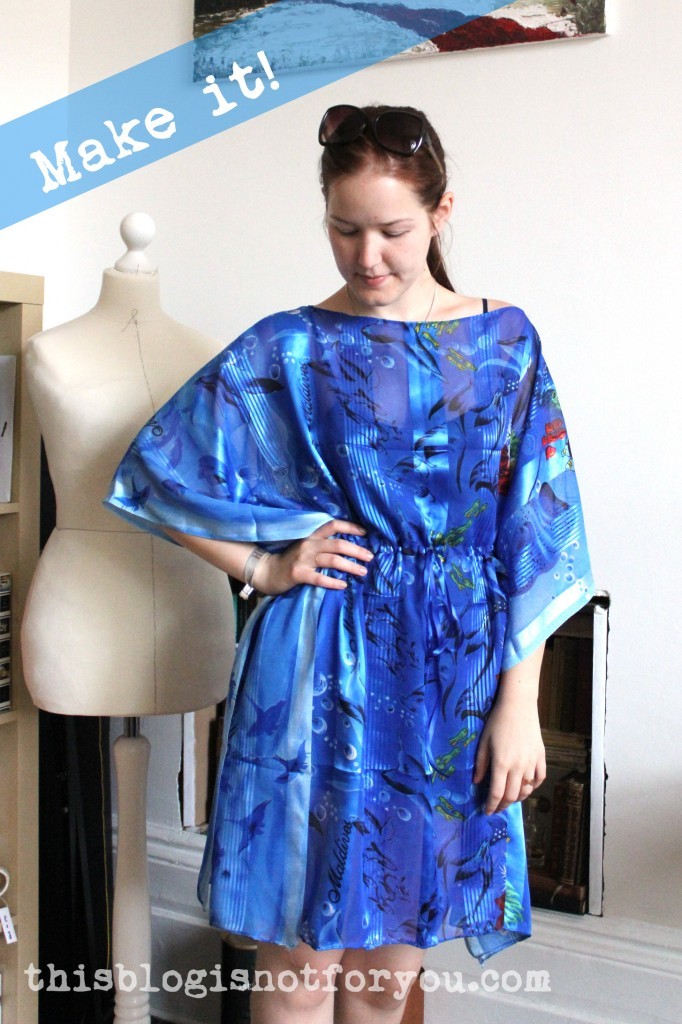
Beach Dress tutorial and pattern by thisblogisnotforyou.com

Hello fellow sewing enthusiasts!

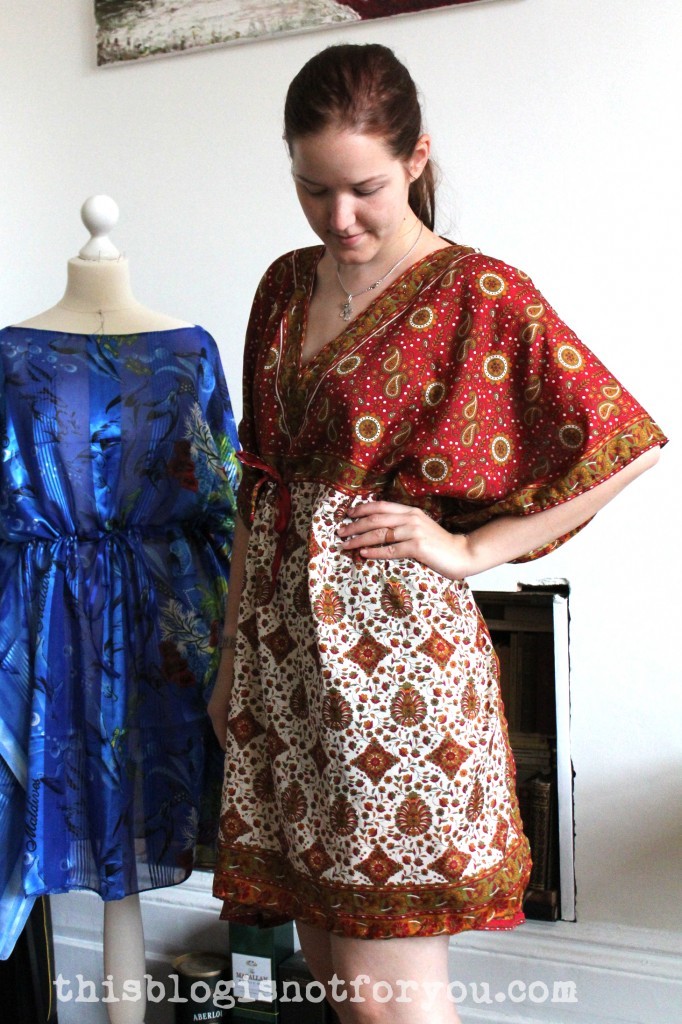
My lovely mum recently sent me a dress to make alterations and I decided to make a pattern from it first before cutting it apart. It’s a super easy and super quick sew and I thought I’d share it with you. Beach Dress tutorial and pattern by thisblogisnotforyou.com

This is the dress I will refashion (taking off the sleeves). The blue one is the version I made yesterday.

In this post I’ll share the pattern and instructions on how to sew everything together. It’s one size fits all!

Beach Dress tutorial and pattern by thisblogisnotforyou.com

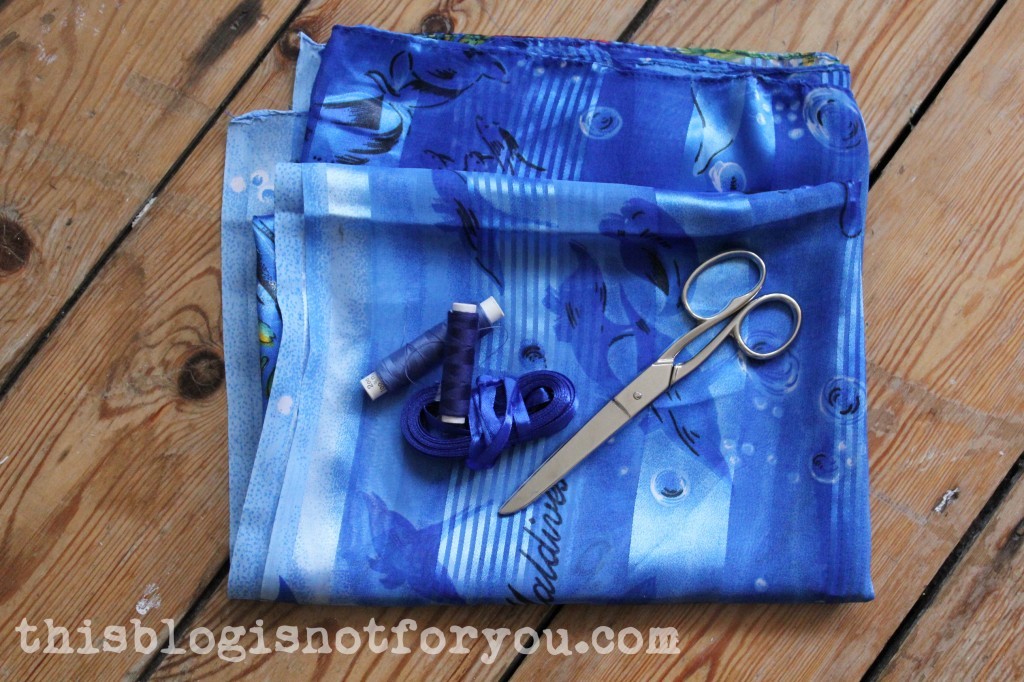
All you need

– a 90x180cm or 37×71” piece of fabric

– scissors, pins, matching thread

– matching ribbon or bias binding

Beach Dress tutorial and pattern by thisblogisnotforyou.com

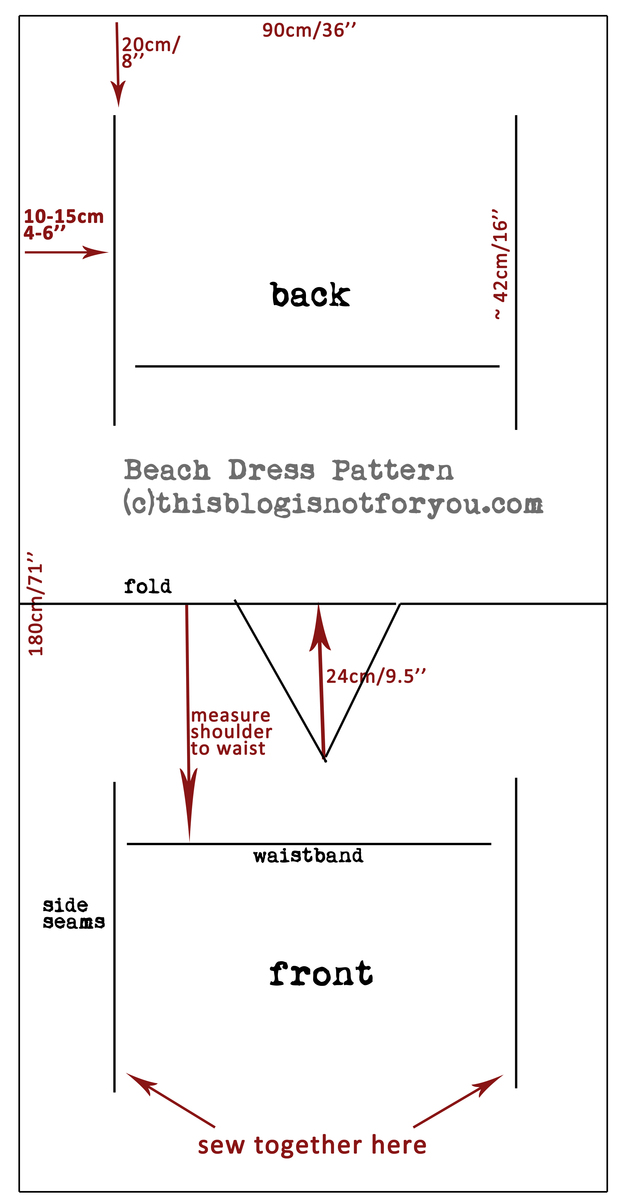
Here’s the pattern!

Beach Dress tutorial and pattern by thisblogisnotforyou.com

As you can see, it’s super easy. It’s basically a rectangular piece of fabric you sew together on two sides and then add a waistband.

I used a 90x180cm scarf which was already hemmed on all sides. If your fabric has raw edges, hem it before you start. If you’re using lightweight fabric (which I recommend!) you can use a narrow hem foot. They work great!

You start with the neckline. You can either make it a V-neckline like in the pattern above or do something totally different. The V in the red dress starts 24cm/9.5” below the center fold. I decided to make a boat neckline which is even easier to do.

Beach Dress tutorial and pattern by thisblogisnotforyou.com

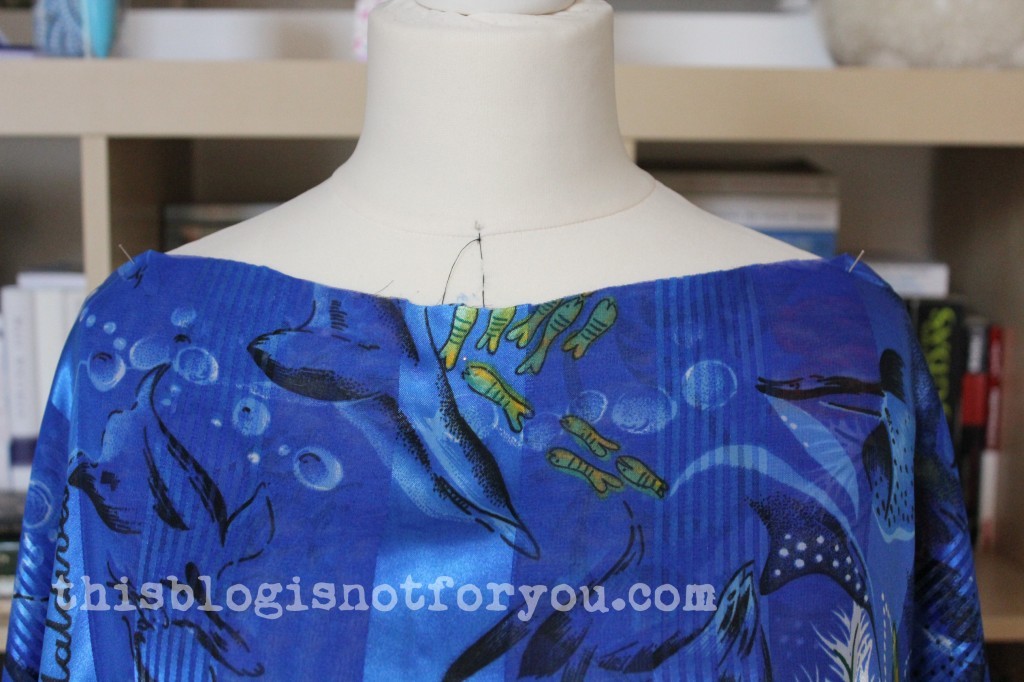
To get the boat neckline, I pinned the fabric to the dressform and cut off fabric until it had the shape I wanted. Try it on and see if you need to make changes!

Beach Dress tutorial and pattern by thisblogisnotforyou.com

I liked it the way it was and left it like that.

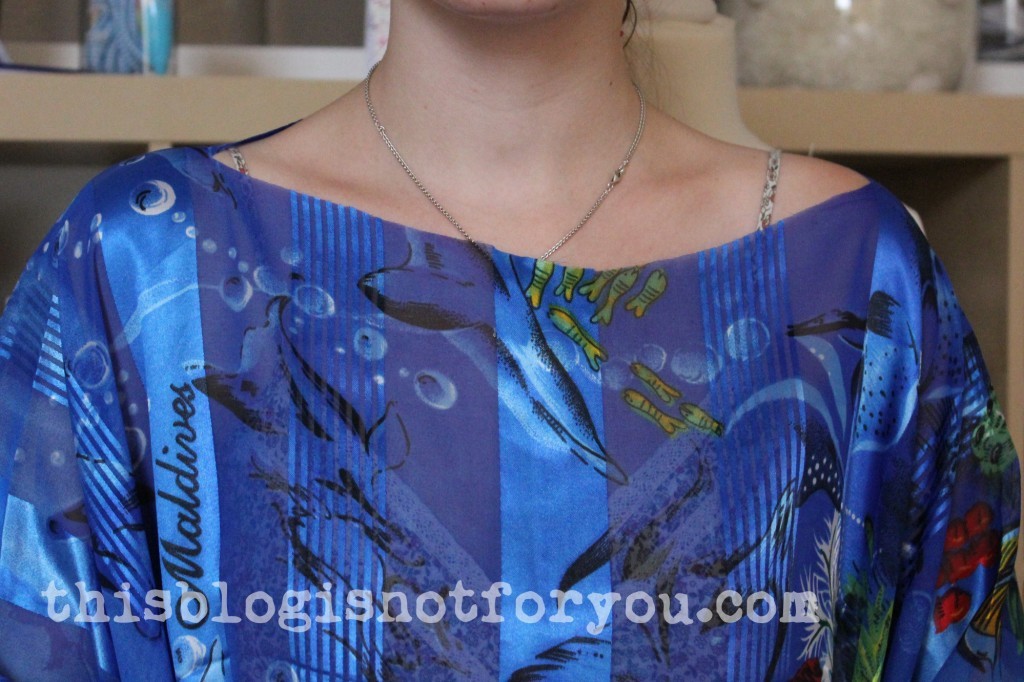
To finish the raw edges I used 7mm ribbon. Bias binding would be even easier. If you have neither at home but a bit of fabric left, you can make the bias binding yourself by cutting out strips at a 45 degree angle.

Beach Dress tutorial and pattern by thisblogisnotforyou.com

Pin the ribbon to the neckline, right sides together. Edgestitch about 2-3mm from the edges.Beach Dress tutorial and pattern by thisblogisnotforyou.com

Fold the ribbon over and topstitch it on 2-3mm from the edge.

Beach Dress tutorial and pattern by thisblogisnotforyou.com

It should look like this on the right side of the fabric. All raw edges perfectly enclosed!

For the side seams, fold the fabric on the center line, left sides together. Sew the back and front together as shown in the pattern. Starting 20cm/8” from the bottom edge and 10-15cm/4-6” from the sides. The stitched line should be approximately 42cm/16” long.

To be on the safe side, you can pin the sides together first before you start sewing and see how it looks on you.

Now you need to add the casing for the drawstring/waistband. I used 2cm wide bias binding. You can also use ribbon or a strip of remnant fabric.

Beach Dress tutorial and pattern by thisblogisnotforyou.com

Stitch the casing//ribbon on in the front and back (left side of the fabric!) as shown above leaving the casing open at the side seams to form a tube for the drawstring.

In the front, sew on the casing only on one side as you need to make a little button hole first!

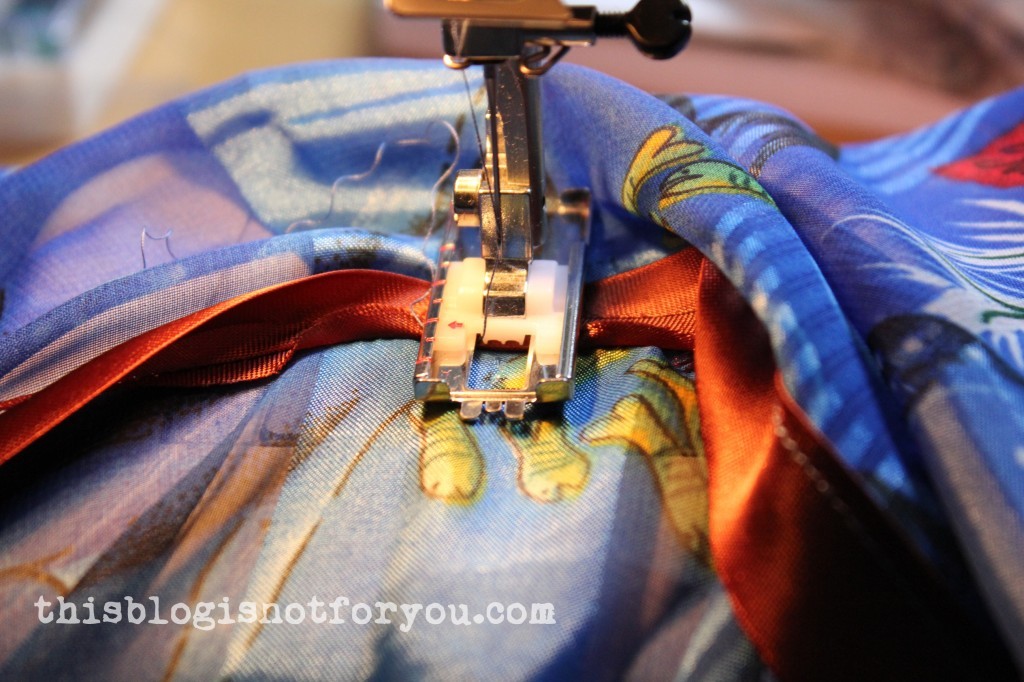
Now that you’ve secured the casing, mark the center of the waistband in the front and make a little buttonhole wide enough for your drawstring. Make sure it doesn’t get larger than the casing/ribbon is wide! I used the buttonhole setting on my sewing machine. You can also sew a buttonhole by hand, but I’m lazy lazy!Beach Dress tutorial and pattern by thisblogisnotforyou.com

Now stitch on the rest of the front drawstring casing.

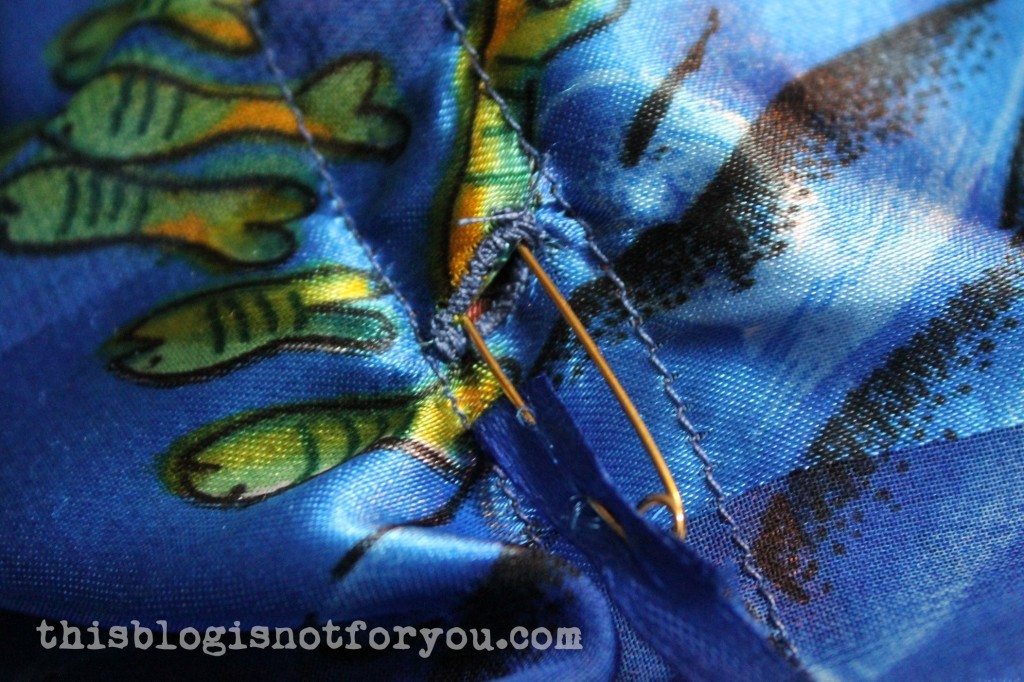
To get the drawstring through the narrow tube use a safety pin. (Start on the right side of the fabric)Beach Dress tutorial and pattern by thisblogisnotforyou.com

Make a few knots or add some beads to the ends of the drawstring to keep it from slipping back into the casing.

And you’re done!

Beach Dress tutorial and pattern by thisblogisnotforyou.com

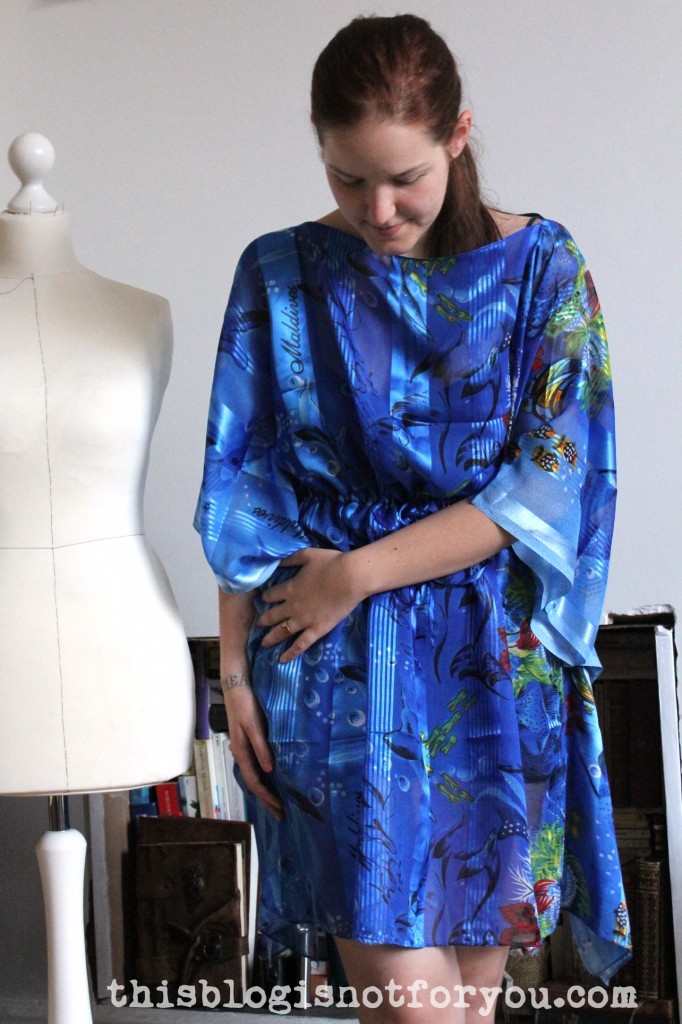
Now I feel a bit silly wearing blue dolphins here in London city, but I’ll be in Germany over the weekend, so hopefully I can take this dress on a little trip to one of our bathing lakes (and look slightly overdressed. Certainly no dolphins there either haha).Beach Dress tutorial and pattern by thisblogisnotforyou.com

As always, if you have any questions just pop me a comment! I also LOVE seeing and featuring your makes! If you’re making this dress, sent me a picture of it. Contact details on my about page!

Happy Sewing! xxx

 facebook/bloglovin/pinterest
Stay in touch!