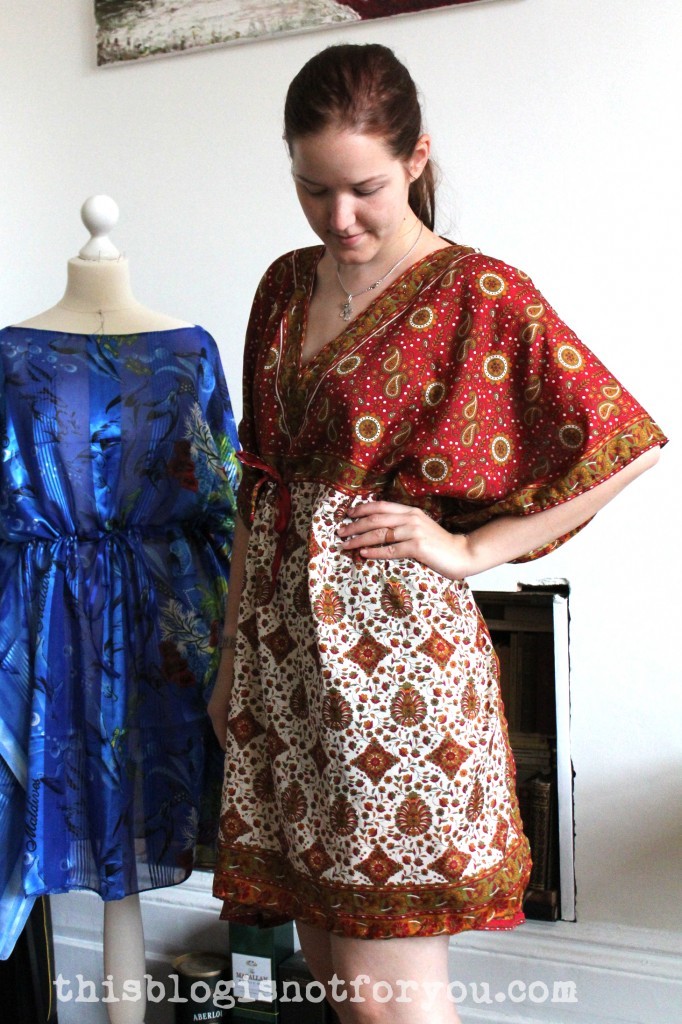
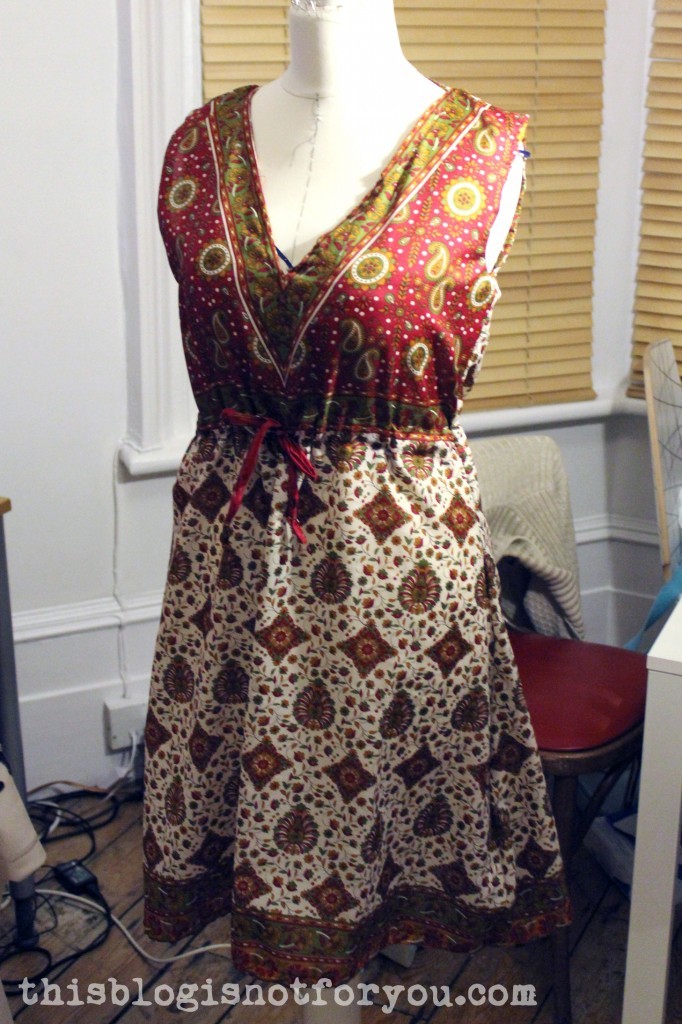
Hello my lovely readers!
After using this dress for making a fun and super easy Beach Dress pattern I finally got down to doing what I was supposed to do: taking off the sleeves. My mum gave it to me to alter the sleeves and make them less flutter-sleeve-like.
Since it was a rather quick and easy refashion I thought I’d share it with you.
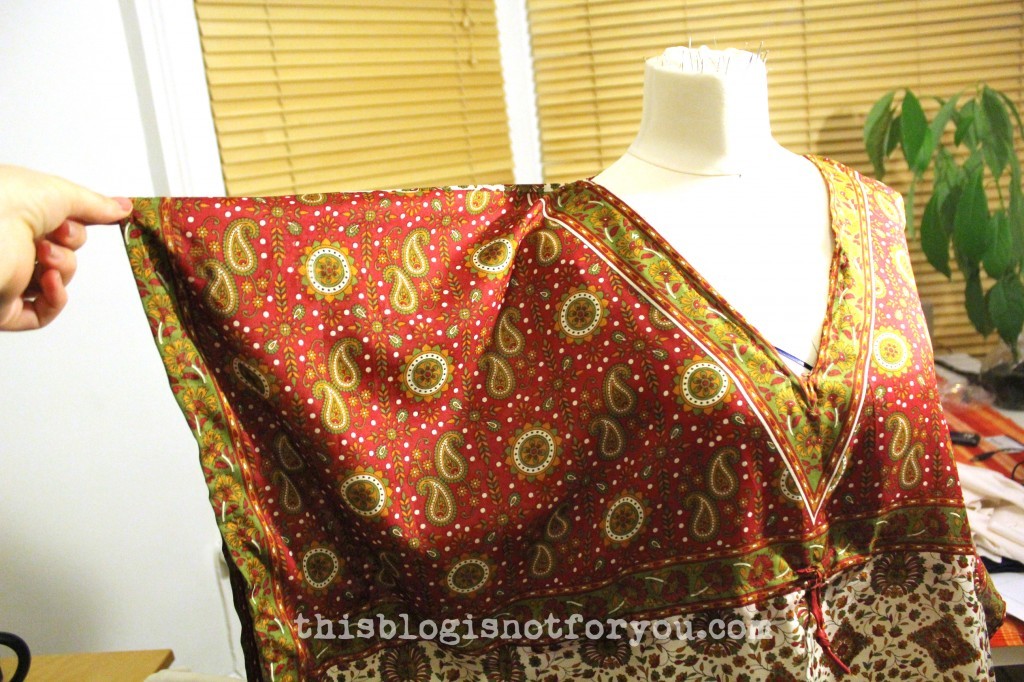
This is how the sleeves looked before the alteration. I love them because they’re super comfy. First, I thought the refashion would be quite tricky since the dress is basically a rectangle sewn together at the sides, so I had to do more than simply chop off the sleeves. I decided to make the dress a bit more fitted, but to also keep the drawstring at the waistband so it wouldn’t need a zipper.
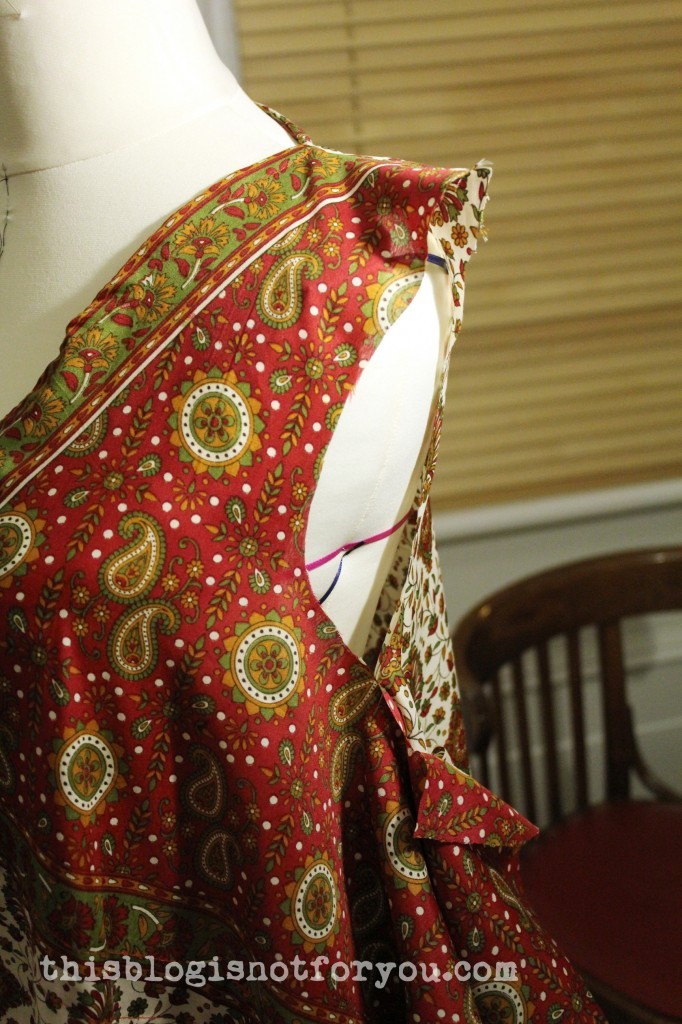
I put the dress on the dress form and cut off the sleeves at the shoulders on one side only.
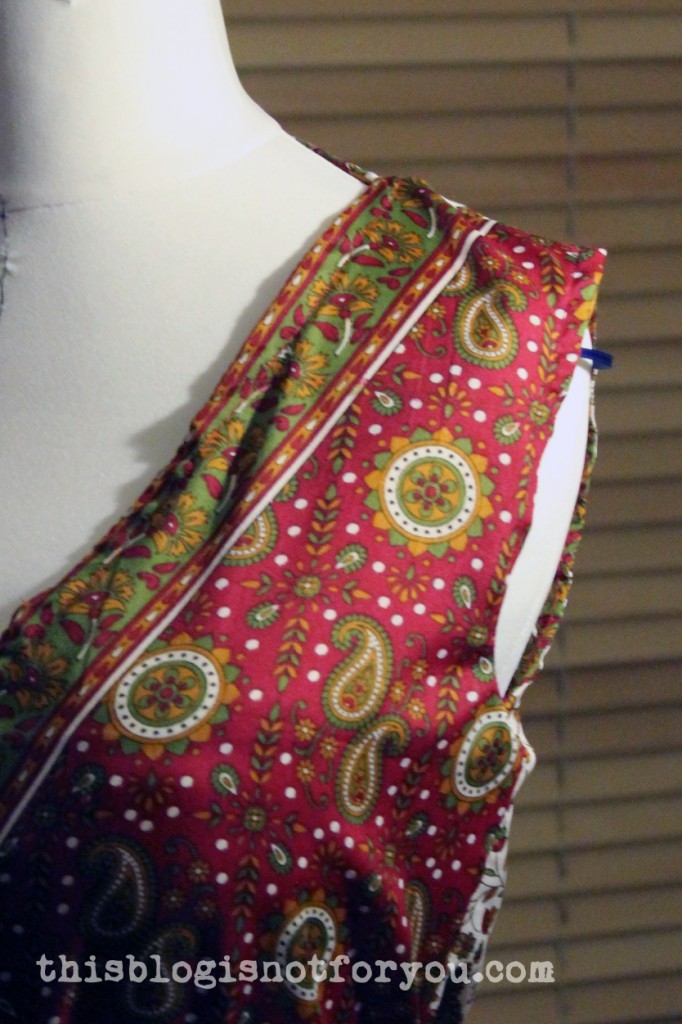
As you can see in the pic above, the shoulder part looks a bit weird and pointed. I made a simple dart to solve this problem, first just pinning the dart, and then sewing it before adding the binding to the armscye.
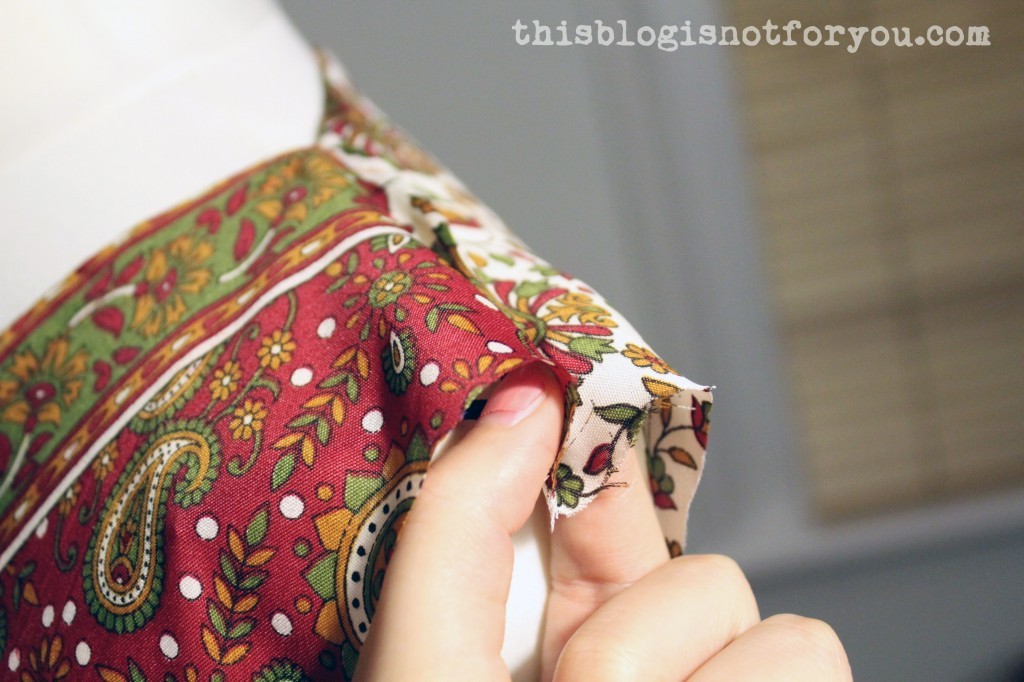
Looks much better, right?
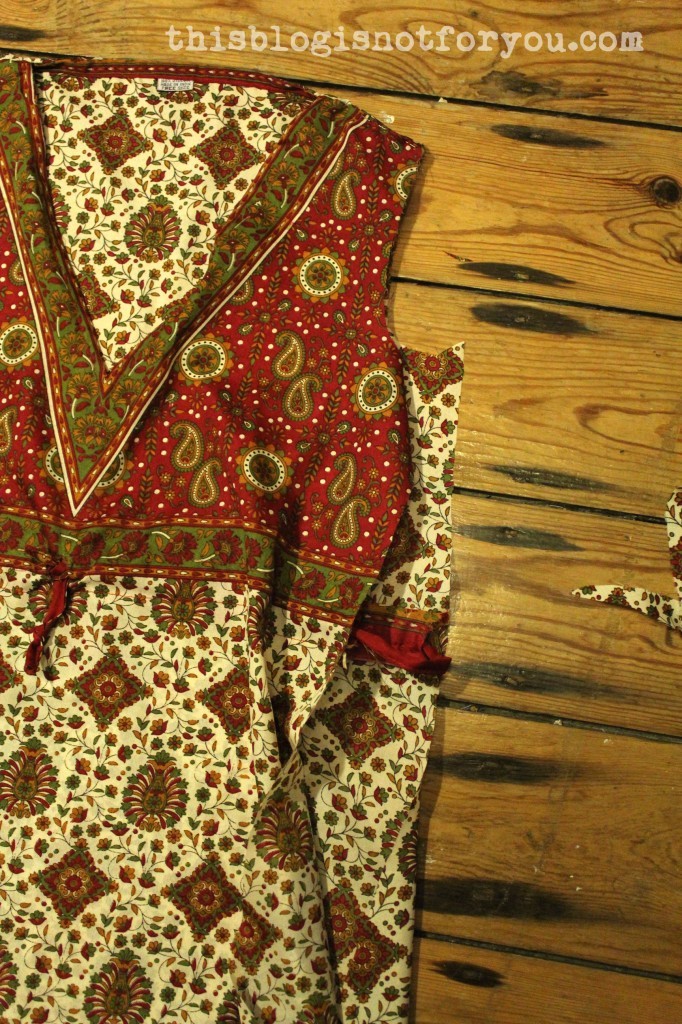
I then cut off the side seams to give the dress a more A-line-like shape. Clever me made sure to cut them off in a way that allowed me to keep the drawstring casing (If you read the Beach Dress tutorial, you hopefully know what I mean).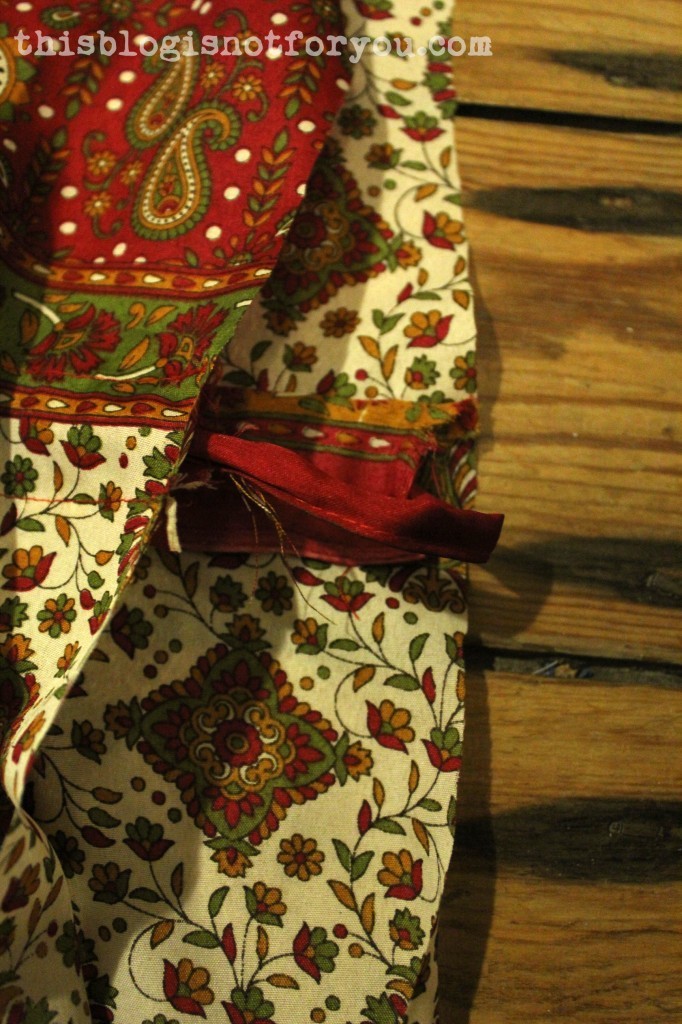
The quickest way to make both sides symmetrical is to simply fold over the dress at the center line and use the altered part as template.
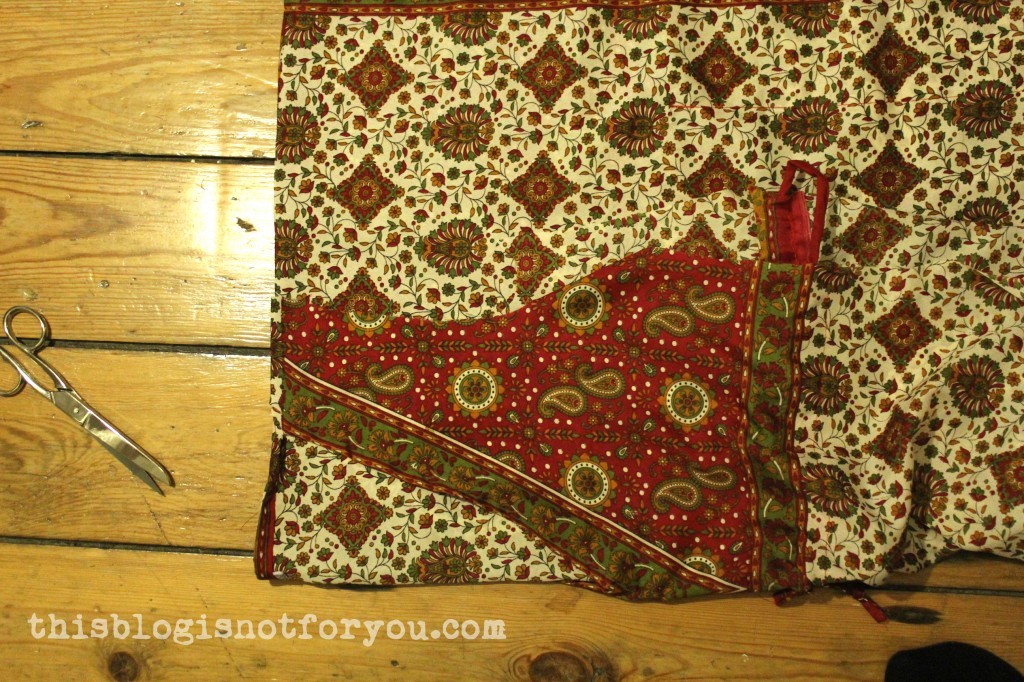
Chop, chop!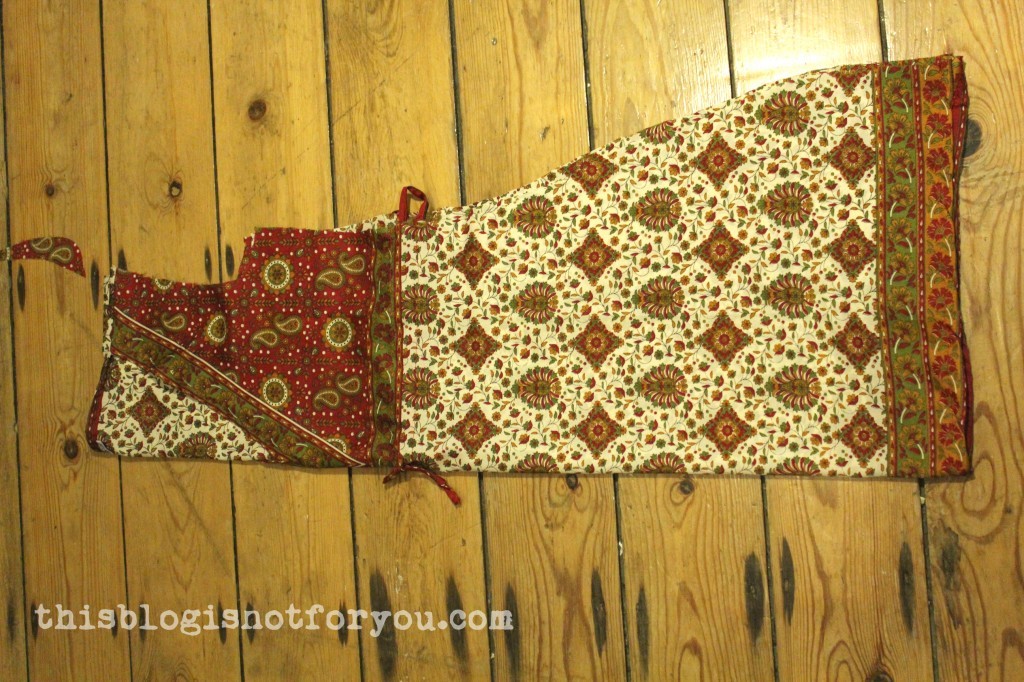
Keep the hem and remnants! I used them to make bias binding for the armscye.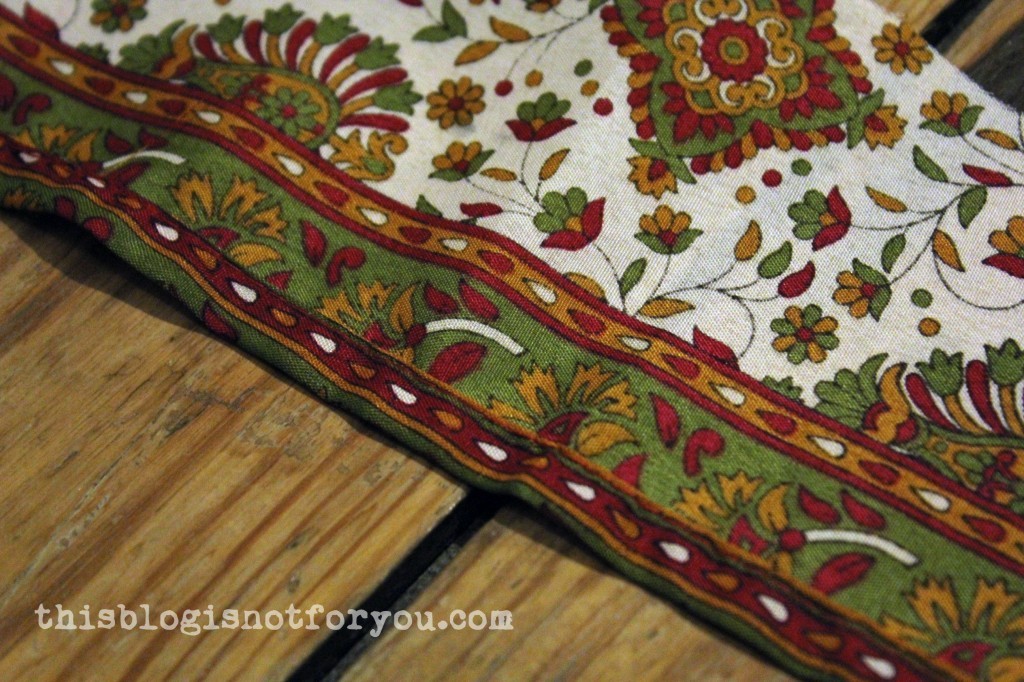
I cut off approximately 2cm/1inch wide strips including the already hemmed part. For proper bias binding you usually cut the strips on the bias, but I was really lazy lazy and also wanted to make use of the already hemmed edges.
I pinned the strips onto the armscye part, right sides facing.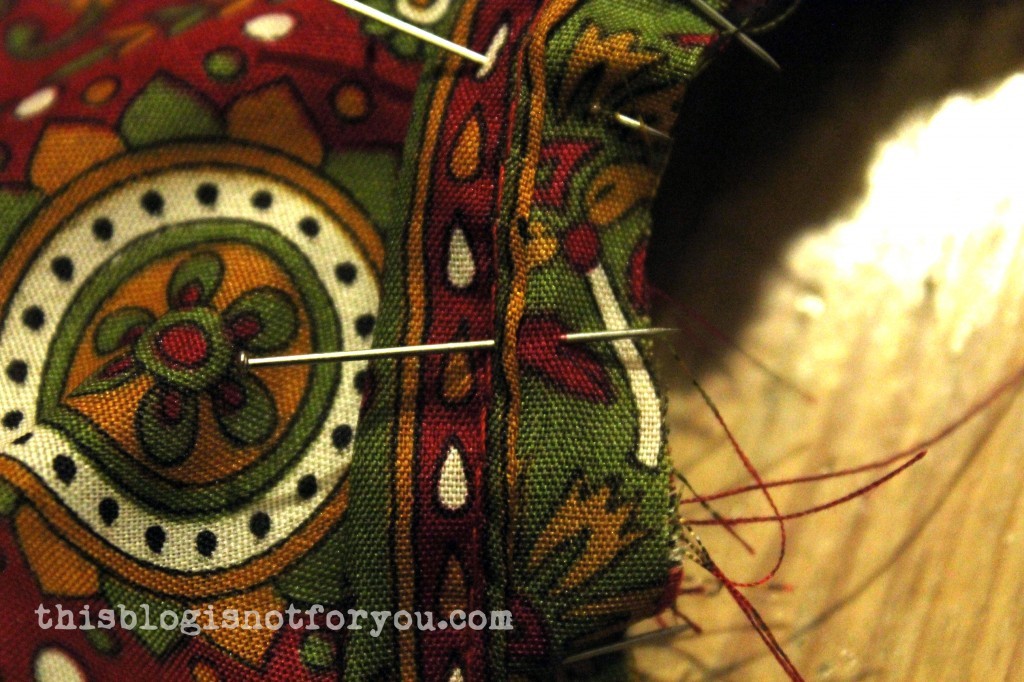
After sewing the binding onto the fabric I trimmed the raw edges and then, first folding them over and thereby enclosing the raw edge, topstitched the binding onto the right side of the dress.
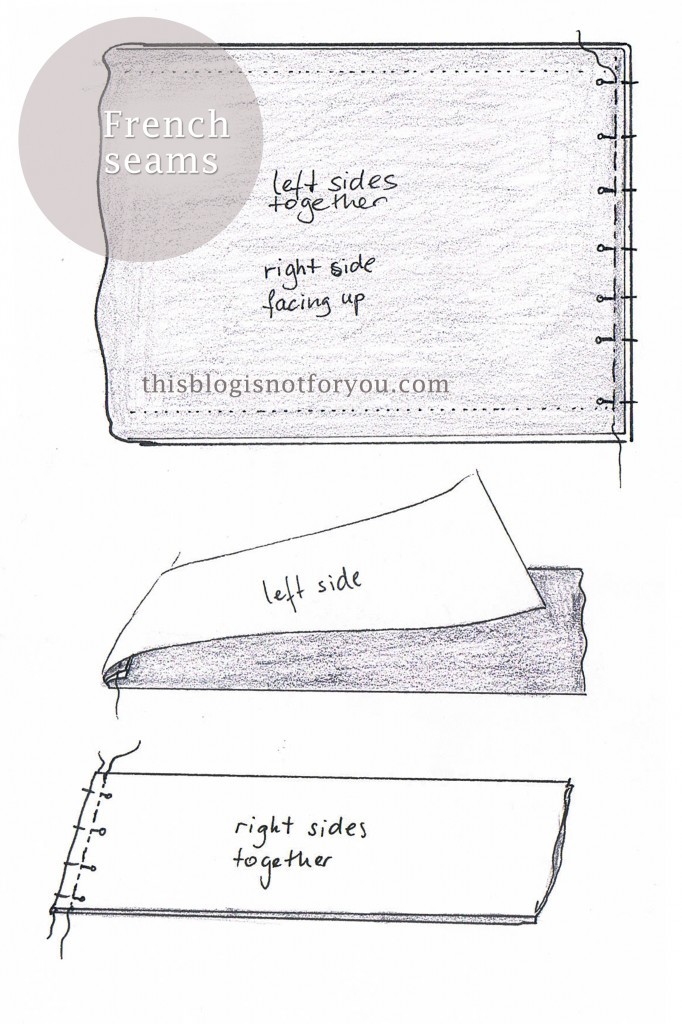
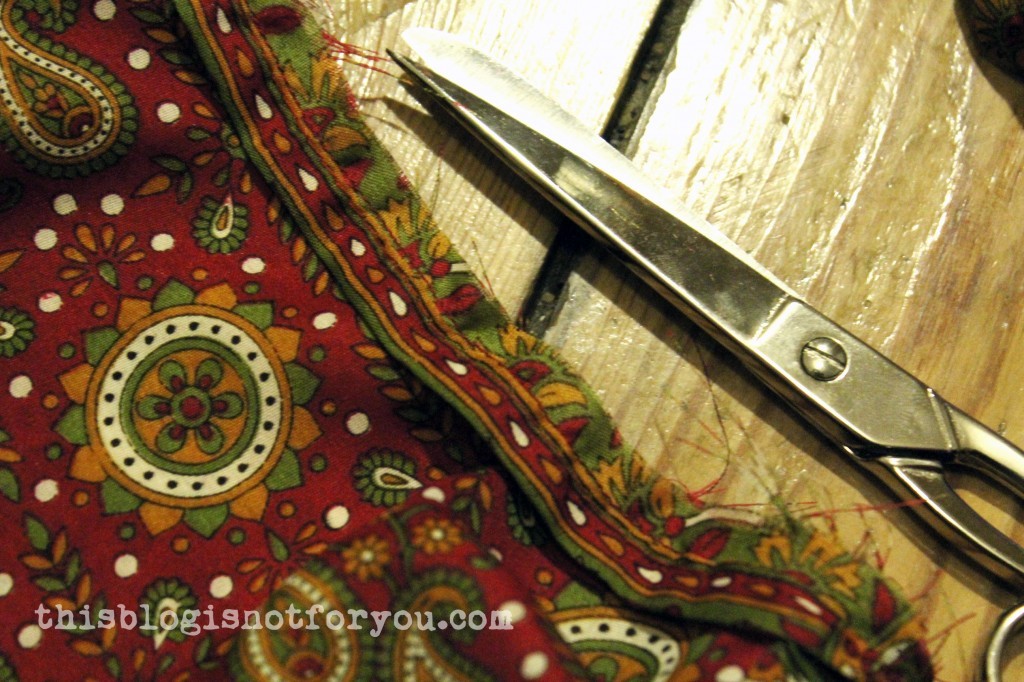 I finished the side seams using the french seam technique where you first sew left sides together with a very narrow seam allowance. After pressing, you fold the fabric over, press again and sew the seams right sides together with a wider seam allowance, thereby enclosing all the raw edges. This technique is super useful when dealing with fabric that frays like crazy (this one did).
Sleeve-less dress done!
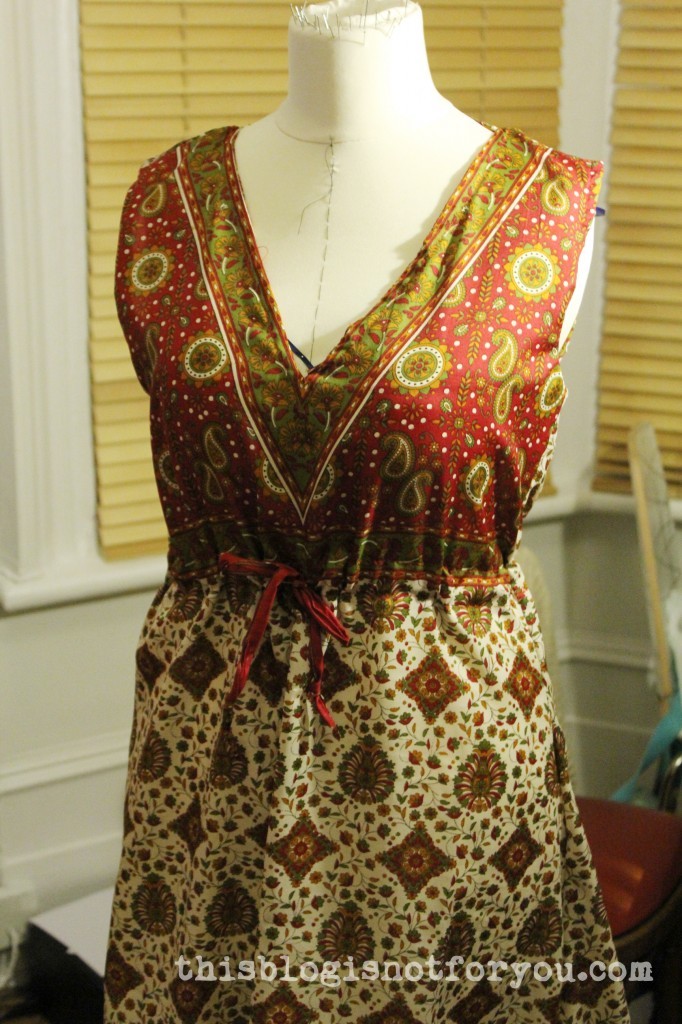
It’s still super comfy and mum loves it. What more could one want?
facebook/bloglovin/pinterest
Stay in touch!

Great job! I love the use of the excess fabric to make binding, so resourceful 🙂
Freya May x
Brilliant. You’re brilliant! To me, refashions are harder than a complete garment. You always make it look so easy! I have this fabulous too small Betsey Johnson that I’ve been wanting to take the scissors to forever…but I’m too chicken! Thanks for the inspiration…soon, I’ll make an attemp!