Get the look: Pleated Skirt with Suspenders and Vintage Trim Tutorial – no pattern needed!
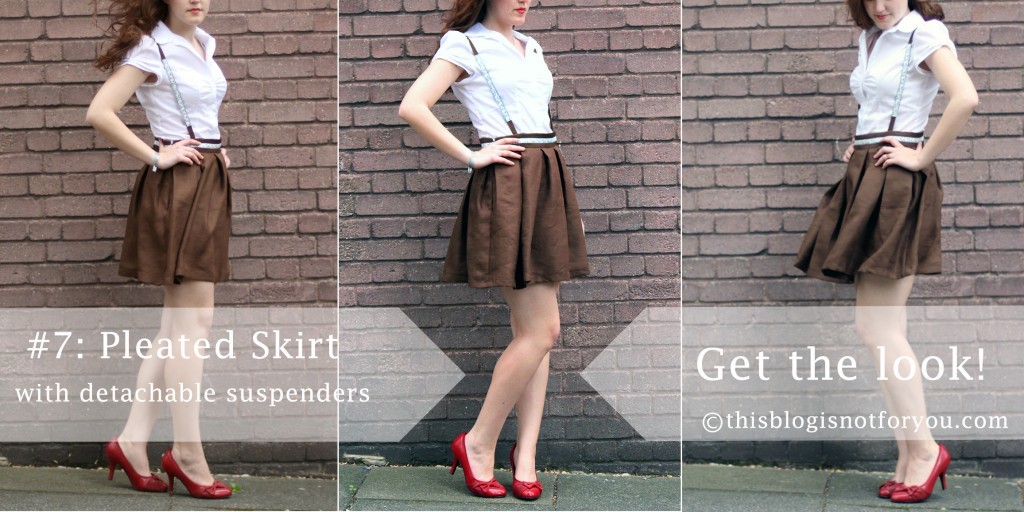
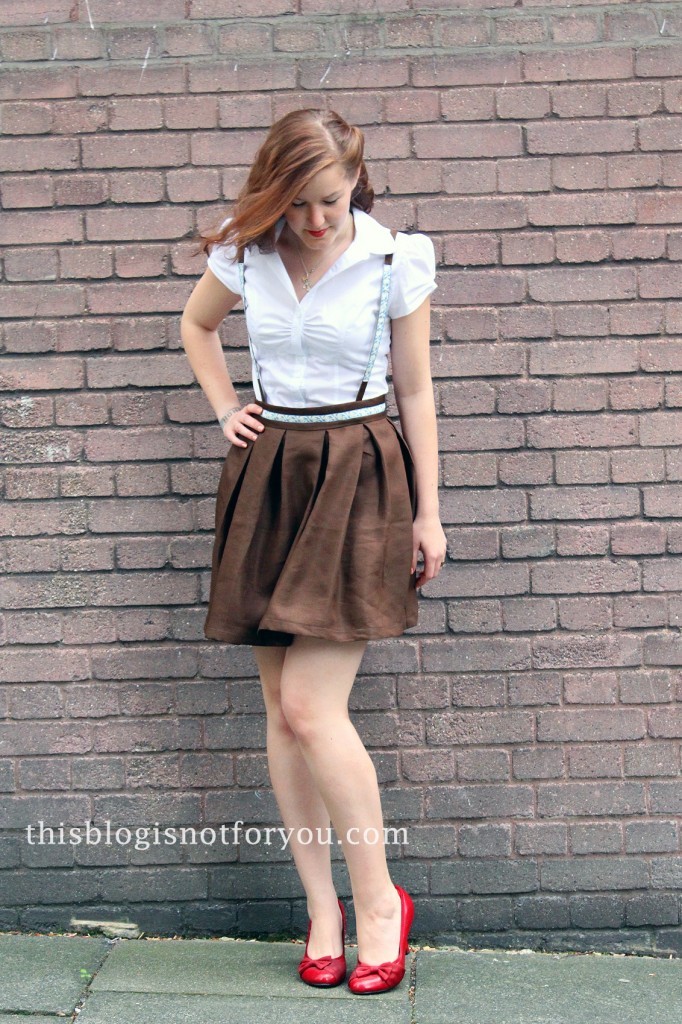
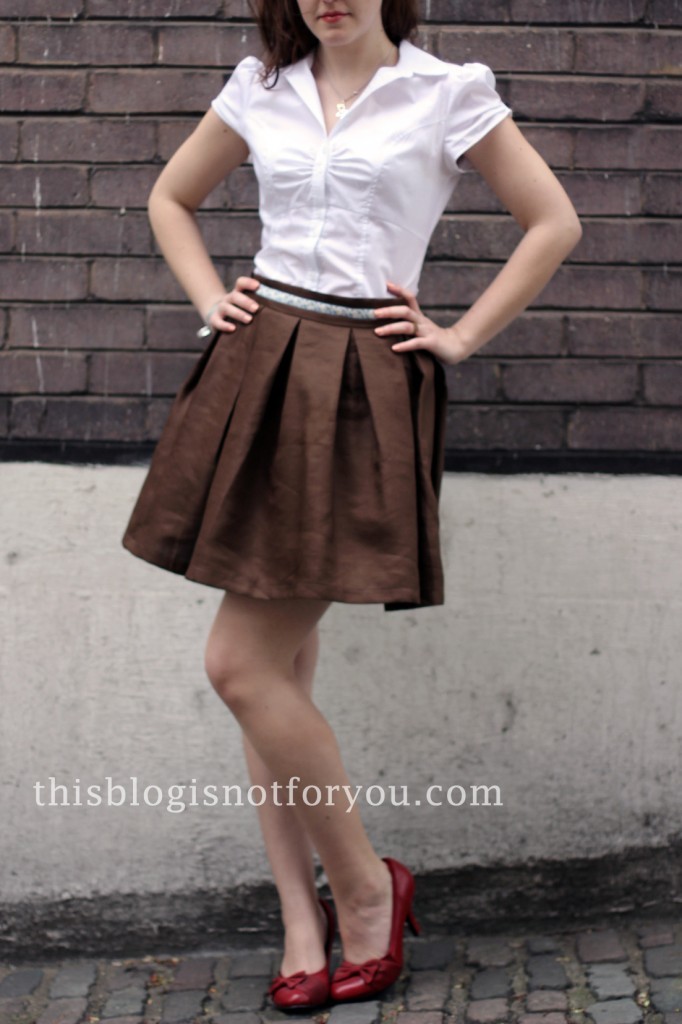
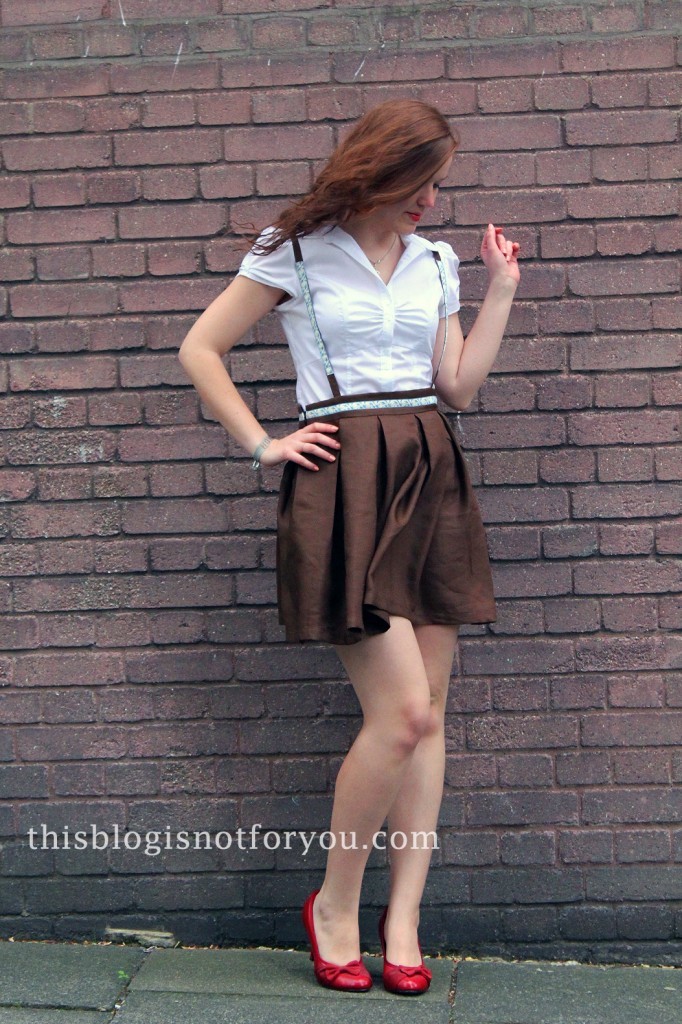
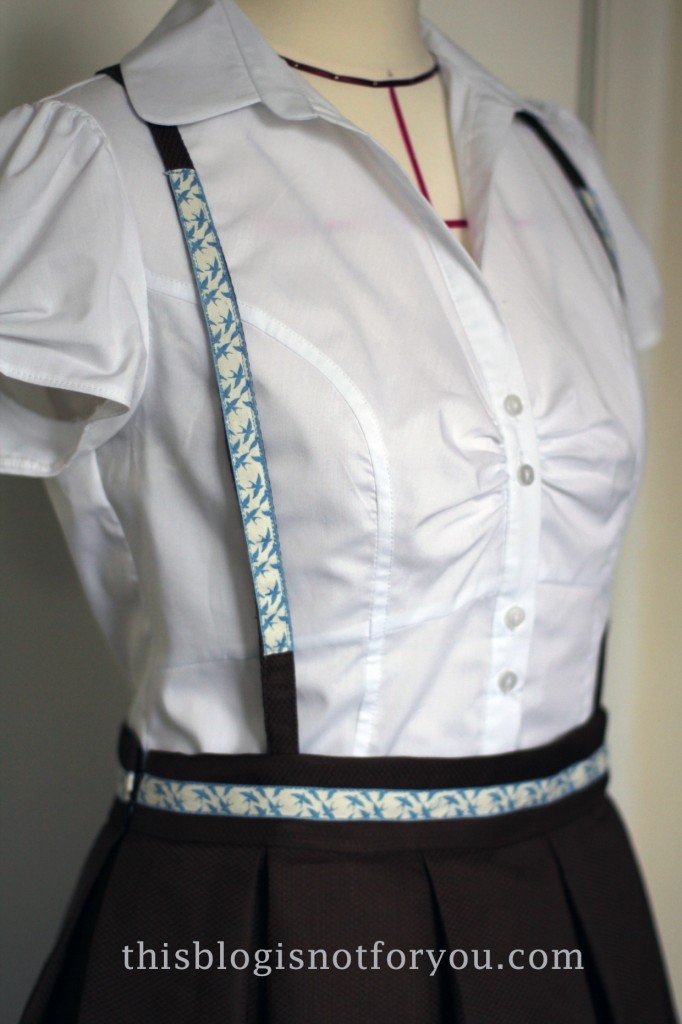
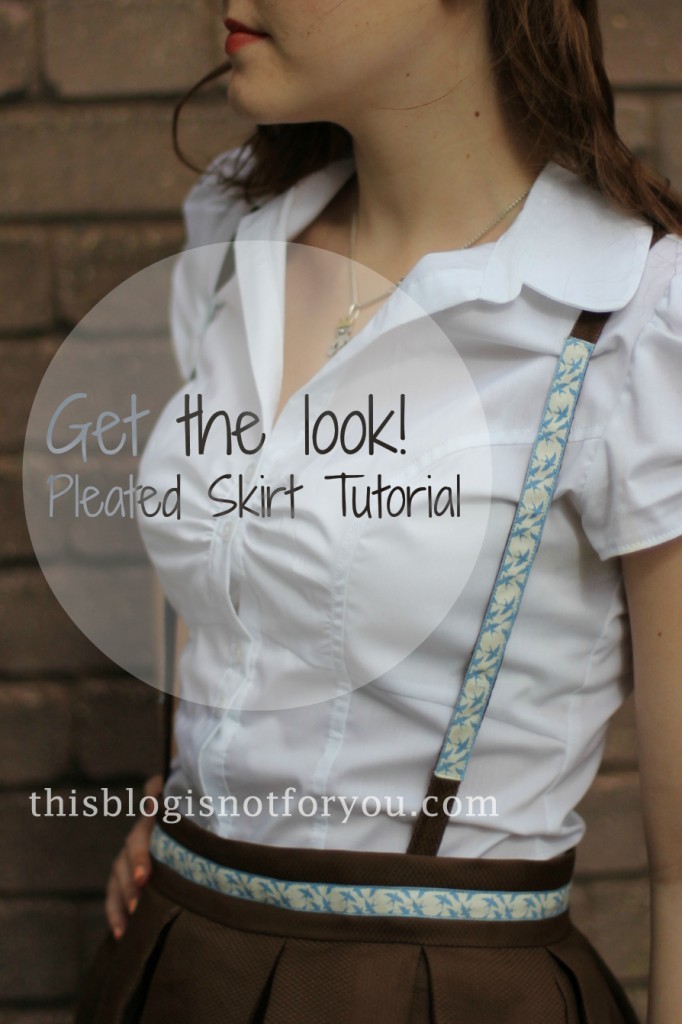 As promised, here’s the tutorial for the pleated skirt and suspenders I made on the weekend.
It’s a fairly easy sewing project and you won’t need any special skills to tackle it. The trickiest part is probably inserting the invisible zip, but this post also includes a tutorial on how to do it. So no worries, your skirt will turn out to be awesome! Let’s get cracking!
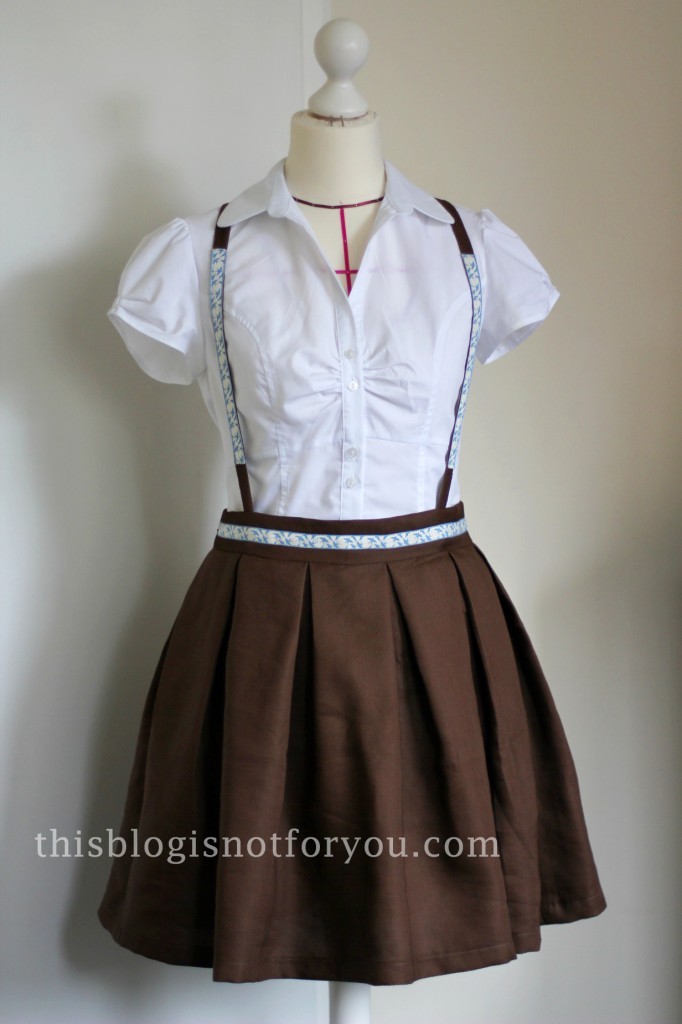
You won’t need a pattern to make this skirt.
All you need:
– fabric (about 1m/40” wide and 1,5/60” long, depending on your waist measurements and the length of the skirt you prefer)
– invisible zip (ca. 25cm/10” long)
– trim (1,5-2m/60-80”)
– elastic band, 4 buttons
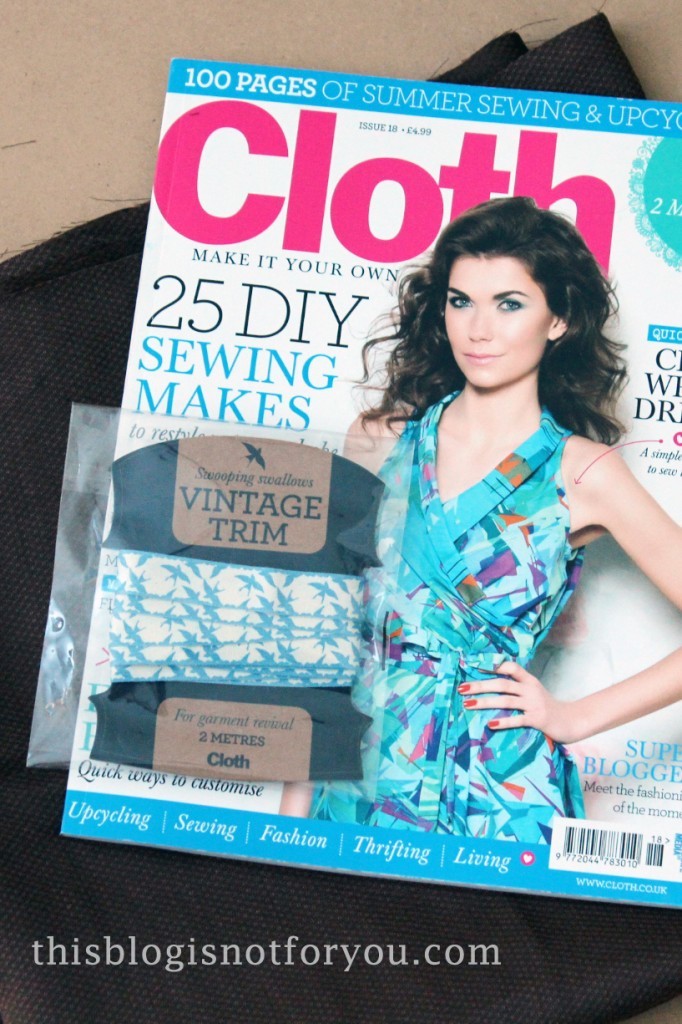
The trim I used is from the newest Cloth issue 18:
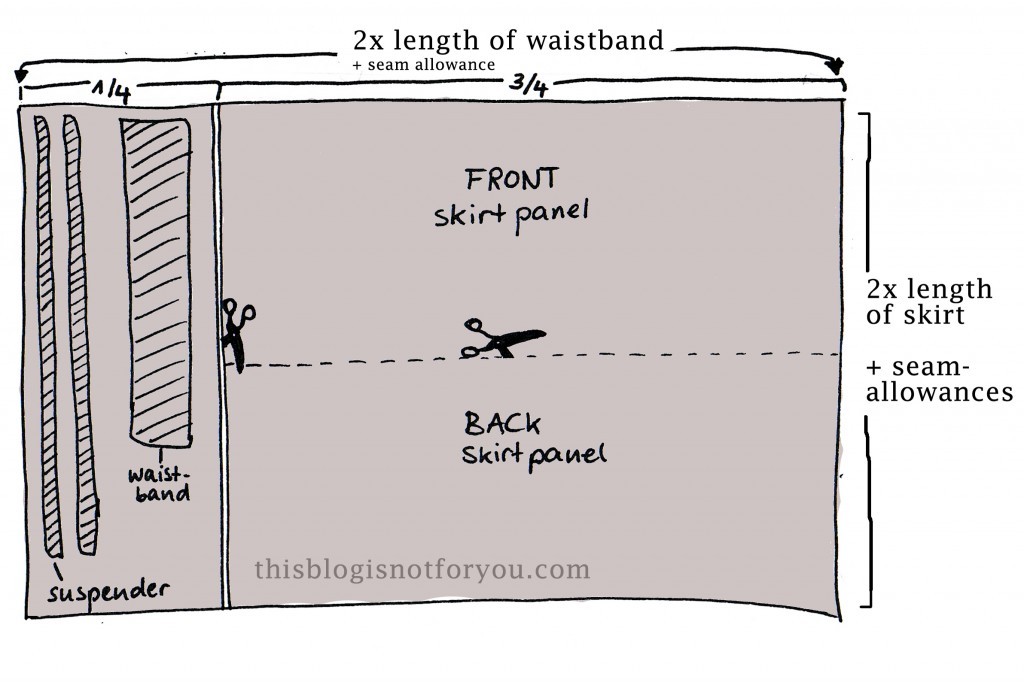
 For the skirt you need fabric that is about two times as wide as the width of your waistband.
So first you need to decide how high you want your skirt to sit. Mine is a bit lower than my waistline. Measure the circumference of the part of your body where you want the skirt’s waistband to sit (and don’t forget to add about 2cm/1” of seam allowance on each side before cutting out!)
Use this as reference for the following calculations (the picture below also makes it much clearer):
– The length of the skirt panels is three times as wide as half the length of your waistband. For instance, the length of my waistband (excl. seam allowance) is 75cm. So each skirt panel will be gathered into half the length of the waistband, so 37.5cm.
Since we are making ‘box pleats’ we need three times as much fabric, so 37.5 x 3 = 112.5
If your fabric is wide enough, simply cut it in half two get your front and back panel. The top seam allowance of the skirt panels equals the width of the waistband (mine is 4cm).
To make the waistband and suspenders we don’t need a lot of fabric.
My waistband is 4cm wide. Since you need to fold it over later on, the overall width is 8cm plus seam allowance.
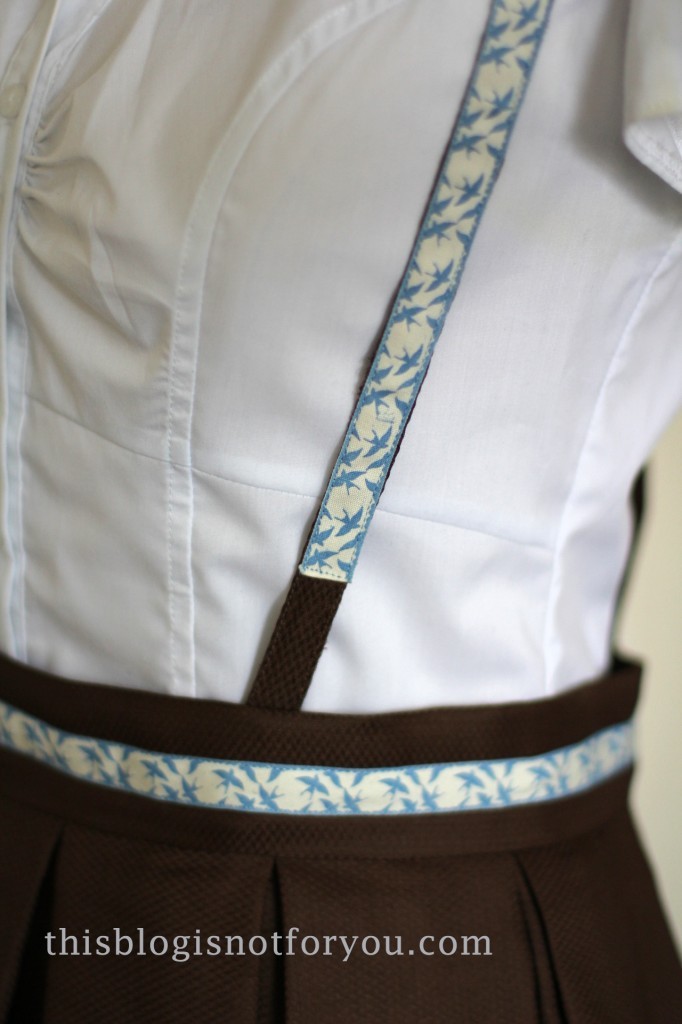
I made the suspenders rather narrow and used strips of each 4cm width (1,5cm wide + 0.5 cm seam allowance, so they are in the end of the same width as the trim).
When you’re done with all the calculations and cutting, start sewing together one of the skirt panel’s side seams (we have to first insert the zipper, before we can do the same with the second side seam).
When you don’t have a serger, but want to have neatly finished seams, what you can do is use a french seam.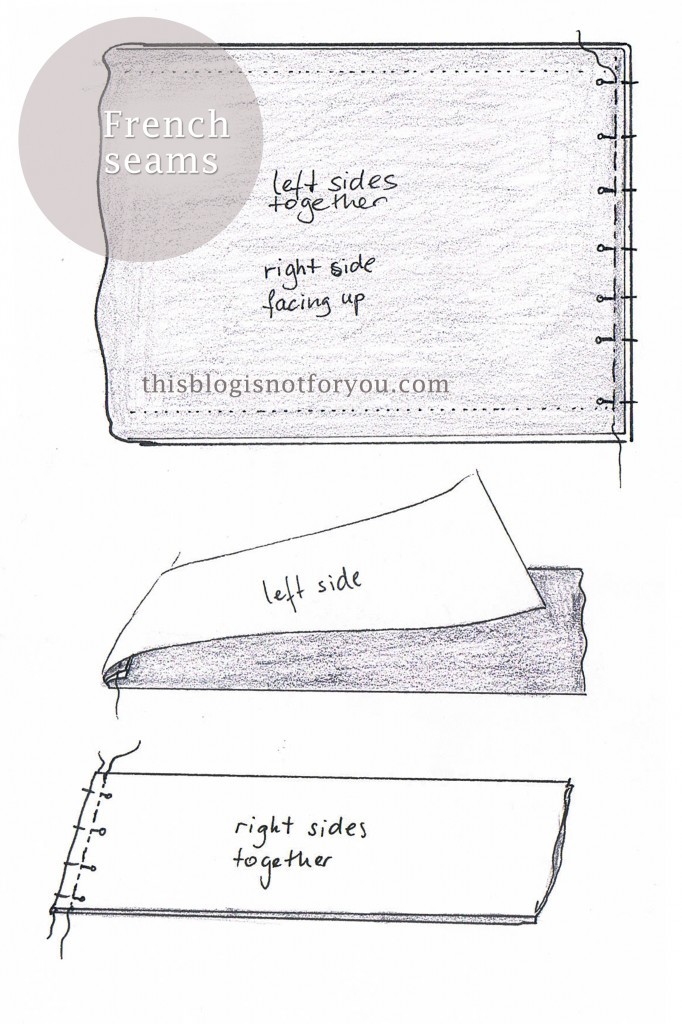
Place the skirt panels on top of each other, left sides together, to the right side are facing out. (If you’re a sewing novice: the right side will be the side of the fabric that will be on the outside later on).
Sew them together using a very narrow seam allowance (half of what you normally use). I used 5mm.
Then fold them over, so that the right side are together and the left side are facing out. The raw edge is now between the two layers of fabric. Press the seam. Now sew another stitch to the left of the raw edge (which is now hidden between the two layers).
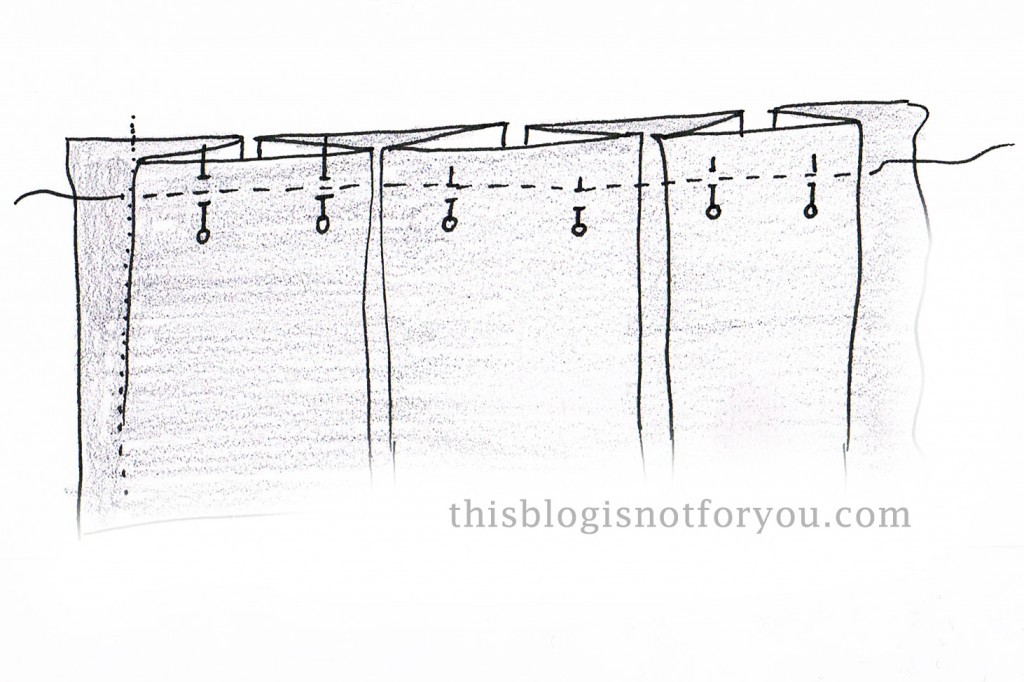
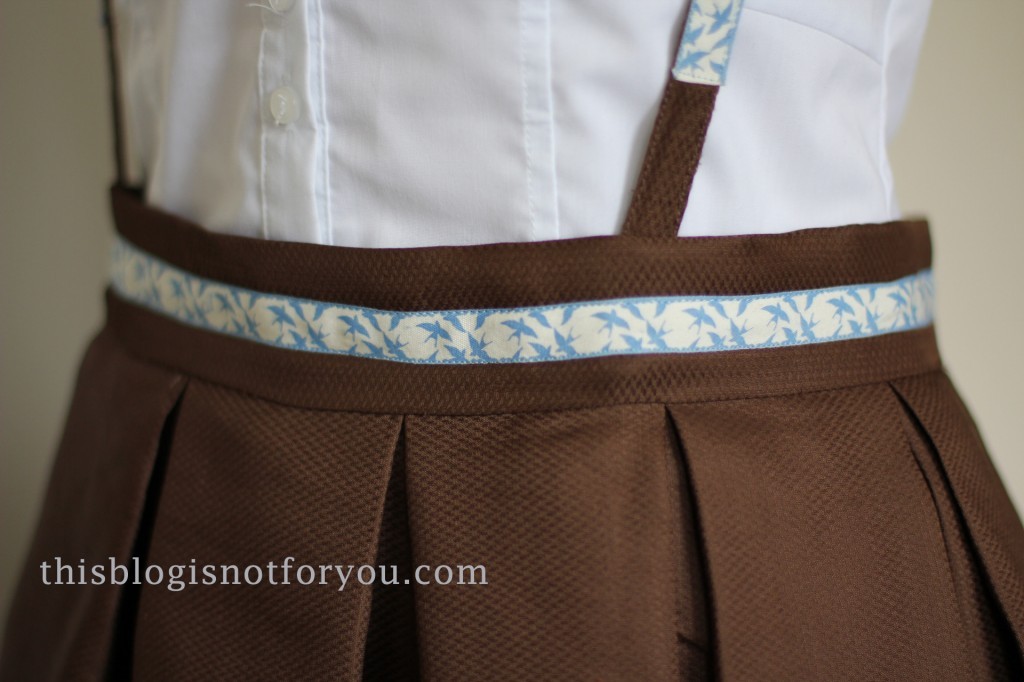
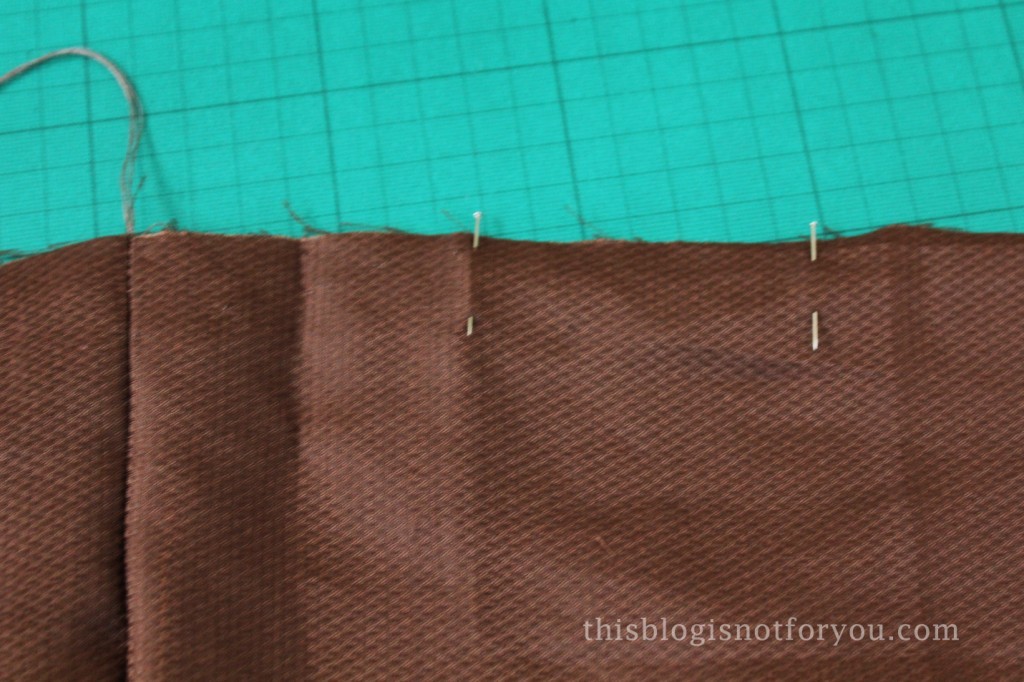 Now you gather the skirt panel by neatly folding them into even box pleats.
You first have to determine the width of each pleat. I wanted to have 5 in the front and 5 in the back, so to match my waistband (2x 37.5cm) each pleat has to be 7.5cm wide.
The fabric that is folded back is twice as much, 15cm. Measure and the mark the folds of the pleat with pins.
Here’s how the box pleats are folded.
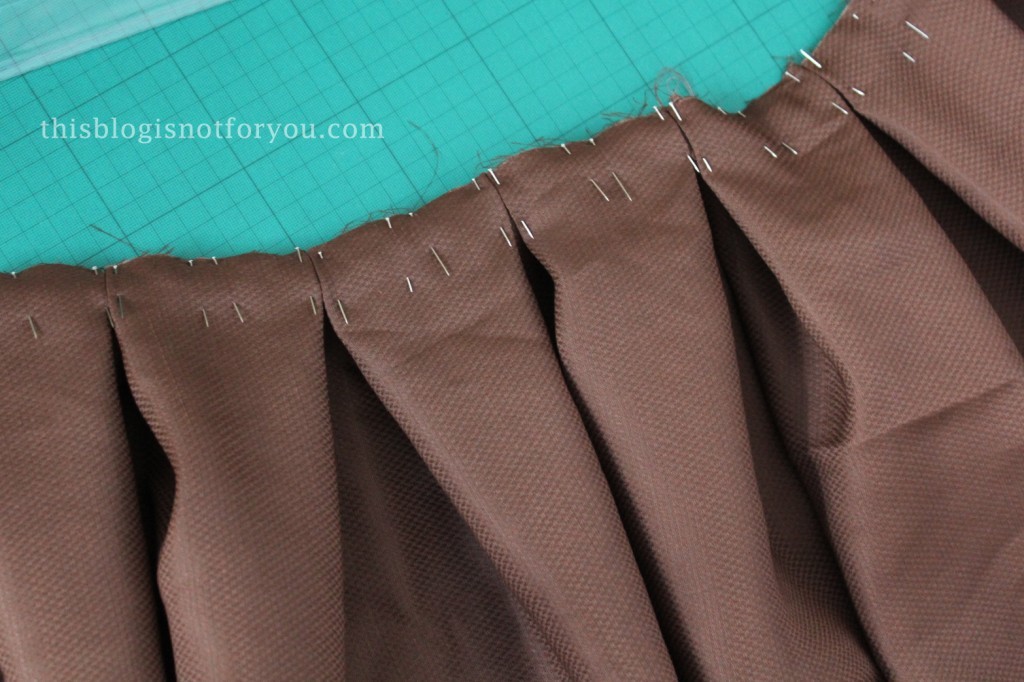
I used quite a lot of pins 🙂 But it’s important that the pleats stay in place to get a neat result in the end.
Now stitch the pleats in place. Normally, you really shouldn’t sew over pins, be careful not to damage your machine’s needle. If you don’t want to stitch over the pins, add a second row of pins to secure the pleats (you will need it anyway later on!).
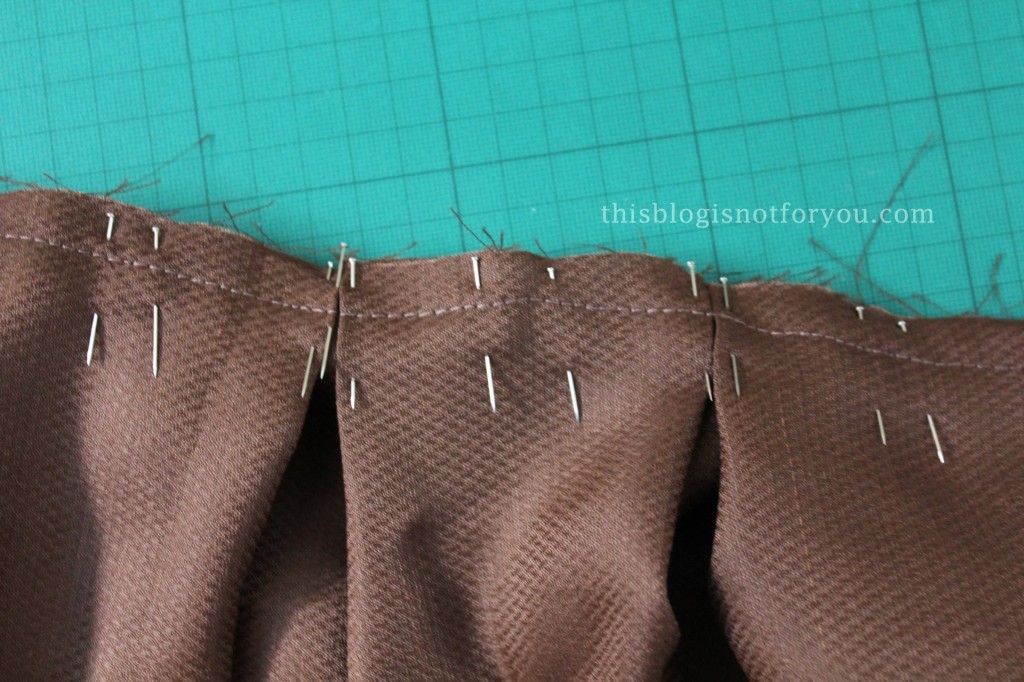
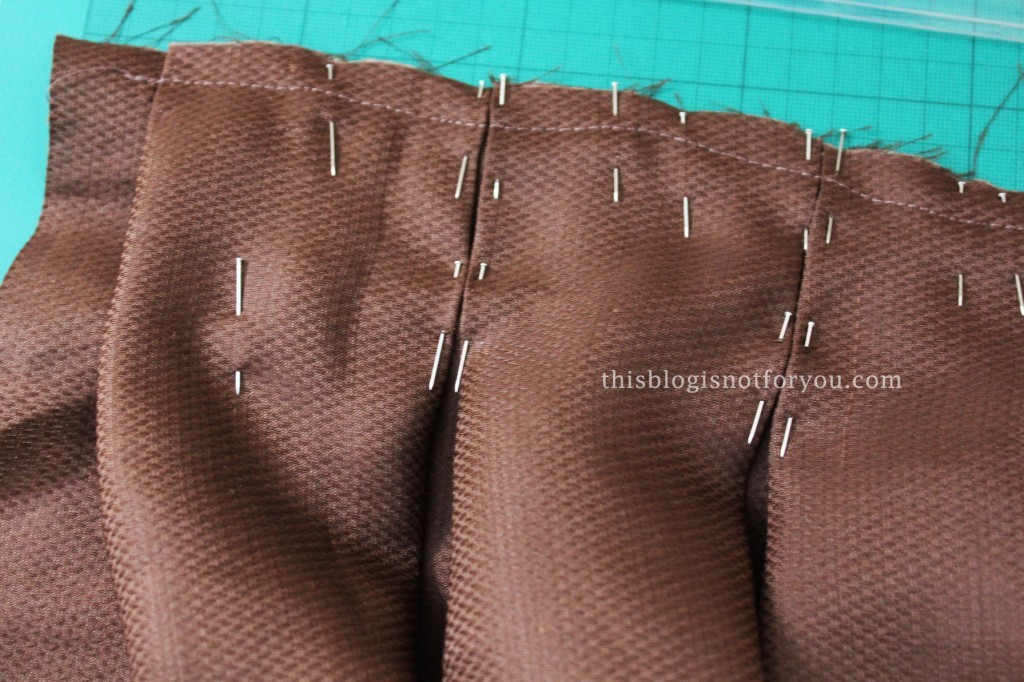
When you’ve stitched the first seam and added the second row of pins, you sew on the waistband.
The second row of pins is important to keep the pleats in place, since the seam of the waistband will be below the seam you just stitched. You could also just press the pleats in place, if you prefer doing that (my fabric was hard to press properly, so I just stuck with the pins).
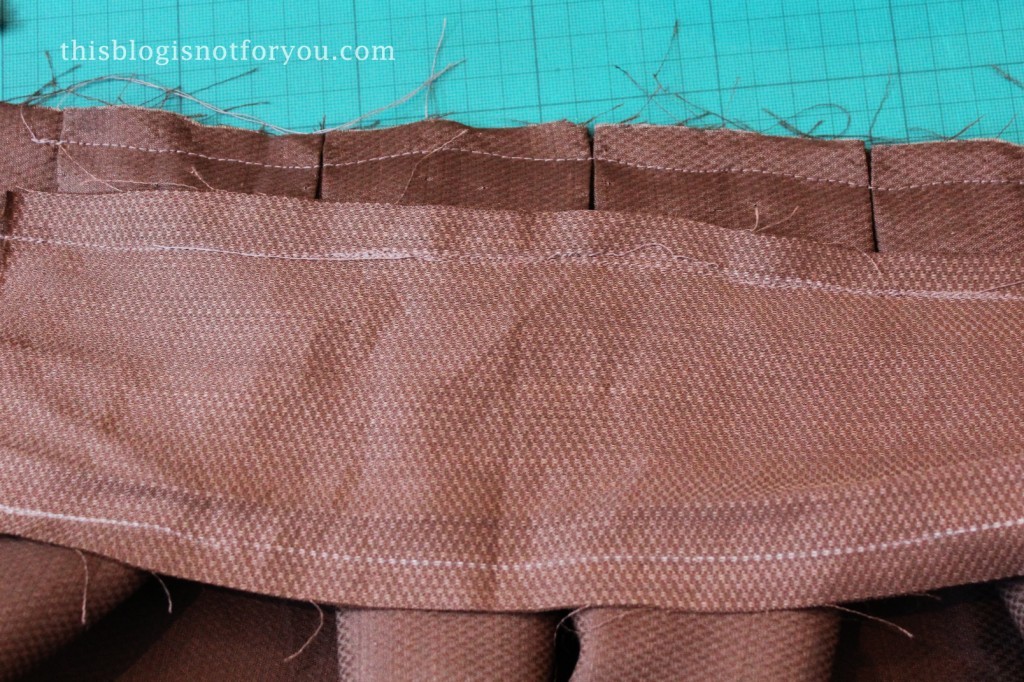
Place the waistband on the gathered skirt panel, right sides together. The seam you stitch has to be as far away from the raw edge as the waistband is wide (4cm in my case. I added 1cm of seam allowance, so the distance between the raw edges is 3cm).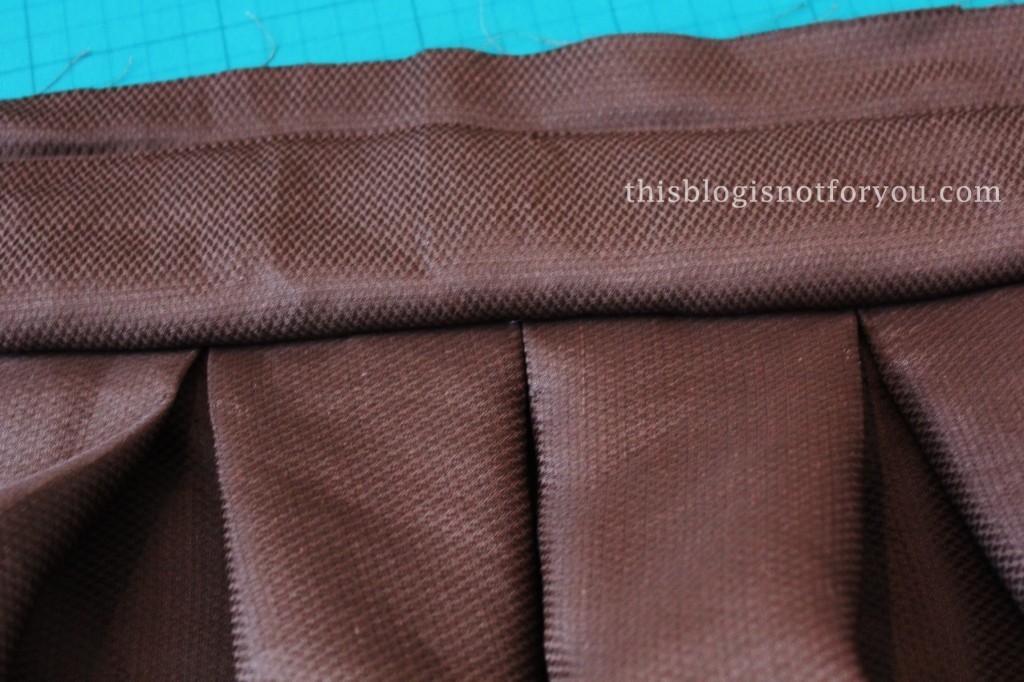
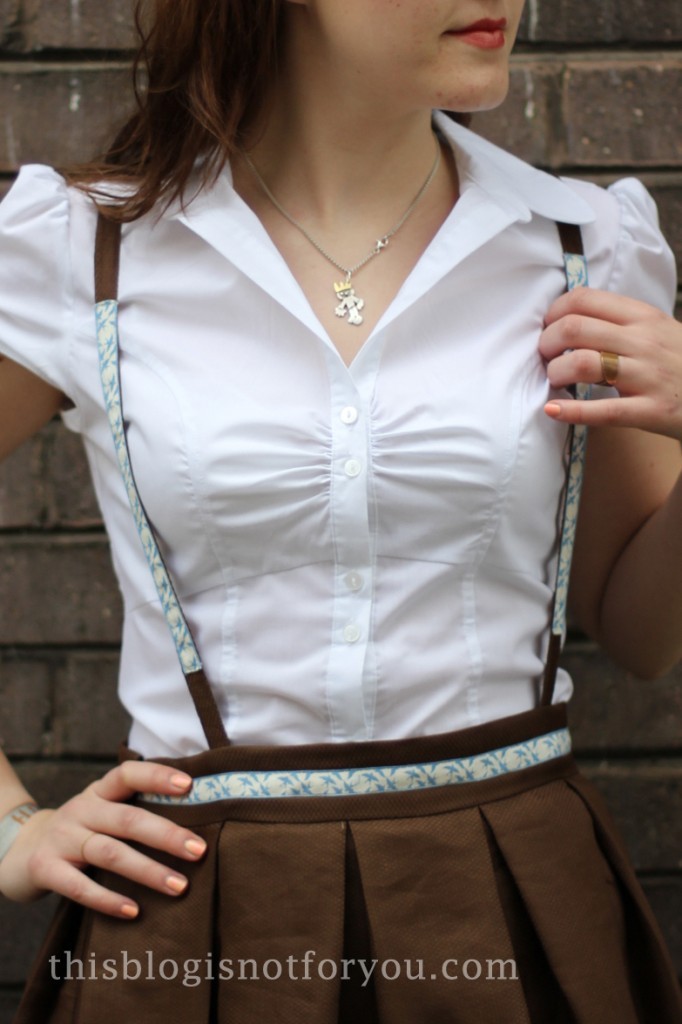
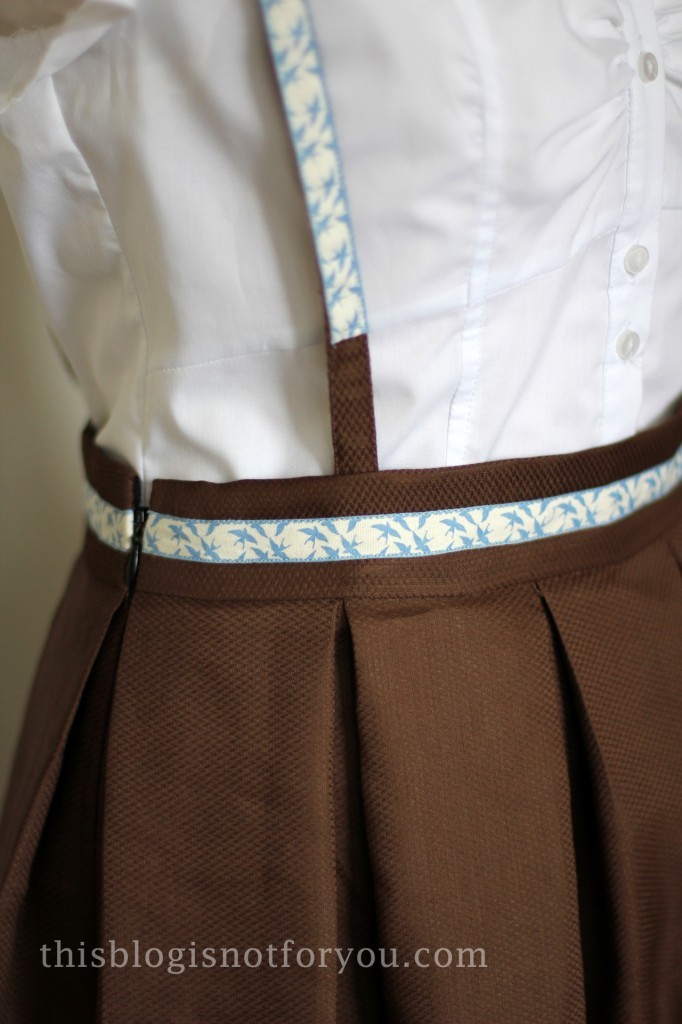
Fold open and press. Then place the trim in the middle and topstitch onto the waistband.
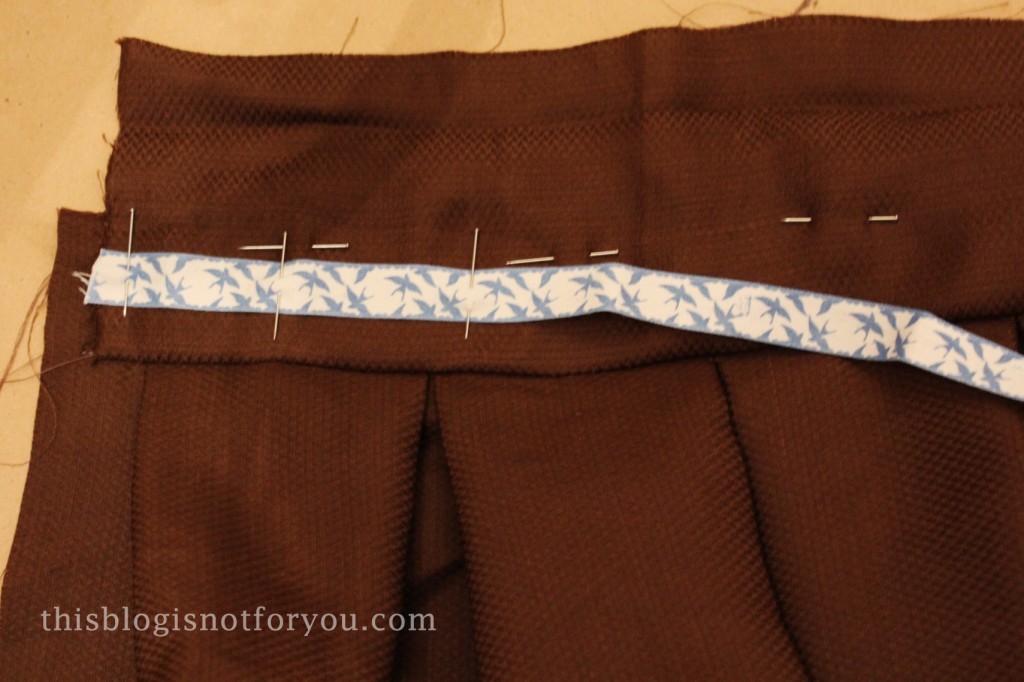
Now the invisible zip: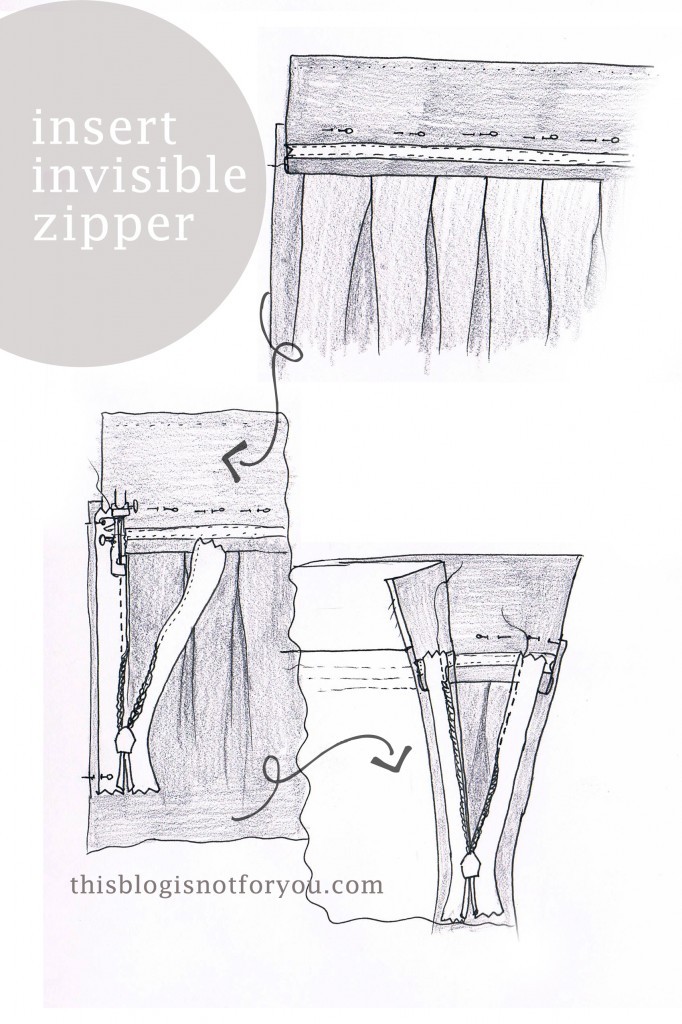
Make sure you close the zipper before pinning and stitching the other half. The seams of the waistband and the edges of the trim have to be in line with each other
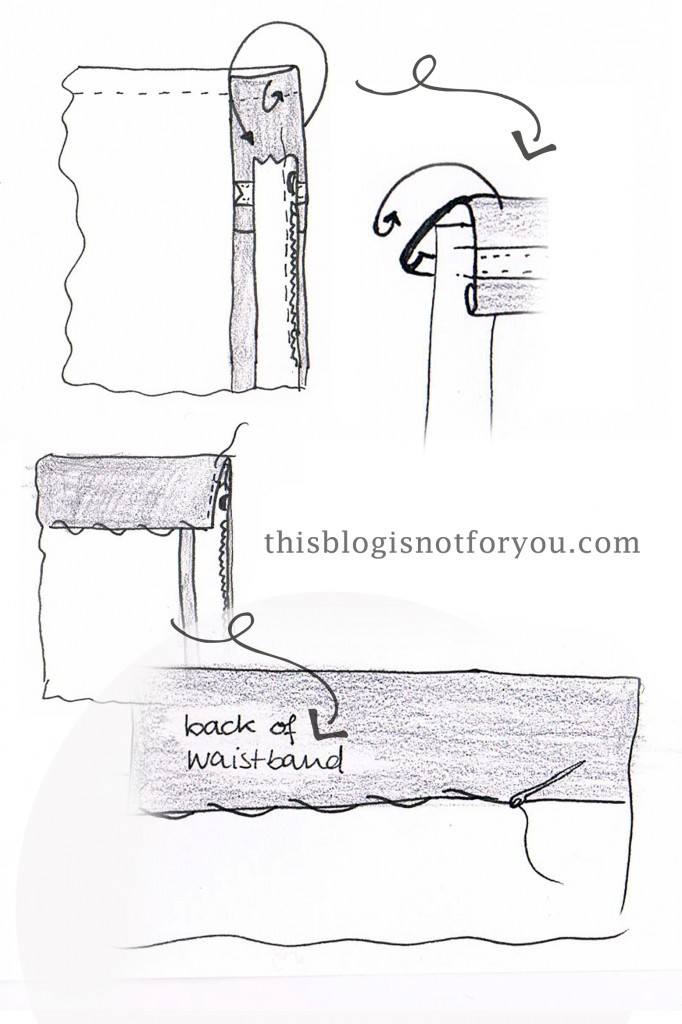
When you’re done, fold and press the upper seam allowance of the waistband. Fold over and handstitch to the zipper and the back of the skirt.
Also, sew the second side seam below the zipper.
Hem your skirt.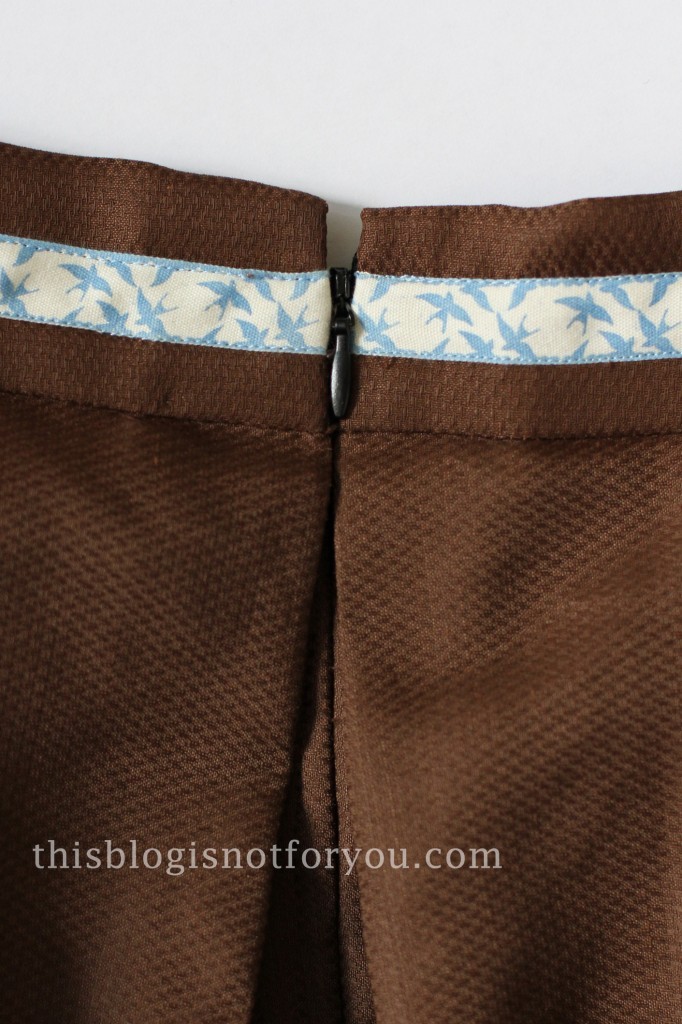
Here you can also see the french seam. It’s quite a nice finish and the raw edge is neatly hidden.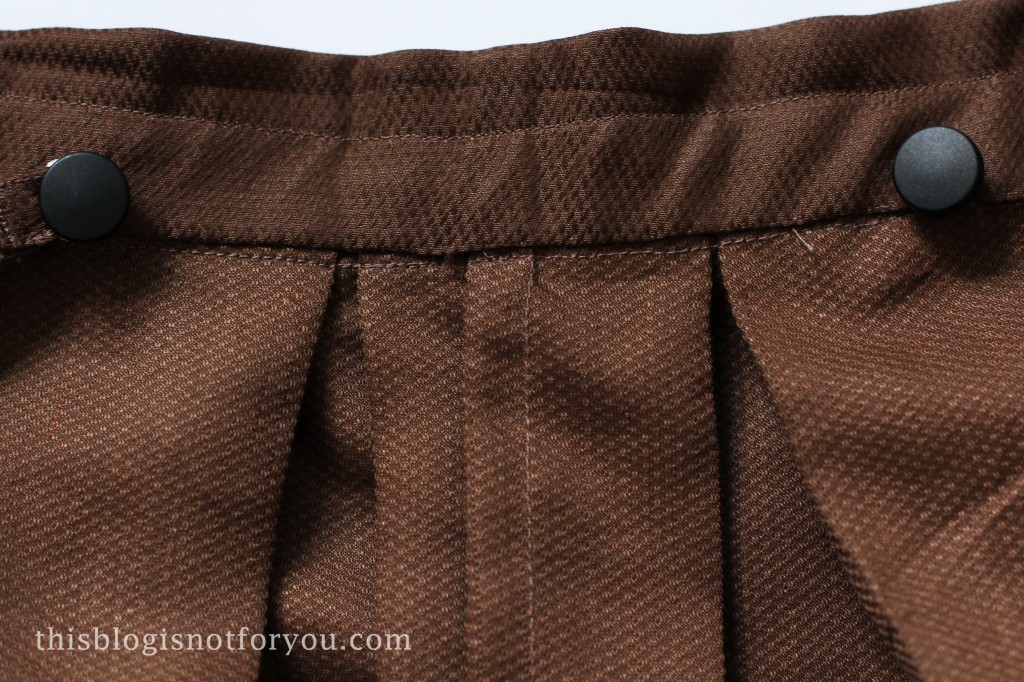
Now it’s time for the suspenders (or braces, for all the London gals 🙂 ).
Try on your skirt and measure the legth of the suspender straps by using your measuring tape. Mine are crossing at the back, keep that in mind while measuring. Add 4cm/2” of seam allowance on both ends.
Mine are 1.5cm wide (as the trim). Using 0.5cm seam allowance I cut out strips of 4cm width. Fold the strips in half, right sides together. Stitch.
Use a safety pin so turn the tubes you now have inside out. Press.
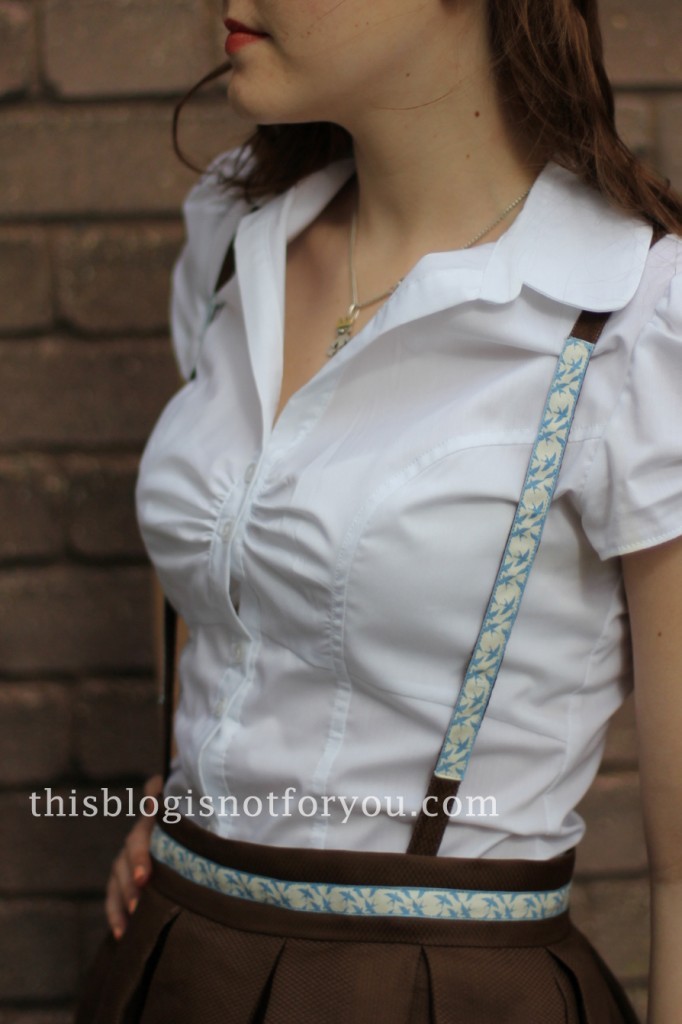
Add the trim and topstitch.
Sew the elastic band into four small loops (matching the size of your buttons).
Pull the end of the strap through the loop and fold over. Hide the ends of the elastic band in the fold and stitch together. Do that on all four ends.
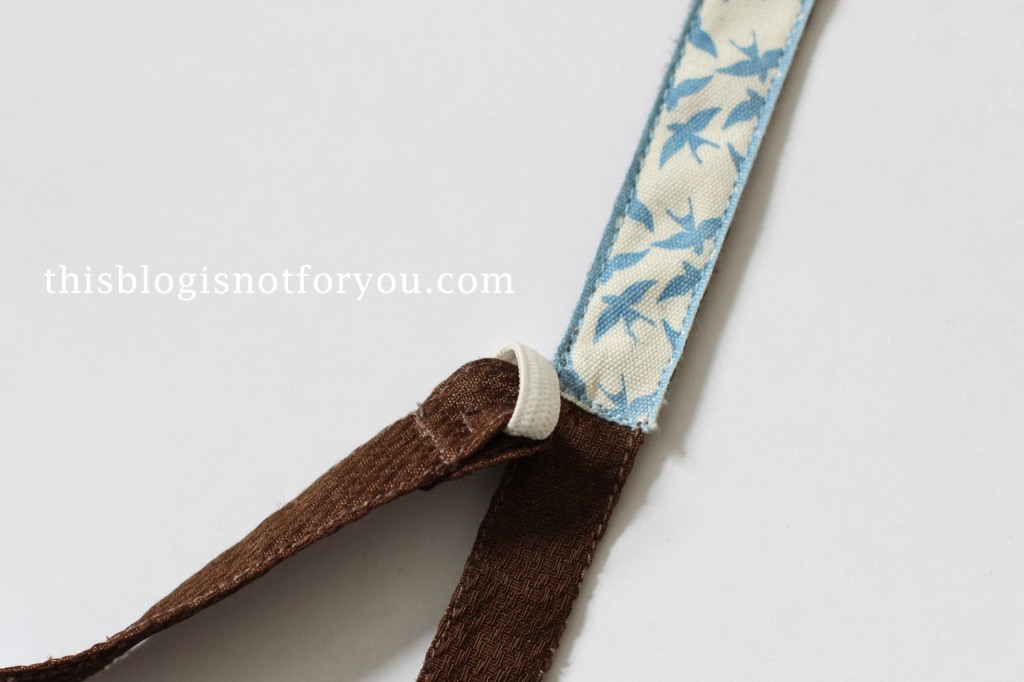 With your skirt on, mark the position of the suspenders and sew on the buttons.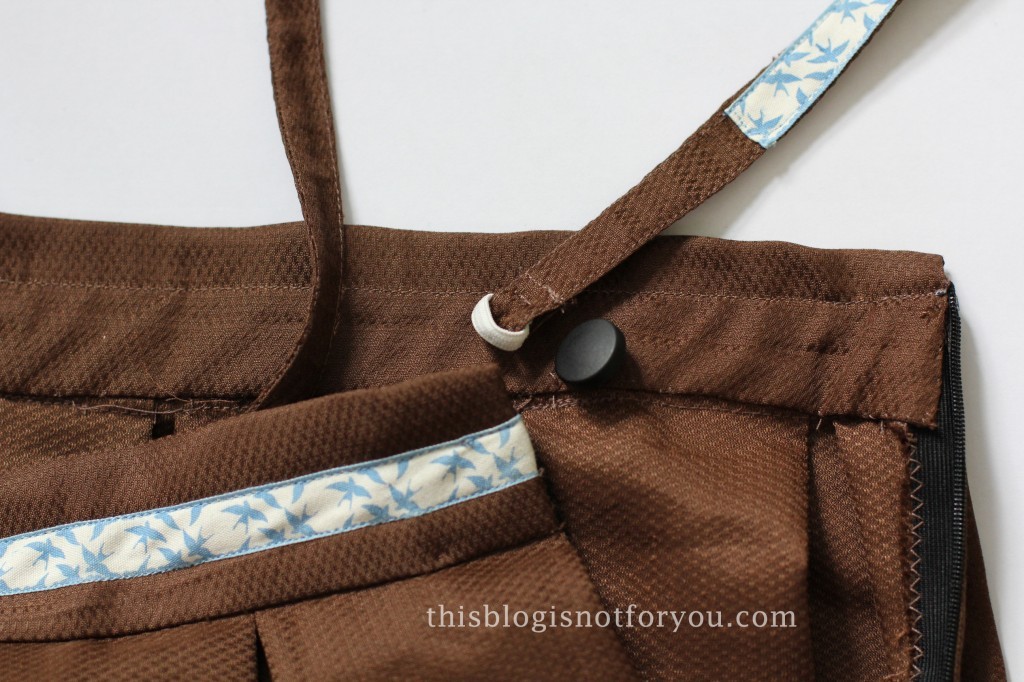
Press your skirt’s hem. I pressed the pleats only half way down to add a little fullness to the skirt.
Et voilá! You’re done! 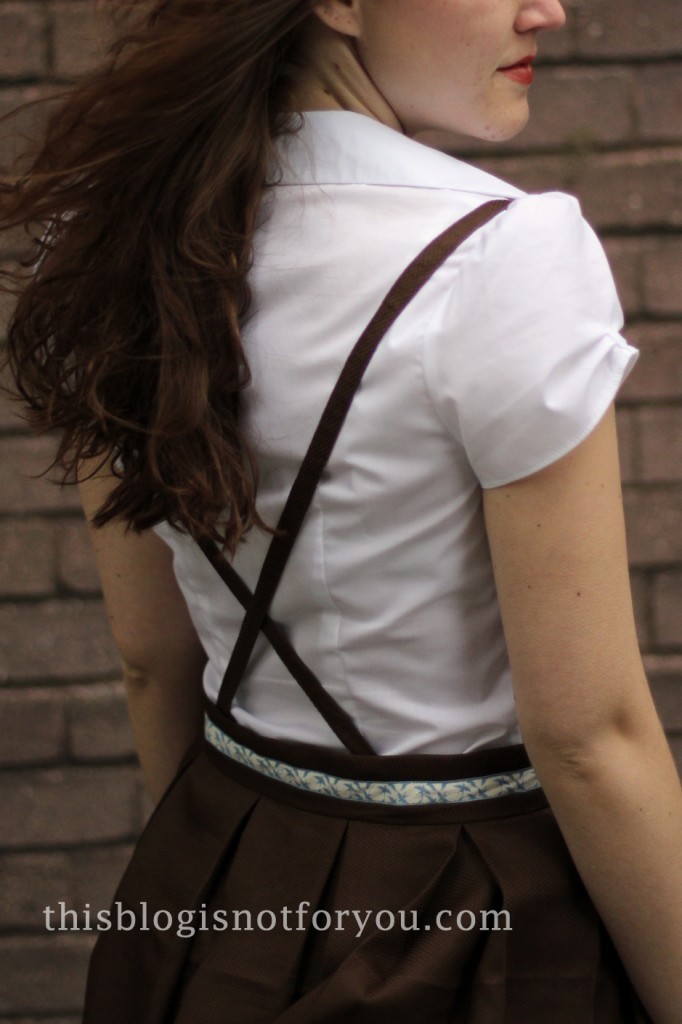
I’d LOVE to see what your skirt looks like! Just send me a picture: hello(at)thisblogisnotforyou(dot)com or upload them on the facebook page!
If you have any questions regarding this tutorial, feel free to ask! x
PS: After writing this post, I noticed that this skirt looks a lot like the Chihiro skirt – so in case you’re into Super High School Level Cosplay and want to dress up as Chihiro Fujisaki feel free to make and wear this skirt! x

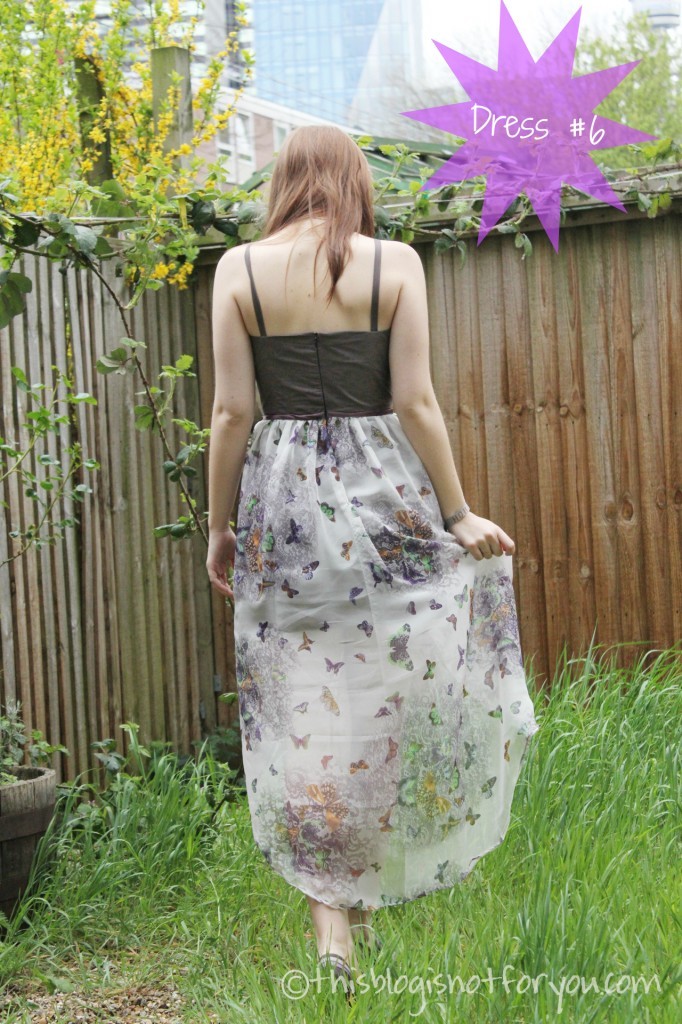
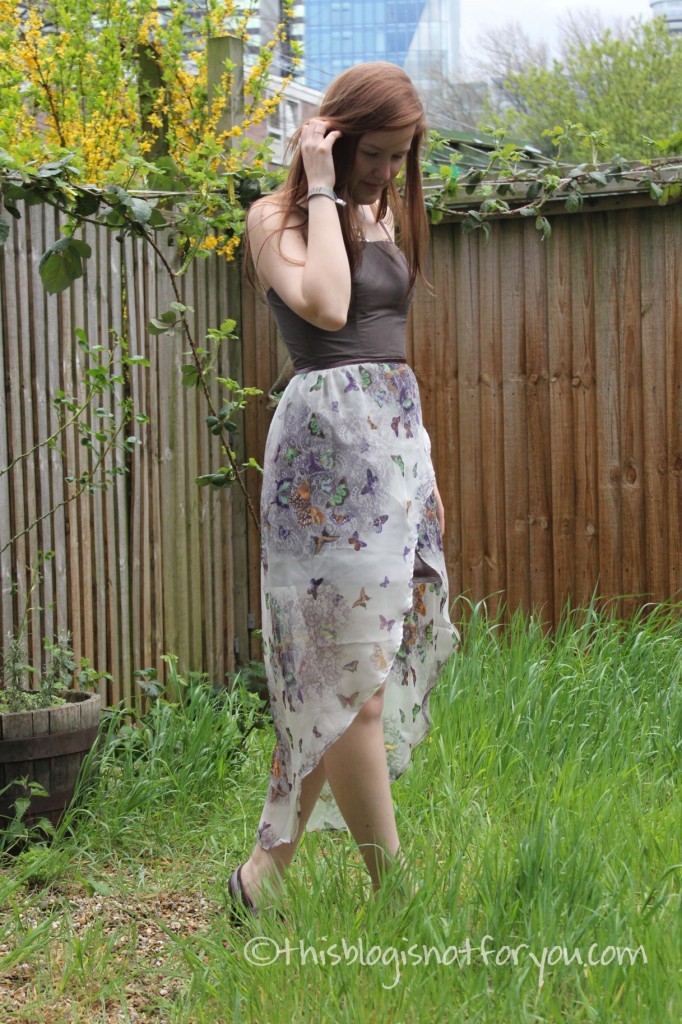
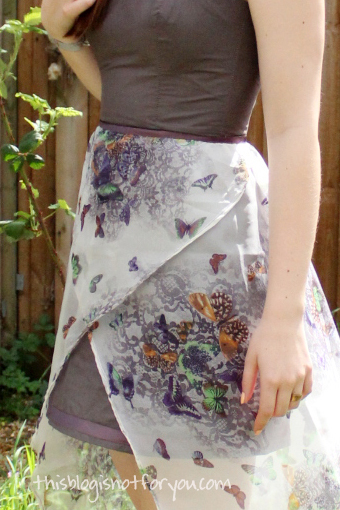
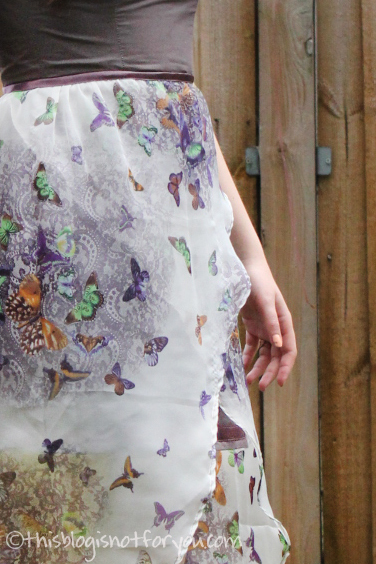
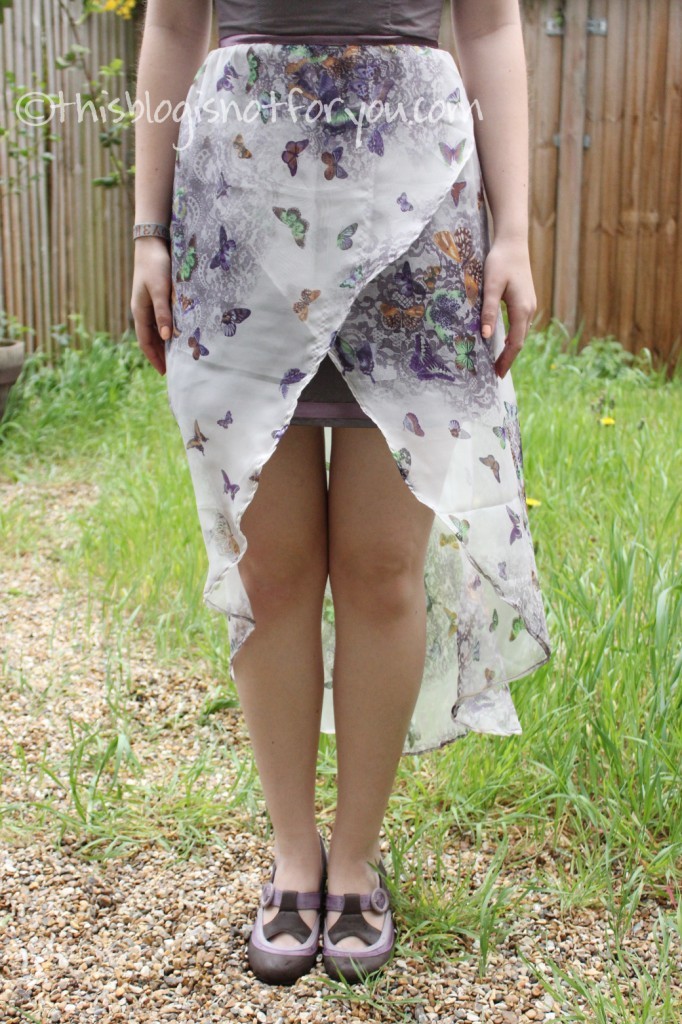
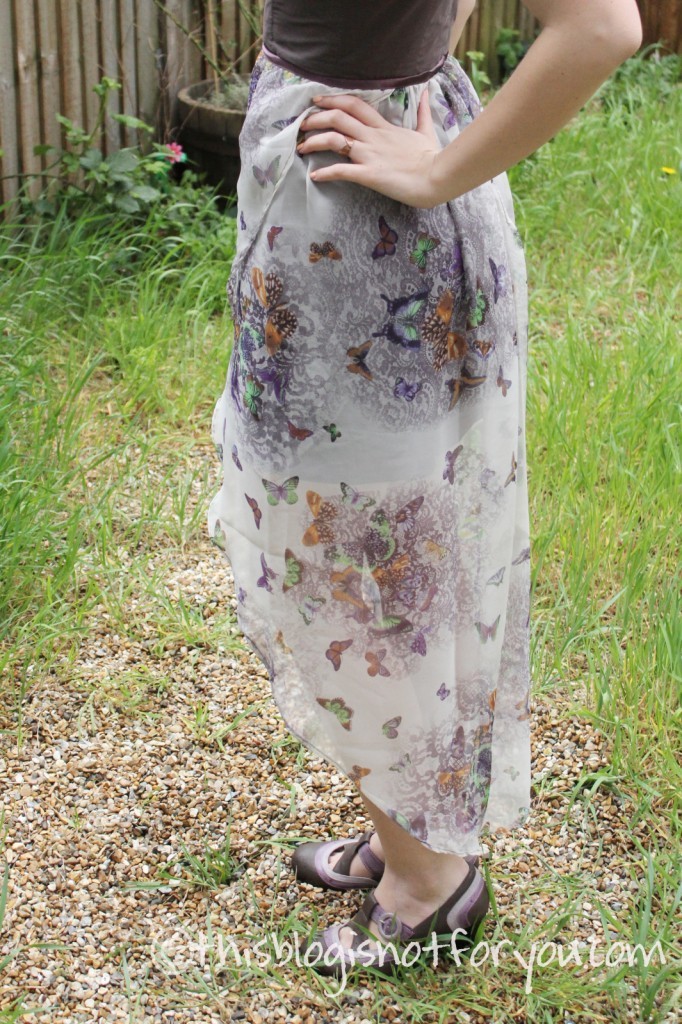
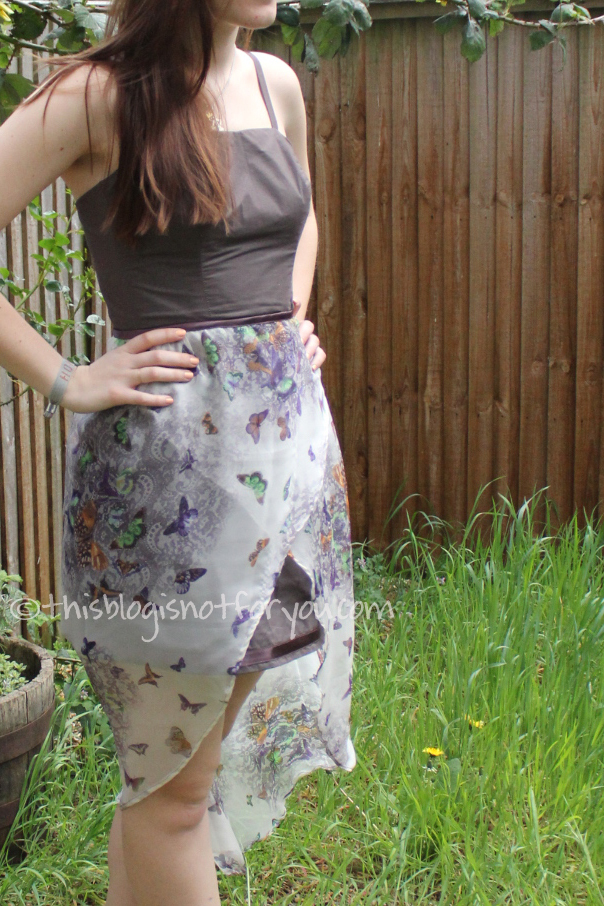
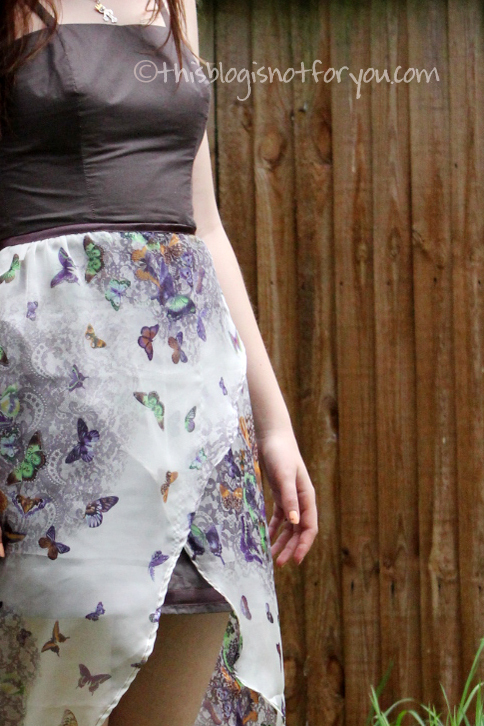
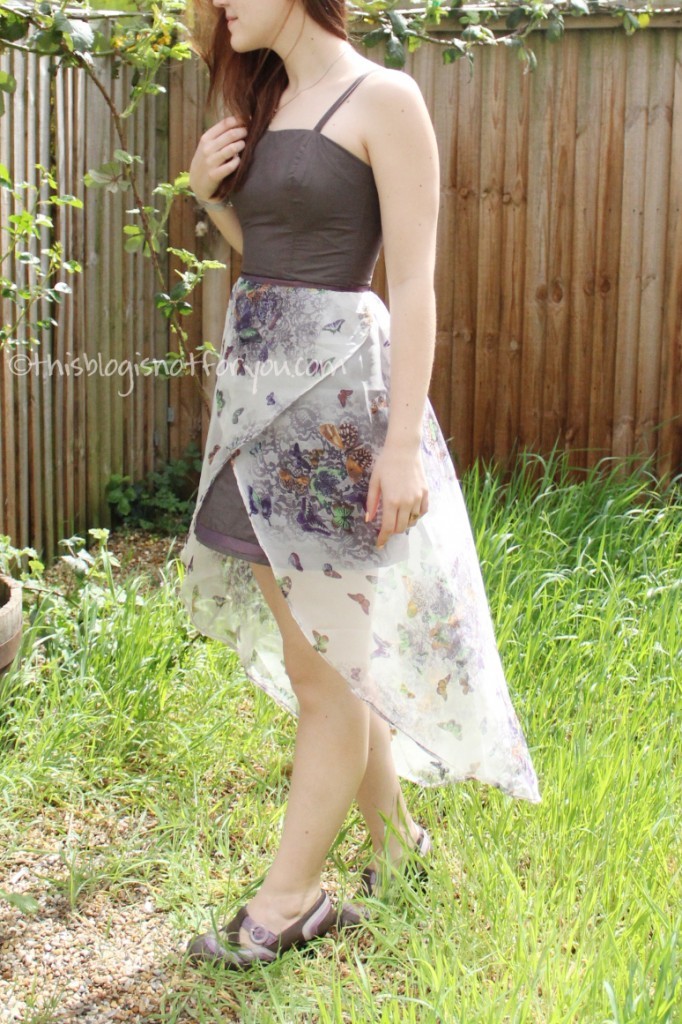



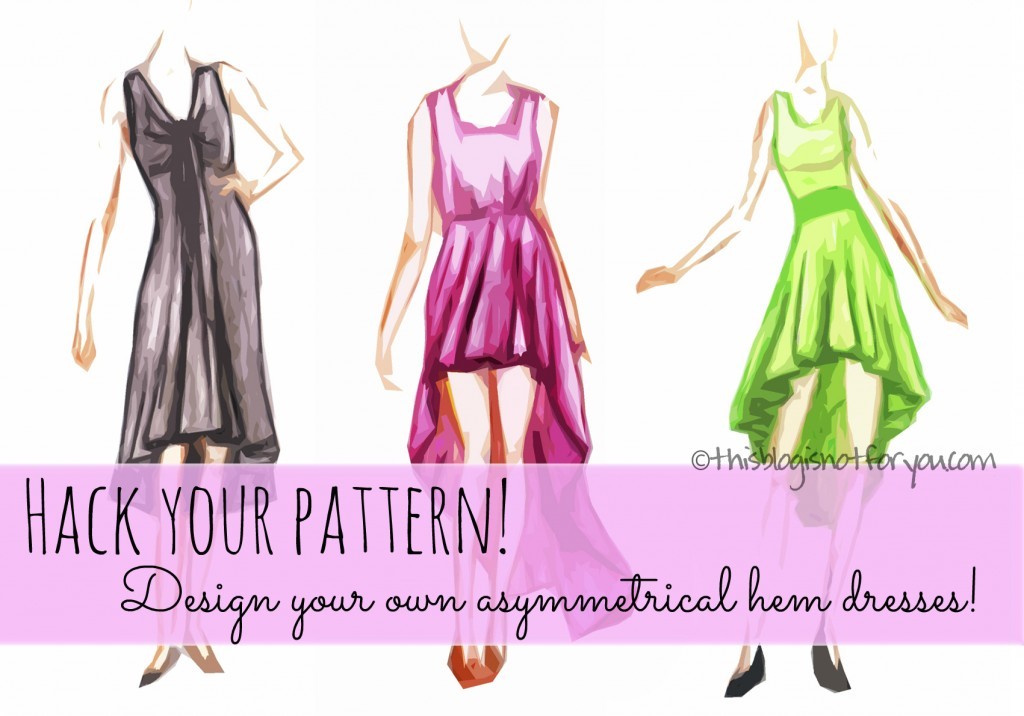
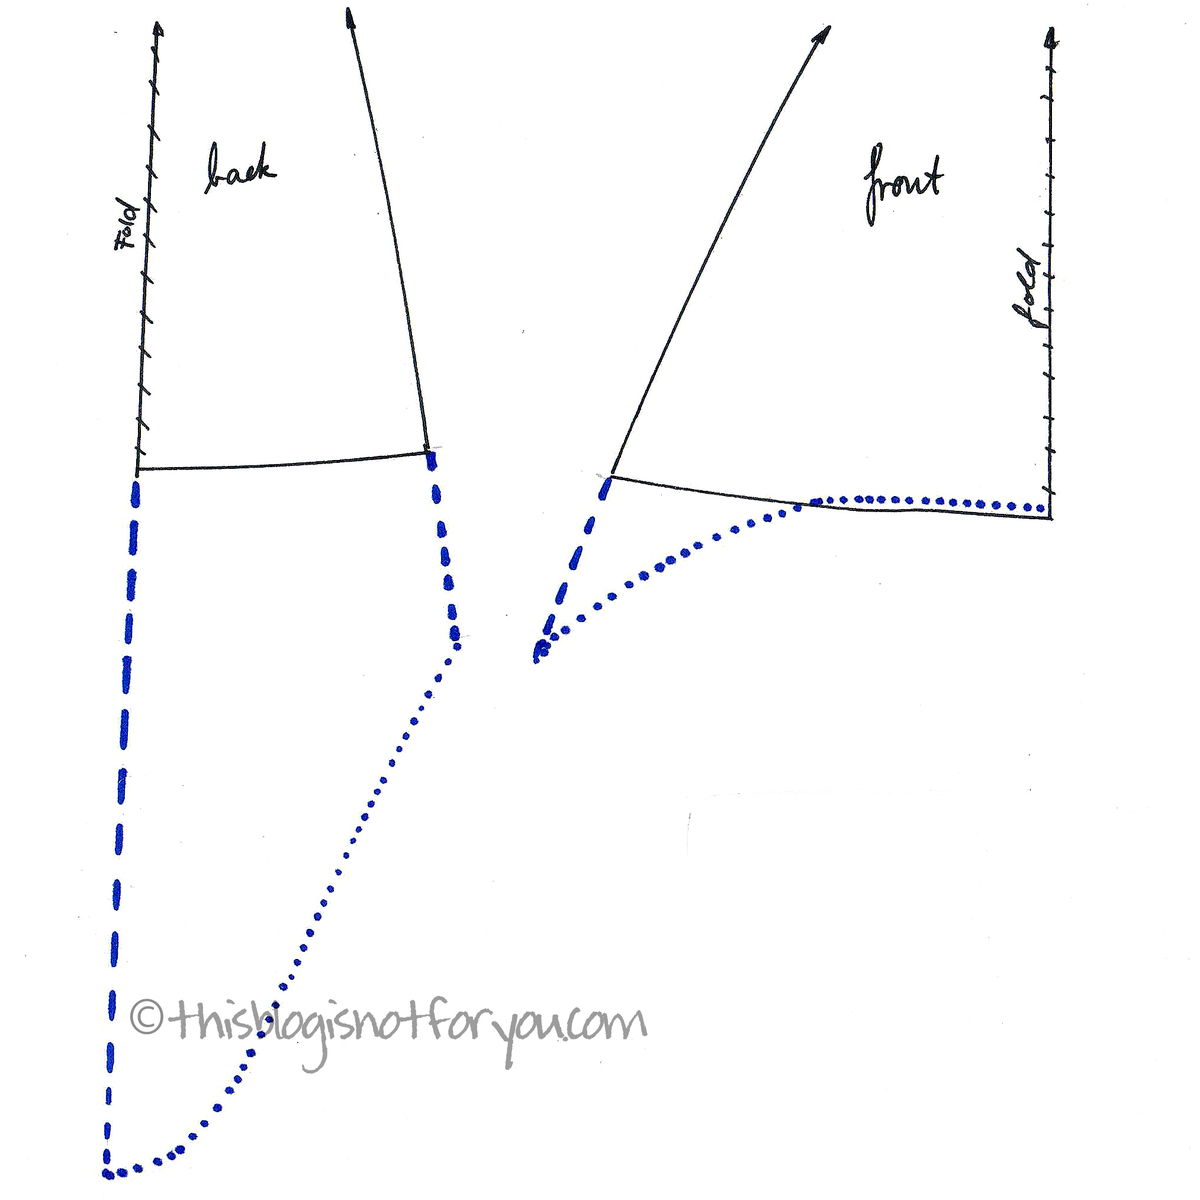
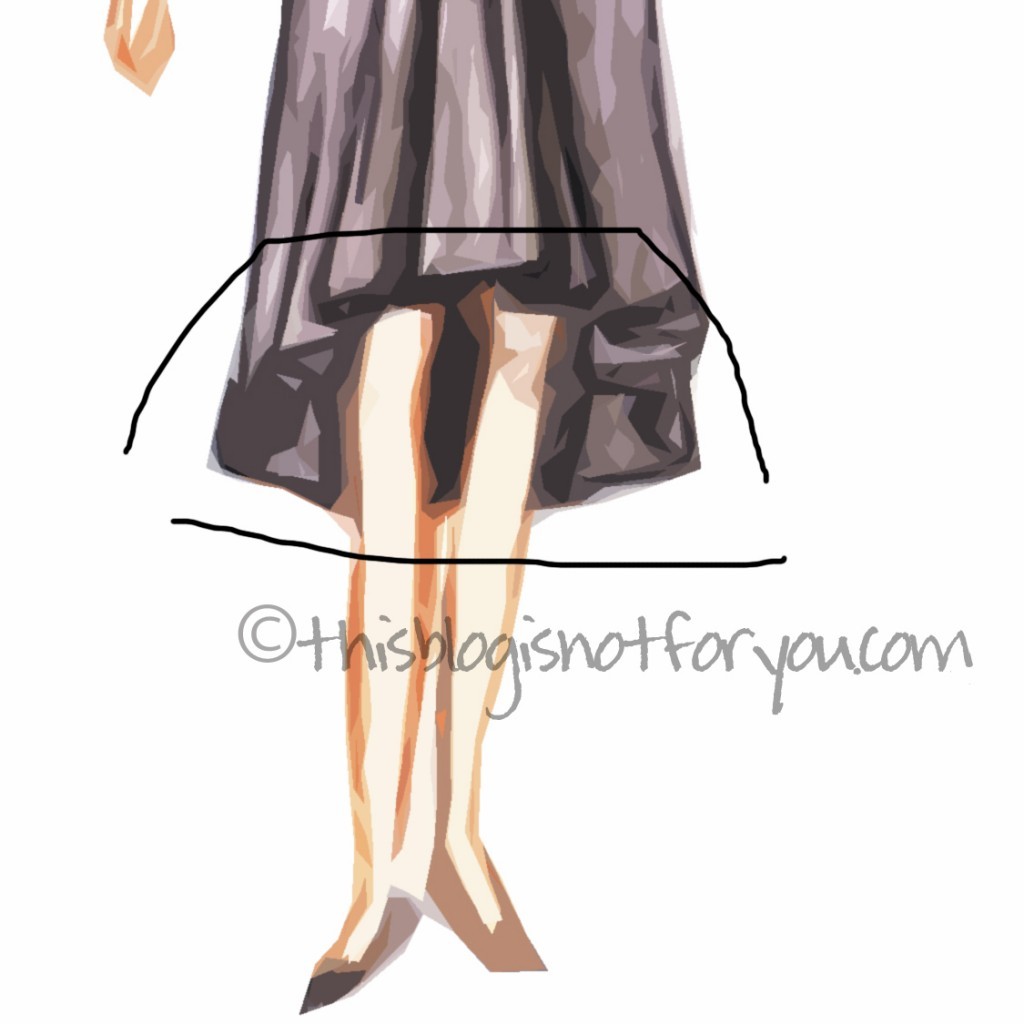
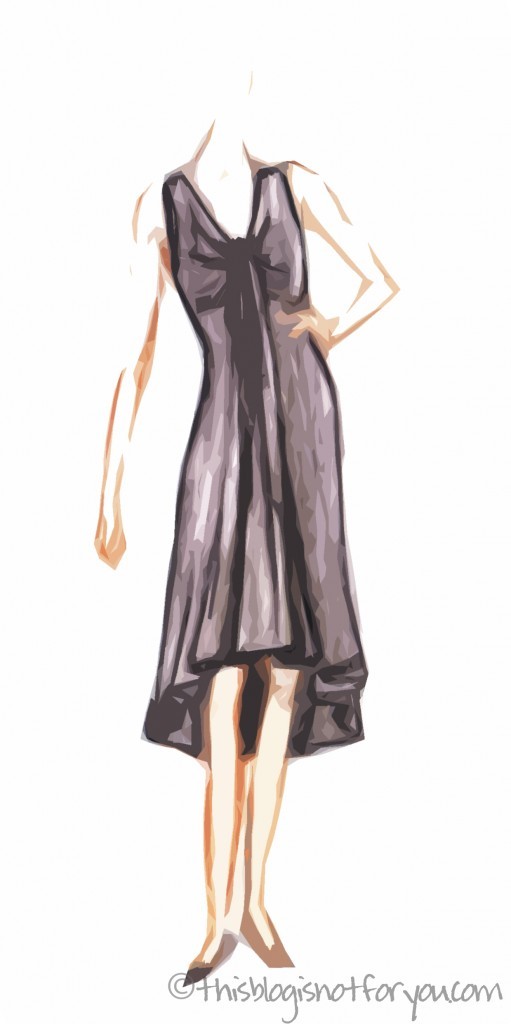 This is a draft of an asymmetrical hem that just about the same as the one of my
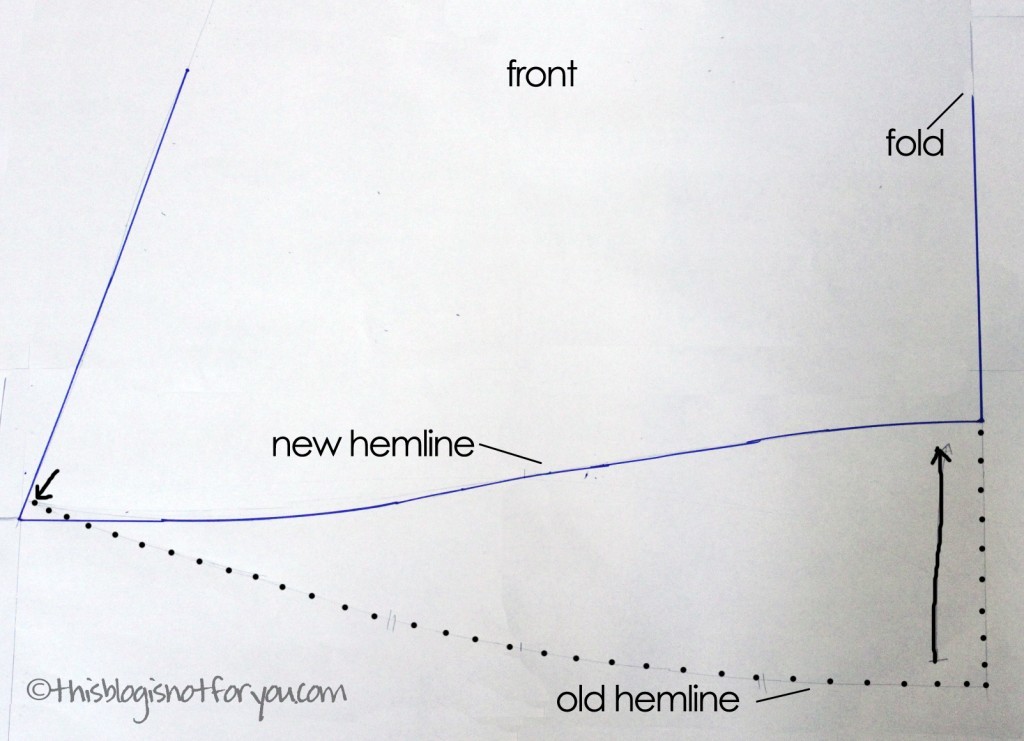
  What you need to do is either shorten your pattern in the front or lengthen it in the back. Since I made the hem shorter anyway, I made the changes in the front. To get a more softer edge instead of a very triangular shape, you can’t just draw an asymmetrical staight line. The slightly s-shaped curve creates a smooth transition between front and back. You also see the line sloping down more steeply only after it reaches the middle of the front pattern piece. There are only small changes to the back pattern, to make the changes look less abrupt and to avoid having it look like you combined two different pattern pieces.
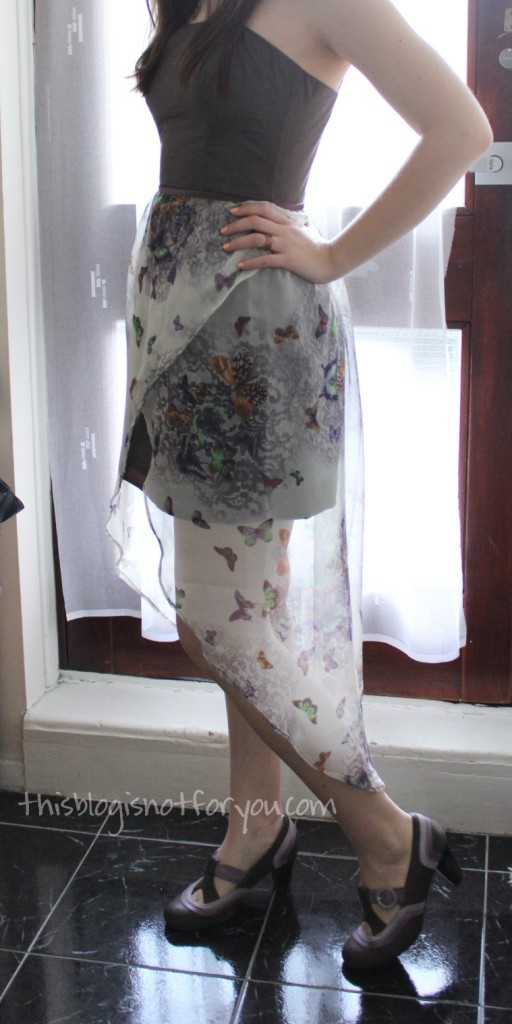
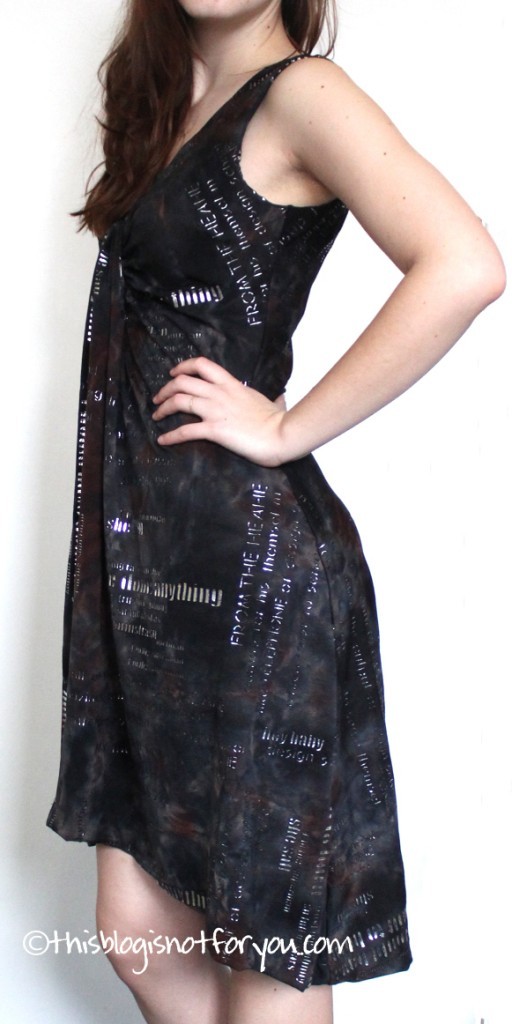
 Here are some pictures from the modified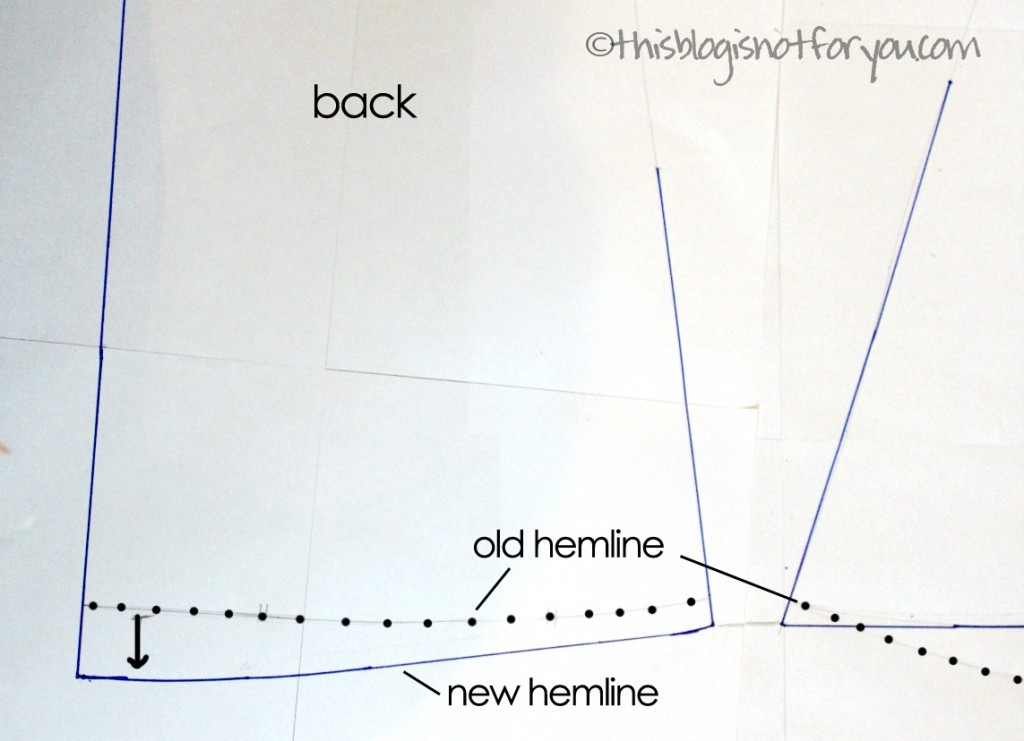
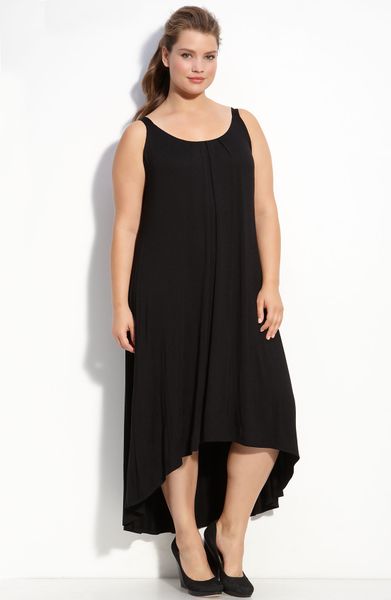
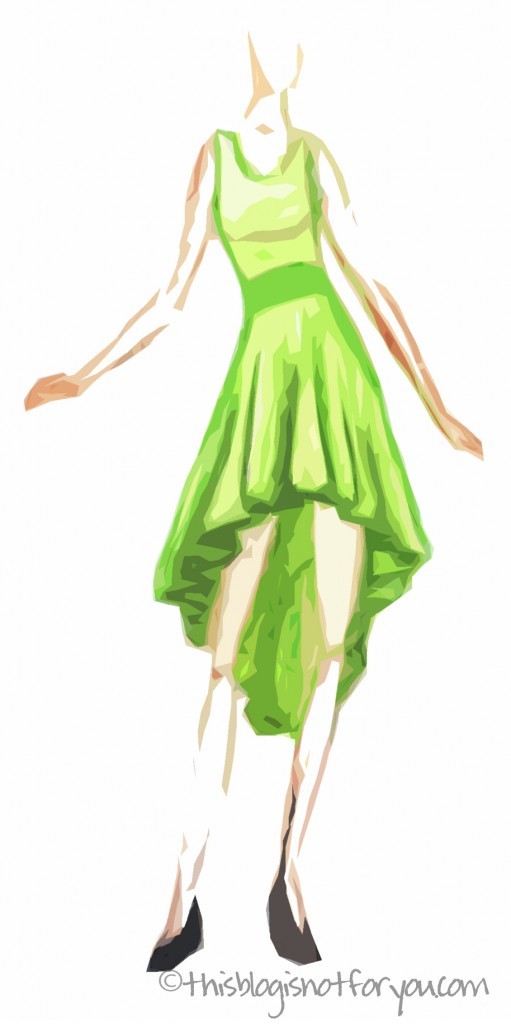 I very much love this look, because it looks quite romantic. Here the shape in the front is almost like the one in the first look, but the back is much longer and the transition from front to back is very smooth and it’s much more asymmetrical.
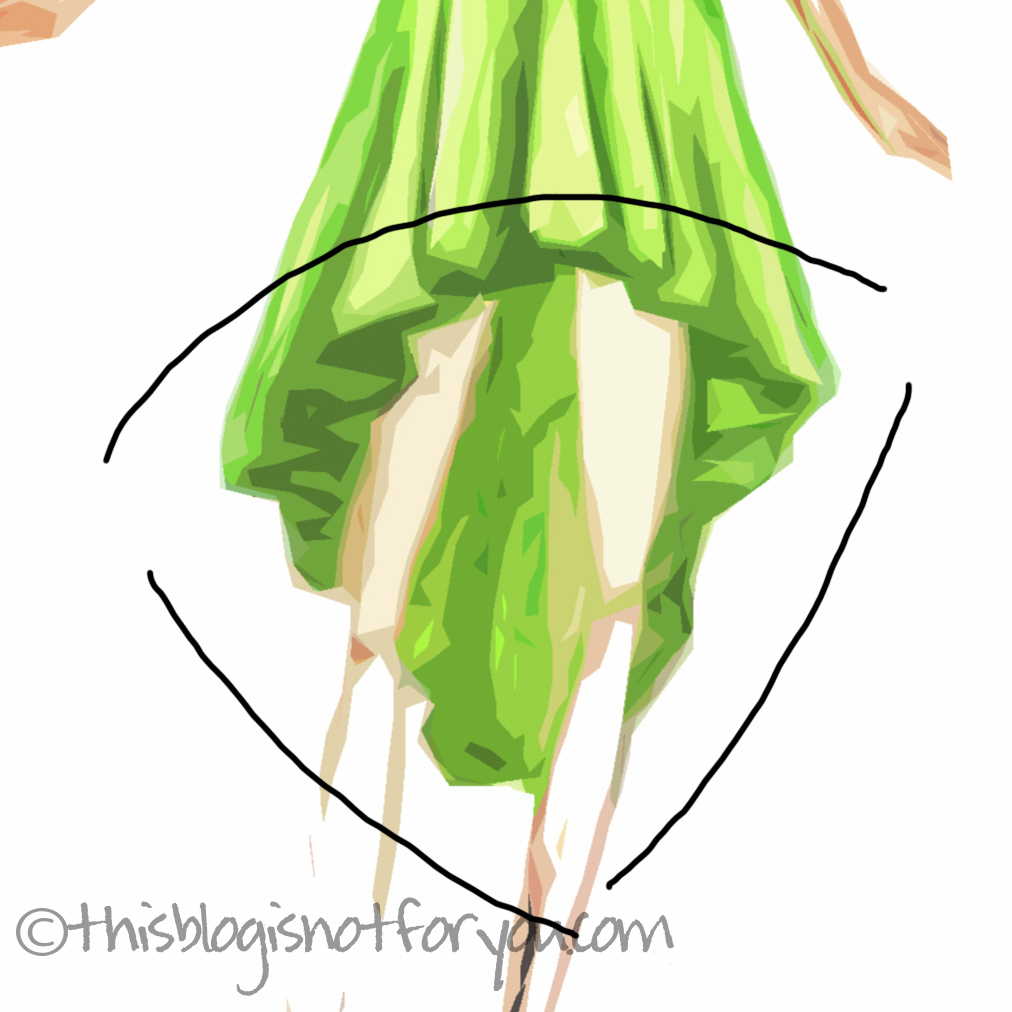 To get this look you have to shorten the front and lenghten the back quite a bit. If it’s a knee-length dress, I’d suggest shortening the front by at least 20cm/8” and lengthing the back by about 20-25cm/8-10” or more. Give the line a smooth curved shape in the centre front and back to avoid awkward triangular edges.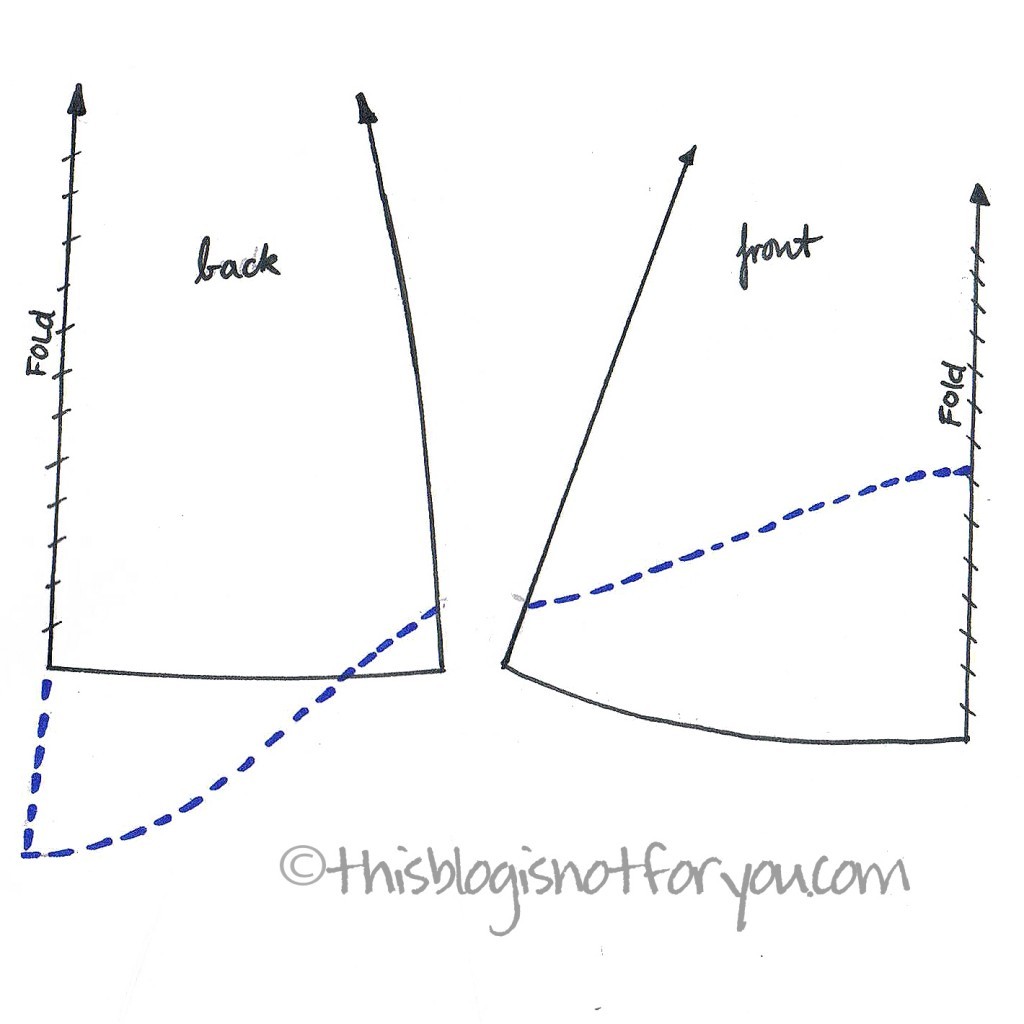
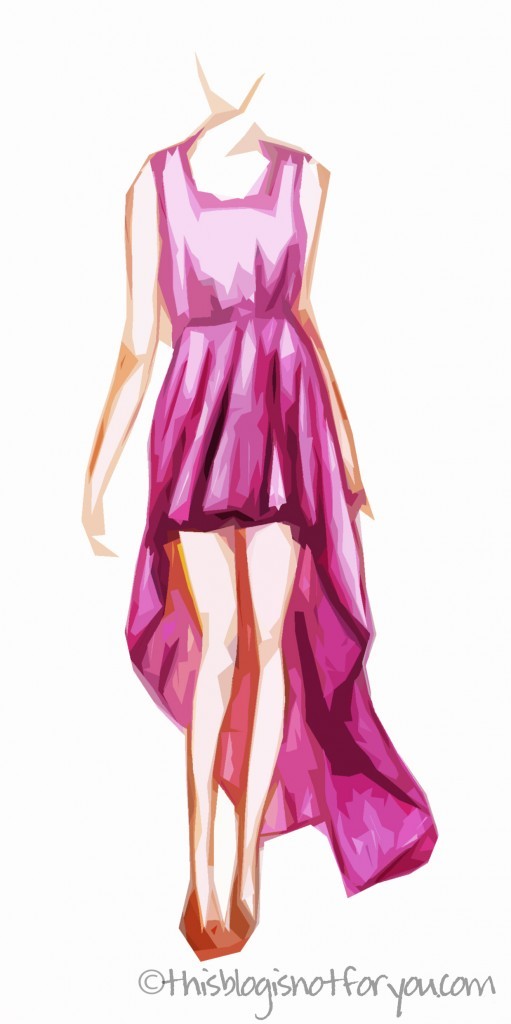 This is my favorite look and I’m de-fi-nite-ly making a dress like this for summer. It’s such an awesome femine look. Here, the front is straight almost until it reaches the side seams and then steeply slopes down to that long flowing train.
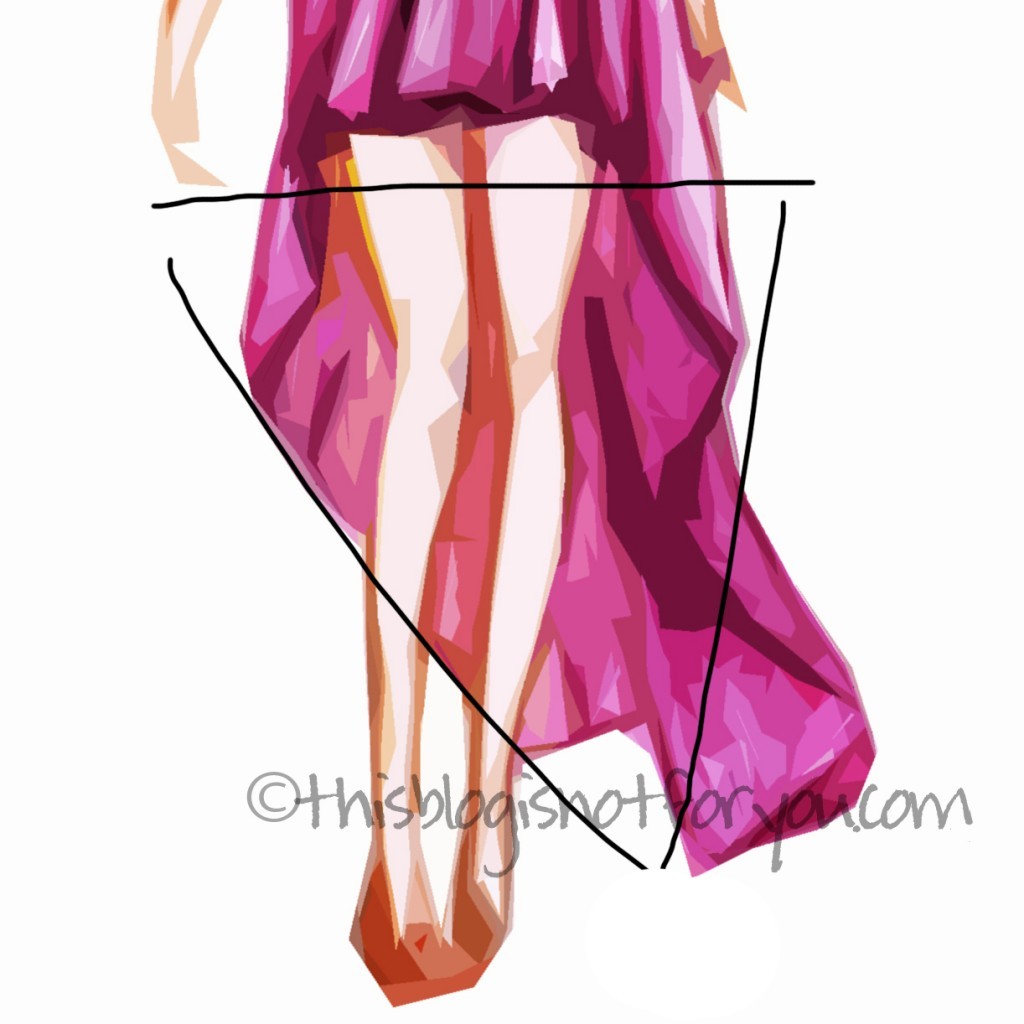 The front will be almost miniskirt-length, the back about ankle-length. (Take your measurements, waistline to ankle, to get the right length)