



A Winning Team
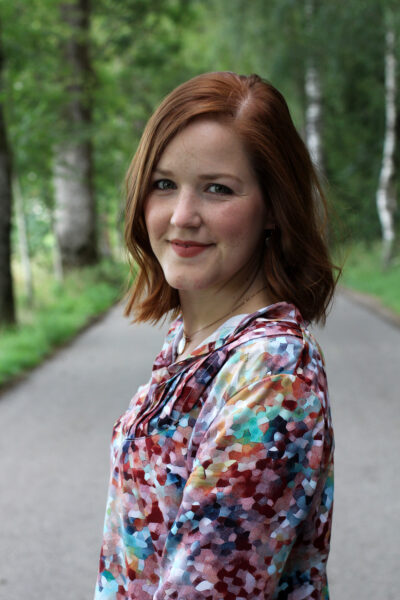
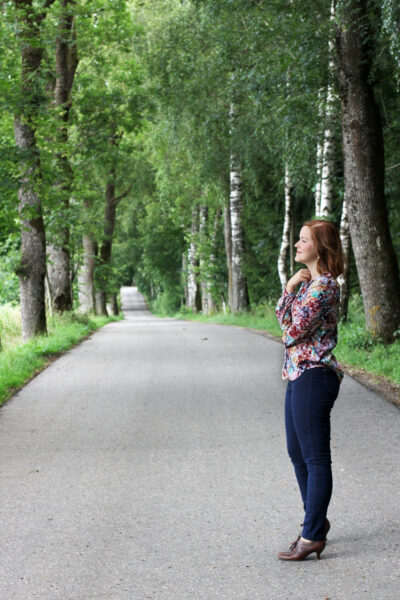
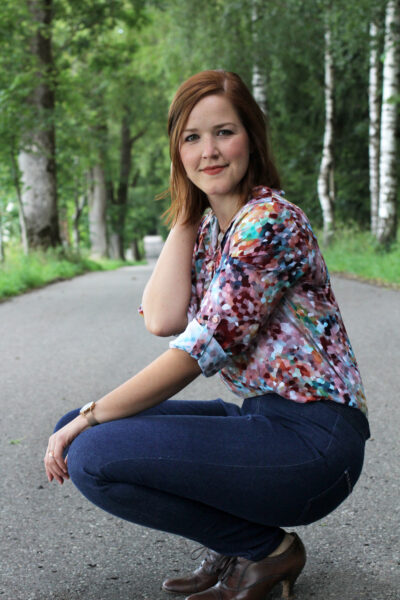
Hello & meet my new two favourite pieces in my wardrobe! Can you tell how much I love this outfit from the photos? I just love the combination of textures, colours and silhouettes. Let’s have a look at those fantastic team members, shall we?
pattern: Carme Blouse by Pauline Alice Patterns
fabric: cotton lawn from local shop
amount: 1,5 m
other materials: 10 buttons, interfacing optional
cost: Zero as fabric and buttons both were gifted to me. (+8€ for the pattern)
duration: It took me almost two full days.
First, there’s the versatile, but high-maintenance Carme Blouse. I’ve had this pattern in my stash for ages and knew by the look of it that this wouldn’t be a quick and easy make. It a PDF/paper pattern by Pauline Alice Patterns, who have a small but growing gorgeous range of patterns in their shop. I sewed this pattern without making any fitting alterations, so it’s basically straight from the envelope!
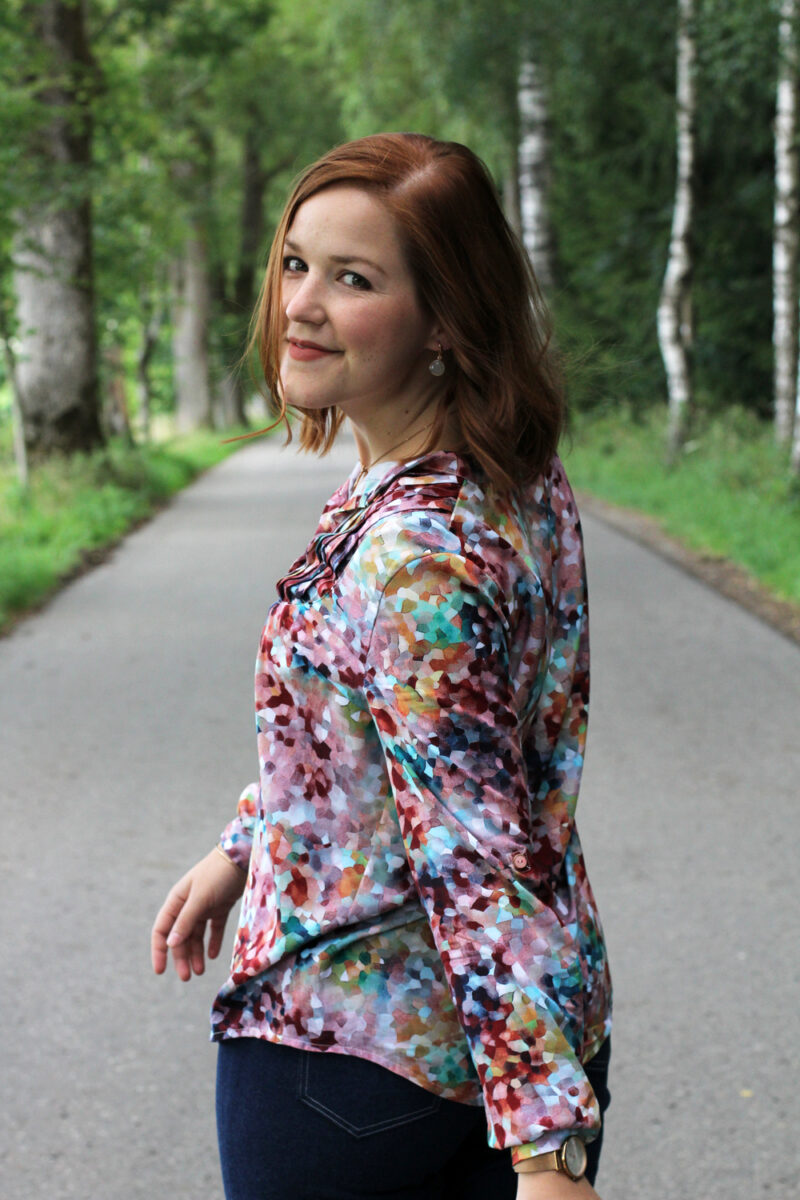
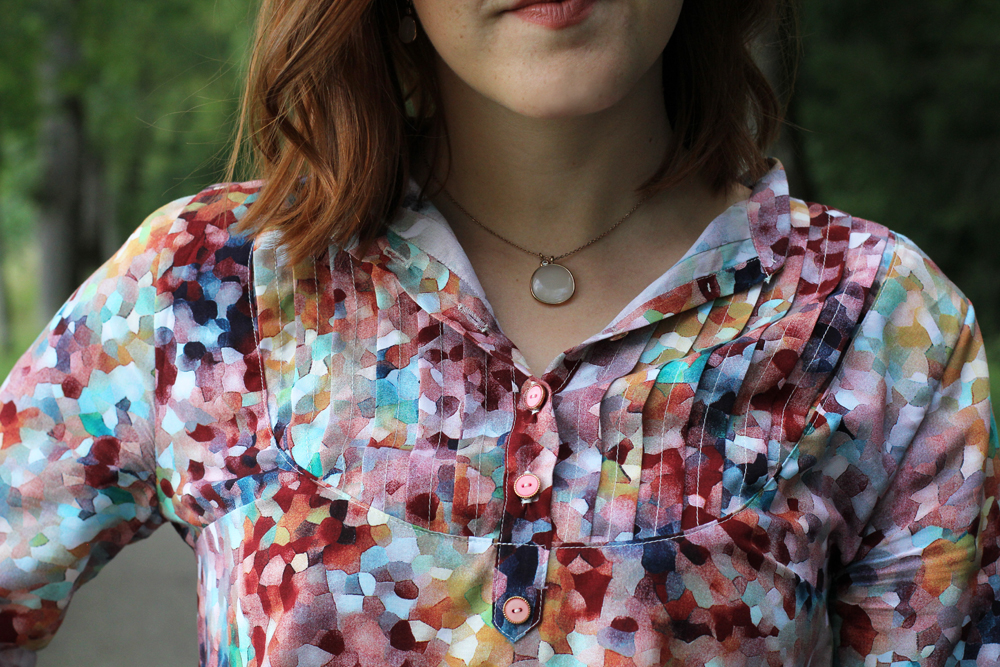
After so many years of sewing my own clothes you should think I could more or less tackle any technique, right? Well, say hello to pin tucks. Let’s just say there’s still oh-so many things to learn. Man, these pin tucks were some real suckers, especially constructing them with such a lightweight fabric. Luckily the print is crazy enough to hide the uneven pleats! Otherwise you could see that I struggled on the left front yoke and had it figured out reaching the far right side of the yoke. My tip: instead of following the pattern markings for the pin tucks, measure them out one by one as you go. This way you’ll get evenly spaced pleats. In the beginning I tried to follow the pattern markings – but if you’re off by just a millimetre the inaccuracy becomes very noticeable after a couple of pleats and it’s increasingly difficult to correct.
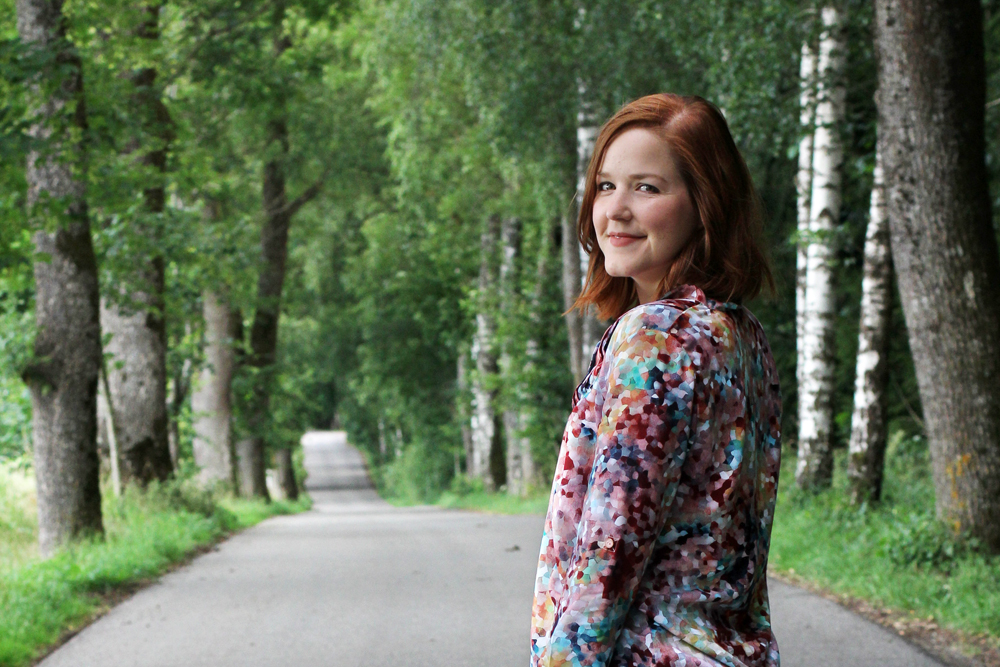
I used this luscious cotton lawn, which was a gift from the Mr for our wedding anniversary. He bought it at a local fabric shop, so I can’t give you any more info than that it’s fa-bu-lous. It might be a bit too noisy for such details as pin tucks, but it was an experiment and I love how it turned out. Together with some simple skinny jeans it’s not too crazy, right?
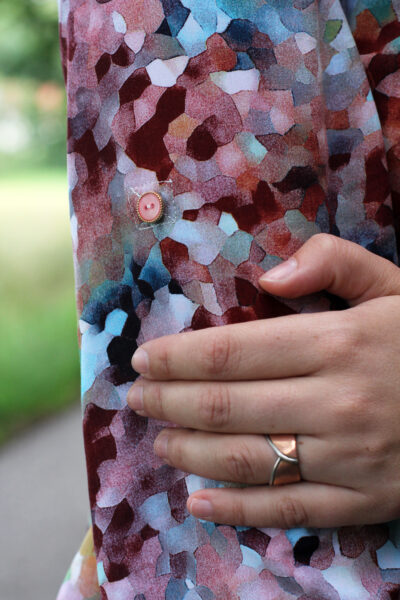
The pattern comes with really cool sleeve taps and a button-down front, which make the blouse quite versatile. I like to wear the top unbuttoned and sleeves rolled up. It looks a lot more casual and the white back of the fabric gives a nice contrast. The cute buttons were a gift from my sister which she bought on a trip to Korea.
***
Let’s check out team member number two!
pattern: Mia Jeans by Sew Over It (Capsule Wardrobe ebook, £20)
fabric: stretch denim from Alfatex.de (12,90€/m)
amount: 1,5 m
other materials: 12,5 cm long zip, one jeans button, fusible interfacing
cost: ~ 20€ (the ebook was courtesy of Sew Over It)
duration: ~ 3 hours
It’s the very low-maintenance Mia Jeans! It’s my fourth pair of Mia Jeans, a pattern by Sew Over It. It’s made from a stretch denim fabric and the only main alteration I did (and which I do with all my Mias) is that I lengthened them to full-length instead of ankle-length.
The top-stitching at the waistband got a bit out of hand. There are days when I love me some top-stitching and this was one of them. I think it looks really nice and it also gives a bit more structure to the waistband. The best part about making jeans is that I get to try new decorative stitches on the pockets every time. My sewing machine has loads of different ones which I sadly never really need or use, so I make an extra effort of putting them on all the pairs of jeans I make.
I used blush pink thread for the top-stitching and overlocked seams. You can’t really see it in the pictures, but it looks really nice up close.
The easy fitting and quick construction is what I love about the Mia Jeans. As the cut is quite simple, the fitting options are limited. I always use stretch fabrics and try to really stabilise the waistband so it doesn’t start gaping after a couple of wears. As it’s a quite high-waisted pair of jeans it’s flattering as long as you haven’t had a big lunch. But I don’t mind, life’s too short to suck in your tummy!
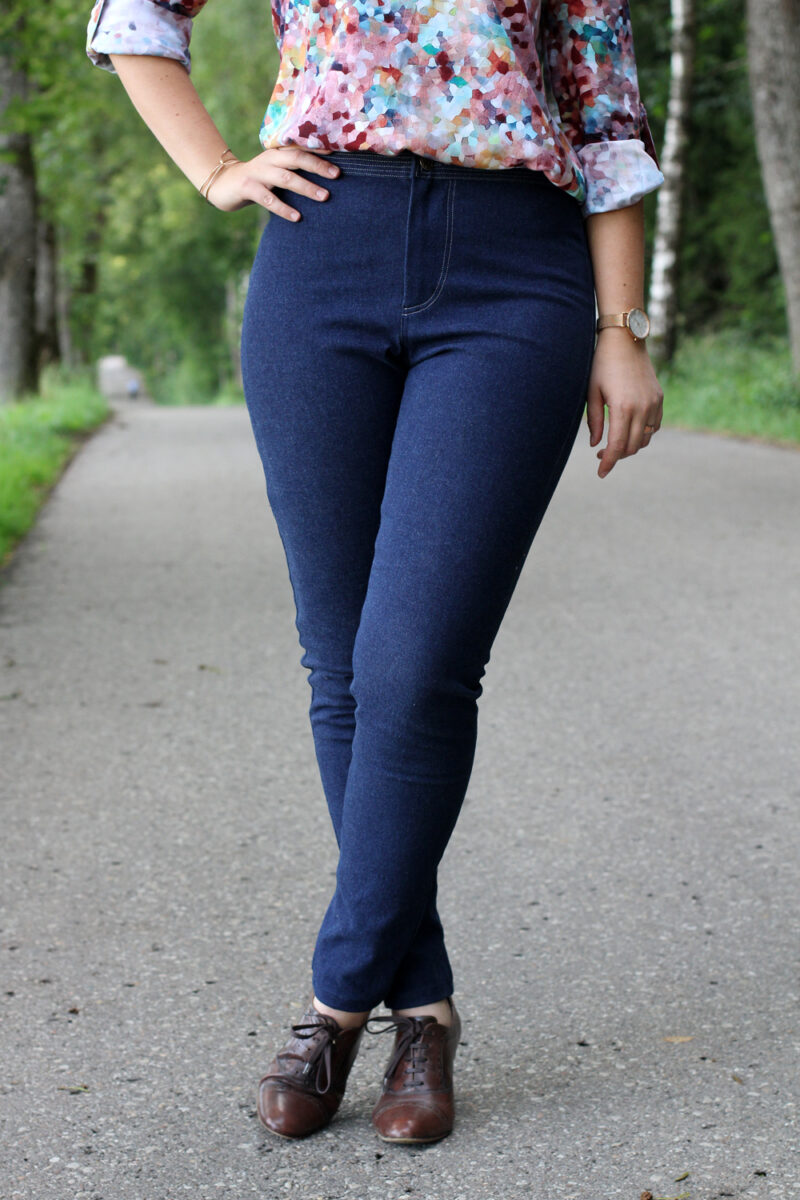

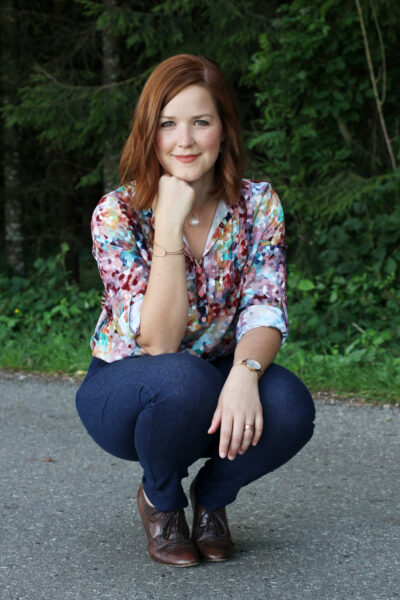
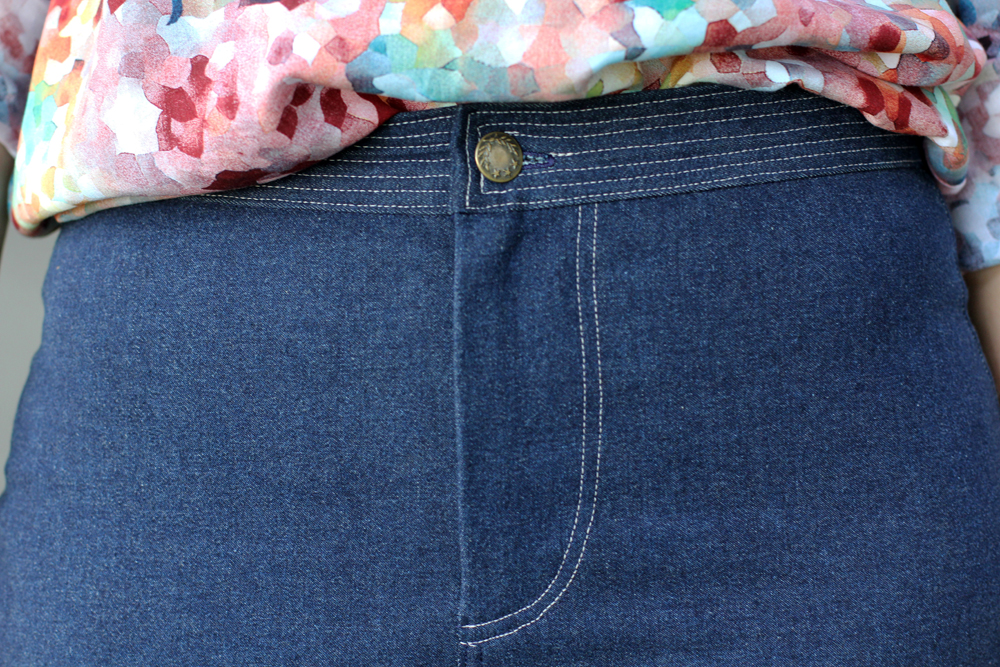


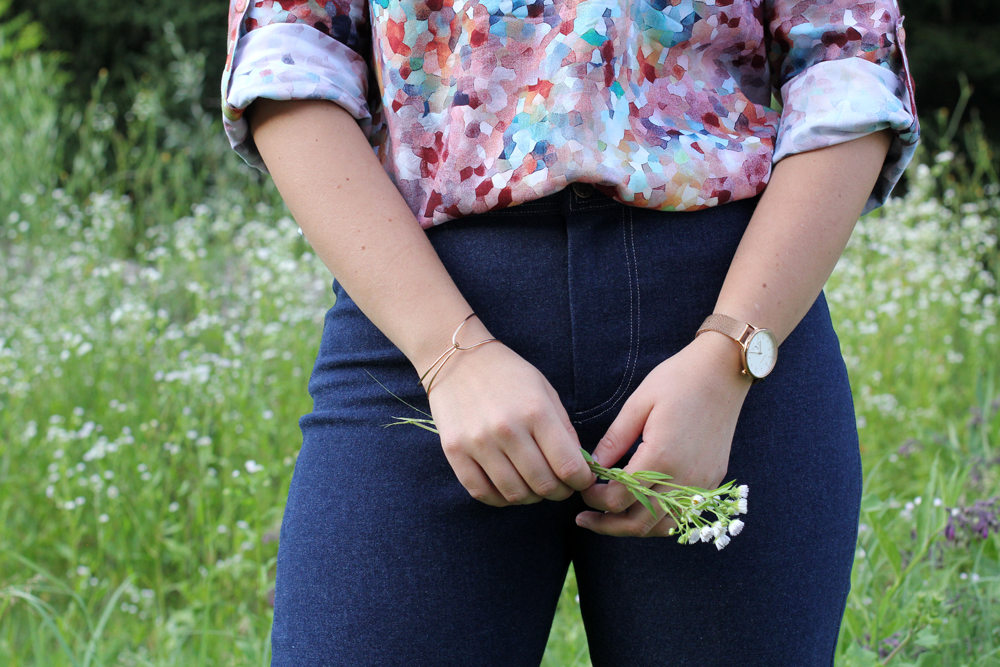
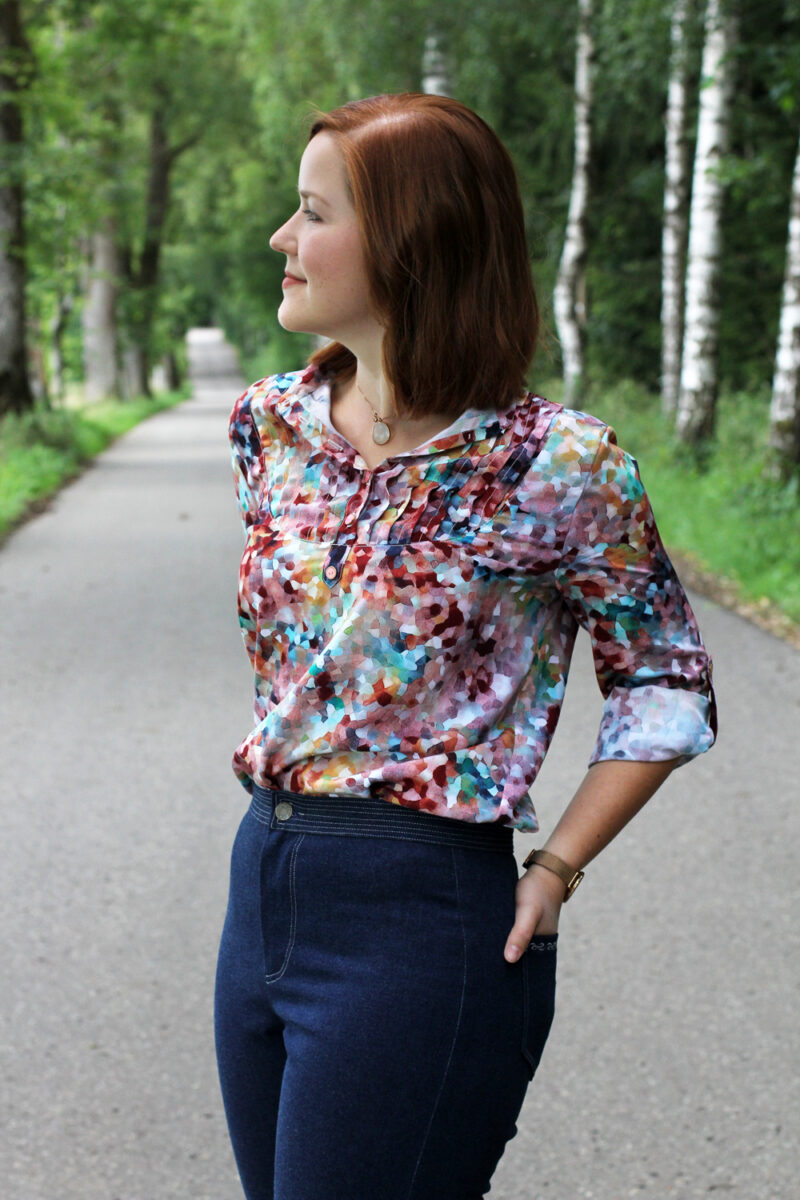
jeans & blouse: handmade | shoes: second-hand Clarks | watch & jewellery: Skagen
I tried to wear this outfit as often as seemed appropriate recently without appearing like I have nothing else in my closet. I will definitely make a few more Carme Blouses, I’m sure! I might skip the pin tucks here and there and do a hack without them. I just really like the sleeve taps and button front.
As for the Mia Jeans – of course there will be more. My first pair was just about to come apart after two years of constant wear when I finished this one. So this is a constant cycle of sewing, wearing and burying the dead.
It’s crazy what a successfully handmade outfit does to your confidence. I’ve written about sometimes disliking myself in pictures in my last blog post. Well, not this time! Thumbs up to sewing boosting self-esteem, I guess.
xx
Charlie
Happy sewing!
♥
facebook/bloglovin/pinterest
twitter/instagram
Stay in touch!

Beautiful outfit! Love both your blouse and your jeans! I think it would be a fairly easy adjustment to make these into a pair of pull on jeans as well? Great fit – that cotton lawn you used for your blouse is STUNNING 🙂
Thanks, Kathleen! I think they would also work great with an elastic waistband x
I love this shirt fabric and think it was a great choice. It give a rather “neat” shirt some zip.
Thanks, Julie! I was afraid the print might be too loud, but I really love the result. It’s a nice contrast to the sharp look of the pattern cut.
The topstitching is my favorite part of your jeans! It looks great and really unique! Also, kind of random, but did you get a haircut? It looks really nice either way!
Hehe, yes I did! A little while ago – it’s a lot longer than the original cut already. I go to the hairdresser no more than twice a year, so it always looks like a major change although I’ve been wearing my hair like this for two years now 🙂
Just found your blog and having a look around. Great outfit and I agree a handmade outfit can really make you feel good, your jeans and top are amazing!
Just finished my own Carme blouse and am loving this pattern. The video sew along by Pauline Alice was great for a simple method for doing the pintucks.